I have been trying and trying and trying to make Ciabatta Bread! Somehow ended up starting okay at it and then getting progressively worse... Not exactly the point of this adventure! But finally I gave up and decided to just make plain old white bread. Or, if that was too much to bear, at least artisanal bread... This no-knead Dutch oven bread did actually work. It both looked and tasted delicious! And is now my new favorite bread recipe.
Can it be your favorite if it's the only bread recipe that you can get to work...? Perhaps not, but it does go to show how, if I can do it, you can do it!
This ciabatta bread recipe all came about because I keep craving bread. I can't justify buying it. Coronavirus is in full swing and everyone is making it. Plus, I just really don't want anything to do with bleached, bromated, enriched flour! Not to mention high fructose corn syrup, soy, enzymes, emulsifiers, enzymes, preservatives, and anything and everything else that doesn't actually belong in bread...
A good rule of thumb is: don't overcomplicate things!
Making ciabatta bread? Not necessary. After all, if the goal is simply to make bread, then whatever rendition of that bread that actually comes together with my oh-so-limited bread-making skills is the bread recipe for me! And hopefully for you, if you suffer the same kind of shortcomings in the baking department.
Baking is incredibly precise. It's not something that I'm even remotely capable of creating a recipe from scratch for myself. This Dutch oven bread is adapted from Jessica in the Kitchen's No Knead Bread (Dutch Oven Bread).
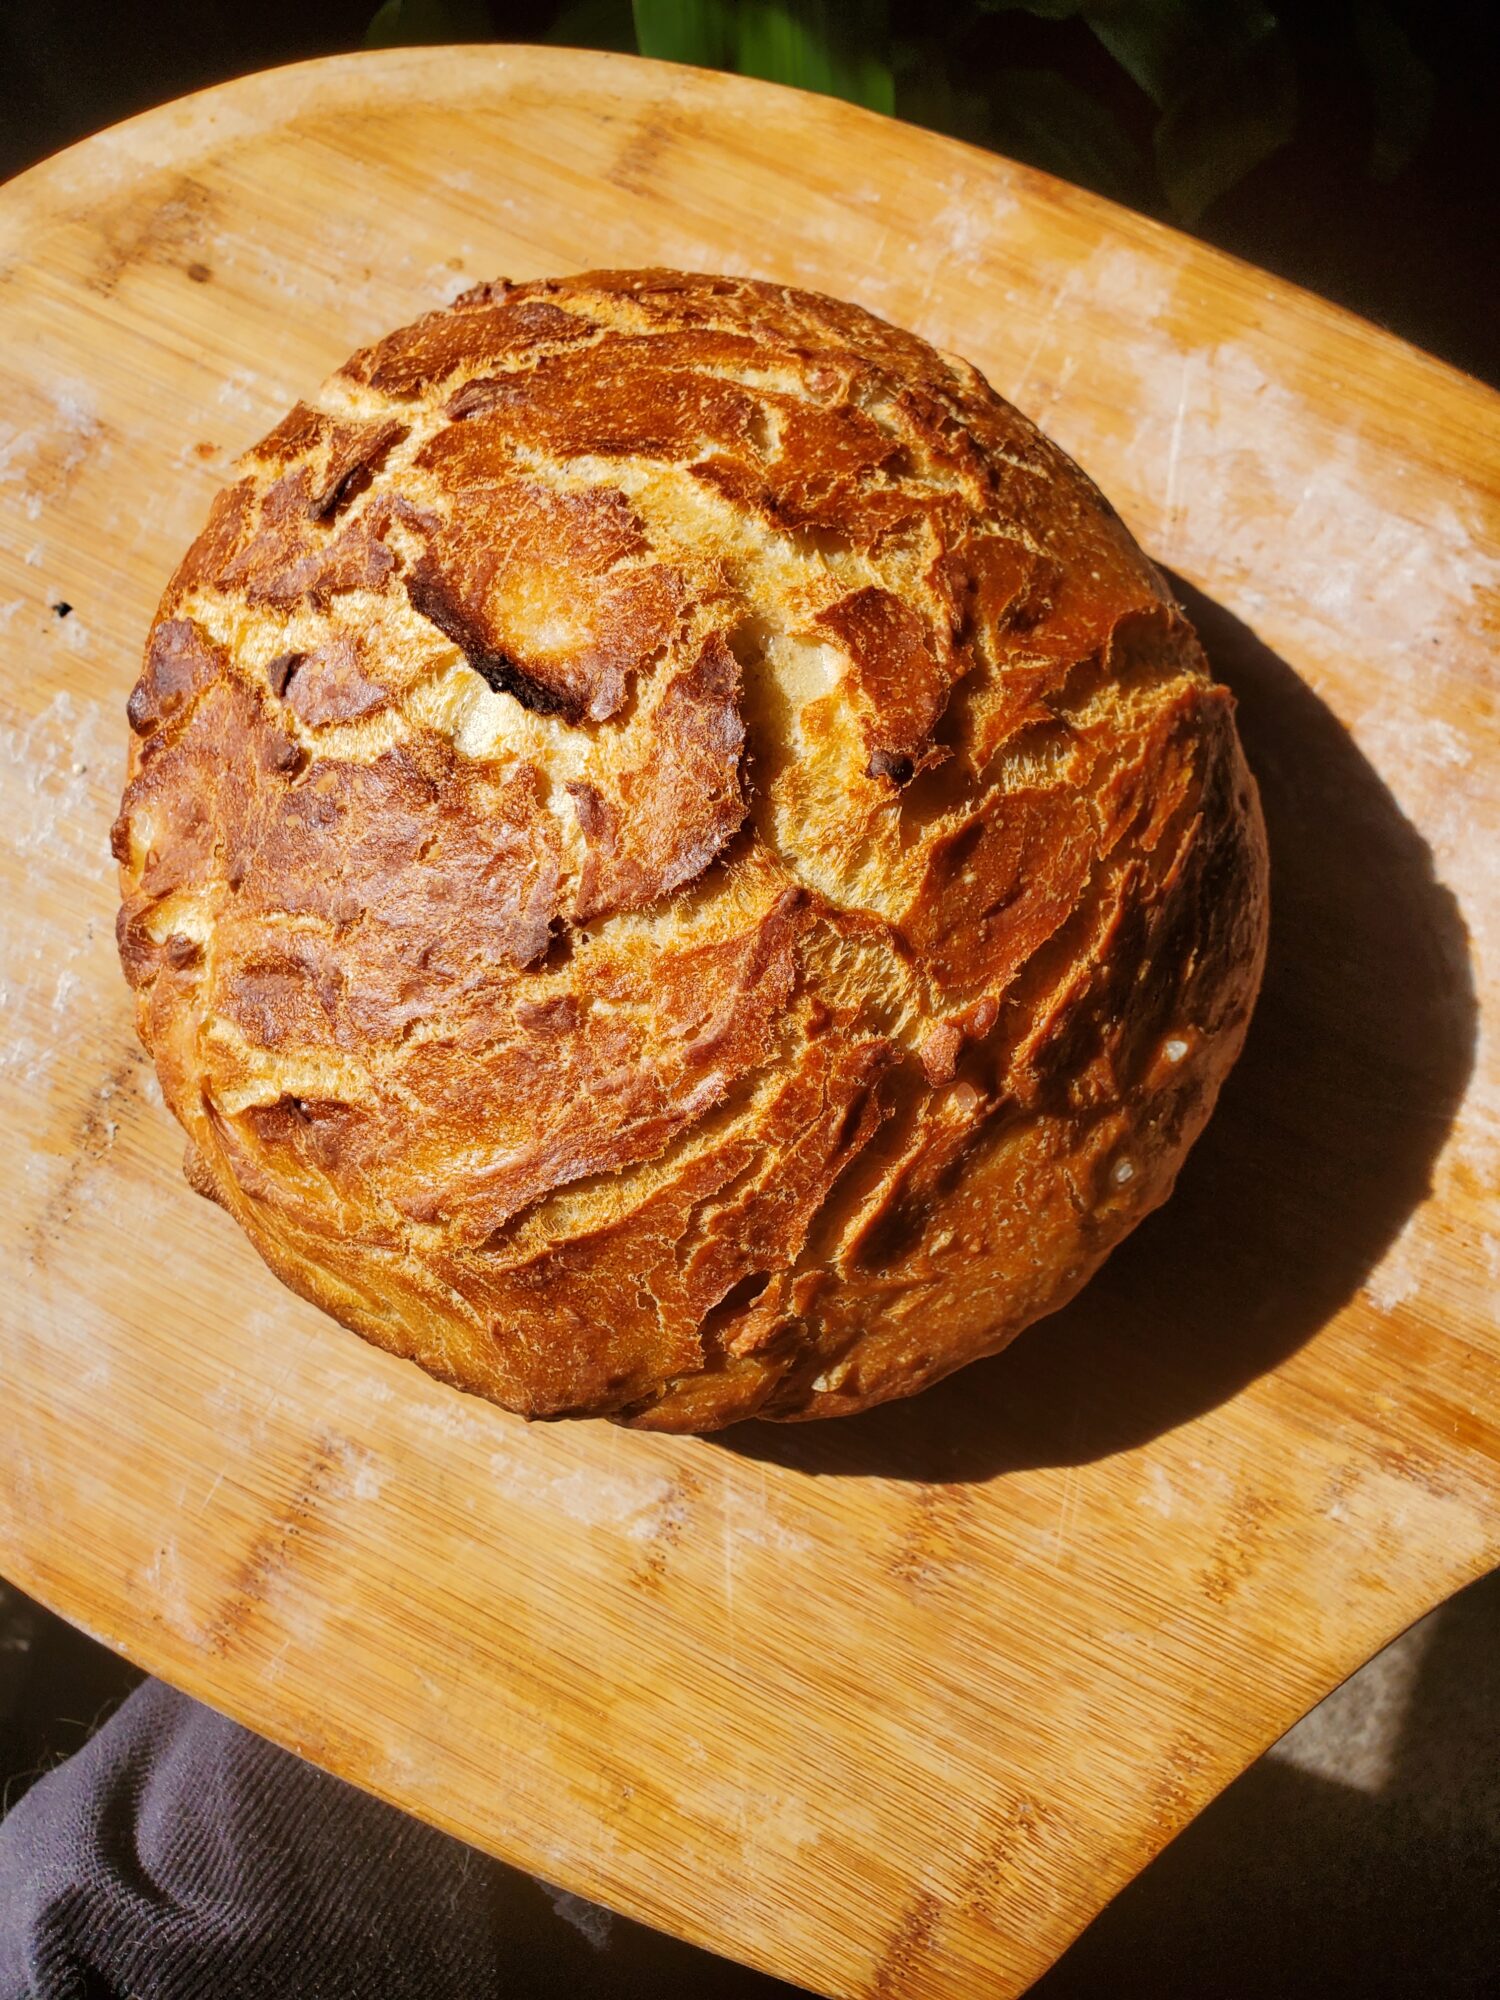
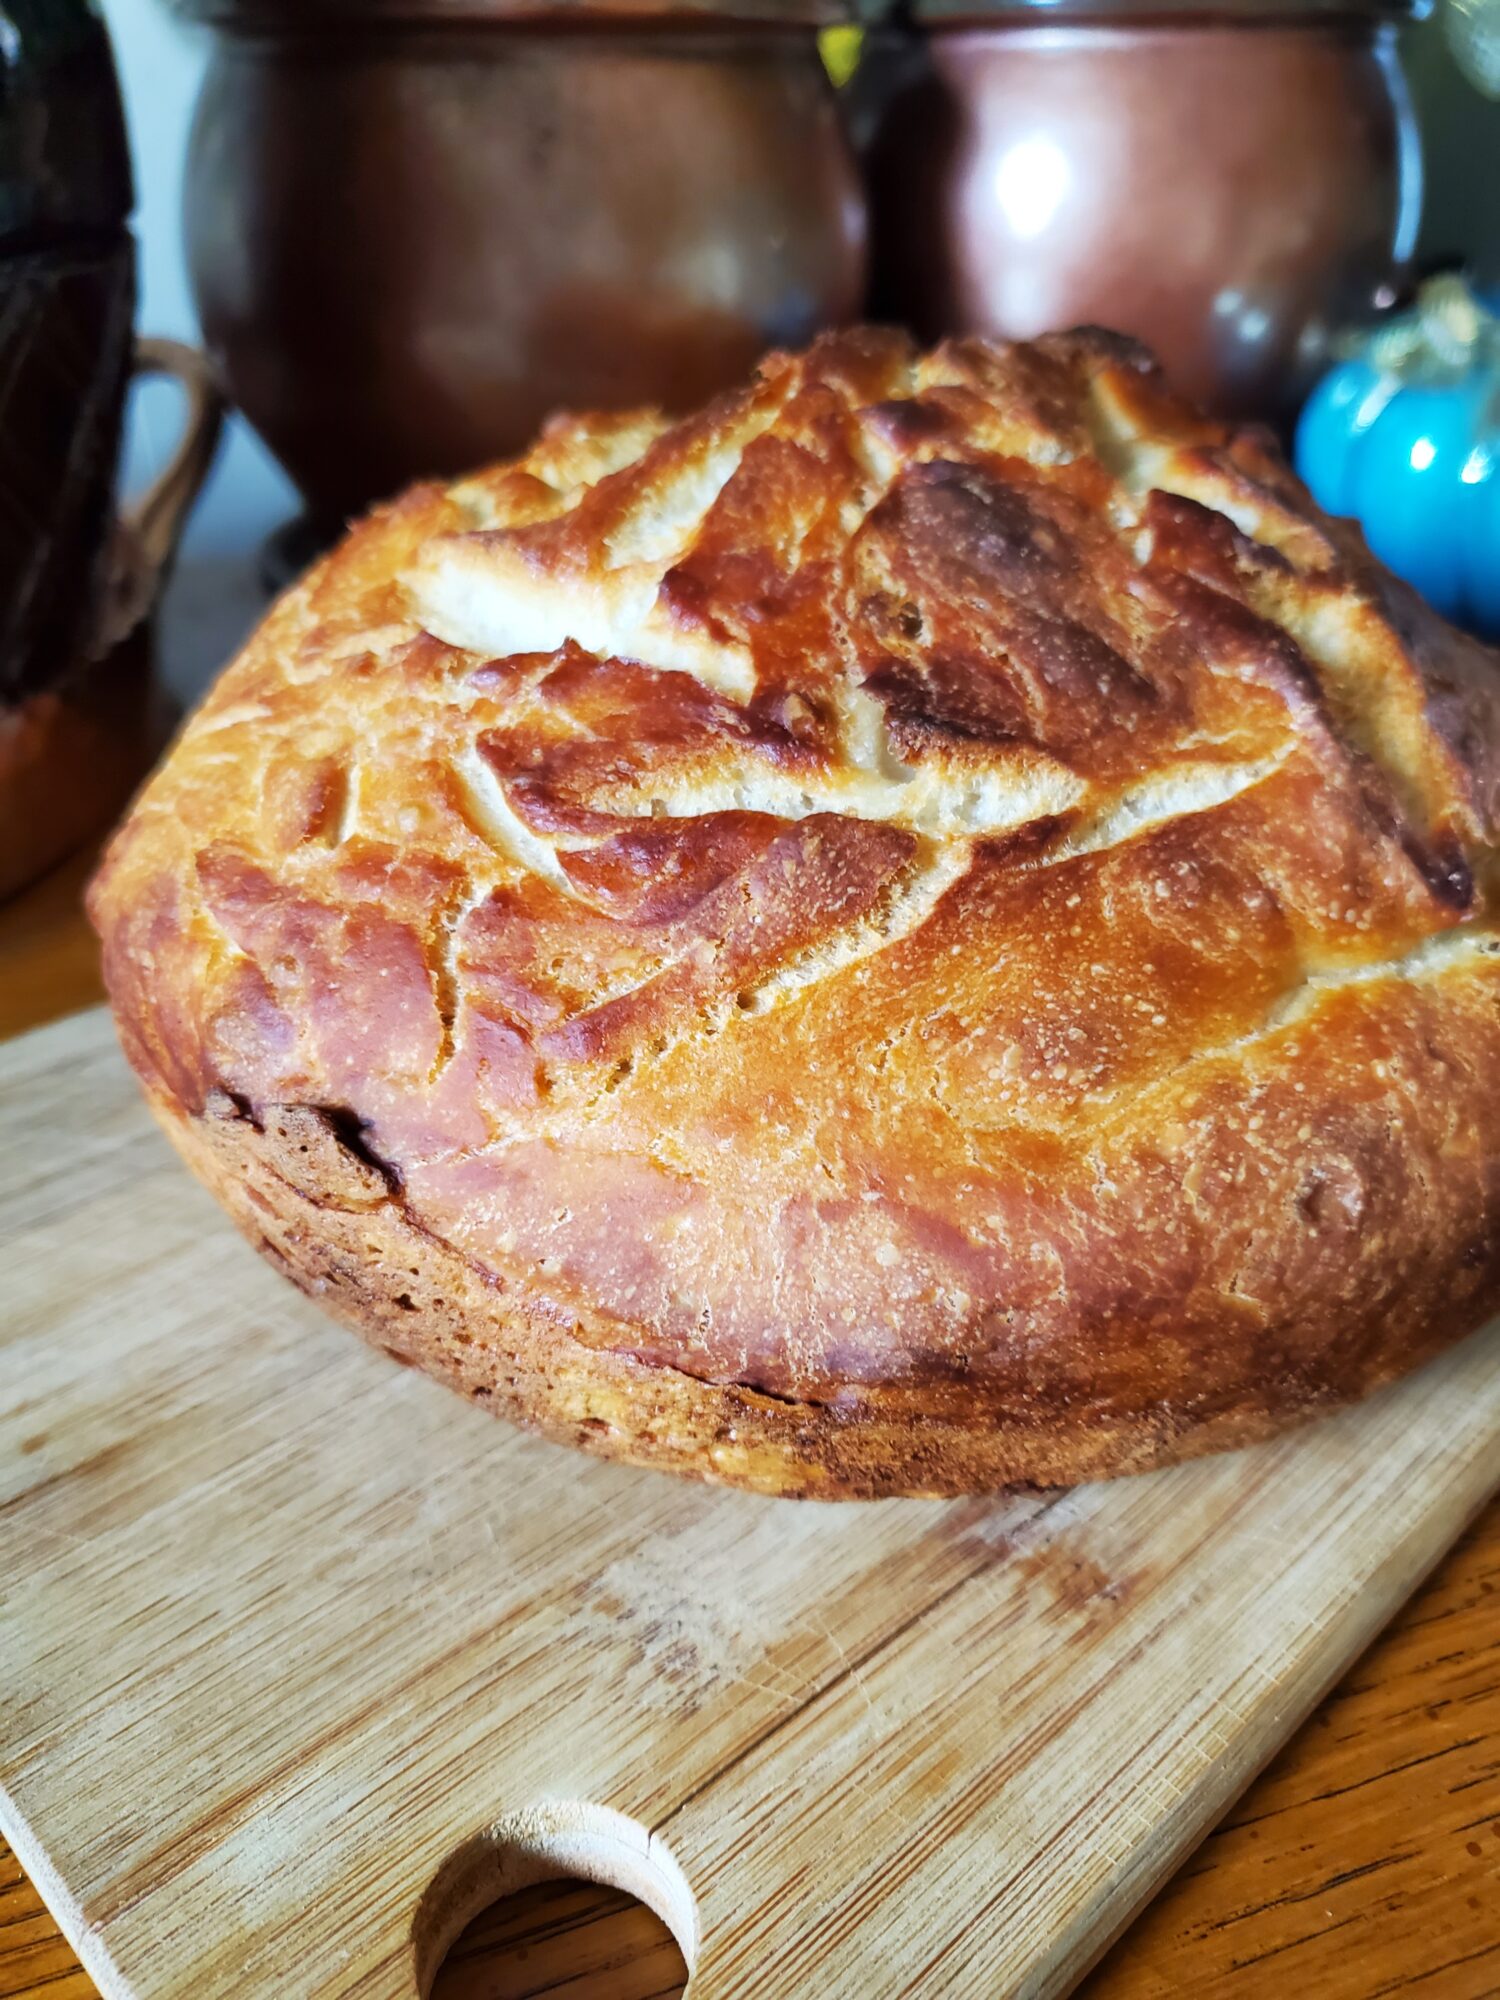
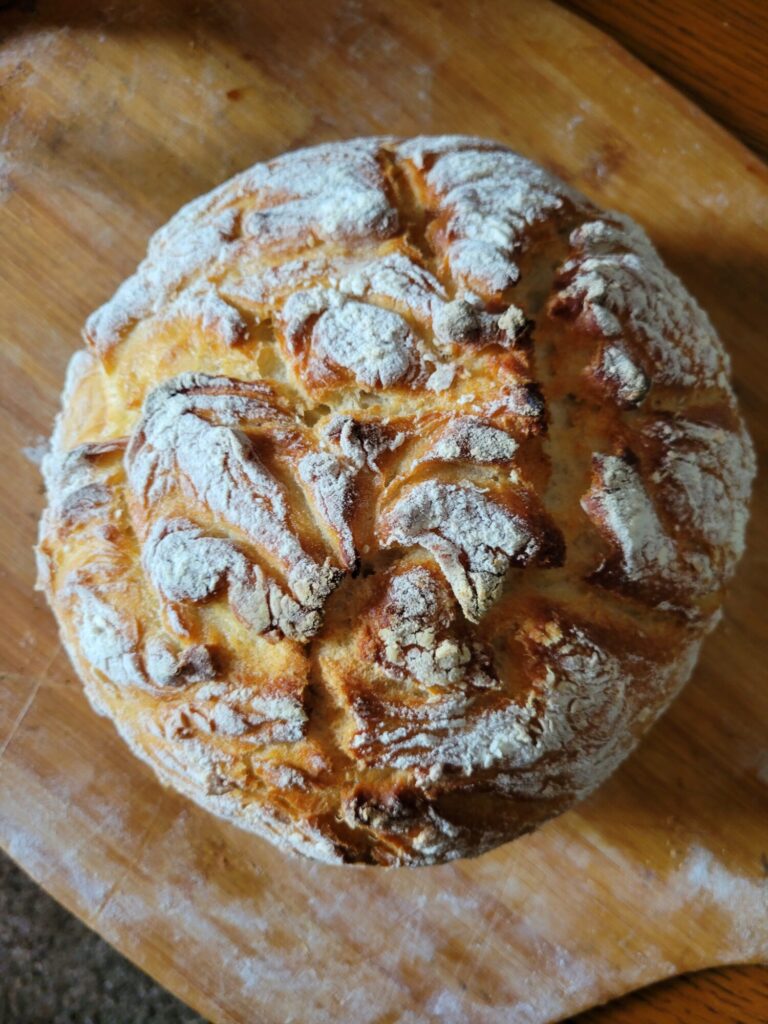
First Try at Dutch Oven Bread
Second Try
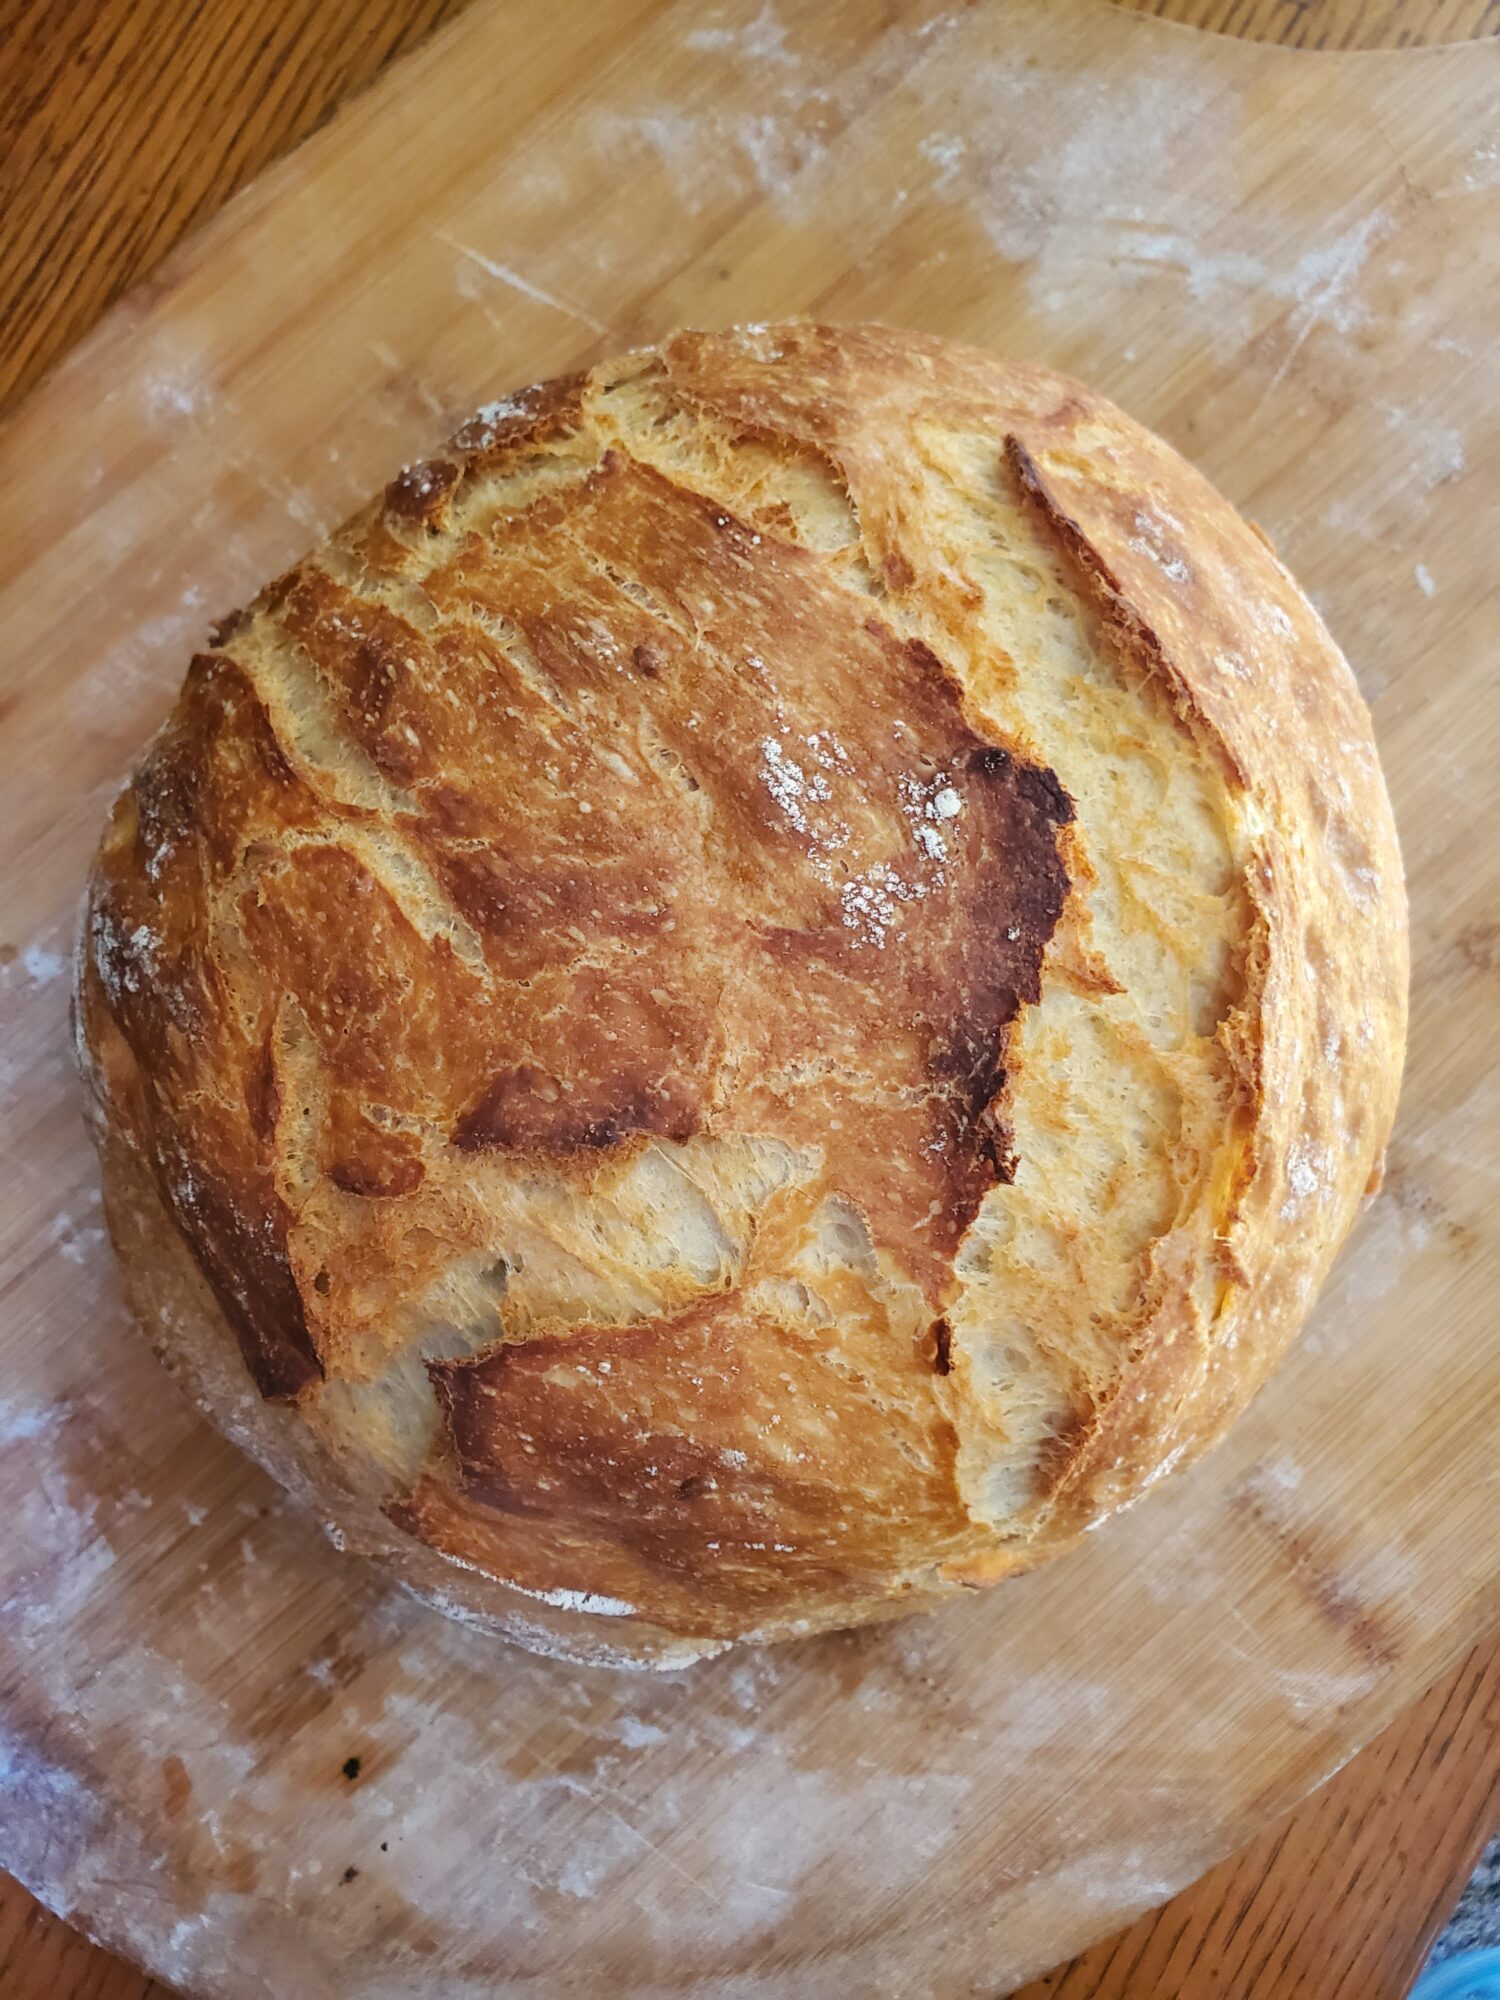
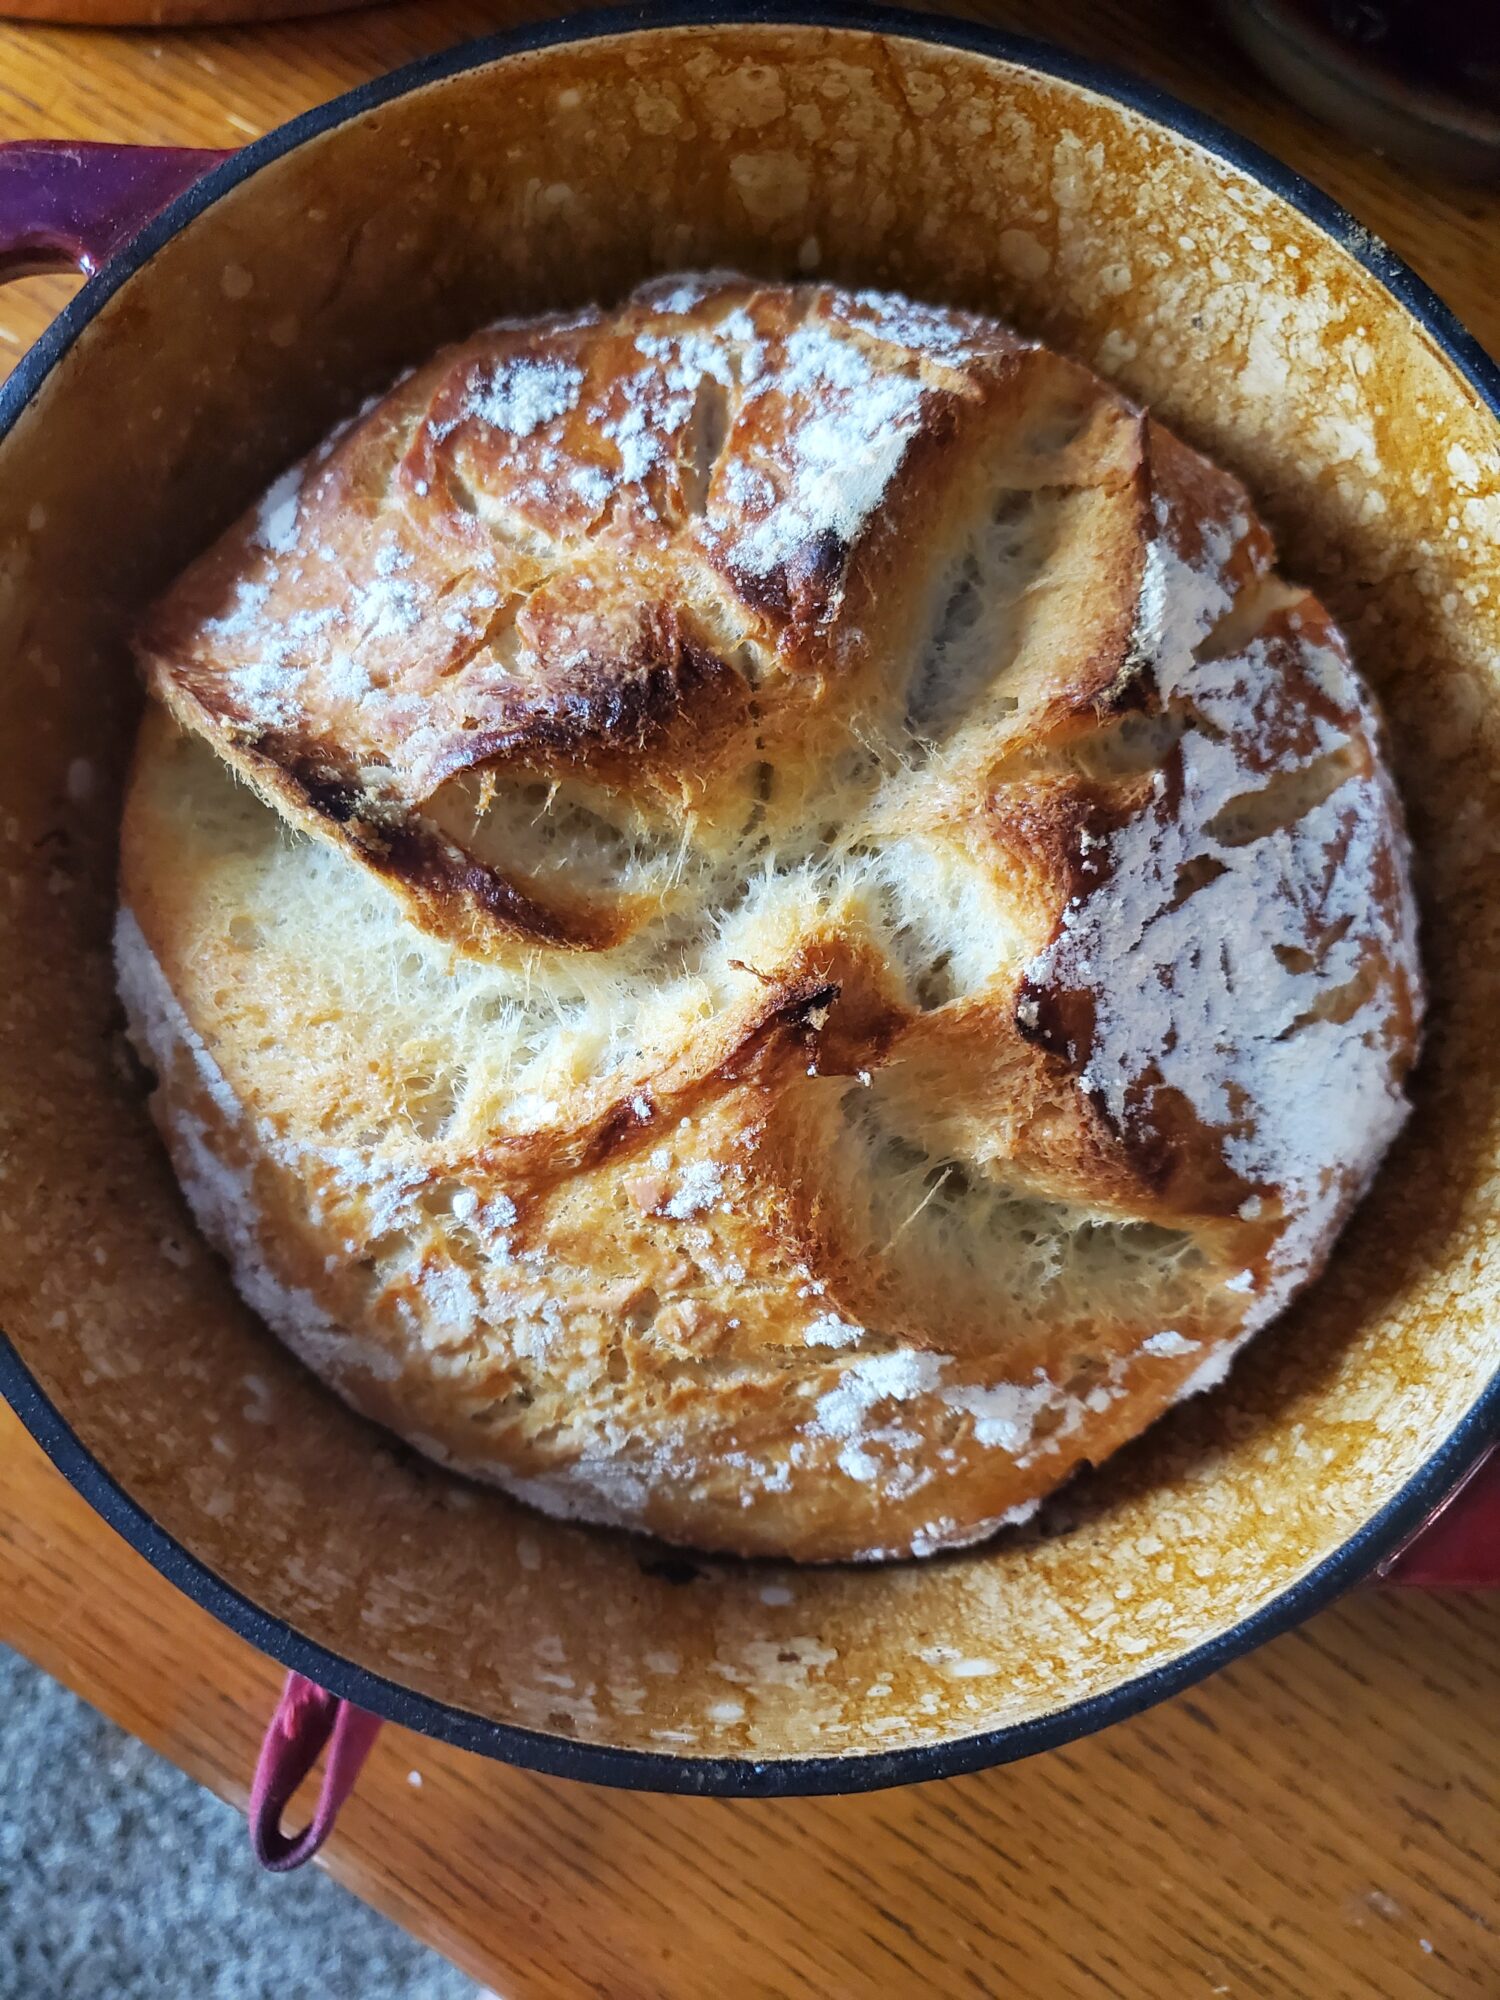
For the second try, I didn't split the dough in half, just to see whether it would all fit in my Dutch oven! This was half by accident because I simply forgot to separate it. But whether I could make one large loaf instead of two smaller ones is also something that I had been thinking about. Since it worked, I am simply going to go with that I'm glad for the experiment! Especially since this bread was better than the first attempt.
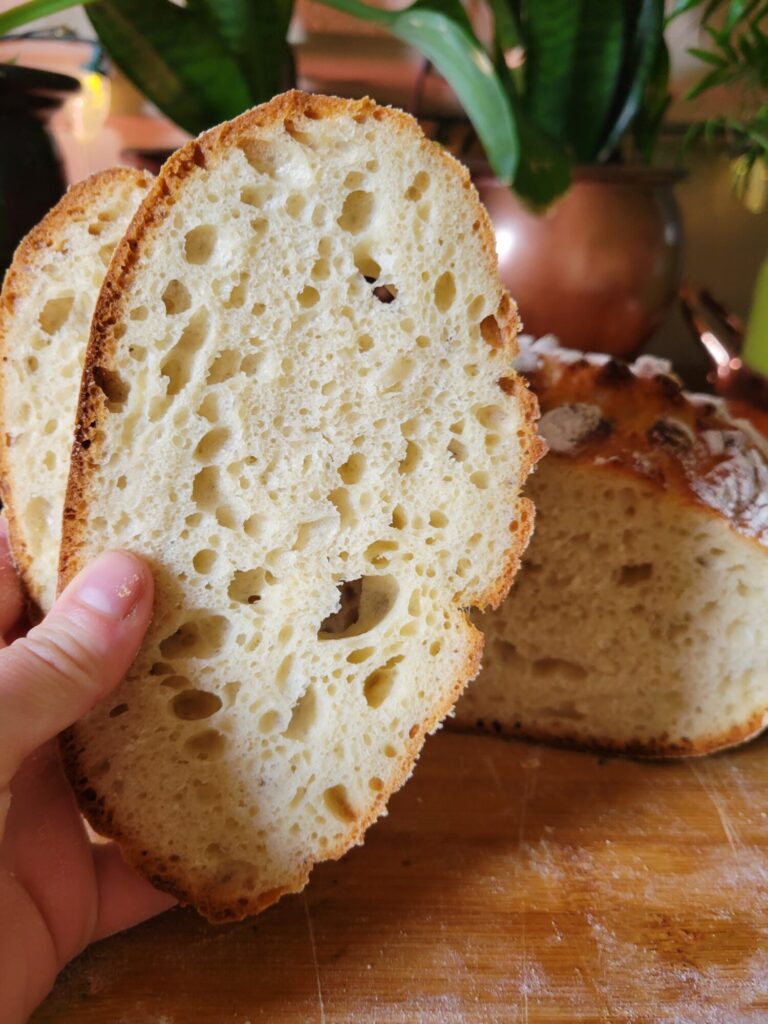
I'm not entirely sure what I did differently from the first time. But perhaps I can chalk it up to a greater amount of experience with bread attempt number two? Perhaps getting into a ball with less difficulty or simply getting a better proof? Either way, best bread yet!
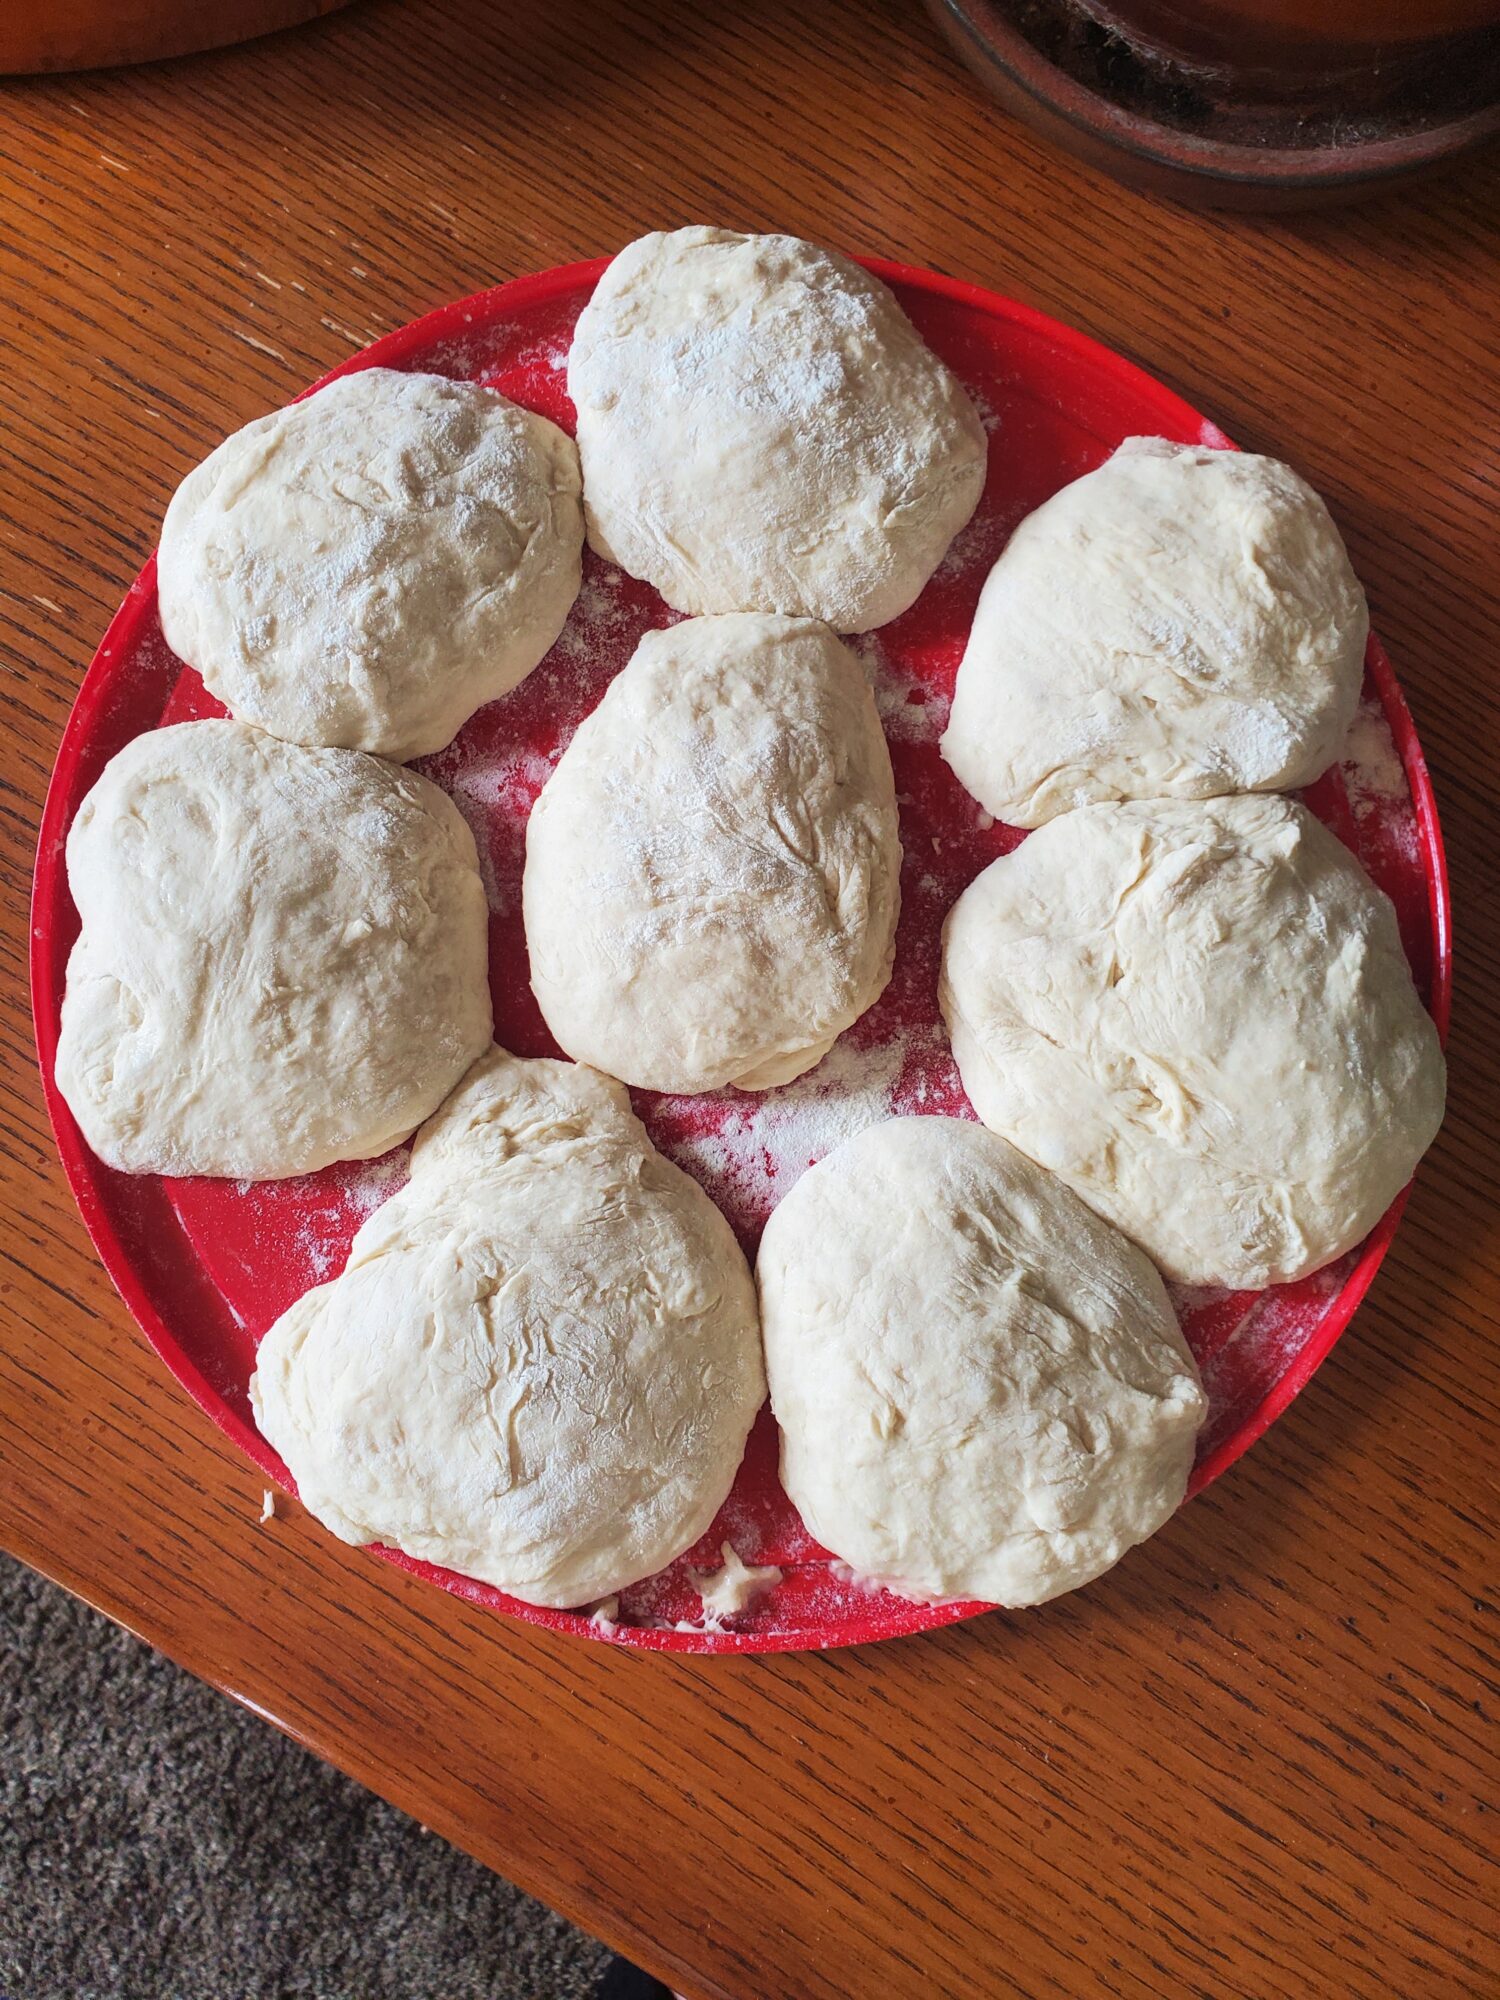
Third Try at Dutch Oven Rolls
For the third attempt, I wanted to see if I could make rolls. The idea was something in between a dinner roll and a Brioche. Only with less butter... and less complicated! If no-knead Dutch oven bread is the only thing that I can currently make successfully, I'm damn well going to see if I can make it in any other shapes! And I do have a wide and shallow Dutch oven, so I figured why not?
And it turned out well! I kneaded the bread a little too much trying to get them into roll shapes and probably should have done a second rise after that. But it definitely worked! It also all cooked together, much like pull-apart dinner rolls. Which was quite funny because it all came out of the oven in one piece, like some giant bread sun crown! But I'm definitely calling this a win and some burgers may be in order...
Fourth Try
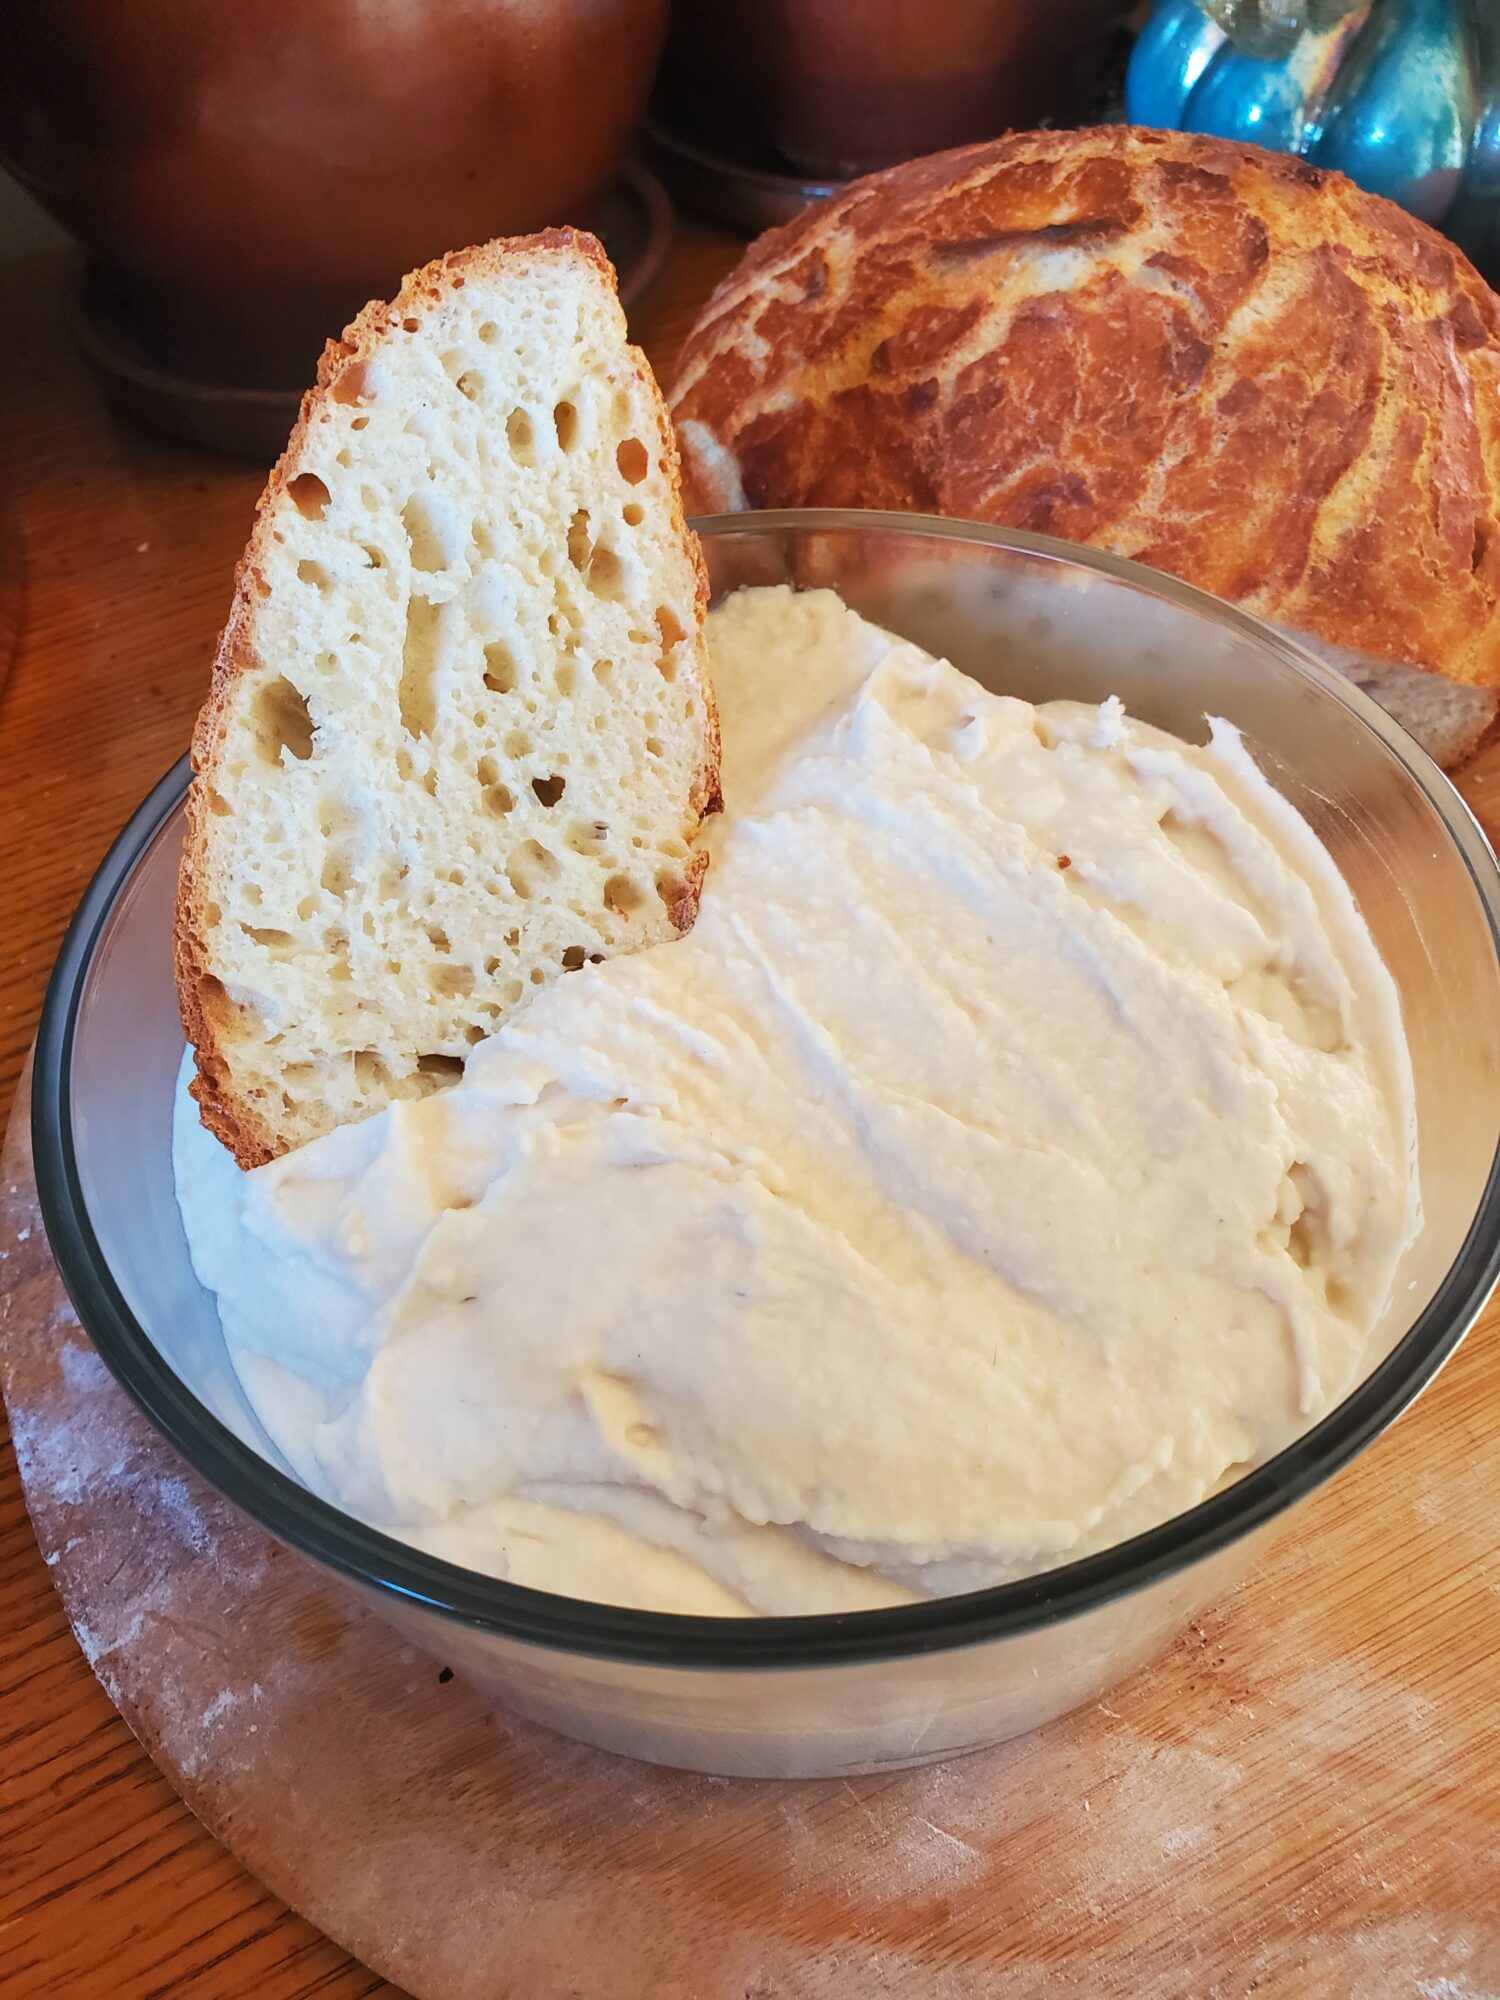
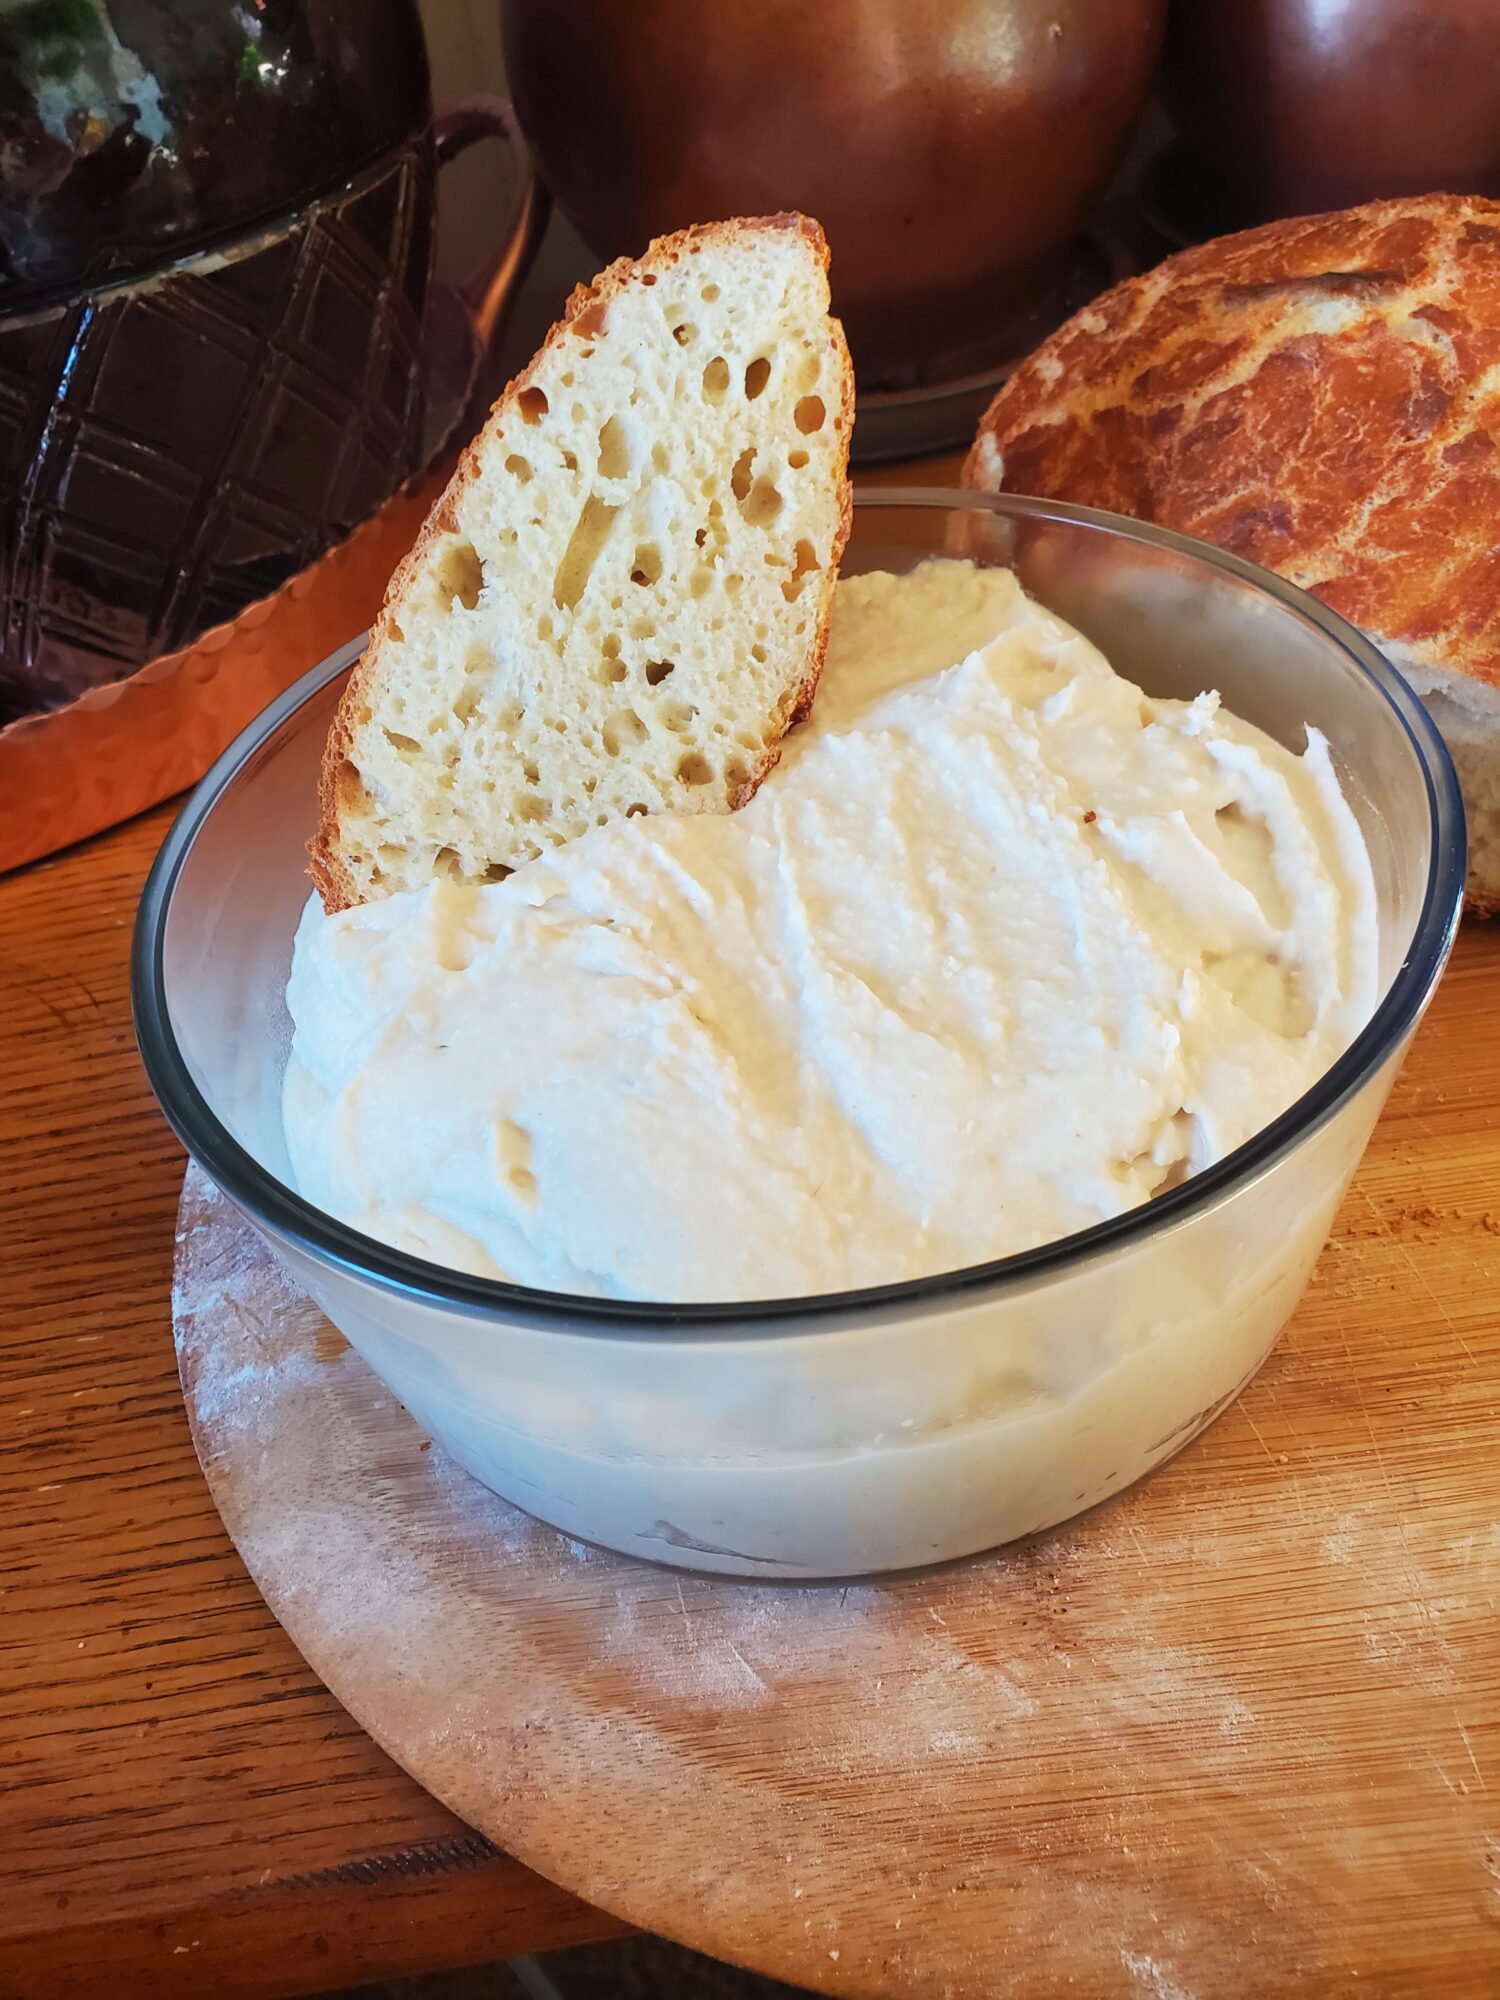
Since my second attempt was by far the best attempt, I wanted to see if I could replicate the perfect airiness in the center! I think that I am just balling it too much before tossing it into the Dutch Oven and am accidentally pushing out too much of the air pockets. So, this one I barely touched and just plopped in! And it worked pretty well for just winging it! It's still not quite as airy as the second attempt, but very good loaf of bread!
I also made this loaf of bread to go along with White Bean Hummus. Which was quite the delicious combination!
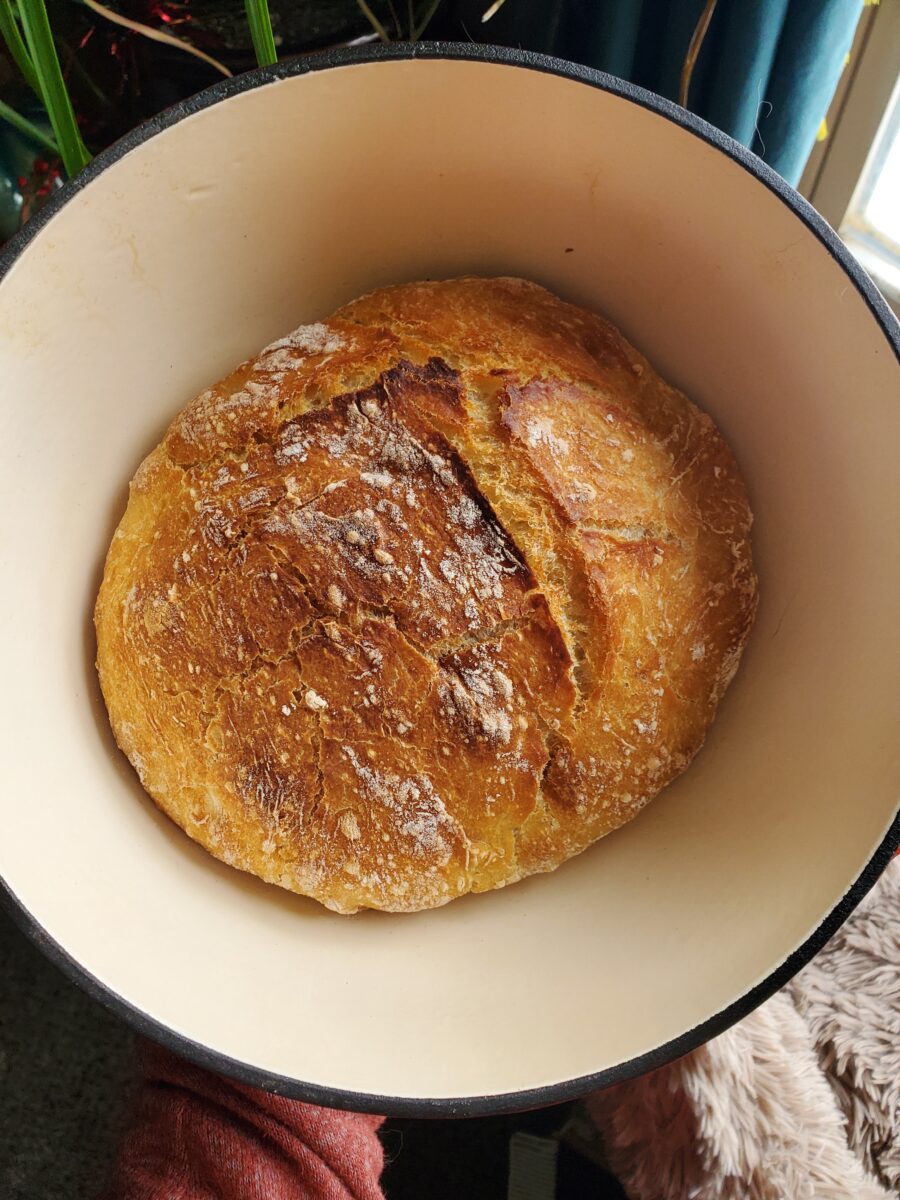
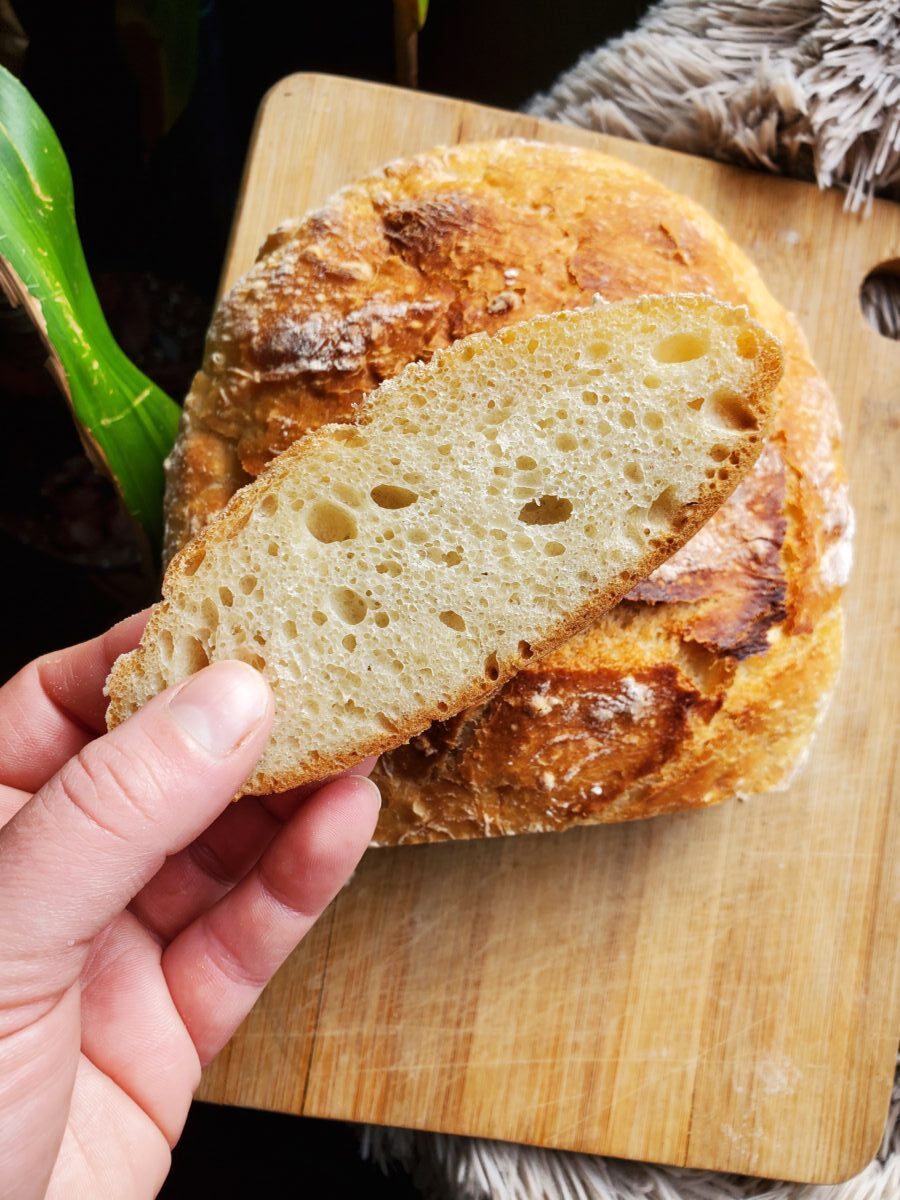
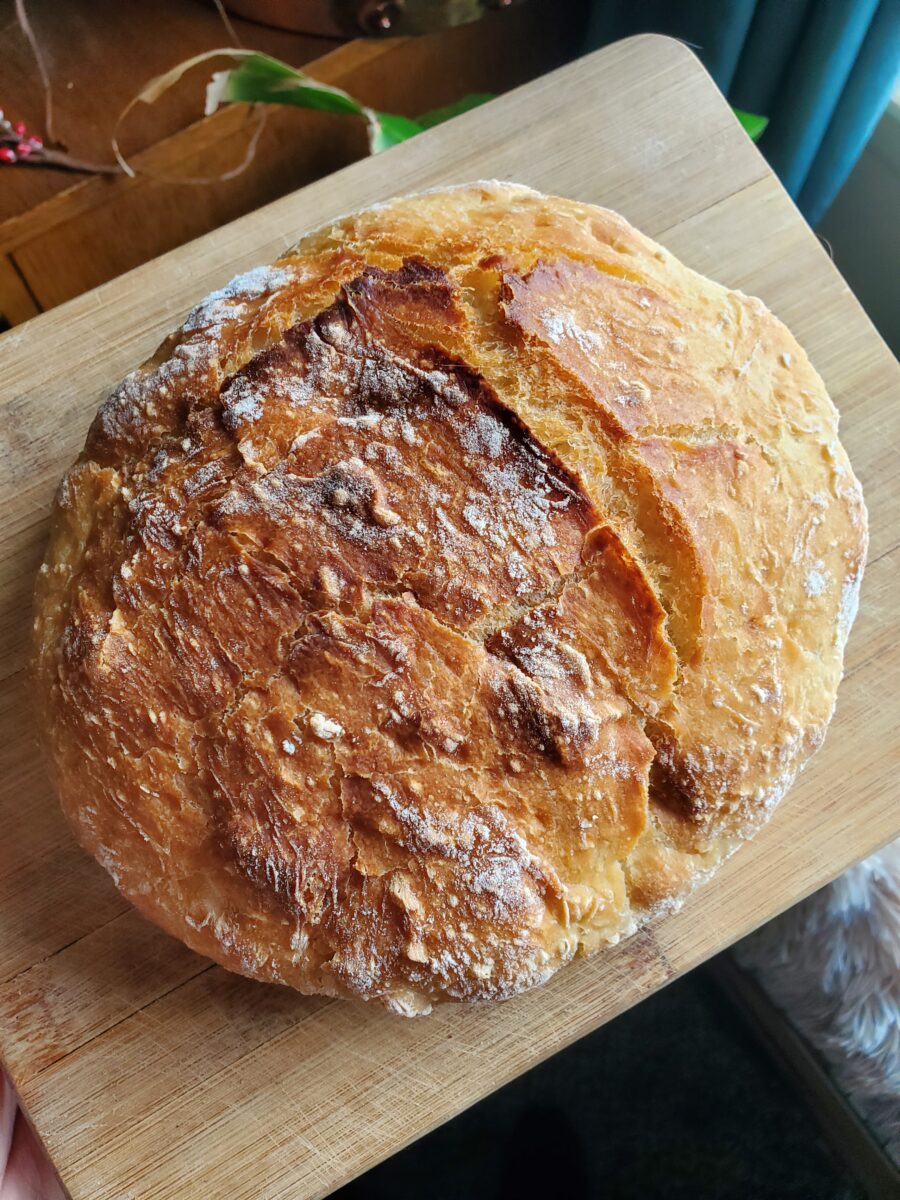
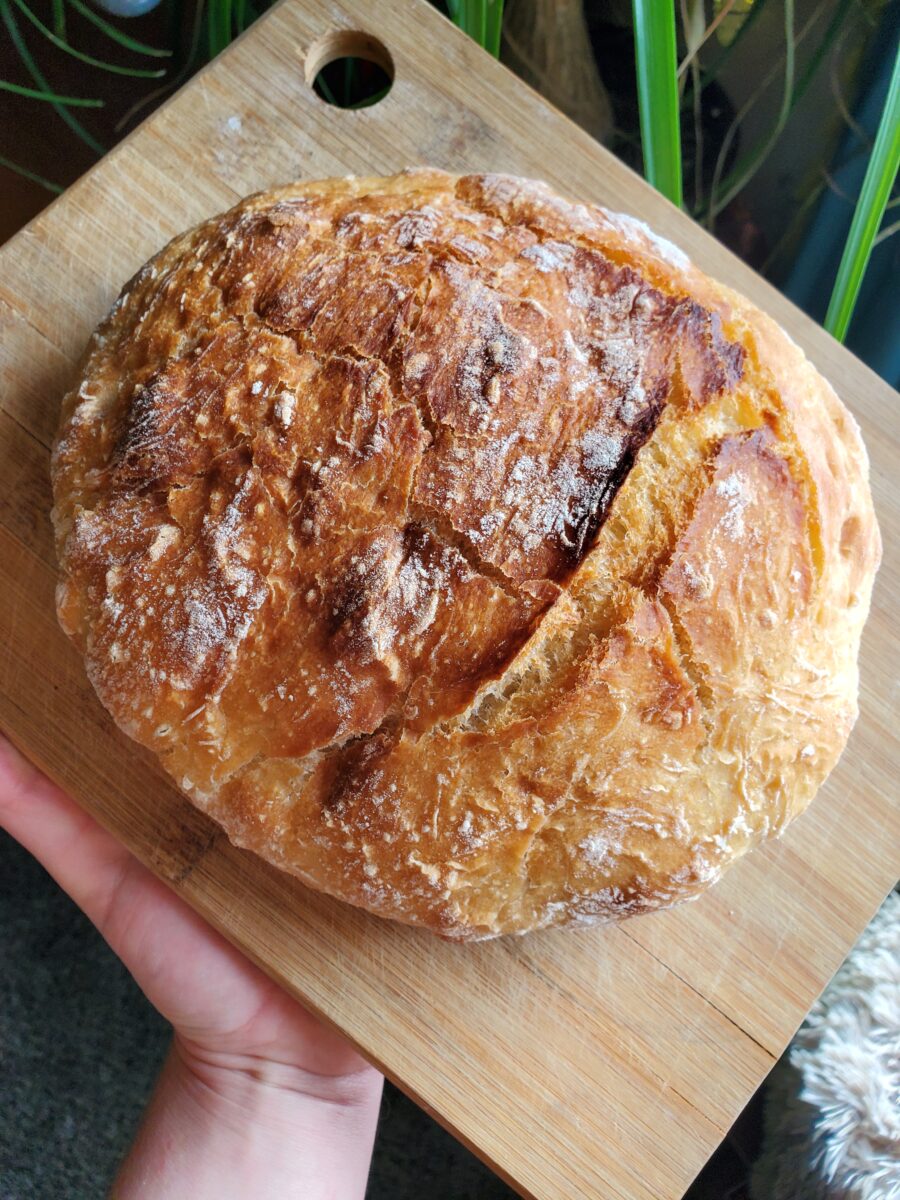
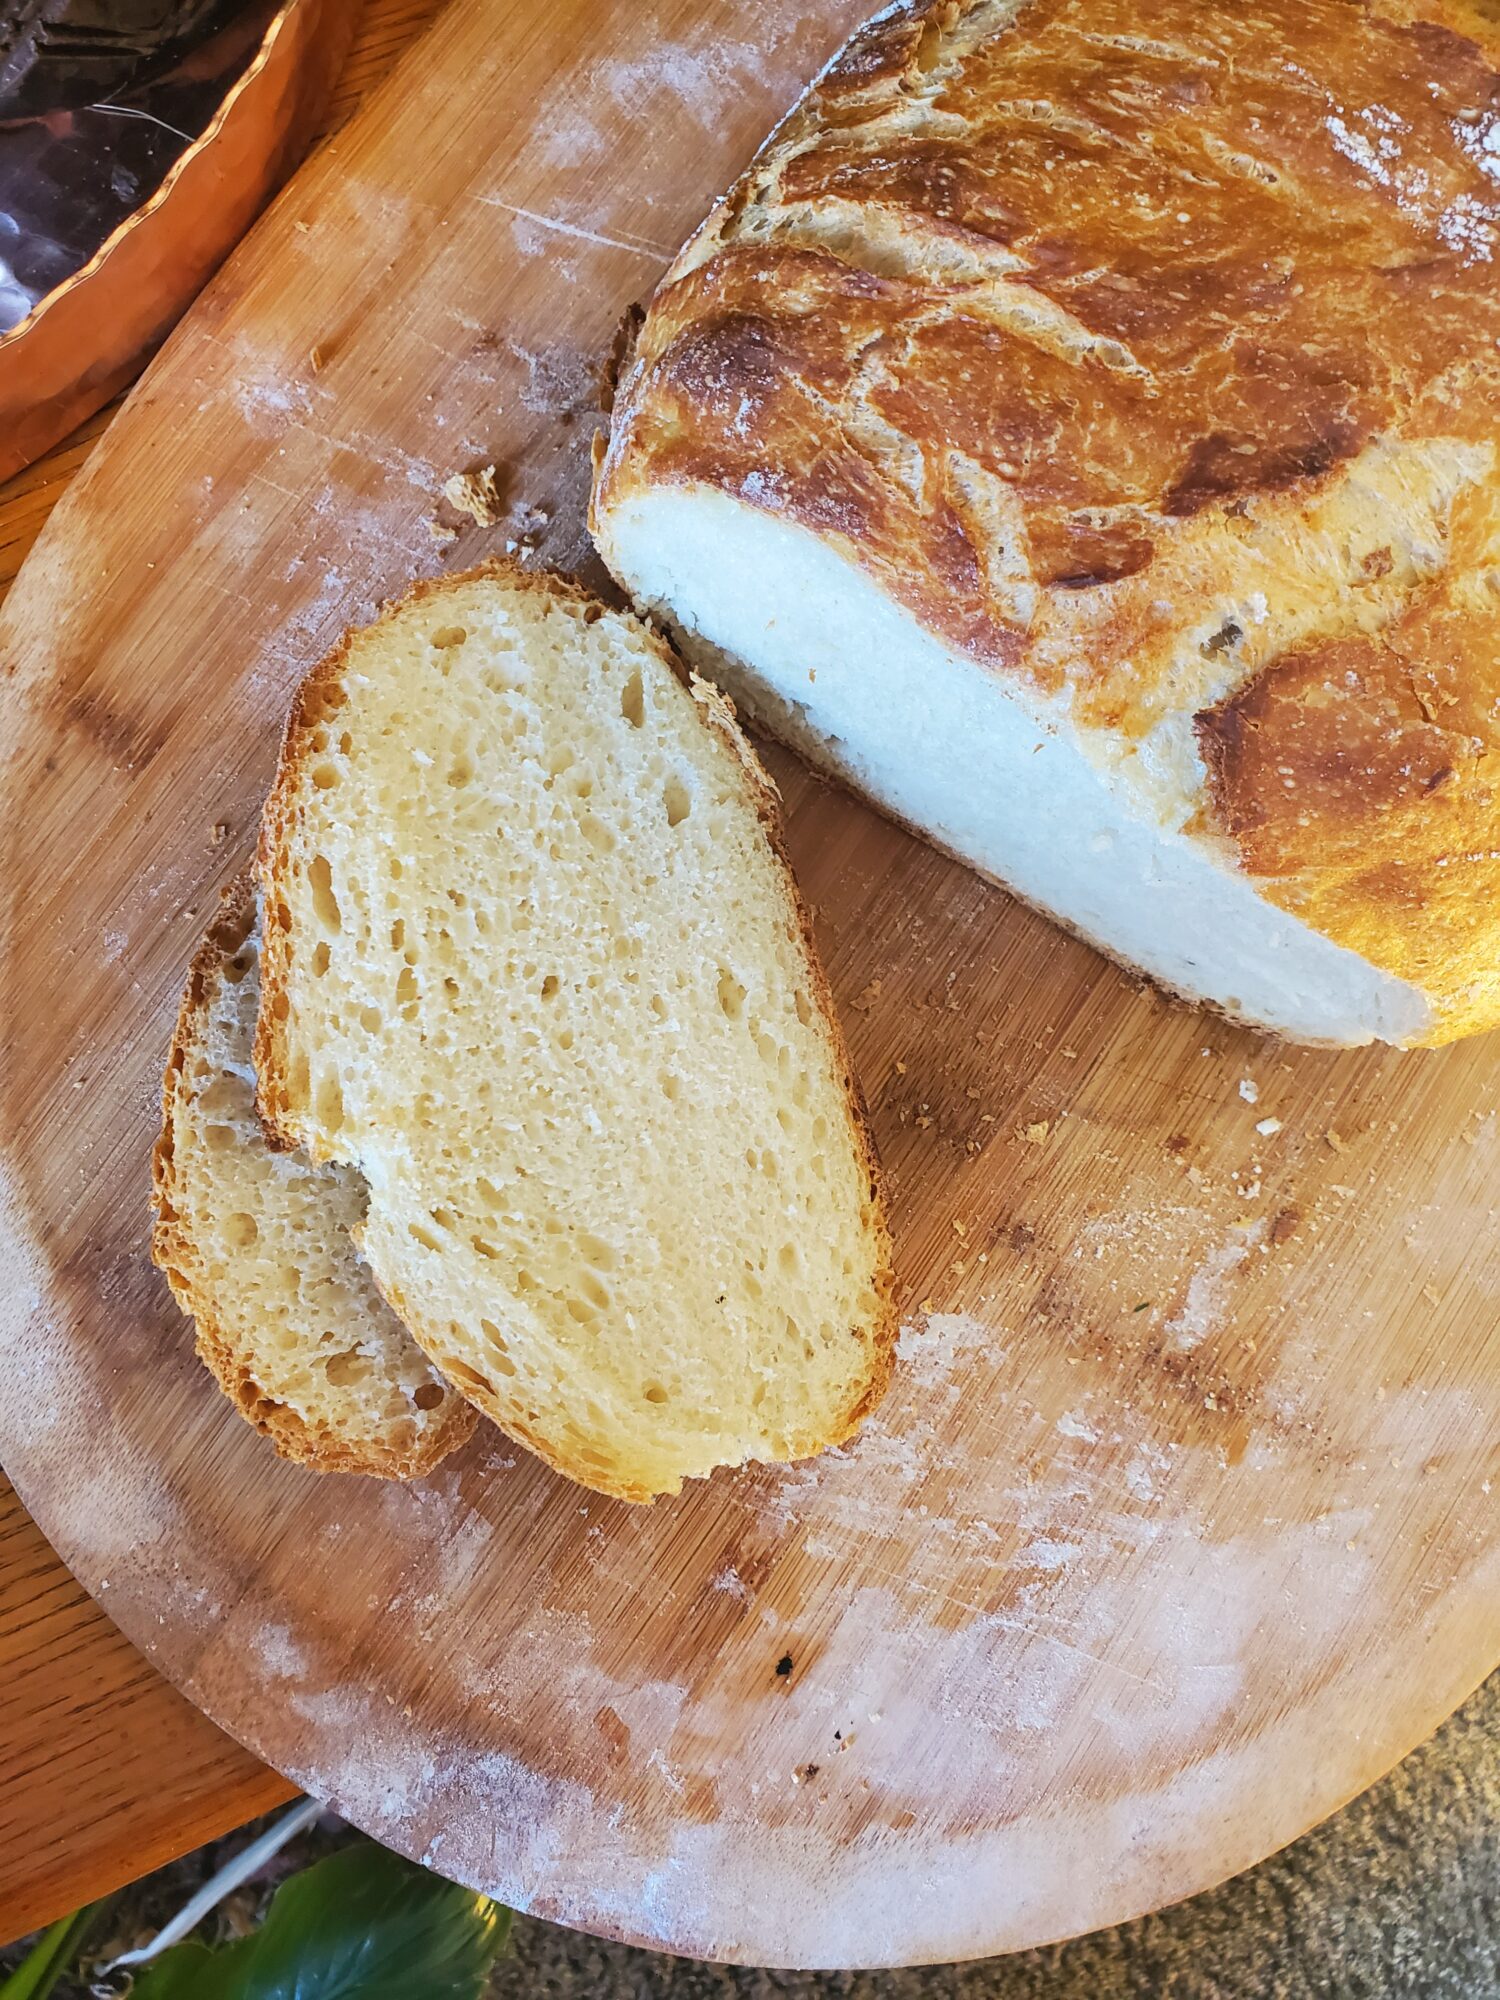
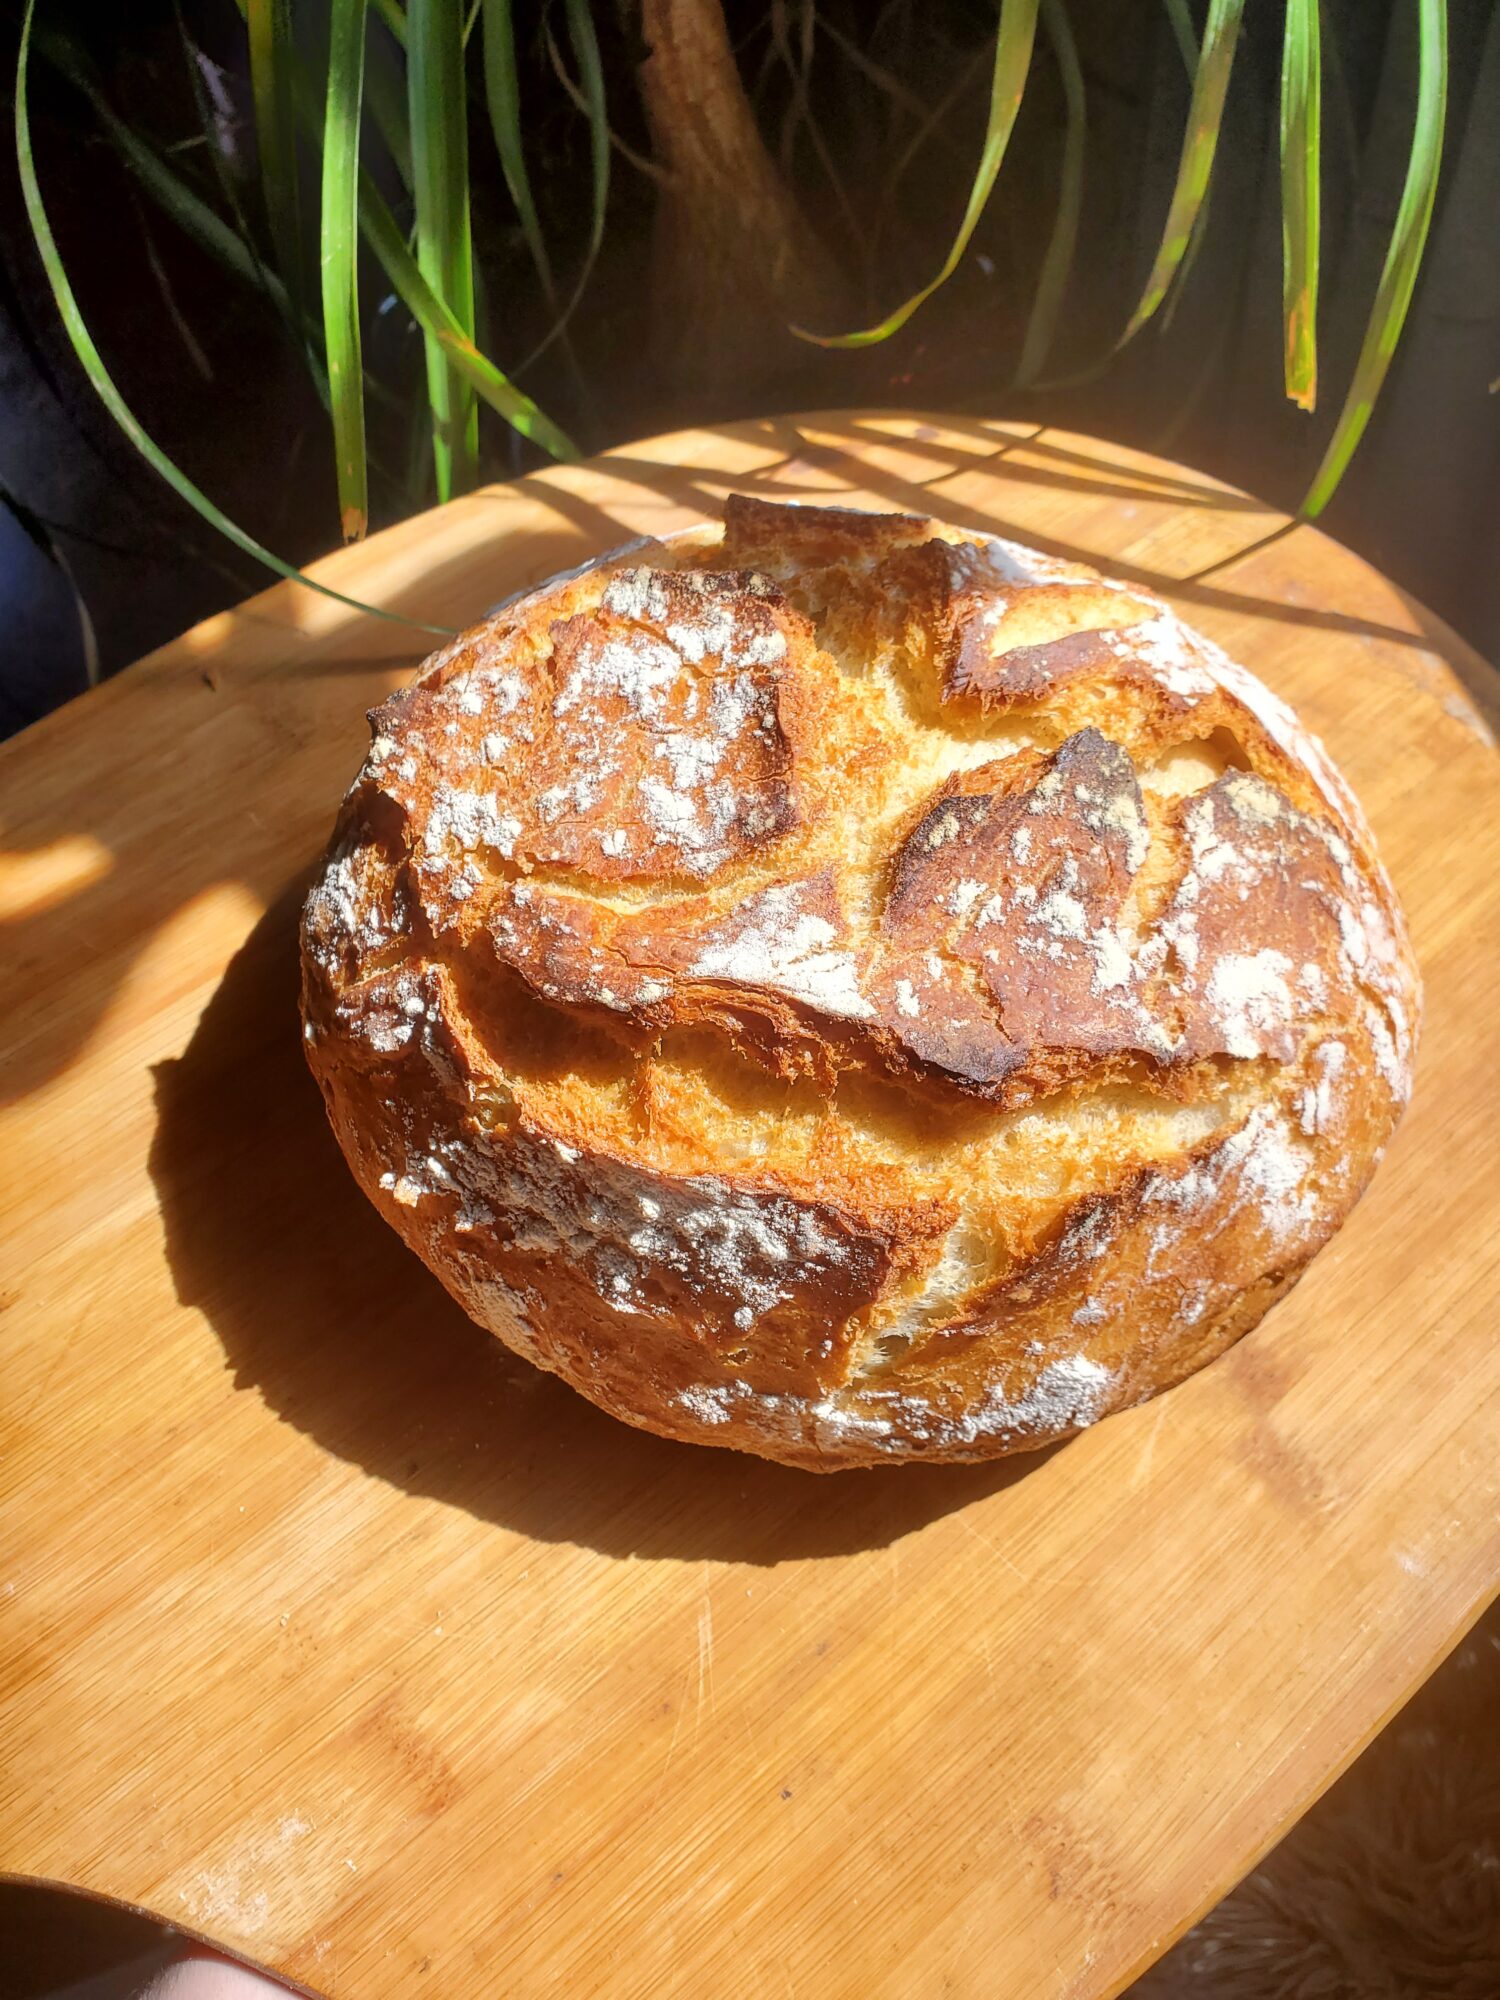
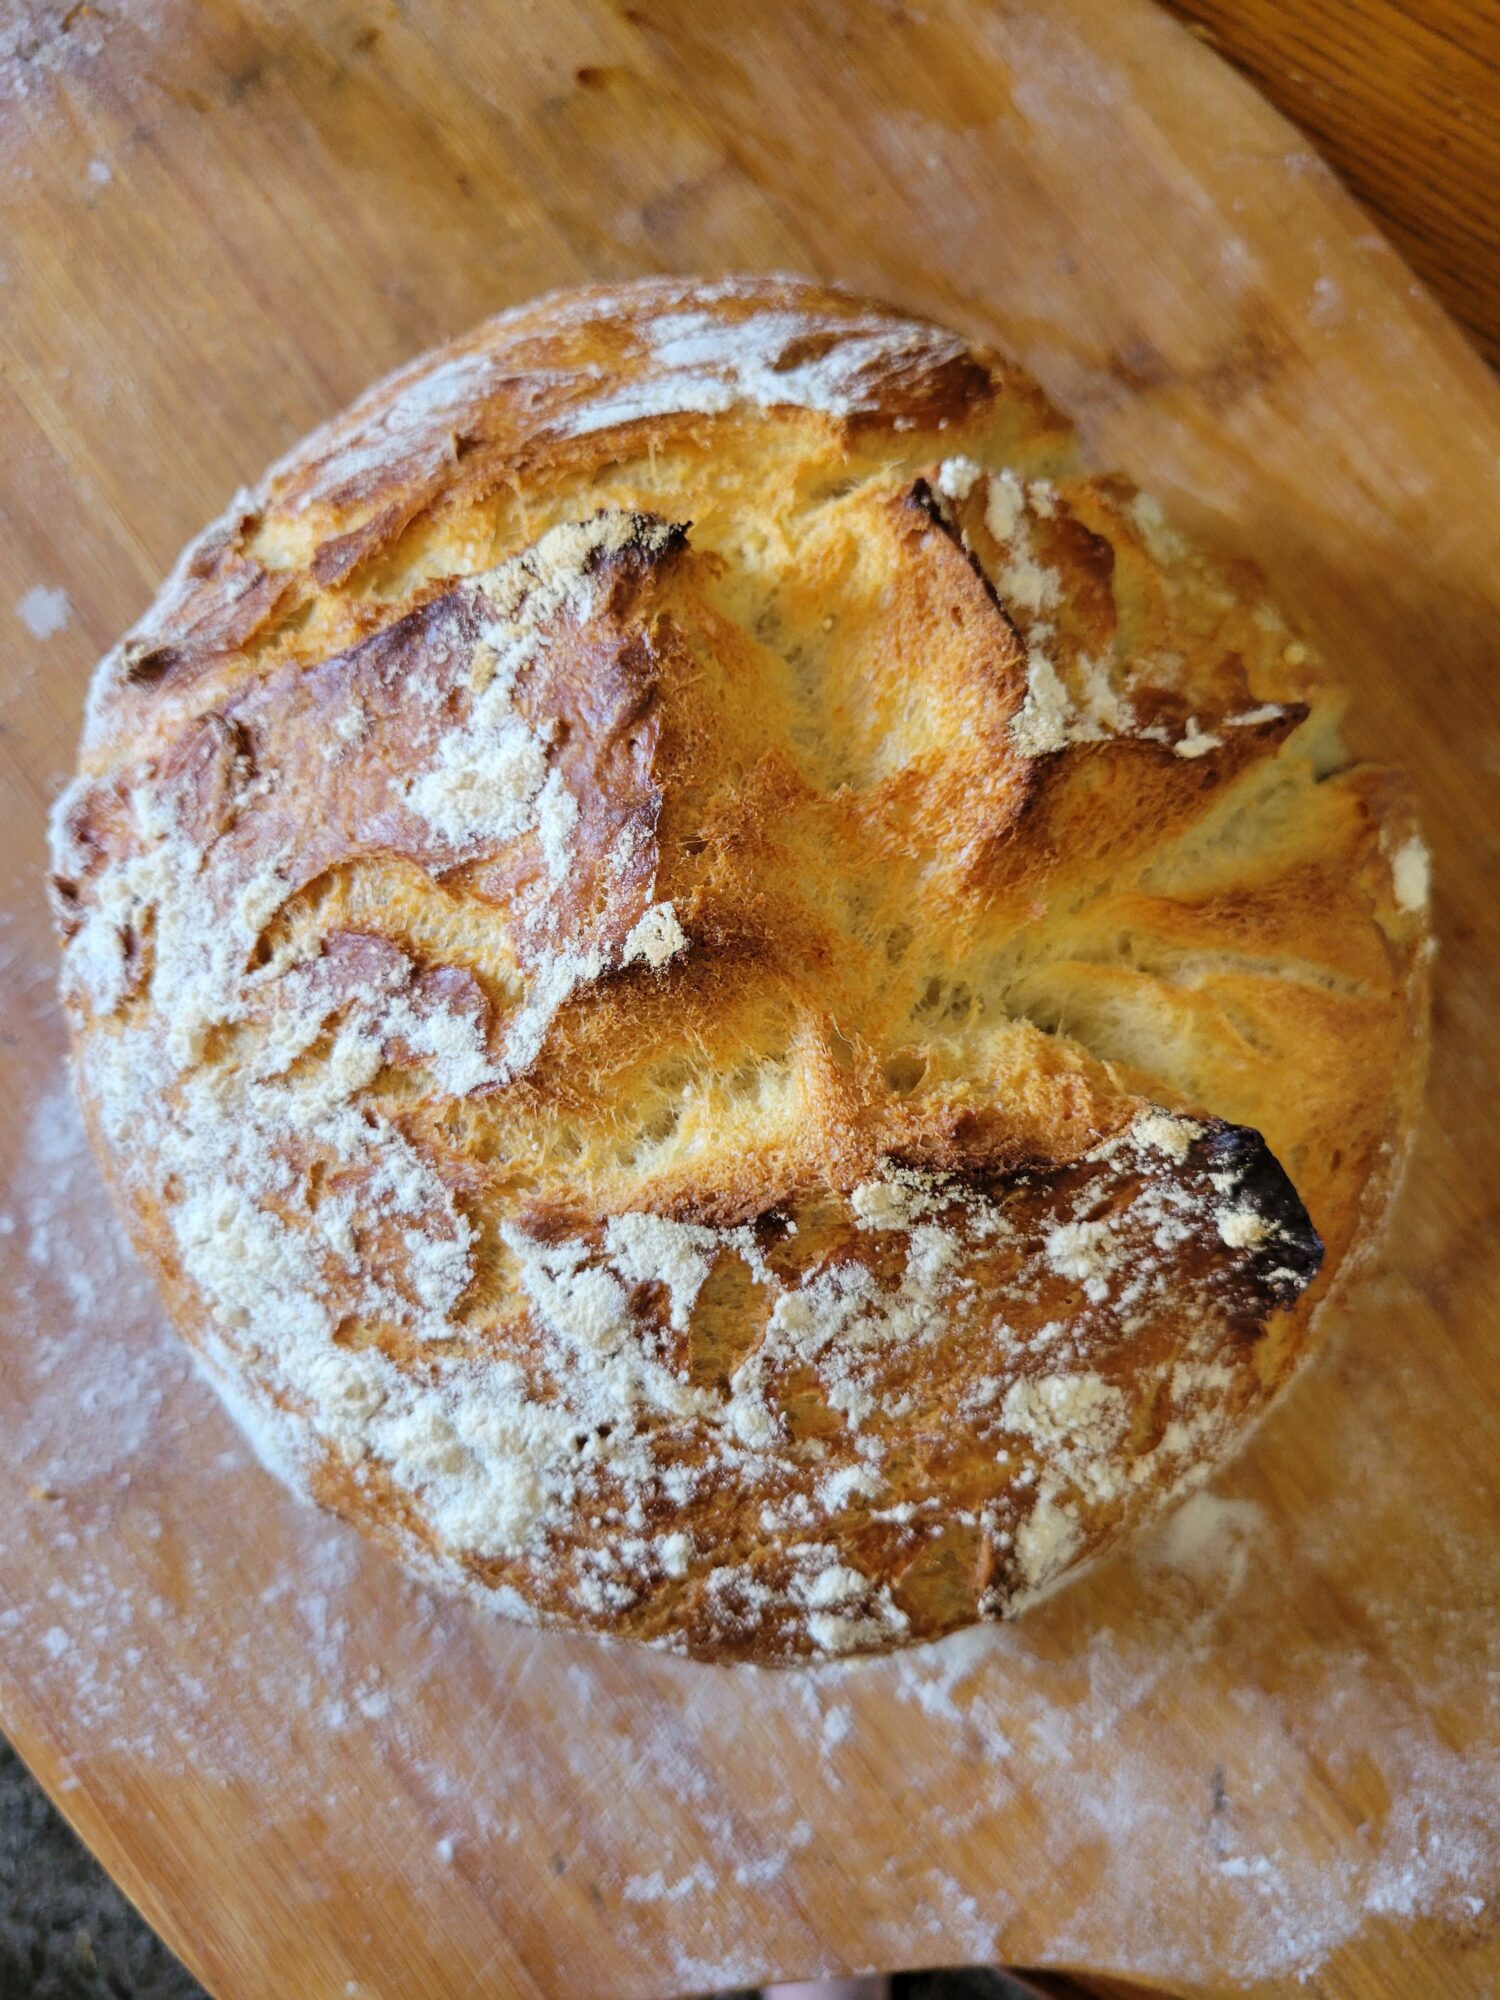
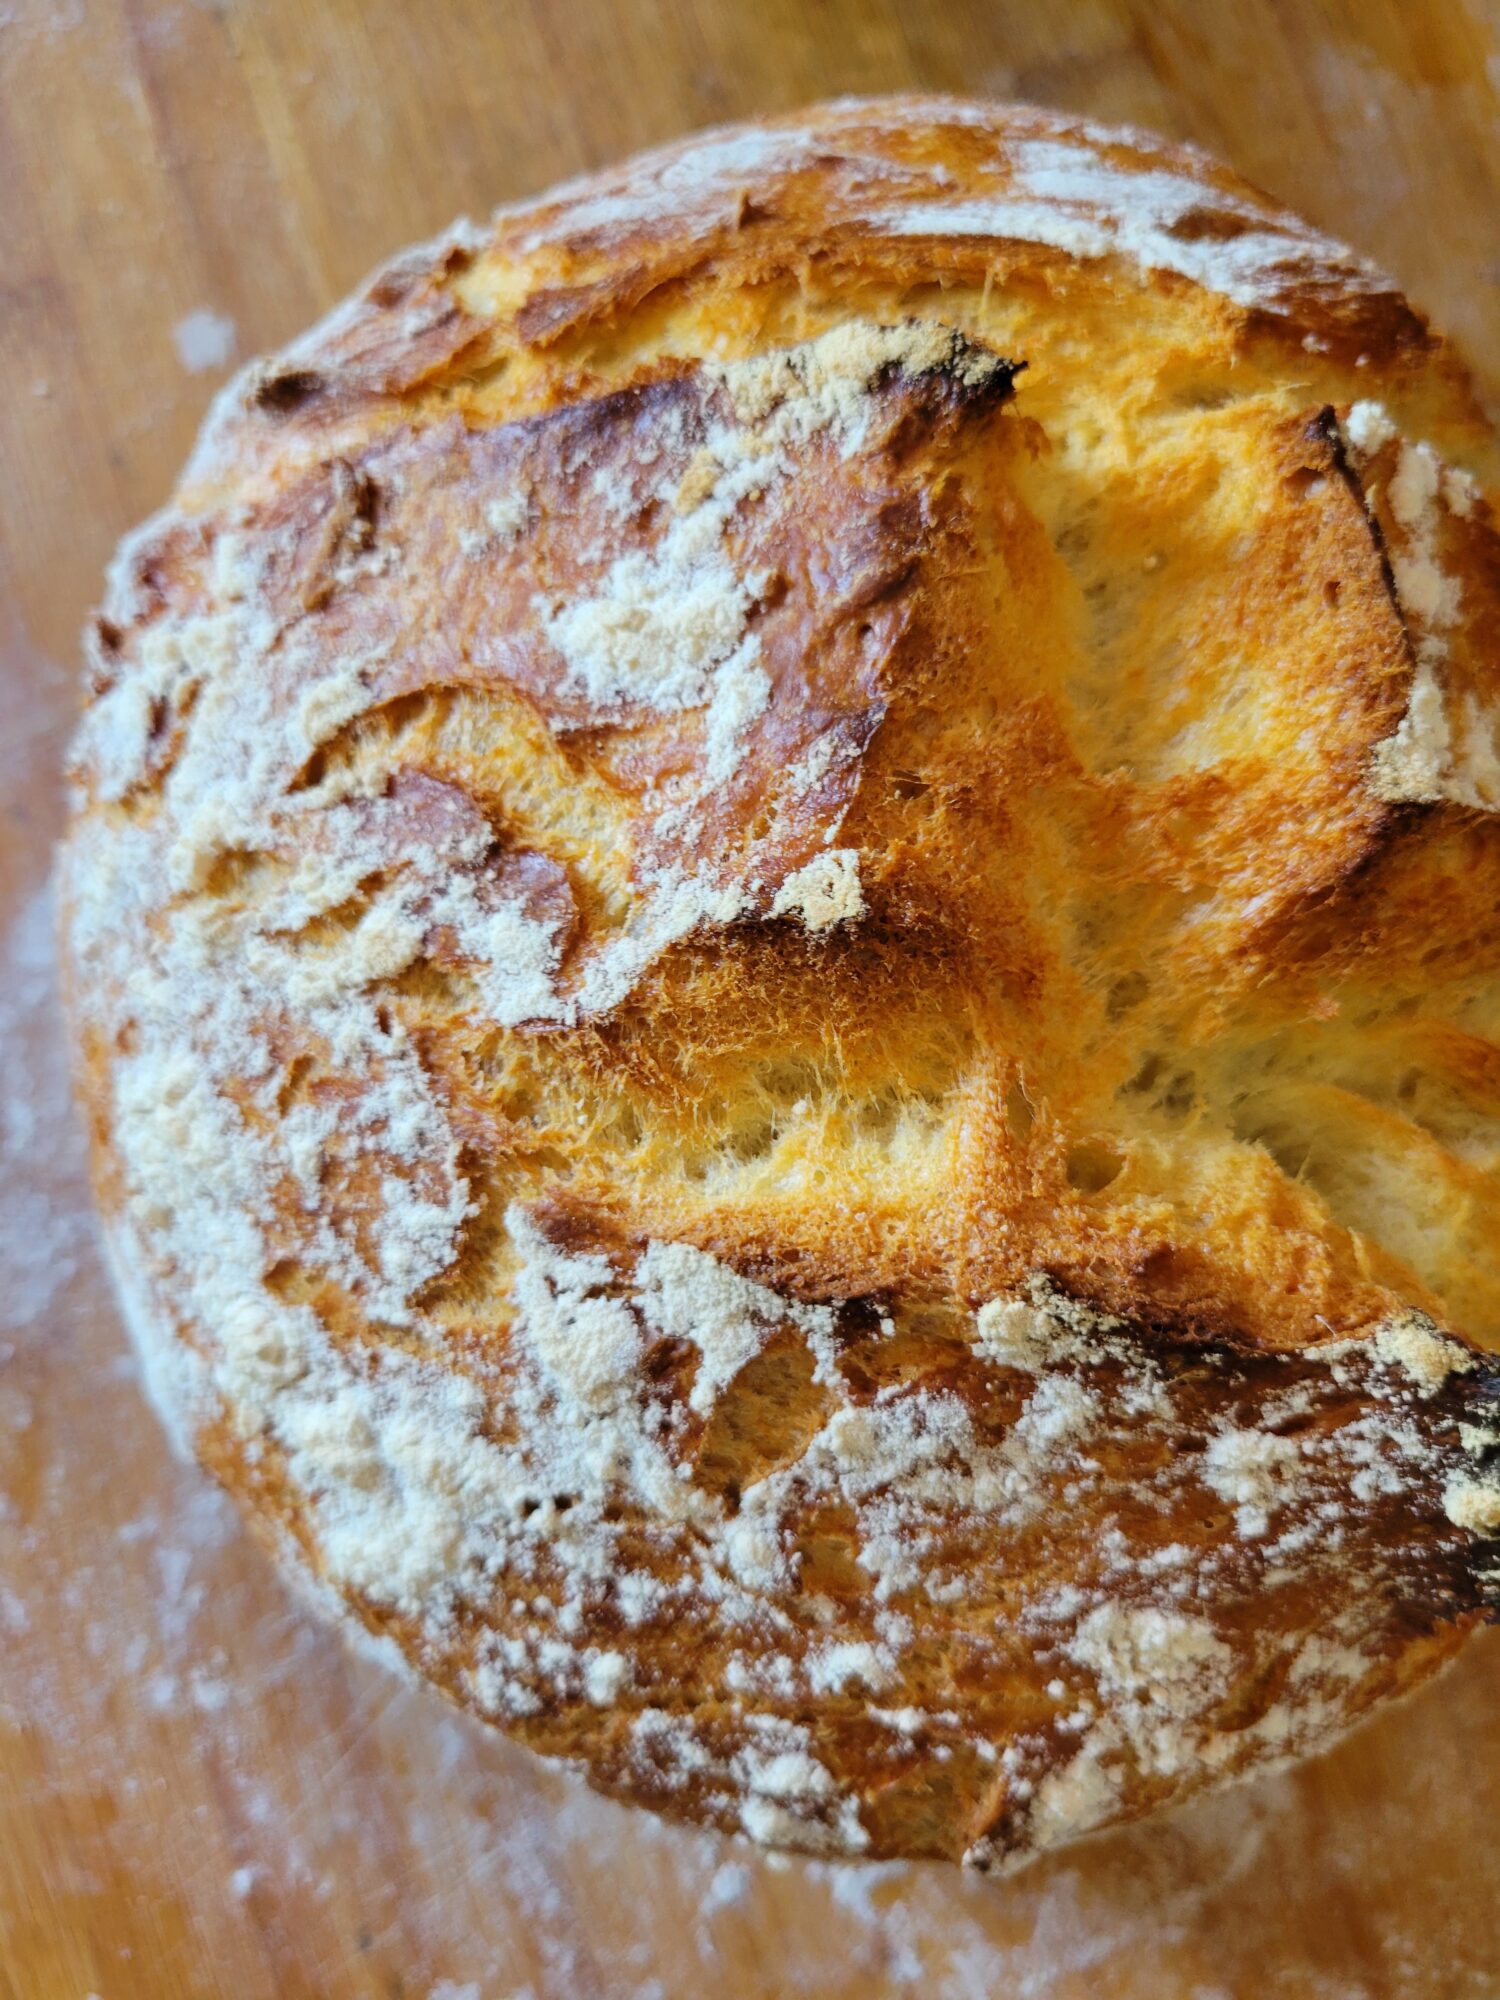
Fifth Try at Dutch Oven Bread
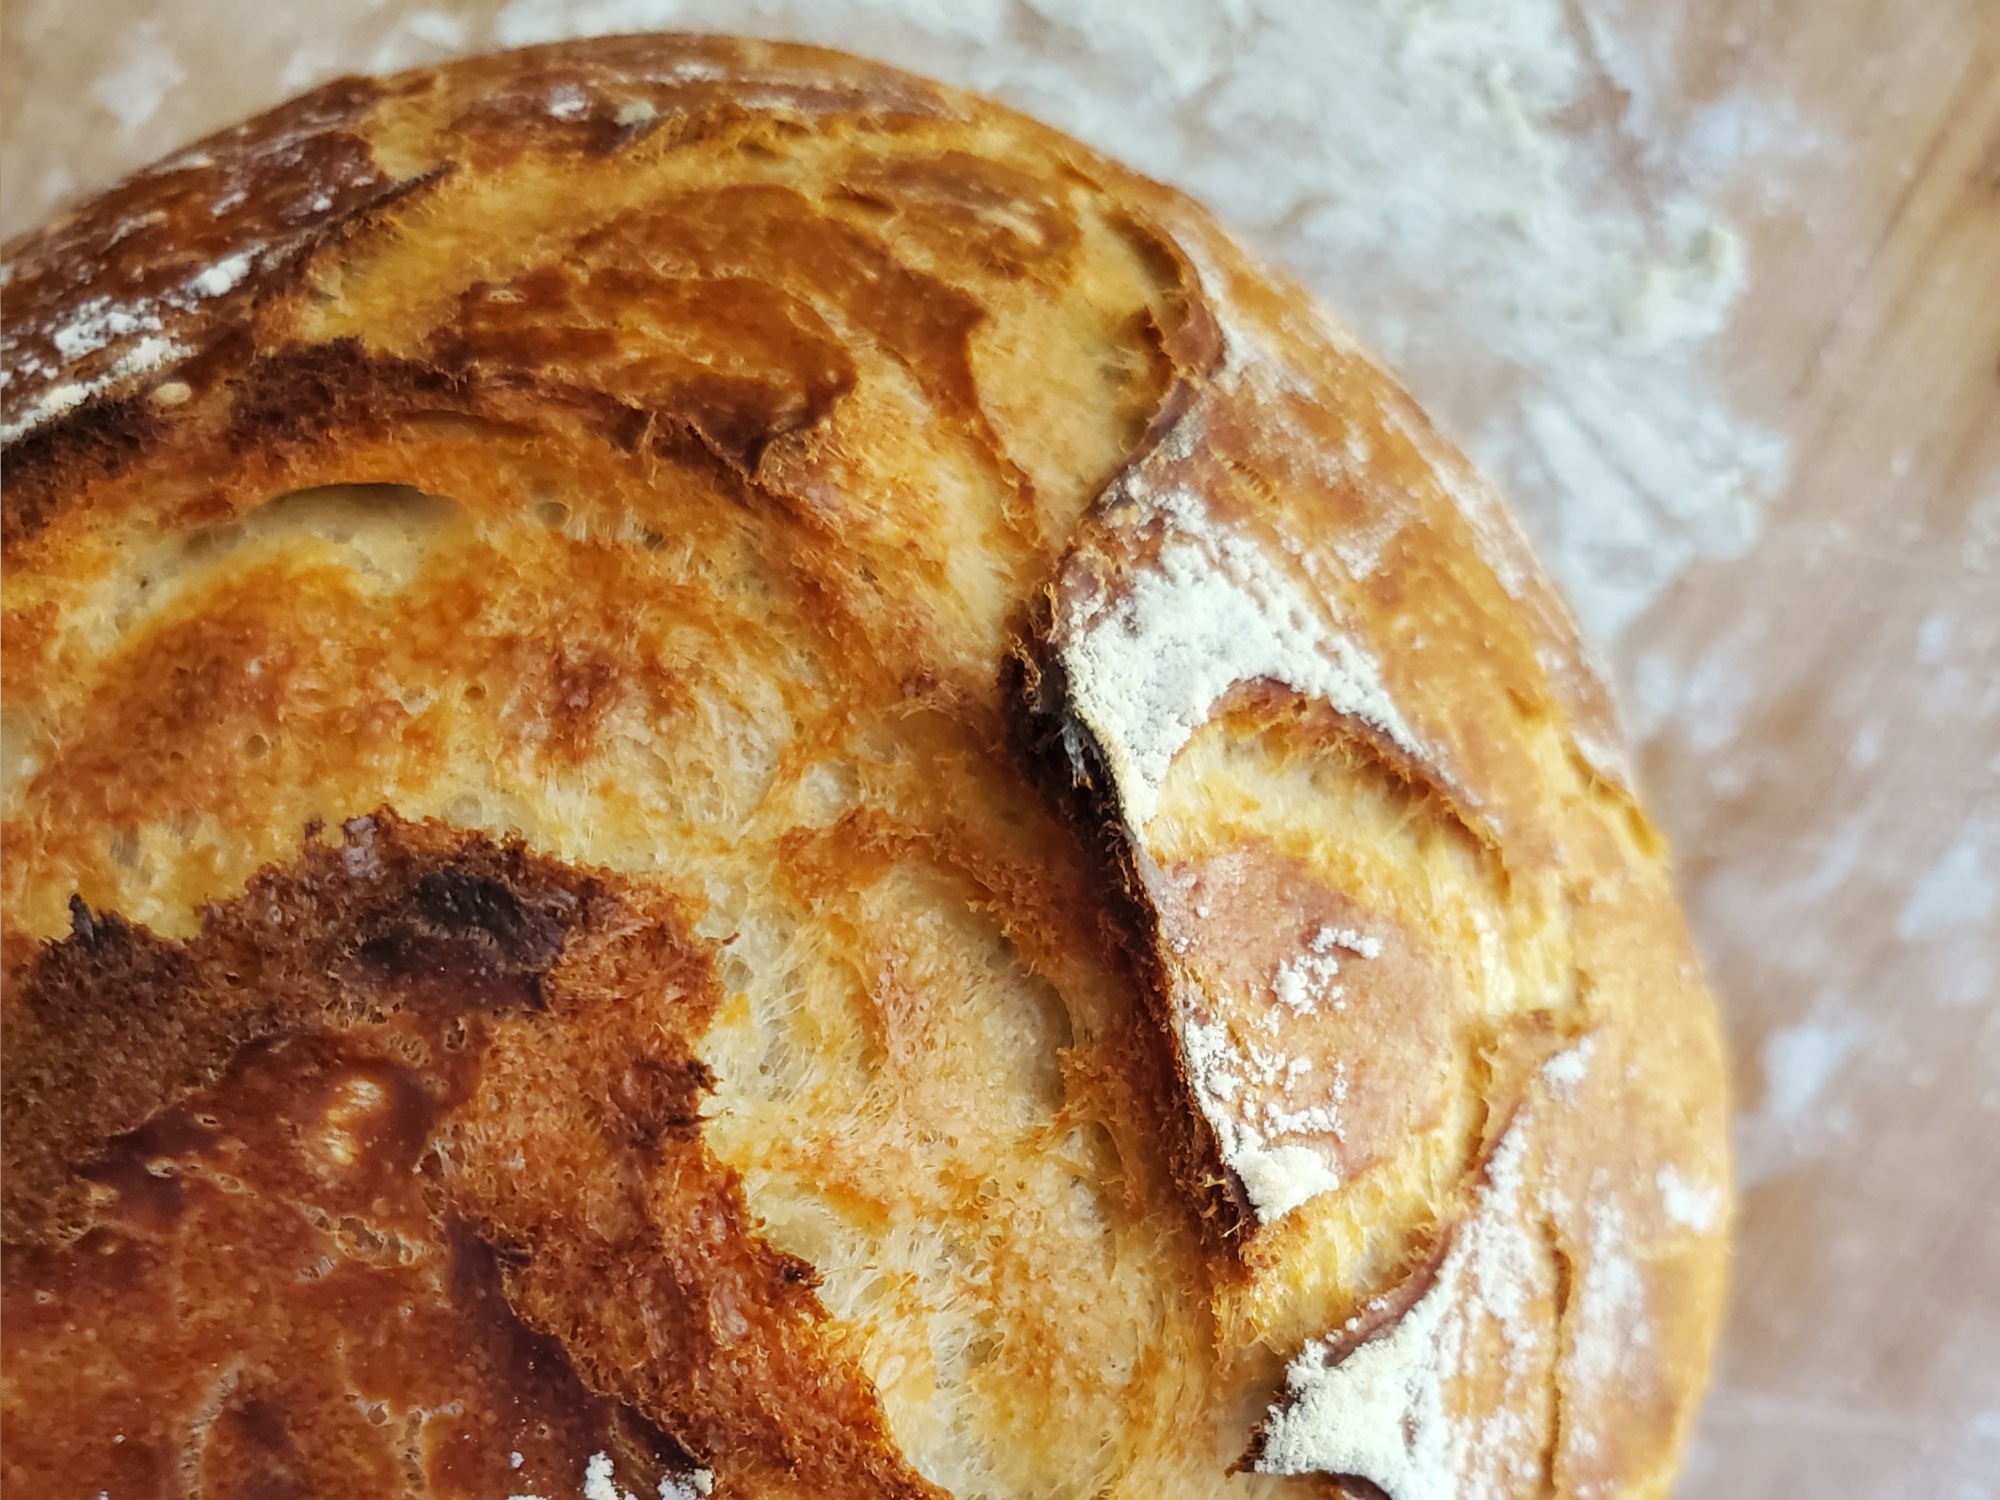
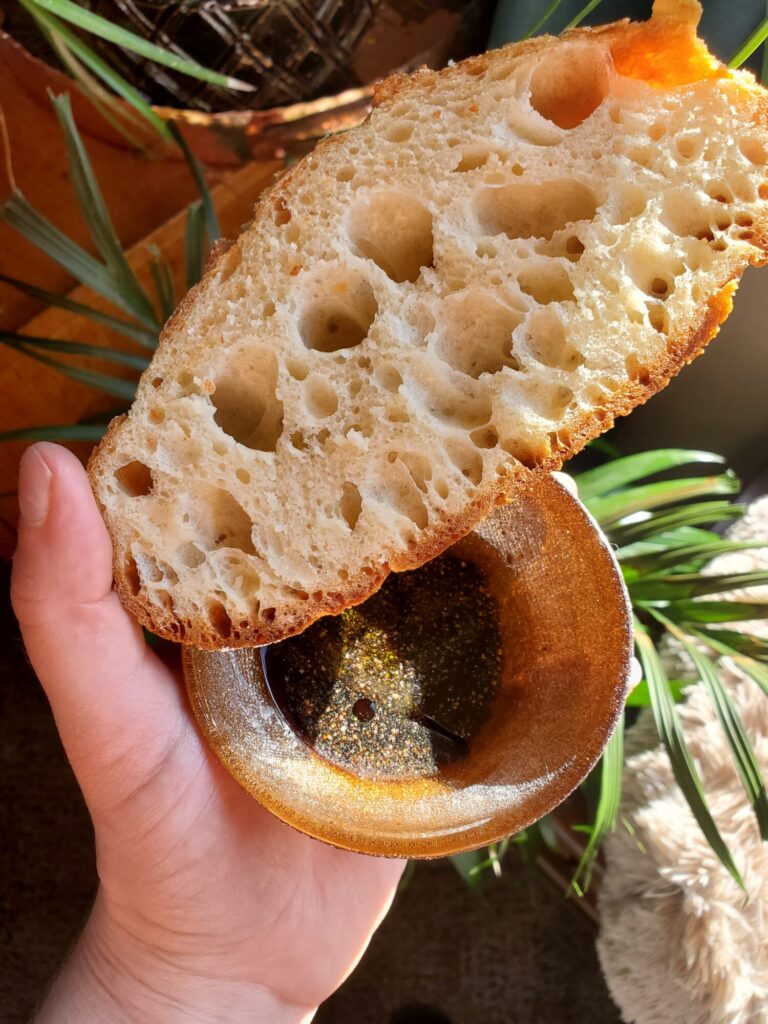
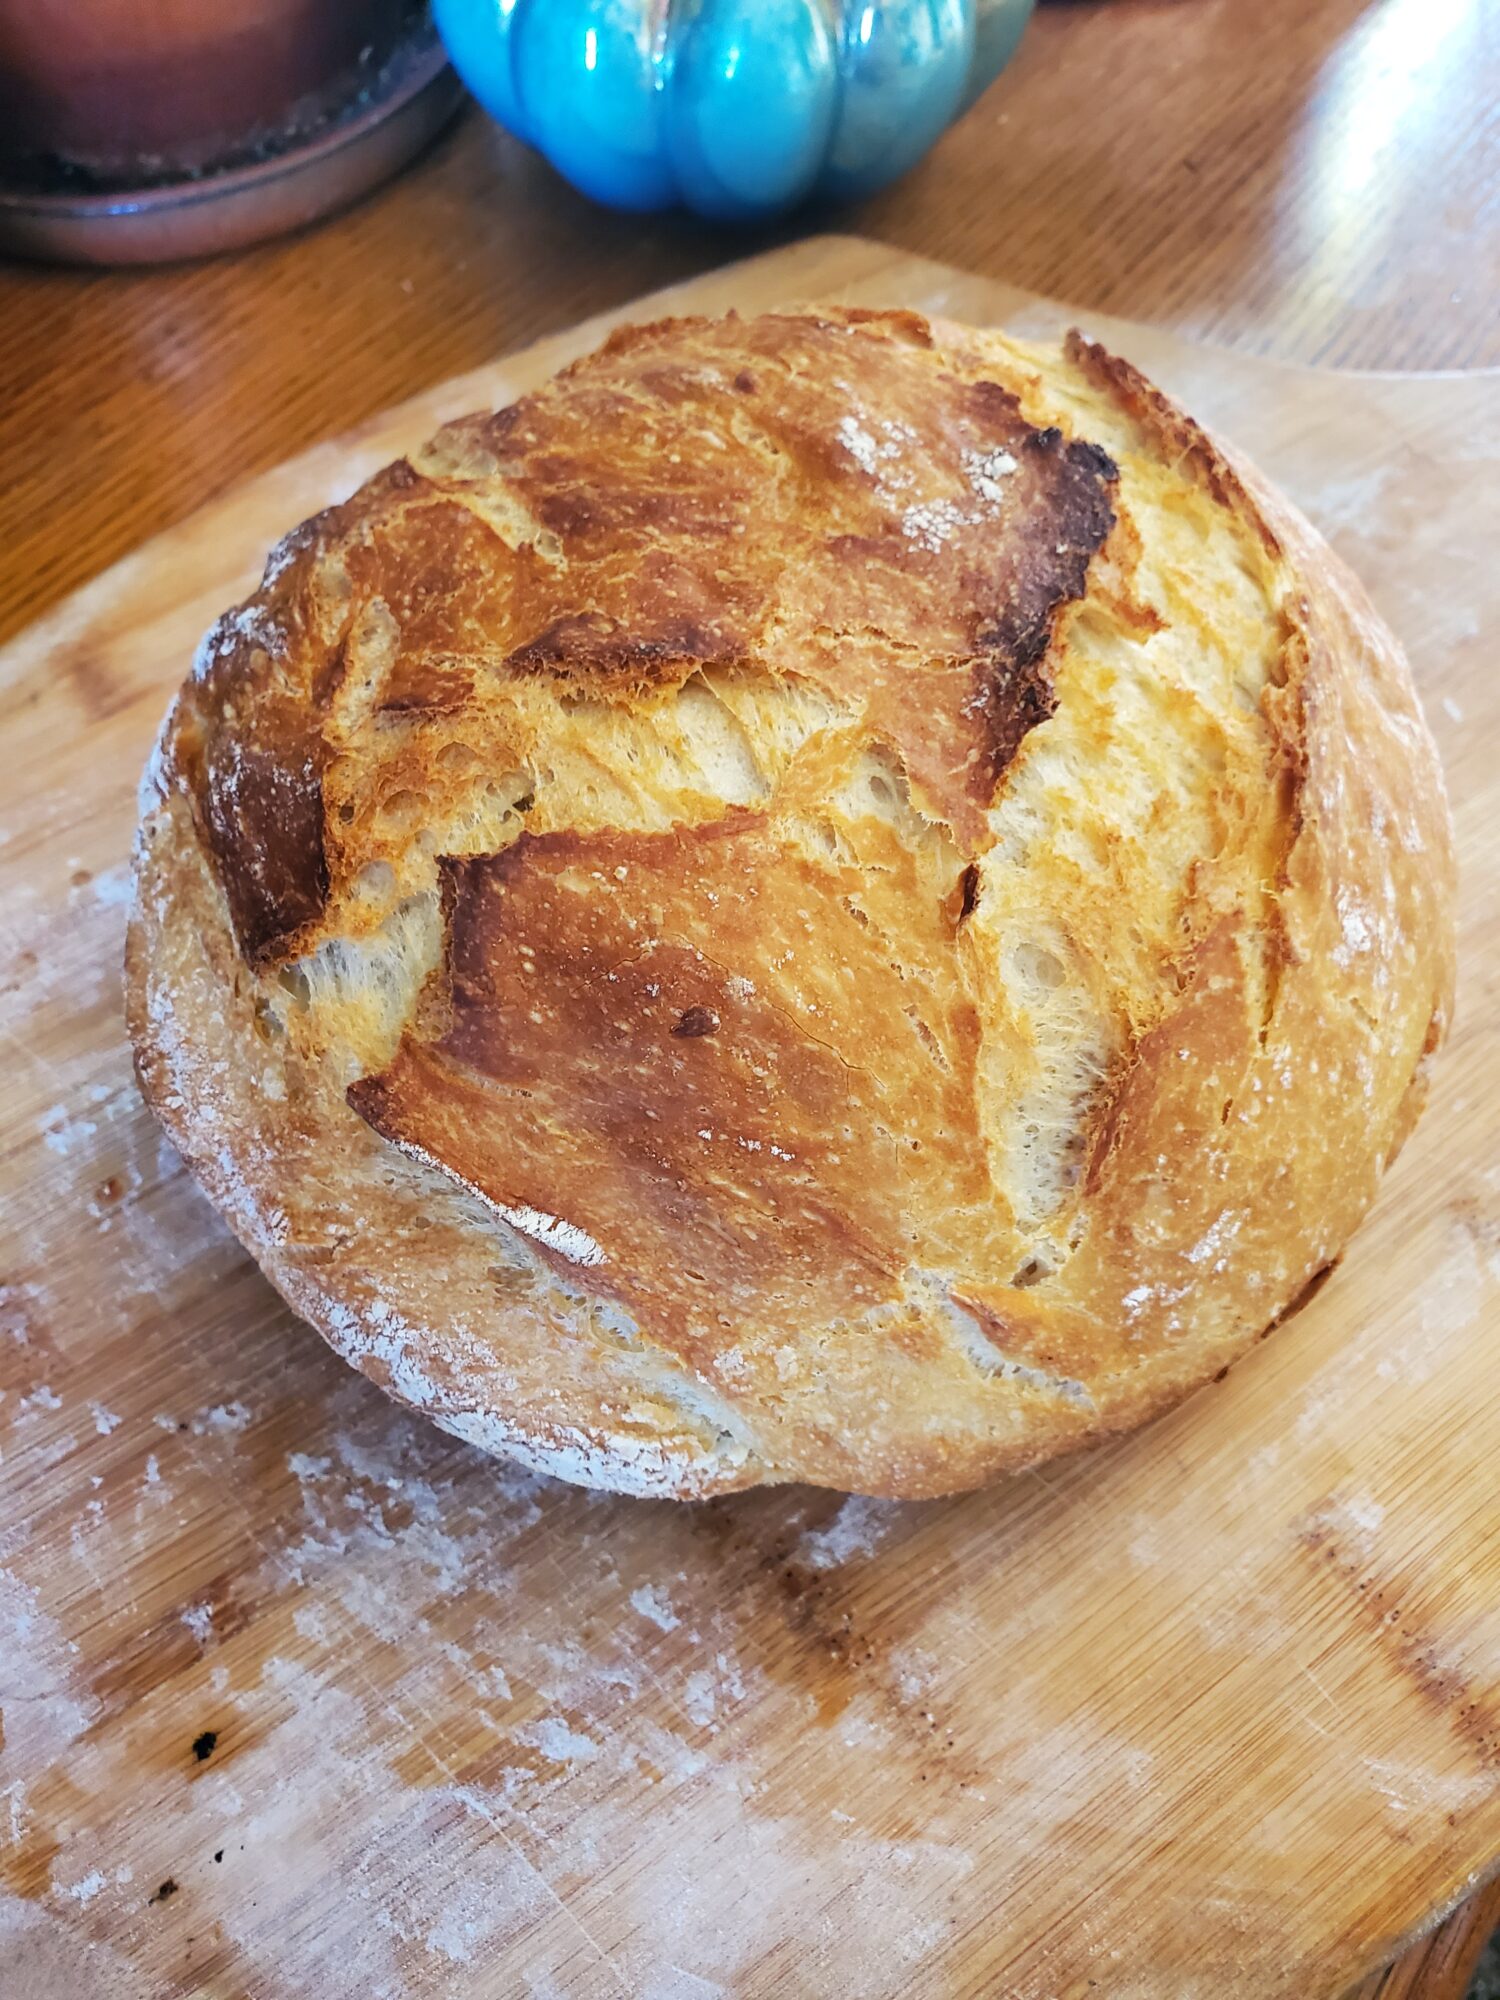
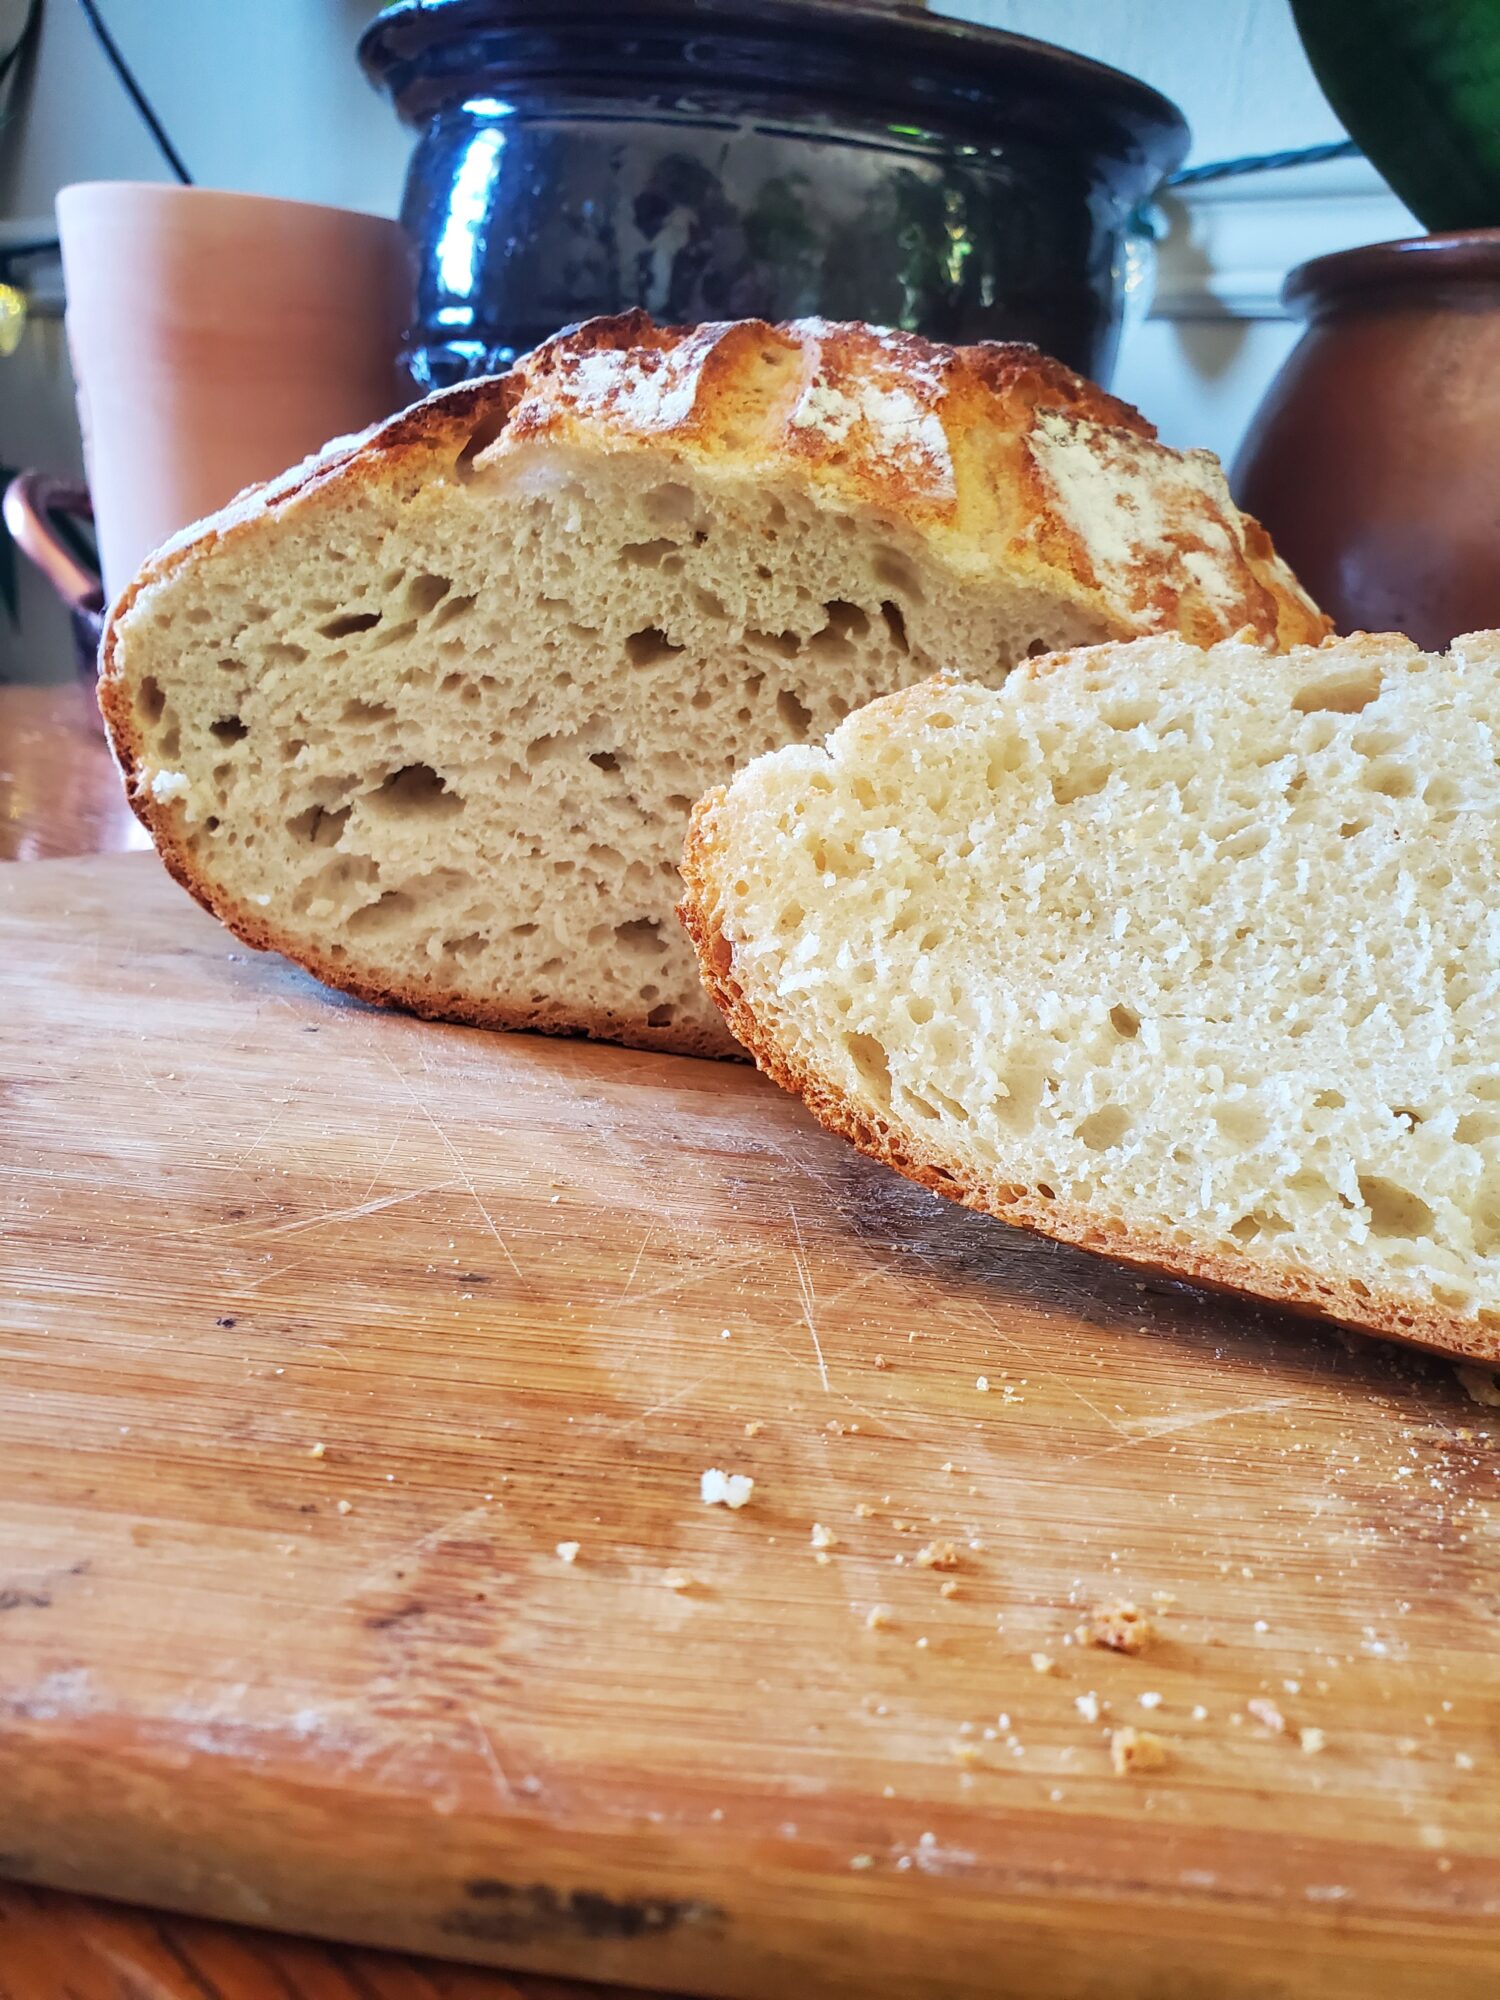
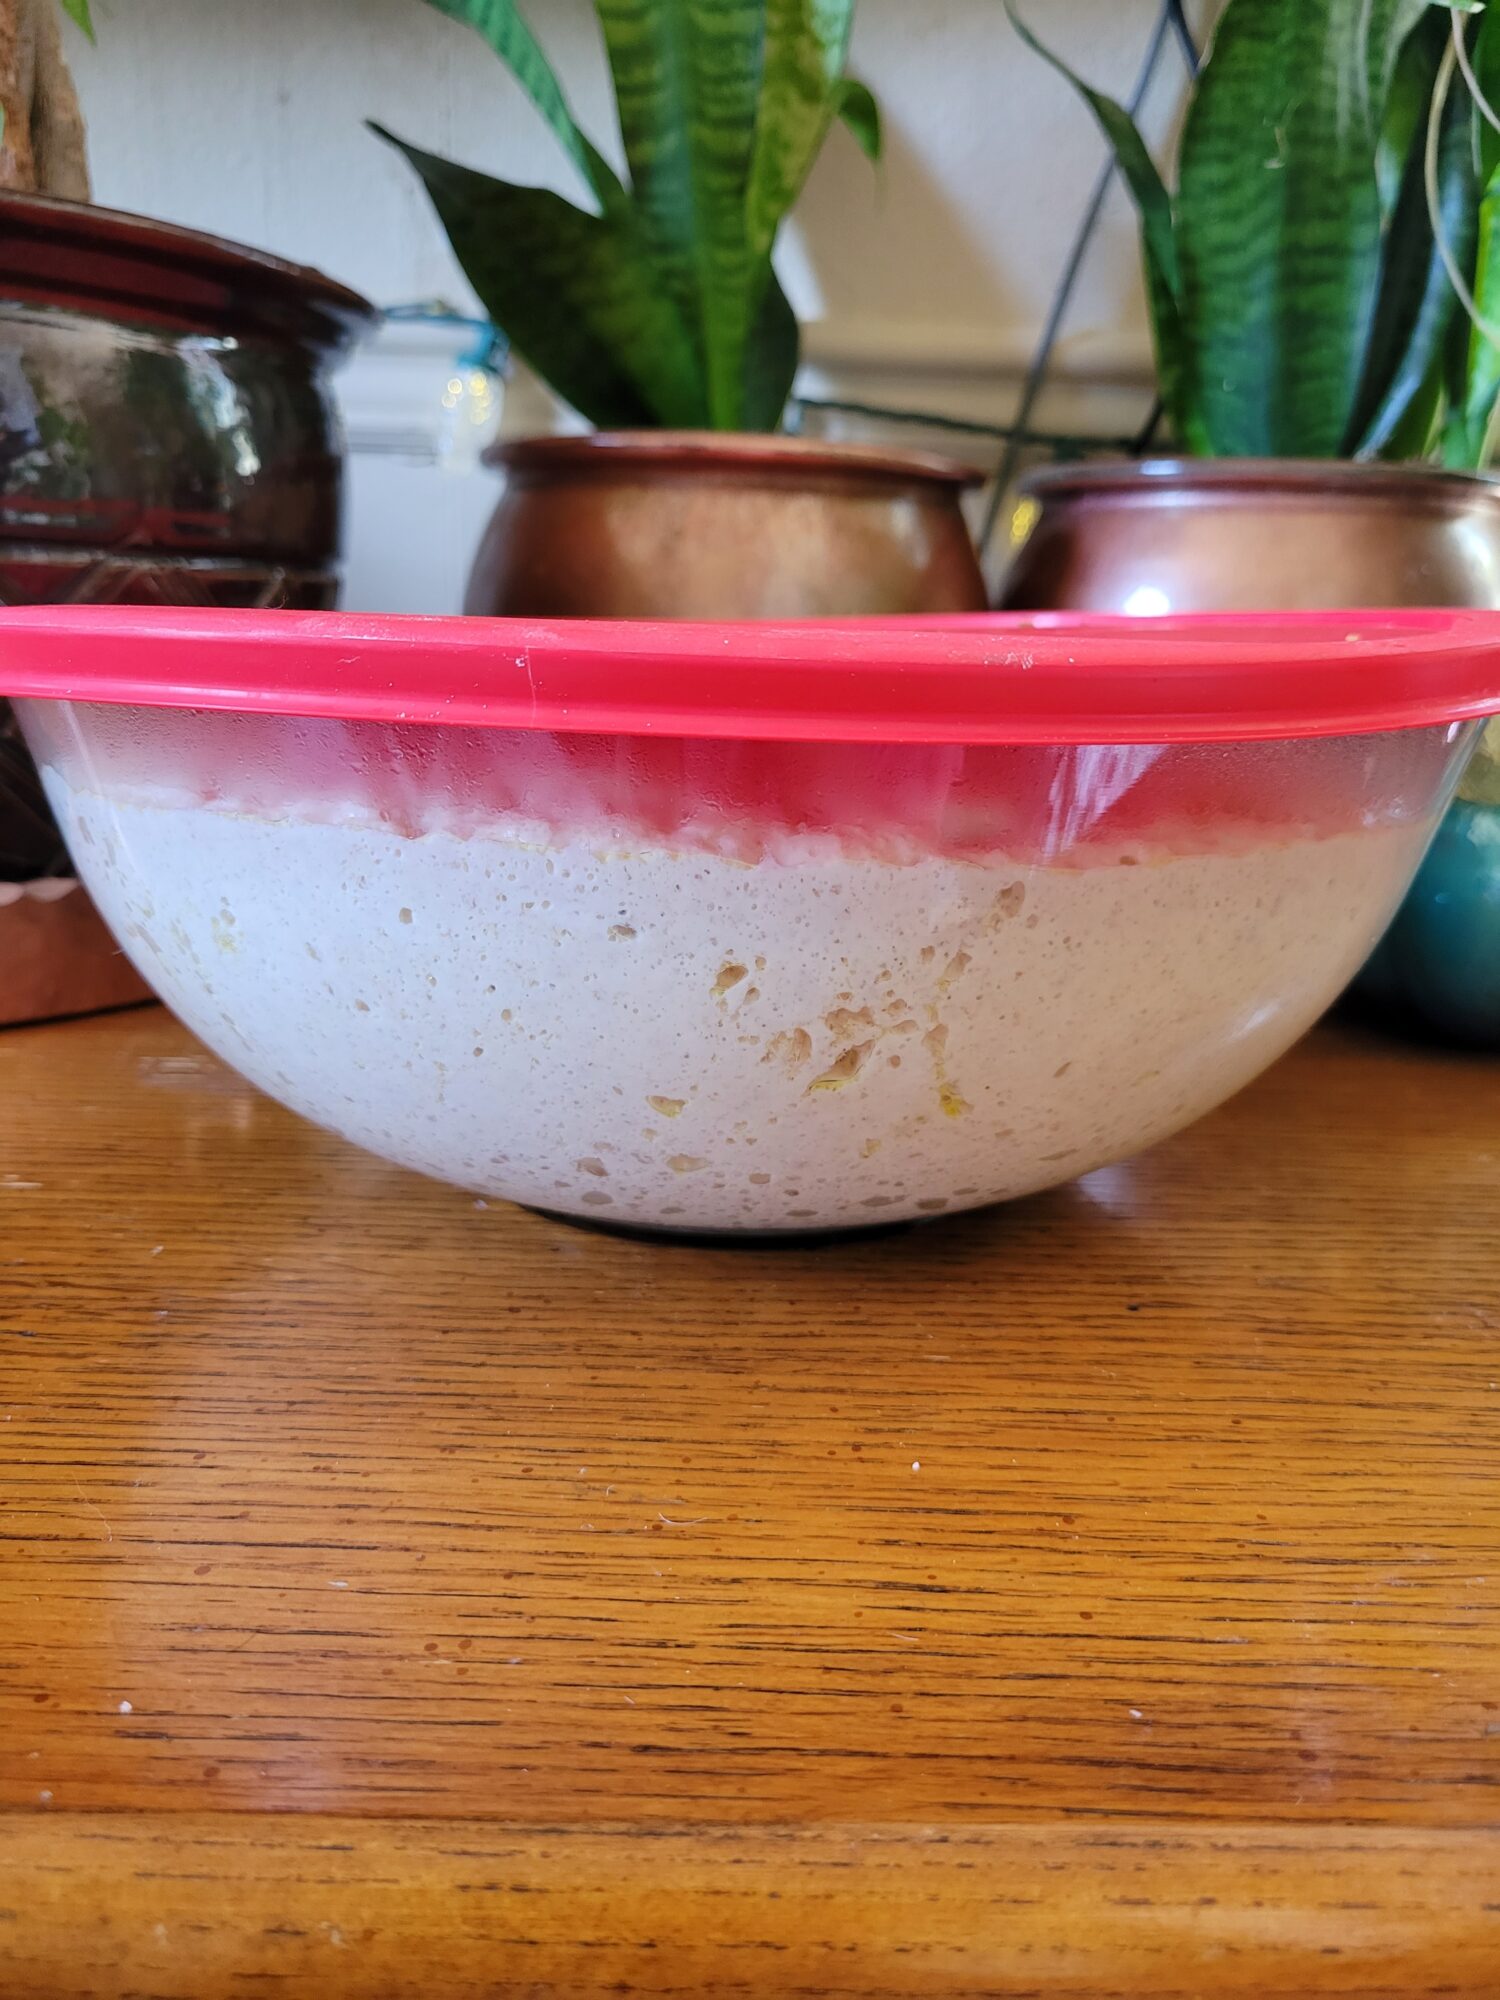
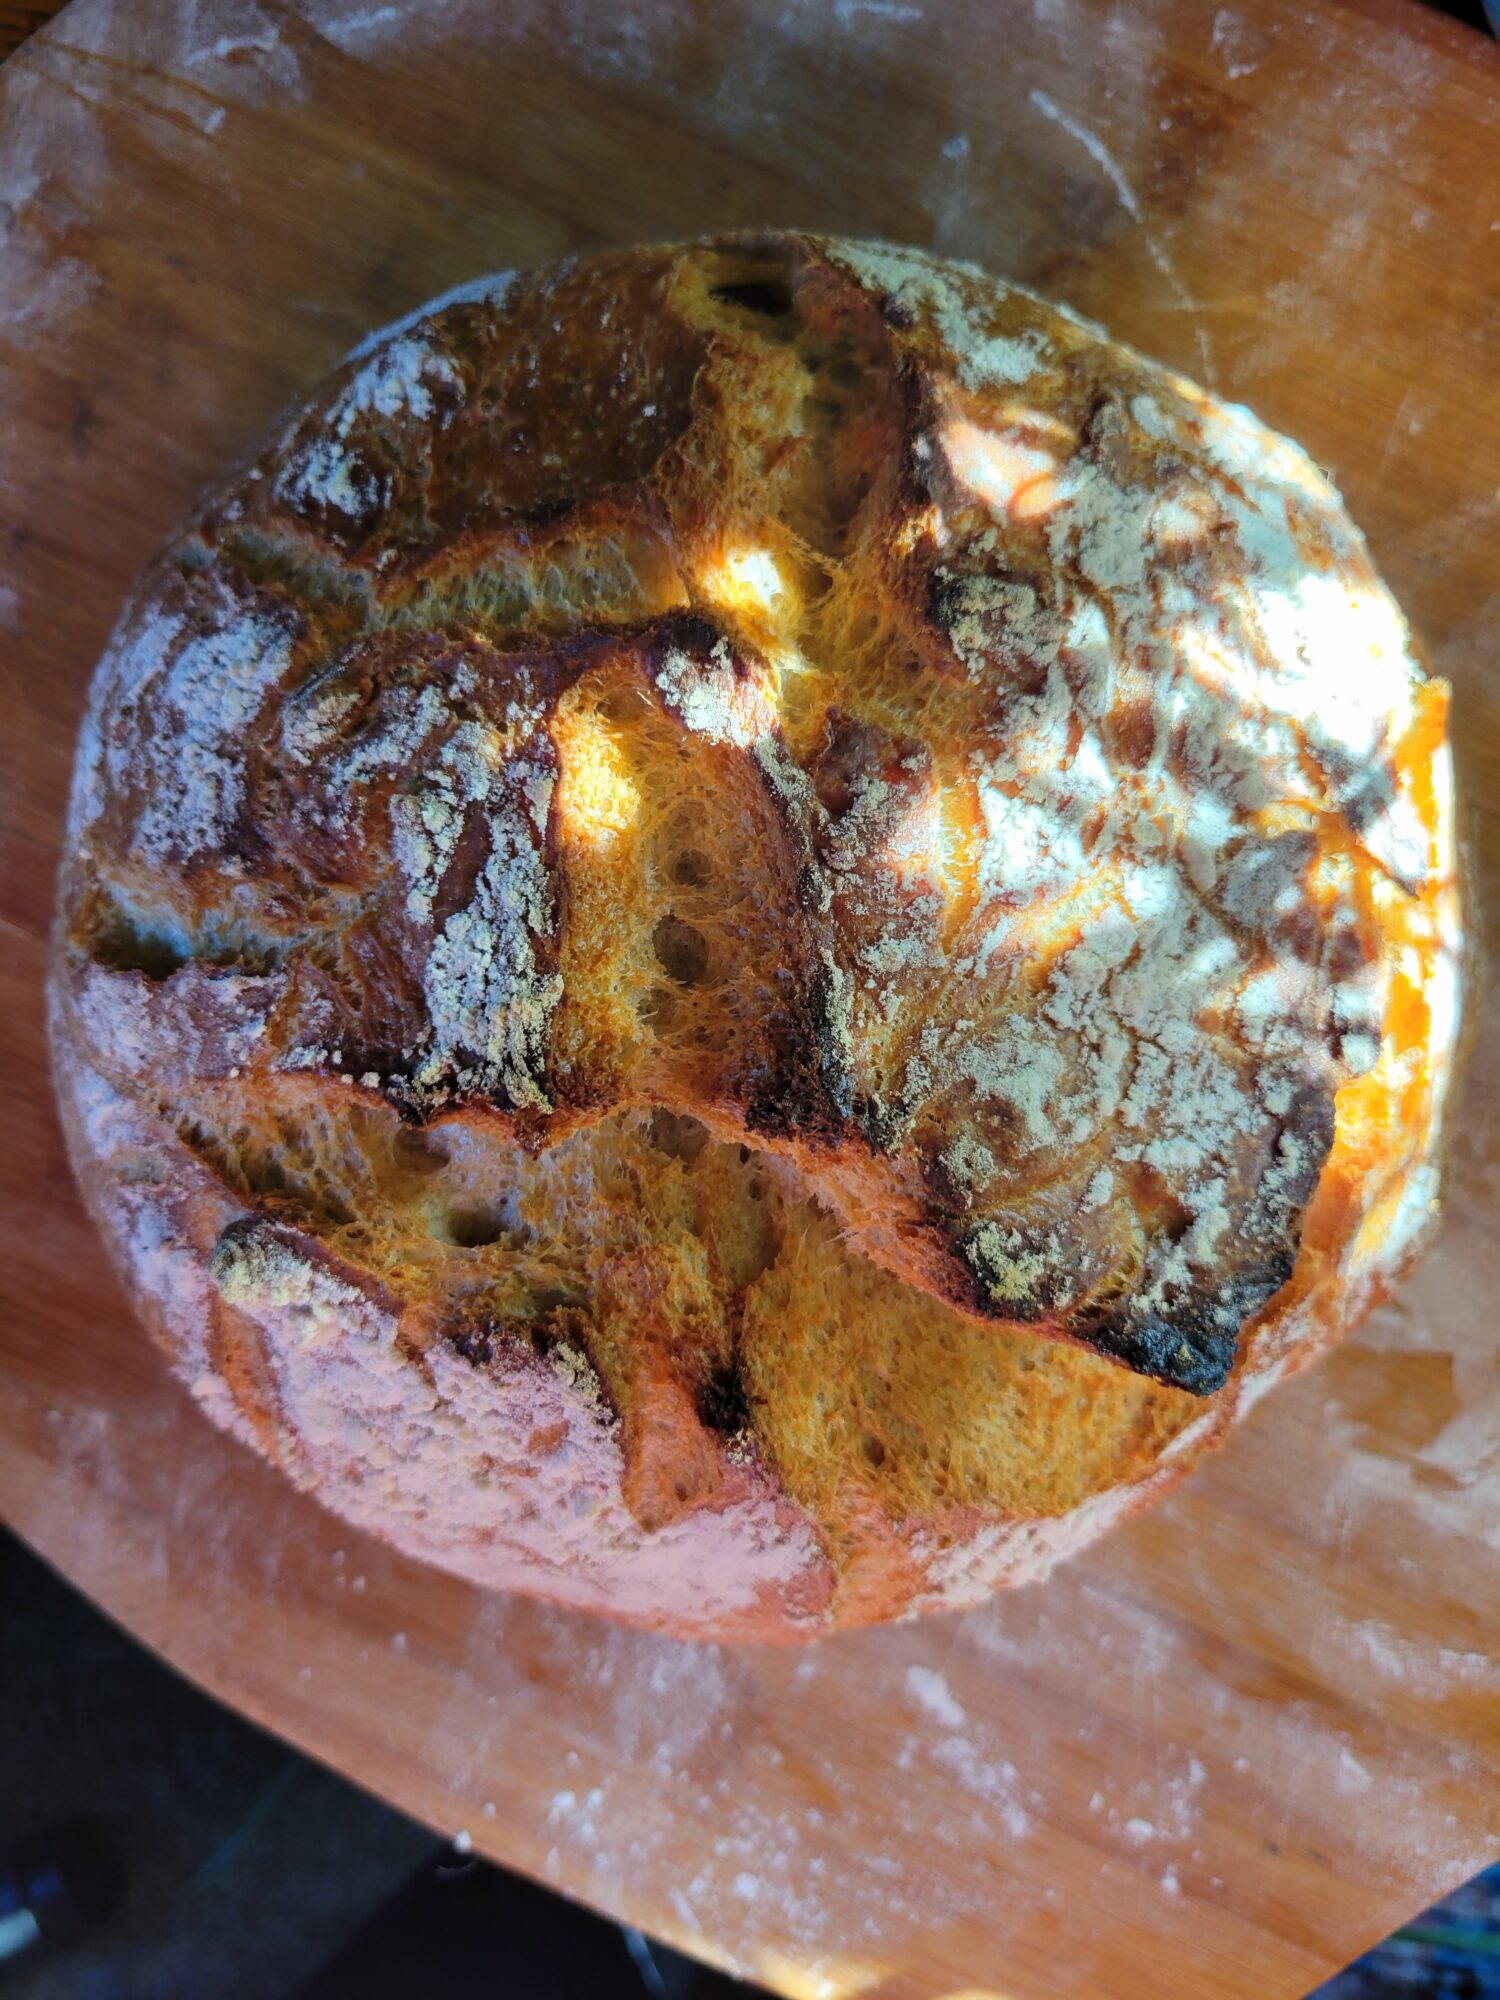
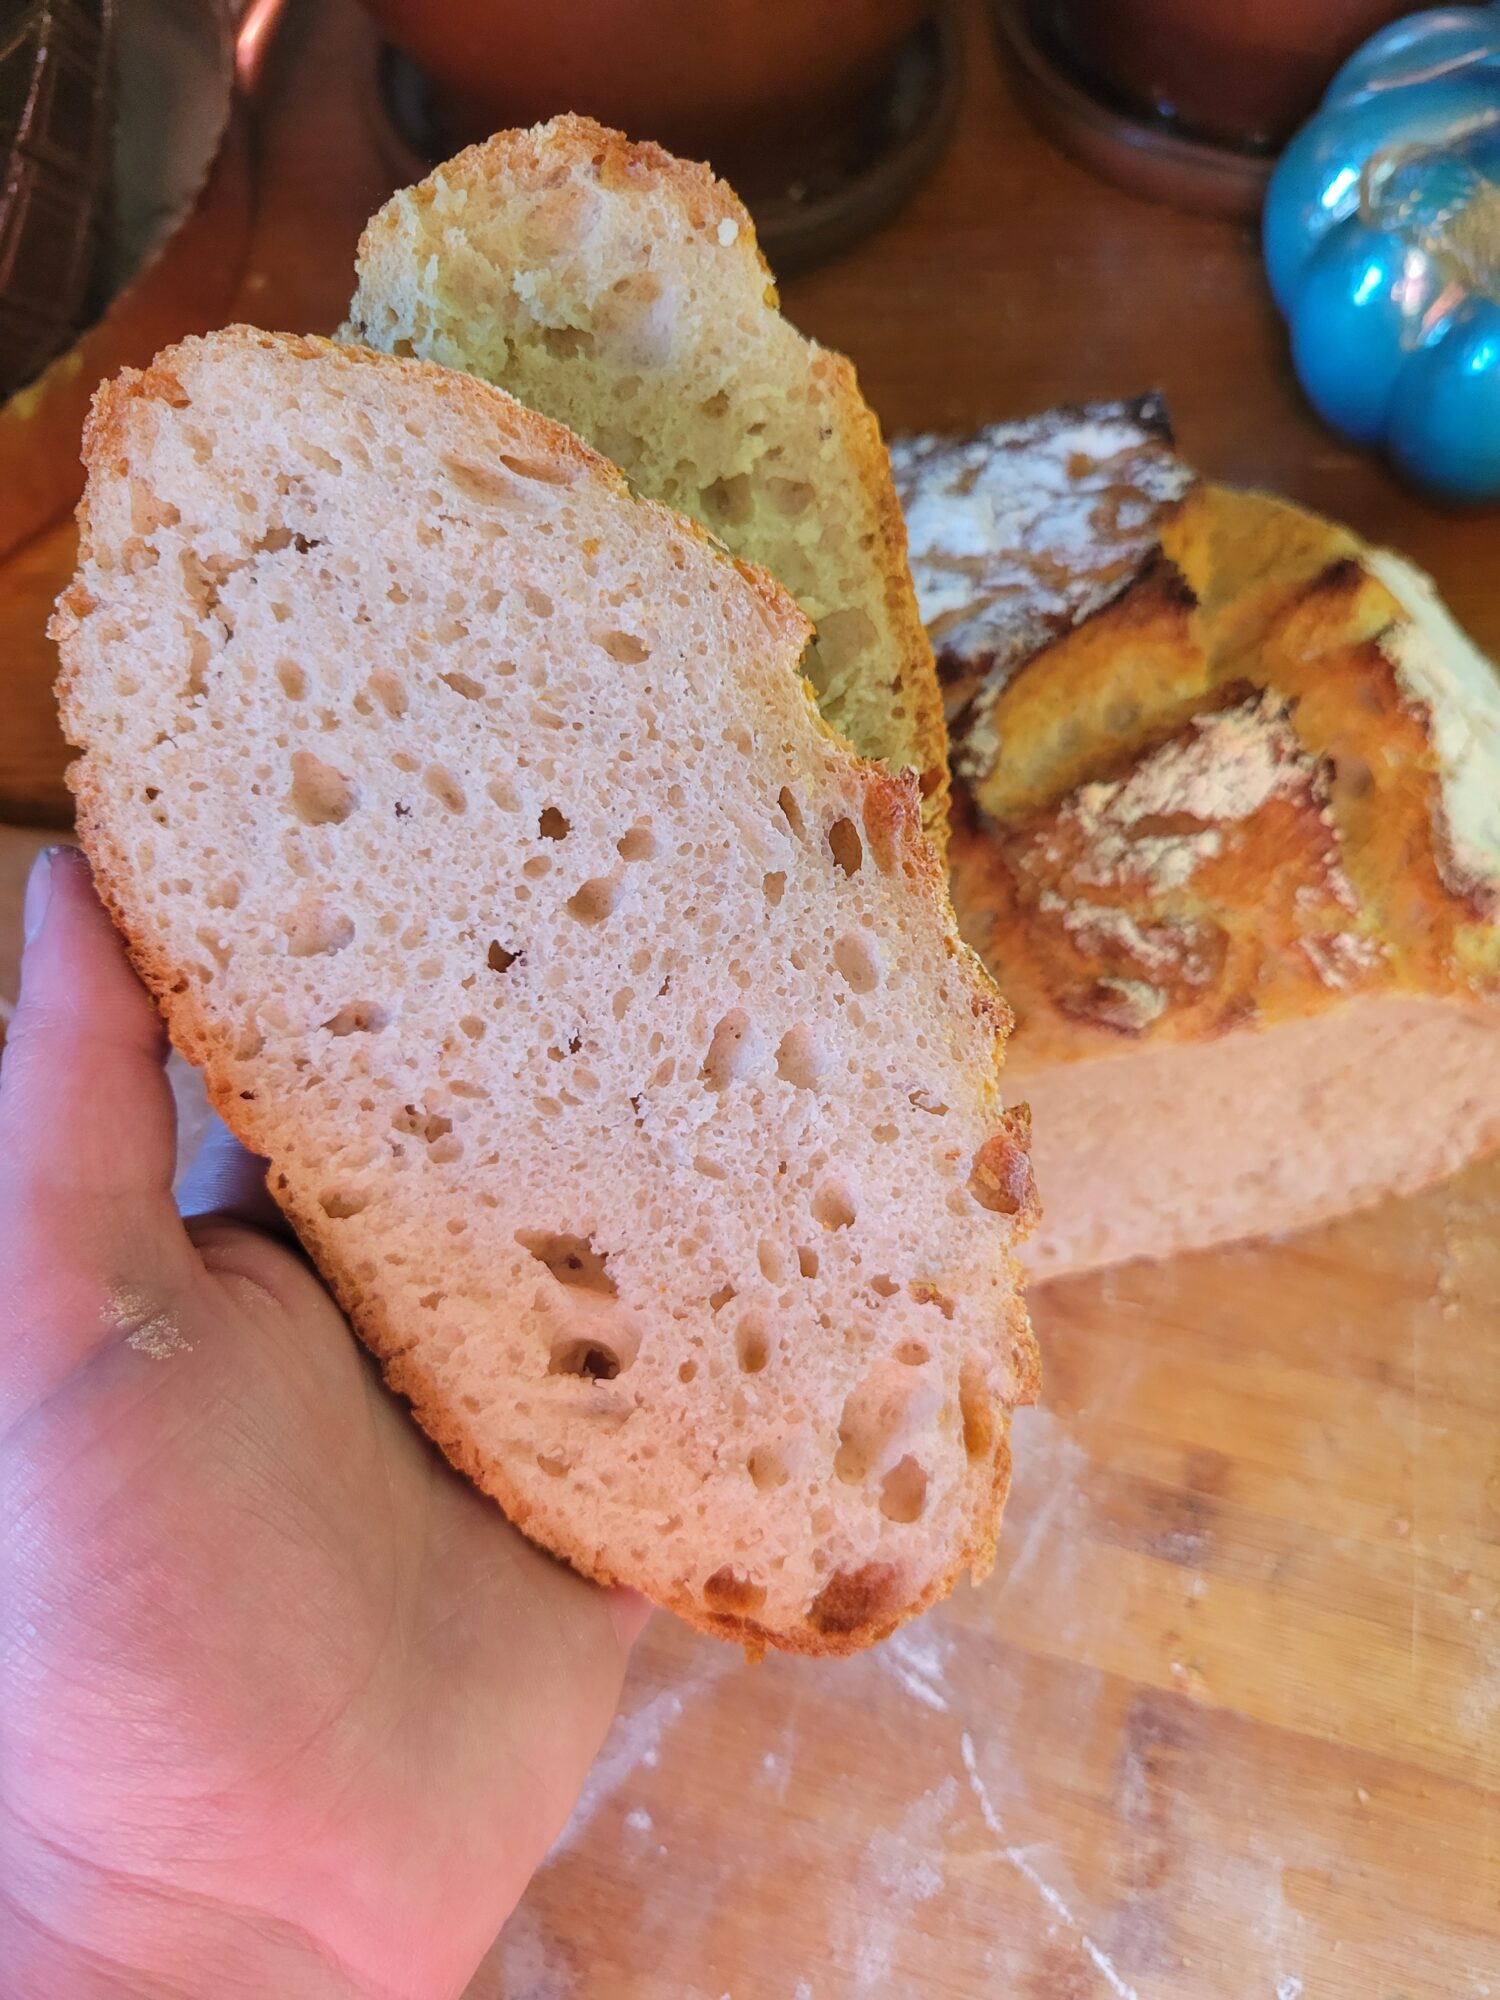
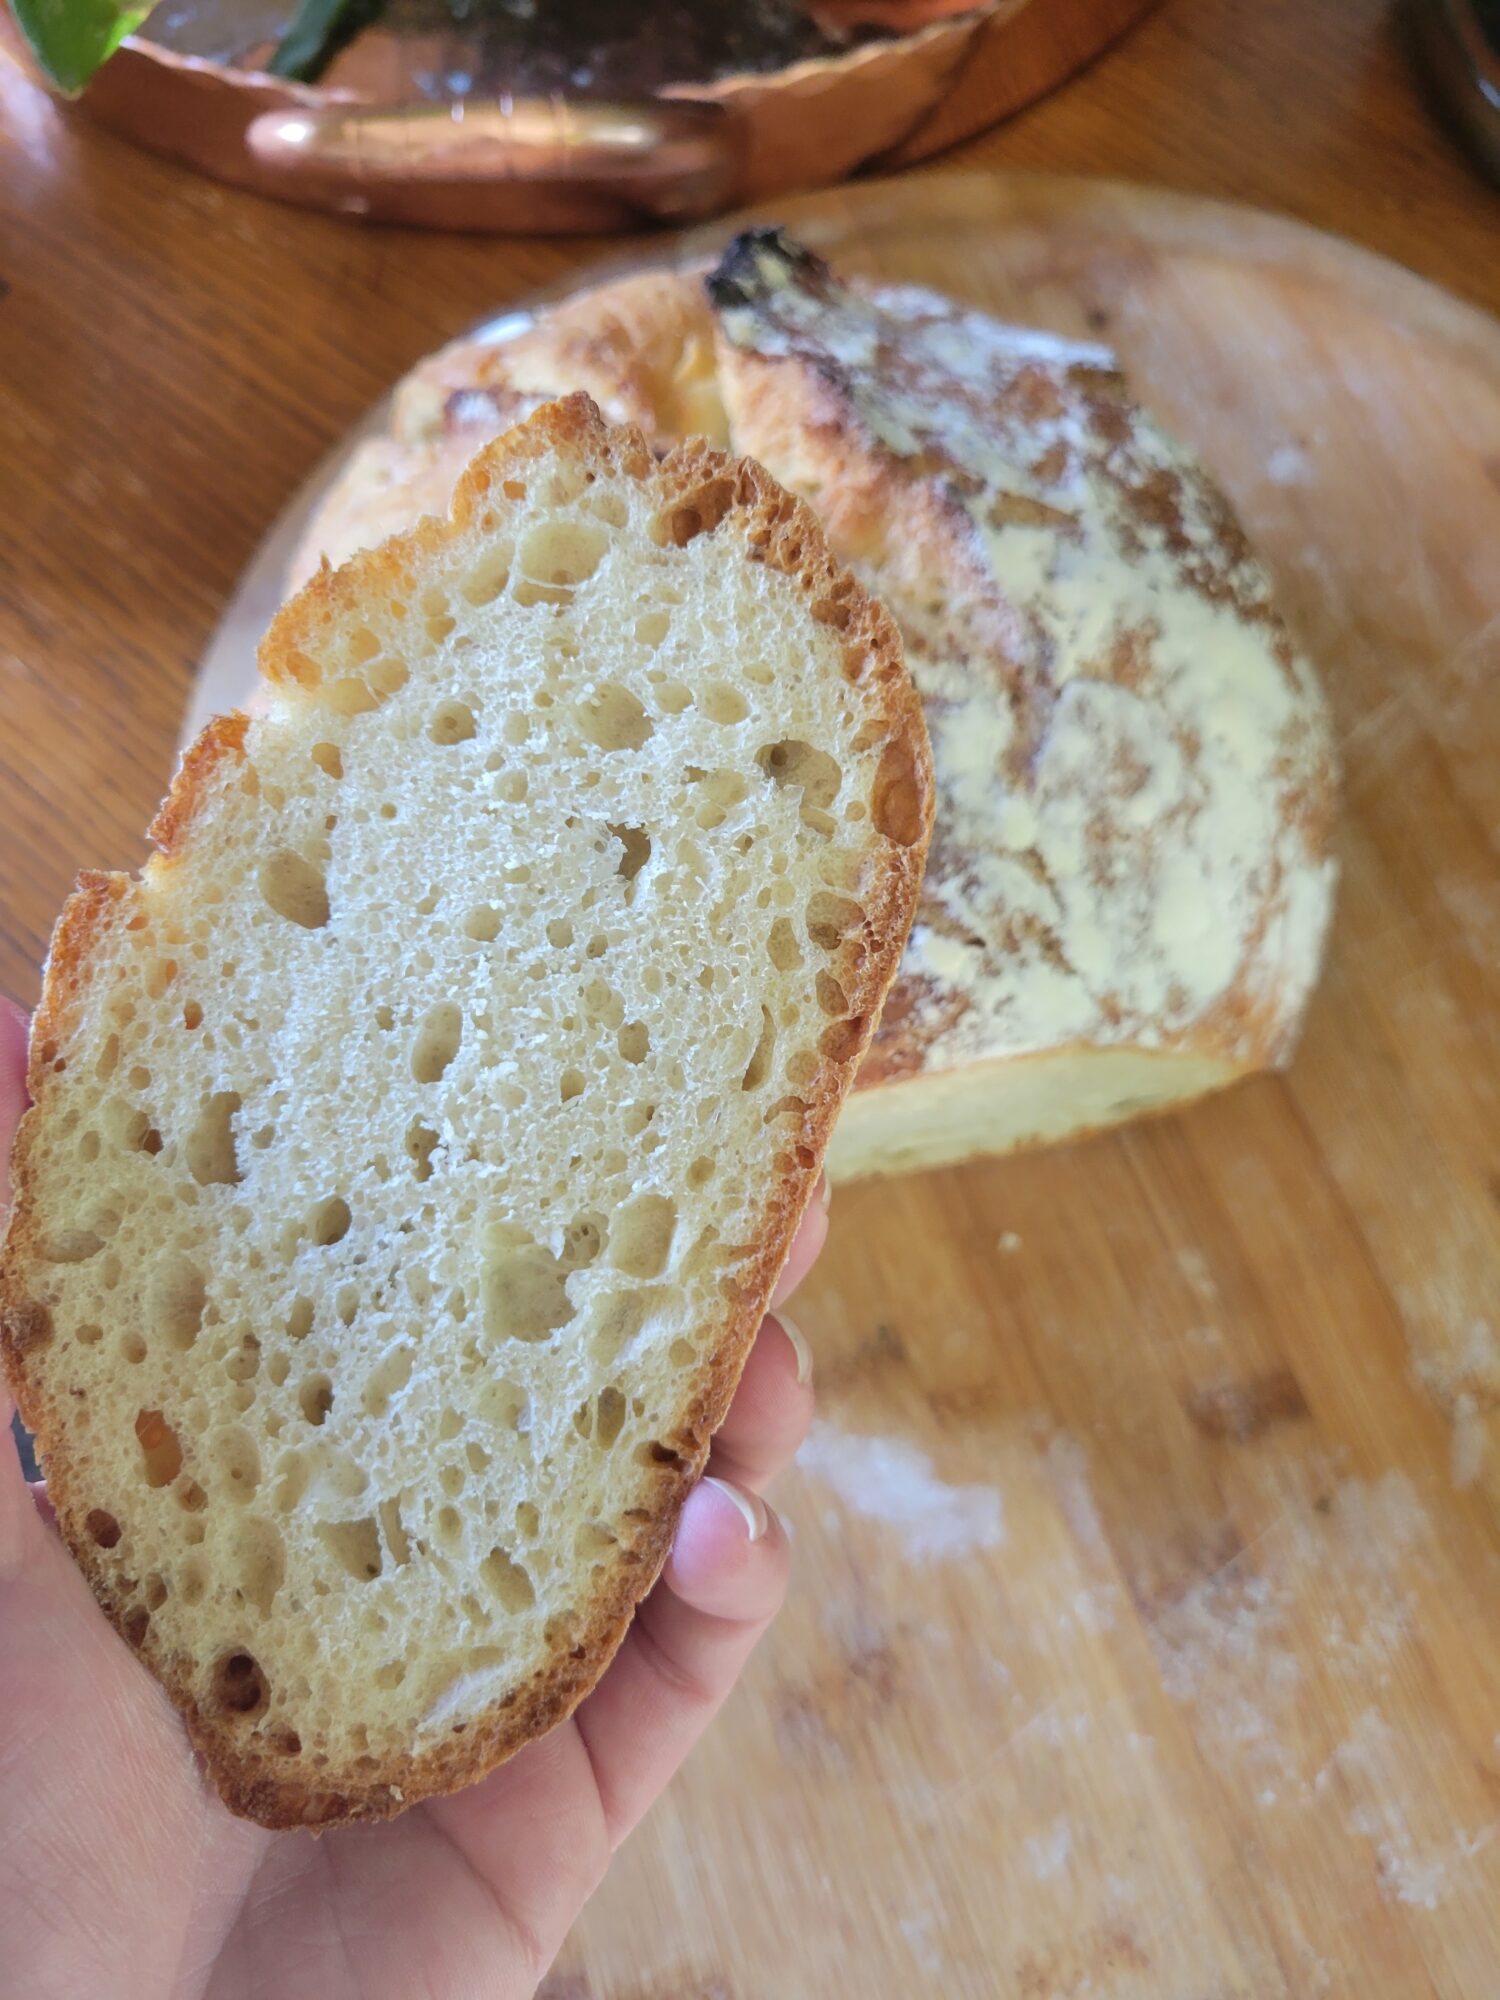
Since the I'll-just-plop-the-bread-in-to-keep-from-overworking-it method worked fairly well last time, I did that again with this attempt. And it did work! It made bread! Pretty delicious looking bread at that. It did fall awkwardly out of the bowl, though, and has kind of a weird swirl in it where the dough flopped over itself. I should probably start actually rolling it into some kind of ball, letting it sit another minute, and then plopping it into the Dutch oven... You can kind of see the beginning of the little line in the second slice of bread towards the bottom left.
But I'm more the kind of person who puts the effort into starting something and then get lazy towards the end! So, the fact that I've made 5 reasonably successful loaves of bread that all look like bread and are edible like bread? Means that I'm pretty excited!
Sixth Try
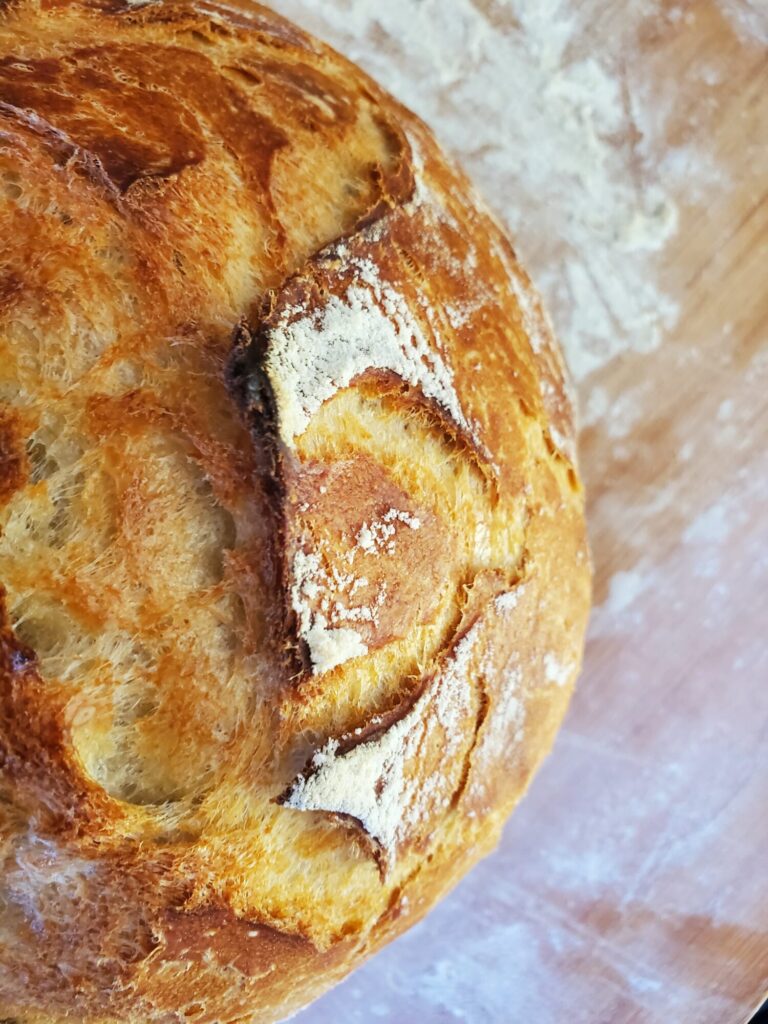
I was maybe going to stop posting updates on these after the sixth try because the proof of concept is here! I absolutely can make bread with this recipe! Although I may need to redeem myself after this one. I haven't been scoring the tops because my knives aren't sharp enough not to deflate them. And yes, I could sharpen my knives and this would be less of a problem. But I'm feeling lazy, okay? And I really should just buy razor blades for this because none of my knives are ever going to be sharp enough to do the delicate bread top justice. Plus they're only a couple of dollars and, even pinching pennies, I probably have that much change in my change basket, anyway.
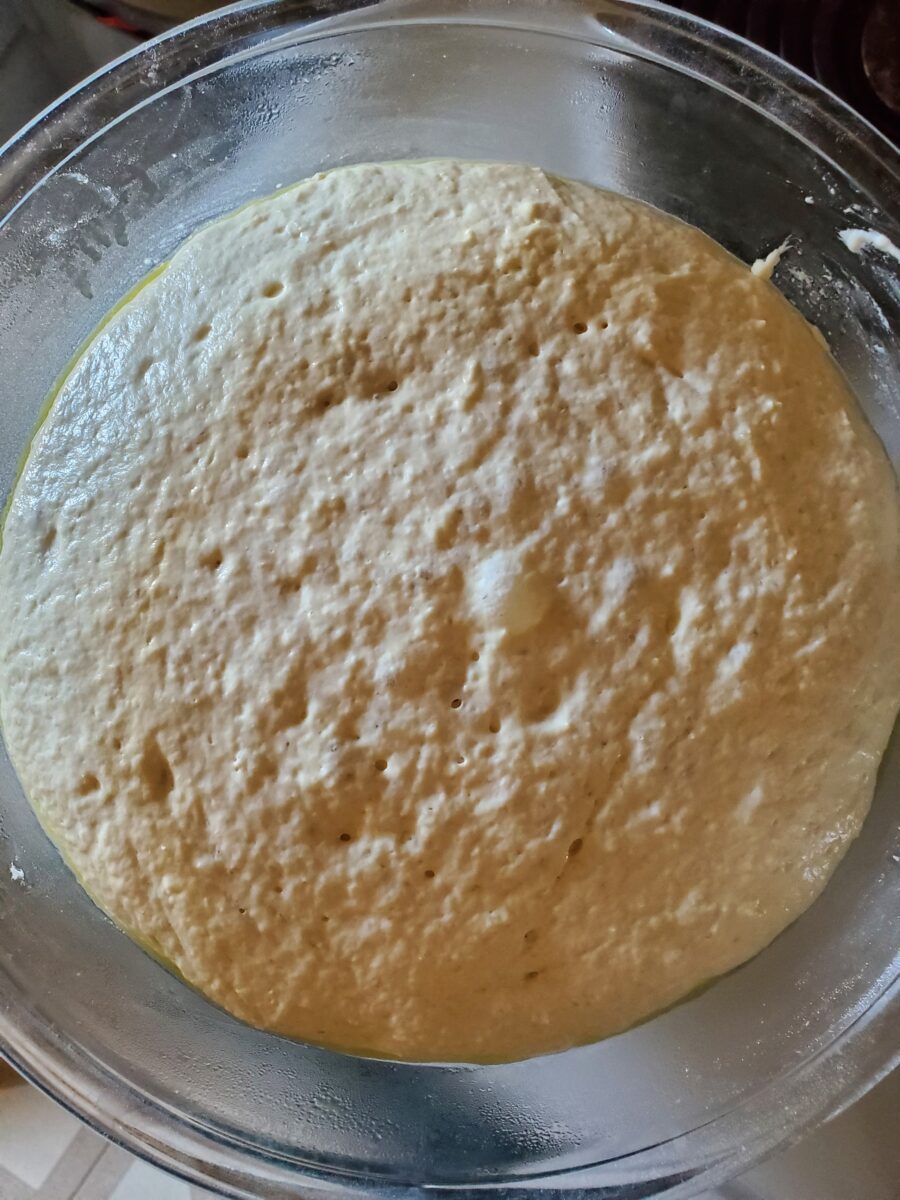
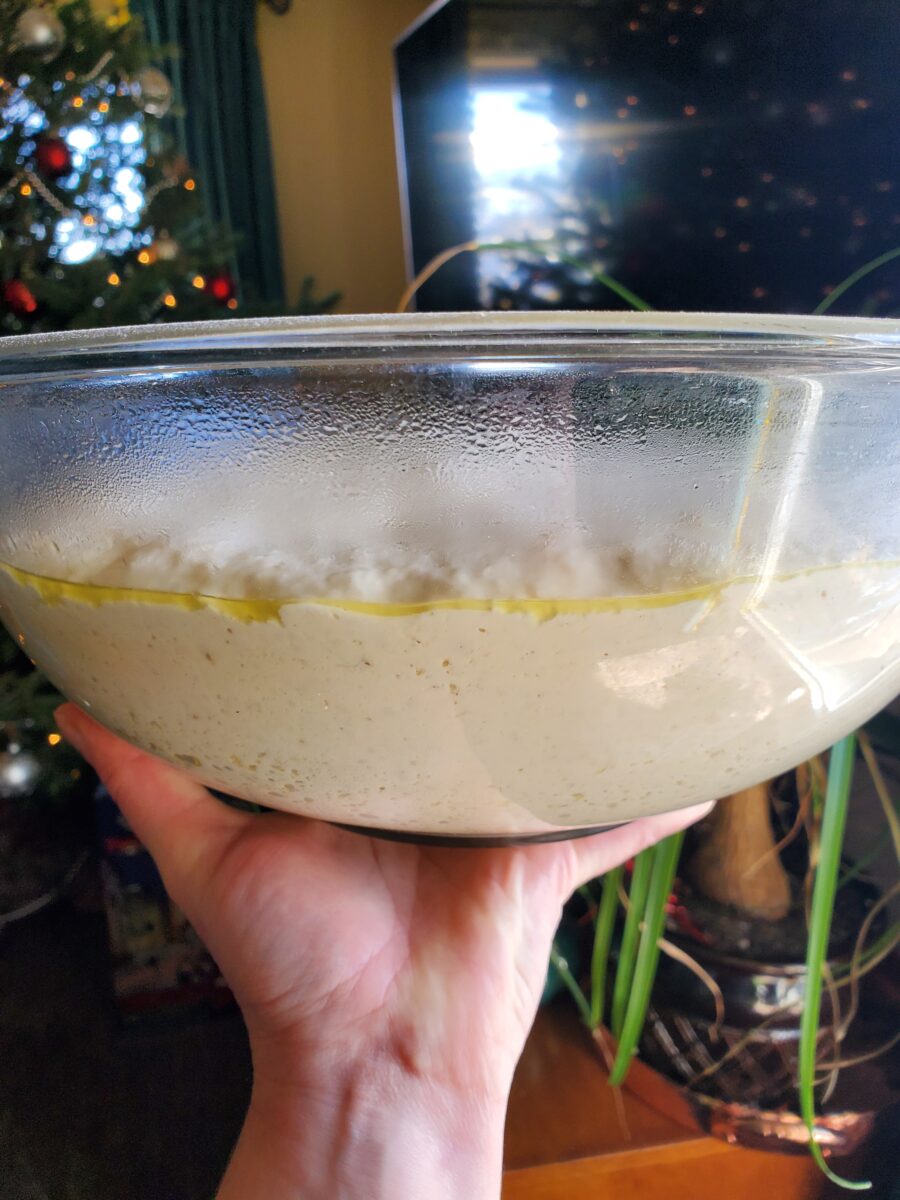
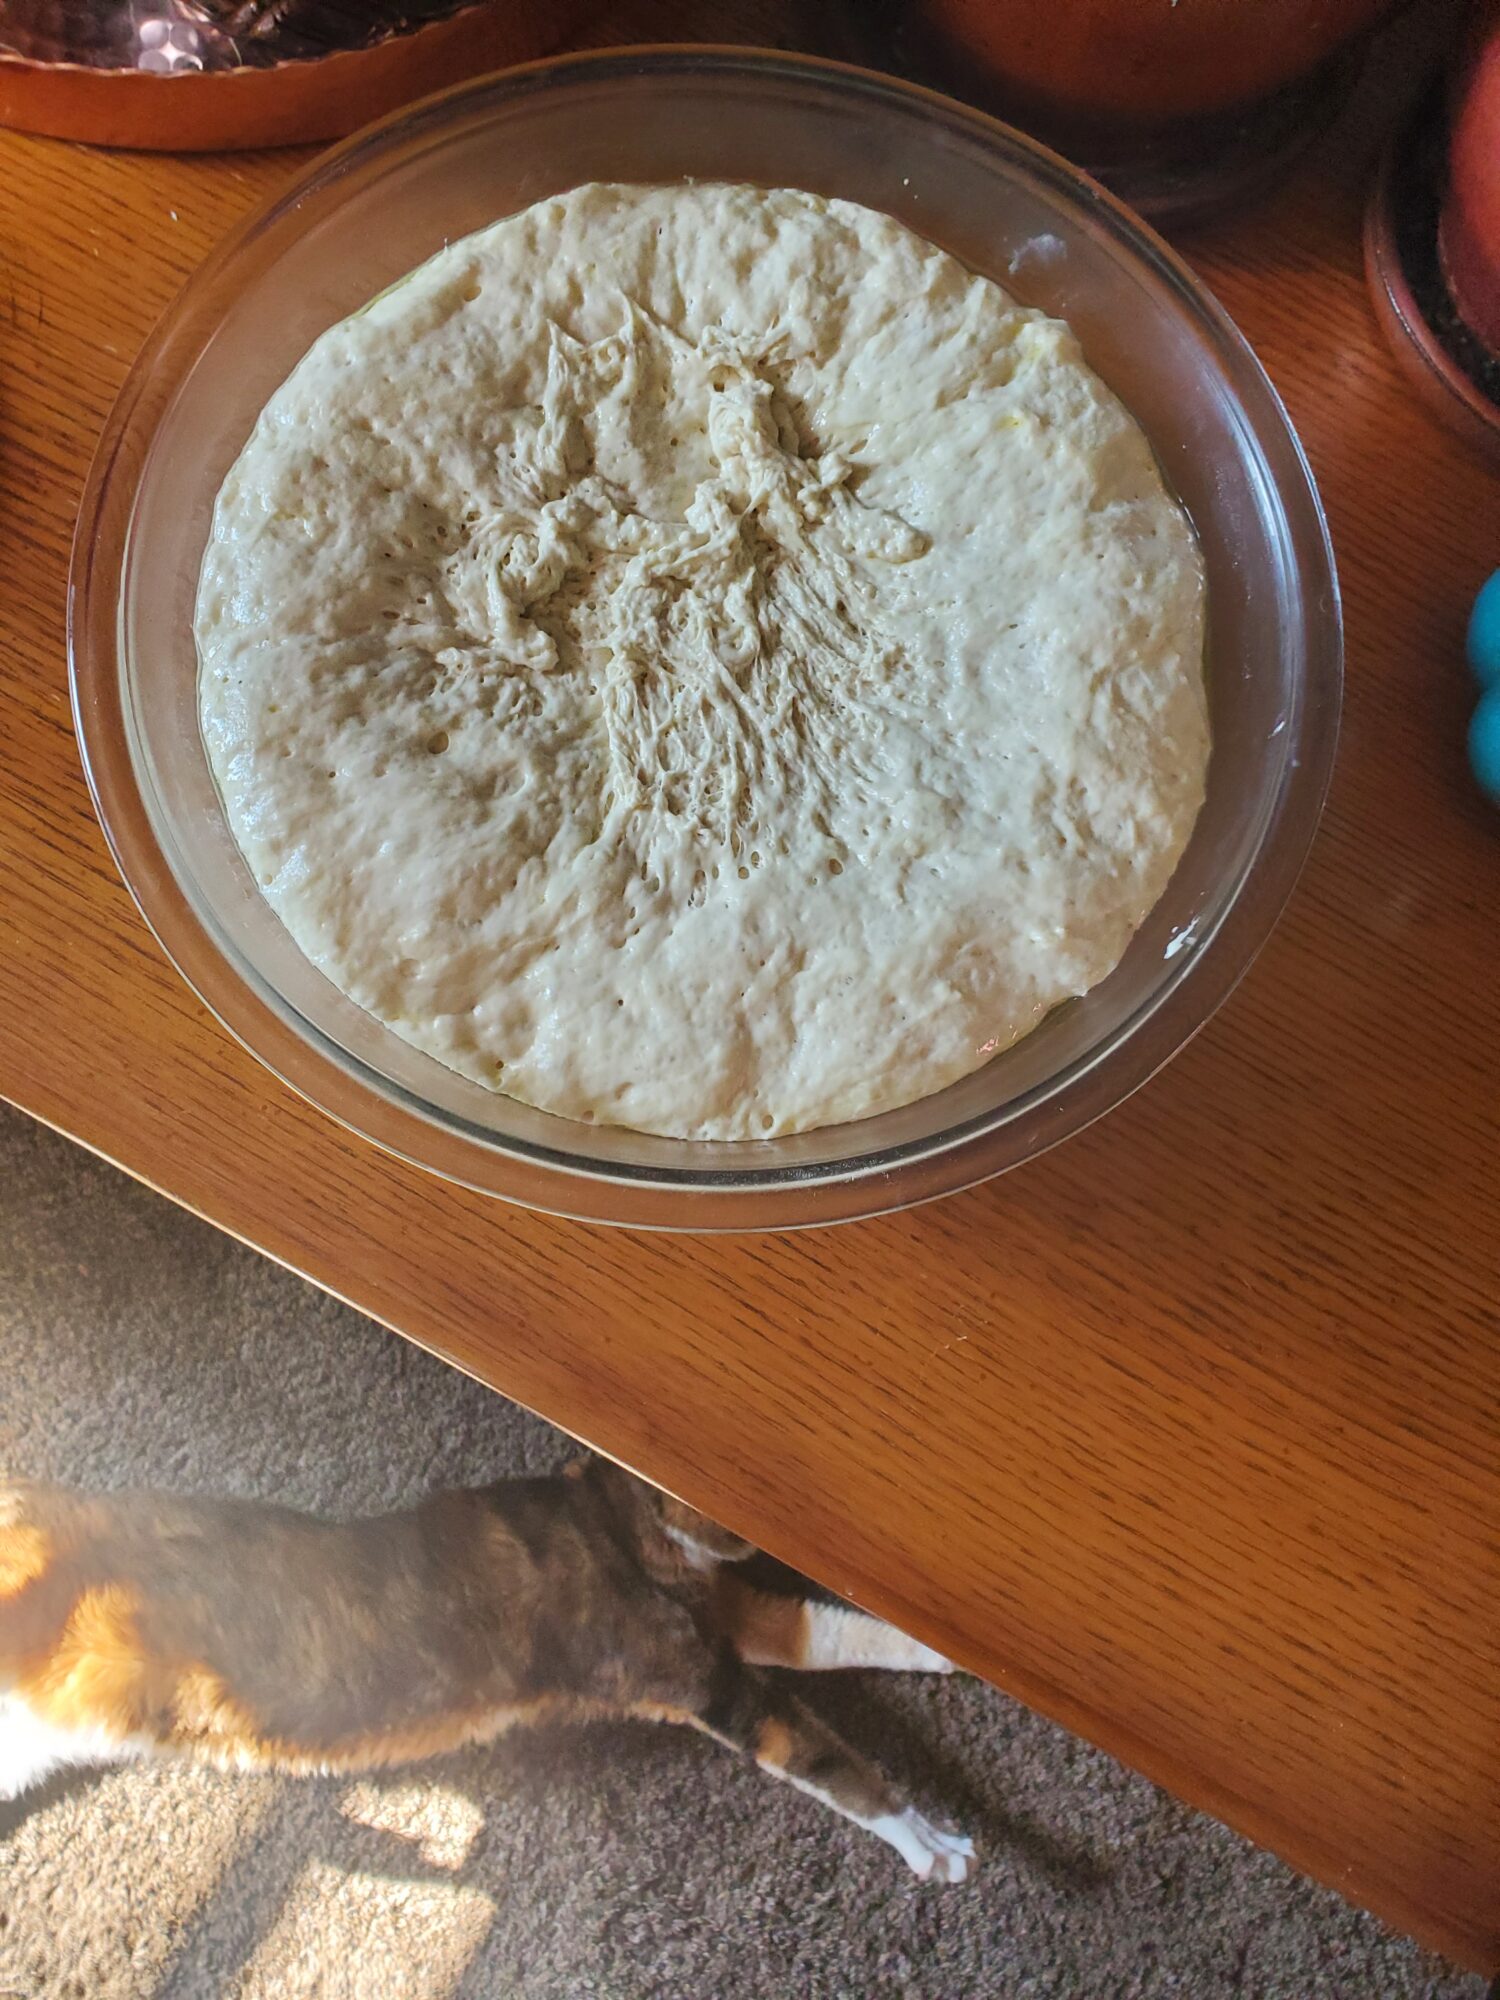
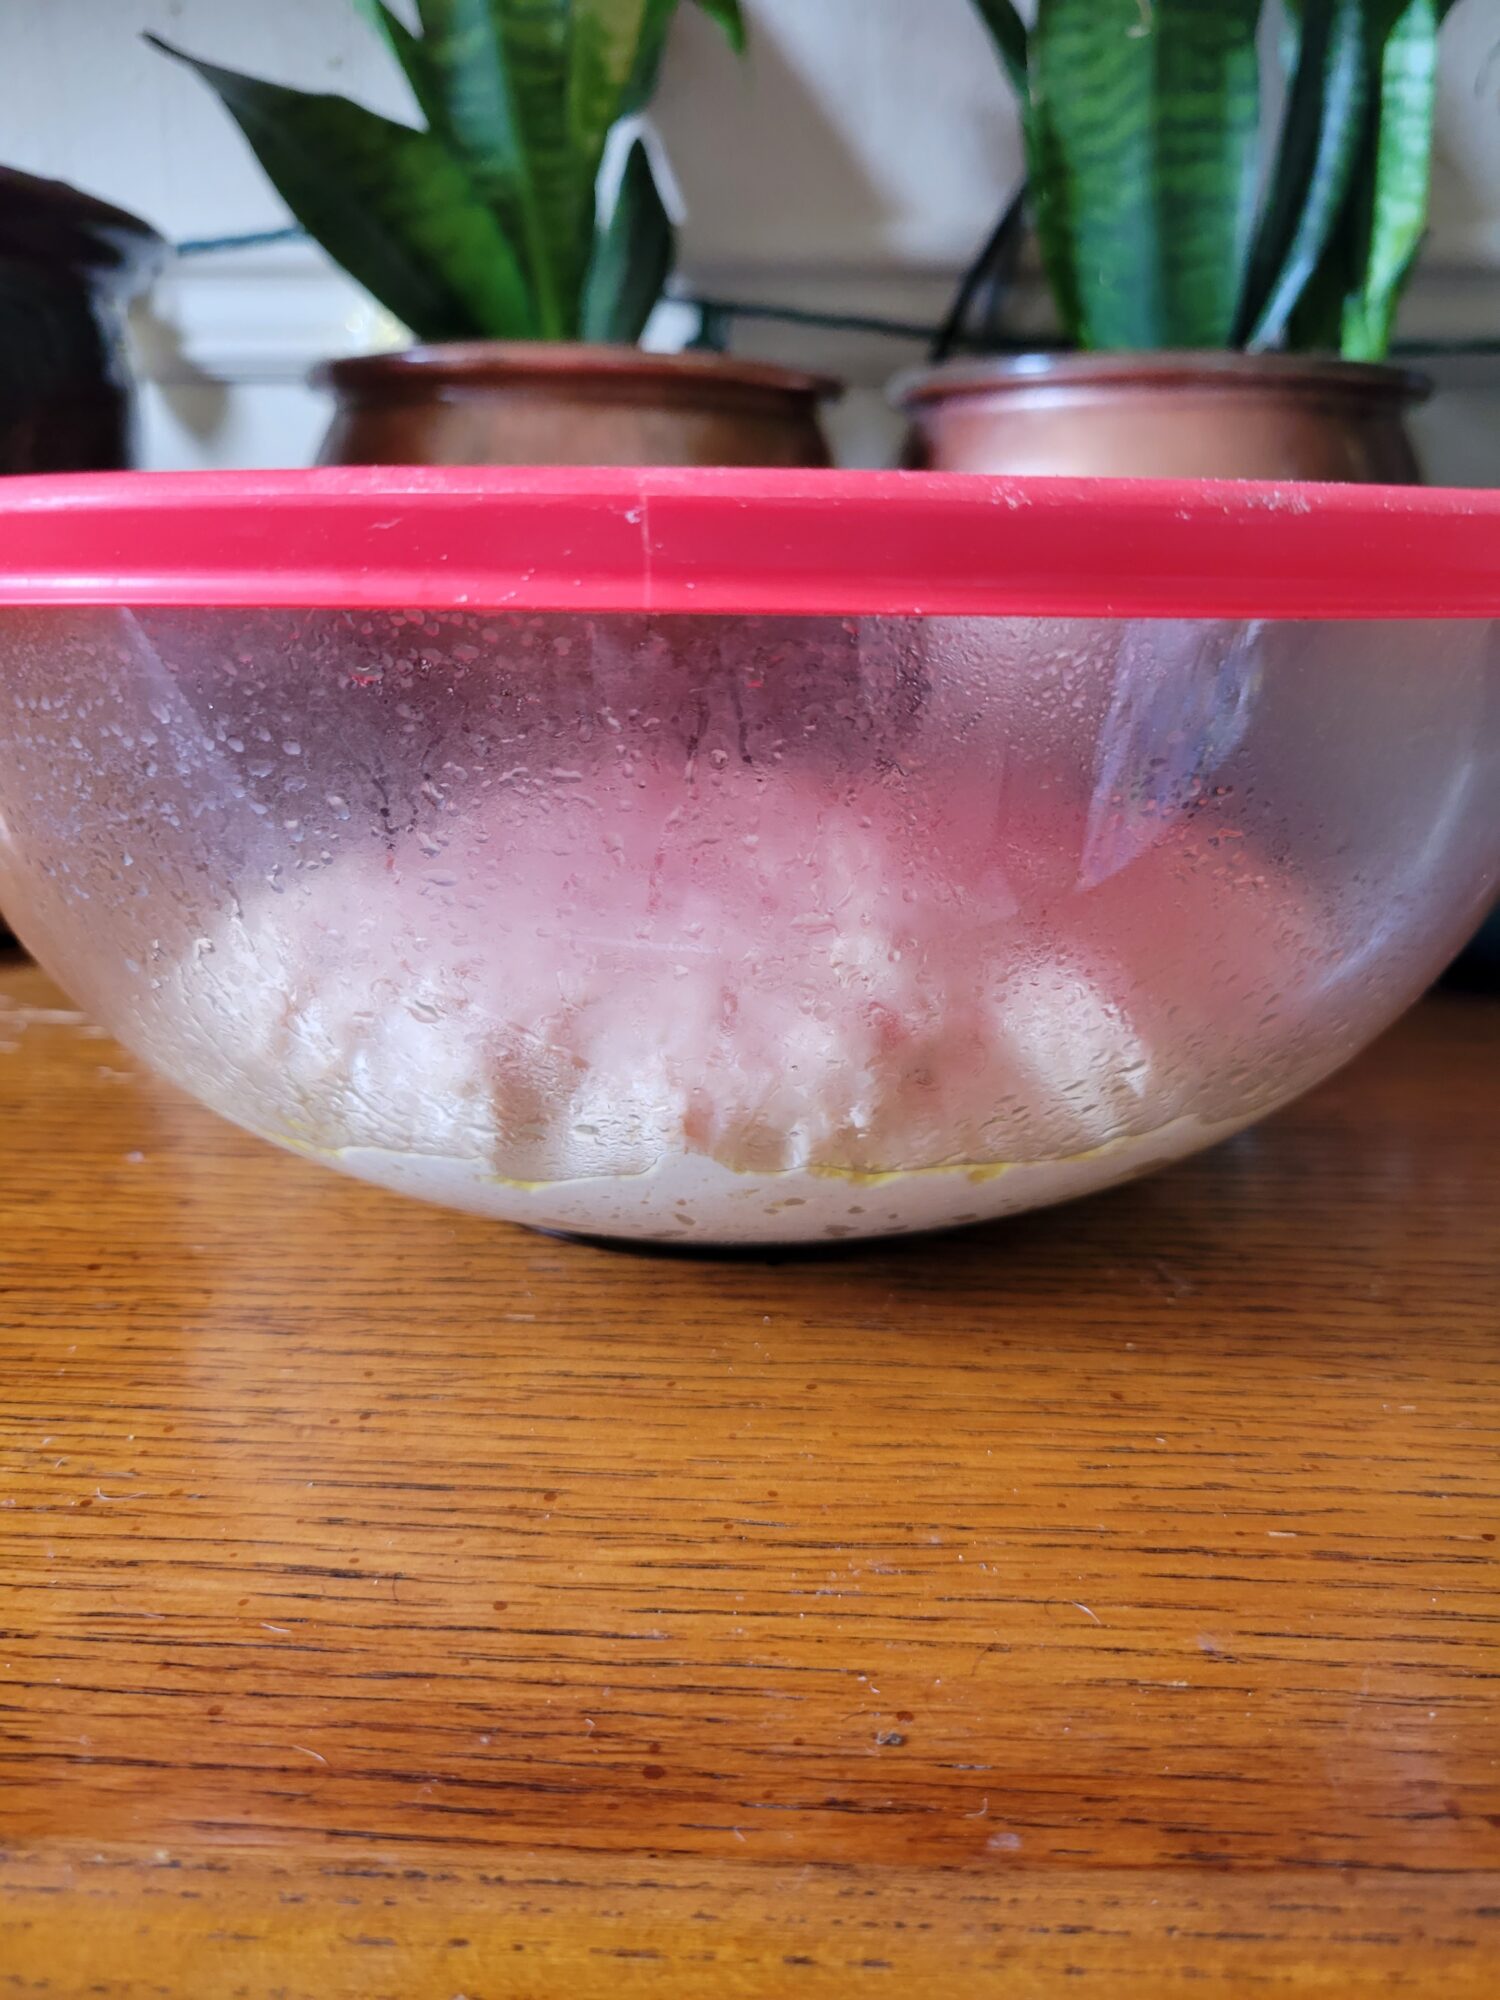
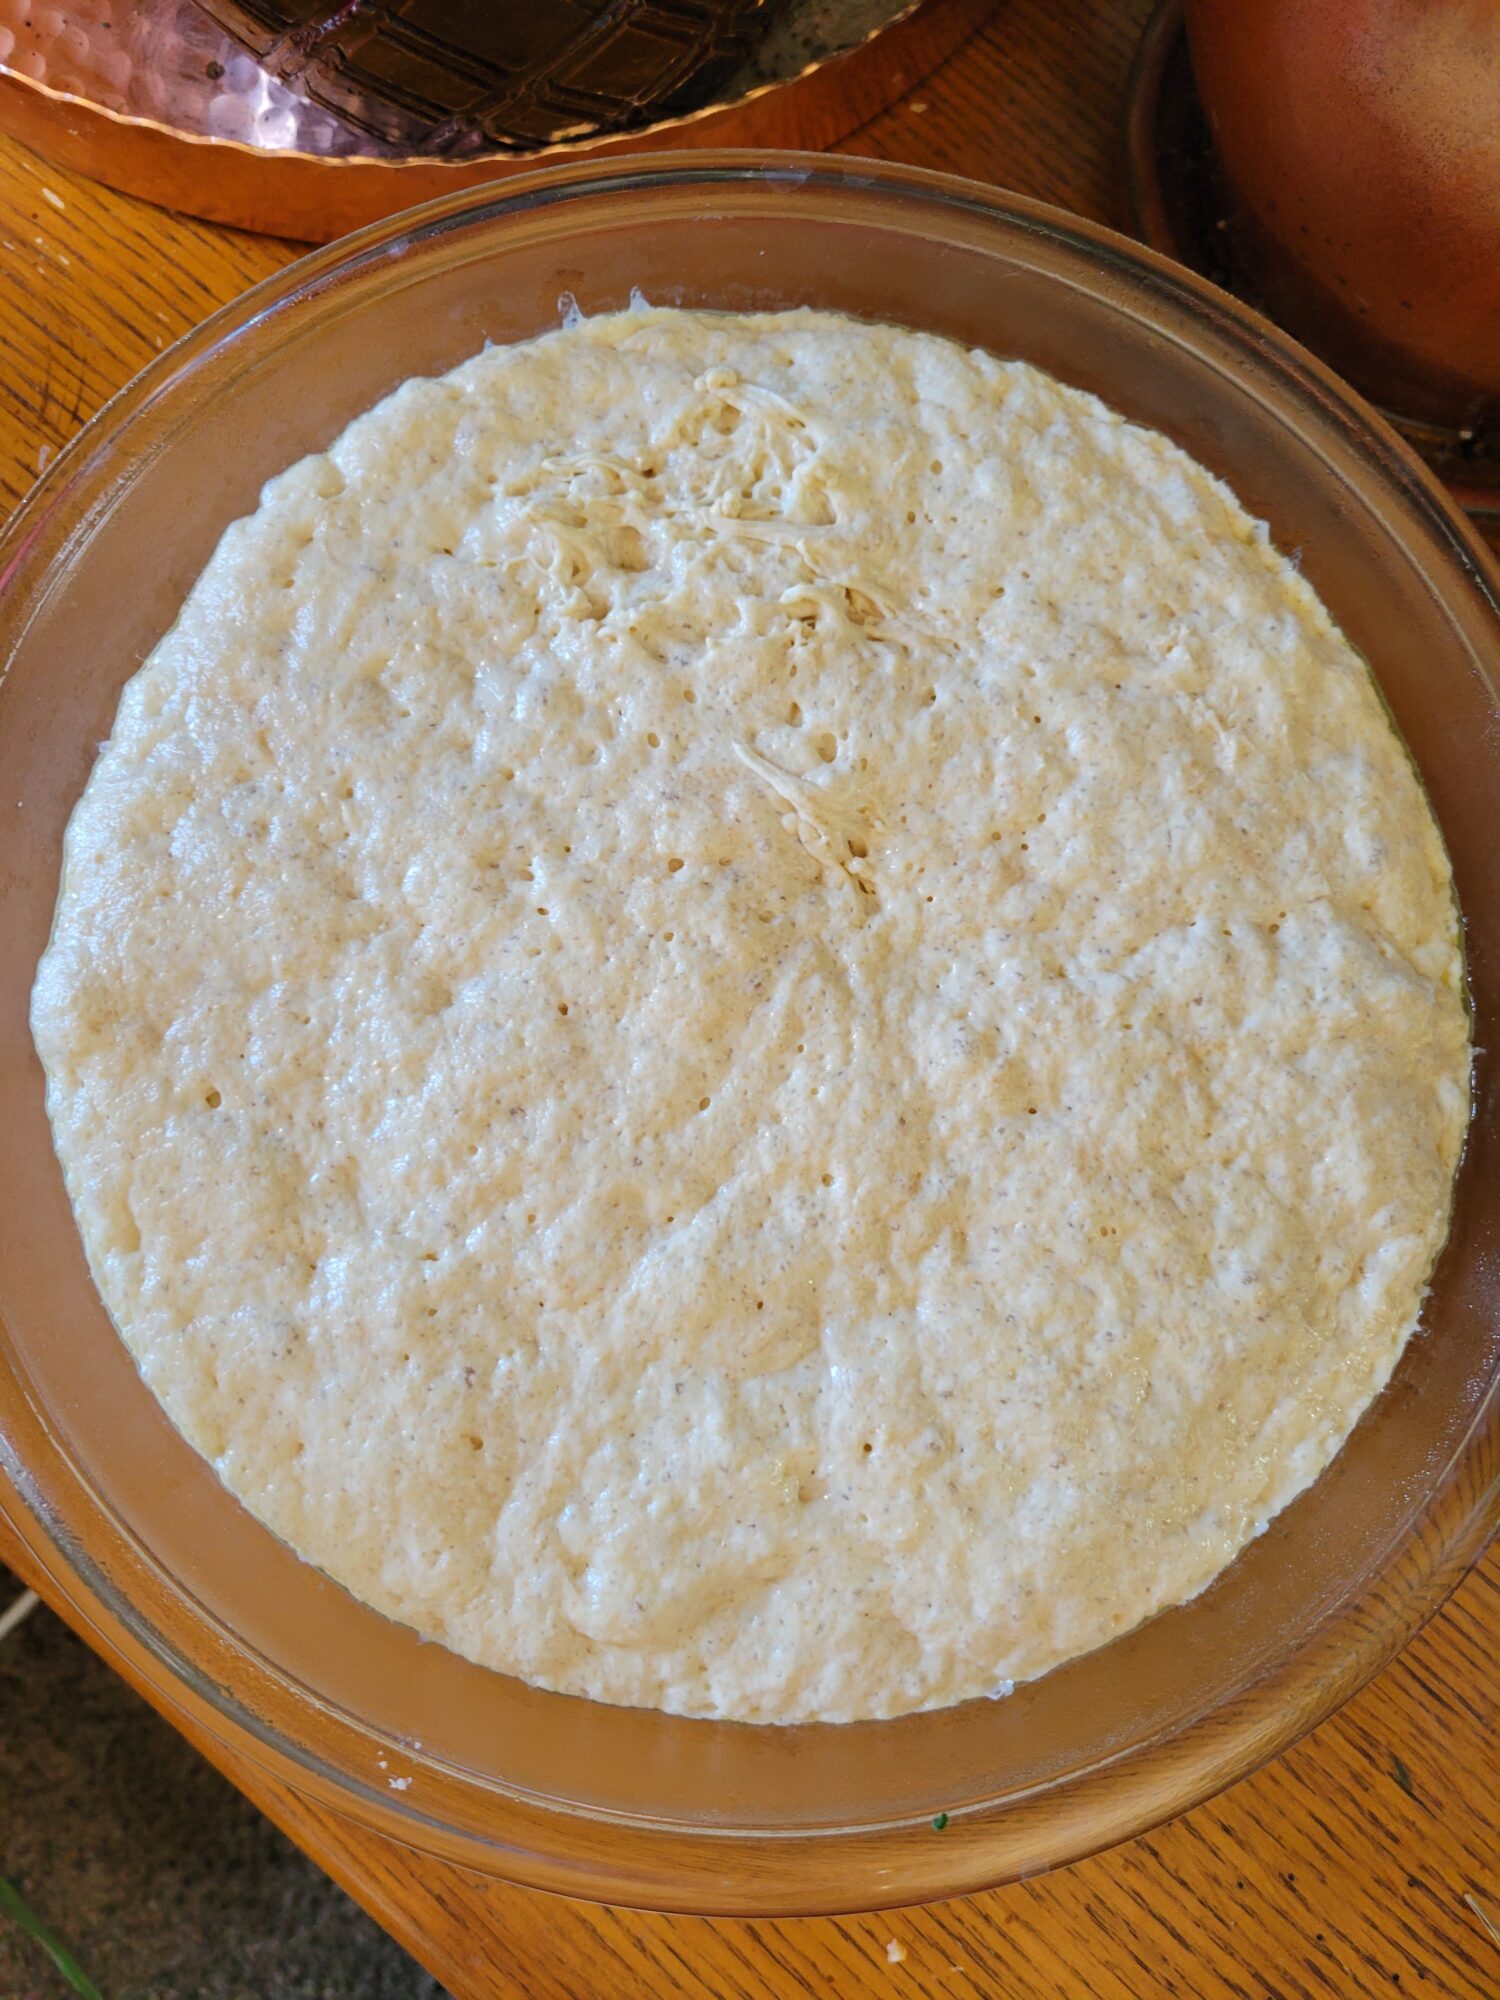
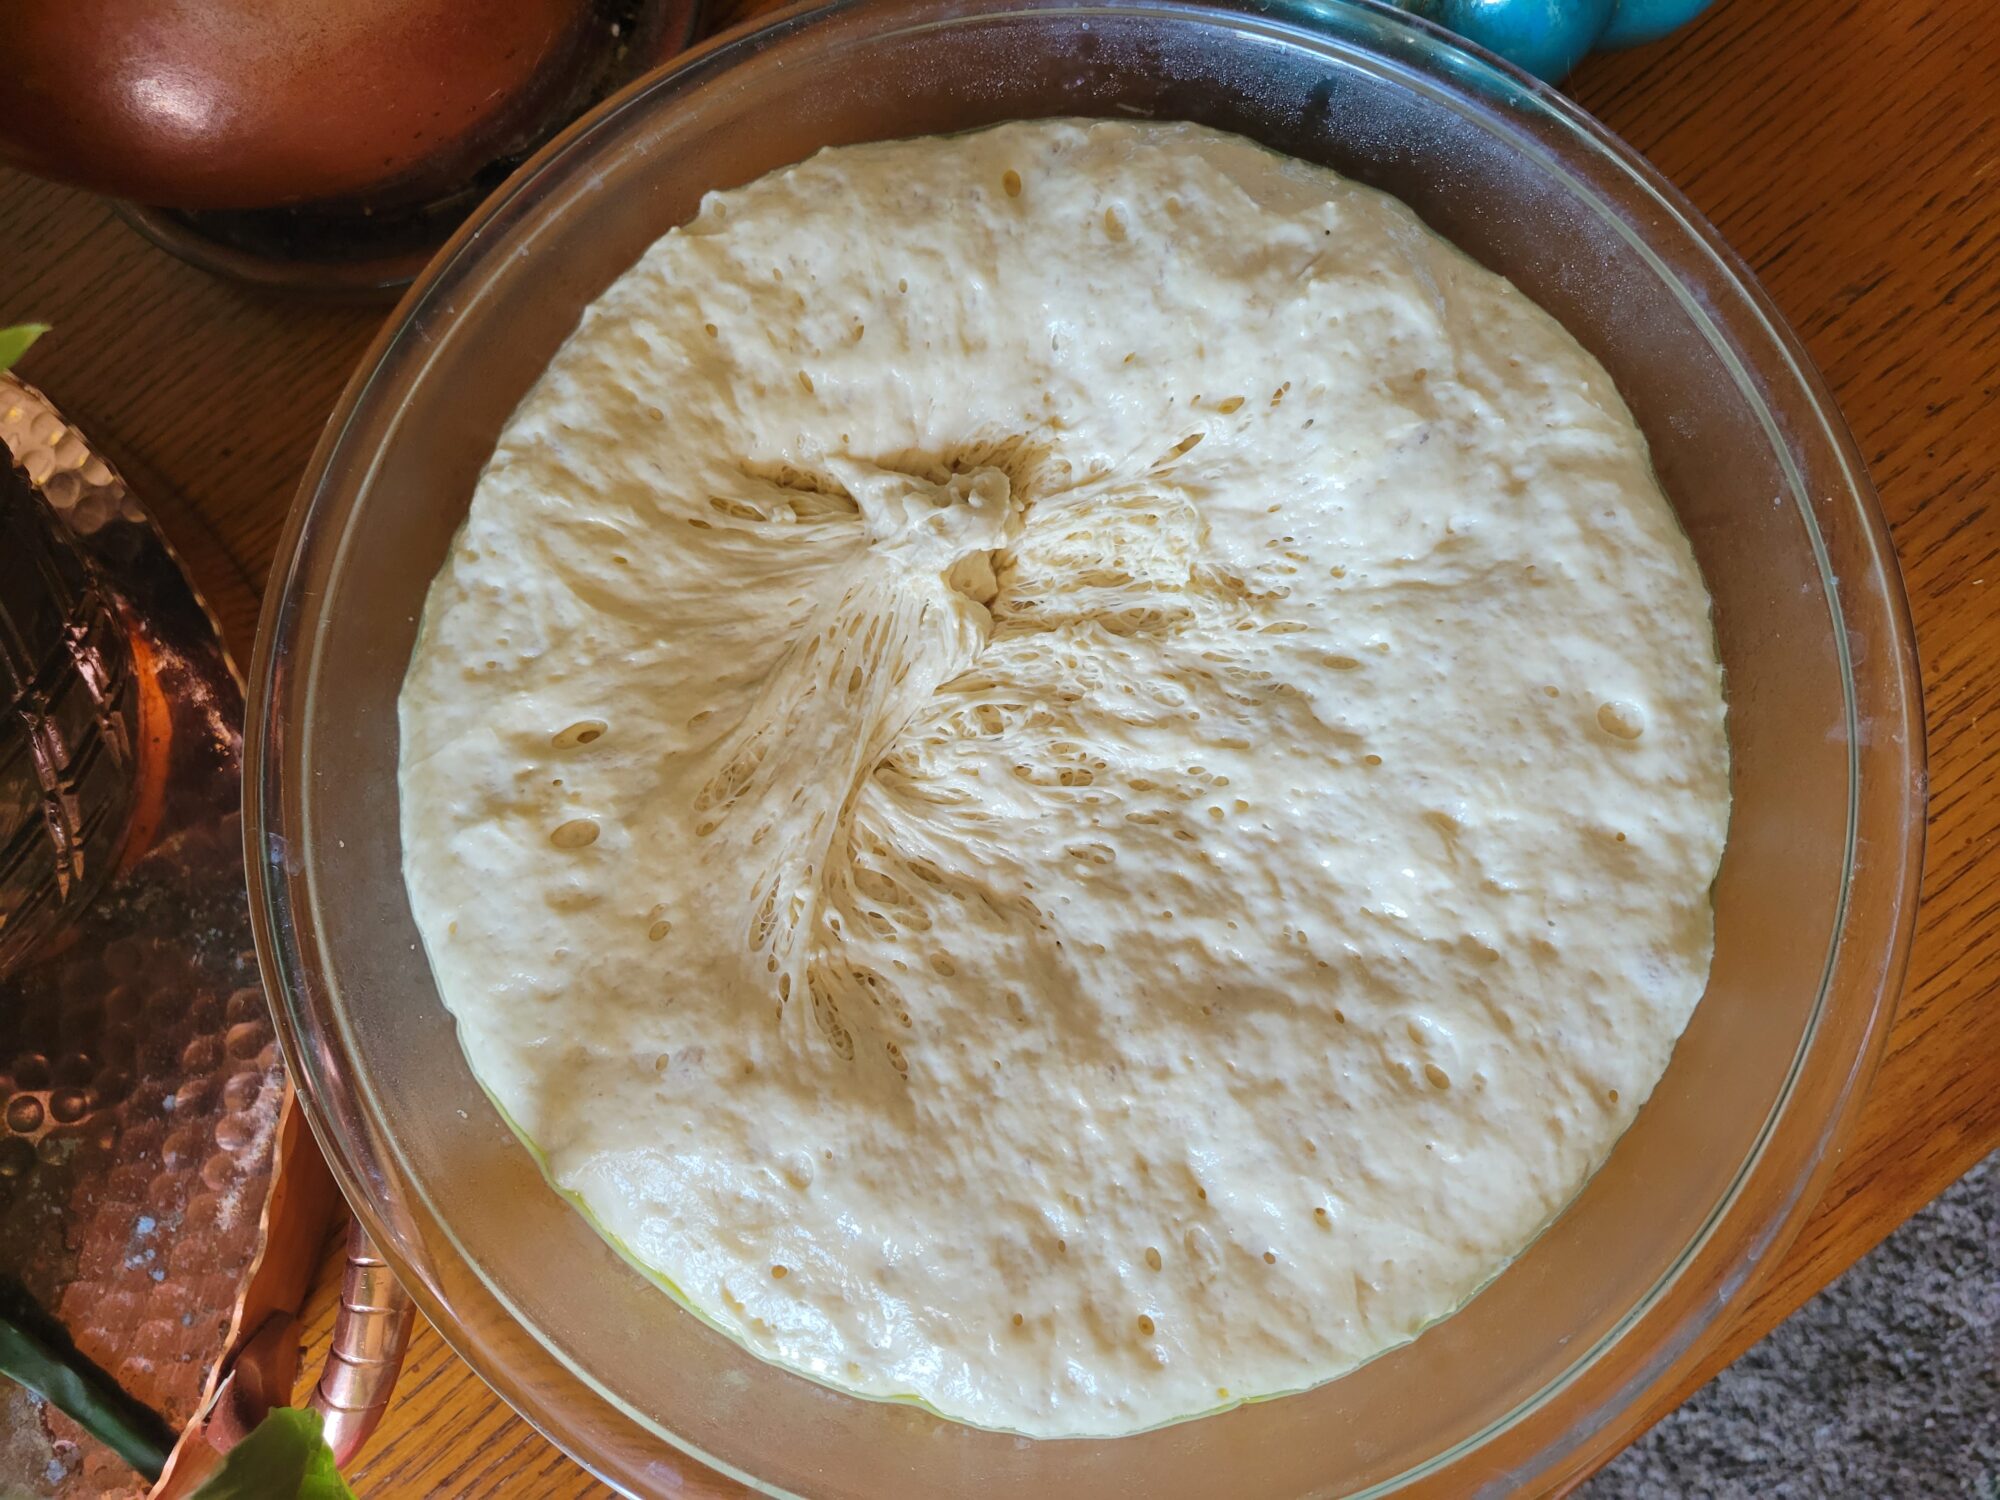
I'm also having kind of a bit of fun watching how the proof effects the dough. Over the last couple of weeks we've gone from snow to in the '70s to snow again. So the temperature in my apartment (which I have 0 control over because it's in my neighbor's side of the duplex!) have fluctuated quite a bit. Some of the better doughs have had lower rises. So, I've wondered if I might be overproofing them and eating up too much of the yeast before they cook? But I started this batch before I left for work and let it proof much longer than I have been! And it turned out great. Even proofing longer, though, the dough didn't have as high of a rise. I did leave a window open and we are back into 30 degree nights right now...
All this really proves is that I am not a proficient bread baker and do not entirely understand the process! Which I'm fine with because I usually hate how precise baking is and would prefer to just be able to wing it and have something delicious at the end. But it does go to show how easy this bread recipe is! Because, if I haven't royally screwed it up by now, there's something good!
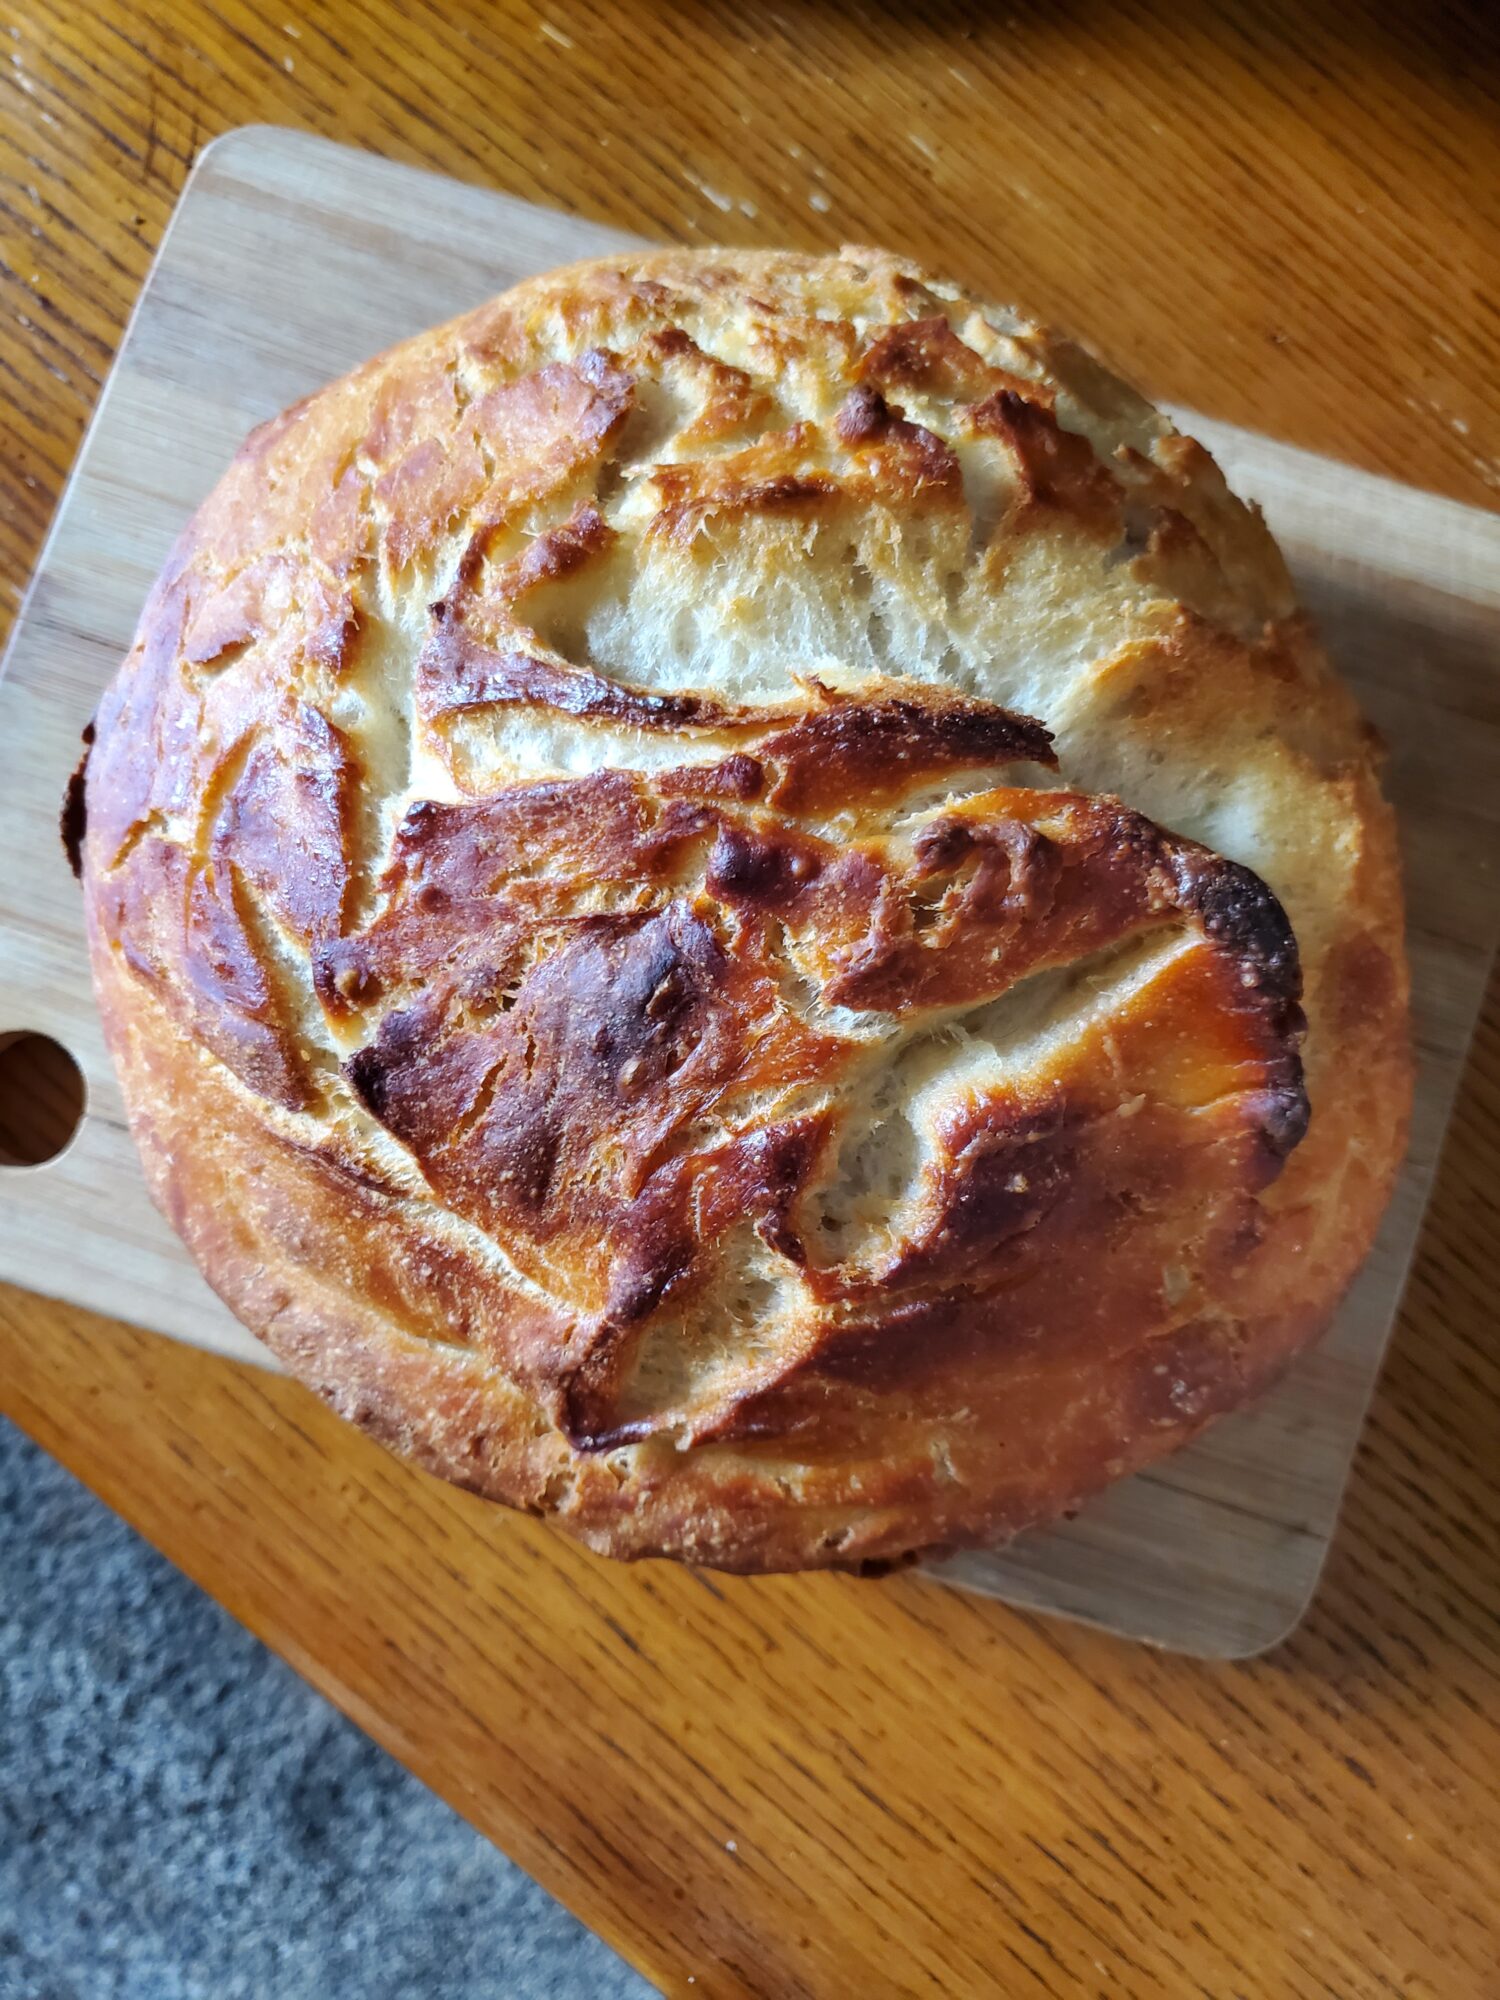
Seventh Try at Dutch Oven Bread
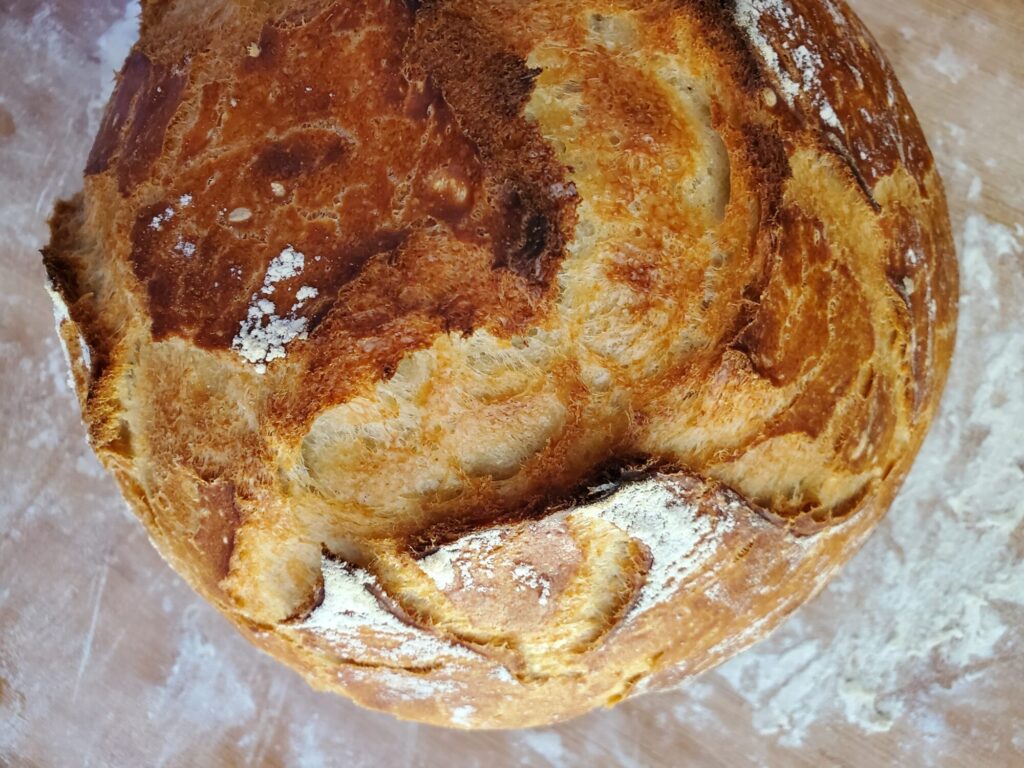
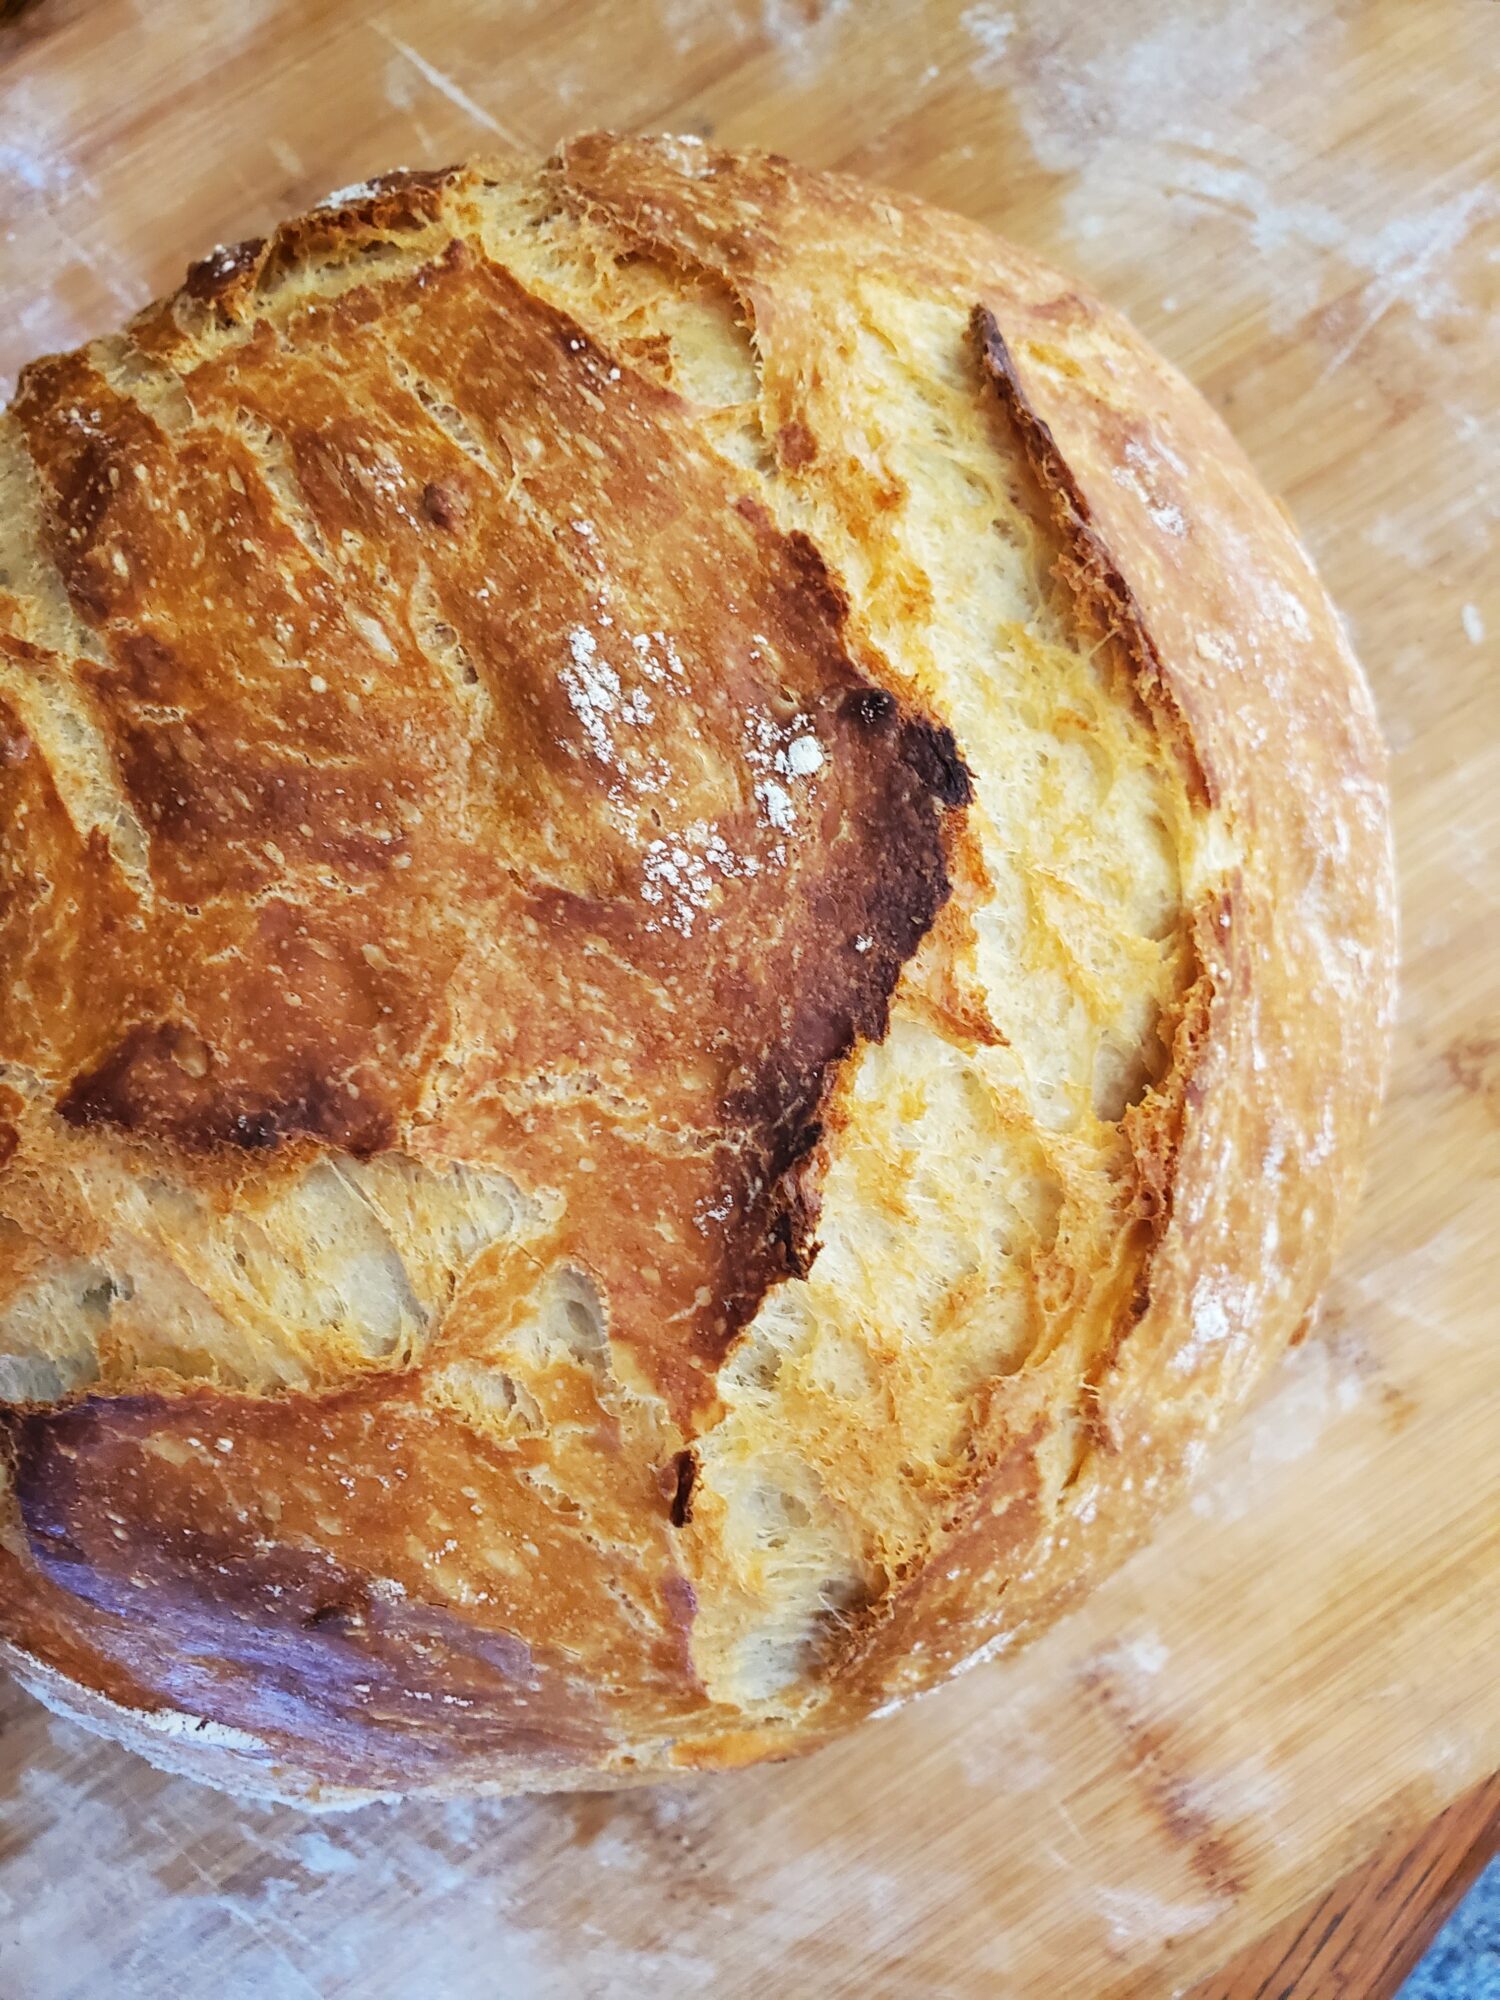
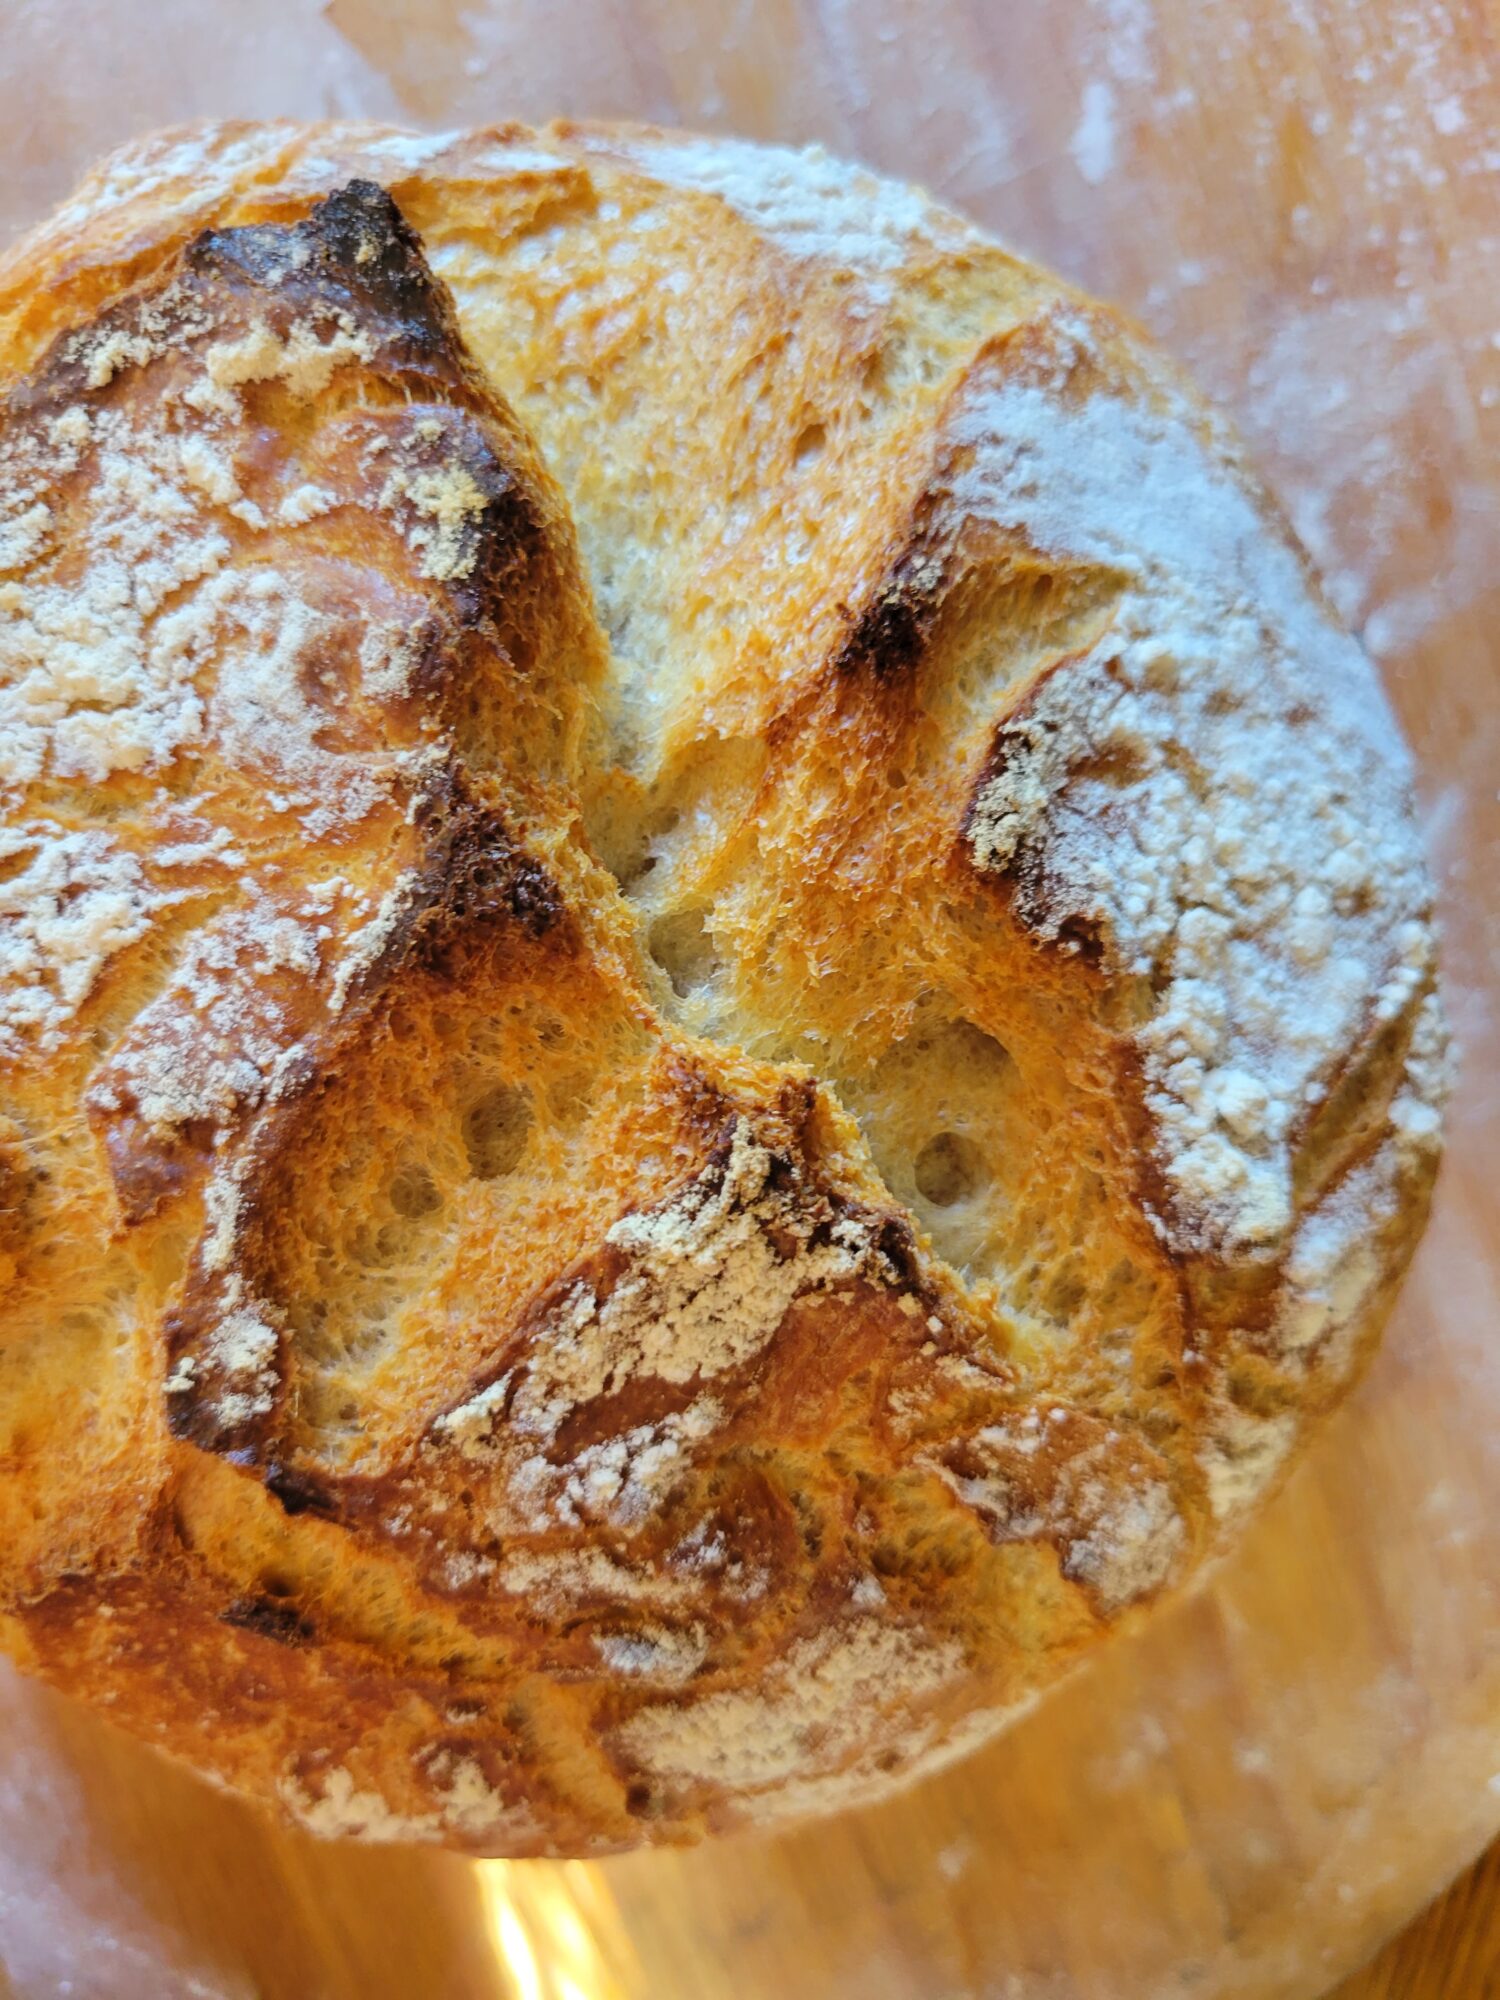
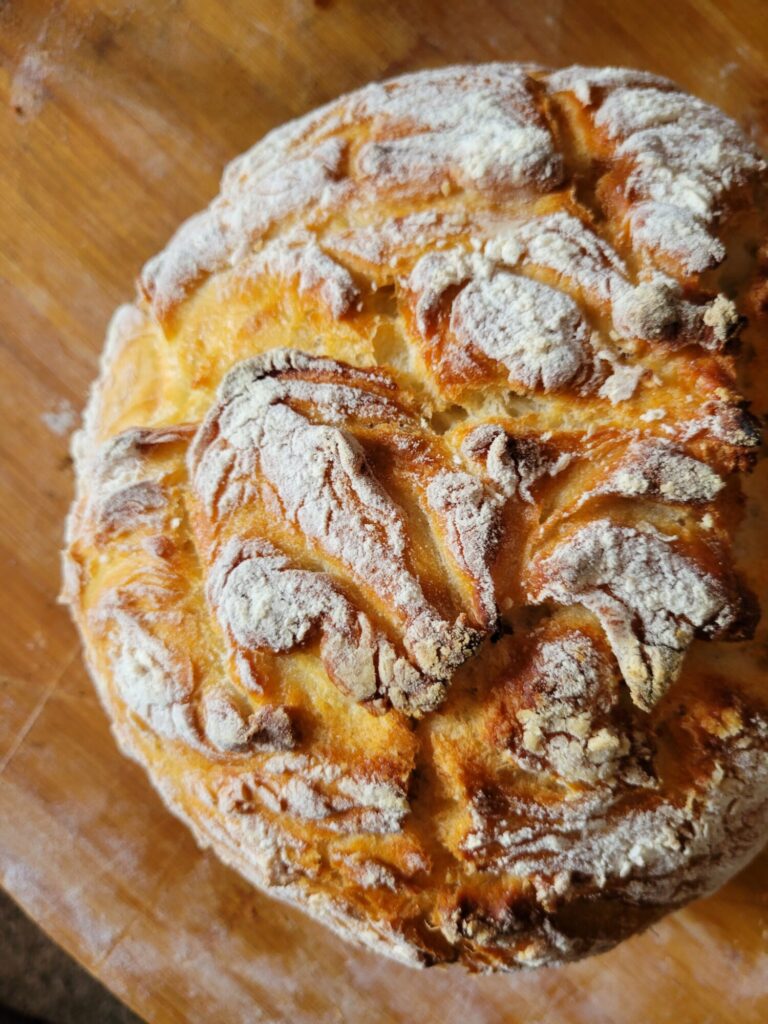
I've been forgetting to add flour and ball the dough slightly before putting it in the oven. That doesn't make any difference taste-wise! But it does make kind of a difference presentation-wise. So, with this one, I made sure to give an extra sprinkle of flour before and after I put the dough in the Dutch oven.
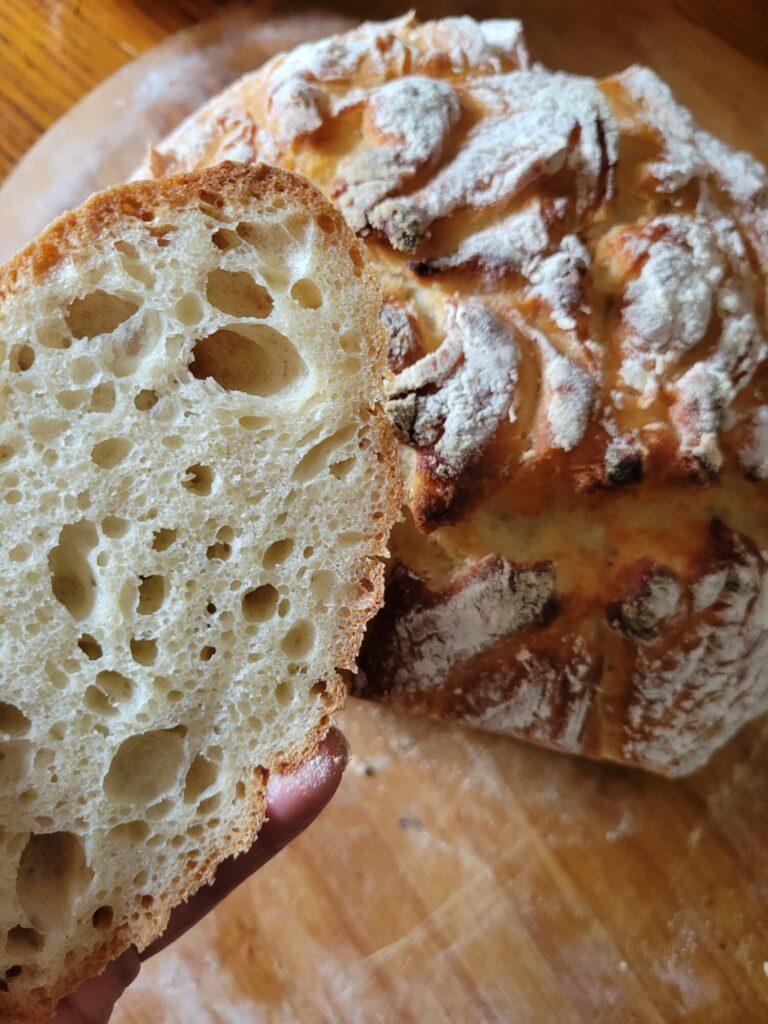
I'm also starting to notice that, the more the dough proofs, the less holes the bread has. The loaves without as many holes aren't dense. They're still light and fluffy. But, I like to think that a good artisanal bread has holes! So, this might be something to experiment with down the line. I've been making some bread on my lunch break at work. Which has worked out fine. I am over proofing it when I do this, though! I work 4-5 hour split shifts when I do this, so the dough is proofing at least twice the time that it's supposed to.
Eighth Try
I definitely feel like I've mastered this method of making bread. It's been 4 months and 8 loaves of bread since I've started making it! Which actually isn't as bad as I thought that it was. It feels like I'm making bread constantly... But twice a month isn't that bad!
I also don't have photos of this bread sliced because I made it for my Birthday. So, I didn't cut into it before taking it to my little shindig. Because, "Hey, I made bread. Don't worry, I already ate half of it!" Isn't super classy. It looked very similar to my 5th and 7th loaves, though.
Ninth Try at Dutch Oven Bread
I've definitely established proof of concept here. There is no reason to keep inundating you with pictures of my bread. But I'm curious how the climate and proofing changes are altering the outcome. I started making bread just after Christmas during a Wisconsin winter. So, needless to say, it was quite cold! But, now that it's summer and there's been about a 100 degree shift in temperature!
The proof is definitely looking a bit different. I've been discovering that less is more when it comes to this quick, no-knead recipe. If the rise is too much initially, then it deflates in the oven. Which seems to be my number one complaint about bread. I sometimes lose the rise in the oven. Although, either way, this recipe still successfully makes bread!
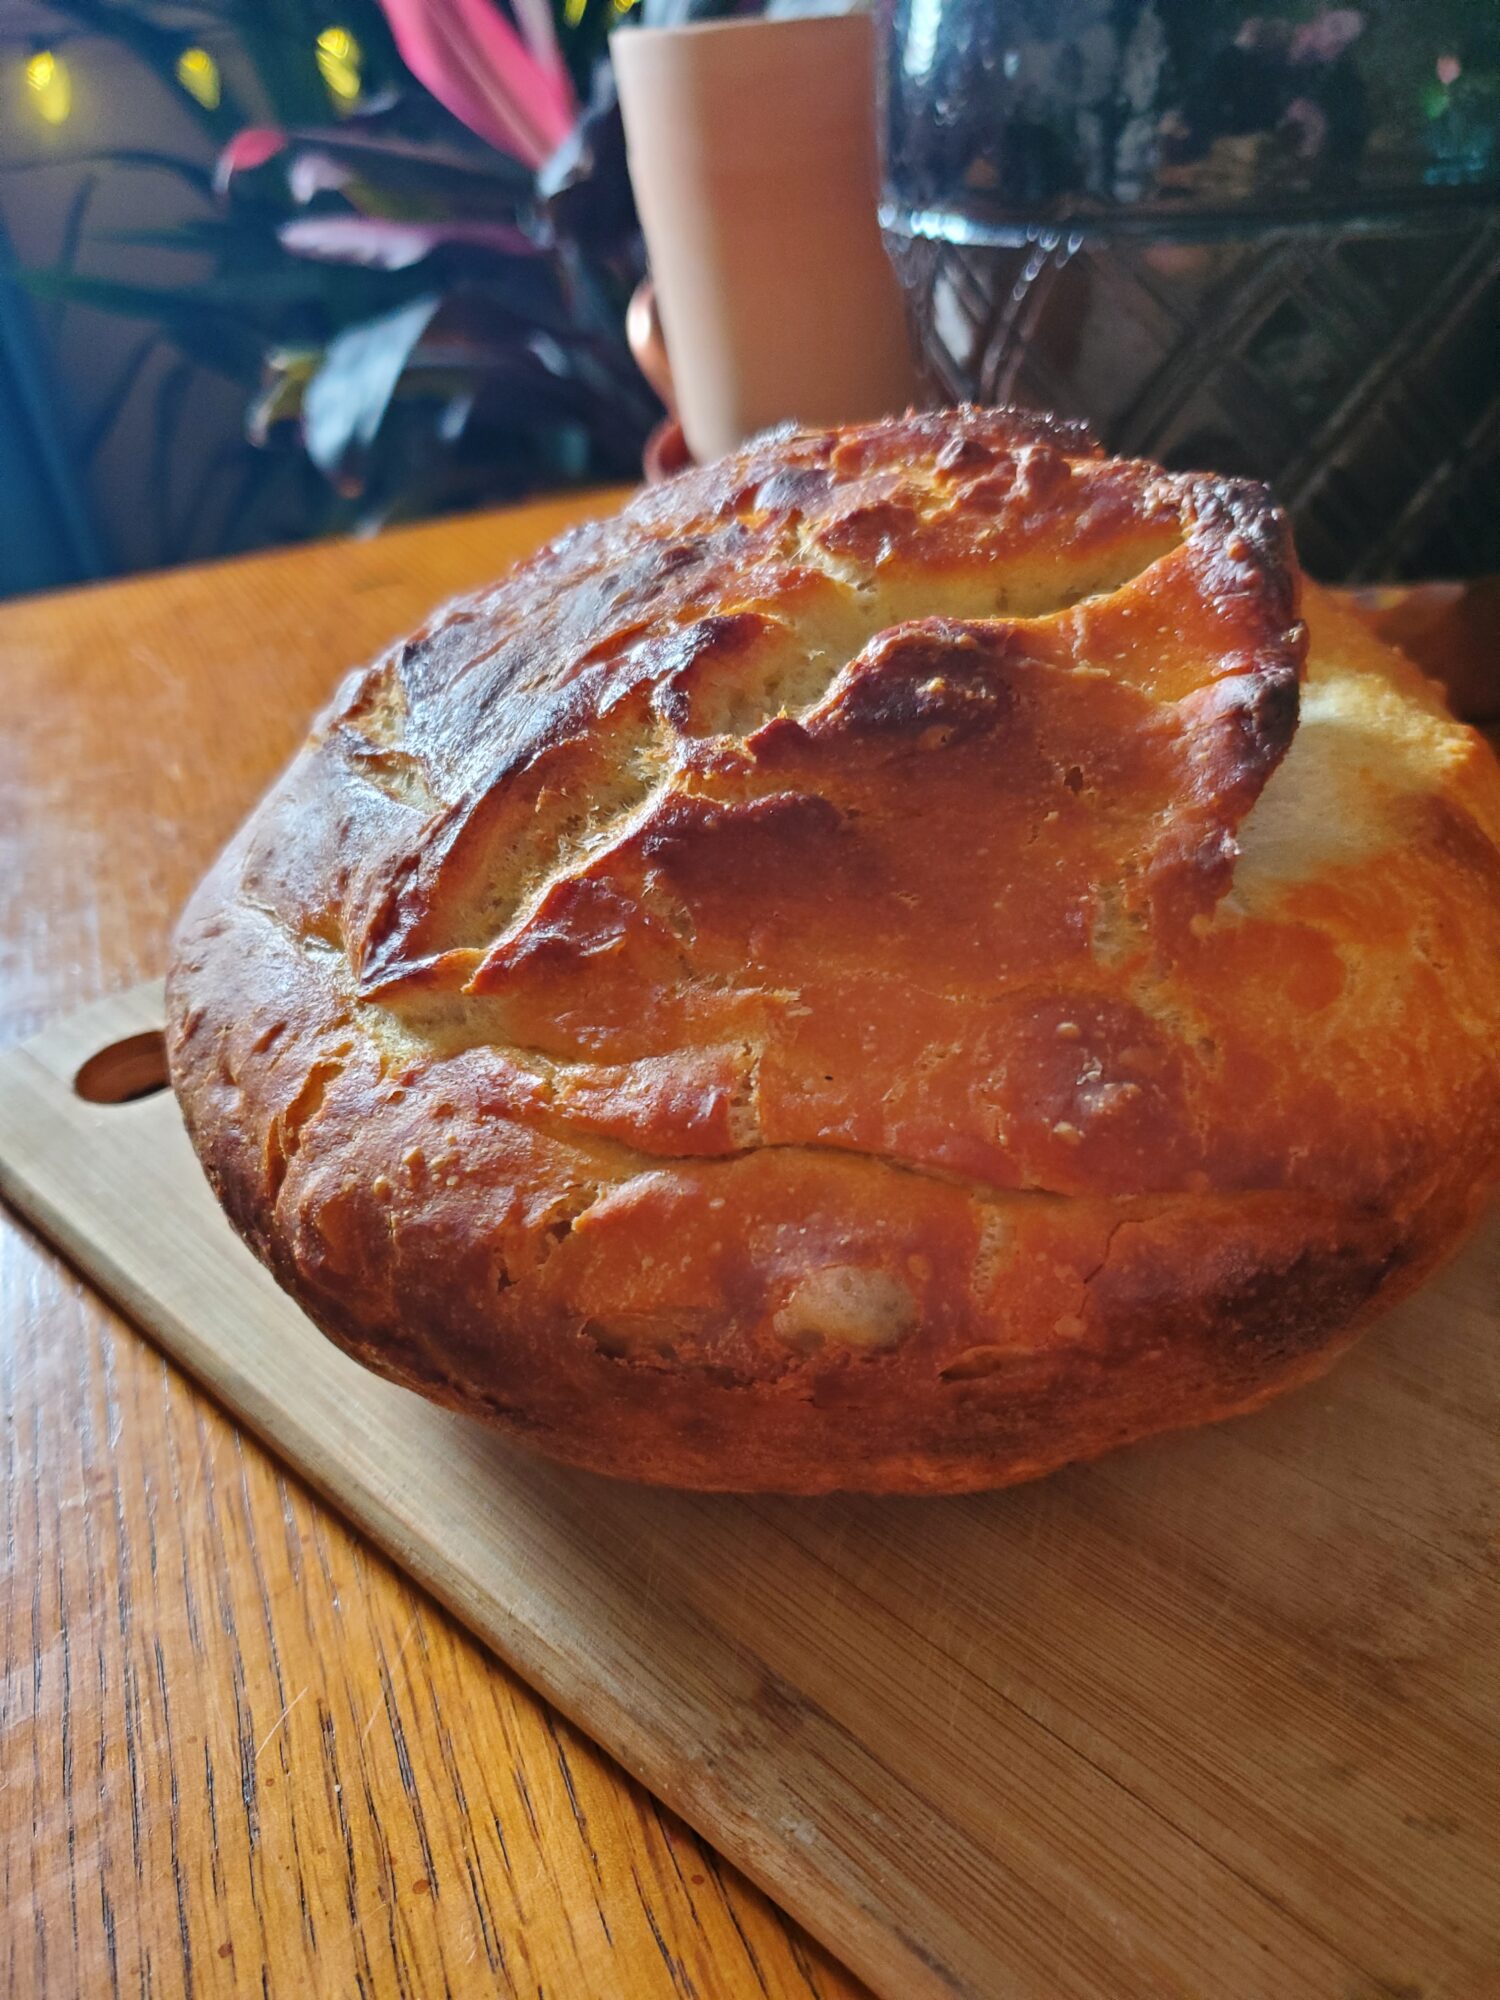
Tenth Try
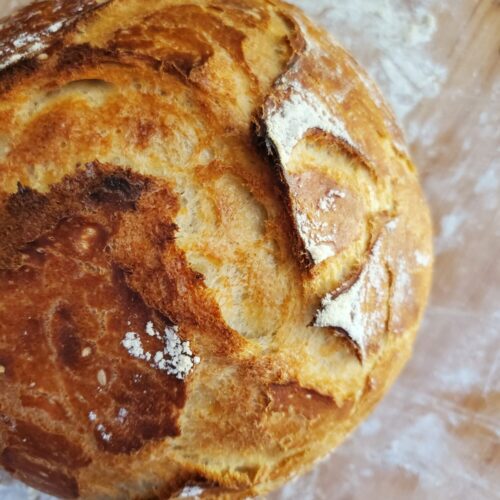
I made this batch right before going to work again. I managed to get a picture of it whole, but it wasn't cooled enough to cut into before I left! And then I absolutely cut into at night when I got home. So, the cut profile is definitely a couple of days later. But you get the point.
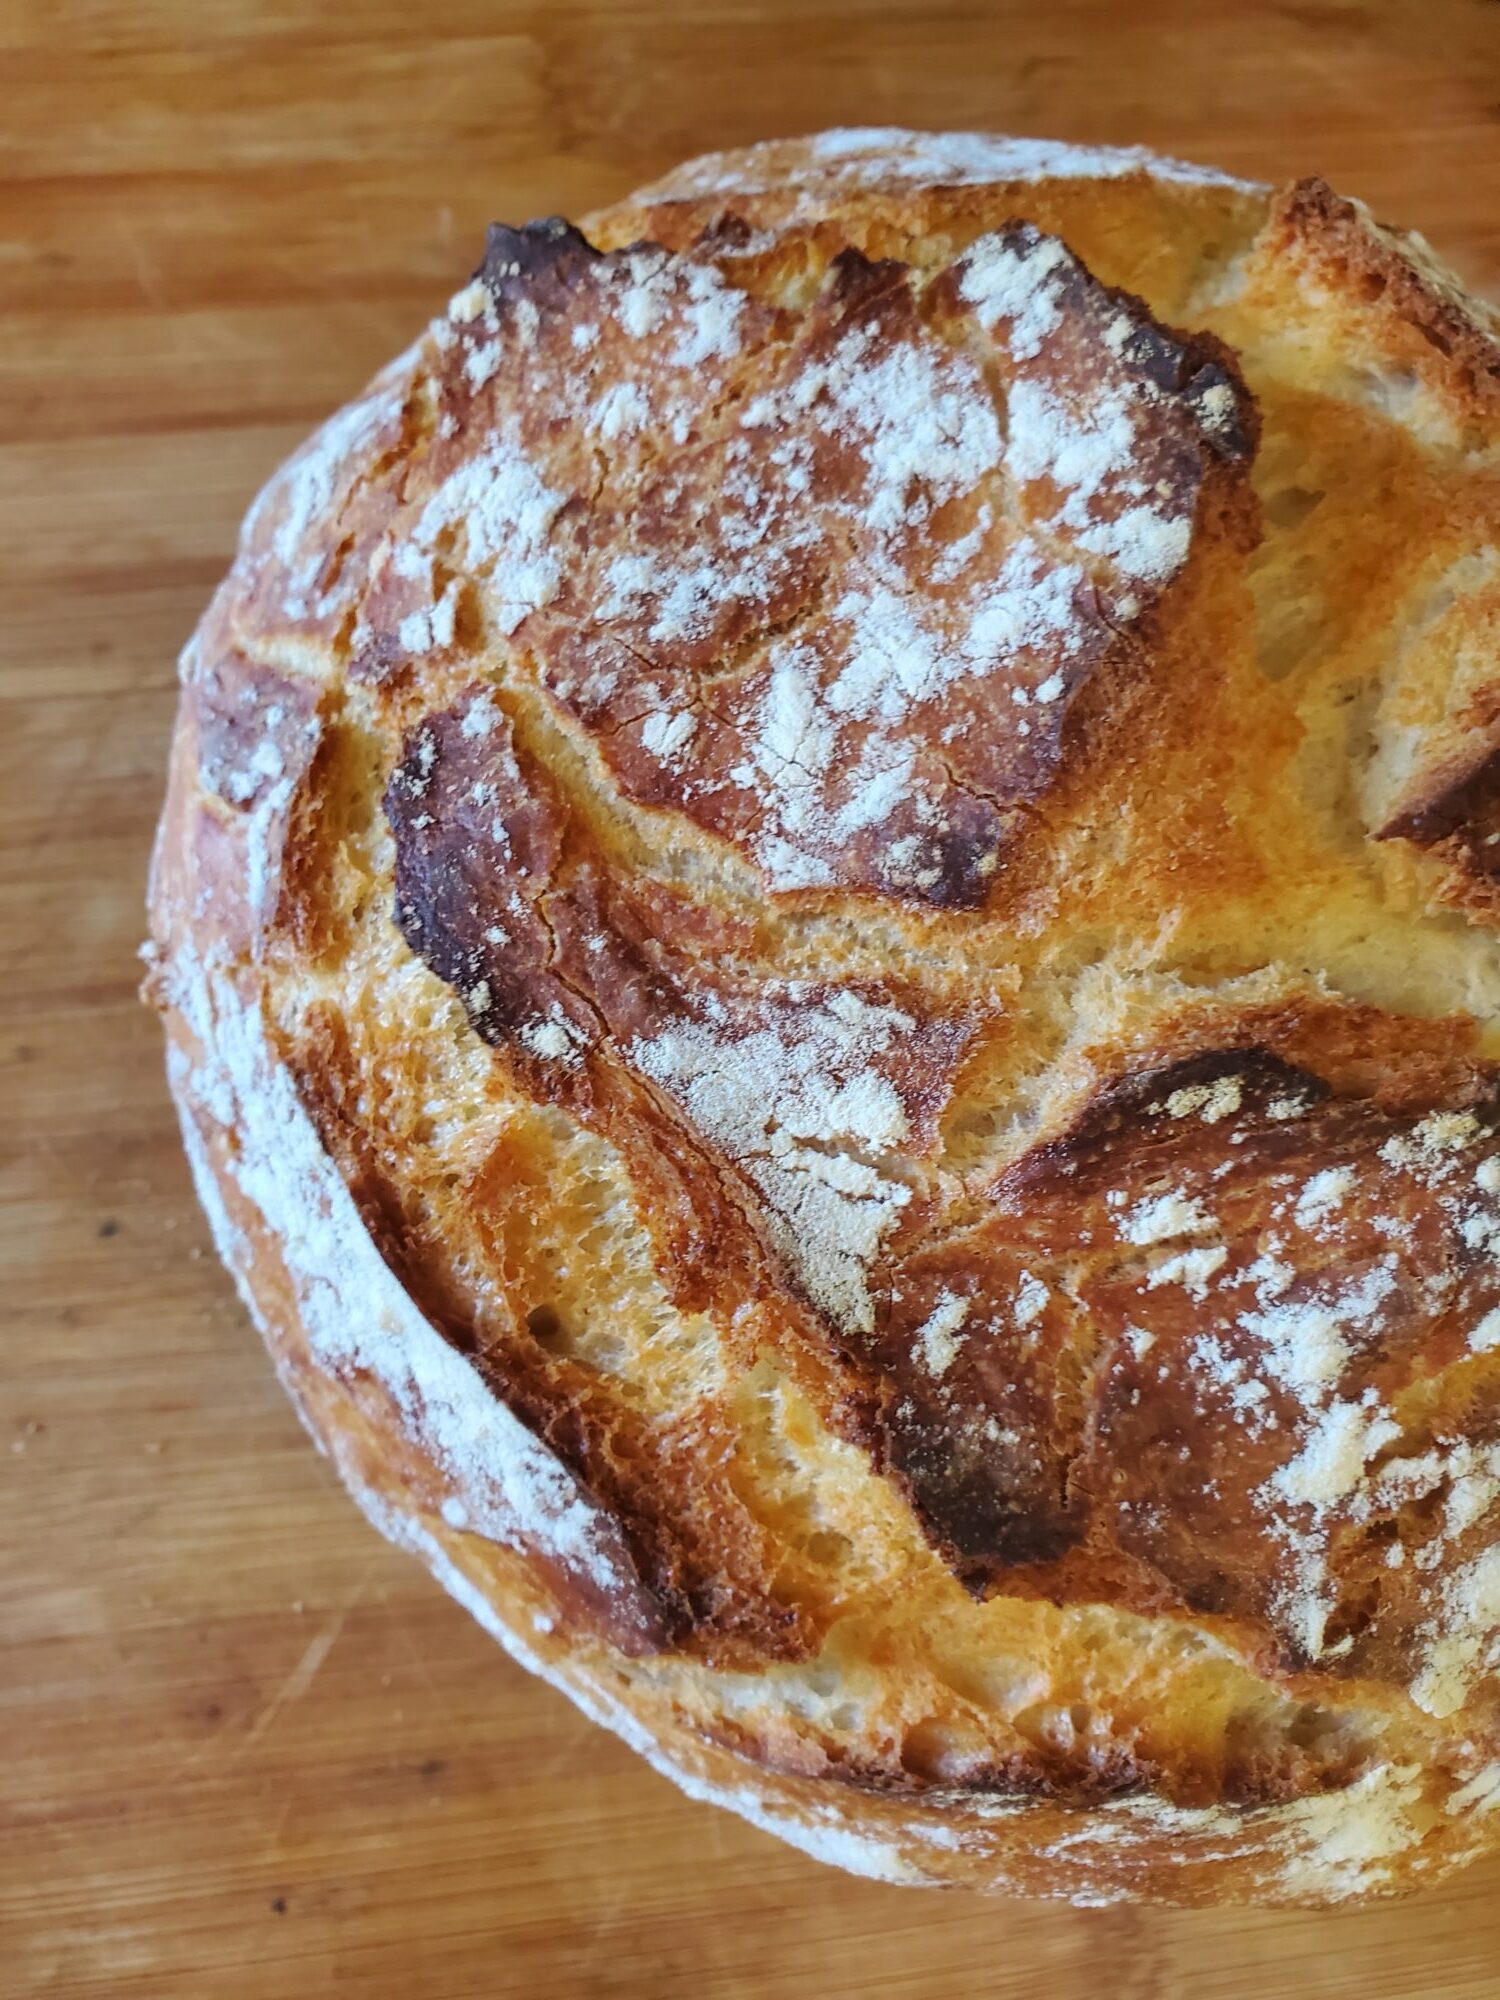
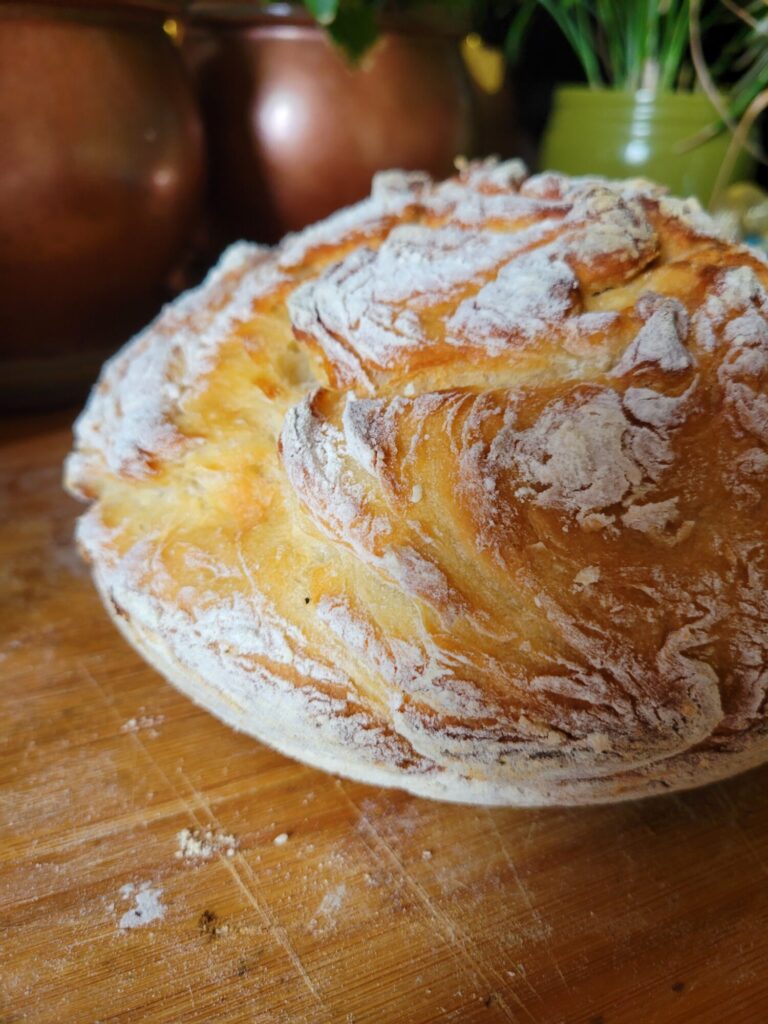
On the bright side, I've at least managed to flour this one beautifully.
Eleventh Try at Dutch Oven Bread
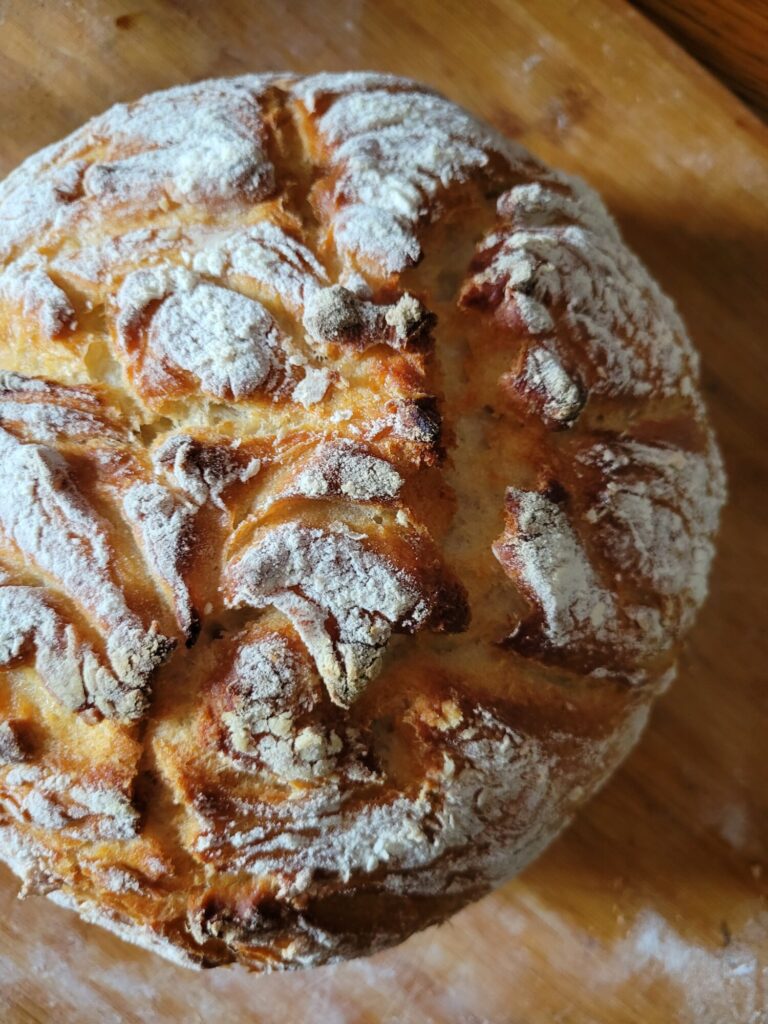
Alright, I will stop inundating you with photos of my bread! This one is gorgeous. I keep not scoring them on top because it tends to deflate the bread. Likely because I just don't have anything sharp enough to make cuts without pressing into it. I really should get a bread basket and razorblades for this.
The Fundamentals of No-knead Dutch Oven Bread
This no-knead Dutch oven bread is an easy bread recipe. I have to be honest and say that baking isn't exactly my forte. But during Coronavirus, when everyone seems to be making gourmet bread, I can't help but try my hand at it! And this recipe actually is possible to make. If I can make it work, that's a good sign that you will be able to, too! A no-knead Dutch oven bread truly does seem to be, noot foolproof, but much, much easier than I was at first afraid of.
7g.brown sugar(or 2 tsp. granulated sugar, maple syrup, or honey)
570g.all-purpose flour(4 ¾ c.)
2tsp.salt
oilto grease bowl
Instructions
Dough
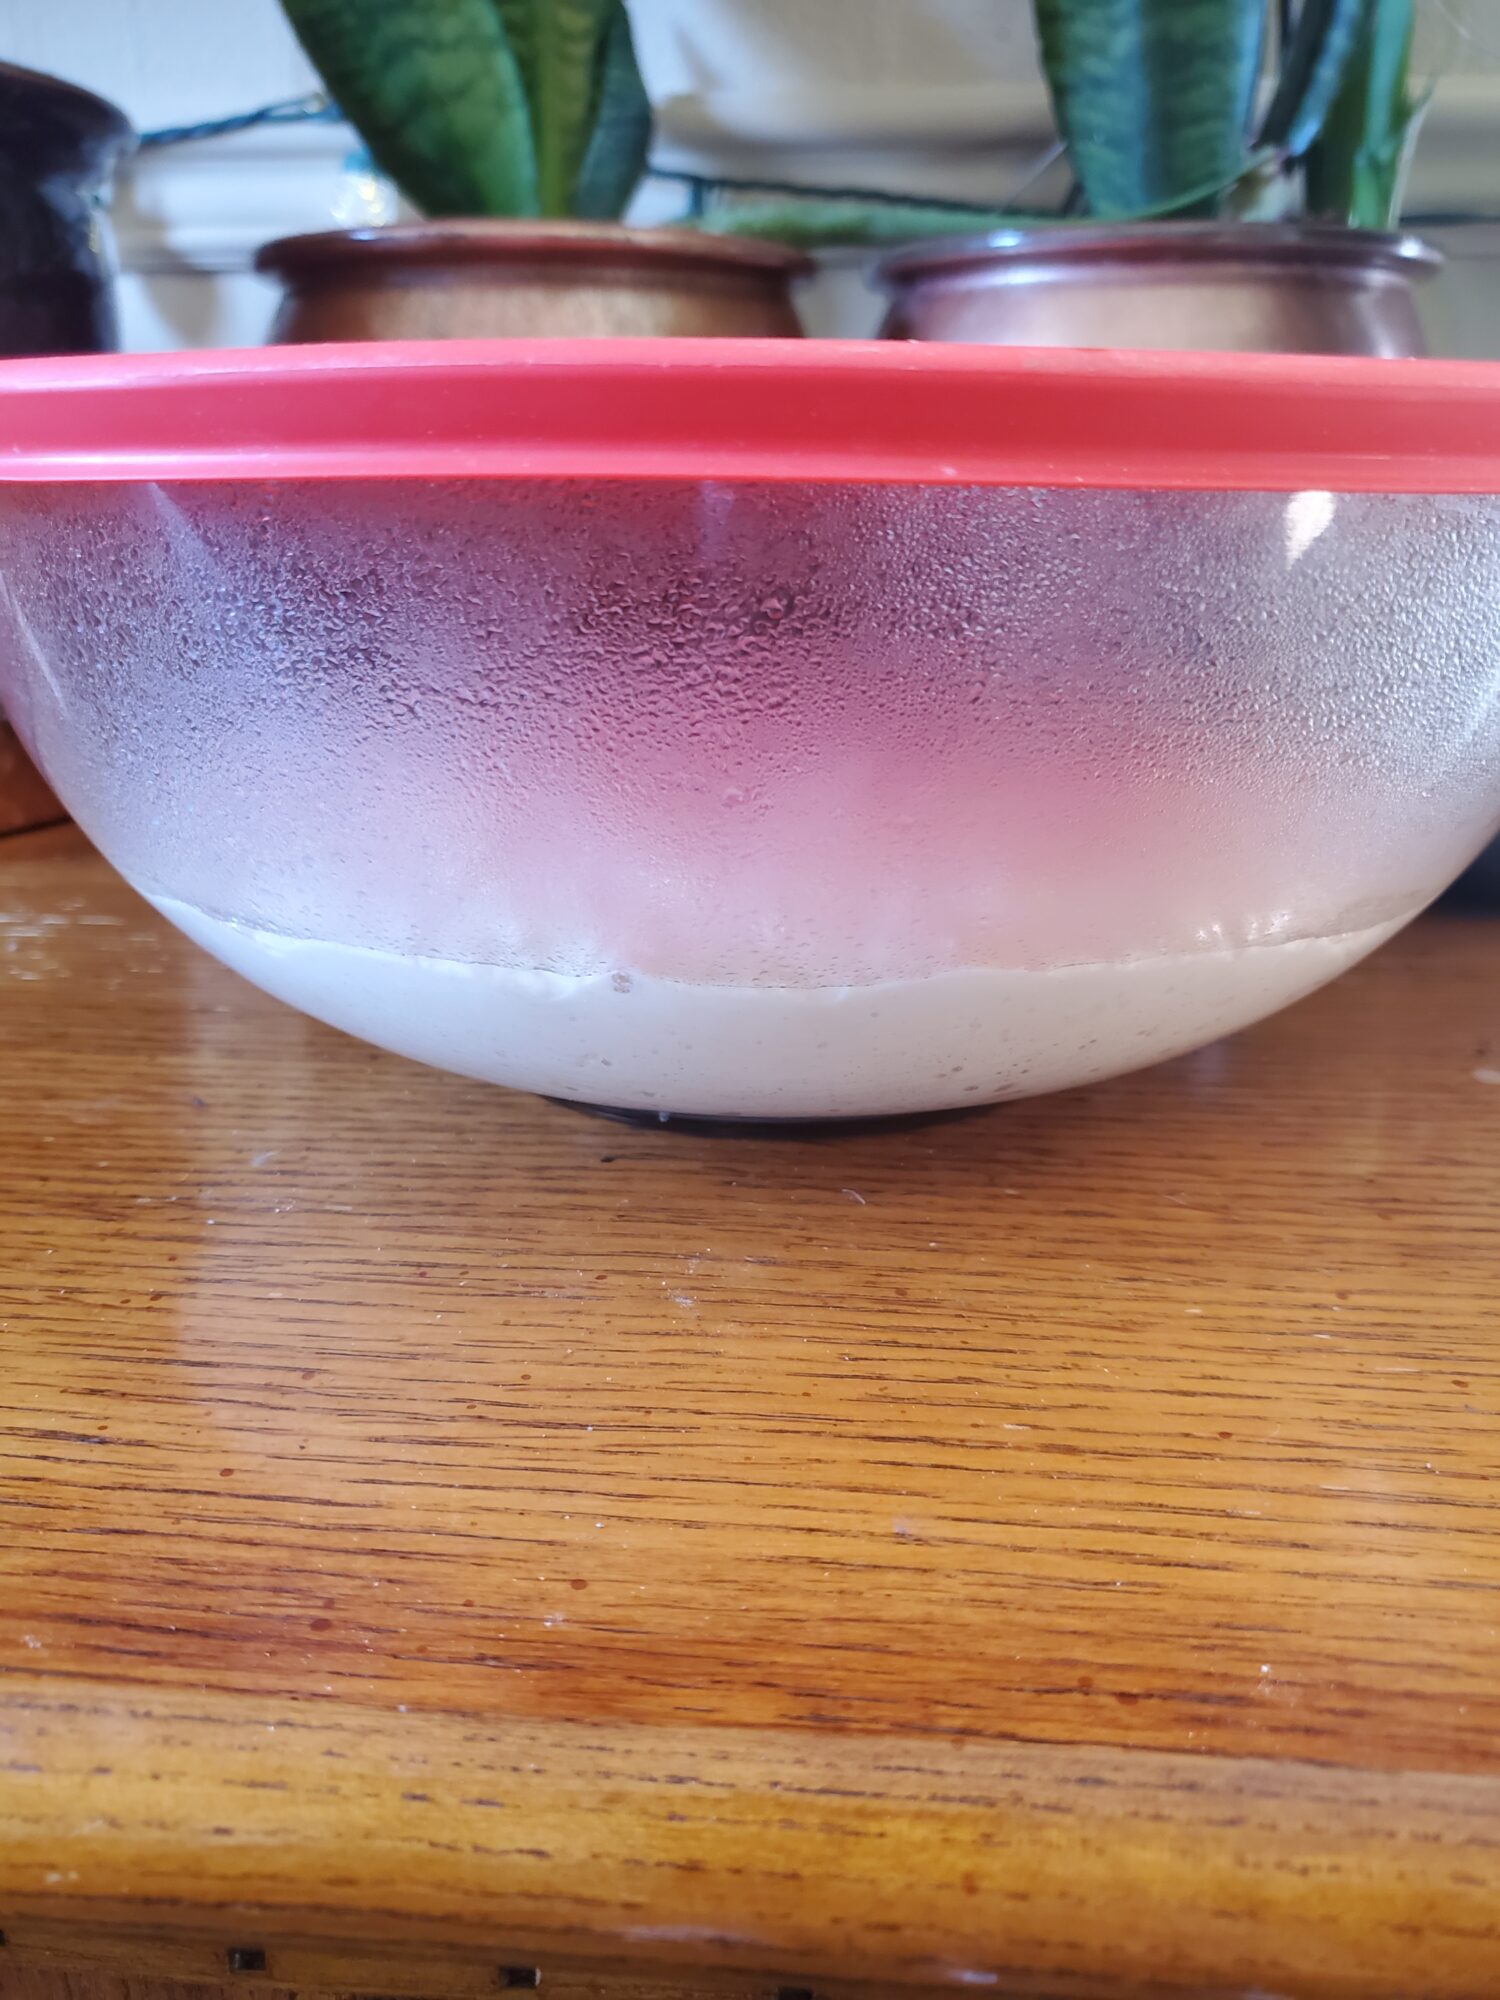
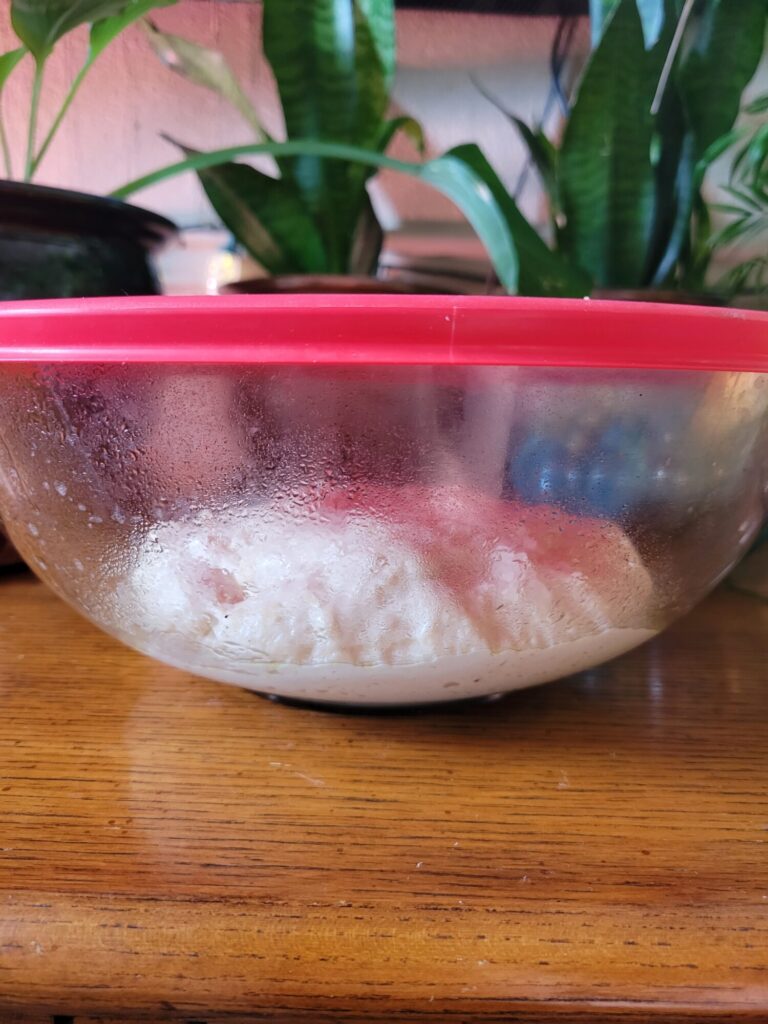
Combine warm water, yeast, and sugar. Let rest for 15 minutes, or until the yeast begins to bubble.
Meanwhile, whisk together flour and salt in a large bowl.
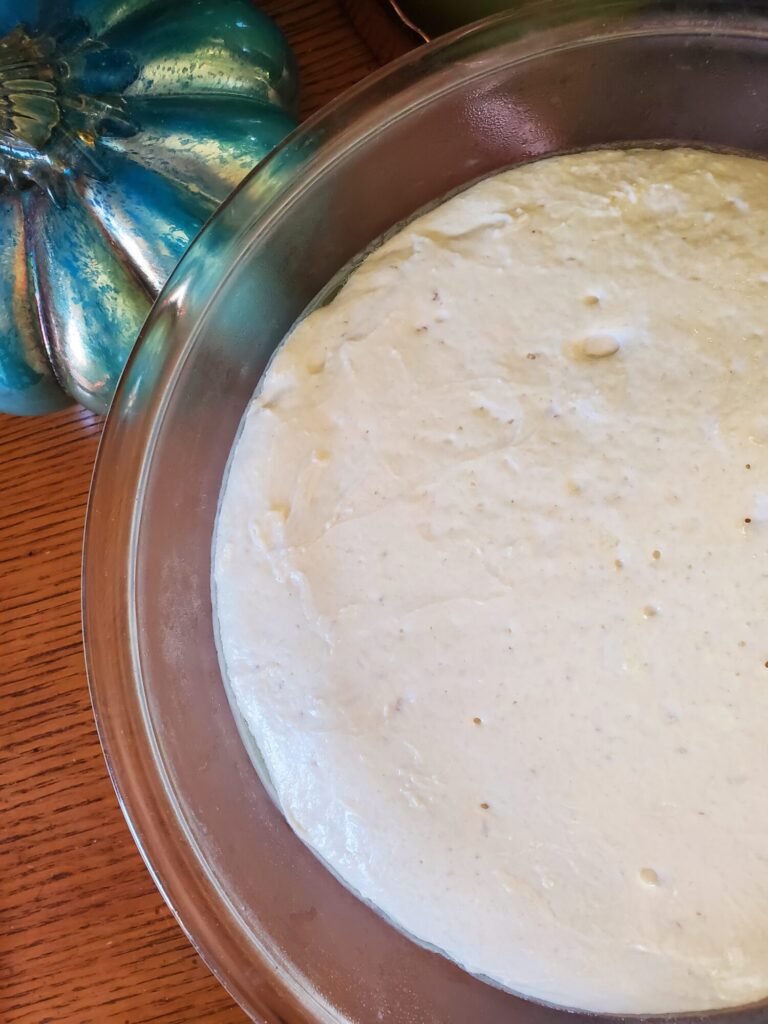
After the yeast has proofed, stir yeast mixture into the flour. Mix until all of the ingredients are combined.In a mixer with a dough hook attachment, this only takes a minute or two. By hand, this takes about 5 minutes. It's a no-knead bread recipe, so you're not necessarily looking for soft and pliable dough. Really, you just want all of the ingredients to be mixed thoroughly at this point! Which does make it a great recipe to make by hand if you prefer or don't have a mixer.
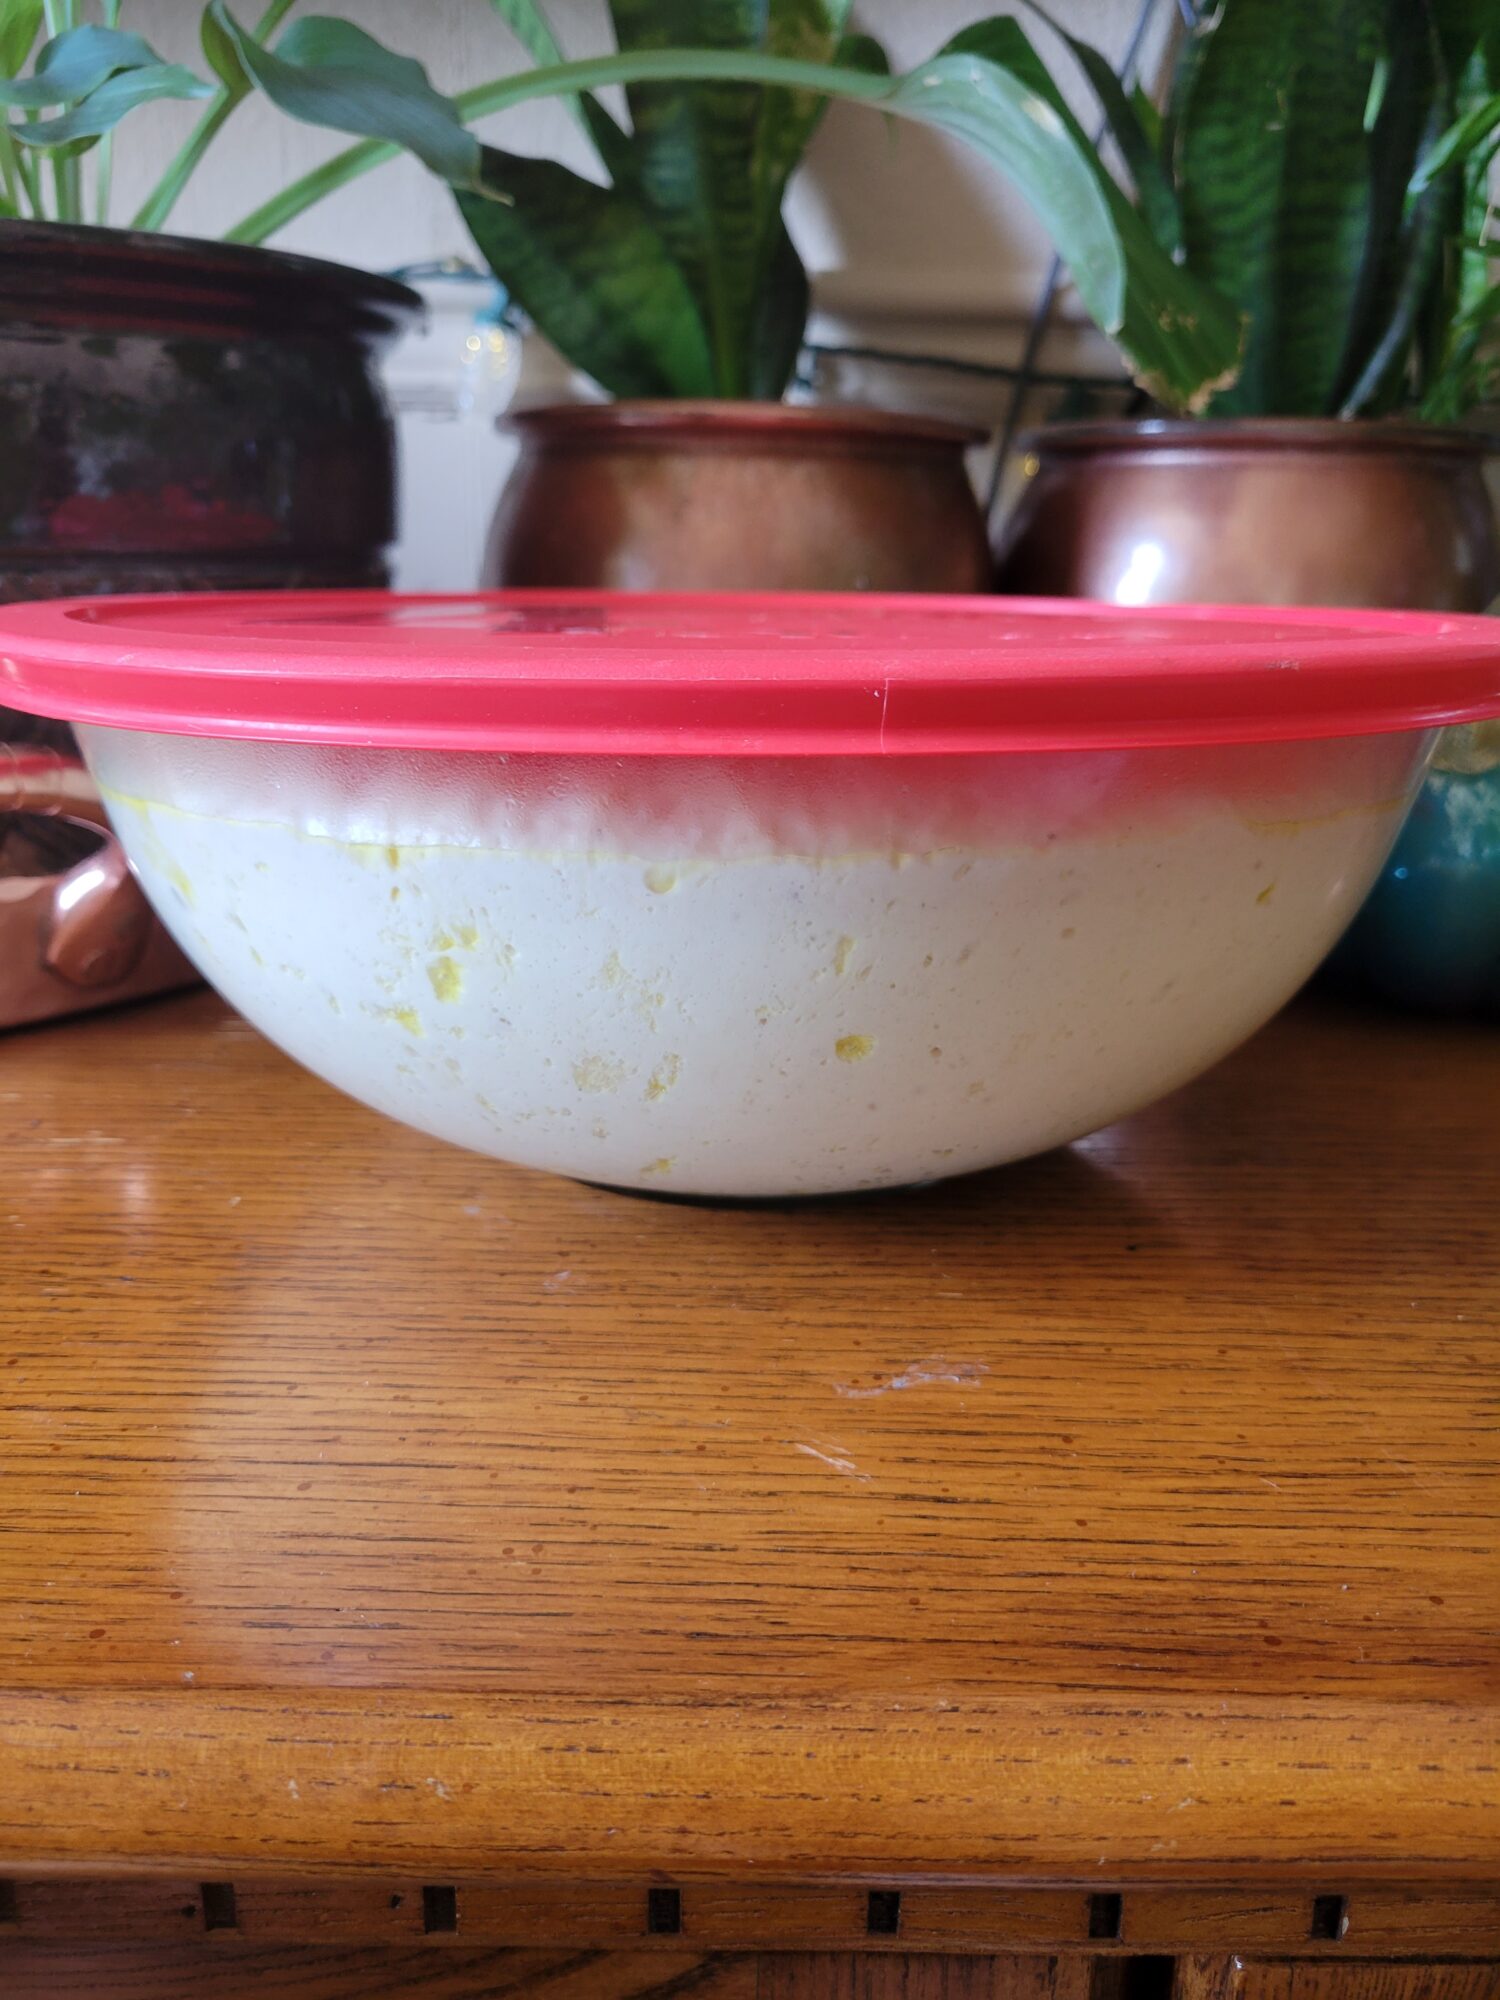
Lightly grease another bowl and transfer the dough.You can use the same bowl and just clean out the dough and grease, but it's helpful to have a second bowl to be able to just transfer it!
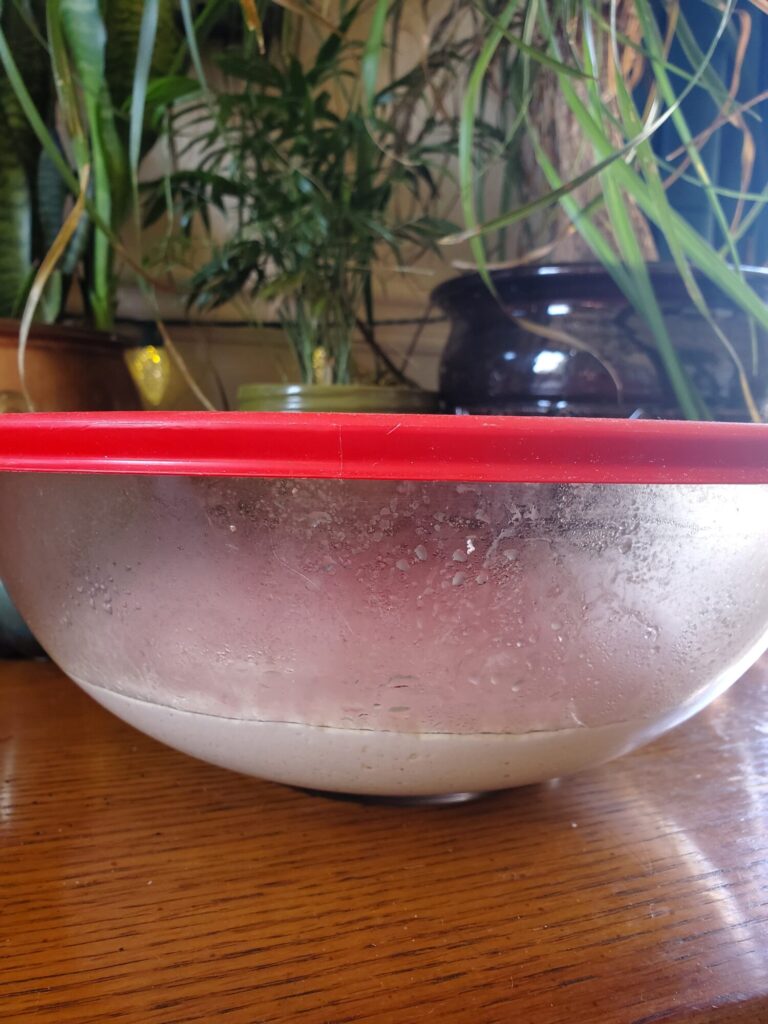
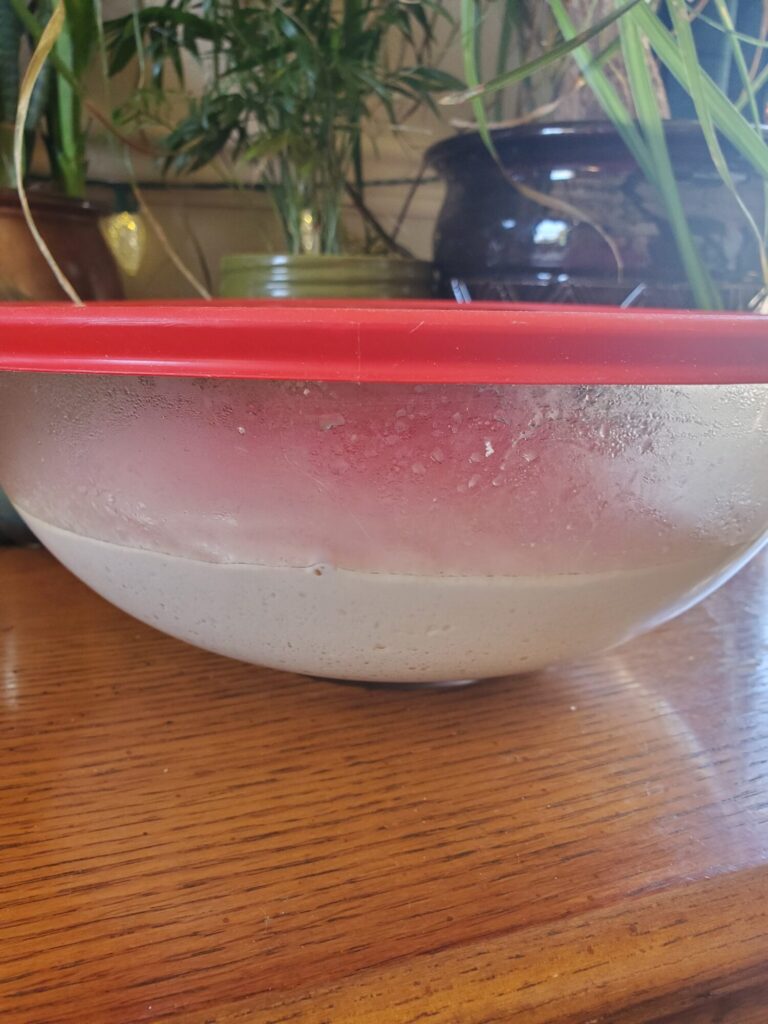
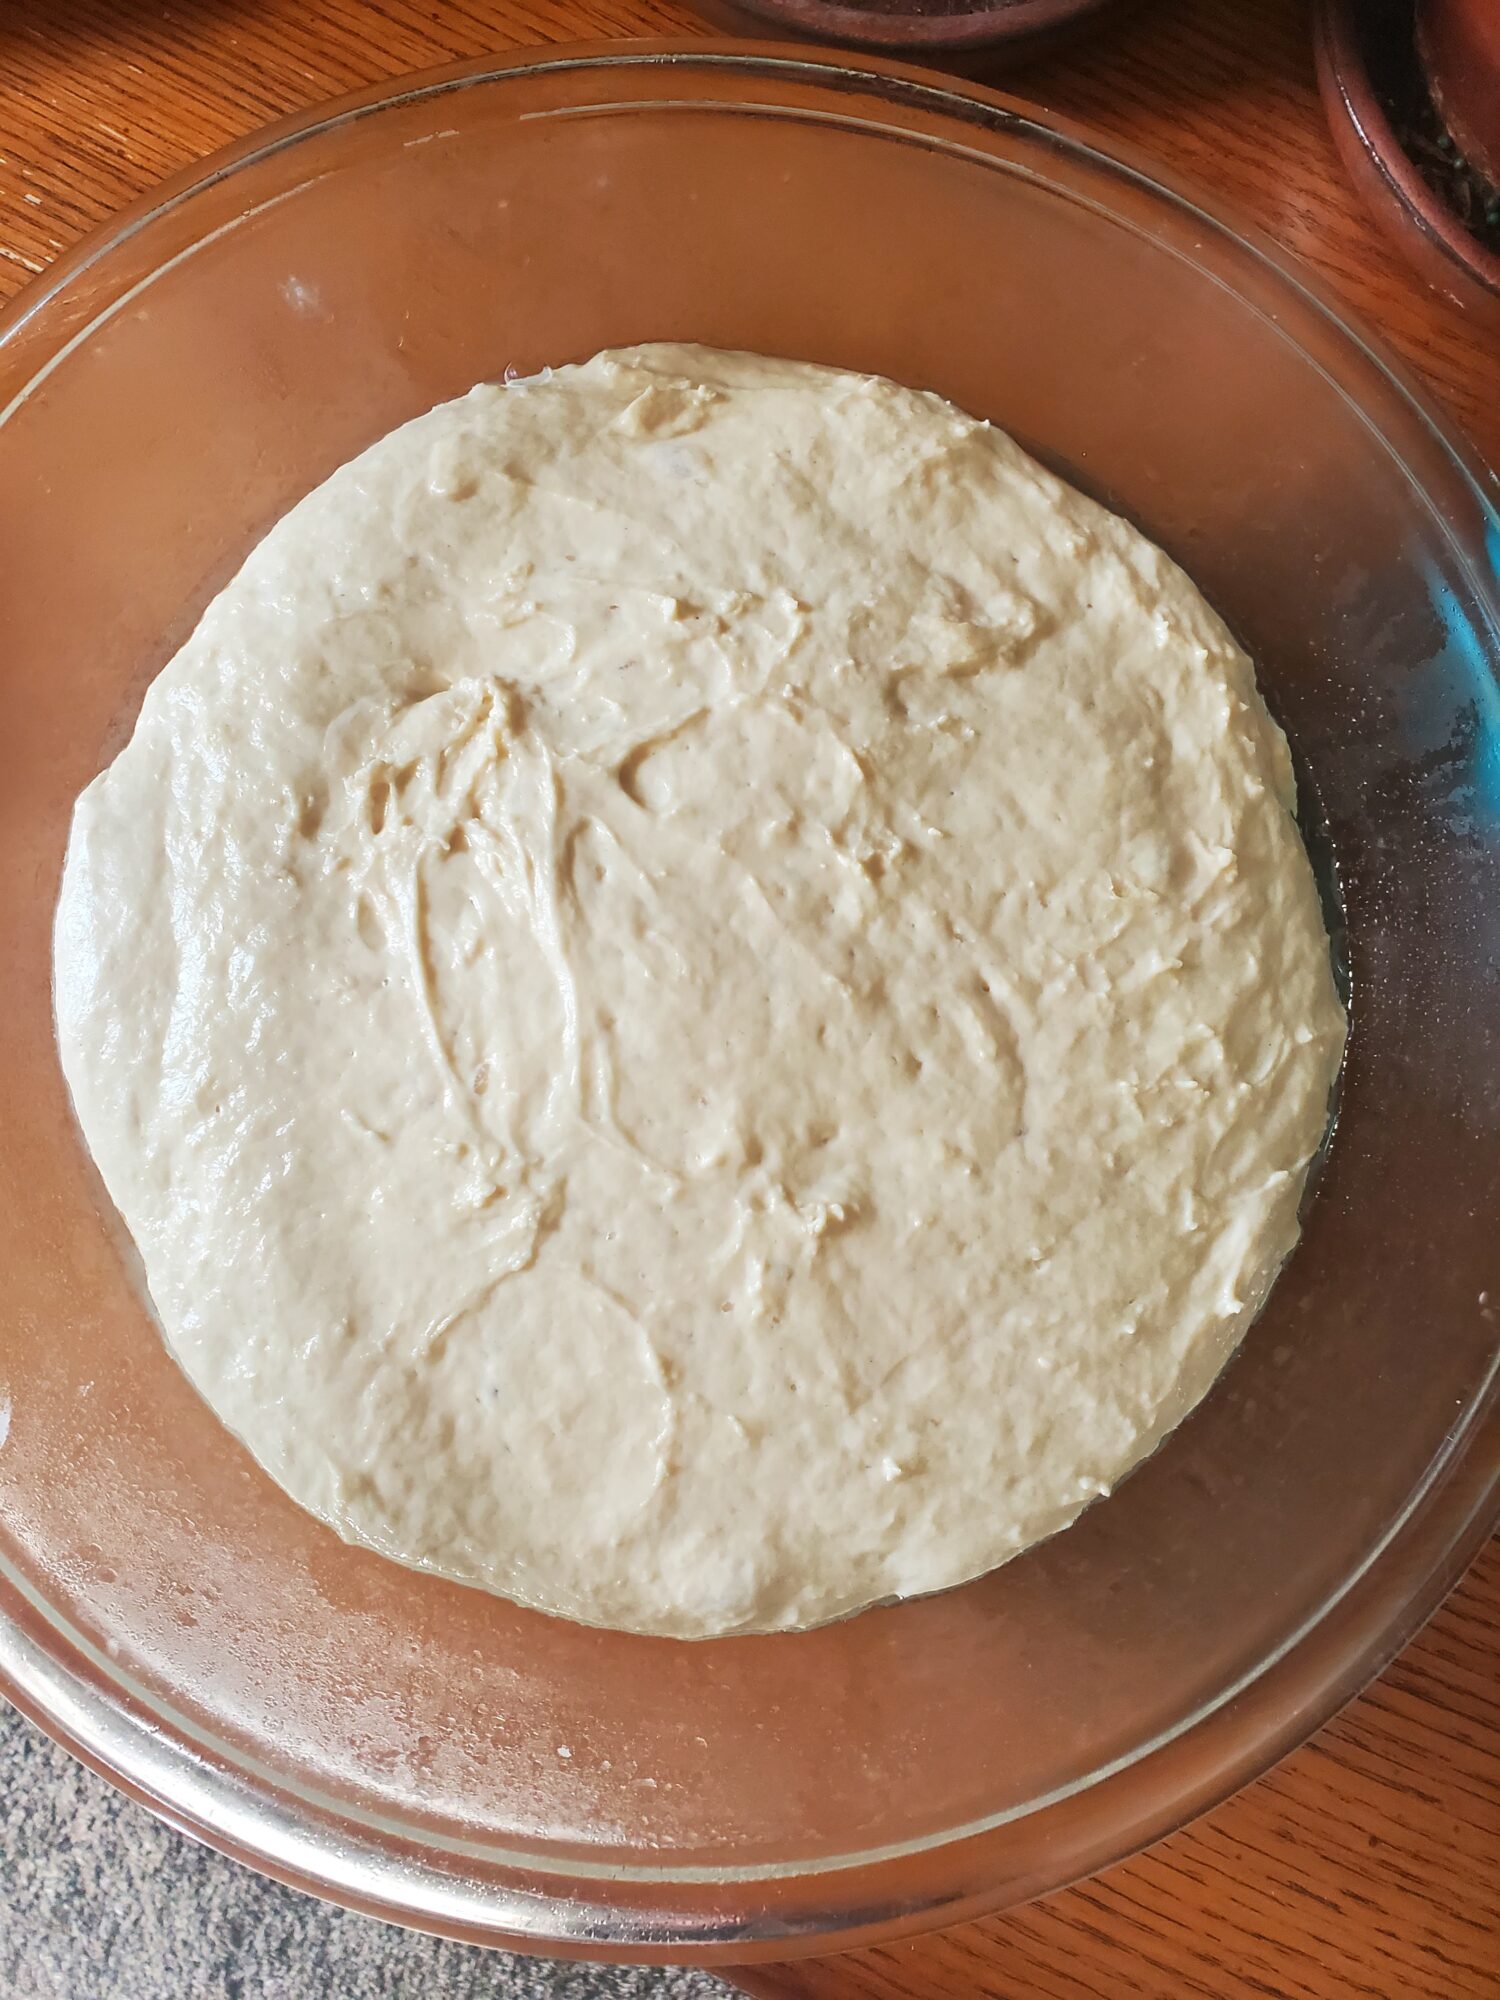
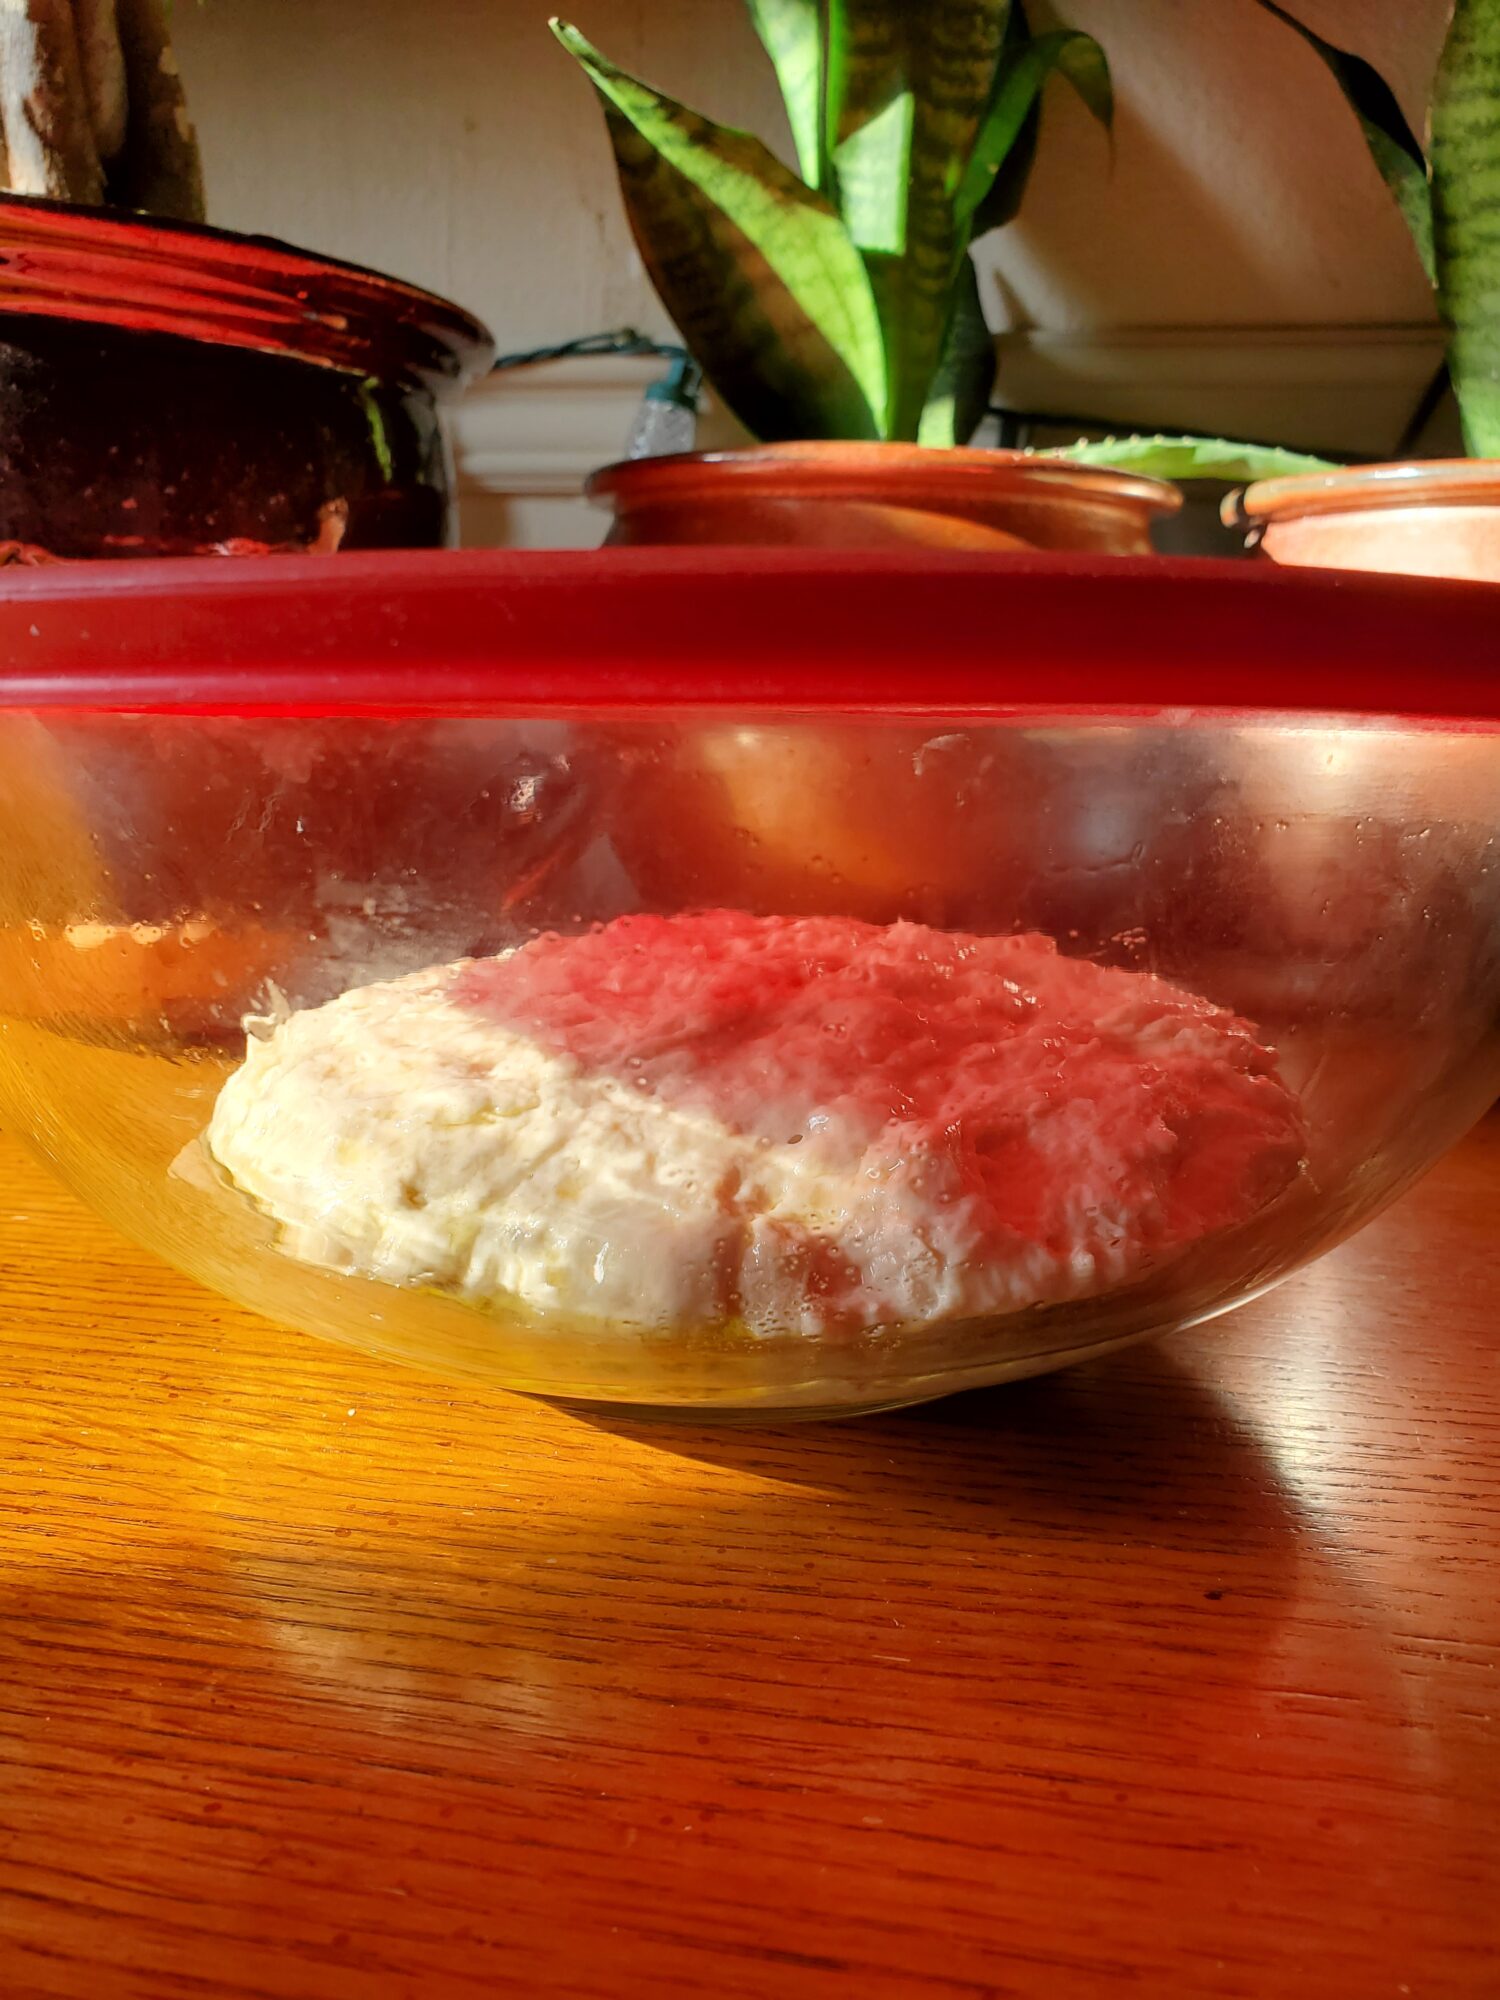
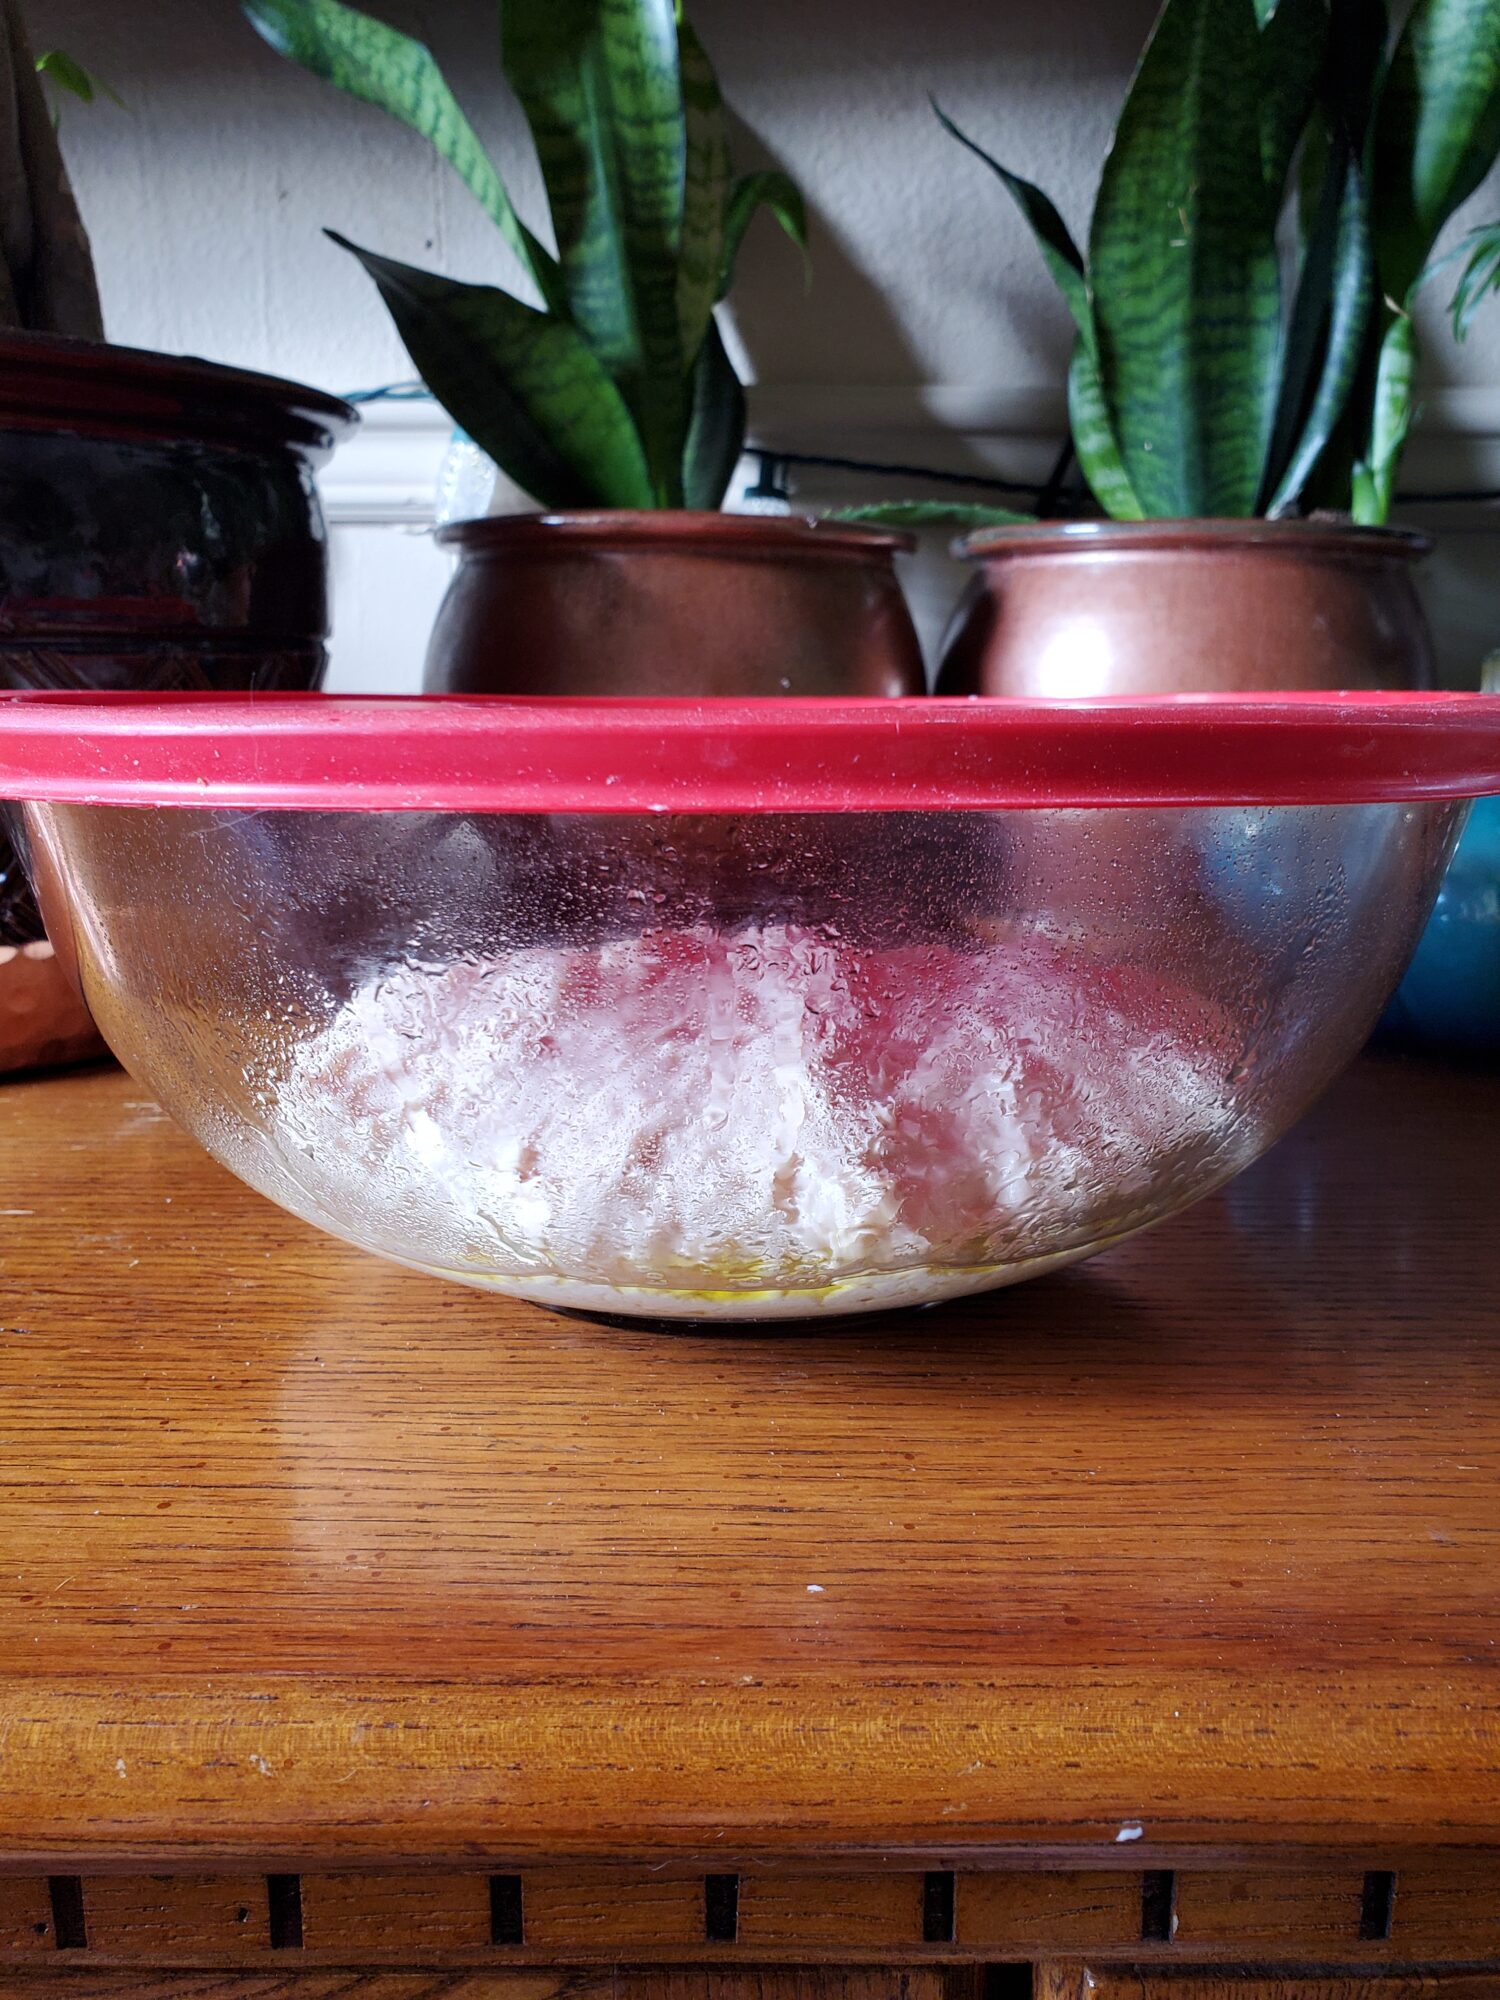
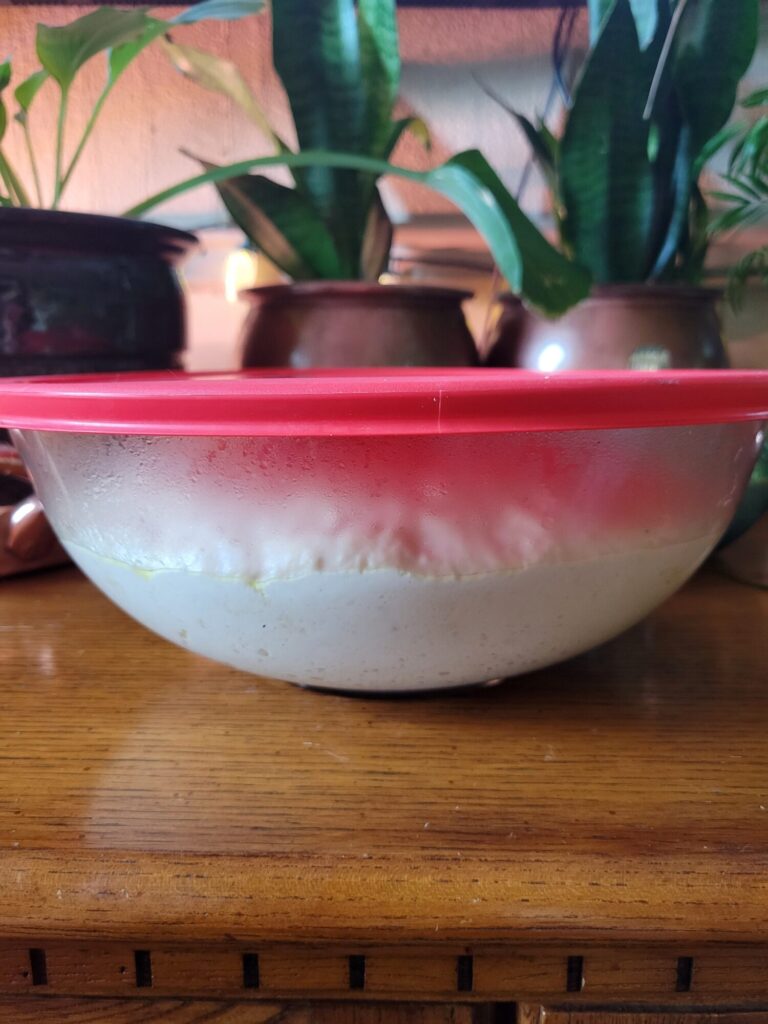
Cover dough and let proof for 2 hours, or until doubled in size.
Bake
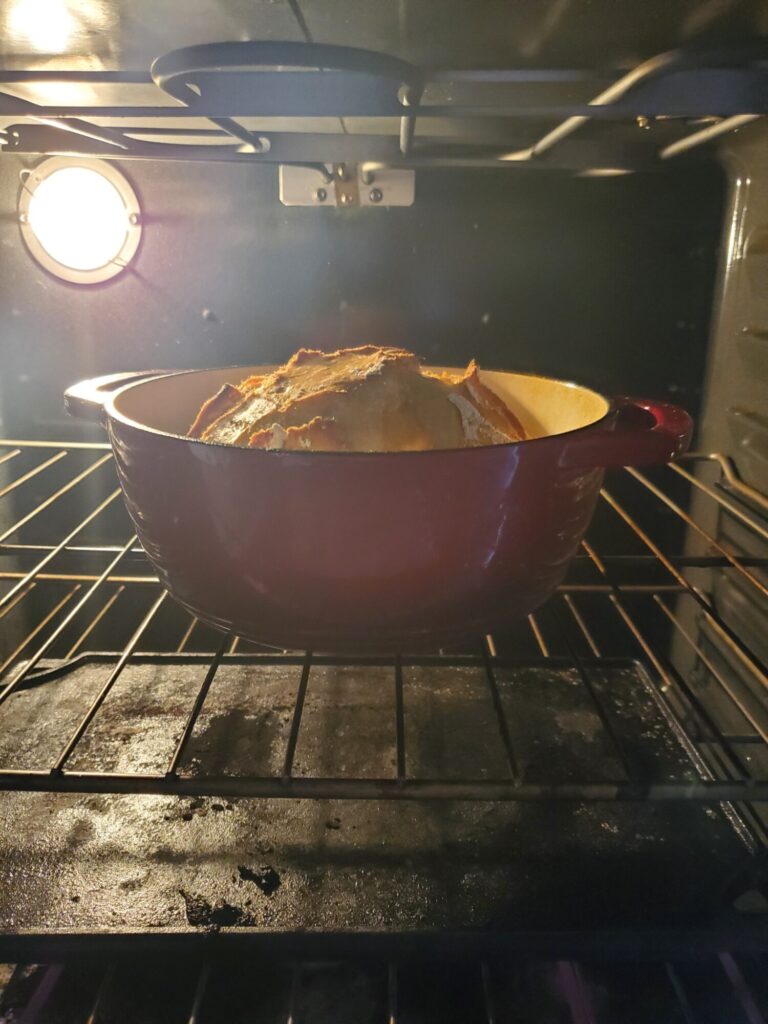
A half hour before the dough is through its proof, lightly grease the Dutch oven. Place it, with the lid on, in the oven and preheat to 450 degrees Fahrenheit.It's important to preheat the Dutch oven ahead of time in order to get it warm enough to cook the bread.
After 2 hours of proofing, lightly flour a surface and turn the dough out. Sprinkle with just enough flour to make it workable (a tablespoon or two) and fold the dough onto itself several times, until you've created a ball.If you're separating the dough to maker smaller loaves, do that at this time.
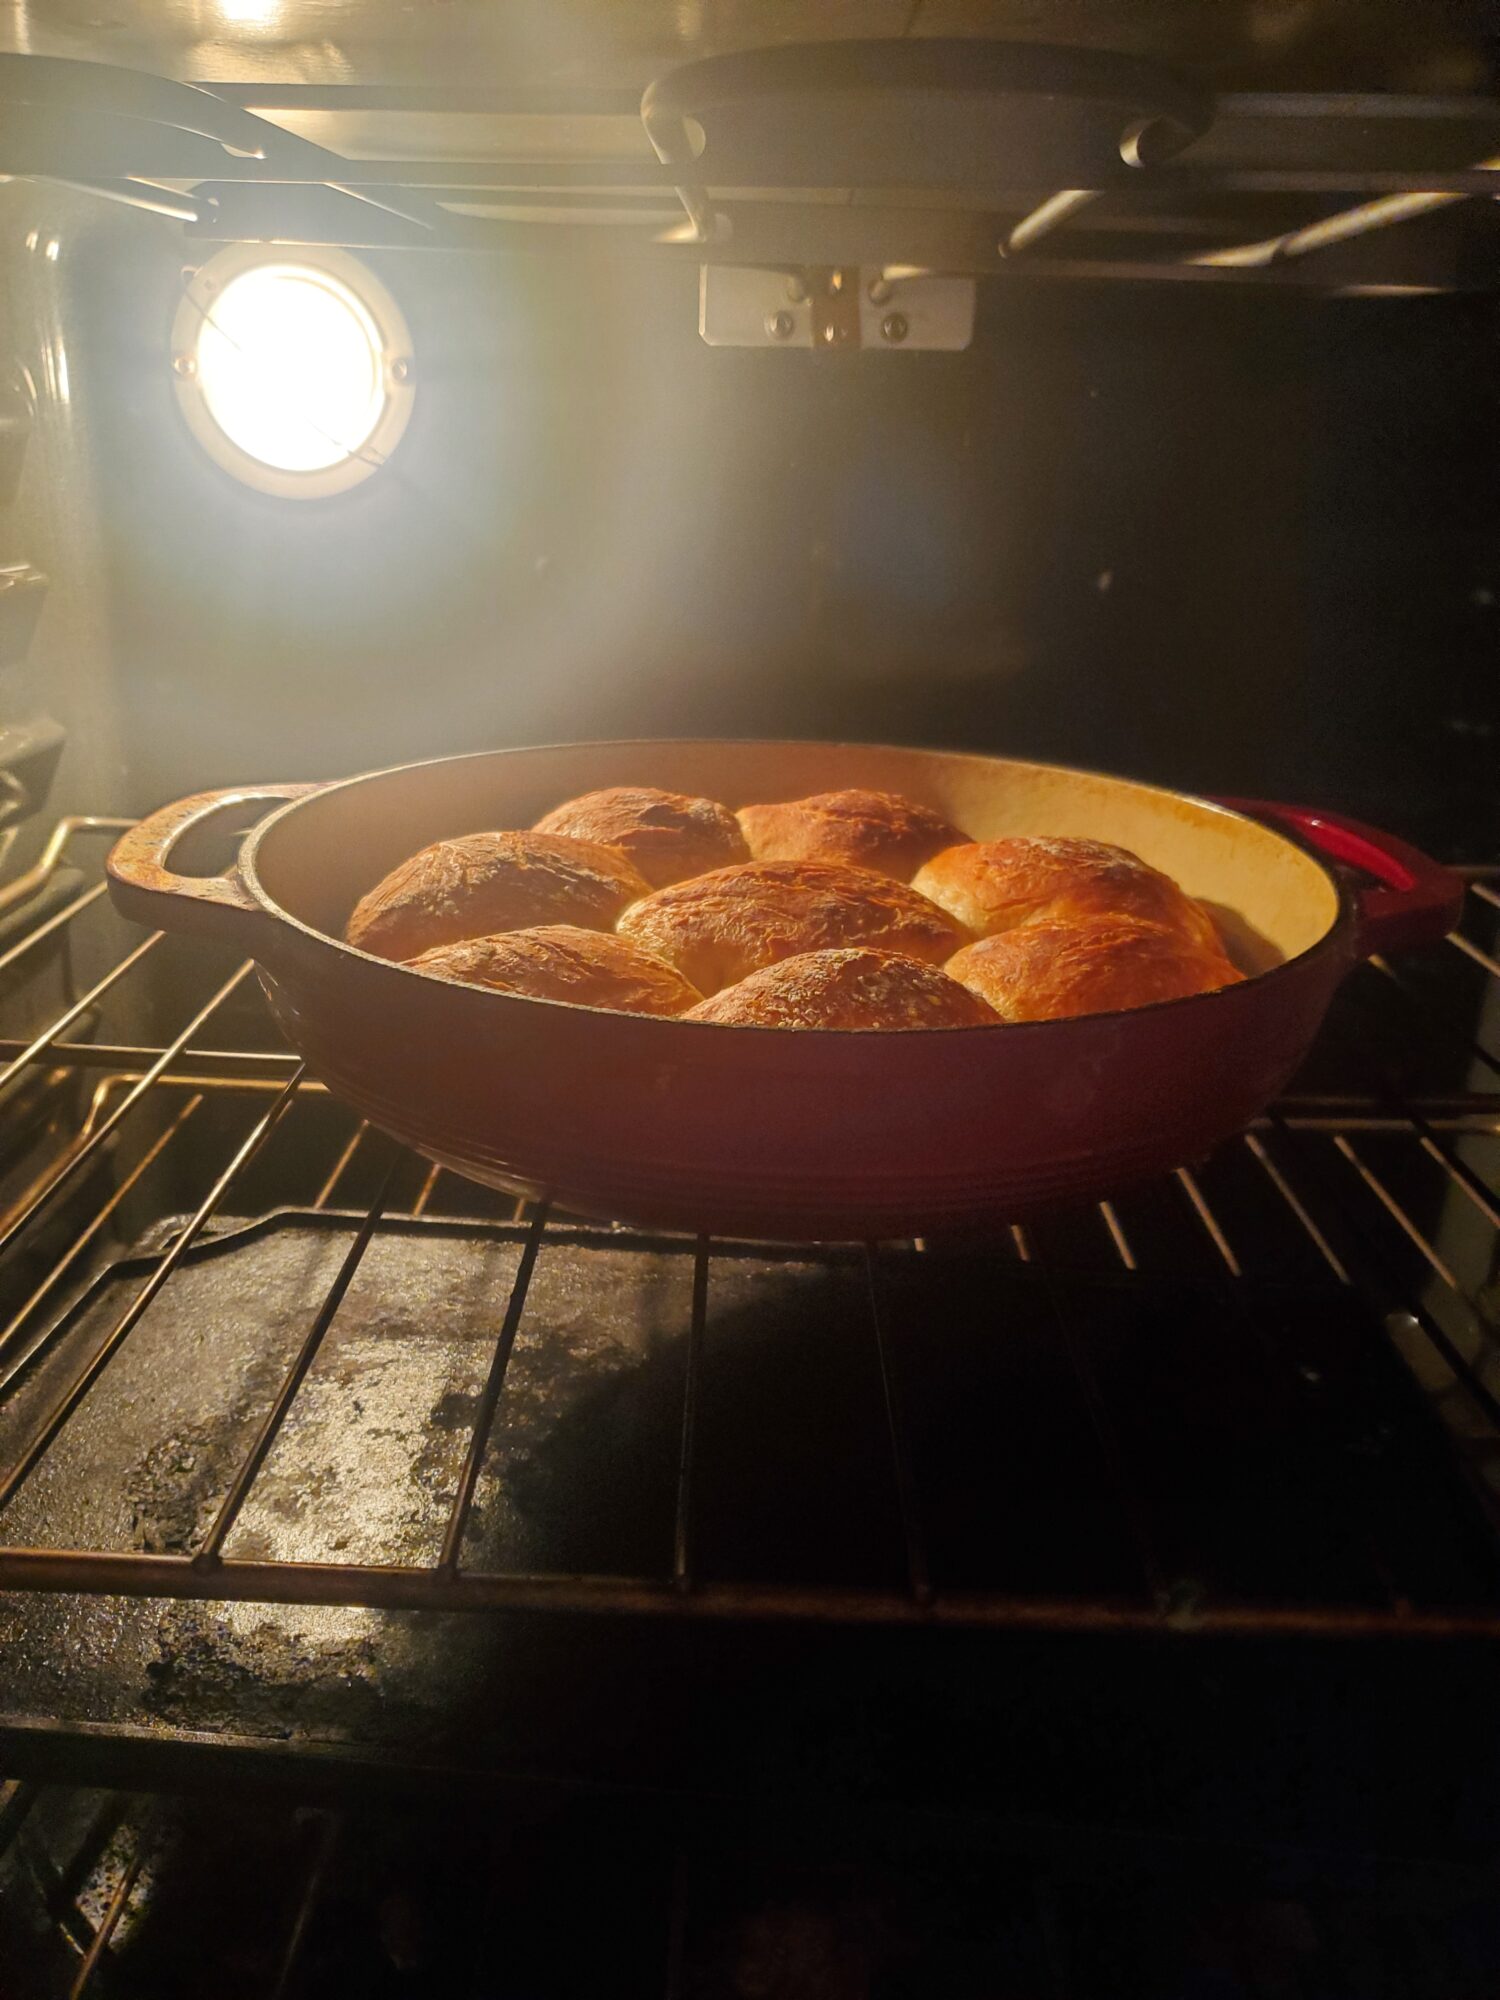
Carefully, and with oven mitts, remove the Dutch oven. Plop the ball of dough into the center of the Dutch oven.
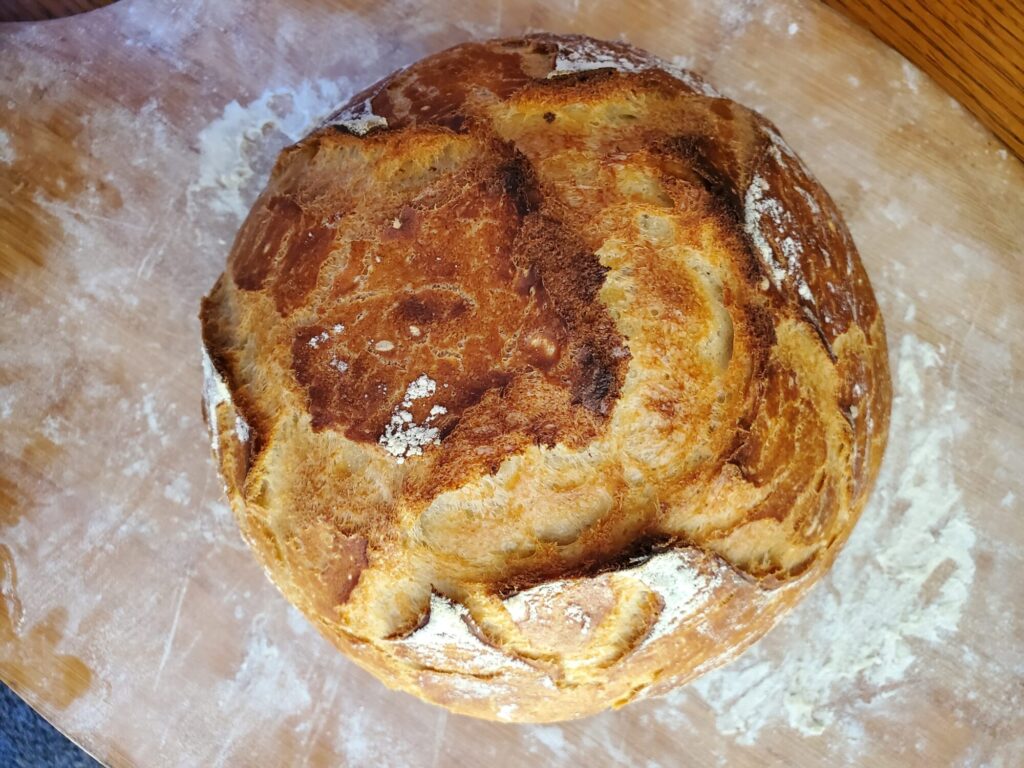
Using oven mitts, place the lid back on and put the Dutch oven back into the oven. Bake for 40-45 minutes.Baking time for different sized loaves remains the same. This sounds counter-intuitive, but don't open up the Dutch oven to double check! The bread bakes in a similar amount of time regardless of loaf size because of the Dutch oven within an oven baking method. Smaller loaves may need less, or no, additional cook time after the lid is removed. But the initial bake time remains the same.
After 45 minutes in the oven, remove the lid from the Dutch oven and bake for another 15-20 minutes, or until the crust is crisp and golden brown.You should be able to tap on the dough and it sounds hollow.
After about an hour in the oven, carefully remove the Dutch oven and turn out the bread. Let rest until cool before slicing. This tends to take about 30-45 minutes.
Tips, Tricks, & Notes
You can use any kind of sugar that you want. The original recipe called for maple syrup or honey. But I'm honestly not as big a fan of those in bread! It goes great with butter and toast and I'm a huge fan in biscuits. But this isn't necessarily something that I'm always going for with every slice of bread.
If you don't want to predetermine the flavor profile, white granulated sugar is a great choice. I usually use brown sugar because I enjoy the richness of the molasses. But again, this is all personal preference! Sugar is necessary to feed the yeast and help the dough rise throughout hours of proofing. The particular sugar that you use in this recipe, though, is personal preference. Use whatever sugar you prefer or have on hand!
I enjoyed seeing all your tries at bread making. I made a similar recipe for thie first time during a class in a building where there was no air conditioning. However, it was in an open air room under a large canopy of trees. A beautiful setting to make this bread. Because I couldn’t bake the bread as soon as was suggested. It sat in my car trunk for more time than needed. It turned out beautifully. It’s peasant bread so I think all your attempts at making this bread are superb.


Jeannine May
April 13, 2023 at 9:12 pmI enjoyed seeing all your tries at bread making. I made a similar recipe for thie first time during a class in a building where there was no air conditioning. However, it was in an open air room under a large canopy of trees. A beautiful setting to make this bread. Because I couldn’t bake the bread as soon as was suggested. It sat in my car trunk for more time than needed. It turned out beautifully. It’s peasant bread so I think all your attempts at making this bread are superb.