The Fundamentals of Making Corn Tortillas
Corn tortillas are surprisingly easy to make. I know countless numbers of people who, once they realize how simple it is to make, will never go back to buying tortillas again. With only 2 necessary ingredients and a cooking time of about 60 seconds, making homemade corn tortillas is quick and easy. It's one of those recipes that anyone can make and is well worth the effort.
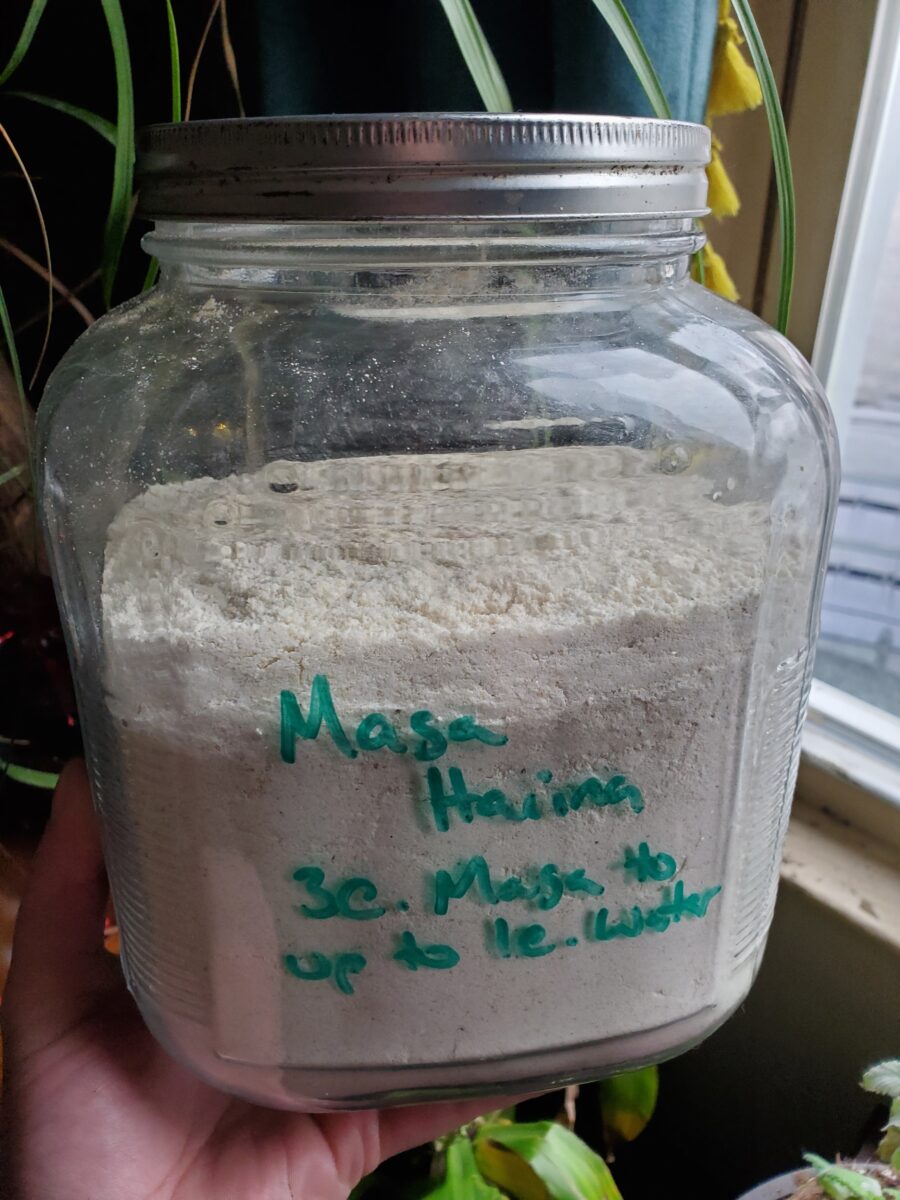
I actually make corn tortillas so often that I've written the recipe for corn tortillas on my jar of masa.
Do I Really Need Masa Harina?
Yes.
This recipe does call for masa harina. This is a type of corn flour that translates to "flour dough." It's similar to fine cornmeal.
However, don't skimp on the masa here! While you likely can make something similar to tortillas using AP flour or cornmeal, it will not give you the same result! Other types of tortillas require slightly different processes and, in my opinion, are much more difficult to make.
You're much better off checking out the flour alternative section of your local grocery store, finding a specialty grocery store (often Asian grocers will carry masa, even though it's a Latin ingredient), or good old fashioned Amazon.
If you live in Oregon, like I used to, the Bob's Red Mill store in Milwaukie sells masa harina in bulk. Alas, I cannot get this in Milwaukee, WI which is far closer to where I currently reside! But this is a fairly common ingredient and you can find it with relative ease. Now, don't get me started on finding semolina here, though!

How About a Tortilla Press?
No.
I don't like testing out recipes that require buying a new kitchen gadget. I don't like single-use appliances that never get used, except in that one very rare dish that I always forget to make! And seriously, who really needs all of these things? Isn't there an easier way!??
In this case, I do have a tortilla press. A friend bought one years ago and it fell into this very pitfall where they never used it. So, I was actually gifted my tortilla press. But I do actually use it! And would recommend it if you get into making tortillas with some regularity.
But you can also use a rolling pin to roll out the dough and cut it into discs or you can take a flat-bottomed baking dish and just flatten your dough balls with brute strength.
Gallery of Homemade Corn Tortillas

Corn Tortillas
Equipment
- Large Plastic Bag
- Tortilla Press (or Large Baking Dish)
- Medium Skillet or Griddle
Ingredients
- 3 c. masa harina
- 1/2 + 1/2 c. HOT water
- 1 tbsp. olive oil (optional)
- 1/8 tsp. salt (optional)
Instructions
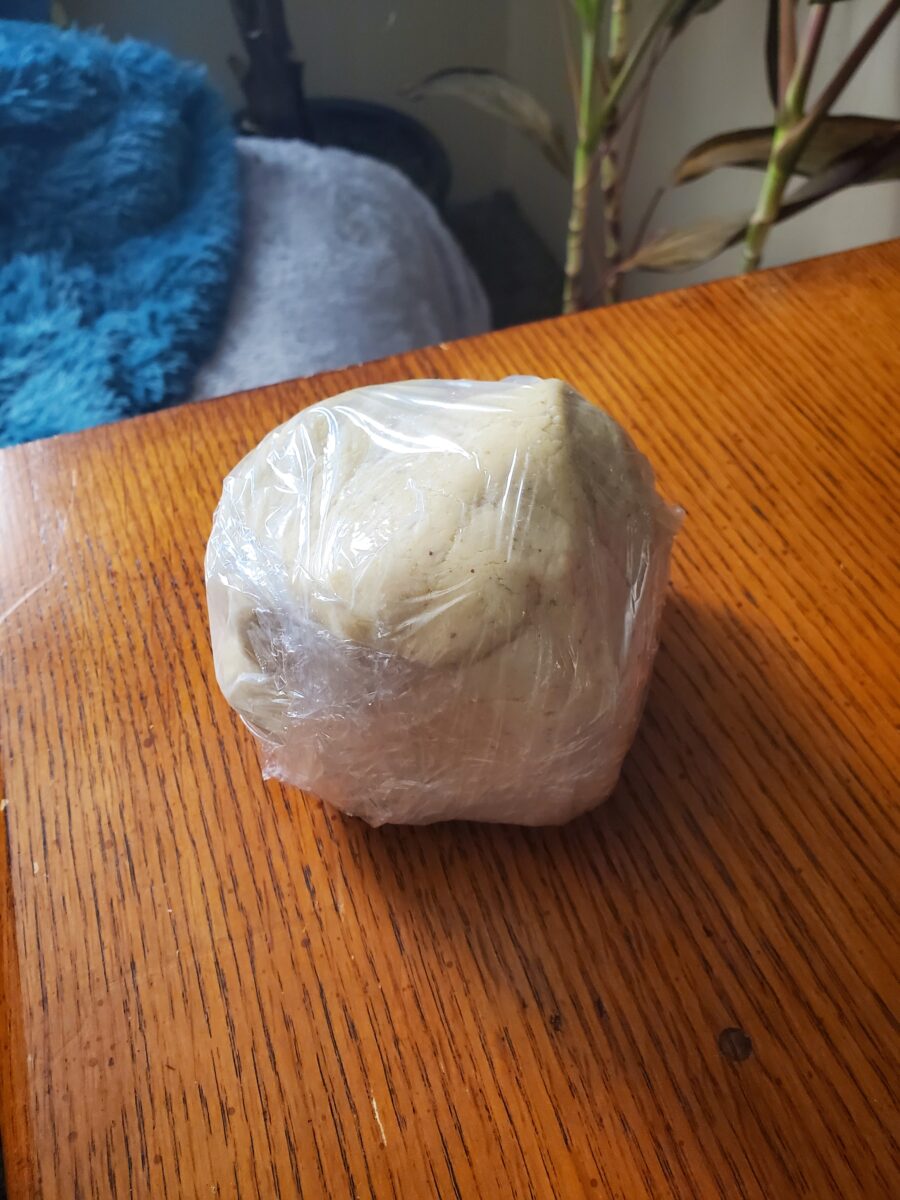
Make Dough
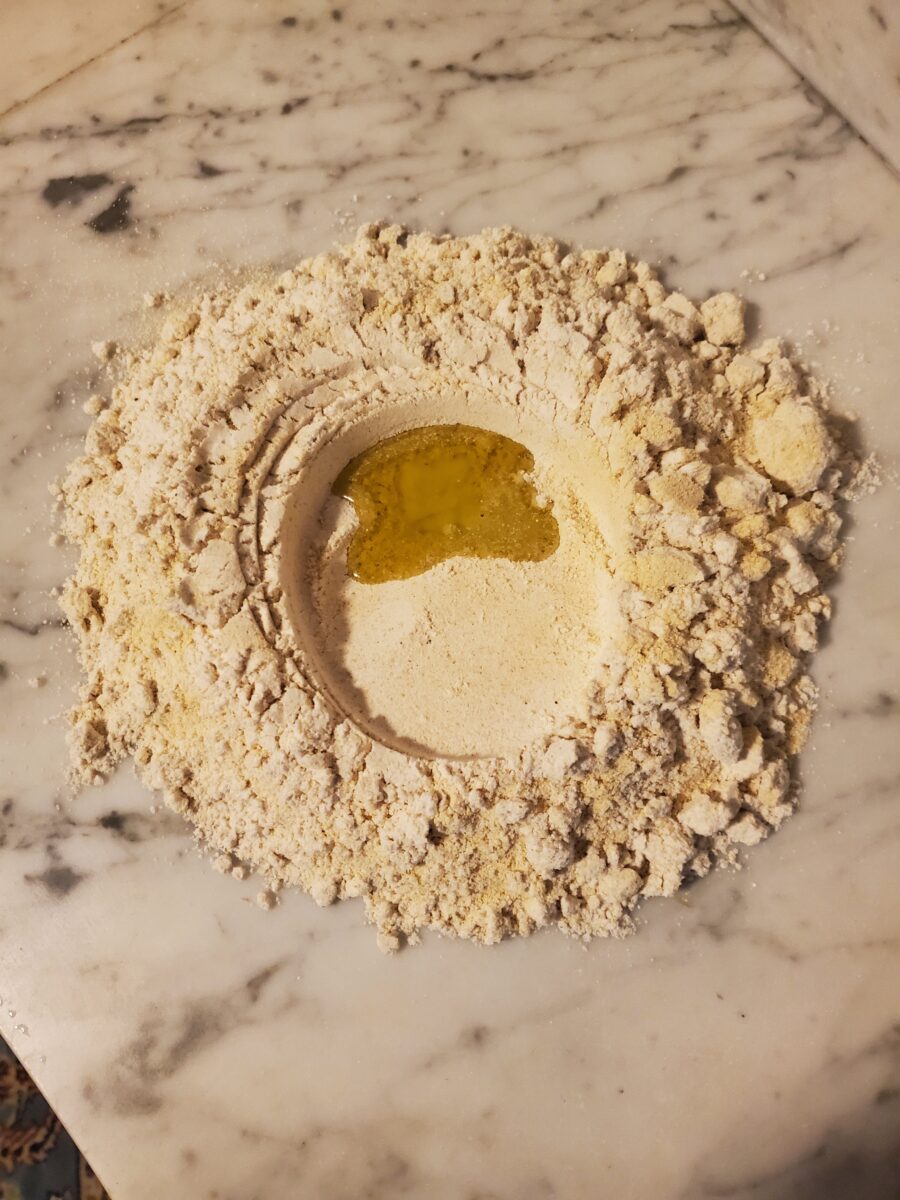
- On a large flat countertop, make a mound of masa harina. Create a crater in the middle and add olive oil and salt, if using.You don't need oil or salt. The salt is just to taste if you prefer. The oil isn't explicitly necessary, but it can help keep the dough from crumbling and usually makes working with this dough easier if you're less familiar with it.
- Pour 1/2 cup hot water into the center.The key to making tortillas is using quite hot water. It should be as hot as your tap water will get (usually around 120-140 degrees Fahrenheit).
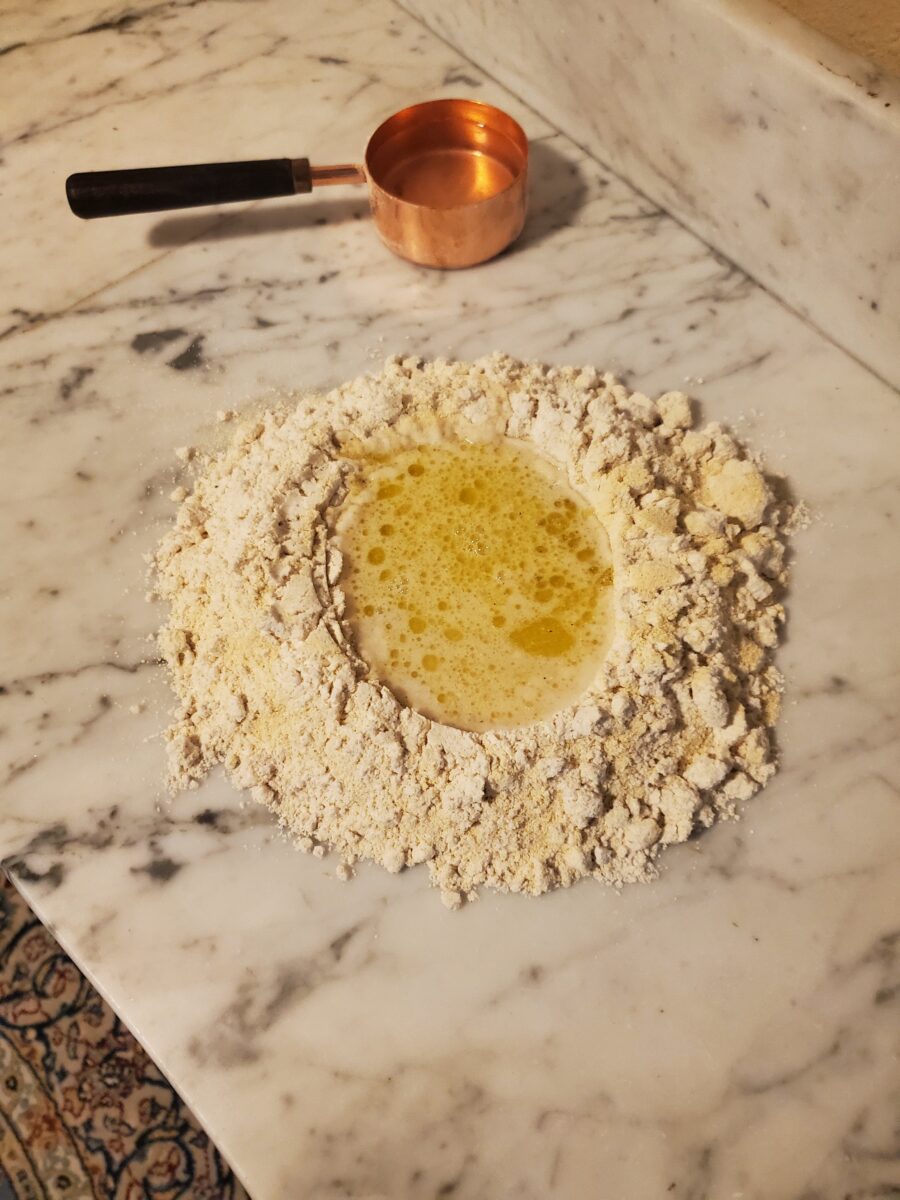
- Mix together by hand, kneading dough toward the center, for 3 minutes, or until the dough begins to stick together.
- Add additional hot water, 1 tablespoon at a time, and knead until the dough forms and entirely sticks together. Be careful not to add too much water. You want to add the least amount of water necessary to make the dough soft and pliable!
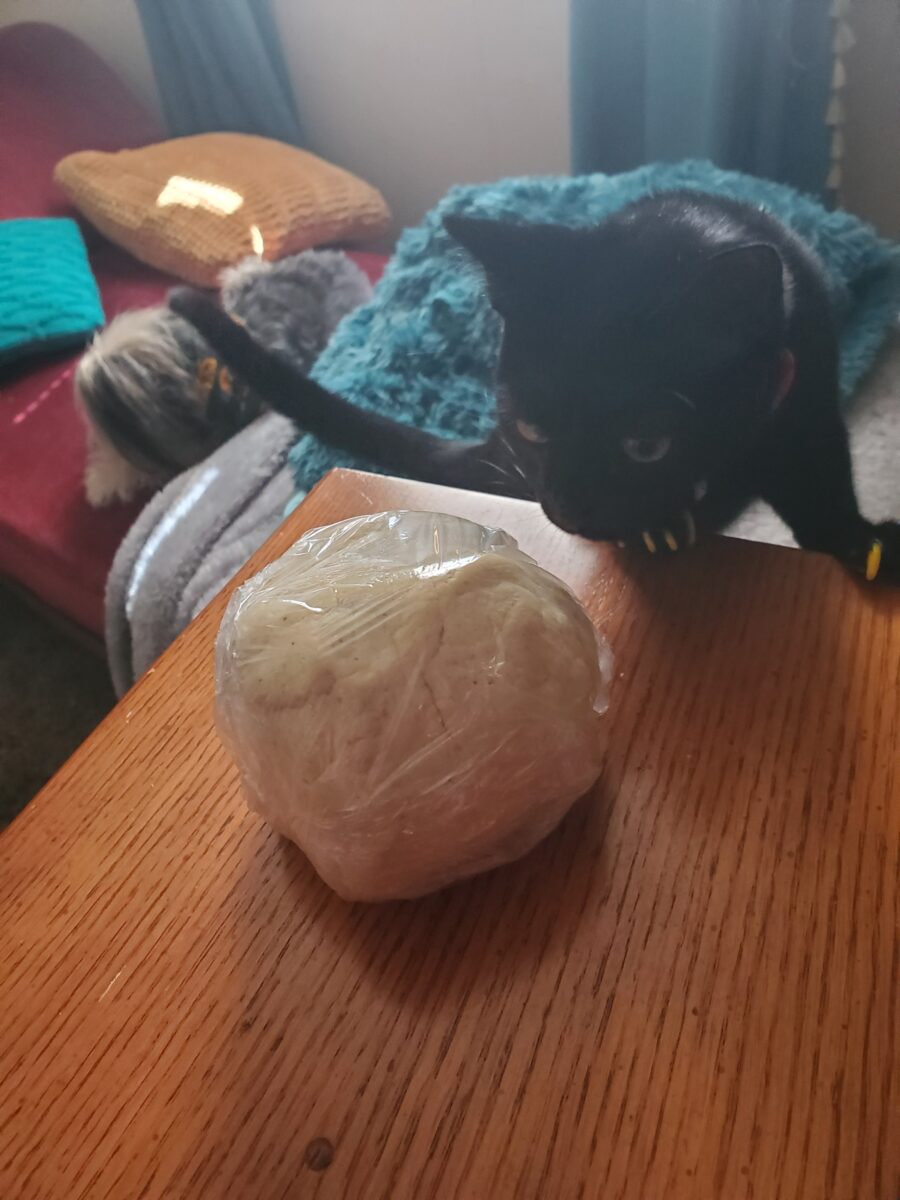
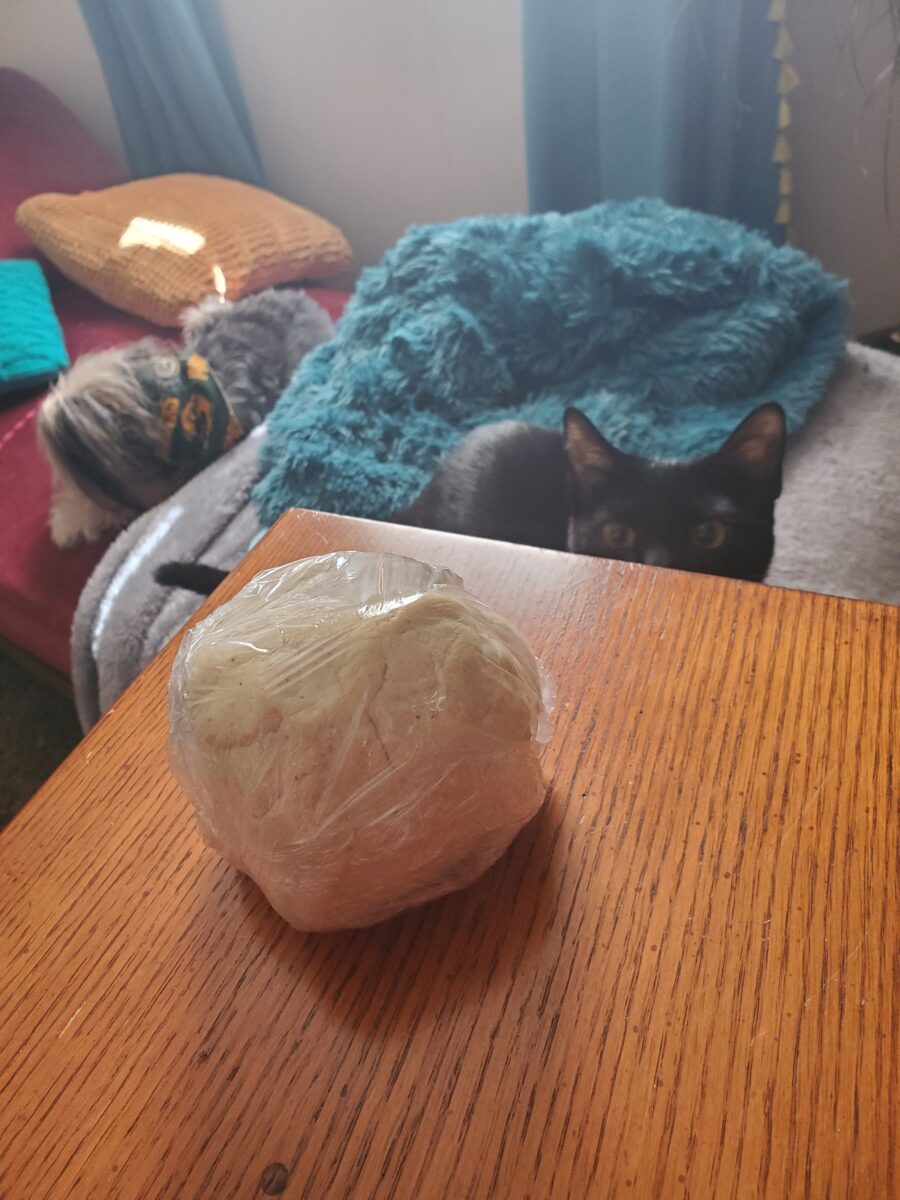
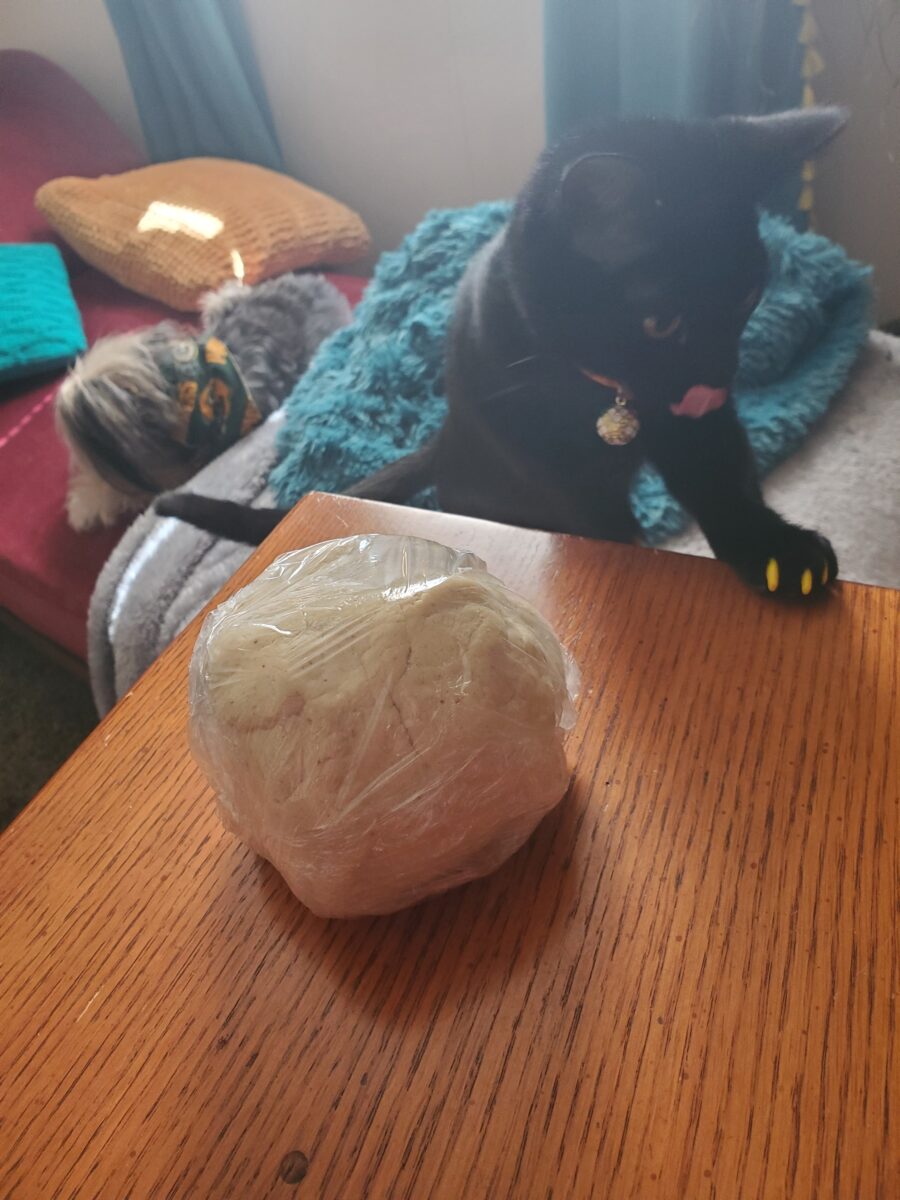
- Cover with plastic wrap and let sit for 30 minutes.
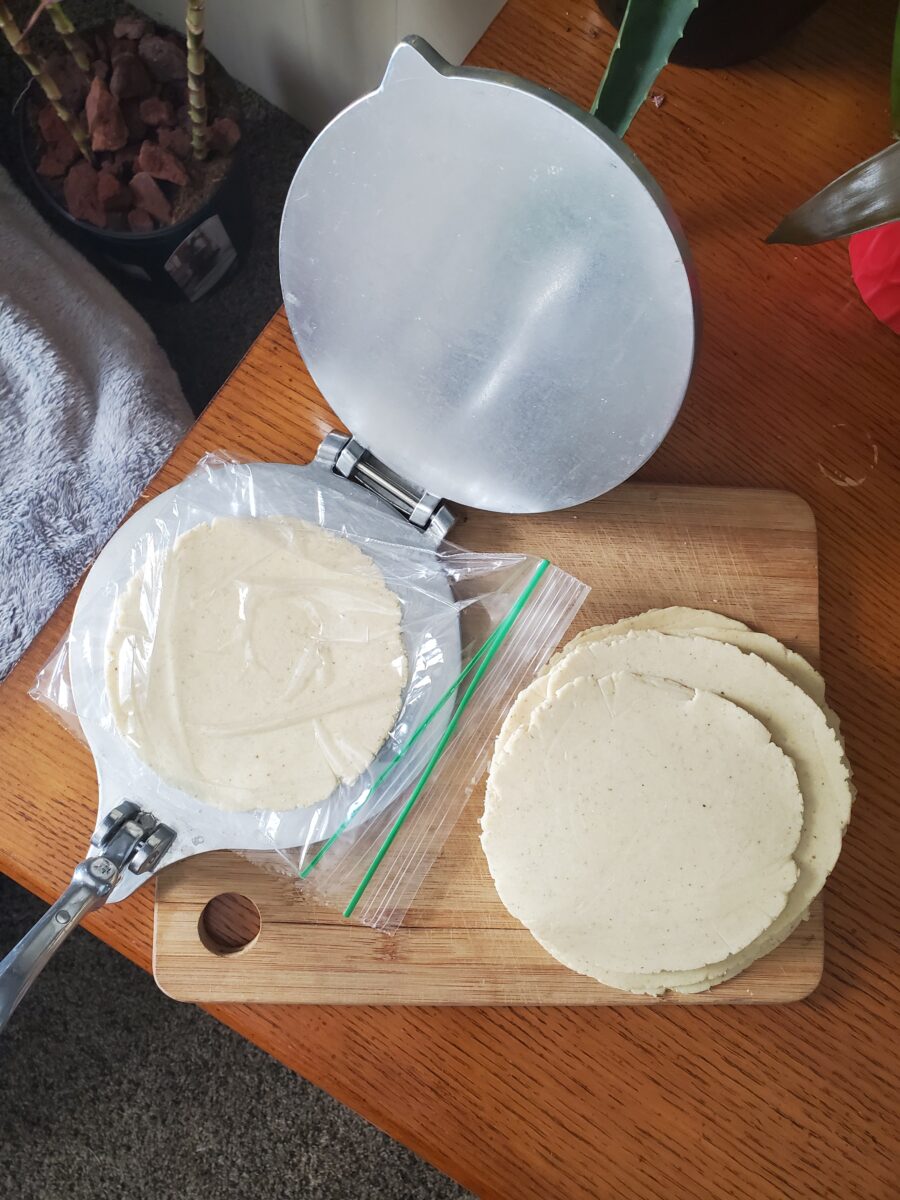
- Meanwhile, cut 3 of the 4 sides off of a plastic bag.This is NOT OPTIONAL. A plastic bag keeps the dough from sticking to the dough press and makes it easier to move the tortillas around without falling apart. You also can’t use parchment paper or plastic wrap because they aren’t elastic enough and will rip when you try to flatten out the dough. So, trust me here! And cut open a plastic bag.
Press Tortillas
- After 30 minutes, form dough into 1 square-inch balls.
- Place a ball of dough inside of the plastic bag and place inside of the tortilla press.It helps to place it slightly closer to the arm of the press because it will stretch outward as it flattens. If you have trouble getting the dough to flatten without squeezing out over the edge, place it slightly off of dead center!
- If you aren’t using a tortilla press, place the plastic-covered dough ball on a large flat surface. Take a large baking dish with a flat bottom and press it on top of the dough until it flattens. The more weight you put into it, the flatter the dough ball will get!If it isn’t flat enough, you can roll it out further with a rolling pin. Just make sure to roll it out inside the plastic bag or it will likely stick and be a mess.
- Pull the sheets of plastic apart and carefully remove the dough.If it doesn’t pull off, the dough is too thin or it has too much water. To remedy this, you can either roll the dough out a little thicker or knead more flour into it.
Cook Tortillas
- Preheat a skillet on high heat.I prefer a cast iron skillet, but you can cook them any high heat pan or on the BBQ. Just make sure that there isn't any oil in the skillet, or they will deep fry and may be difficult to roll into enchiladas or whatever shape that you're going for!
- If you're quick at flattening the tortillas, you may want to start the preheat before you begin so that it's already heated when you finish.I also like to have a second person flattening the tortillas as I cook them so that all of this is done in rapid succession. This isn't necessary, but you don't want the tortillas to dry out too much and it can be helpful to have a buddy here!
- Place the tortilla in the center of the heated pan. Let cook for 30 seconds on each side, or until the tortilla begins to brown, but is still soft and pliable.
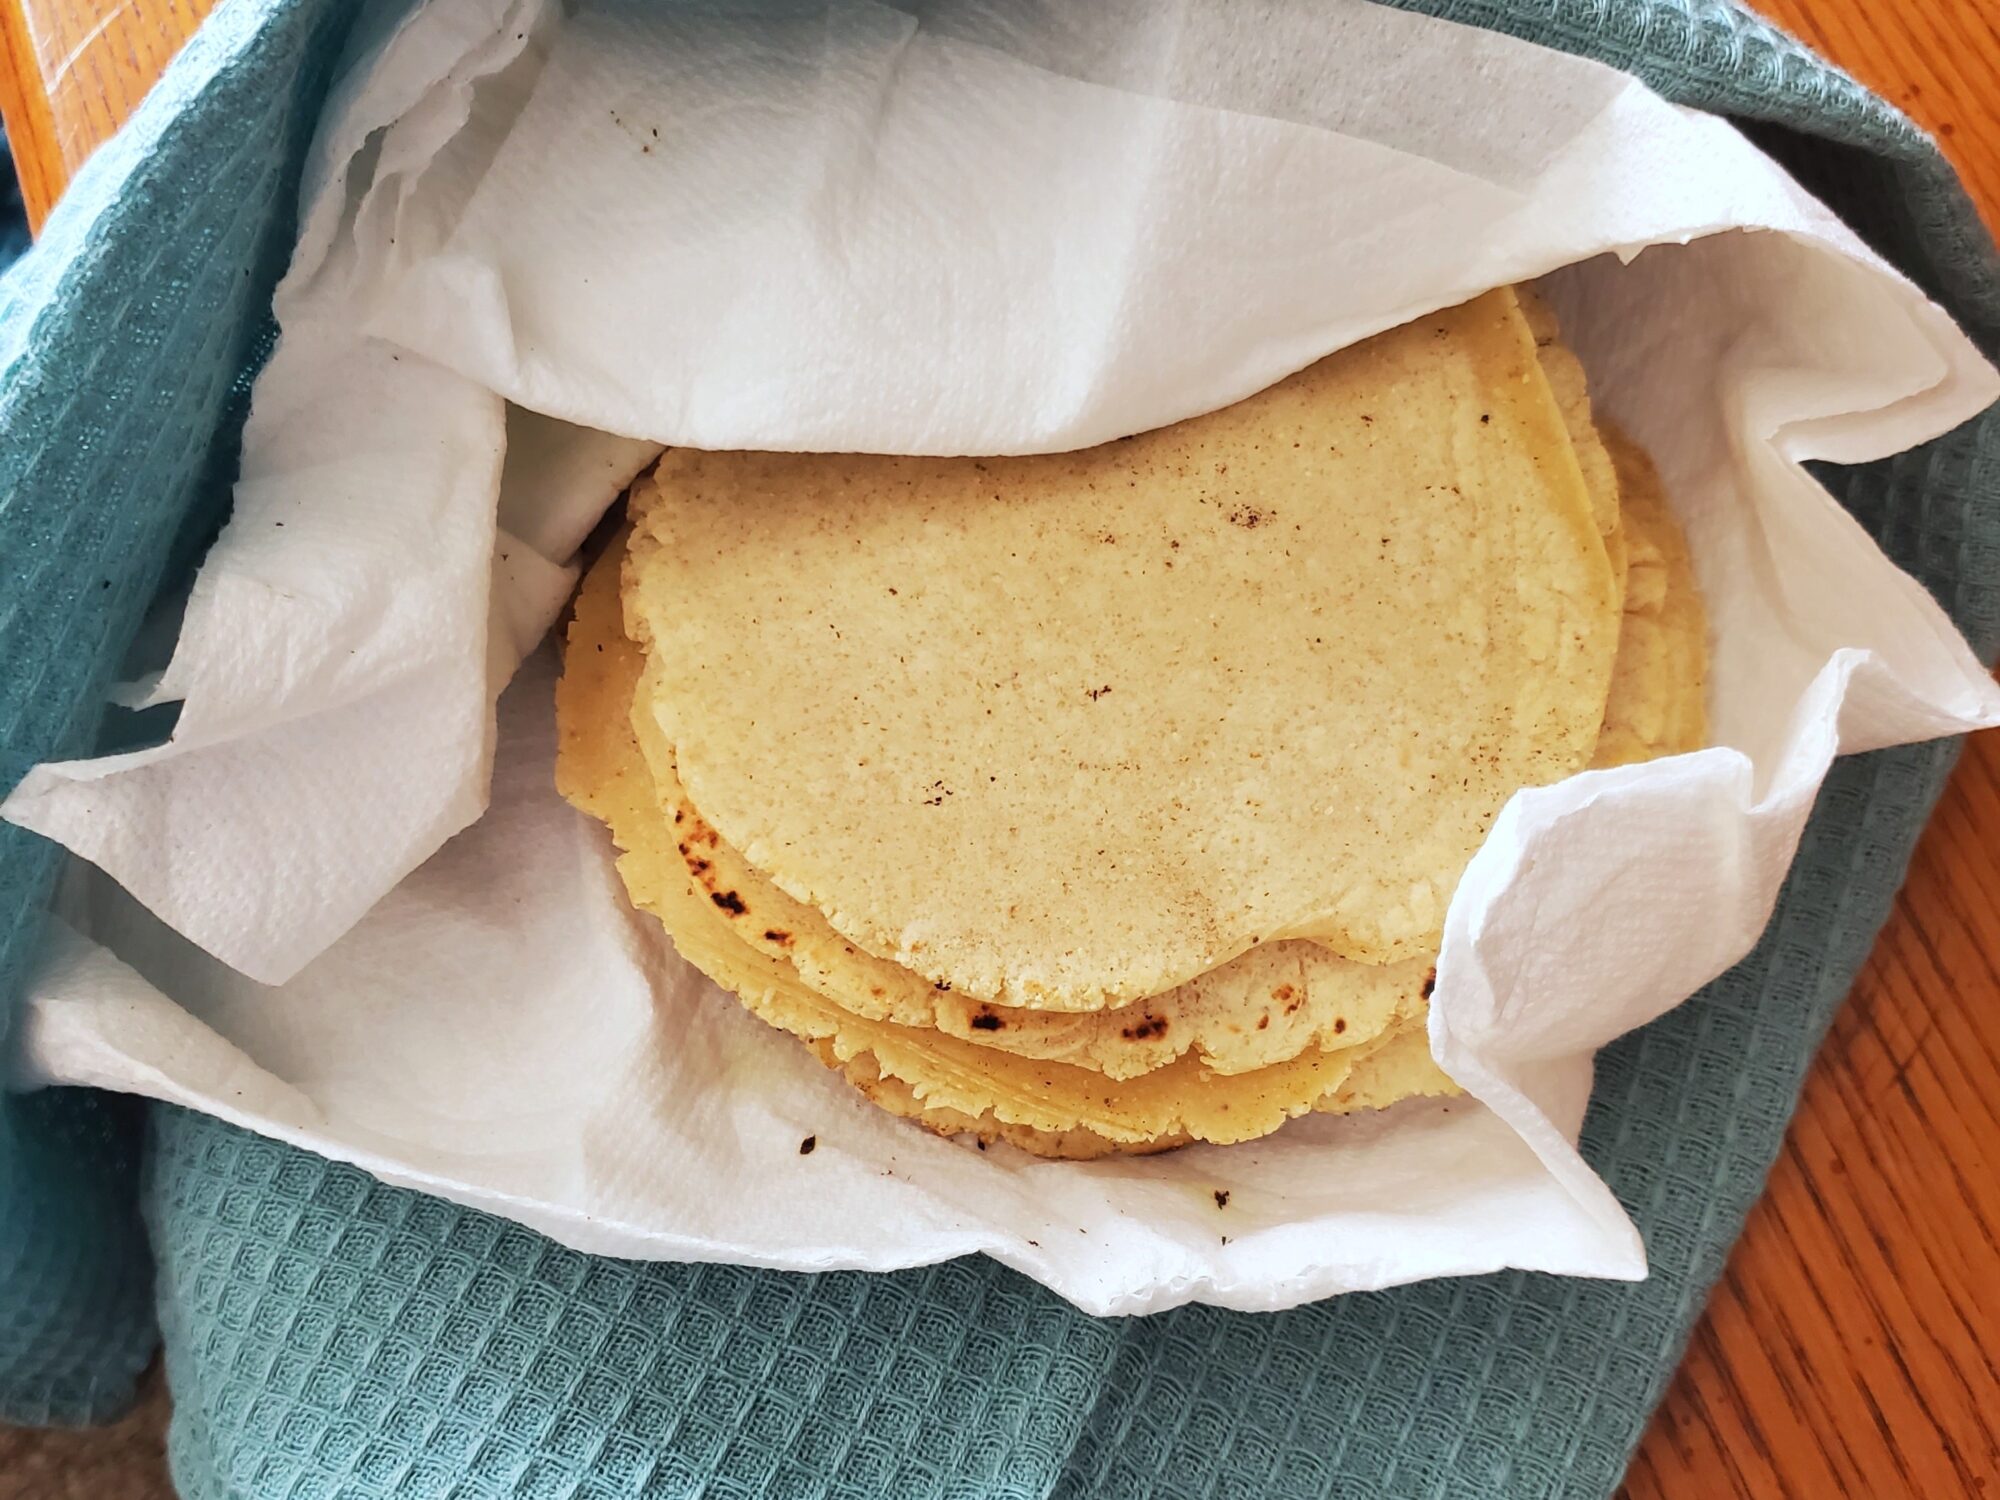
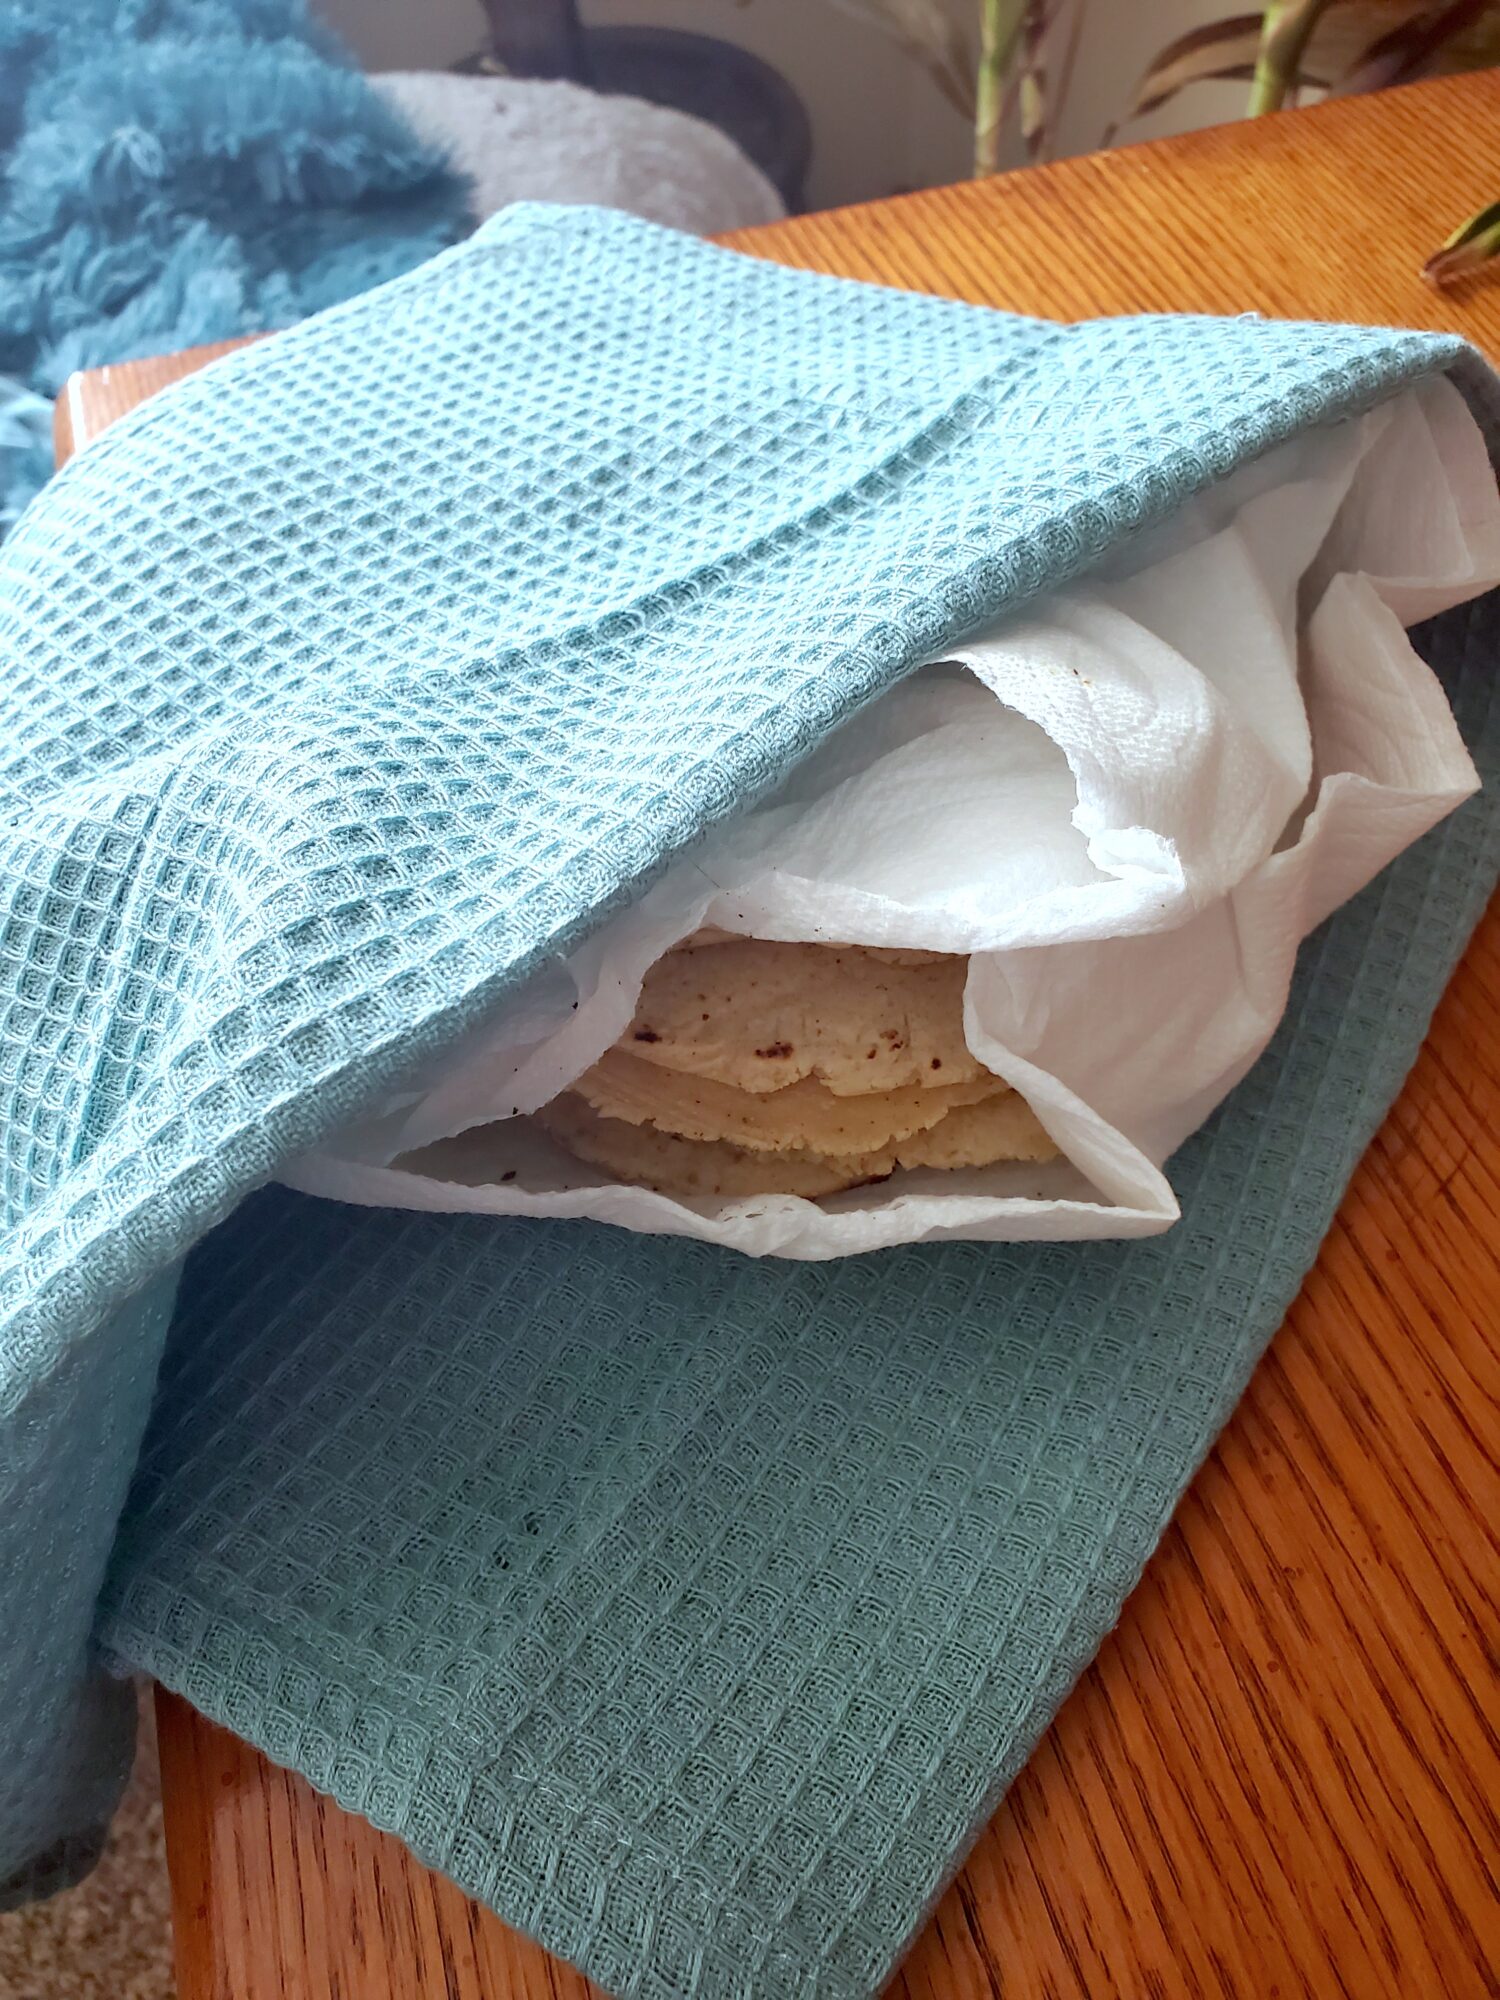
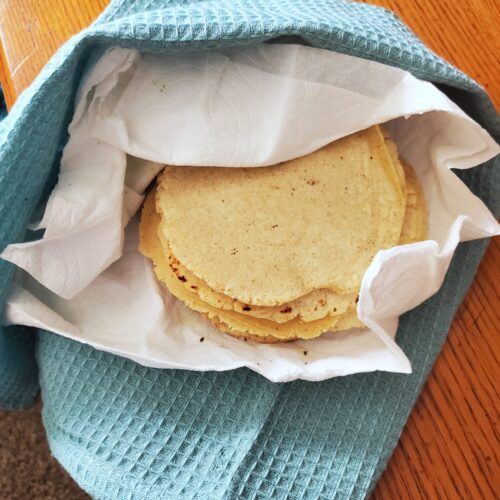
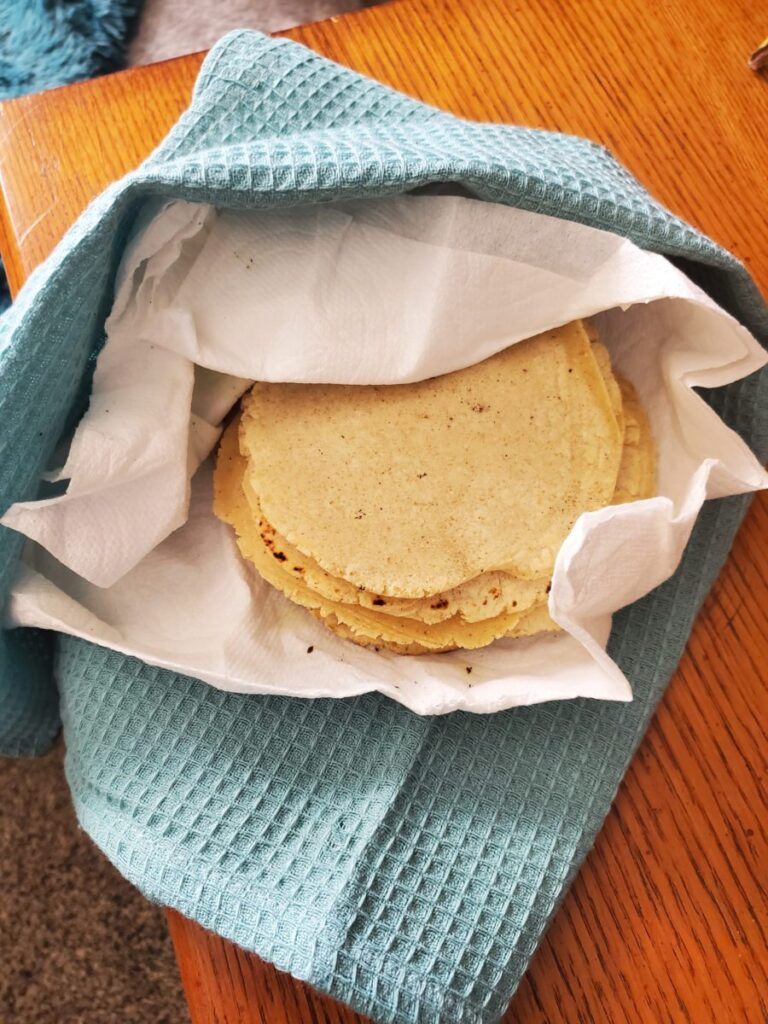
- Cover with a towel to keep warm and pliable.If you added oil or there was some residual oil in the skillet that you cooked them in, it can help to wrap them in a paper towel first. This will keep the oil from staining your kitchen towels. Which is nearly impossible to get out!
Tips, Tricks, & Notes
- If you don't have a tortilla press, make sure to use the flattening method, instead of trying to roll them out with a rolling pin! It might sound like you could flour a large surface and attempt roll them out. But the sheer amount of flour needed to do this would leave your final tortillas with a chalky texture, if you could get them to roll out without falling apart at all.
- Masa harina is gluten free. However, there is a lot of potential for cross contamination during the grinding process. If you have celiac disease, make sure to find a brand of masa that doesn't use the same machinery to grind flours with gluten in them.
This Page Contains Edited Images
As a general rule, I don't like to edit my images and I am firmly against alteration of images in food blogs. It's not something that we generally think about when it comes to recipes. But food styling, editing, alteration, and even faking entirely is just as rampant a problem in the recipe realm as anything else! Cooking is a very visual art and you can tell when a lot of foods are cooked based on the color. So, when this is altered and you can't use the coloration as a gauge, it makes it quite difficult to follow some recipes. I have an entire article about Food Styling and Unrealistic Expectations of Recipes.
Because of this, I try very hard not to alter any of my photos. I like to take photos with natural sunlight during the day. Ordinarily this is very true to color and I don't edit the photos at all. However, since my place is very warm with a lot of yellow lighting, sometimes my camera overcompensates and ends up with an unnatural blue tone. In the following images on this page, I adjusted the levels and hue to try and make this more true to color. In the interest of transparency, these are the before and after photos.


Leave a Reply