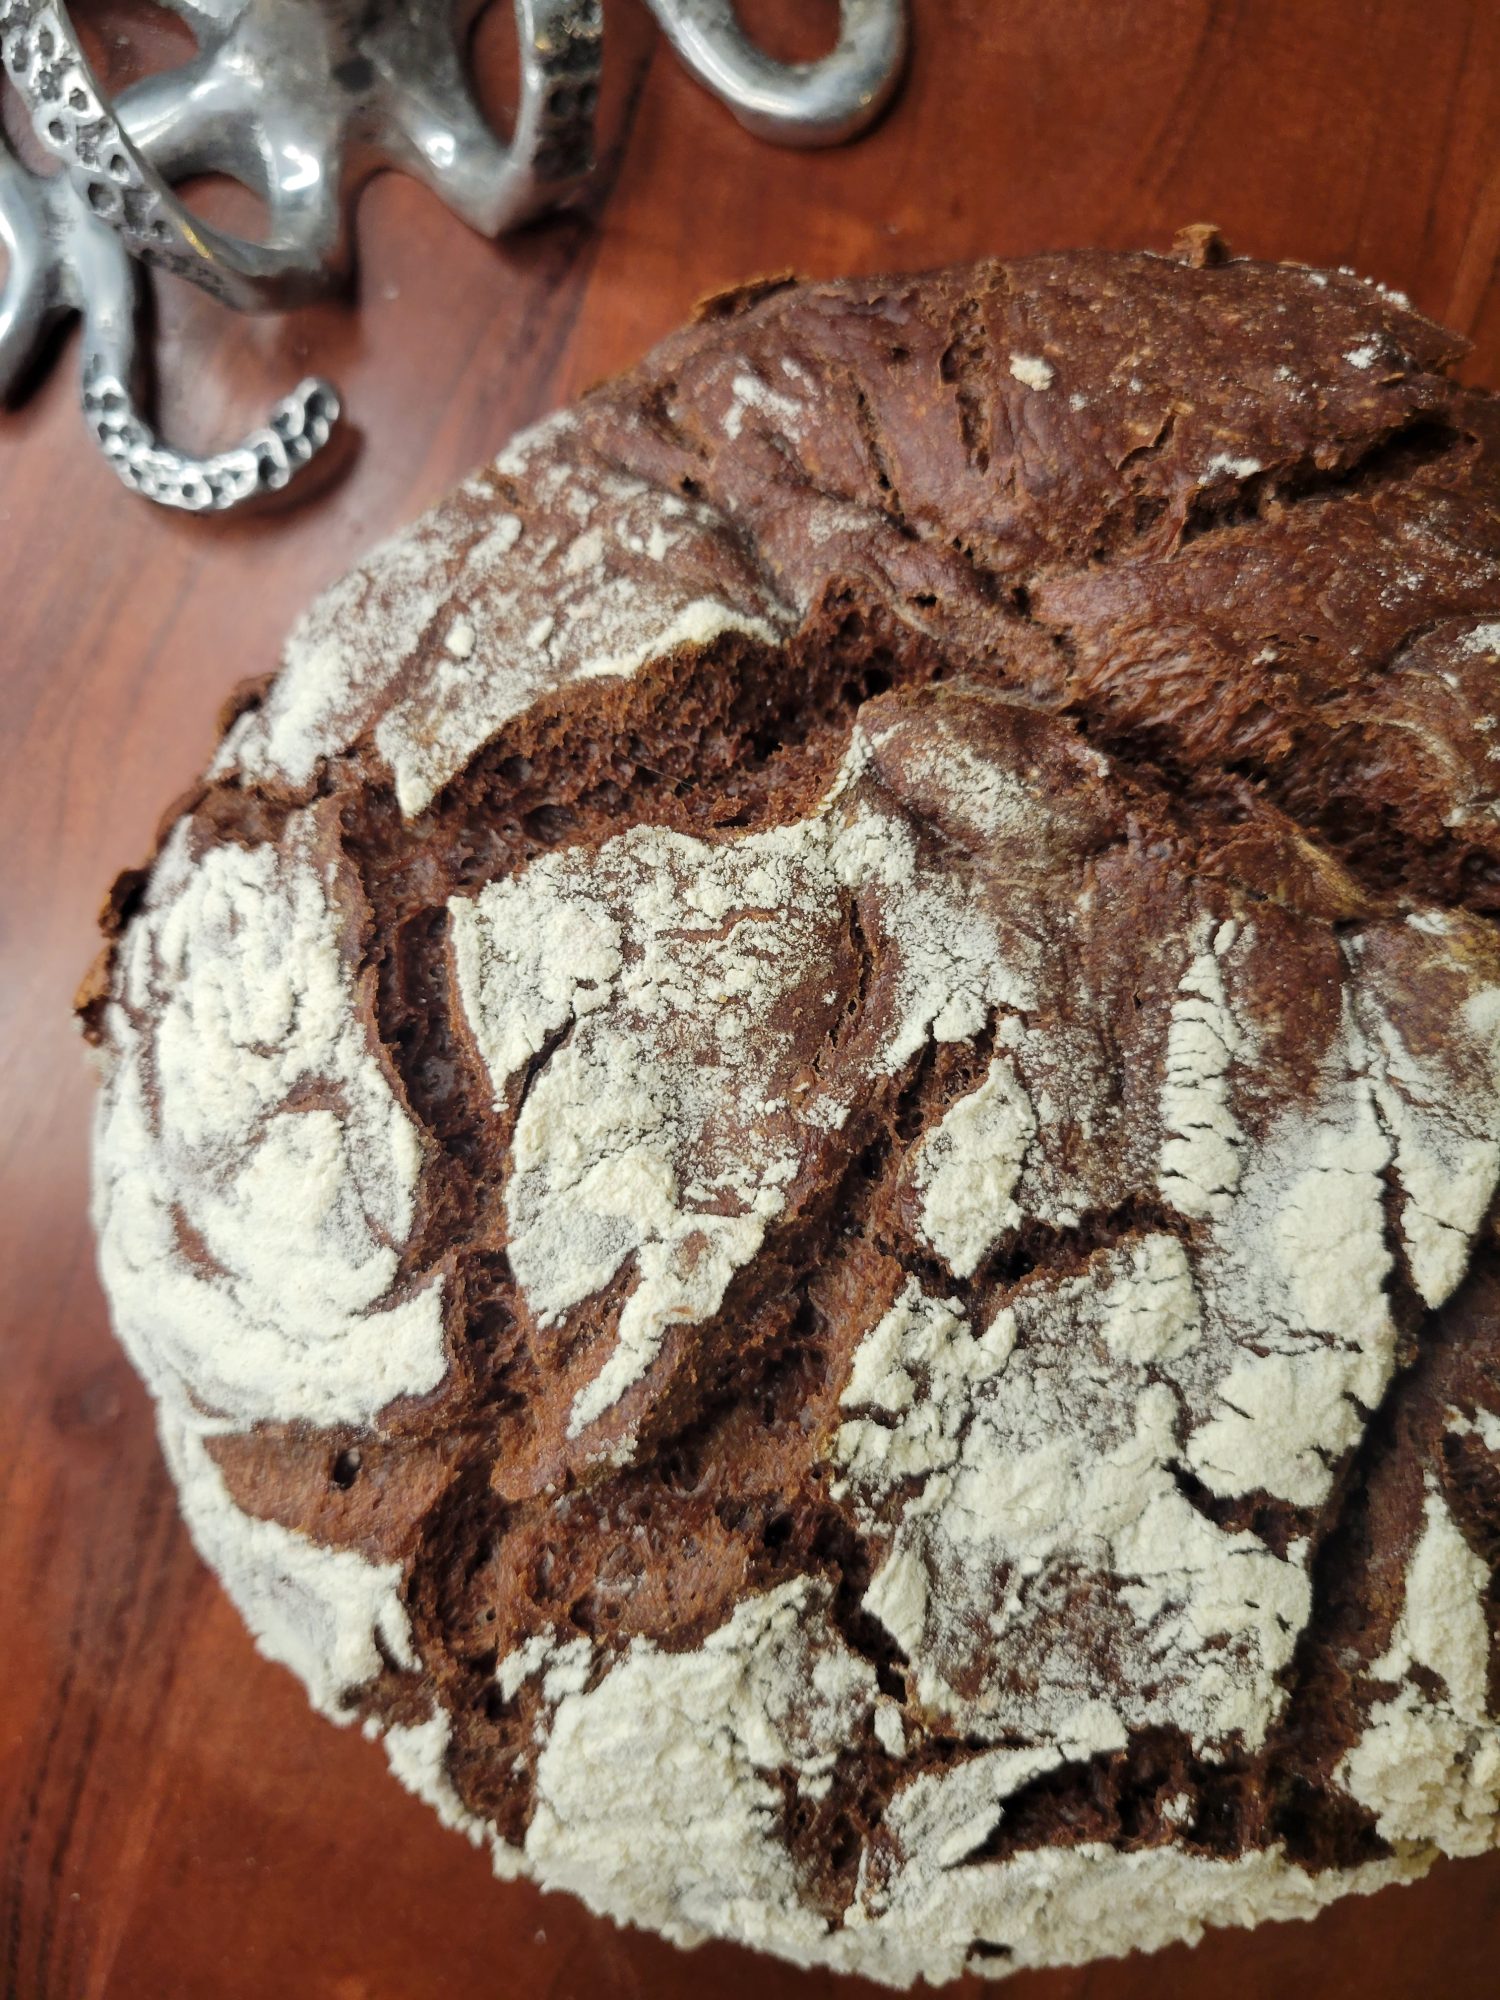
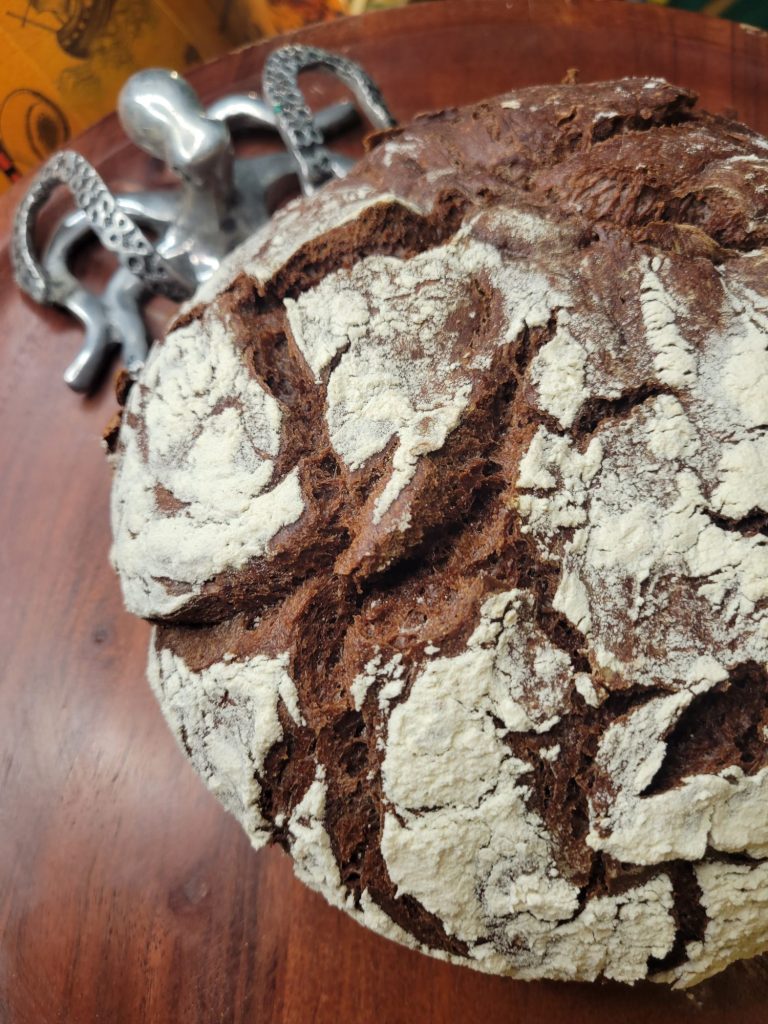
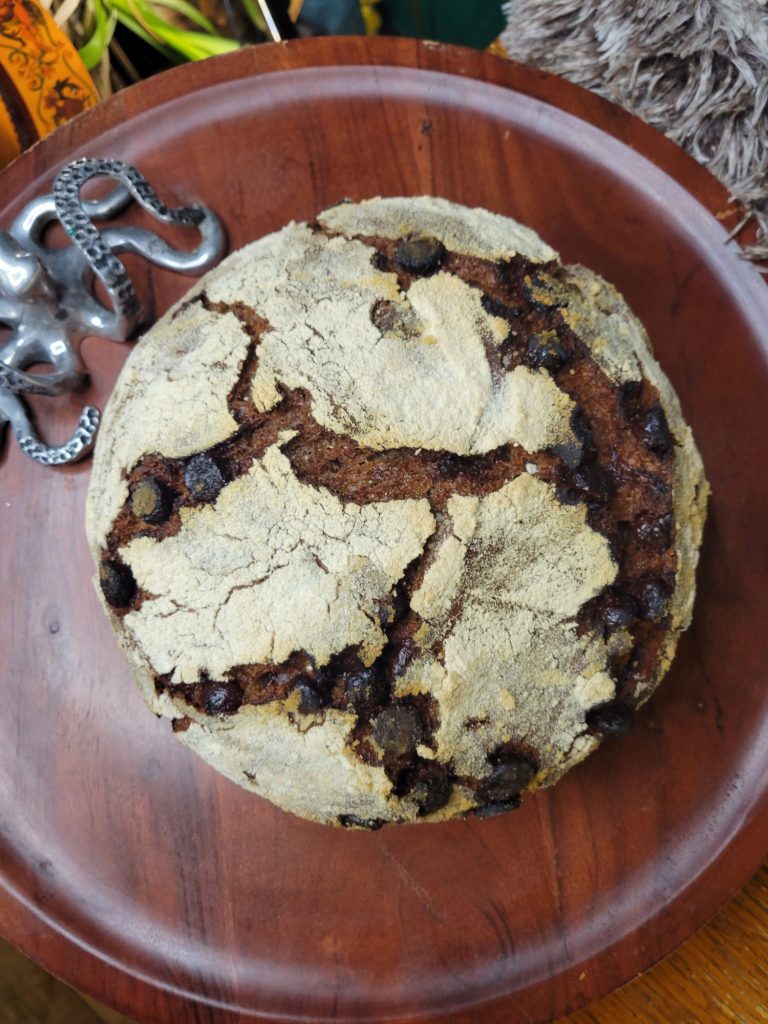
No-knead Dutch Oven Chocolate Bread w/ Cocoa Powder
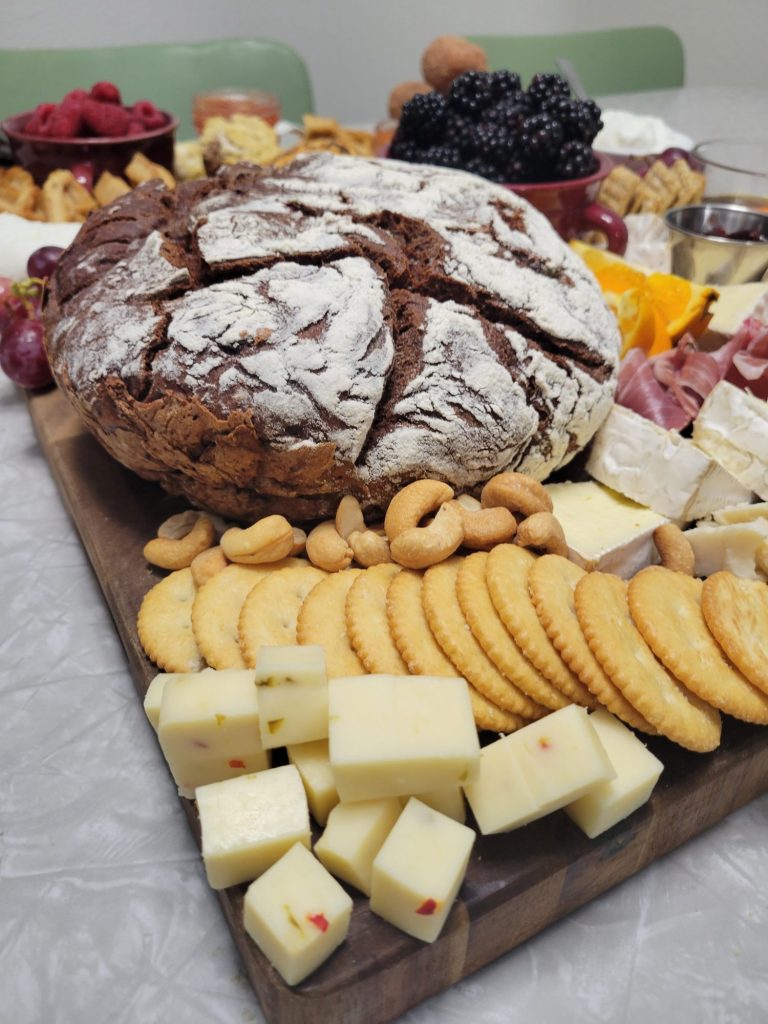
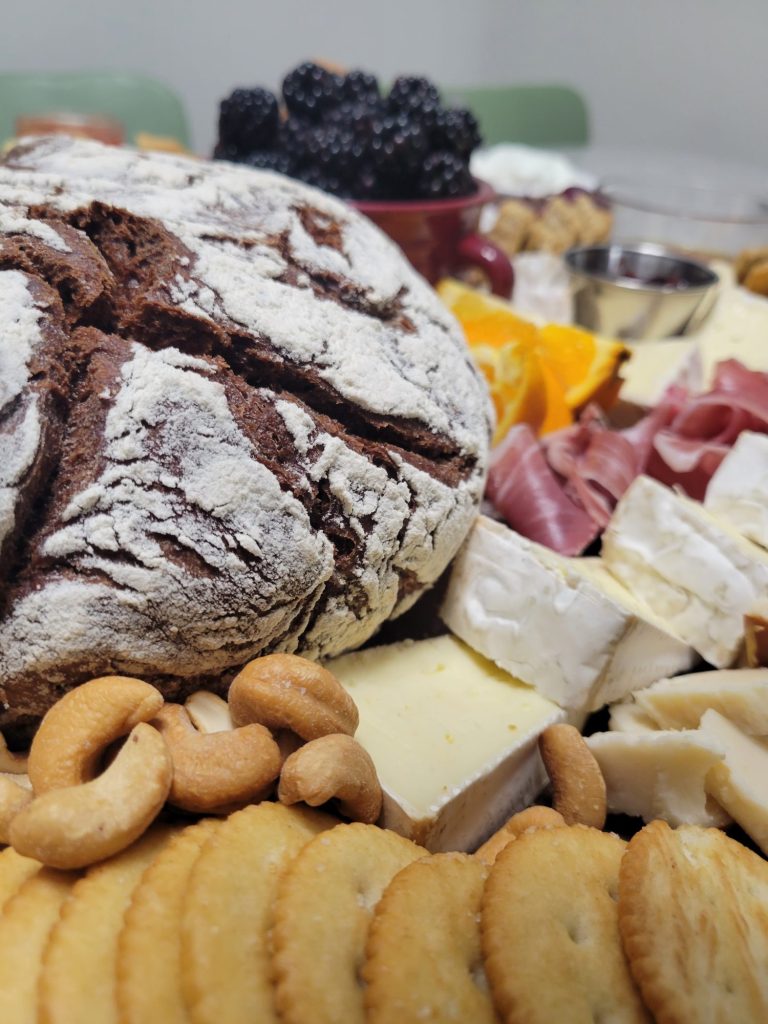
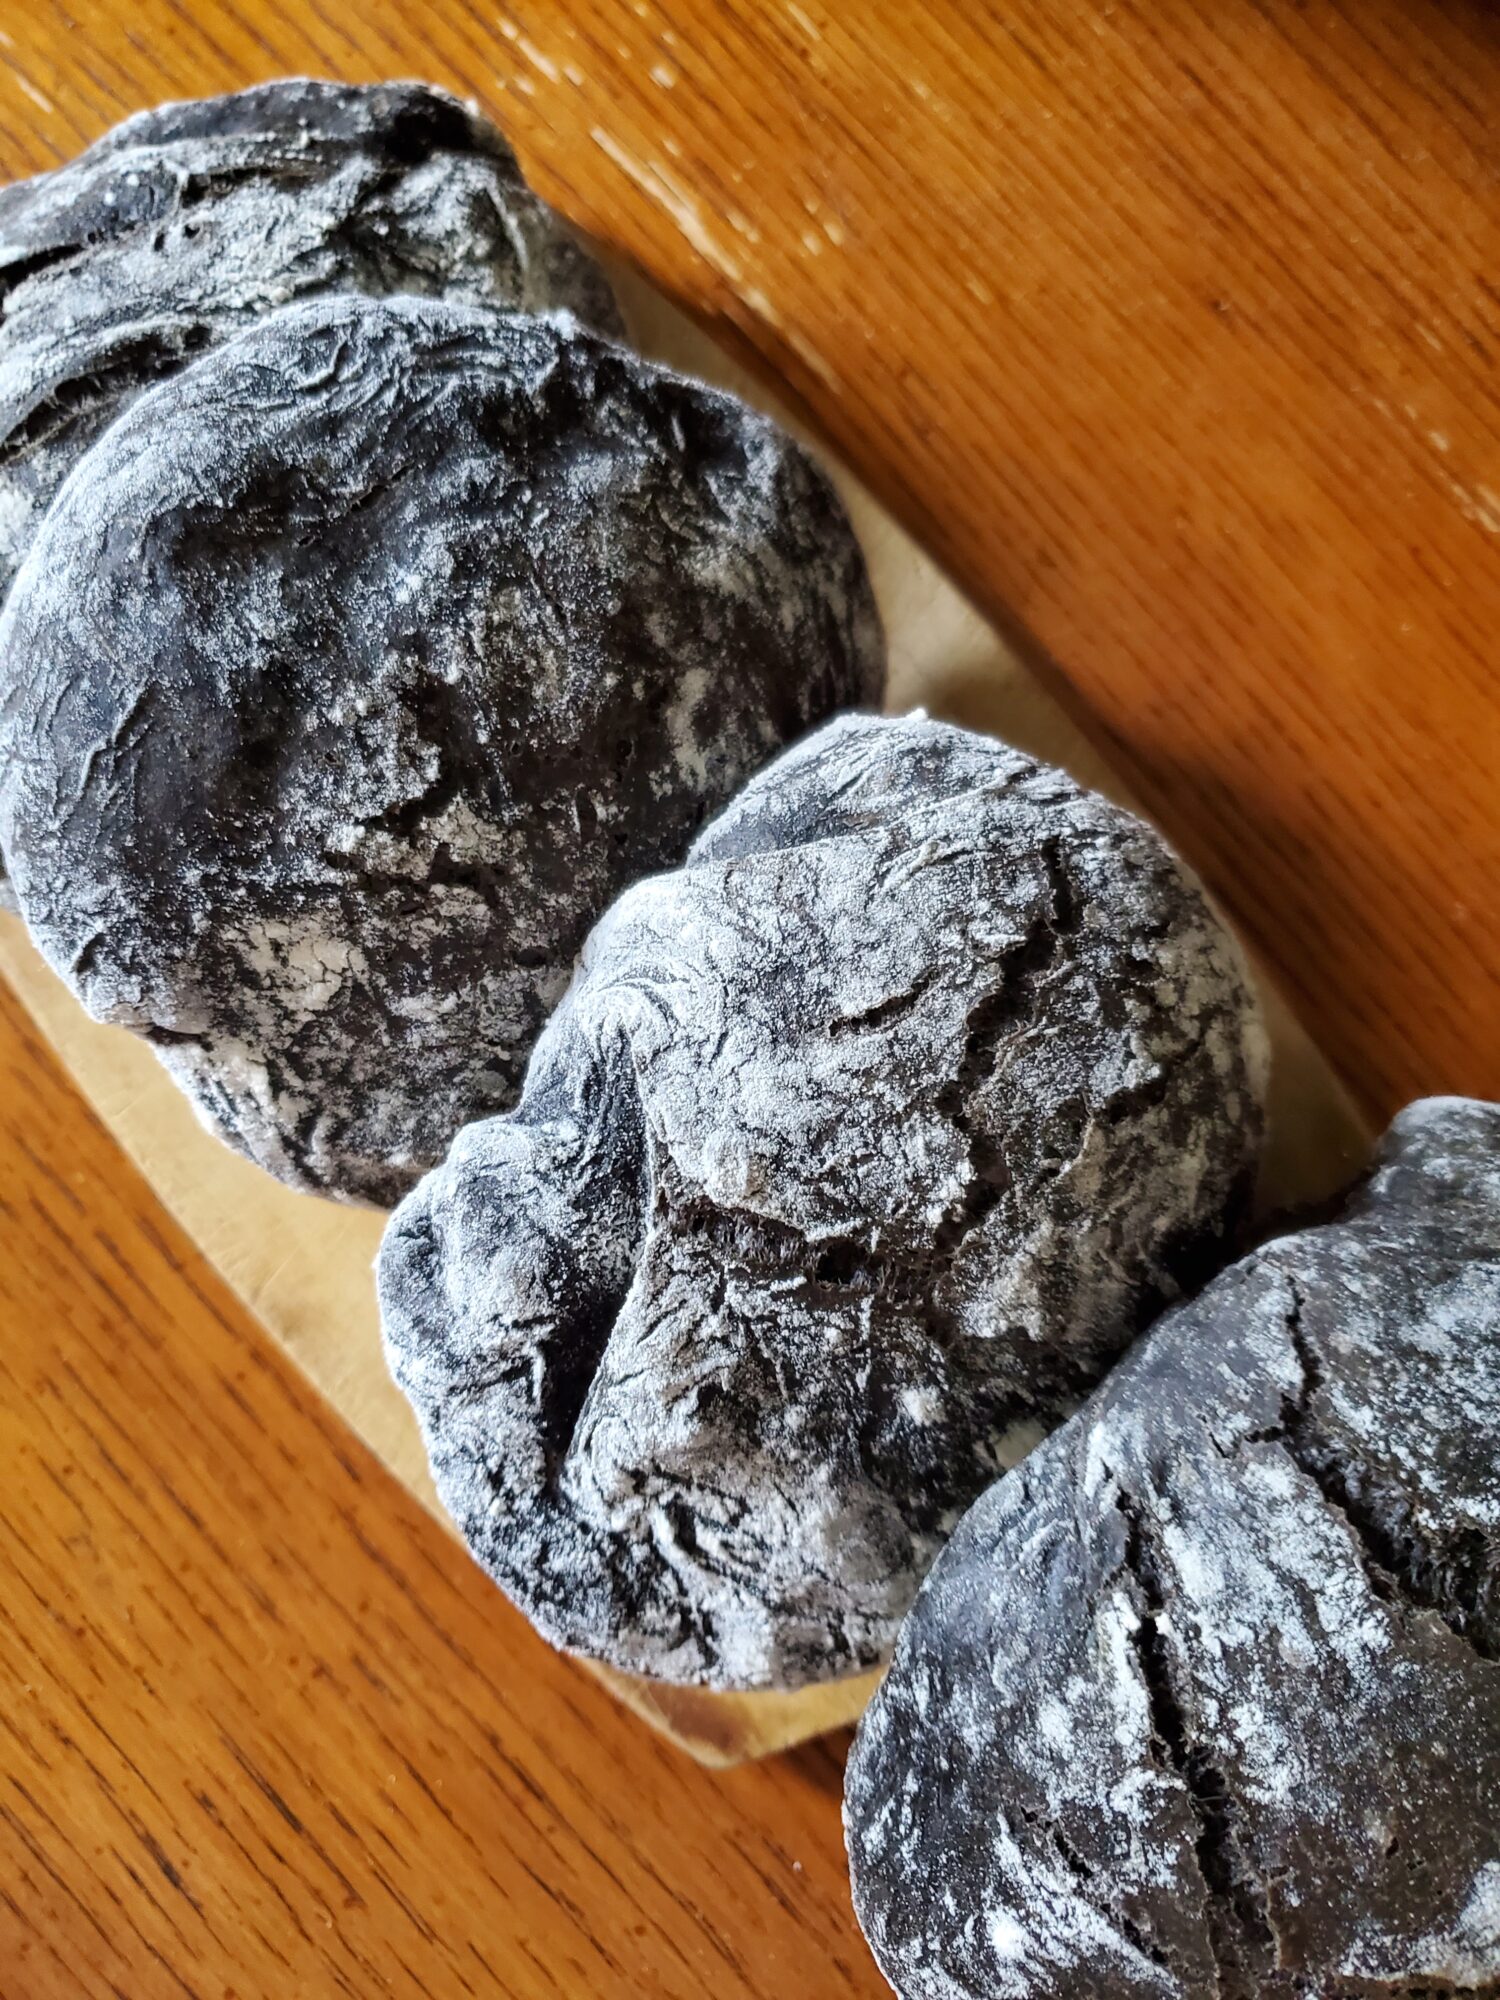
Halloween is coming up and I've been trying to come up with something vaguely Halloween themed for ladies brunch. This might be an excuse to make a giant cheese board and day drink, but we do also craft some of the time! I also usually make bread. I can't eat a whole loaf of bread by myself and I love bread. So, I will take absolutely any and every occasion to make bread. My first thought was Squid Ink Bread because I have done this for rolls and burger buns. It's witchy and goes well with brie. Although, I'm fresh out of squid ink and I don't know if I can spring that on people without warning. So, I opted for the next darkest ingredient I could come up with the day of and ended up with chocolate bread.
My go to bread recipe is: No-knead Dutch Oven Bread. It's a quick and easy bread recipe with a pretty straightforward rise. Plus, no kneading required. I have modified this recipe before, so I do know that there's a little wiggle room. And King Arthur Baking Company came out with an article where they substituted 10% of the flour for cocoa powder and added in 15% chocolate chips (How to Give Any Bread a Chocolate Makeover). Their family came to the conclusion that that was not enough chocolate chips, but didn't test at a higher rate.
Being the day of- because procrastination is real- I don't want to mess with adding in another variable, I'm not adding in chocolate chips. Although, I did try it out a couple of weeks later where I dropped an entire bag of giant chocolate chips into the batch: No-knead Dutch Oven Bread w/ Cocoa Powder & Chocolate Chips. It did work, but it was a tad bit too much. I'm thinking about doing mint chocolate chip for Christmas.
Gallery


Variations of Chocolate Bread
There is the classic version of this no-knead Dutch oven bread as well as a variety of other bread recipes that are adapted from this variation. One of the weird things about adding cocoa powder or squid ink to bread is that it doesn't change the nutritional value of the bread. Not that I'm calling bread a health food. But an unsweetened cocoa powder doesn't even add any sugar. All bets are off when we start adding in chocolate chips. Ordinarily there's only seven grams of sugar in the entire loaf.

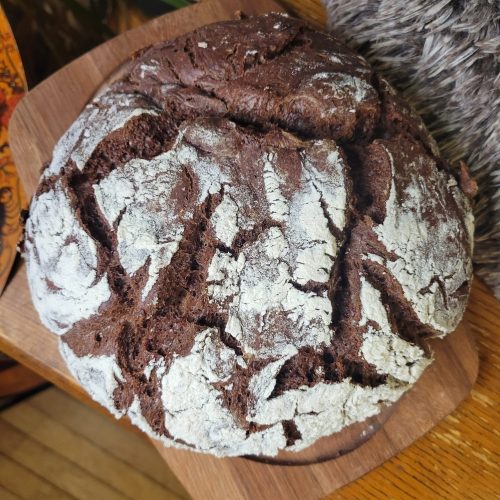
No-knead Dutch Oven Chocolate Bread w/ Cocoa Powder
Equipment
- Large Bowl
- Dutch Oven
- Oven
Ingredients
- 472 ml. warm water ~100°F (2 c.)
- 7 g. instant yeast (2 ¼ tsp. or 1 package)
- 7 g. honey (or 2 tsp. granulated sugar, maple syrup, or brown sugar)
- 513 g. all-purpose flour (4⅛ c.)
- 57 g. cocoa powder
- 2 tsp. salt
Instructions
Dough
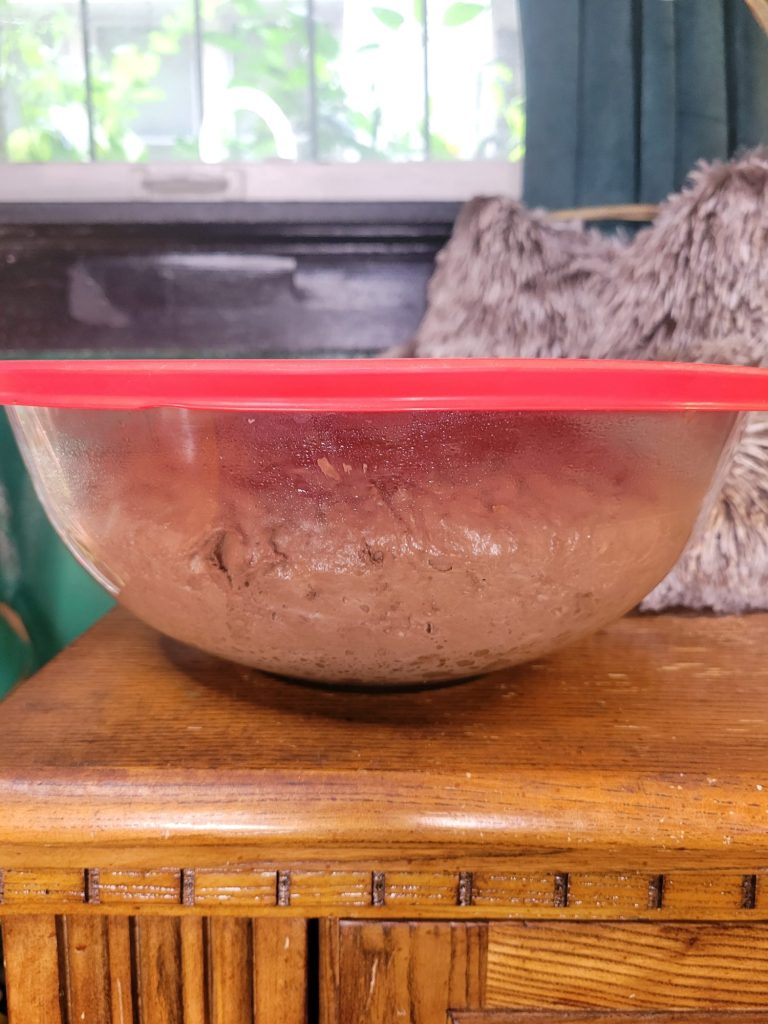
- Combine warm water, yeast, and sugar (or honey). Let rest for 15 minutes, or until the yeast begins to bubble.
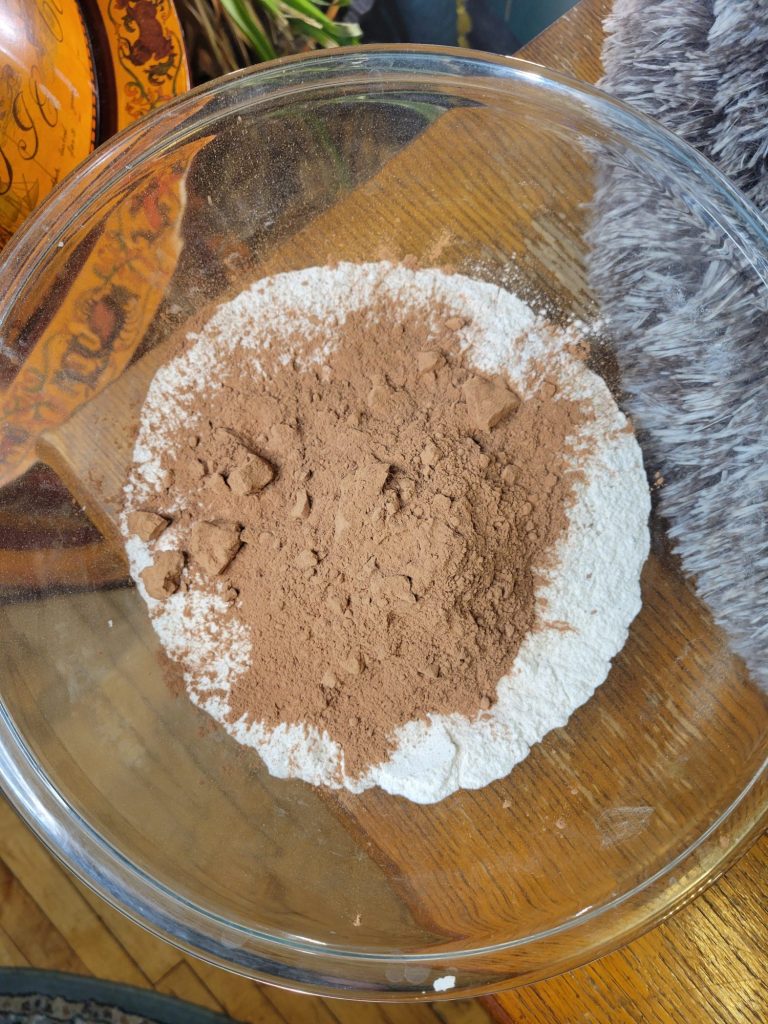
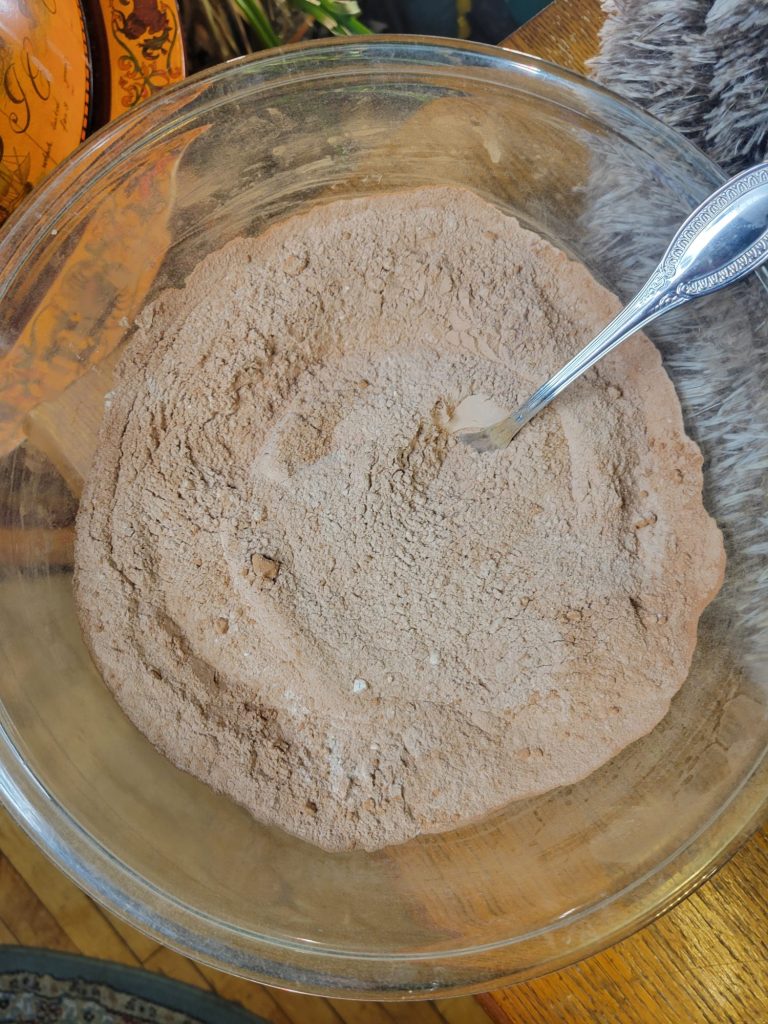
- Meanwhile, whisk together flour, cocoa powder, and salt in a large bowl.
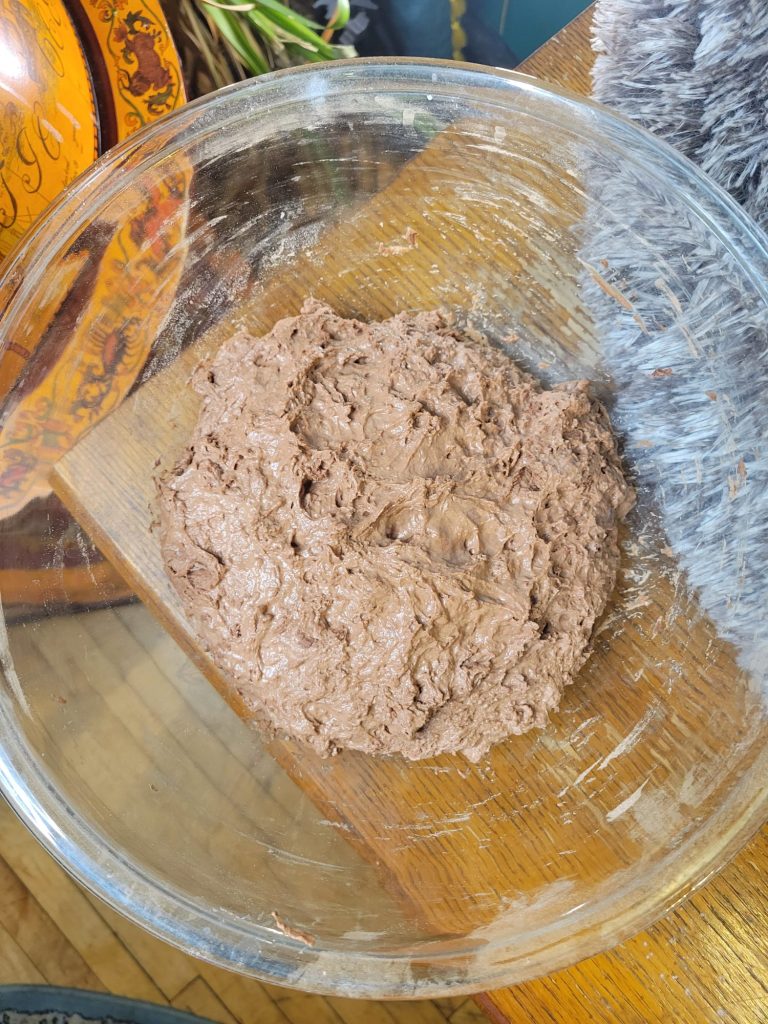
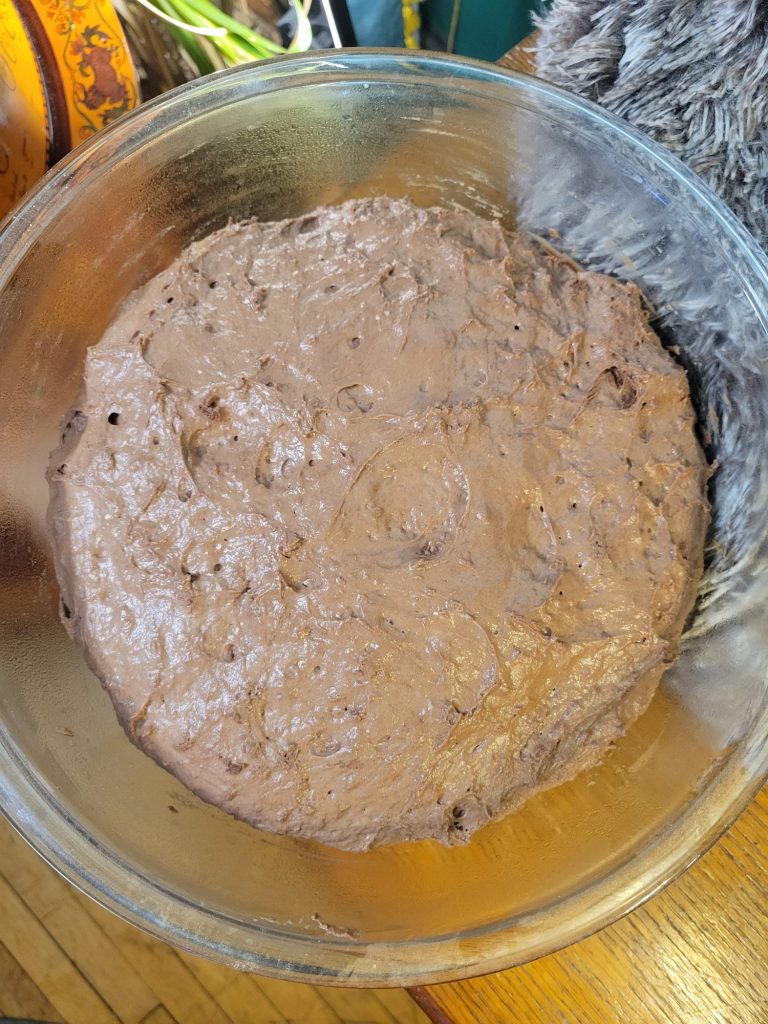
- After the yeast has proofed, stir yeast mixture into the flour. Mix until all of the ingredients are combined.In a mixer with a dough hook attachment, this only takes a minute or two. By hand, this takes about 5 minutes. It's a no-knead bread recipe, so you're not necessarily looking for soft and pliable dough. Really, you just want all of the ingredients to be mixed thoroughly at this point! Which does make it a great recipe to make by hand if you prefer or don't have a mixer.
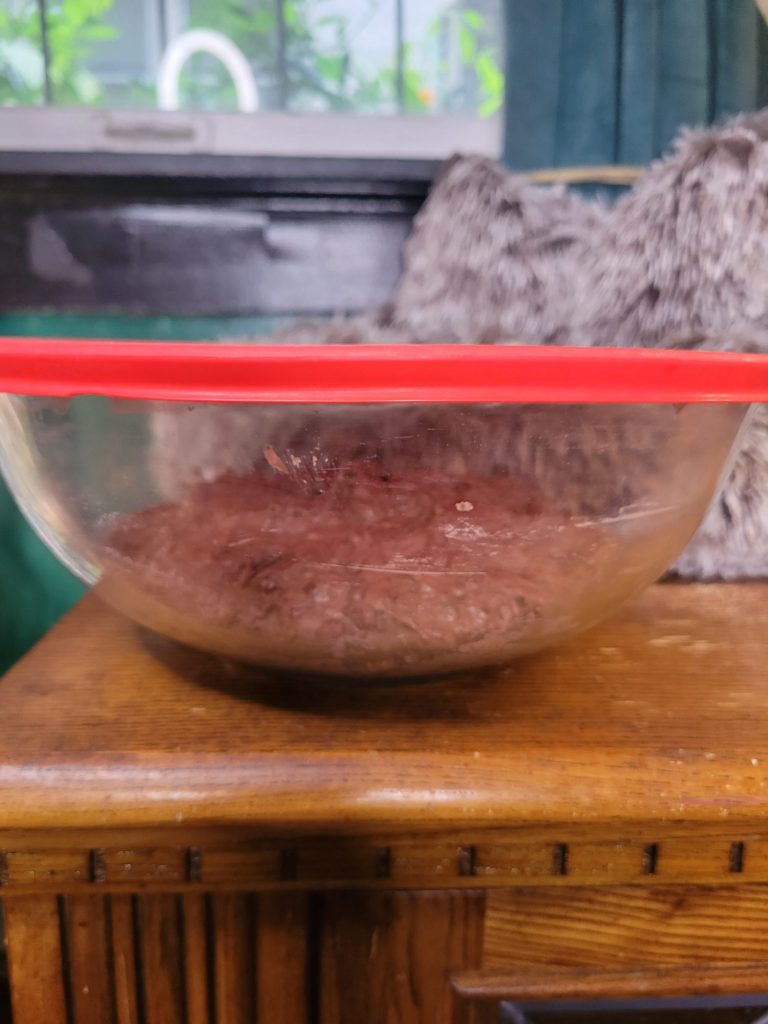
- Cover dough and let proof for 2 hours, or until doubled in size.
Bake
- A half hour before the dough is through its proof, lightly grease the Dutch oven. Place it, with the lid on, in the oven and preheat to 450 degrees Fahrenheit.It's important to preheat the Dutch oven ahead of time in order to get it warm enough to cook the bread.
- After 2 hours of proofing, lightly flour a surface and turn the dough out. Sprinkle with just enough flour to make it workable (a tablespoon or two) and fold the dough onto itself several times, until you've created a ball.If you're separating the dough to maker smaller loaves, do that at this time.
- Carefully, and with oven mitts, remove the Dutch oven. Plop the ball of dough into the center of the Dutch oven.
- Using oven mitts, place the lid back on and put the Dutch oven back into the oven. Bake for 40-45 minutes.Baking time for different sized loaves remains the same. This sounds counter-intuitive, but don't open up the Dutch oven to double check! The bread bakes in a similar amount of time regardless of loaf size because of the Dutch oven within an oven baking method. Smaller loaves may need less, or no, additional cook time after the lid is removed. But the initial bake time remains the same.
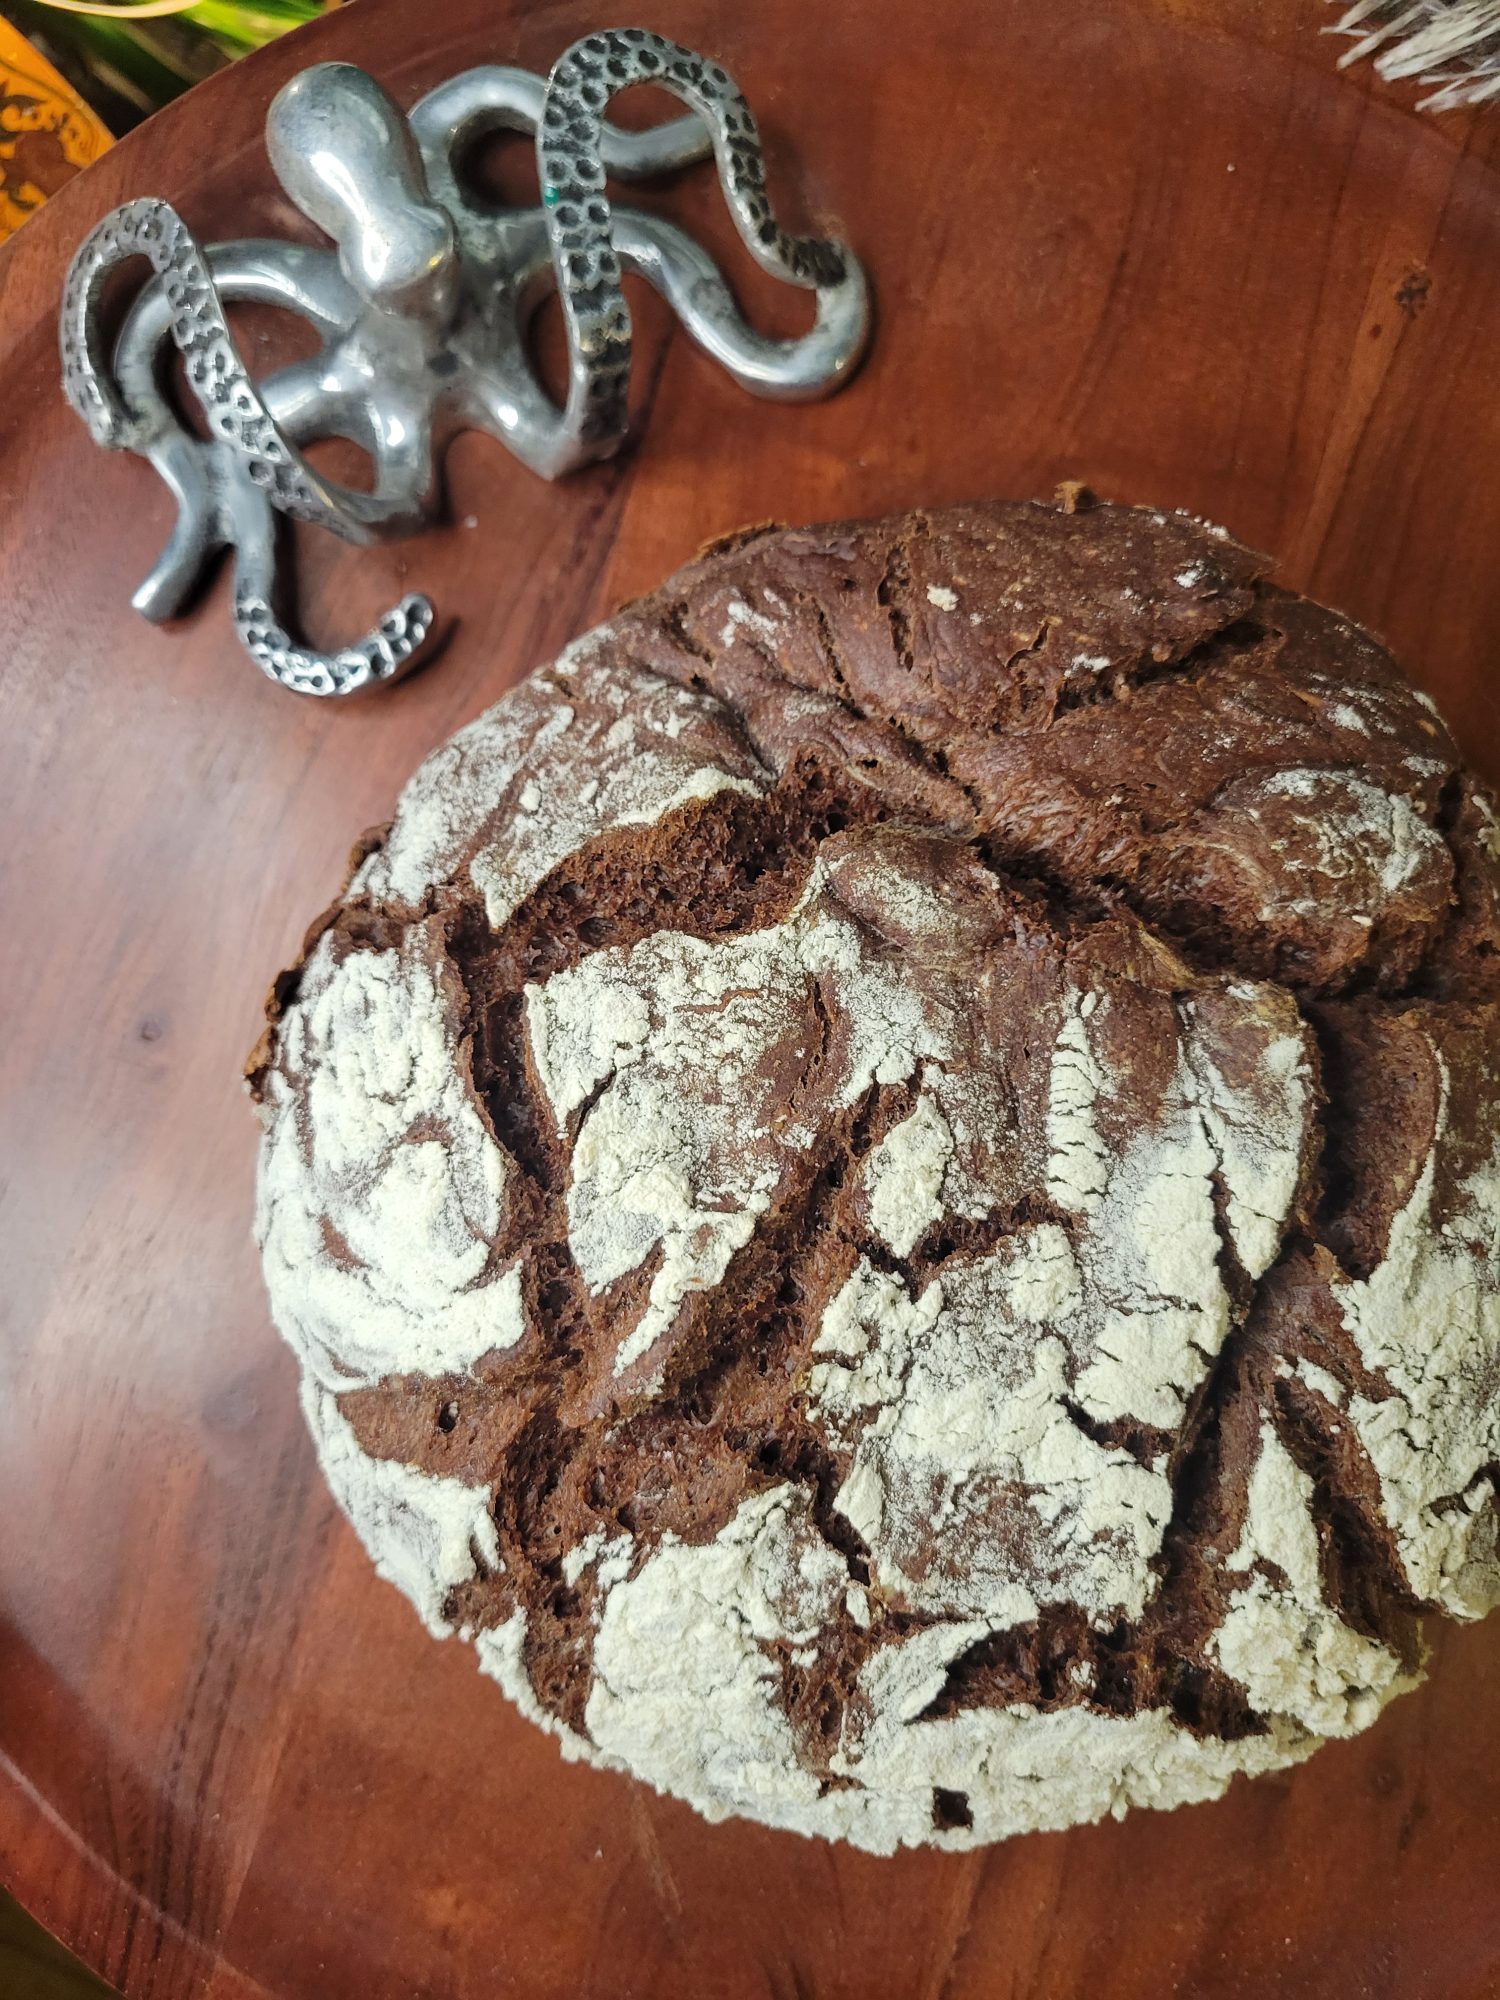
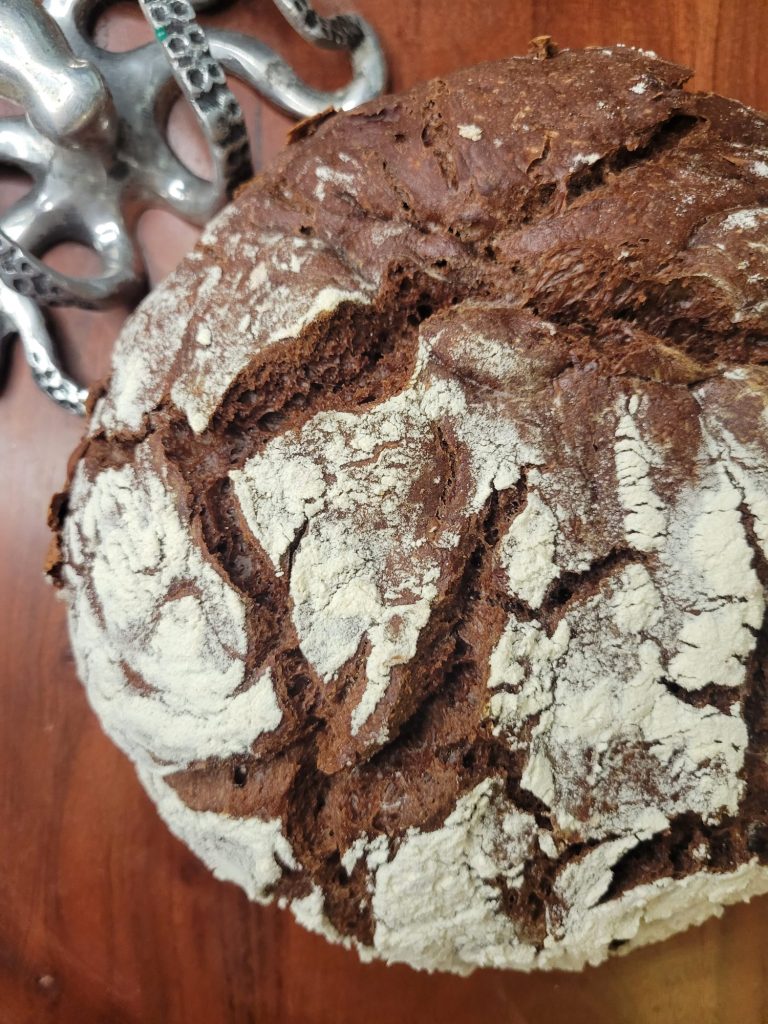
- After 45 minutes in the oven, remove the lid from the Dutch oven and bake for another 15-20 minutes, or until the crust is crisp and golden brown.You should be able to tap on the dough and it sounds hollow.
- After about an hour in the oven, carefully remove the Dutch oven and turn out the bread. Let rest until cool before slicing. This tends to take about 30-45 minutes.
Tips, Tricks, & Notes
- You can use any kind of sugar that you want. The original recipe called for maple syrup or honey. But I'm honestly not as big a fan of those in bread! It goes great with butter and toast and I'm a huge fan in biscuits. But this isn't necessarily something that I'm always going for with every slice of bread.
- If you don't want to predetermine the flavor profile, white granulated sugar is a great choice. I've been using honey lately because there's a bottle on my counter. But again, this is all personal preference! Sugar is necessary to feed the yeast and help the dough rise throughout hours of proofing. The particular sugar that you use in this recipe, though, is personal preference. Use whatever sugar you prefer or have on hand!
- You can use any cocoa powder that you want. Unsweetened, raw cocoa varieties are going to result in a richer taste. Whereas sweeter (more like hot cocoa mix) are going to be sweeter and a little bit more subtle. If you use a sugar-free cocoa powder, this recipe still isn't healthy because we're talking about bread here, but it's not a dessert item that more resembles a cake. It's just a more fun bread rather than a cake masquerading as bread!
- This recipe is also vegan if you use sugar, instead of honey, and a dark chocolate cocoa powder without dairy in it. Just check the ingredients on your brand if you want it to be vegan!

Leave a Reply