No-knead Dutch Oven Bread w/ Bread Basket
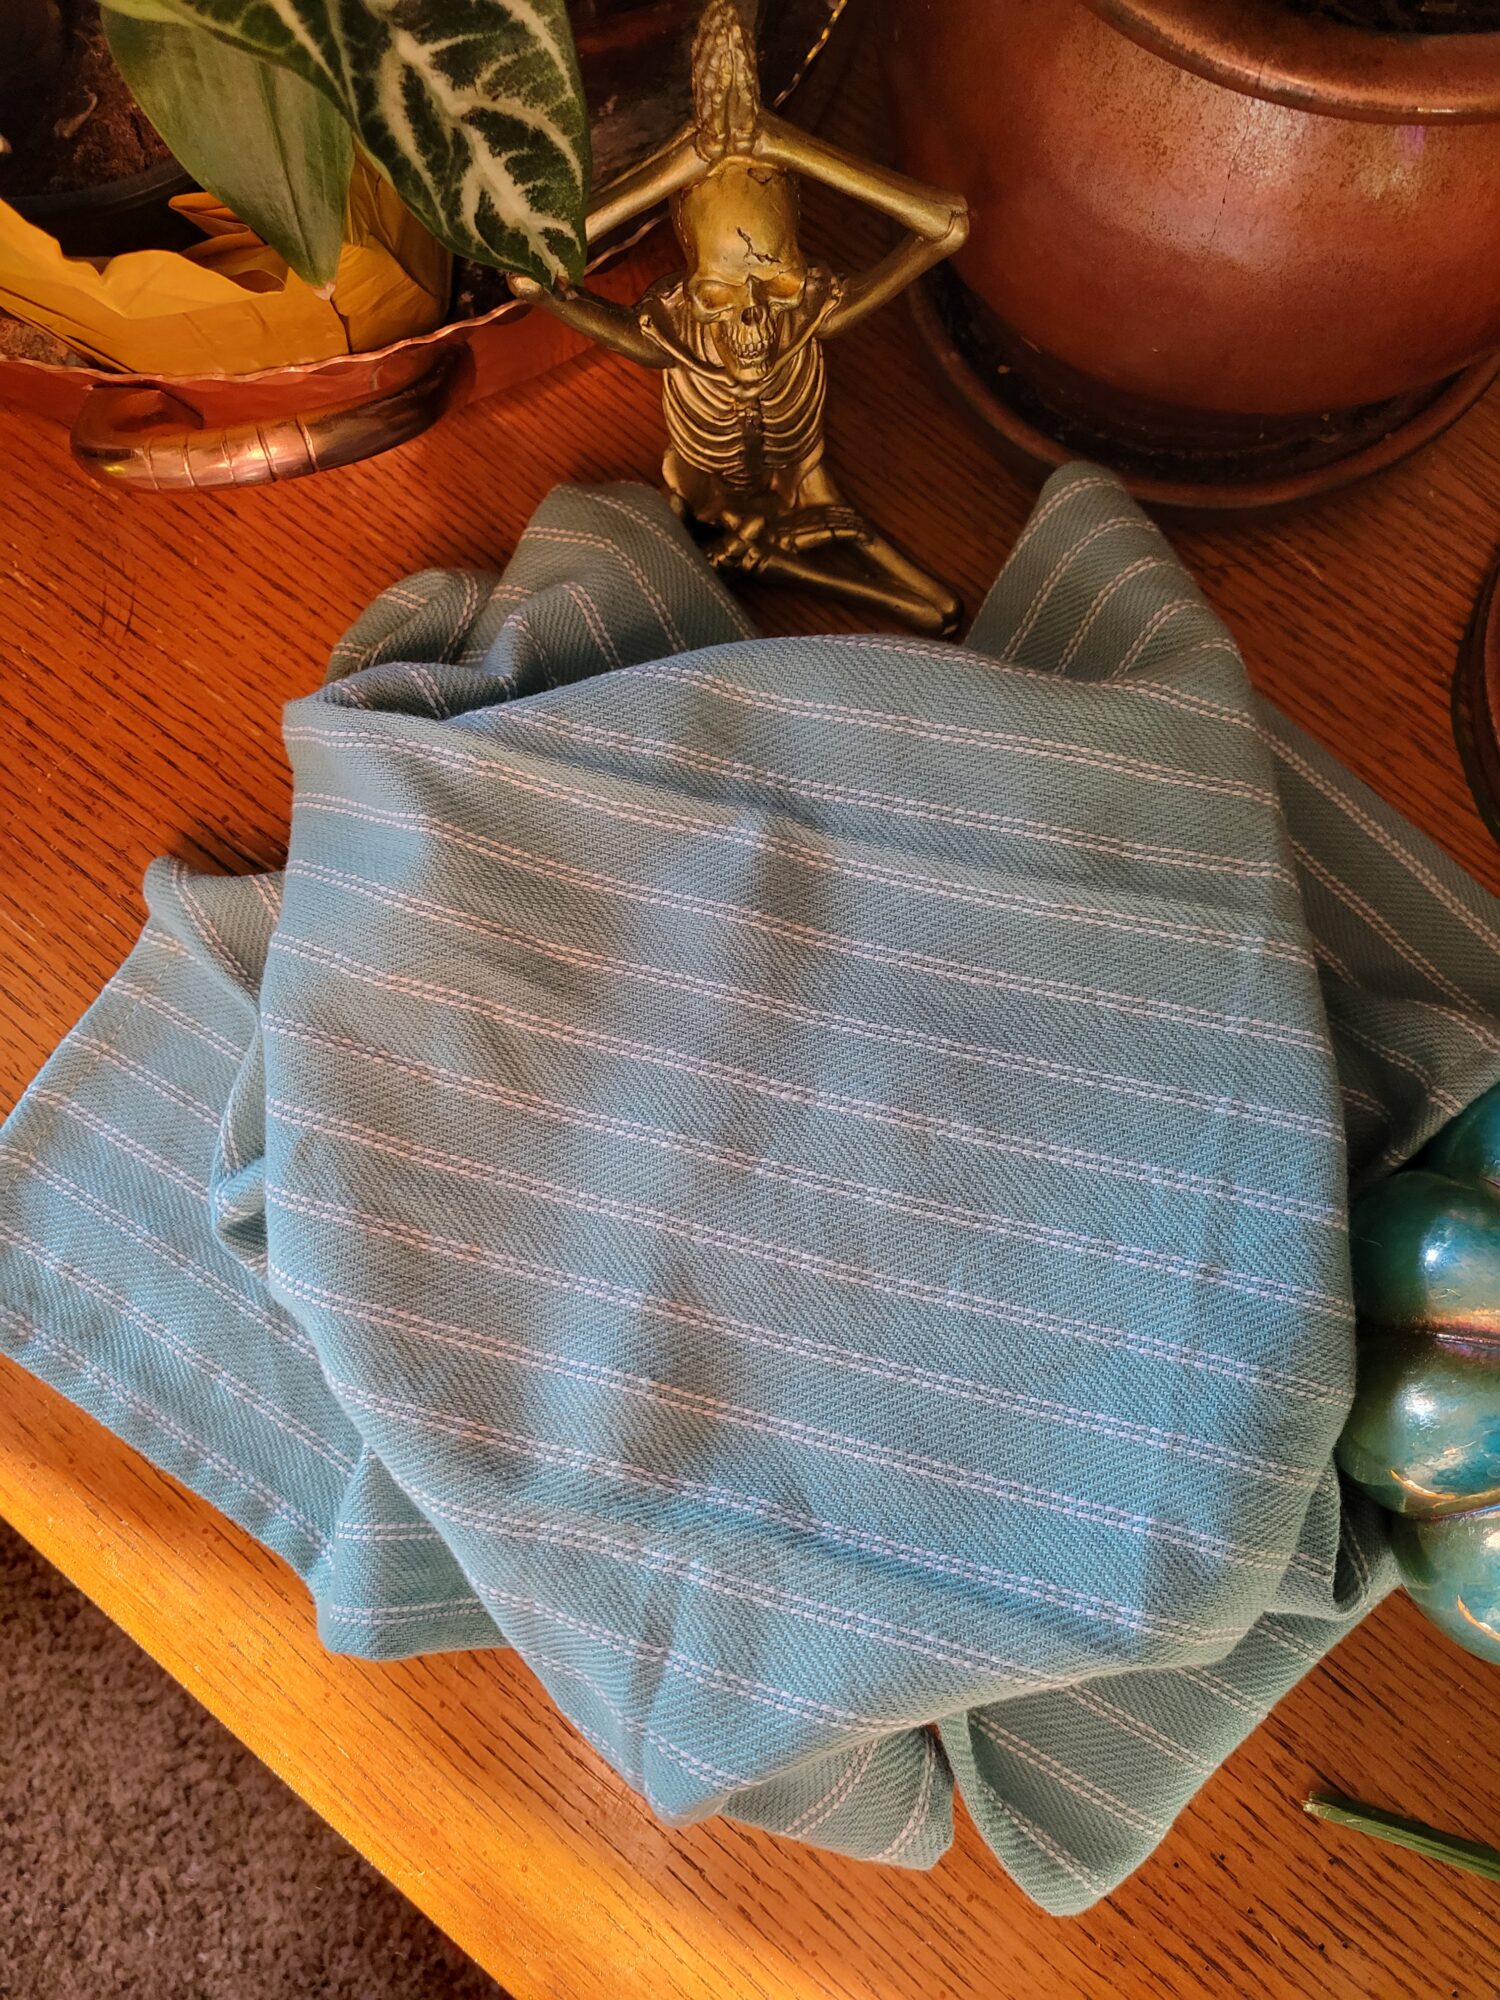
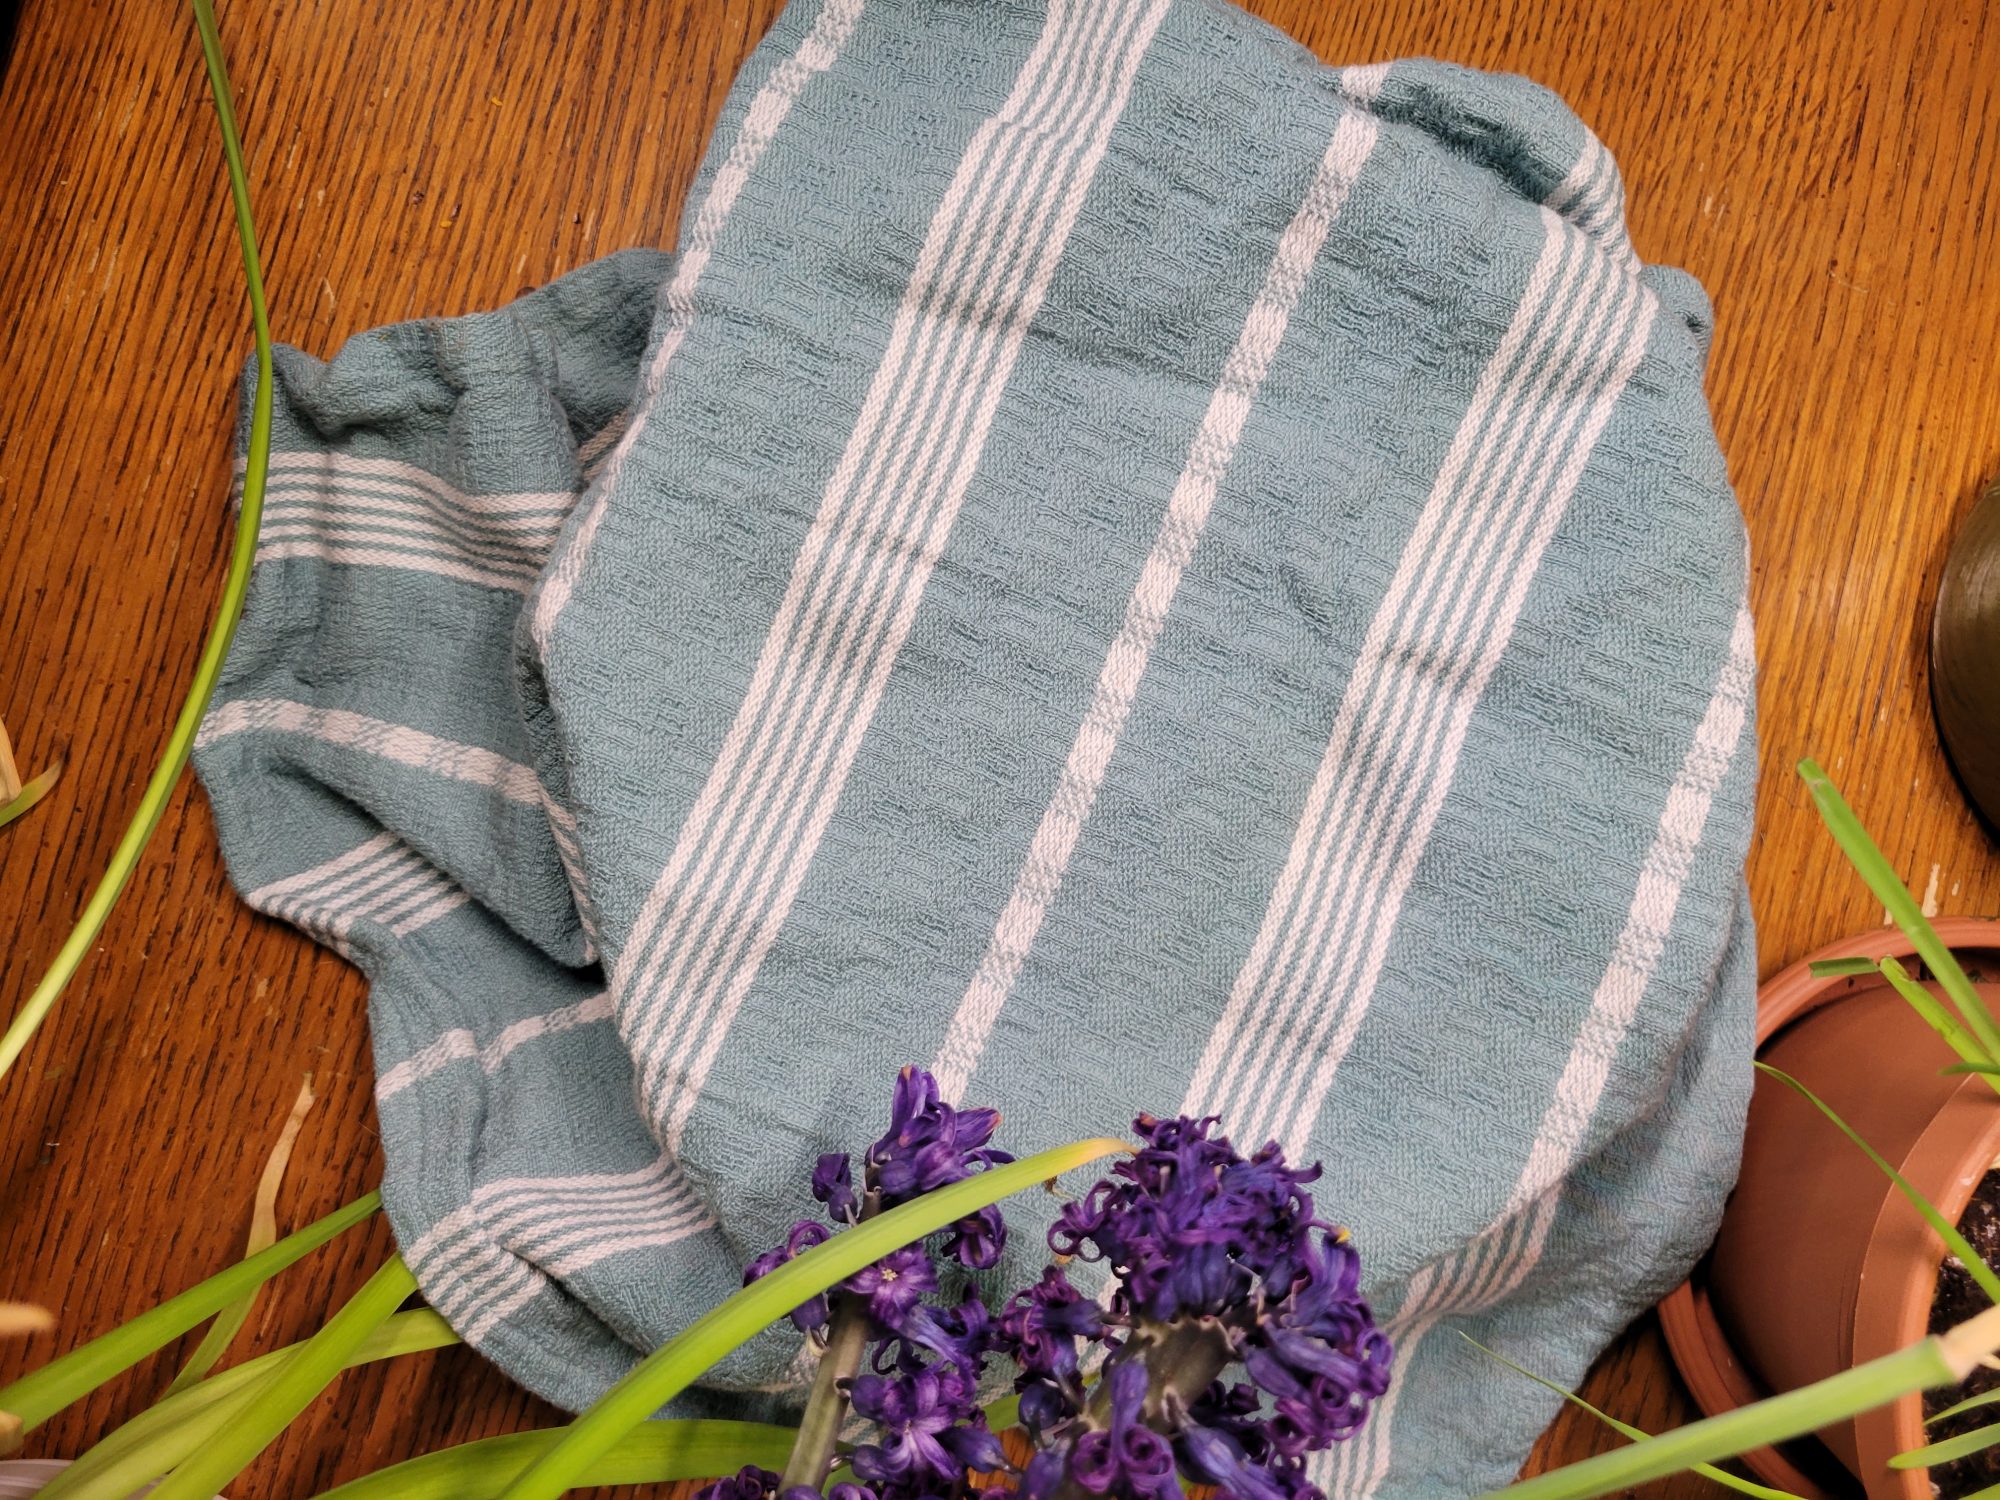
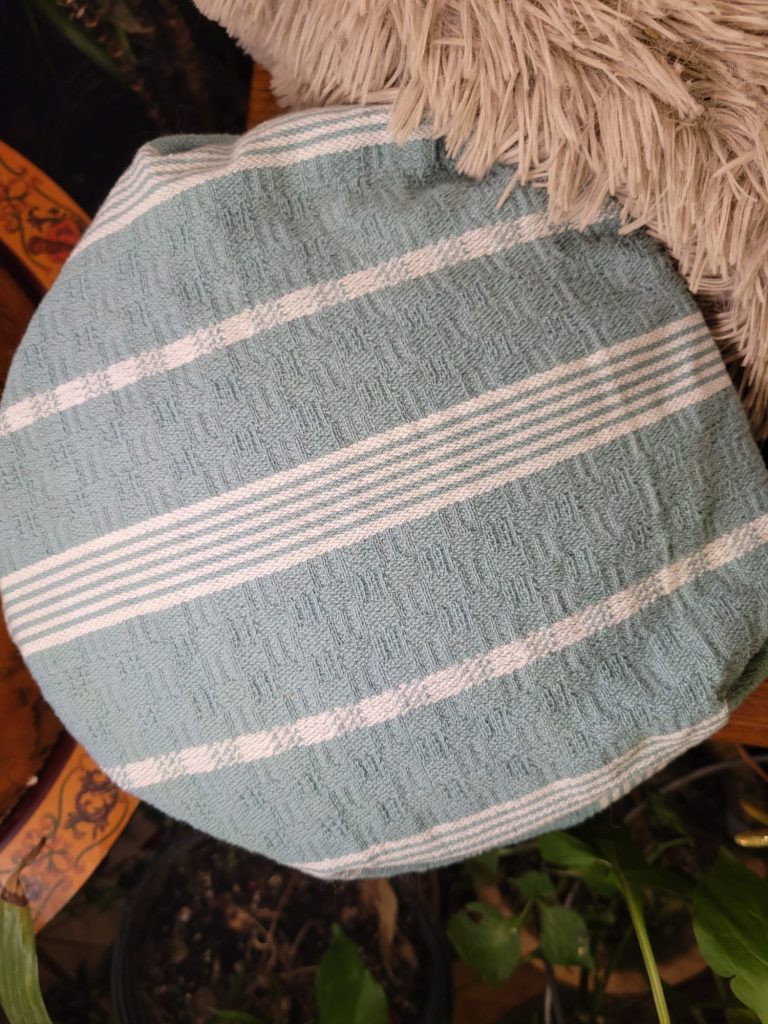
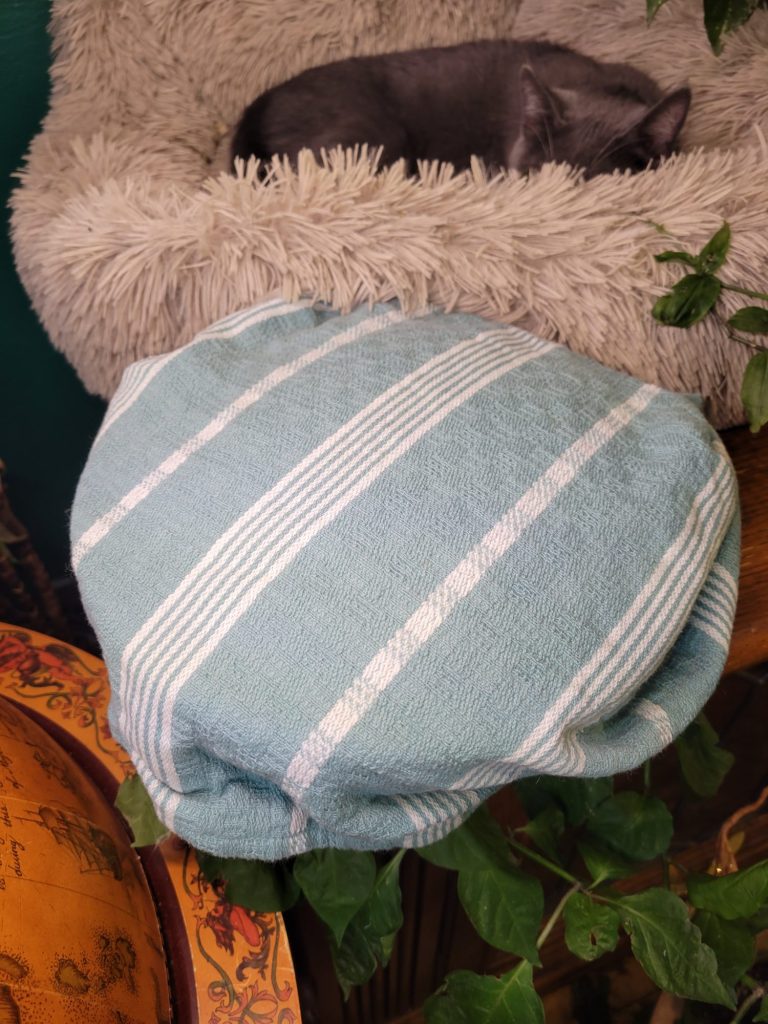
I am trying to step up my bread game. Now, I'm by no means a master bread maker. To date, this Dutch Oven bread recipe is the only bread that I have been able to consistently make successfully more than once! But we all know what it's like when Amazon knows all that we are doing and keeps suggesting bread baskets. Especially on Prime Day. Oh, how easily we are manipulated into buying things that we may actually need! But yes, I did get a very modestly priced bread basket. Technically a set of them if we really want to make my body weight in bread.
And today, I am endeavoring to determine the age old bread making question of:
Do You Really Need a Bread Basket?
Anecdotally, I've known people who swear by them. But whether that's just clout or an actual necessity? I don't actually have an answer to that. I'm sure that there is research and people throughout the internet have already tested this side-by-side in an attempt to definitively determine the best way to make bread. But where's the fun in that?
Cooking is also a very individual experience. Especially when baking, the environment that you make things in alters the process dramatically. I've been making dough in professional settings at work for more than a decade (don't worry, not bread dough!) and, if there's anything that I can tell you, it's that you're constantly having to make adjustments.
Air temperature, flour temperature, humidity levels, even elevation and proximity to an ocean or large body of water make a huge difference. How hot the water is, how long you let something proof, resting time? All of these need to be adjusted based on environmental and other mitigating factors.
After years and years of this, I do it instinctually at work. But, if someone stopped and asked me what I was doing and why it's slightly different from yesterday or last Tuesday or last December? I would have an answer. But I would probably have to stop for a second and think about it for a second. It's hotter and more humid today, so the yeast needs less time to proof and the subsequent water needs to be colder. Or it's incredibly dry and cold, so the rest time needs to be longer and it probably needs to proof for at least an hour before going into the refrigerator.
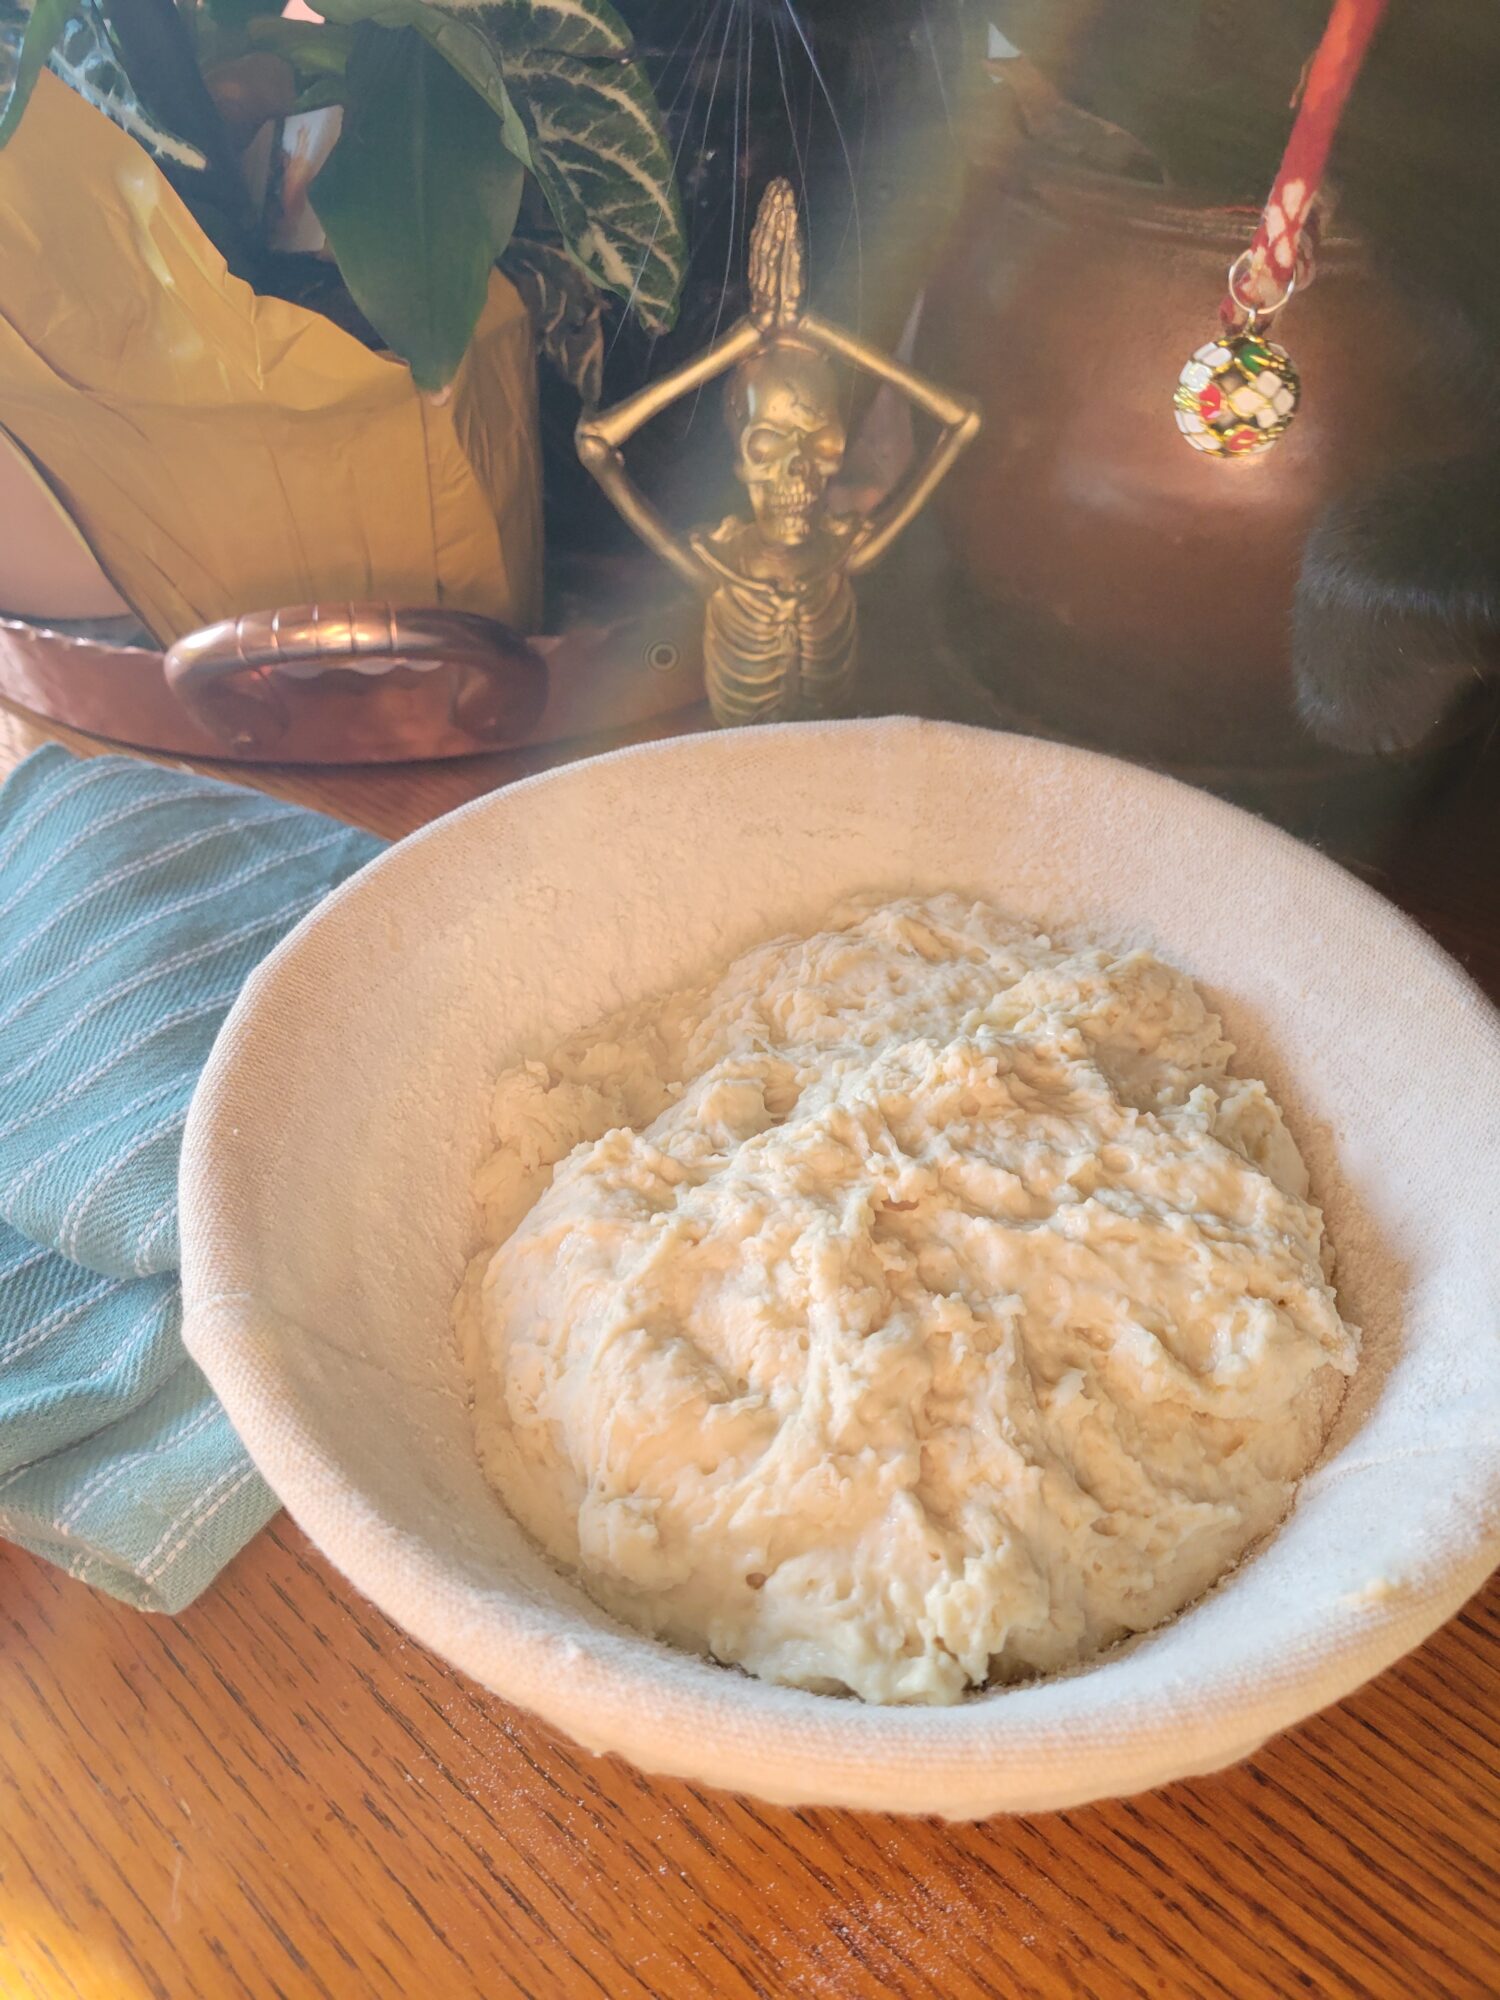
Now, none of this really pertains necessarily to this kind of bread-making. And it's part of the reason that I struggle with bread. Because making a dough with 50 pounds of flour and scaling it down for an individual portion? Doesn't exactly translate that well! But I am persevering in my bread-making endeavor and attempting to answer the question today of whether the bread basket makes a difference in the proofing!
Different Types of Proof
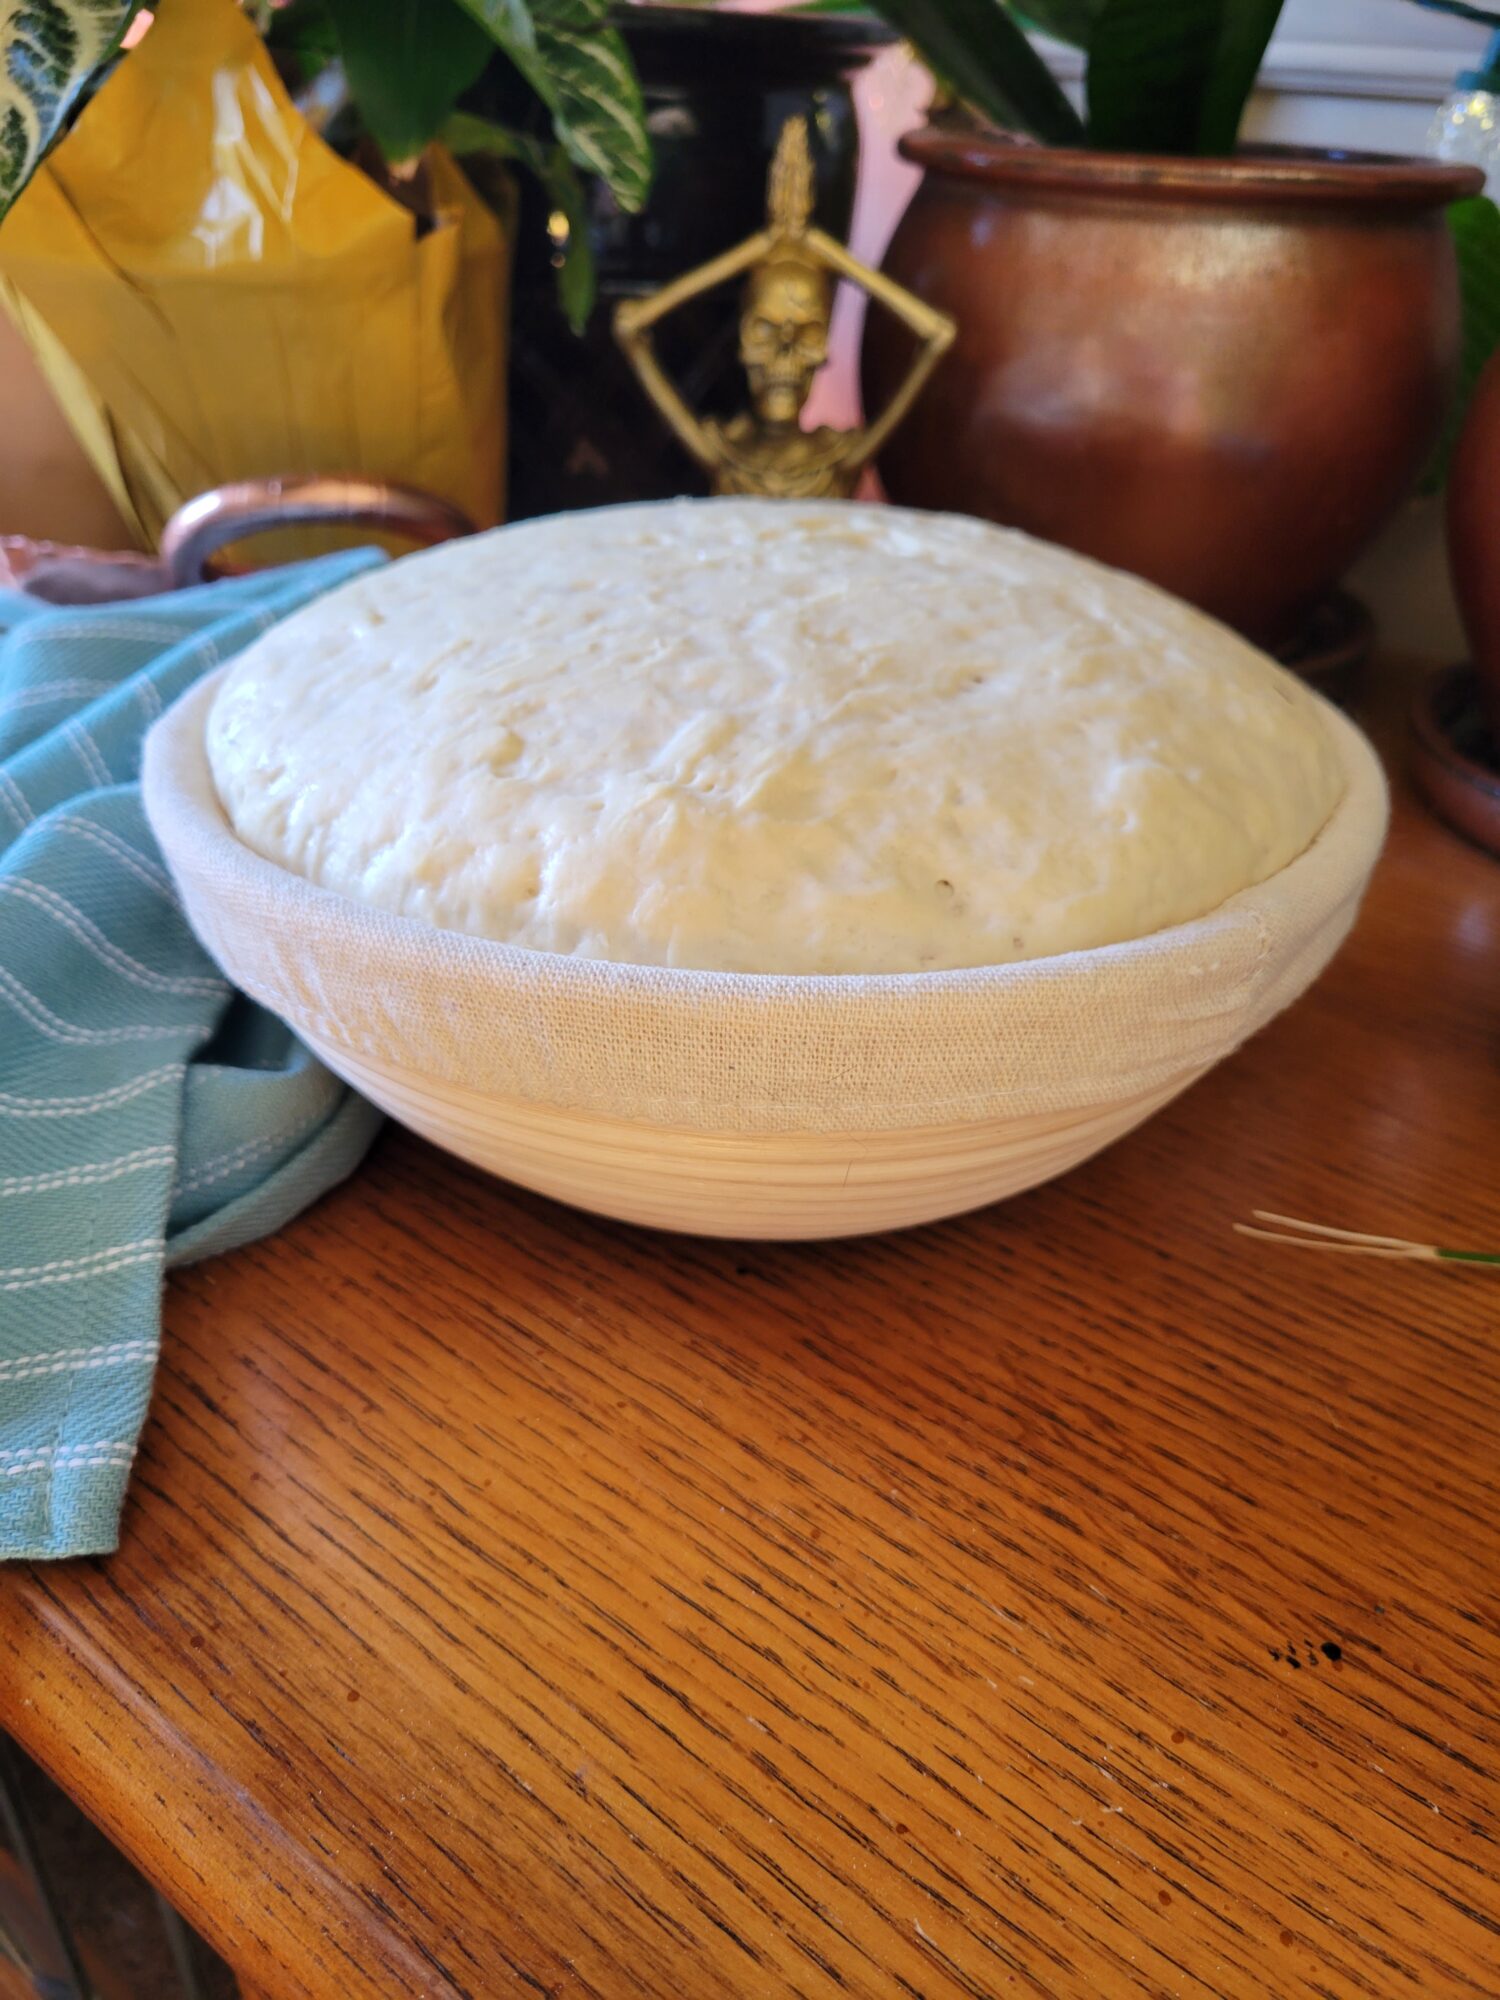
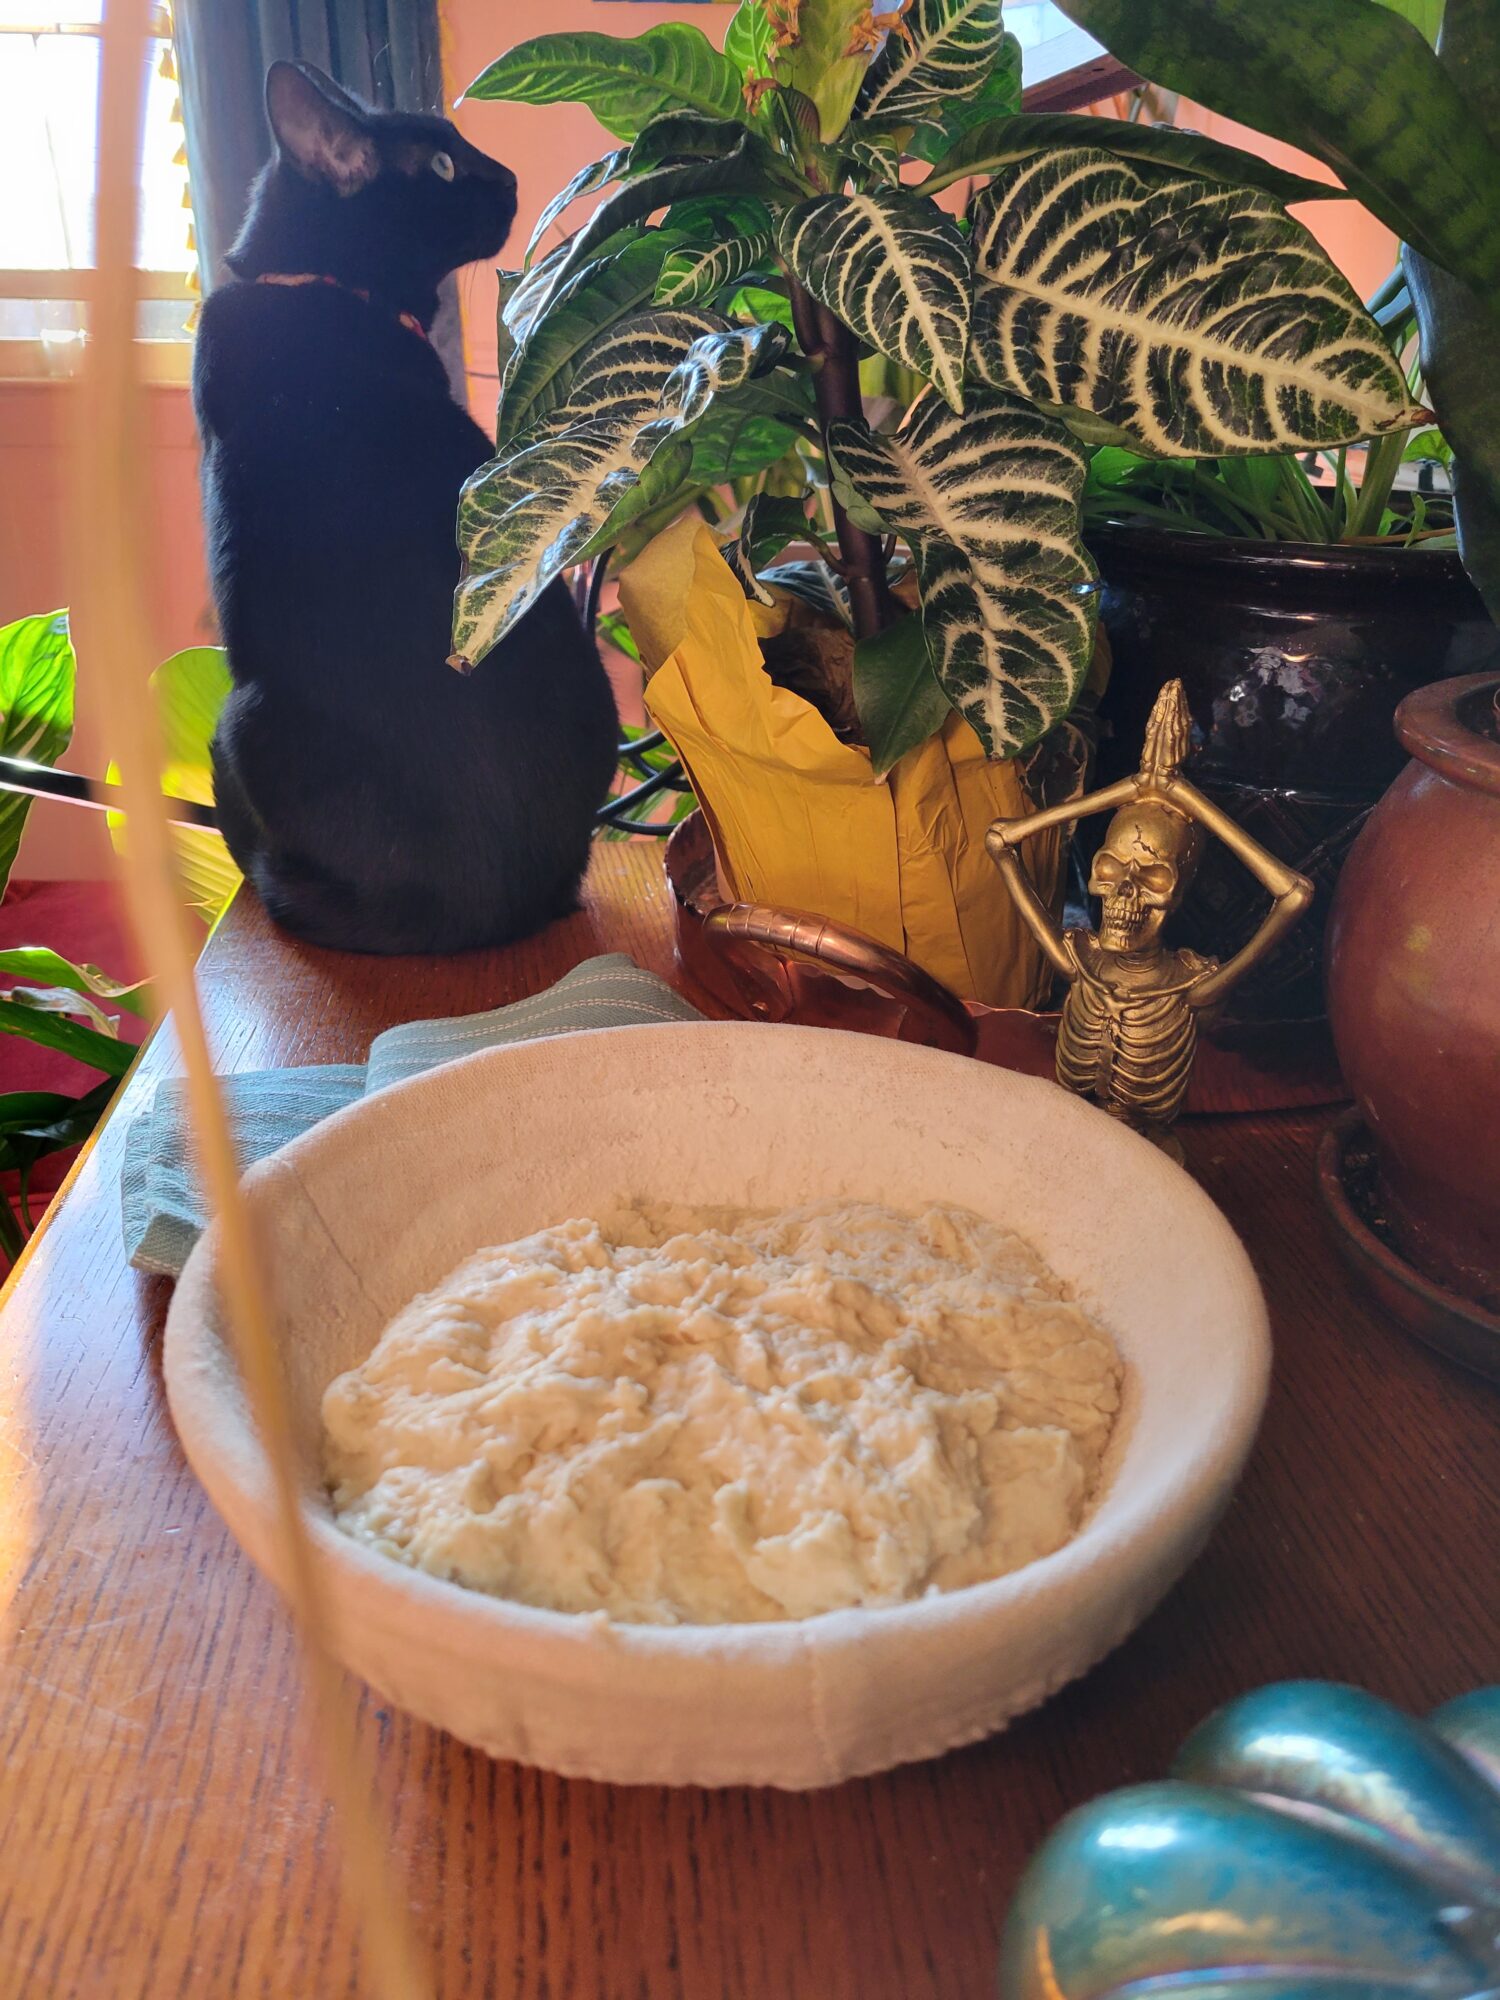
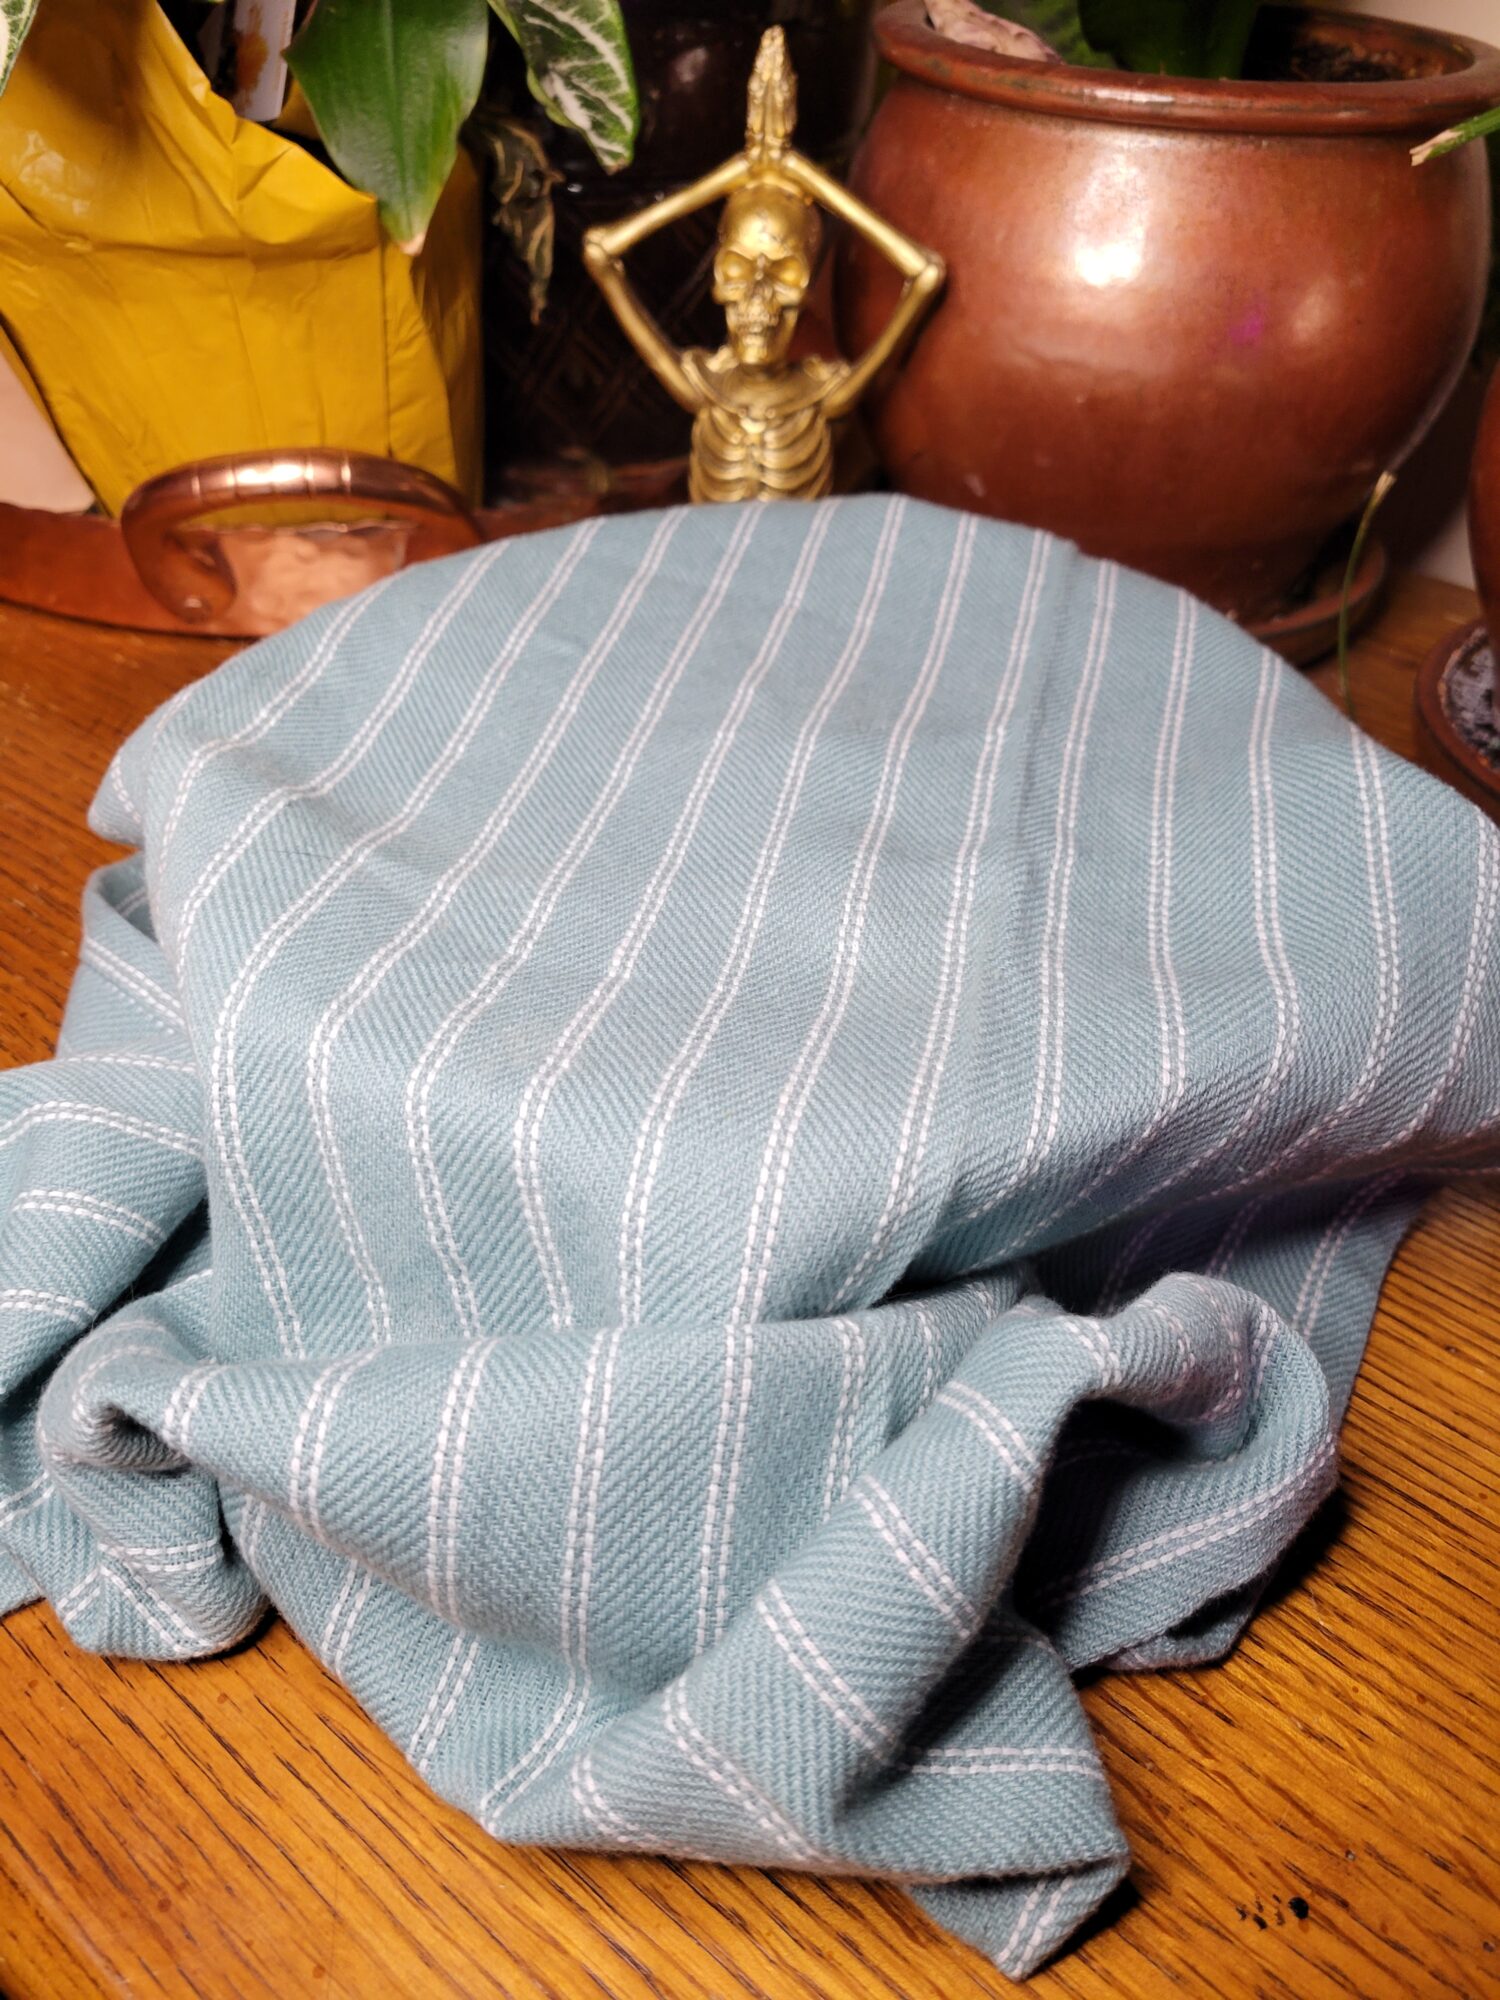
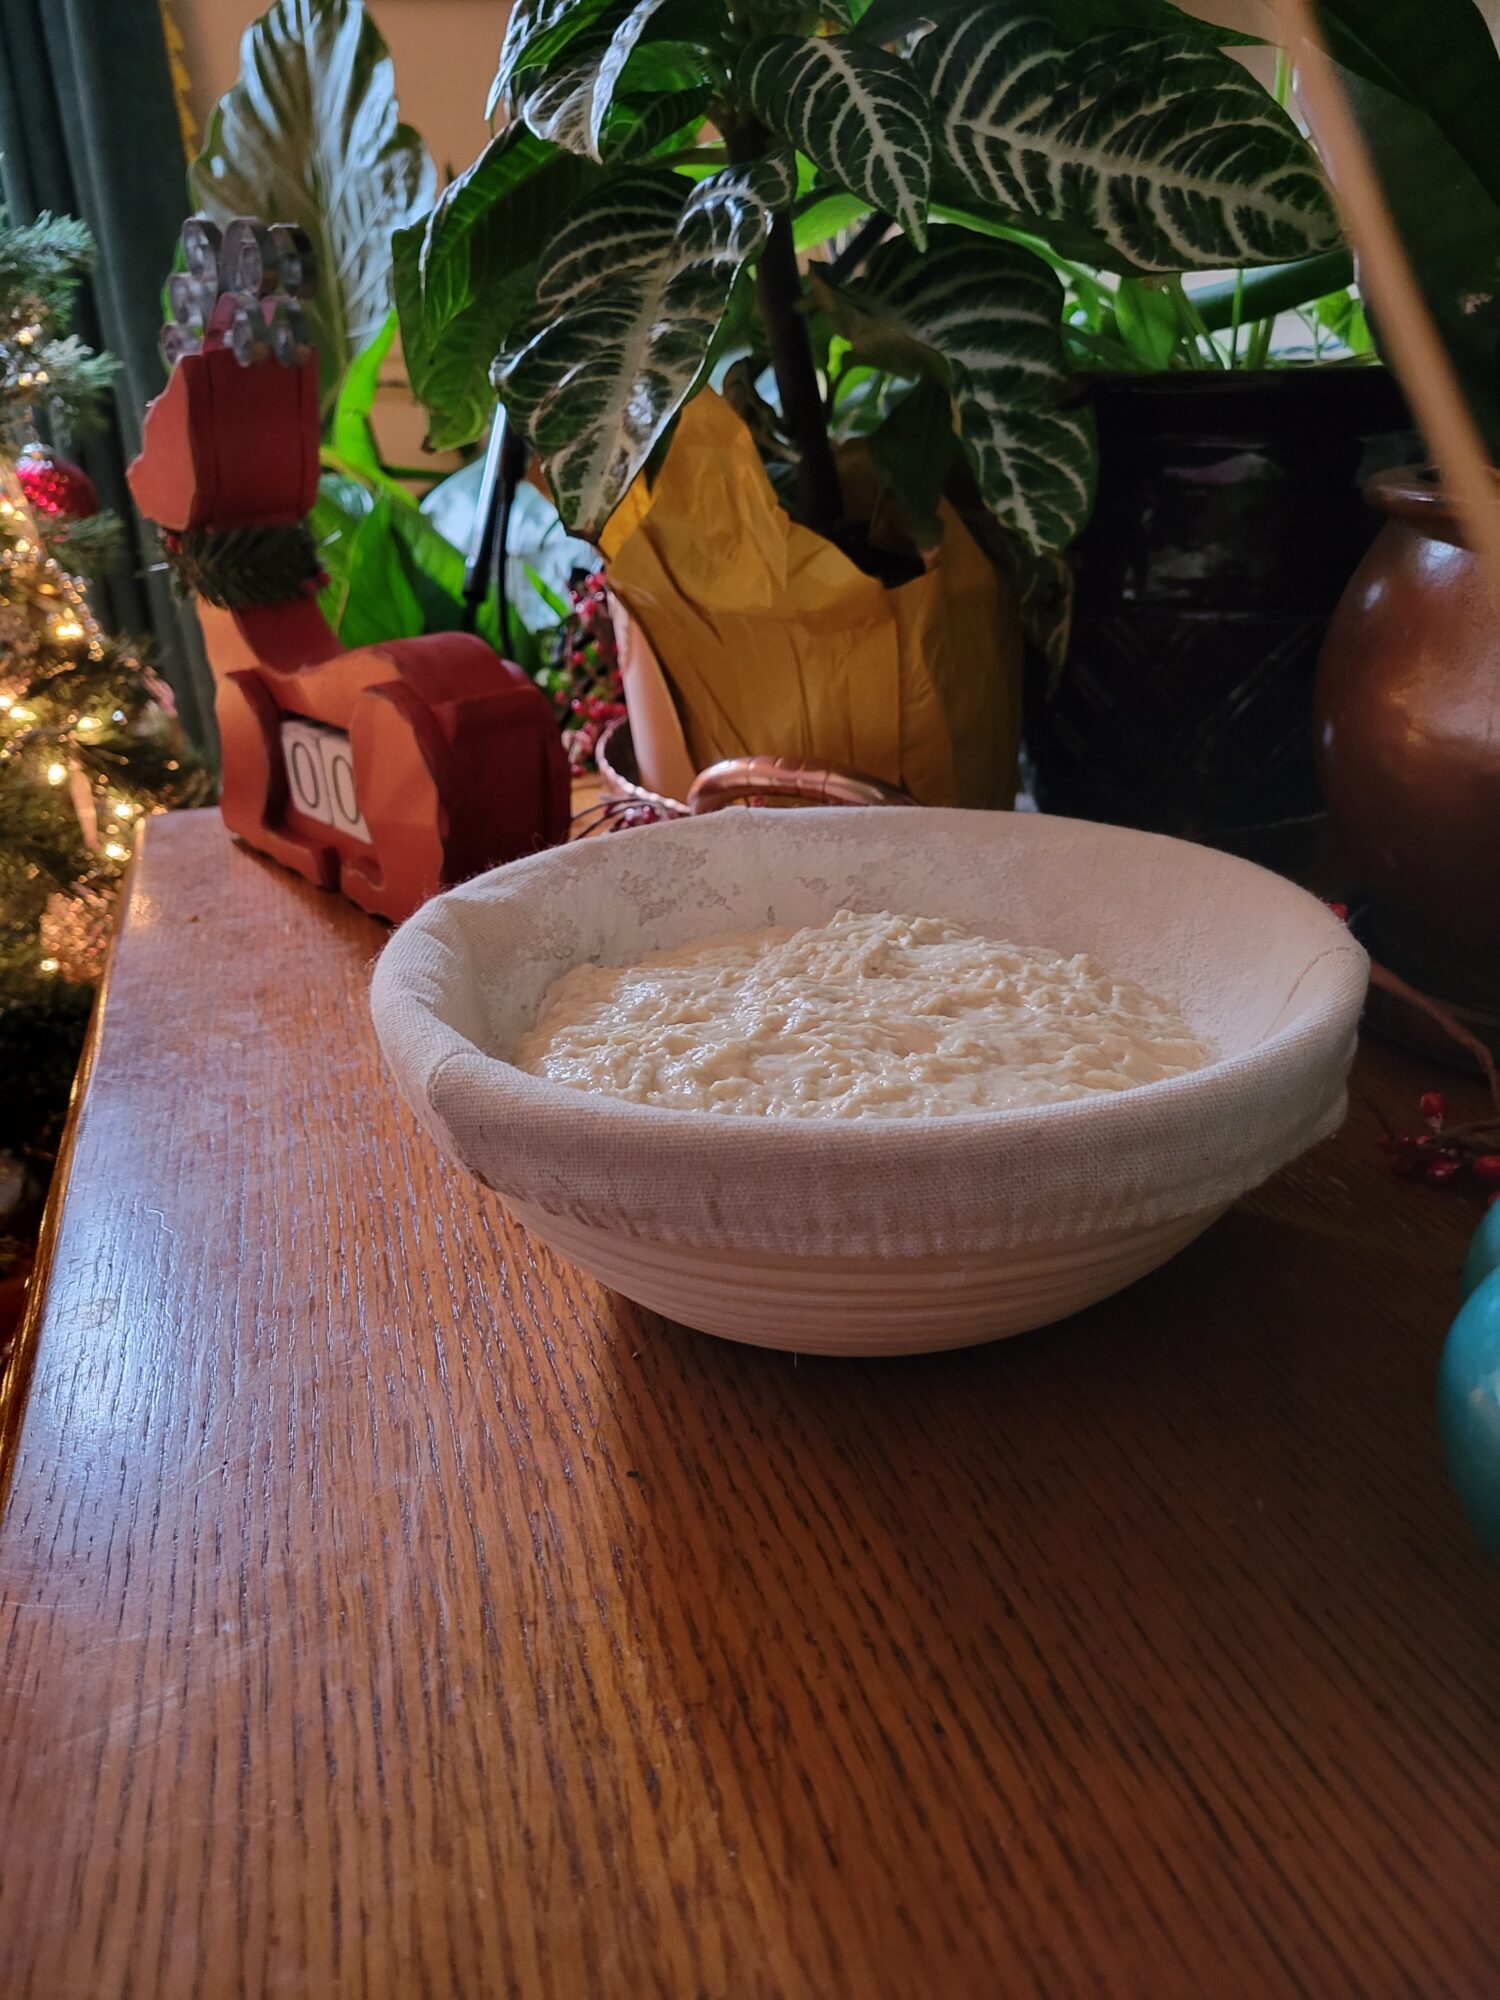
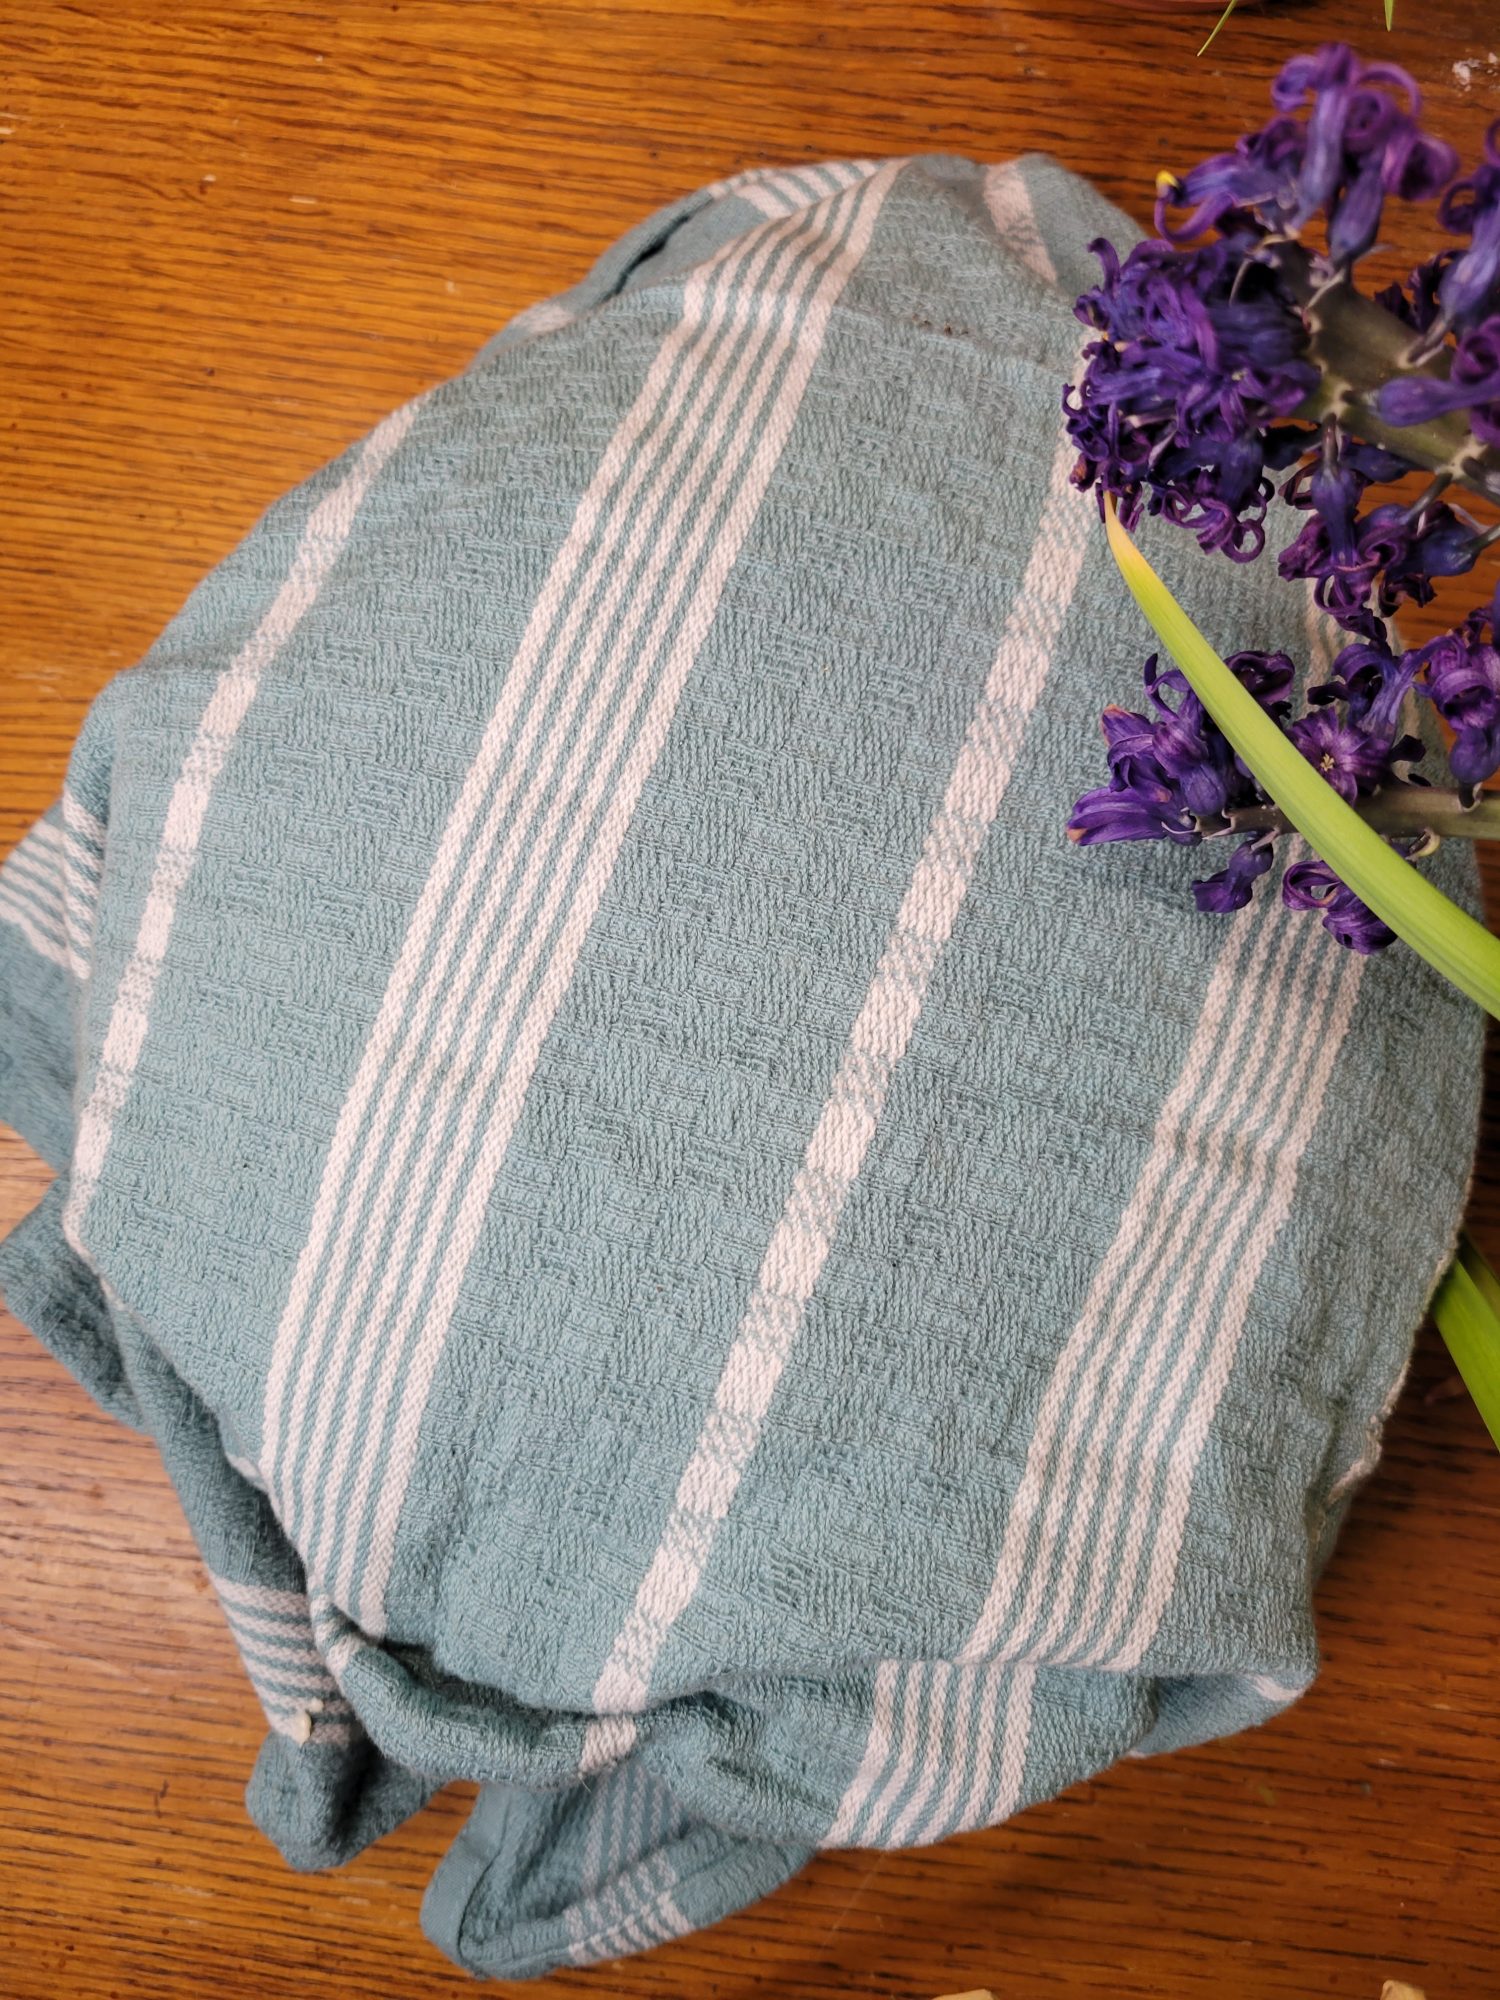
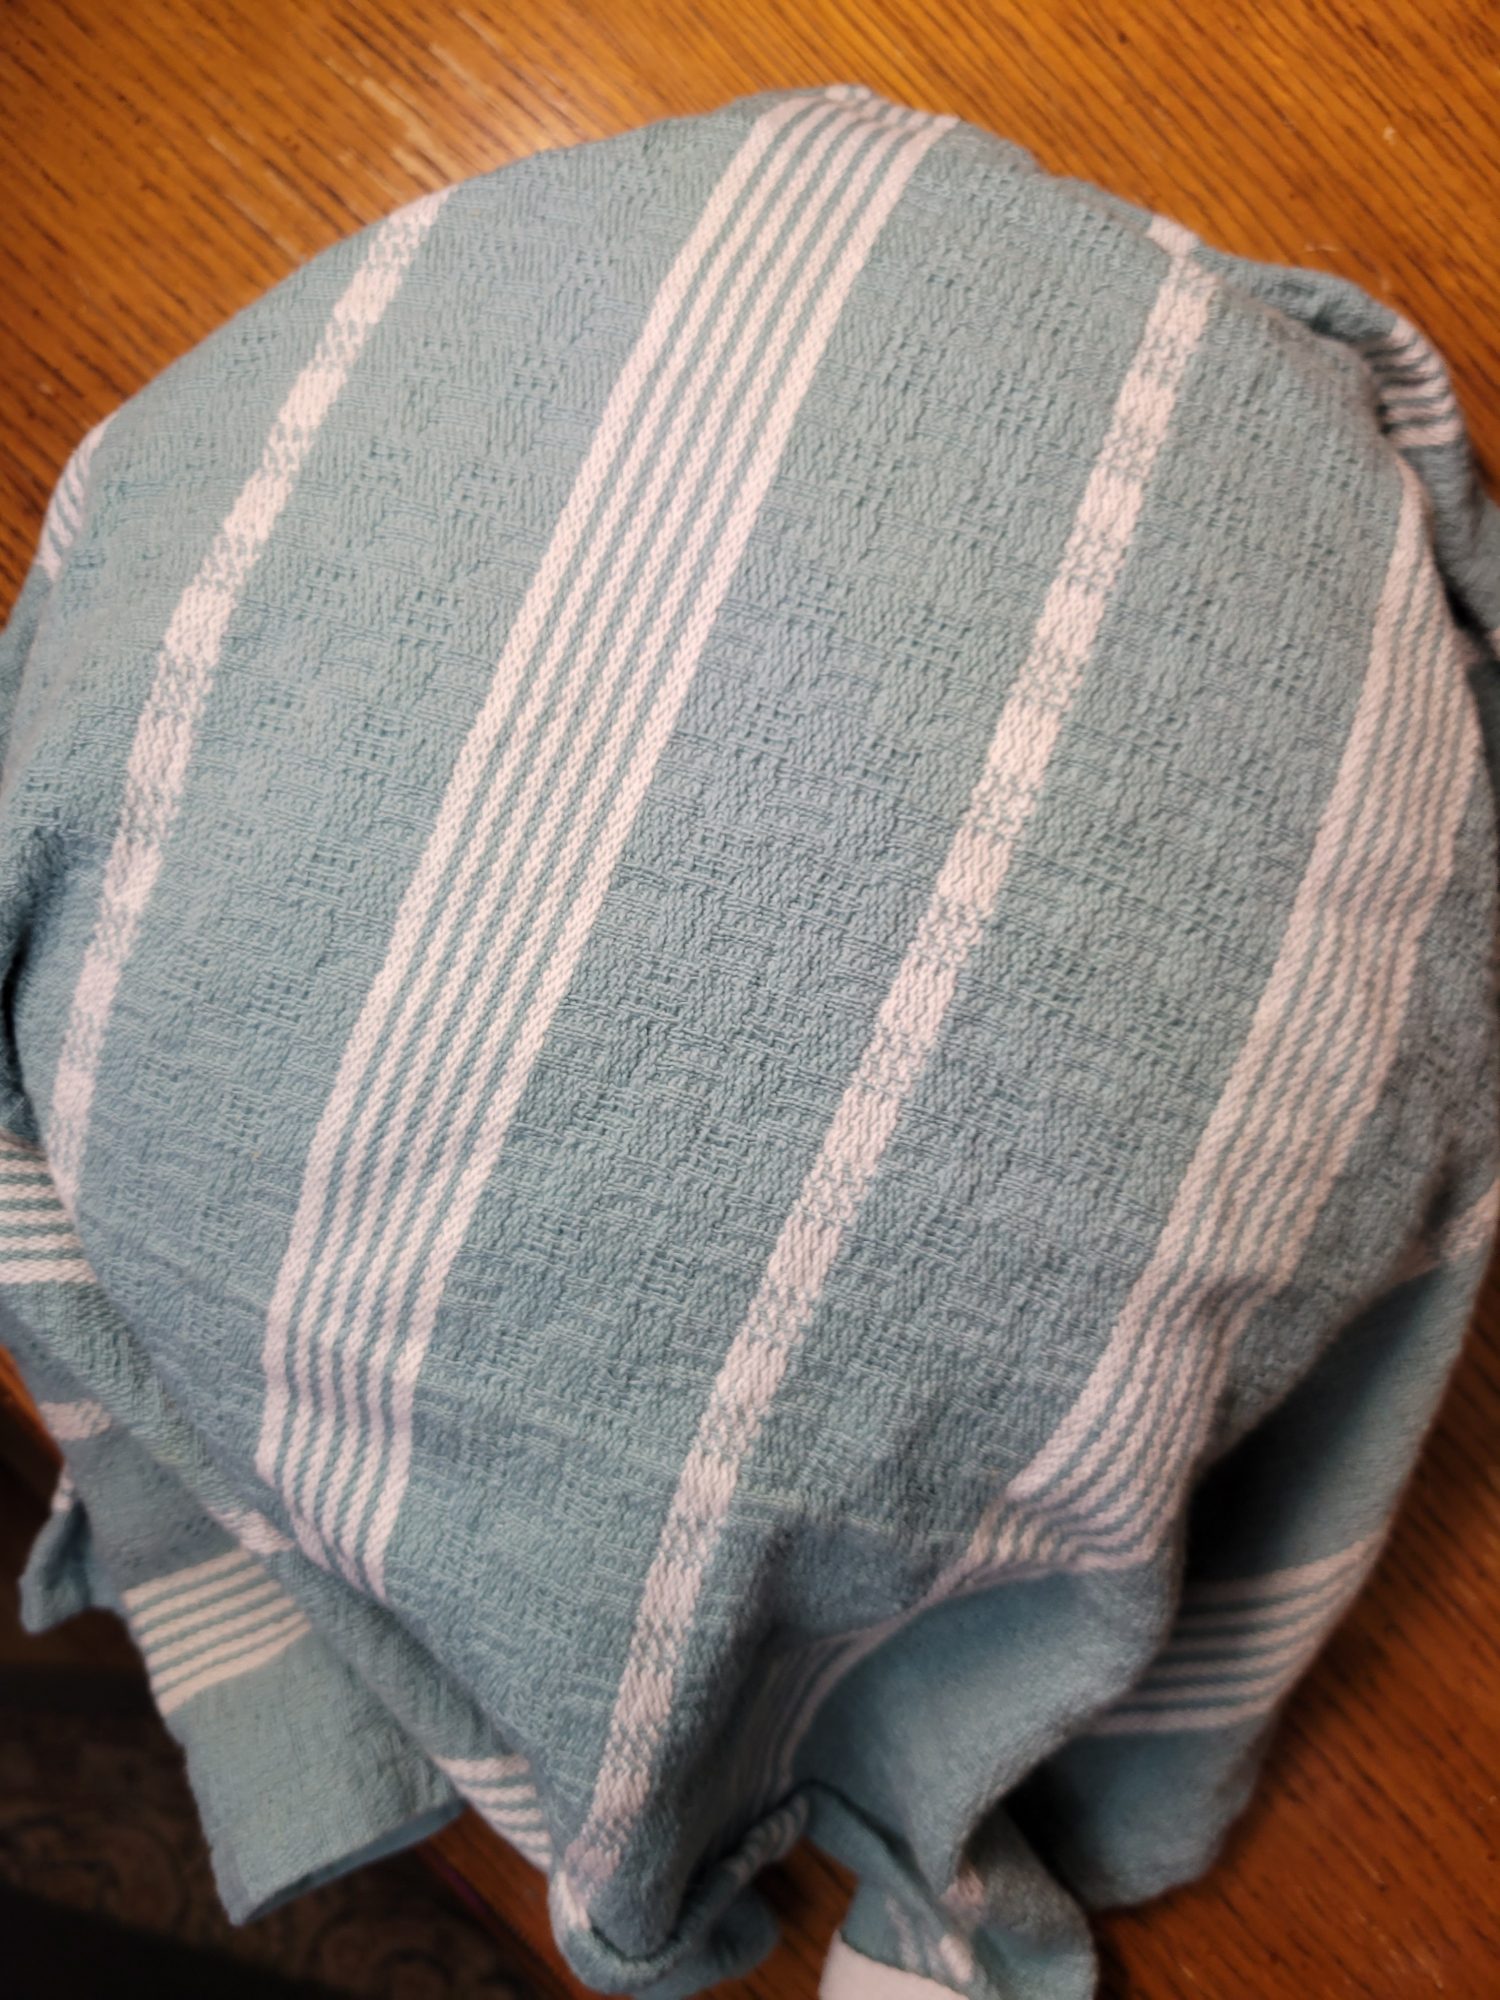
Now, the proof will be different in a bread basket. Typically, I proof in a large glass bowl with a silicone lid. A lot of recipes call for covering the dough with a towel or wrapping it in cellophane, depending on the type of dough. It's said that you shouldn't let the dough touch anything metal because this can interfere with the yeast and the fermentation process, to the point where people will try to tell you to use a wooden spatula, instead of a fork, in fear of the oh-so-dreaded yeast problem! But don't even get me started on this when in the next shot they're using a KitchenAid mixer with... you guessed it, a quintessential metal bowl! Professional cooks also use scaled up versions of these mixers than can hold 50 pound bags of flour routinely.
But I digress.
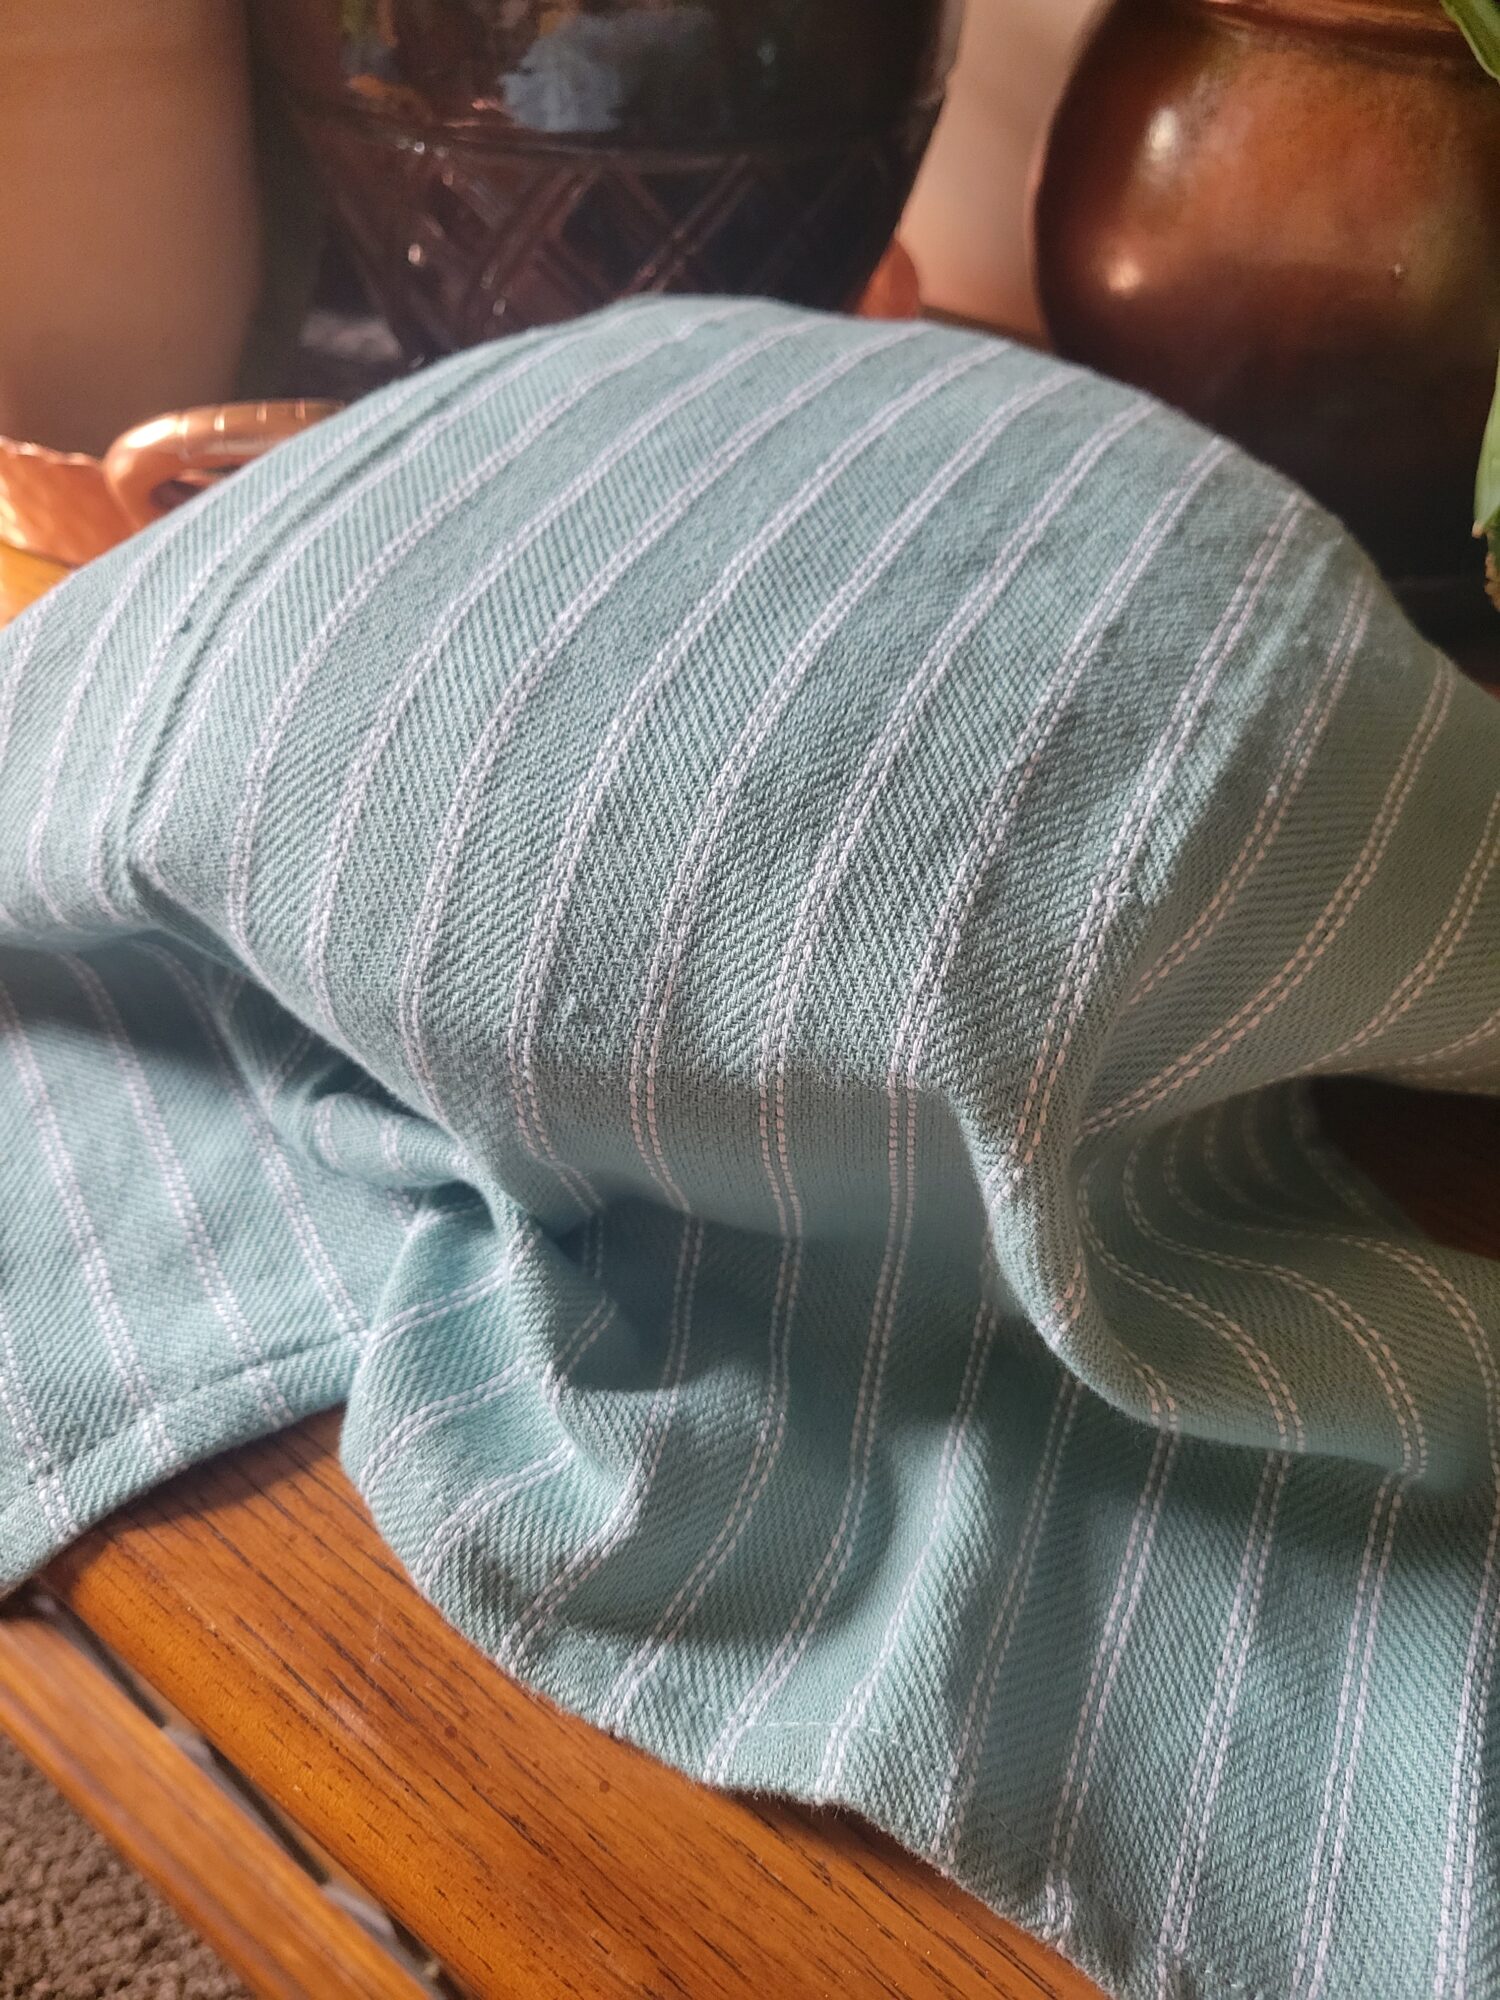
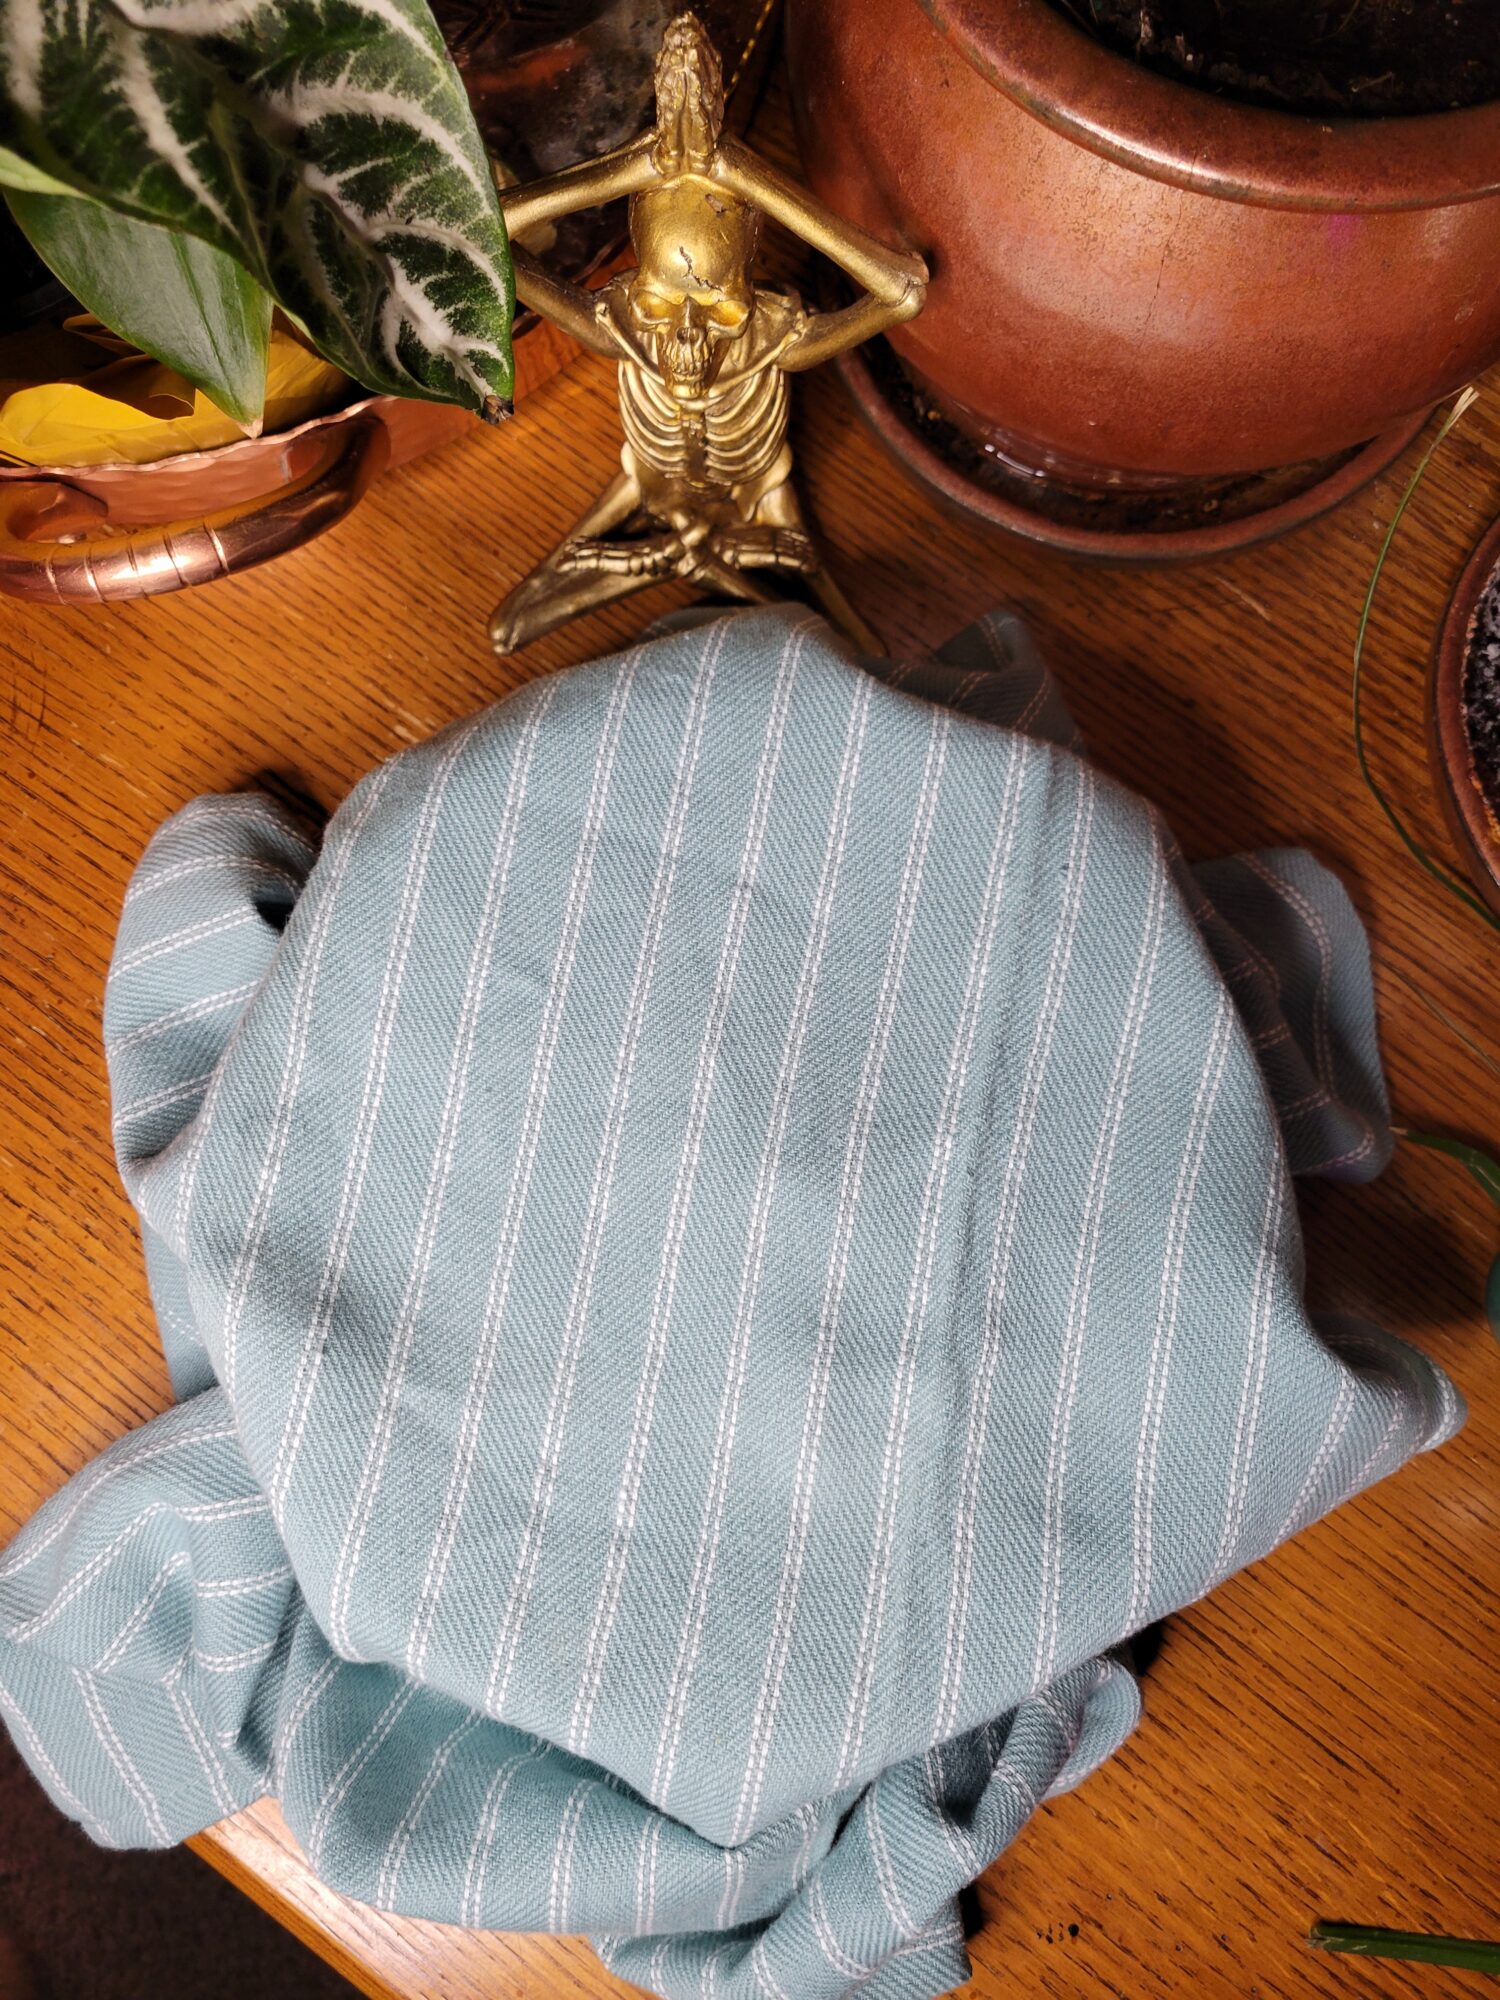
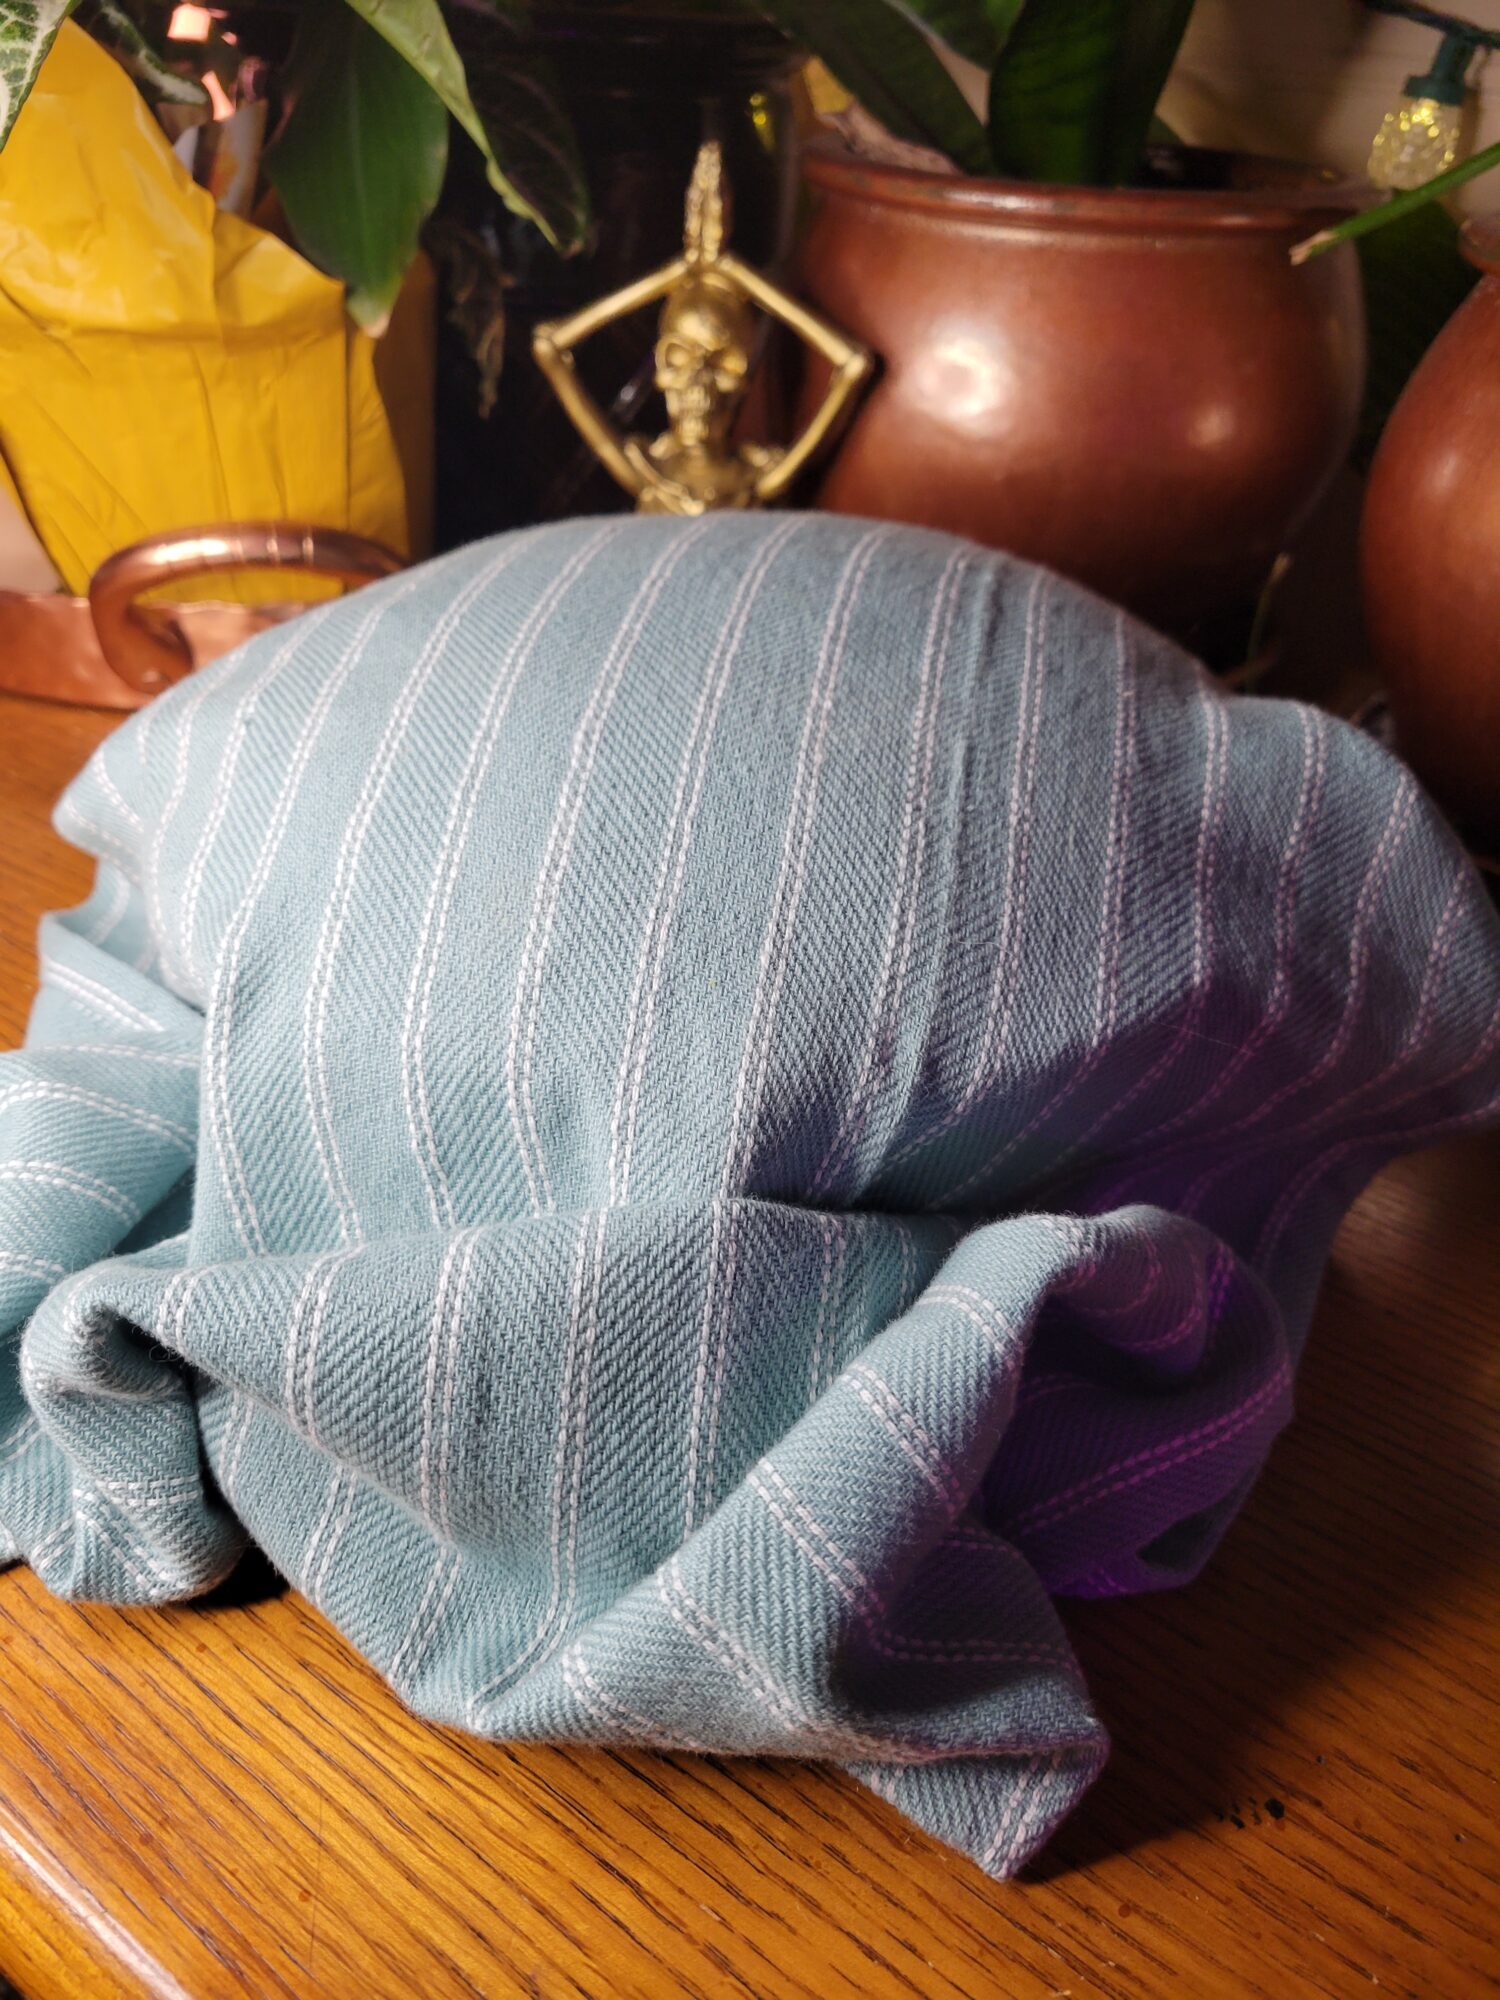
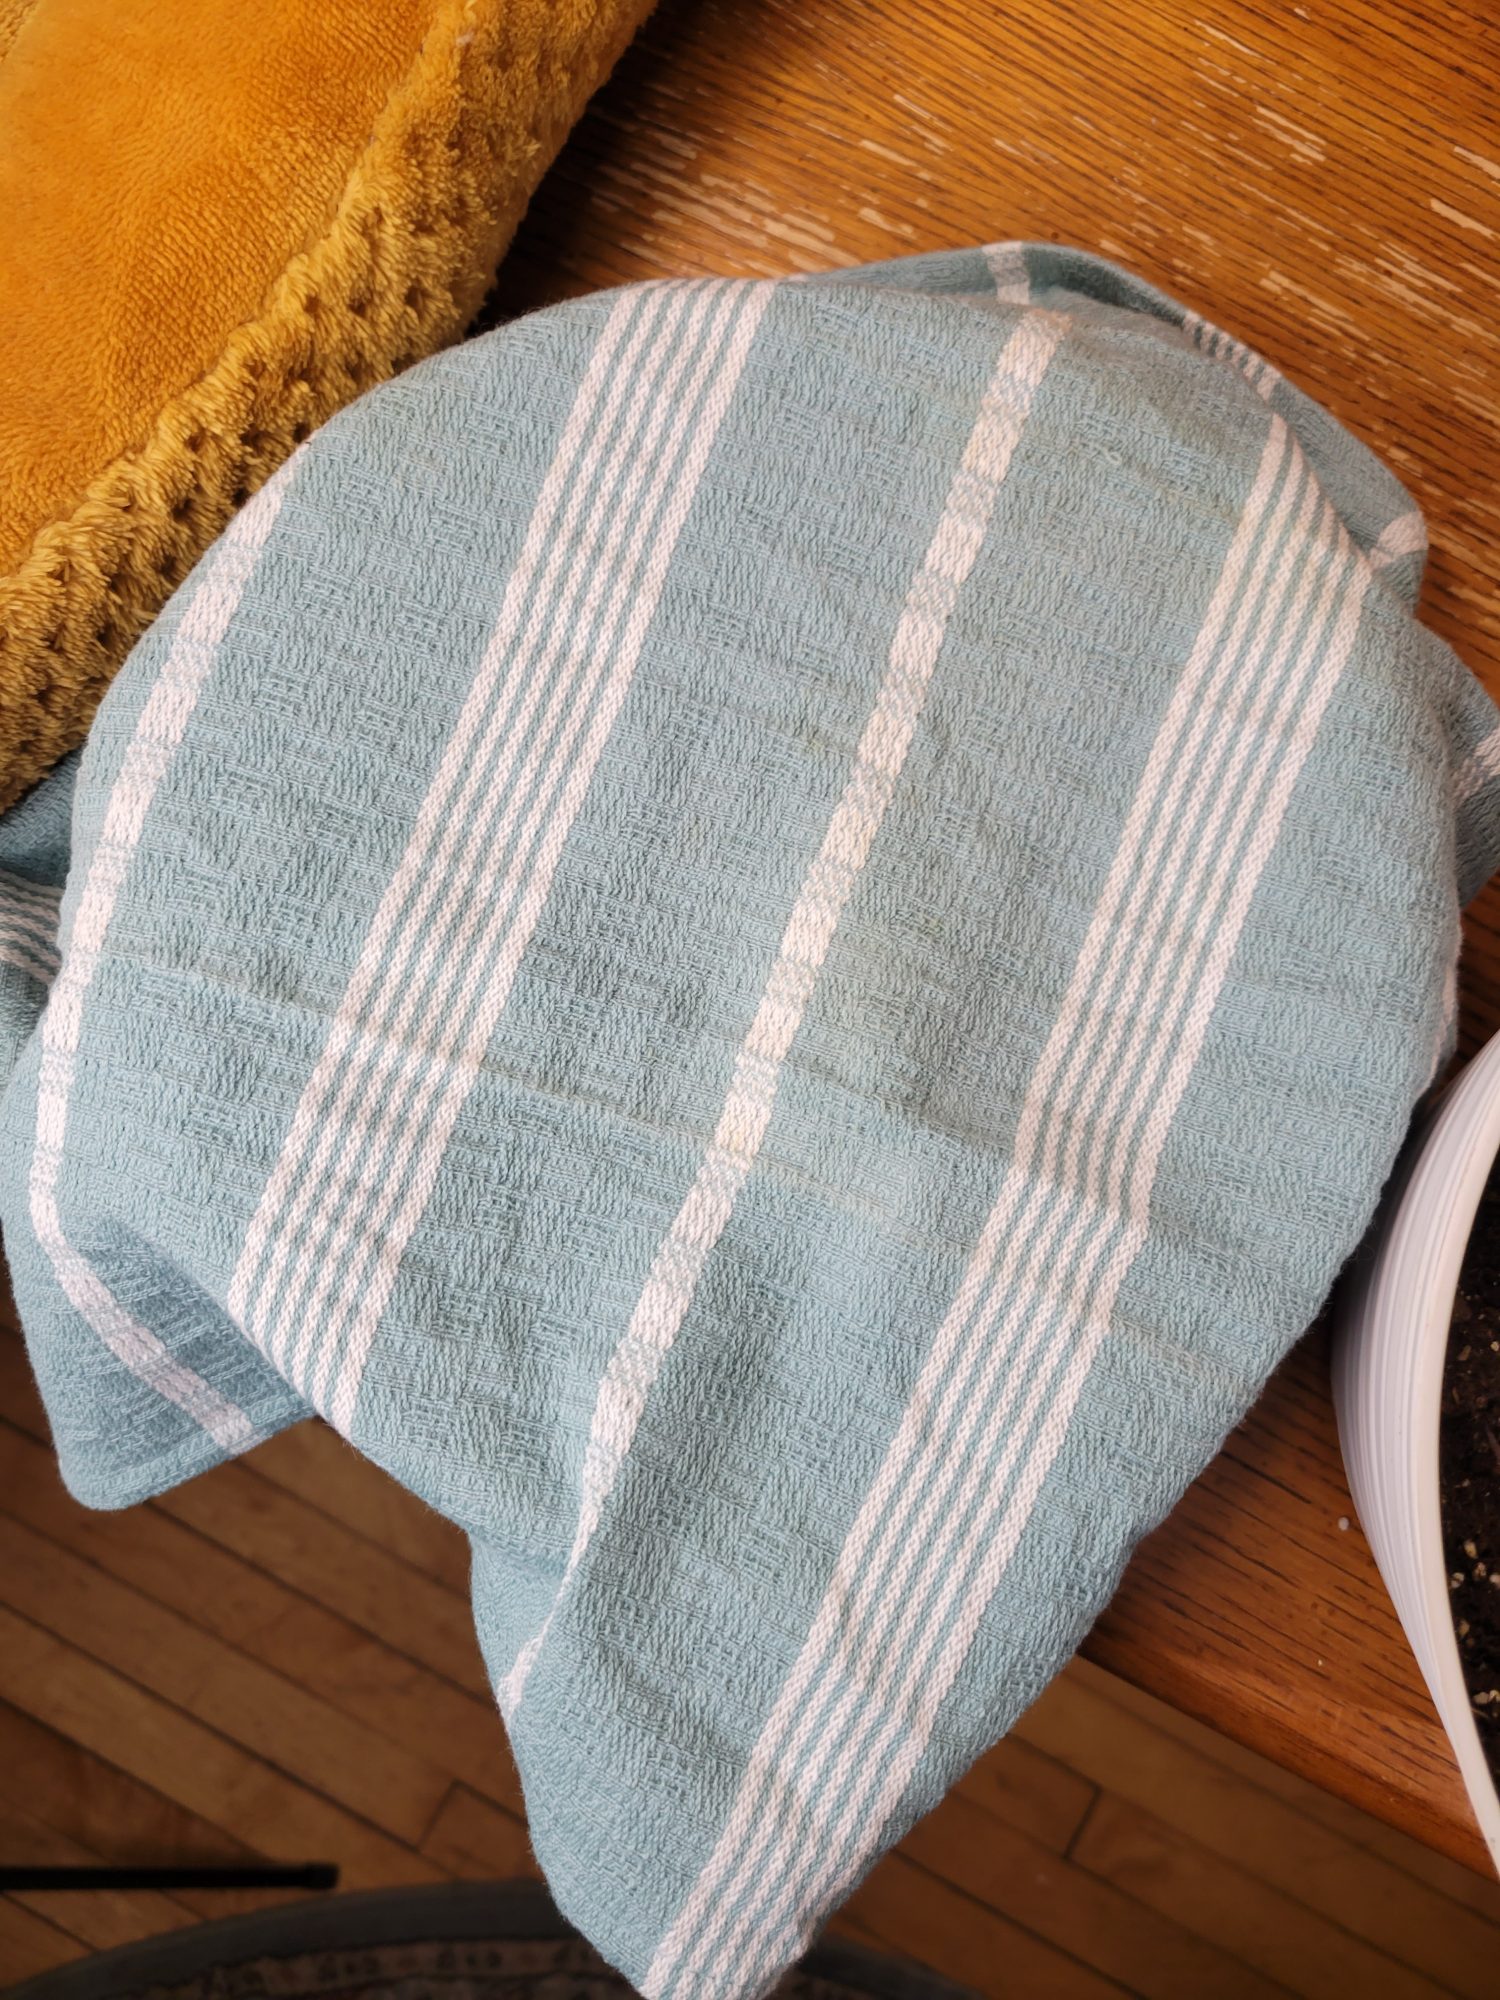
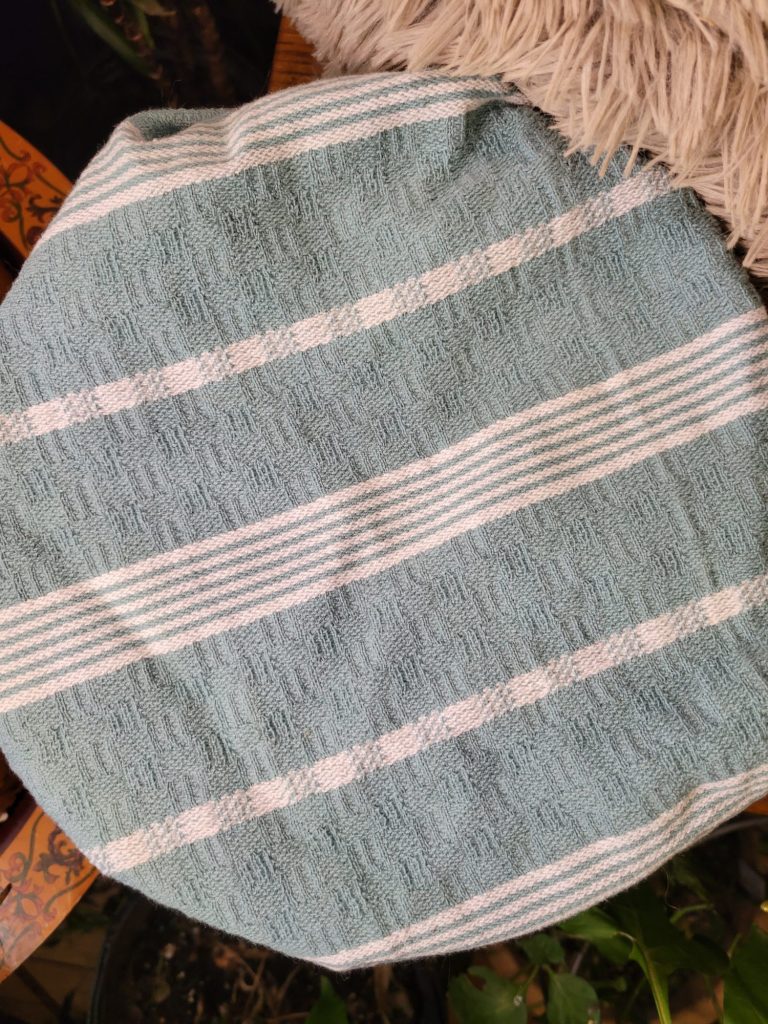
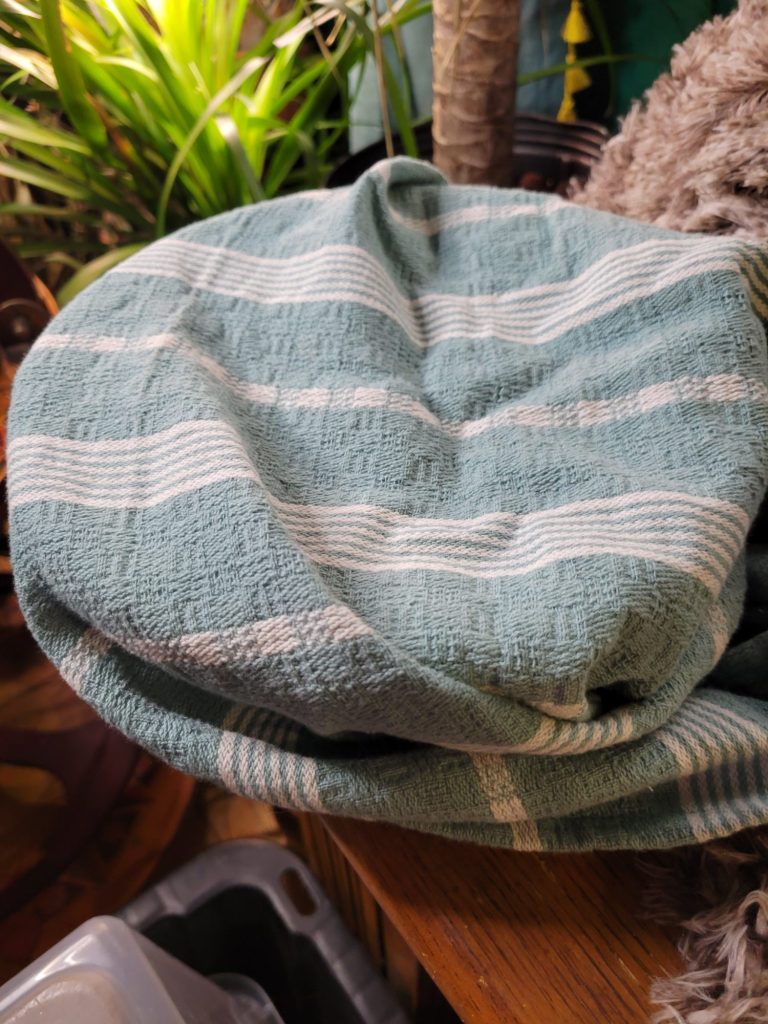
Now, I have wondered whether having an air-tight seal is necessary in the proofing process. I mostly just don't want to ruin my towels getting dough stuck to them and having the oil seep in and forever stain them. I also don't have a conventional washer and dryer, so cleaning said towels when this does happen? Is not exactly my cup of tea! But I may just need to dedicate certain towels to bread and get over it.
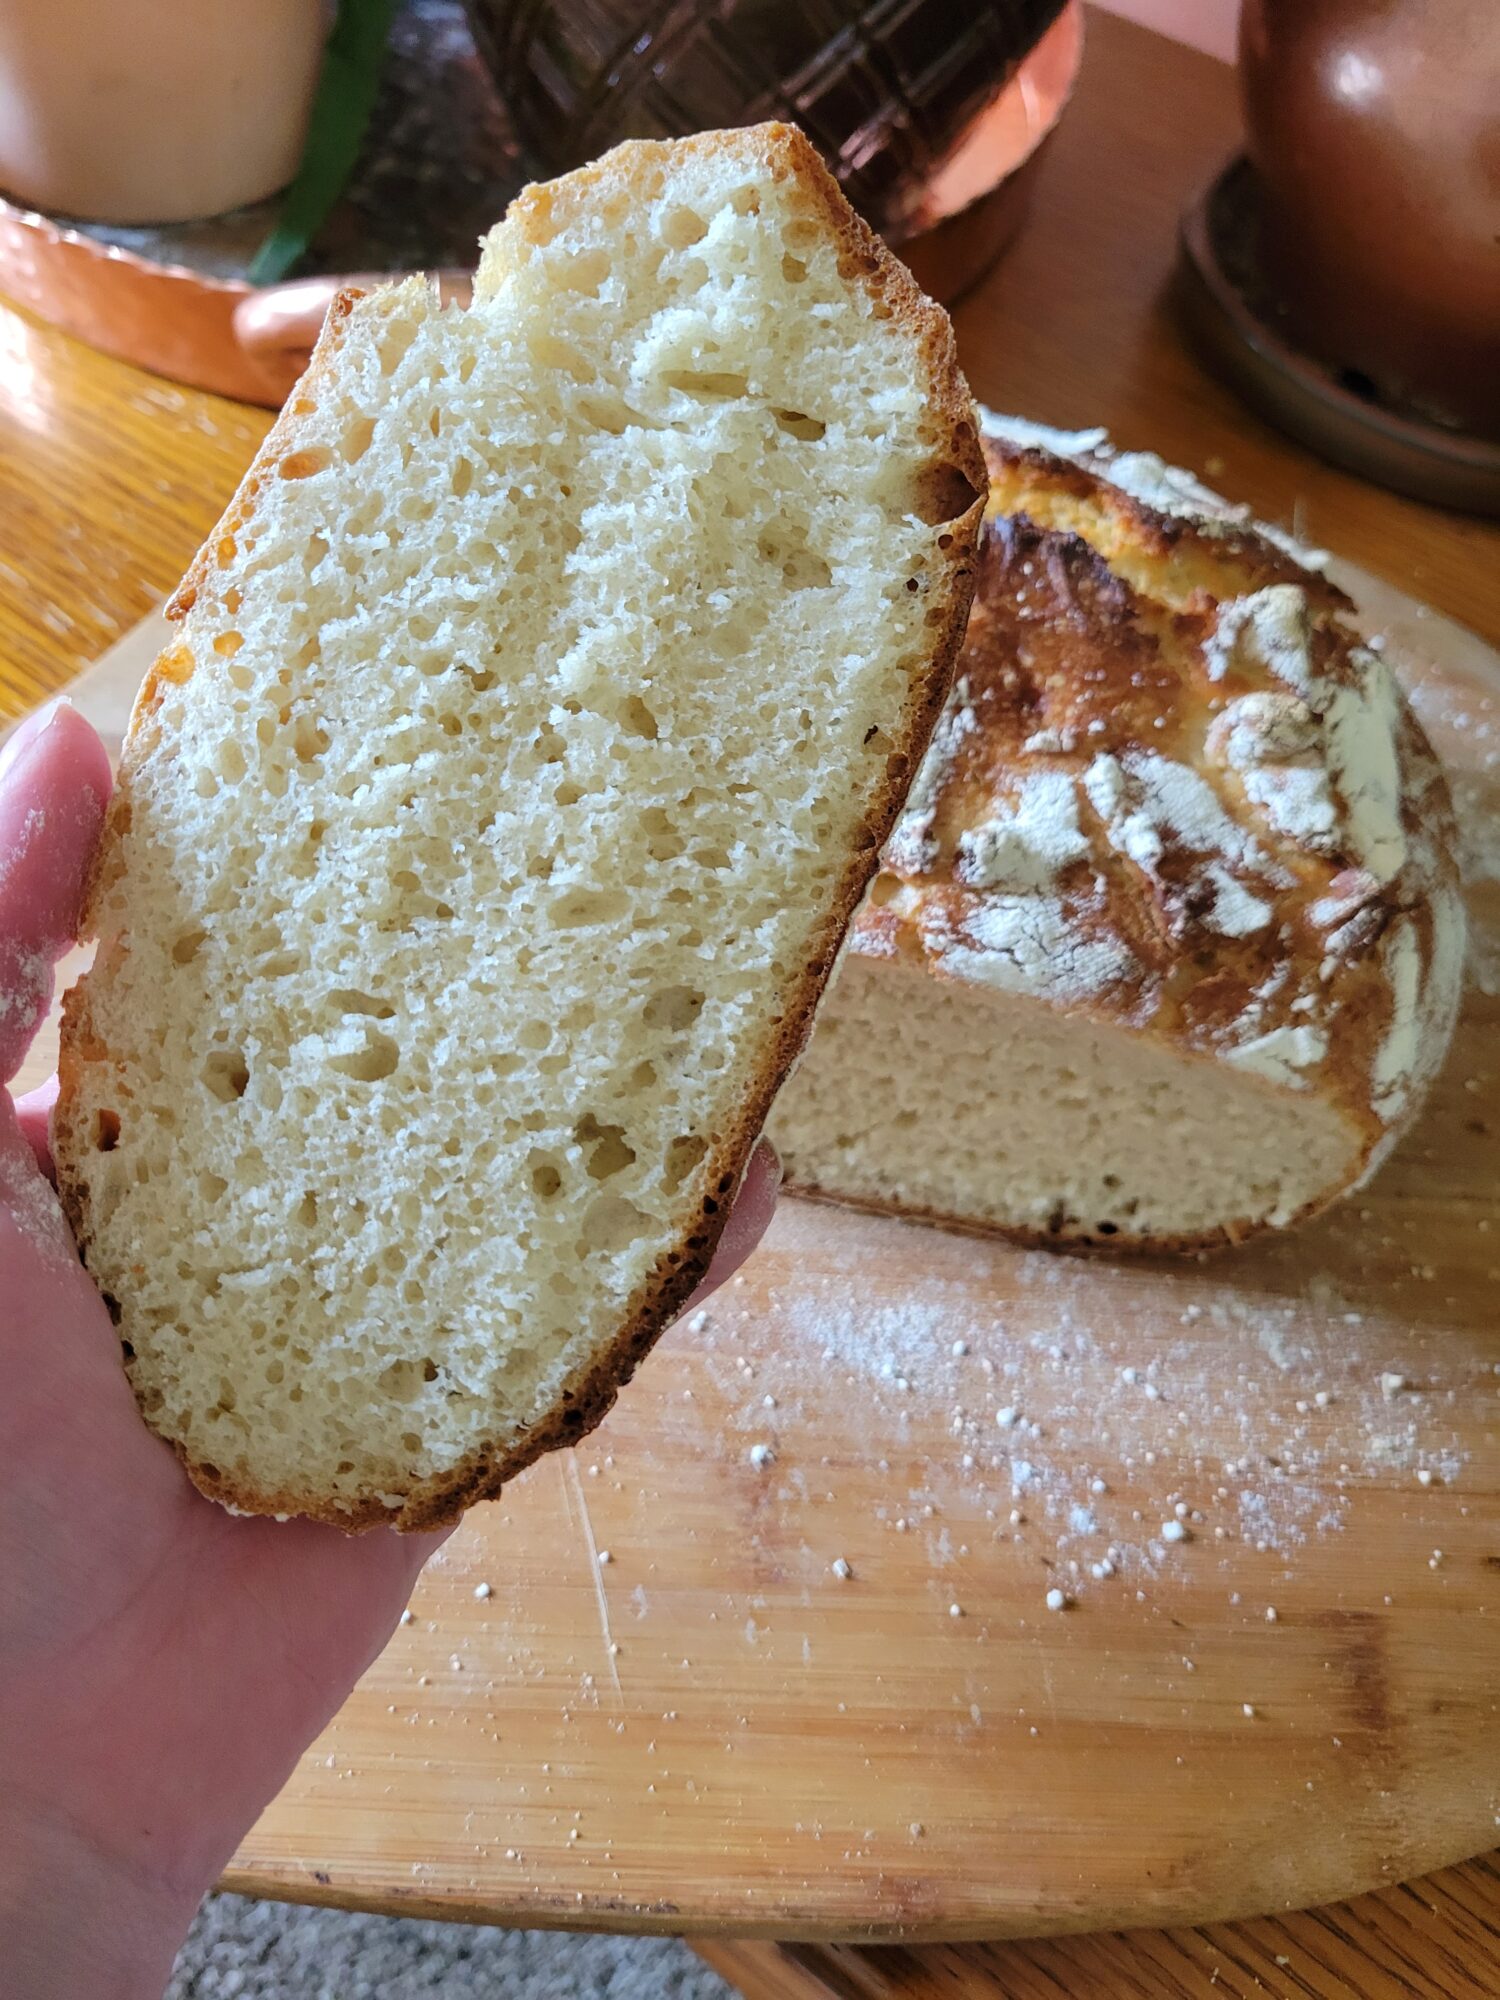
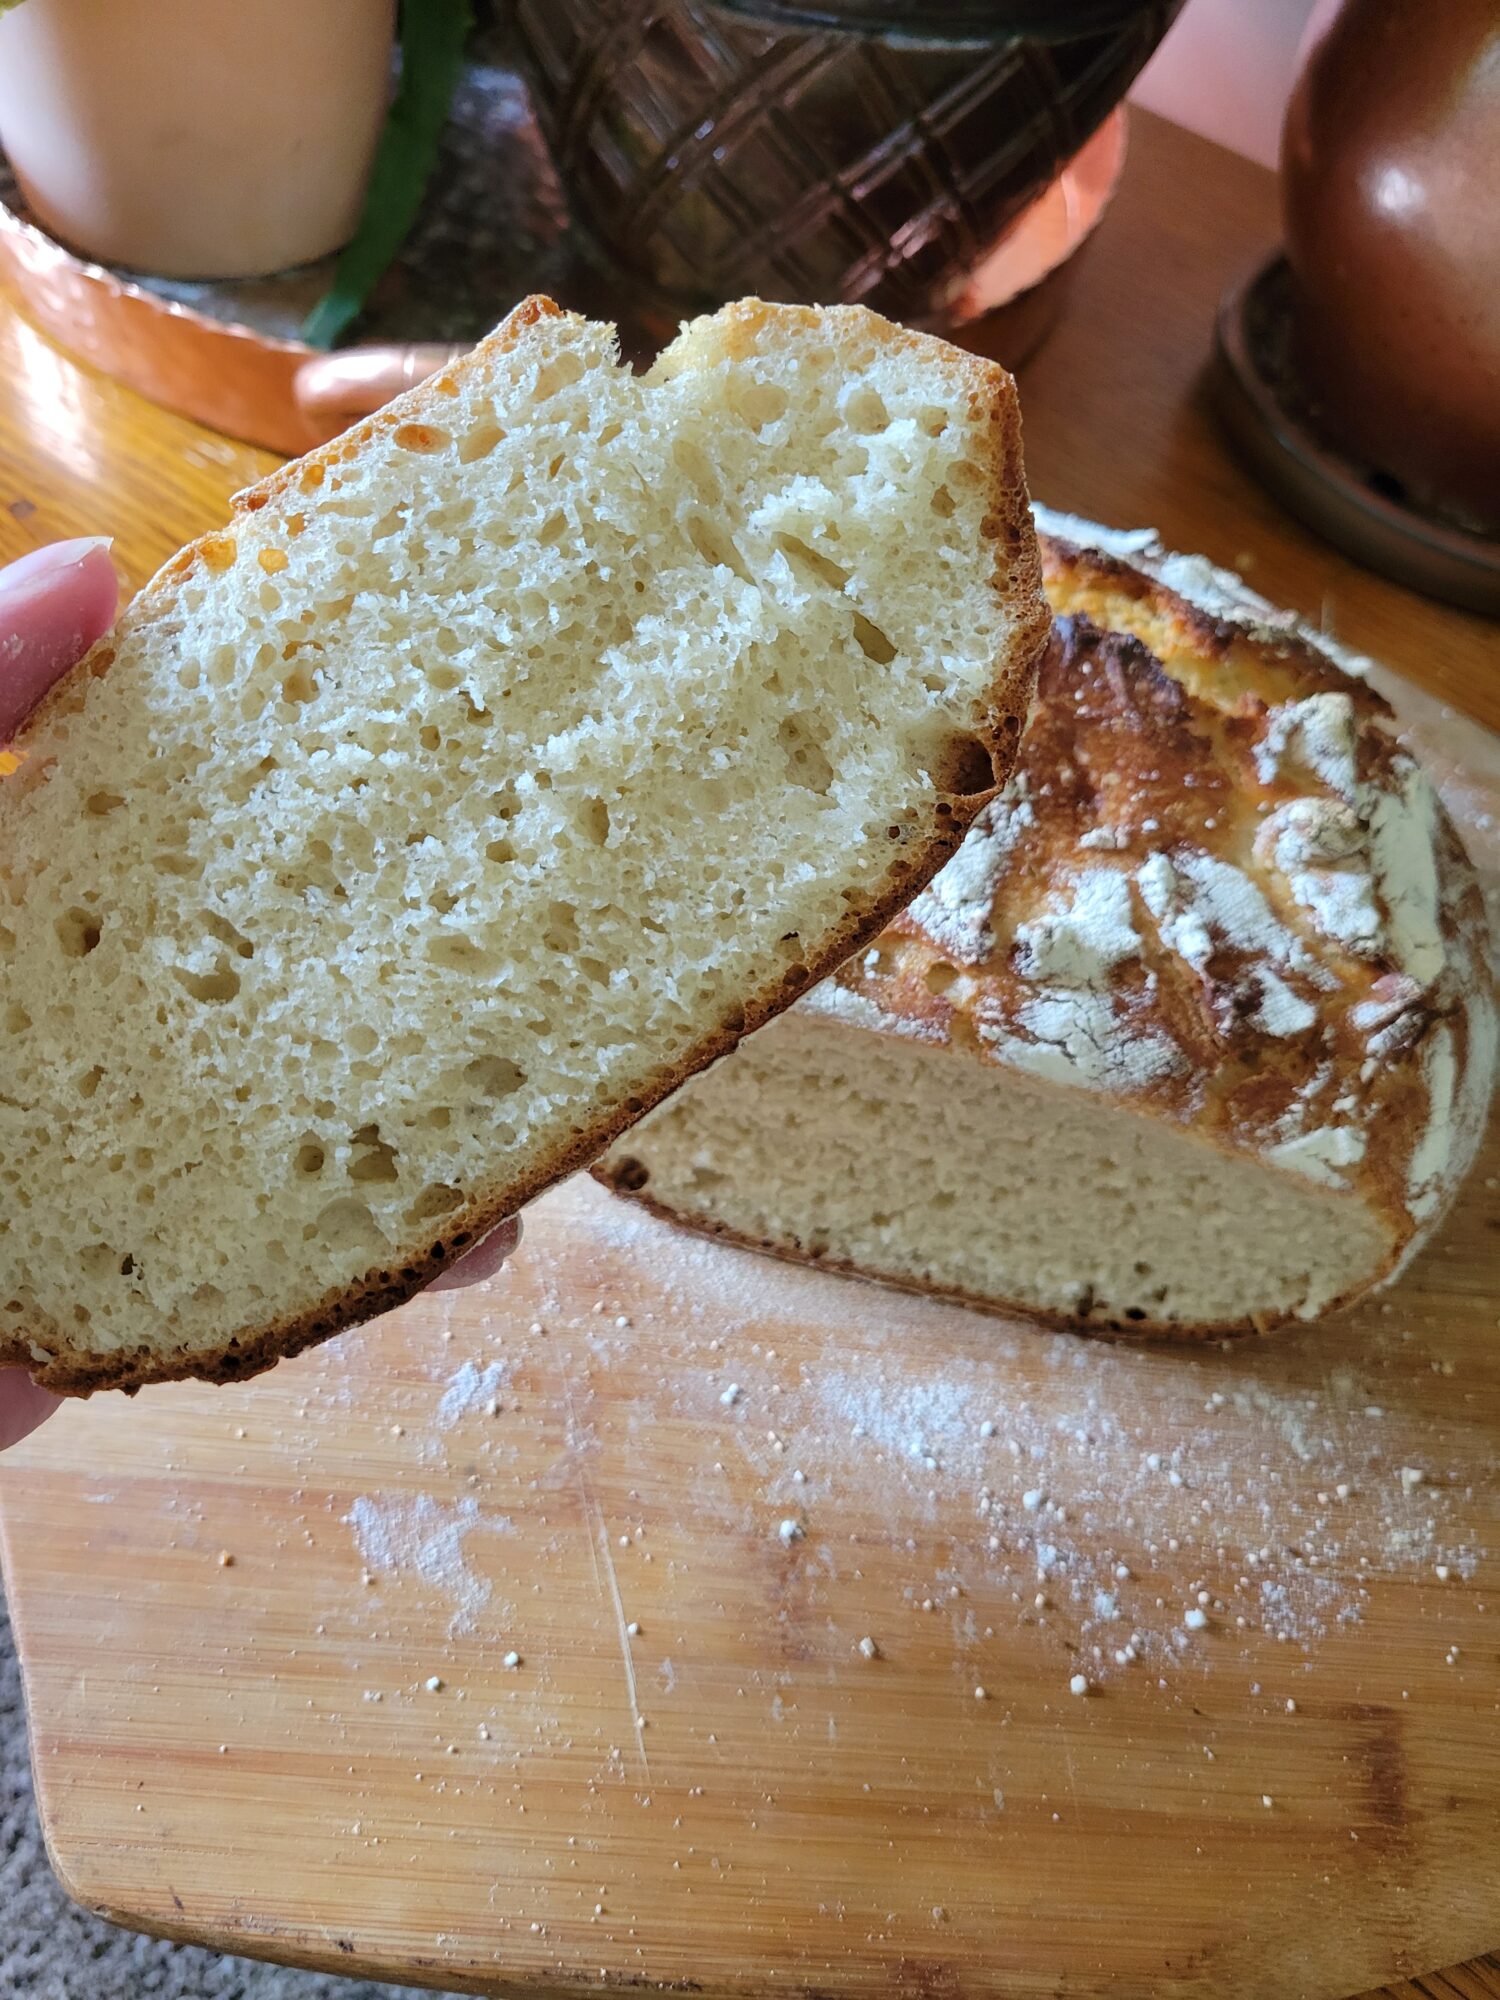
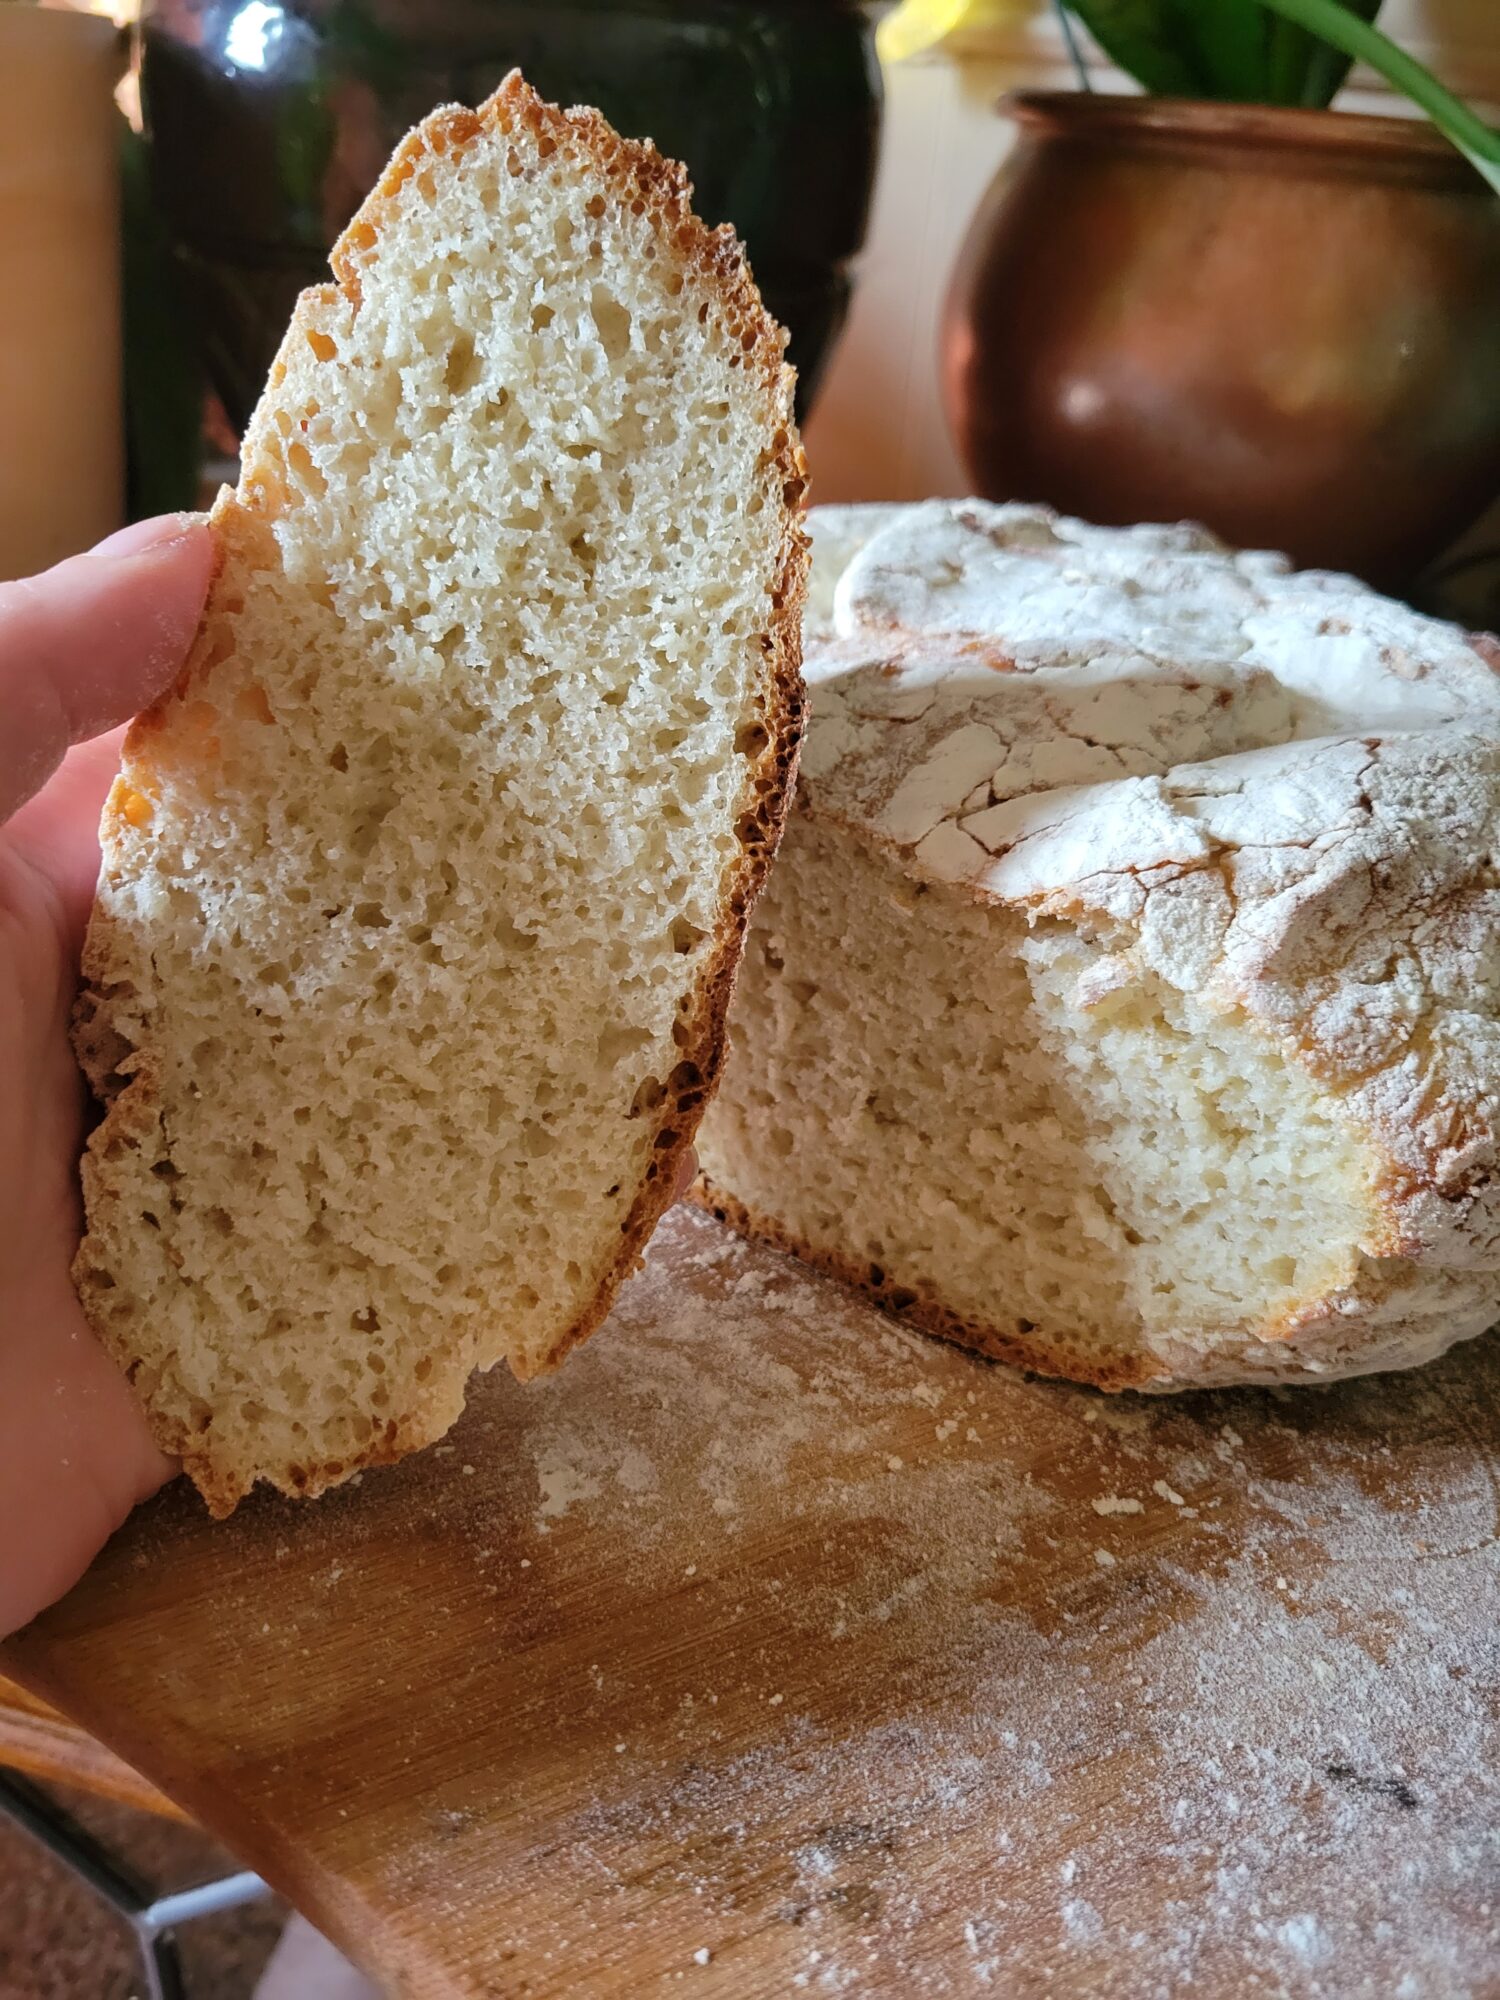
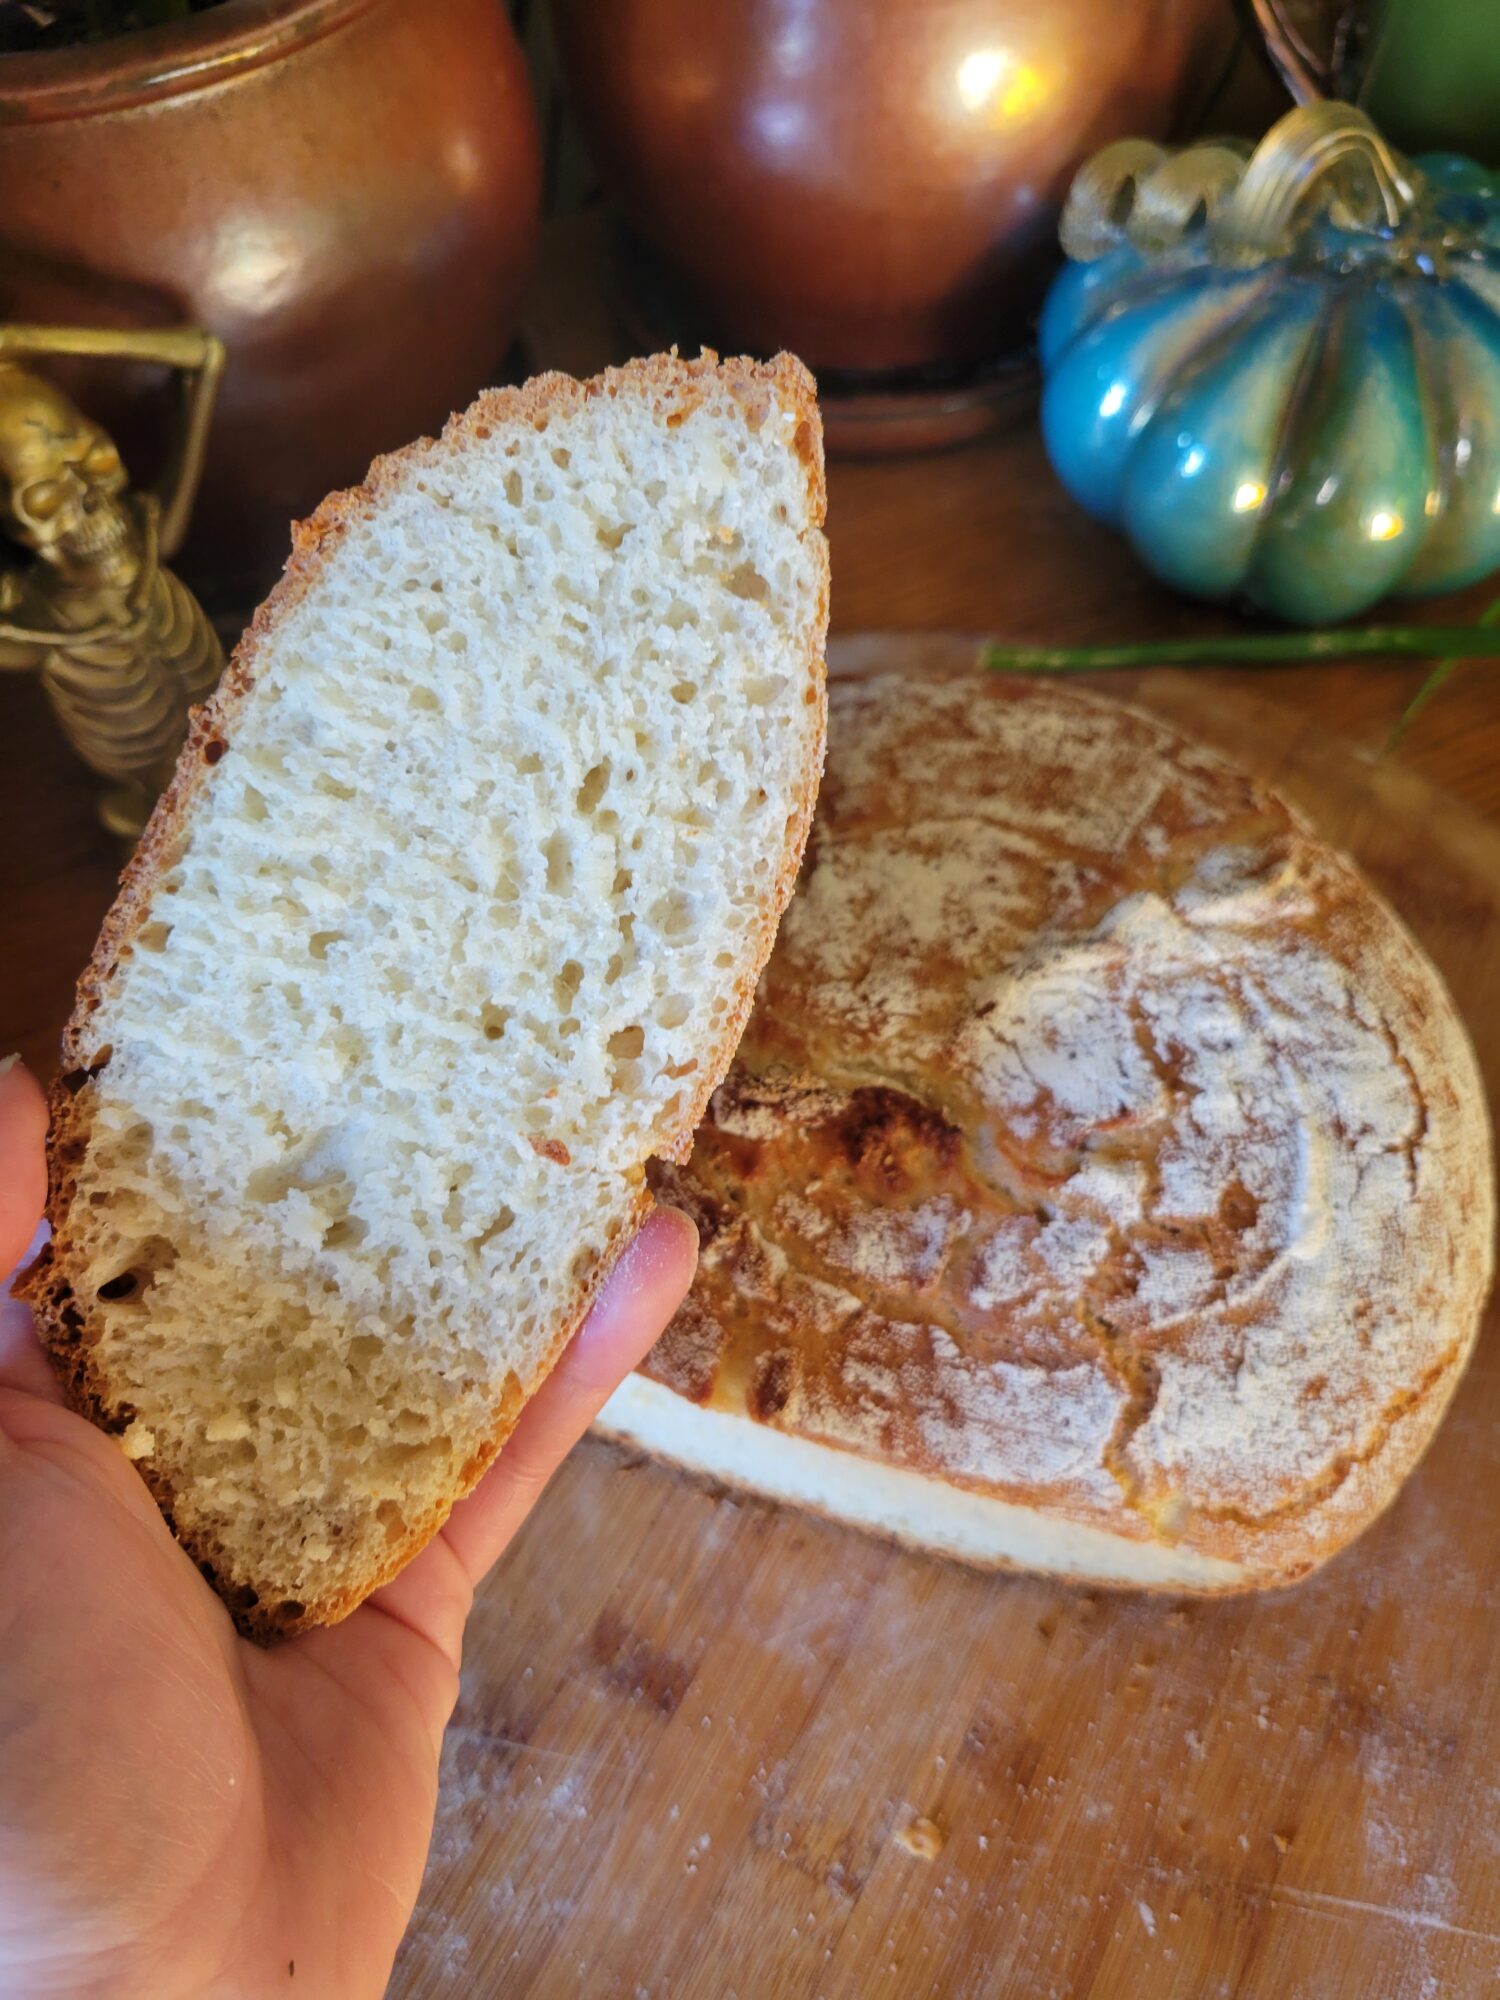
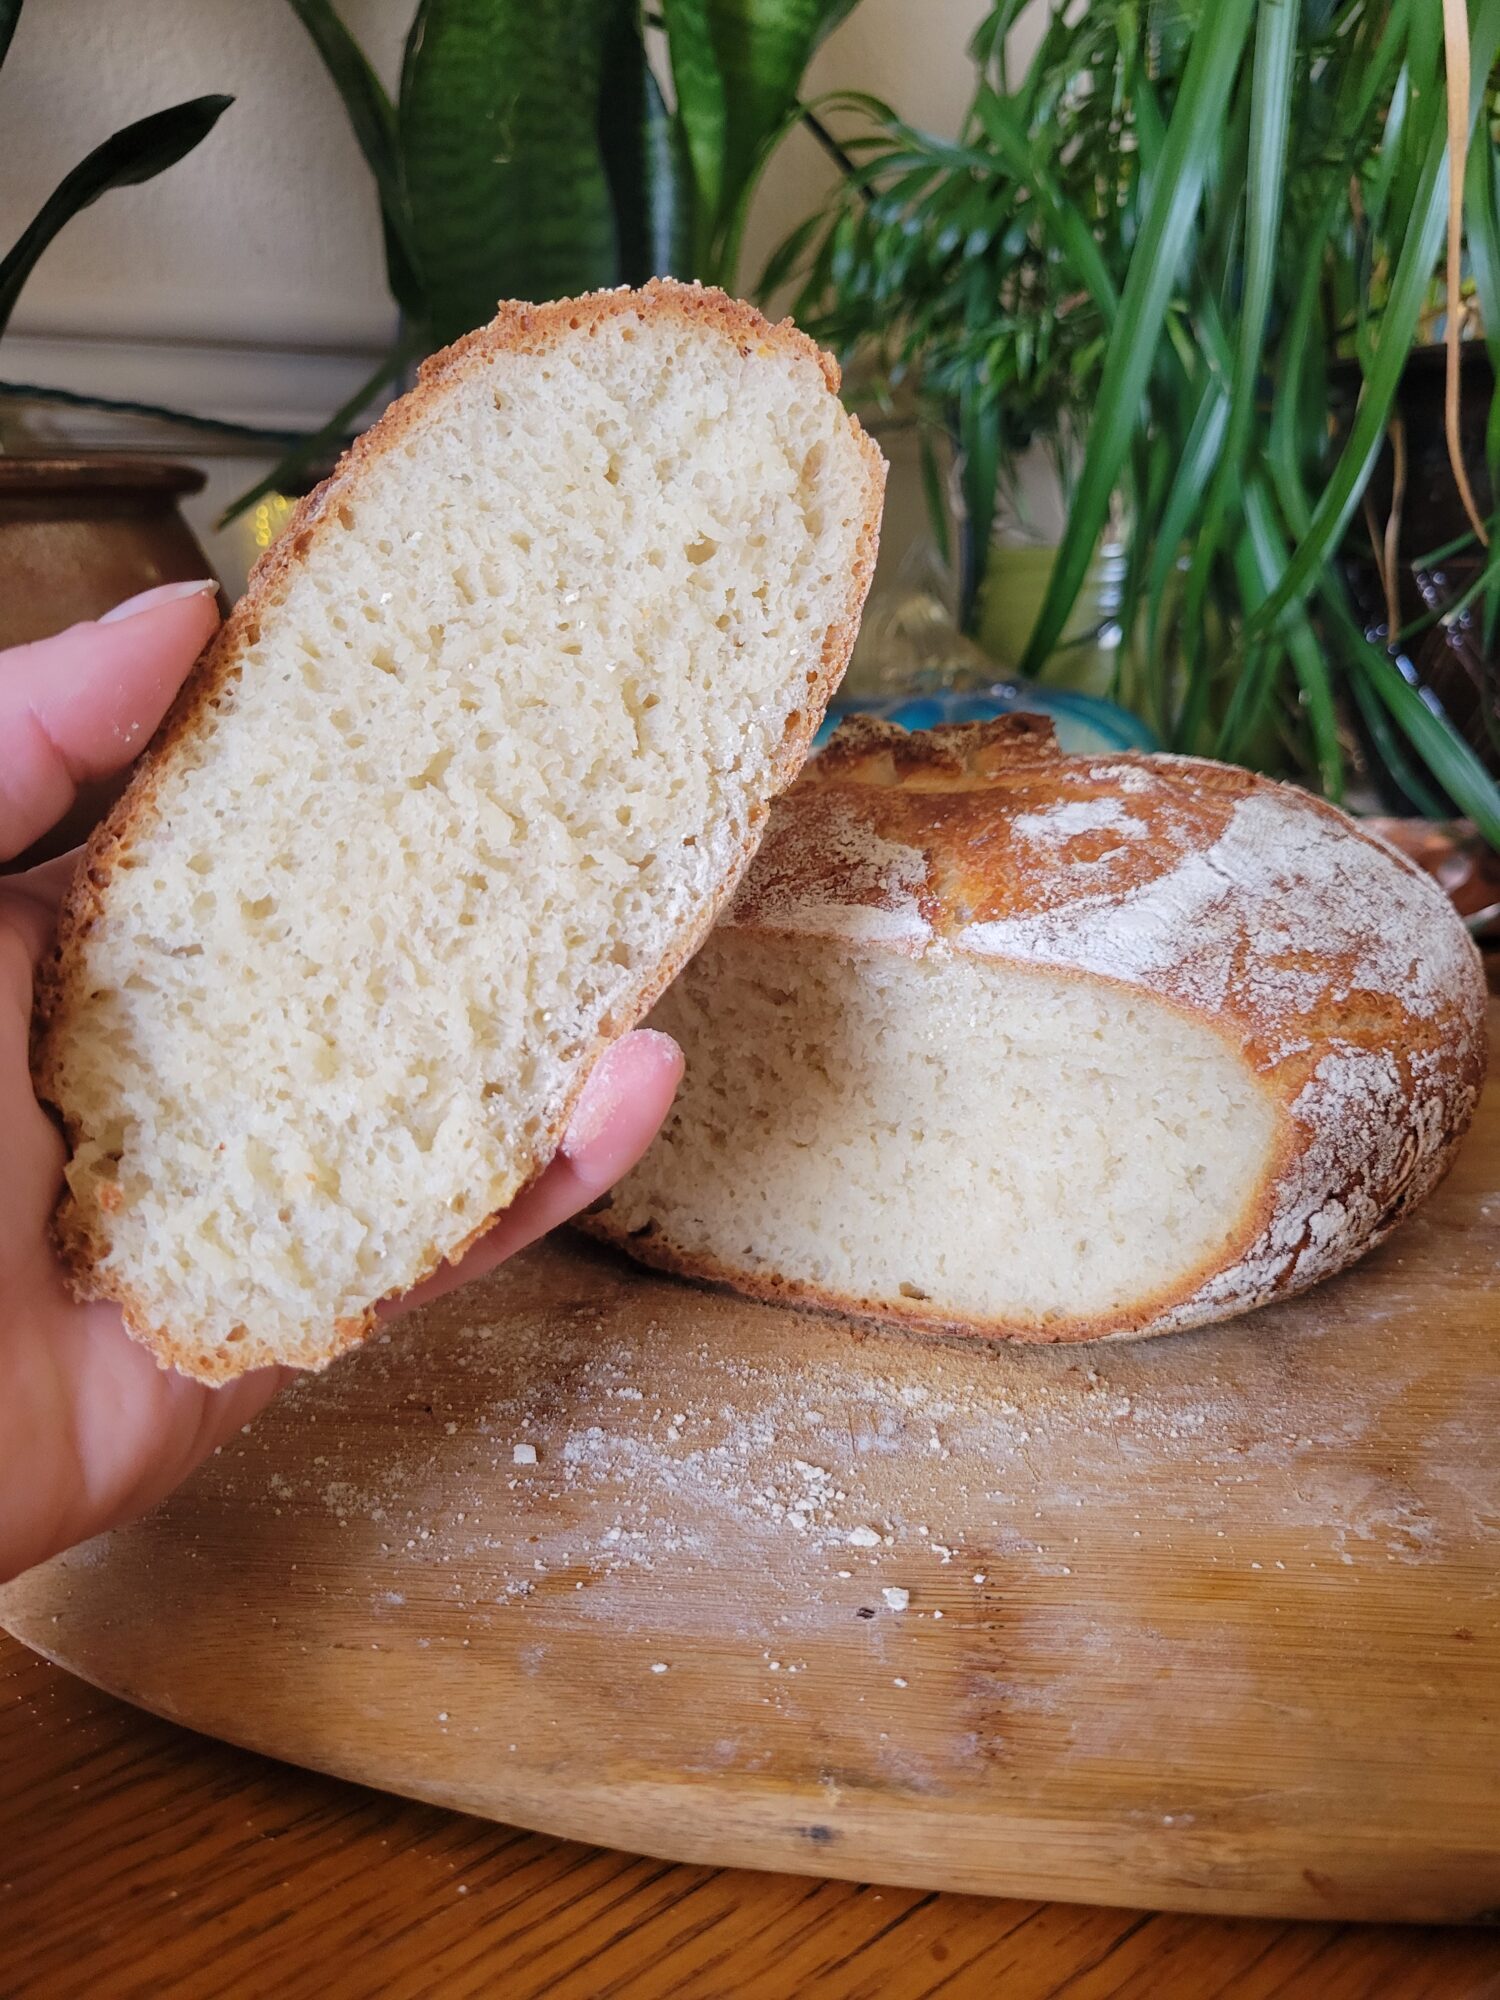
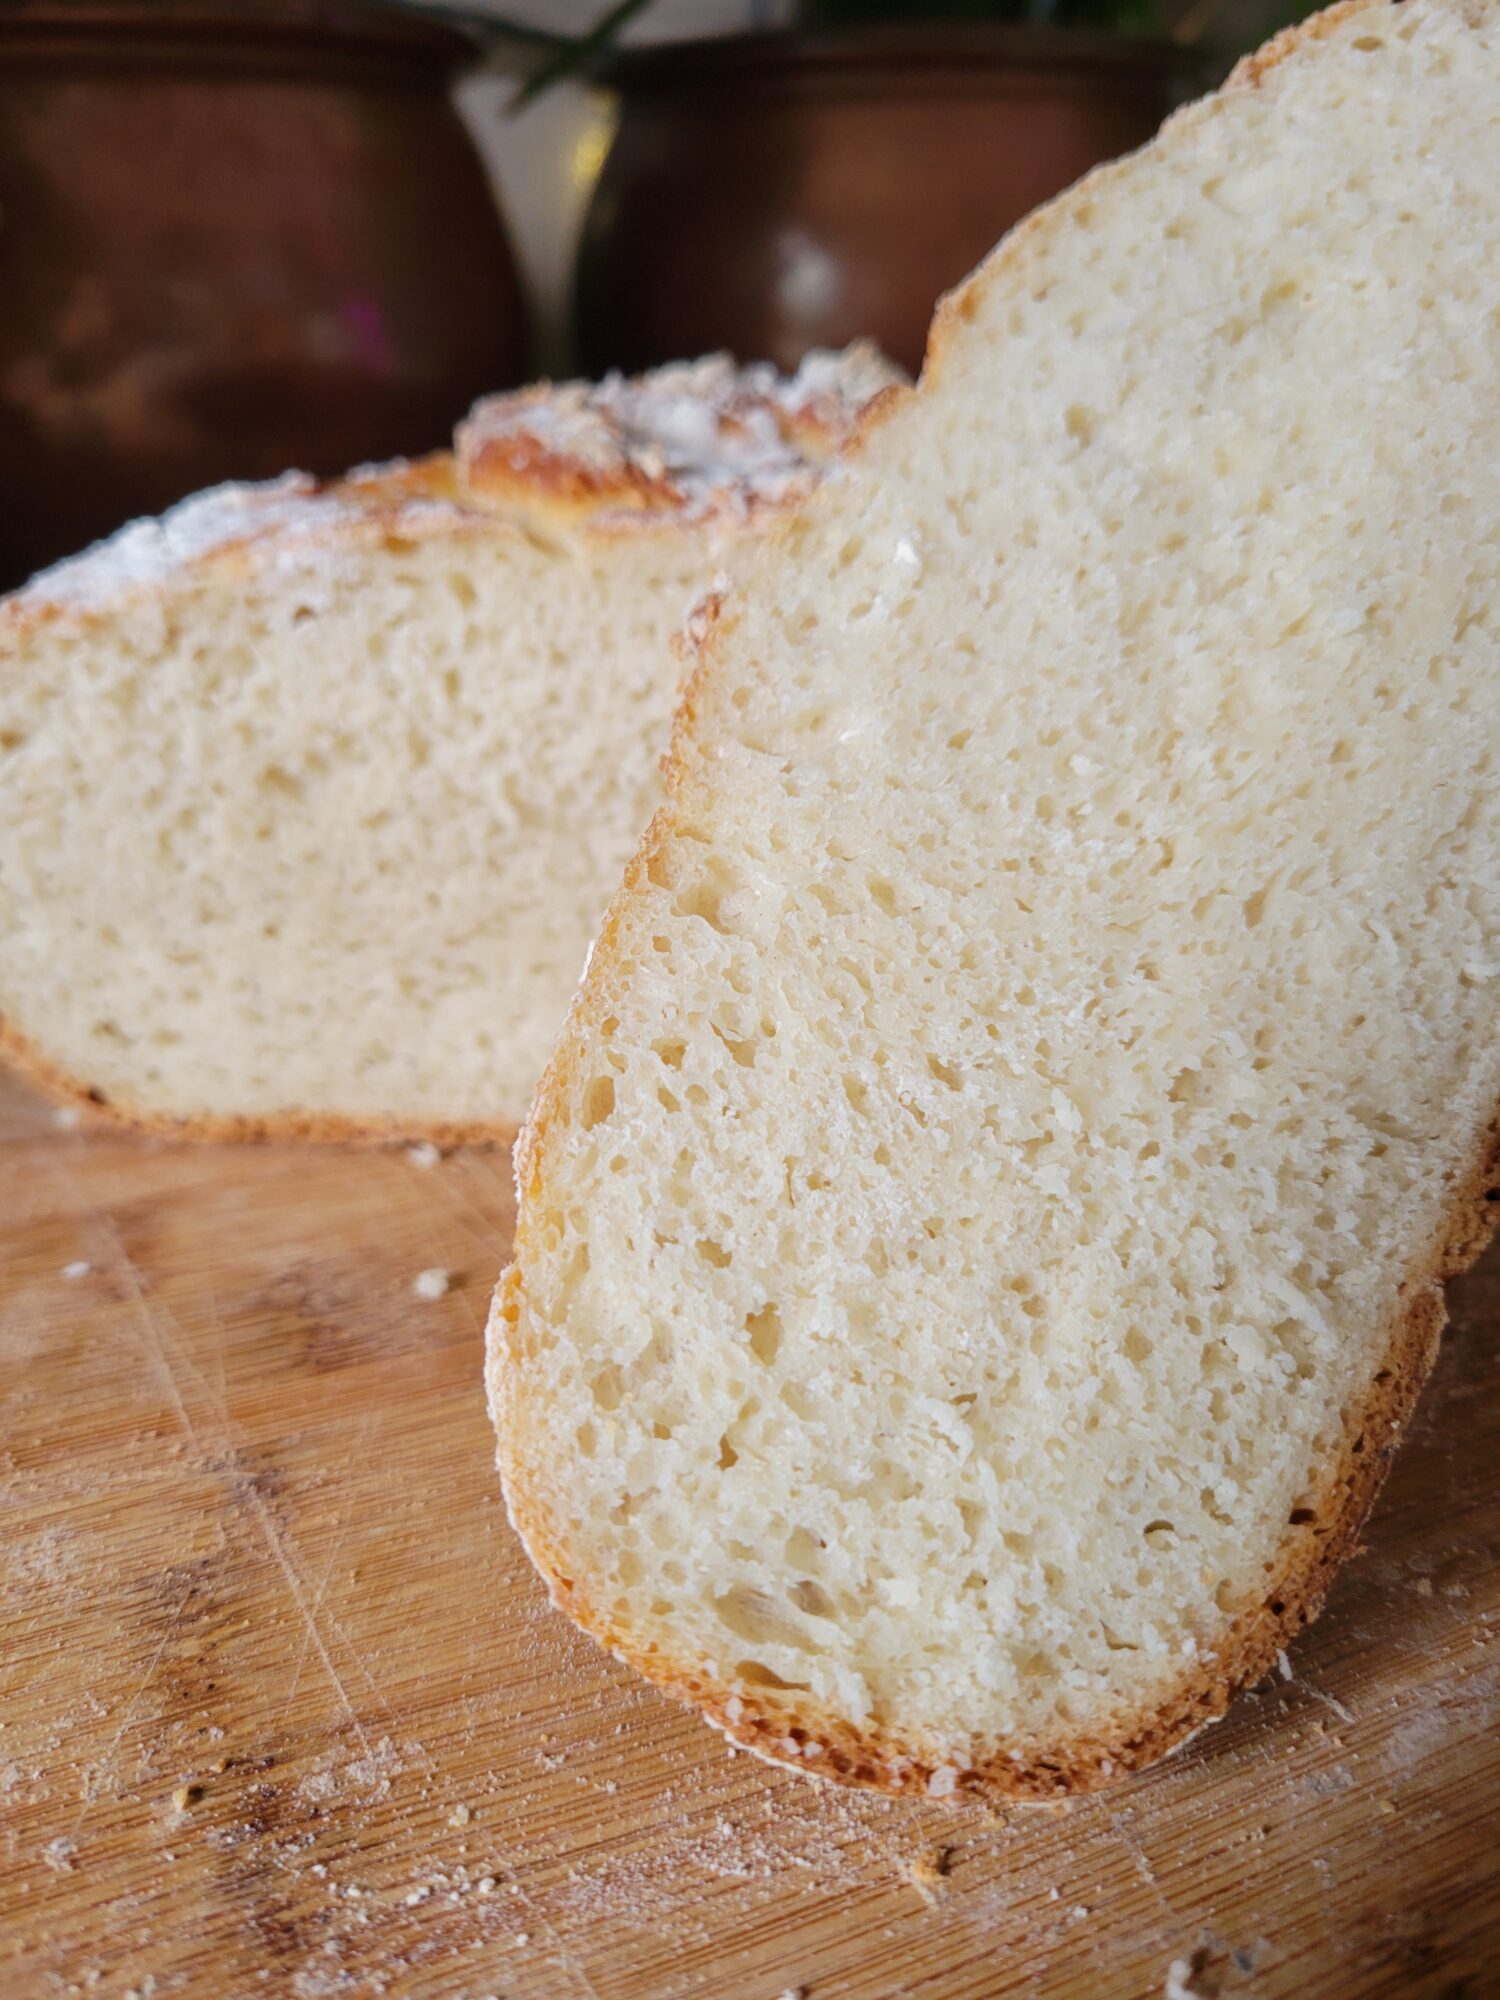
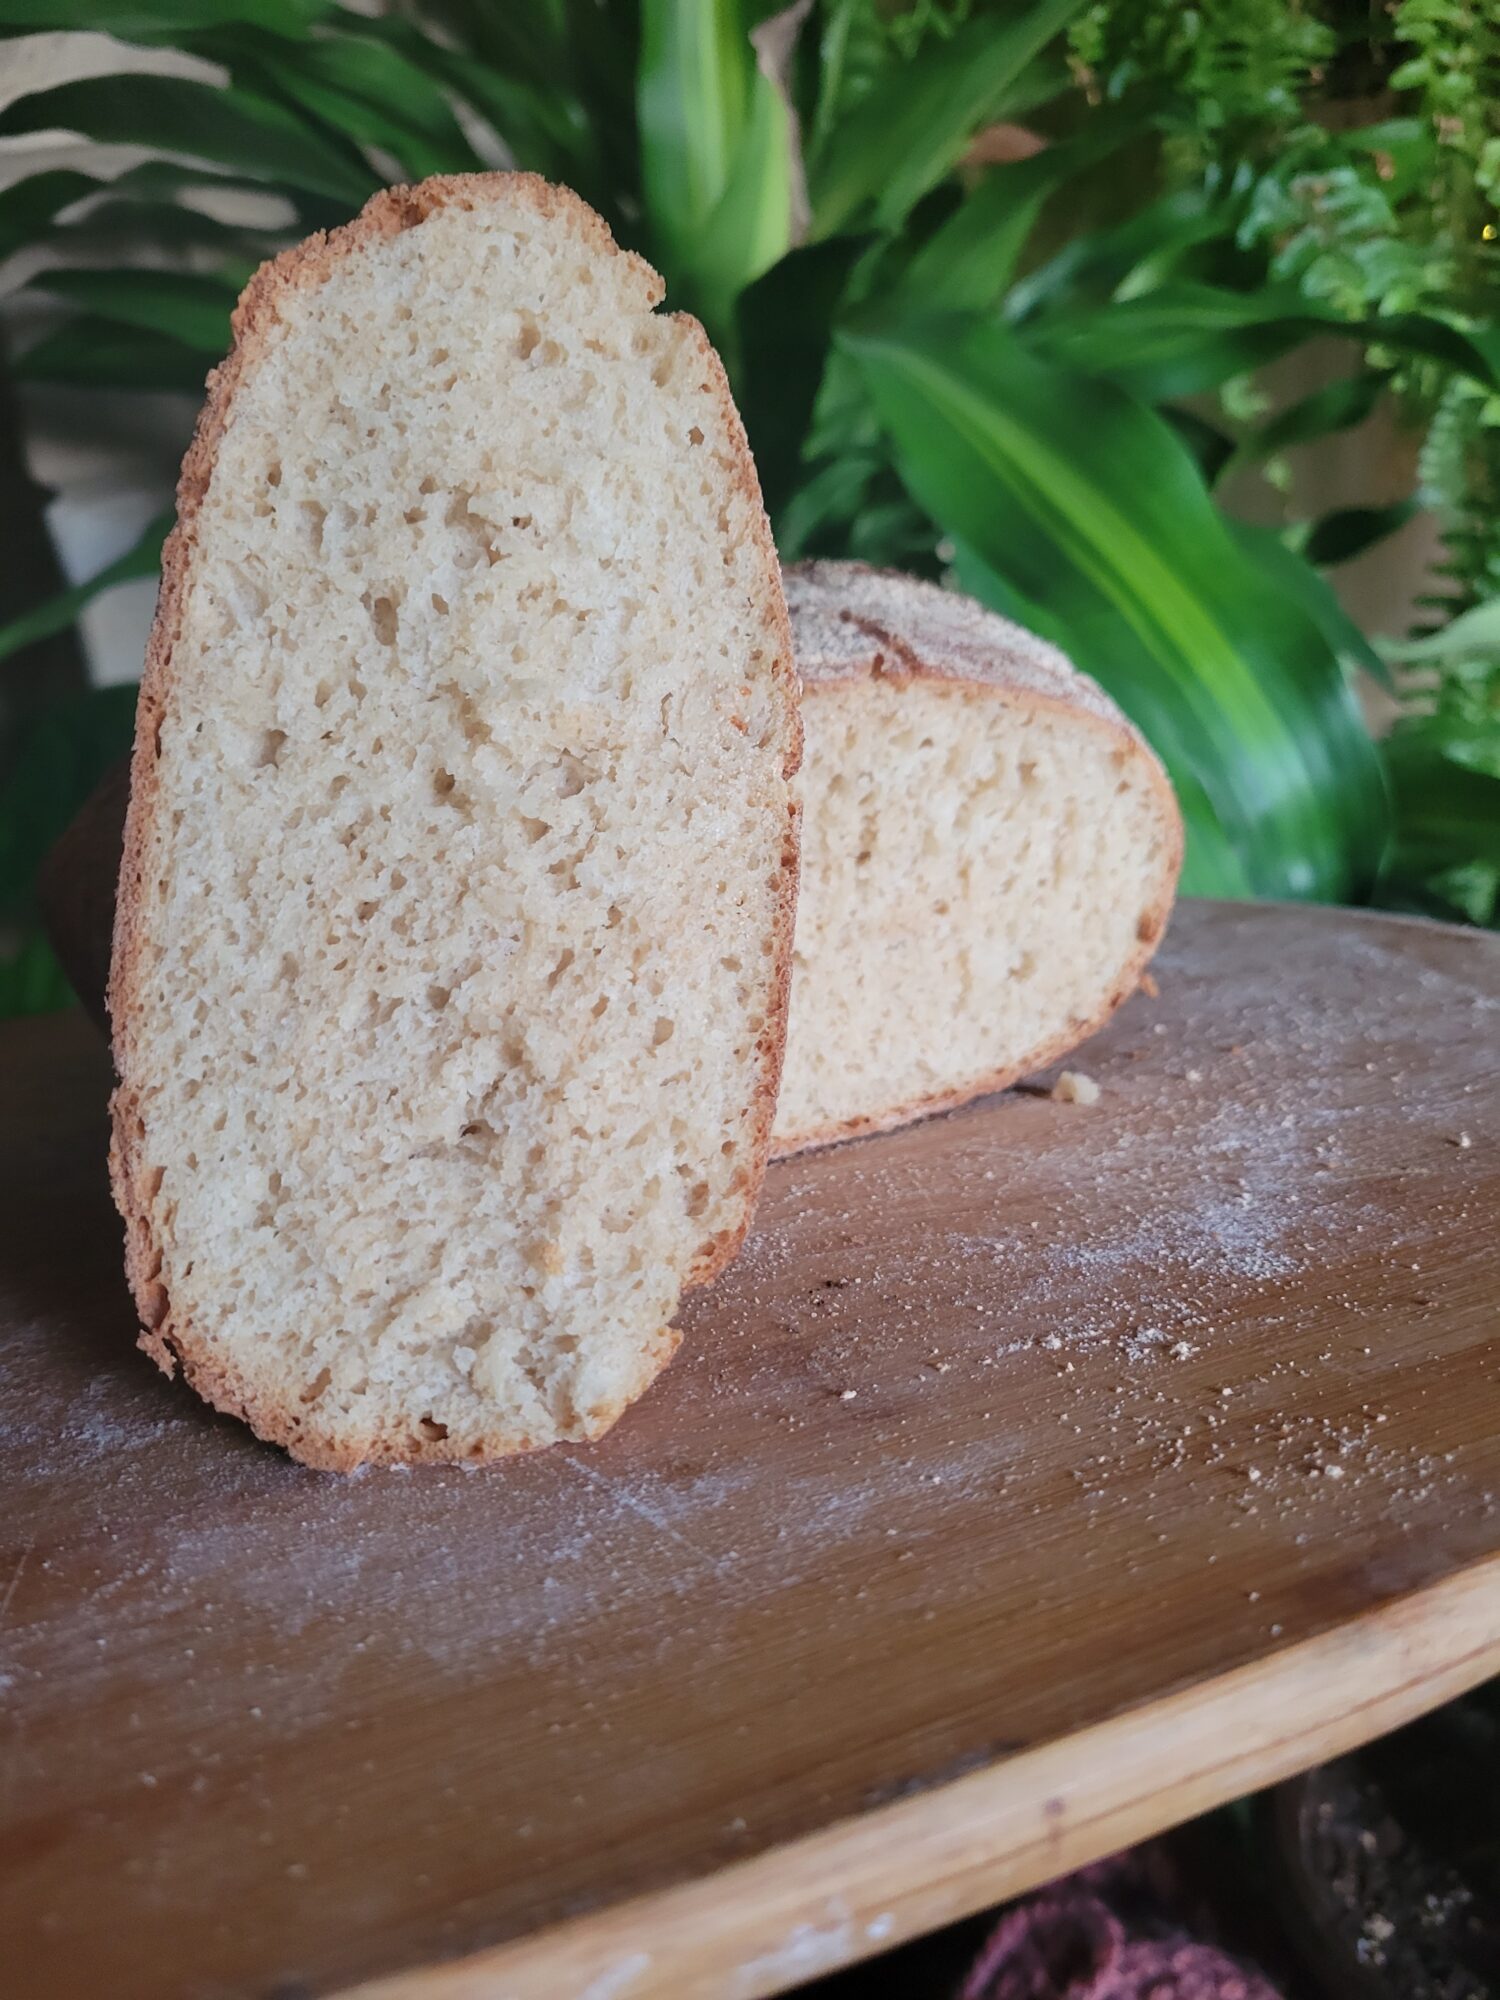
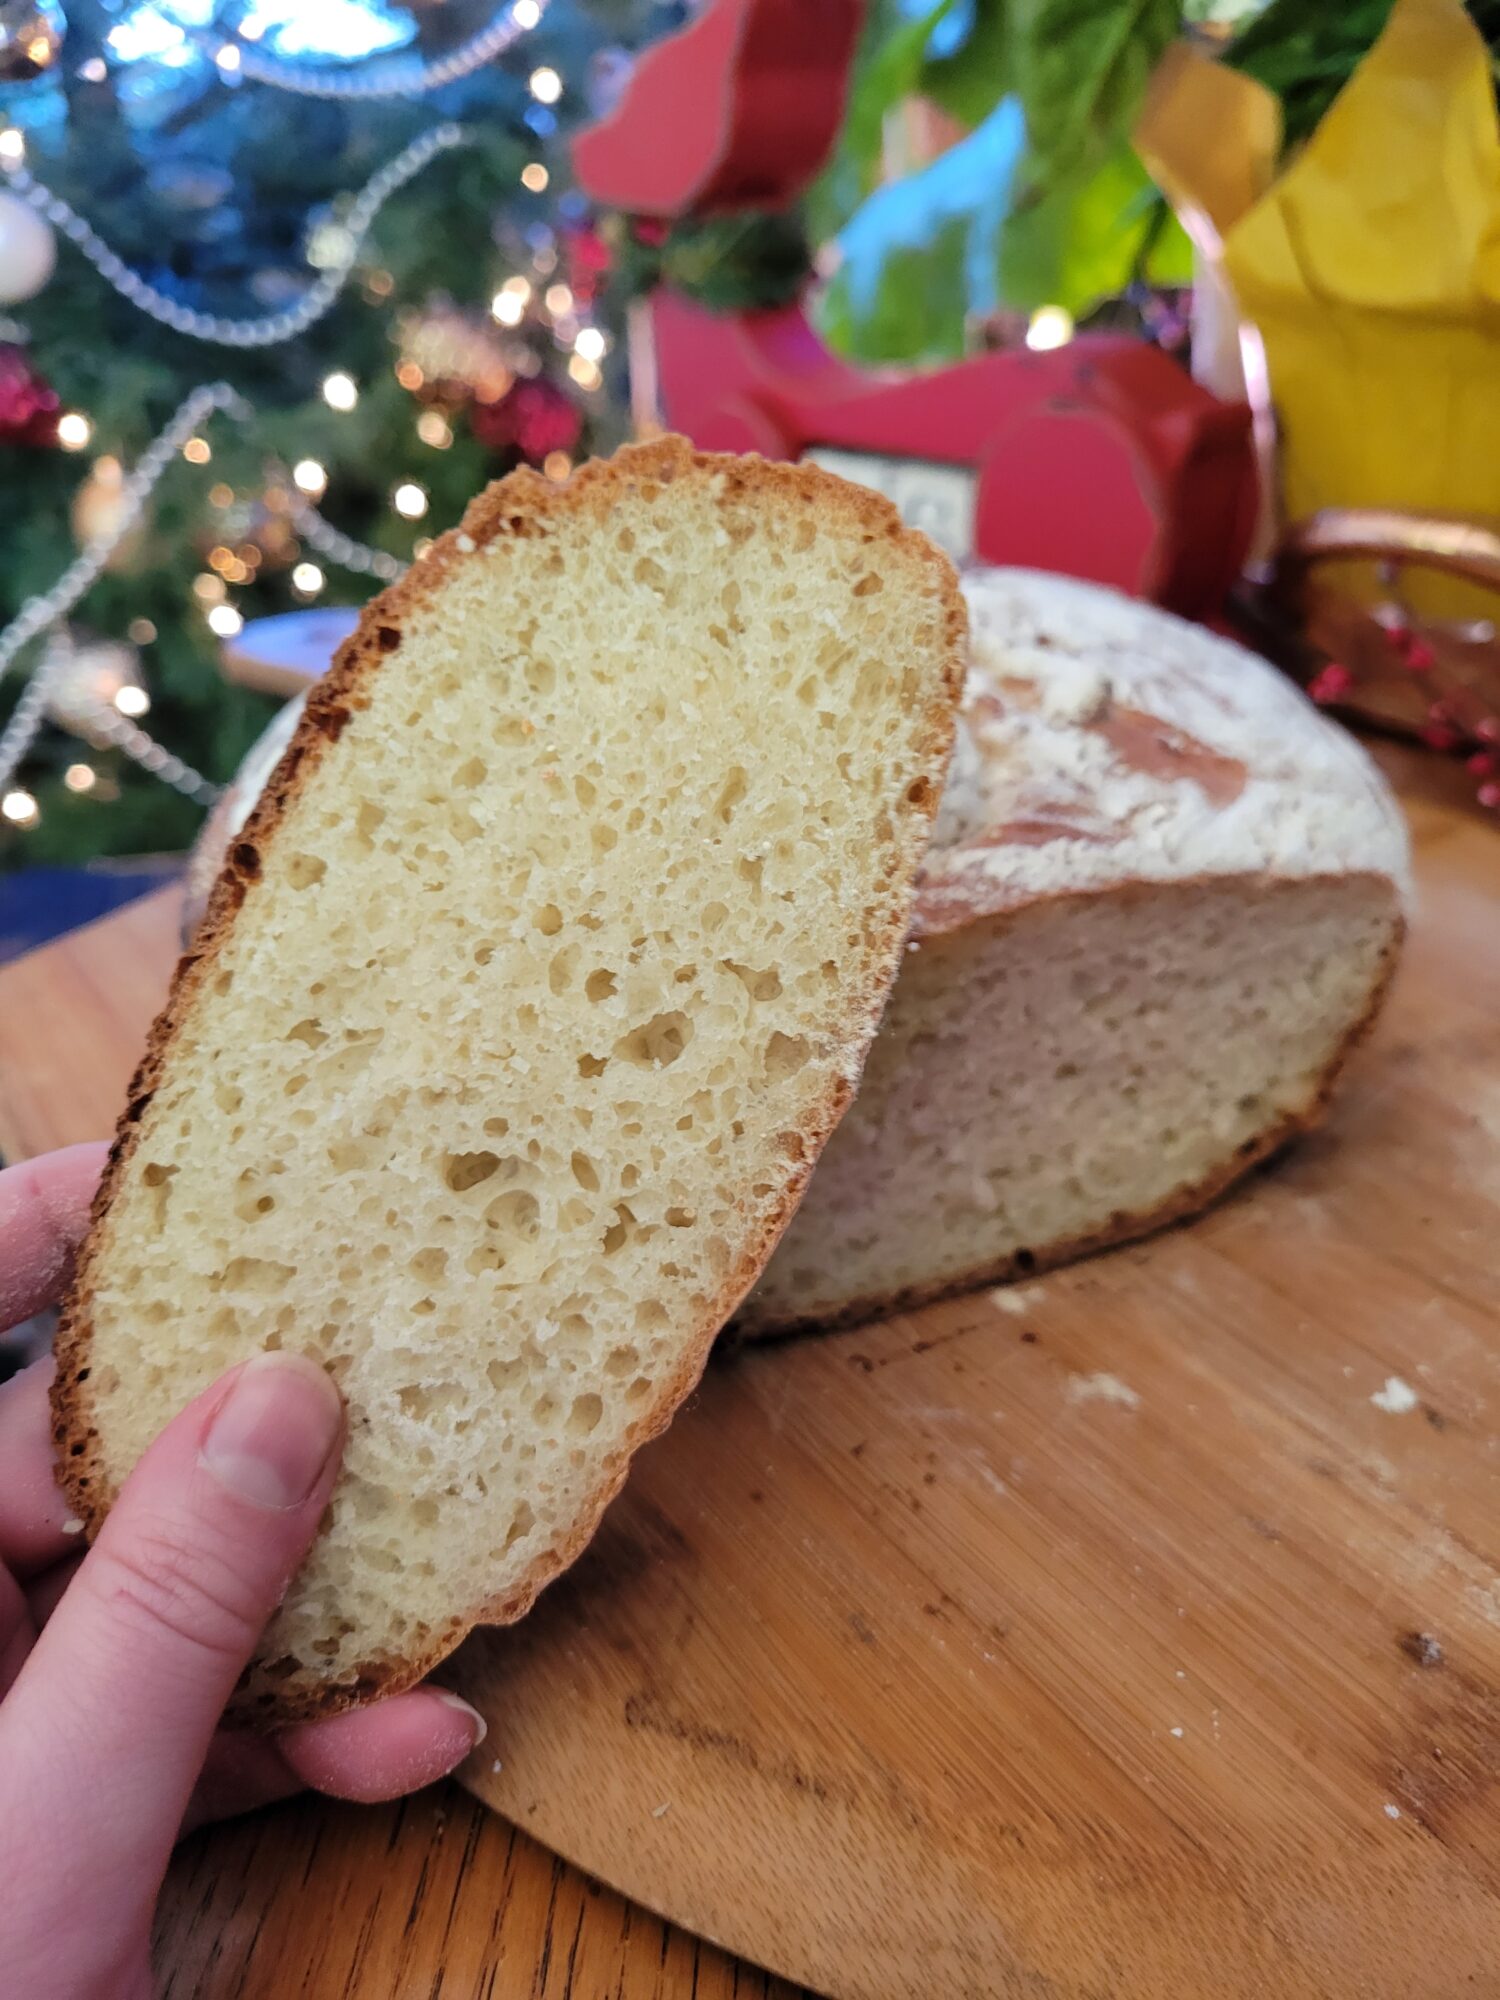
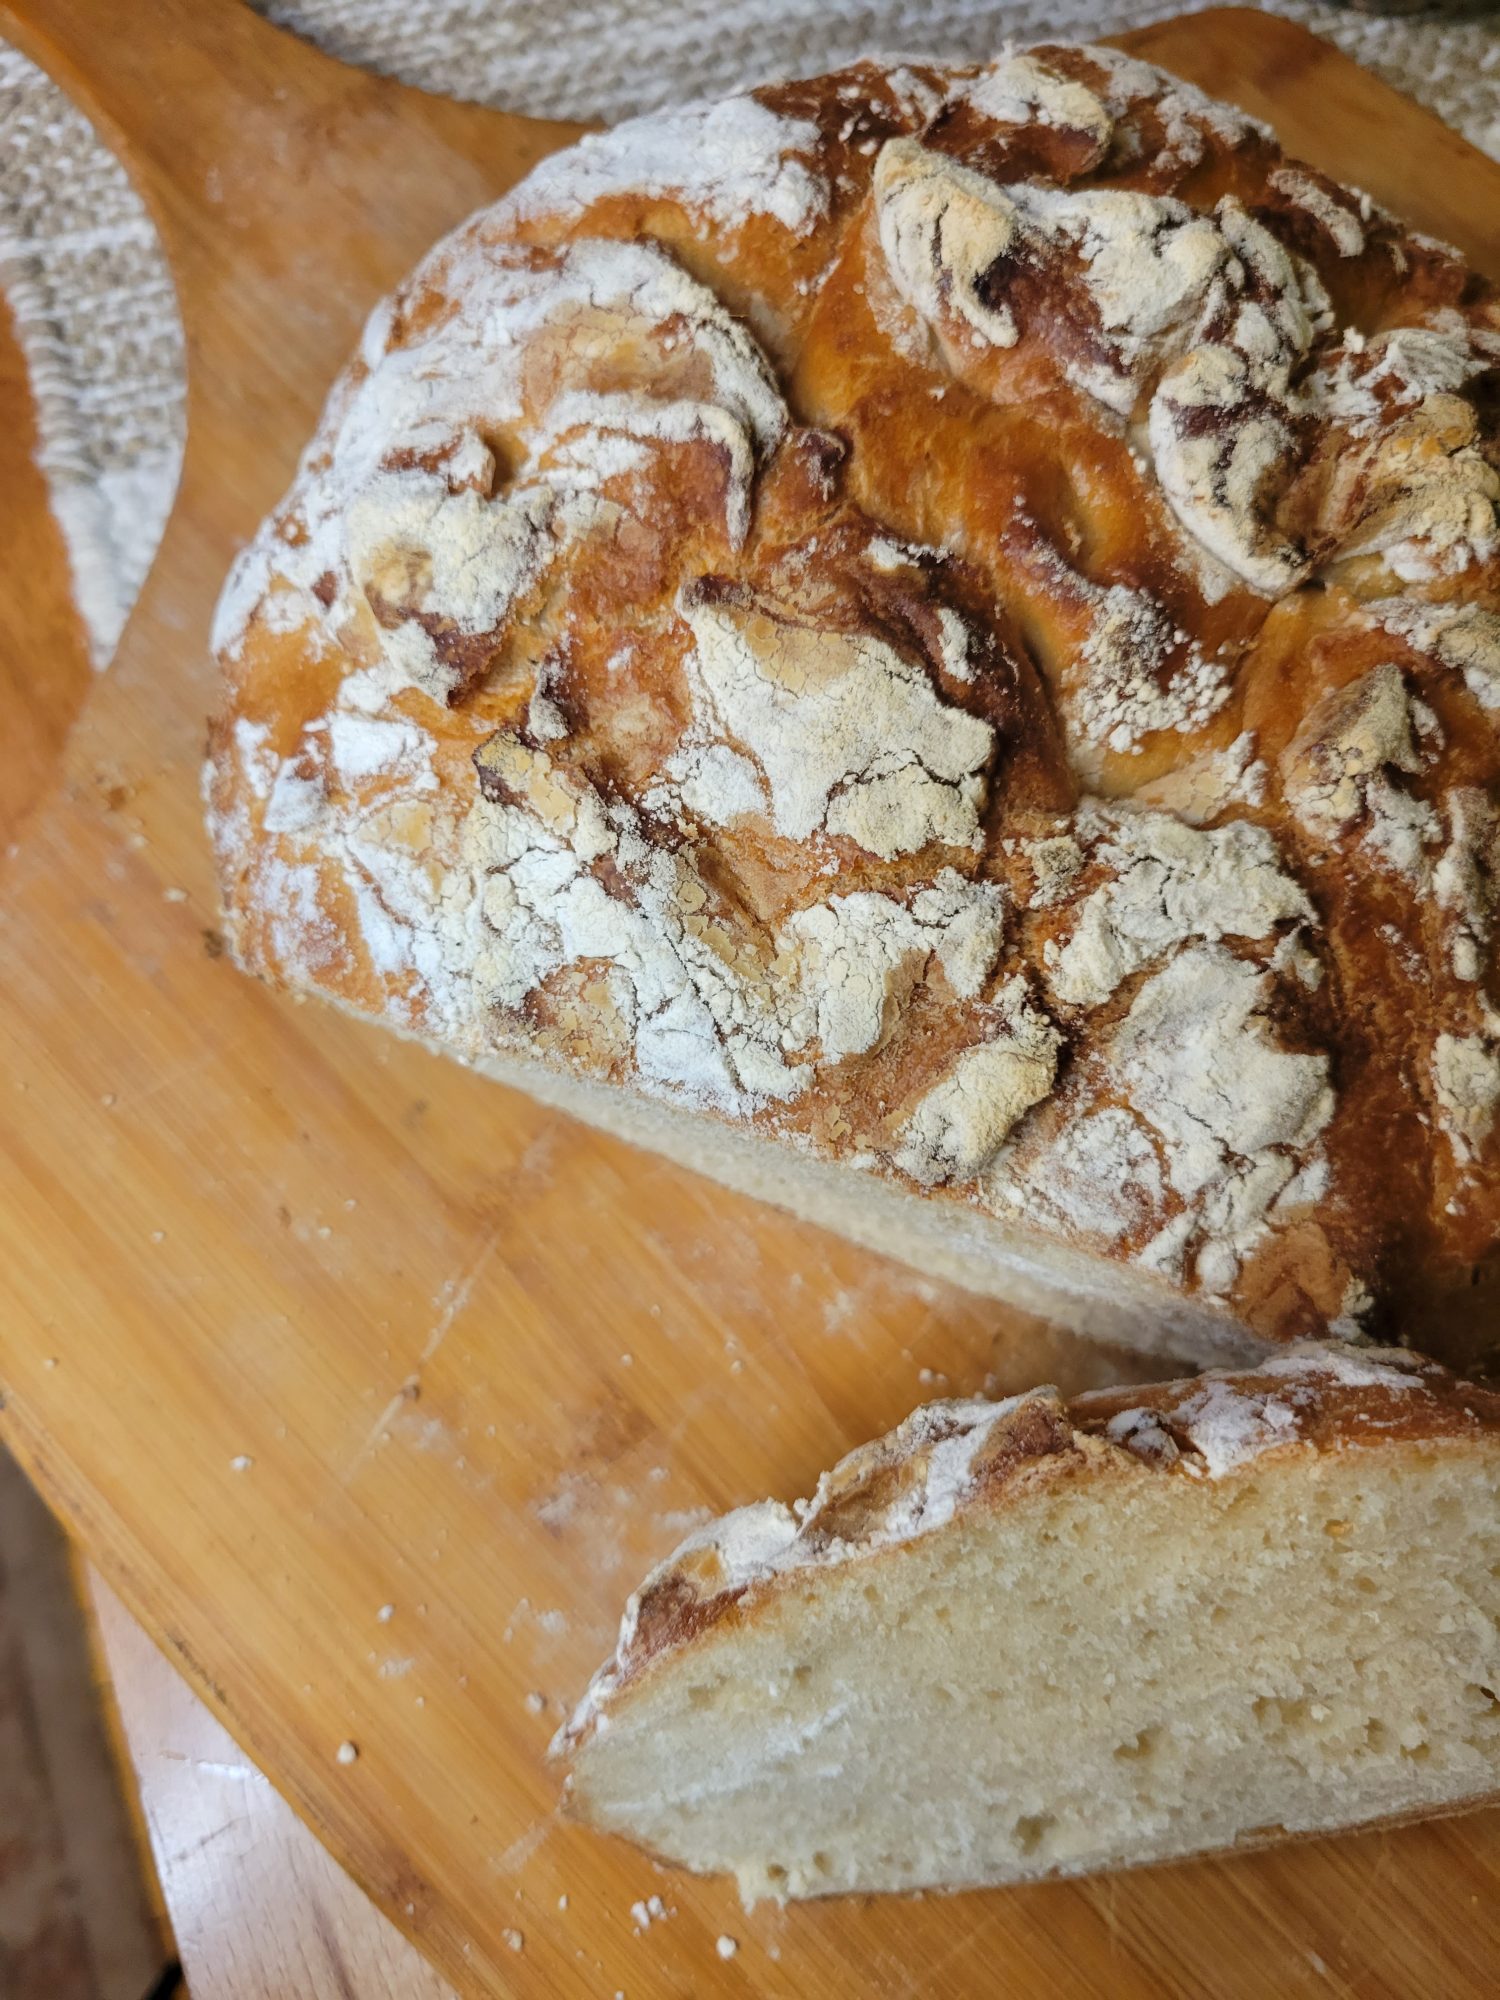
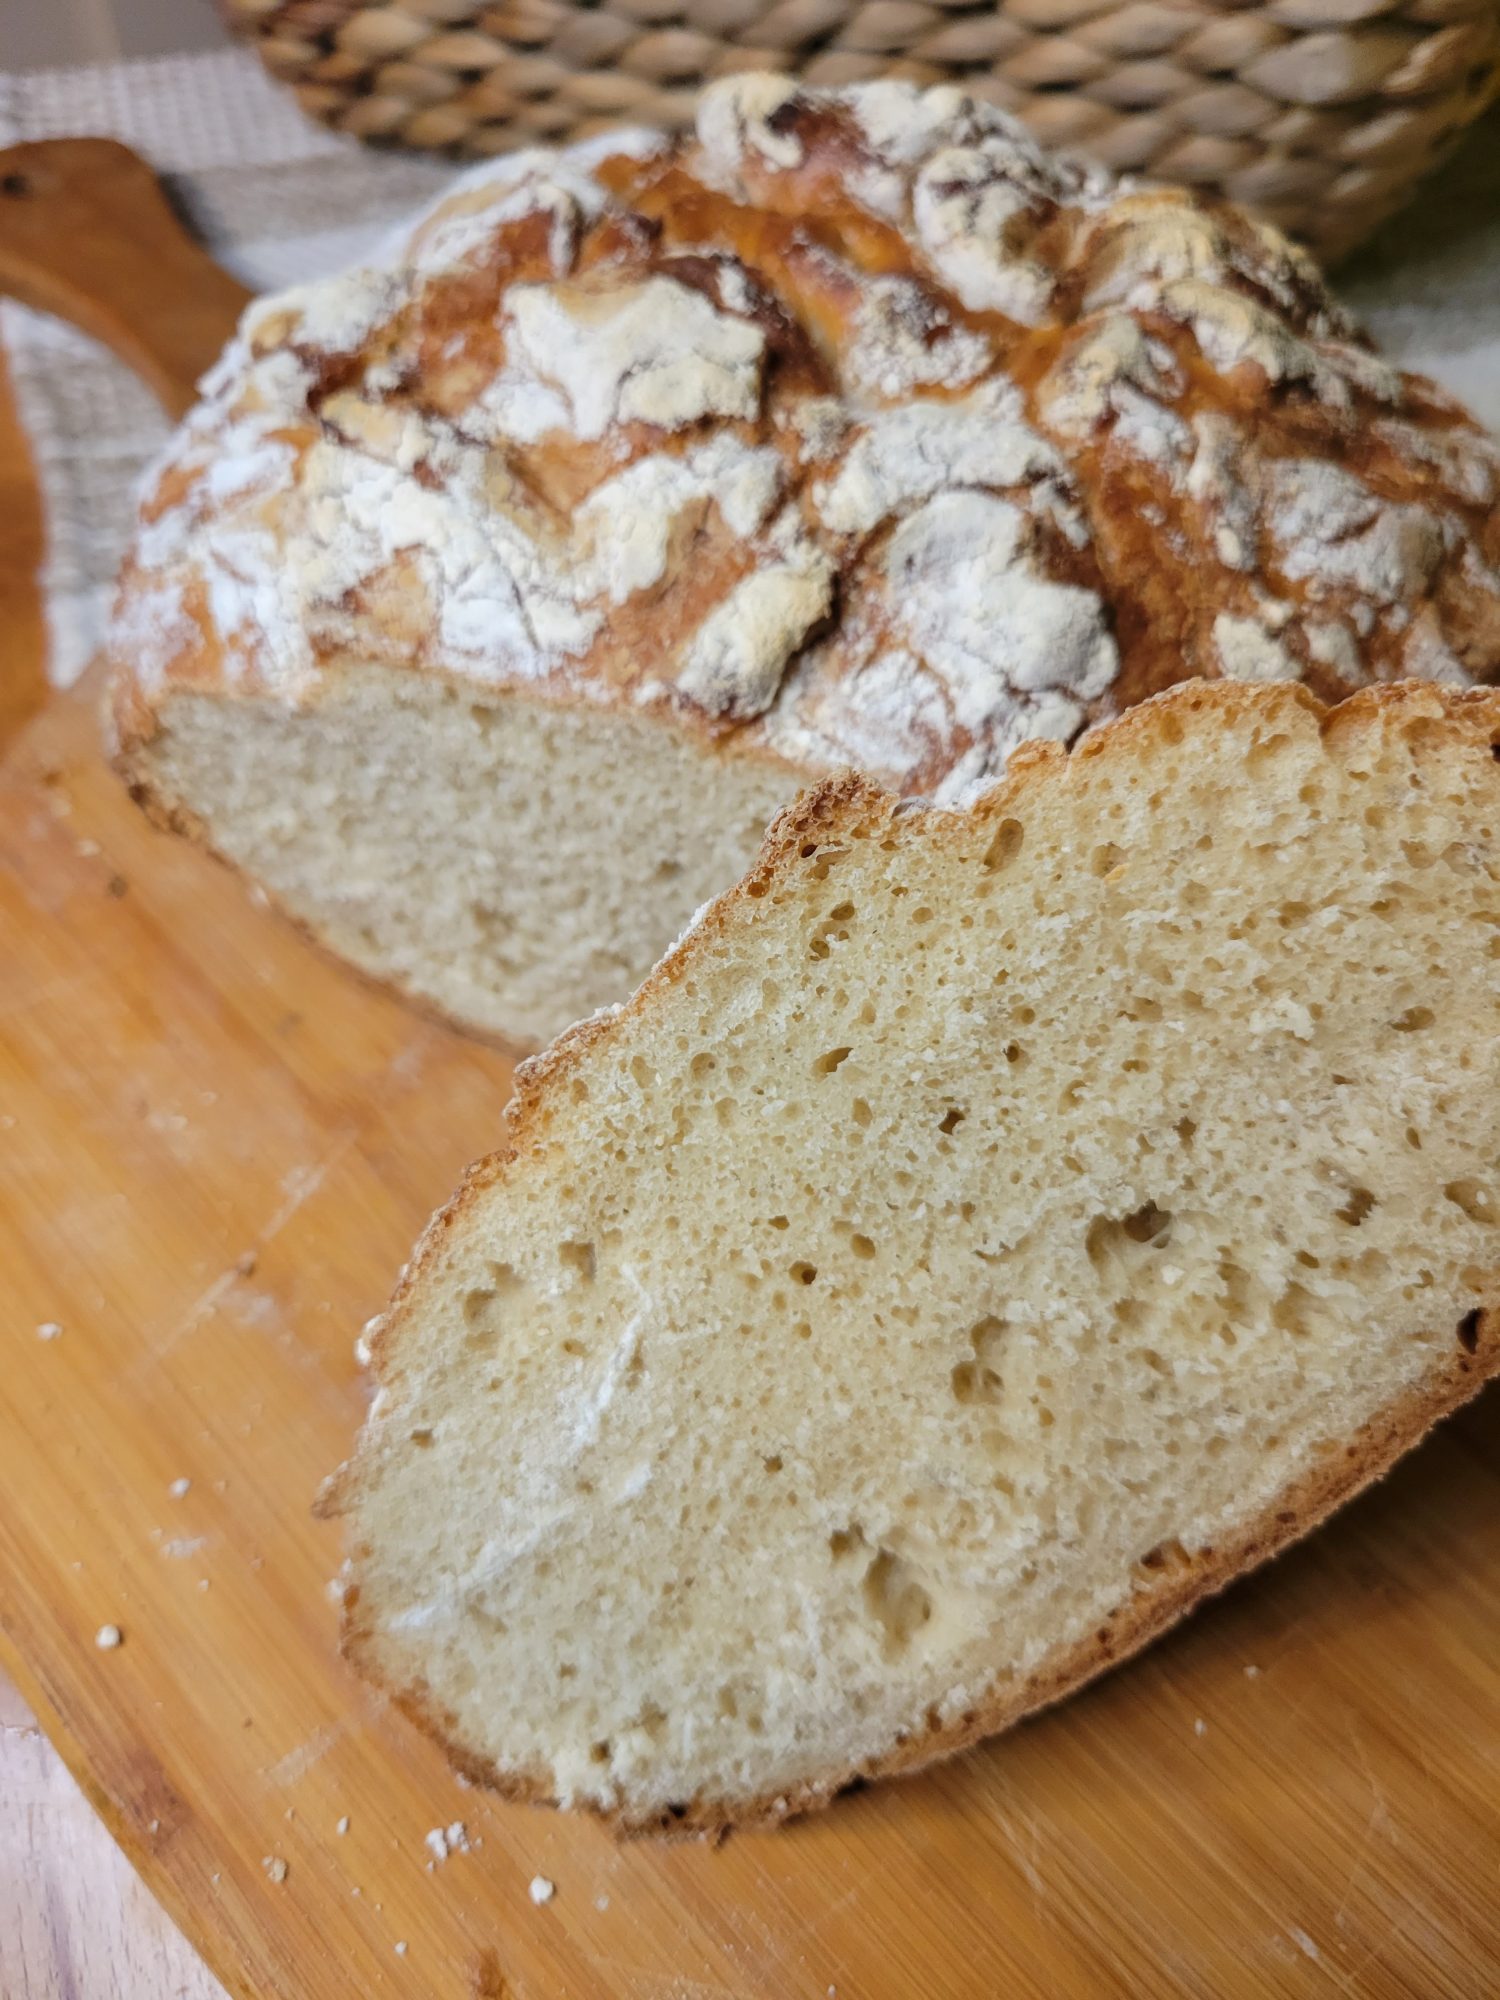
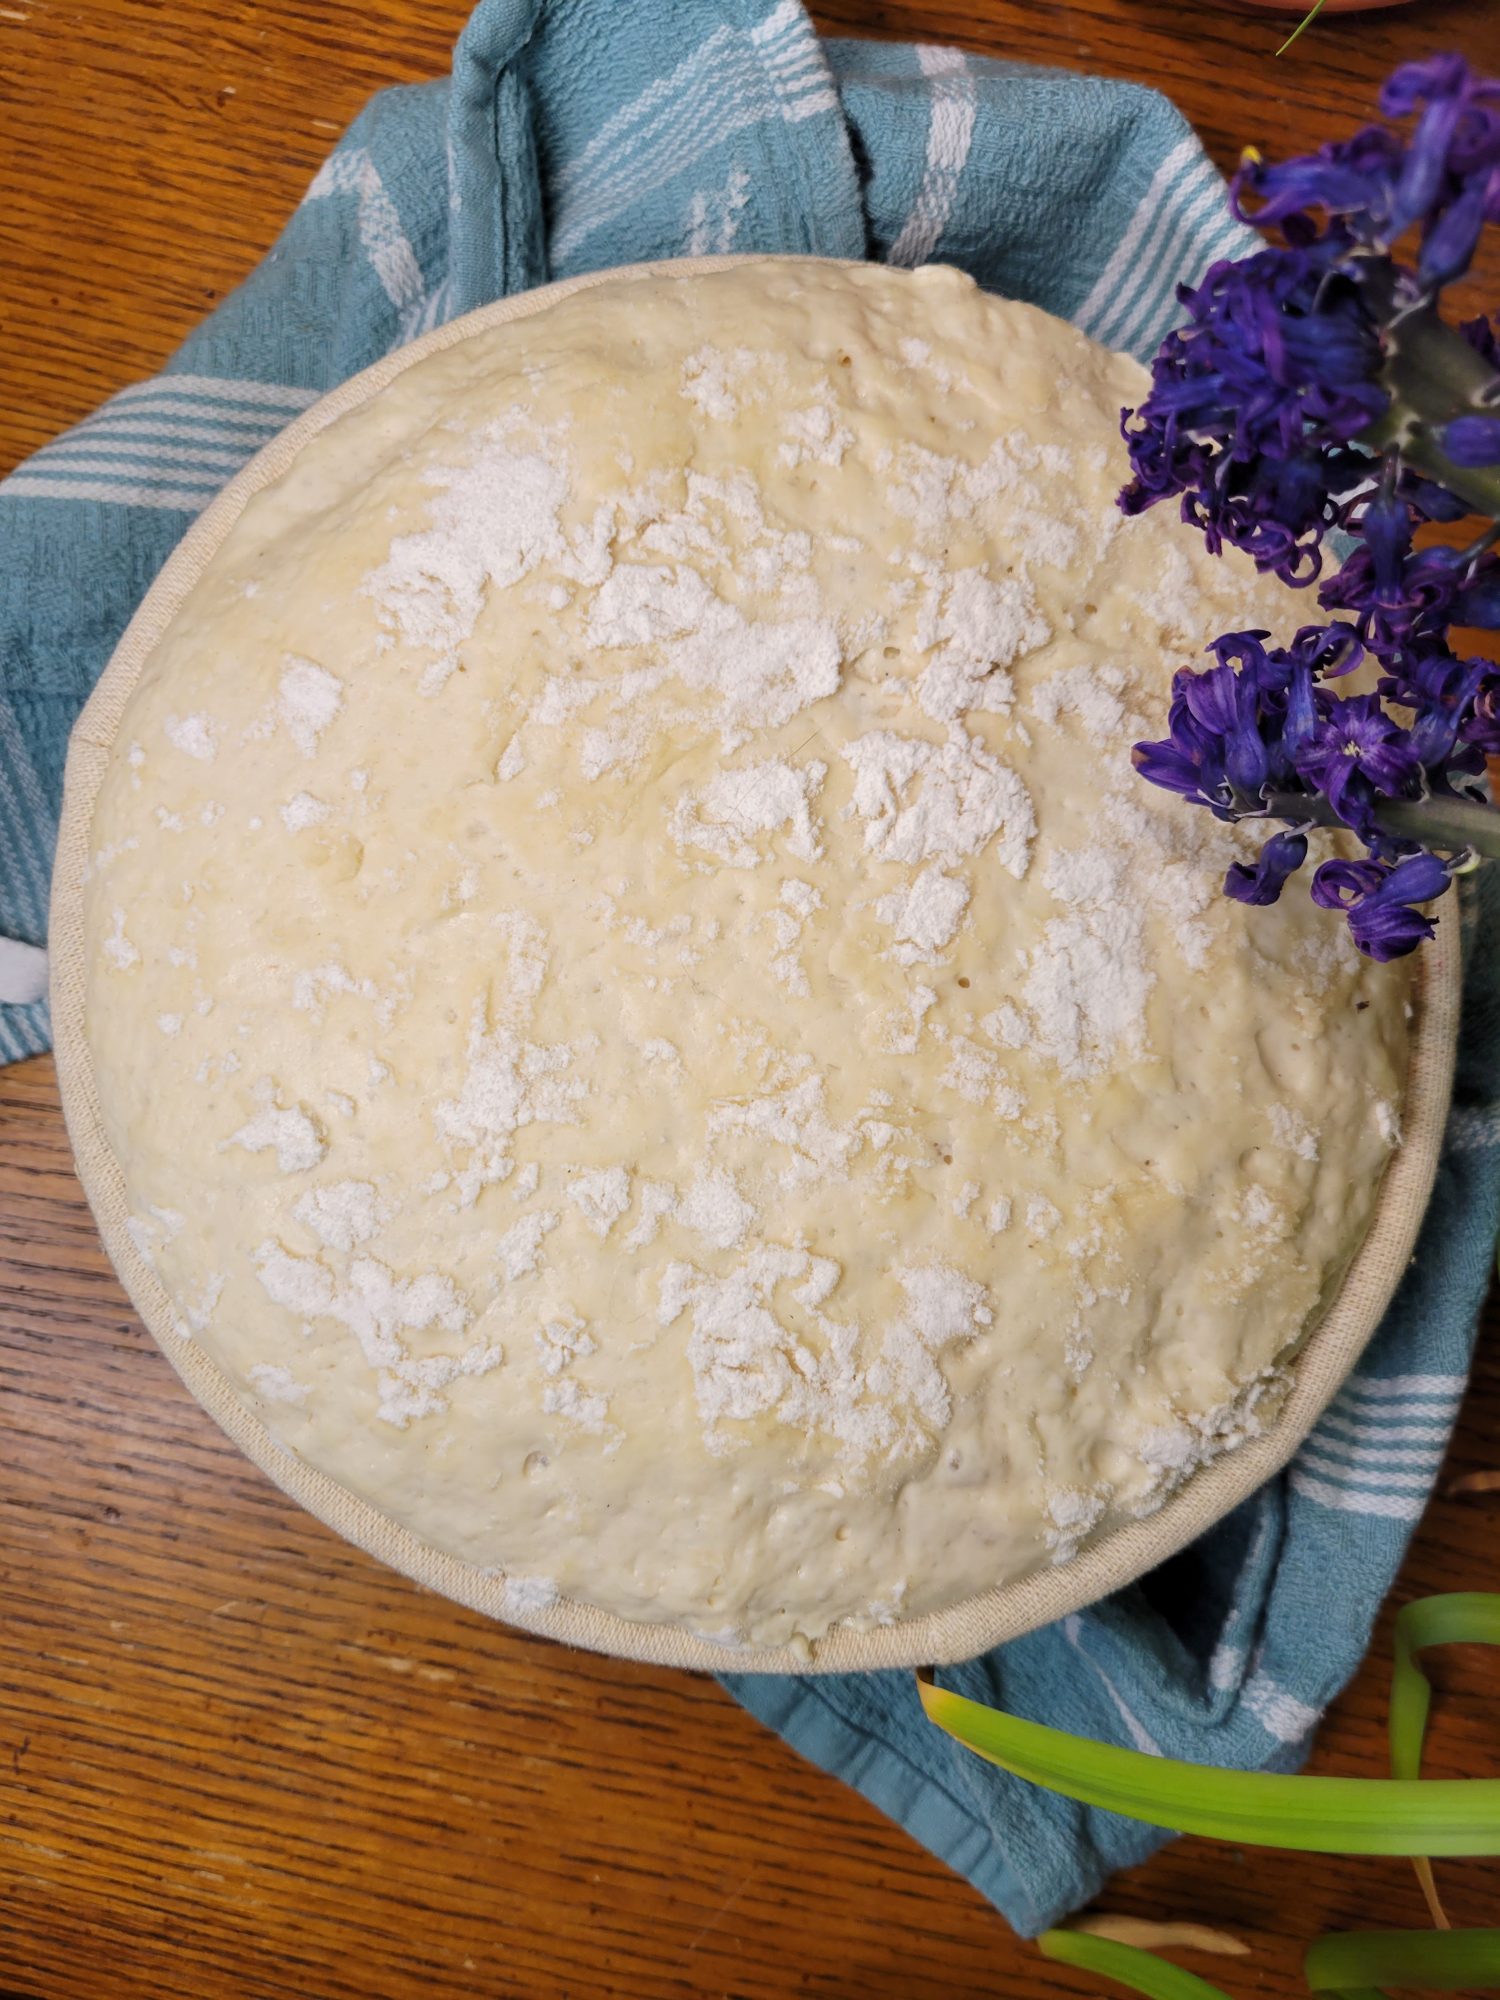
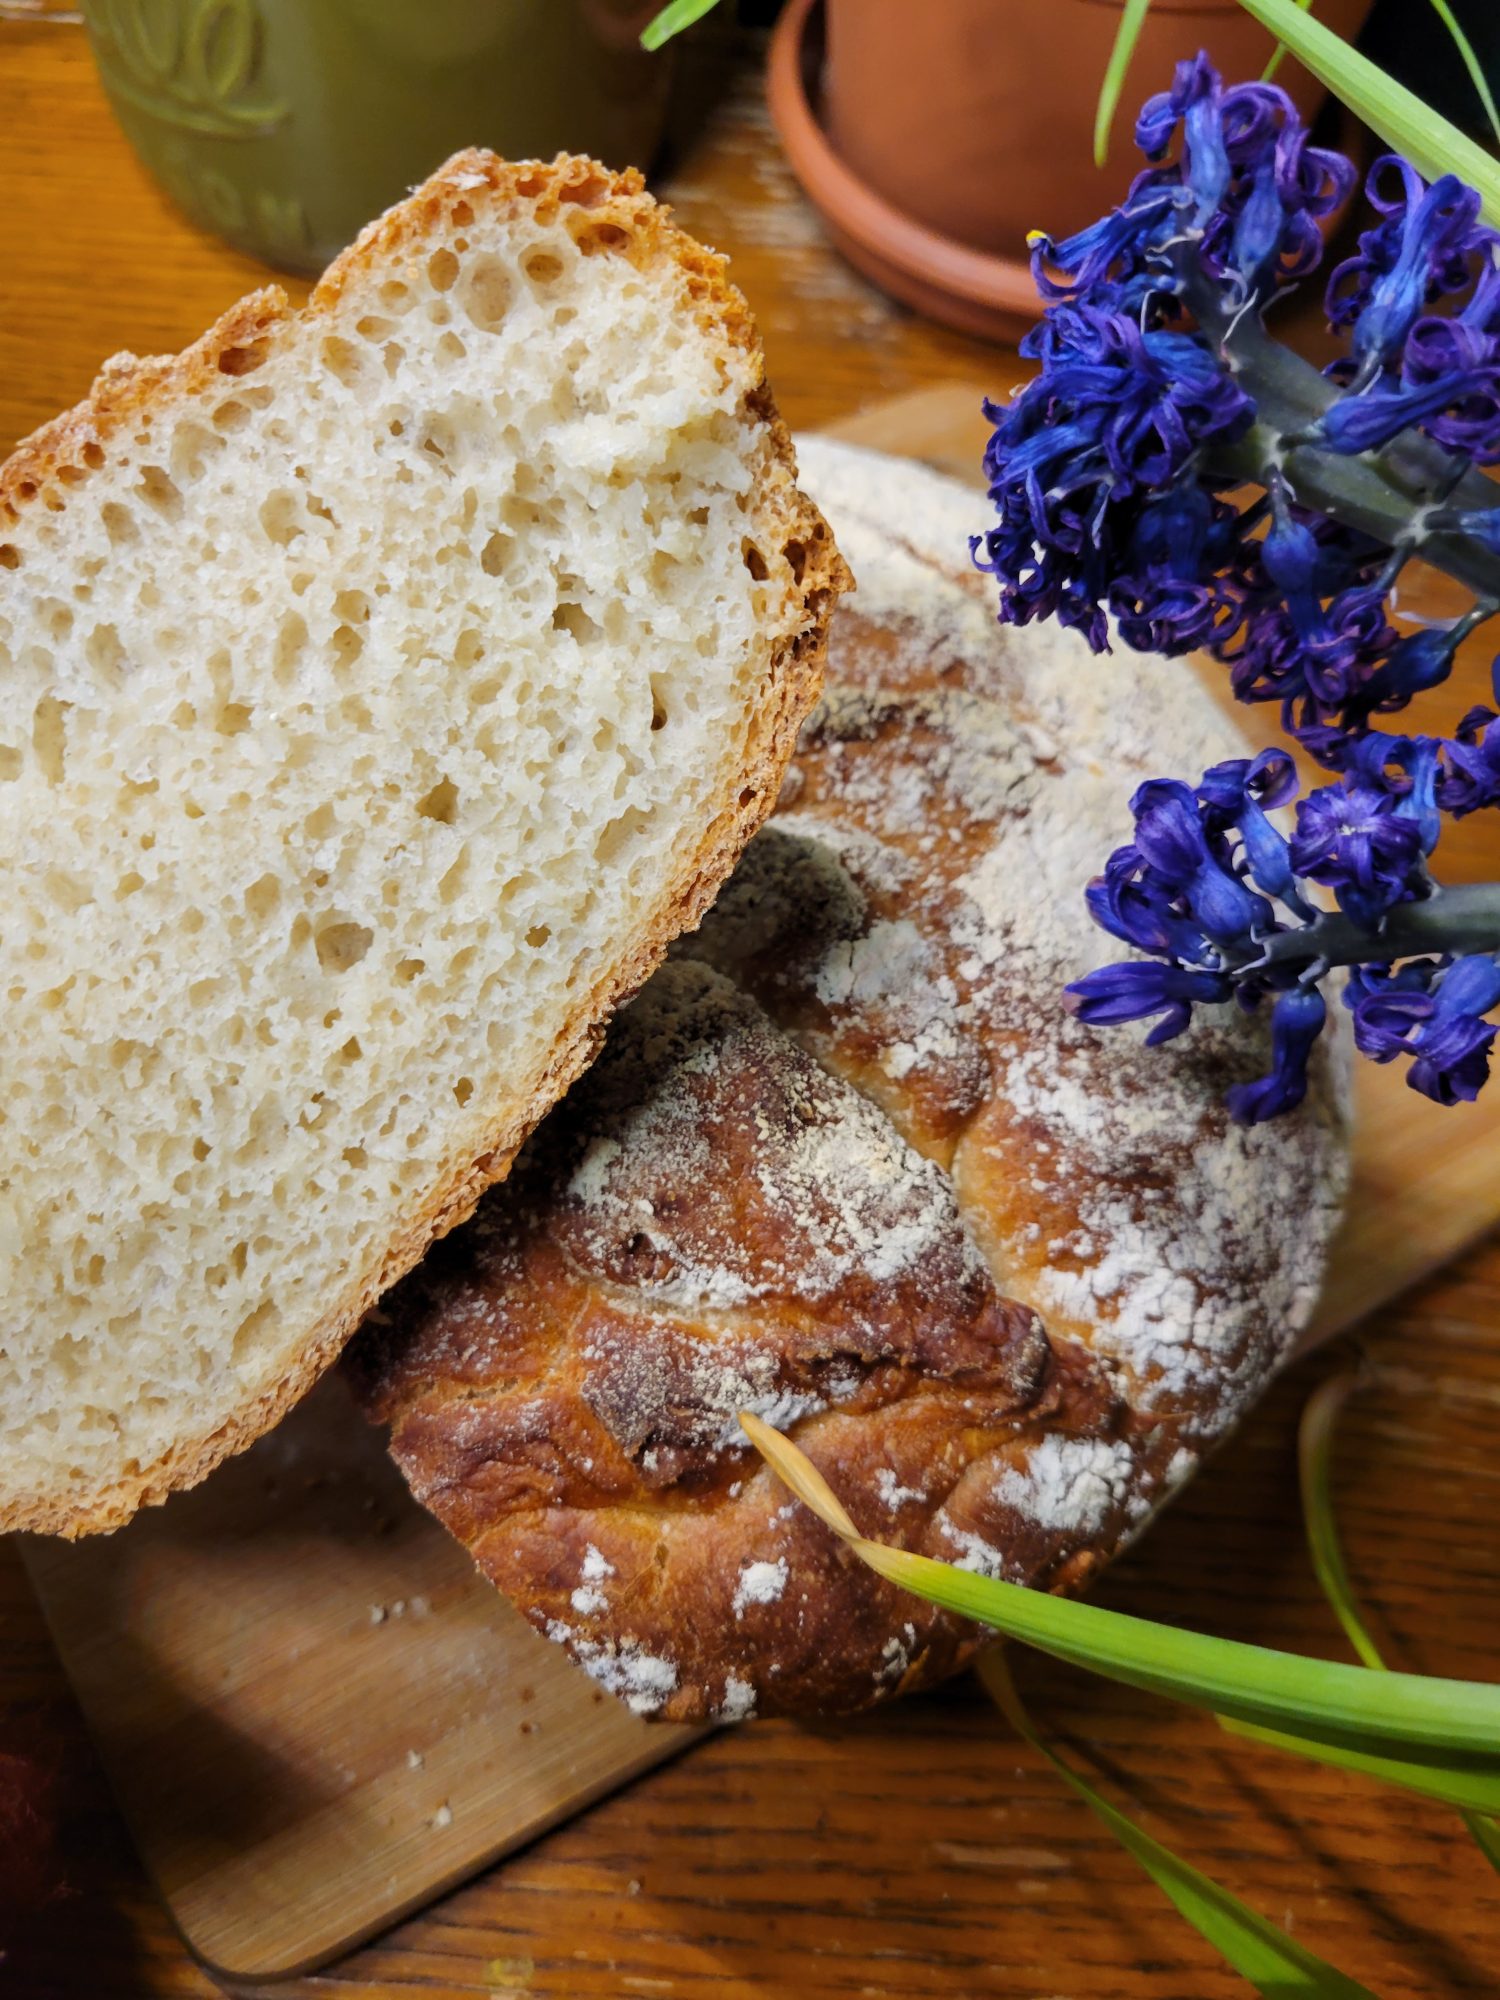
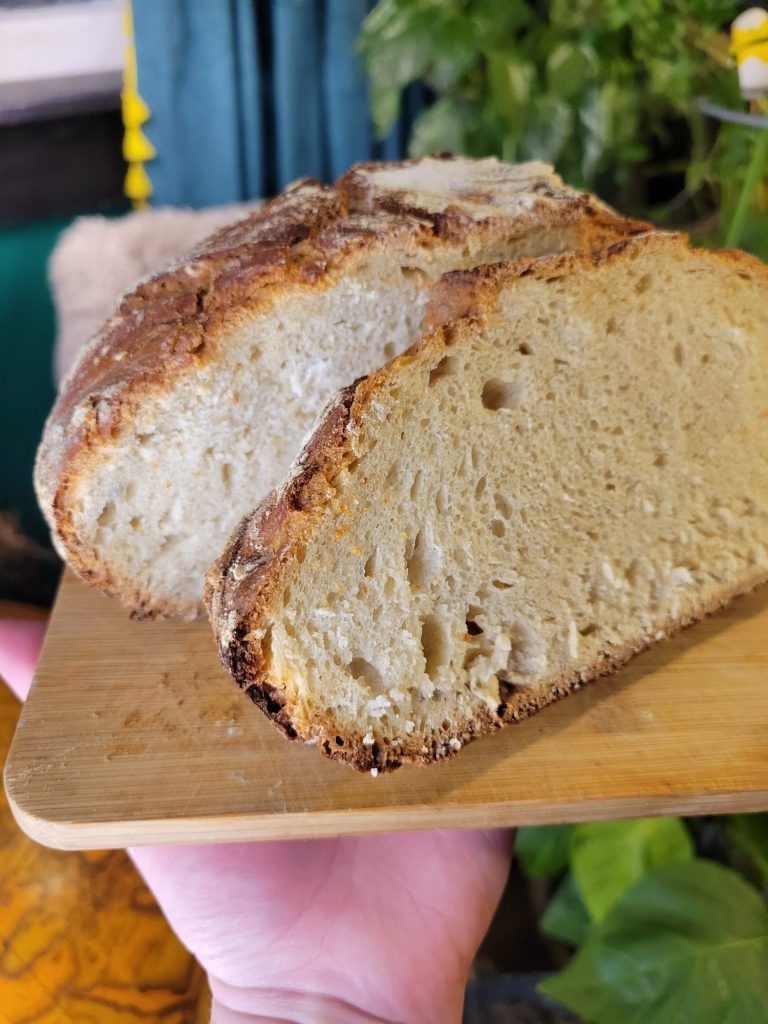
I've also noticed that sometimes my dough is over-proofing. When this particular recipe rises too much before going into the oven, it doesn't rise as much during the bake. Now, it still makes perfectly acceptable bread. But the over-proofed dough doesn't get those nice, big holes in the bread. Which is quickly becoming my test of a good bread or not. How dense or light and airy the bread is does make a noticeable difference.
So, perhaps a bread basket and a different type of proof will produce a better quality bread?
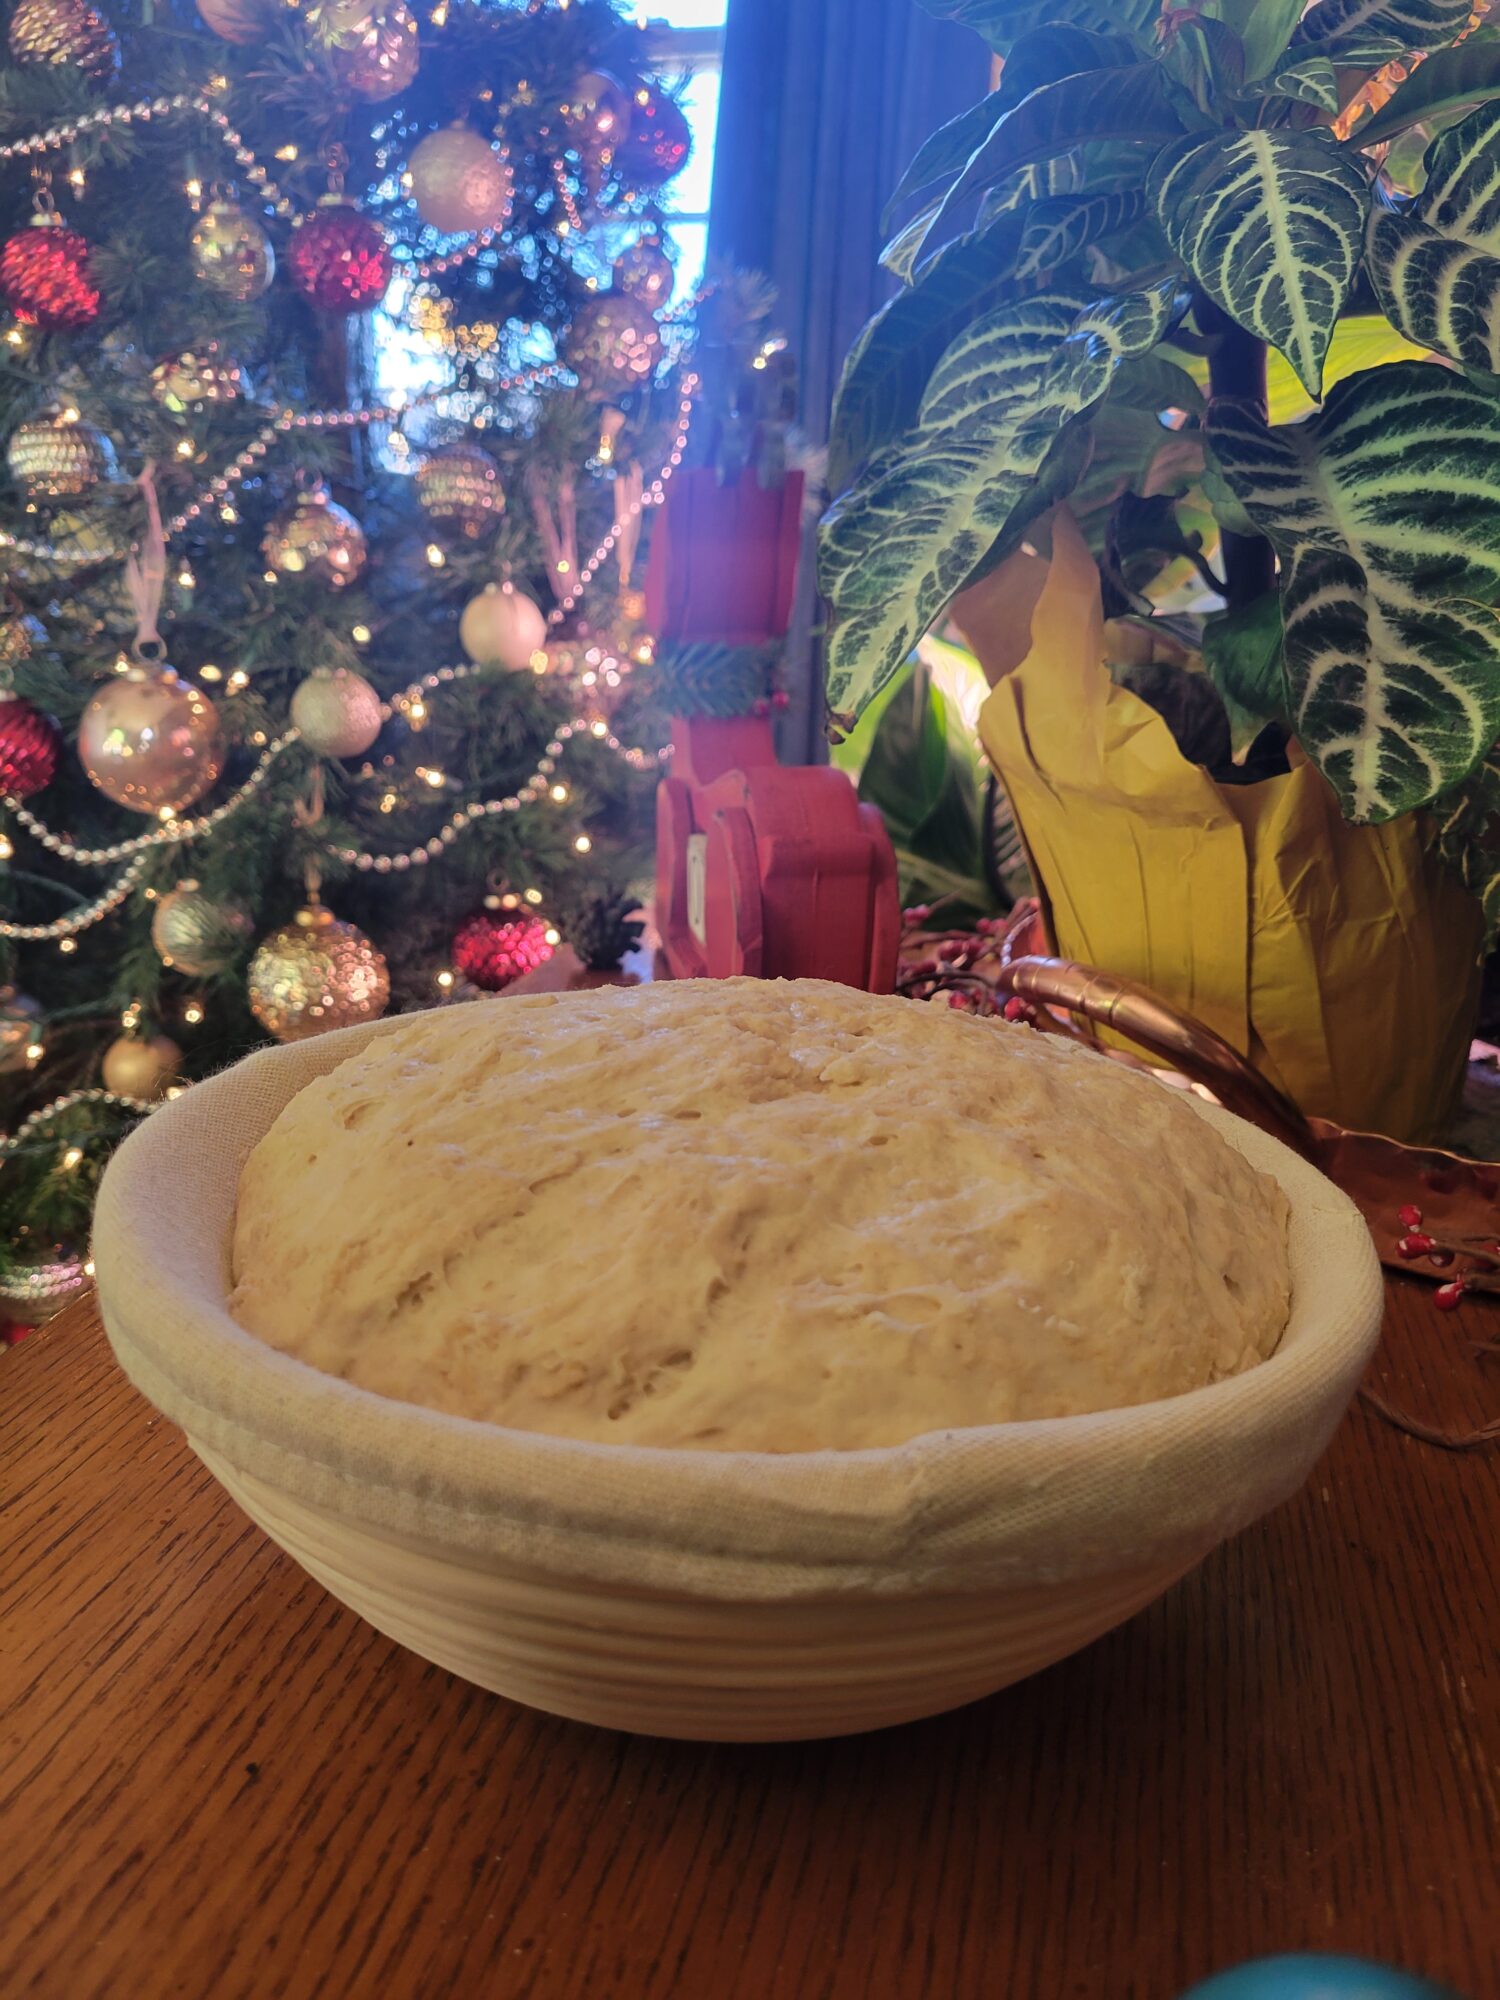
First Try

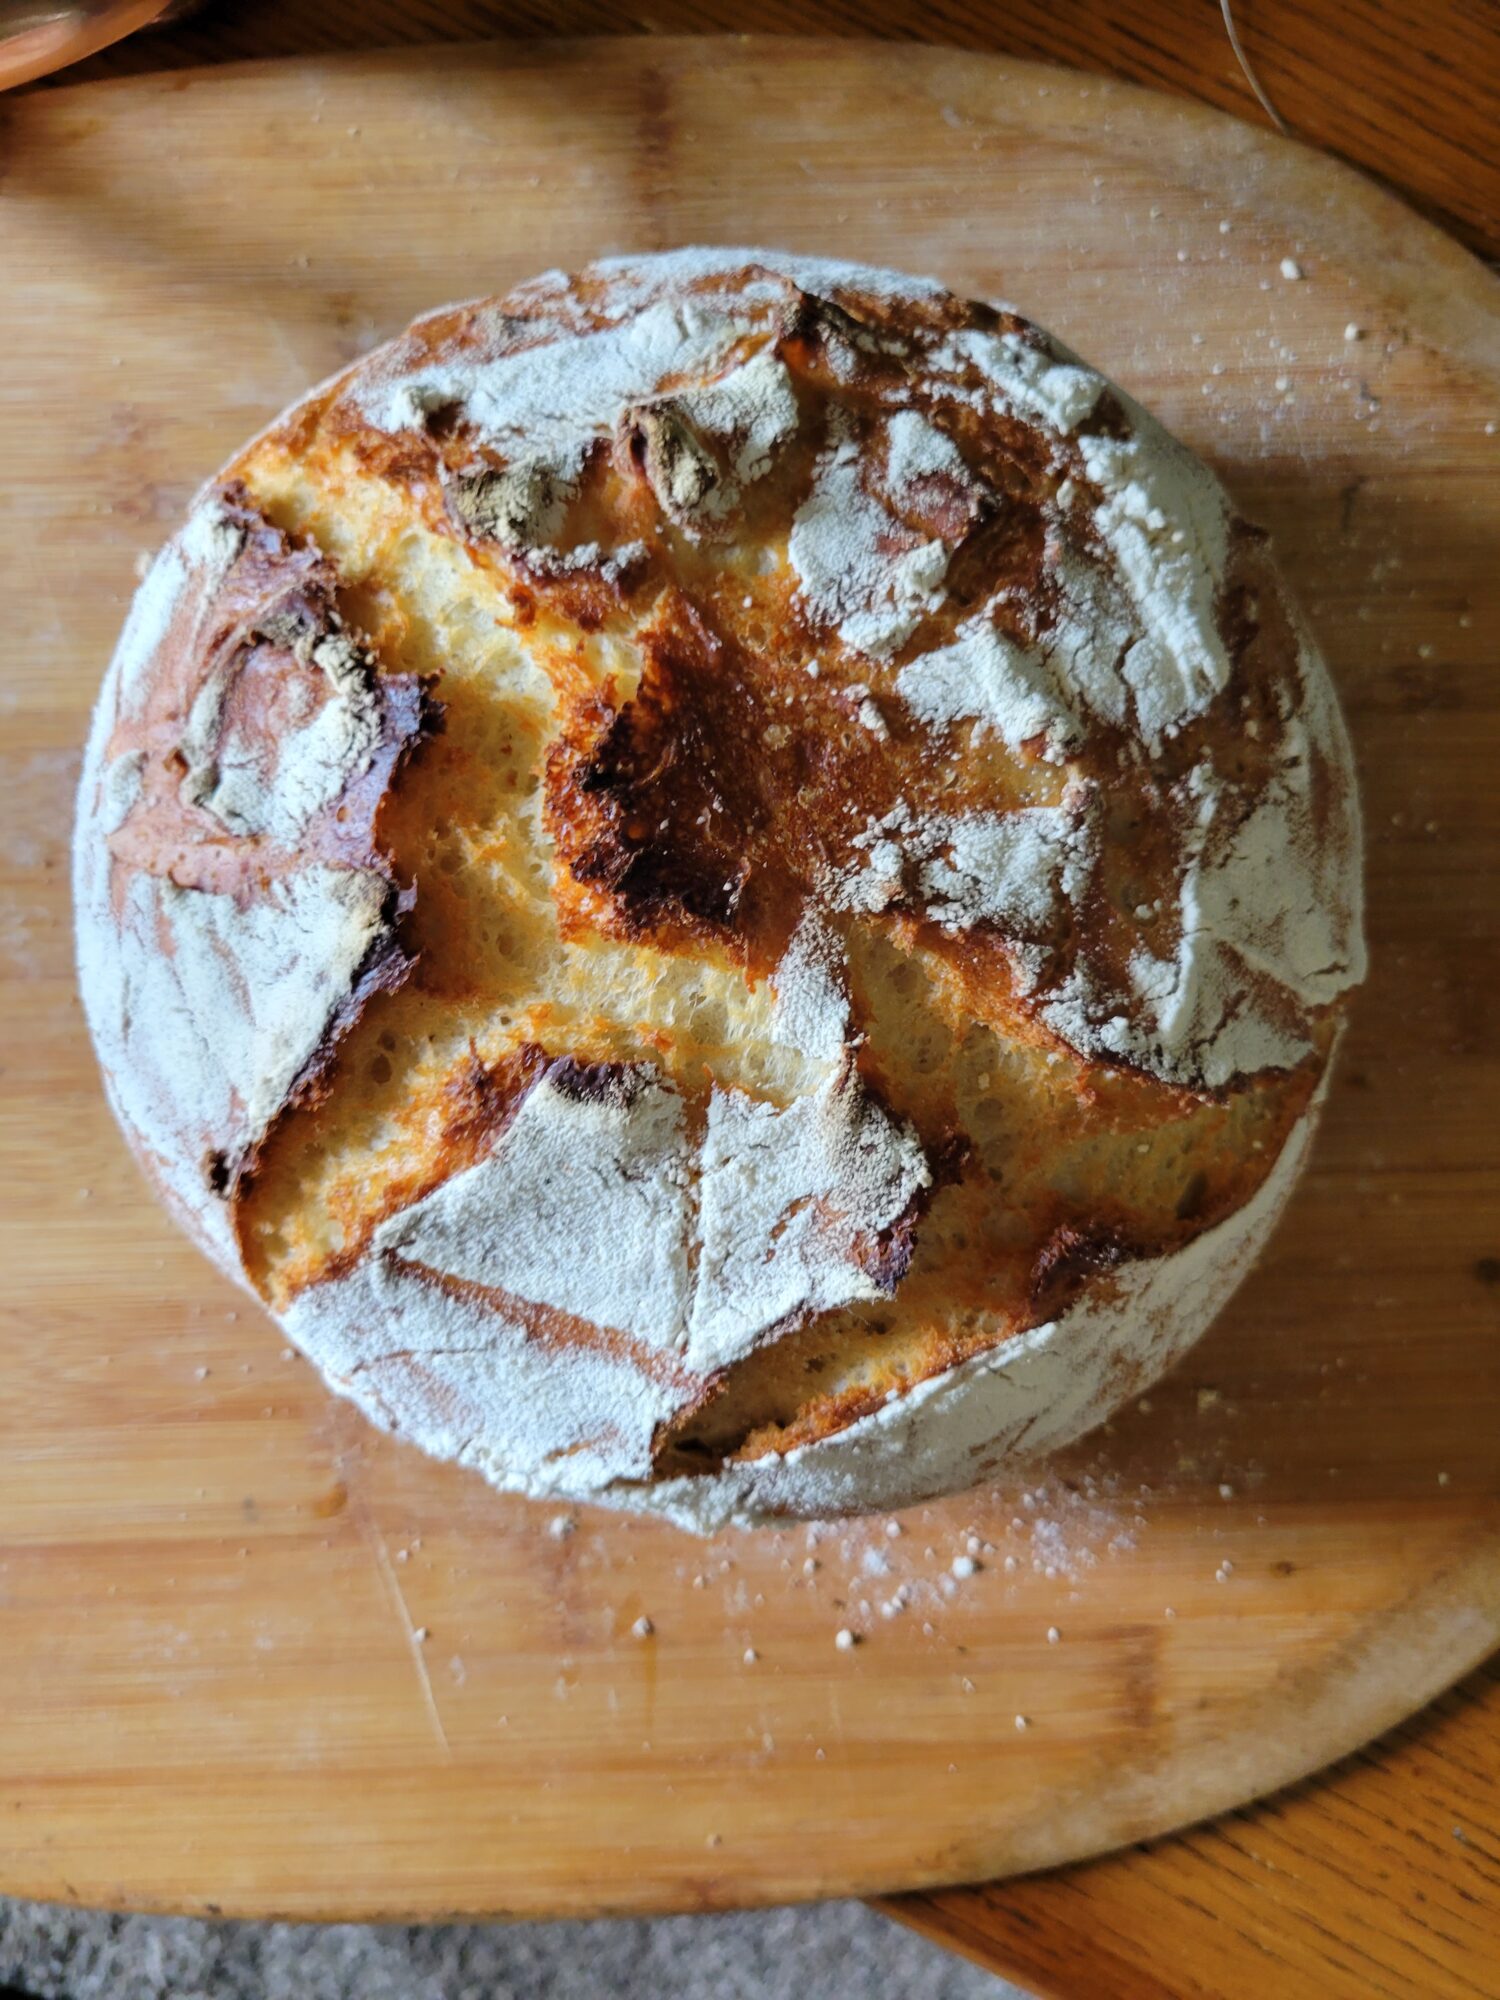
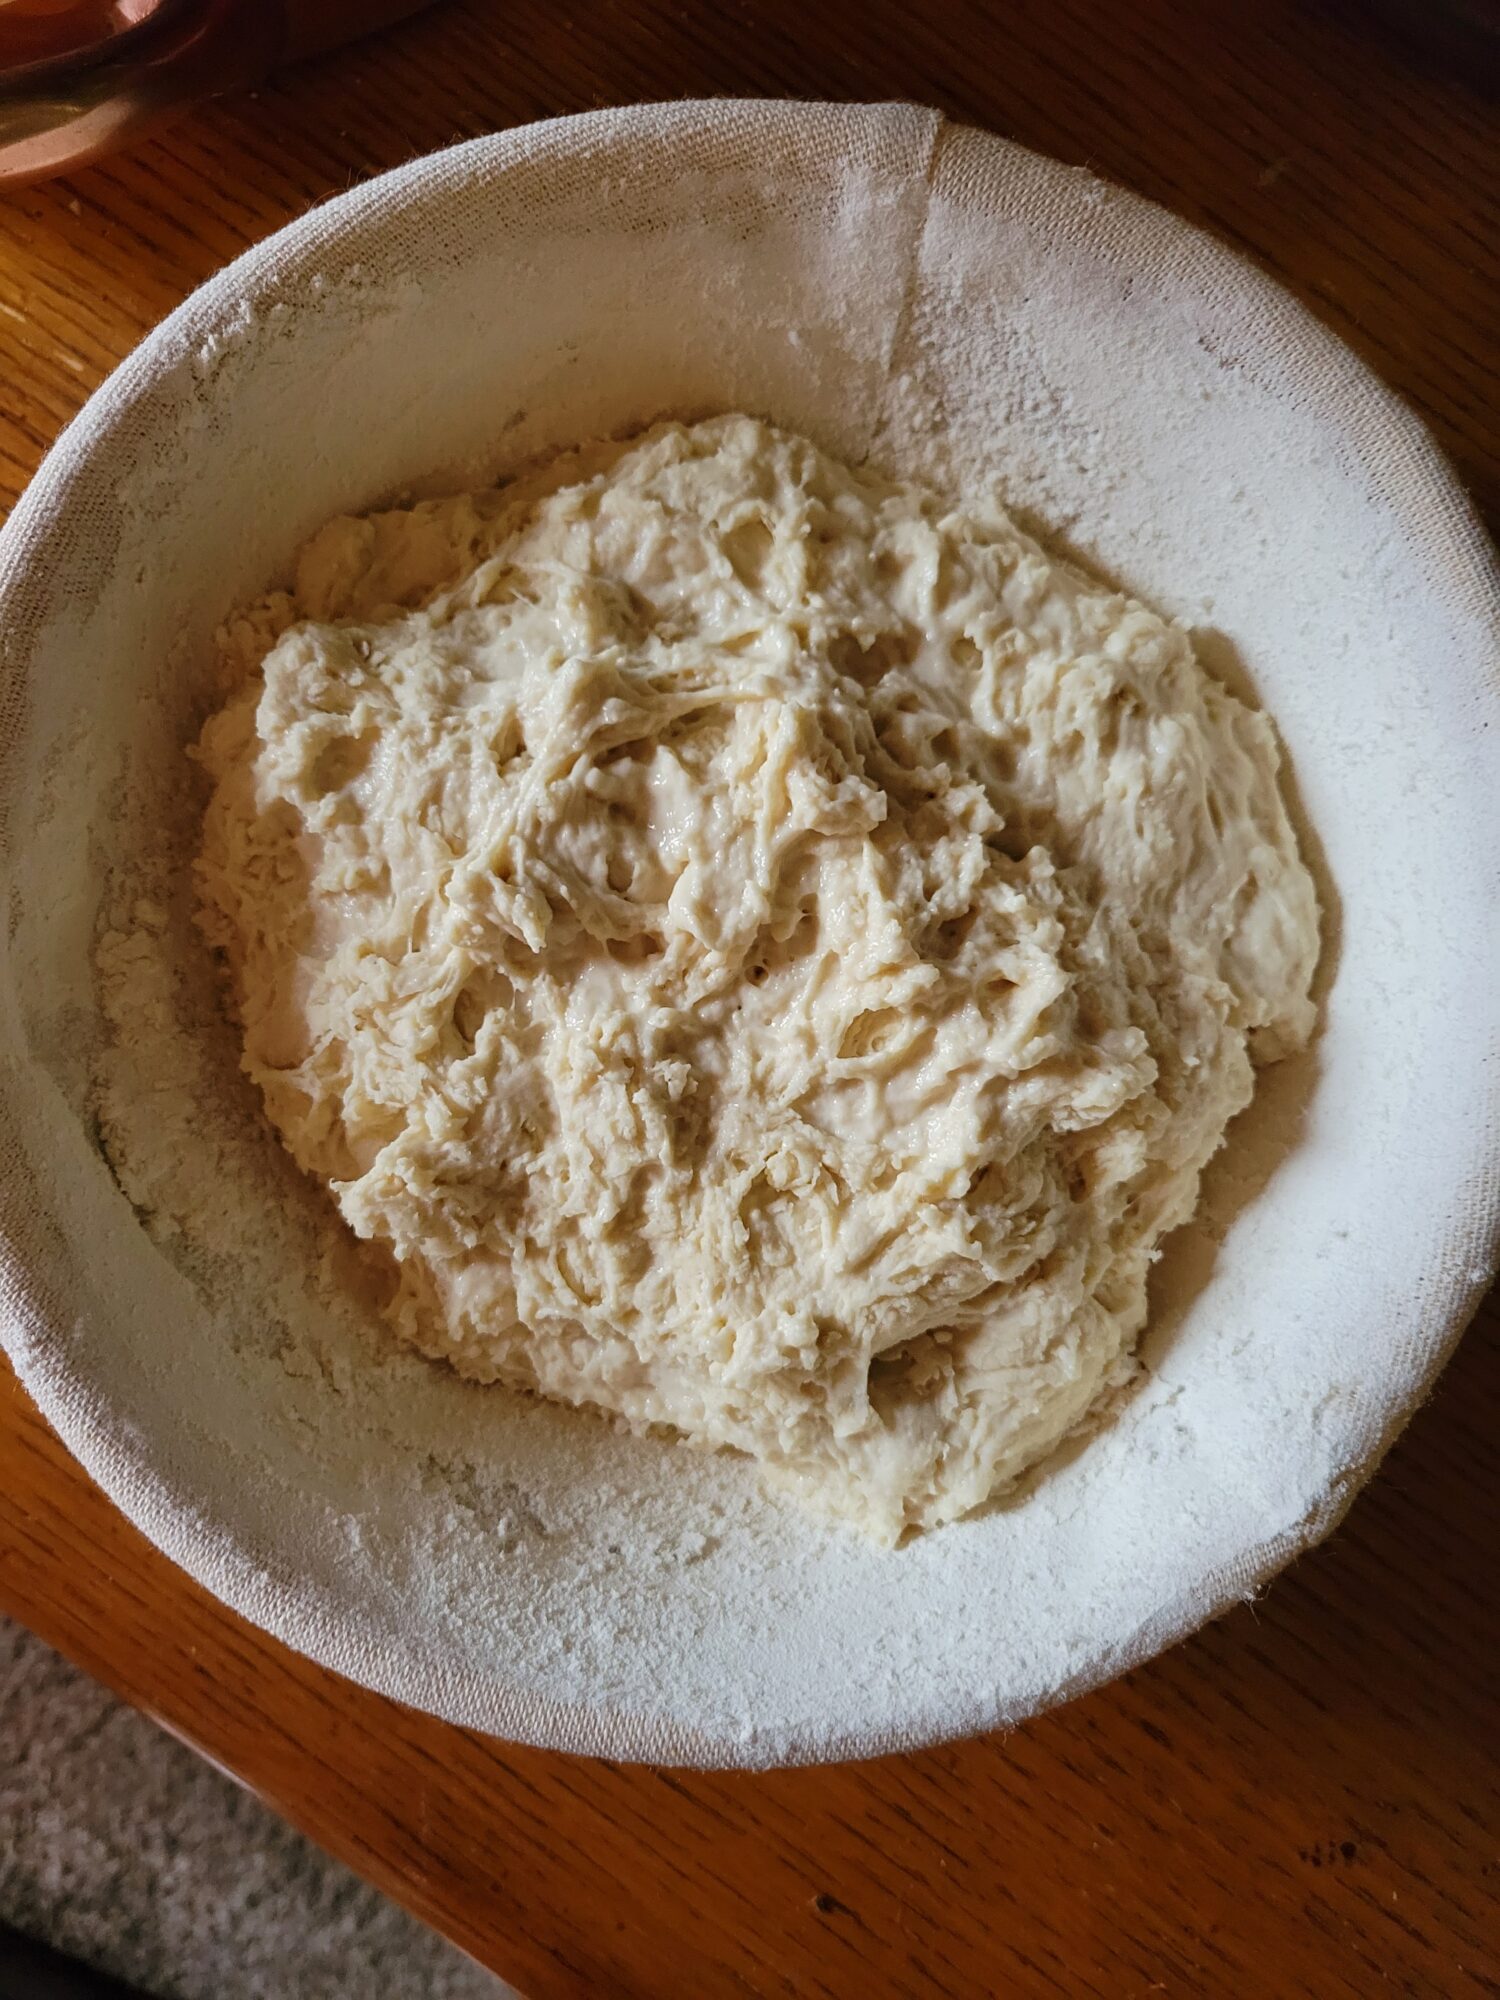
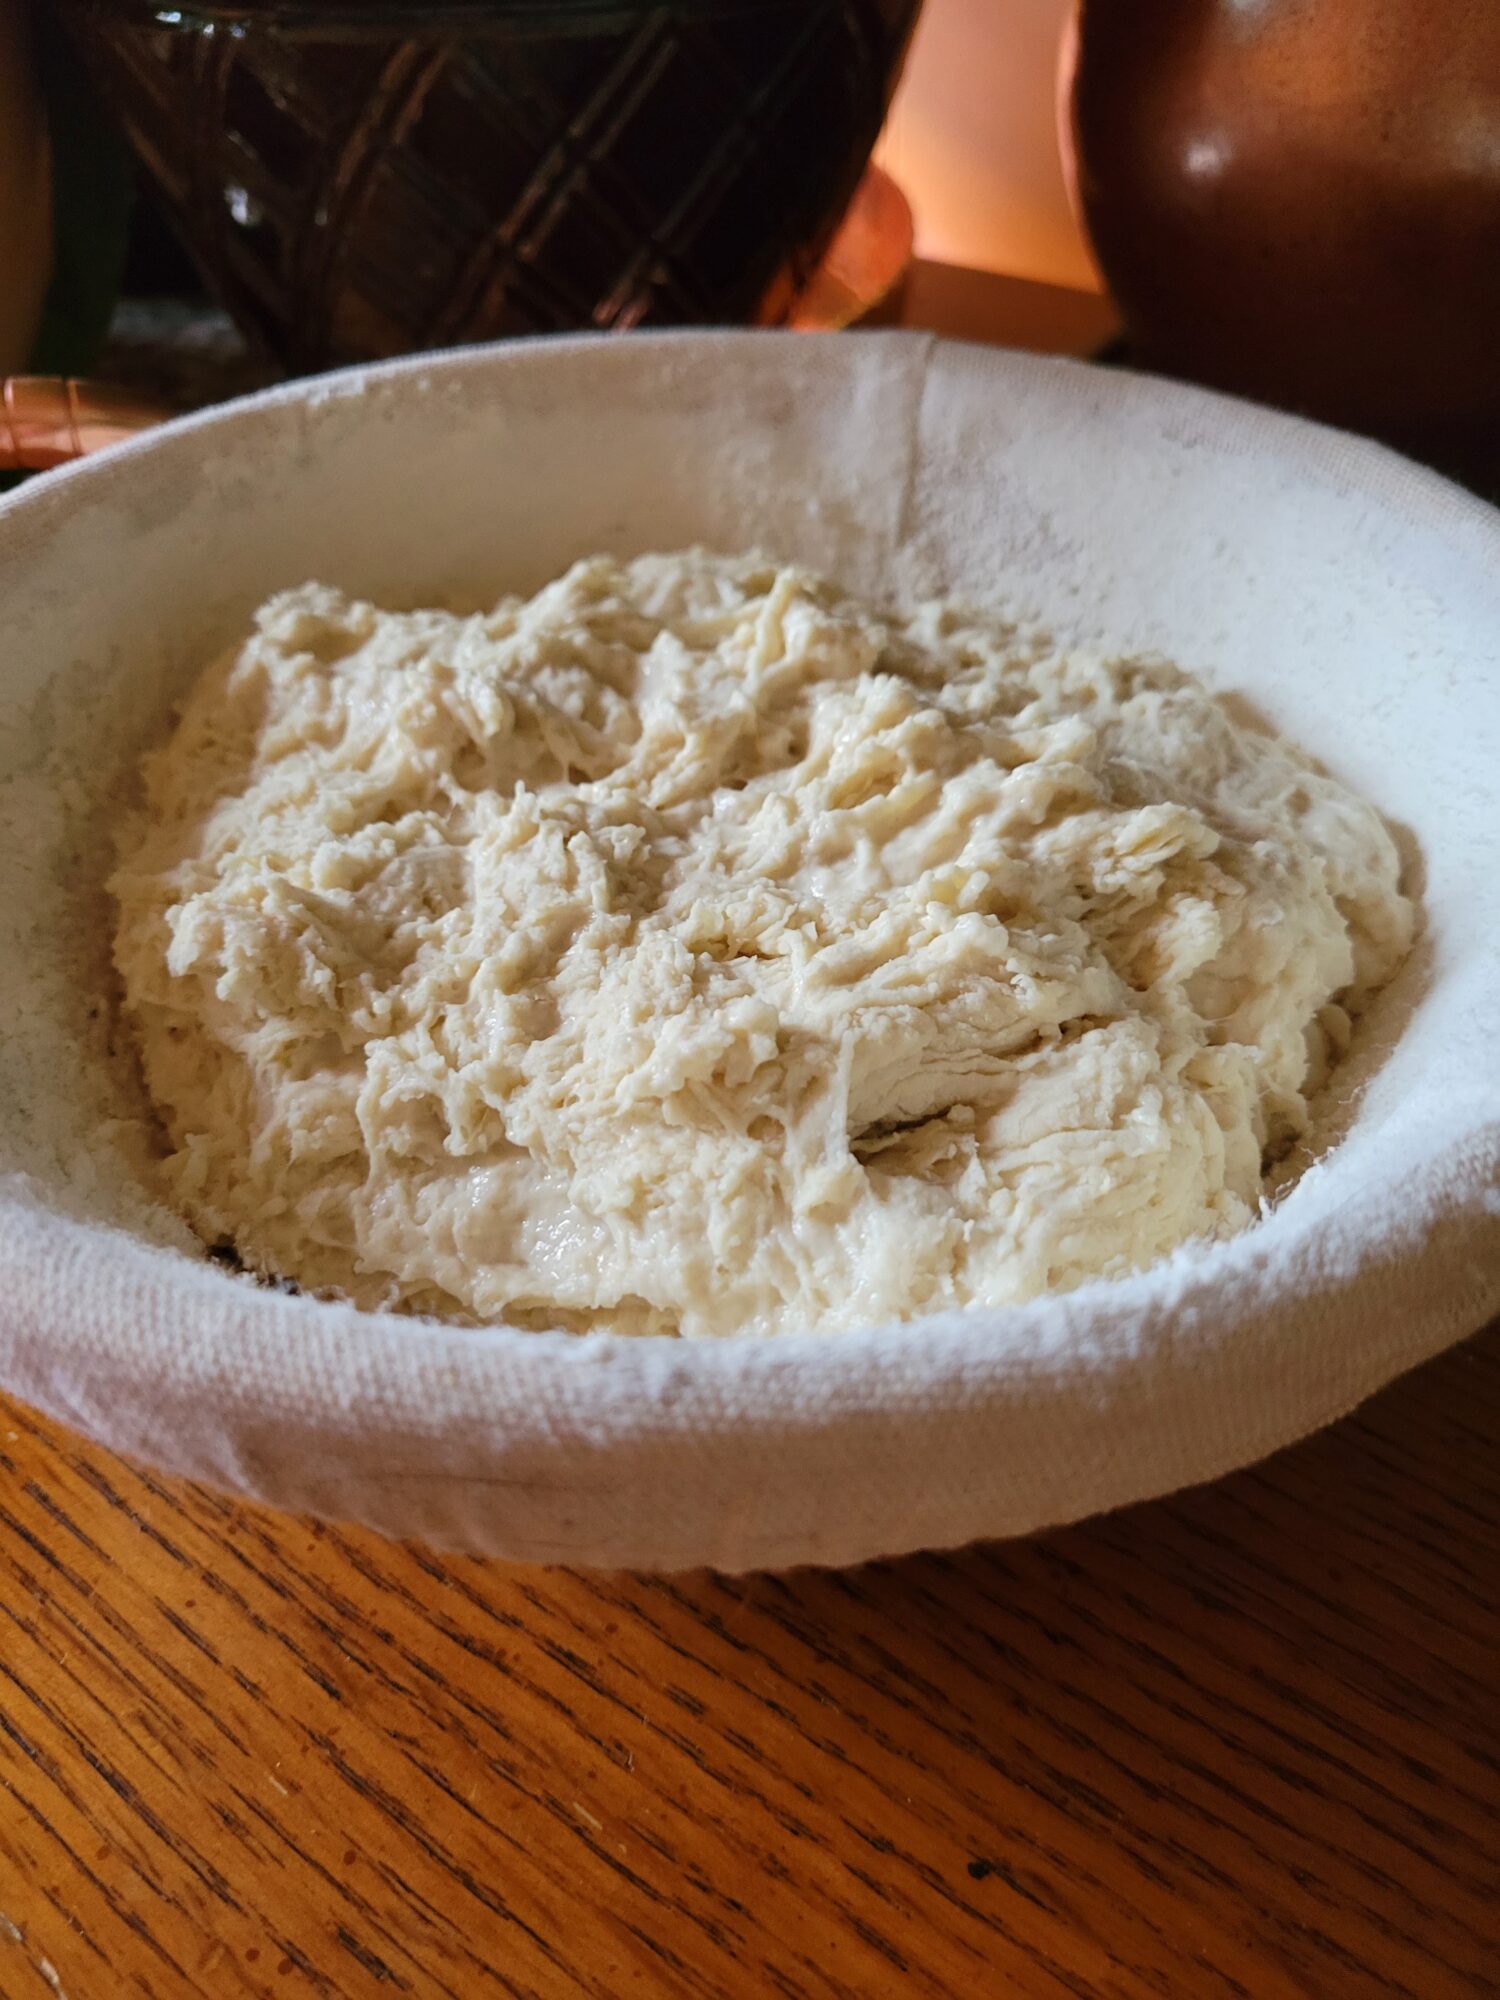
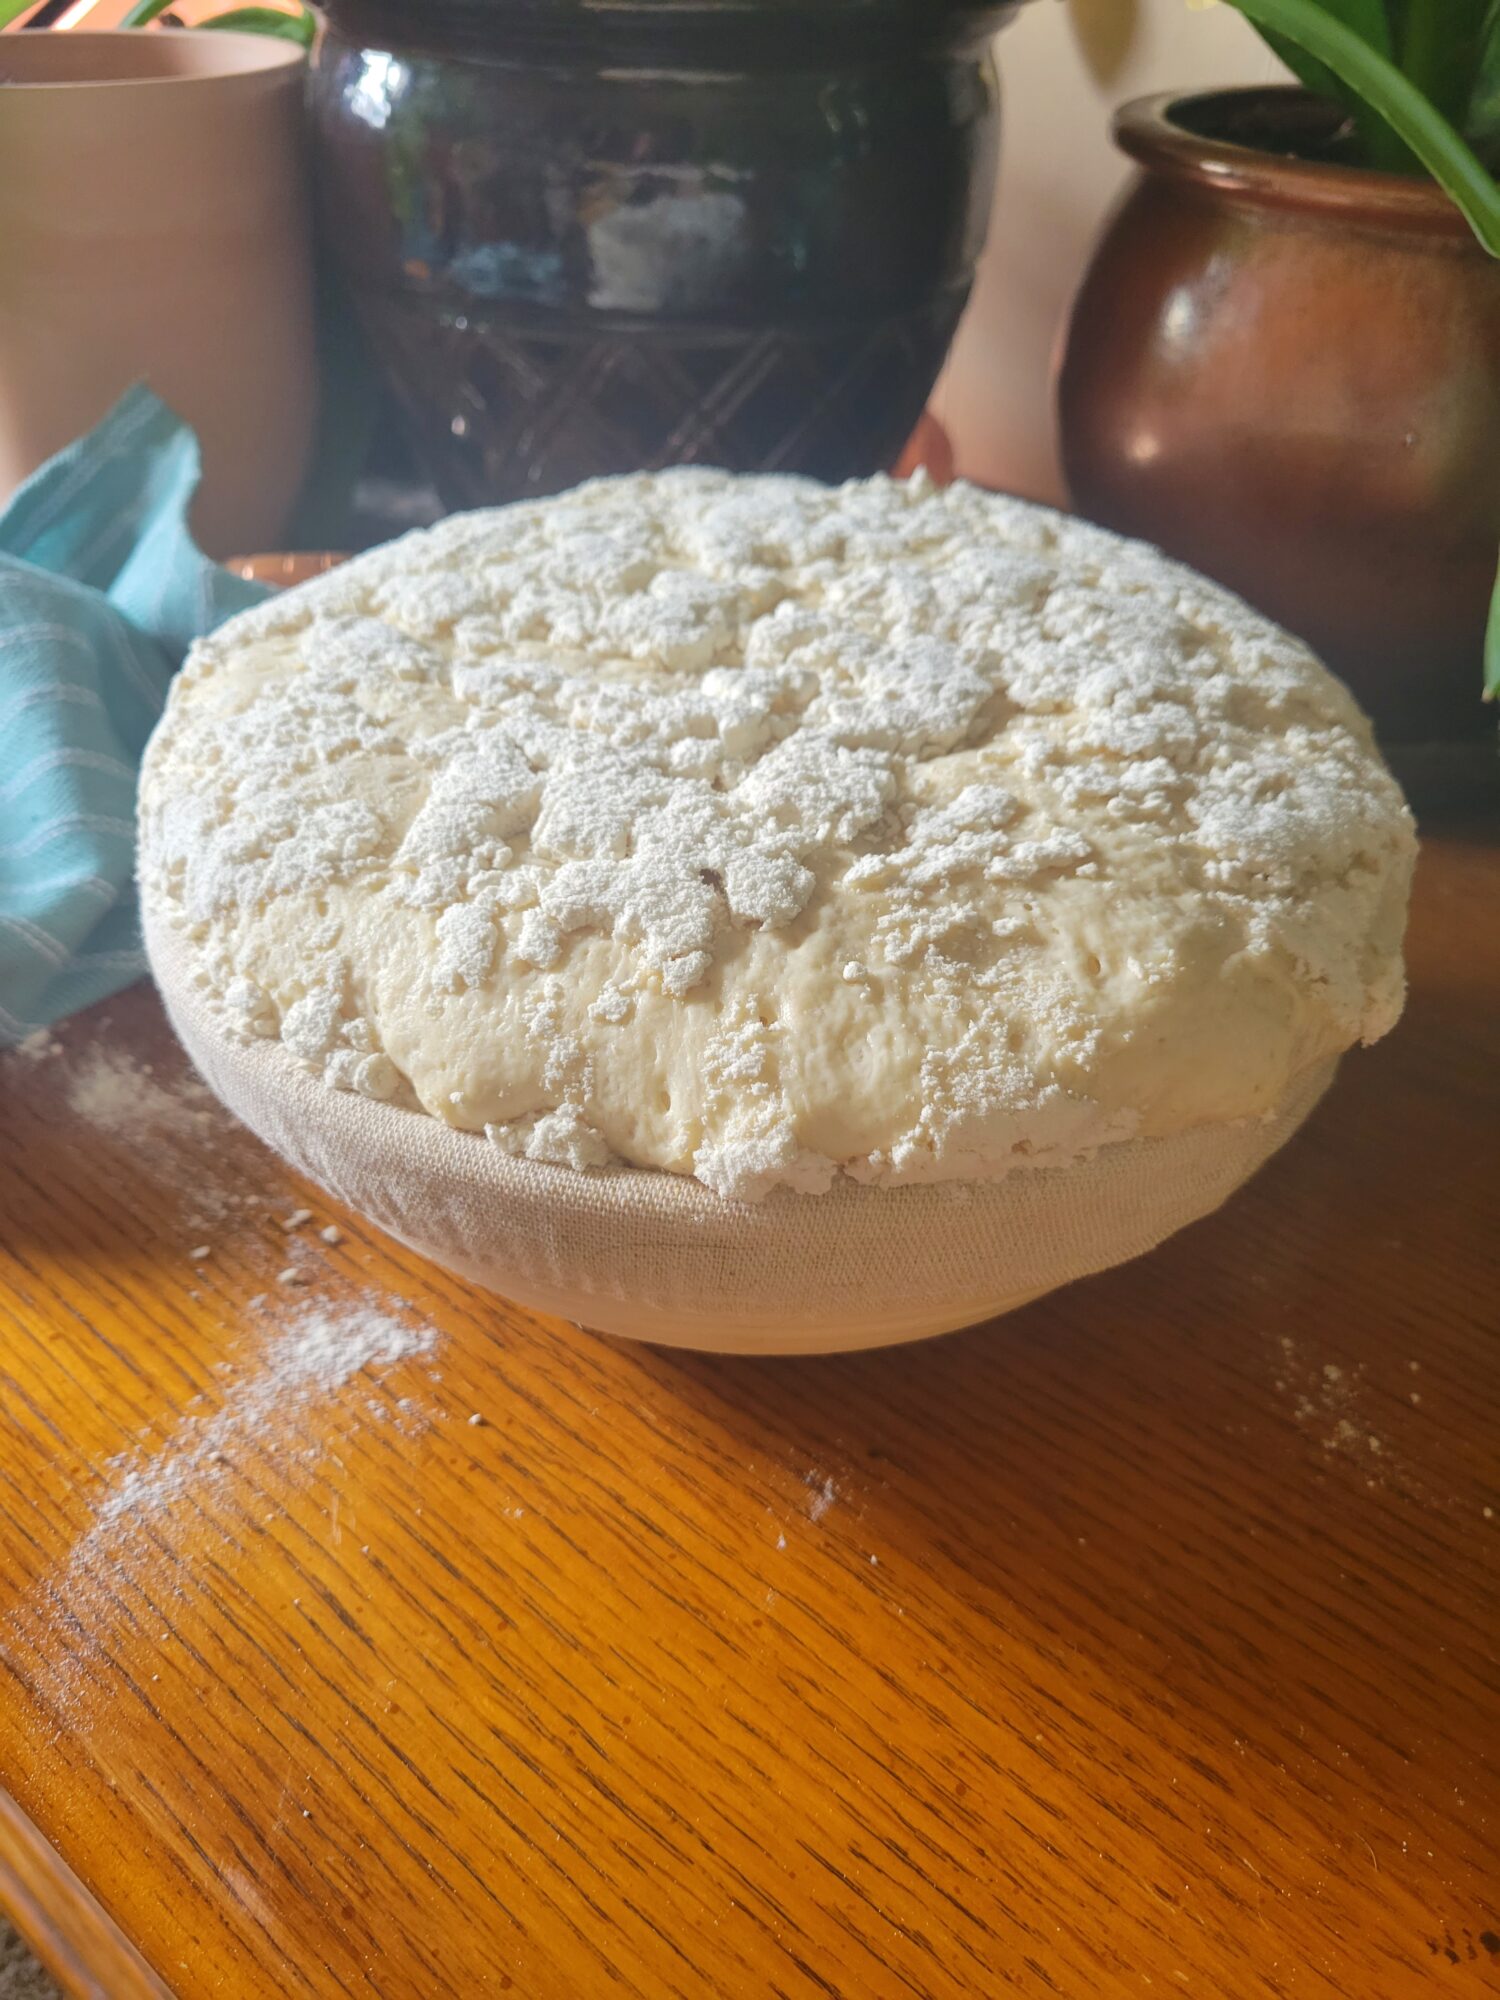
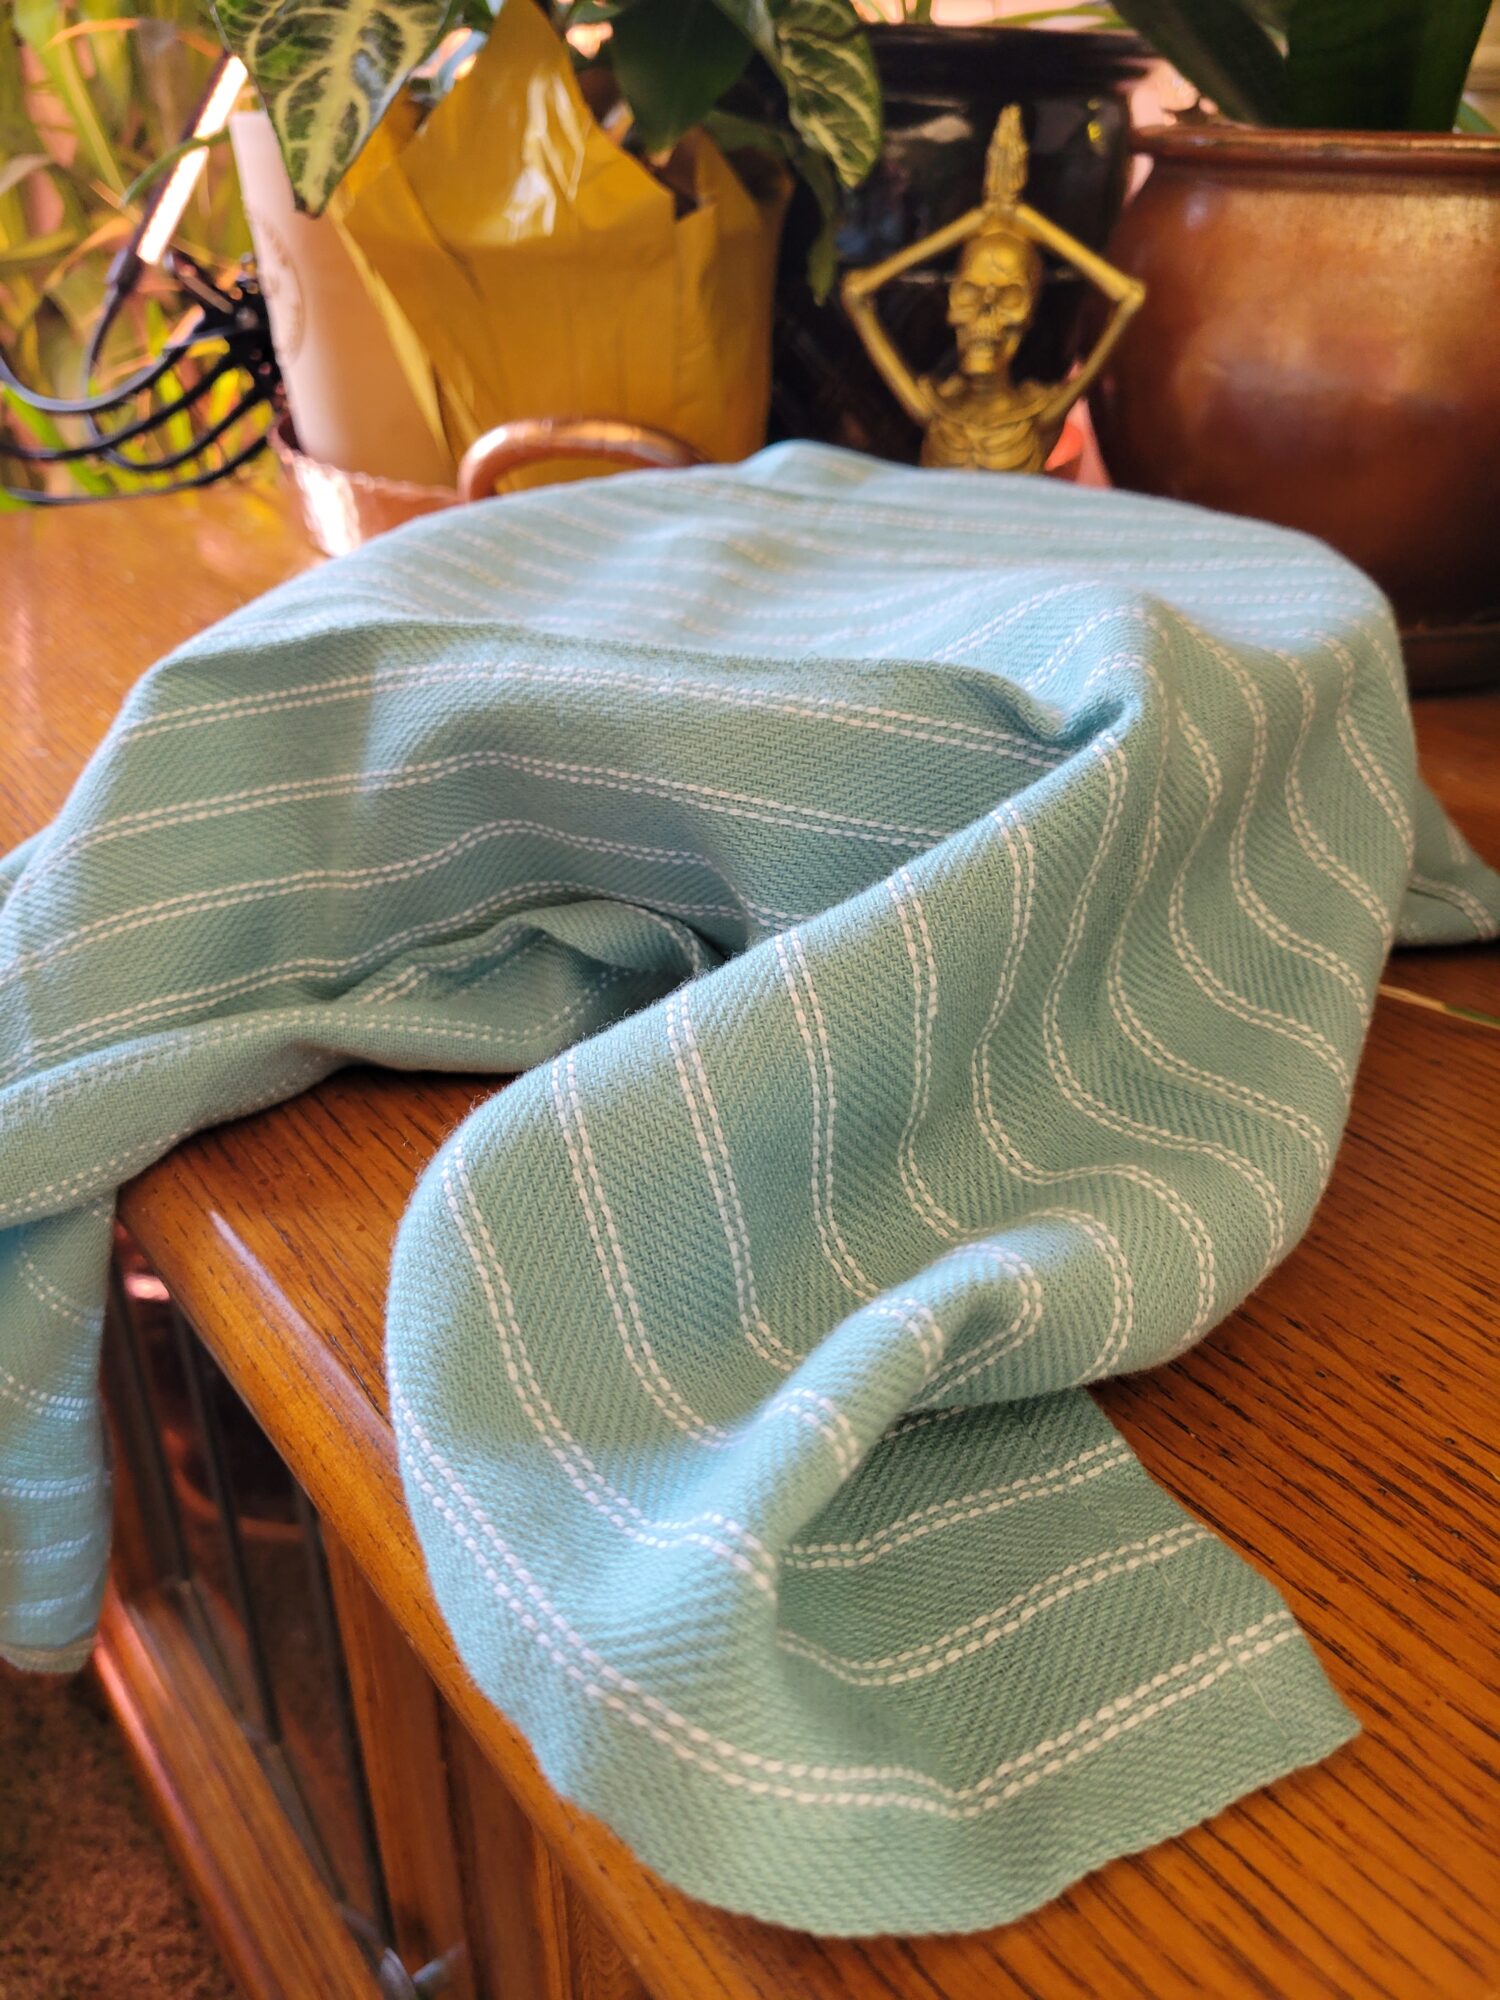
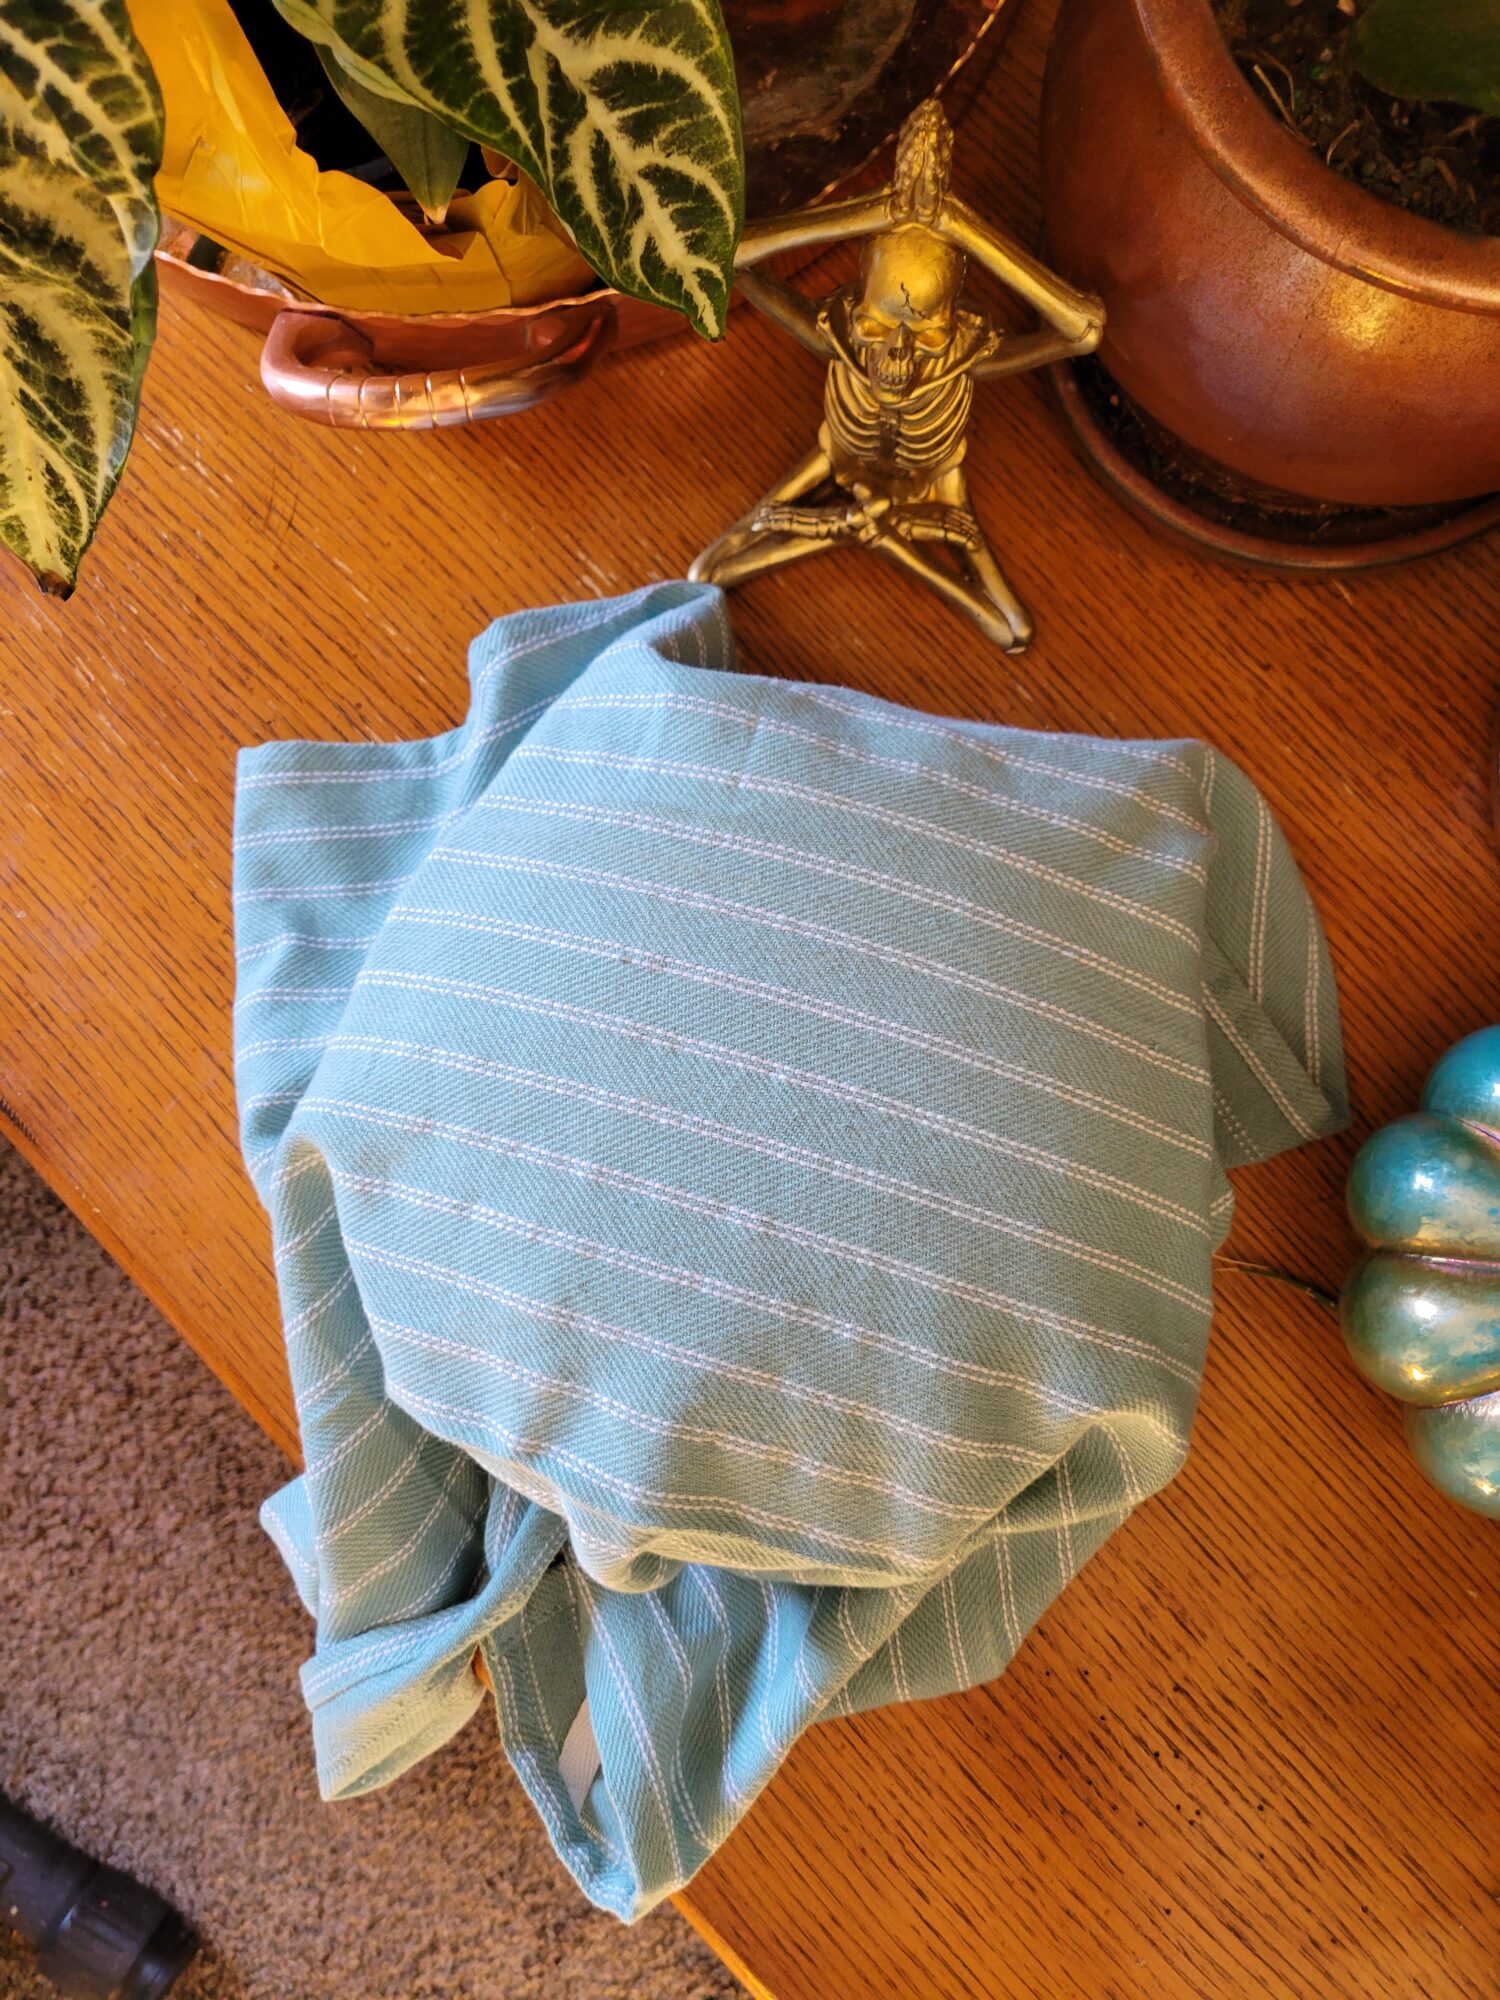
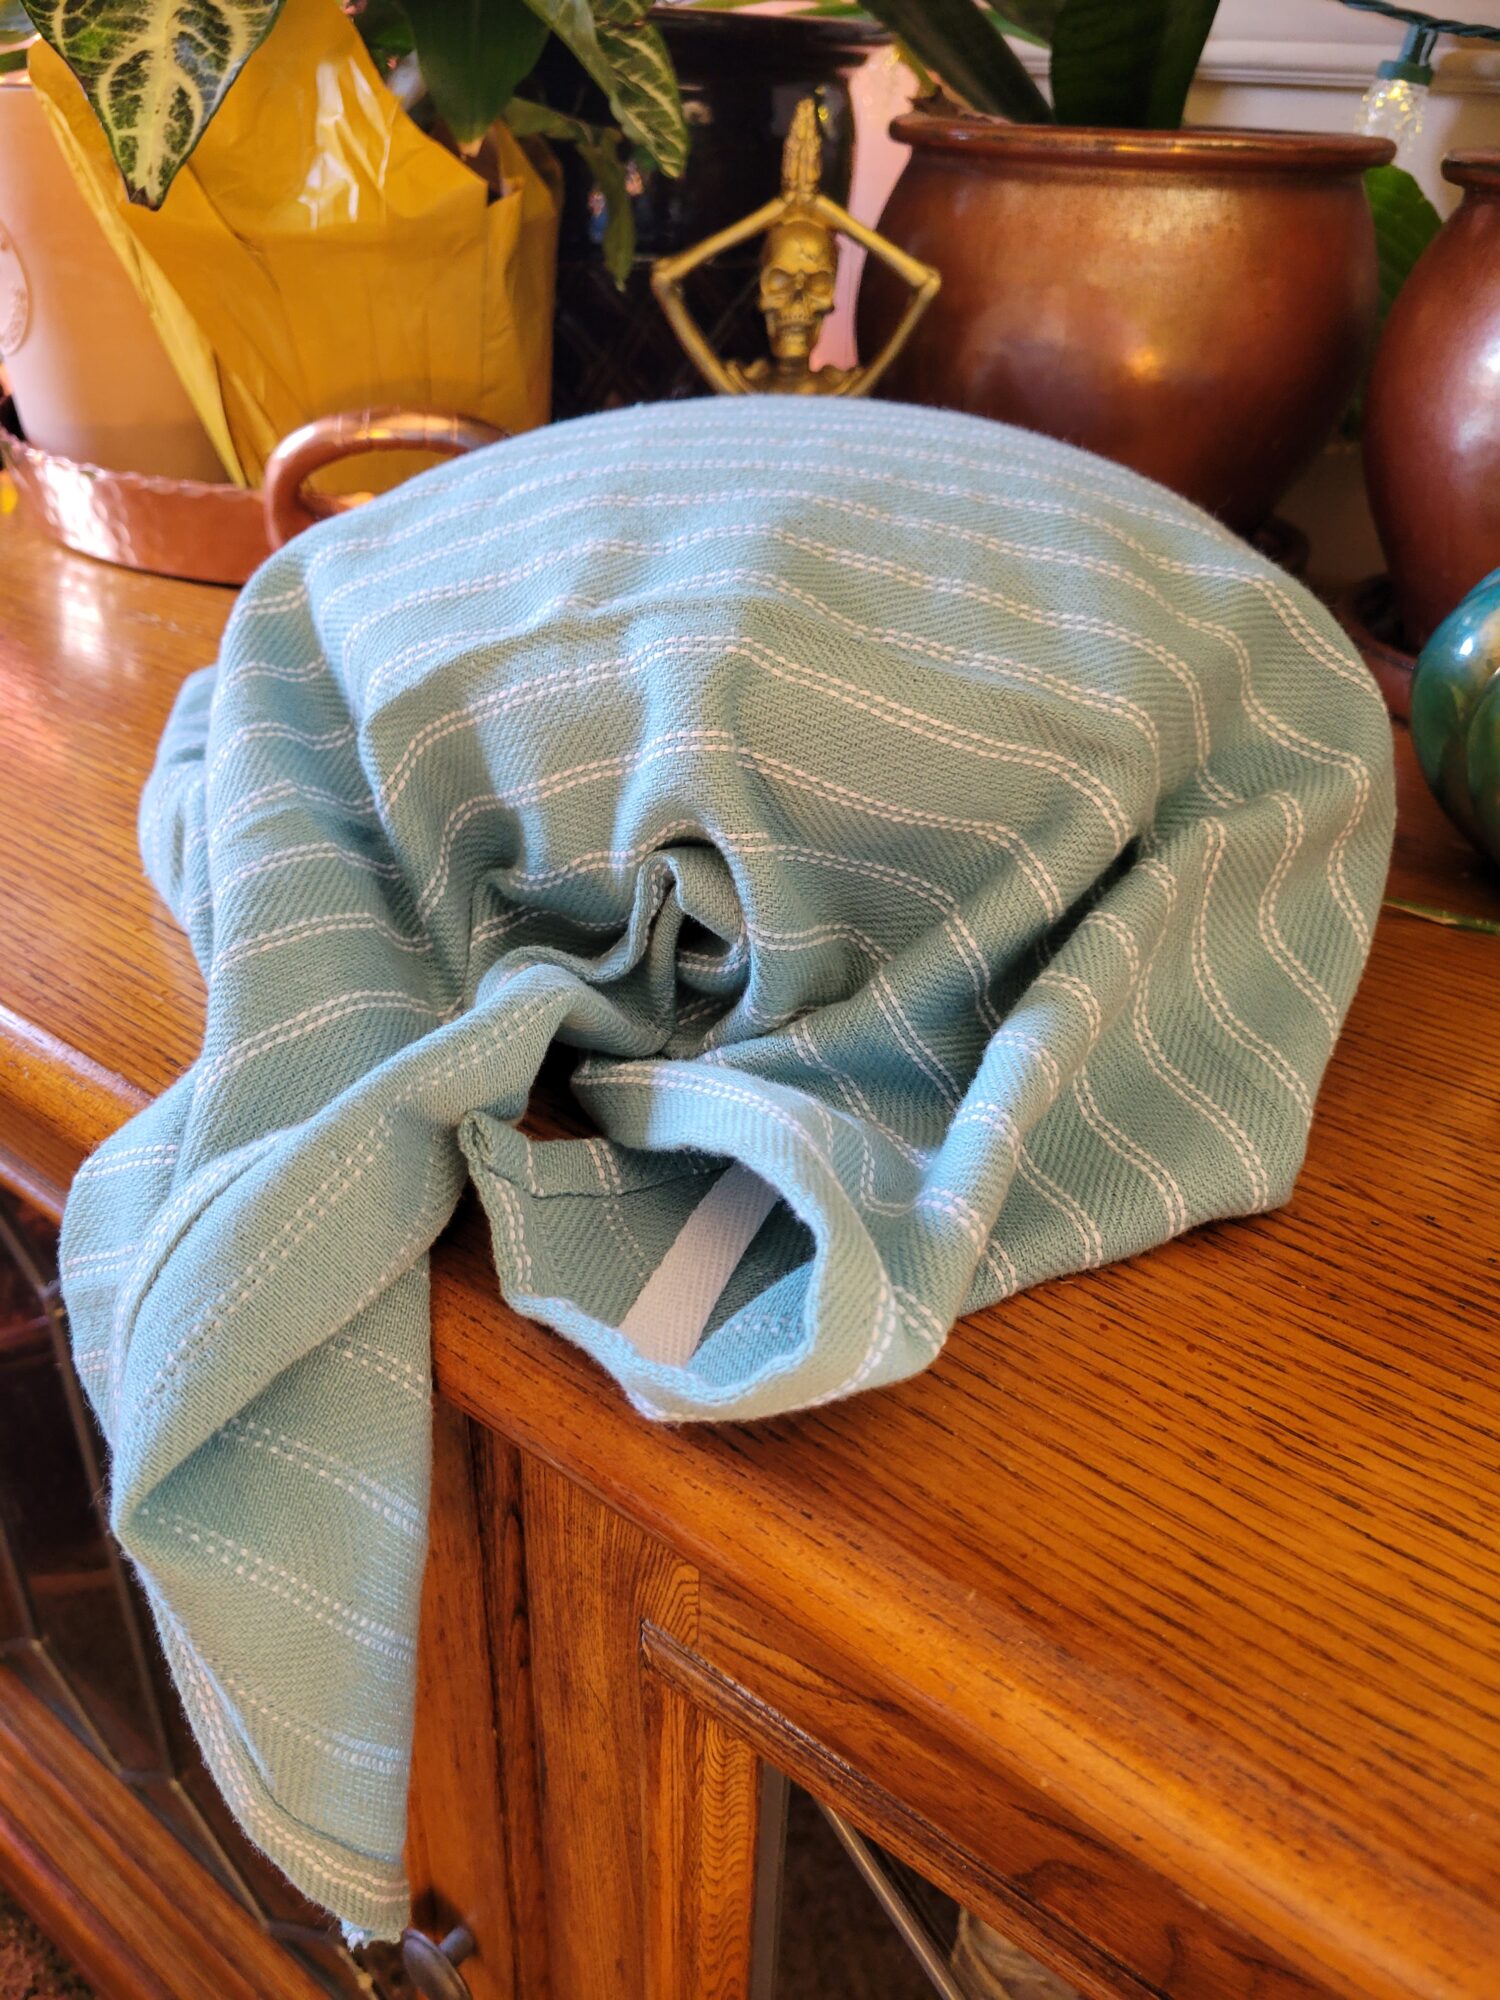
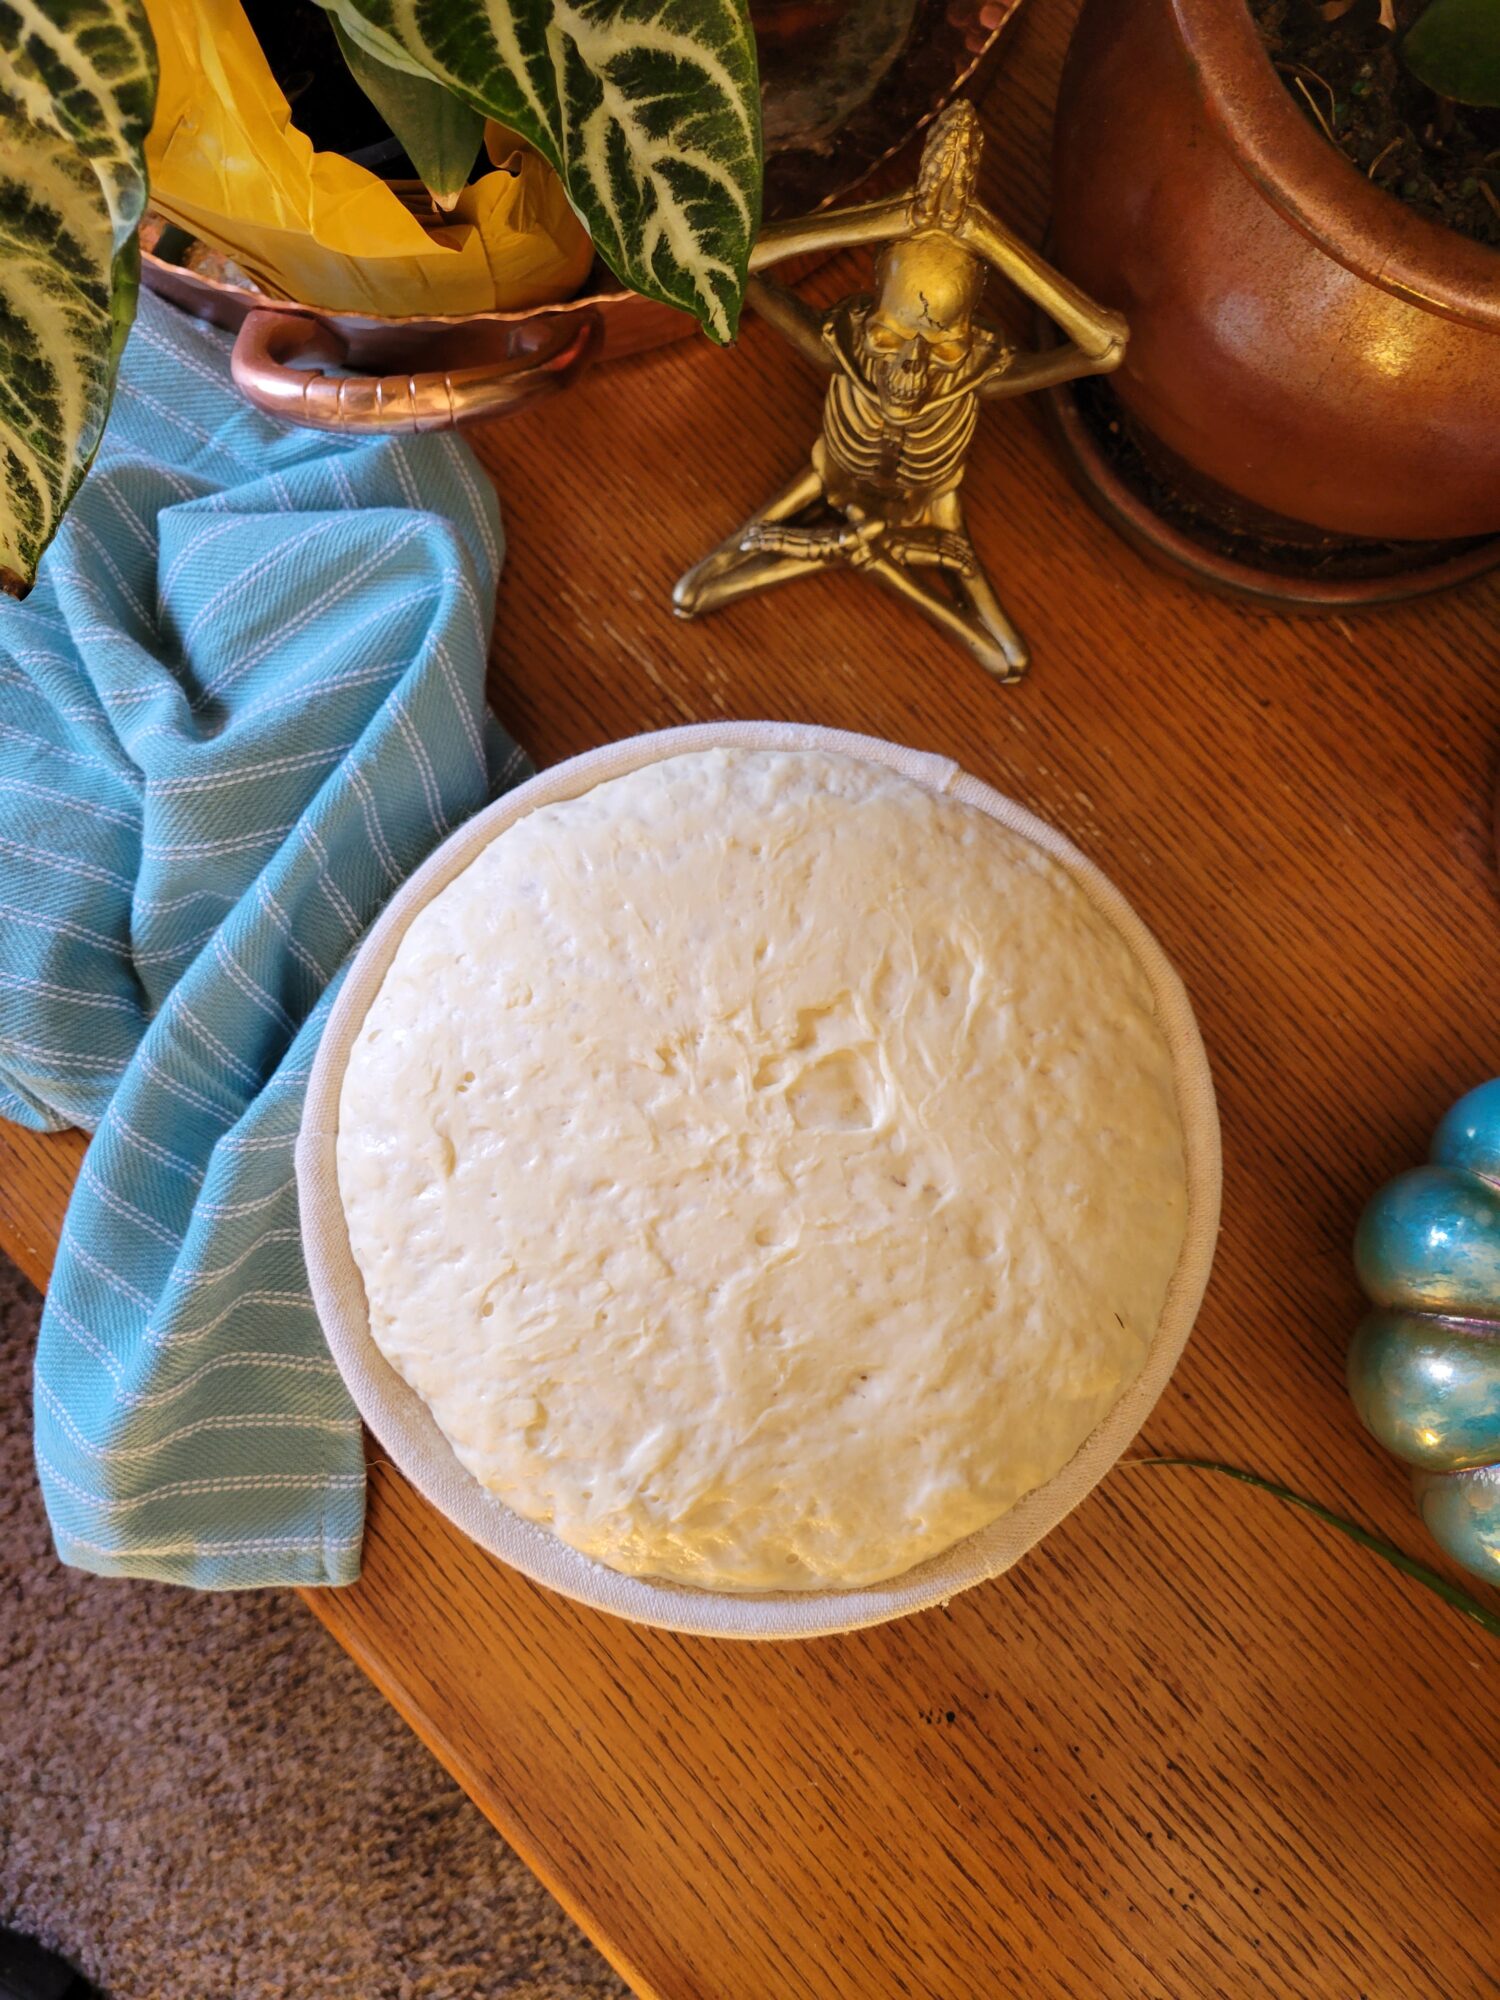
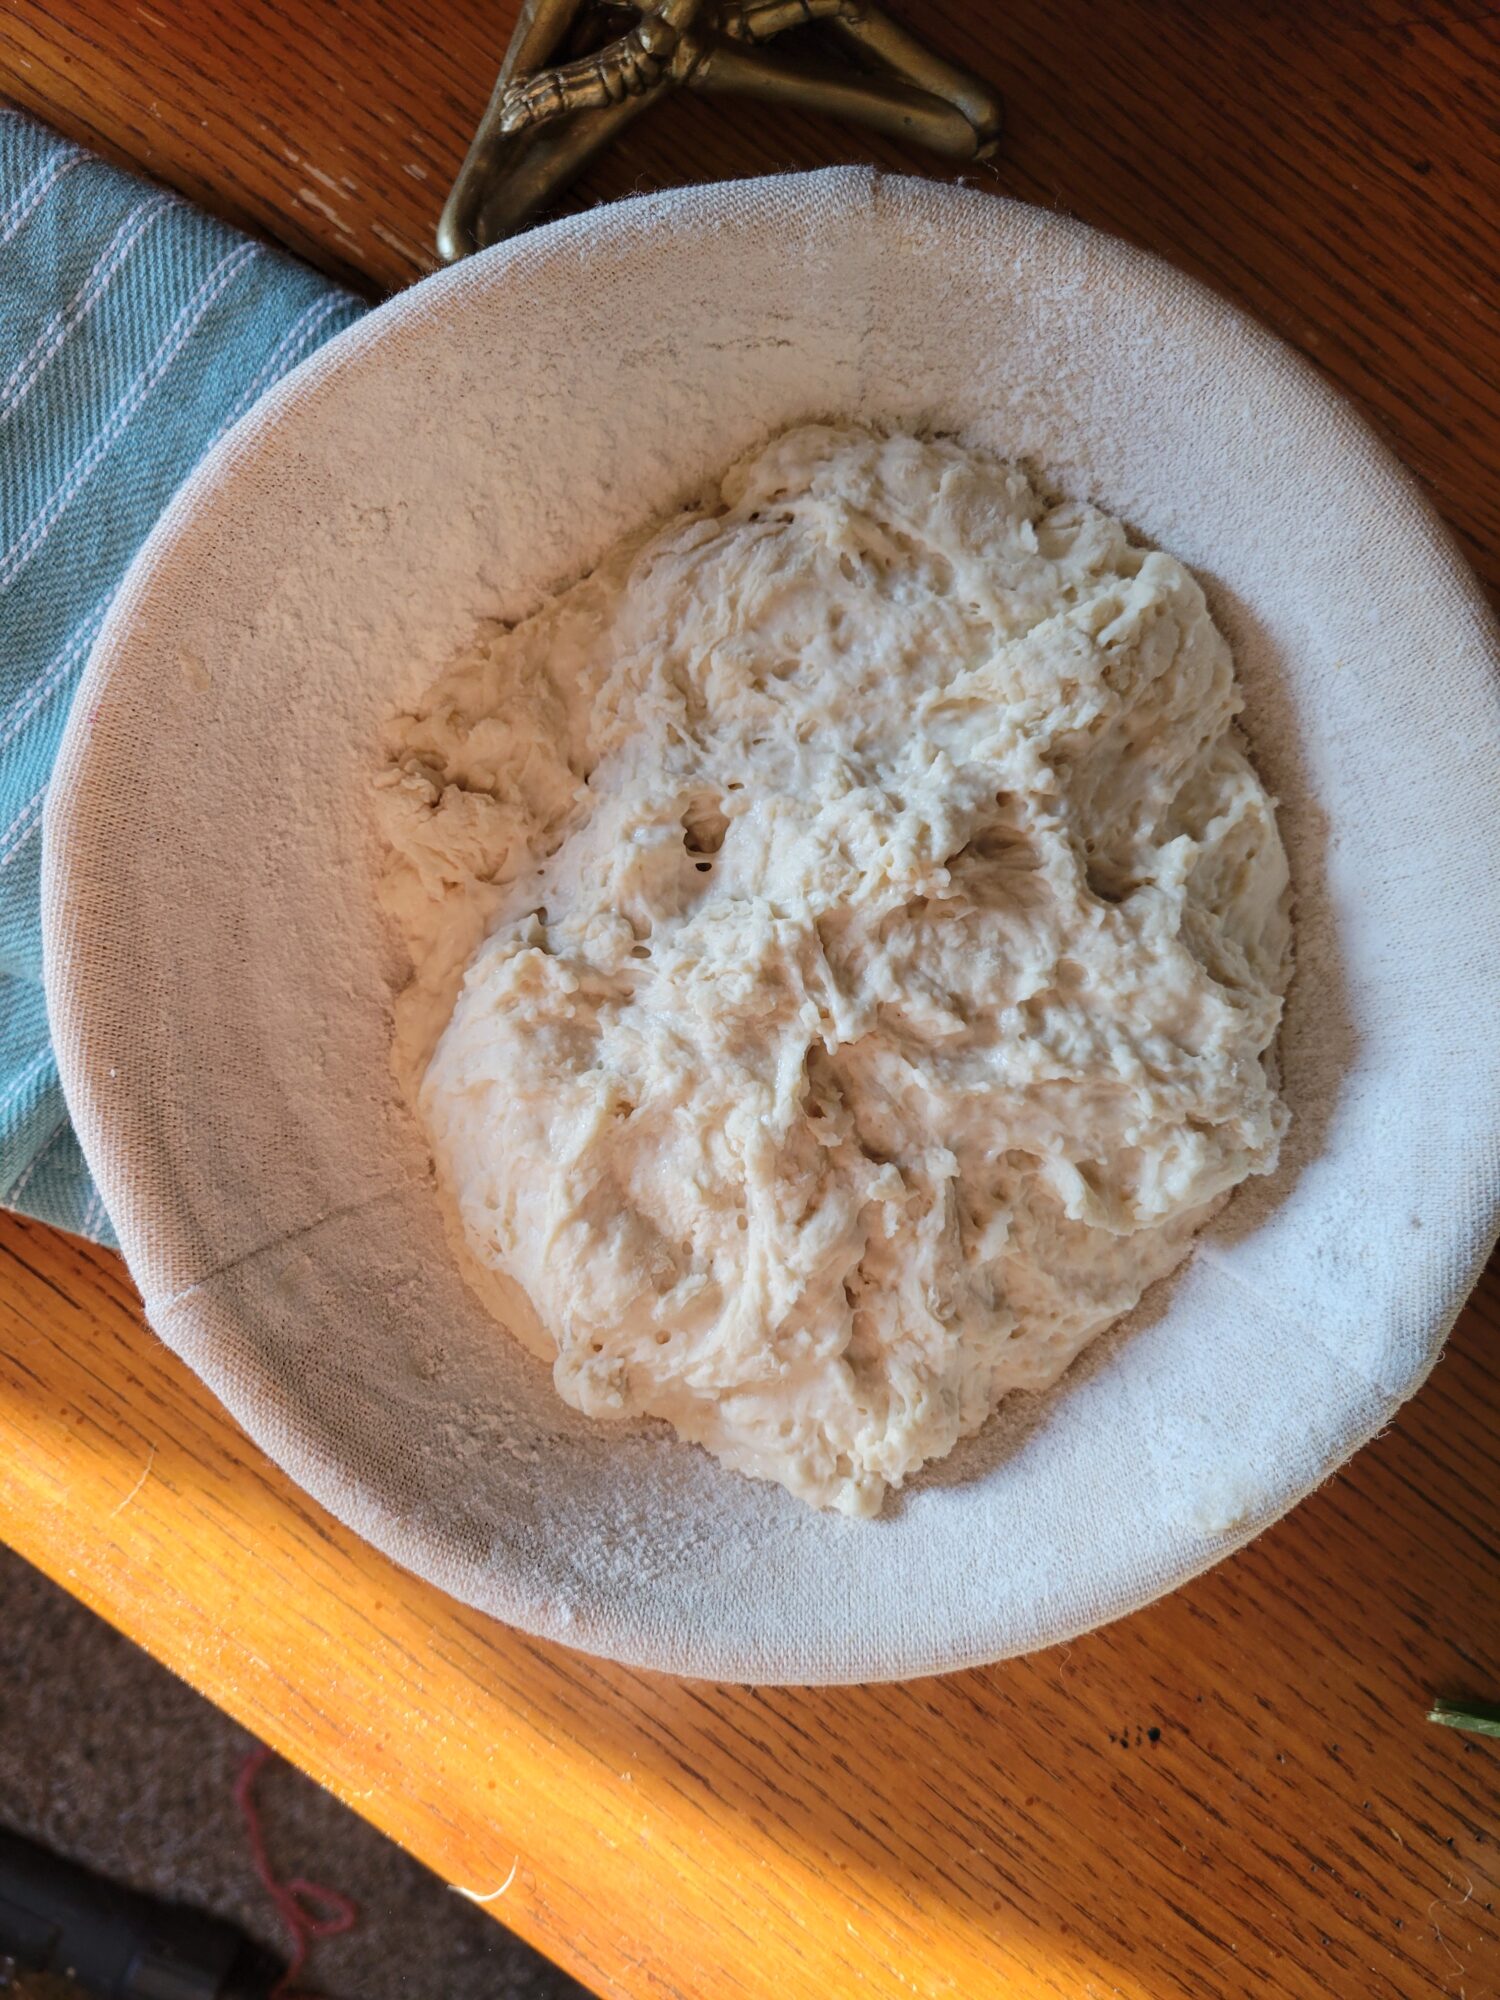
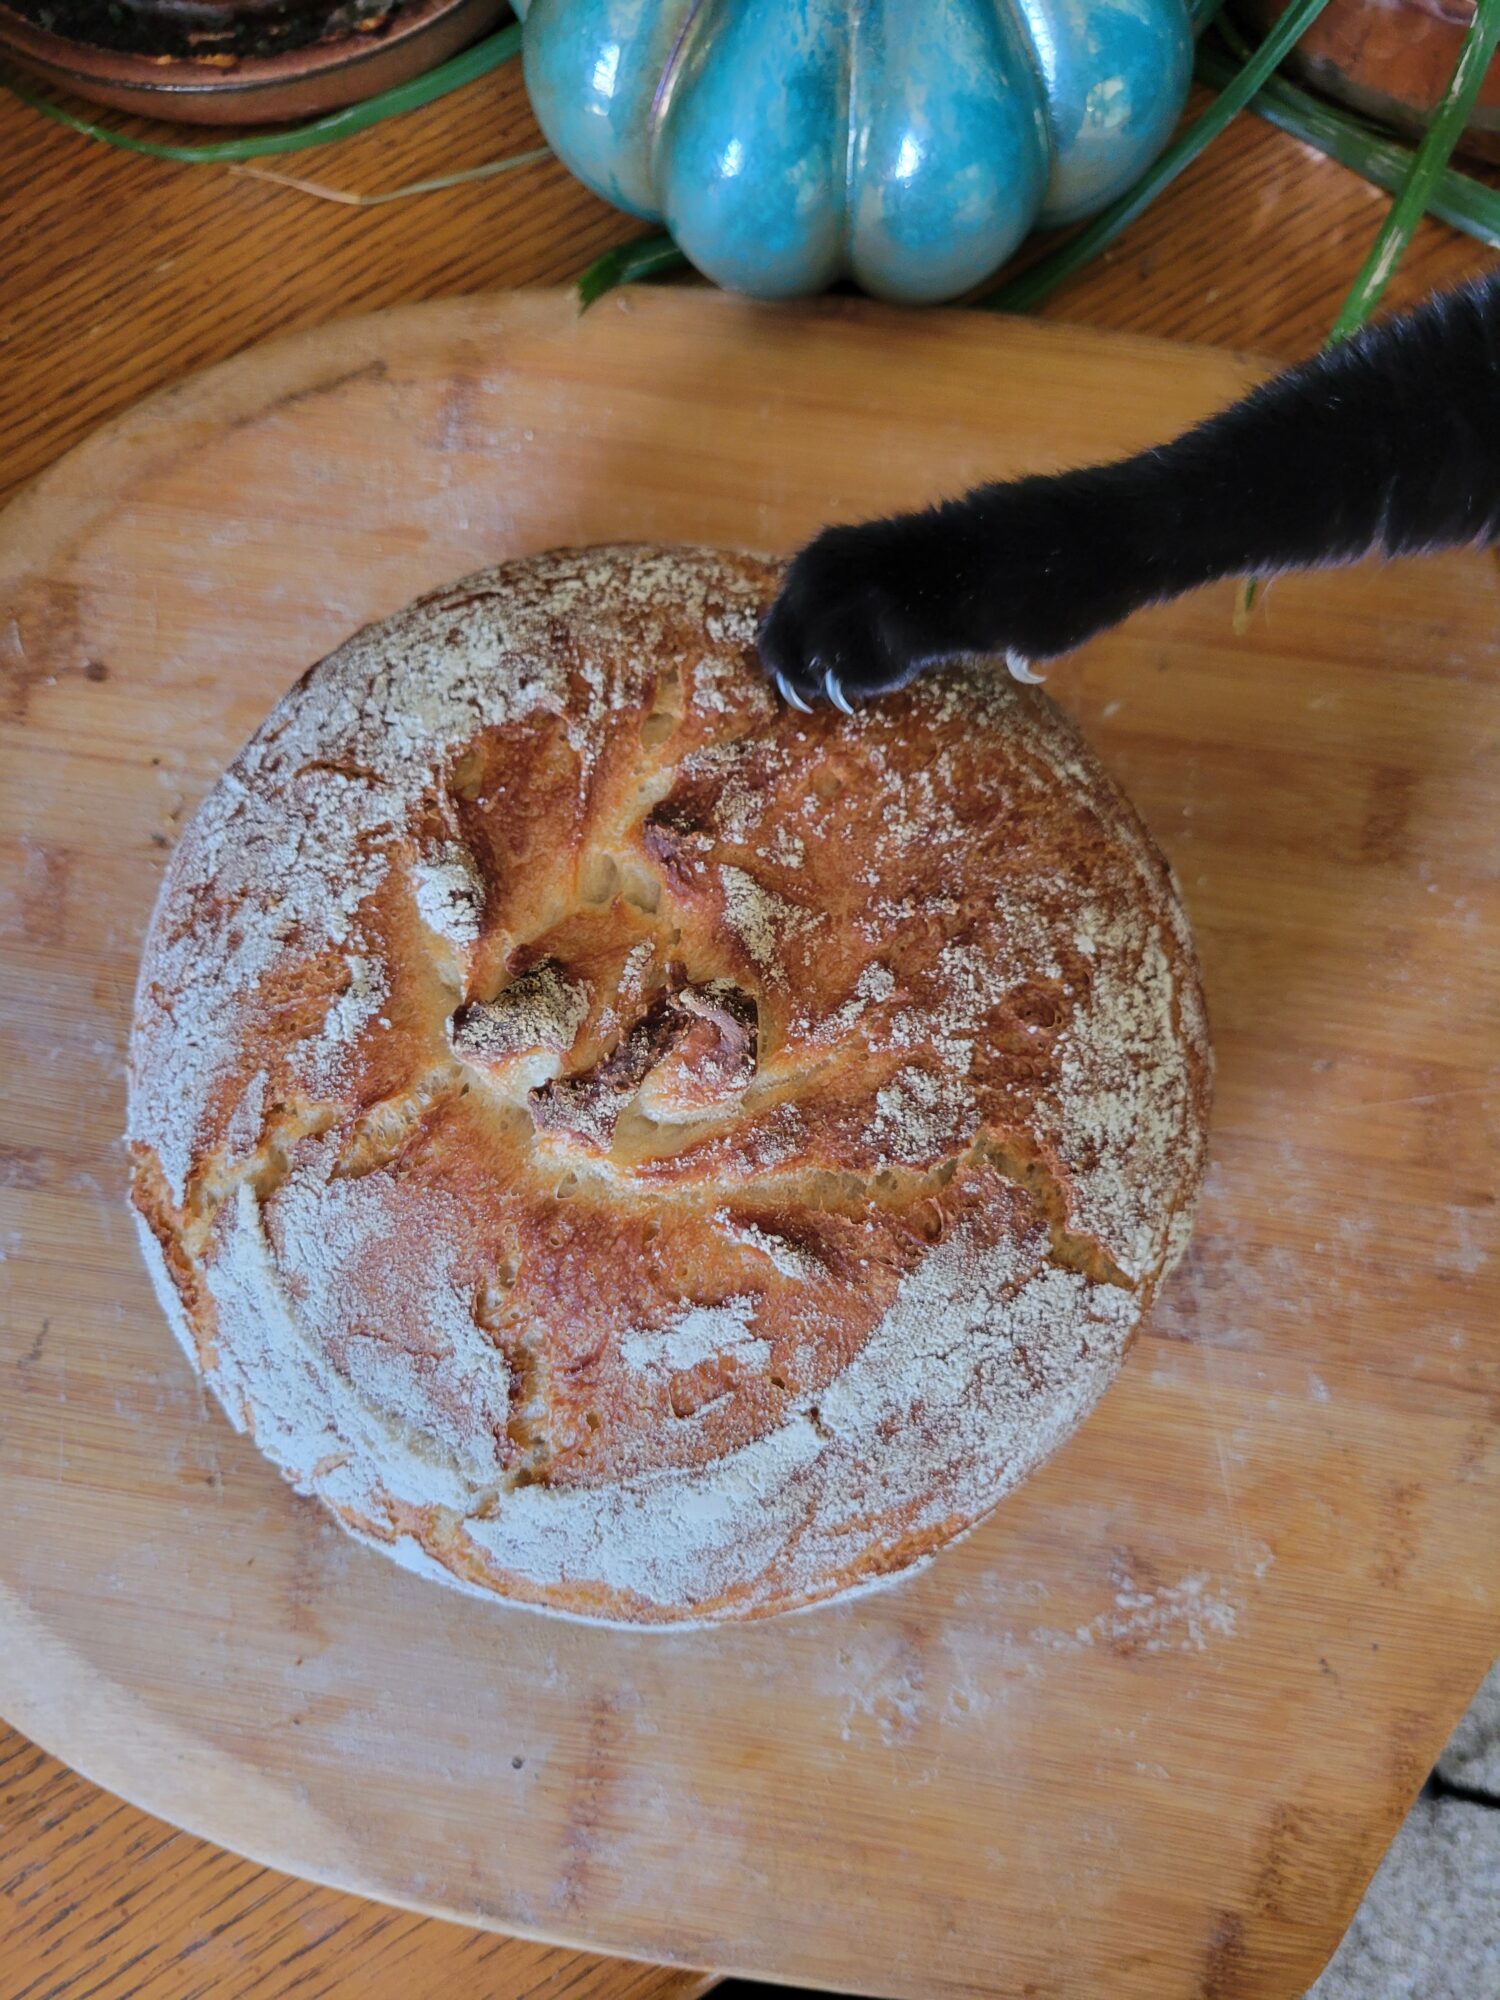
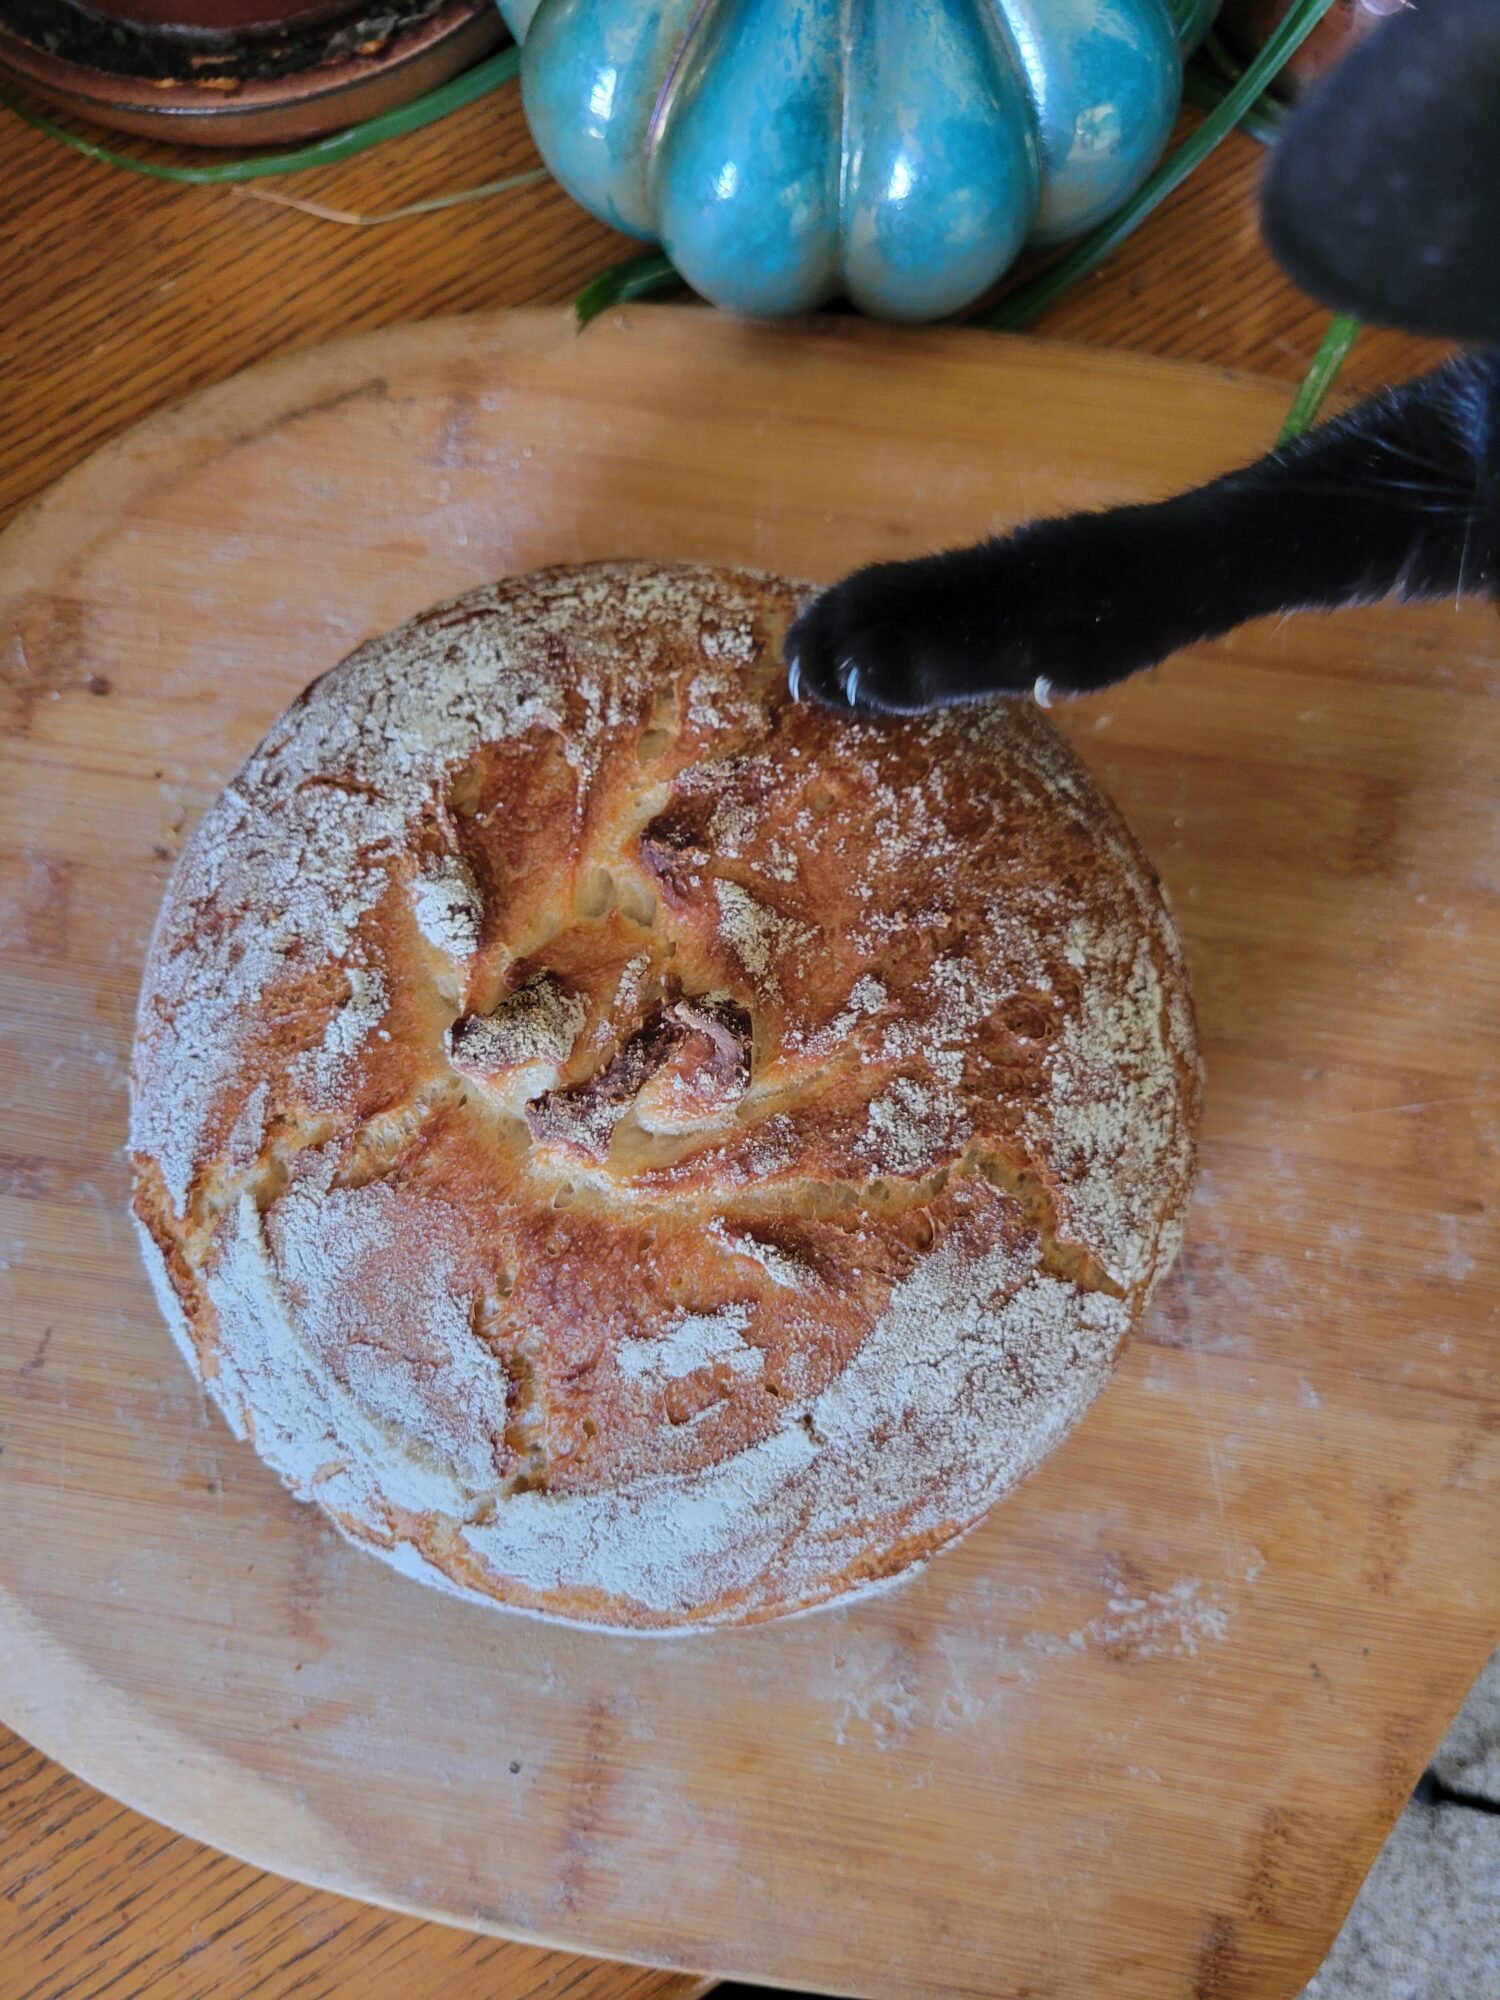
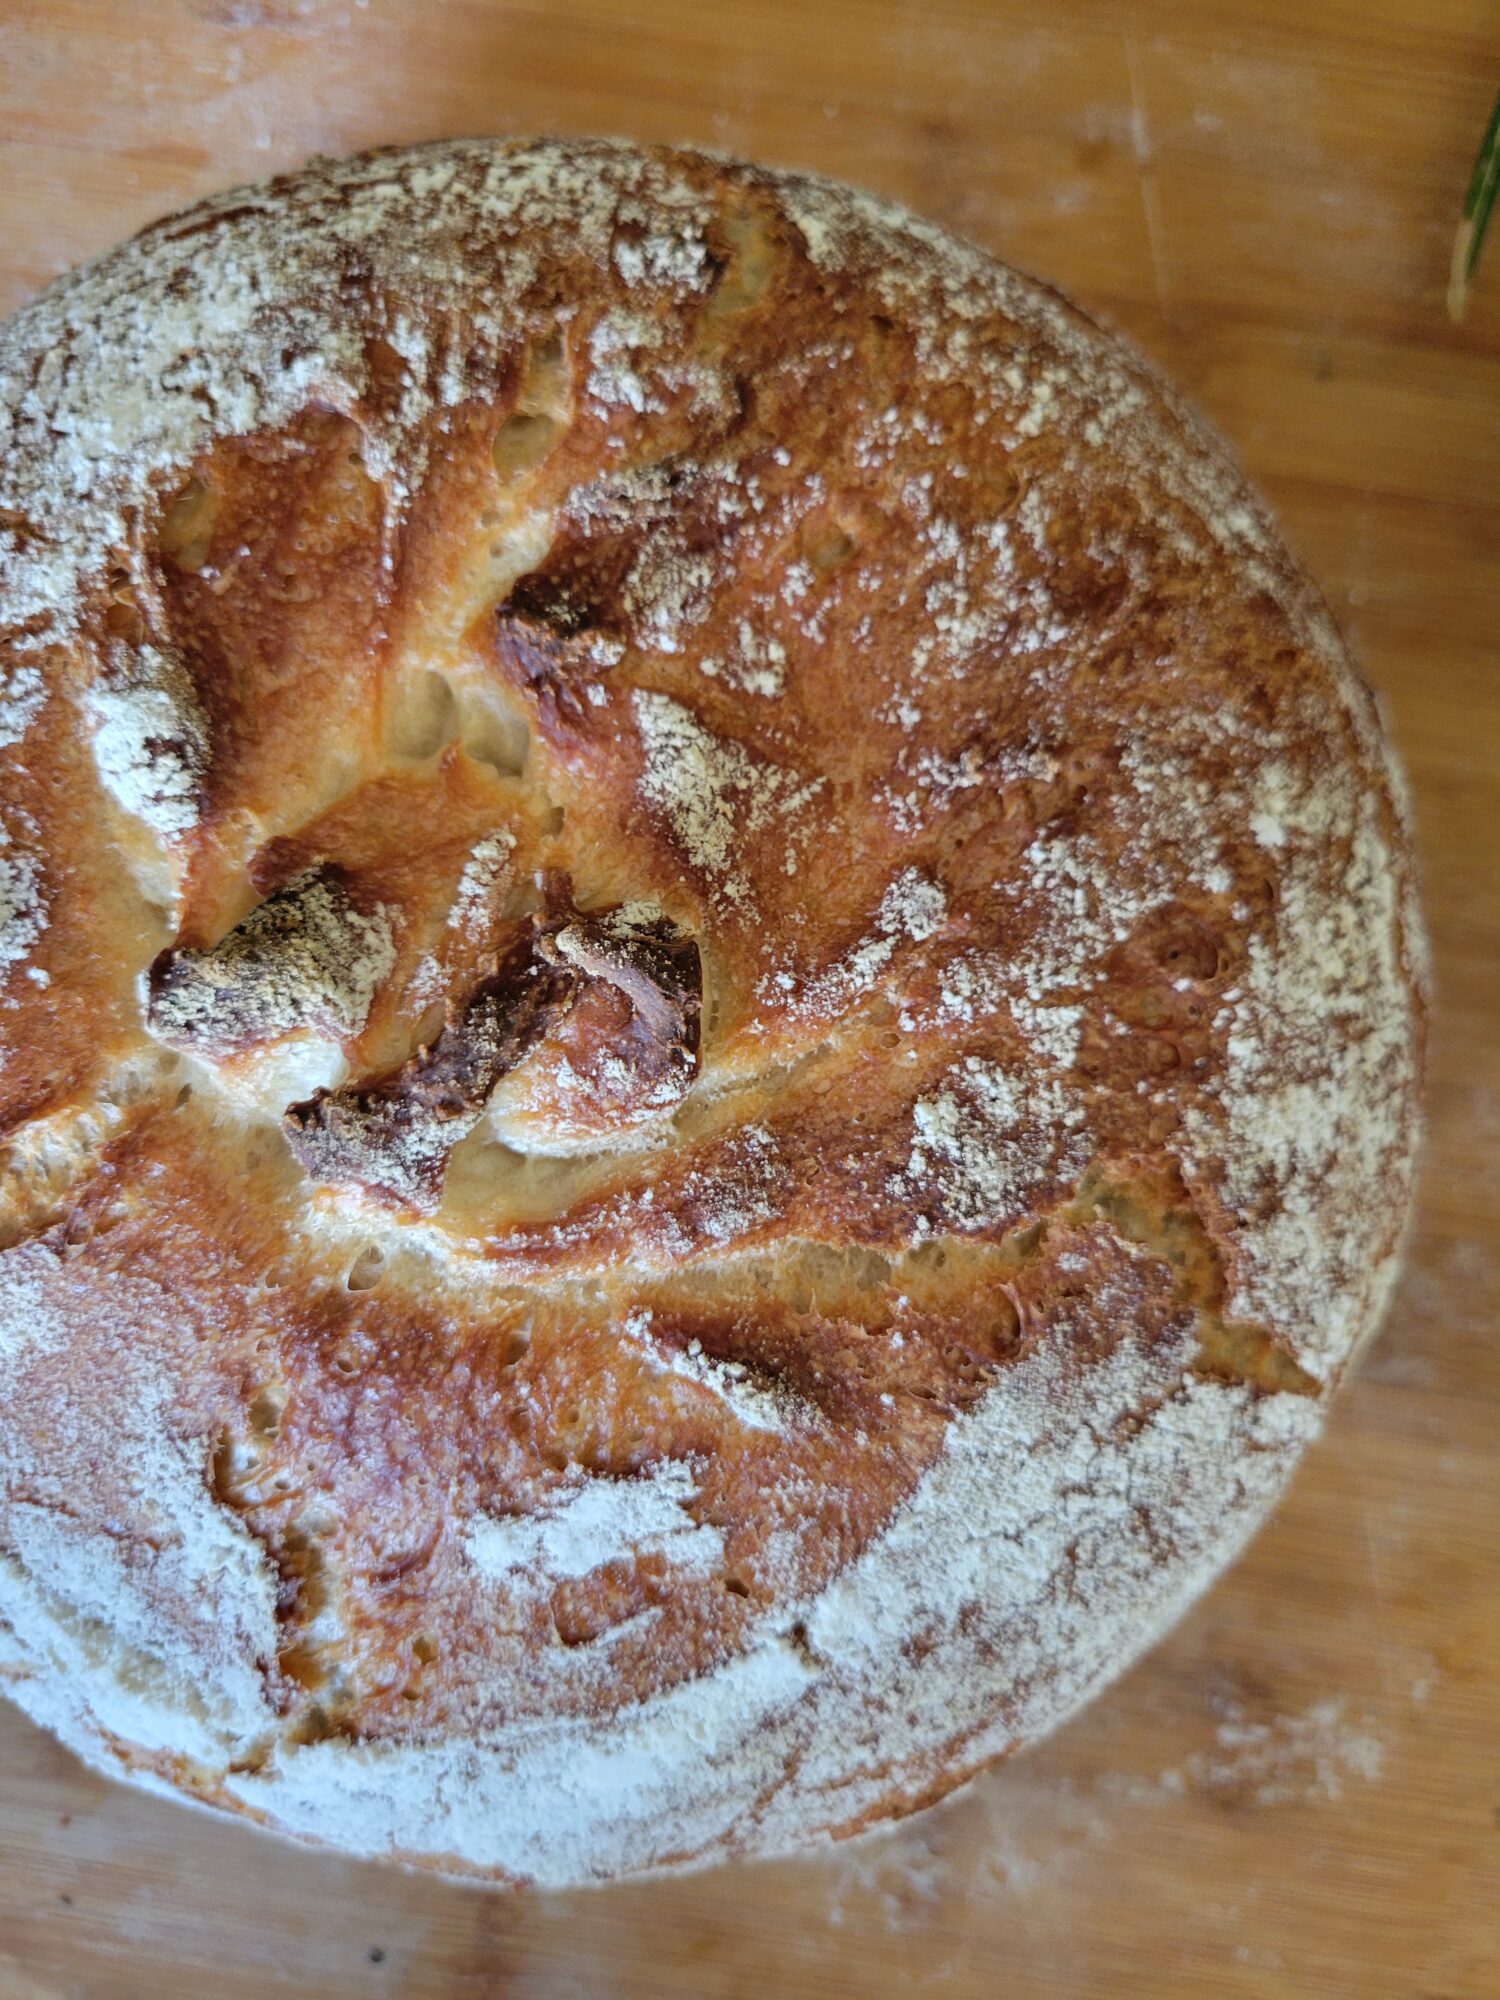
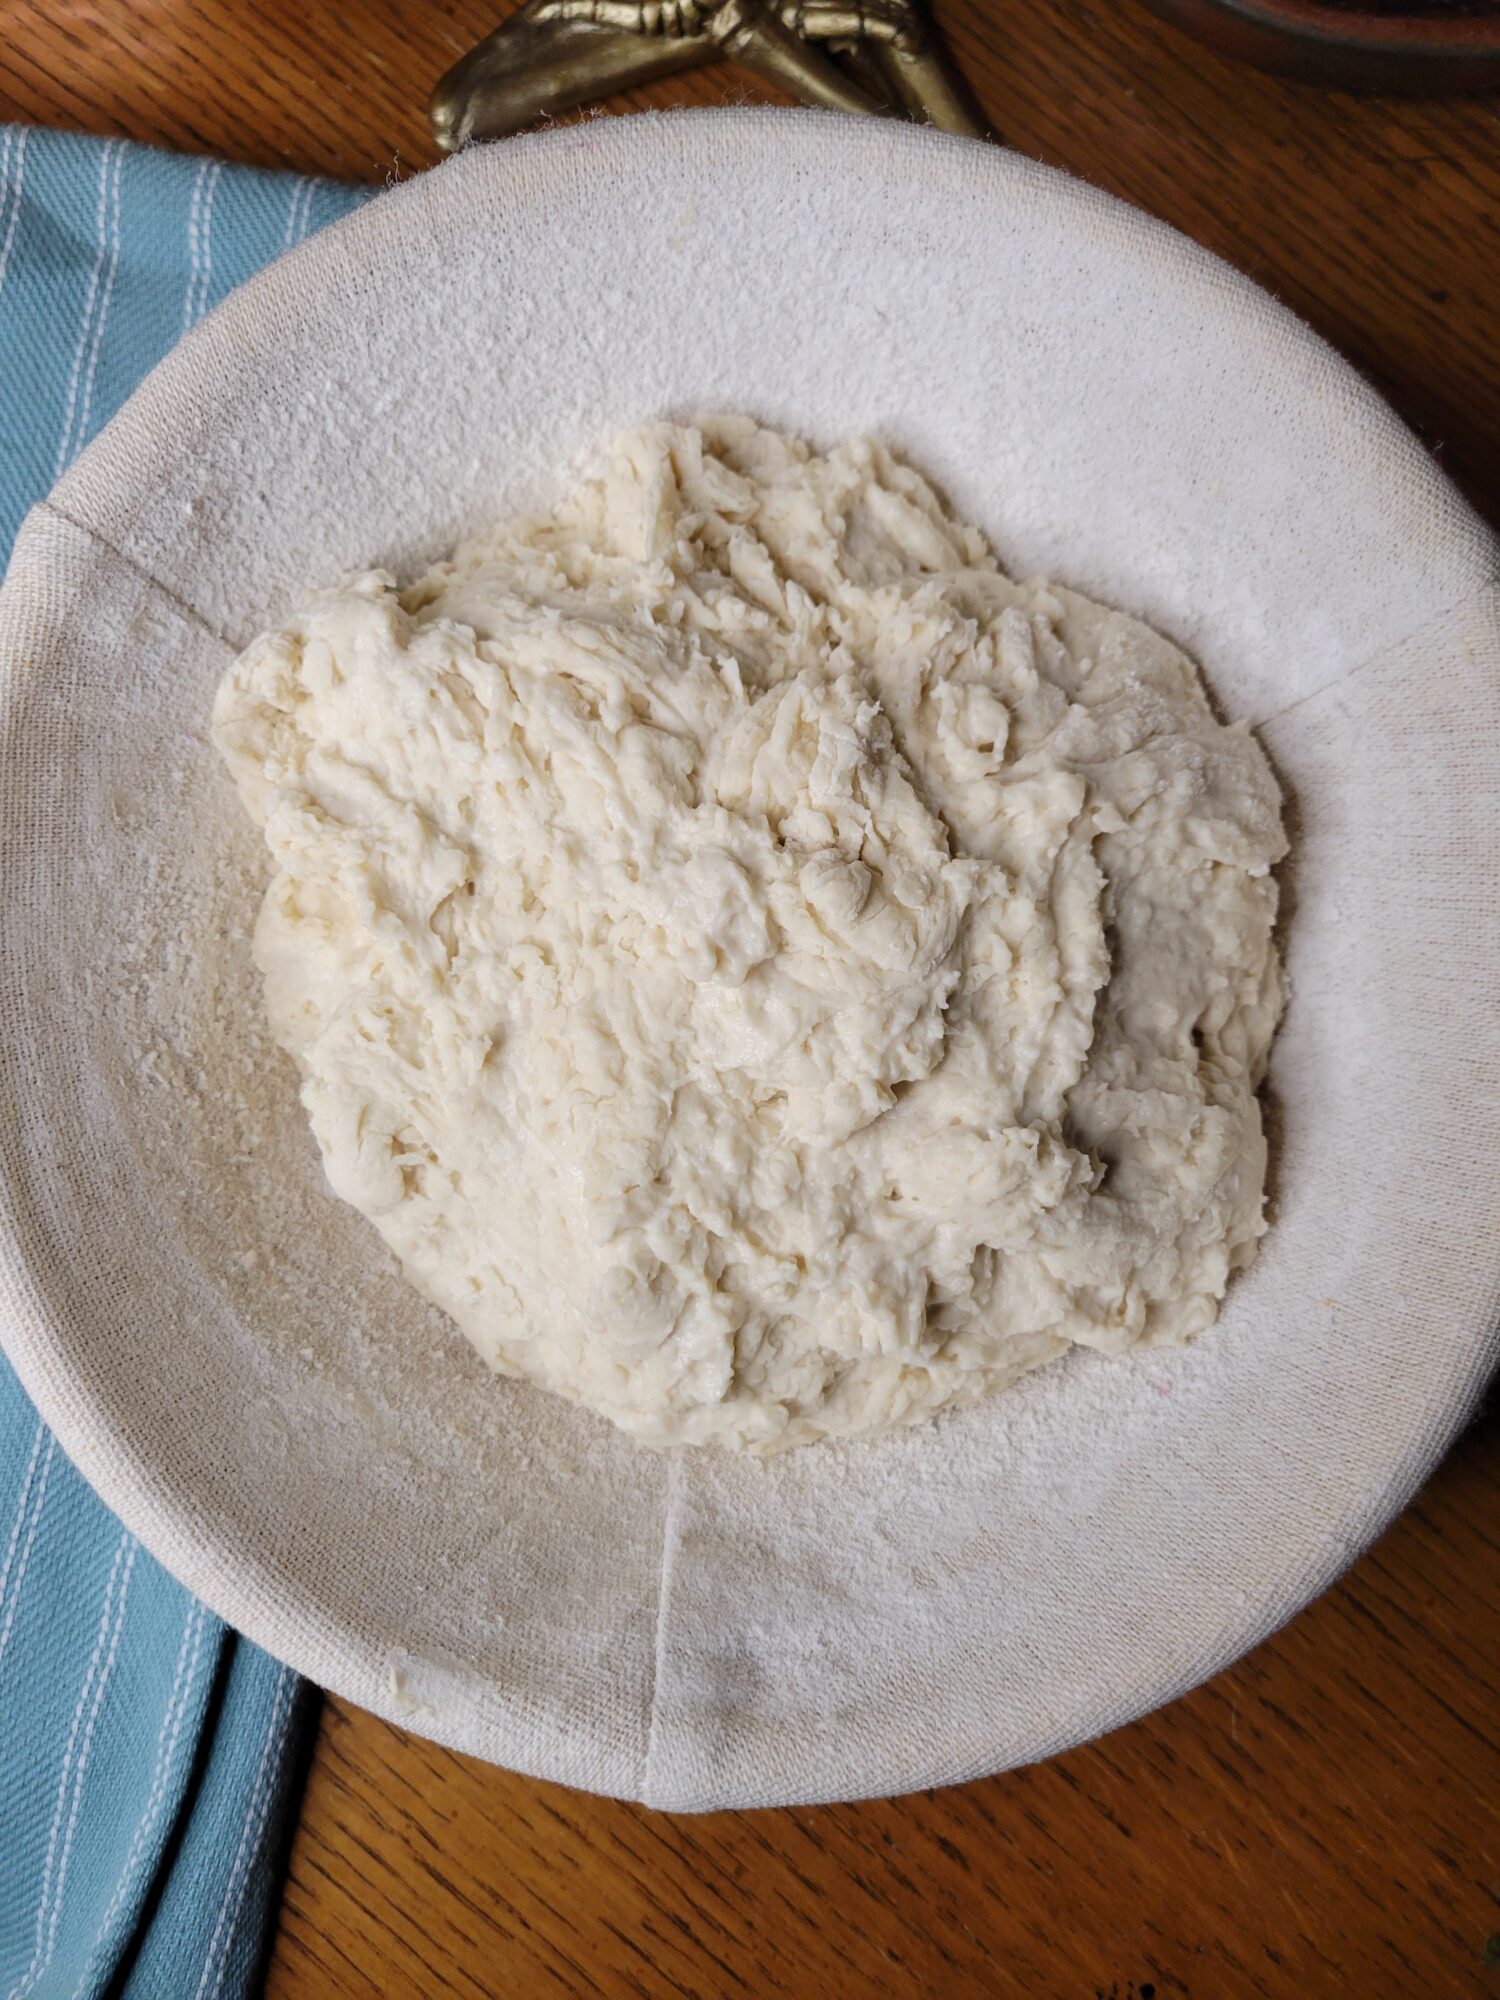
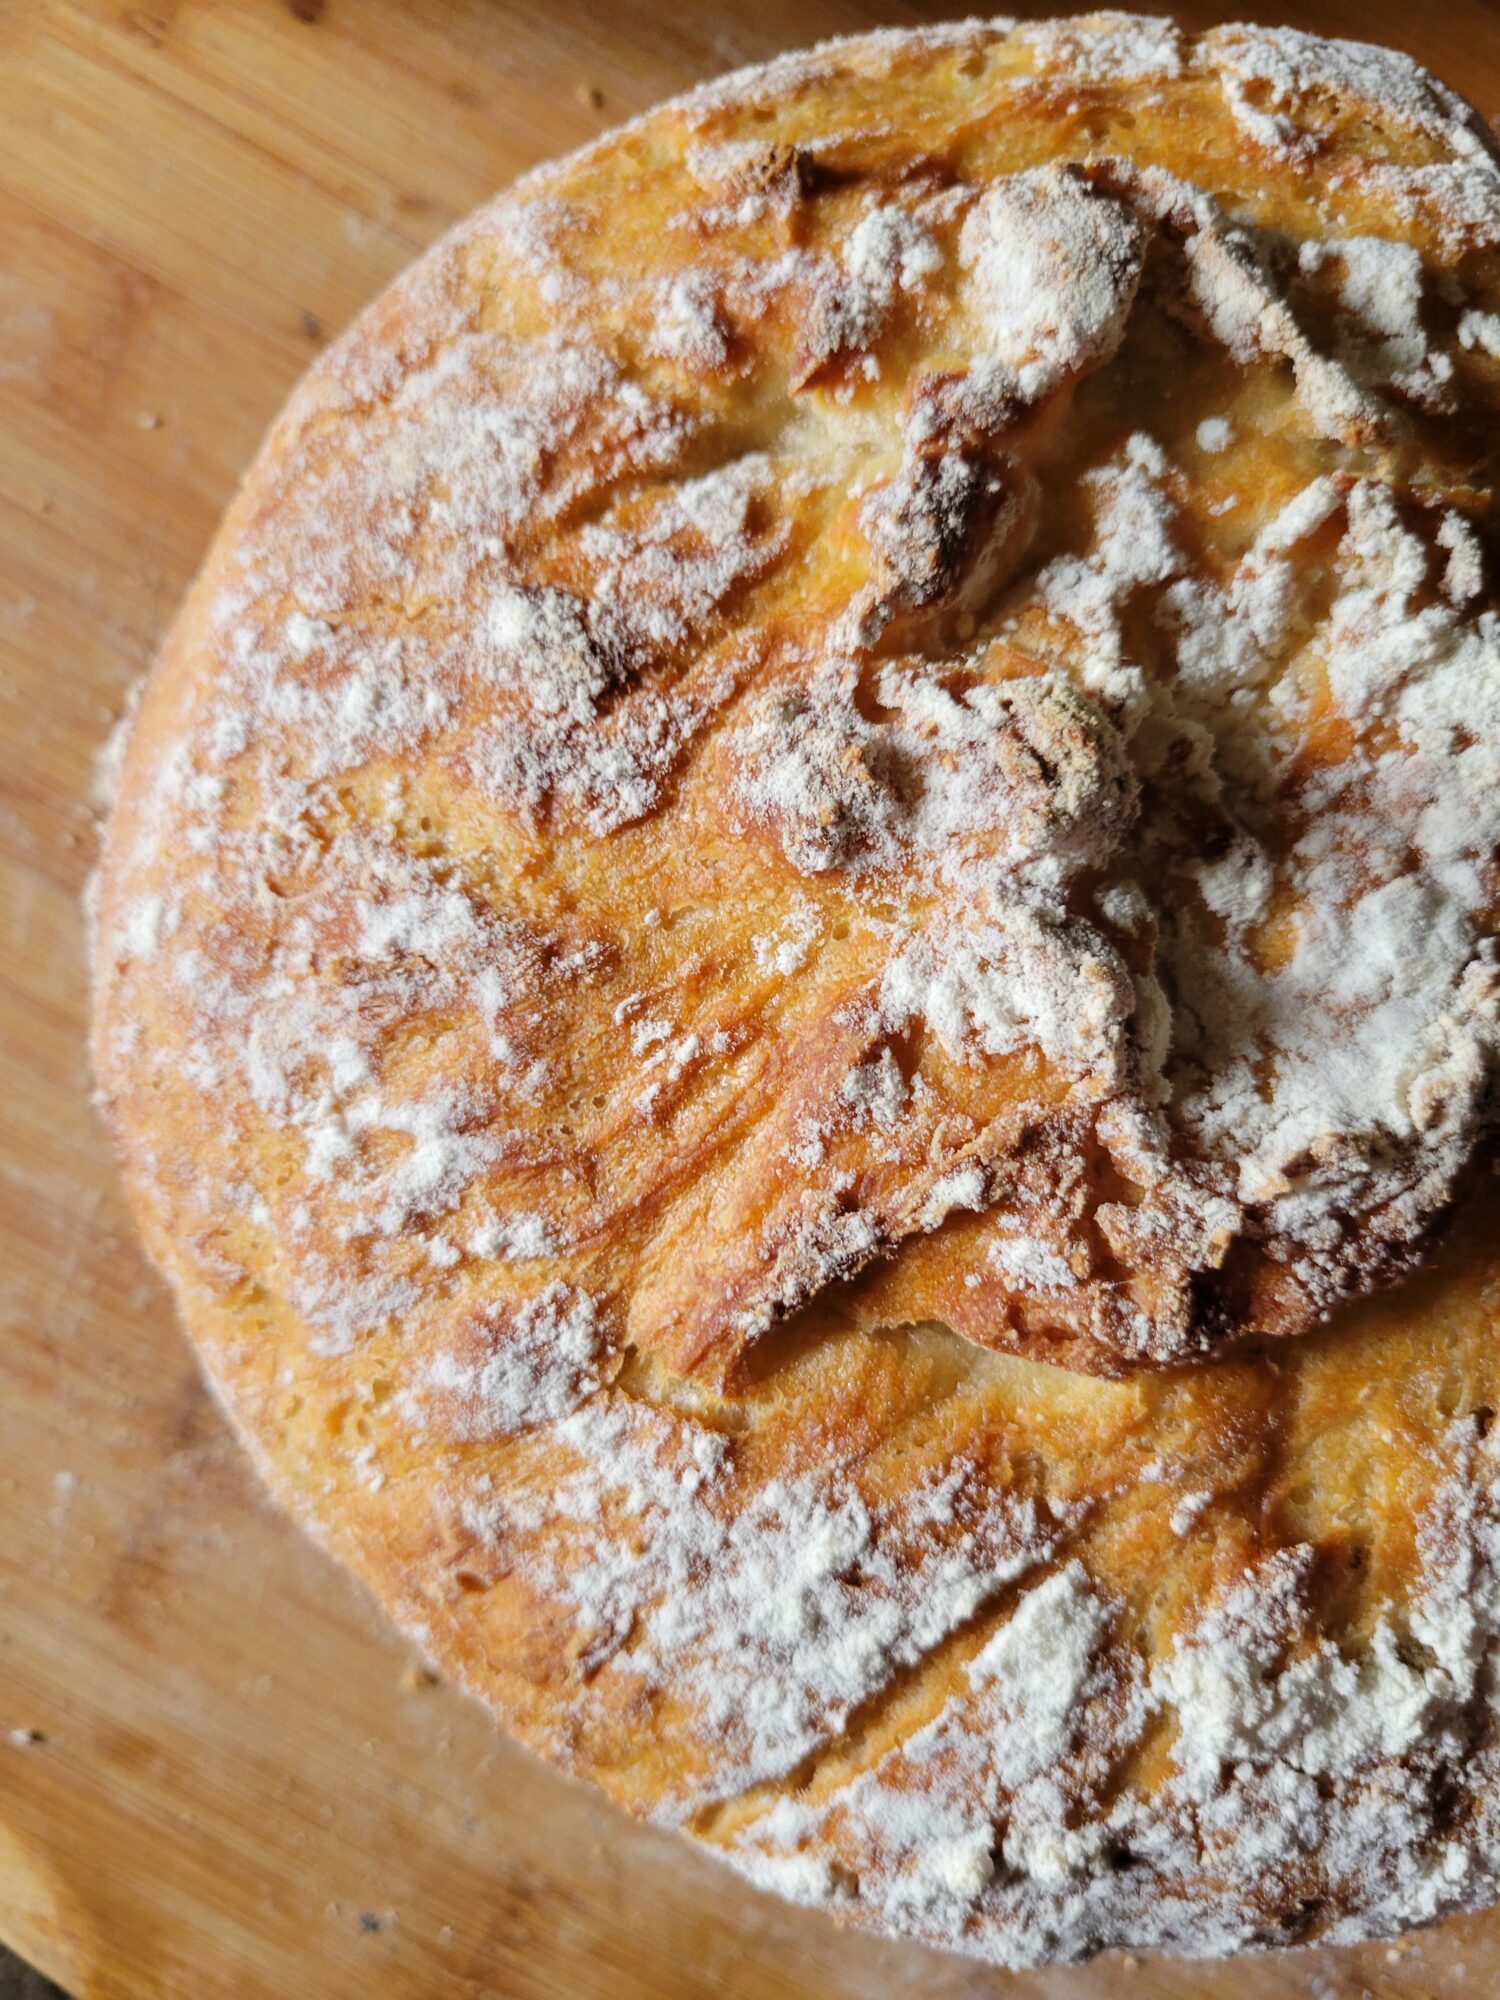
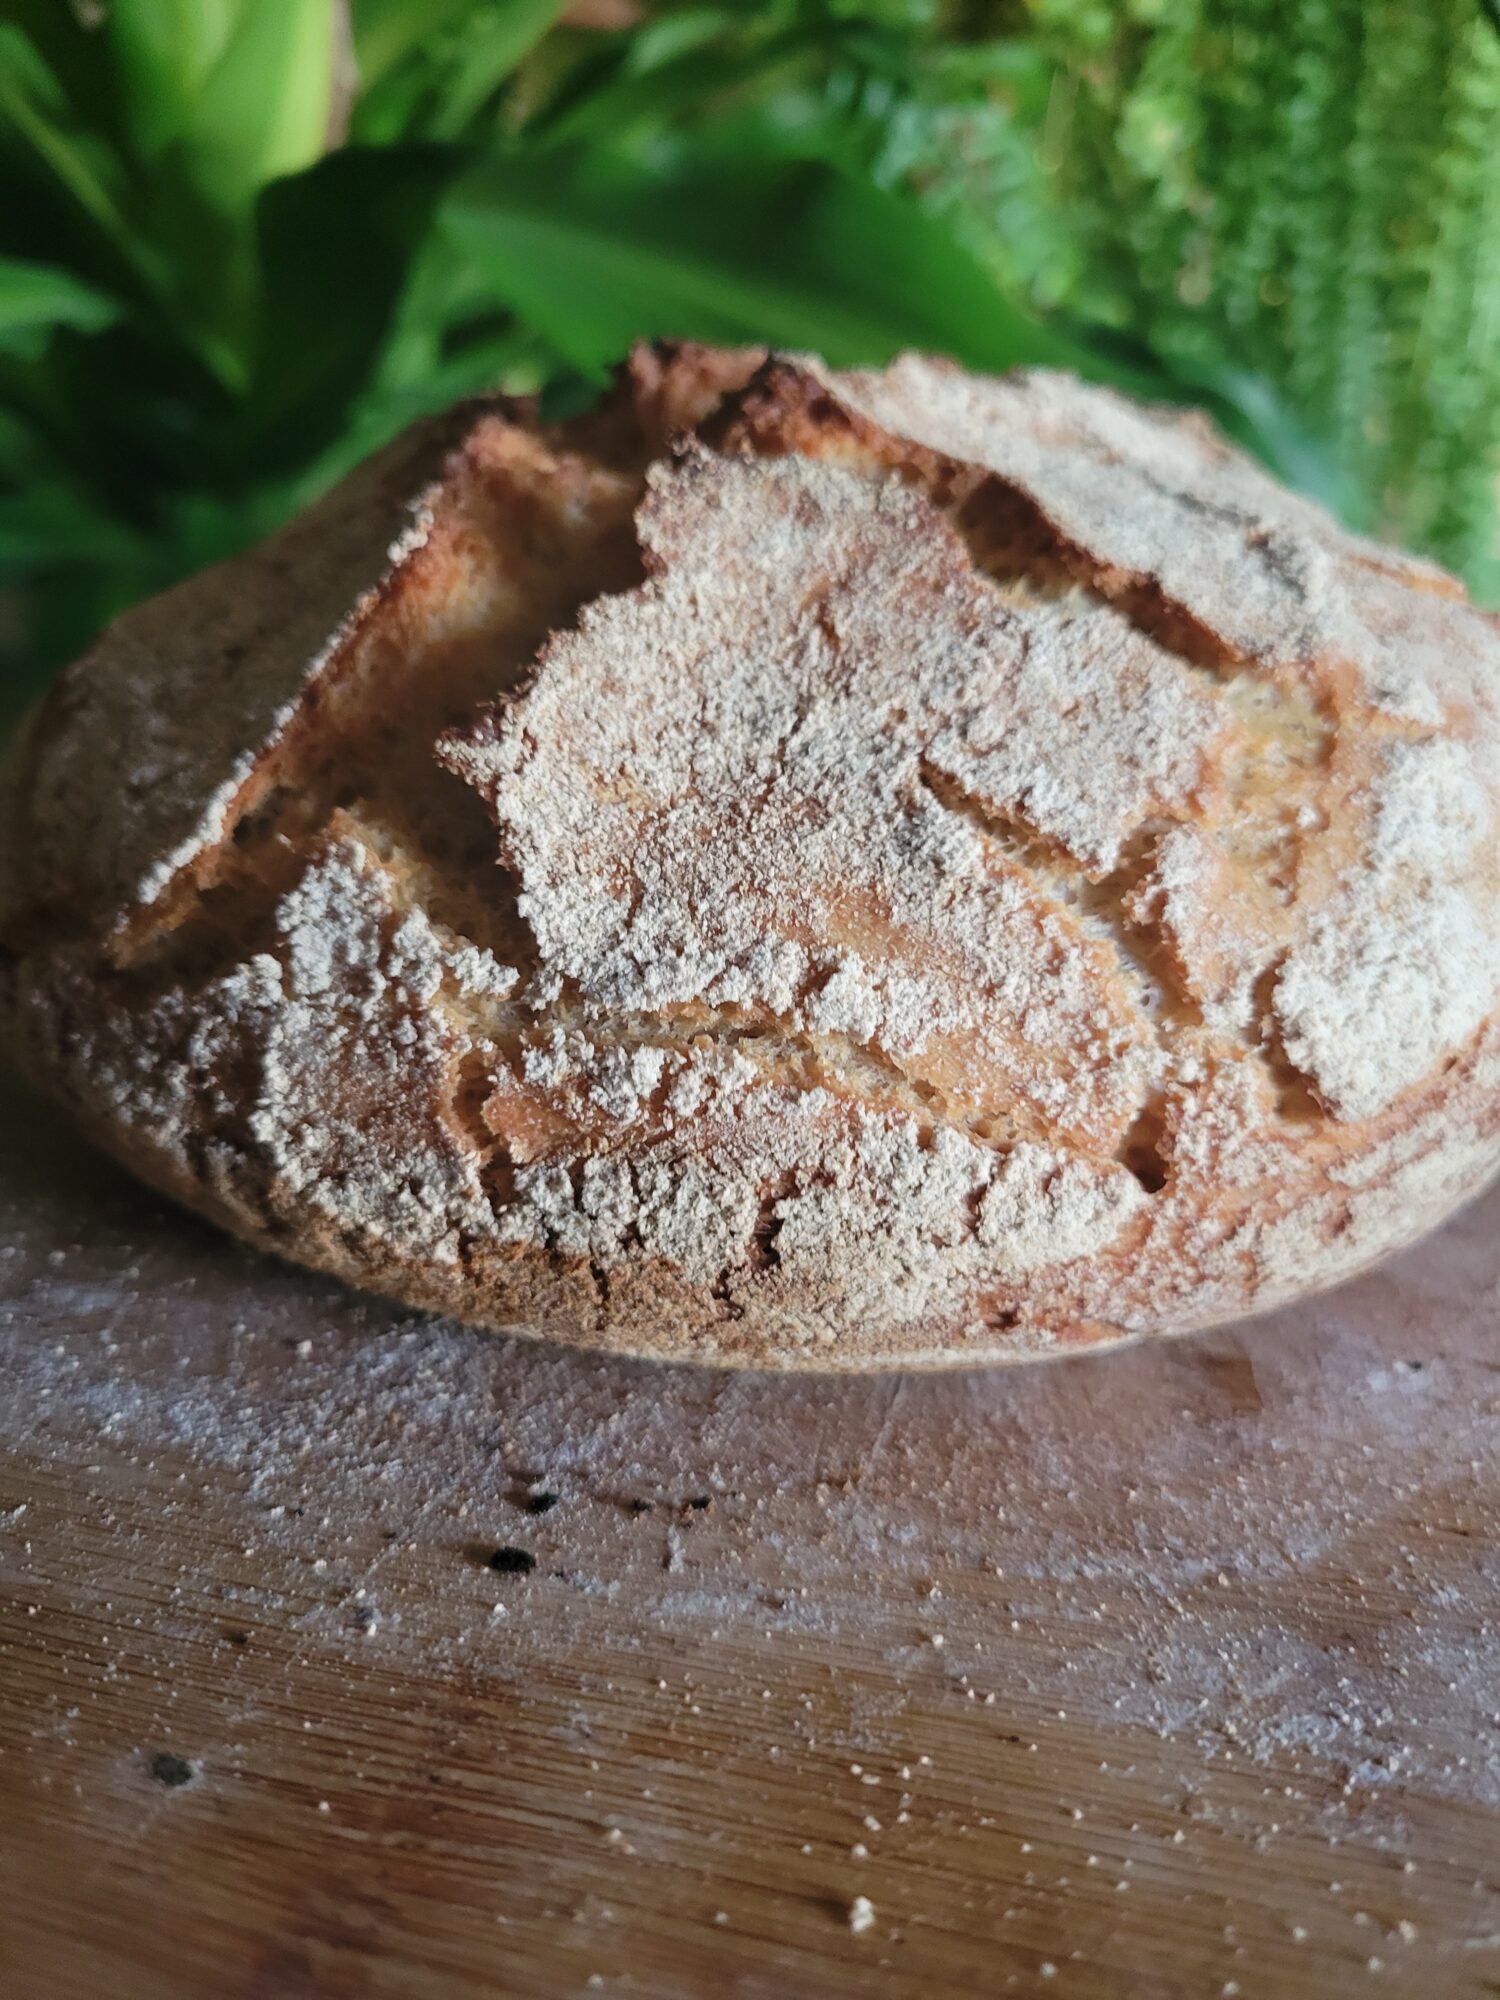
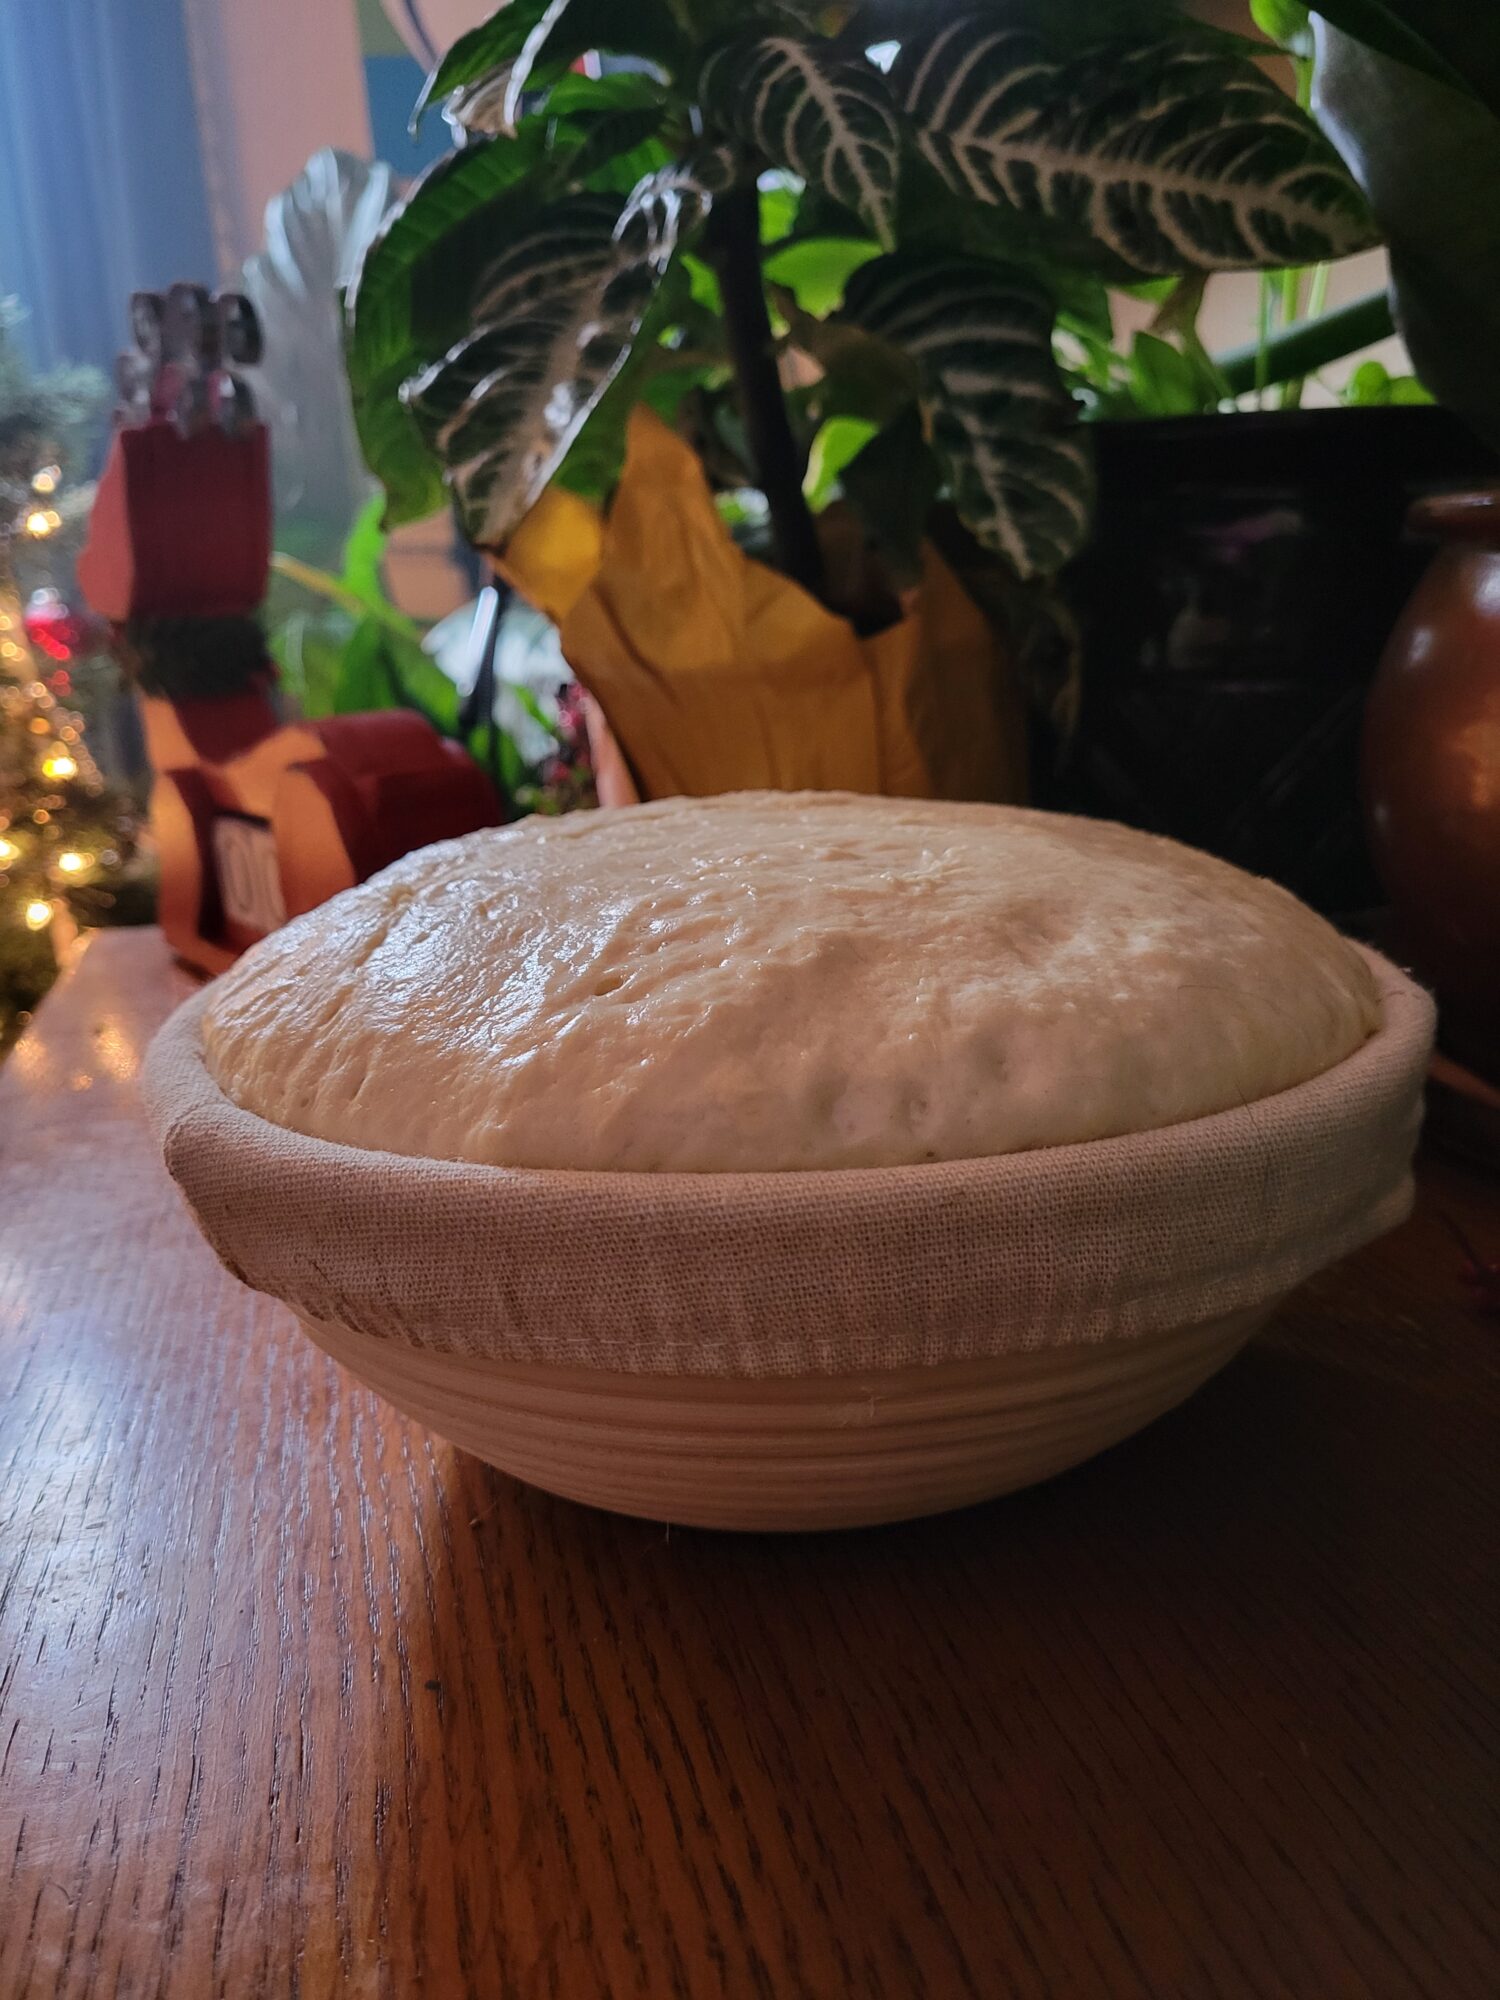
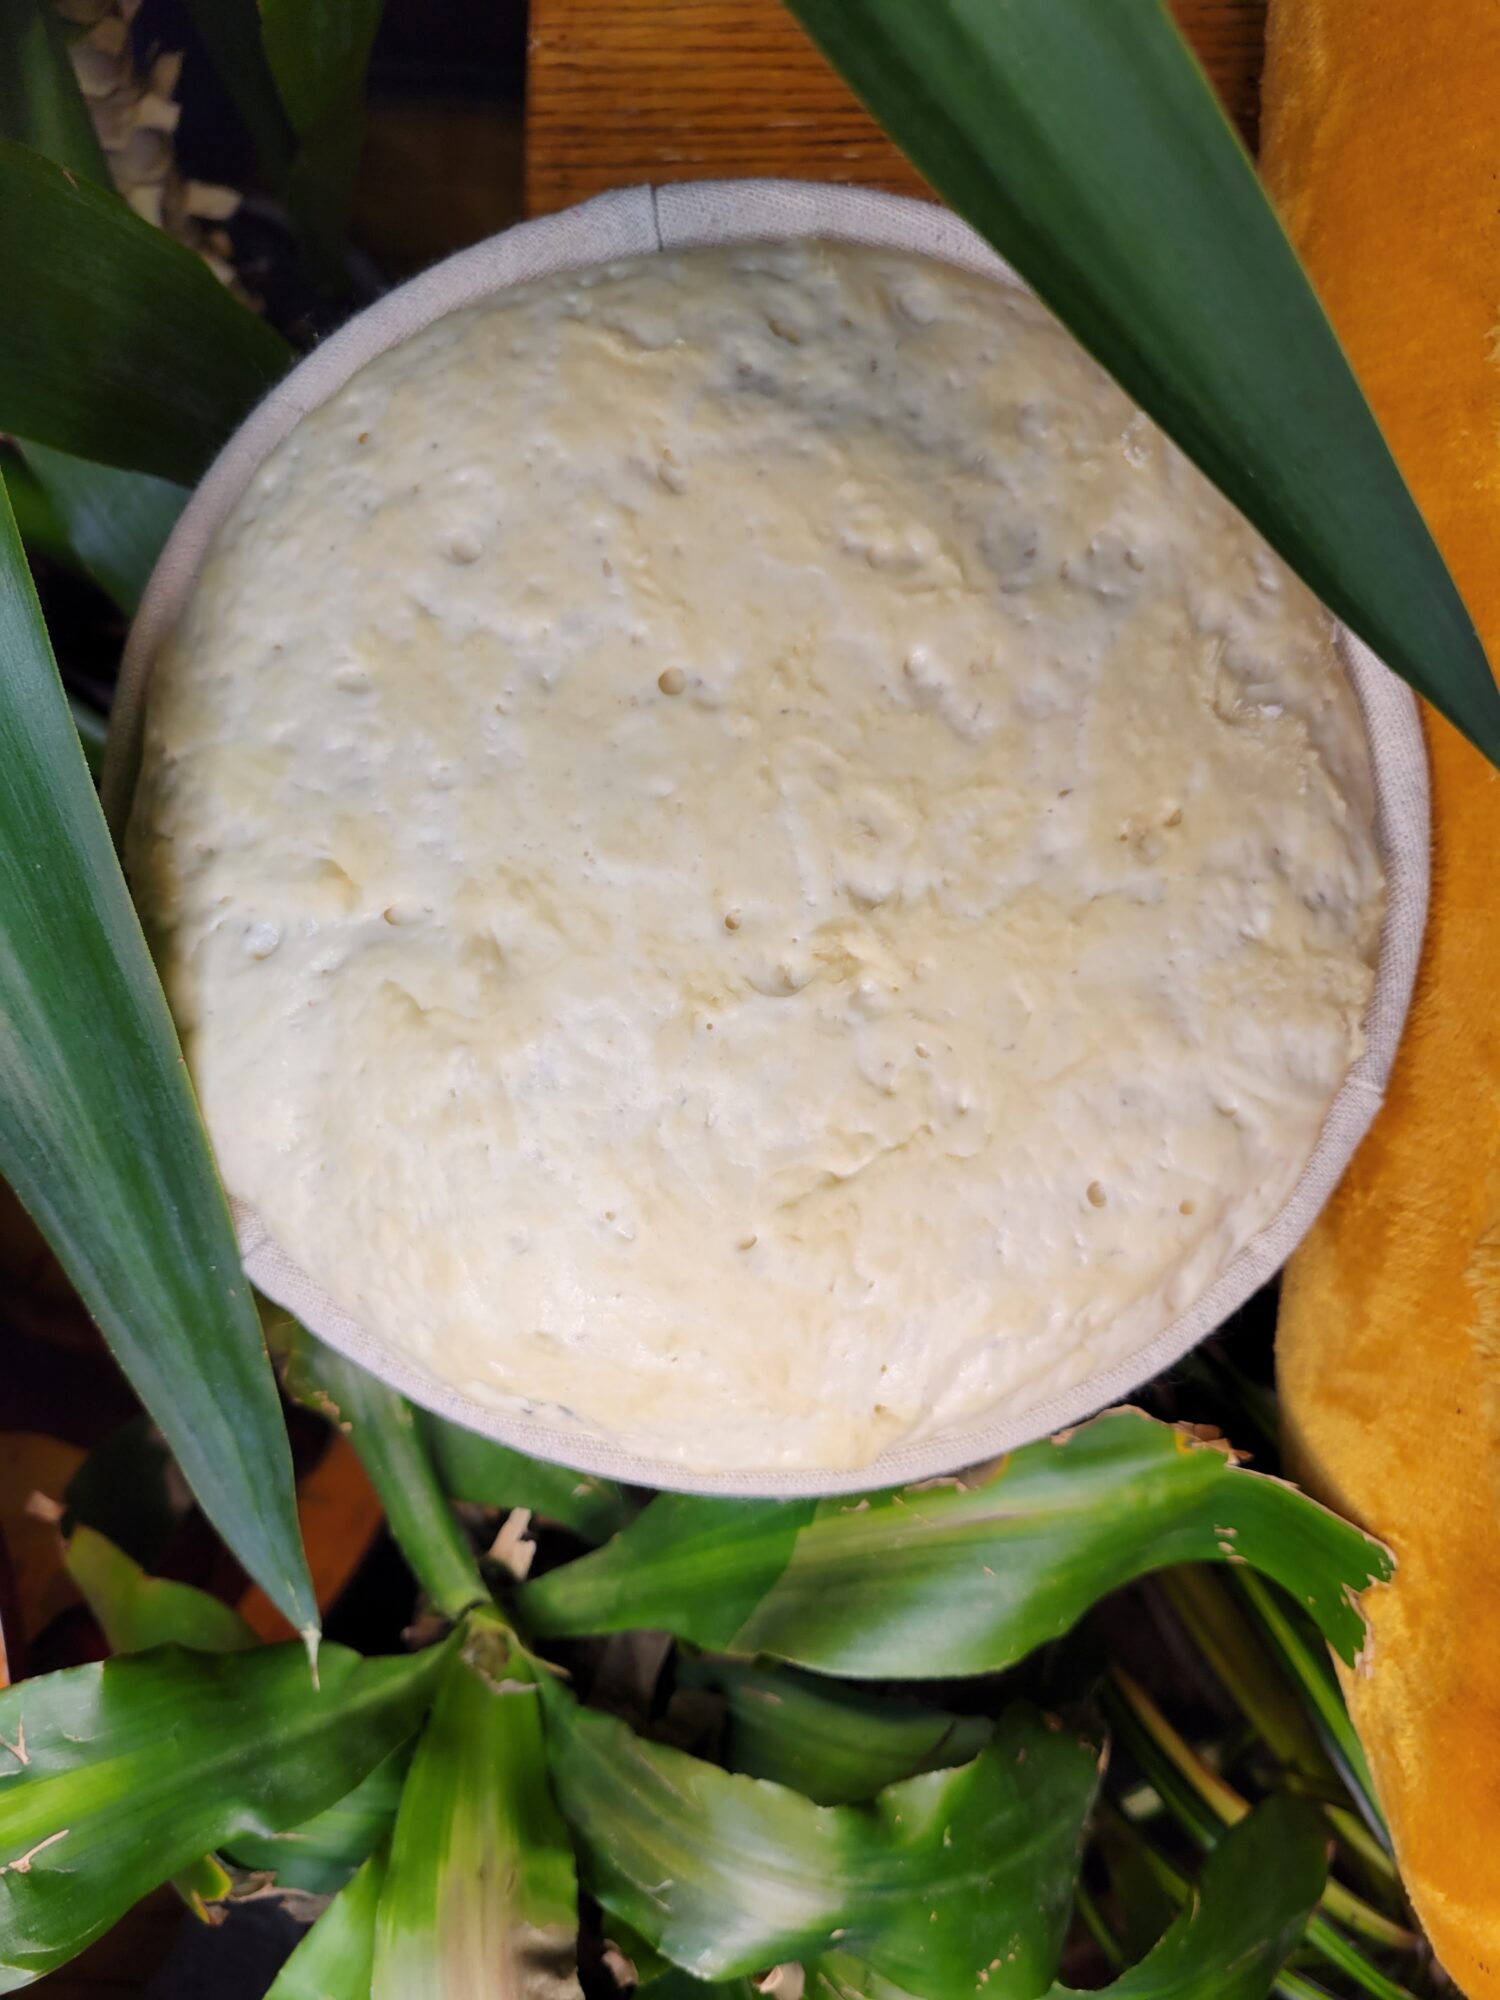
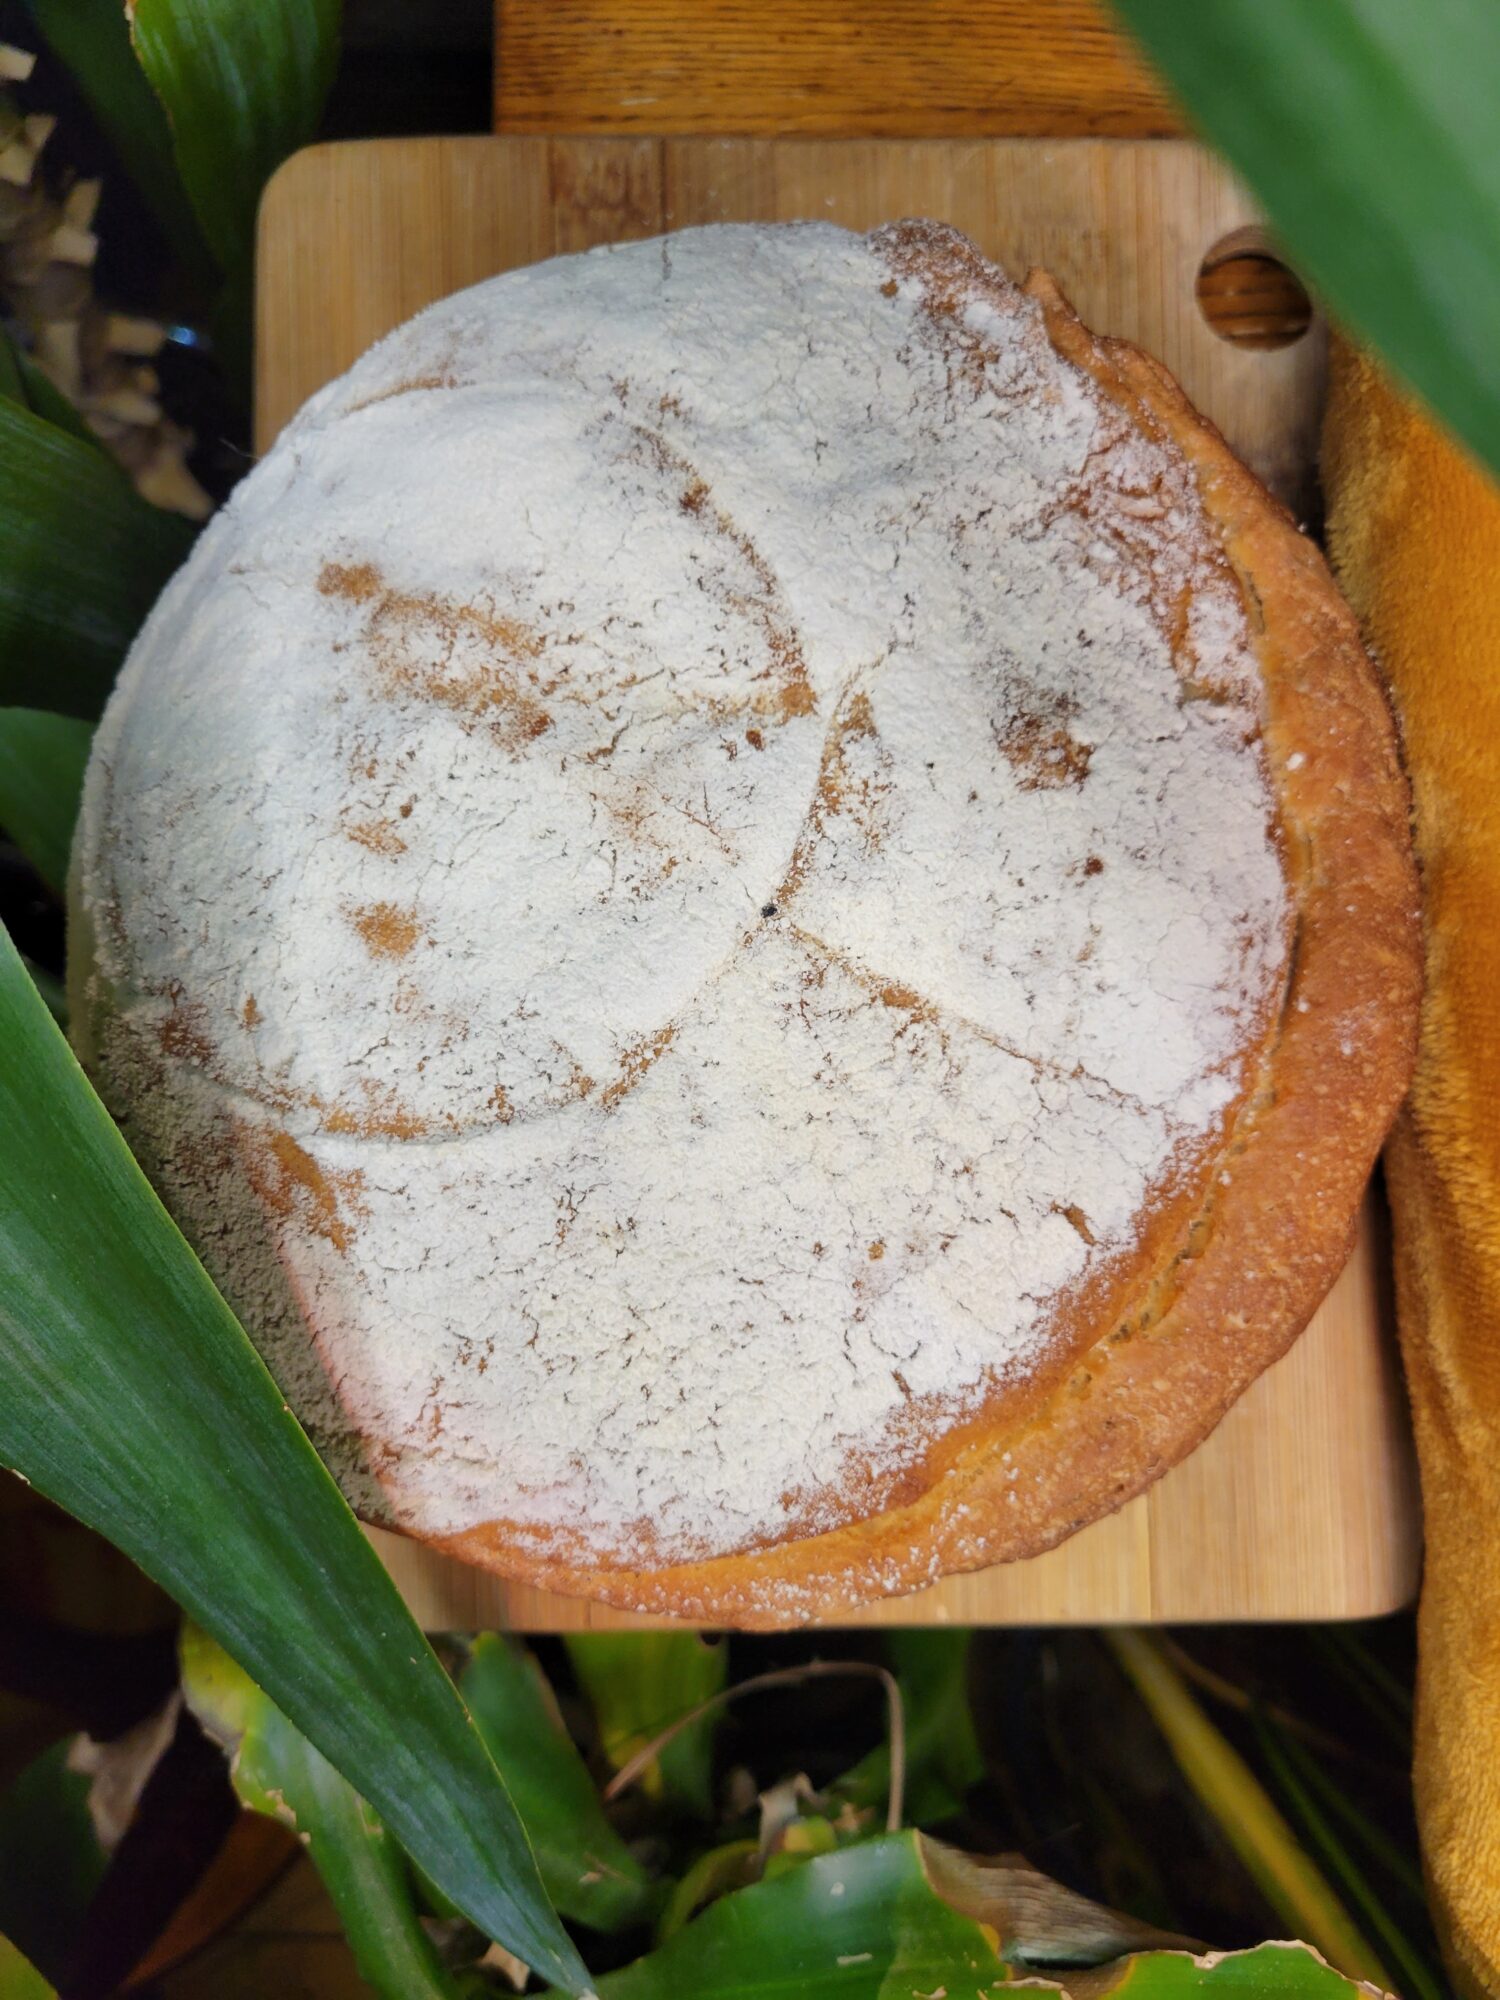
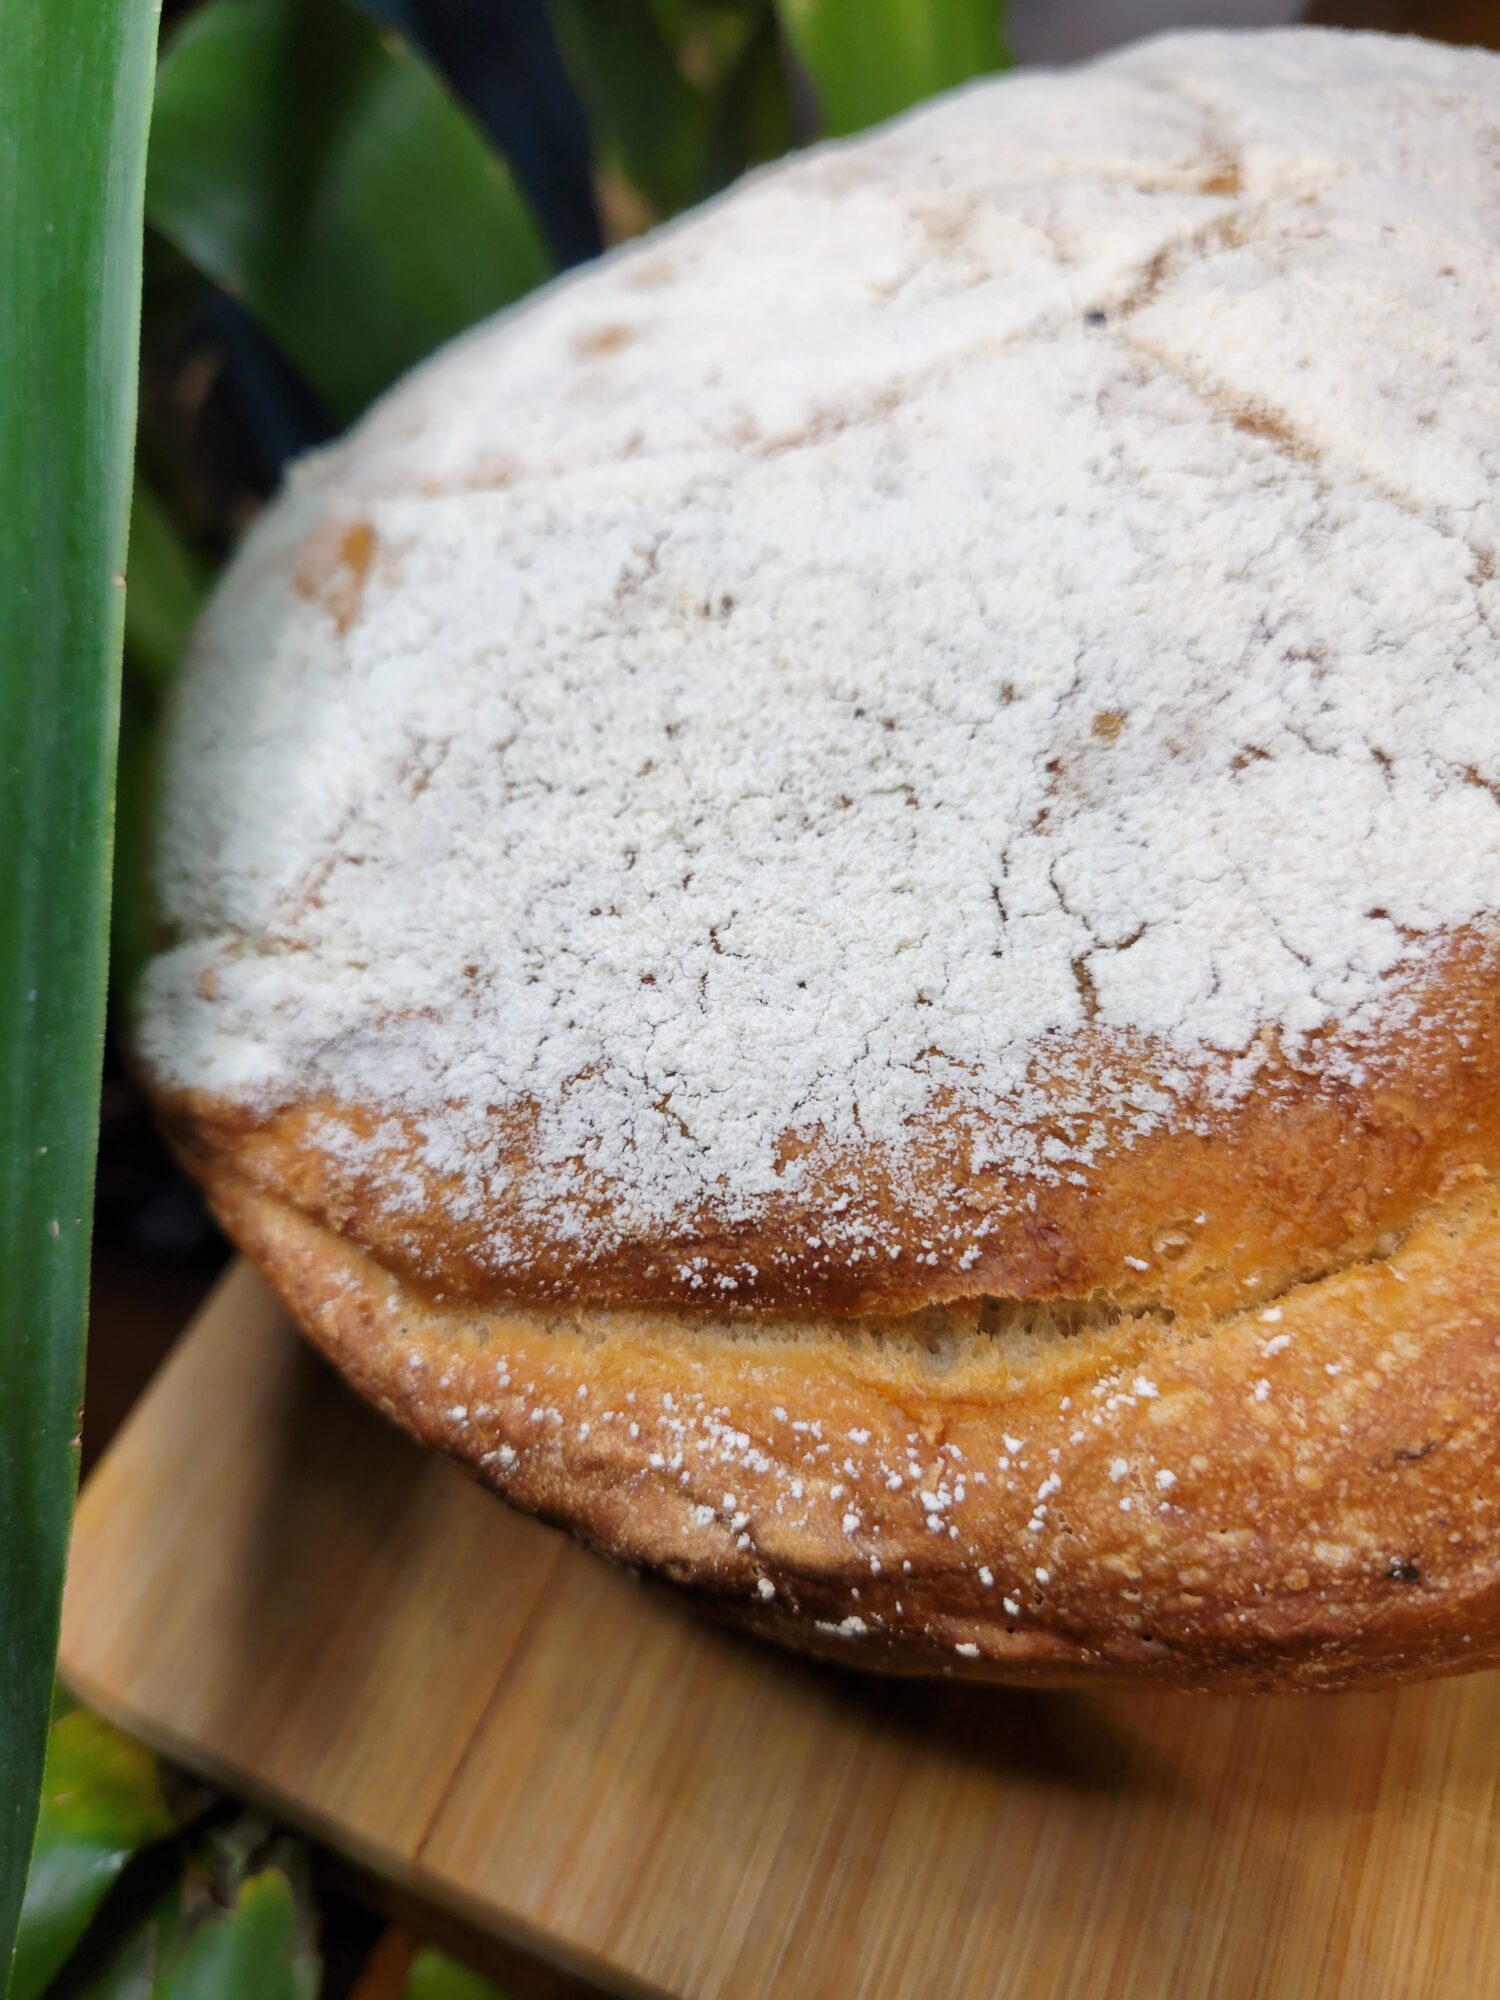
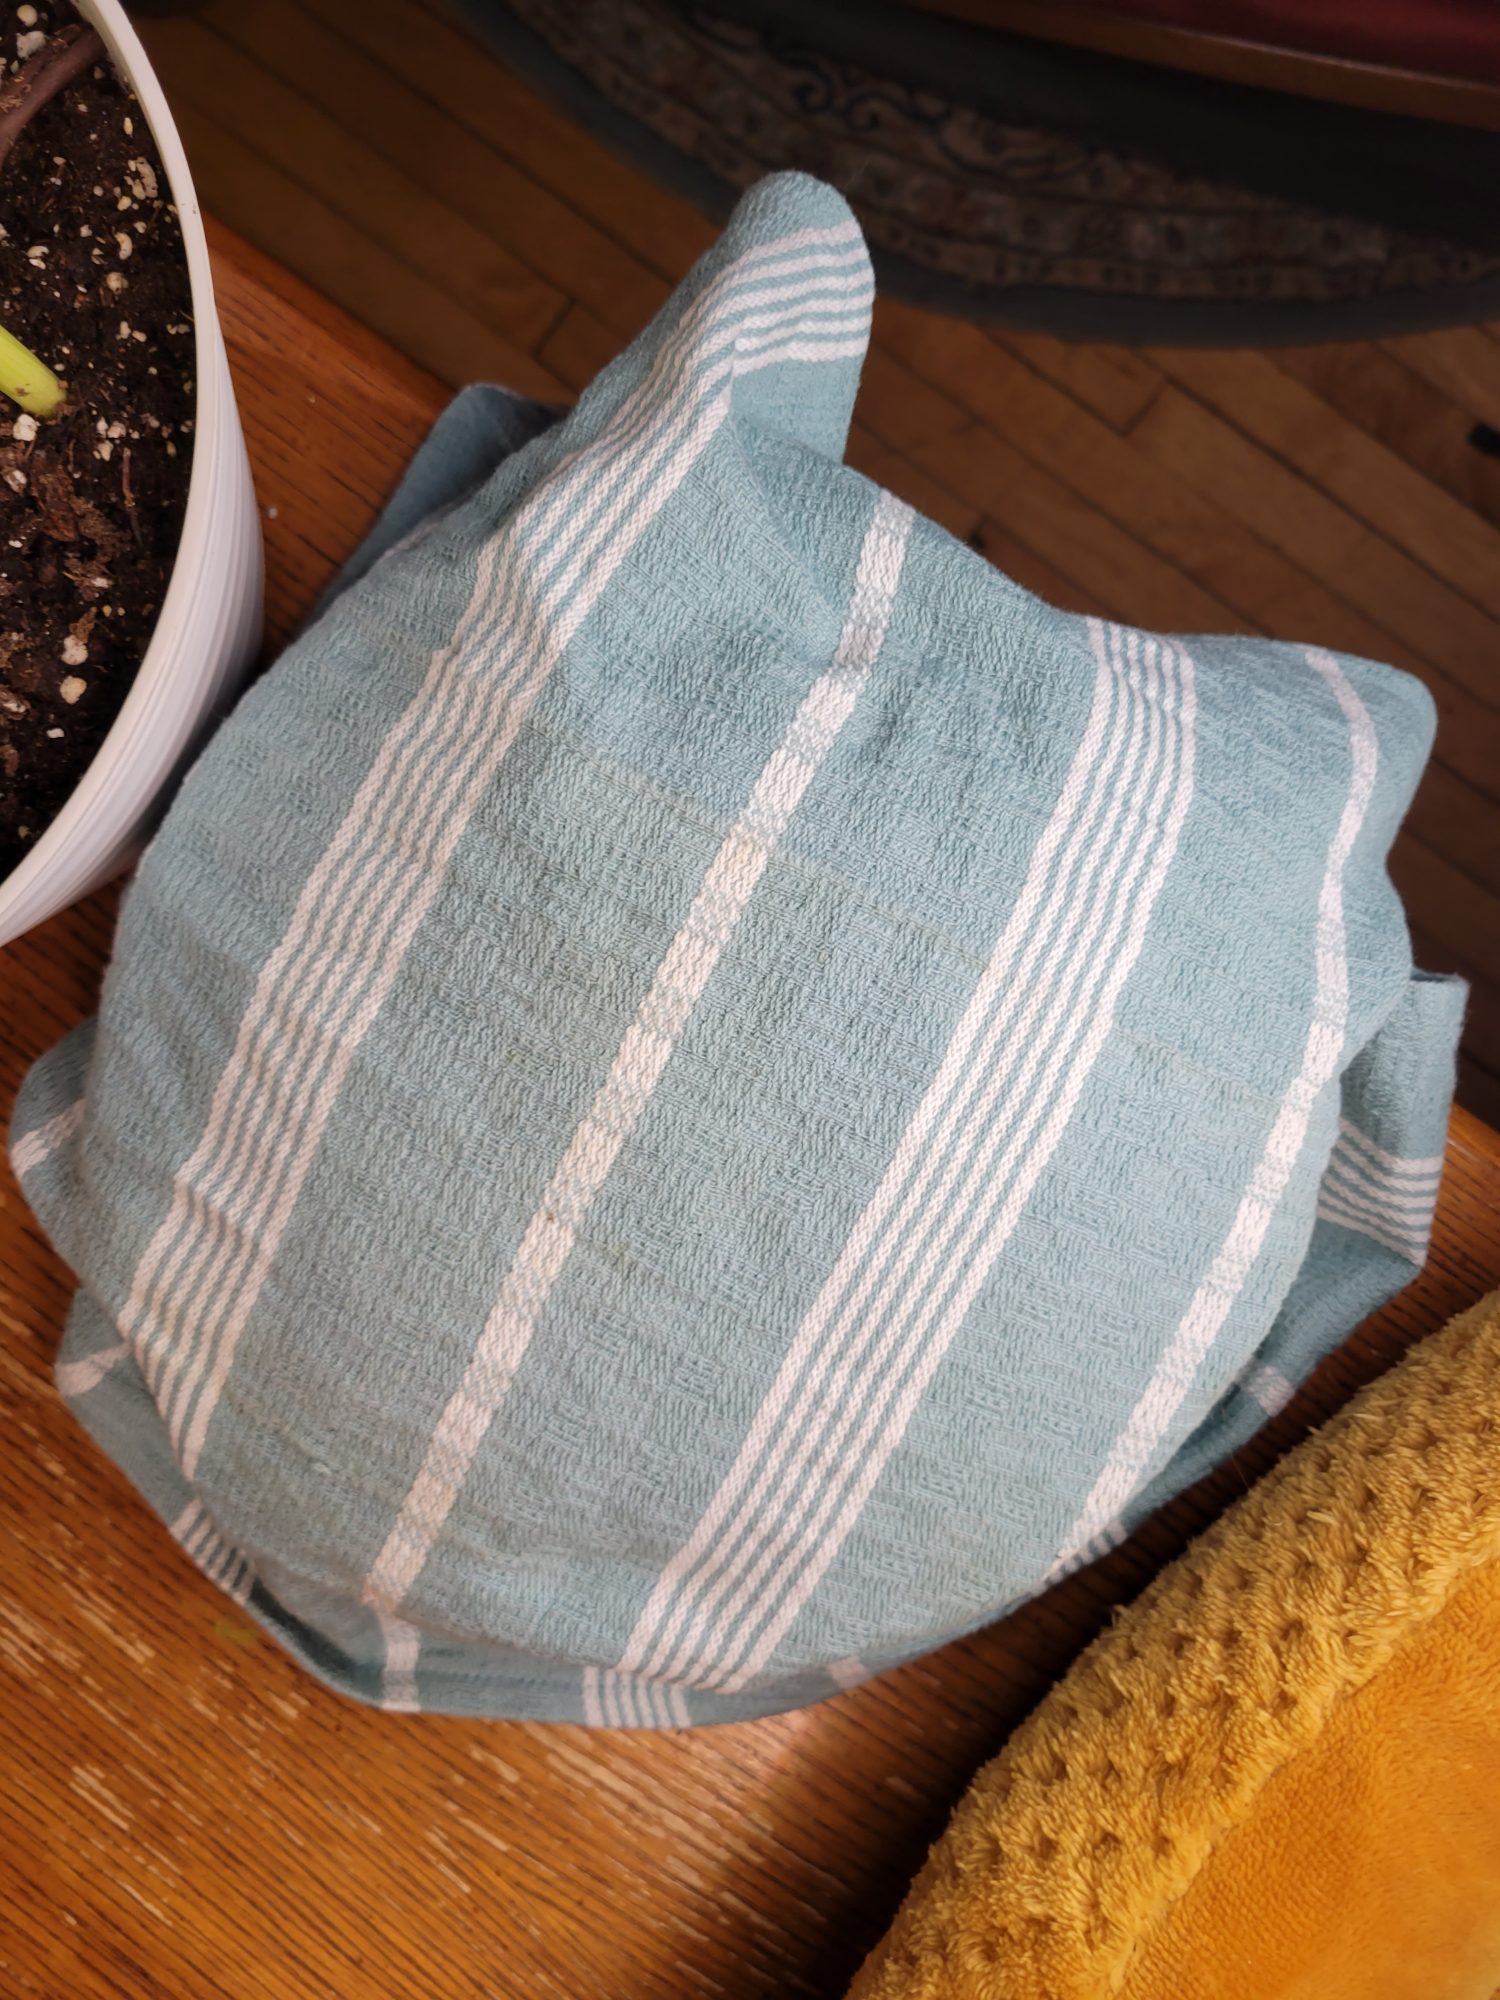
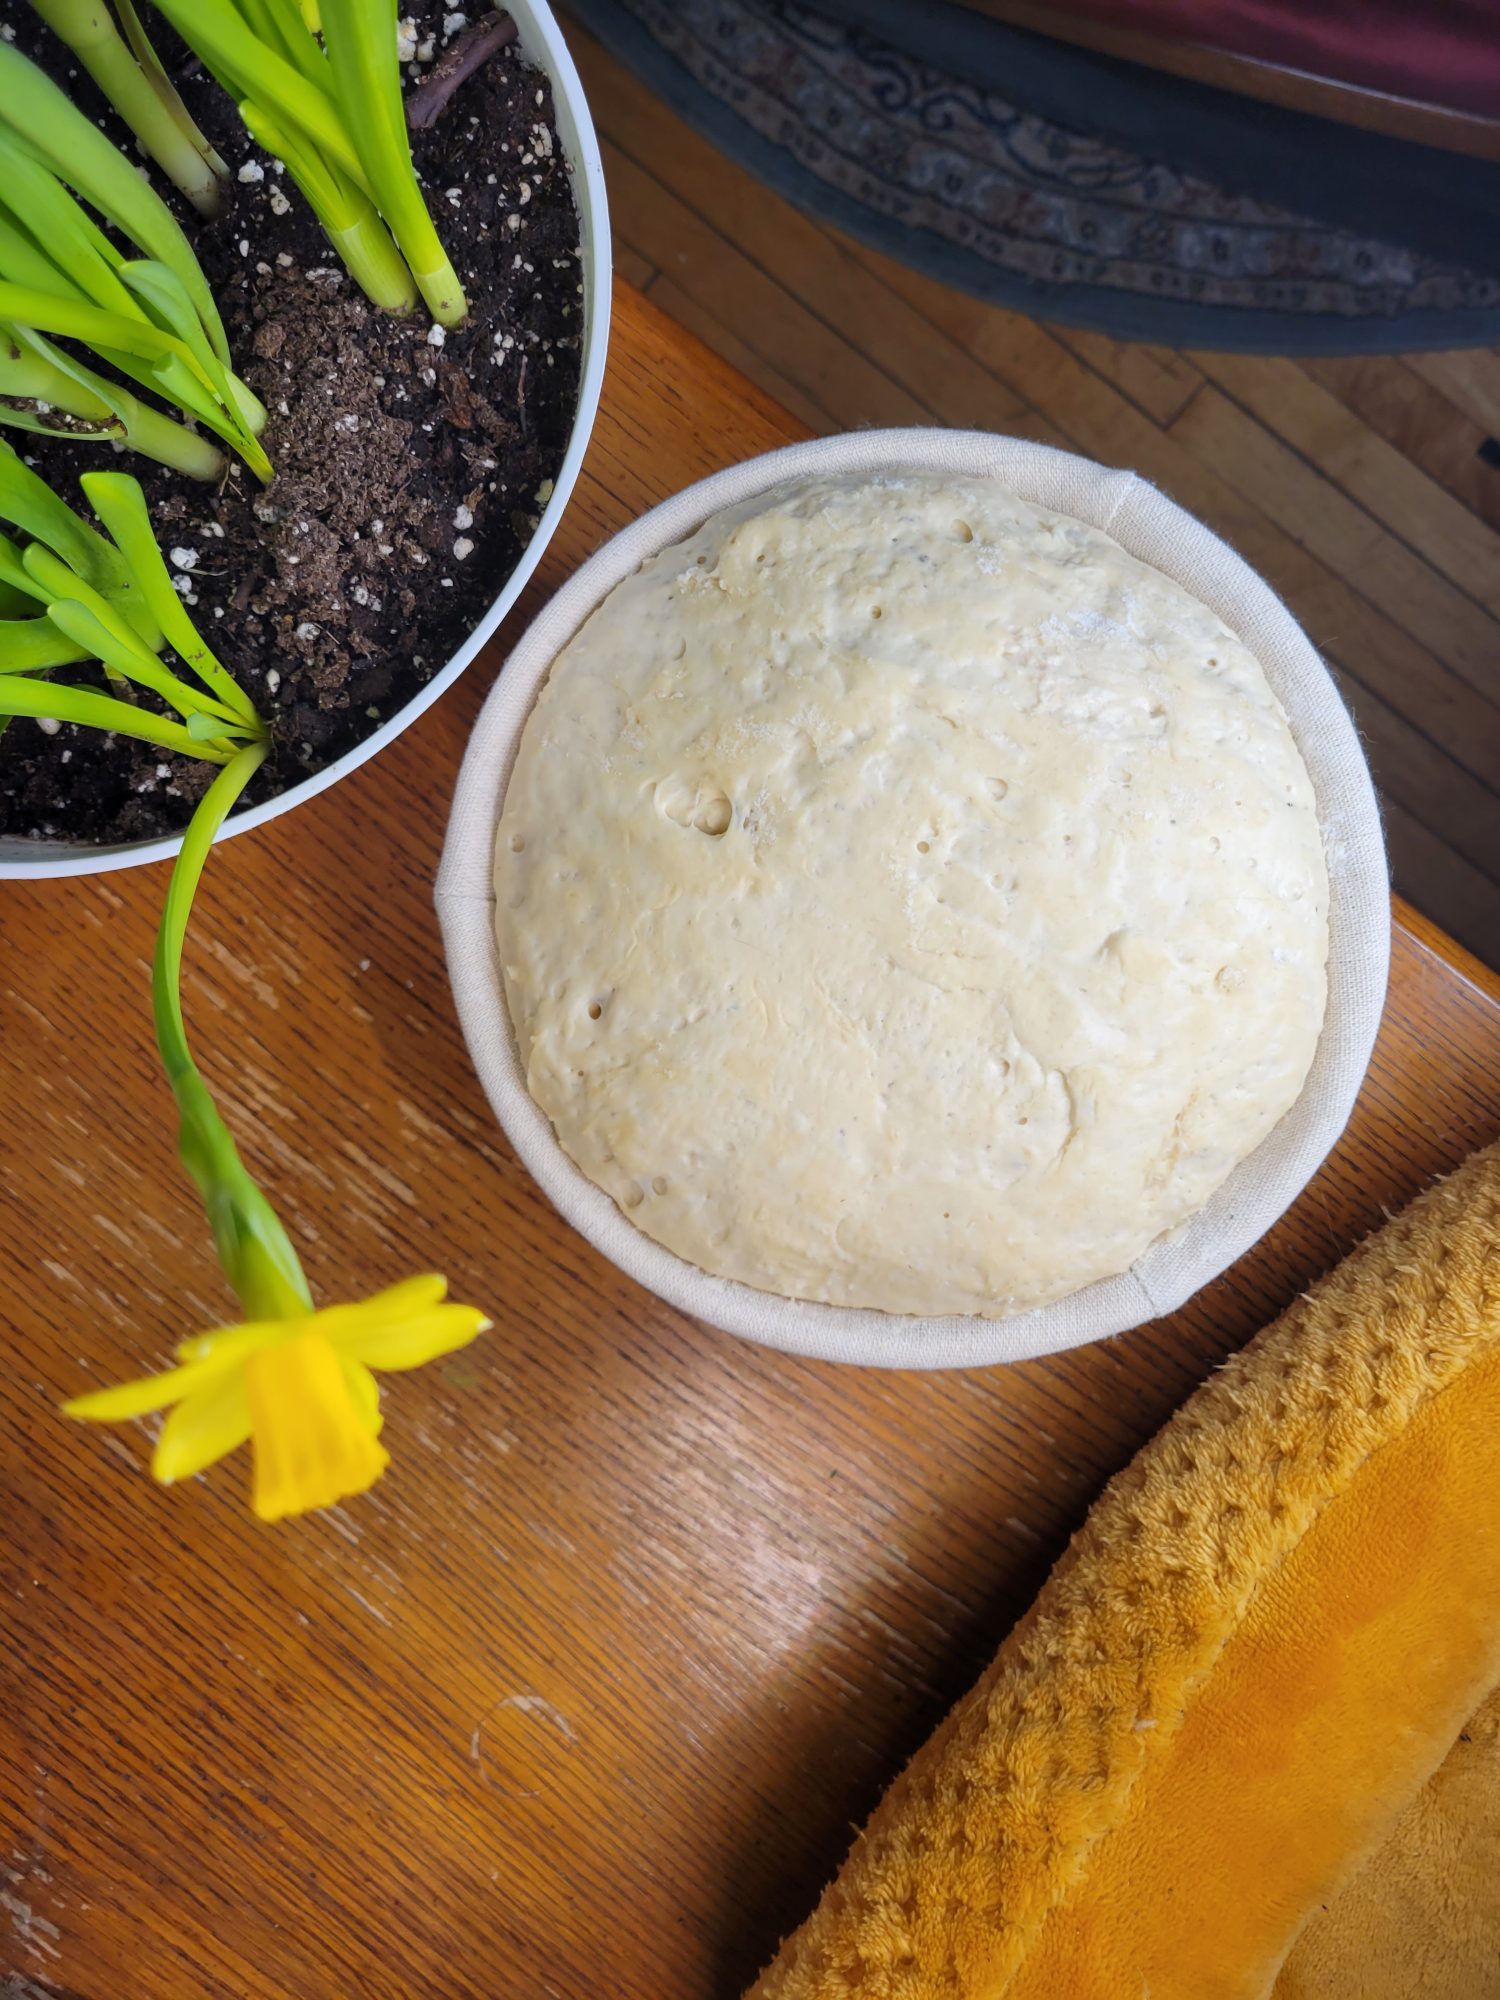
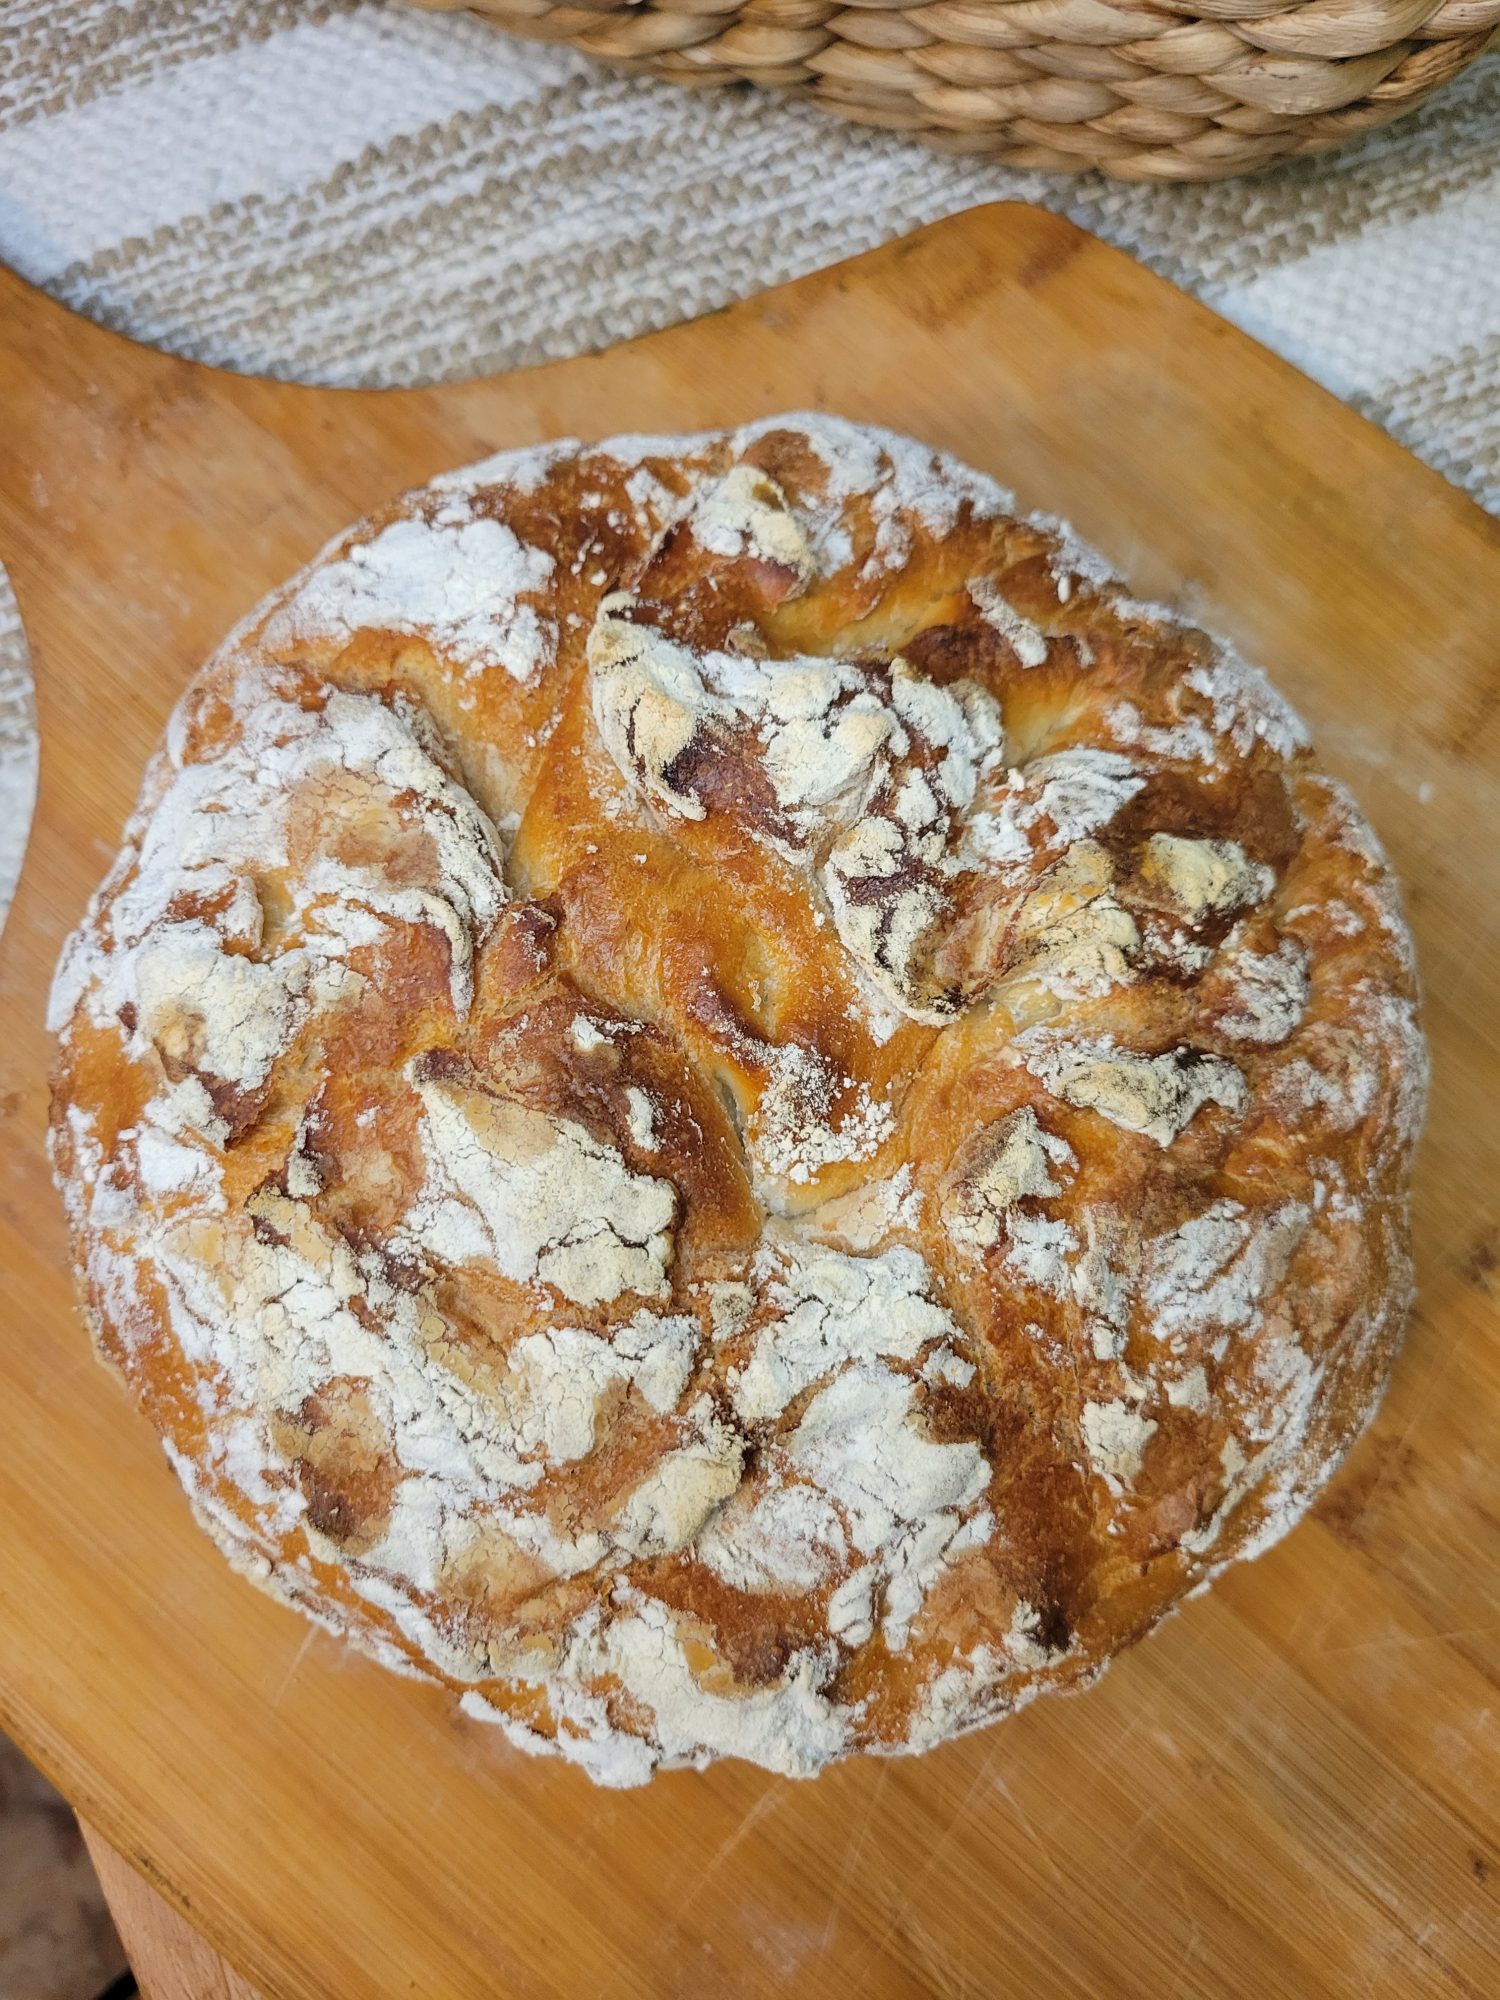
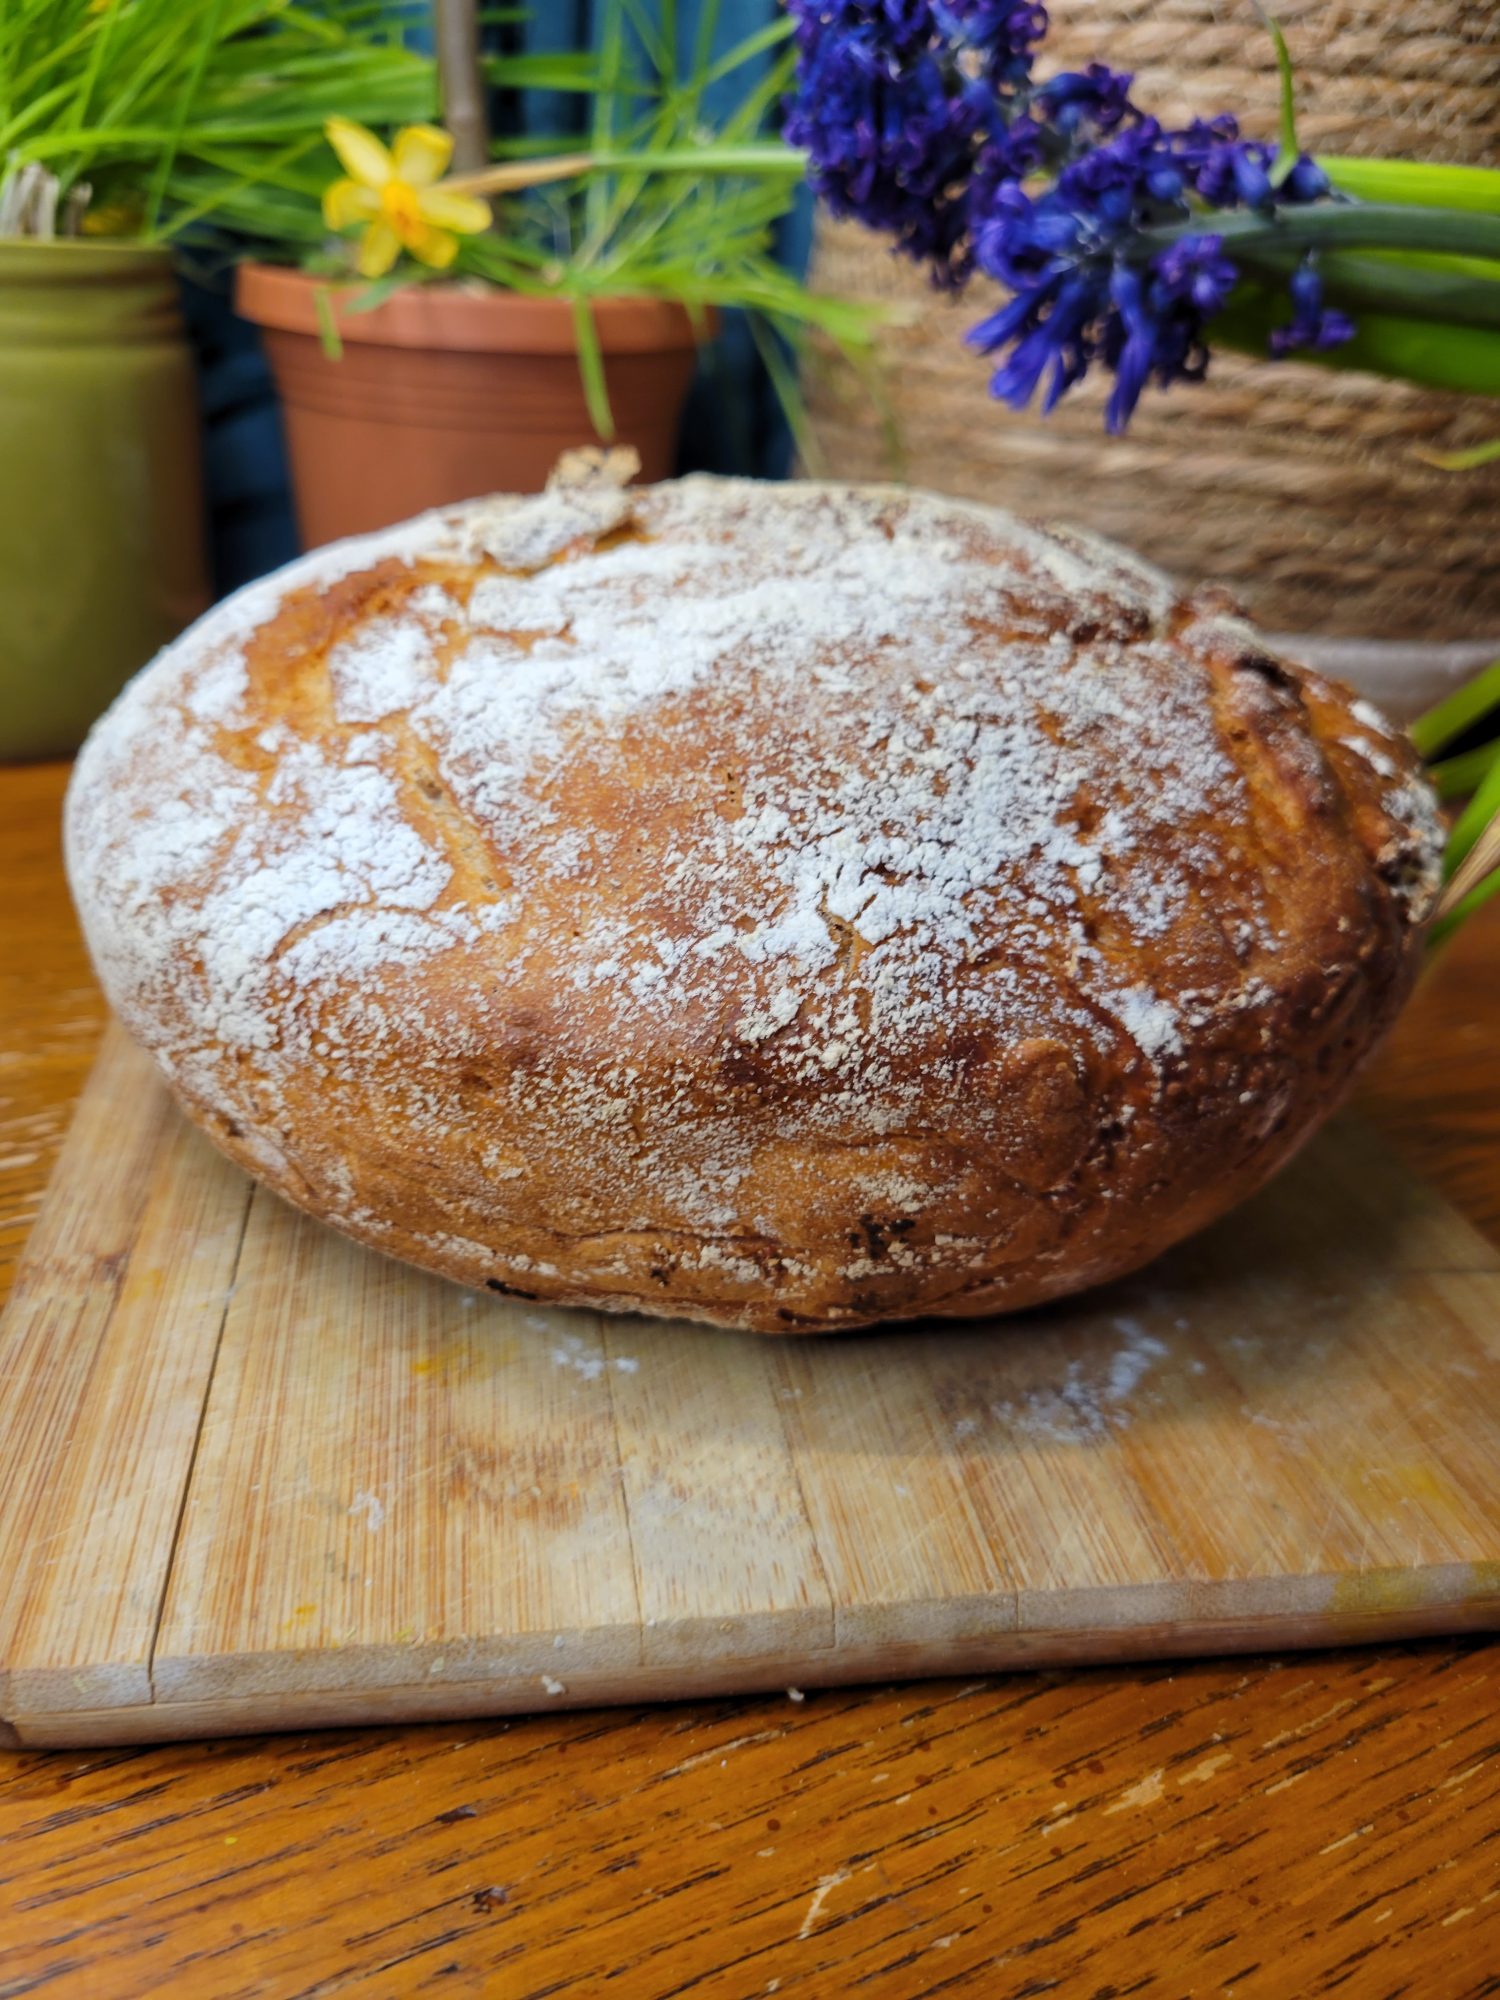
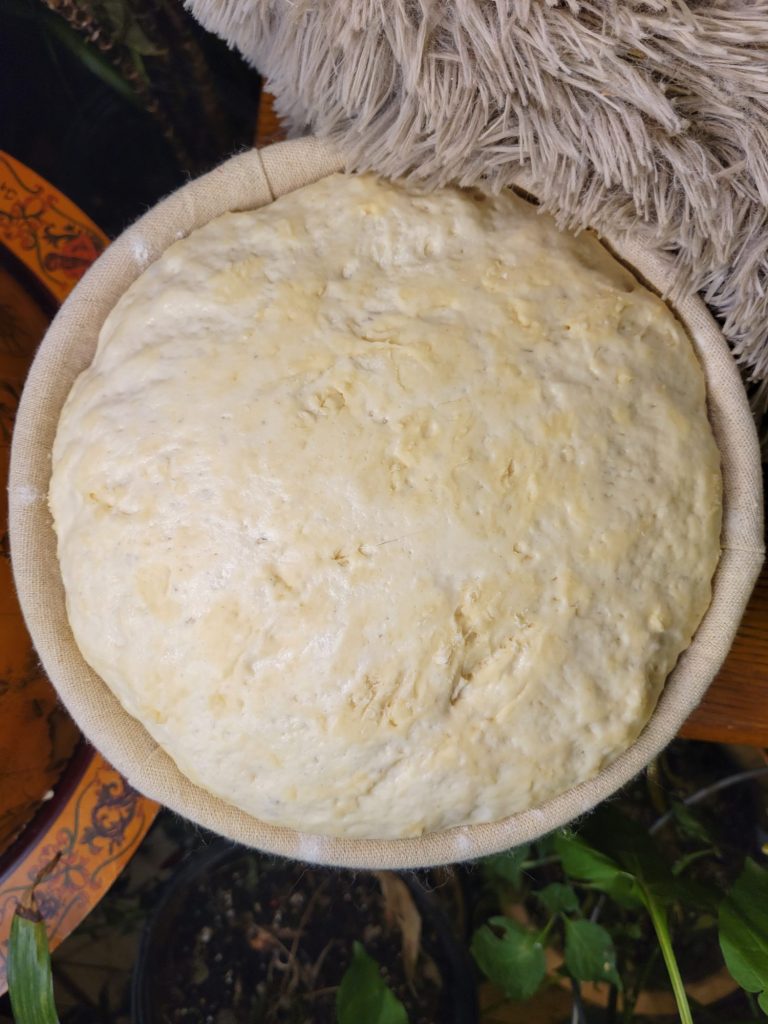
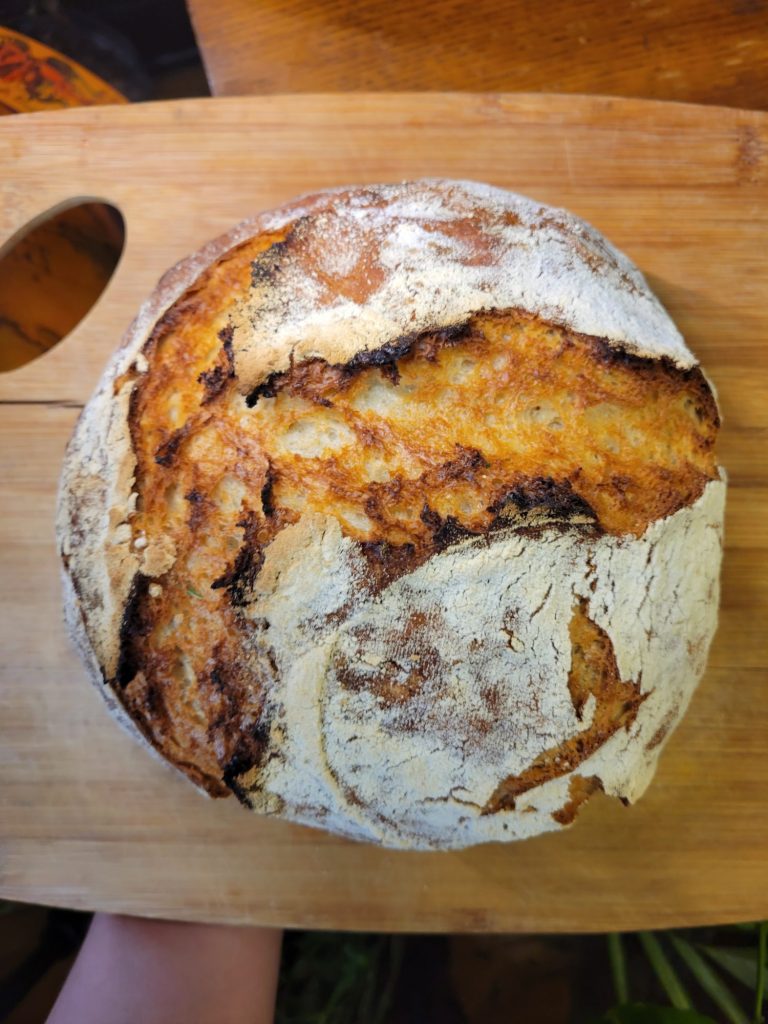
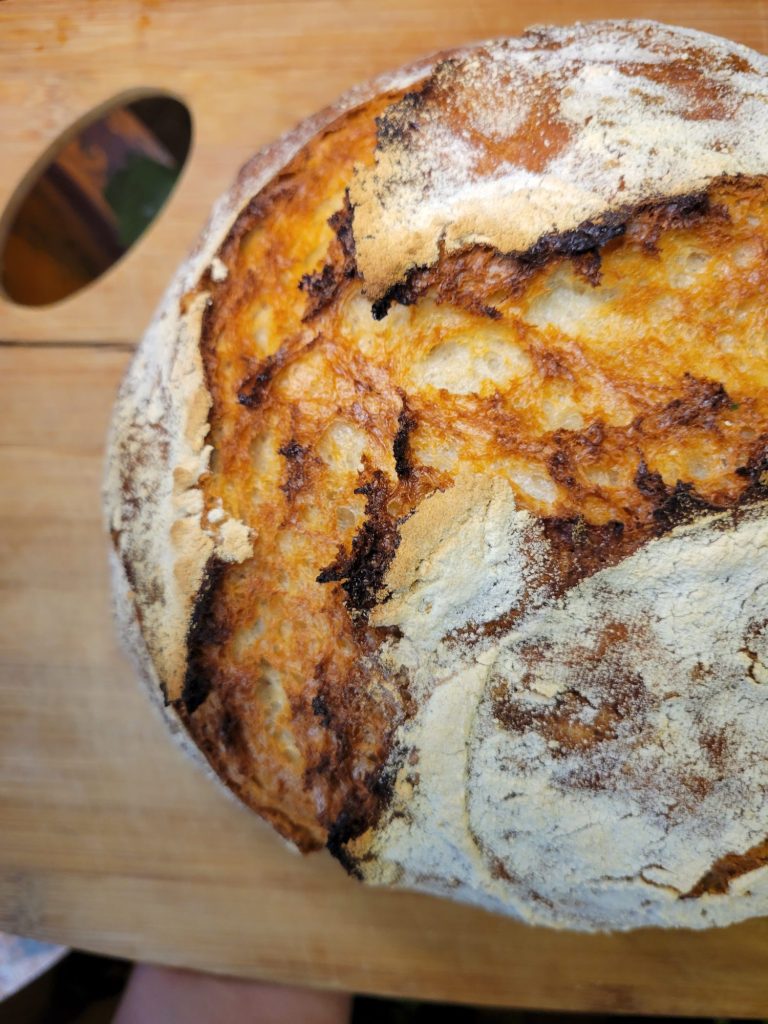
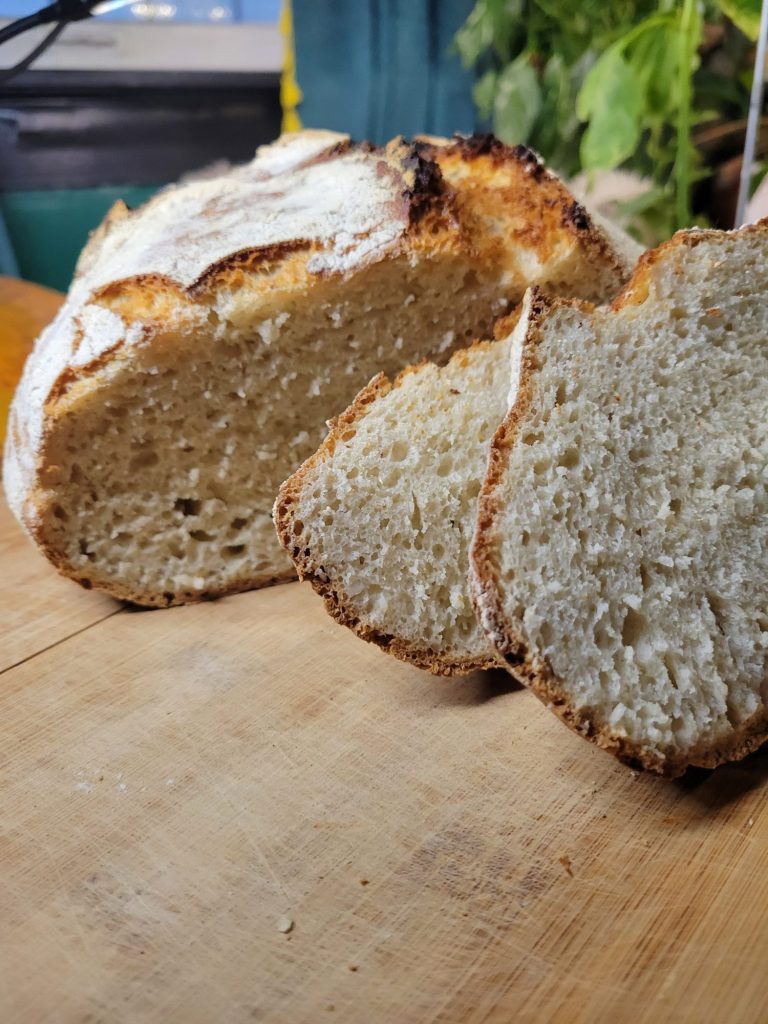
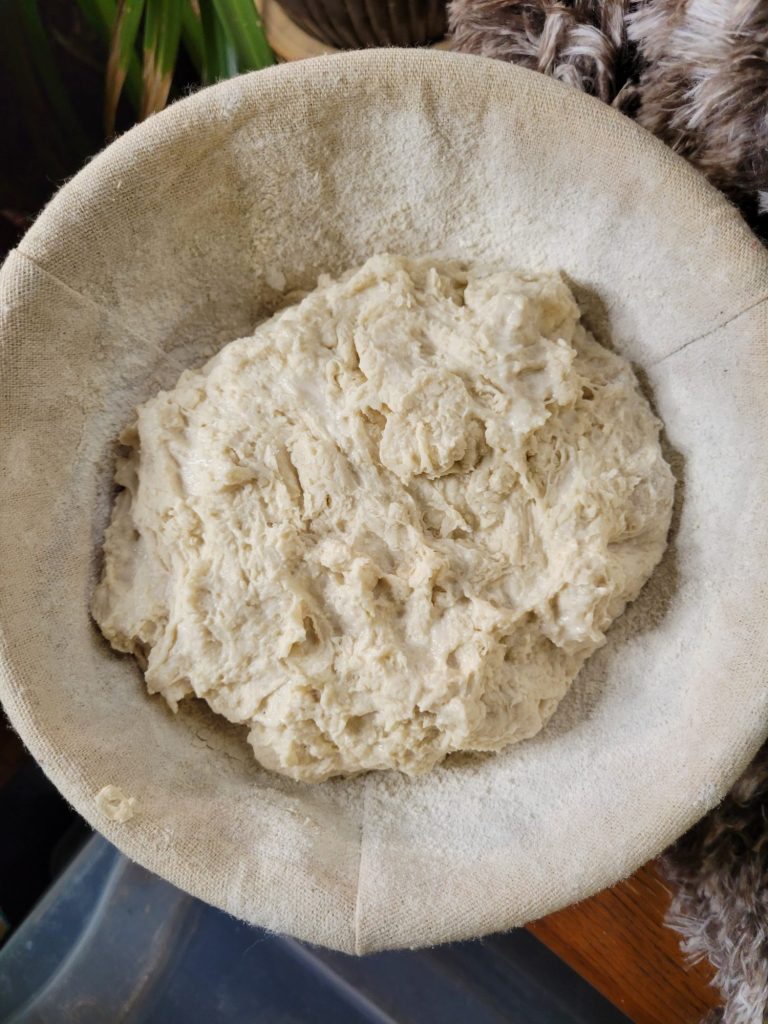
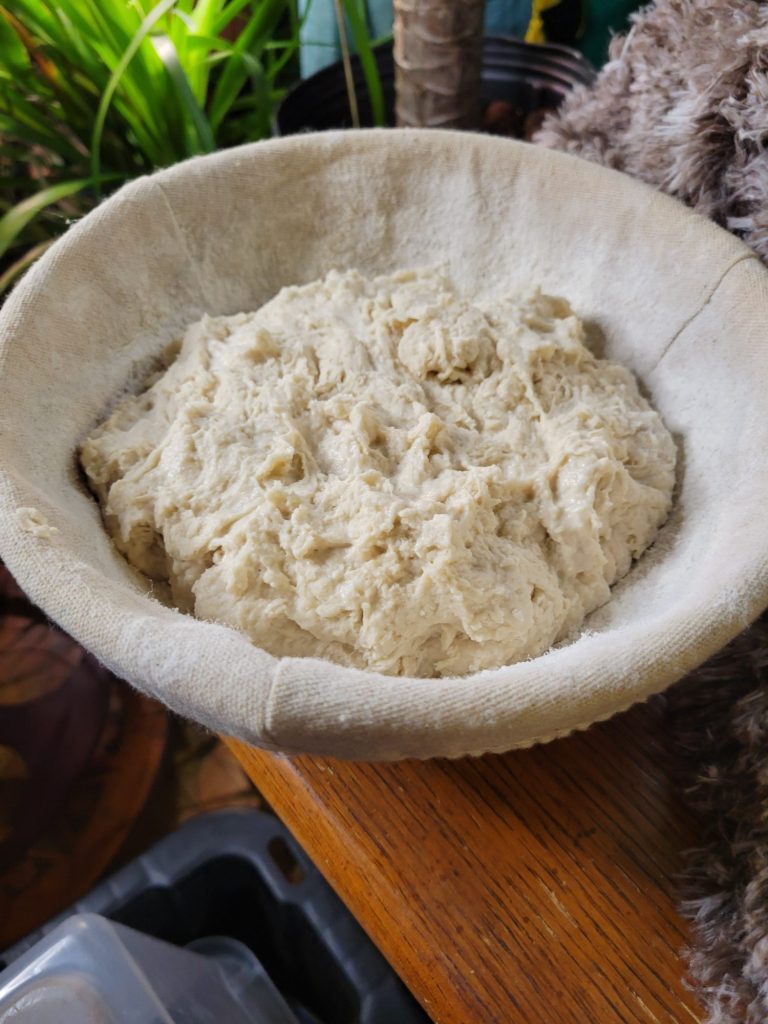
My first try at bread basket bread went relatively successfully! I'm perpetually worried about ruining my towels with dough sticking and seeping into them. There was some stickage, but I believe that I have both salvaged the bread and the towel. Perhaps next time I will flour a little bit more because attempting to unstick the dough from the fabric did deflate the rise.
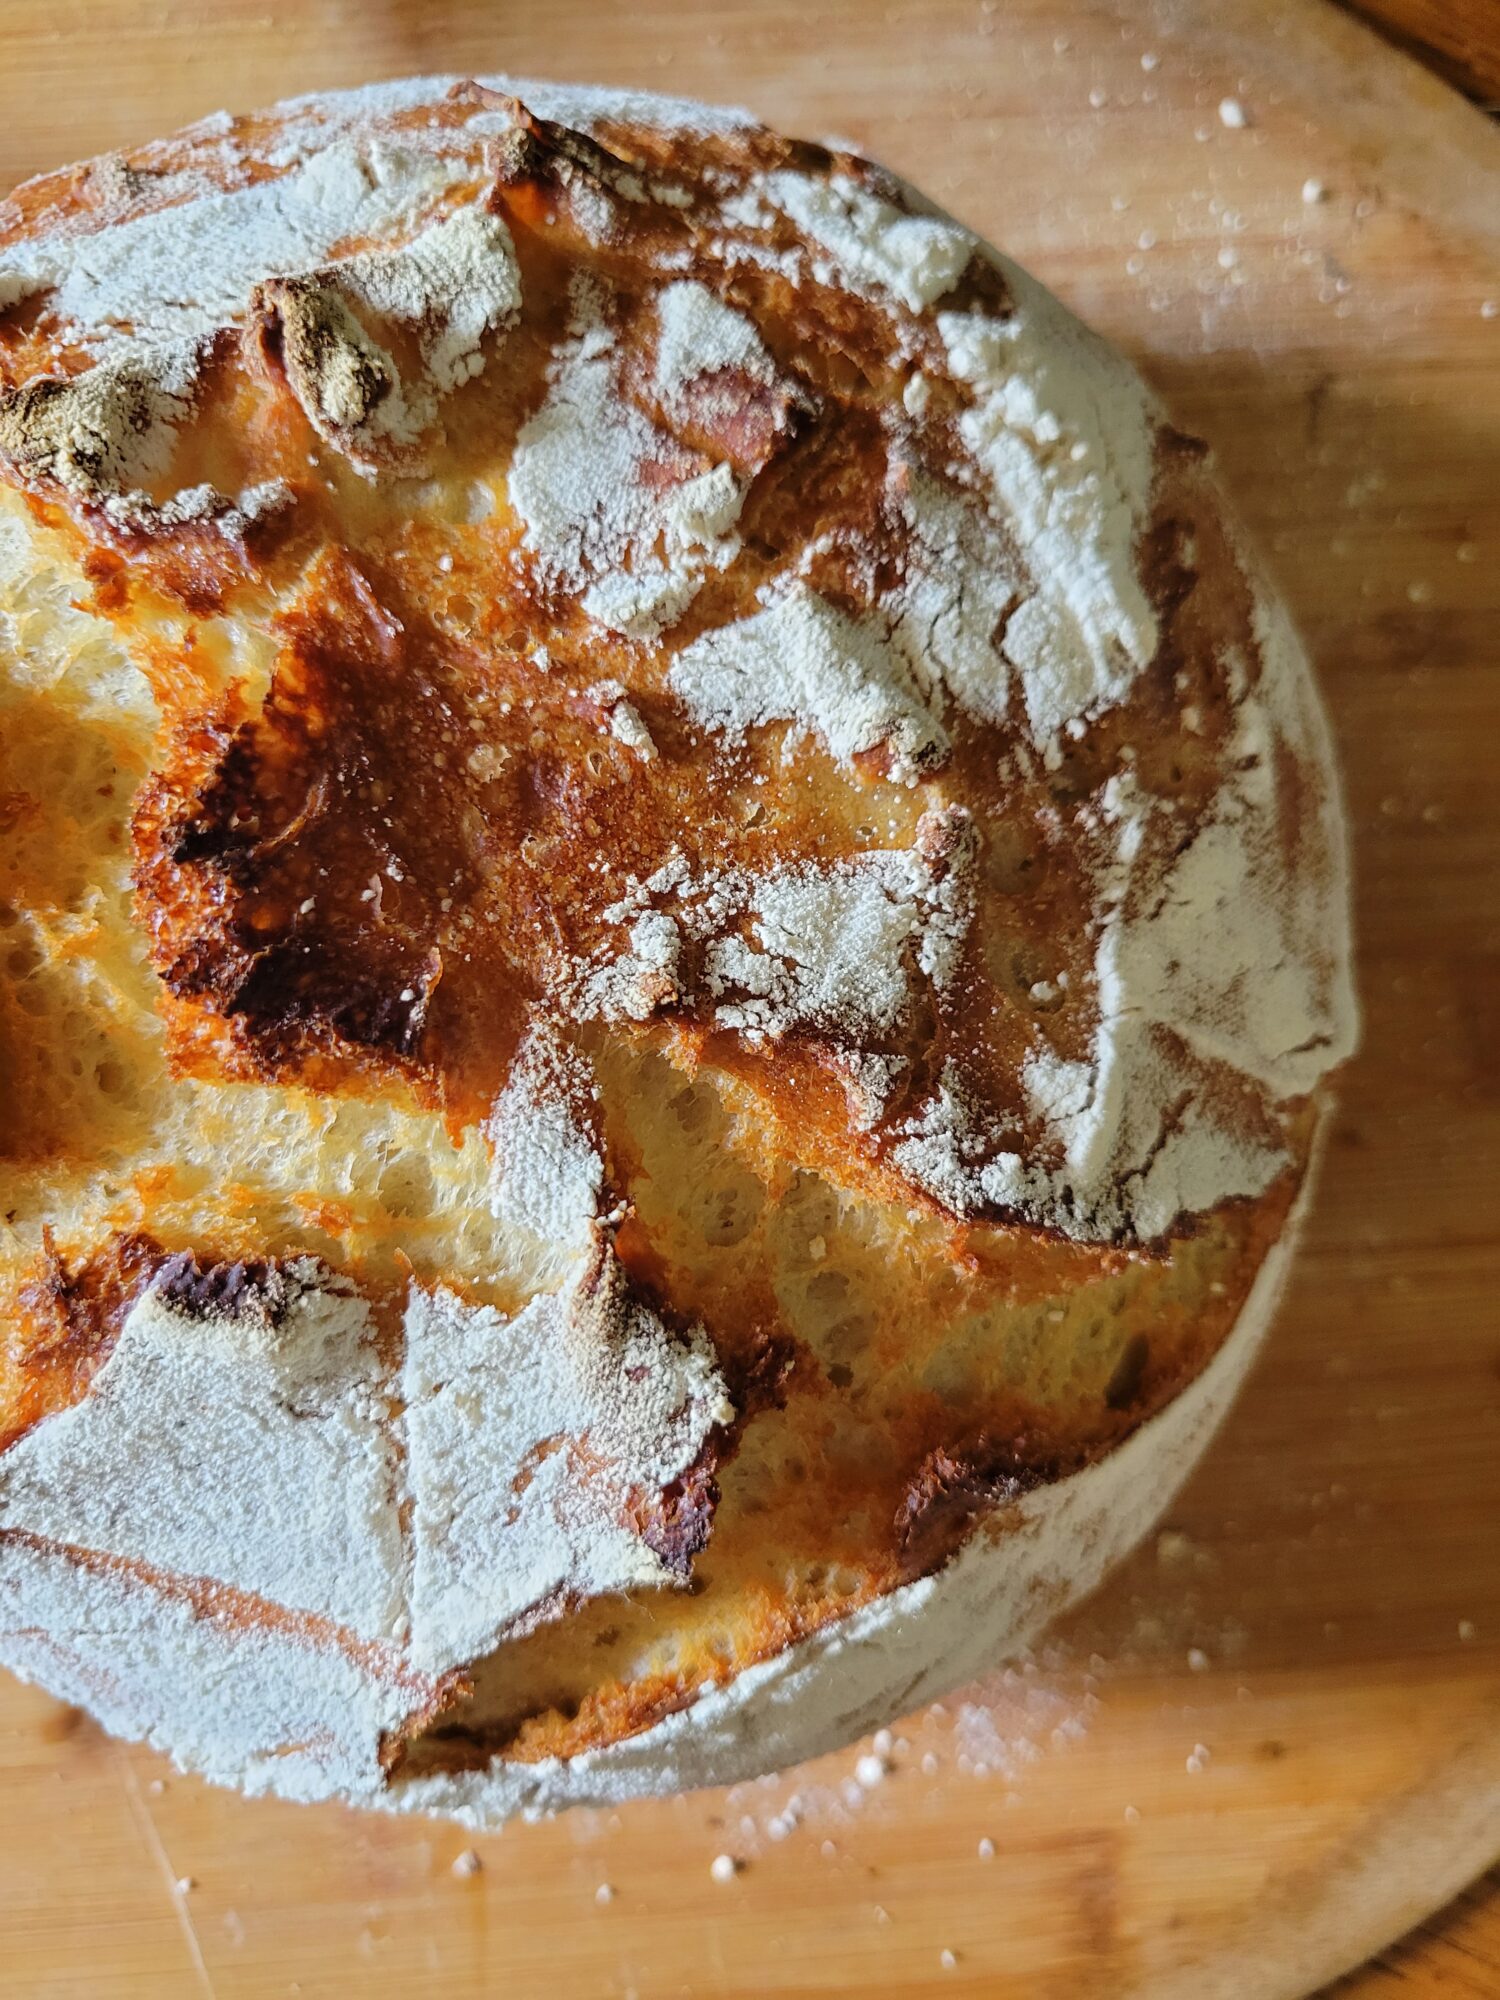
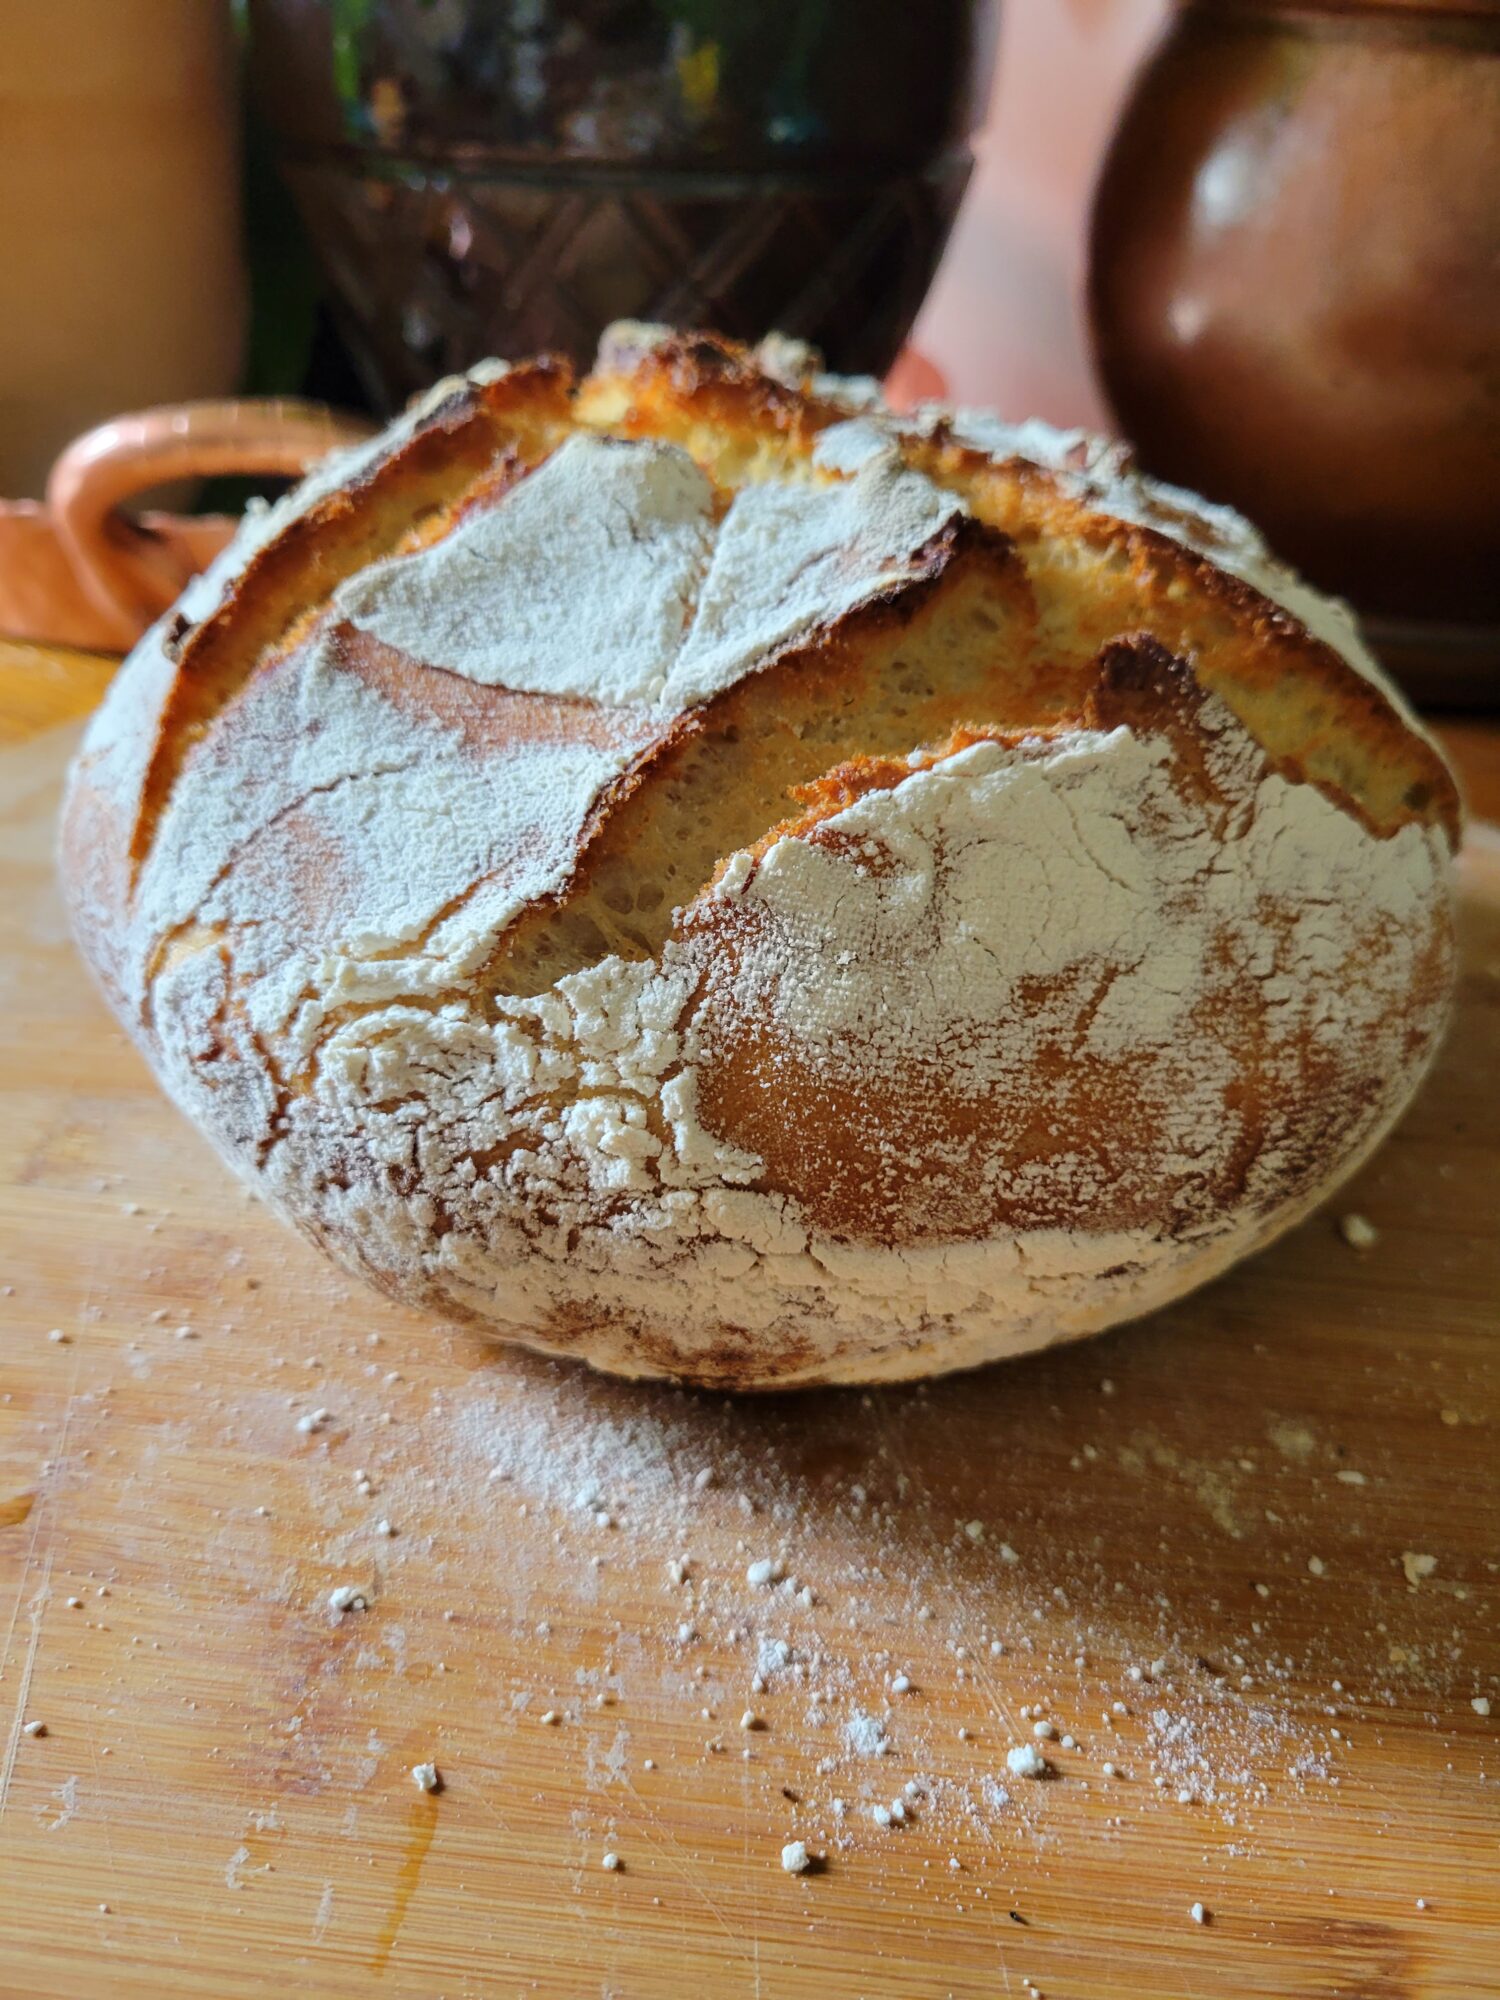
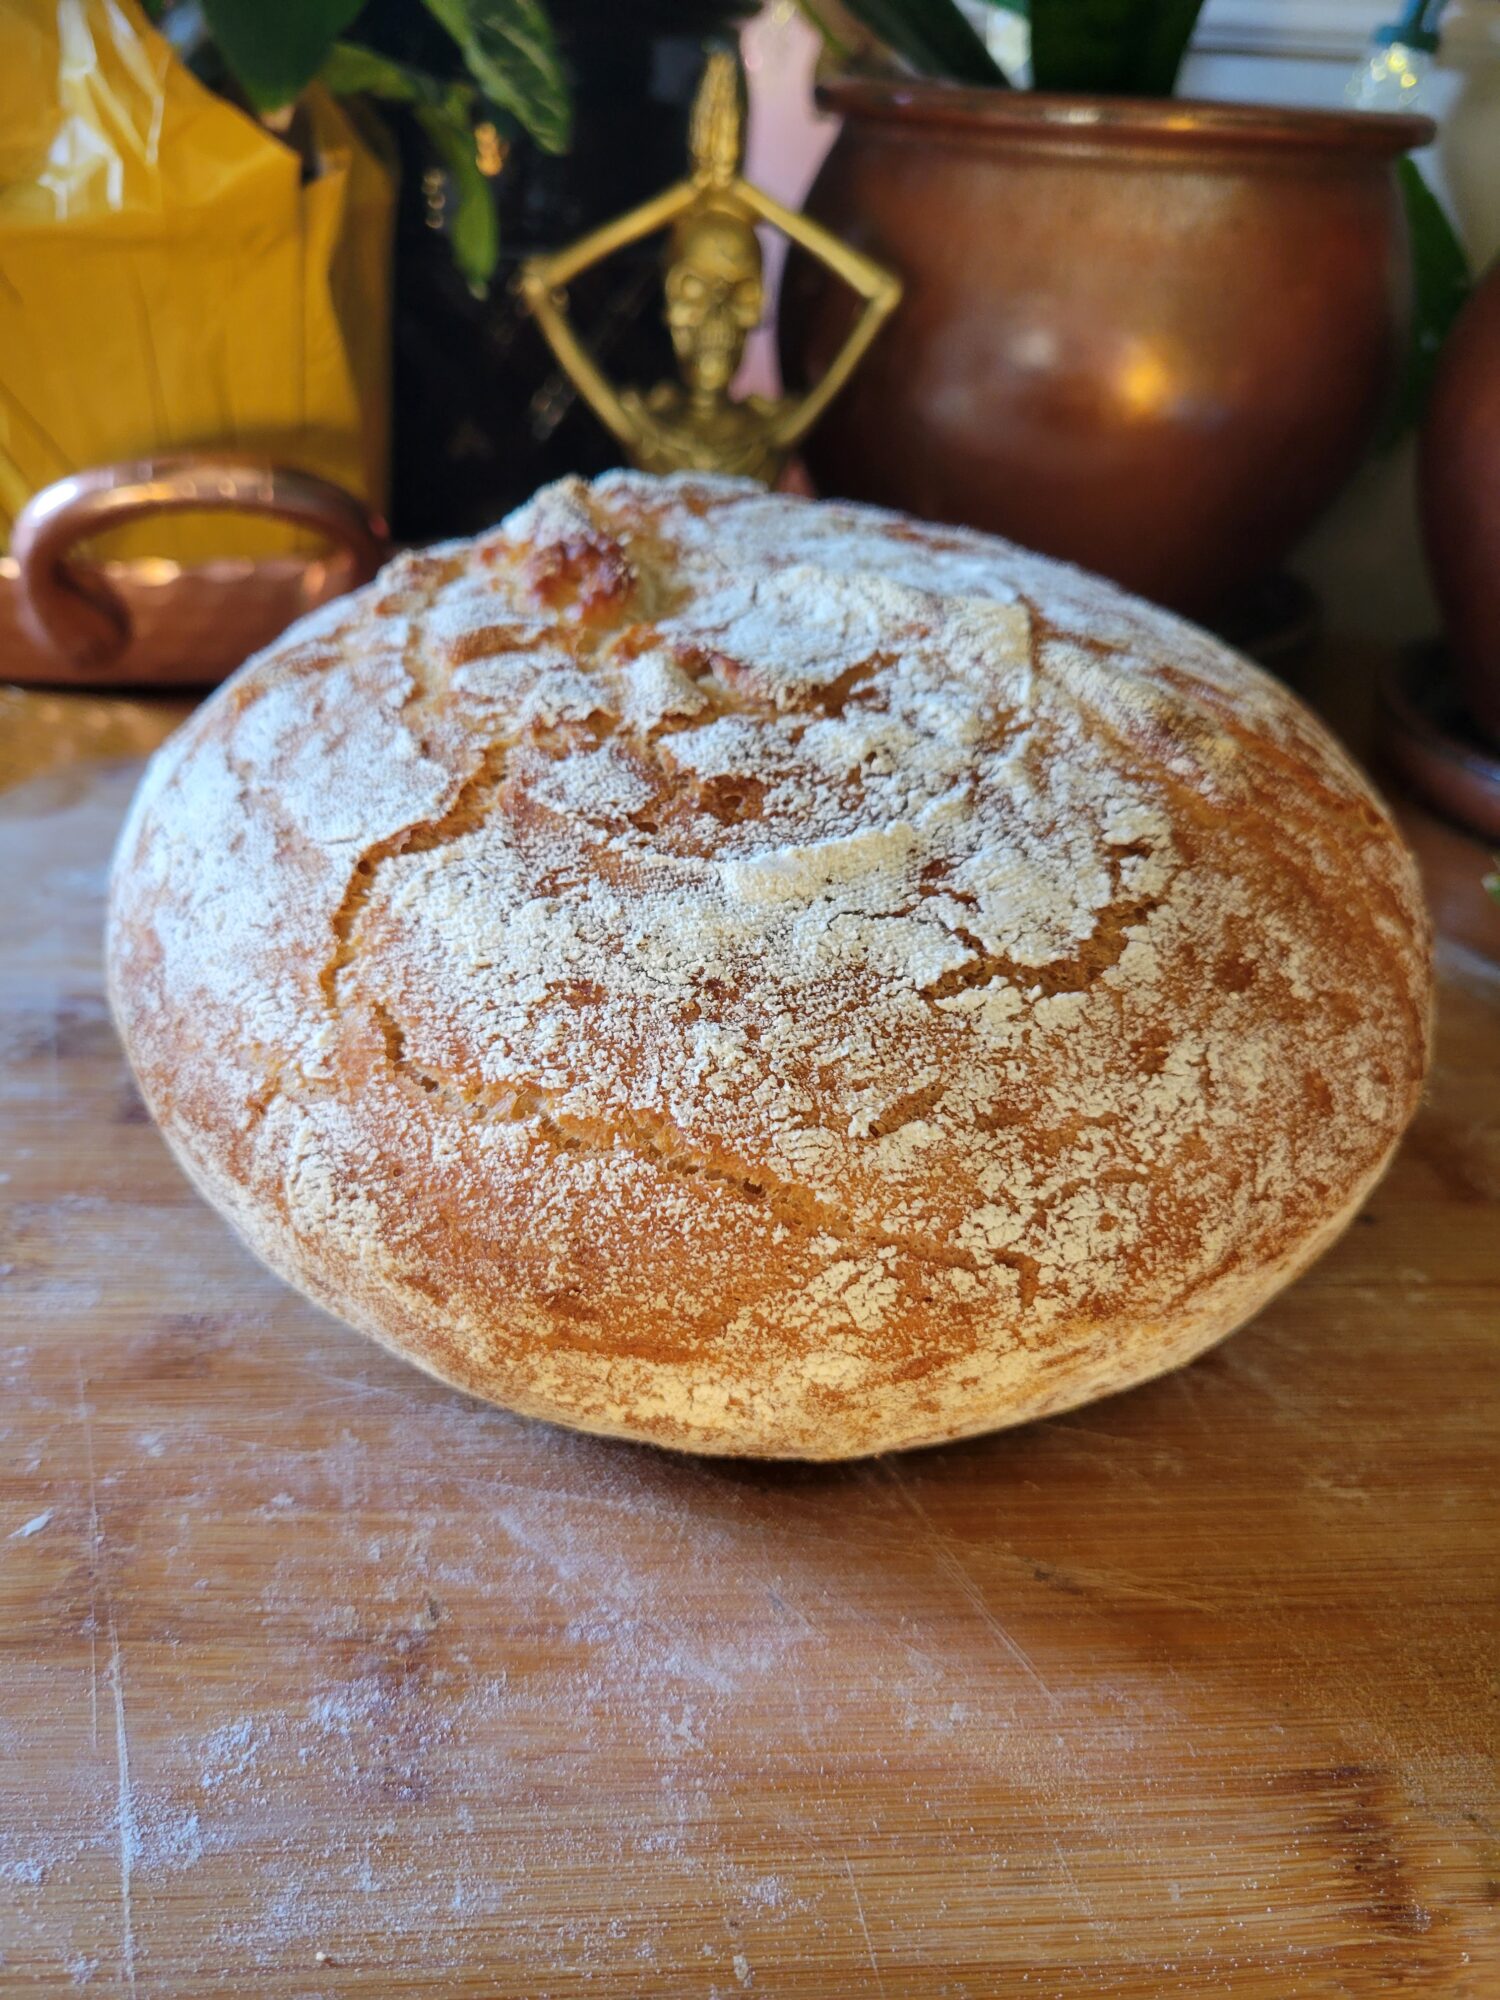
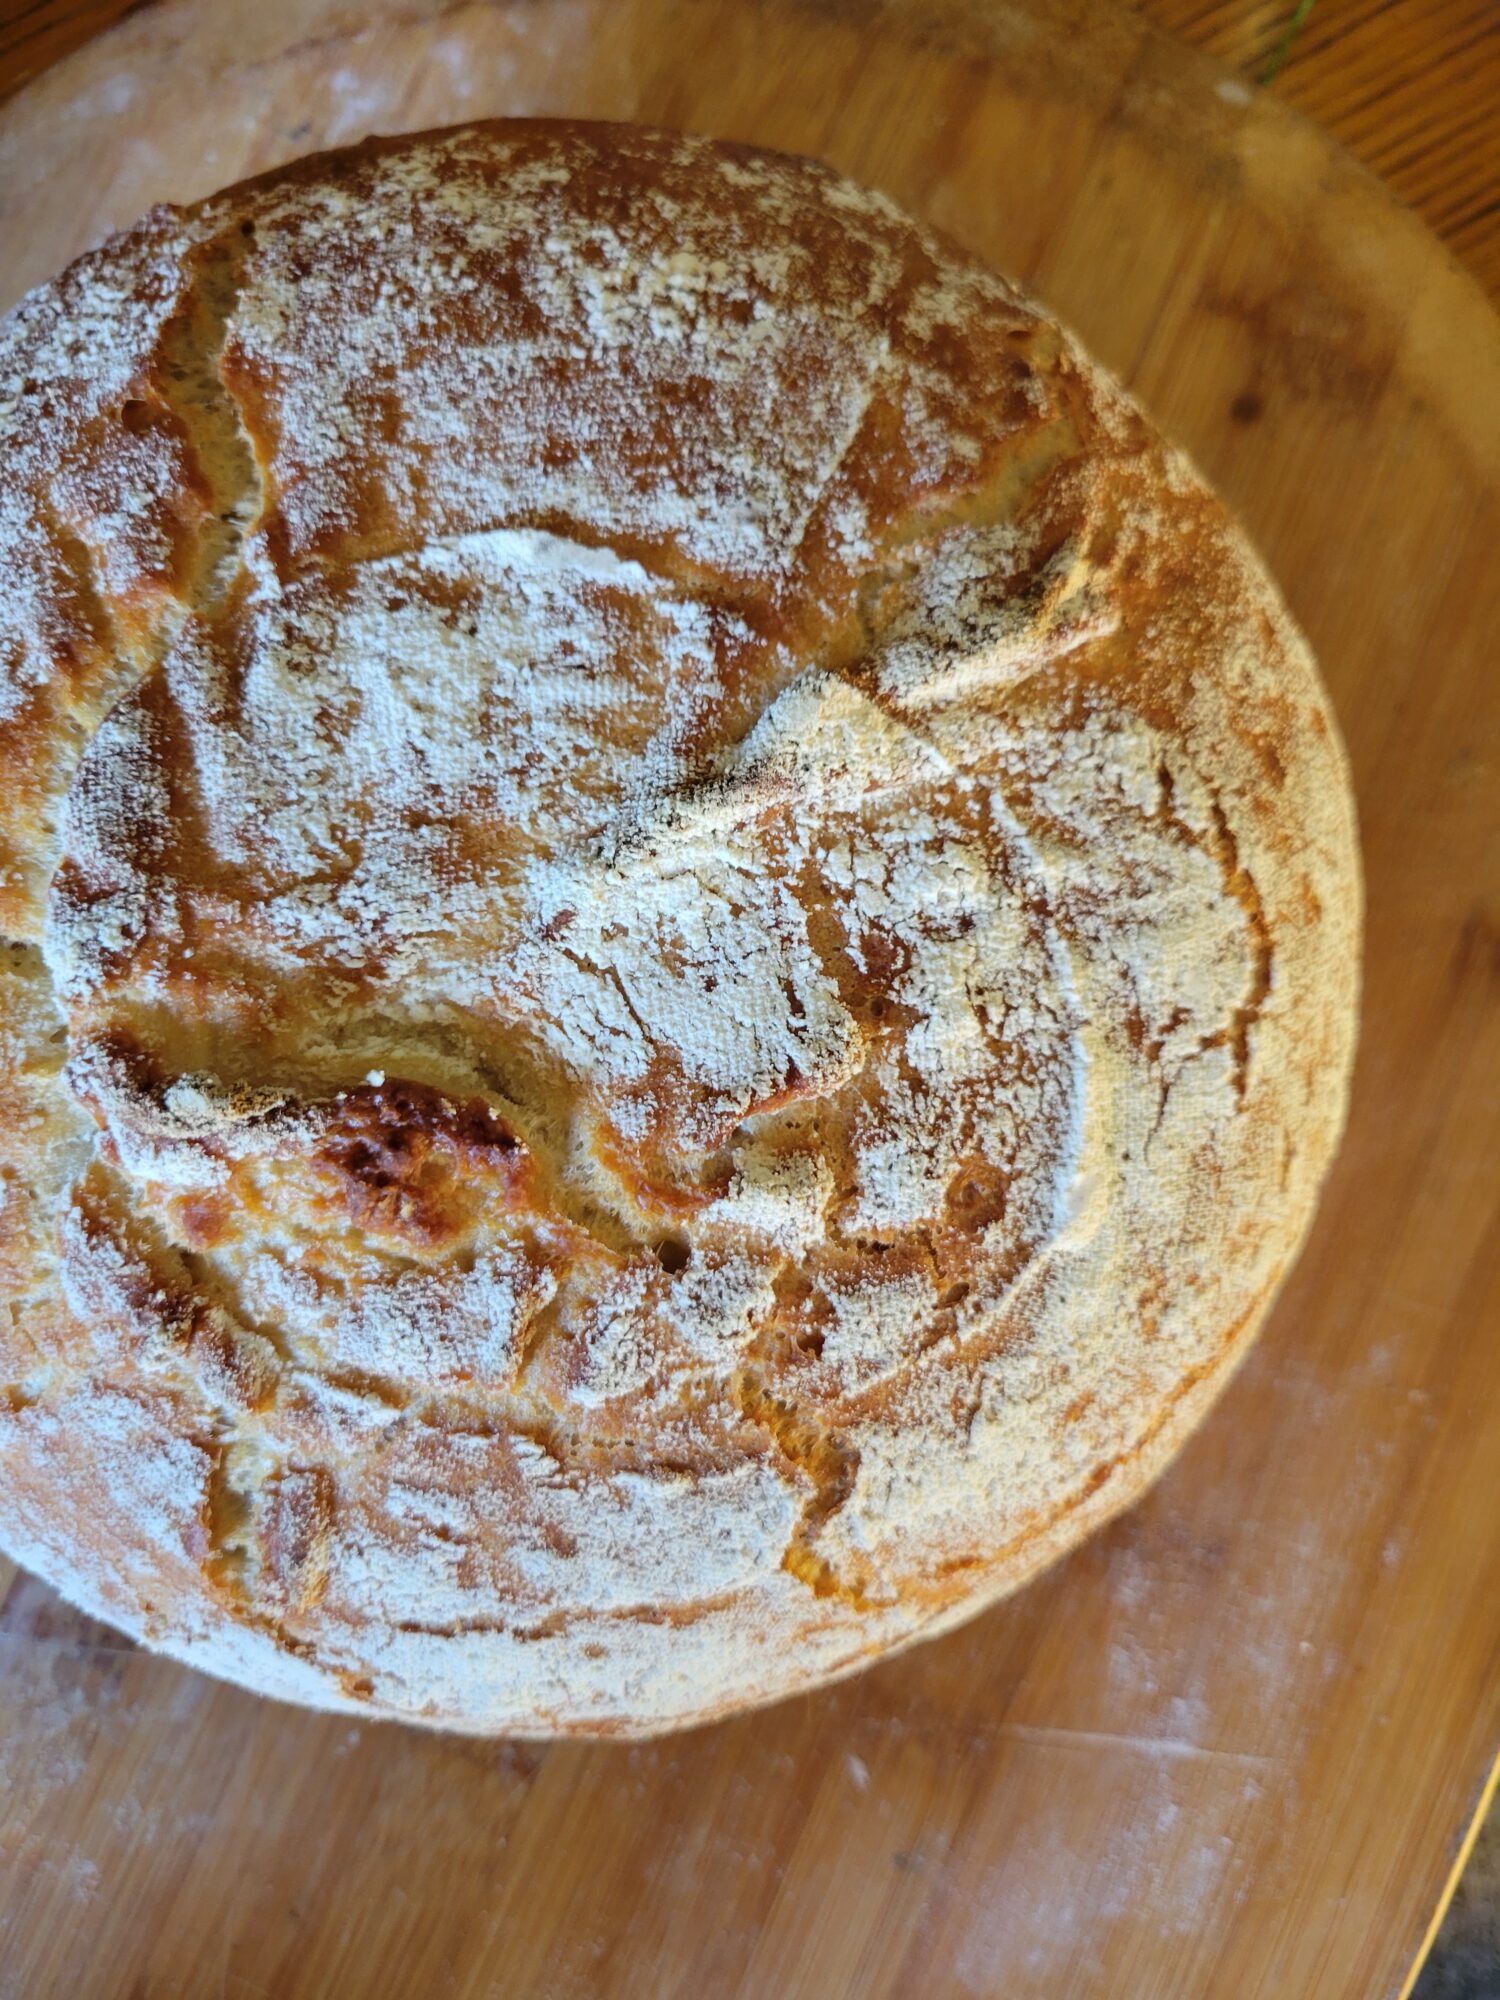
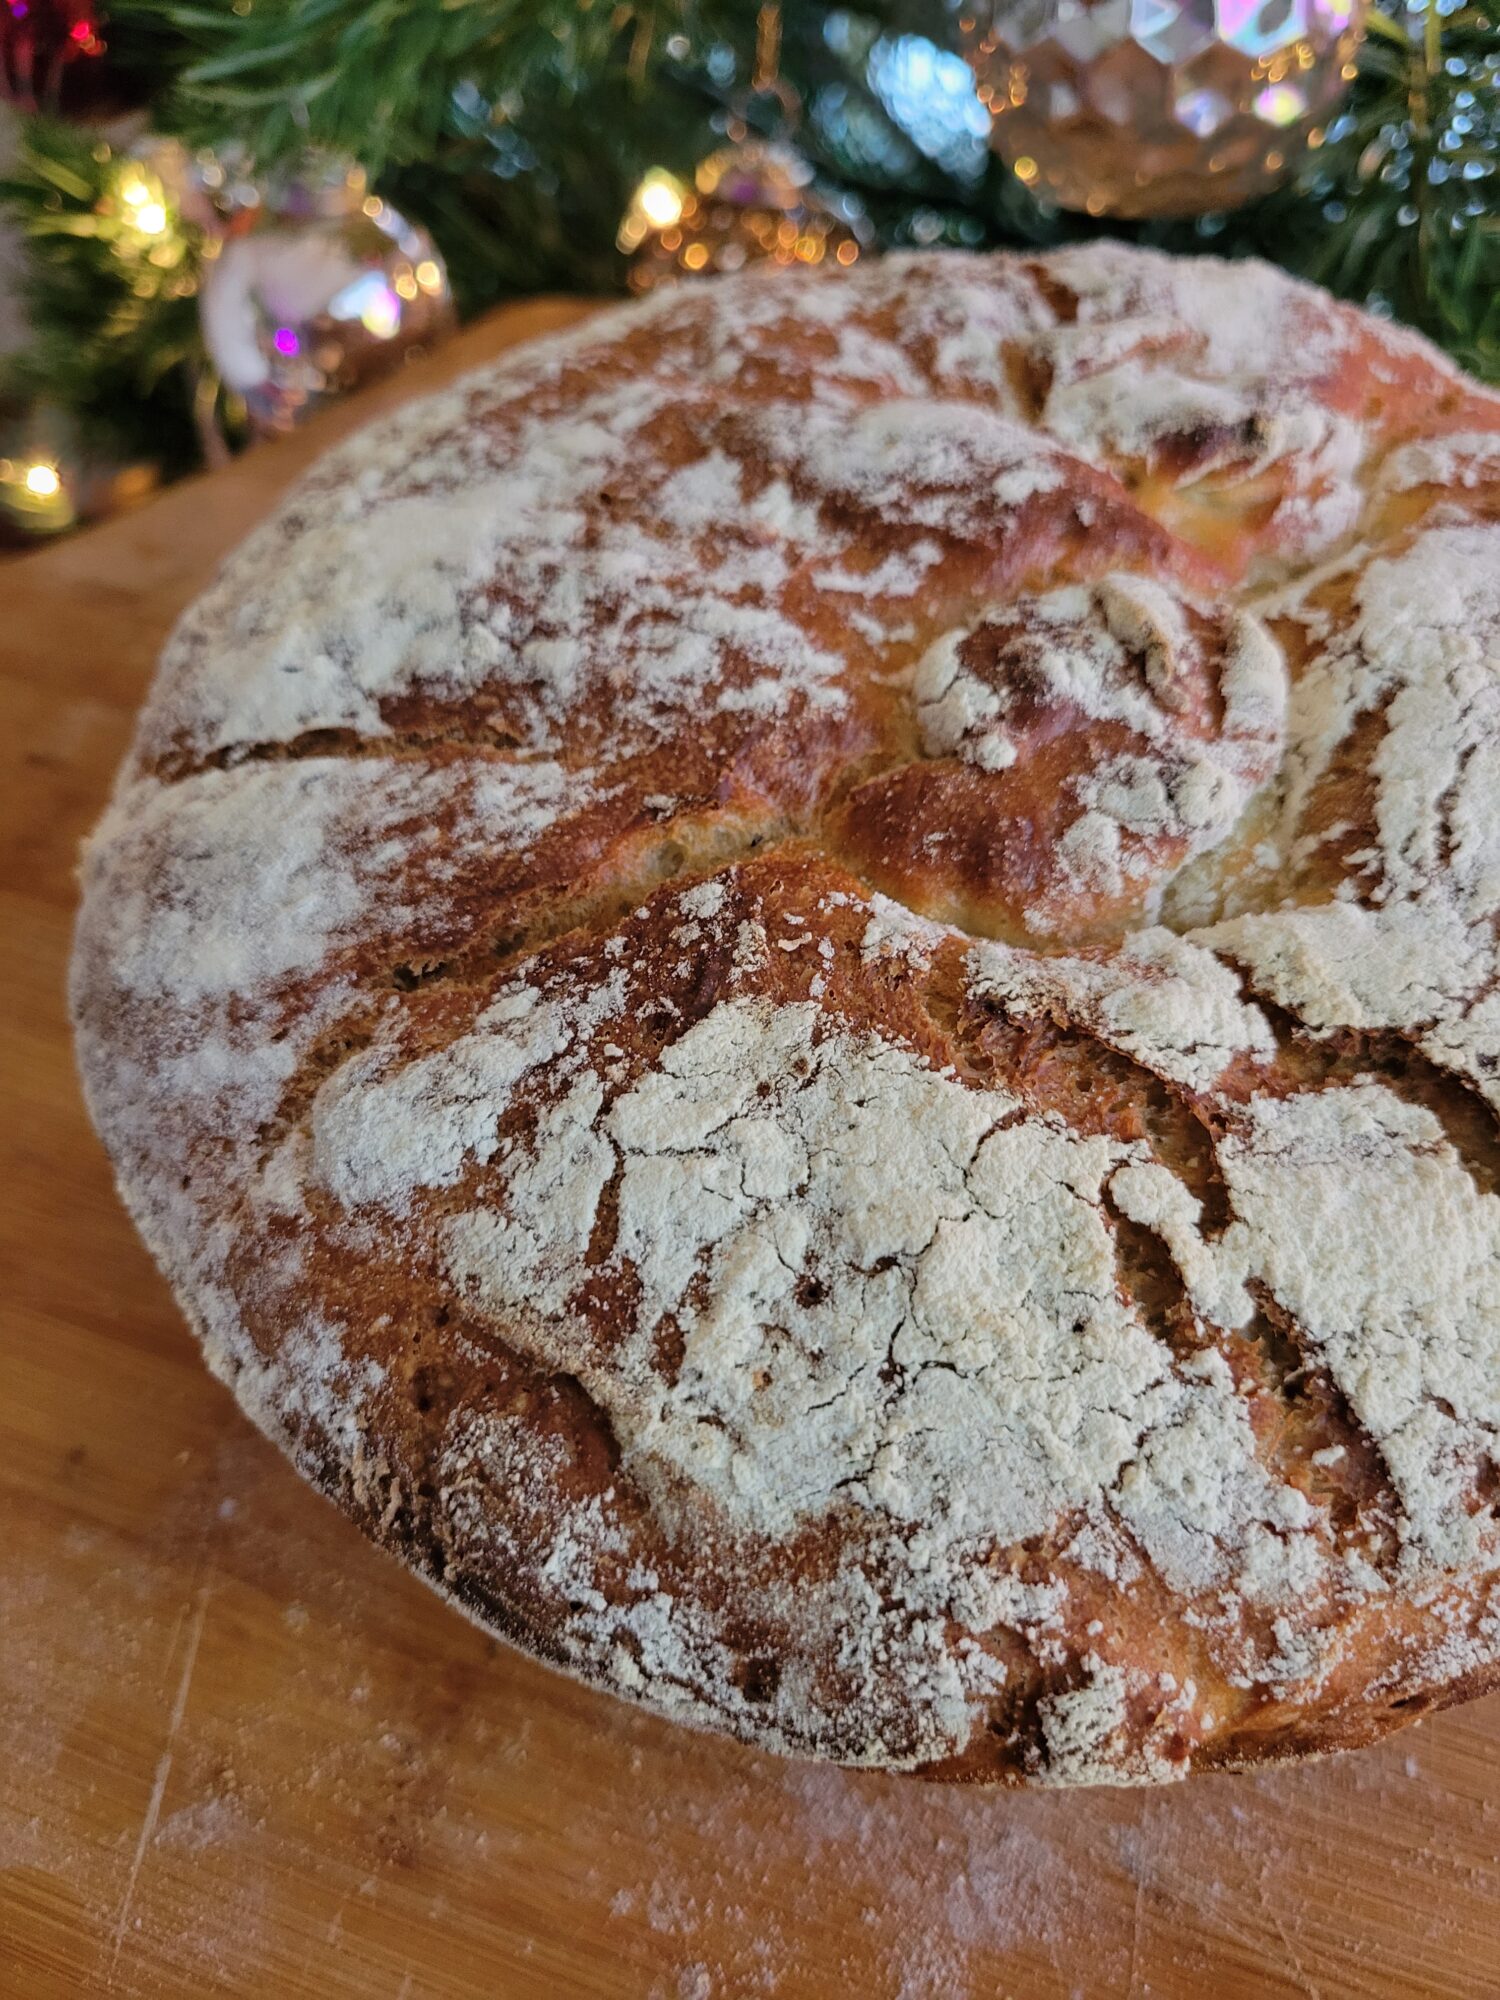
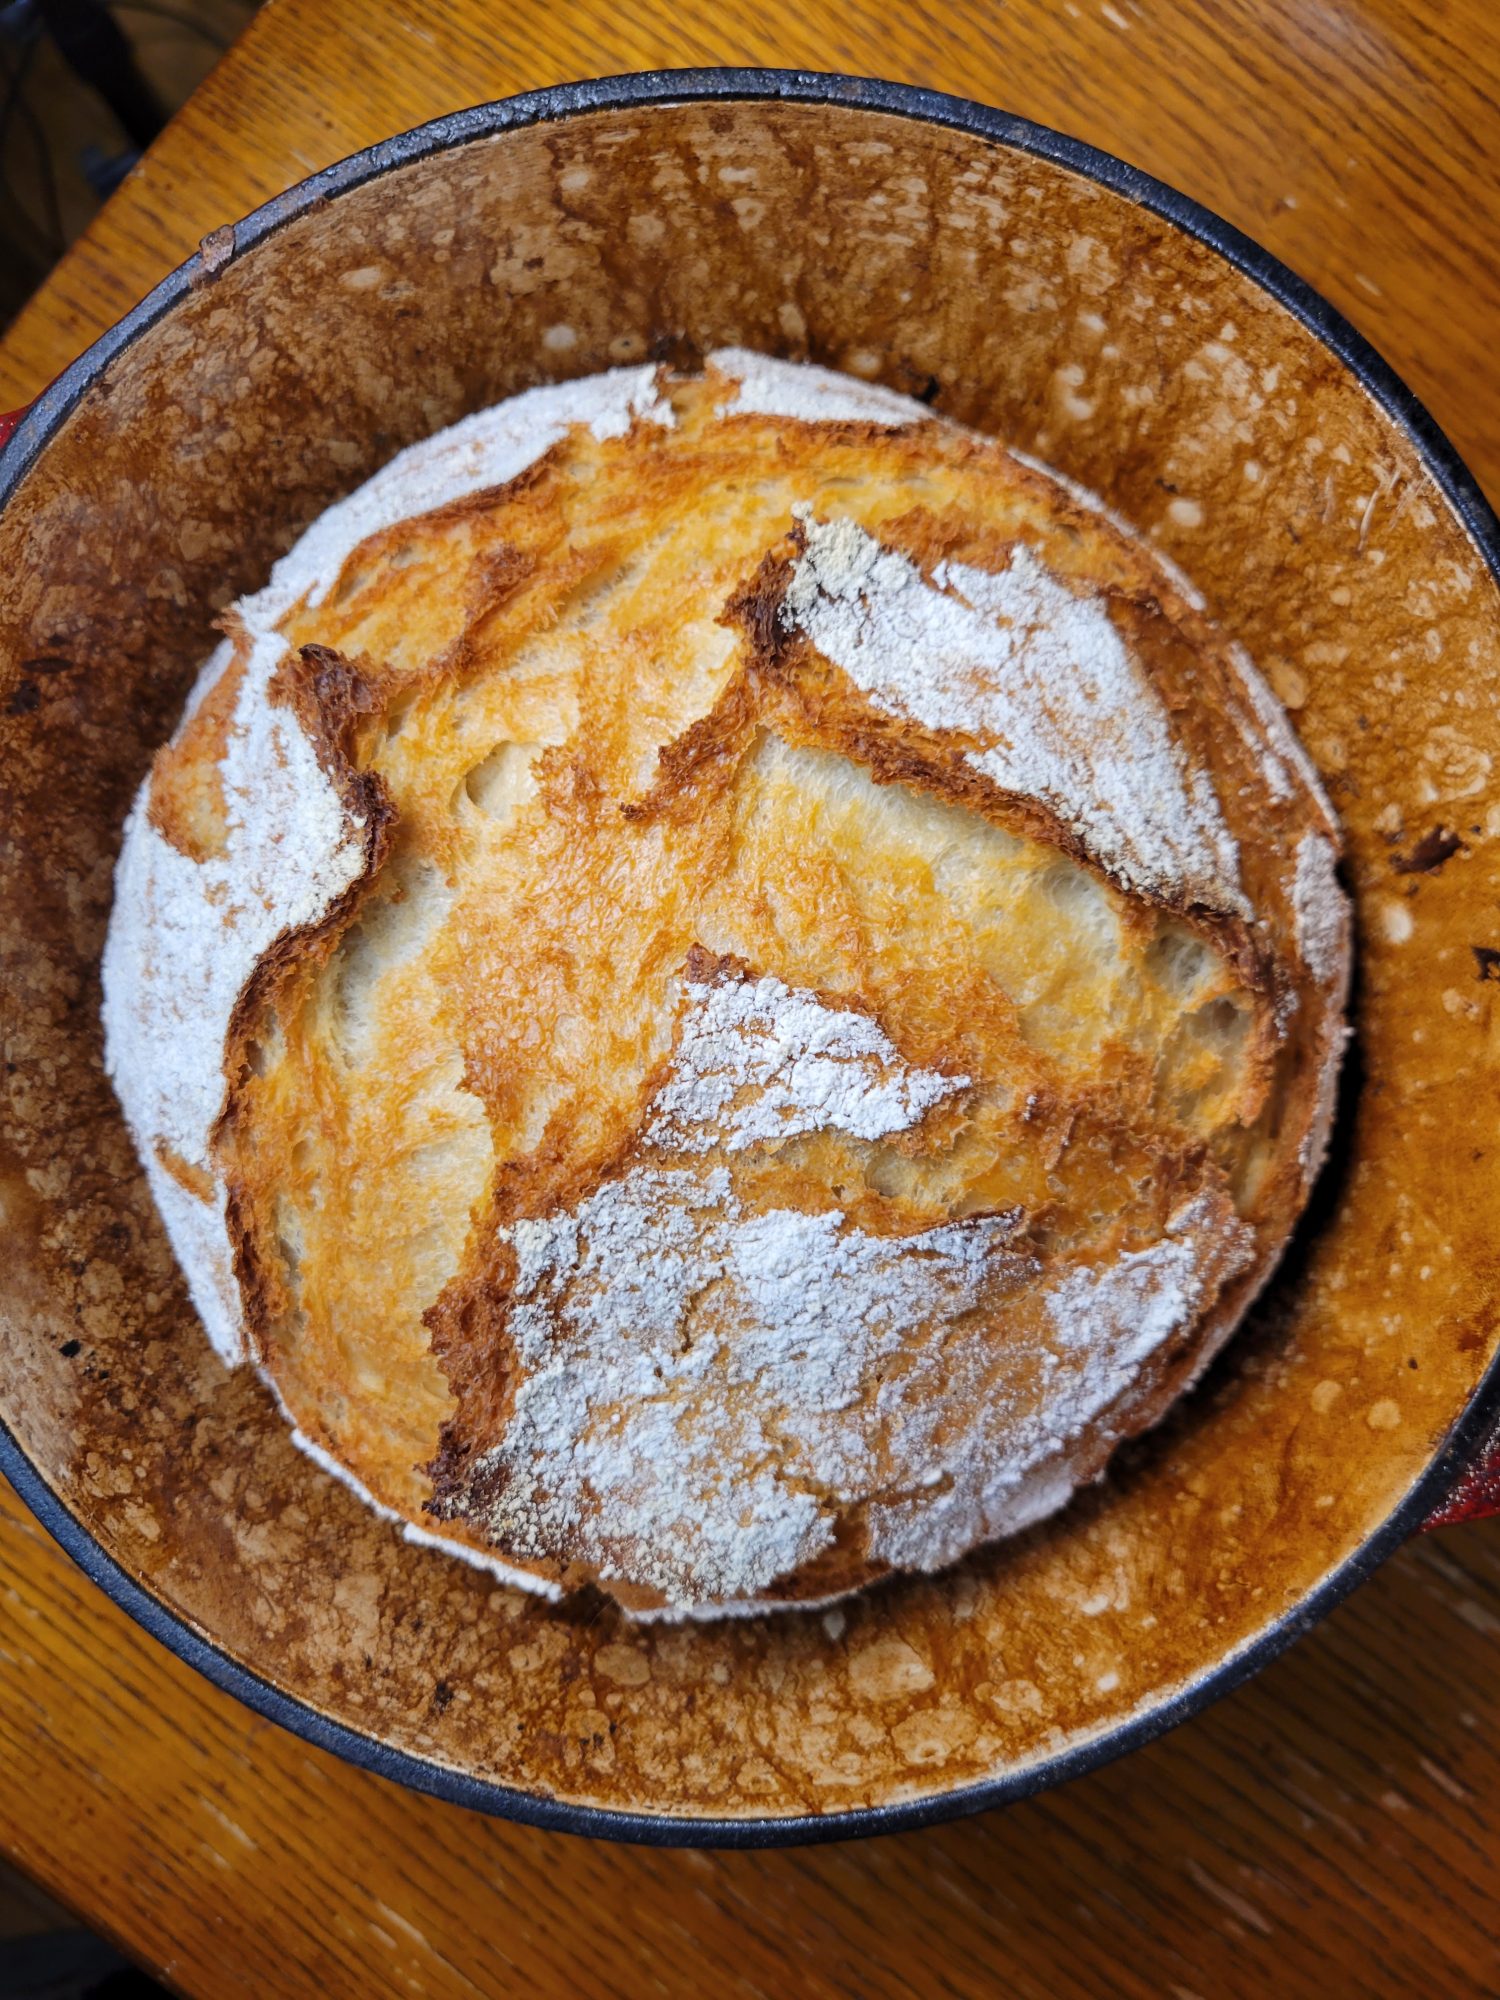
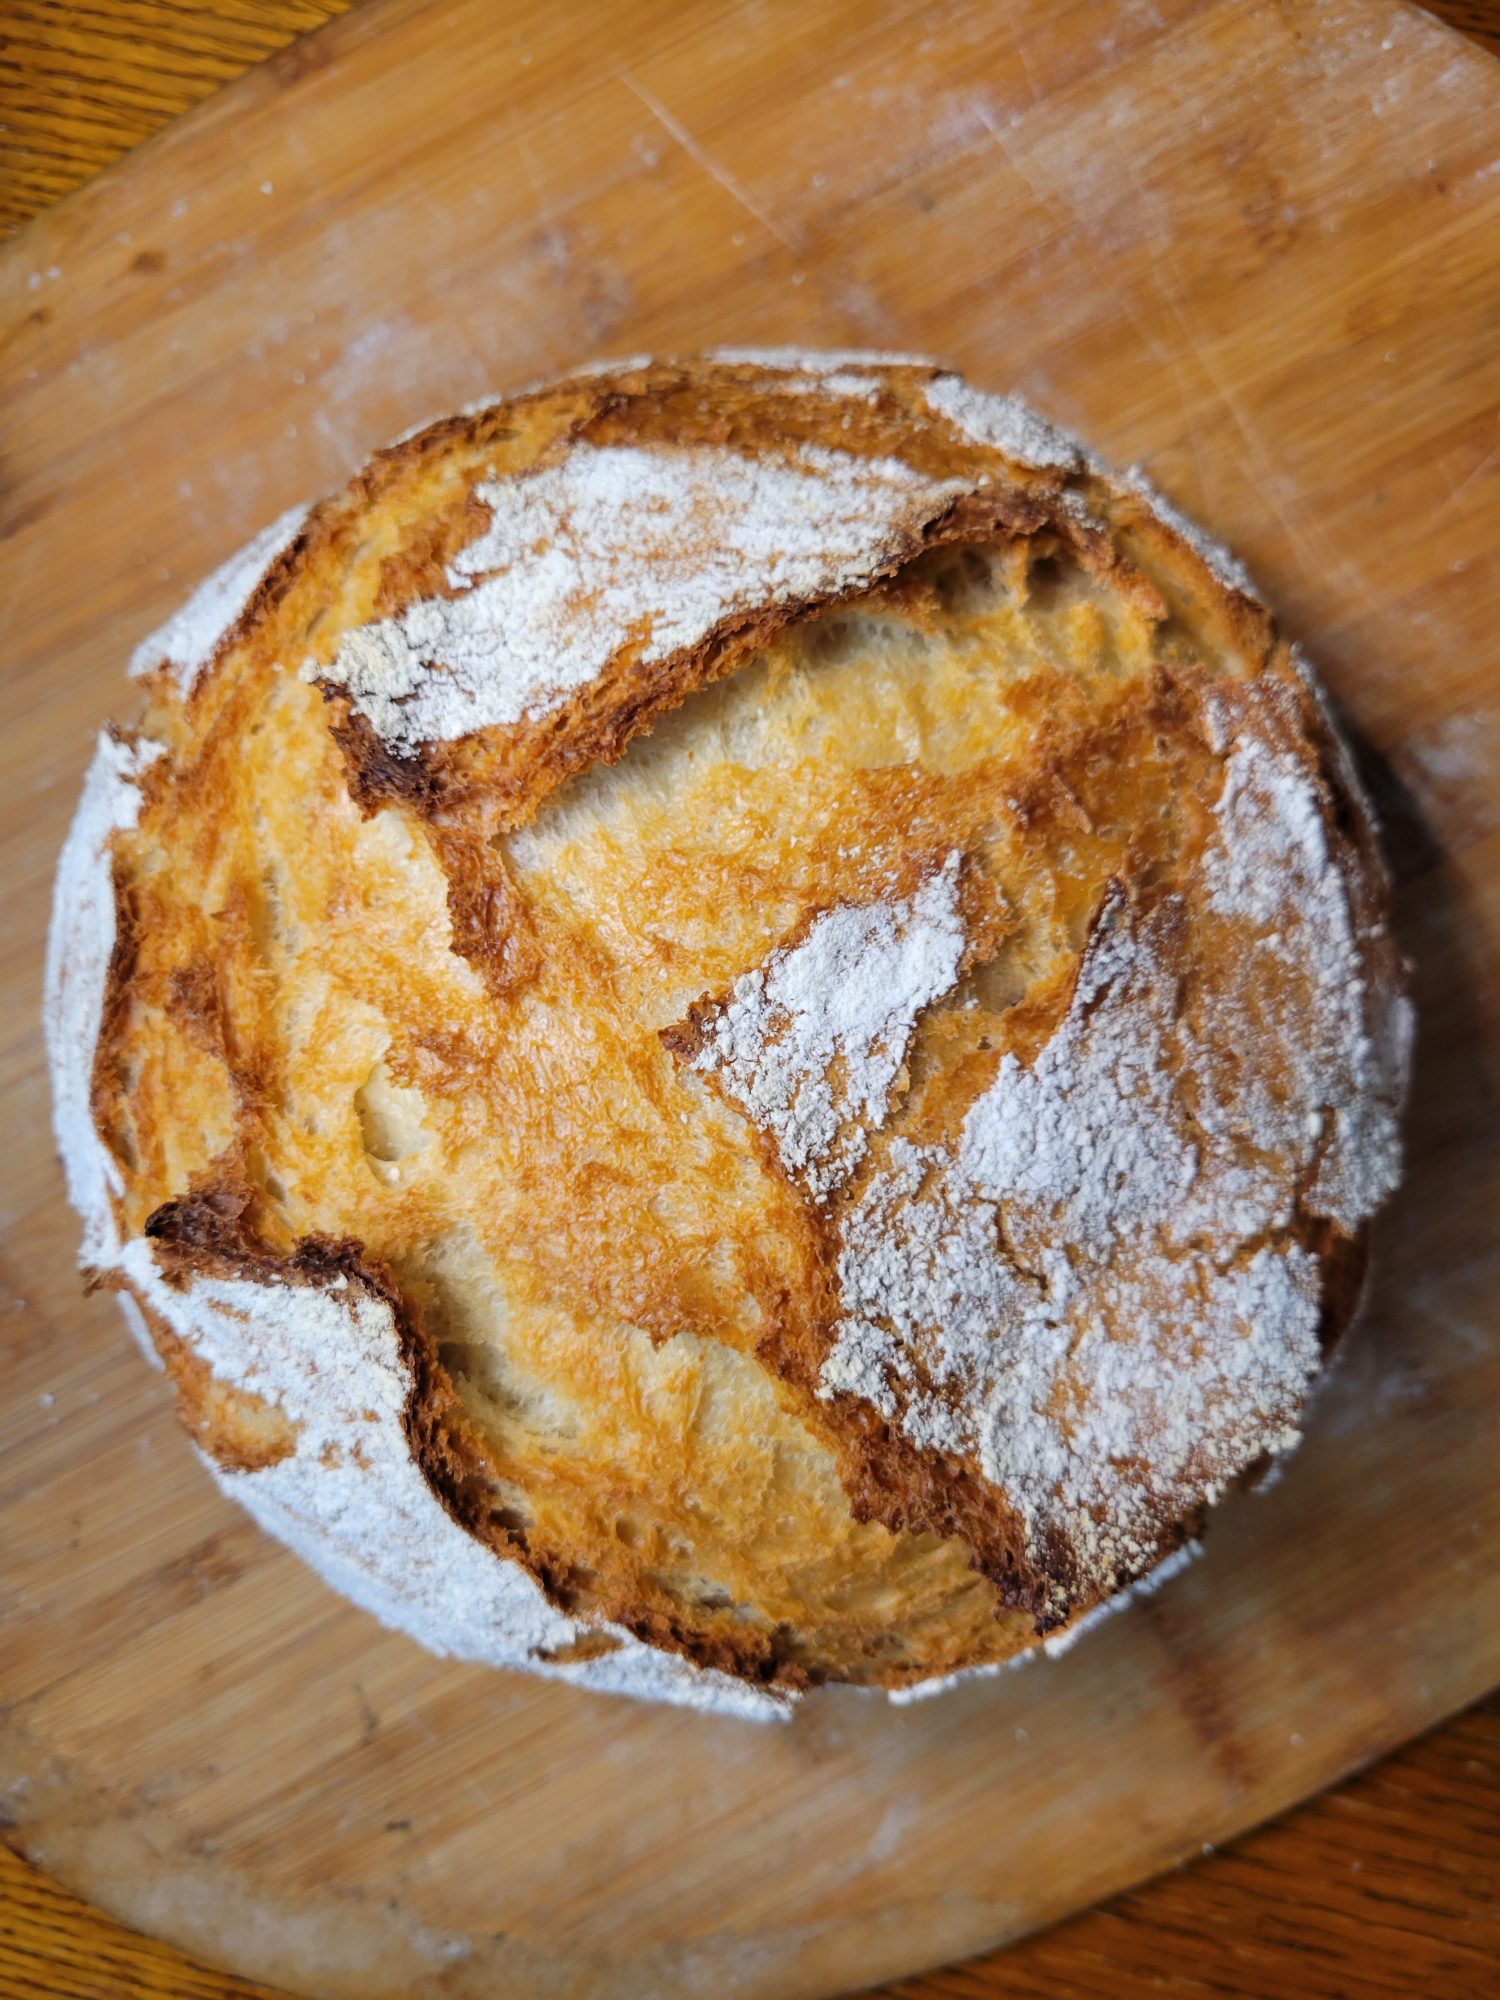
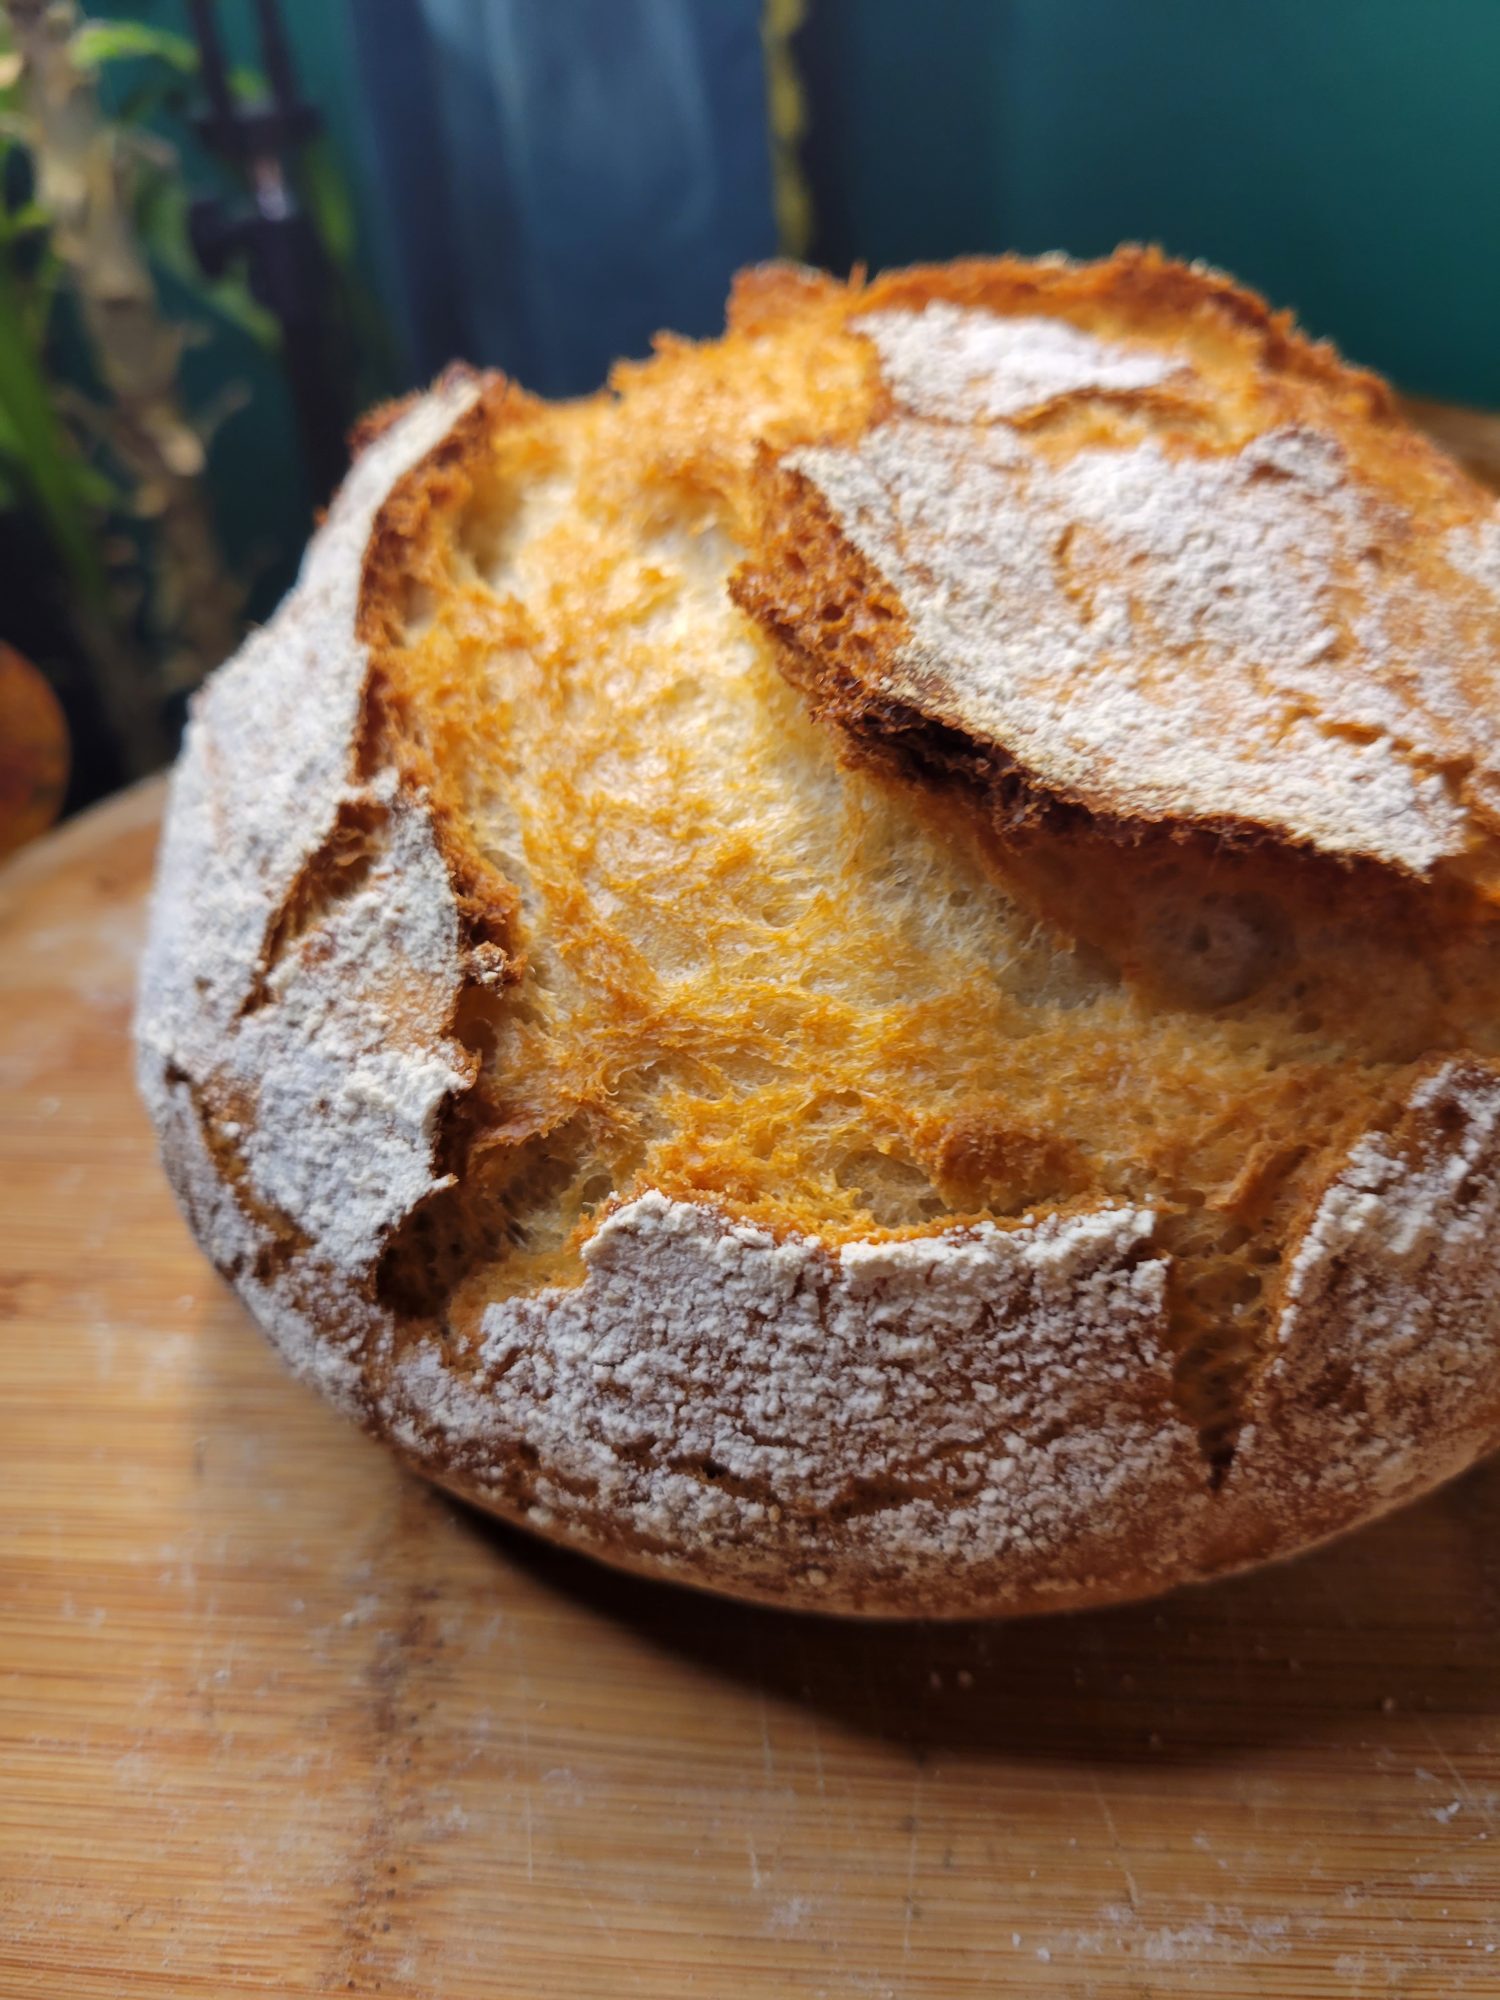
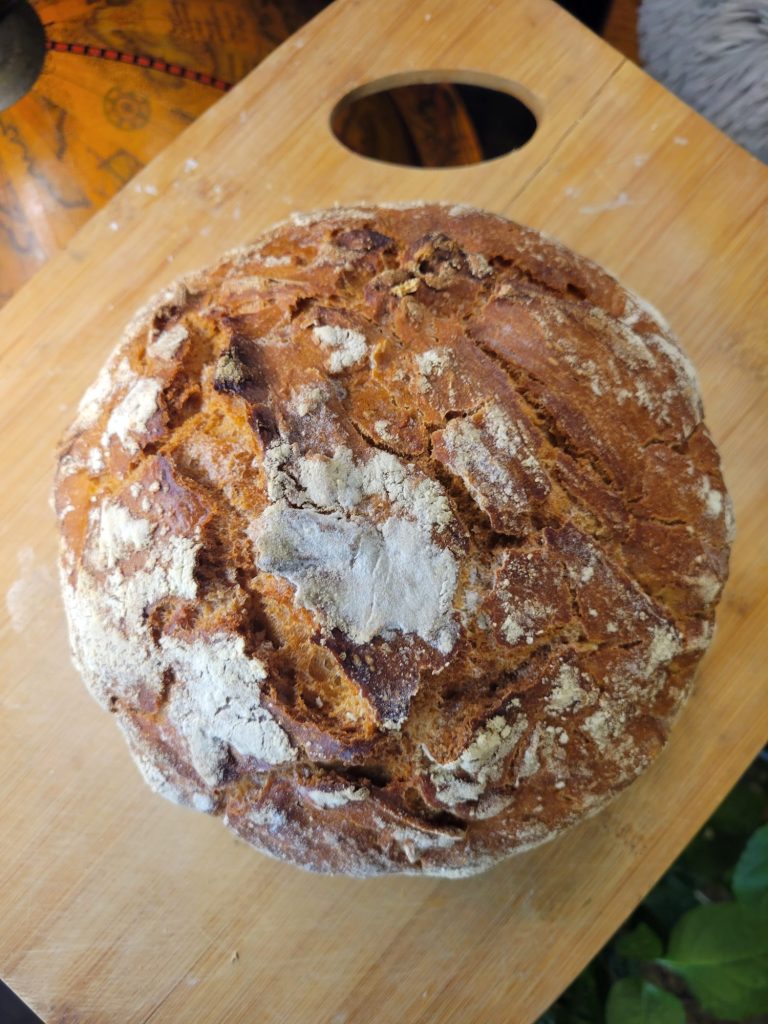
But overall I am quite pleased! The loaf looks gorgeous. You can see some of the lines of the basket and, if you look closely enough, the texture of the fabric liner. The loaf looks greet, though. It didn't quite rise in the oven as much as I would have maybe liked. But again, it did ever-so-slightly stick to the basket and the towel!
Second Try

Now, we may need to take a mulligan on this second batch of bread! I started it before I ran some errands. I figured that I would be gone an hour, maybe an hour and a half tops? Which would be perfect because that's about how long the dough needs to proof, anyway! Cut to however long later and I definitely let the bread proof for too long! It was obviously bubbling out of the basket and far too proofed. It was also 92 degrees outside and monsoon-level raining. That storm that hit the mid-west with the potential of 60 mph gusts of wind and torrential downpours where they warned semis to stay off of the roads for risk of flipping over amidst tornado warnings? Perhaps not the best time to make bread!
It did actually make bread. But how good of bread is debatable! The dough didn't stick to the towel or the basket, but I absolutely put too much flour to accomplish this! It ended up sticking in big chunks to the bread. It also flattened quite a bit, obviously due to the over-proofing. I will have to endeavor to do better next time.
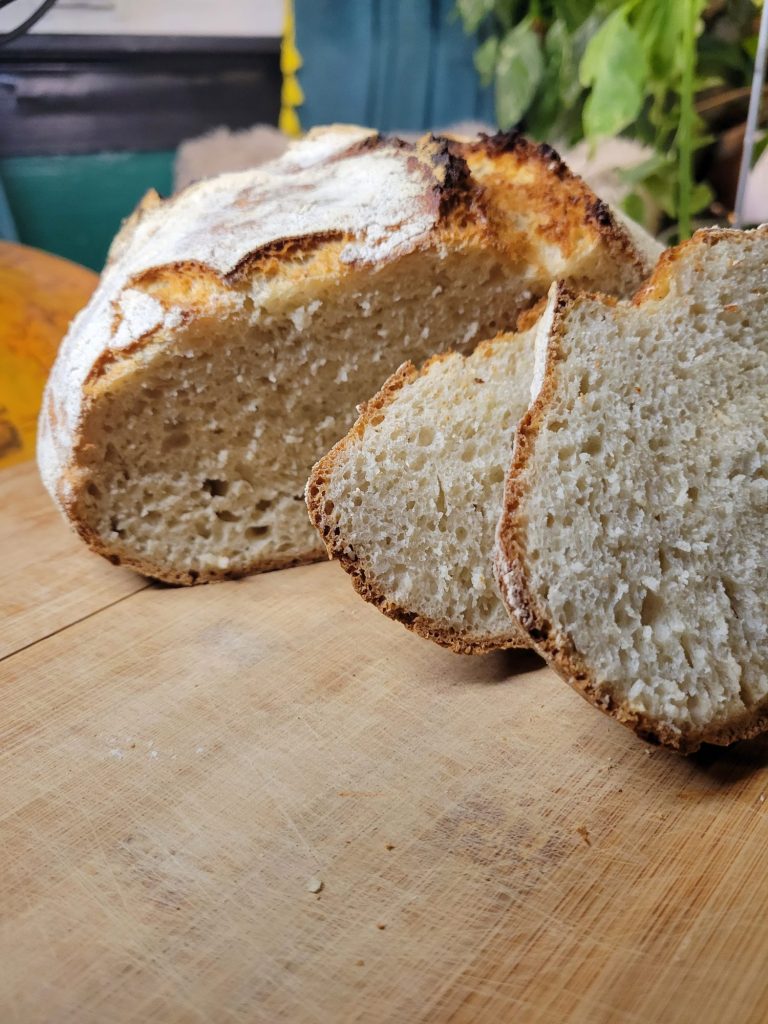
Third Try

The third batch of bread I didn't add any extra flour on top of. I'd been worried that it would stick to the towel, but it actually did not! The batch is still likely a little over proofed. Although, despite being fall? It's still quite hot out! It was 88 degrees the other day. So, I likely just need to adjust the proofing time to compensate.
All in all, this bread was good, though! I'm quite pleased. It looks pretty much exactly like the bread that I've been making. Perhaps the shape is a little bit better than in a bowl, but the consistency seems pretty consistent.
Fourth Try

This loaf of bread was user error. It's incredibly hot today for being... November. And, with the heat on, my loaf rose much faster than I was expecting. It then absorbed all of the flour and stuck to the bread basket. So some of the rise fell out of it! It still looks fine and tastes great, but you can tell that it didn't rise enough while cooking.
Regardless, the worst homemade bread is still better than the best store-bought bread! So, I can't really complain. It's still an excellent day for bread and my entire apartment smells delicious.
Fifth Try
I did not learn my lesson from the last batch and it did stick to the bowl again! But, in my defense, I made it at 7 o'clock at night. It had been dark for hours because the sun goes down at 5 o'clock now. And I way over proofed it trying to run to the grocery store quickly. Because I somehow thought that I could do that quickly! Although it's always worth it if you end up with bread.
Sixth Try


After committing to making bread and starting the process enough to not go back, I realized that I didn't have enough all-purpose flour! I ended up with 438 grams all-purpose remaining. Since this was pretty close, I just scoured the pantry and came up with white whole wheat flour for the remaining 132 grams. While this is a little bit denser than all-purpose, it does do the trick and isn't half bad!
Seventh Try


The holidays are upon us! It's Thanksgiving today and I am, of course, making fresh bread. I sliced into this loaf during dinner and there was absolutely none of it left at the end. So, you'll have to trust me that it looked just as delicious on the inside! Although it did definitely also stick to the bread basket. I might be over proofing them and this is user error? But I'm about to abandon the basket or explore different recipes.
Eighth Try

I have absolutely over proofed this loaf of bread. I thought that I could run errands and be back home before it was too late! Although I was definitely mistaken. I've found that, the more the bread over proofs, the less that it rises in the oven. I'm sure that there's some science to the amount of sugar eaten up during the proofing process versus the cooking process and that perhaps a shorter proof under warmer conditions and a longer proof chilled in the refrigerator may be helpful in this aspect. Especially since the bread keeps sticking to the basket when I over proof it! Which may be the more obnoxious part of this scenario. Because really the bread is going to taste great either way. But the amount of effort that it takes to get wet, sticky dough out of fabric is not quite as fun!
Ninth Try


I have just moved into a new place. And am not afraid to admit that I'm afraid of my oven! It's an older gas model that fits incredibly well into cramped city kitchens. And the type of oven that you never really know if it's actually going to work... Not that I don't have a backup plan. I've lived in a few places without a functional stove. My new place has a cute little porch that I will make much use of my barbecue this summer. But, out of fear of it not actually working, I've lived here for 3 weeks and have yet to try to out! I've decided that today is the day, though. And am very ambitiously making bread. Because that's not something that requires a precisely calibrated working oven to do.
Turning on the oven set off my smoke detector. Just preheating the oven was more than my place could manage! But that does mean that it actually heated. So, I've opened up the kitchen door and window to adequately ventilate and am trying again! Because, one way or another, bread will get made today. Even if I have to do brush the snow off of the barbecue.
The oven is at least 50 degrees under what it's trying to be, overproofed, underbaked, and came out a little wonky! But it is there. And I couldn't be more thrilled about freshly homemade bread.
Tenth Try
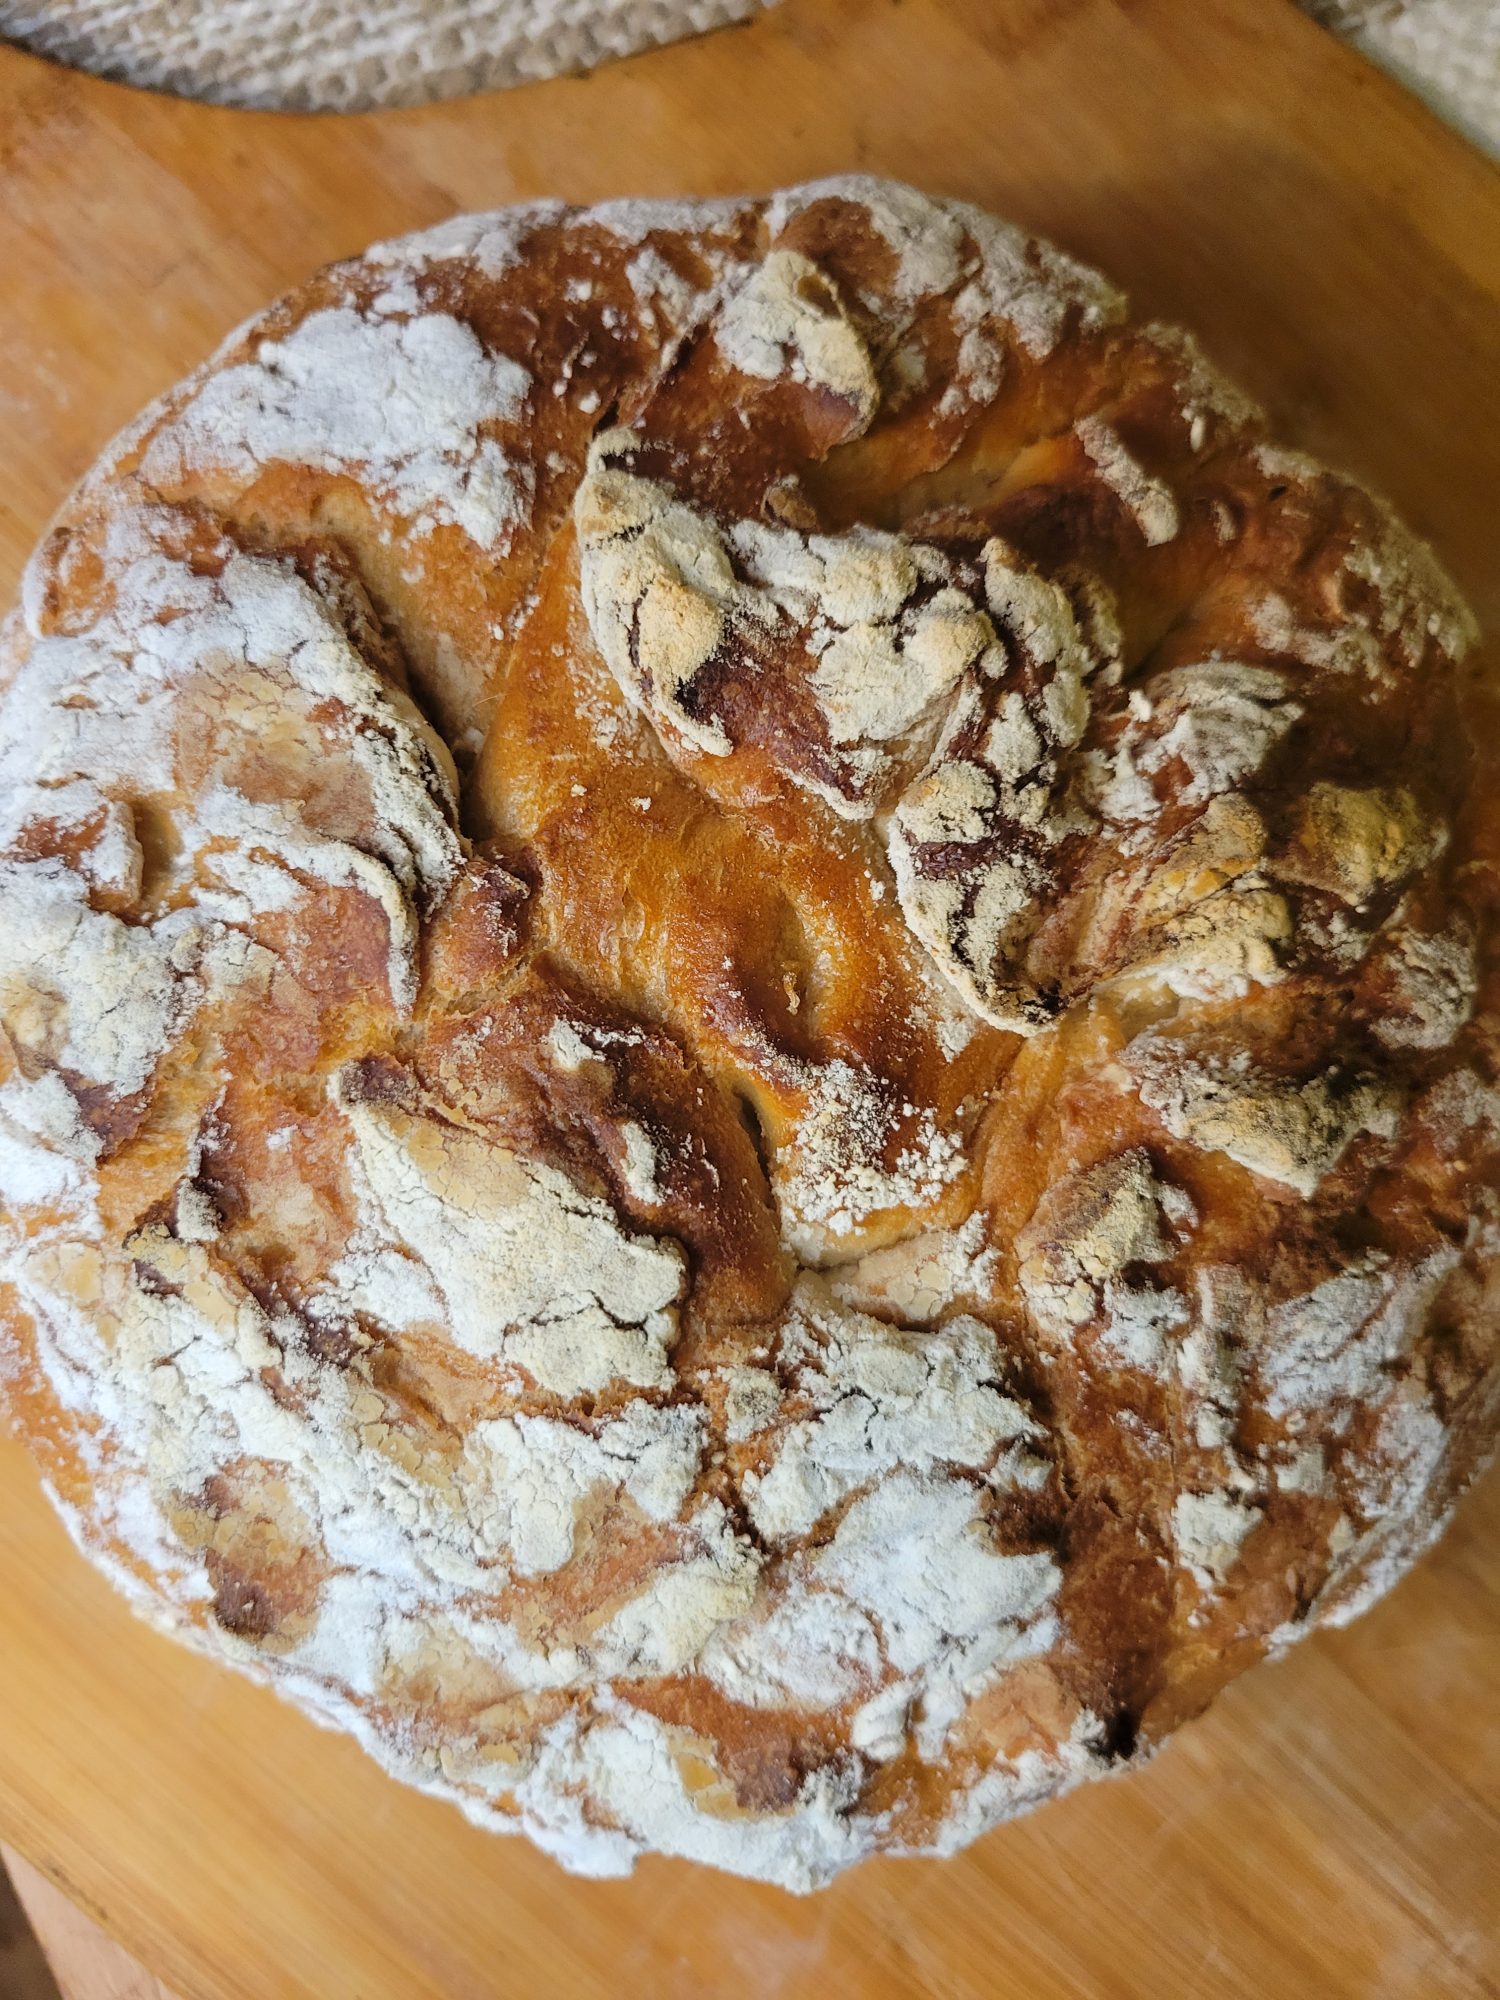
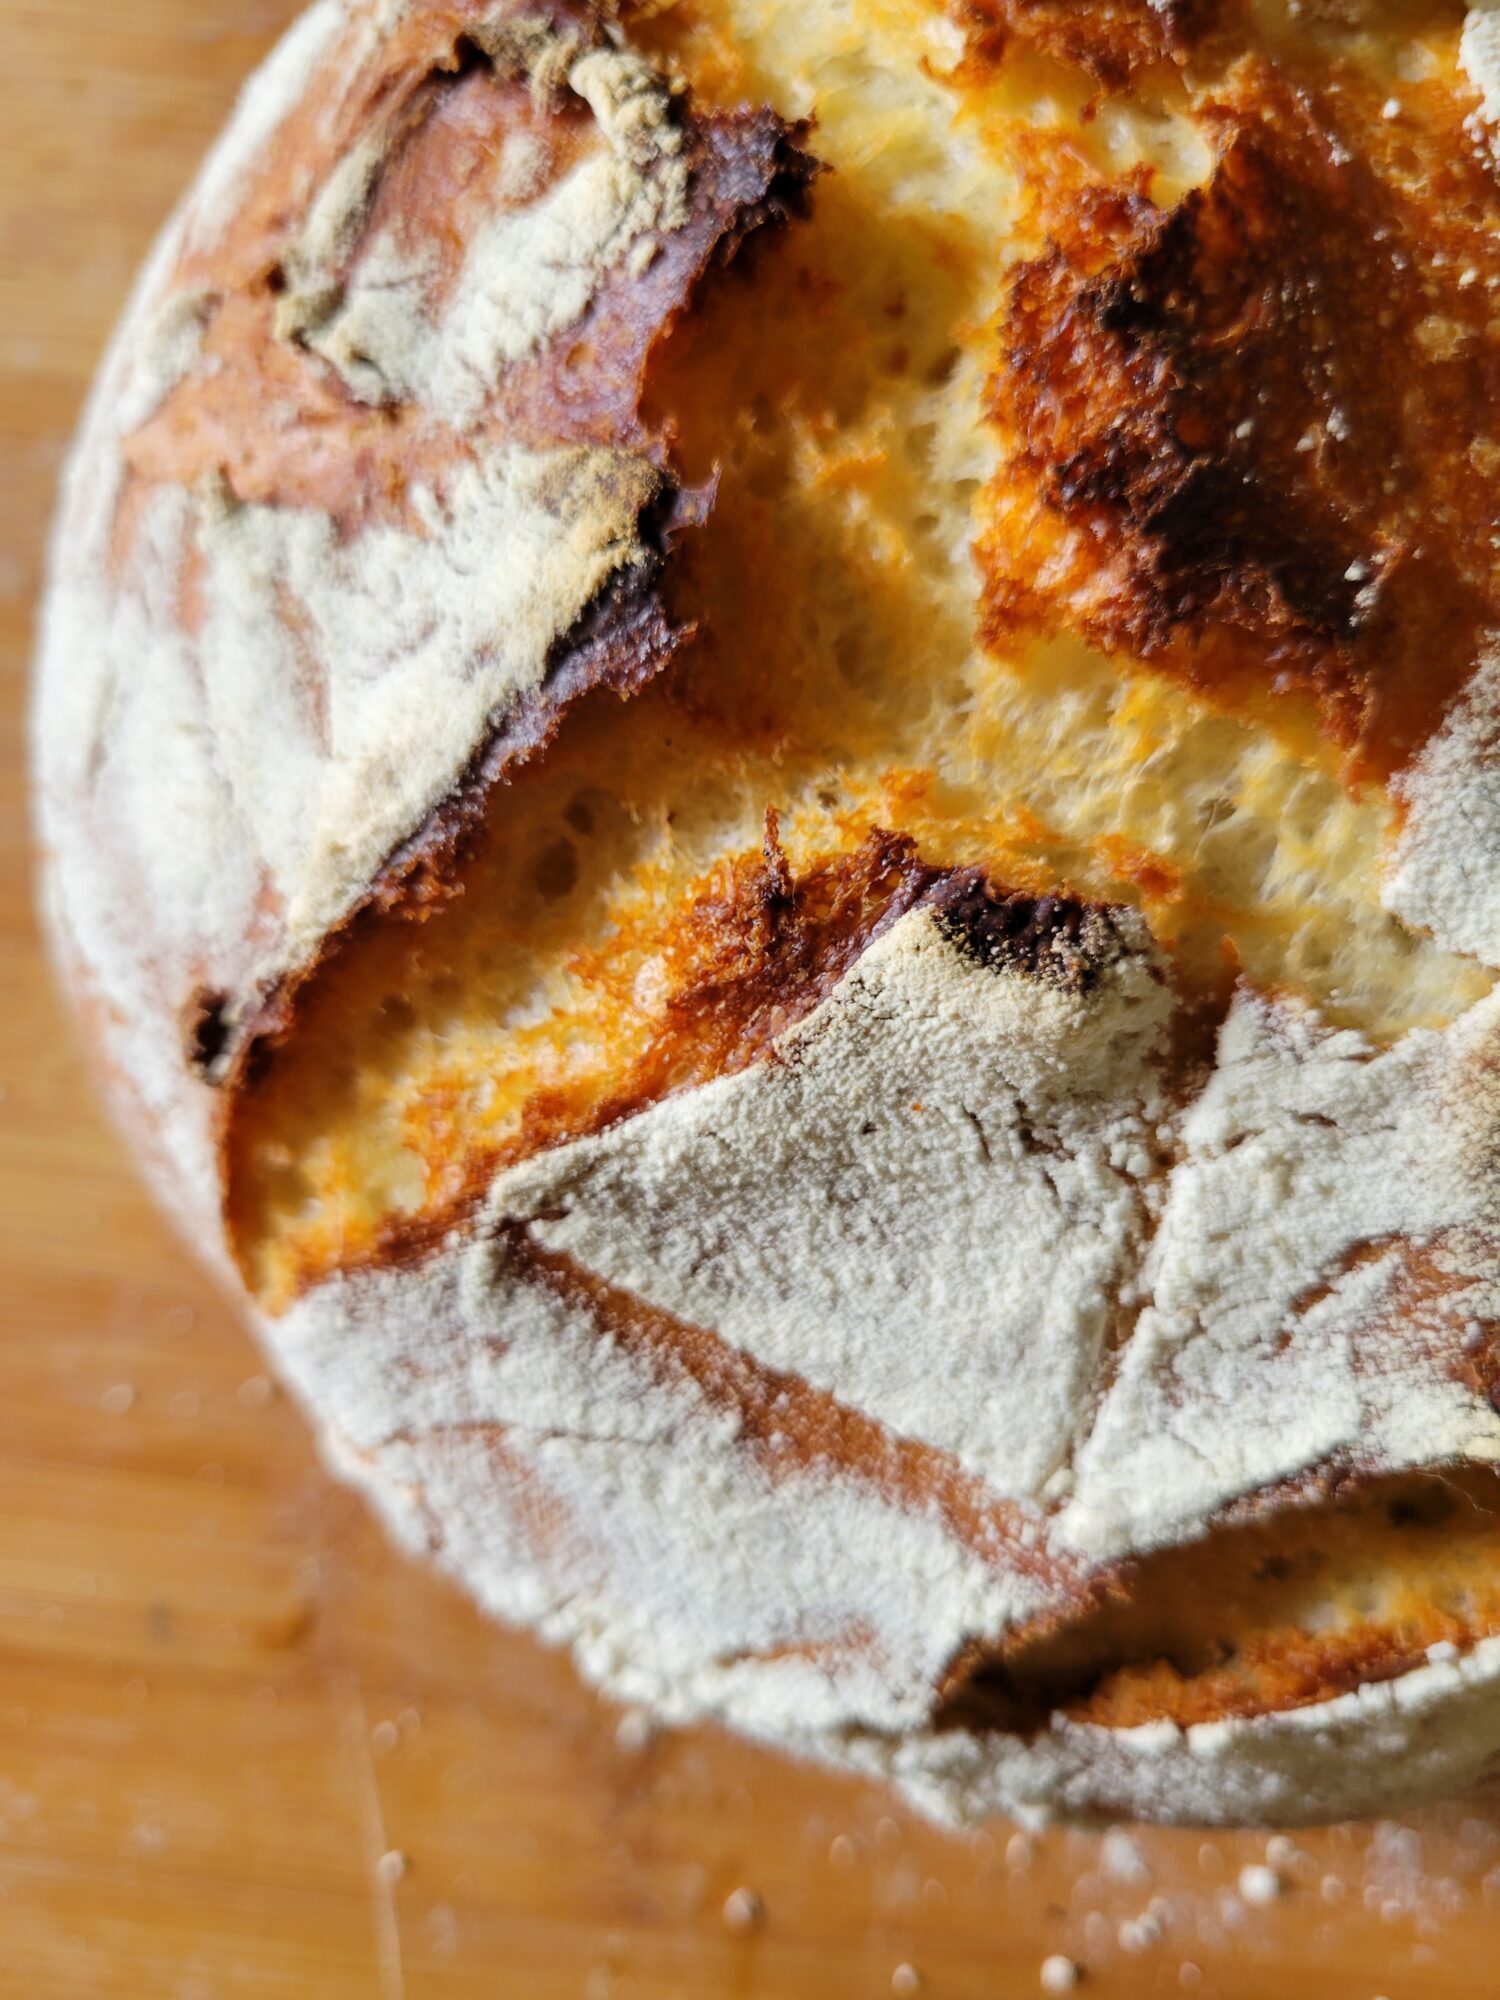
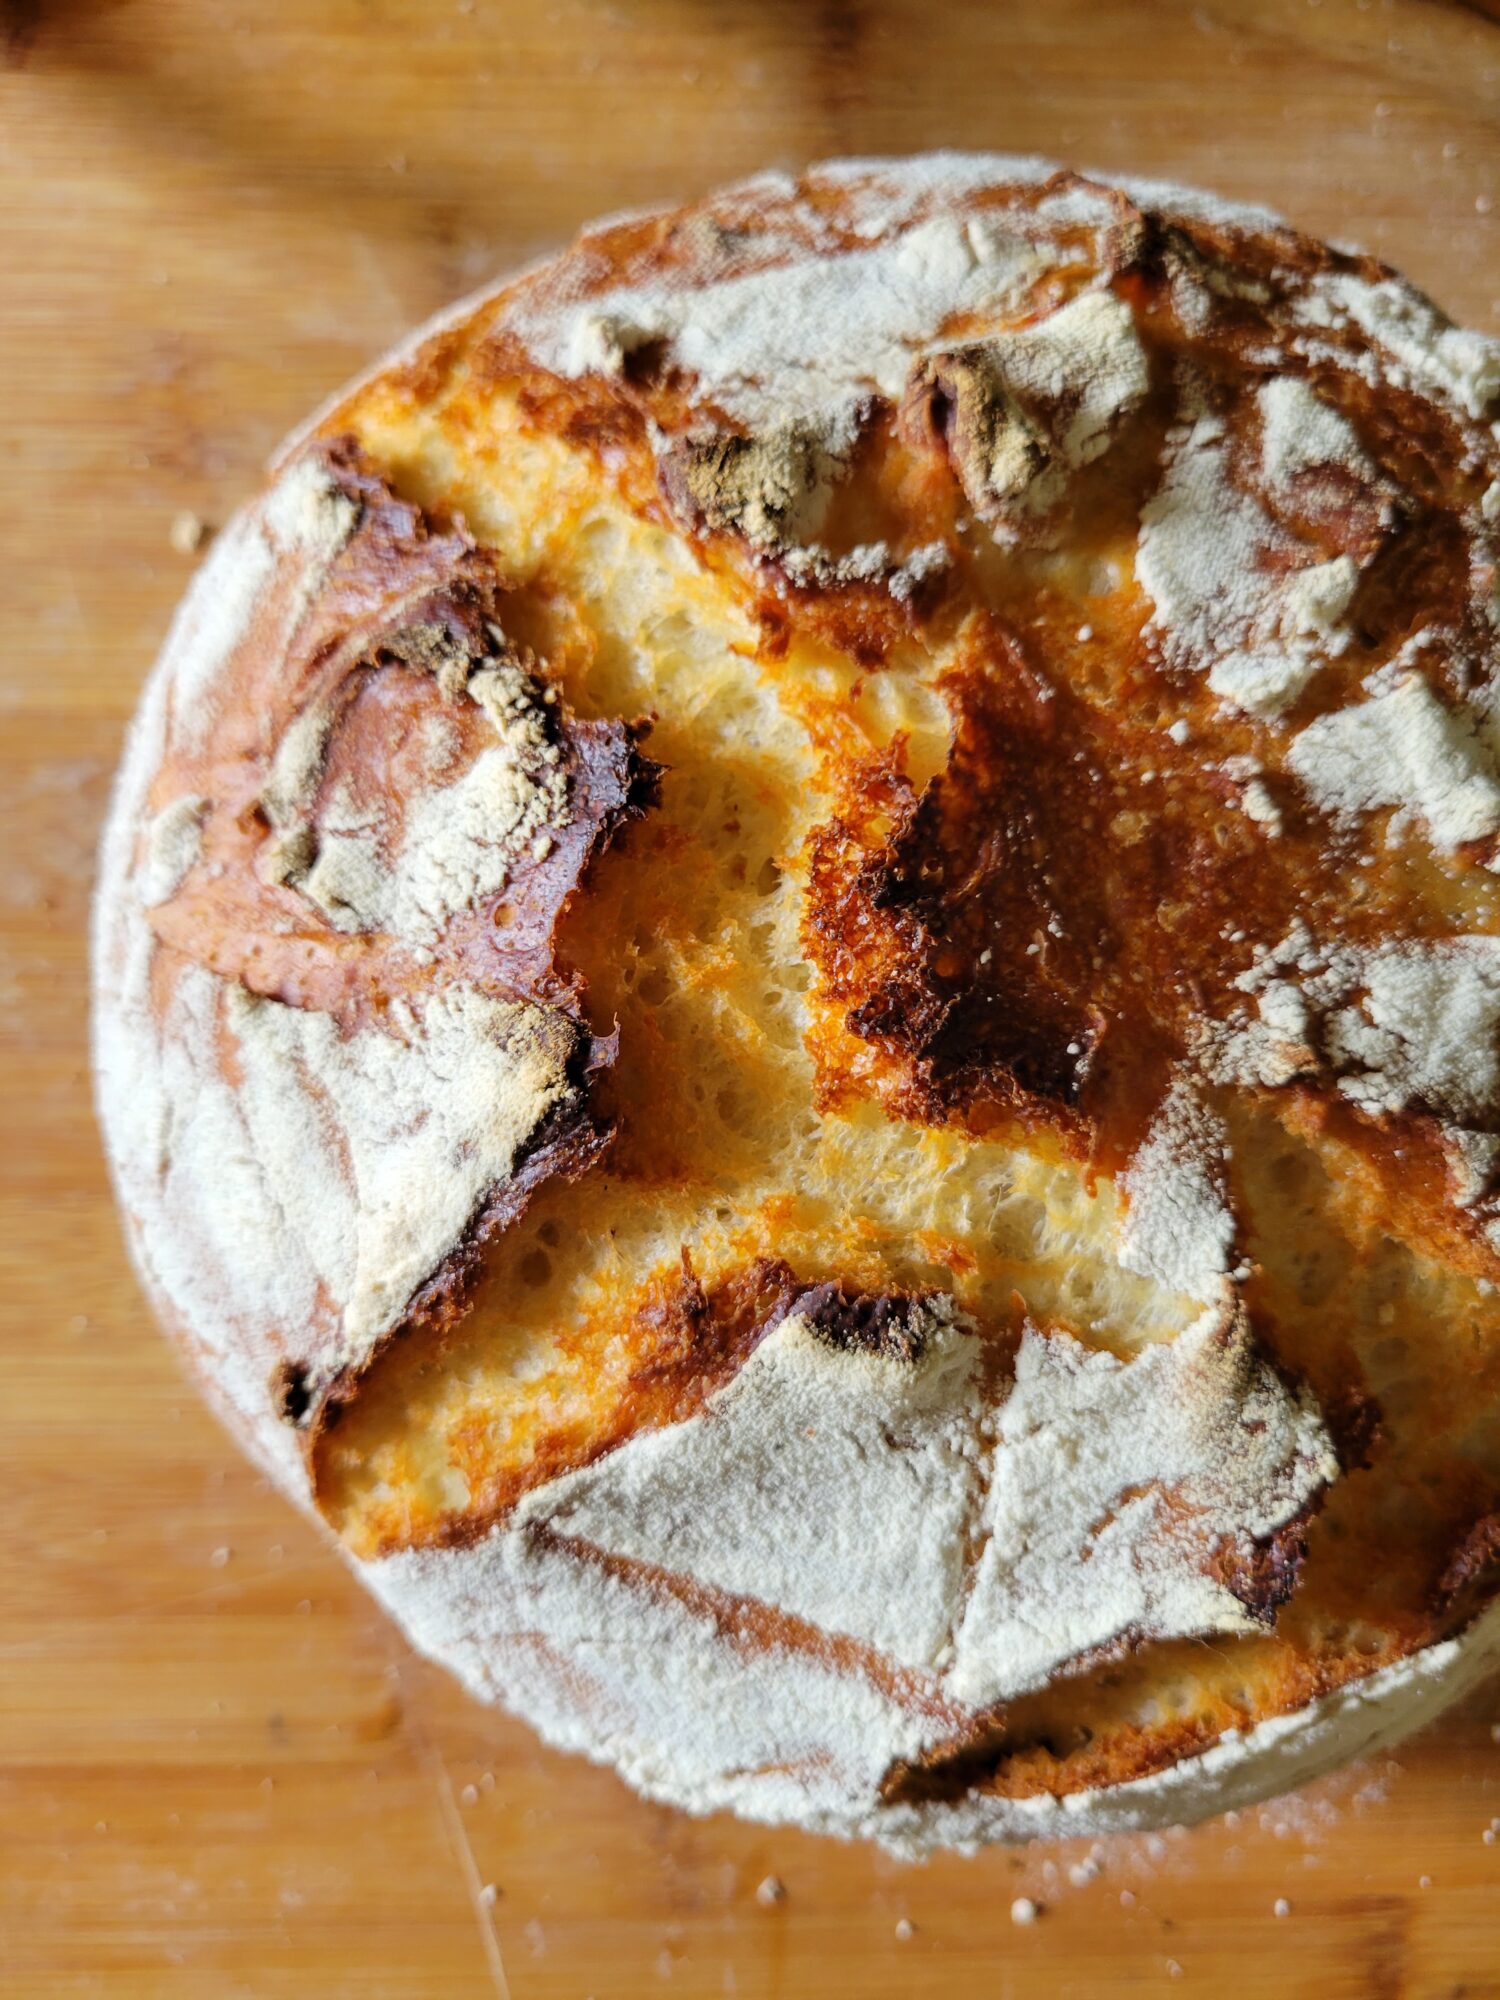
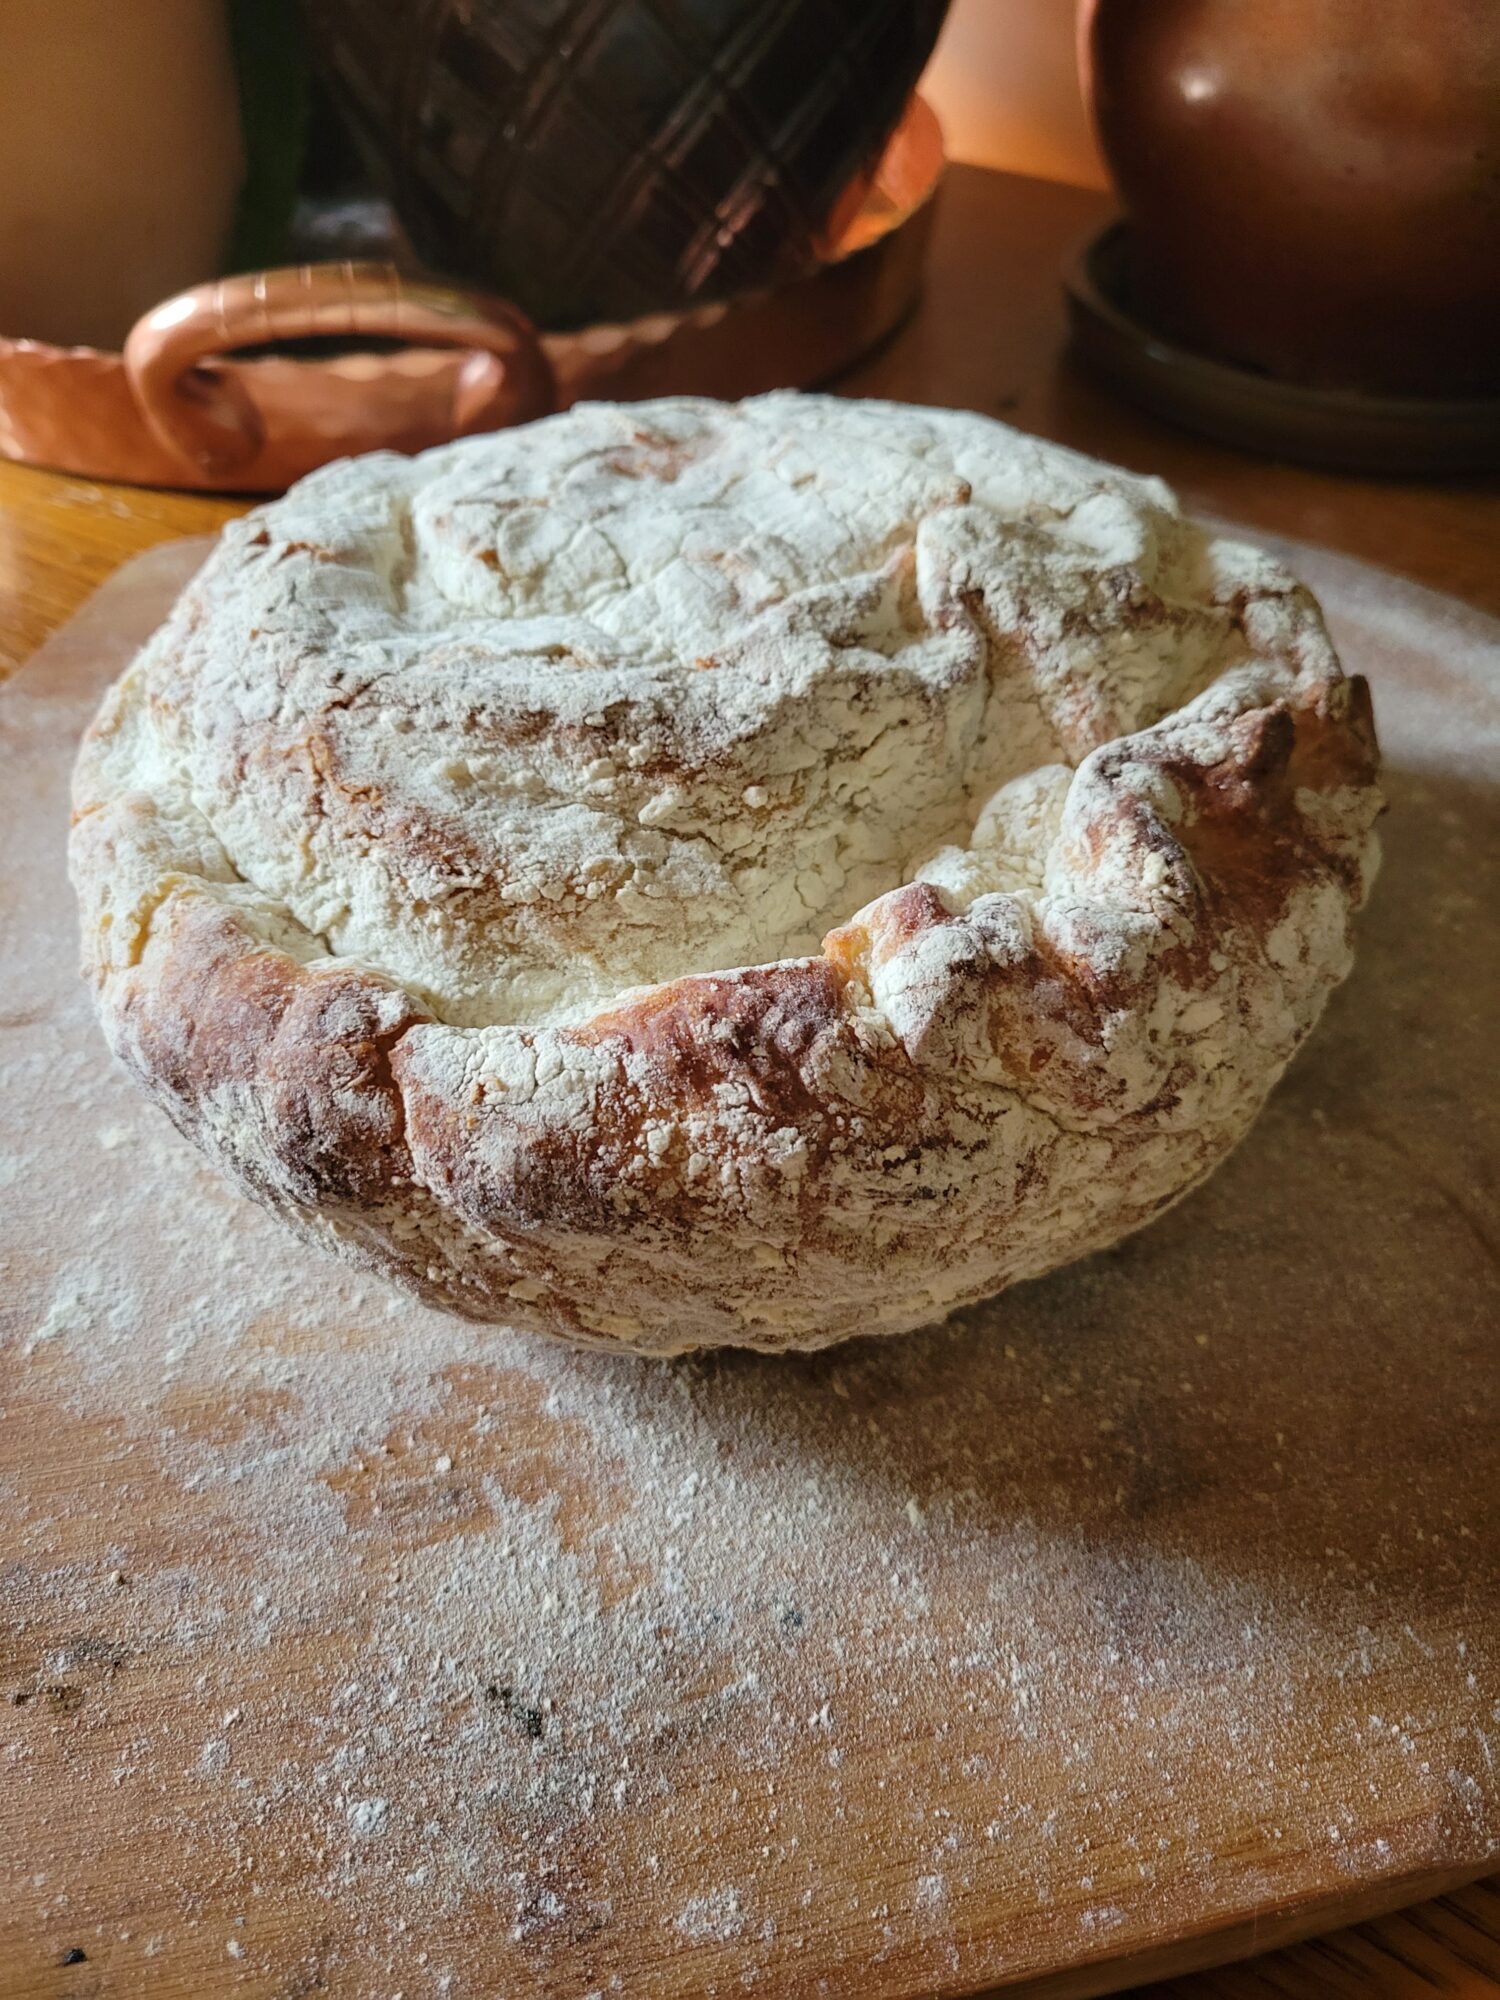
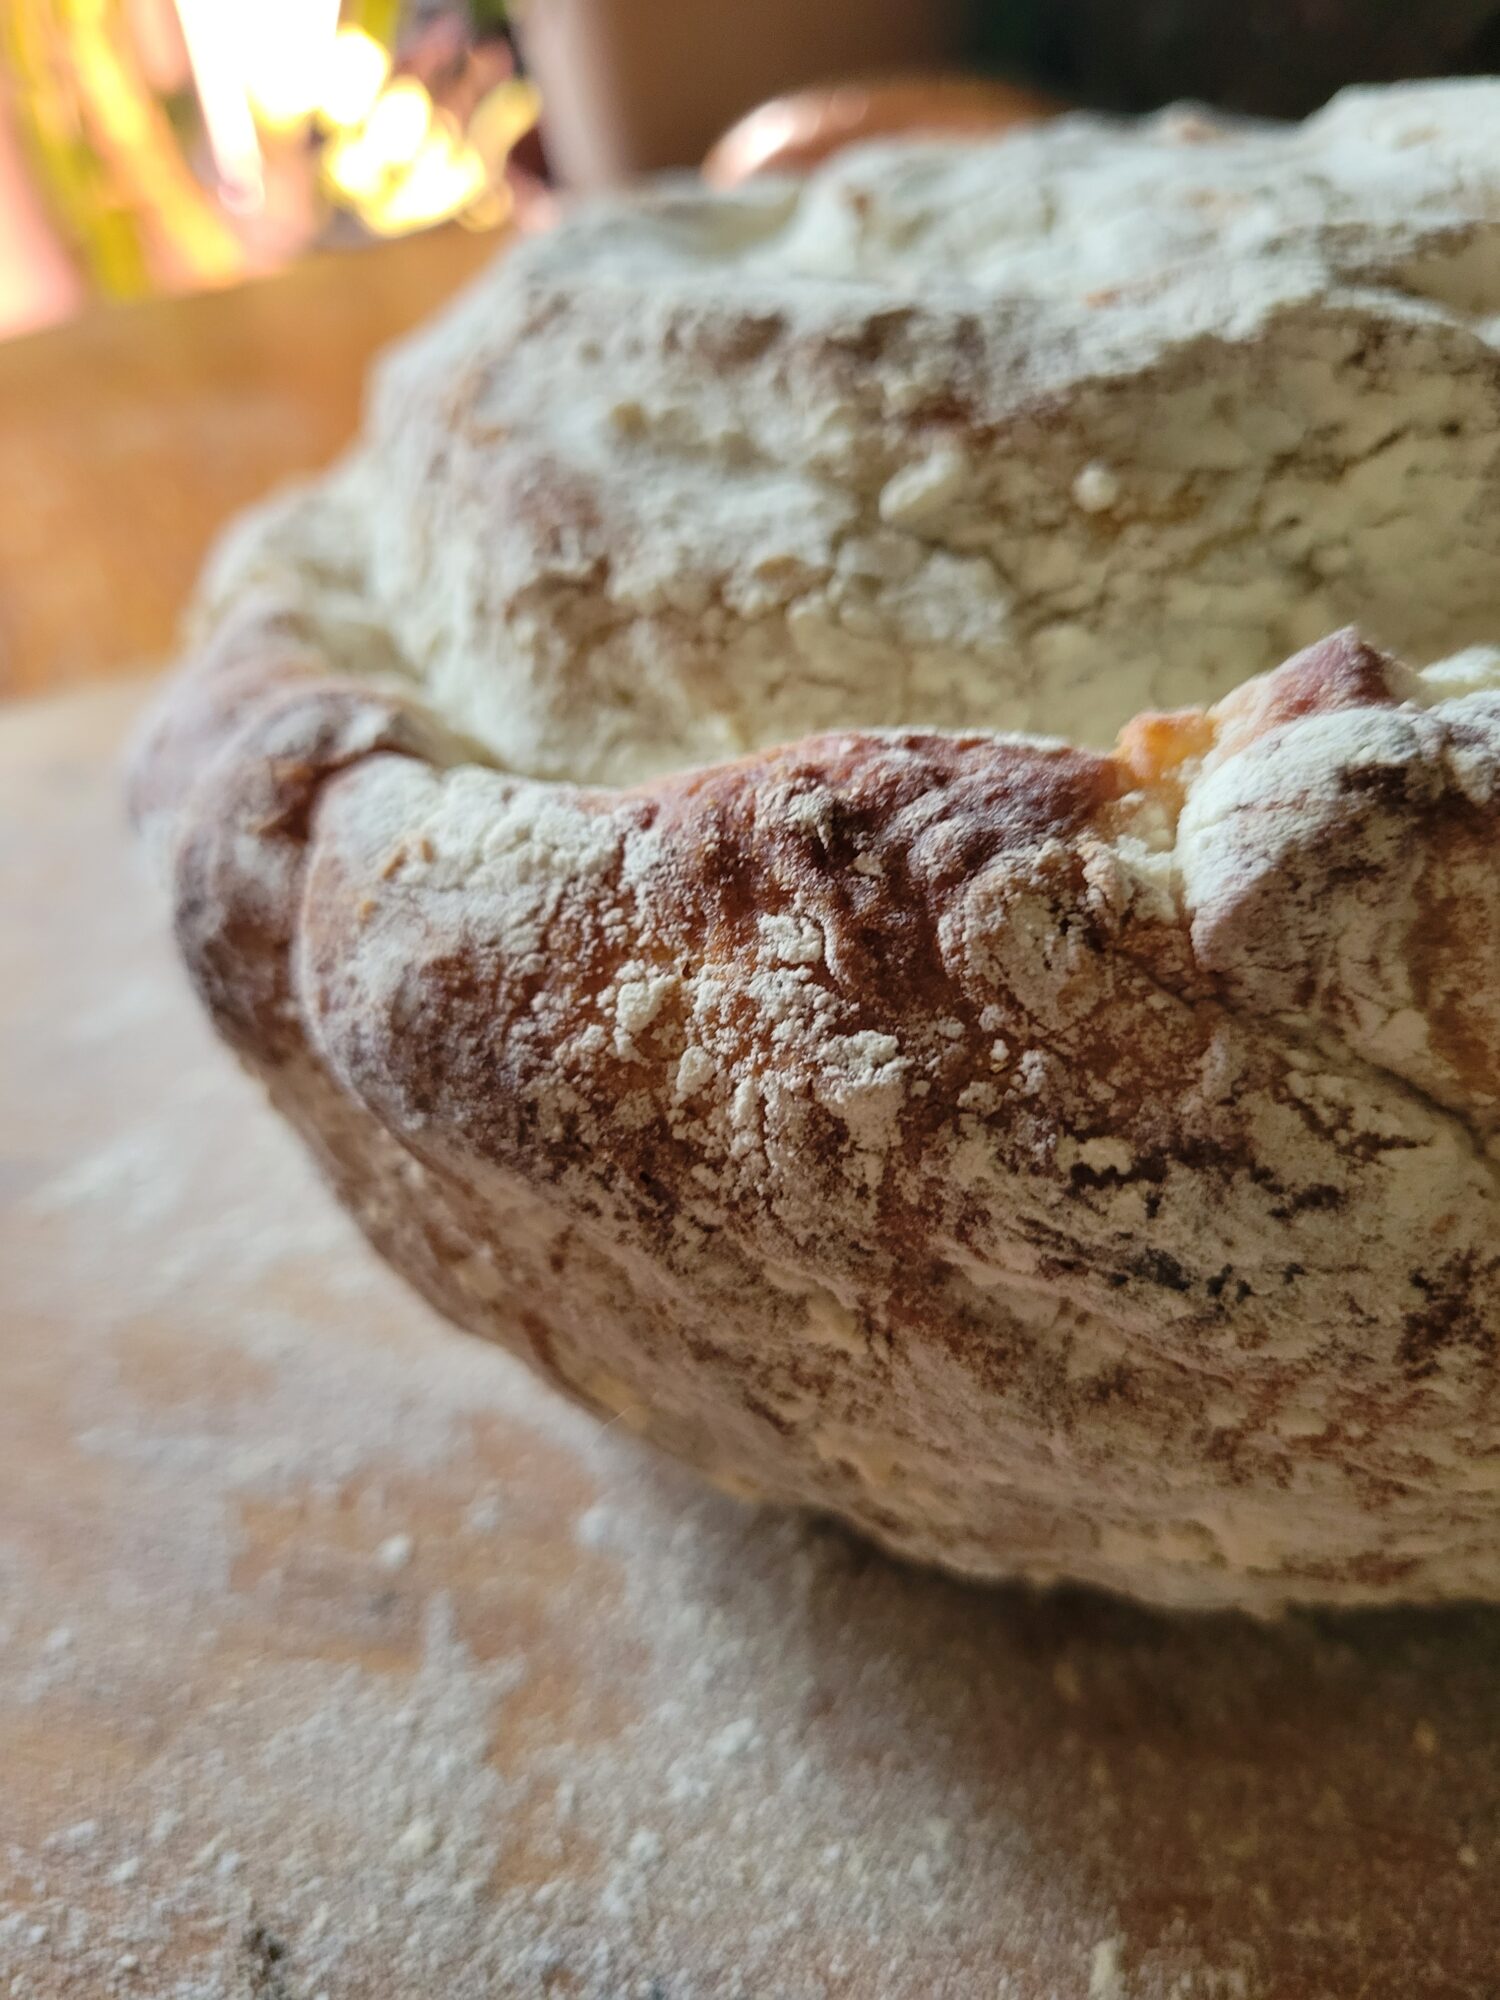
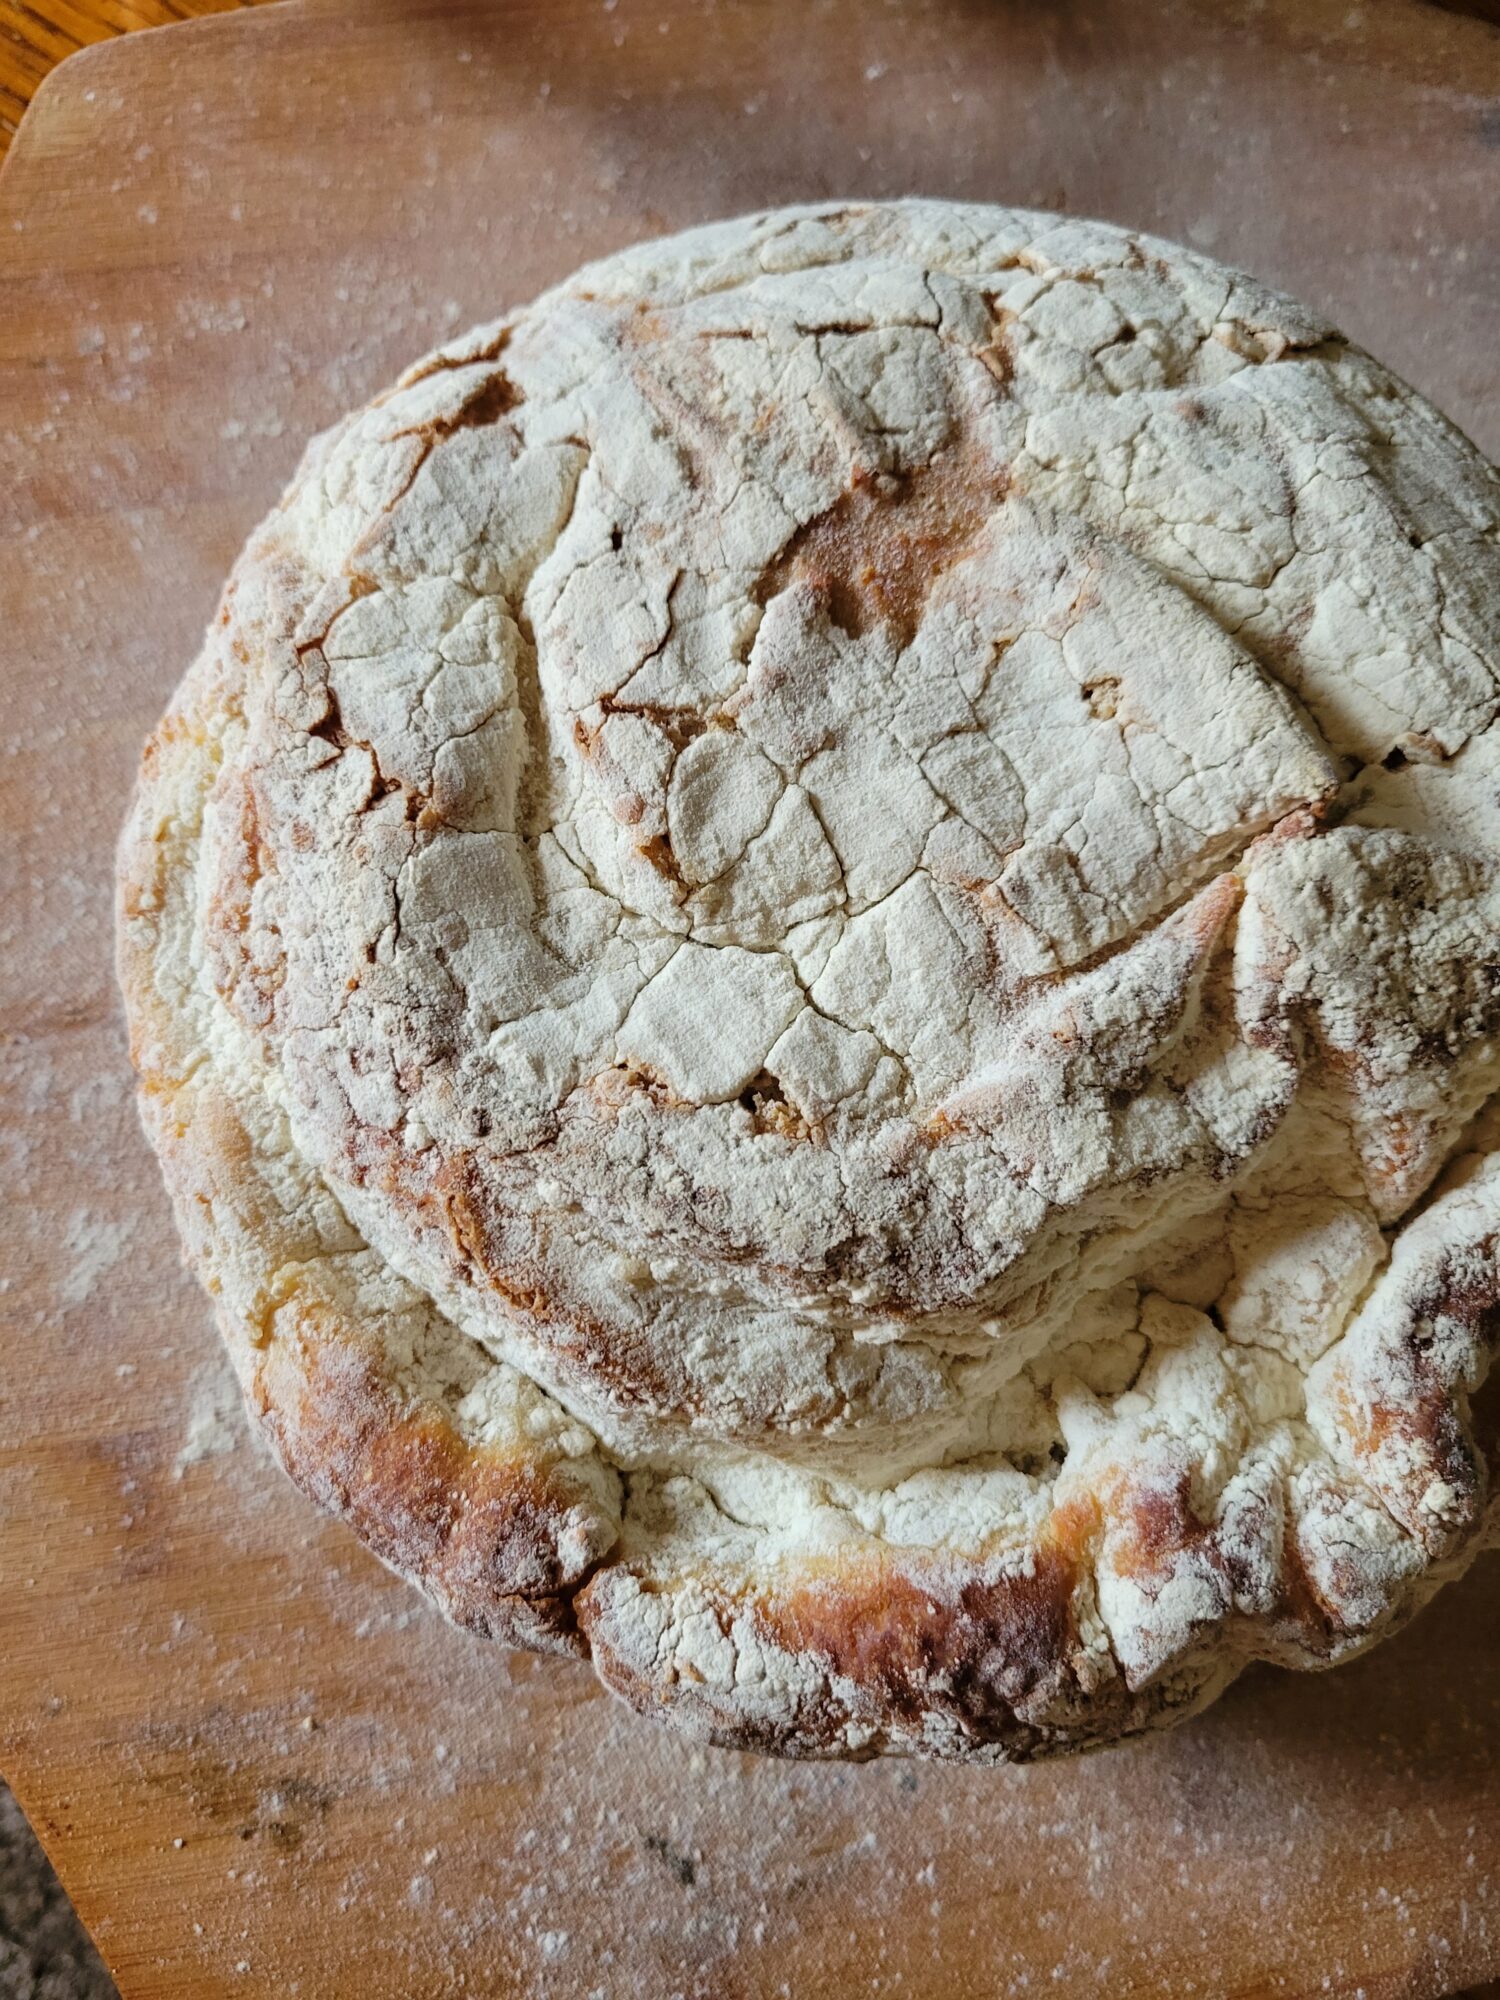
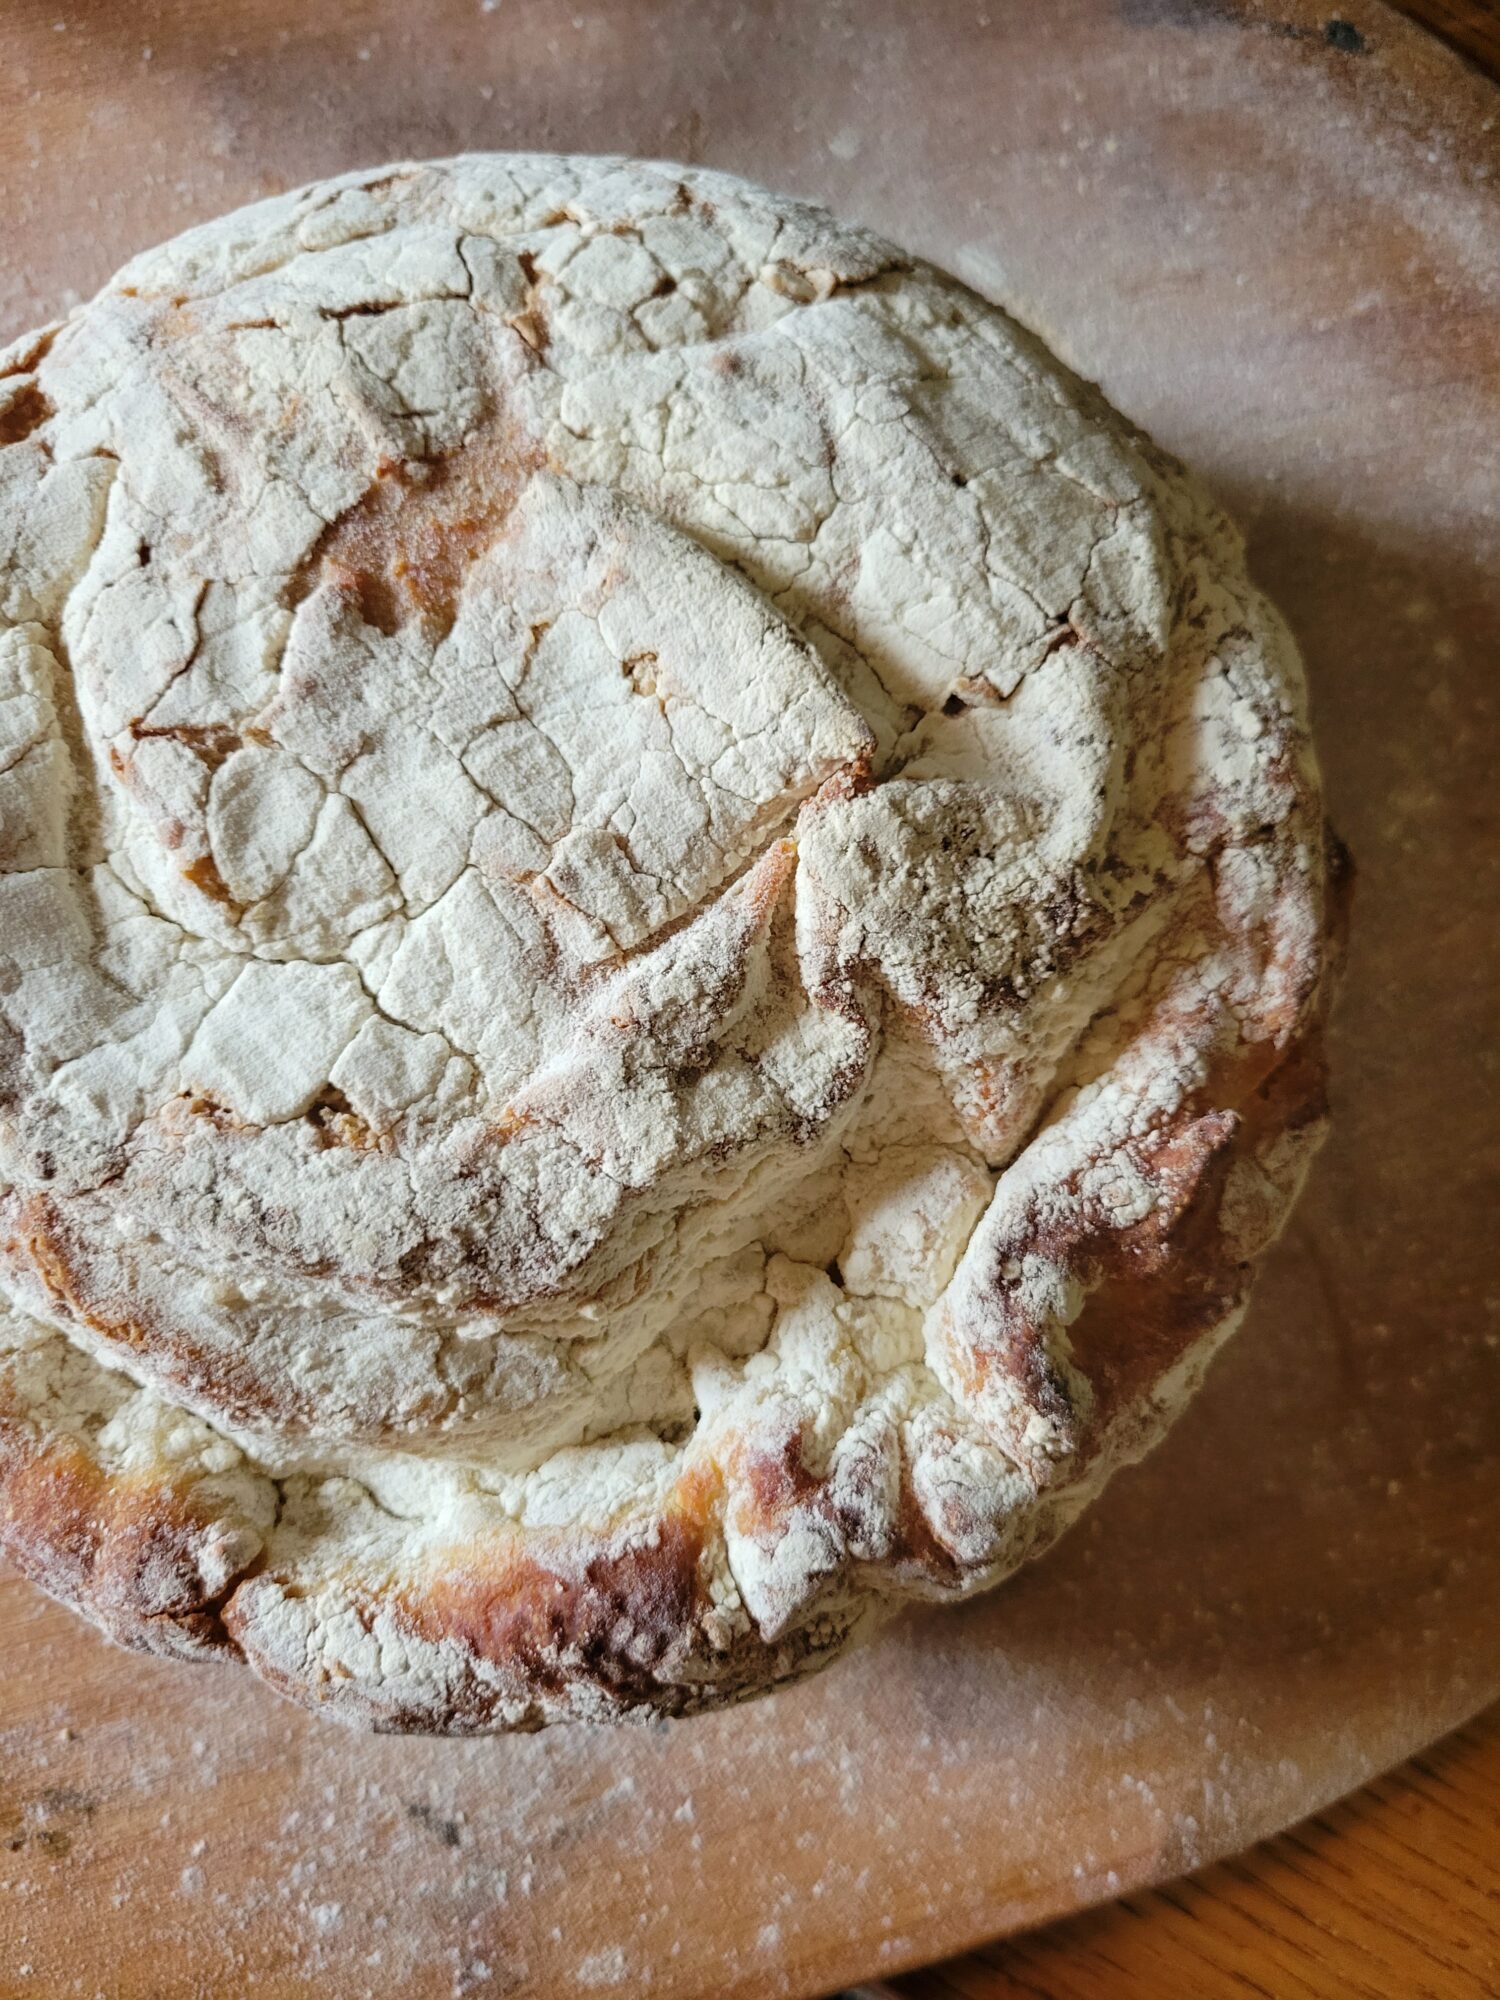
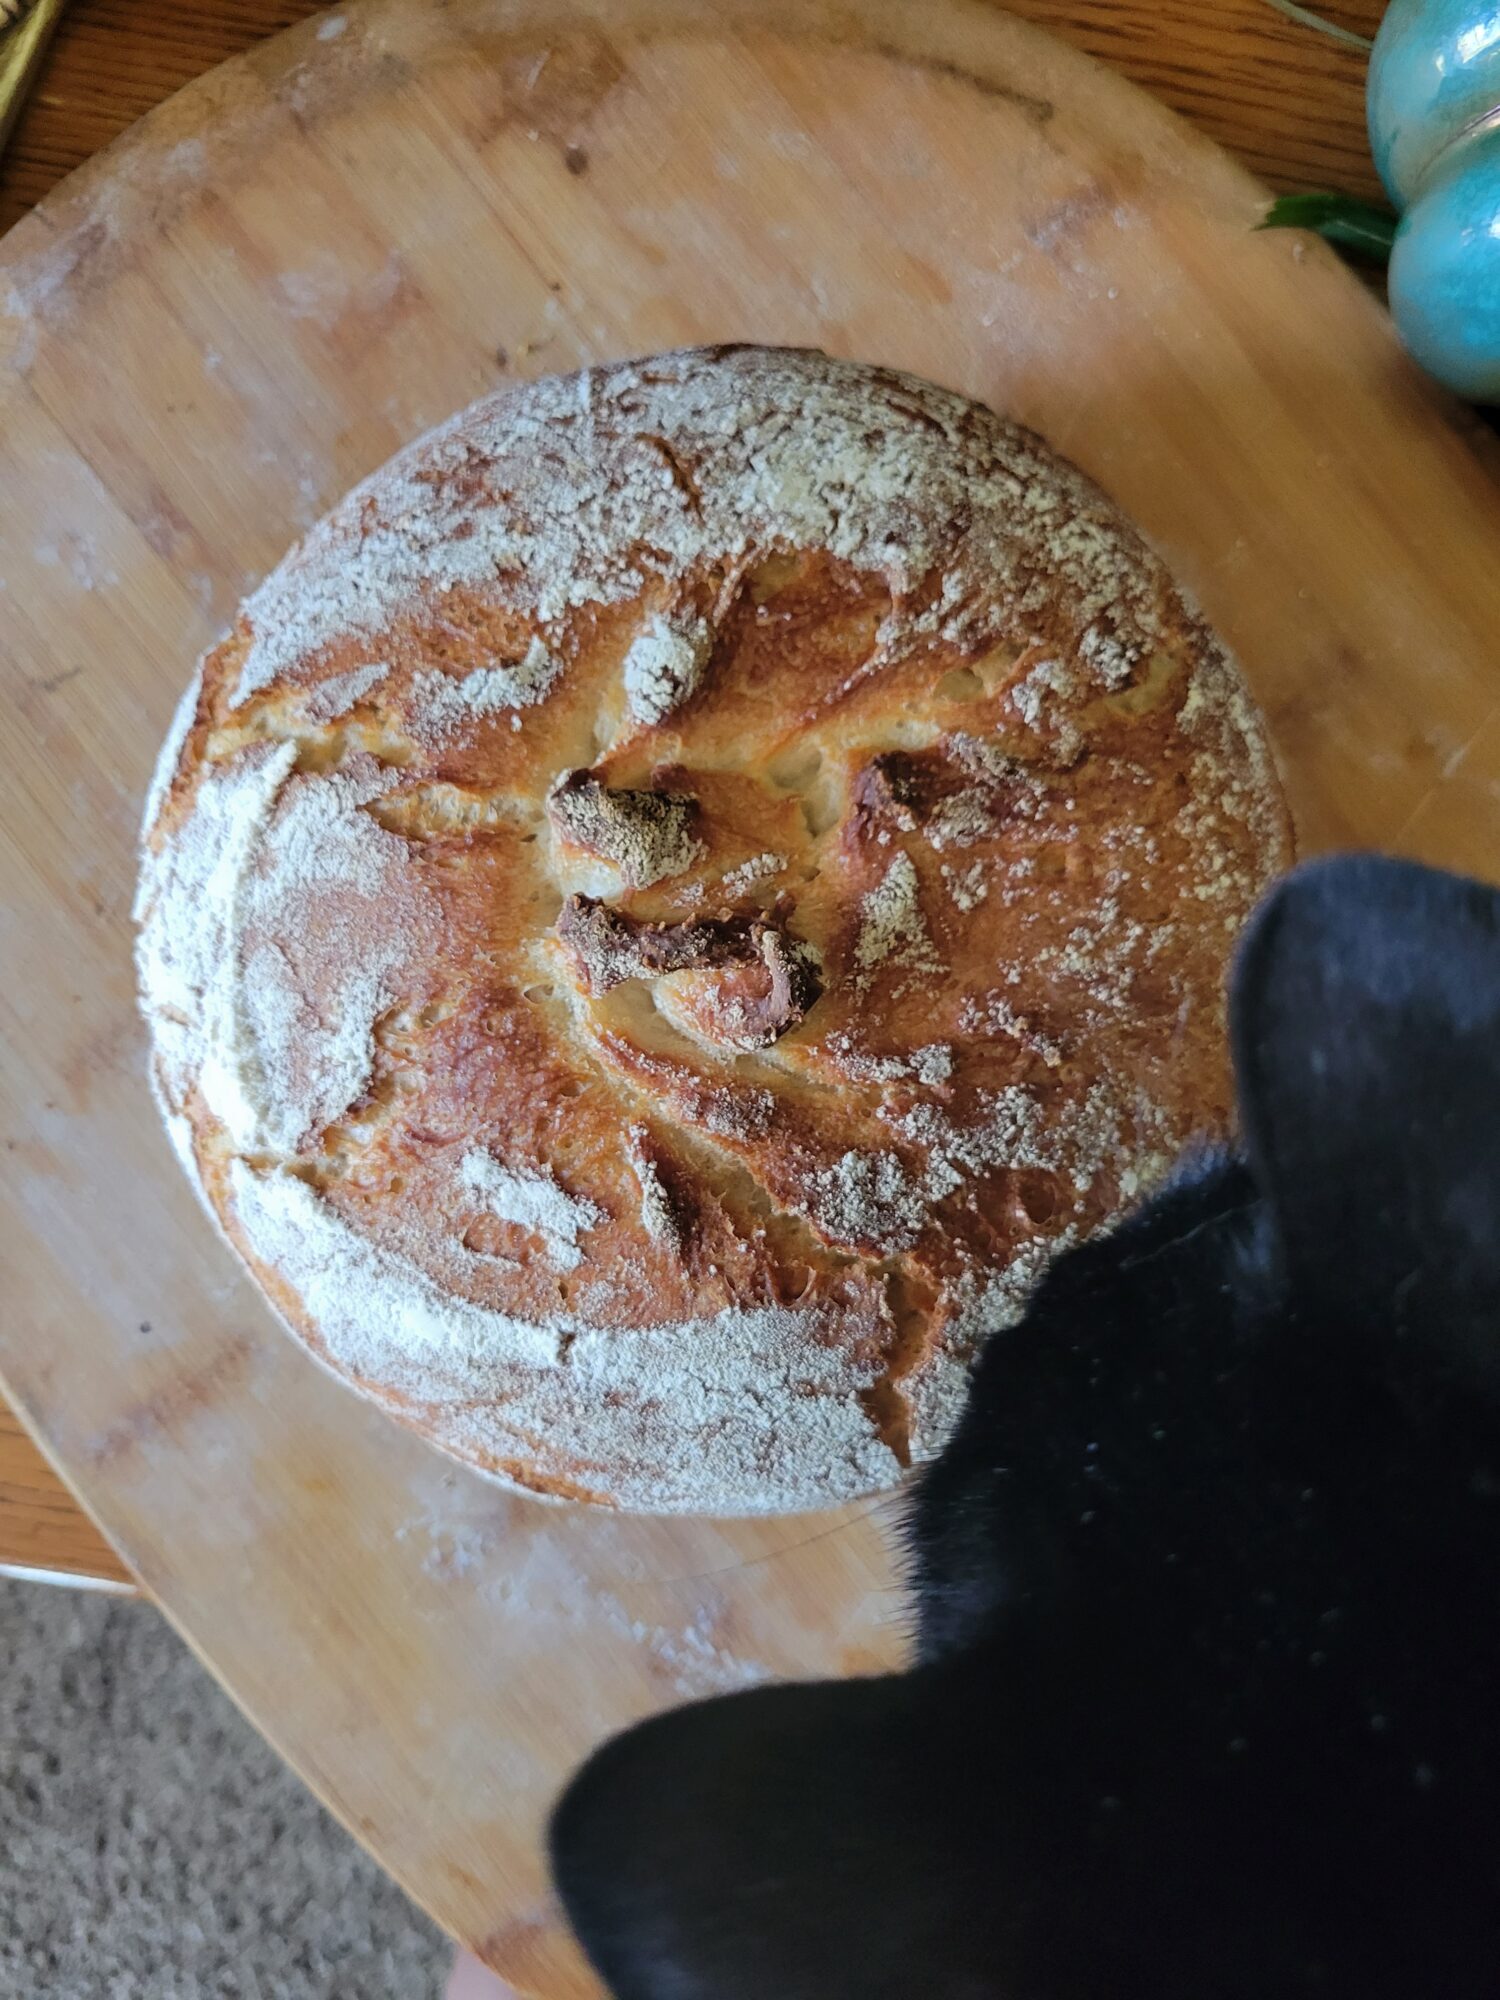
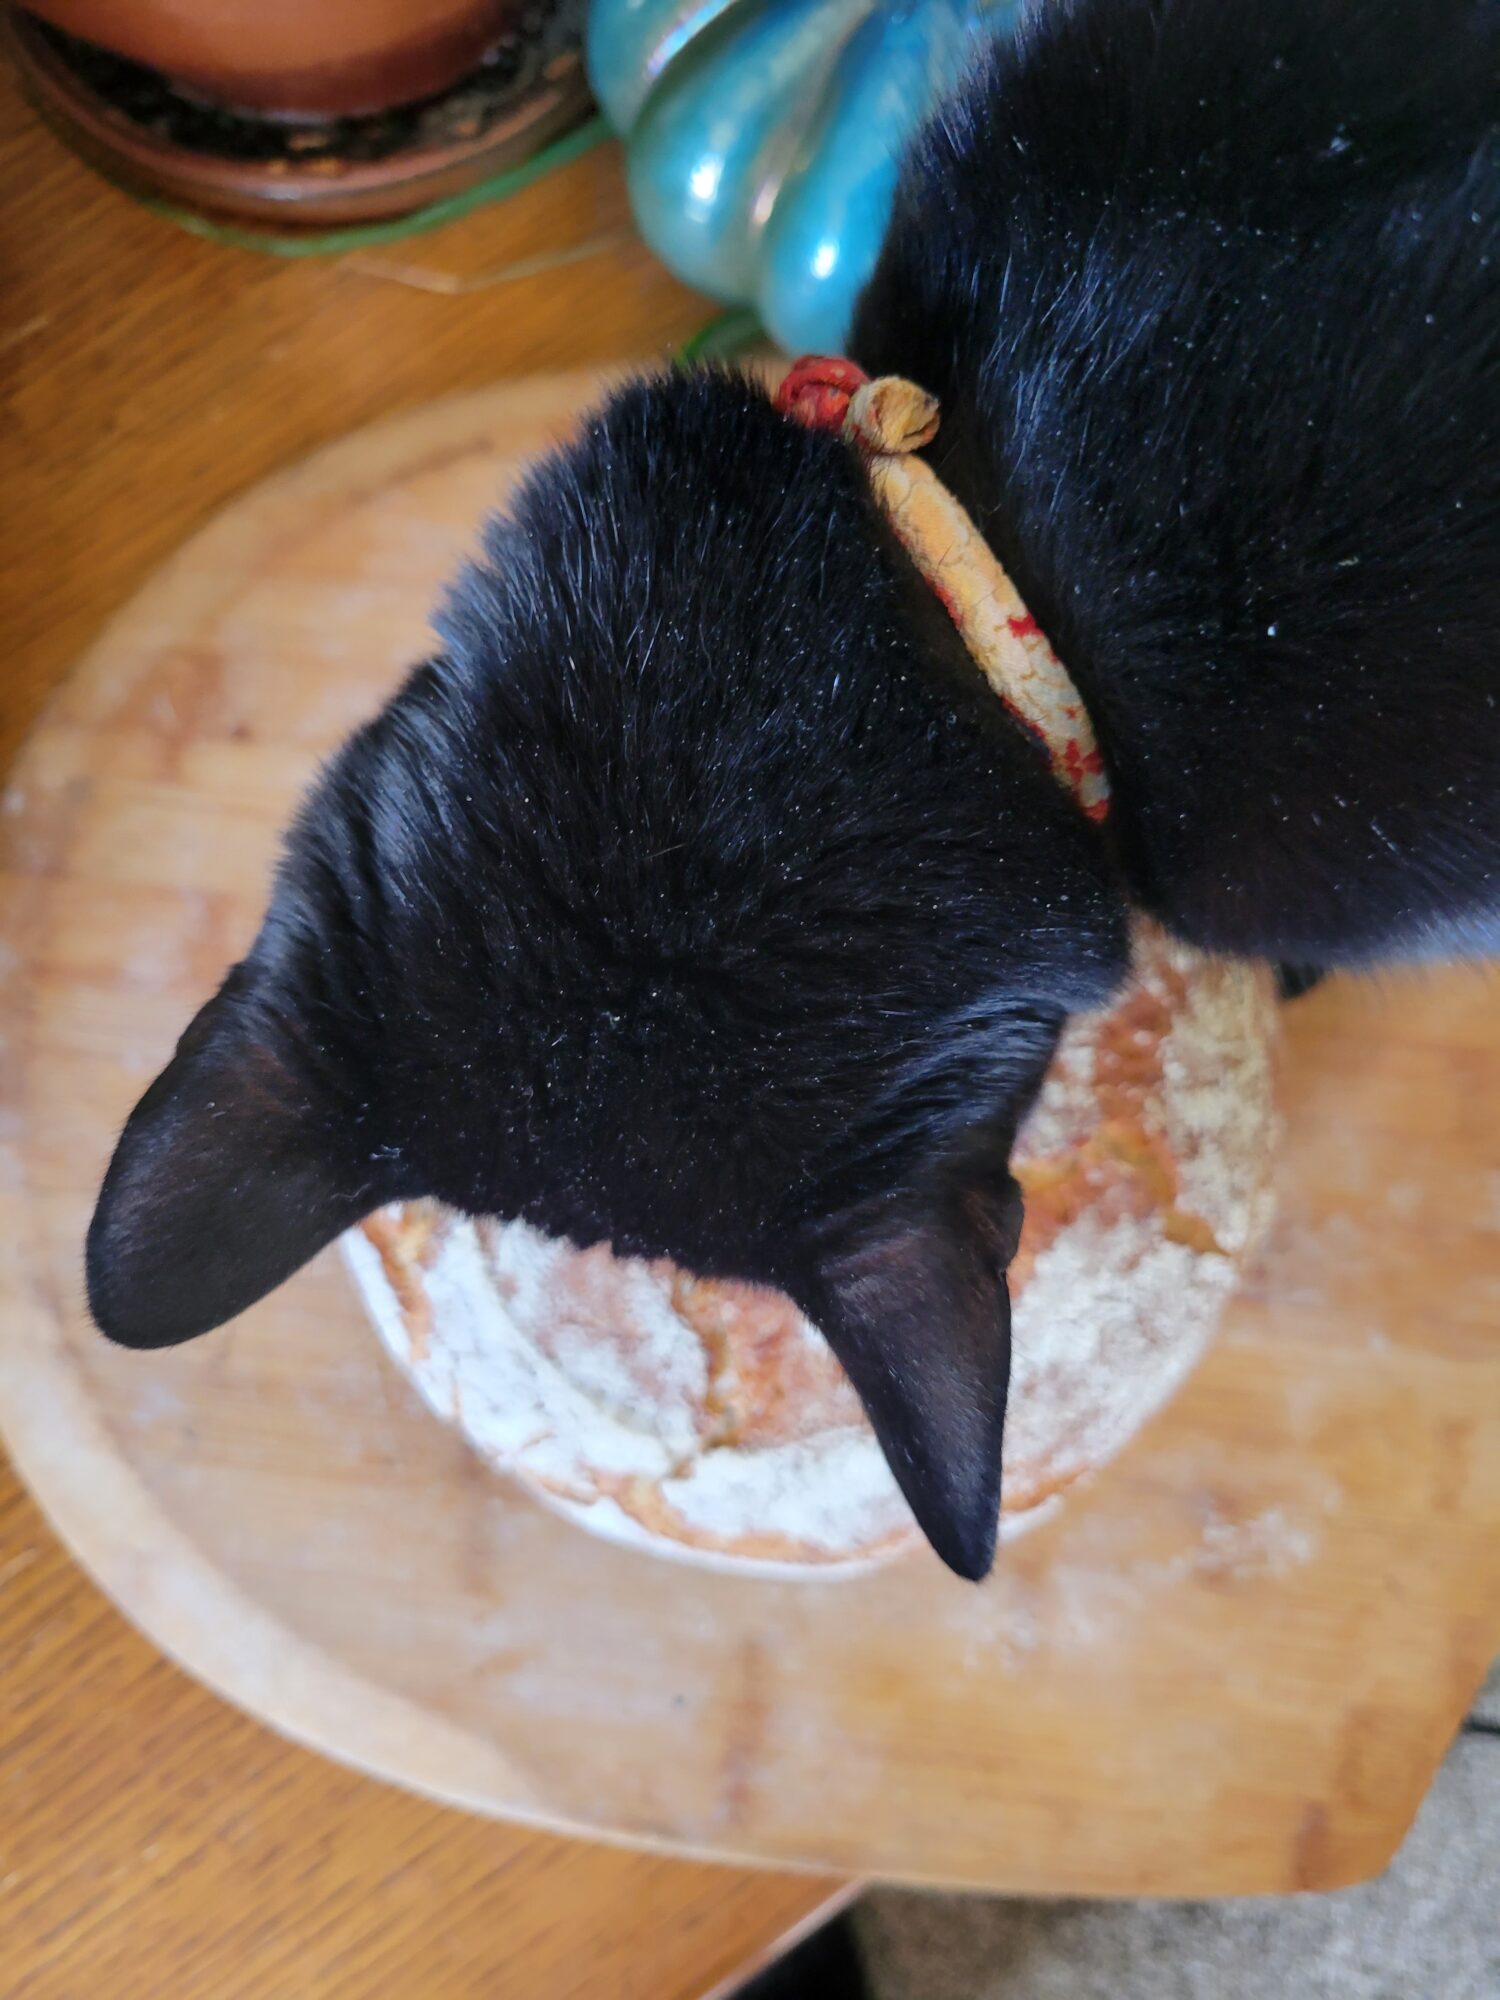
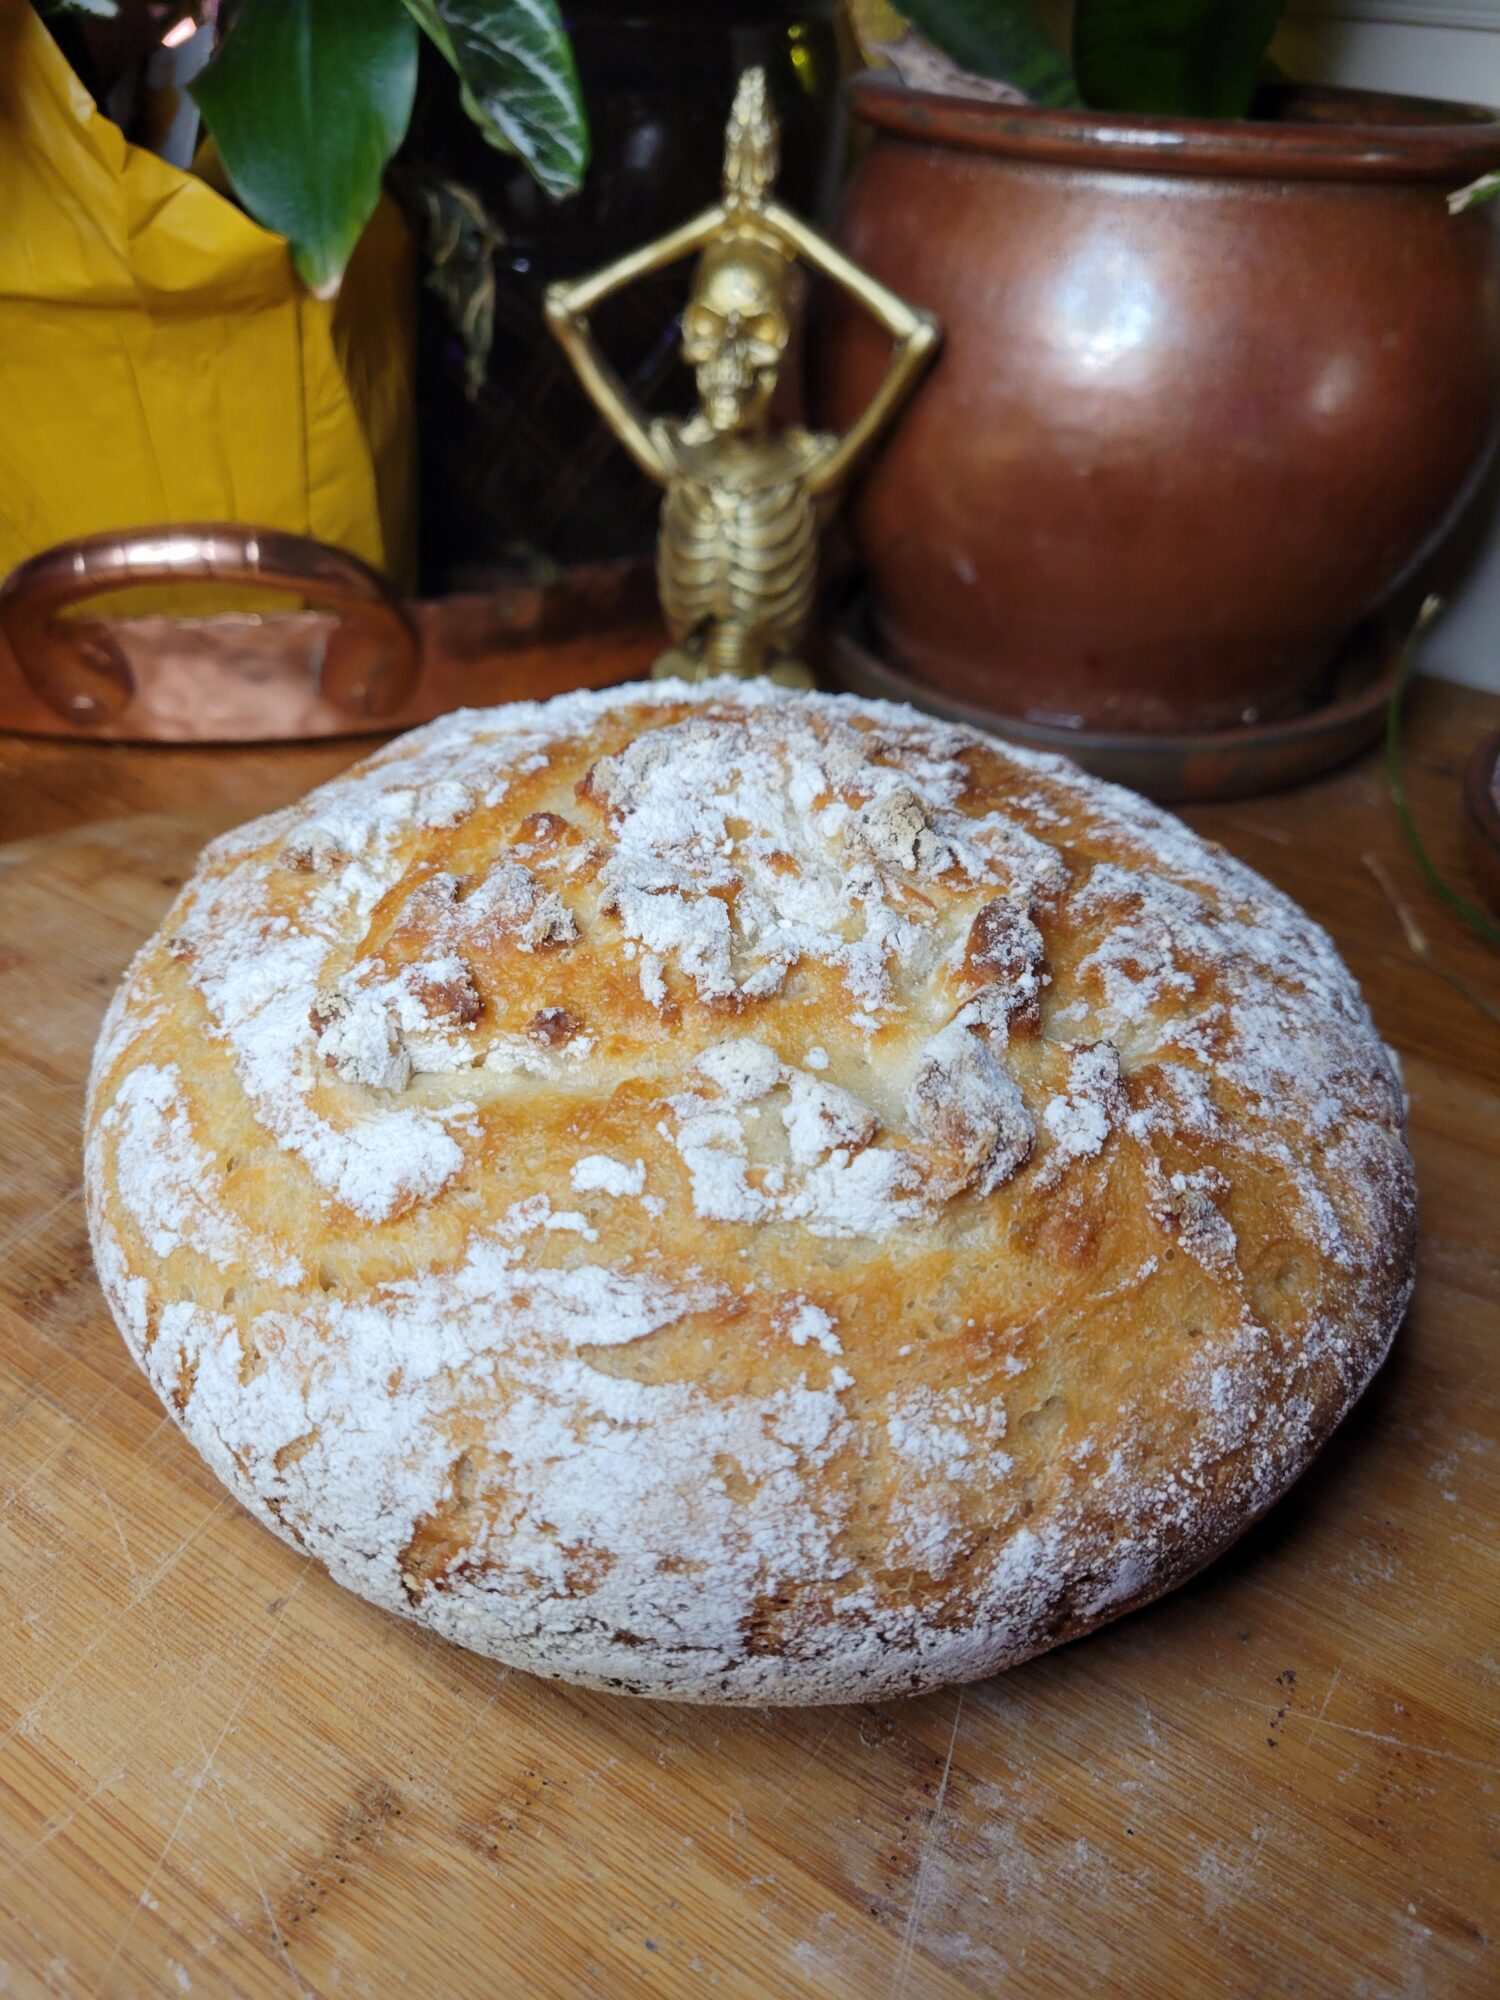
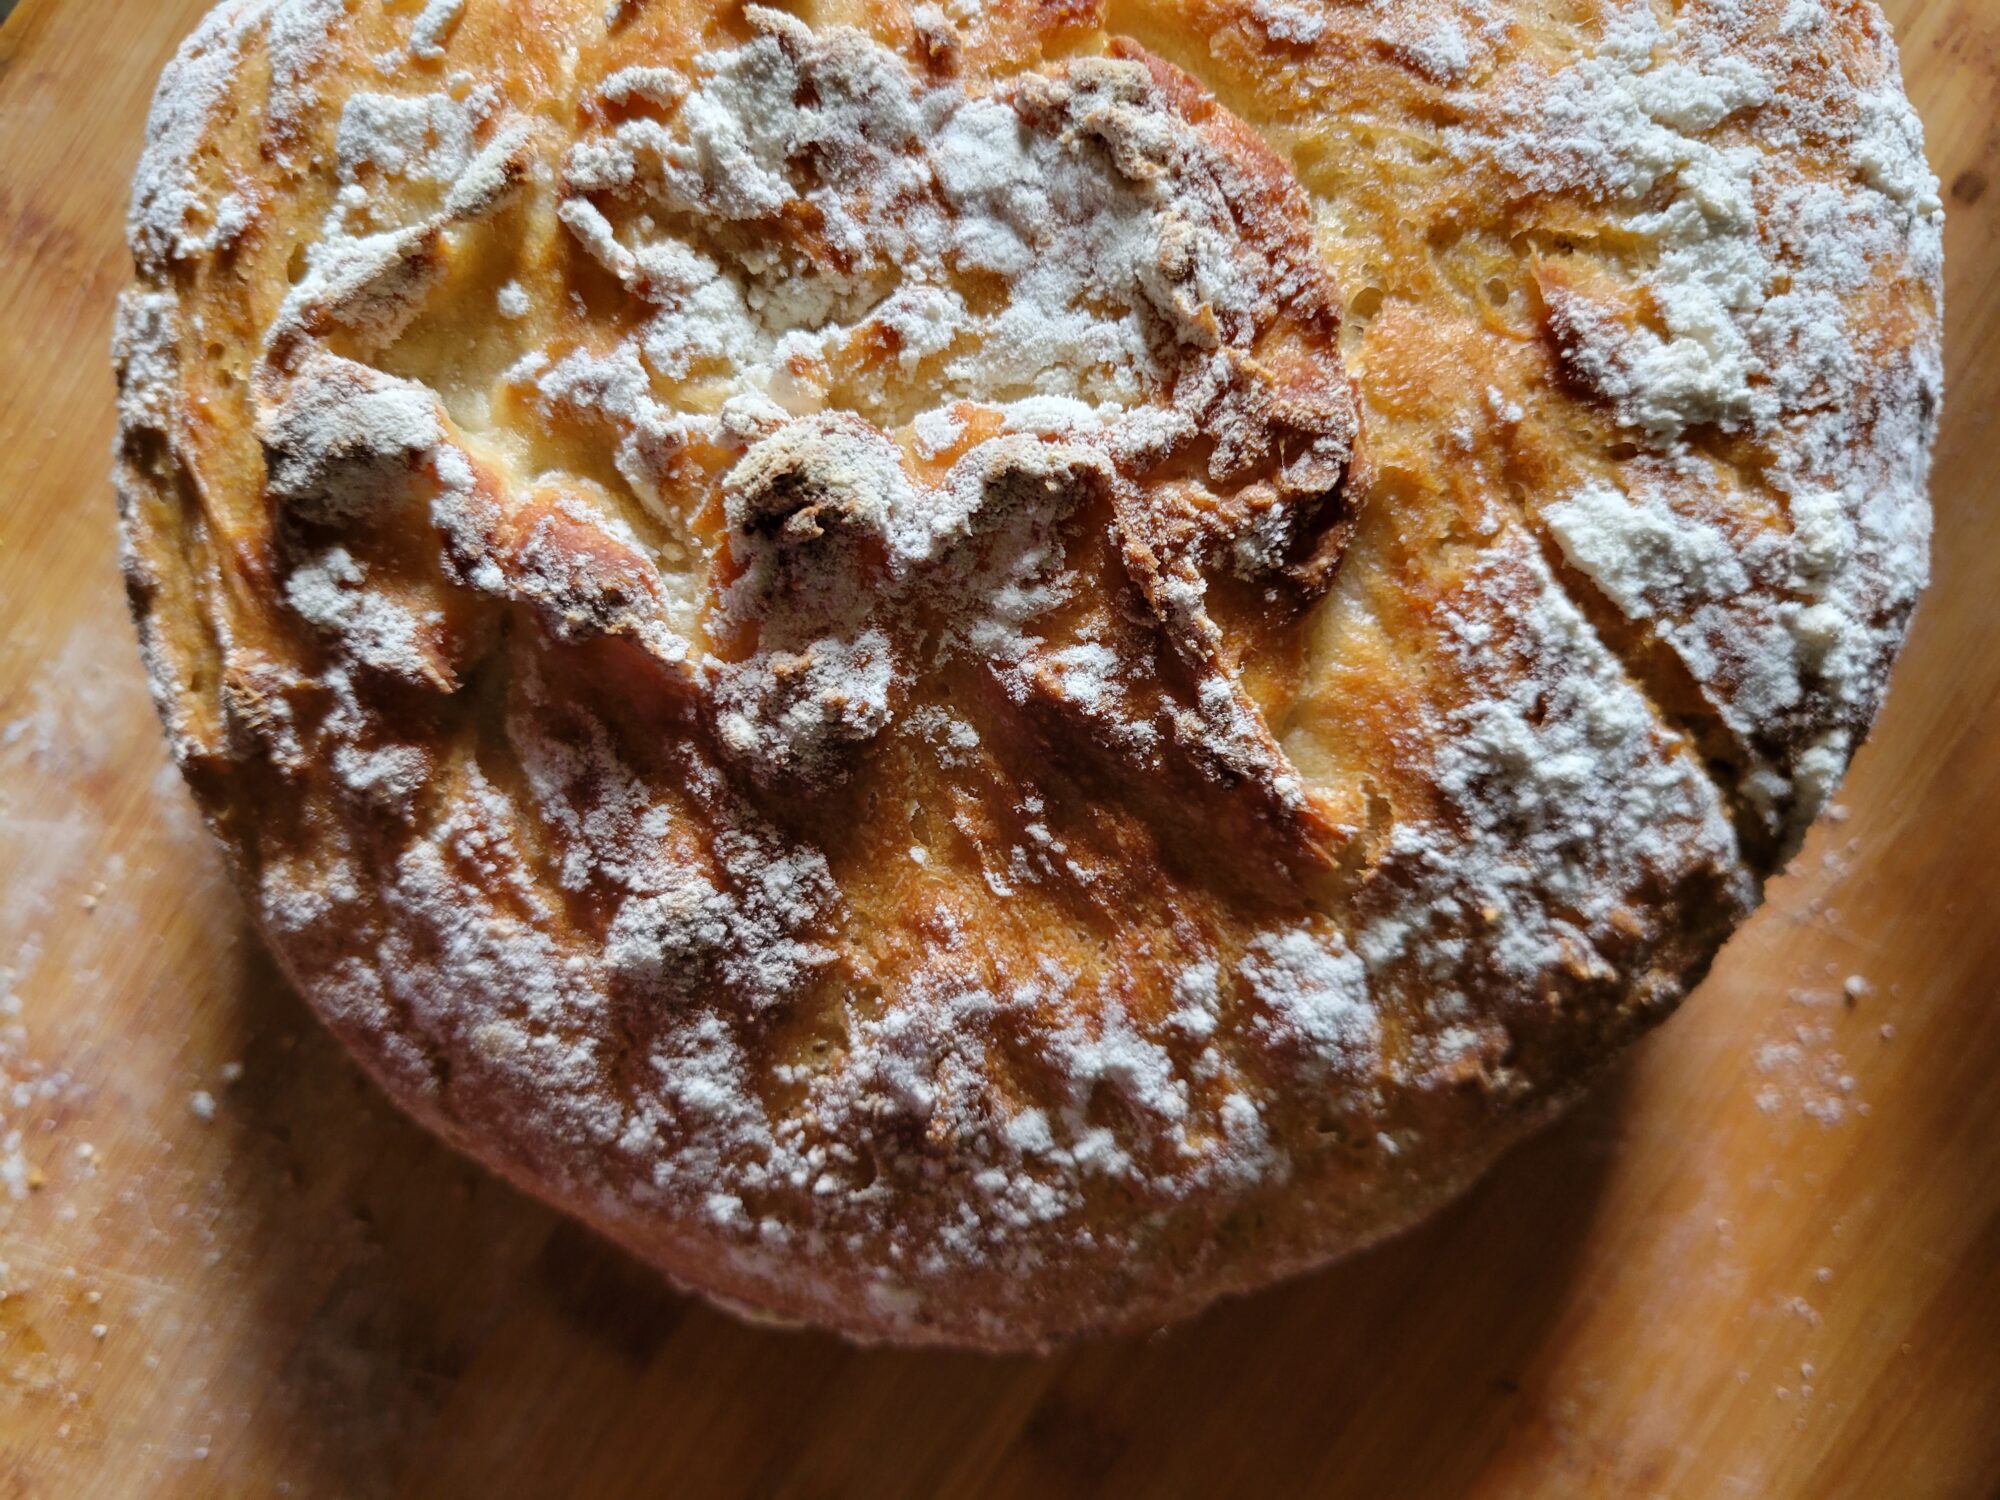
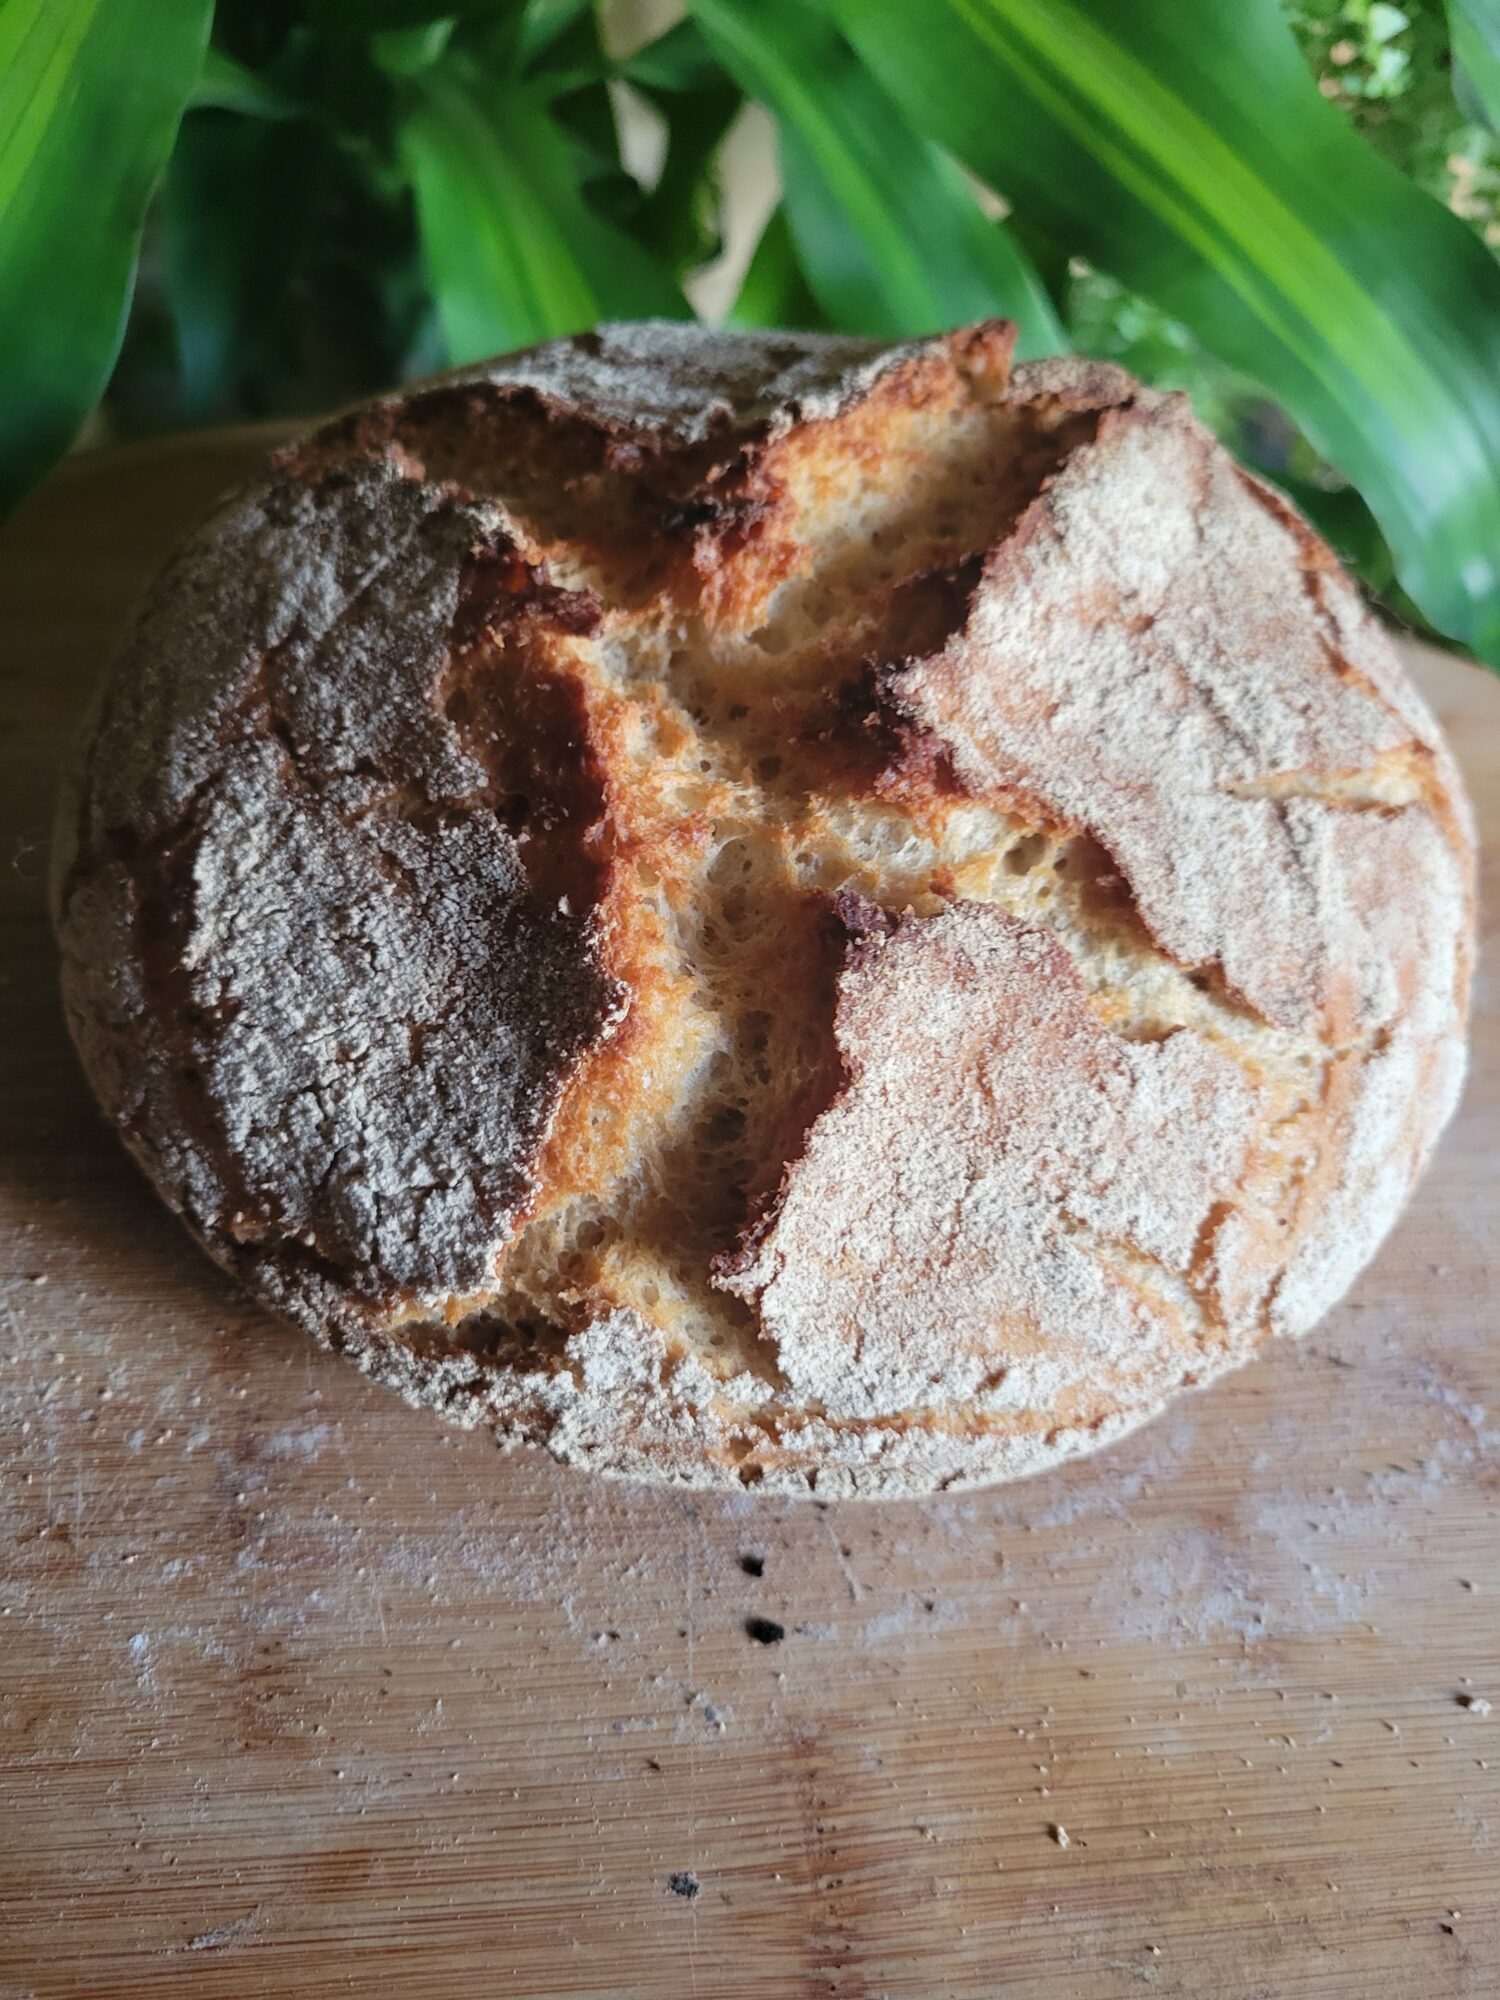
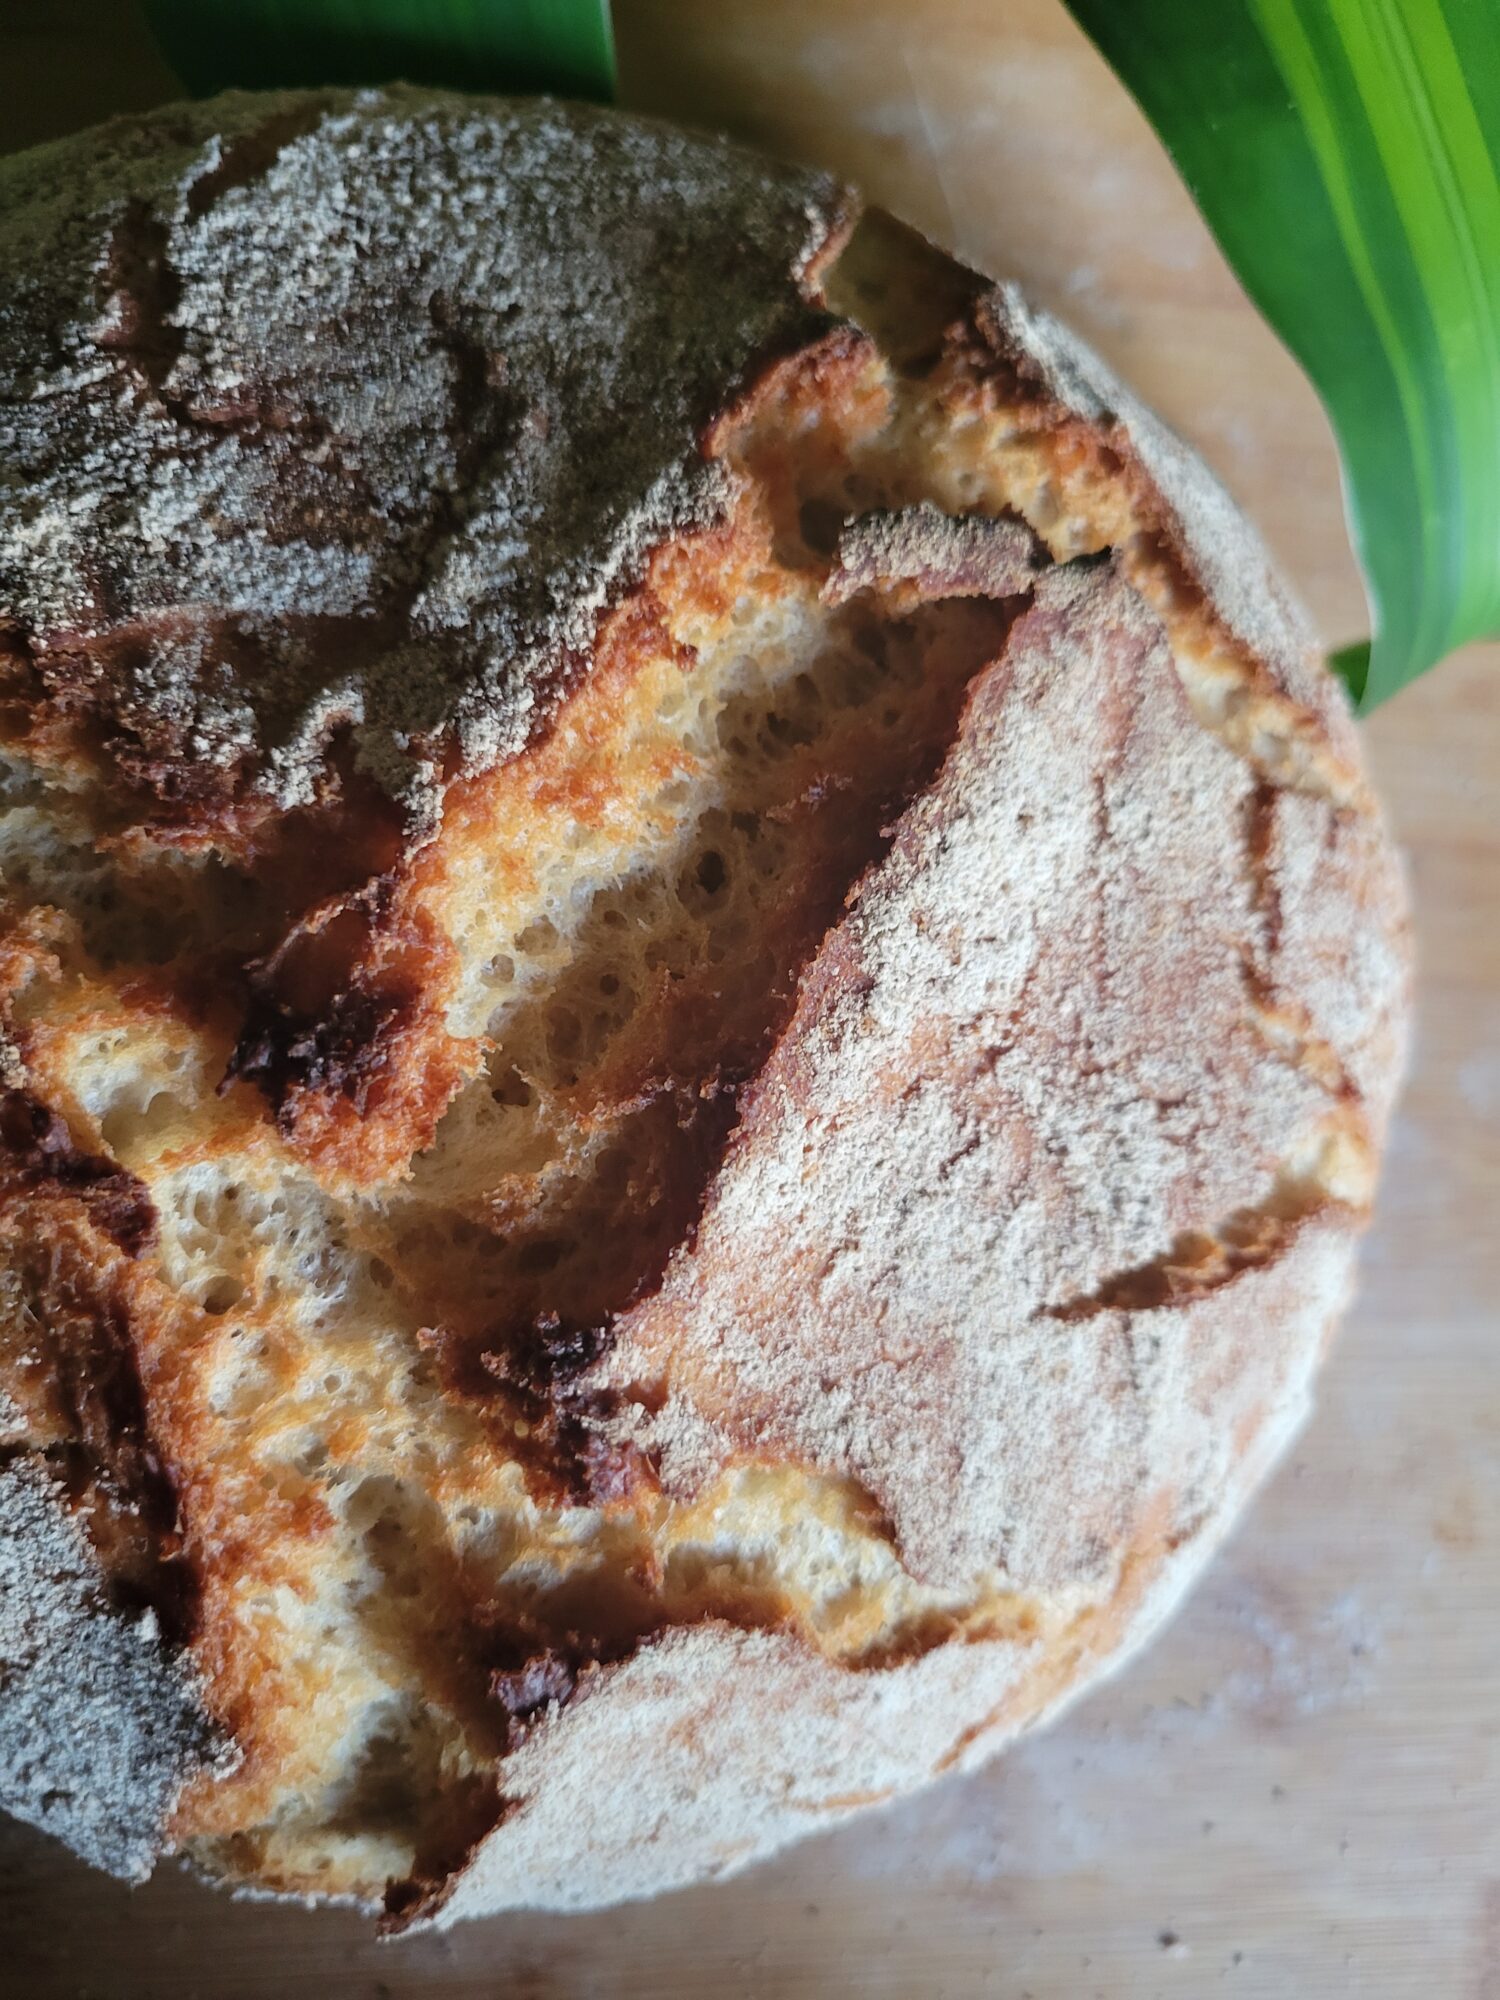
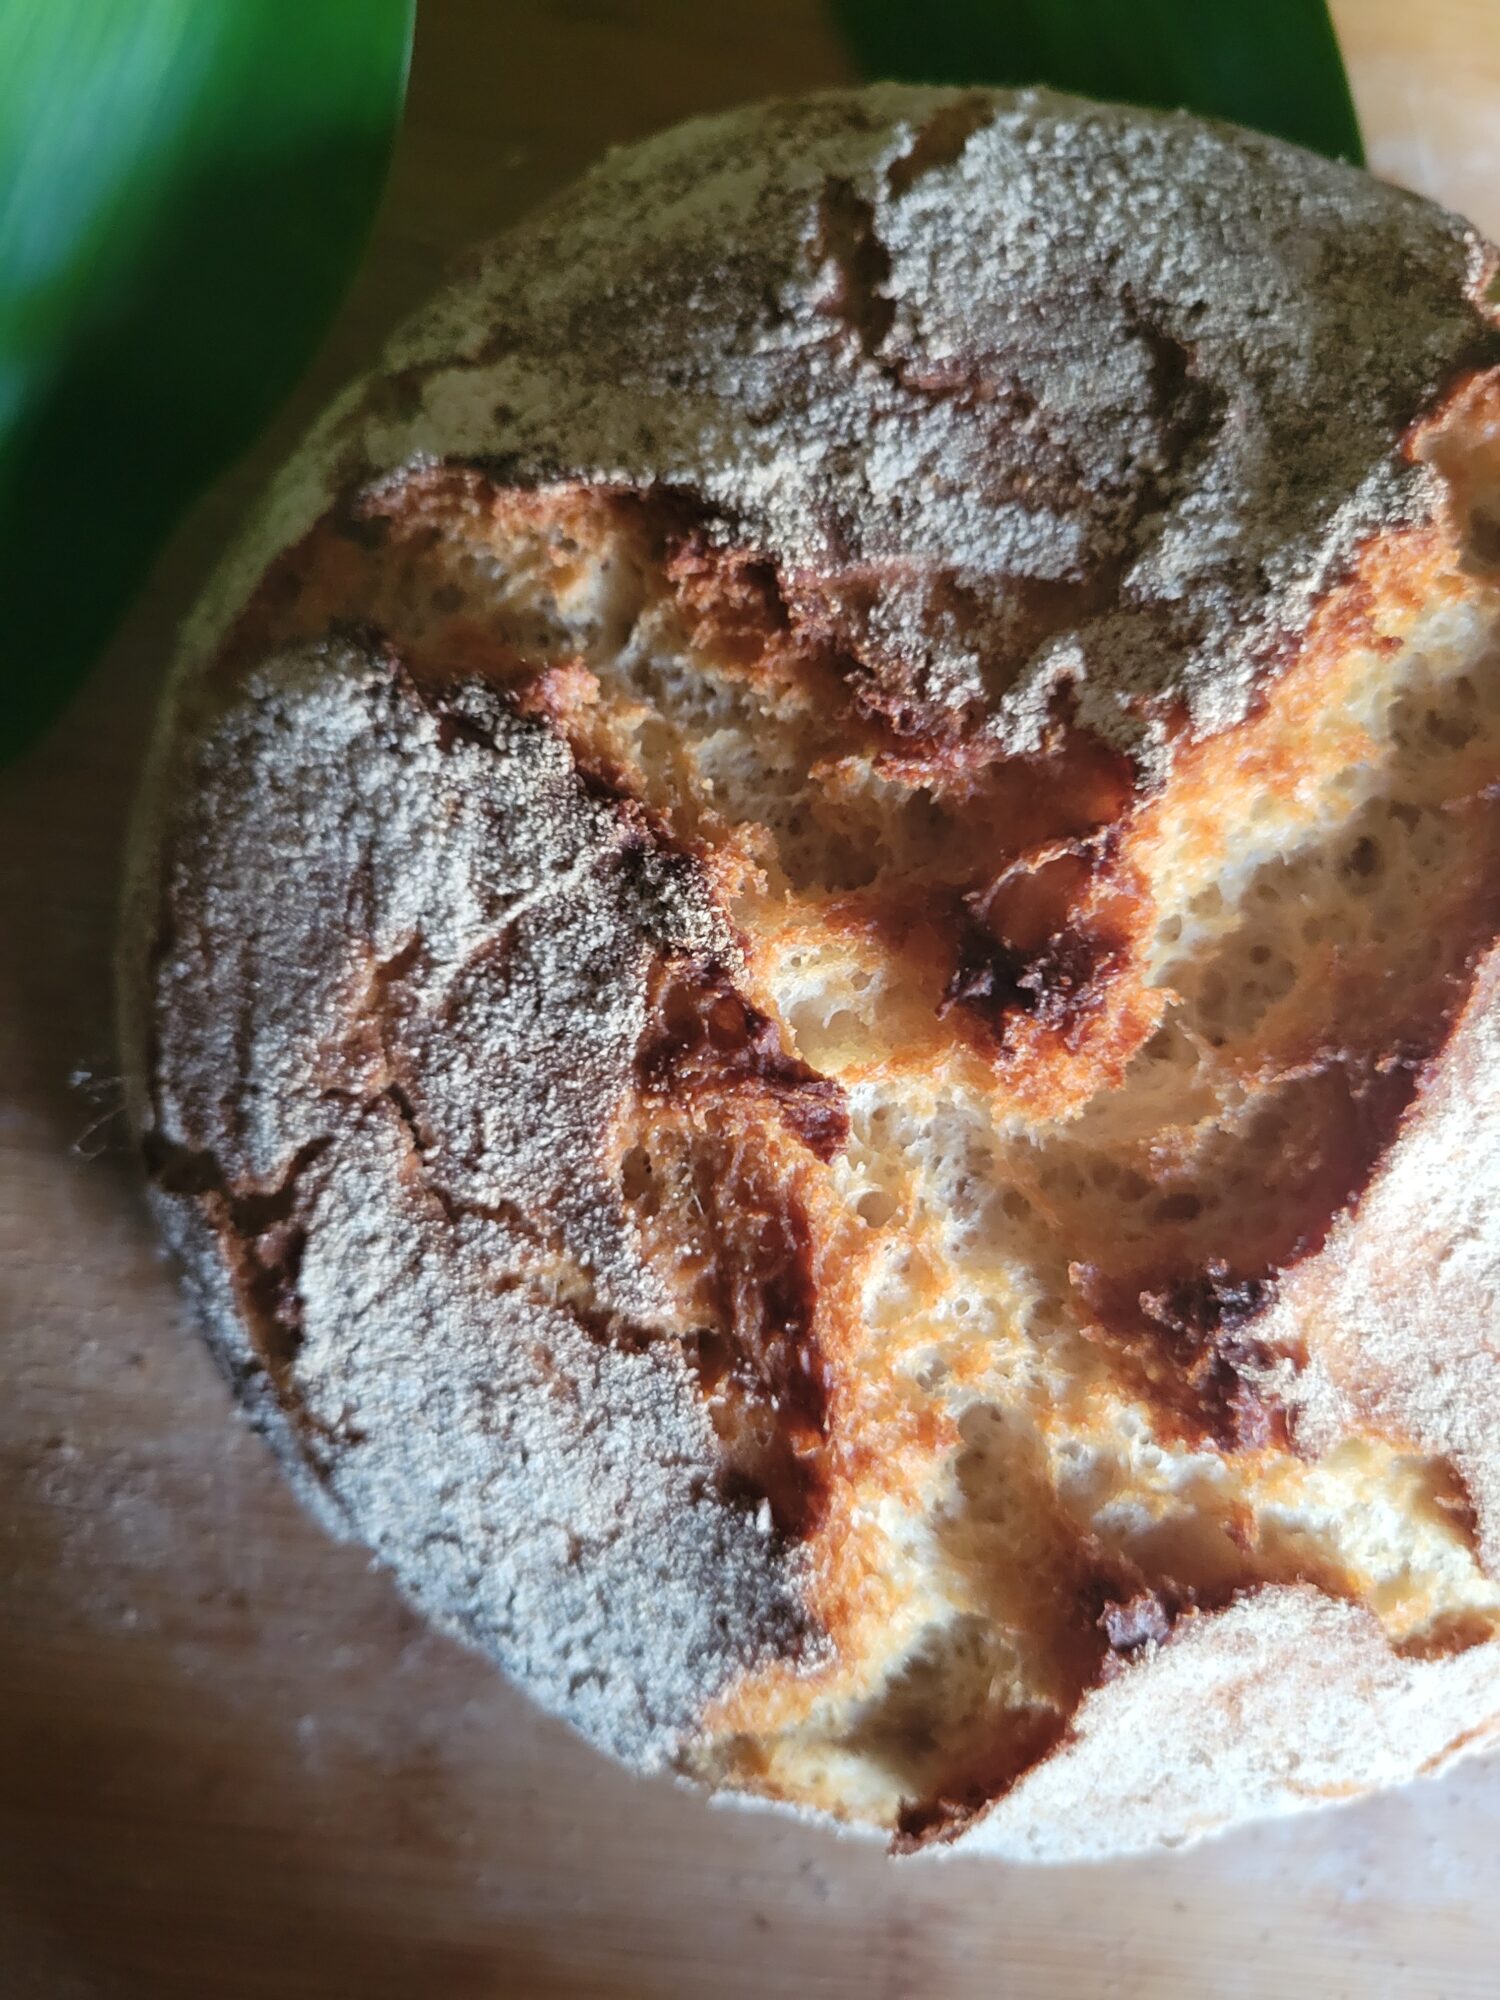
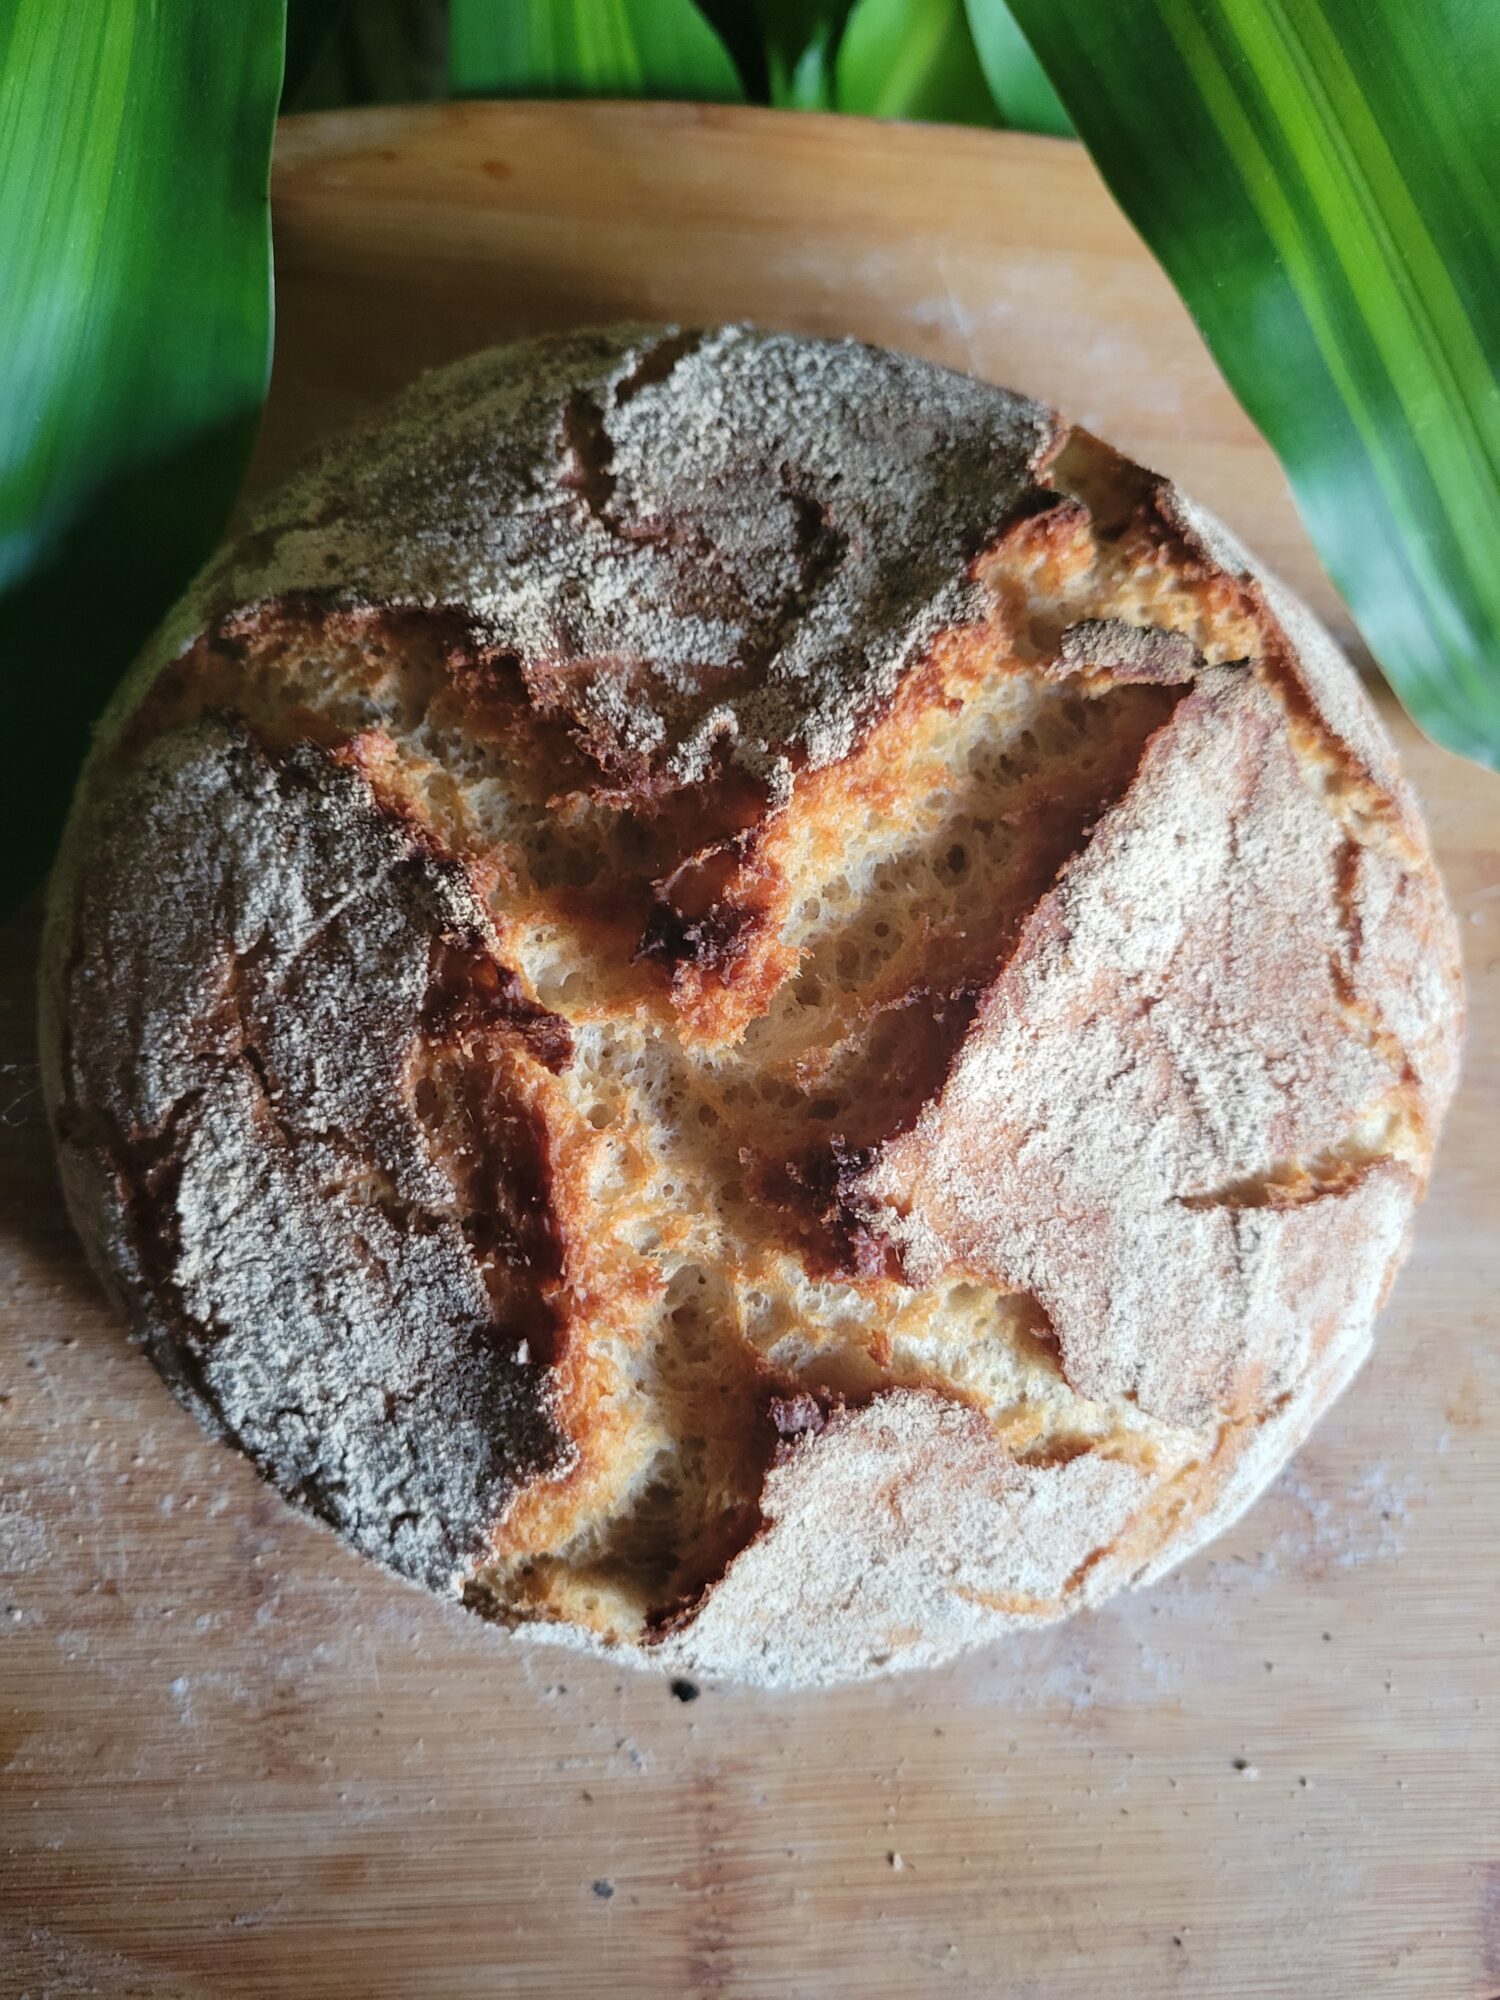
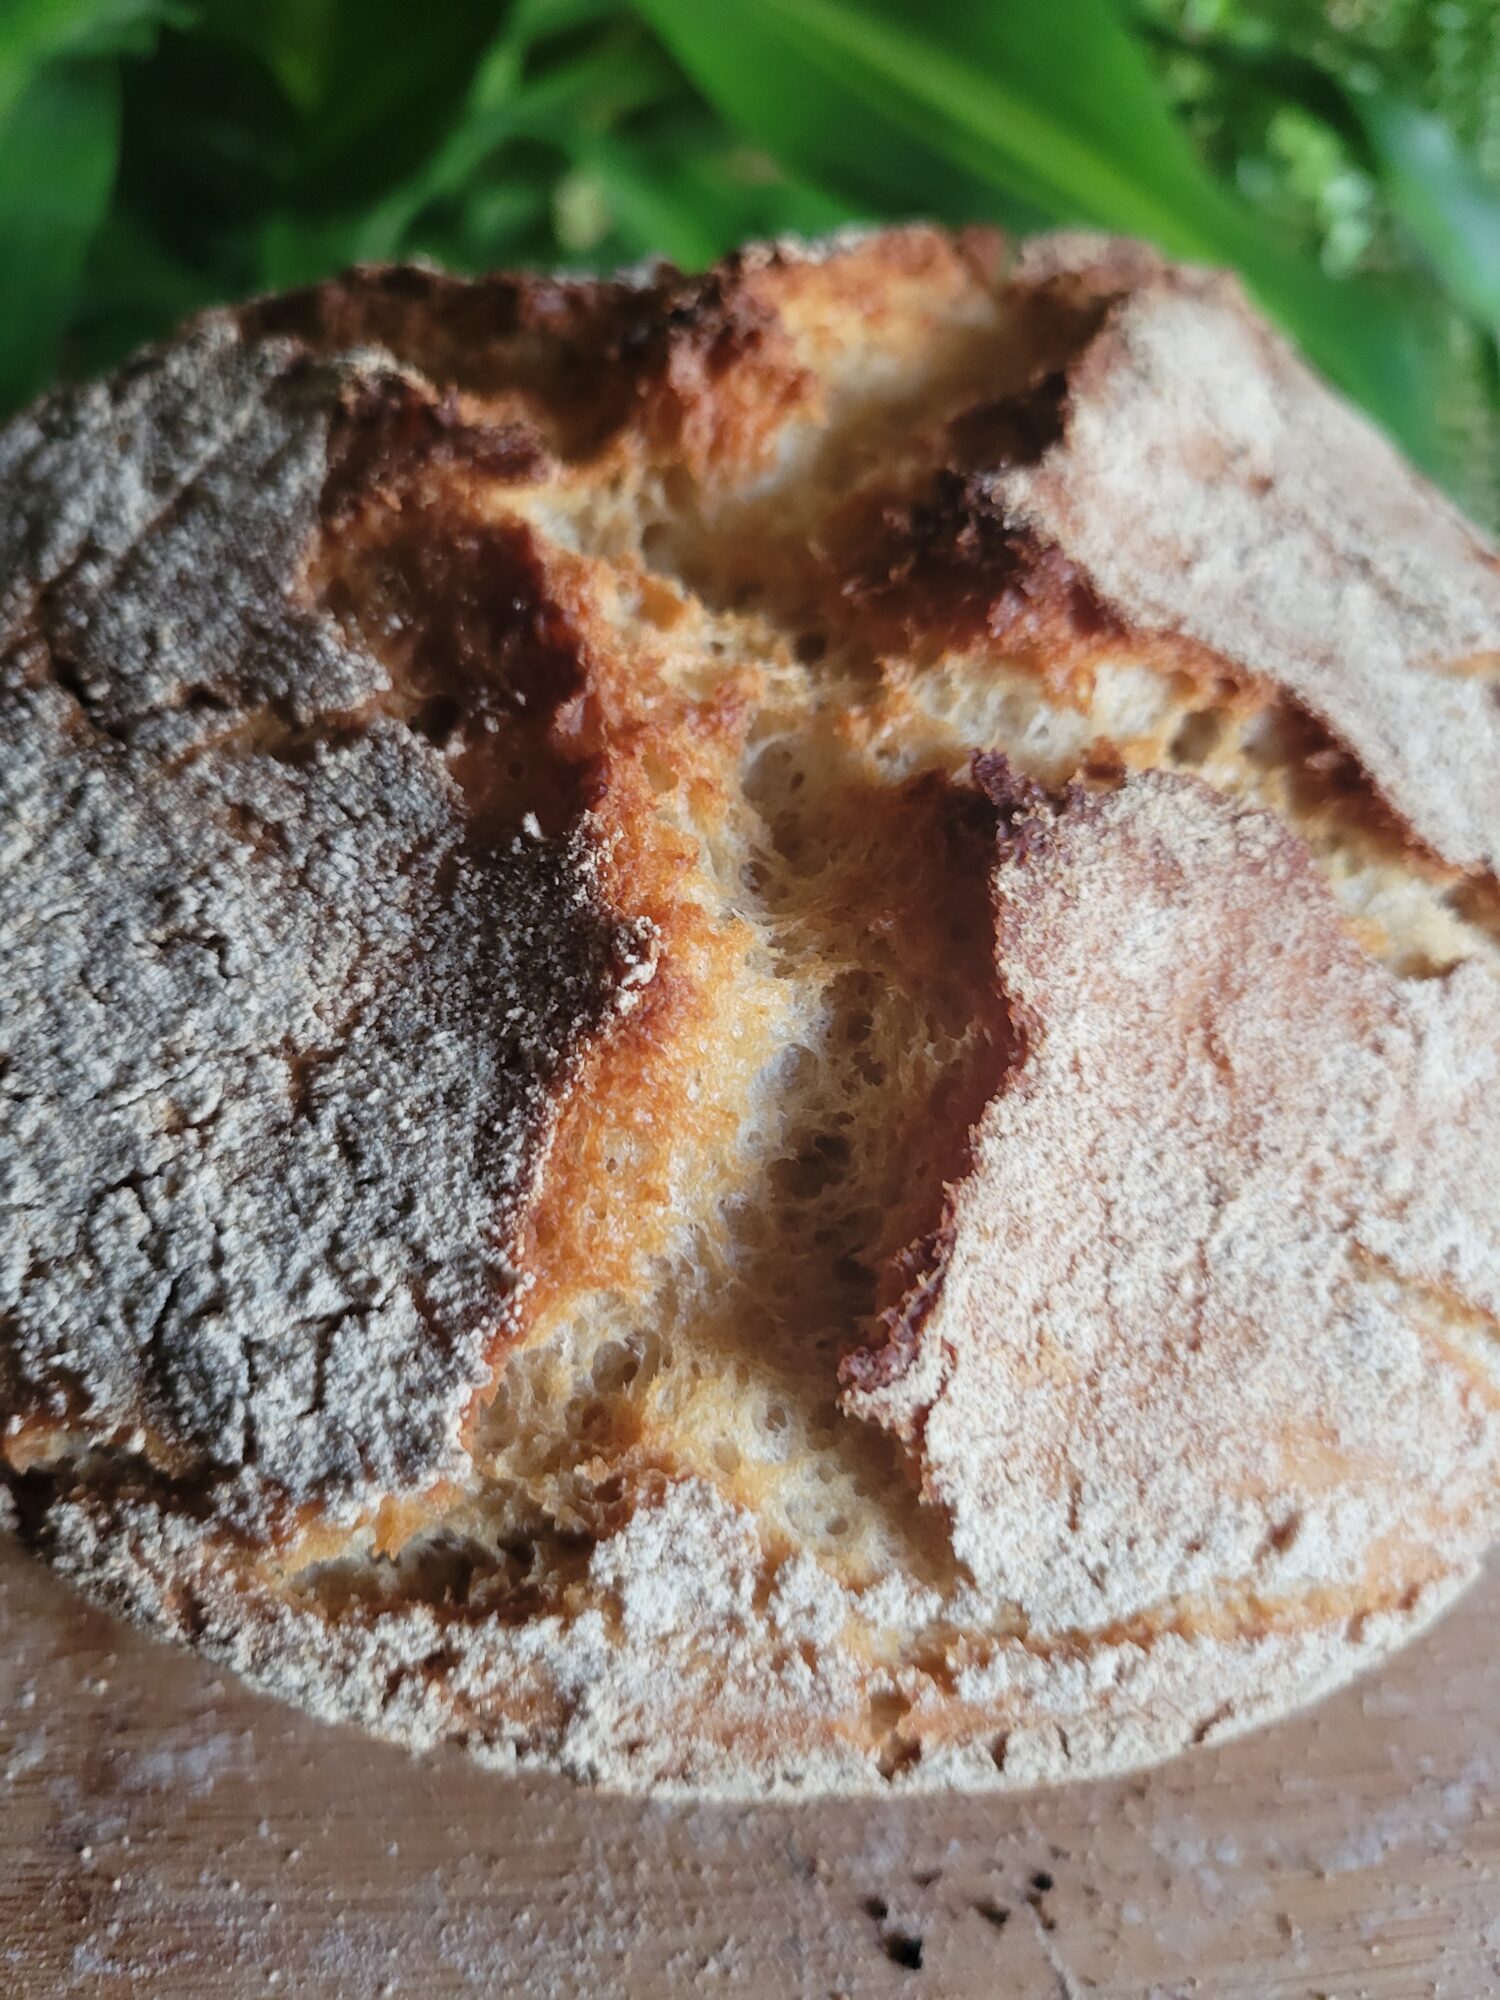
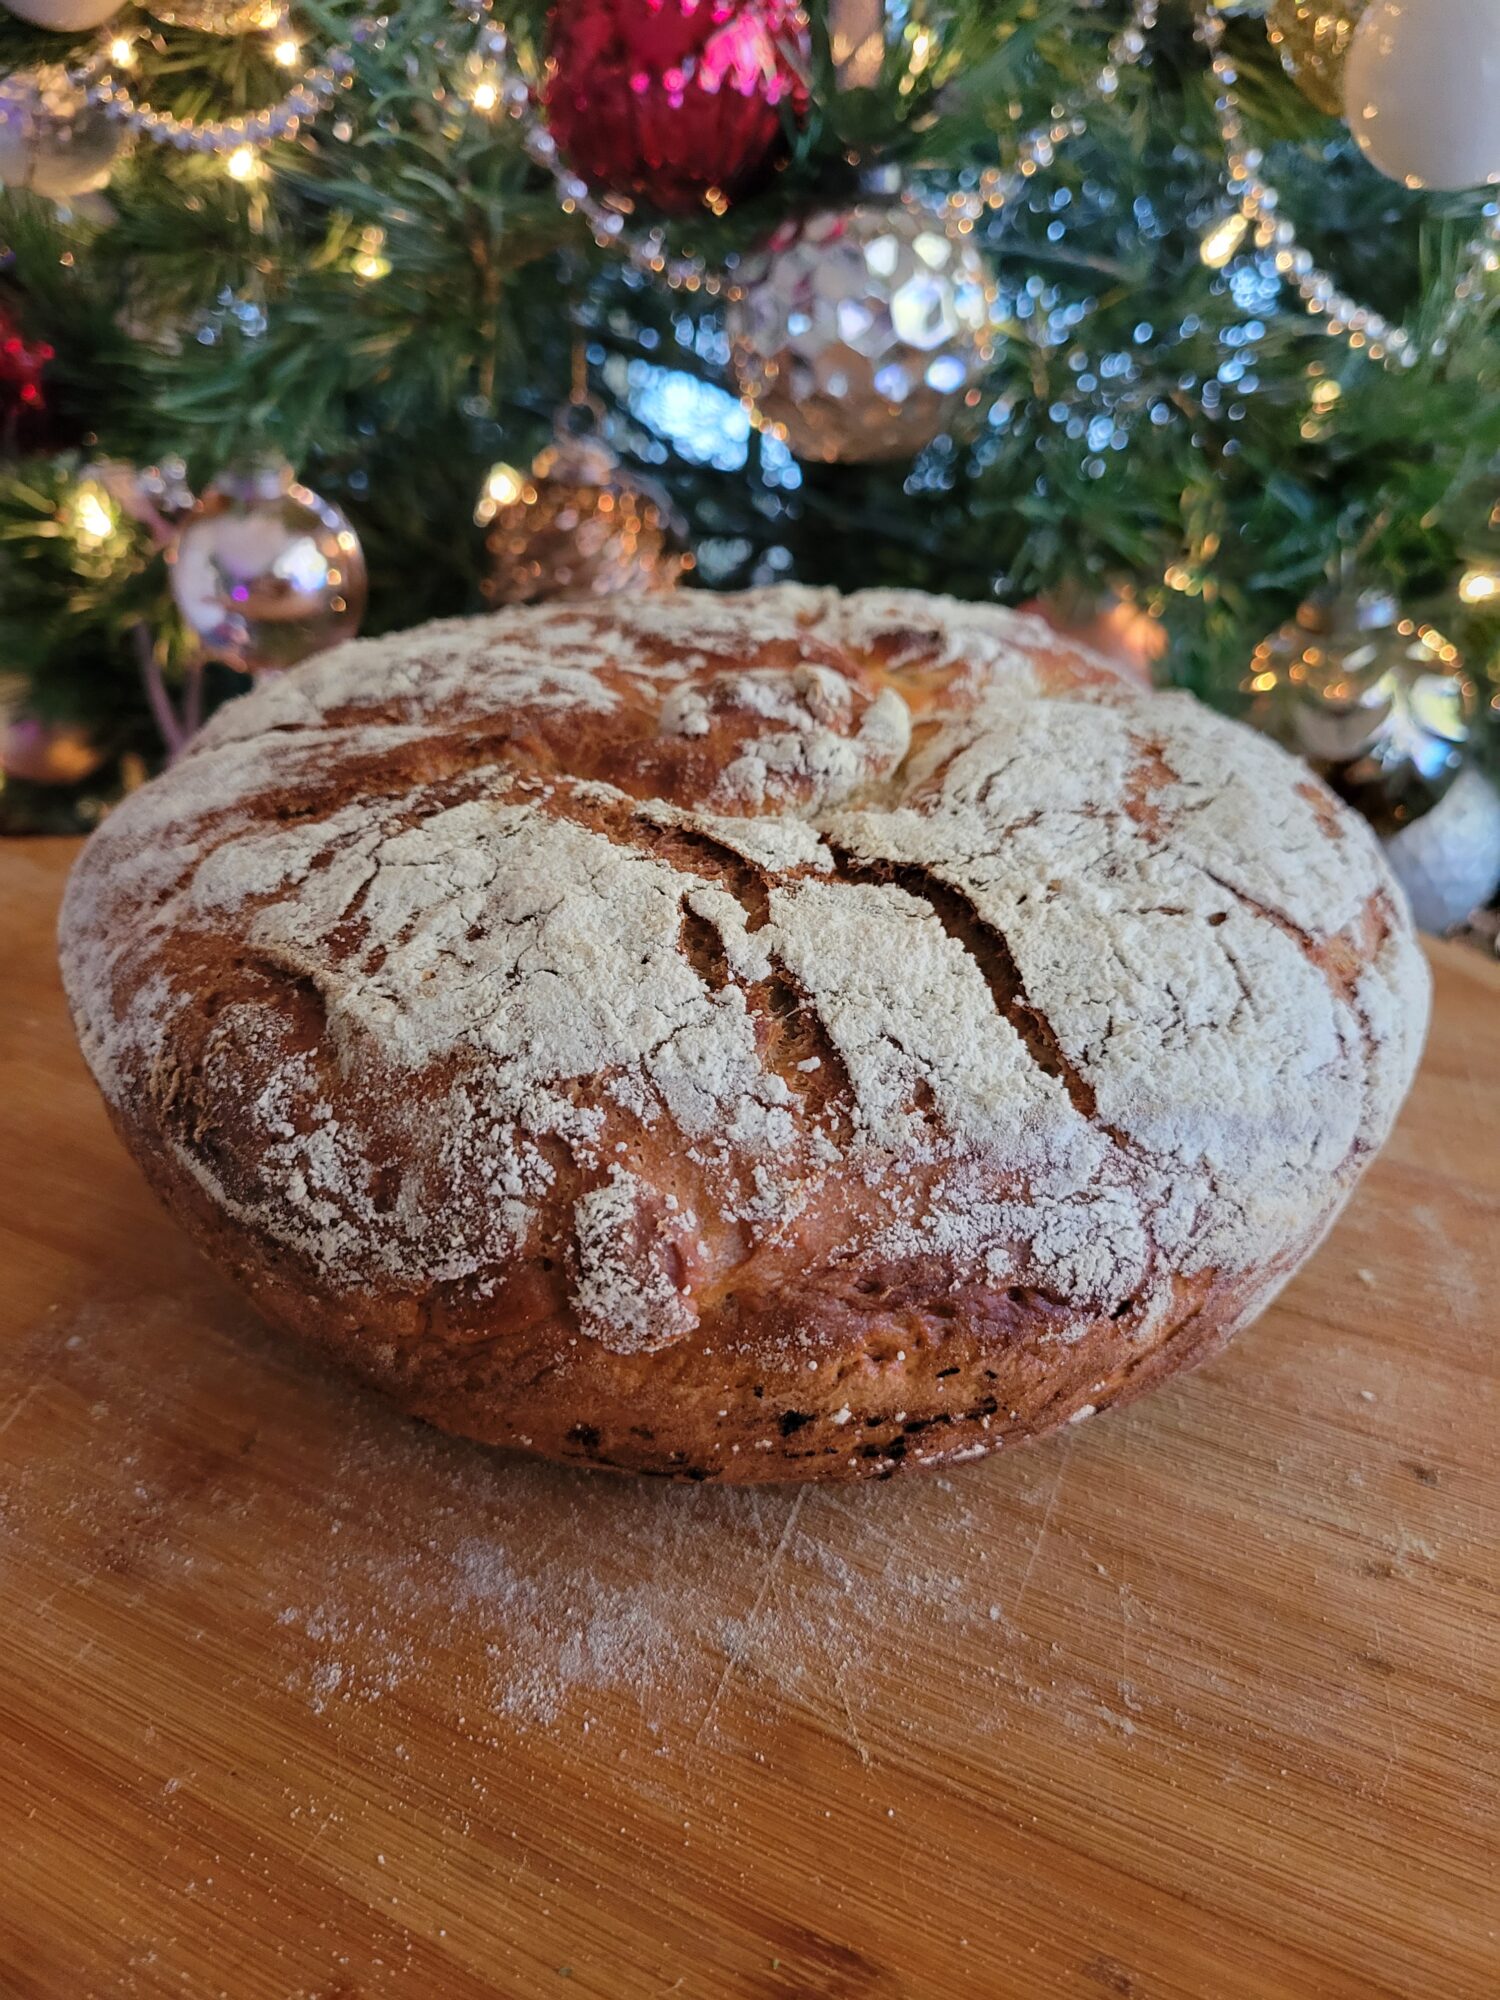
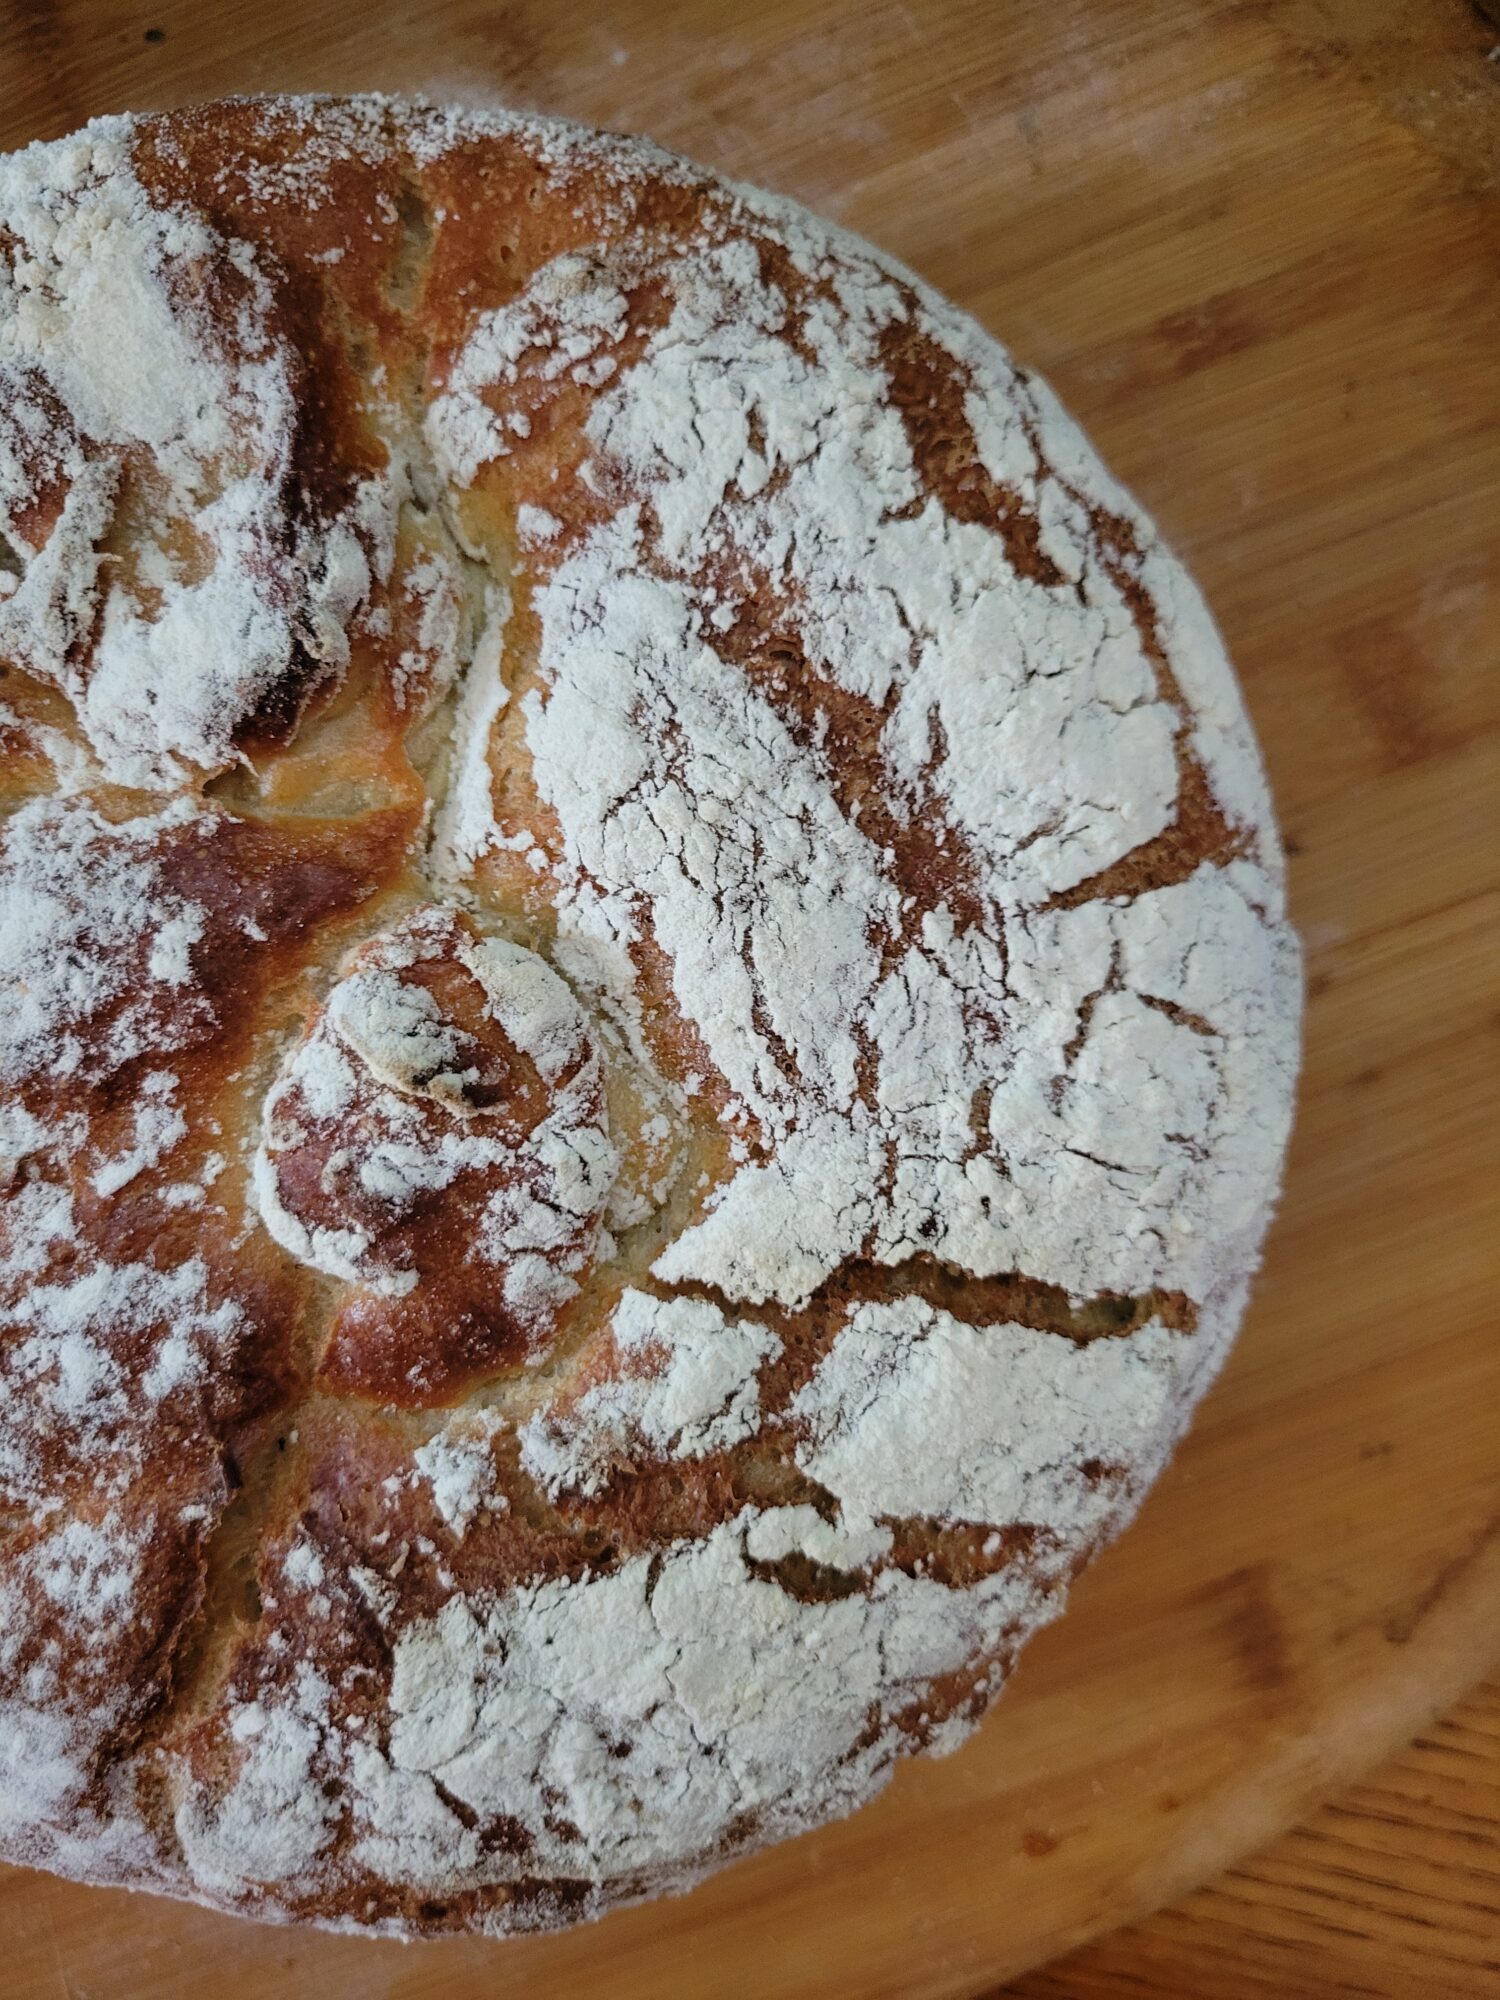
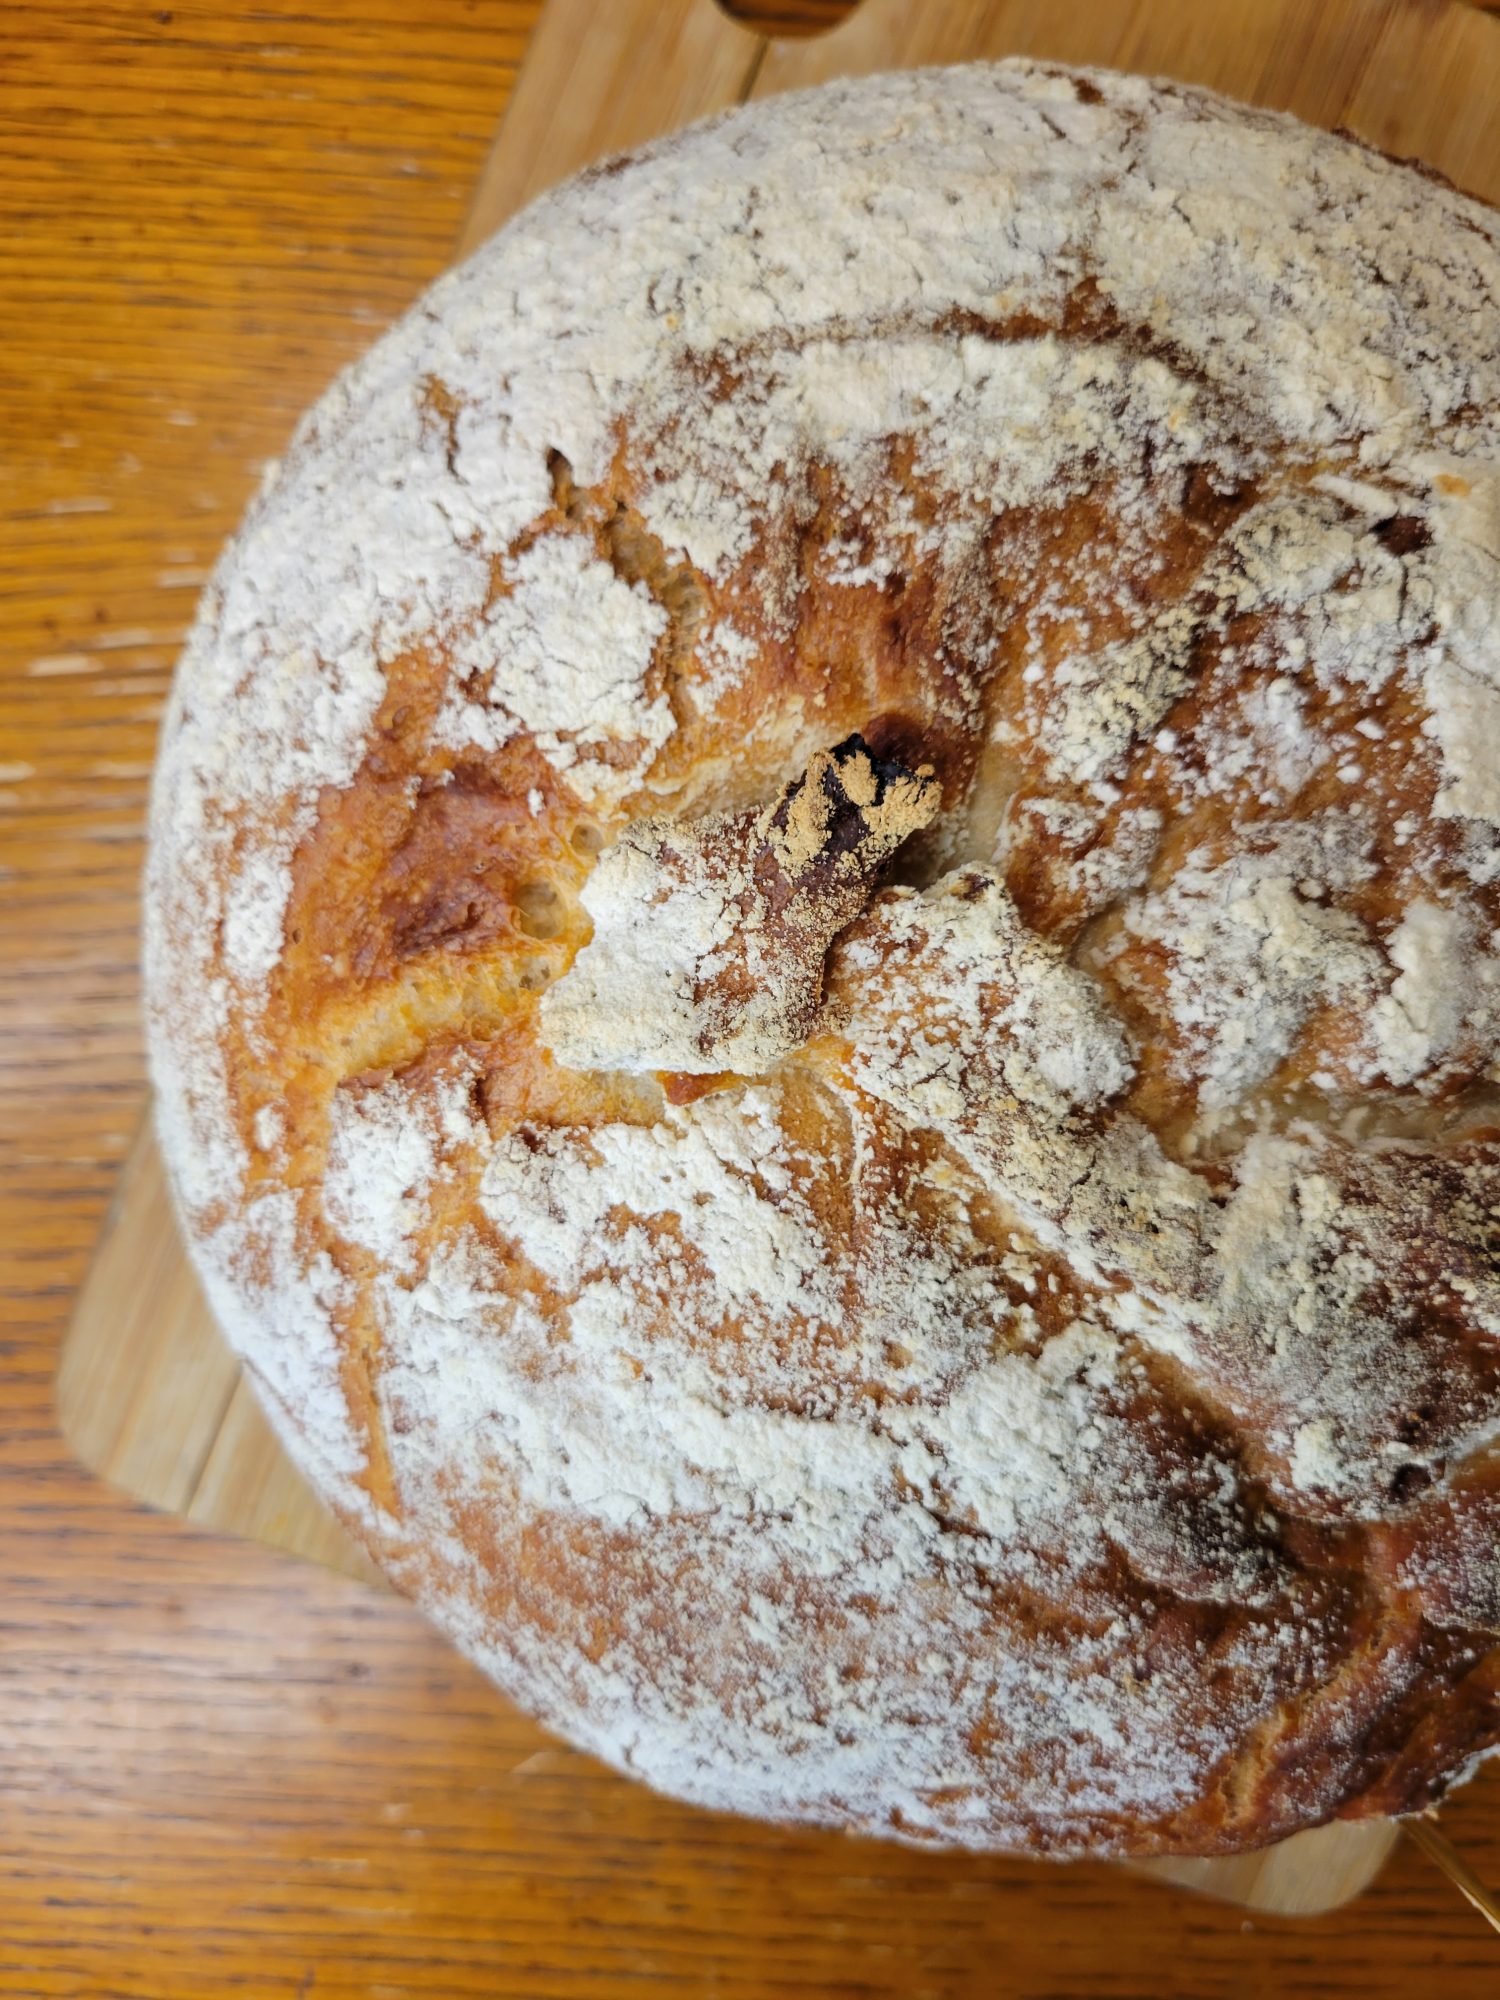
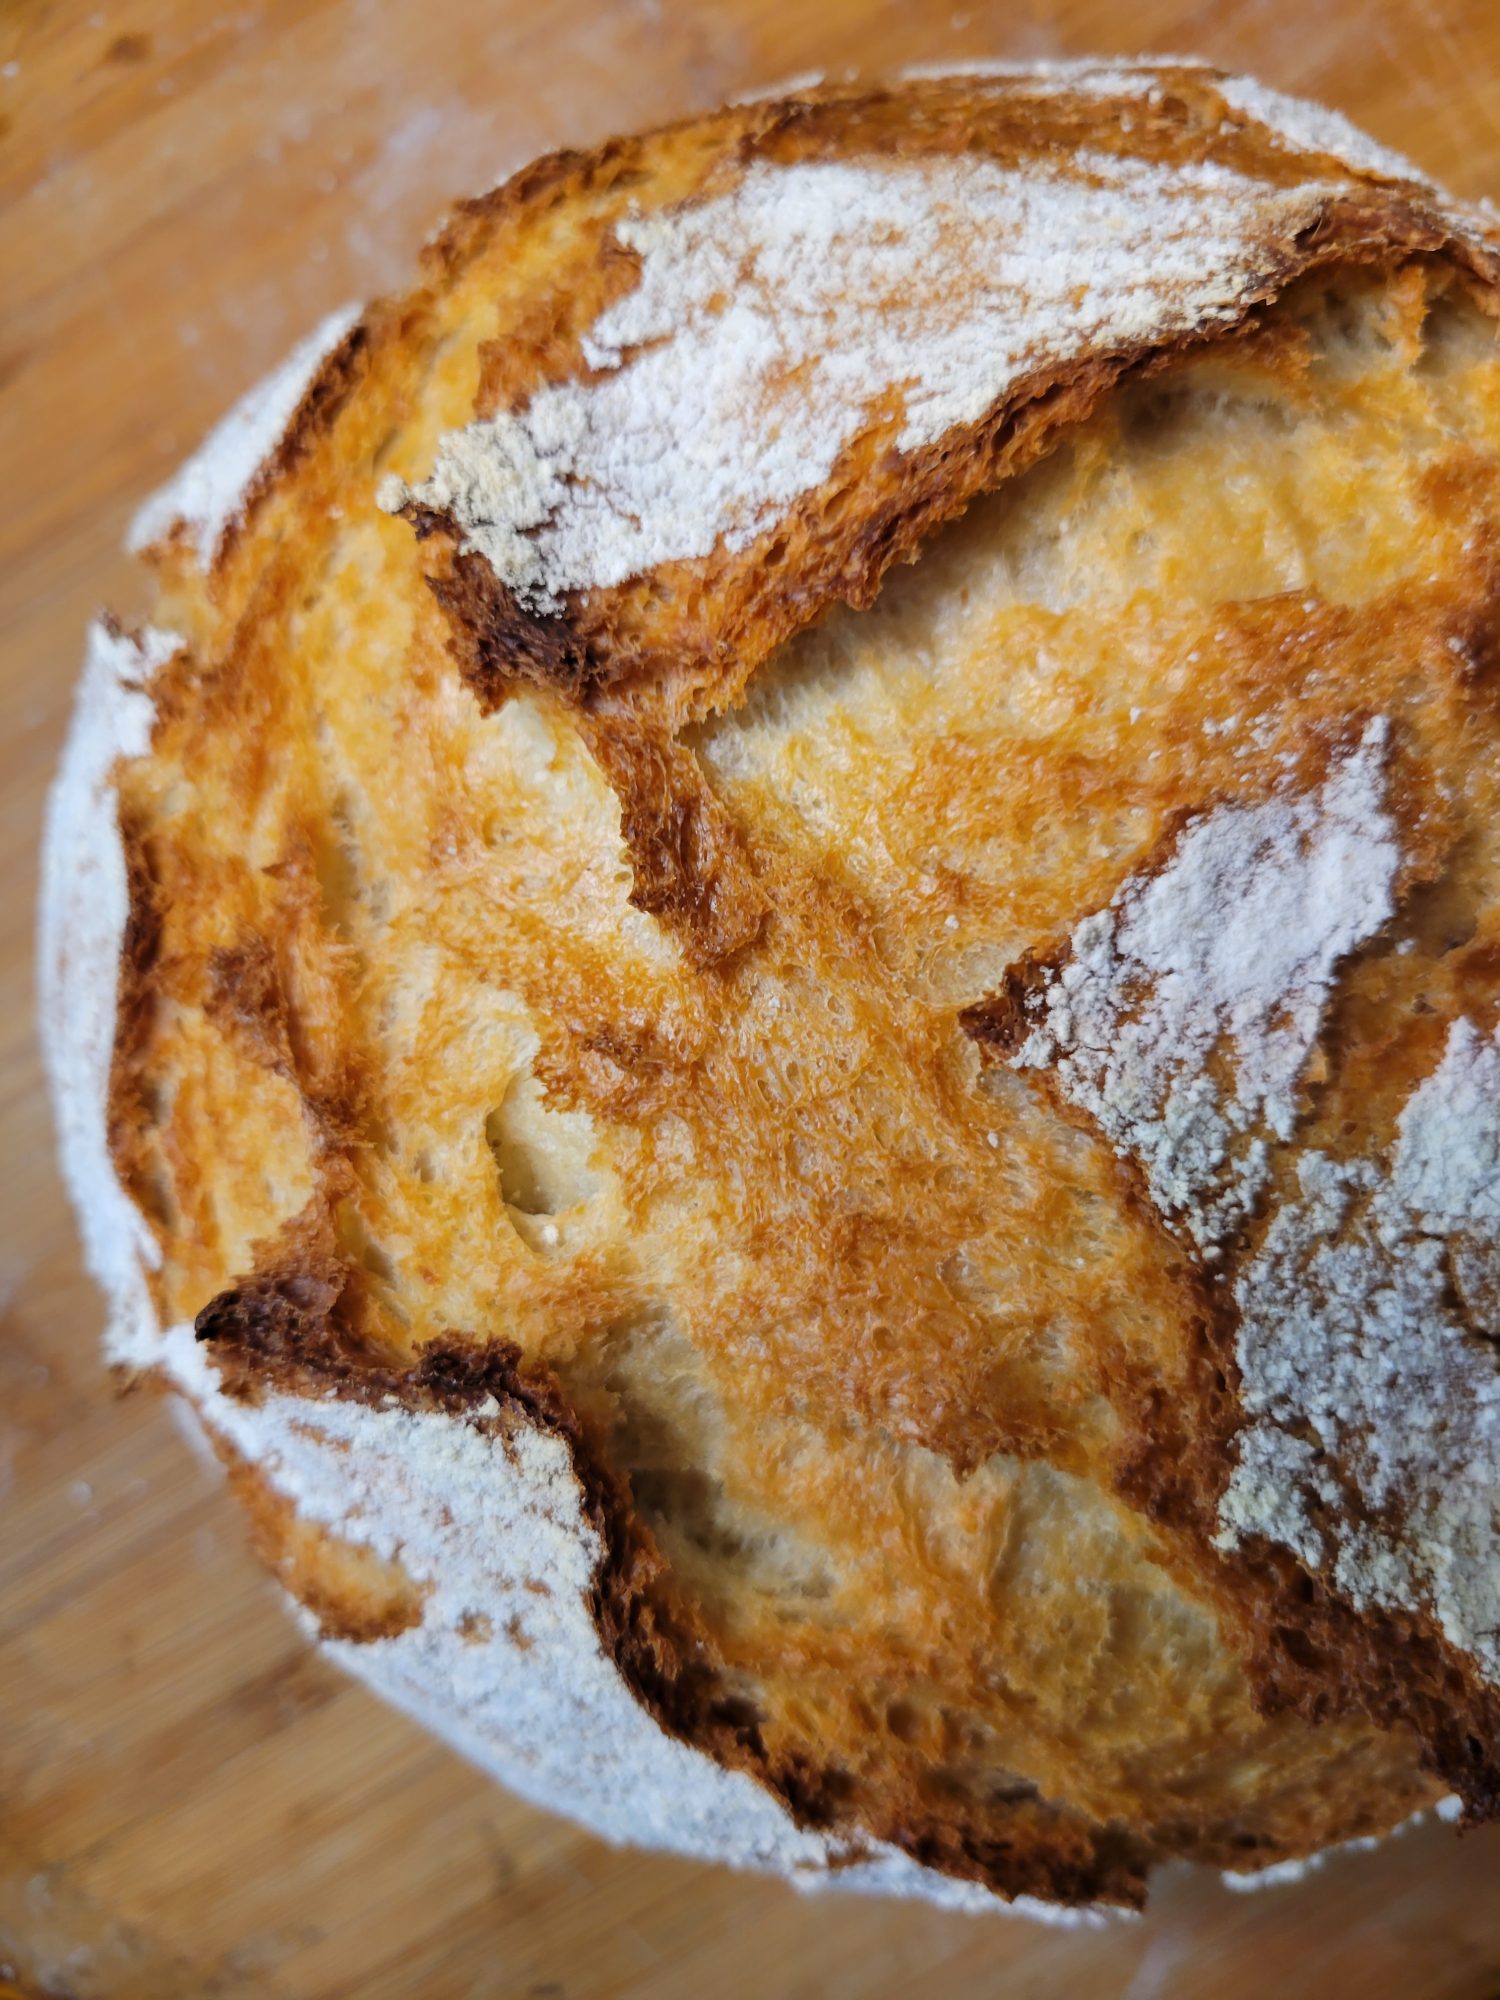
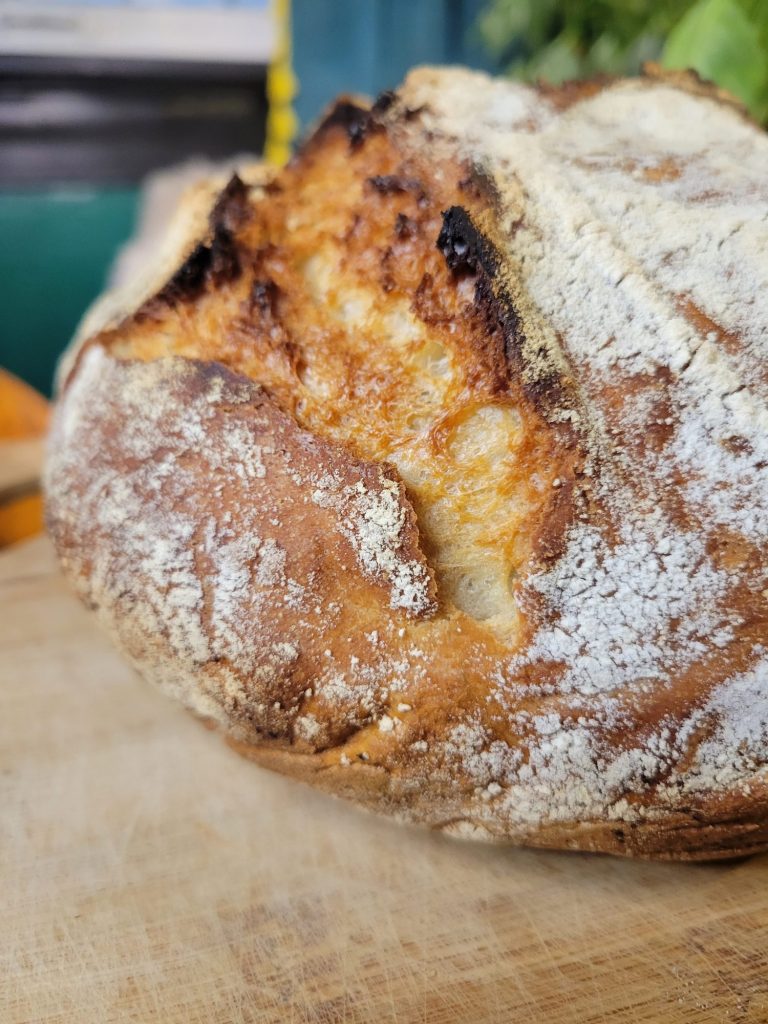
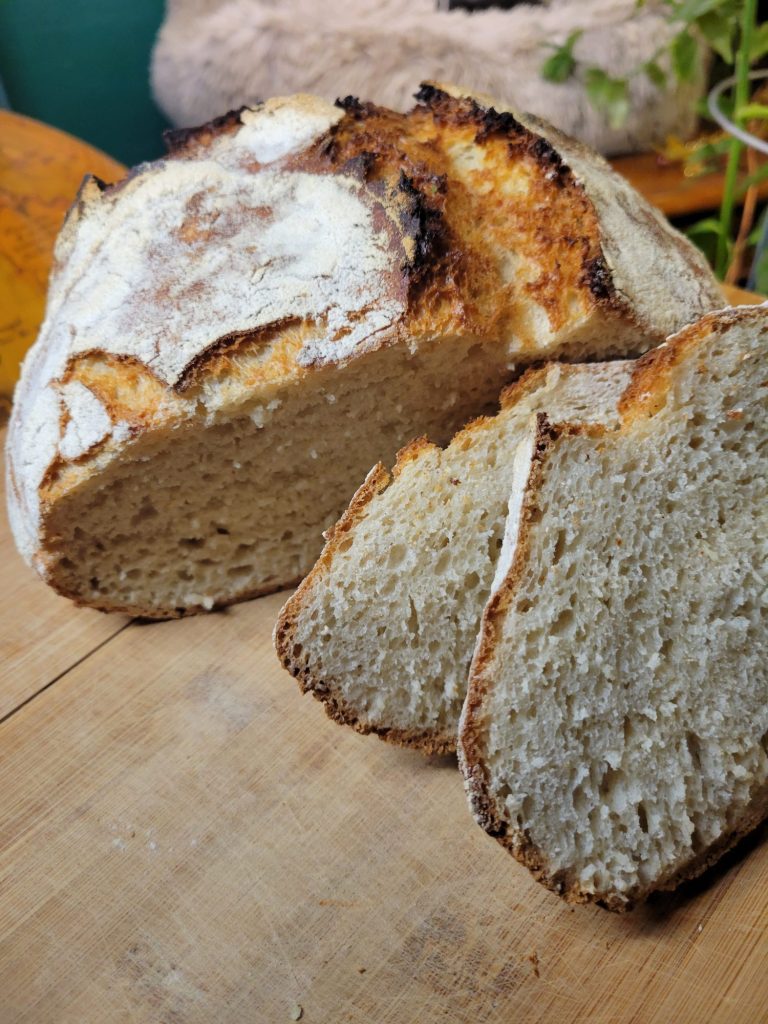
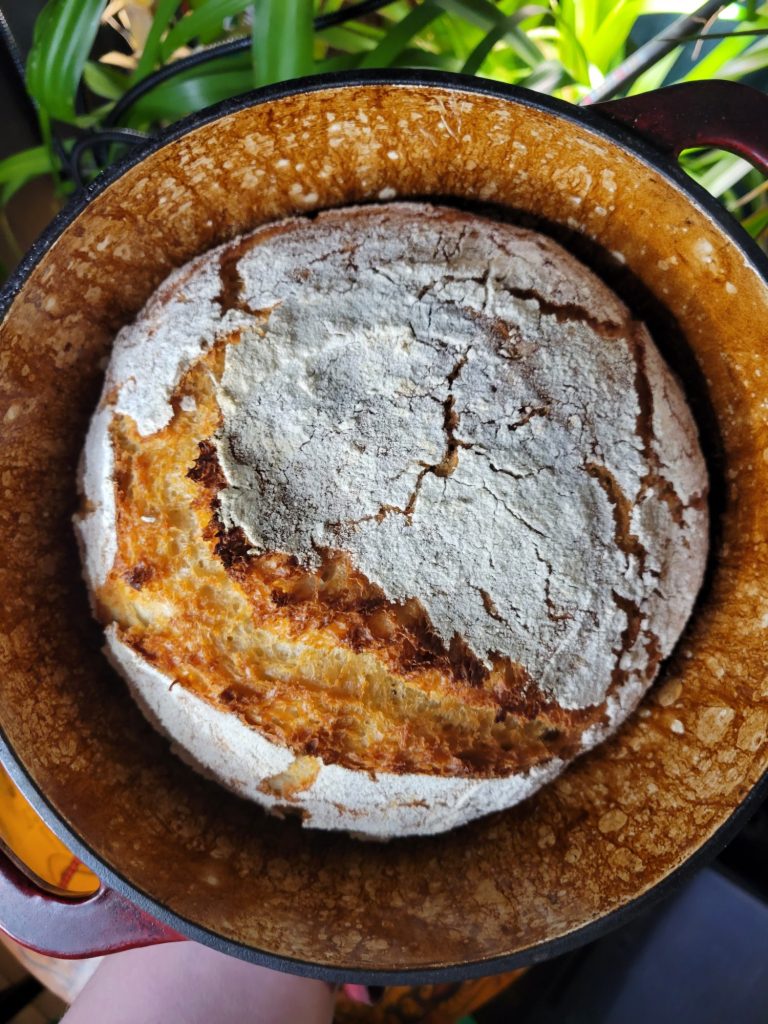
You really should reshape the dough into a ball before placing it in Dutch oven. This is a prime example of why. Because I get lazy about this sometimes and just like to plop the whole thing out out of the proofing basket directly into the piping hot Dutch oven. There's no going back from this. It's burning hot. The dough will instantly stick to it. There is no picking it up again and re-placing it. So, when I don't do this smoothly? You get a rather oddly-shaped loaf of bread. This doesn't affect the taste at all and it will still be delicious! But, if you look closely, there are small pockets of flour that look like little veins where it rolled on top of itself and scalded into place. Although it does make the loaf look artistically interesting!
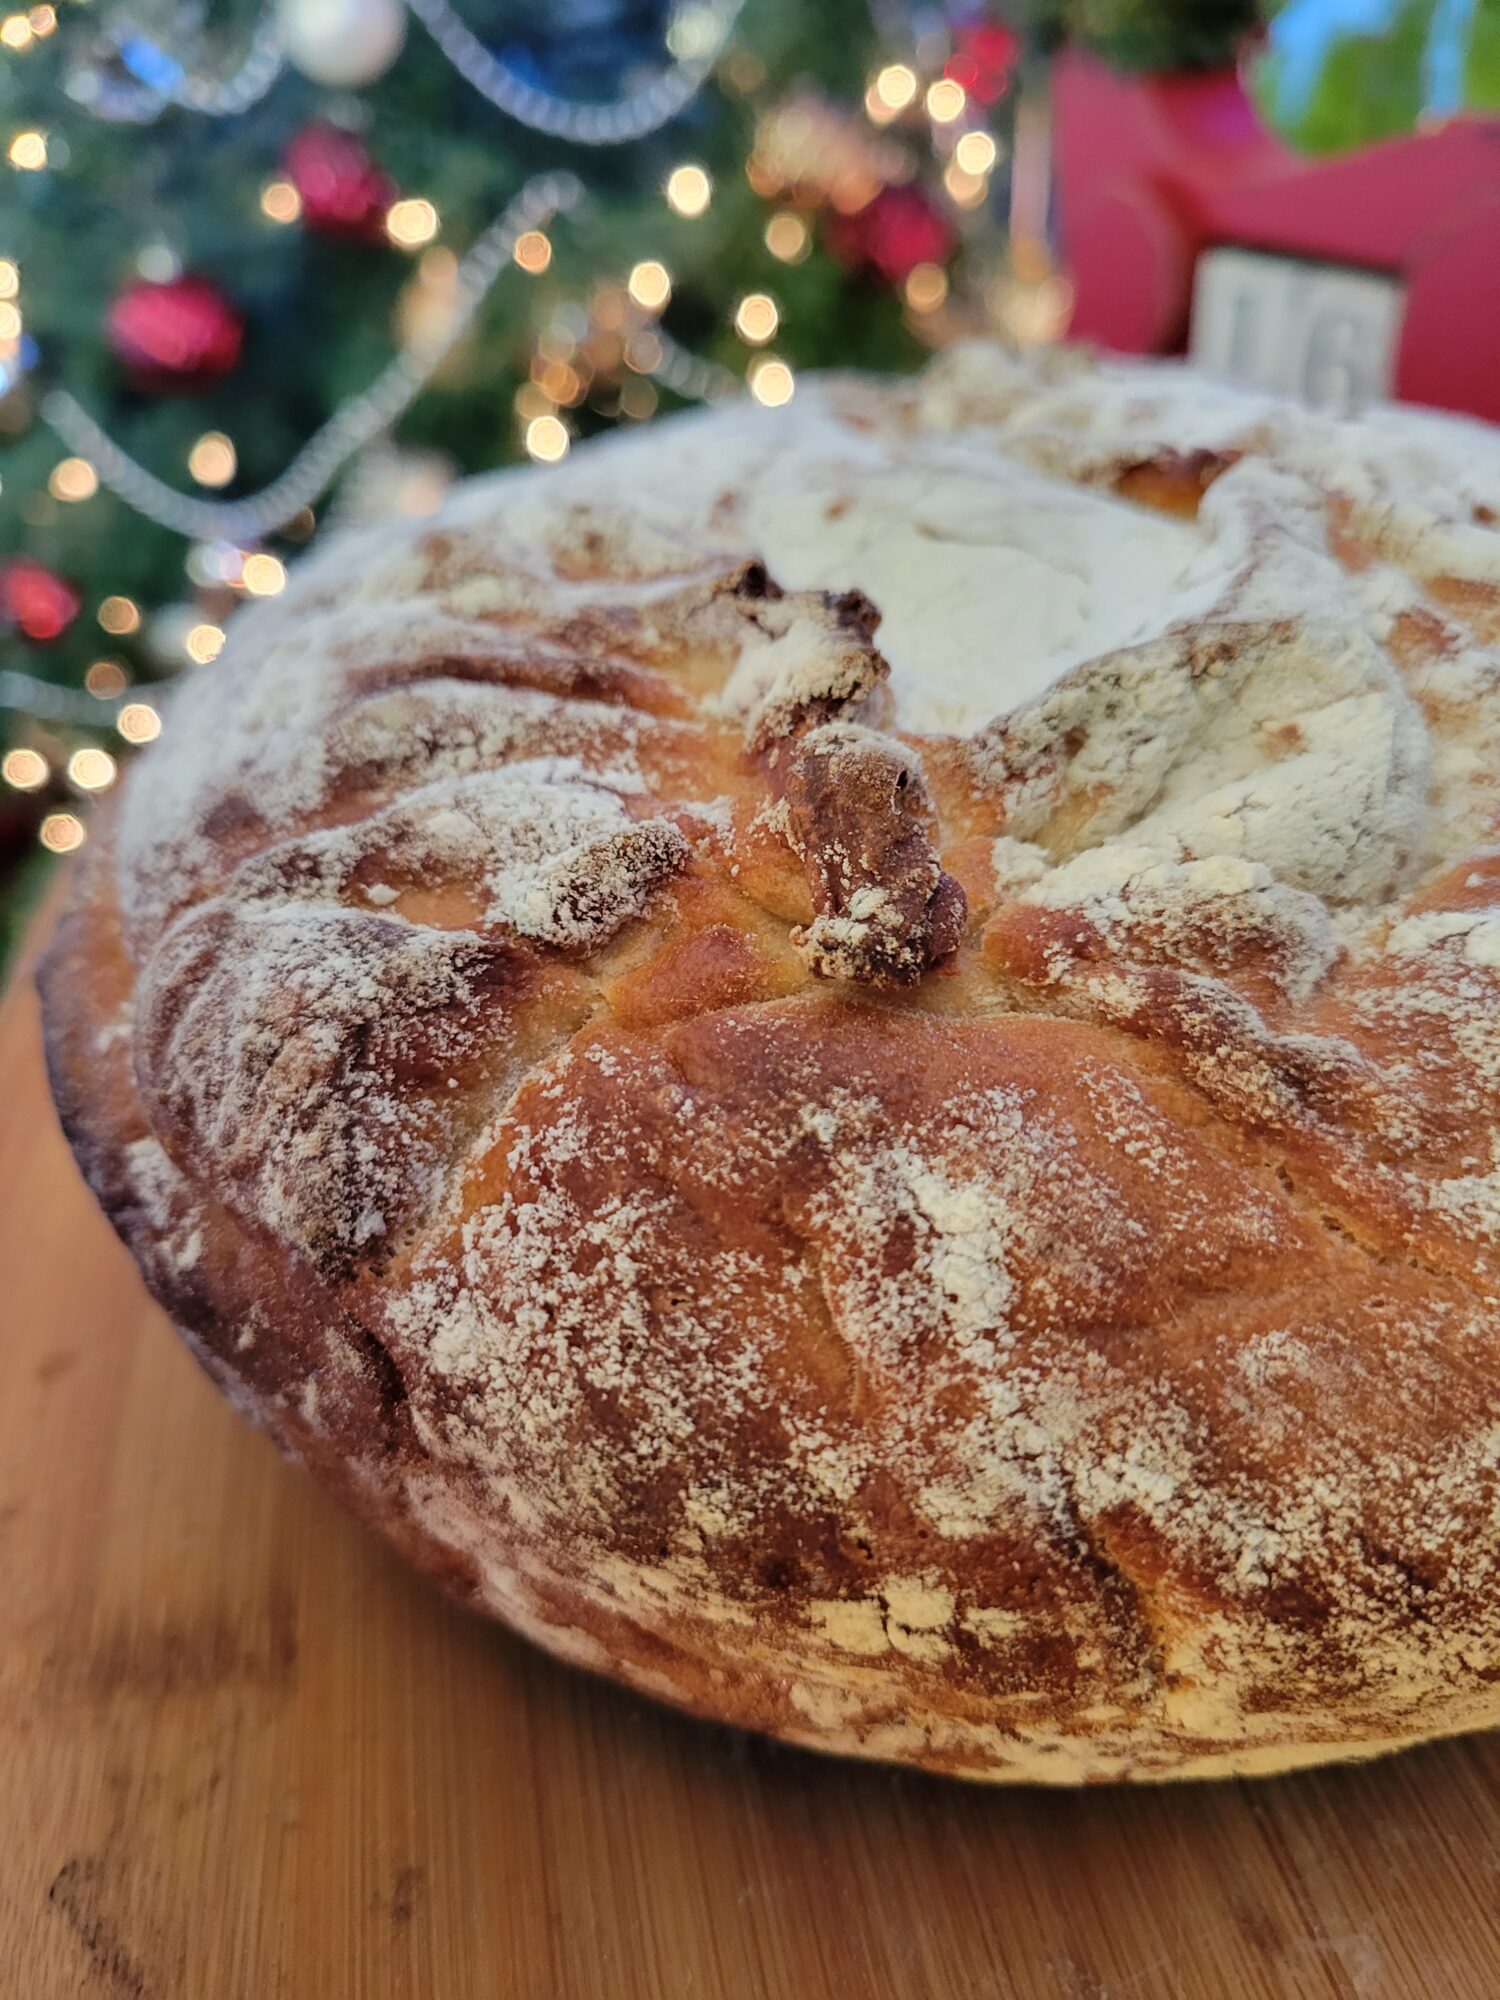
Eleventh Try


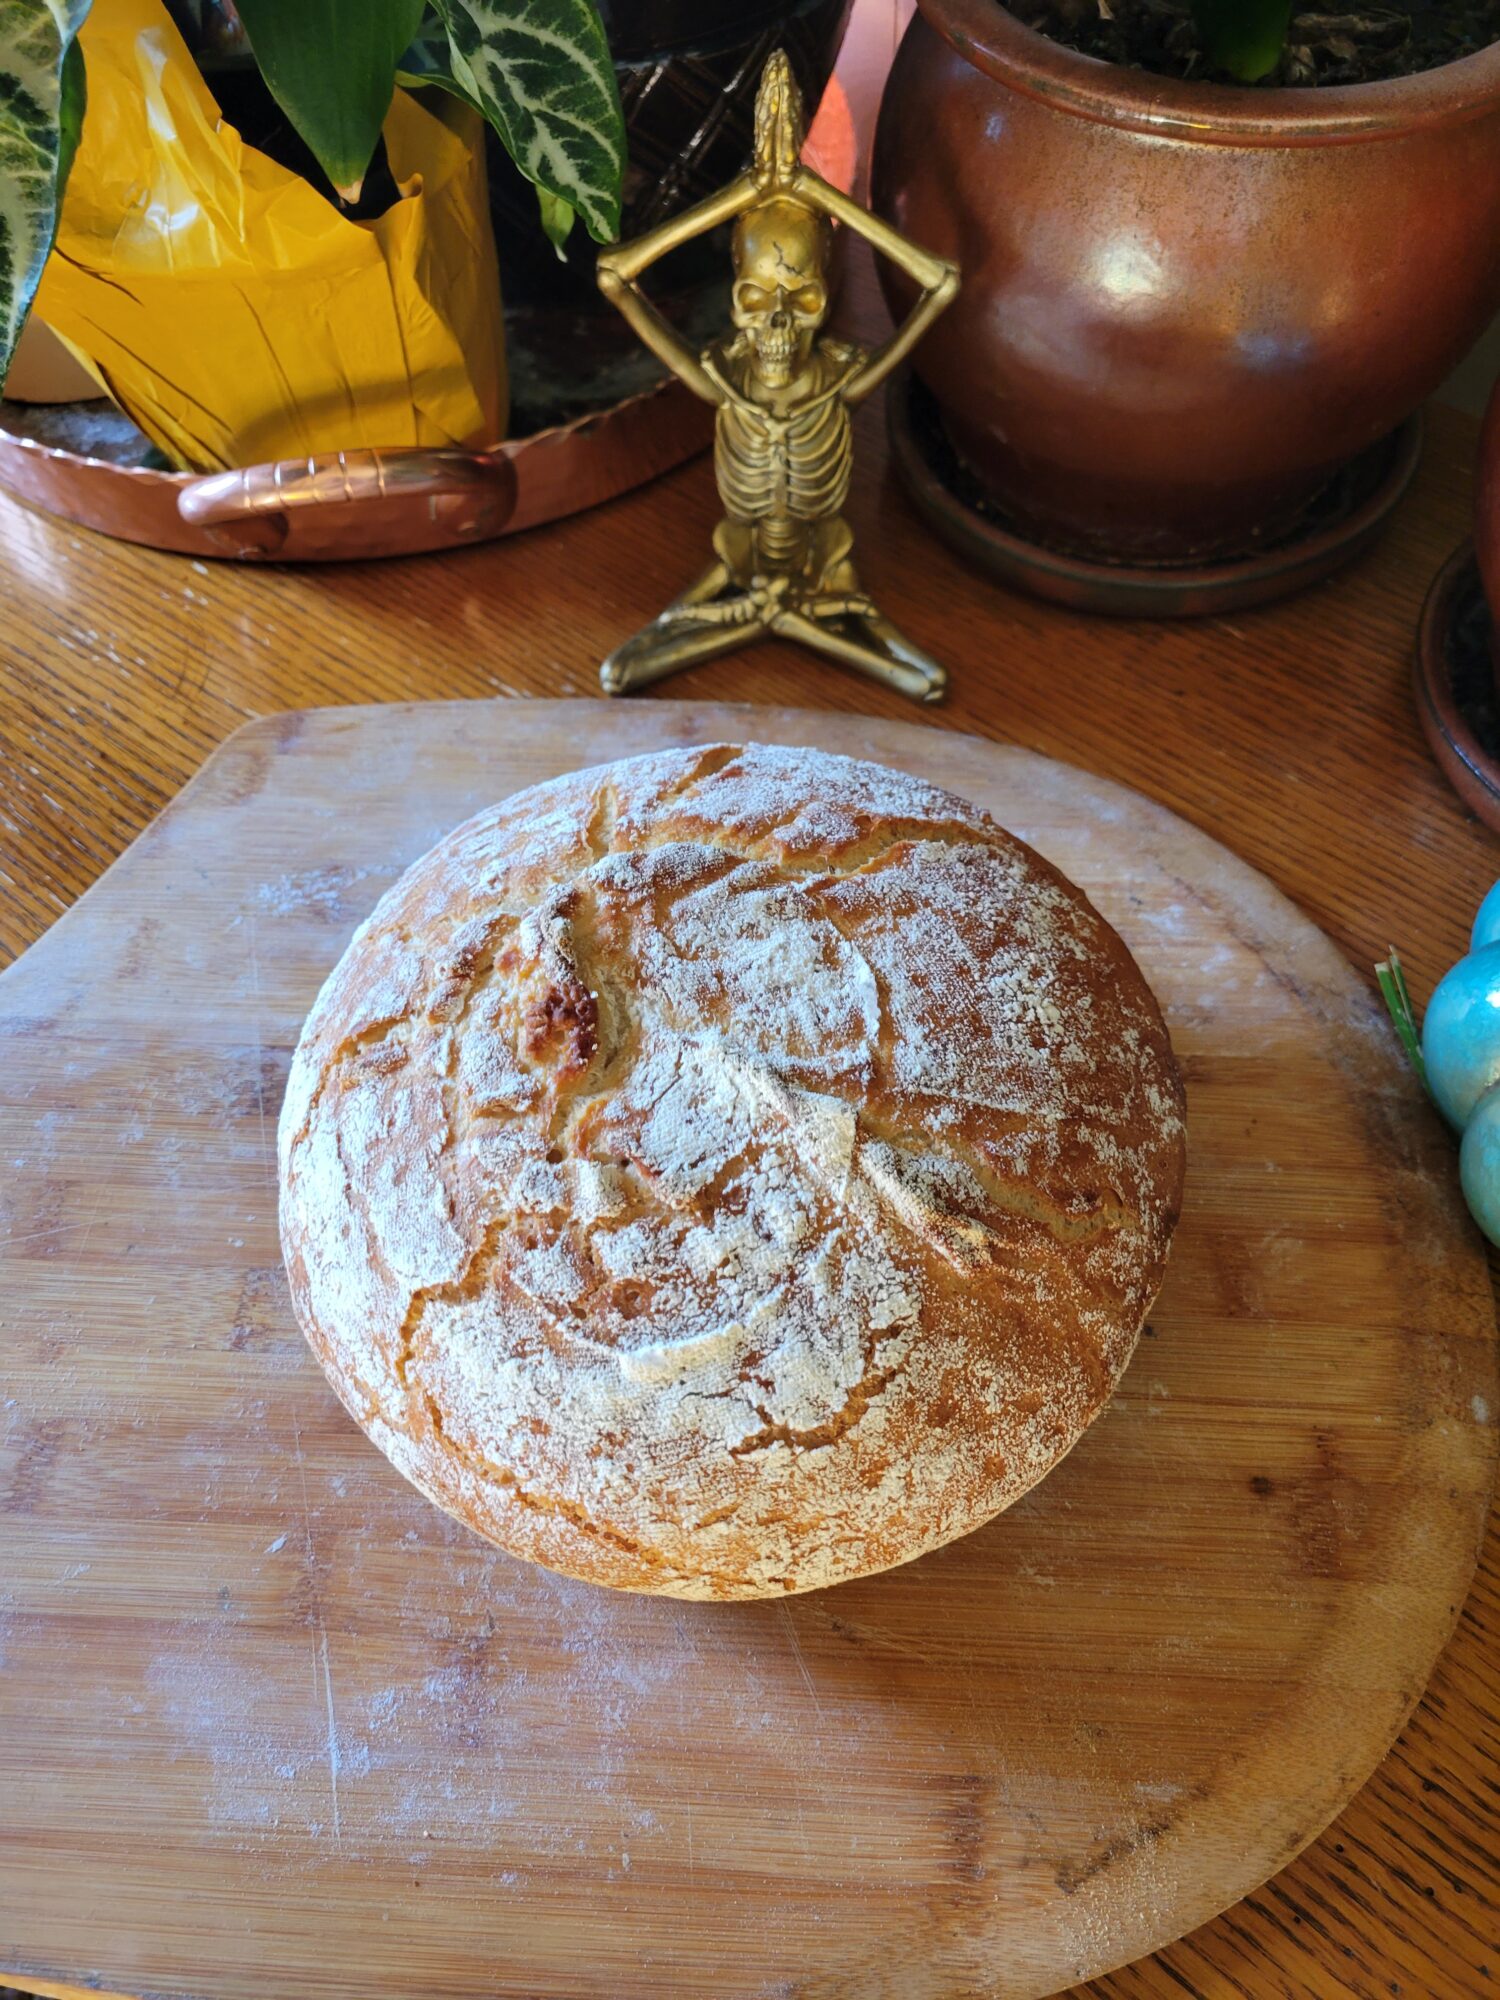
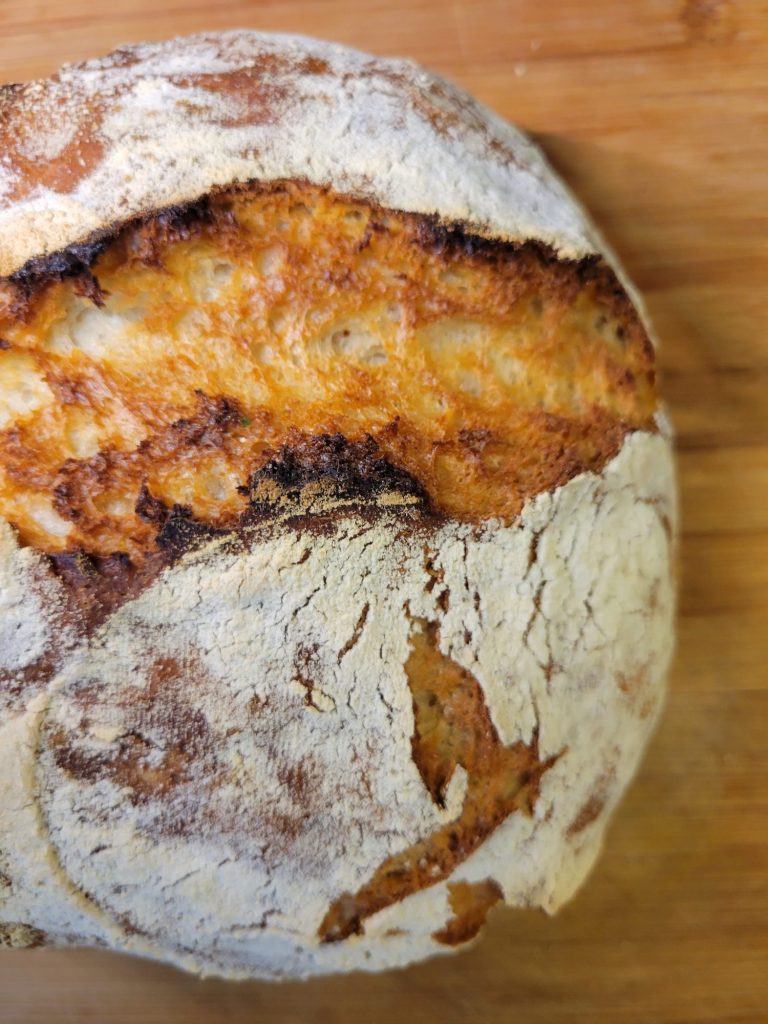
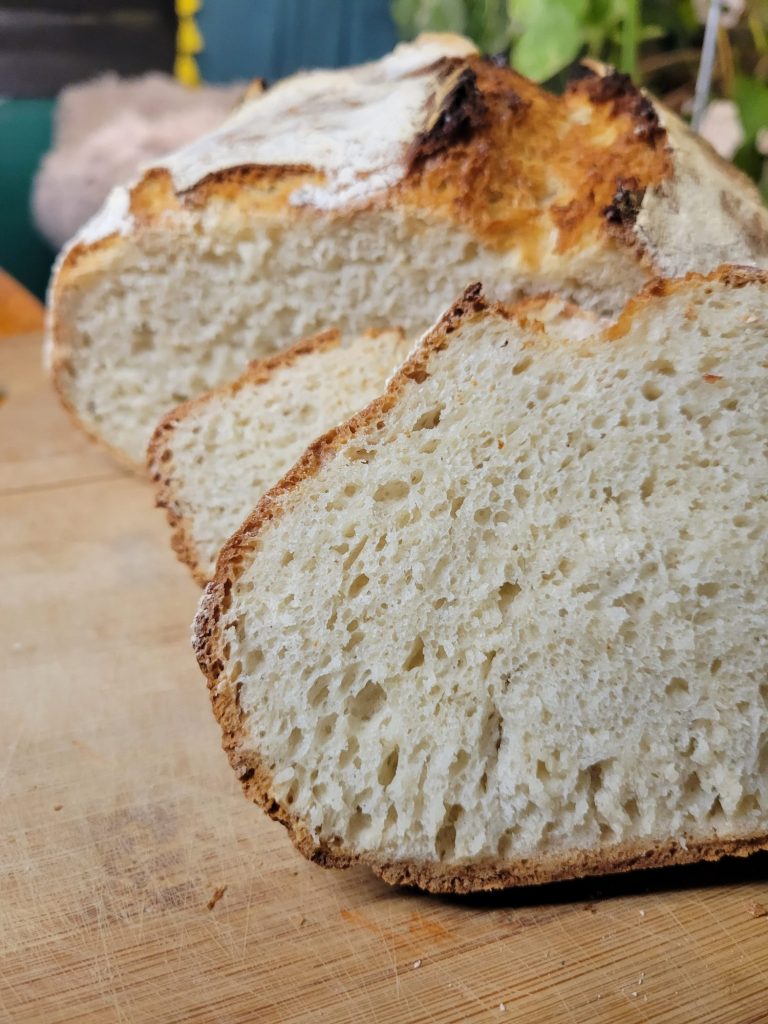
I did not learn my lesson from last time about reshaping the dough before I place it into the Dutch oven, instead of just plopping it in like a heathen! This is why I'm getting that almost constellation shape on top. The imprint left on top of the bread is actually the stitching on the bottom of the bread basket.
Twelfth Try

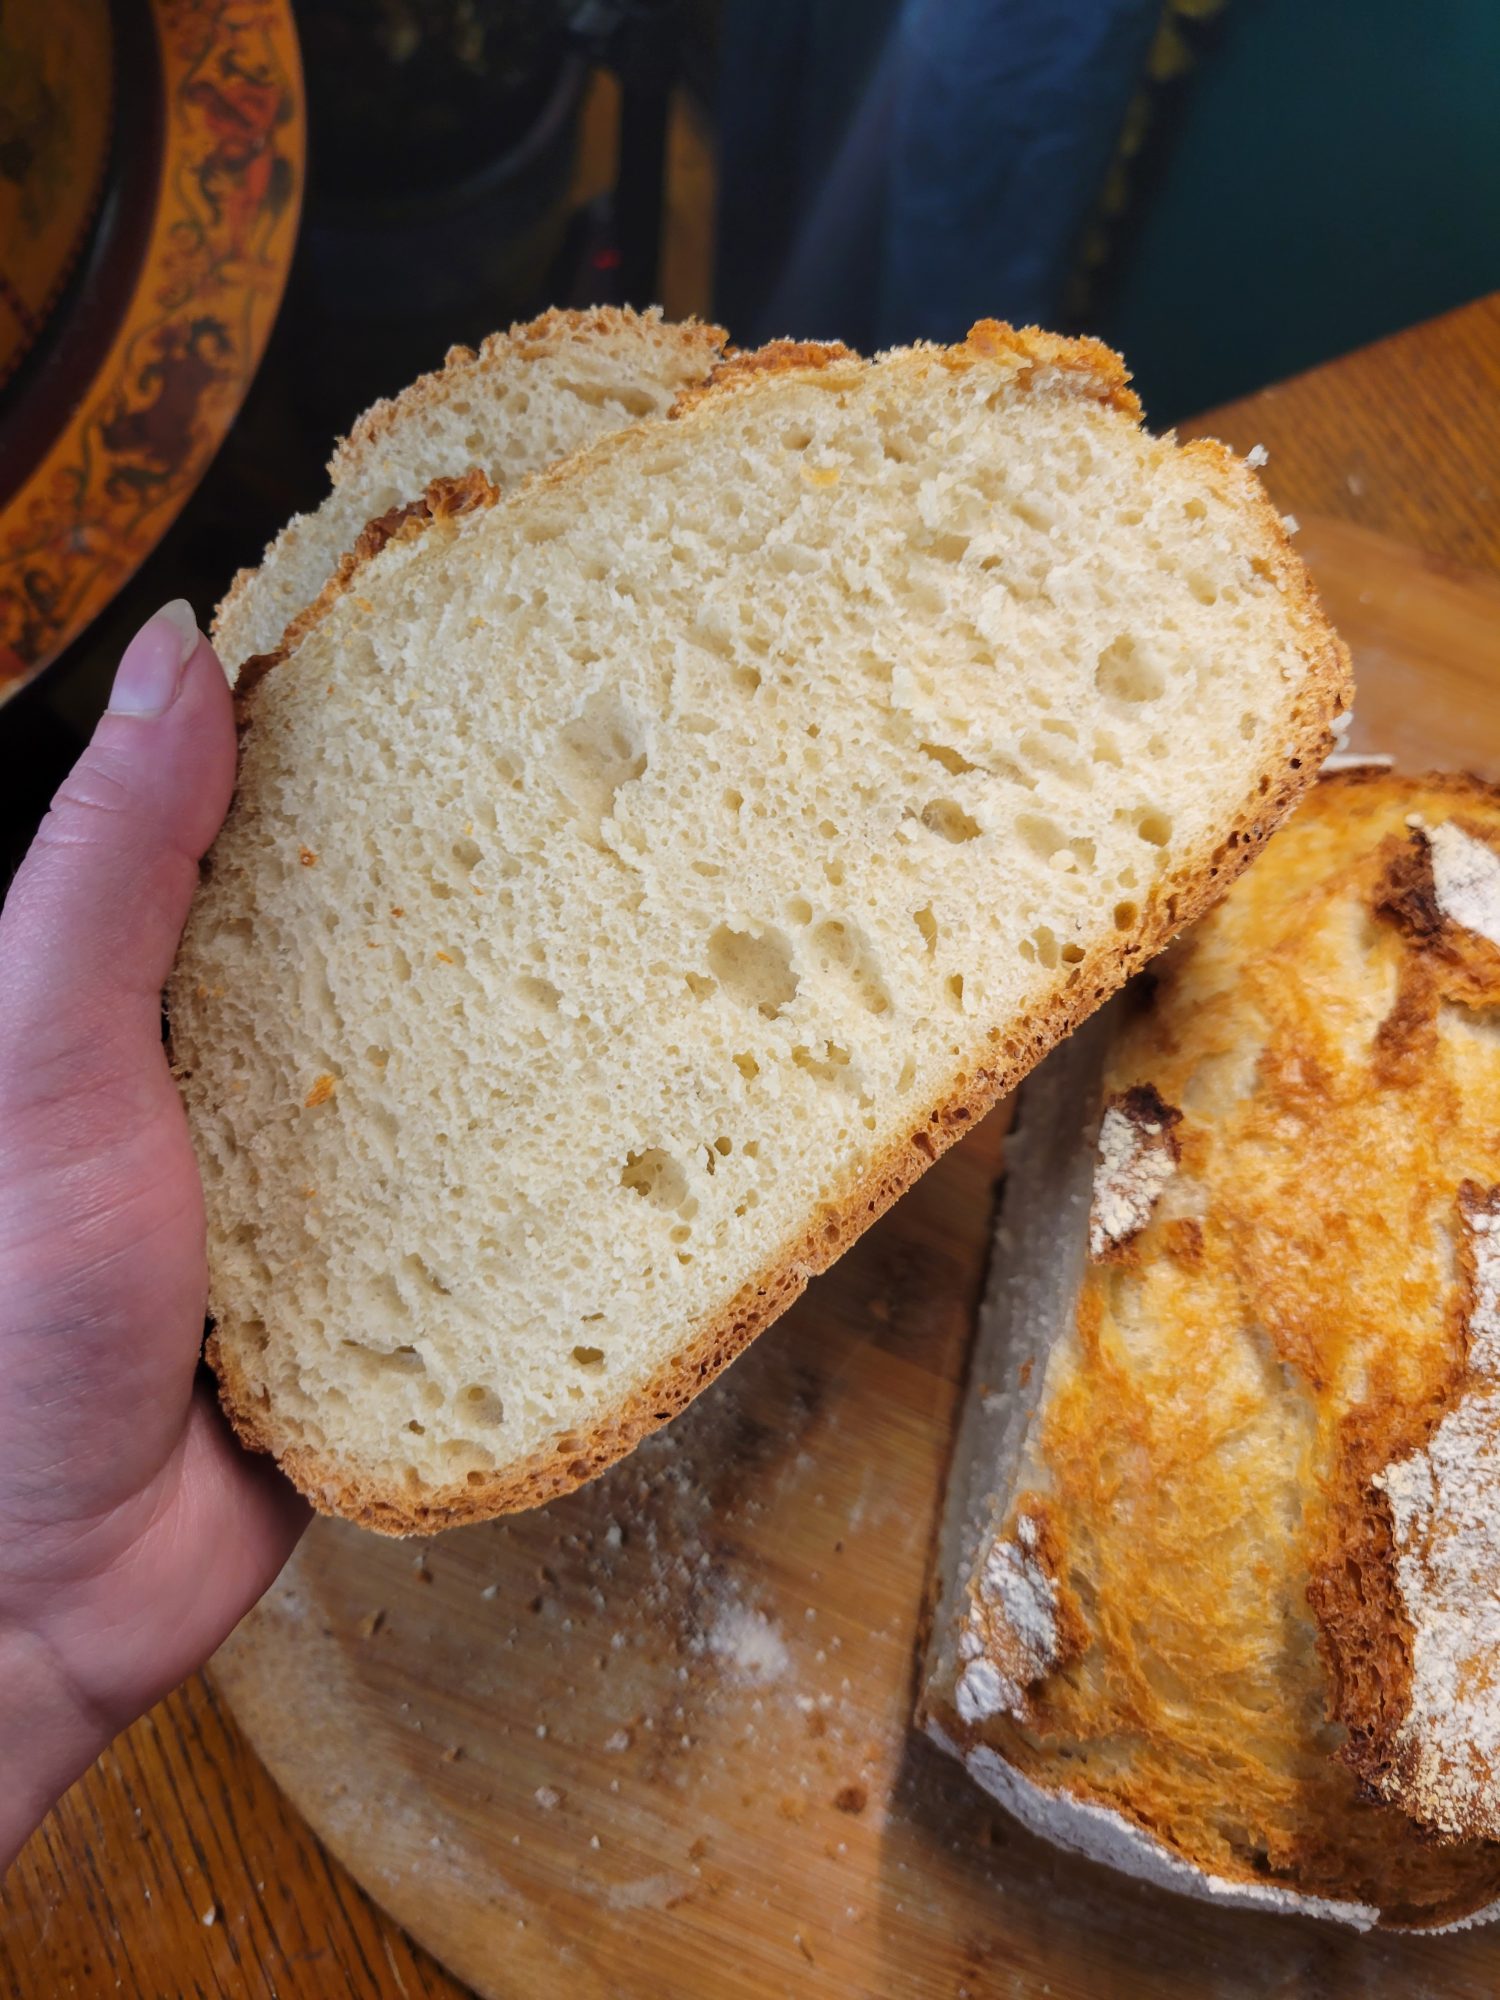
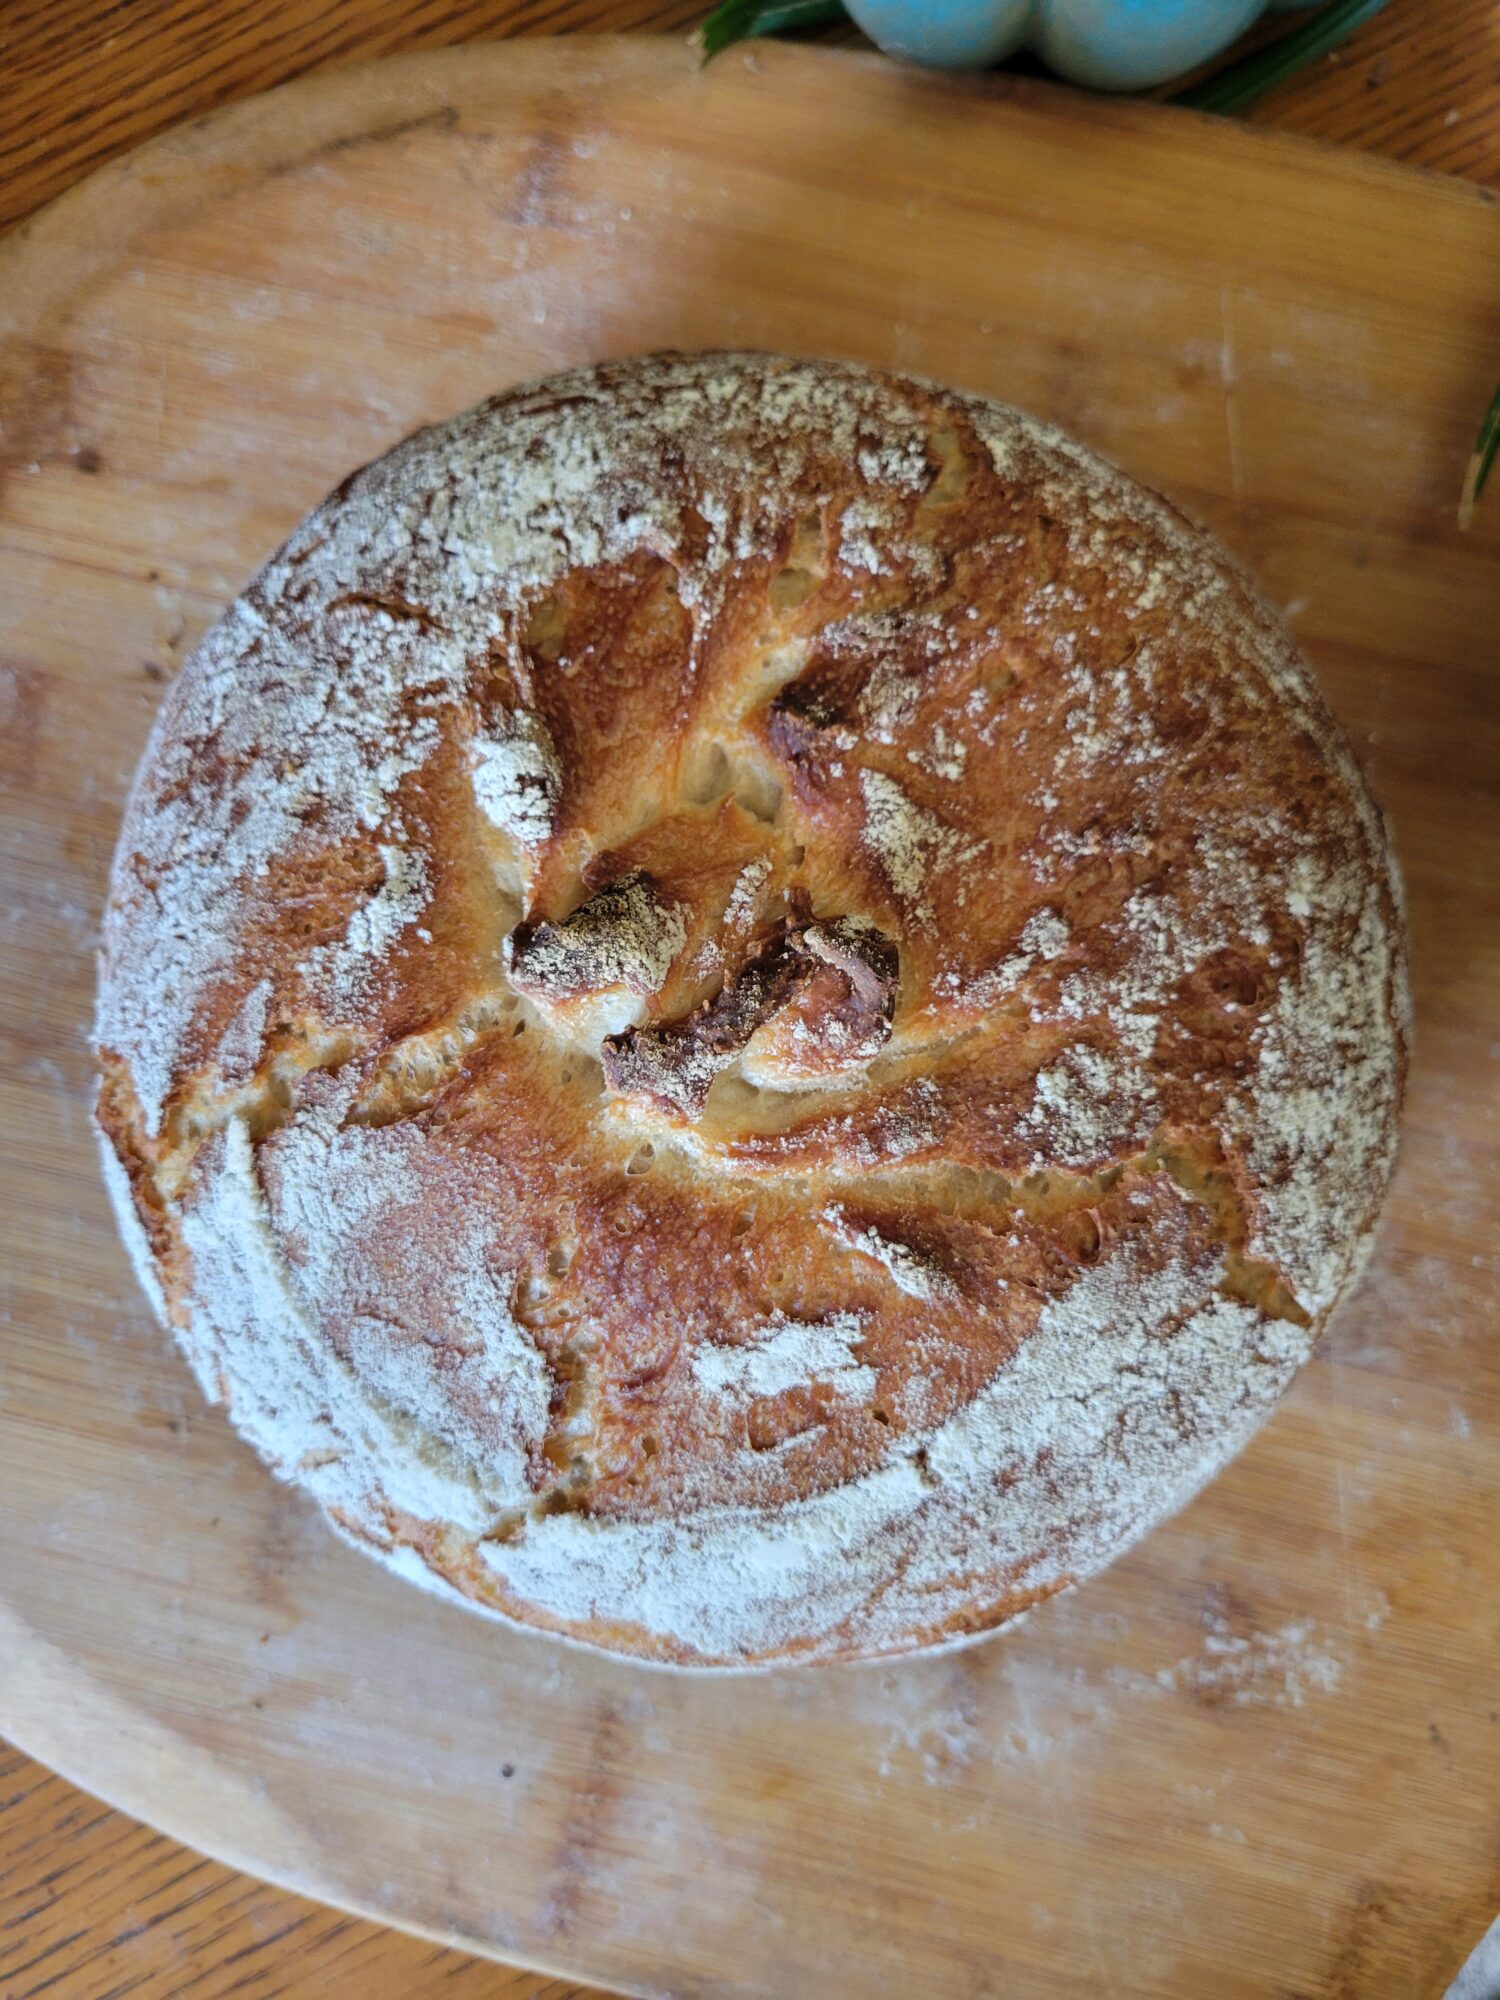
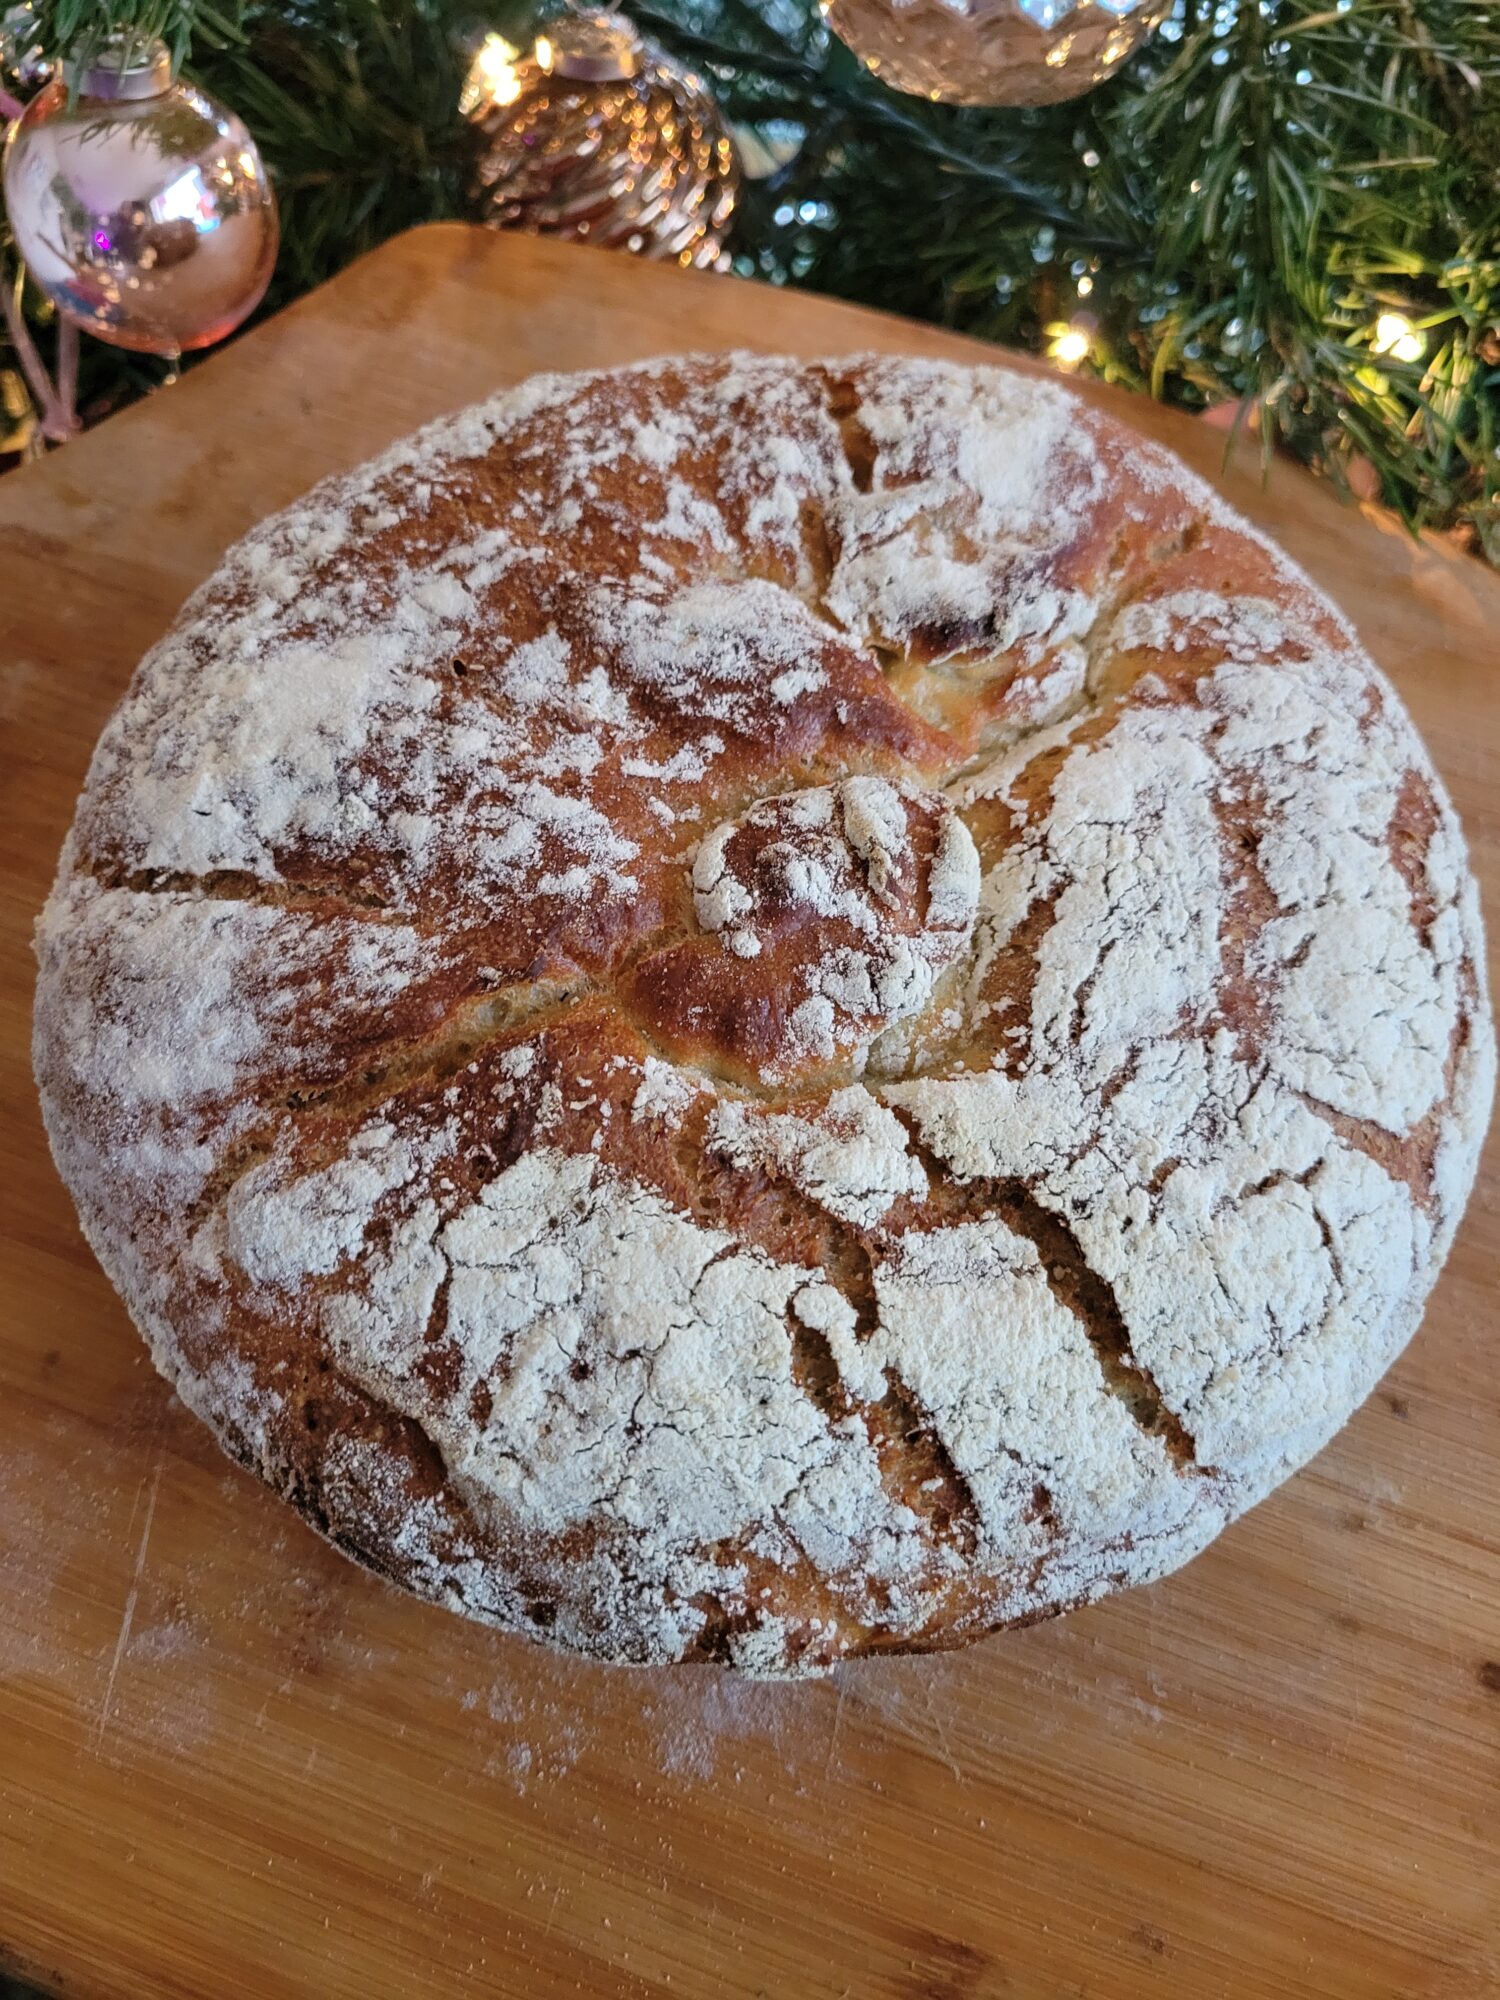
I absolutely do not need to keep posting every single loaf of bread that I make. Although I like chronically how the conditions of the bread making process affect the final outcome. Changes in ambient heat, humidity, and elevation will all have an impact on the final loaf of bread. My elevation hasn't changed so far throughout this process, but the heat and humidity have a vast impact on the proofing time. The bread tends to be fluffier (i.e. less dense) and have more holes when it's not overproofed, which can be easier said than done on particularly hot and humid days. Which means that it is absolutely less about the length of proof time and more about the airiness of the dough than anything else.
I'm not entirely sure what's giving the dough this gorgeous crust this time. I did re-shape it this time in order to give it a better round appearance. I have date and time stamps on all of my bread recipes. So, I may make a spreadsheet of all of the conditions, proof times, and photos of each step to see if I can figure out the combination of circumstances that's leading to the best looking and textural loaves.
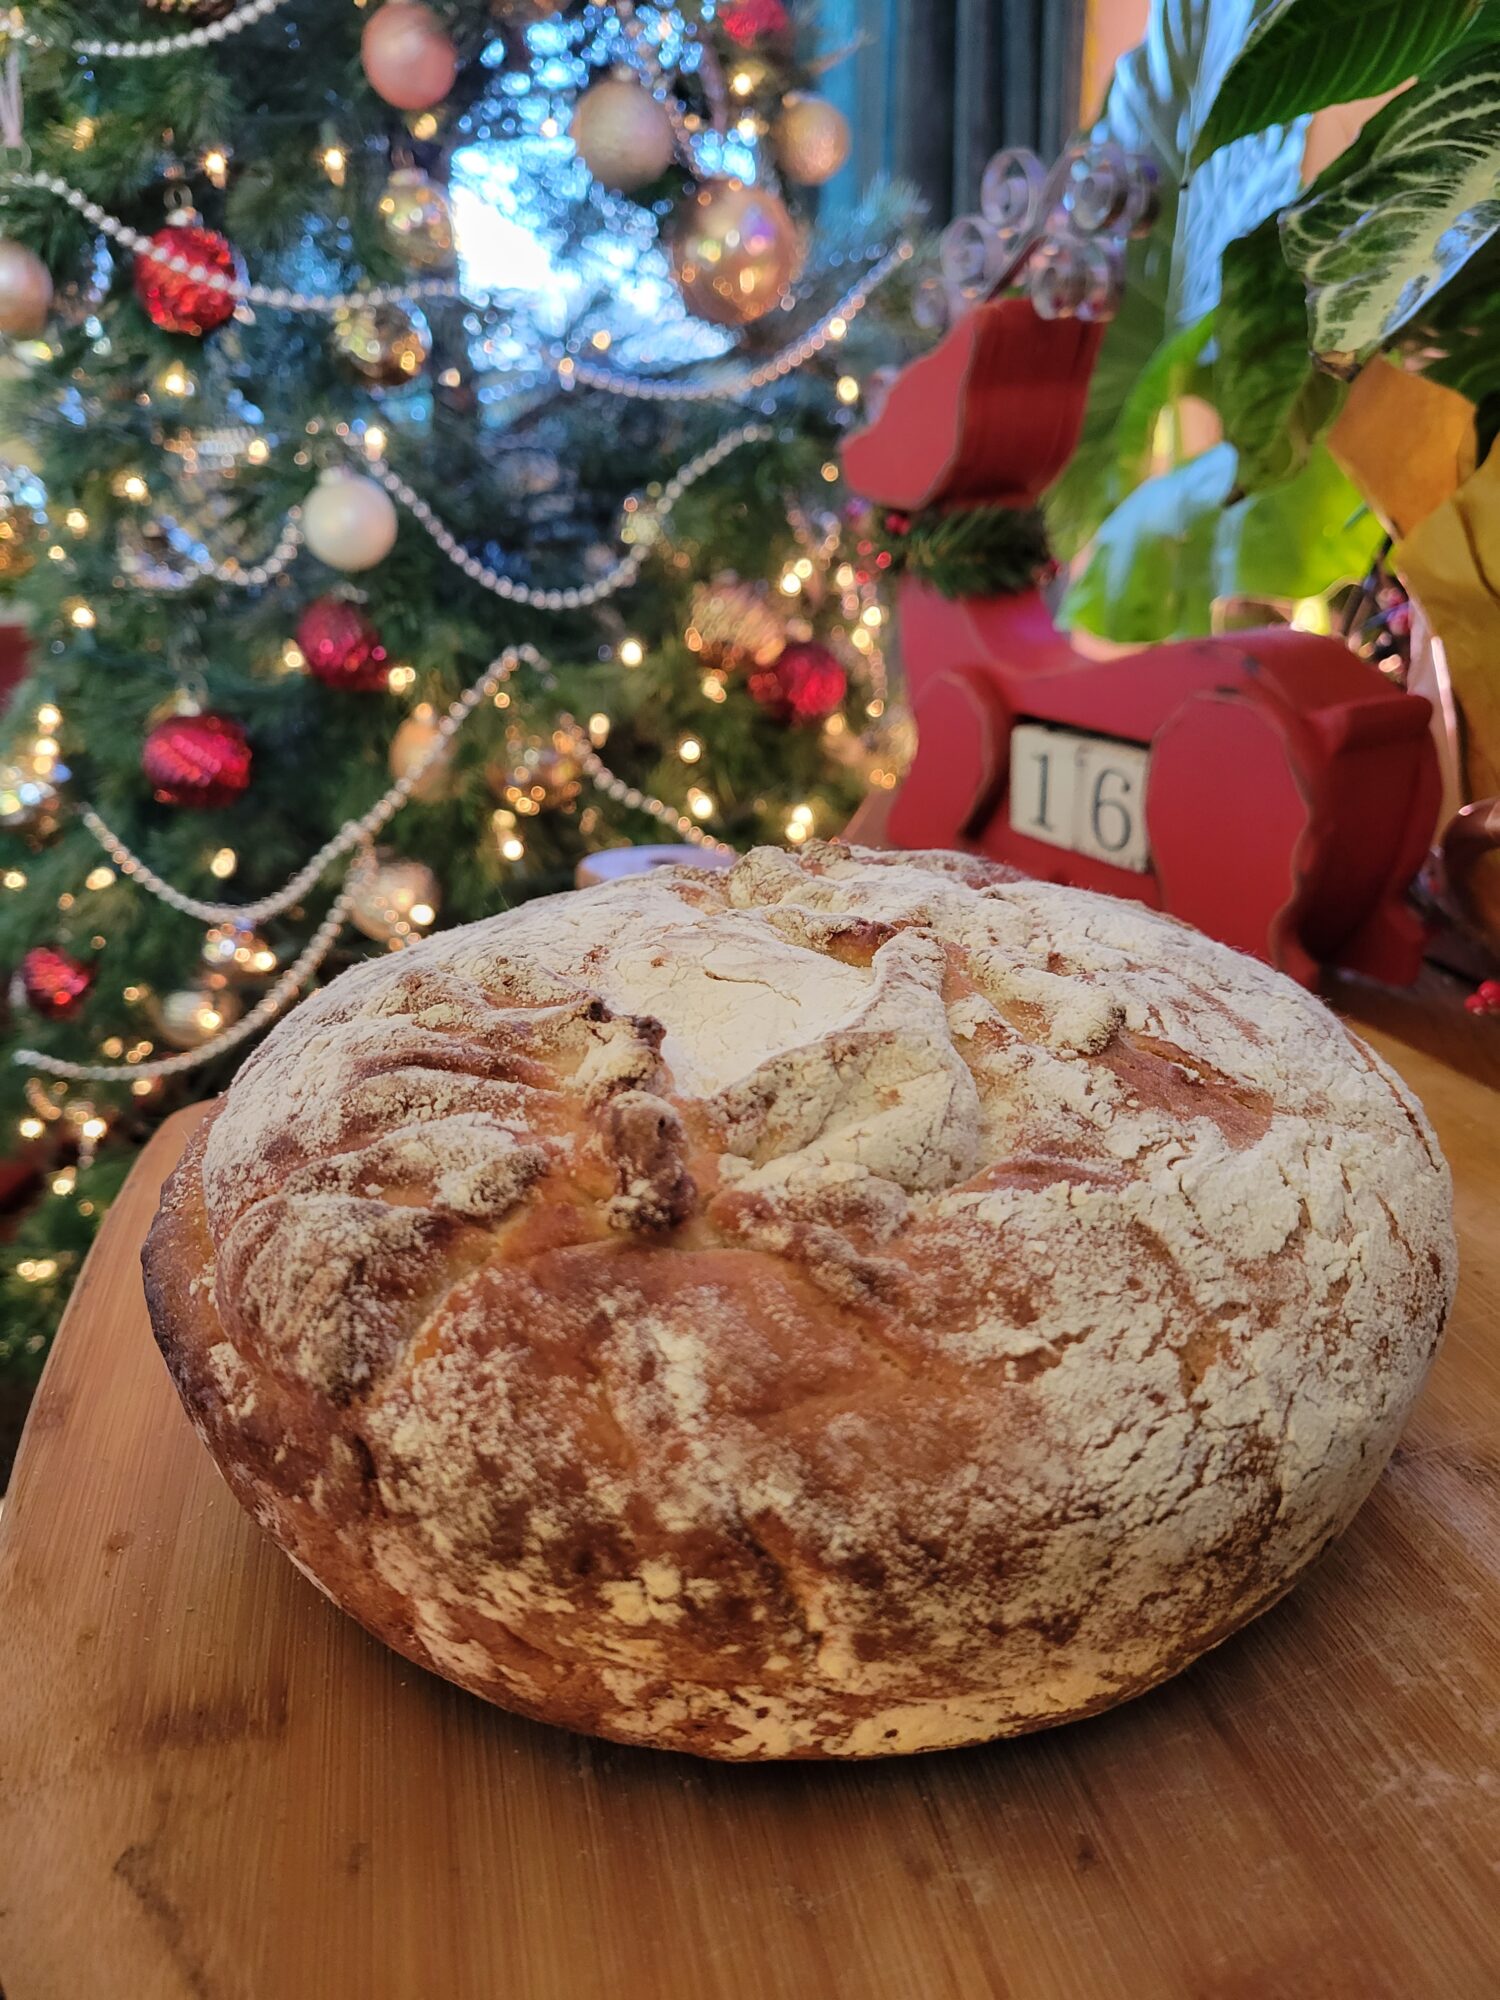
Thirteenth Try

This is my Christmas loaf of bread. I have a tendency to start bread first thing and then forget that it takes me significantly longer to make everything else on the docket for the day. So, alas, I continue to overproof bread! But perhaps one day I will learn. And this is still an absolutely delicious loaf of bread. It once again proves why Dutch Oven Bread is my favorite quick and easy bread recipe, if such a thing exists.
Fourteenth Try
___
Fifteenth Try

I've been absolutely craving bread lately. I've been holding off, though! Because Easter is approaching. I don't tend to do too much for the holidays. But cooking is one of my favorite things to do. So, obviously I'm going to go all out! Which definitely includes bread. It's always tough to make bread in the midst of everything else. Oftentimes it overproofs while I'm scrambling to get everything else ready in an adequate amount of time. Although this Easter turned out really well because all of the dishes cooked and cooled in the same amount of time. I didn't get many pictures of this loaf because I don't like to interrupt the enjoyment of special occasions with other people. But it was a hit!

No-knead Dutch Oven Bread w/ Bread Basket
Equipment
- Large Bowl
- Bread Basket
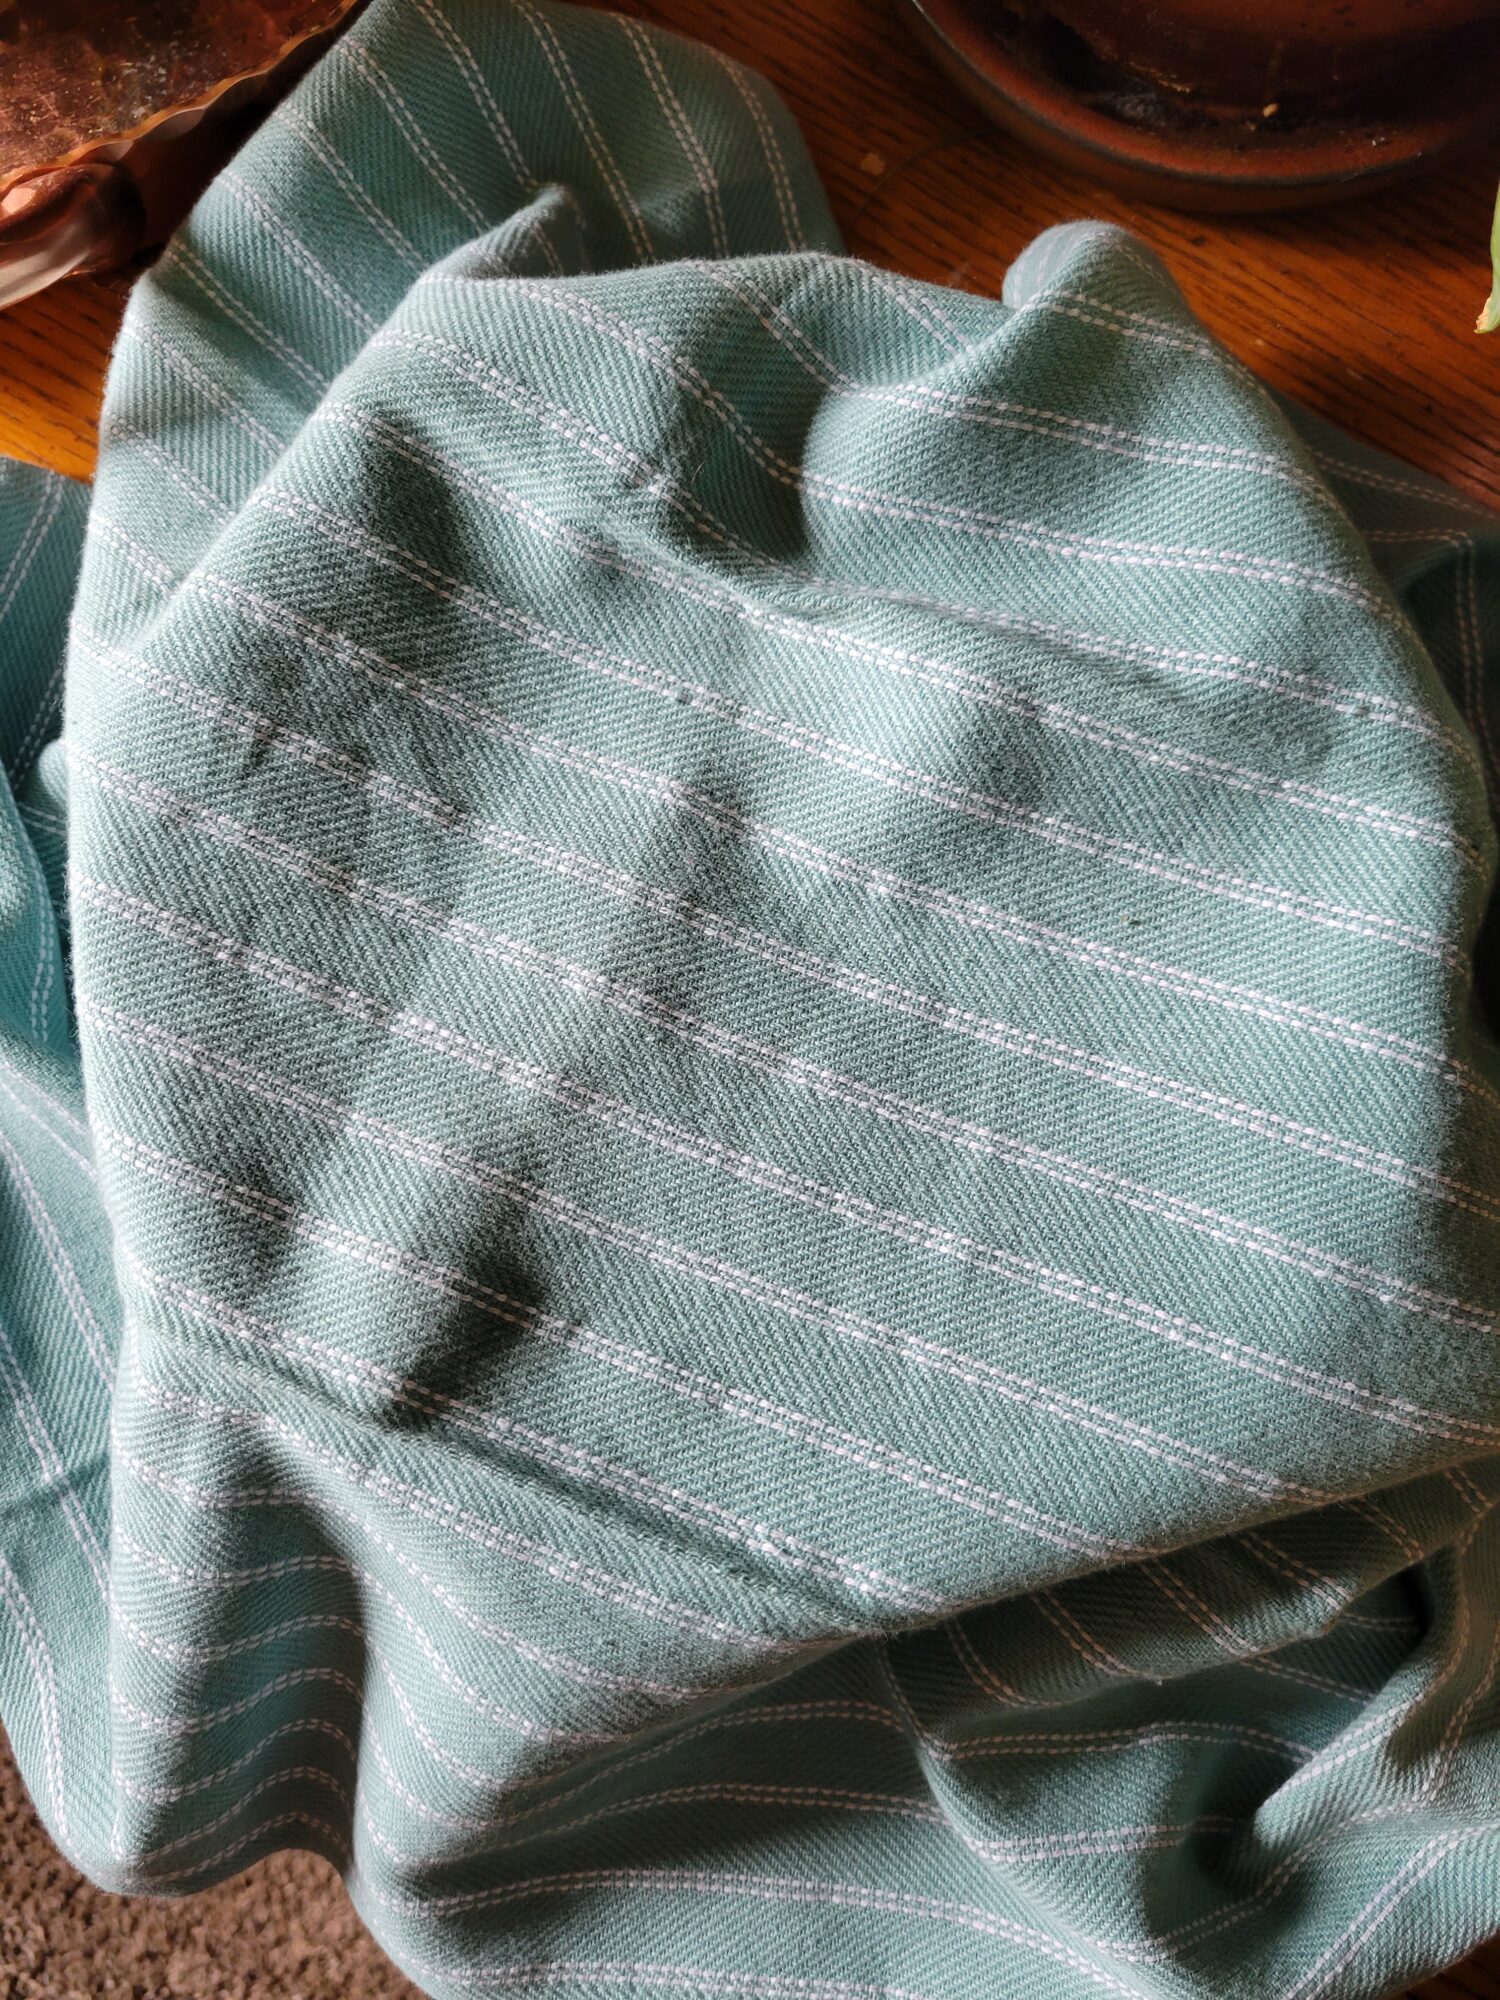
- Towel
- Dutch Oven
- Oven
Ingredients
- 472 ml. warm water ~100°F (2 c.)
- 7 g. instant yeast (2 ¼ tsp. or 1 package)
- 7 g. brown sugar (or 2 tsp. granulated sugar, maple syrup, or honey)
- 570 g. all-purpose flour (4 ¾ c.)
- 2 tsp. salt
Instructions
Dough
- Combine warm water, yeast, and sugar. Let rest for 15 minutes, or until the yeast begins to bubble.
- Meanwhile, whisk together flour and salt in a large bowl.
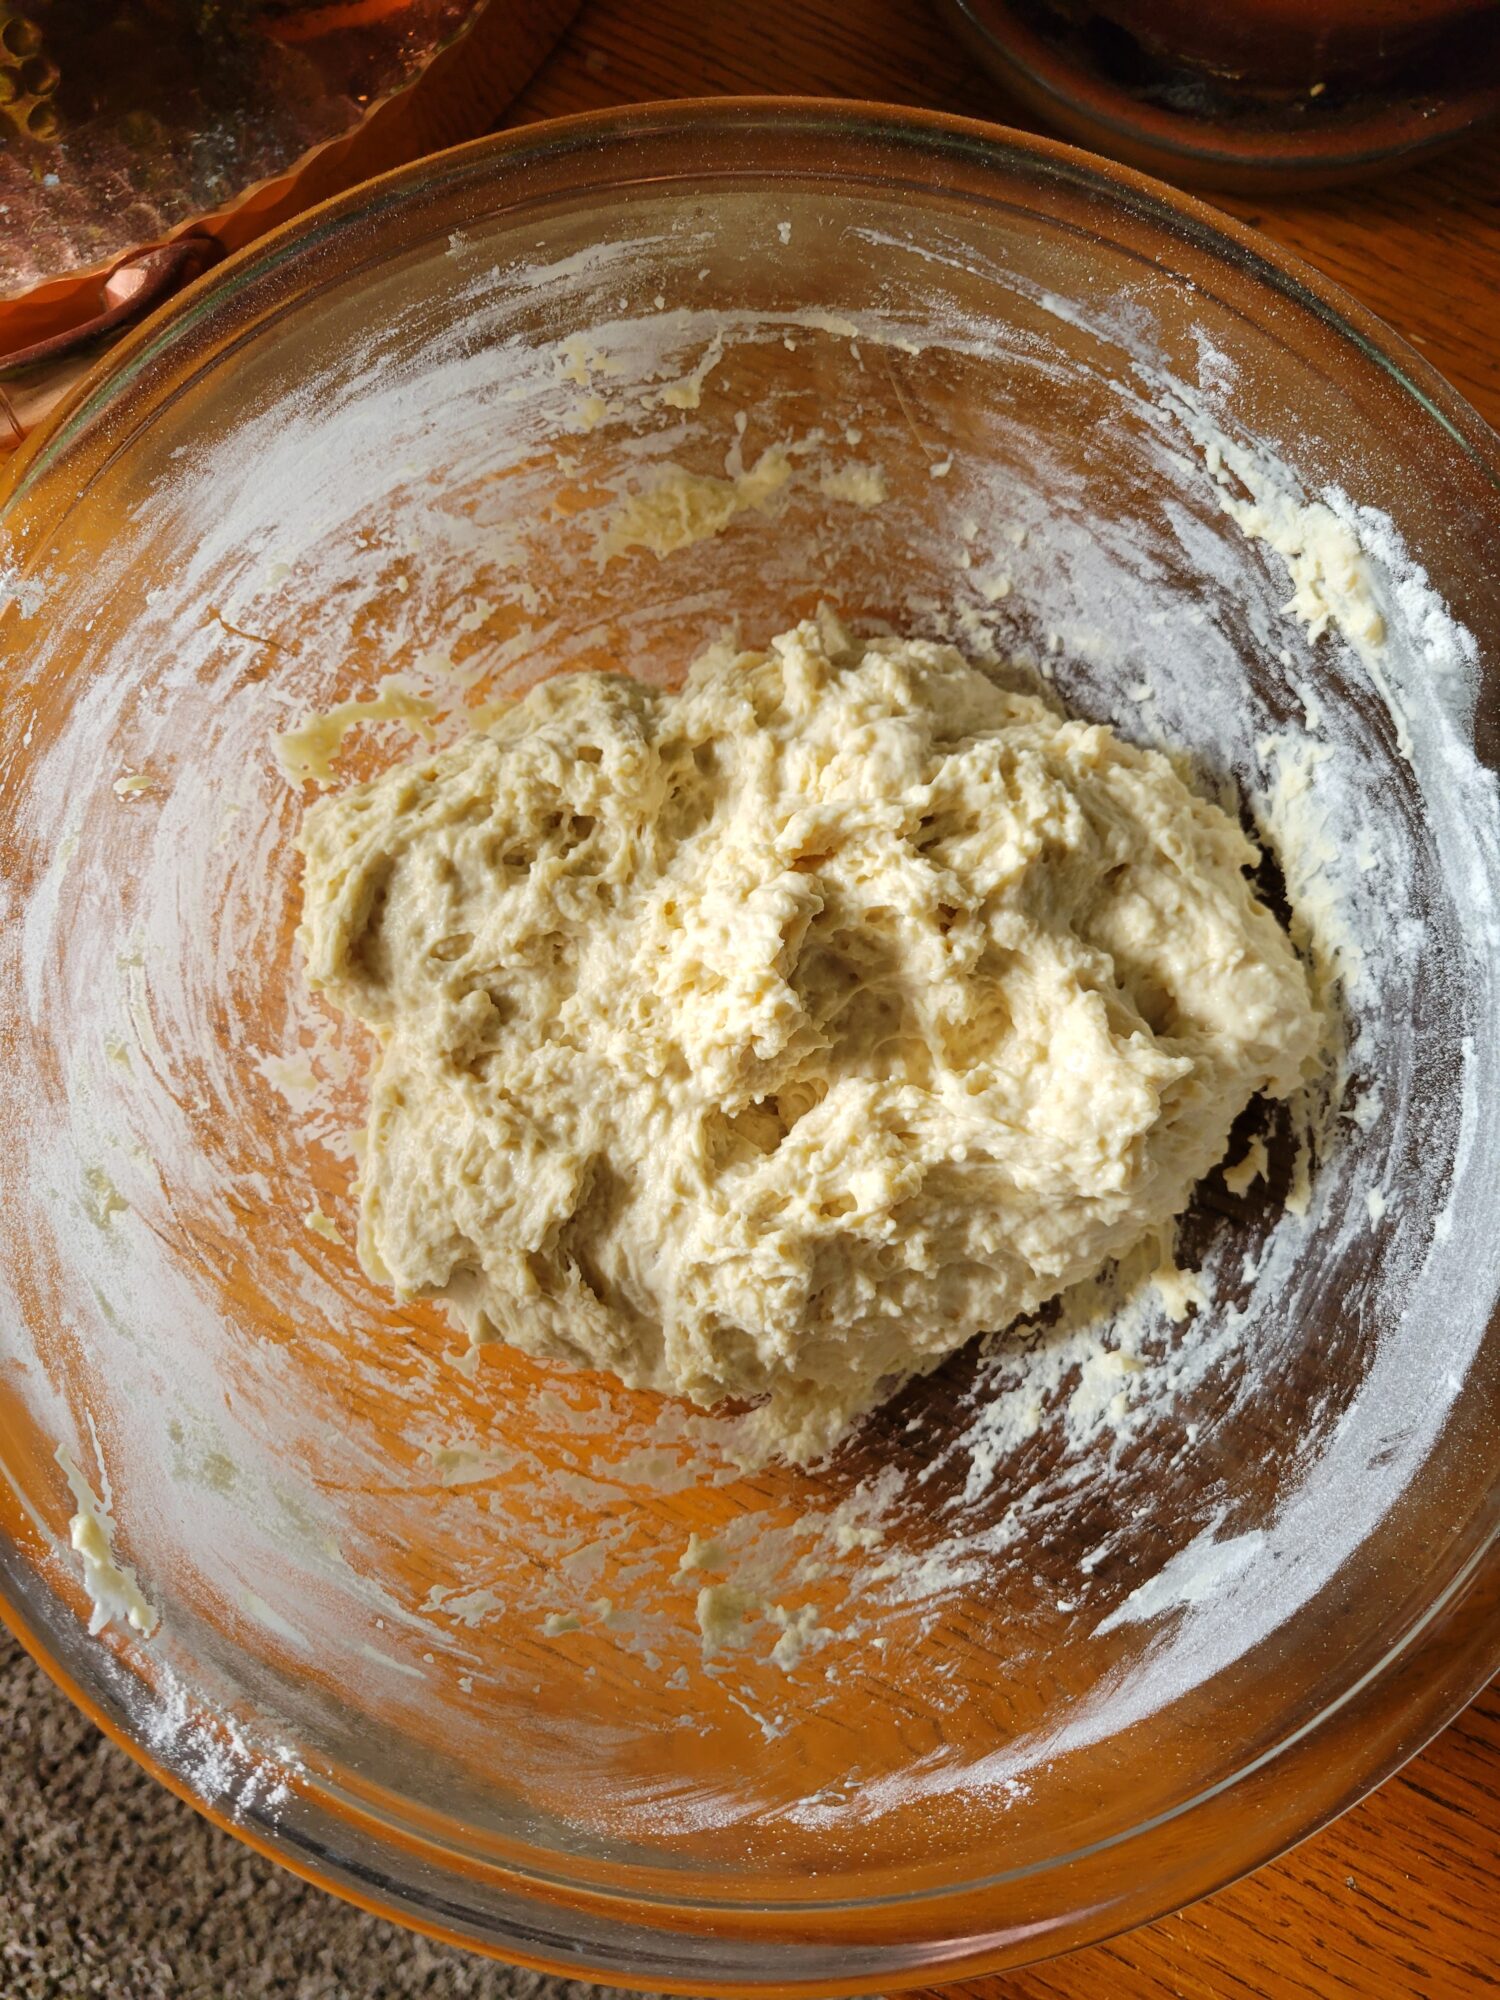
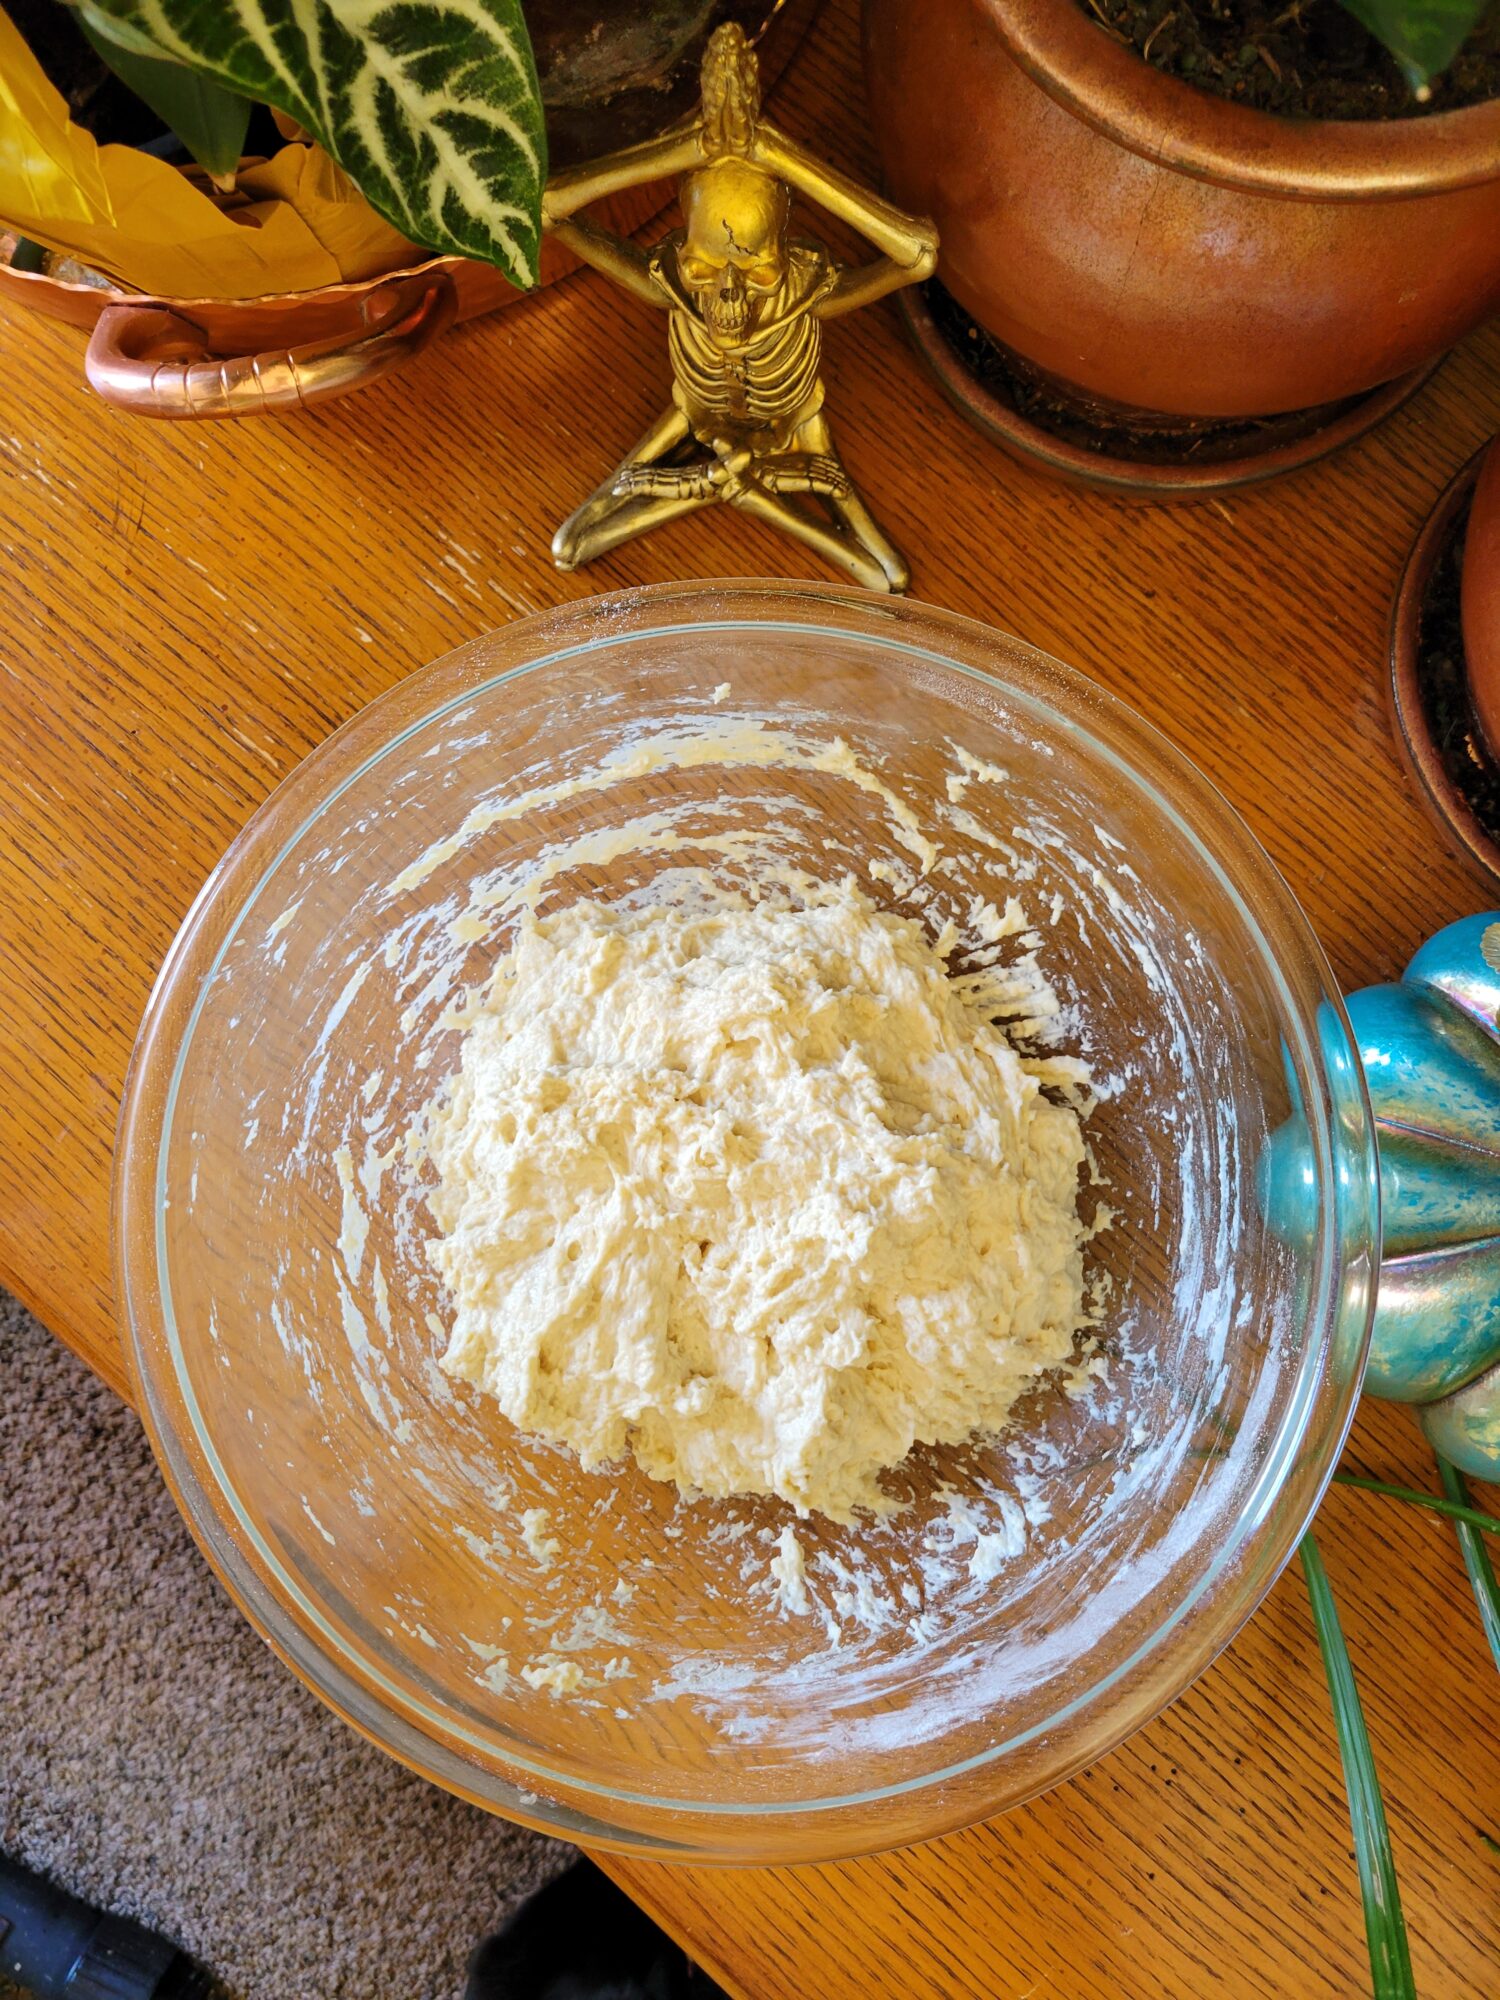
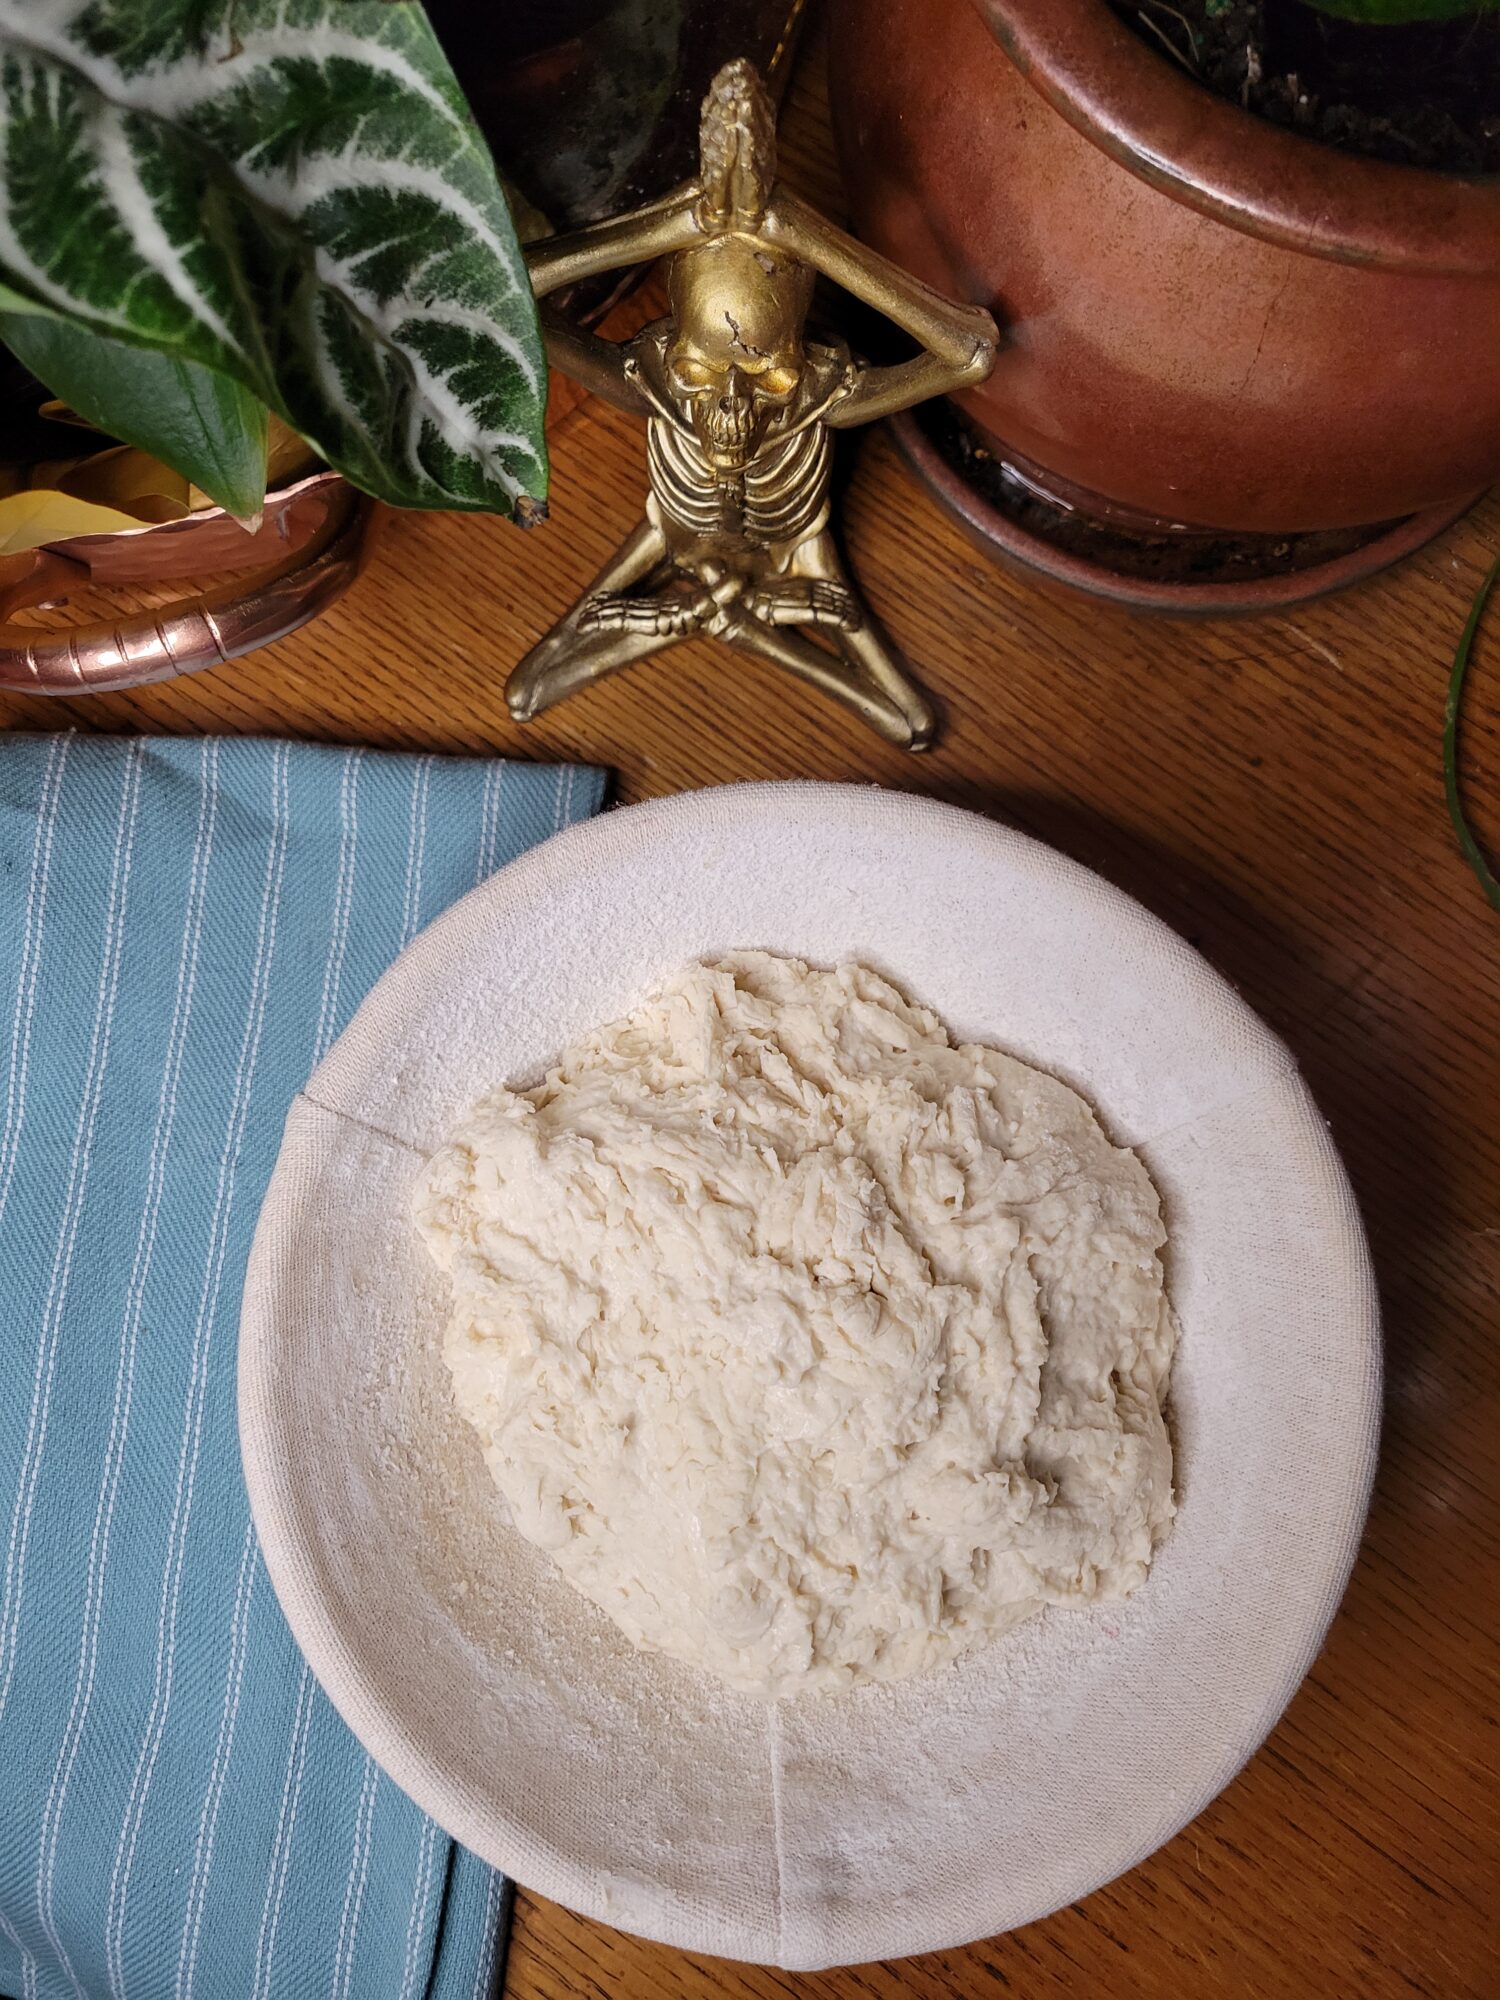
- After the yeast has proofed, stir yeast mixture into the flour. Mix until all of the ingredients are combined.In a mixer with a dough hook attachment, this only takes a minute or two. By hand, this takes about 5 minutes. It's a no-knead bread recipe, so you're not necessarily looking for soft and pliable dough. Really, you just want all of the ingredients to be mixed thoroughly at this point! Which does make it a great recipe to make by hand if you prefer or don't have a mixer.
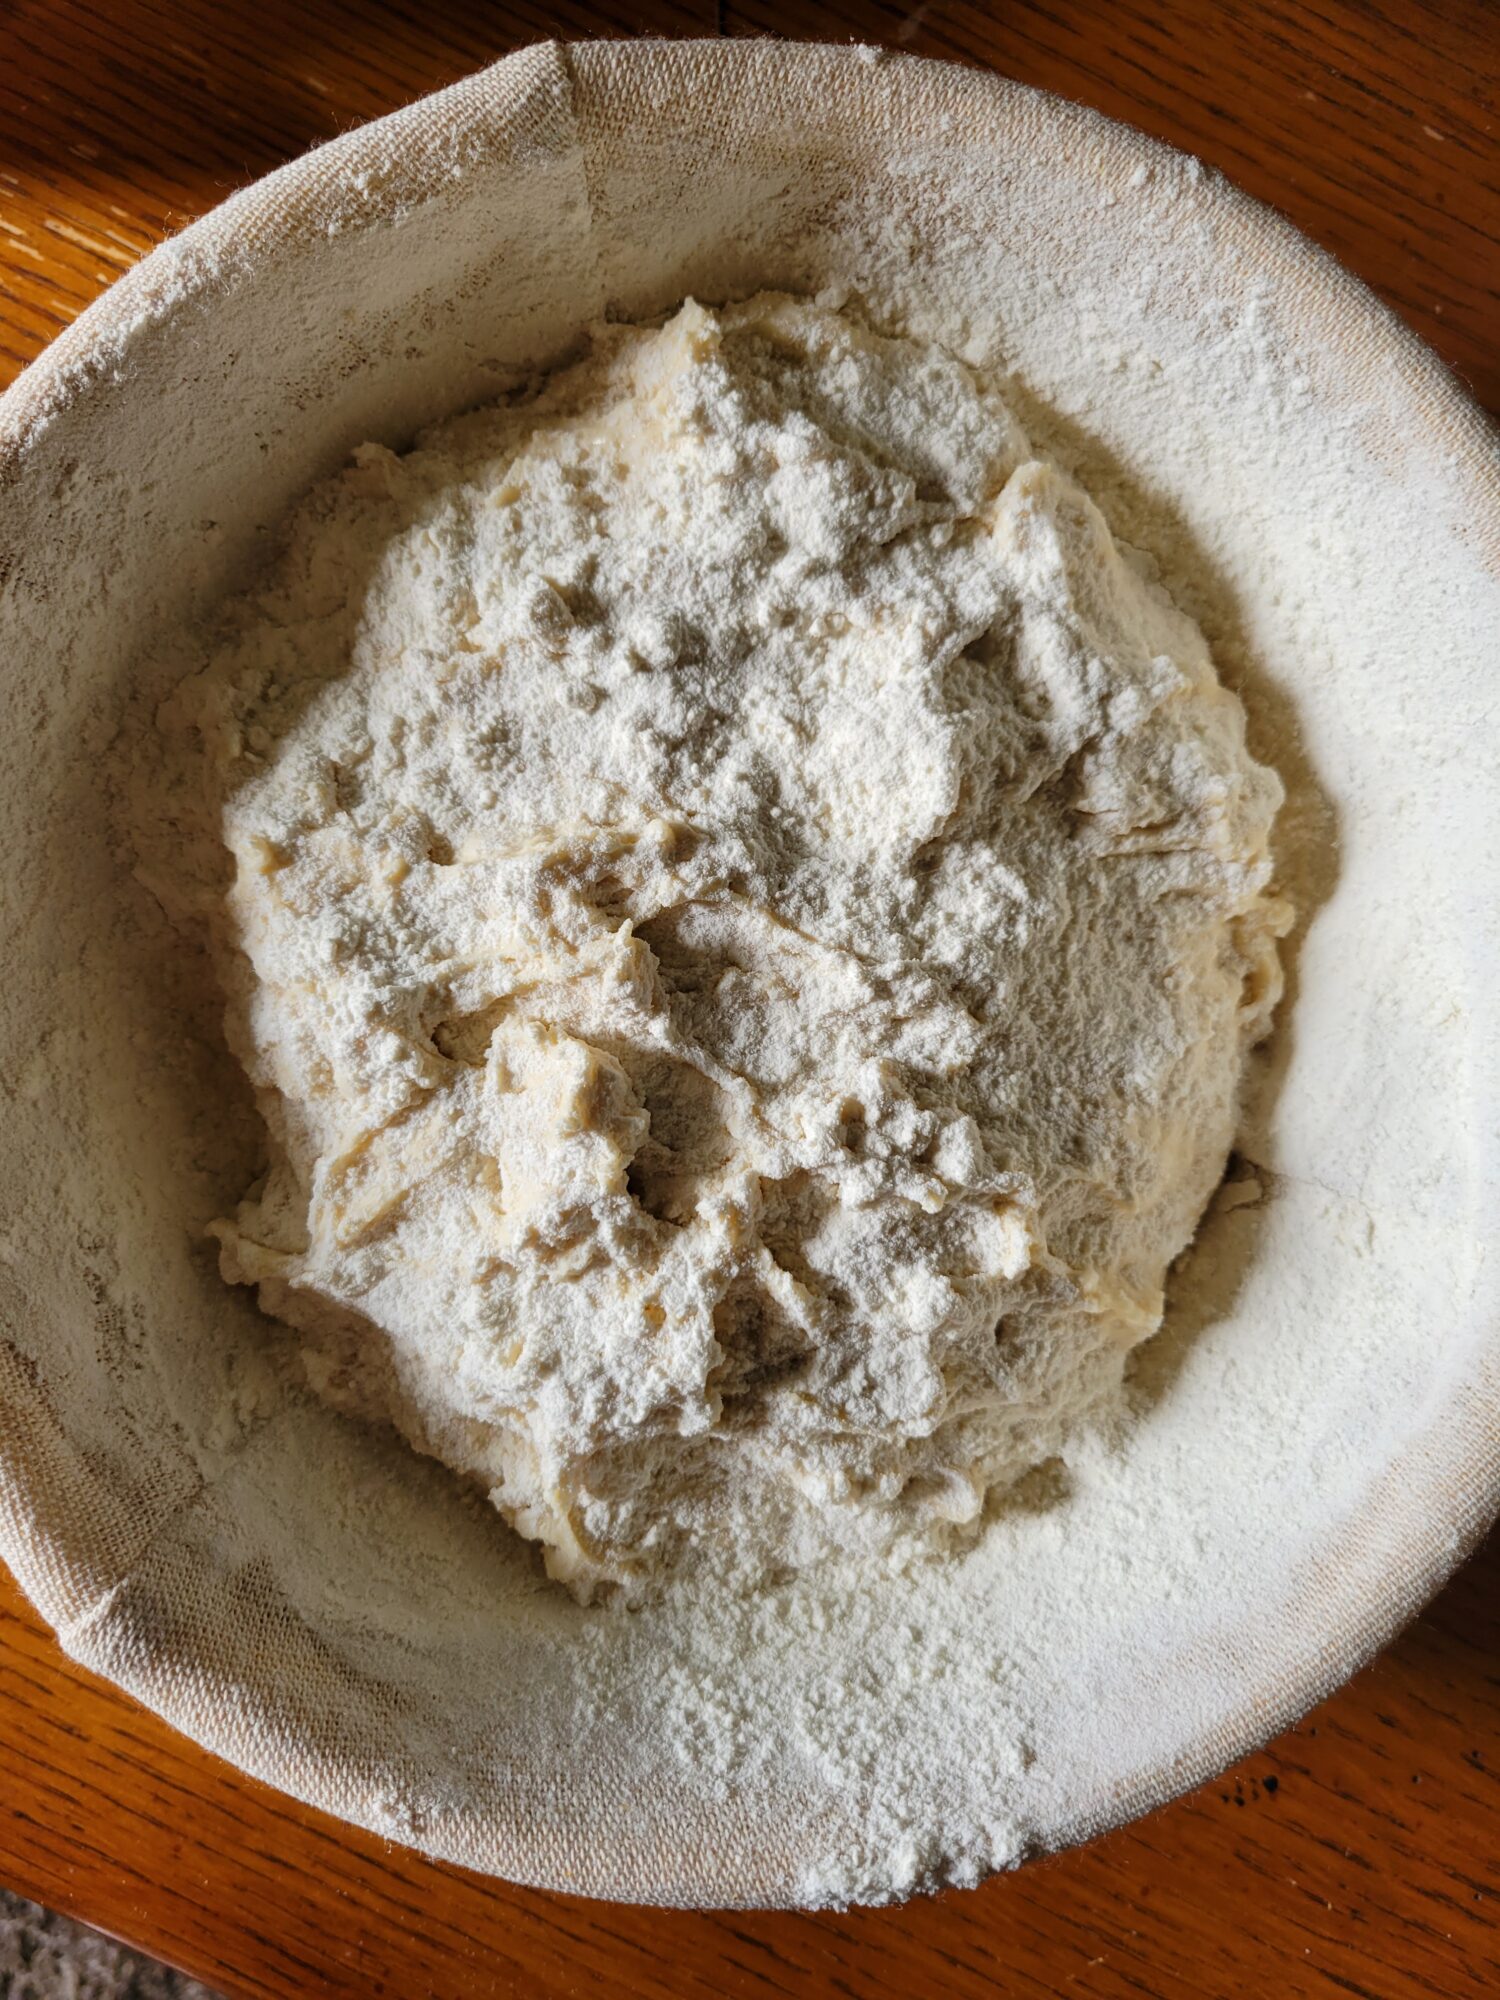
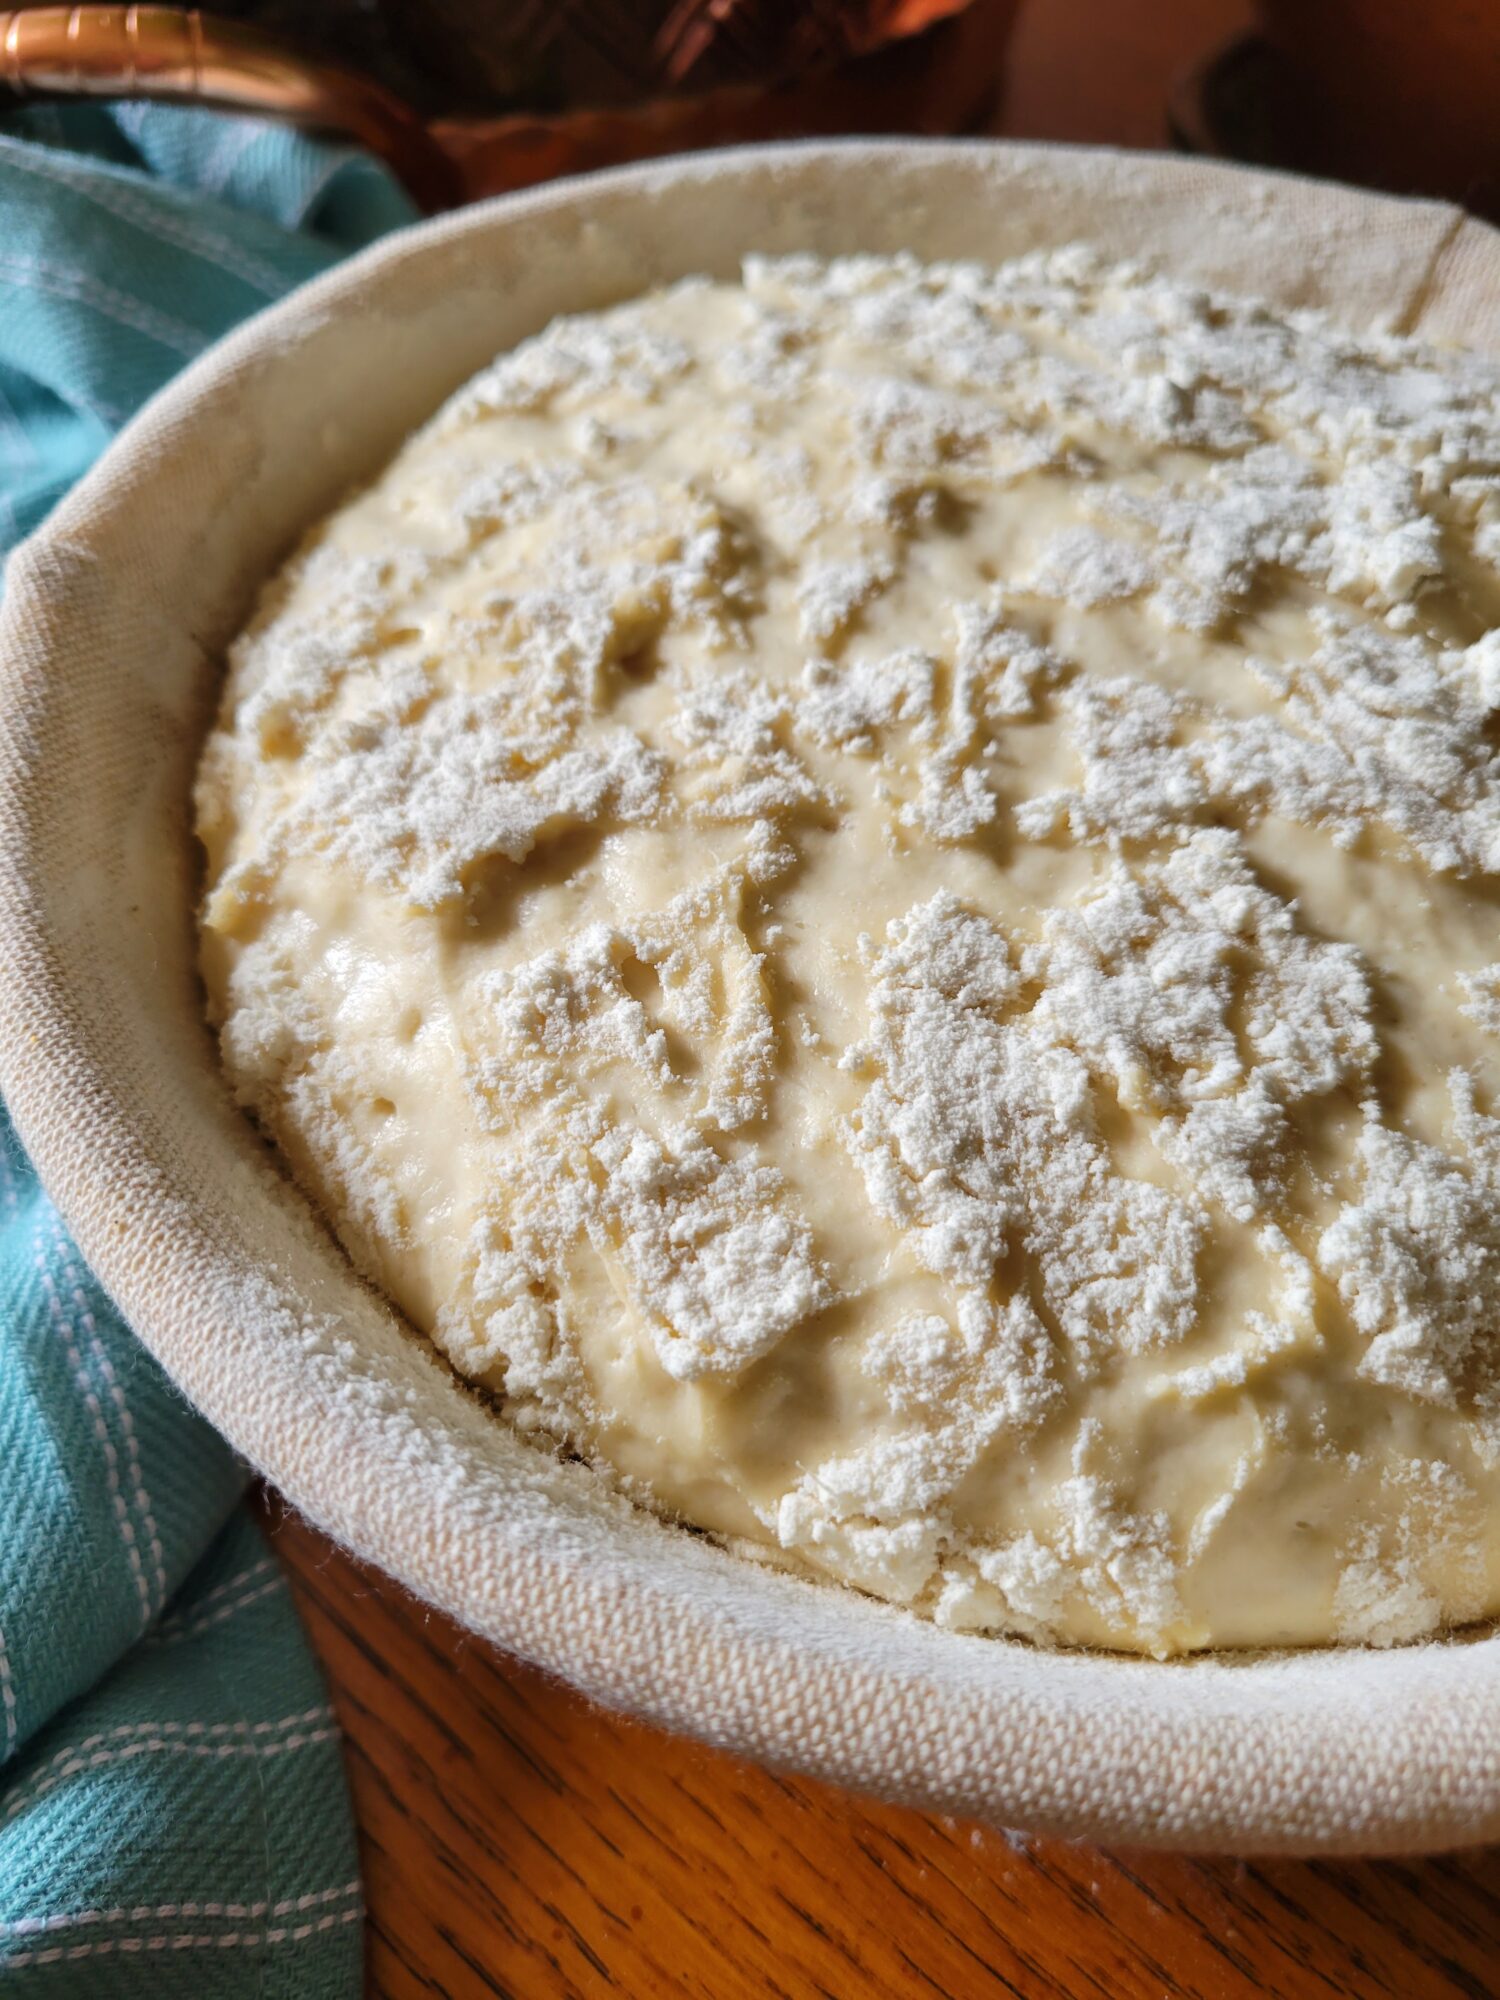
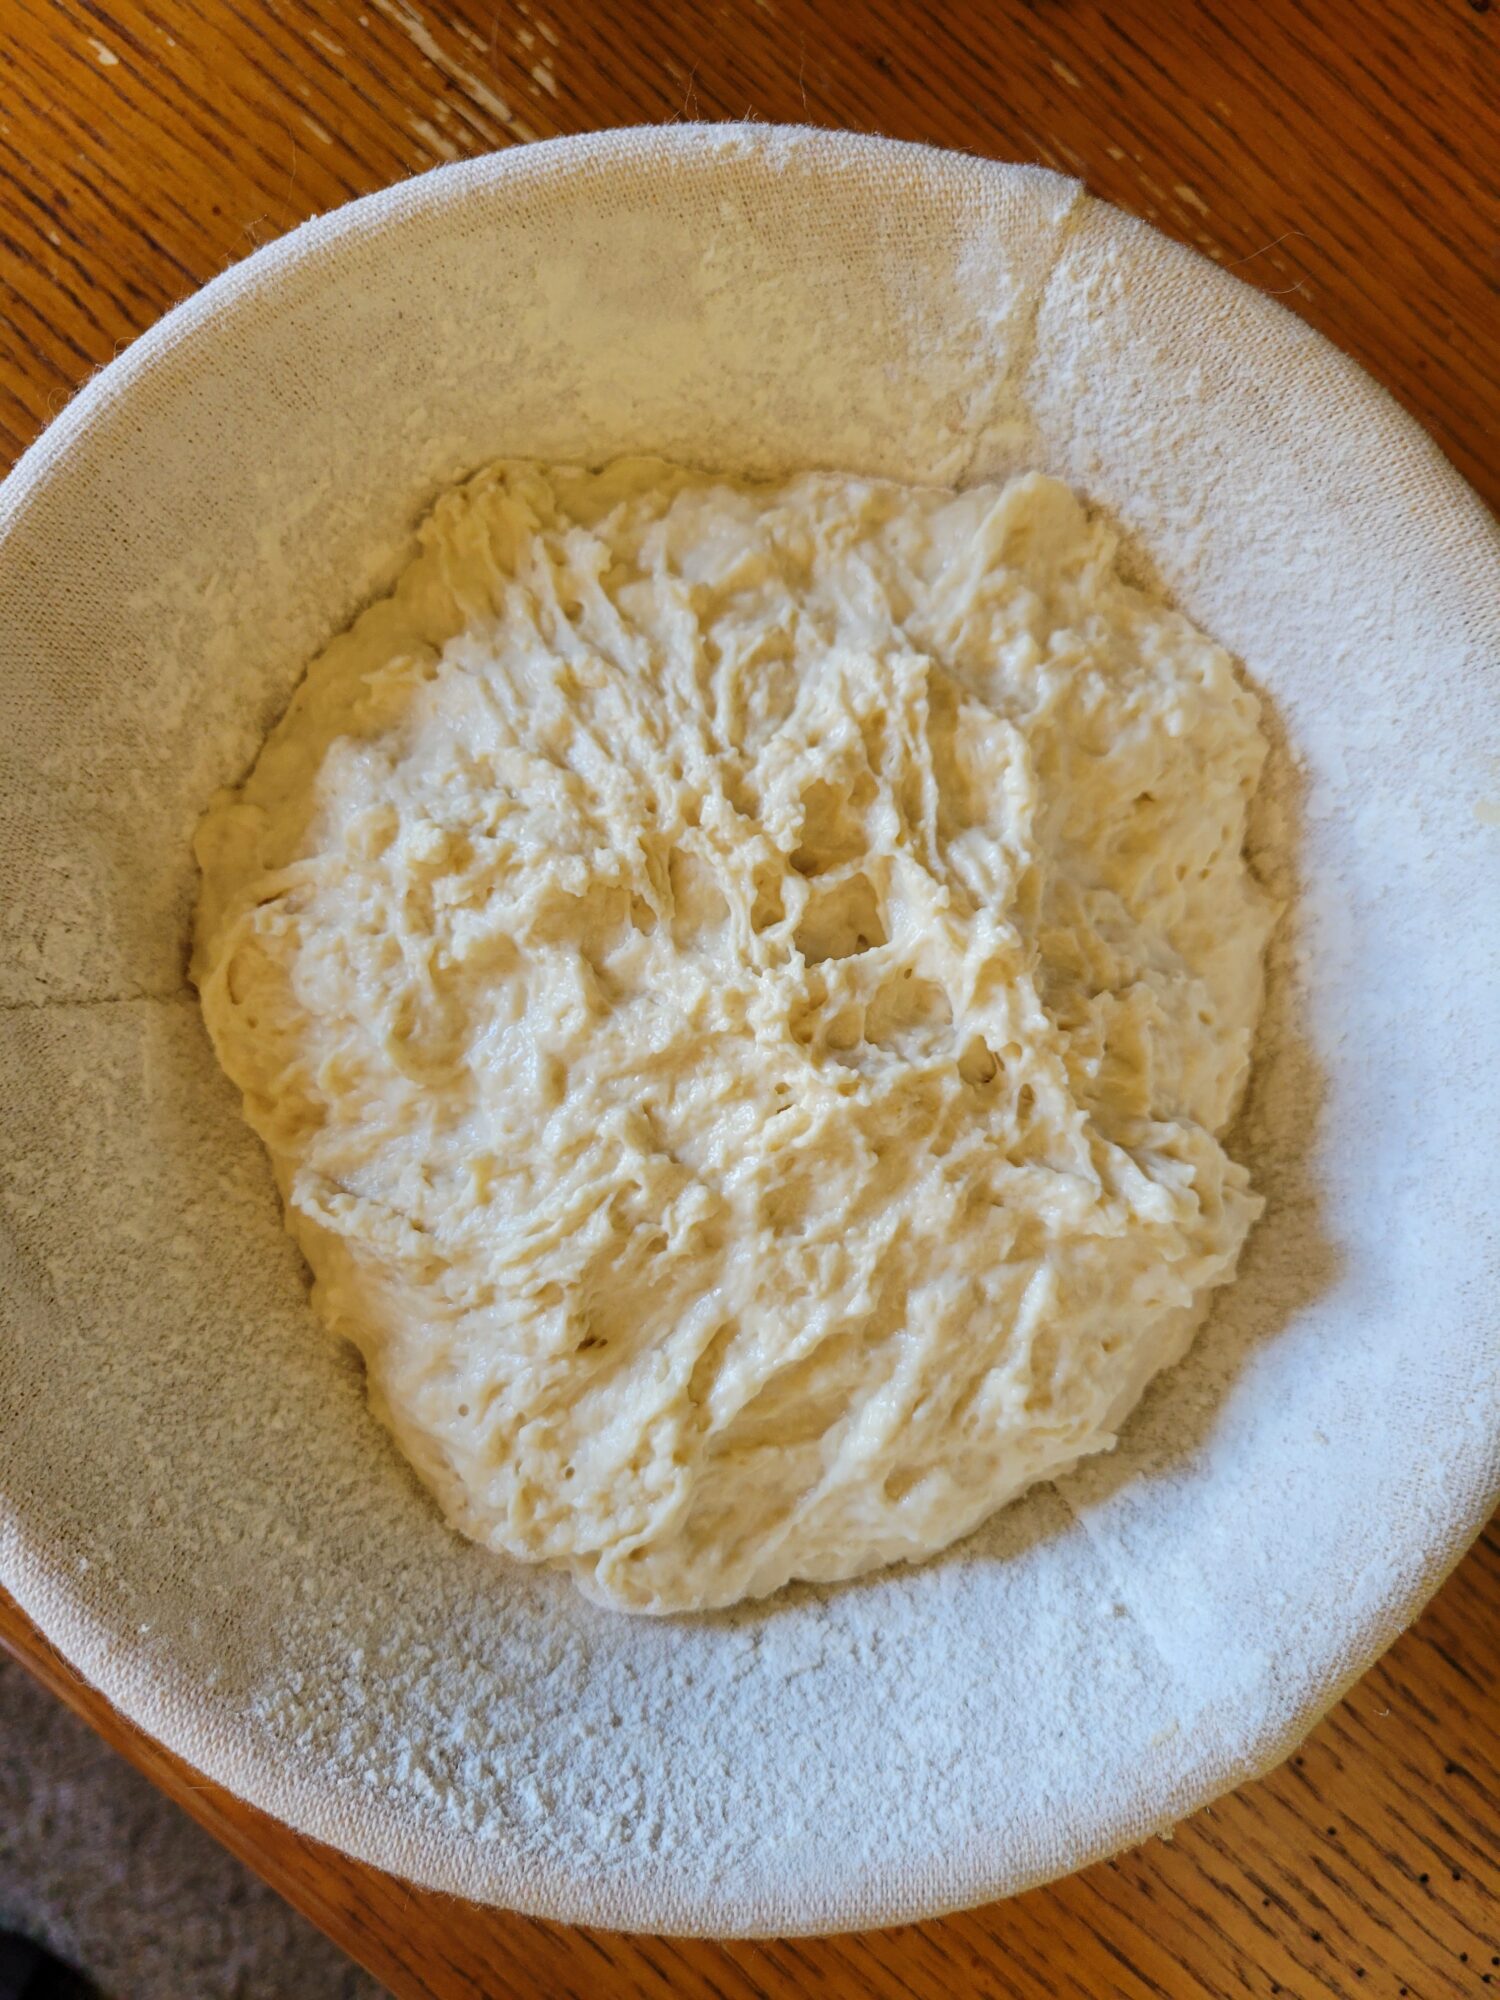
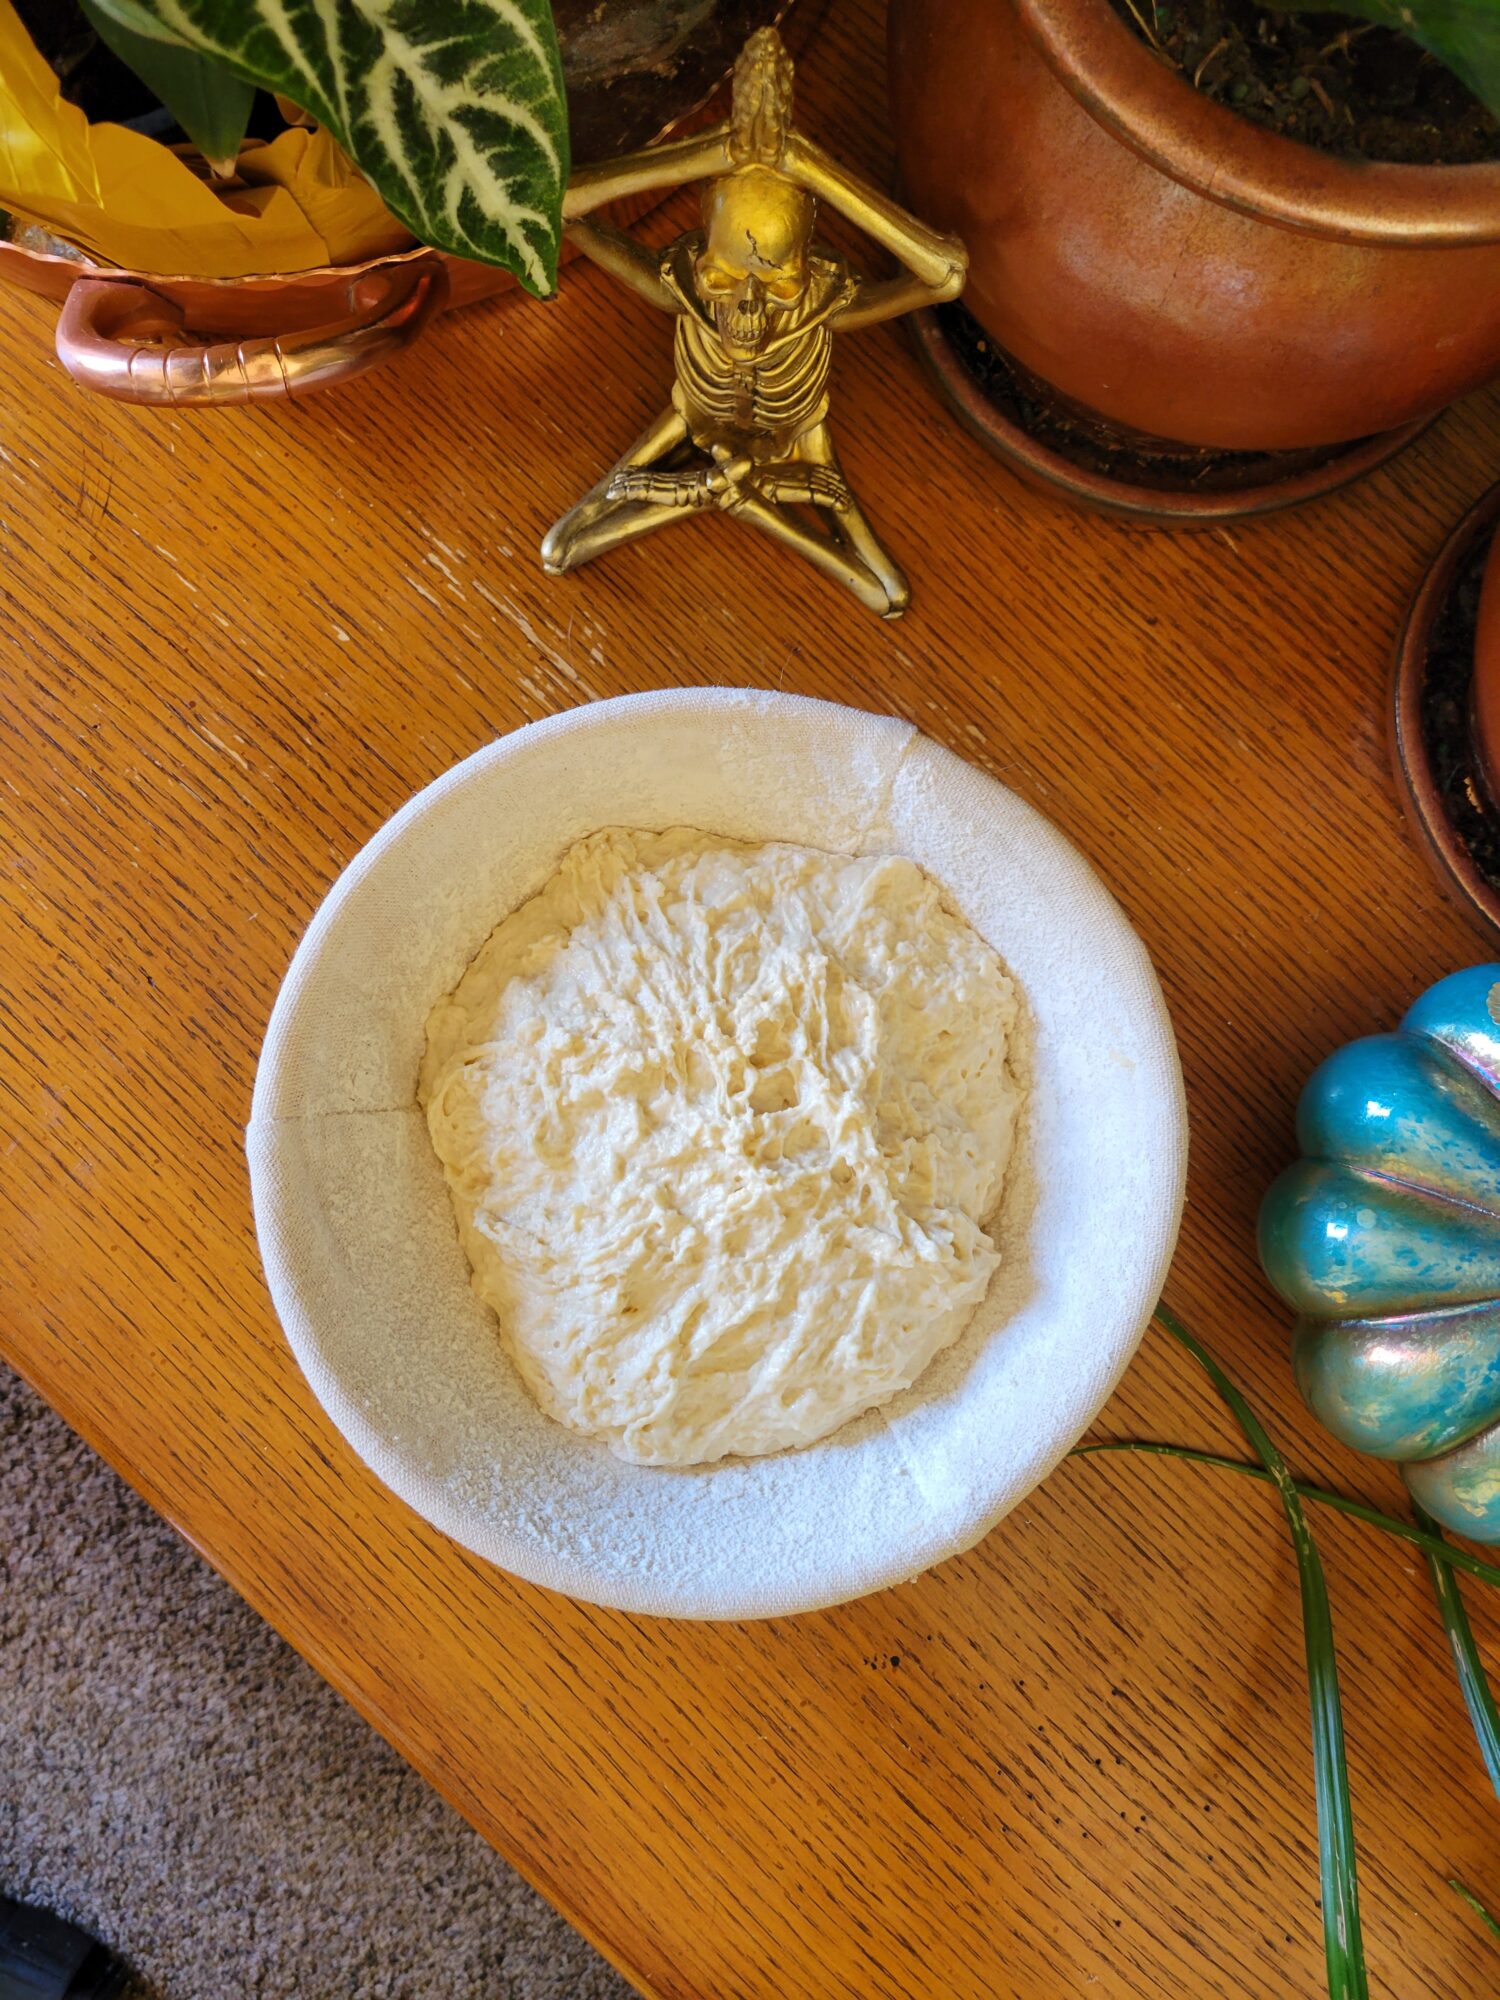
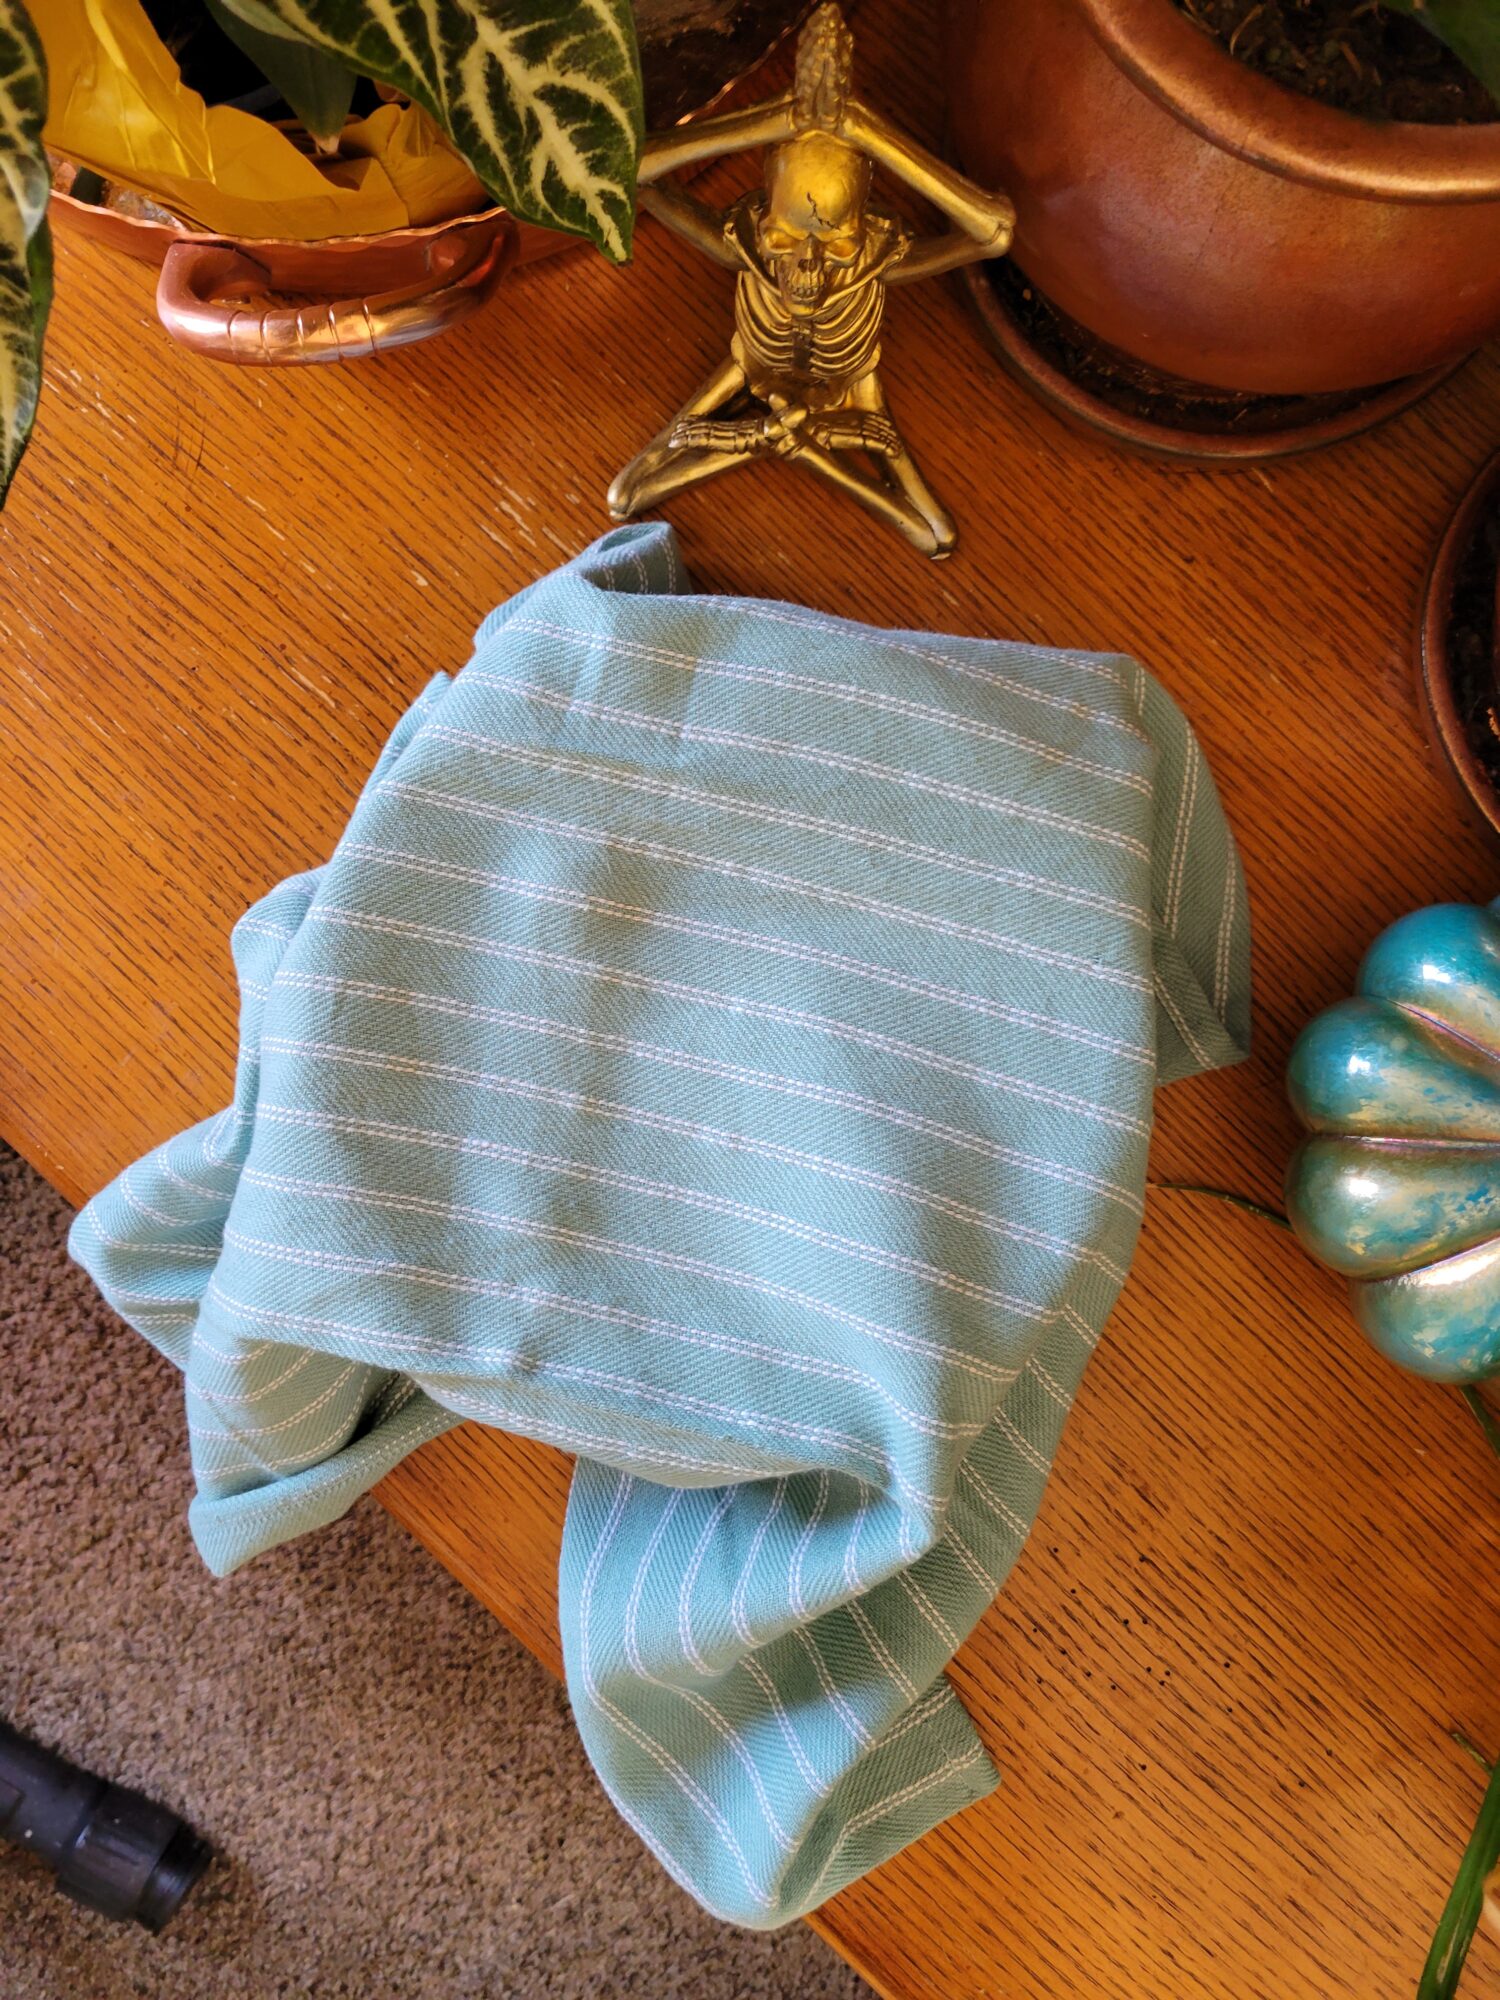
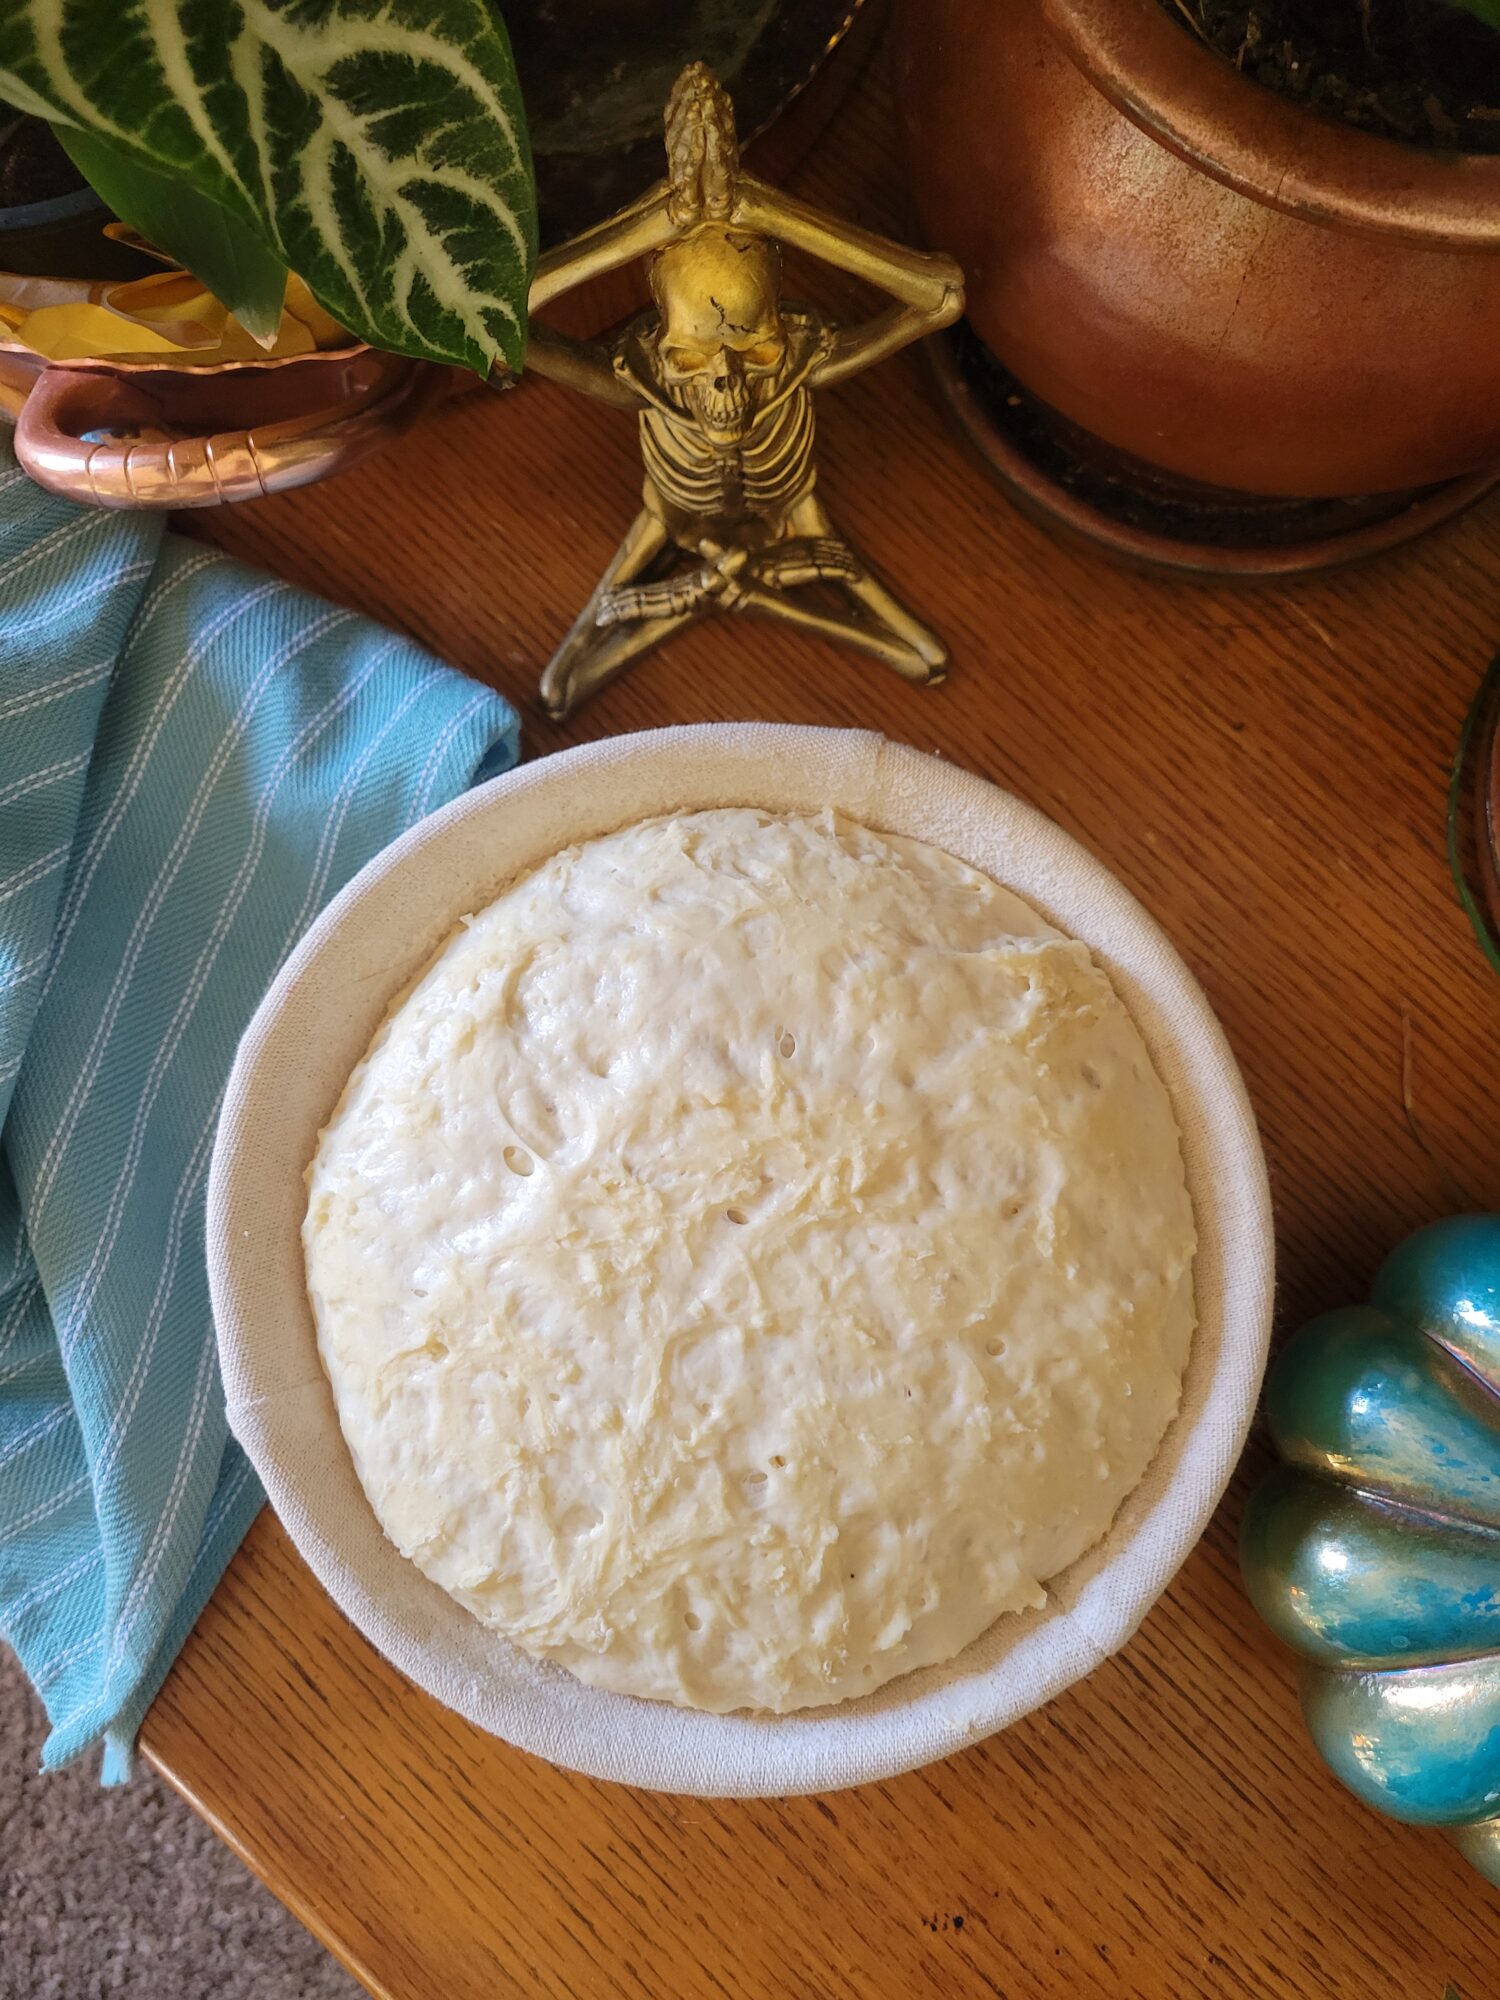
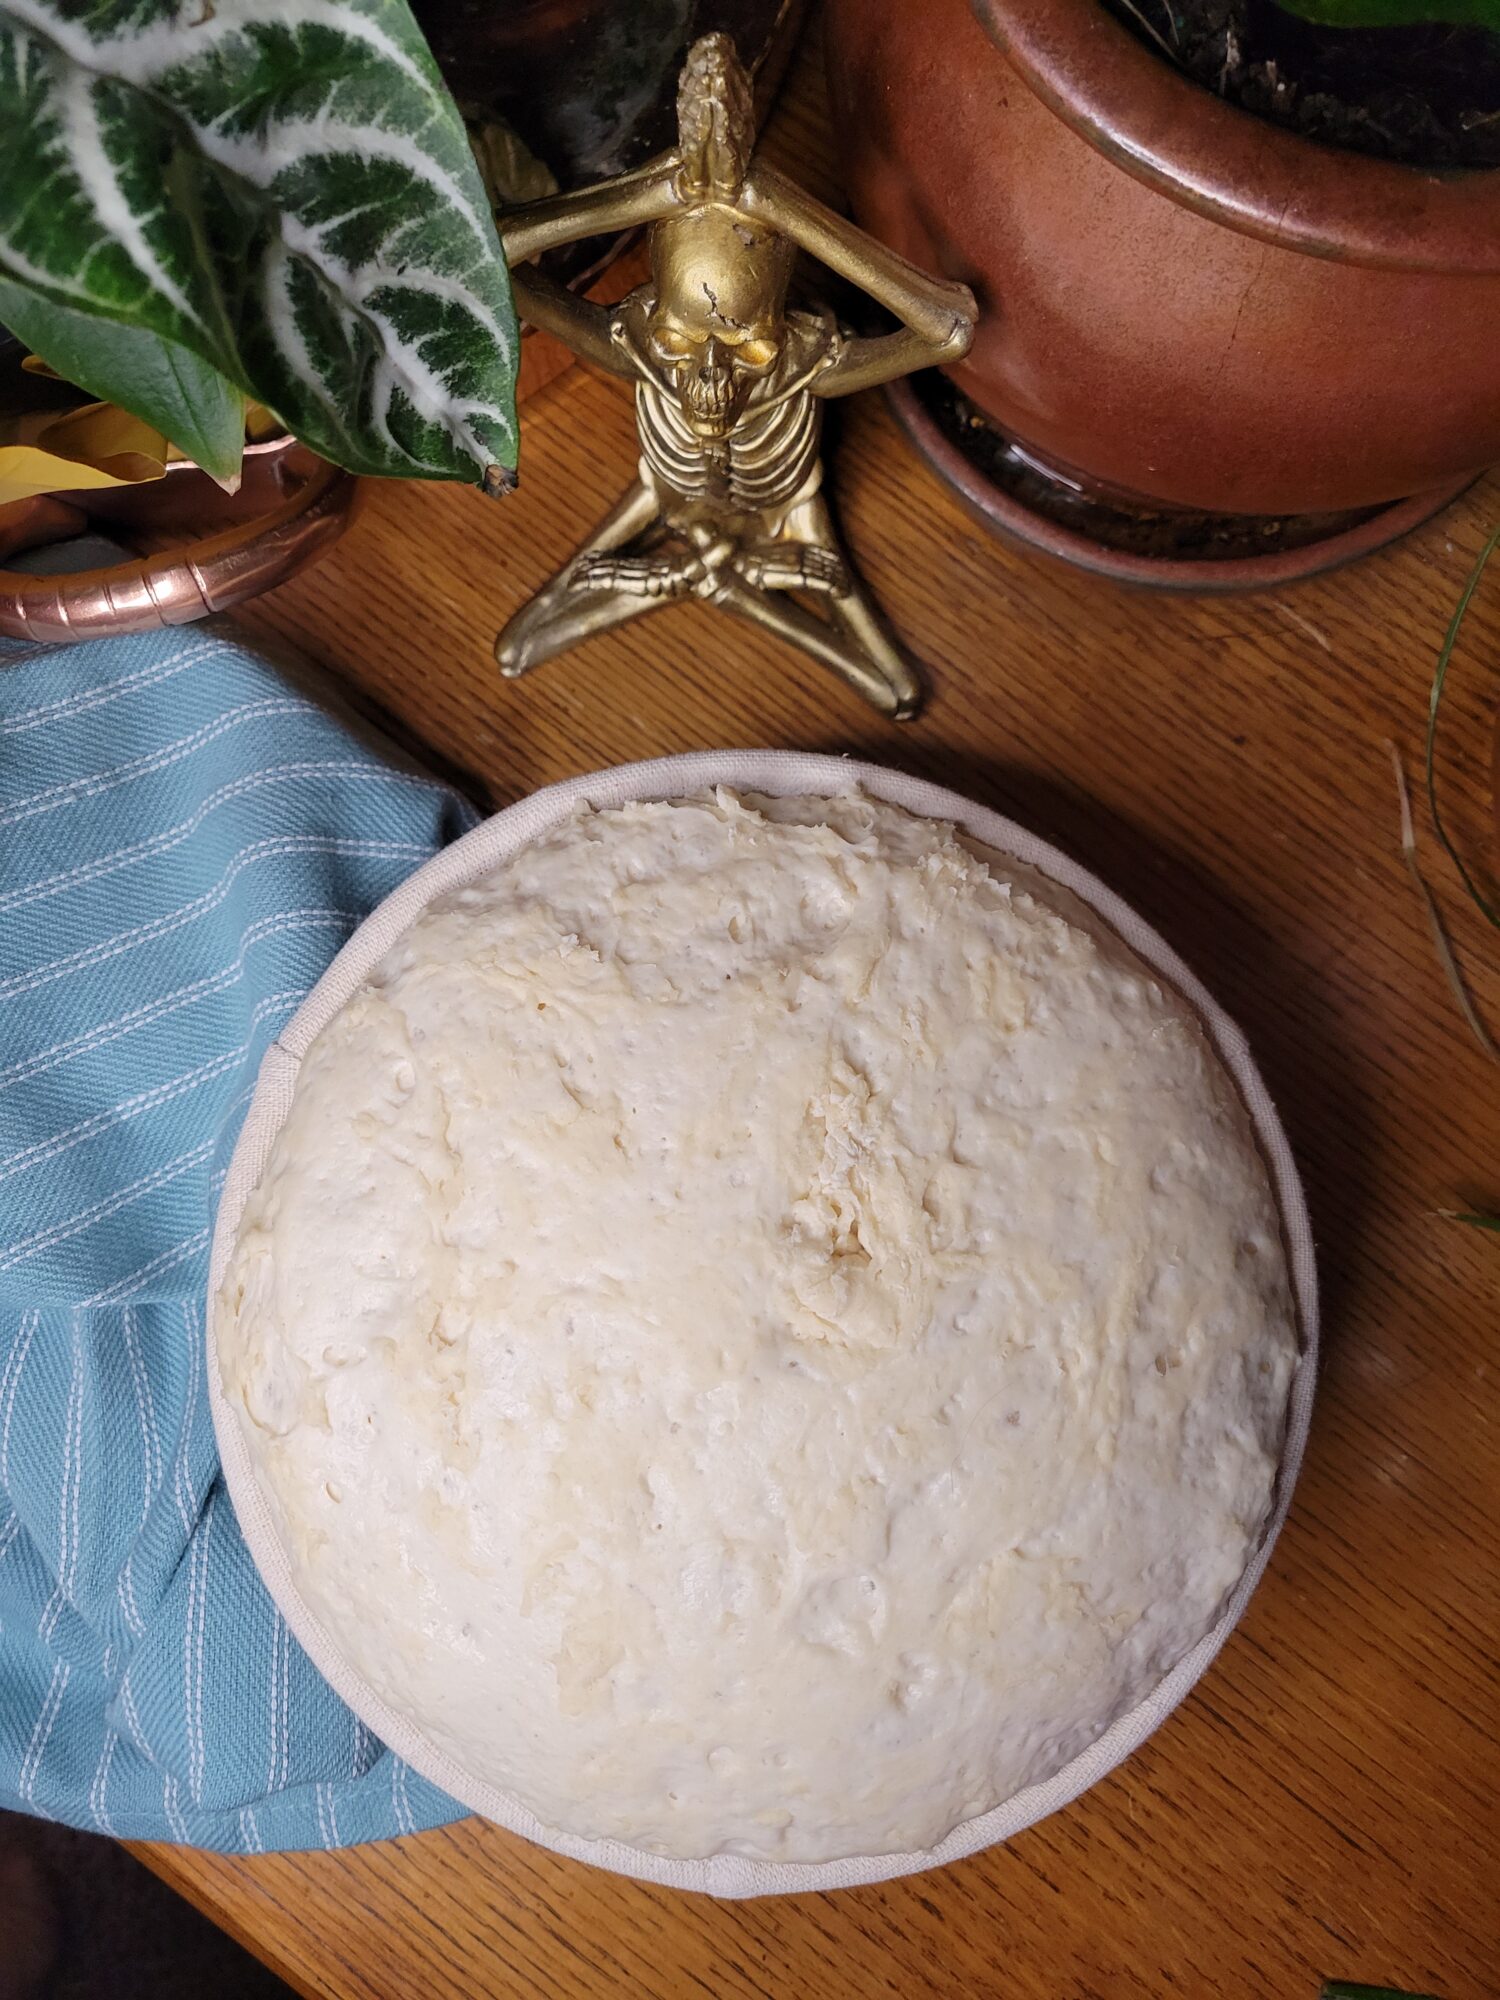
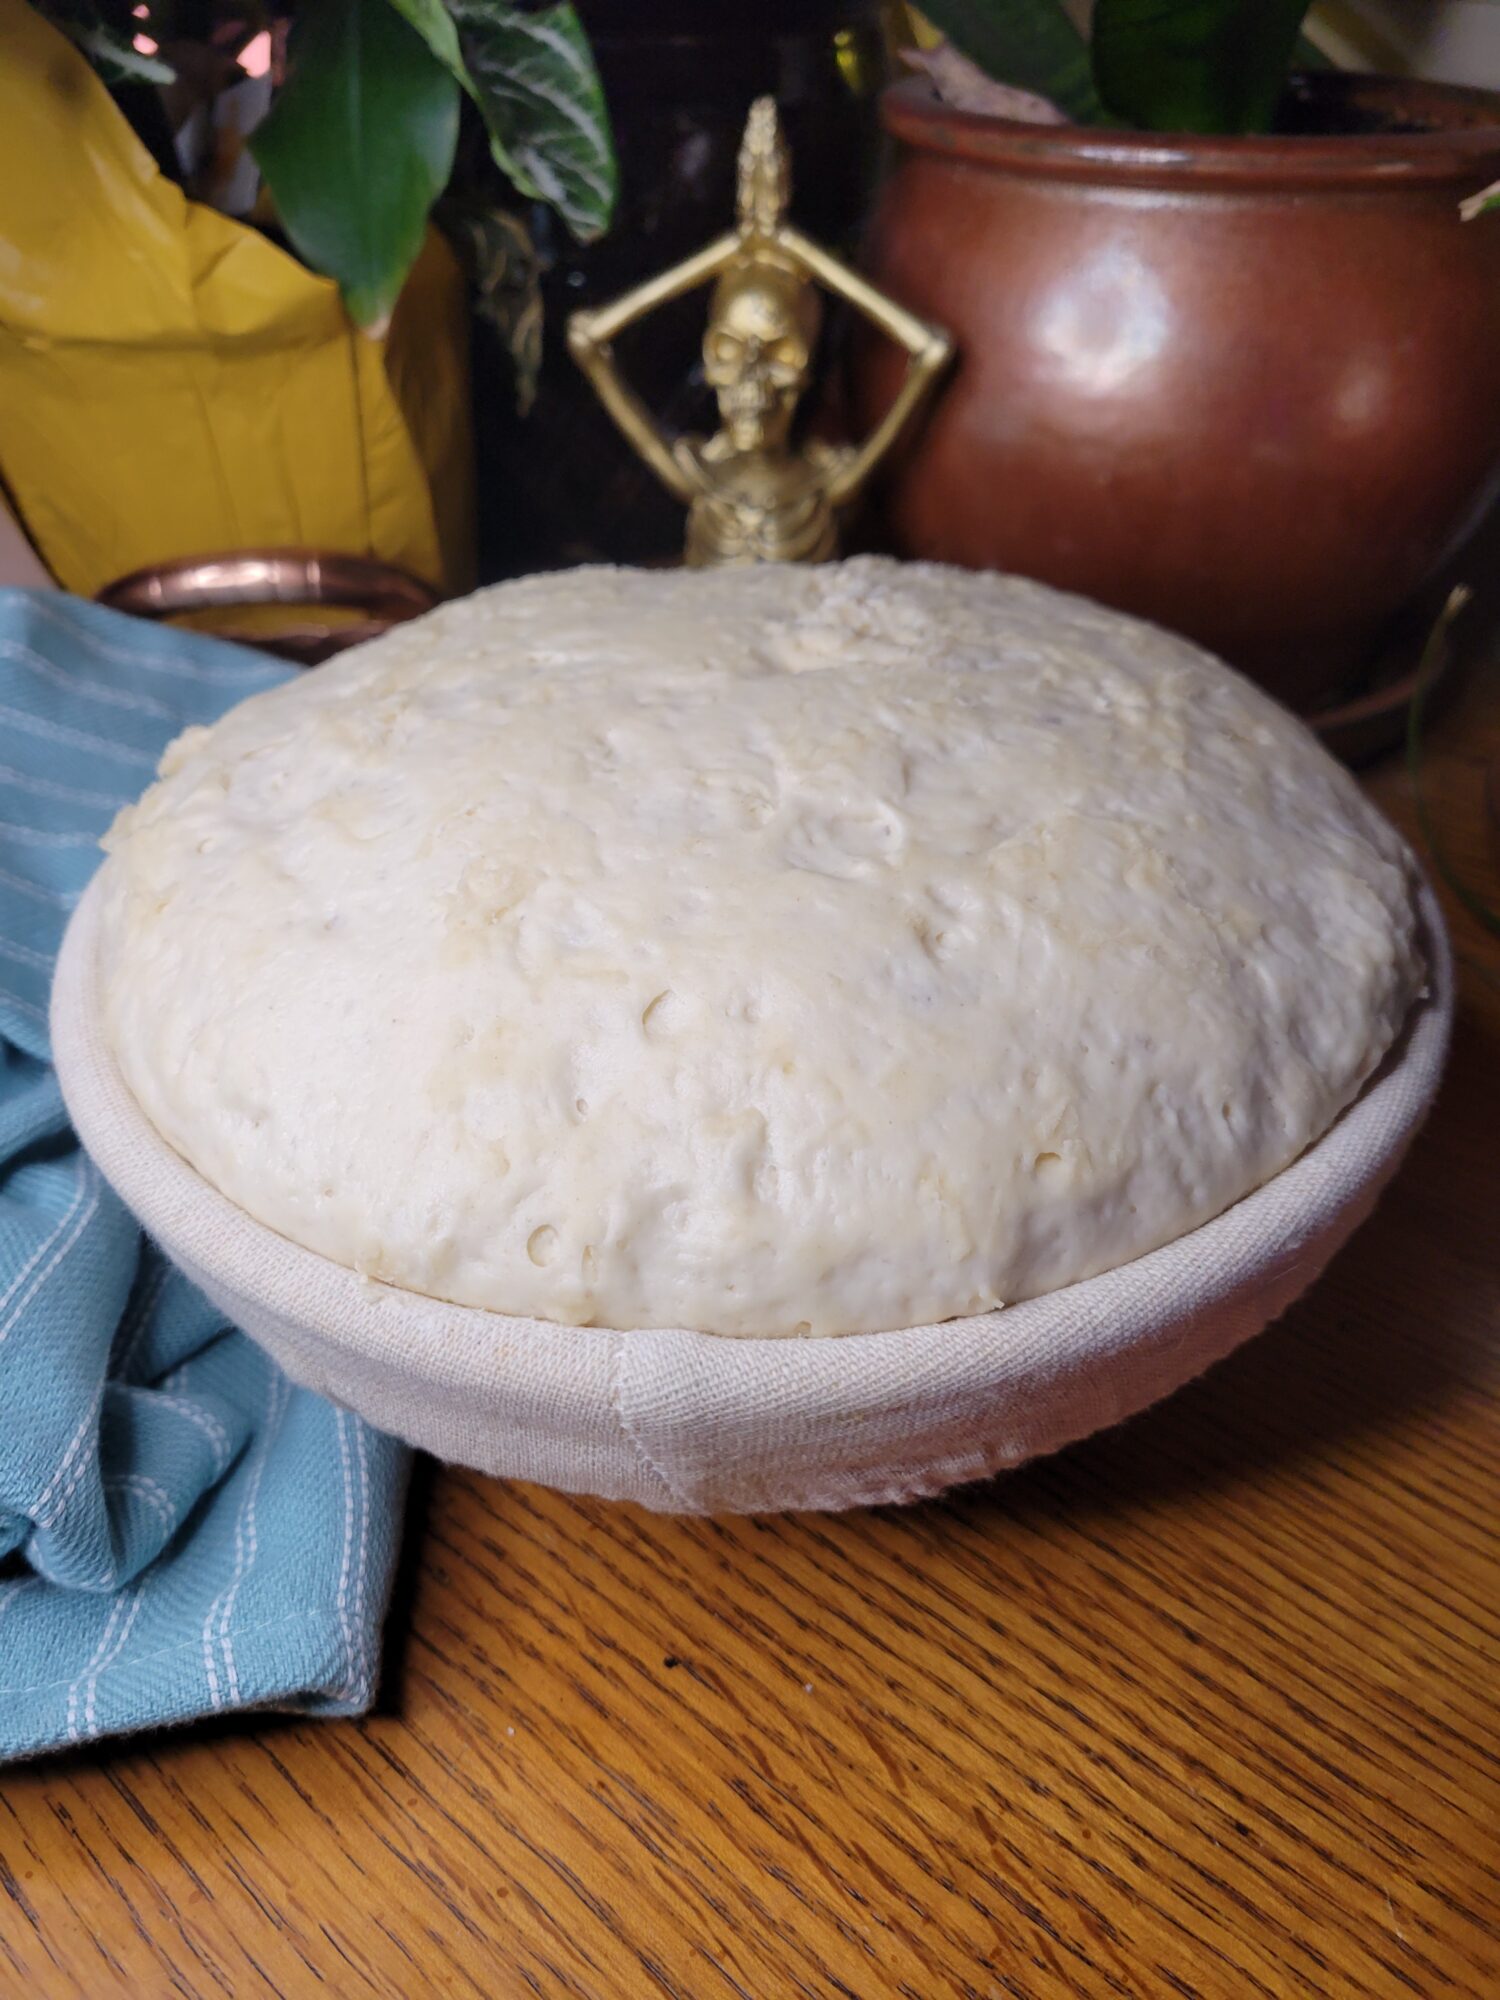
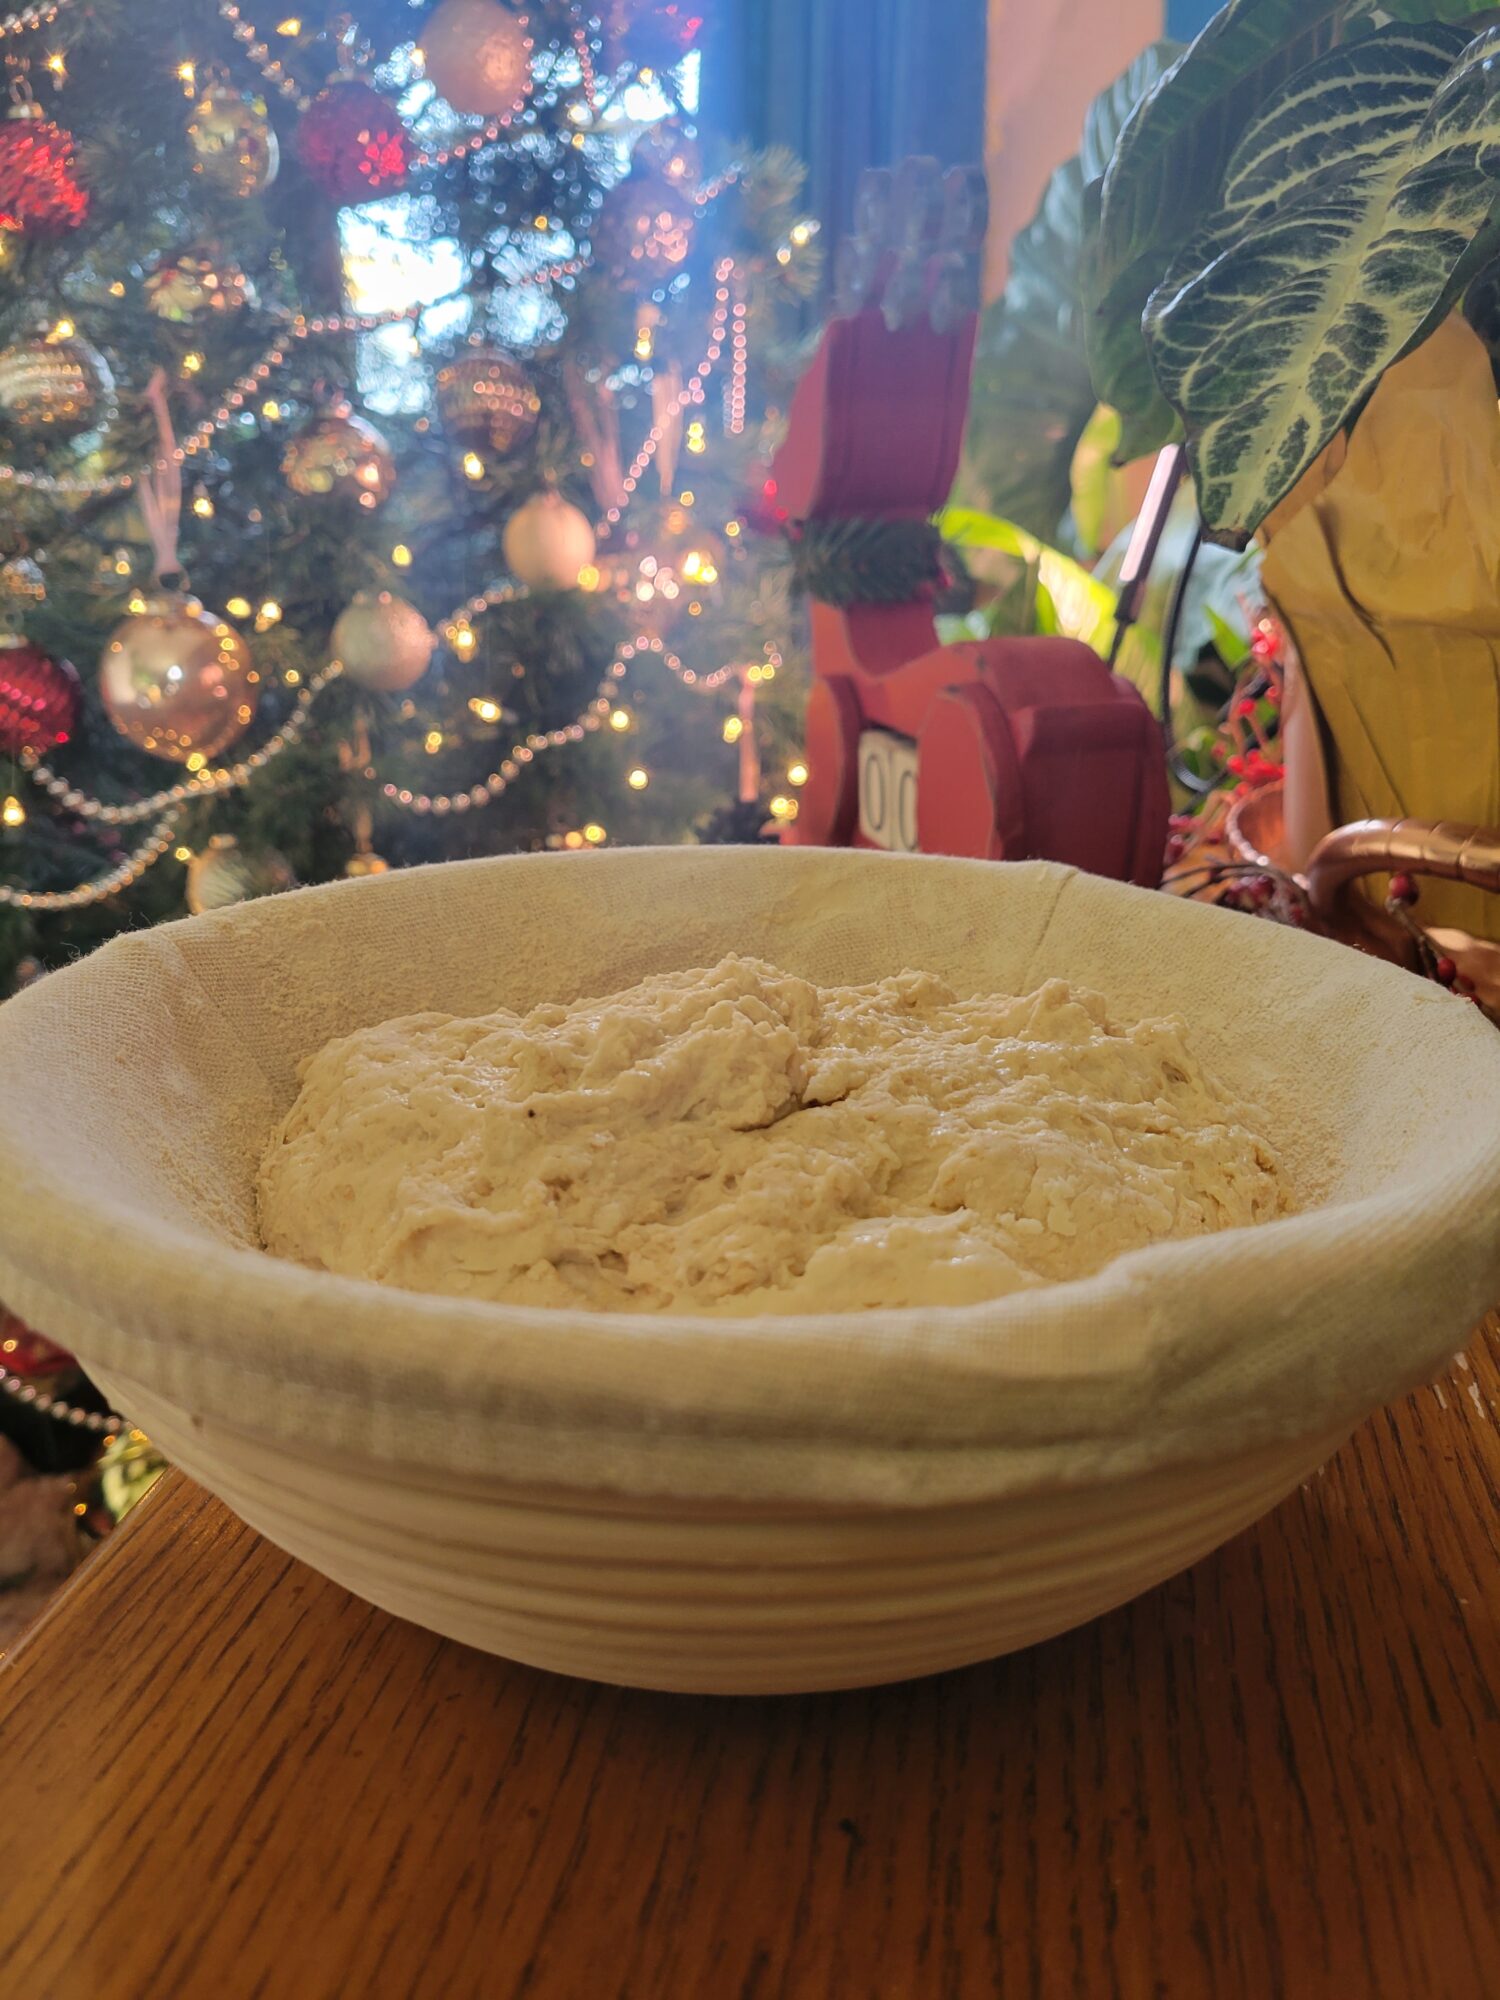
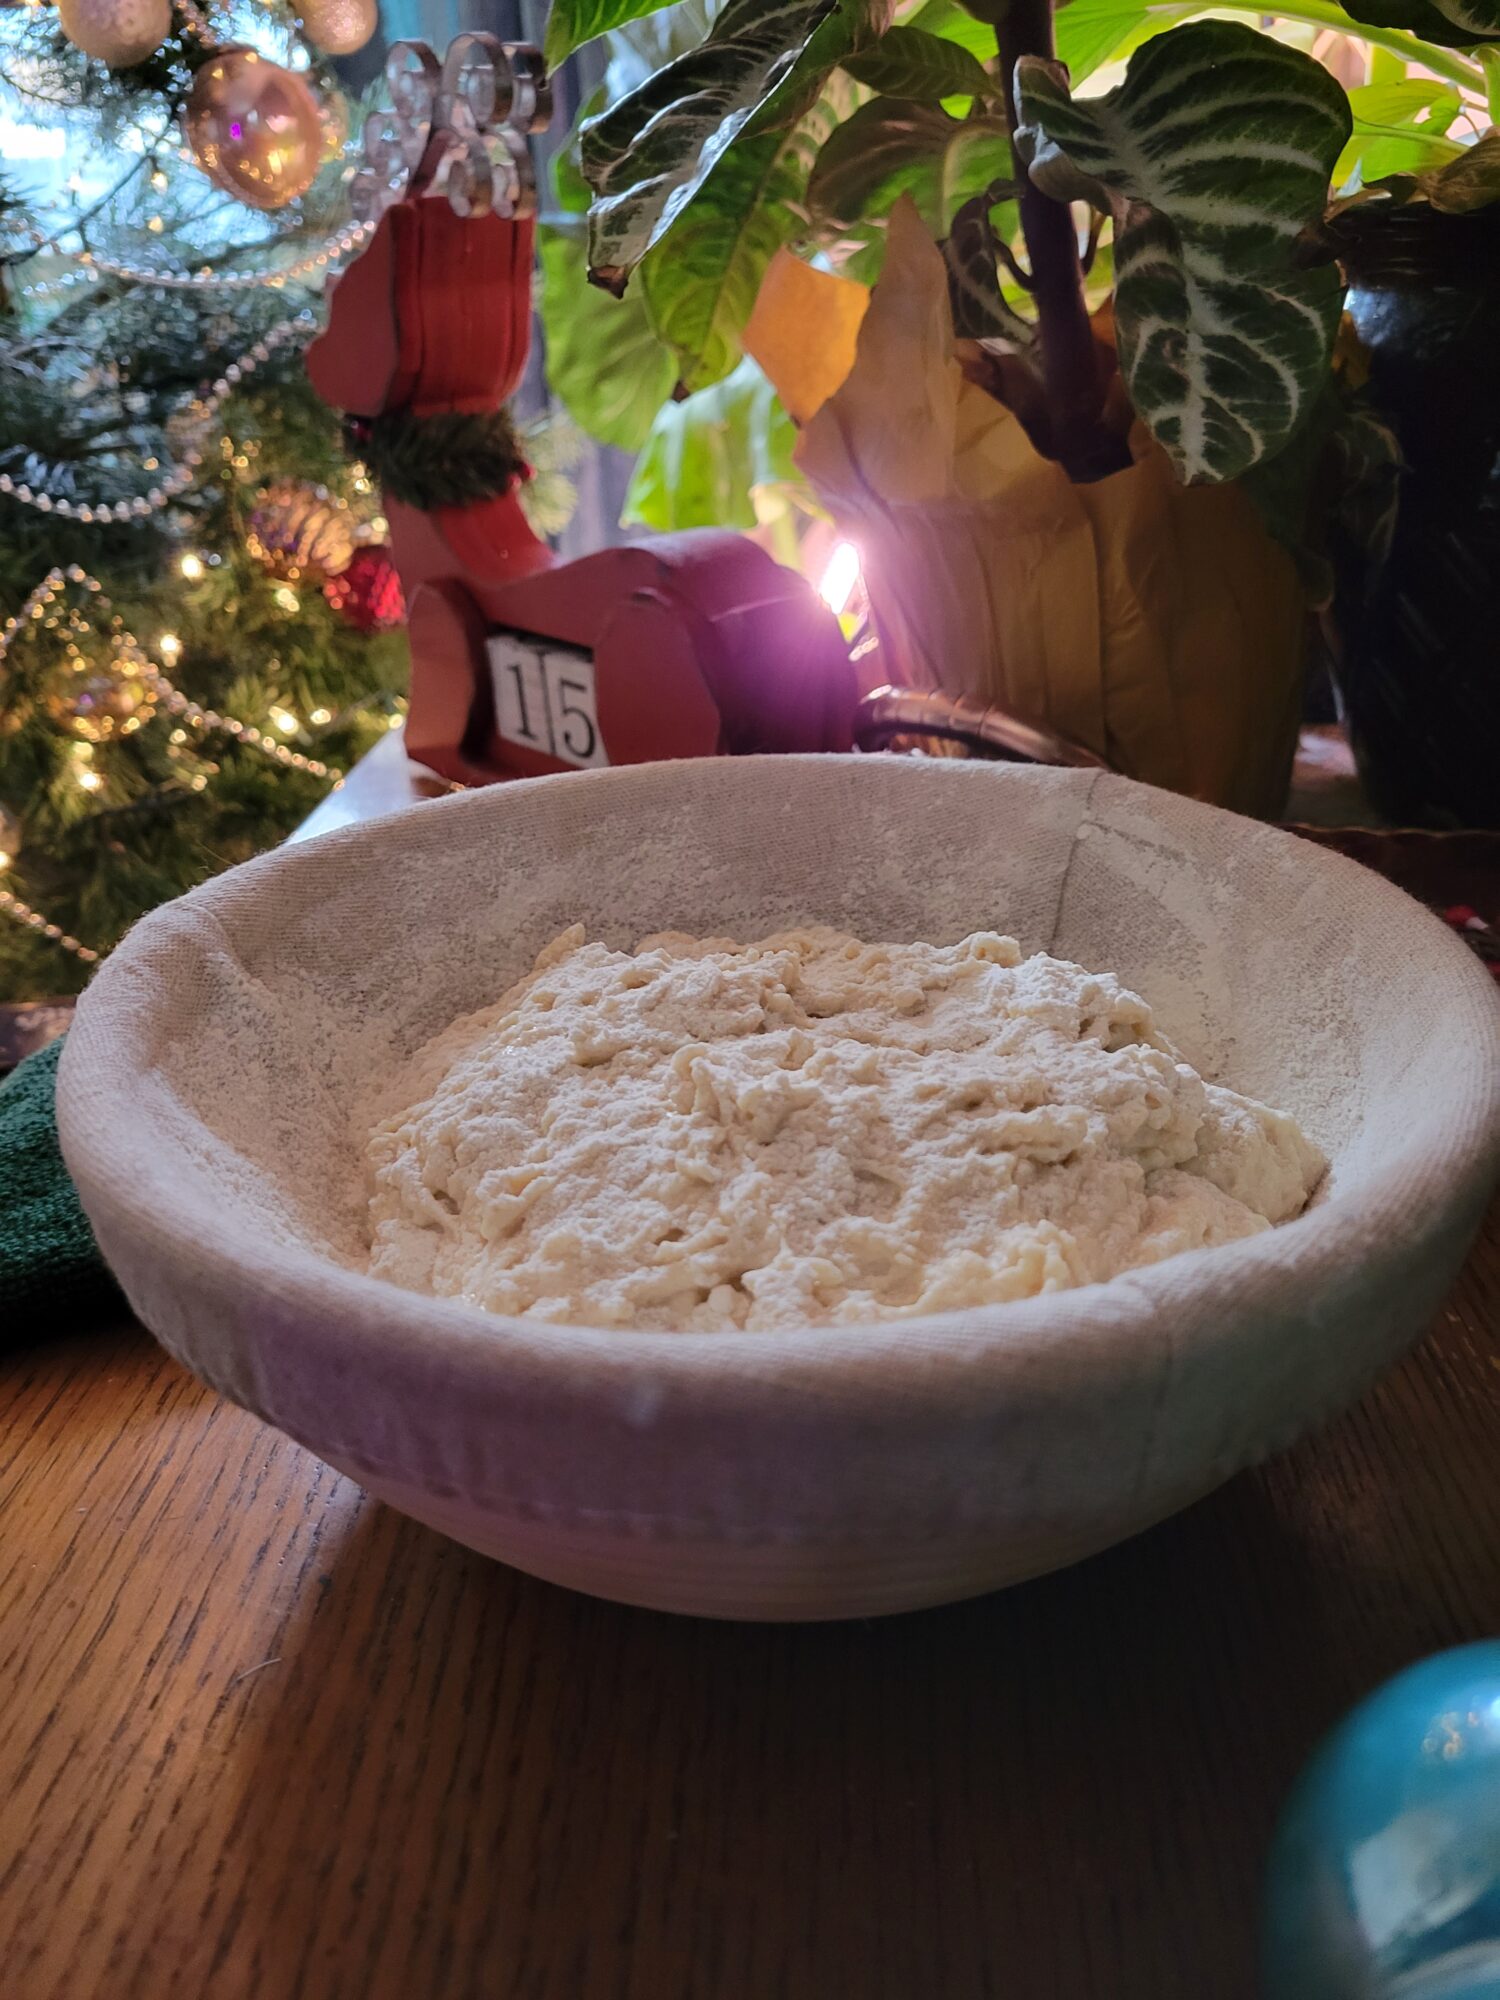
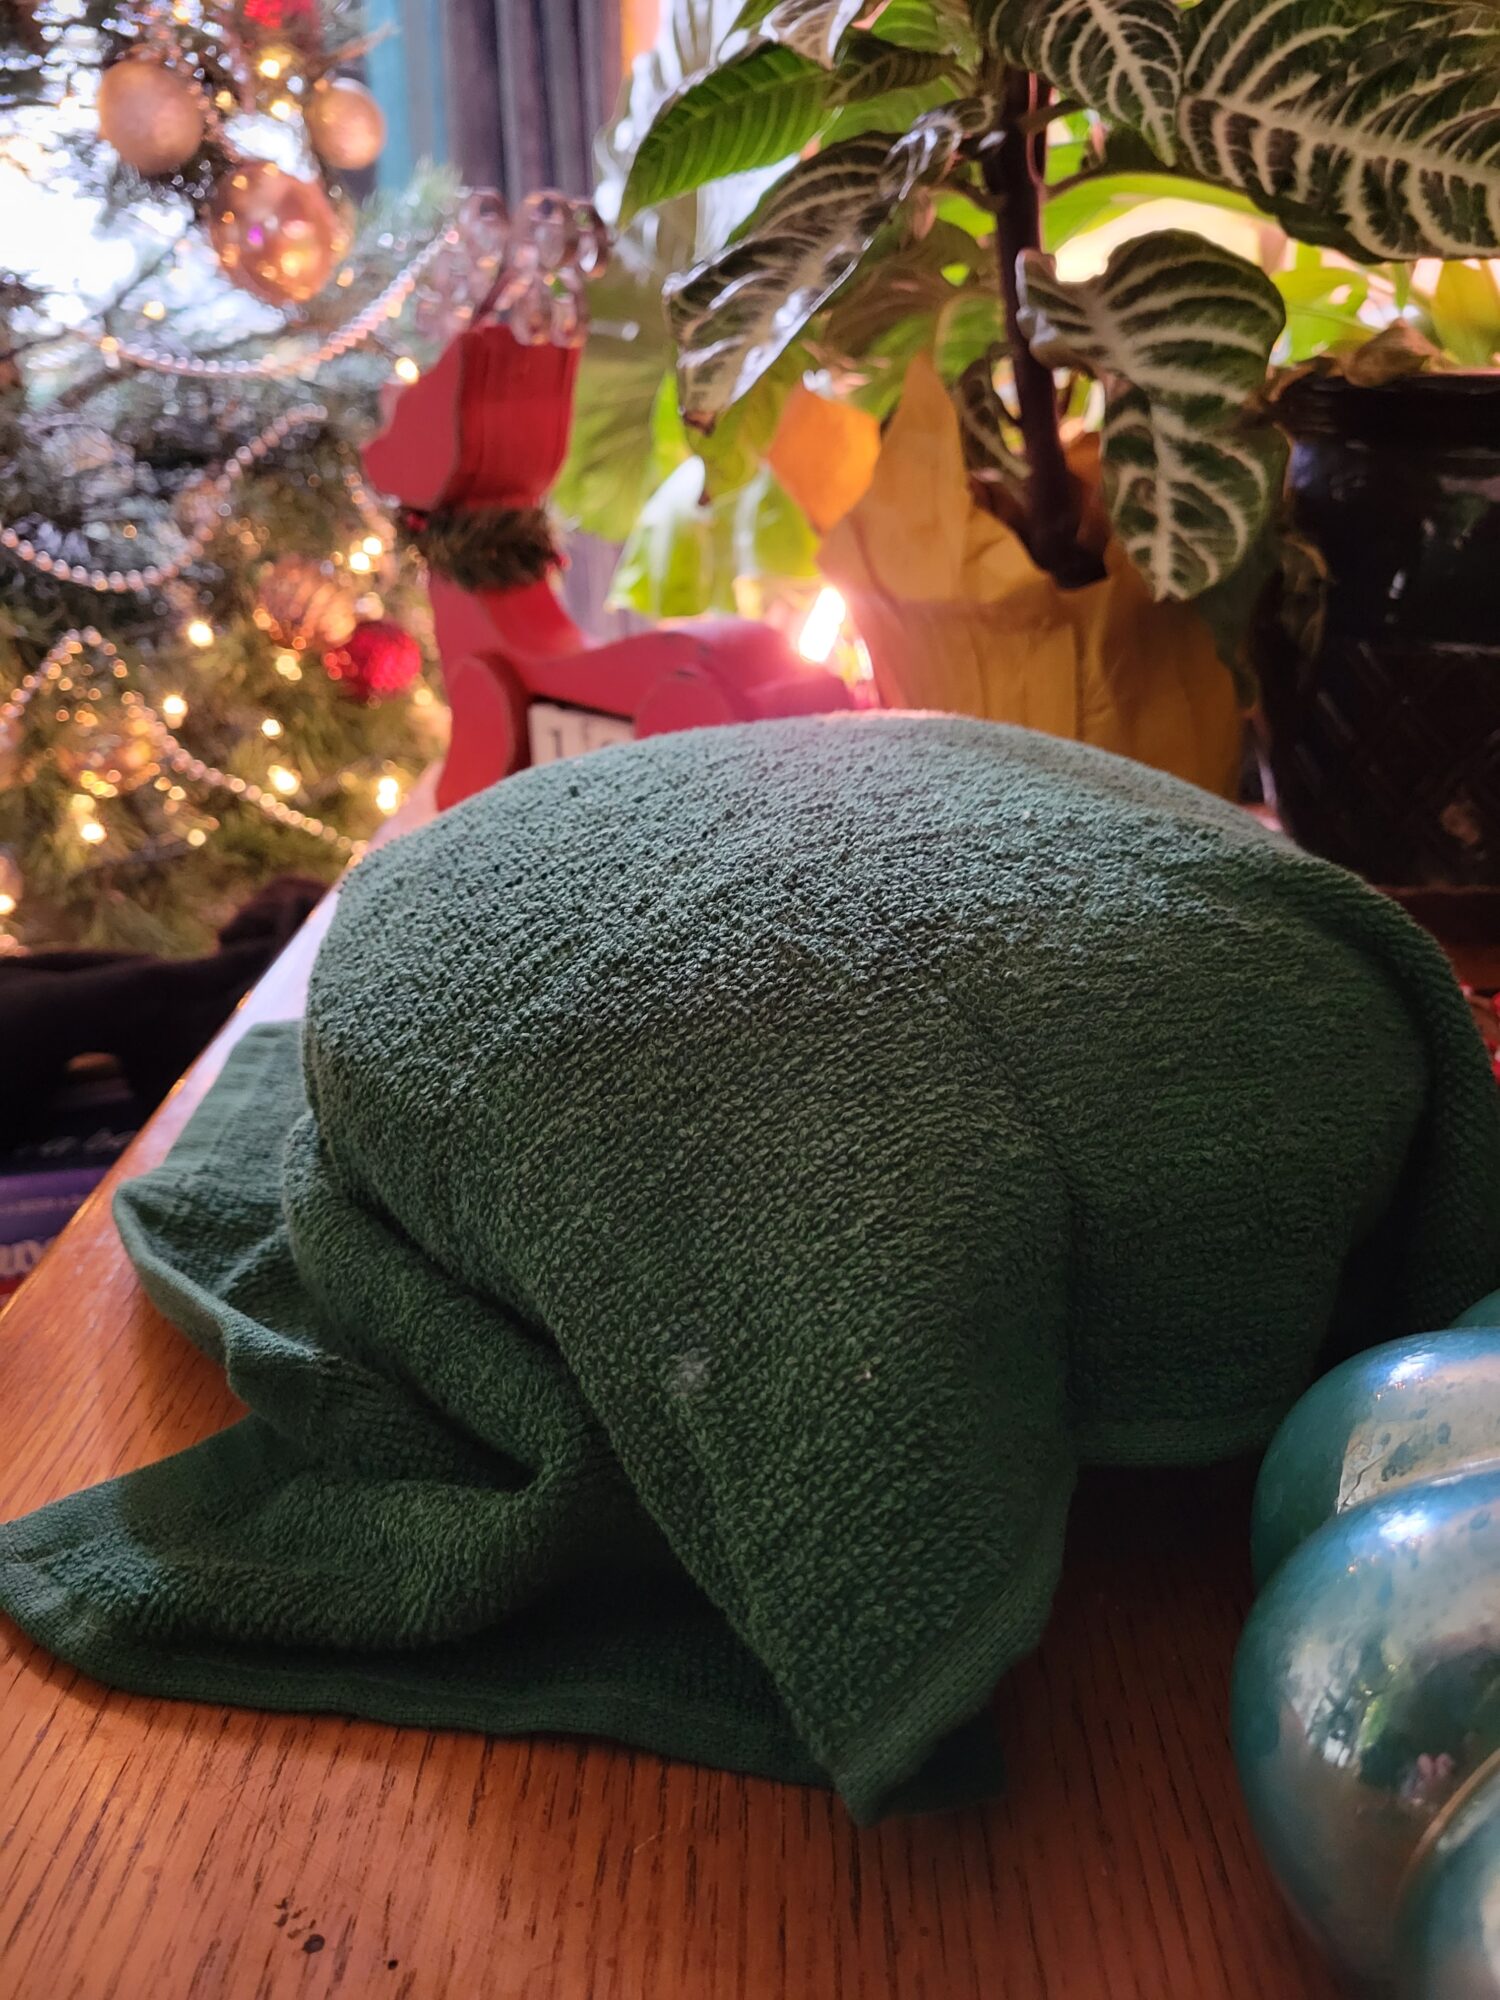
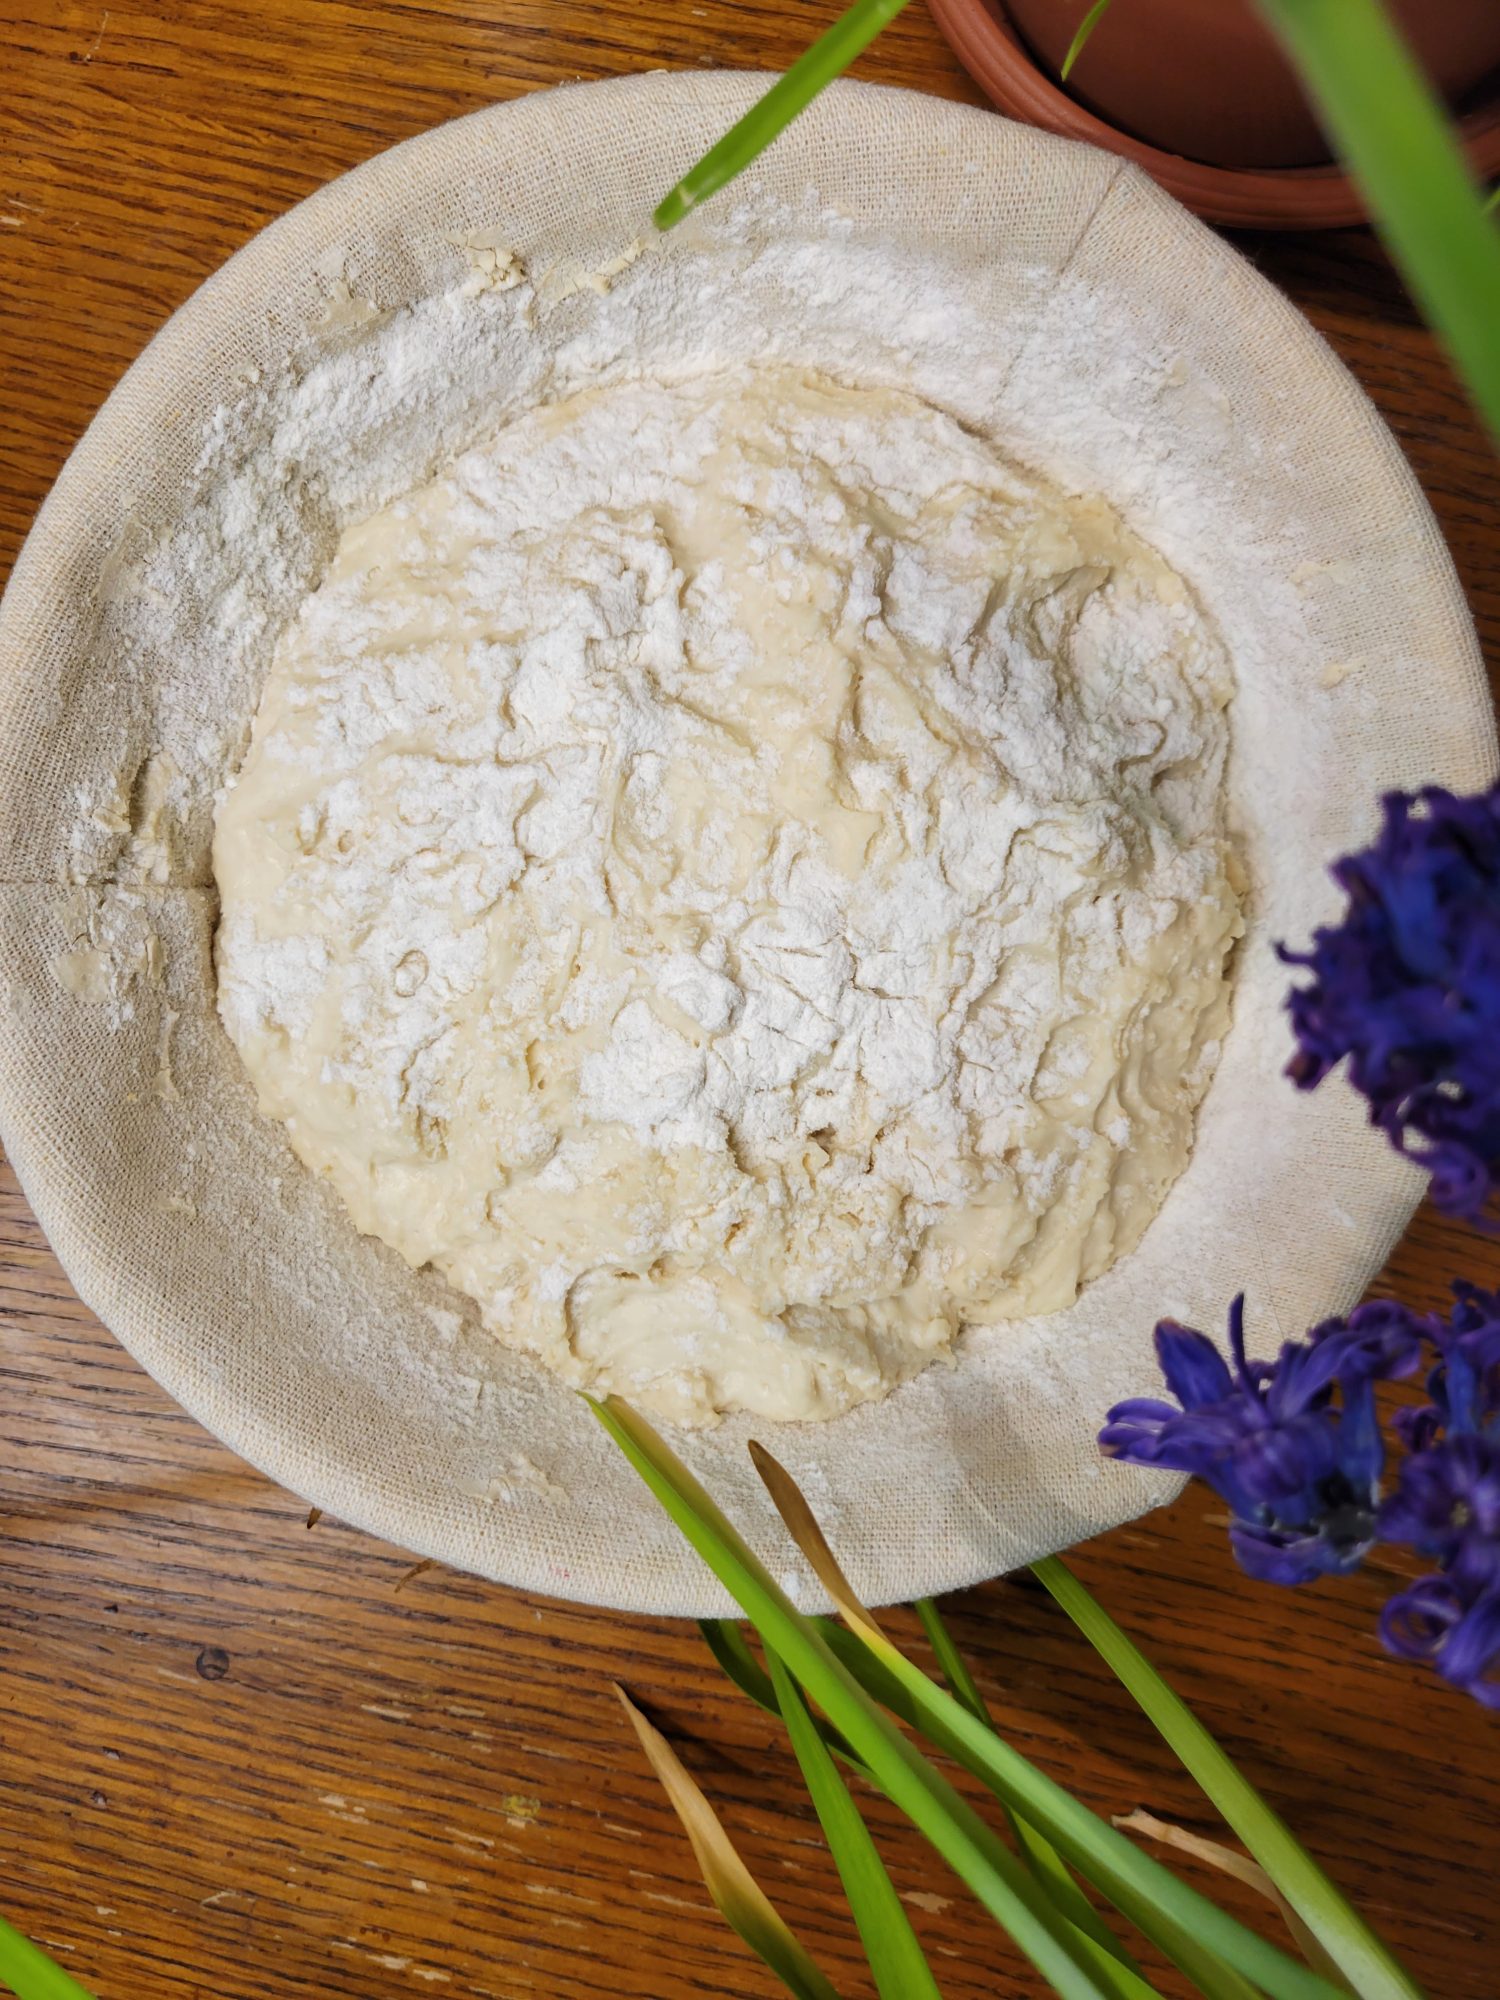
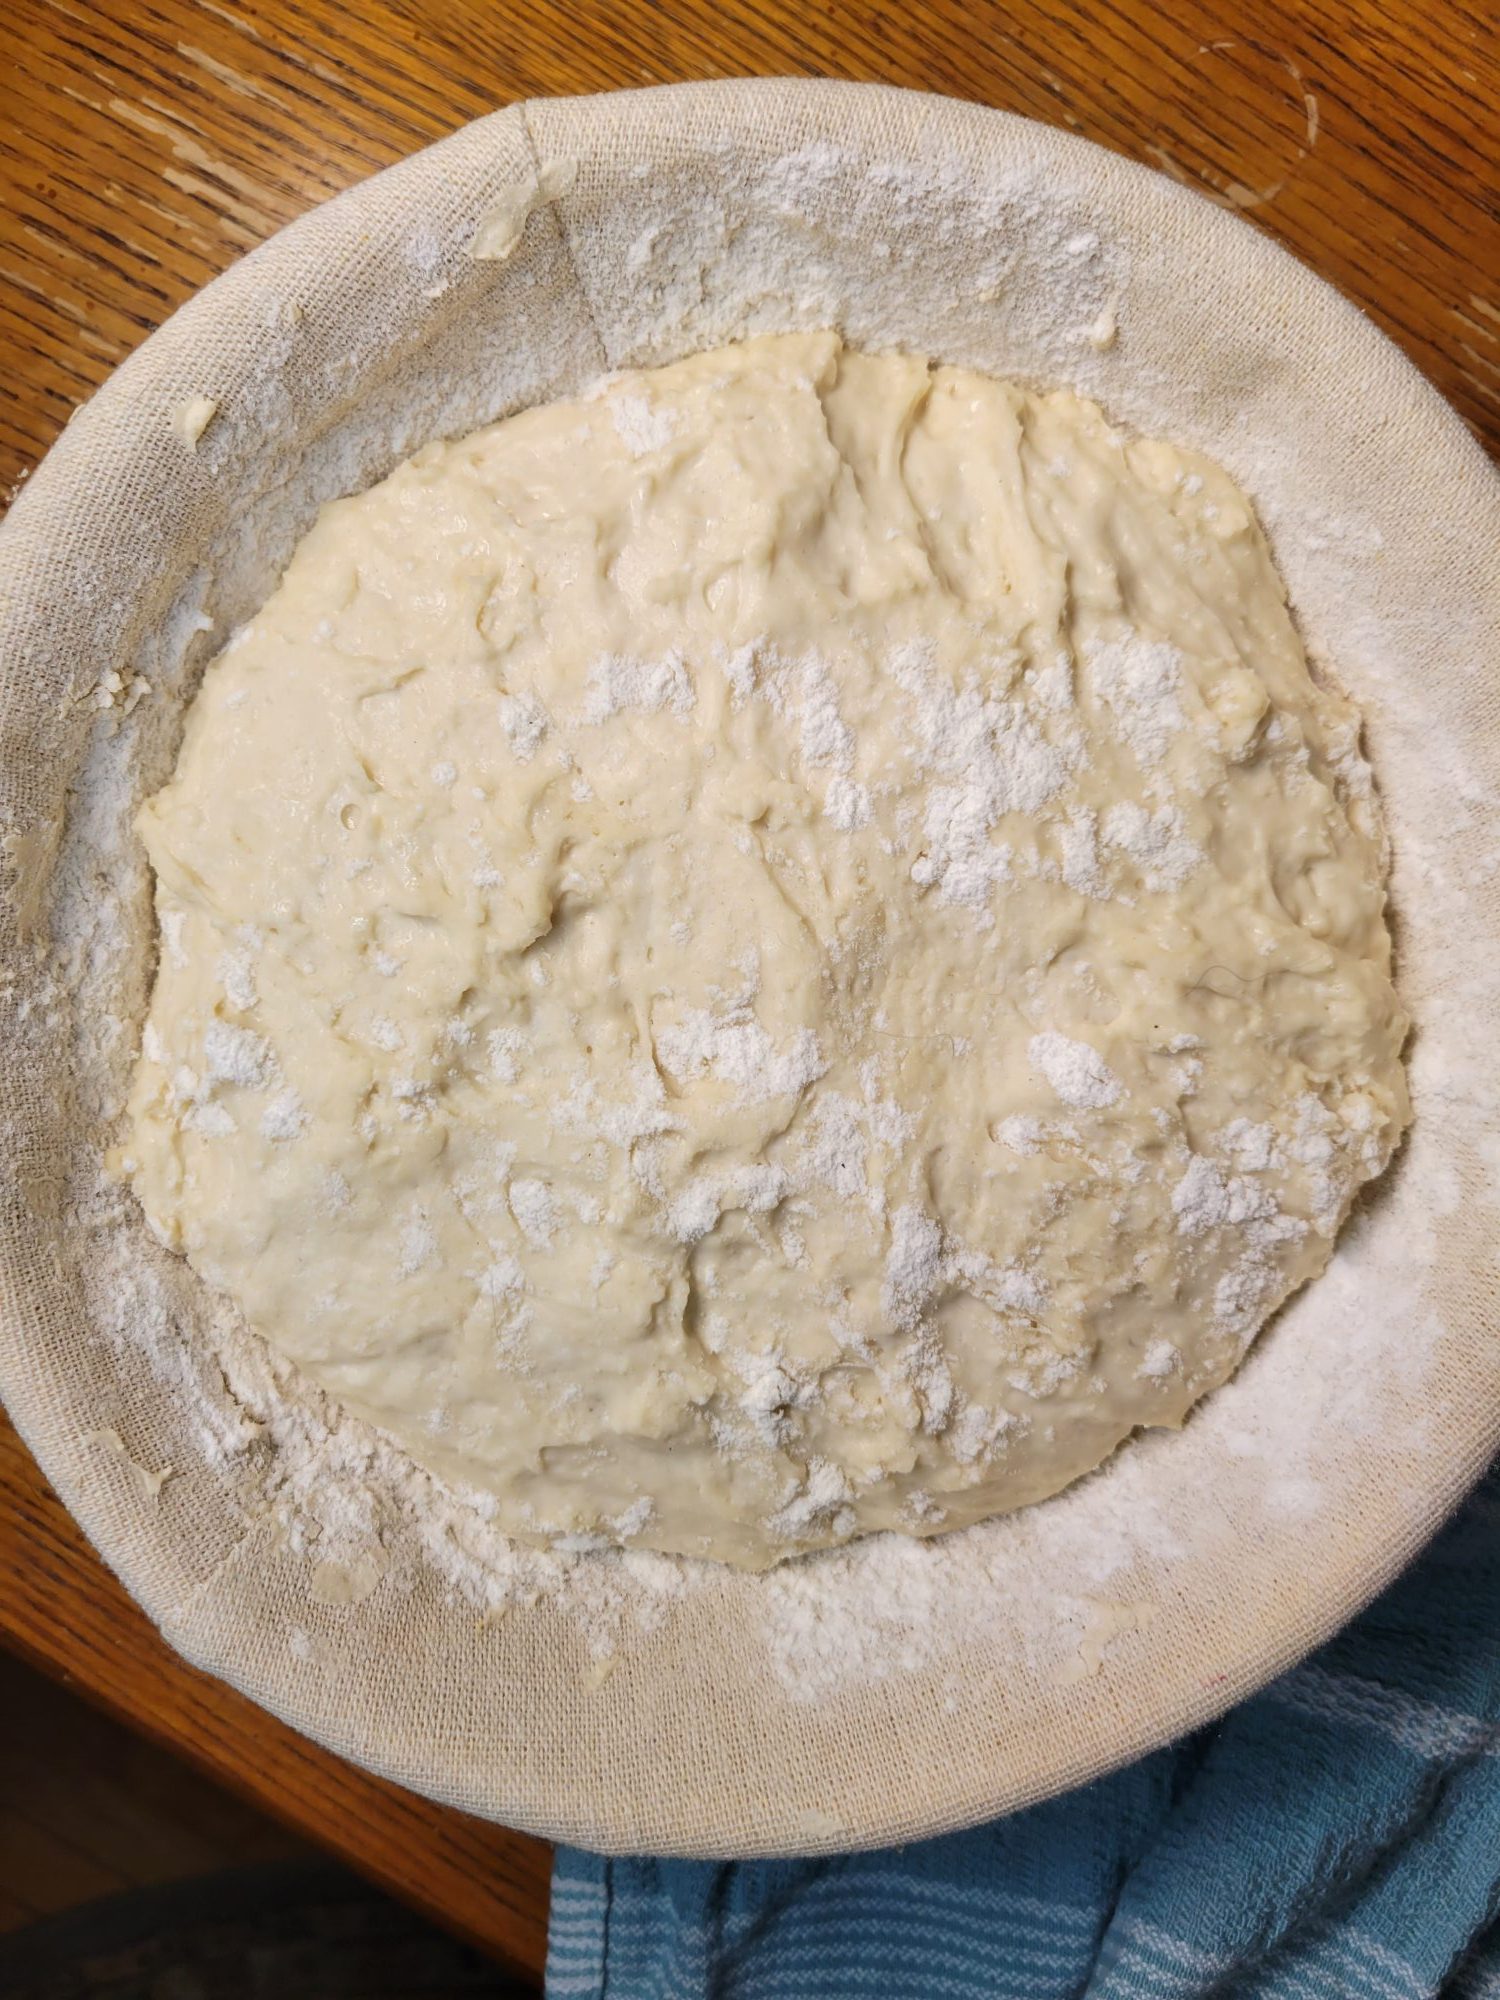
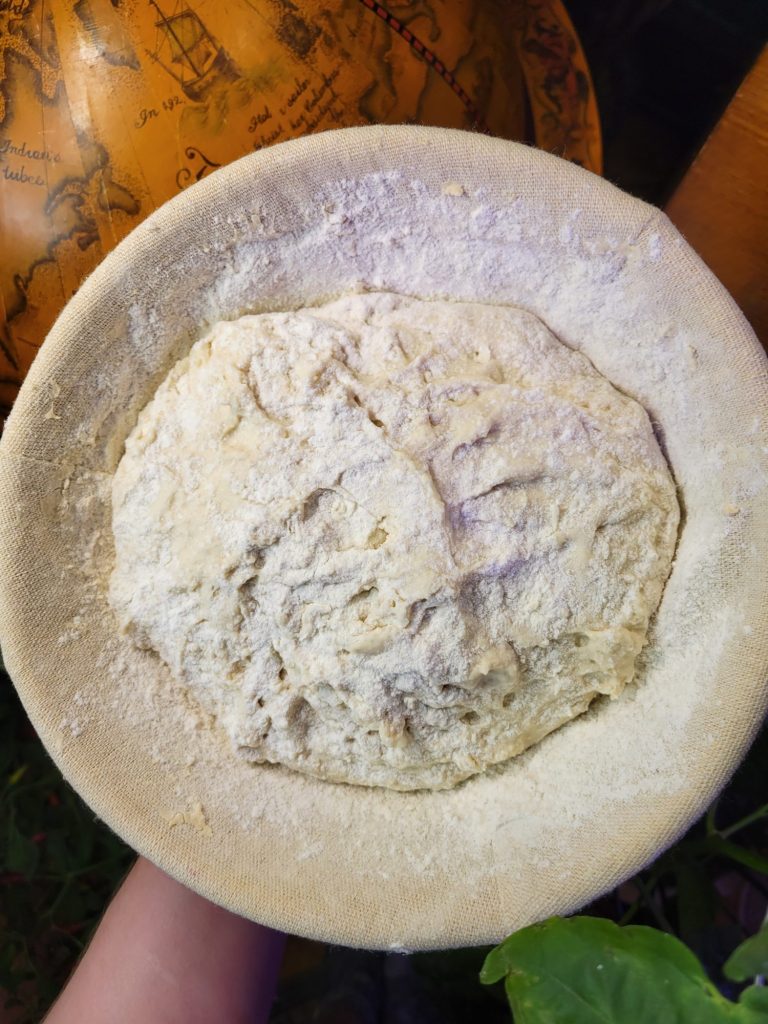
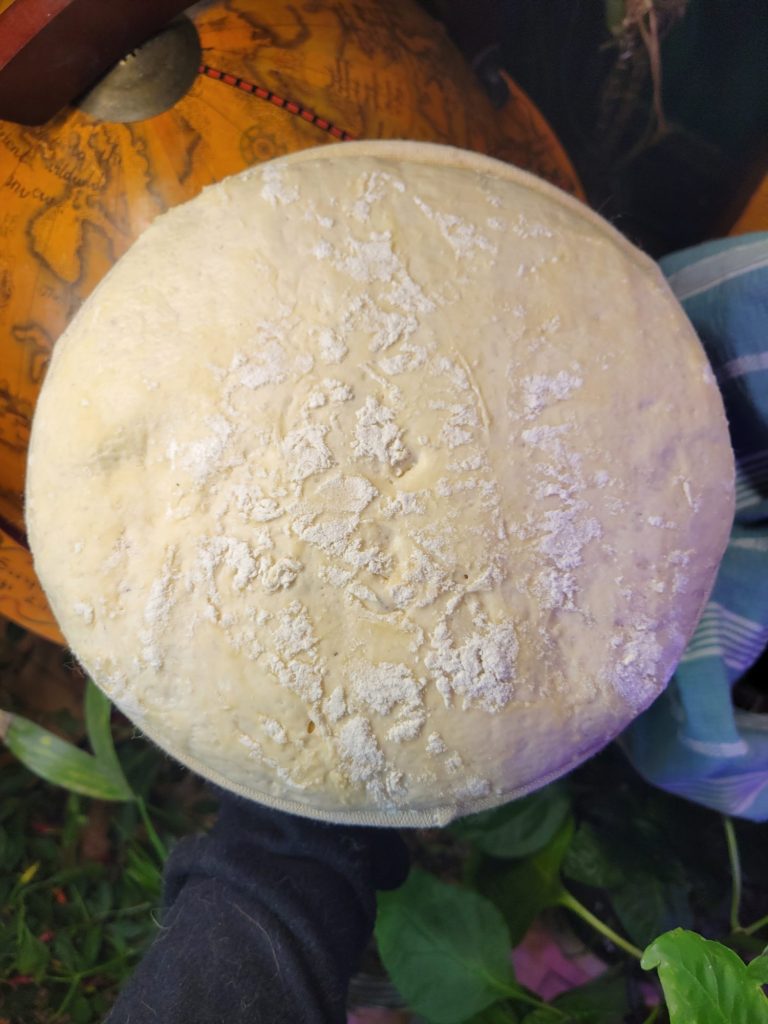
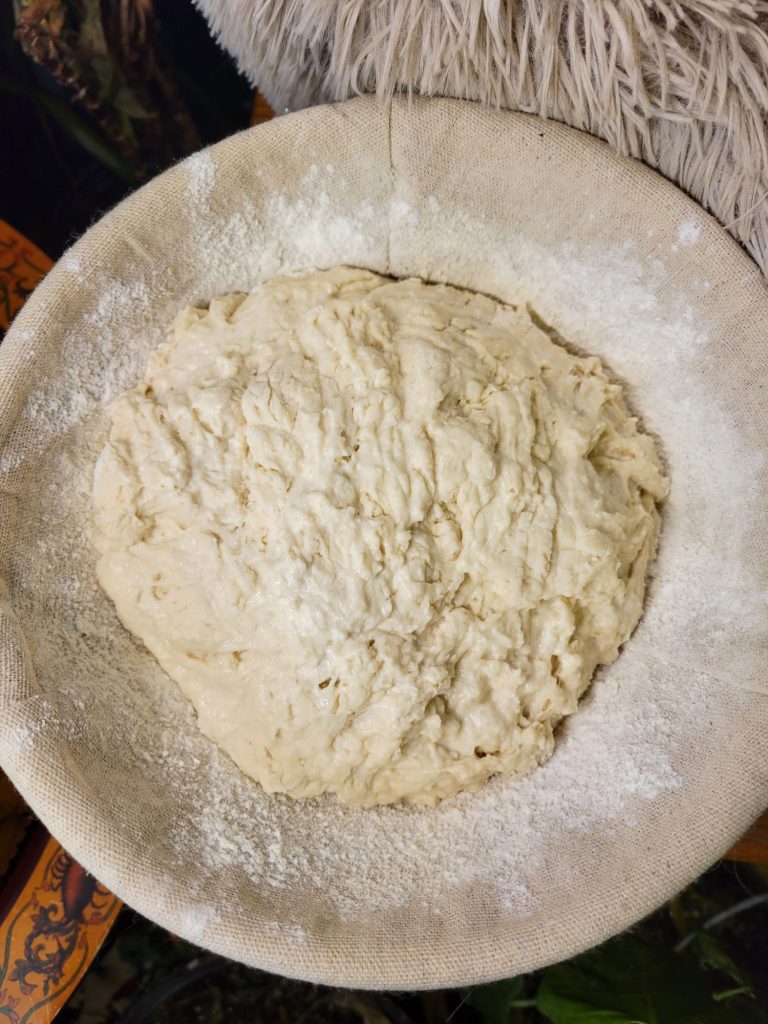
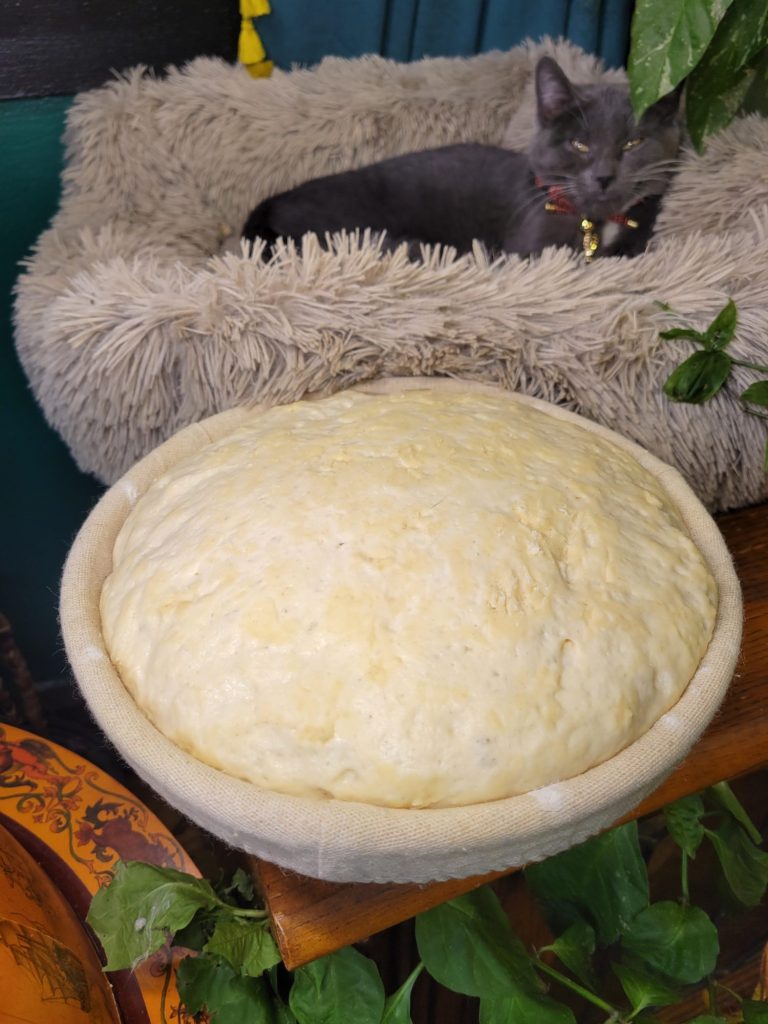
- Lightly flour a bread basket and transfer the dough and cover dough with a dry towel.
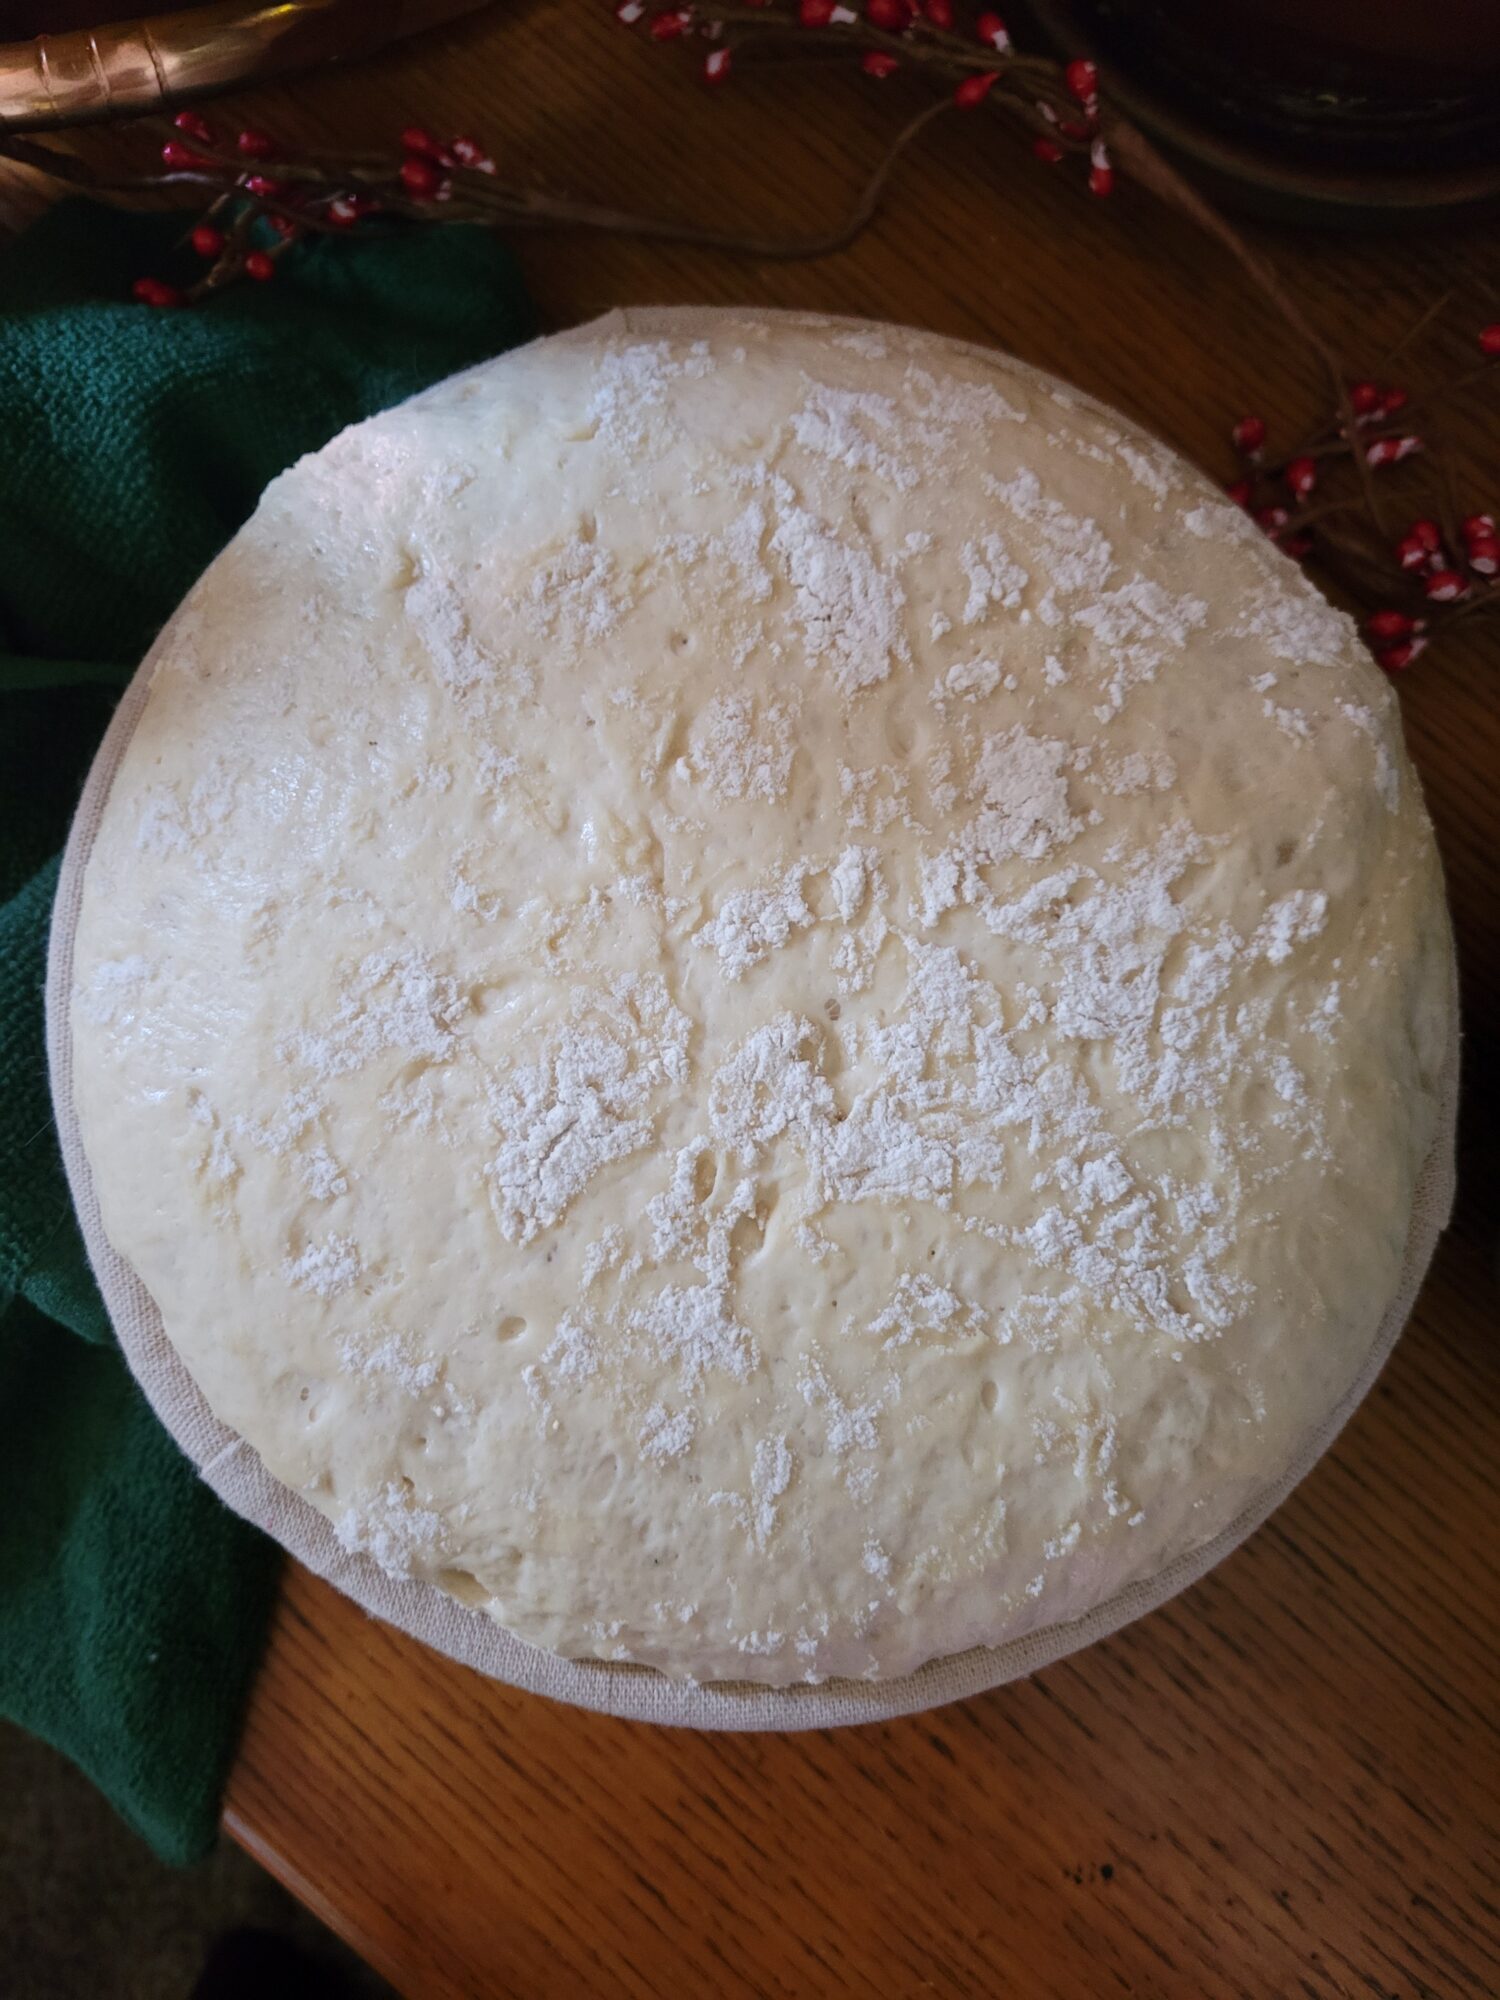
- Let proof for 2 hours, or until doubled in size.
Bake
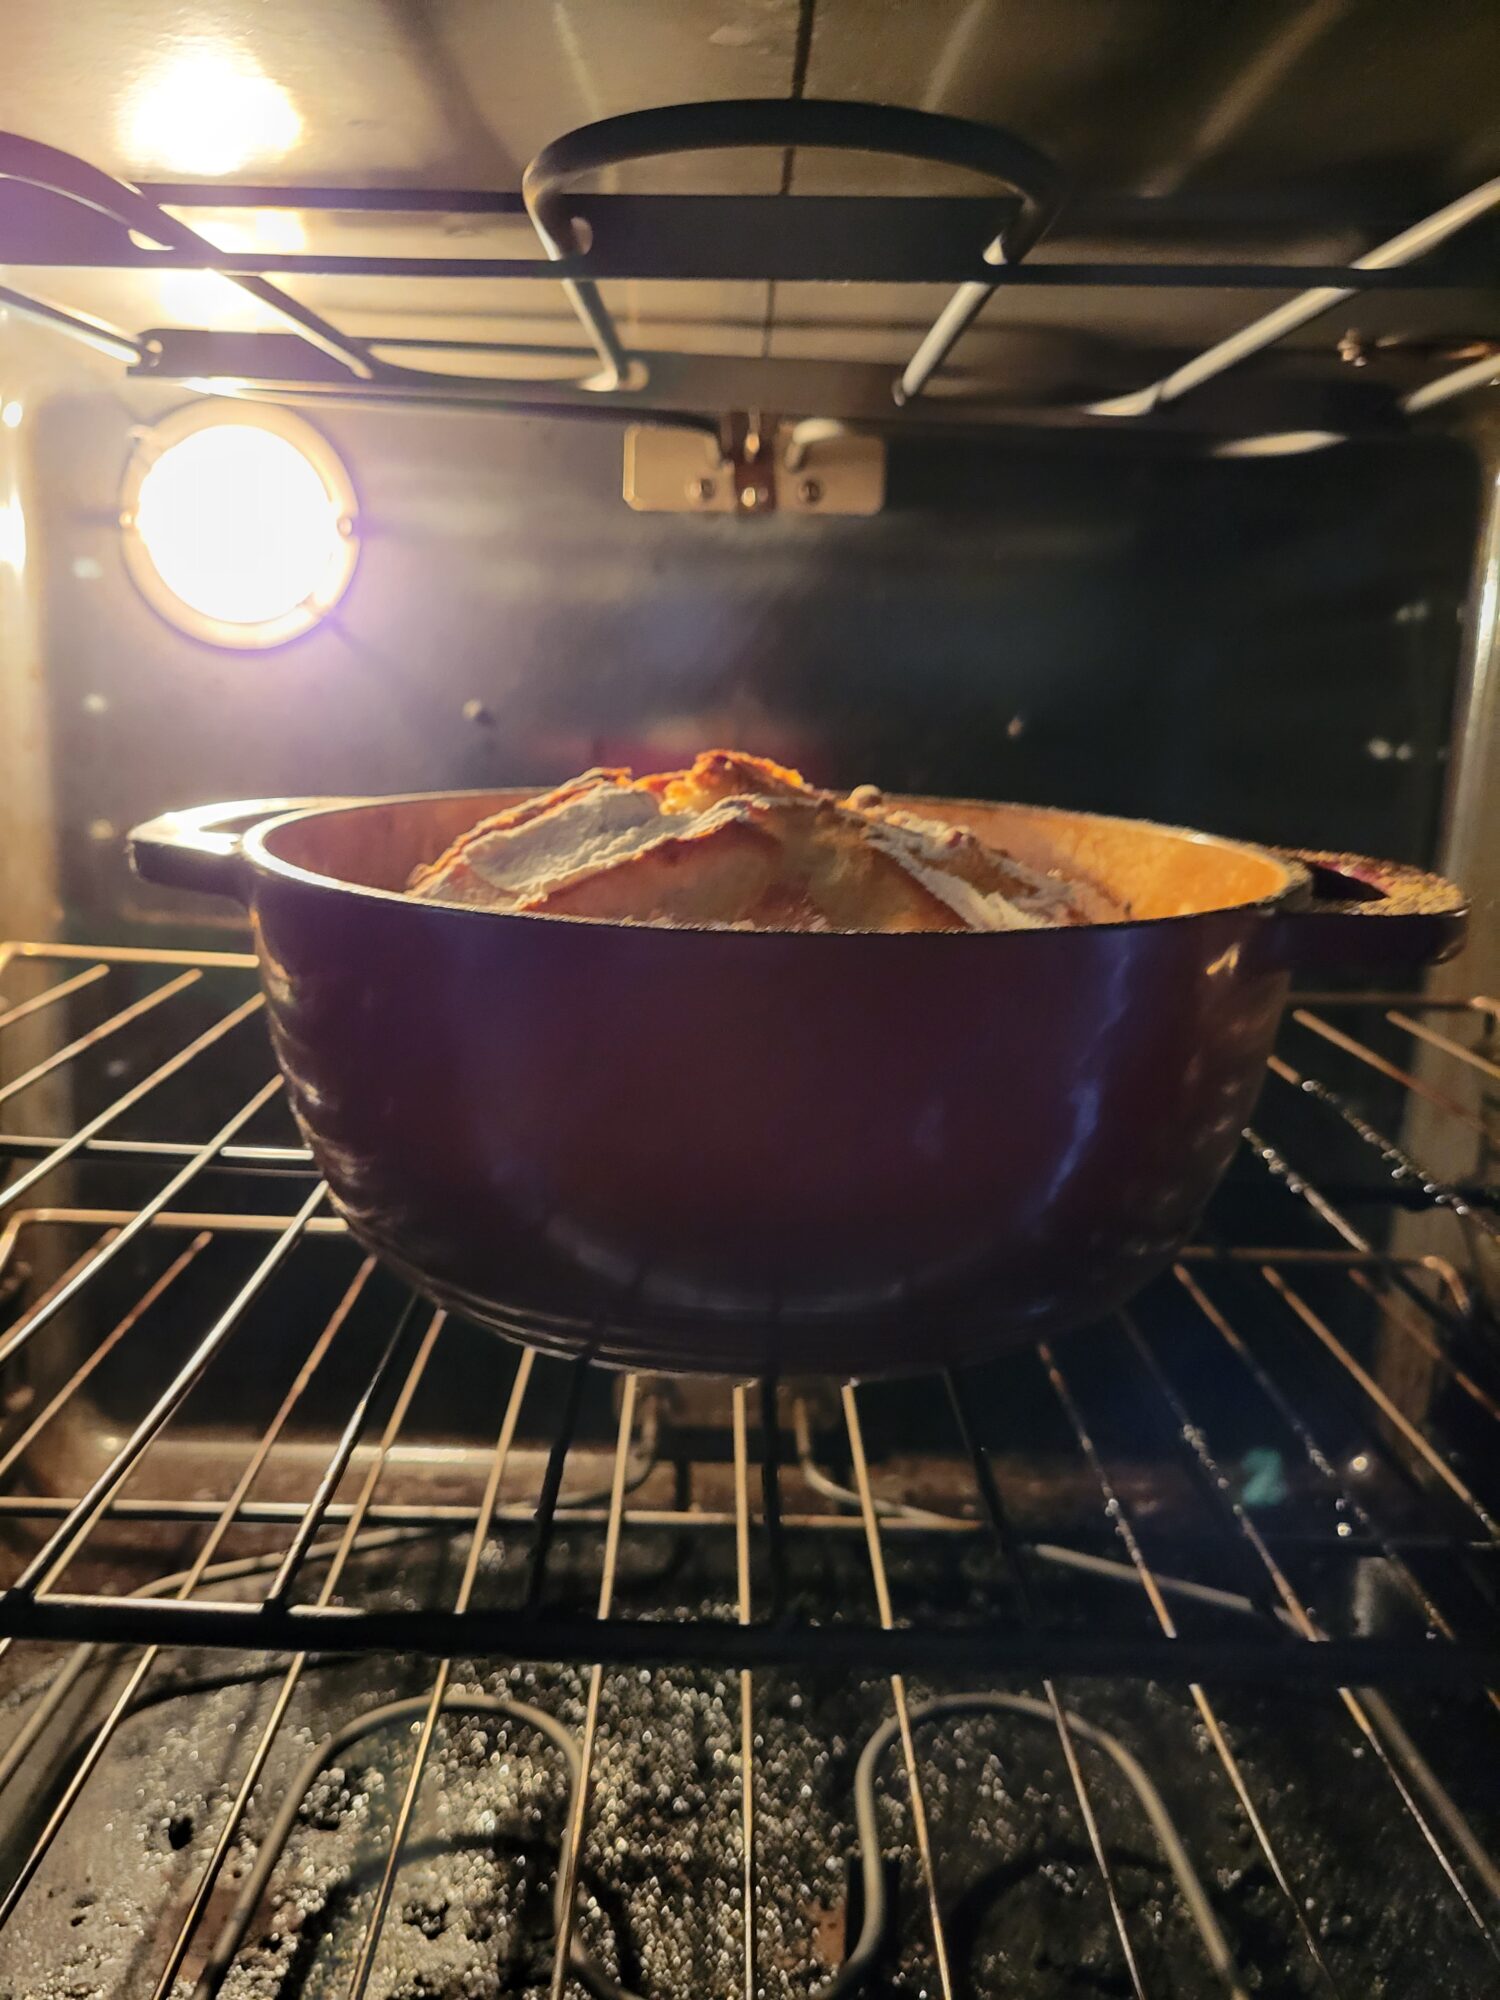
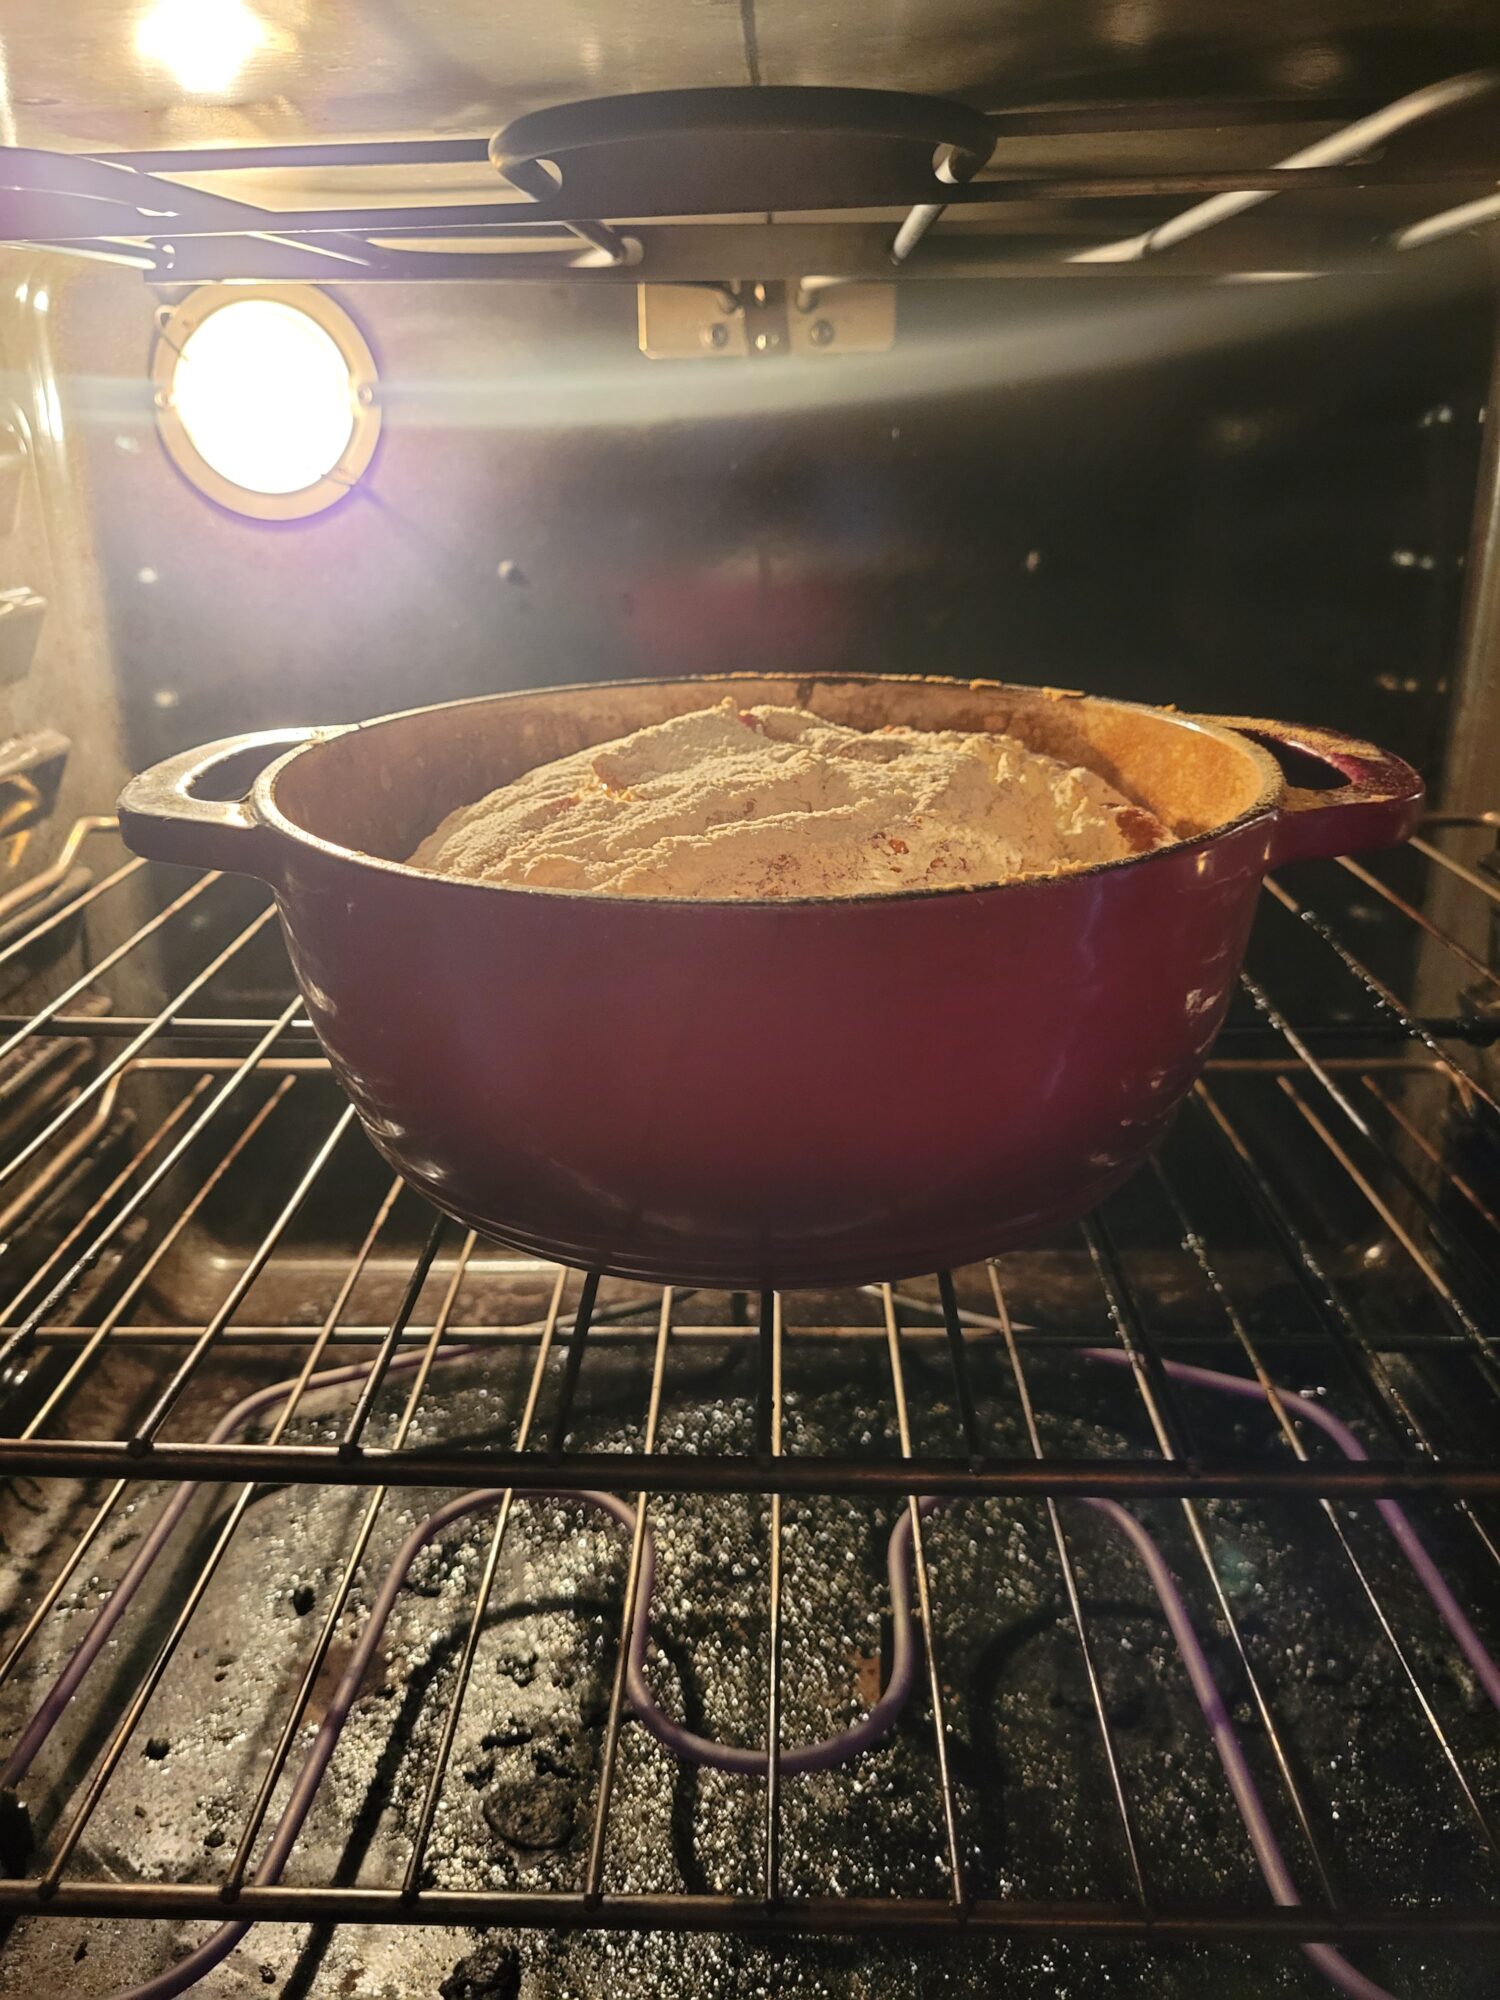
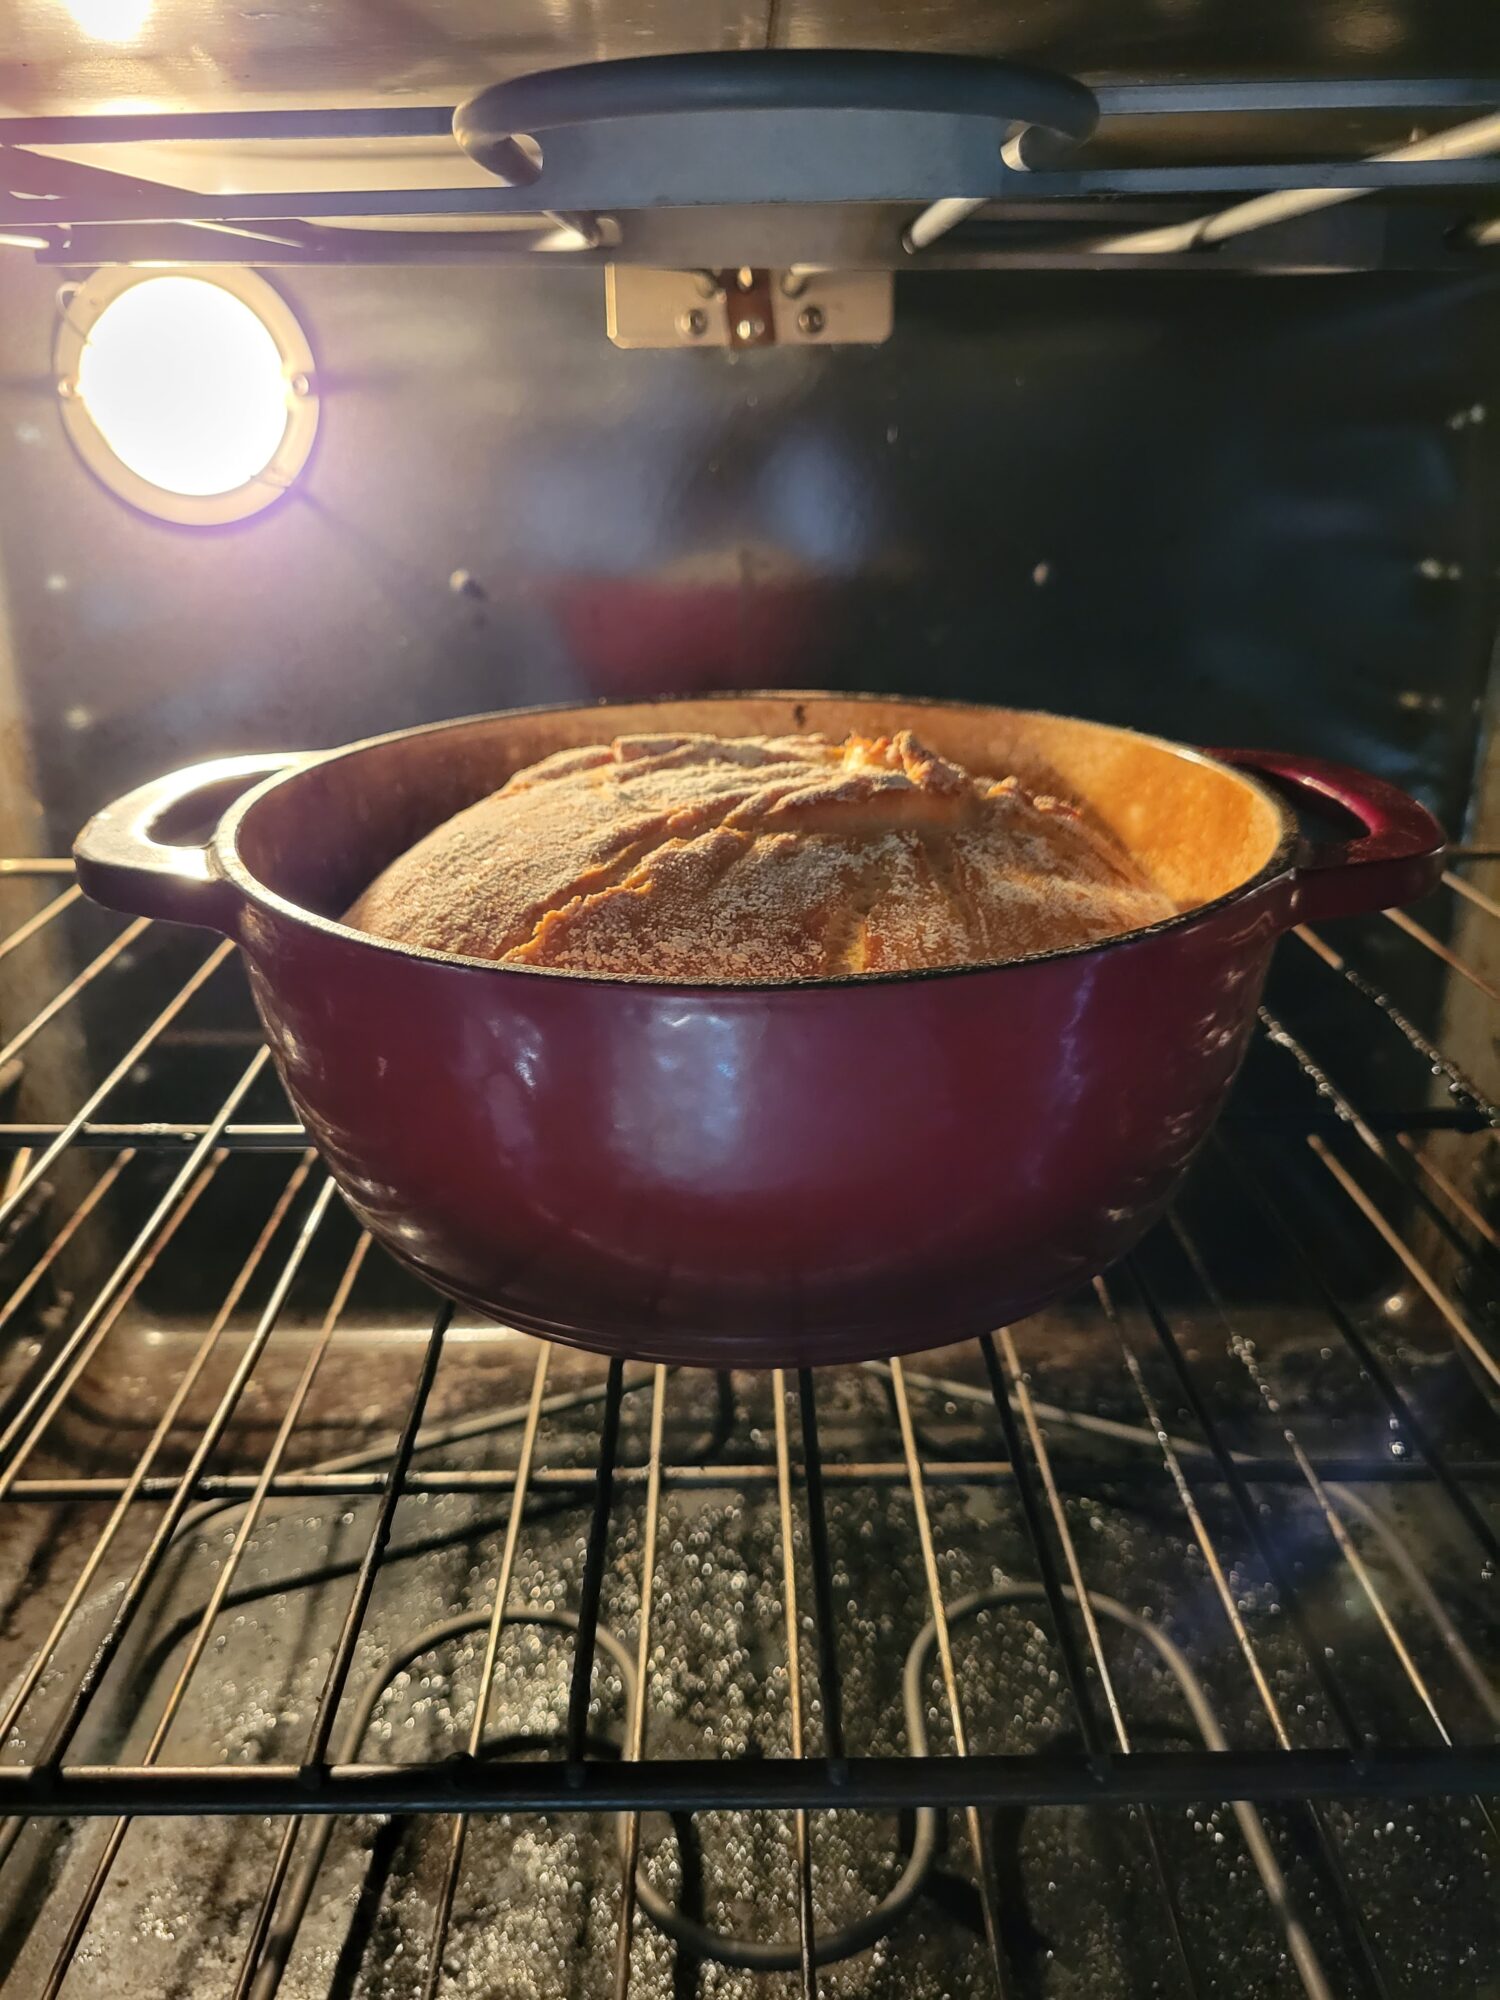
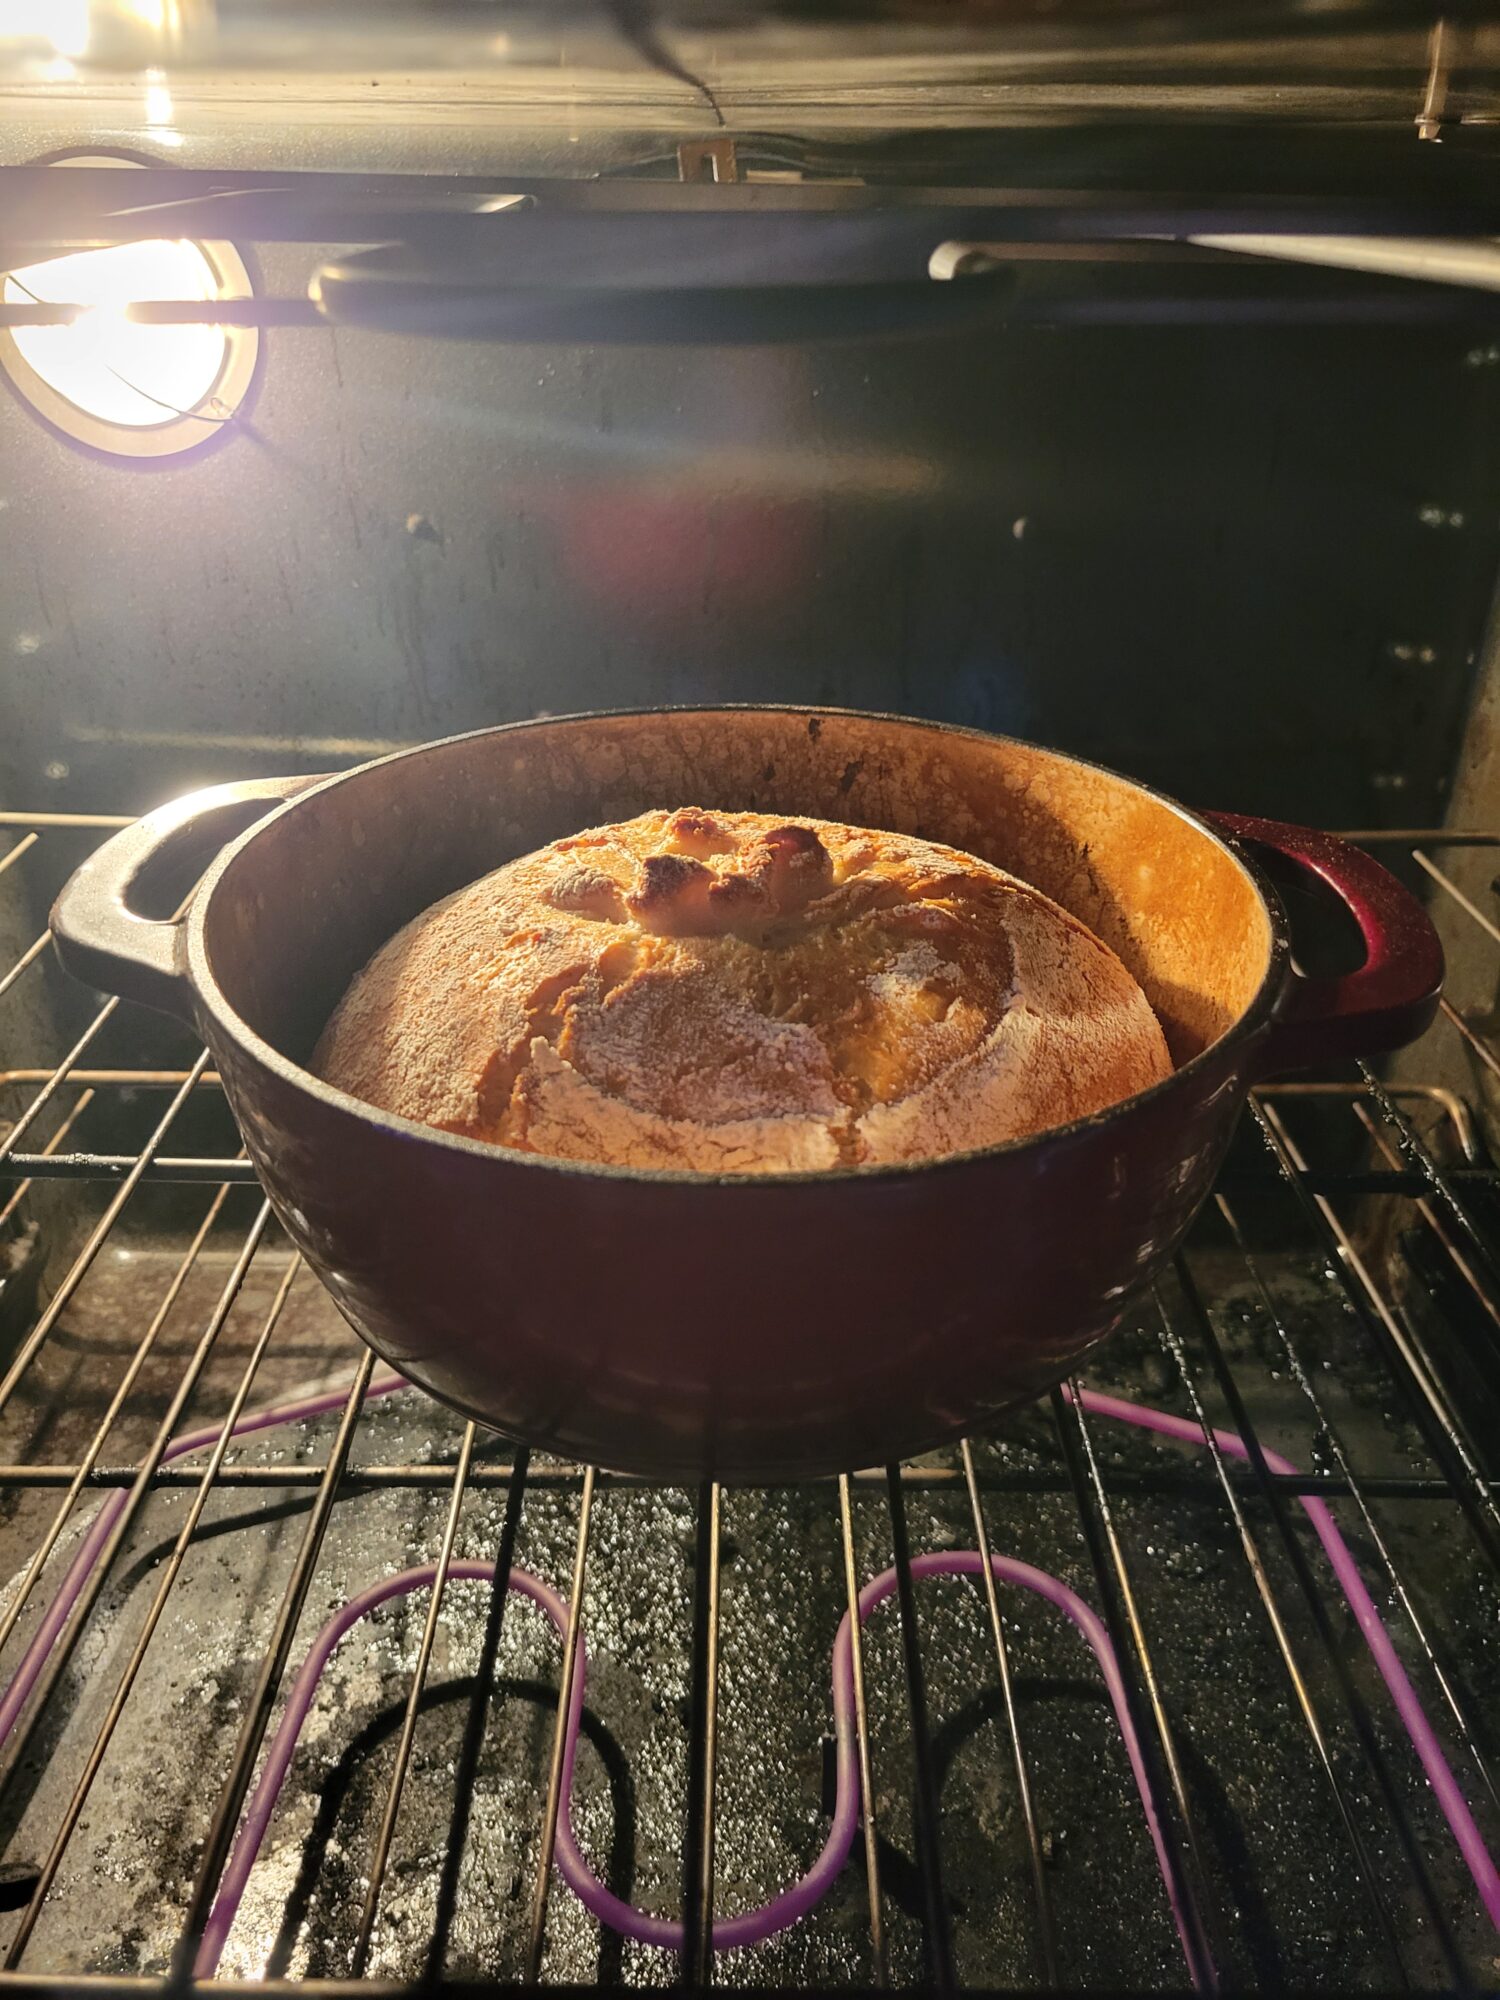
- A half hour before the dough is through its proof, lightly grease the Dutch oven. Place it, with the lid on, in the oven and preheat to 450 degrees Fahrenheit.It's important to preheat the Dutch oven ahead of time in order to get it warm enough to cook the bread.
- After 2 hours of proofing, lightly flour a surface and turn the dough out. Sprinkle with just enough flour to make it workable (a tablespoon or two) and fold the dough onto itself several times, until you've created a ball.If you're separating the dough to maker smaller loaves, do that at this time.
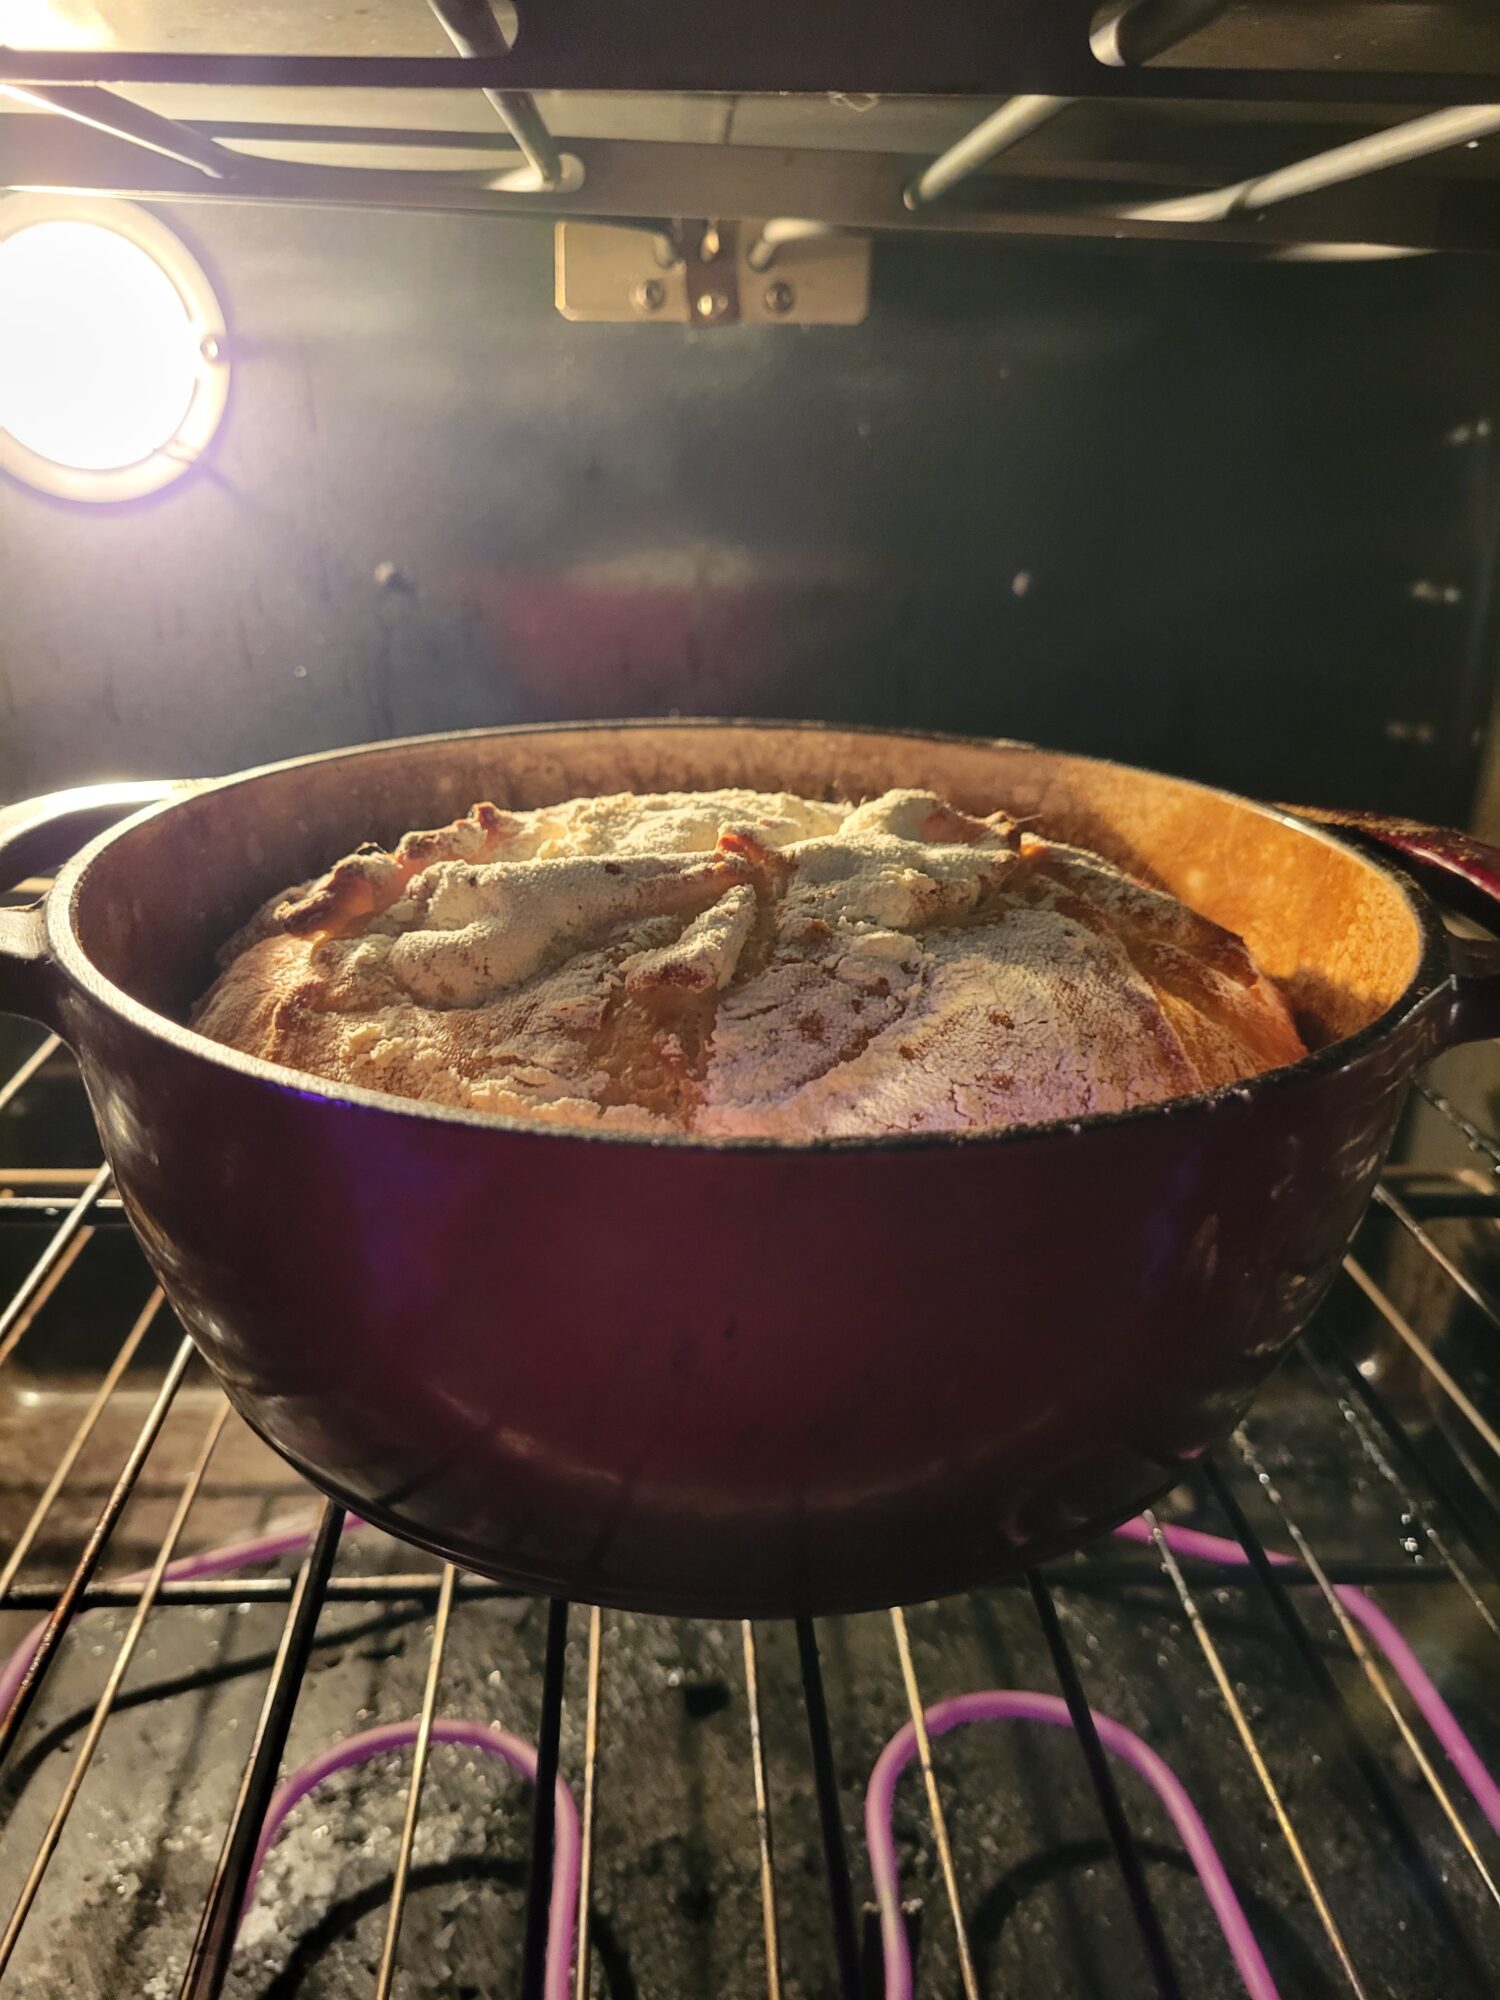
- Carefully, and with oven mitts, remove the Dutch oven. Plop the ball of dough into the center of the Dutch oven.
- Using oven mitts, place the lid back on and put the Dutch oven back into the oven. Bake for 40-45 minutes.Baking time for different sized loaves remains the same. This sounds counter-intuitive, but don't open up the Dutch oven to double check! The bread bakes in a similar amount of time regardless of loaf size because of the Dutch oven within an oven baking method. Smaller loaves may need less, or no, additional cook time after the lid is removed. But the initial bake time remains the same.
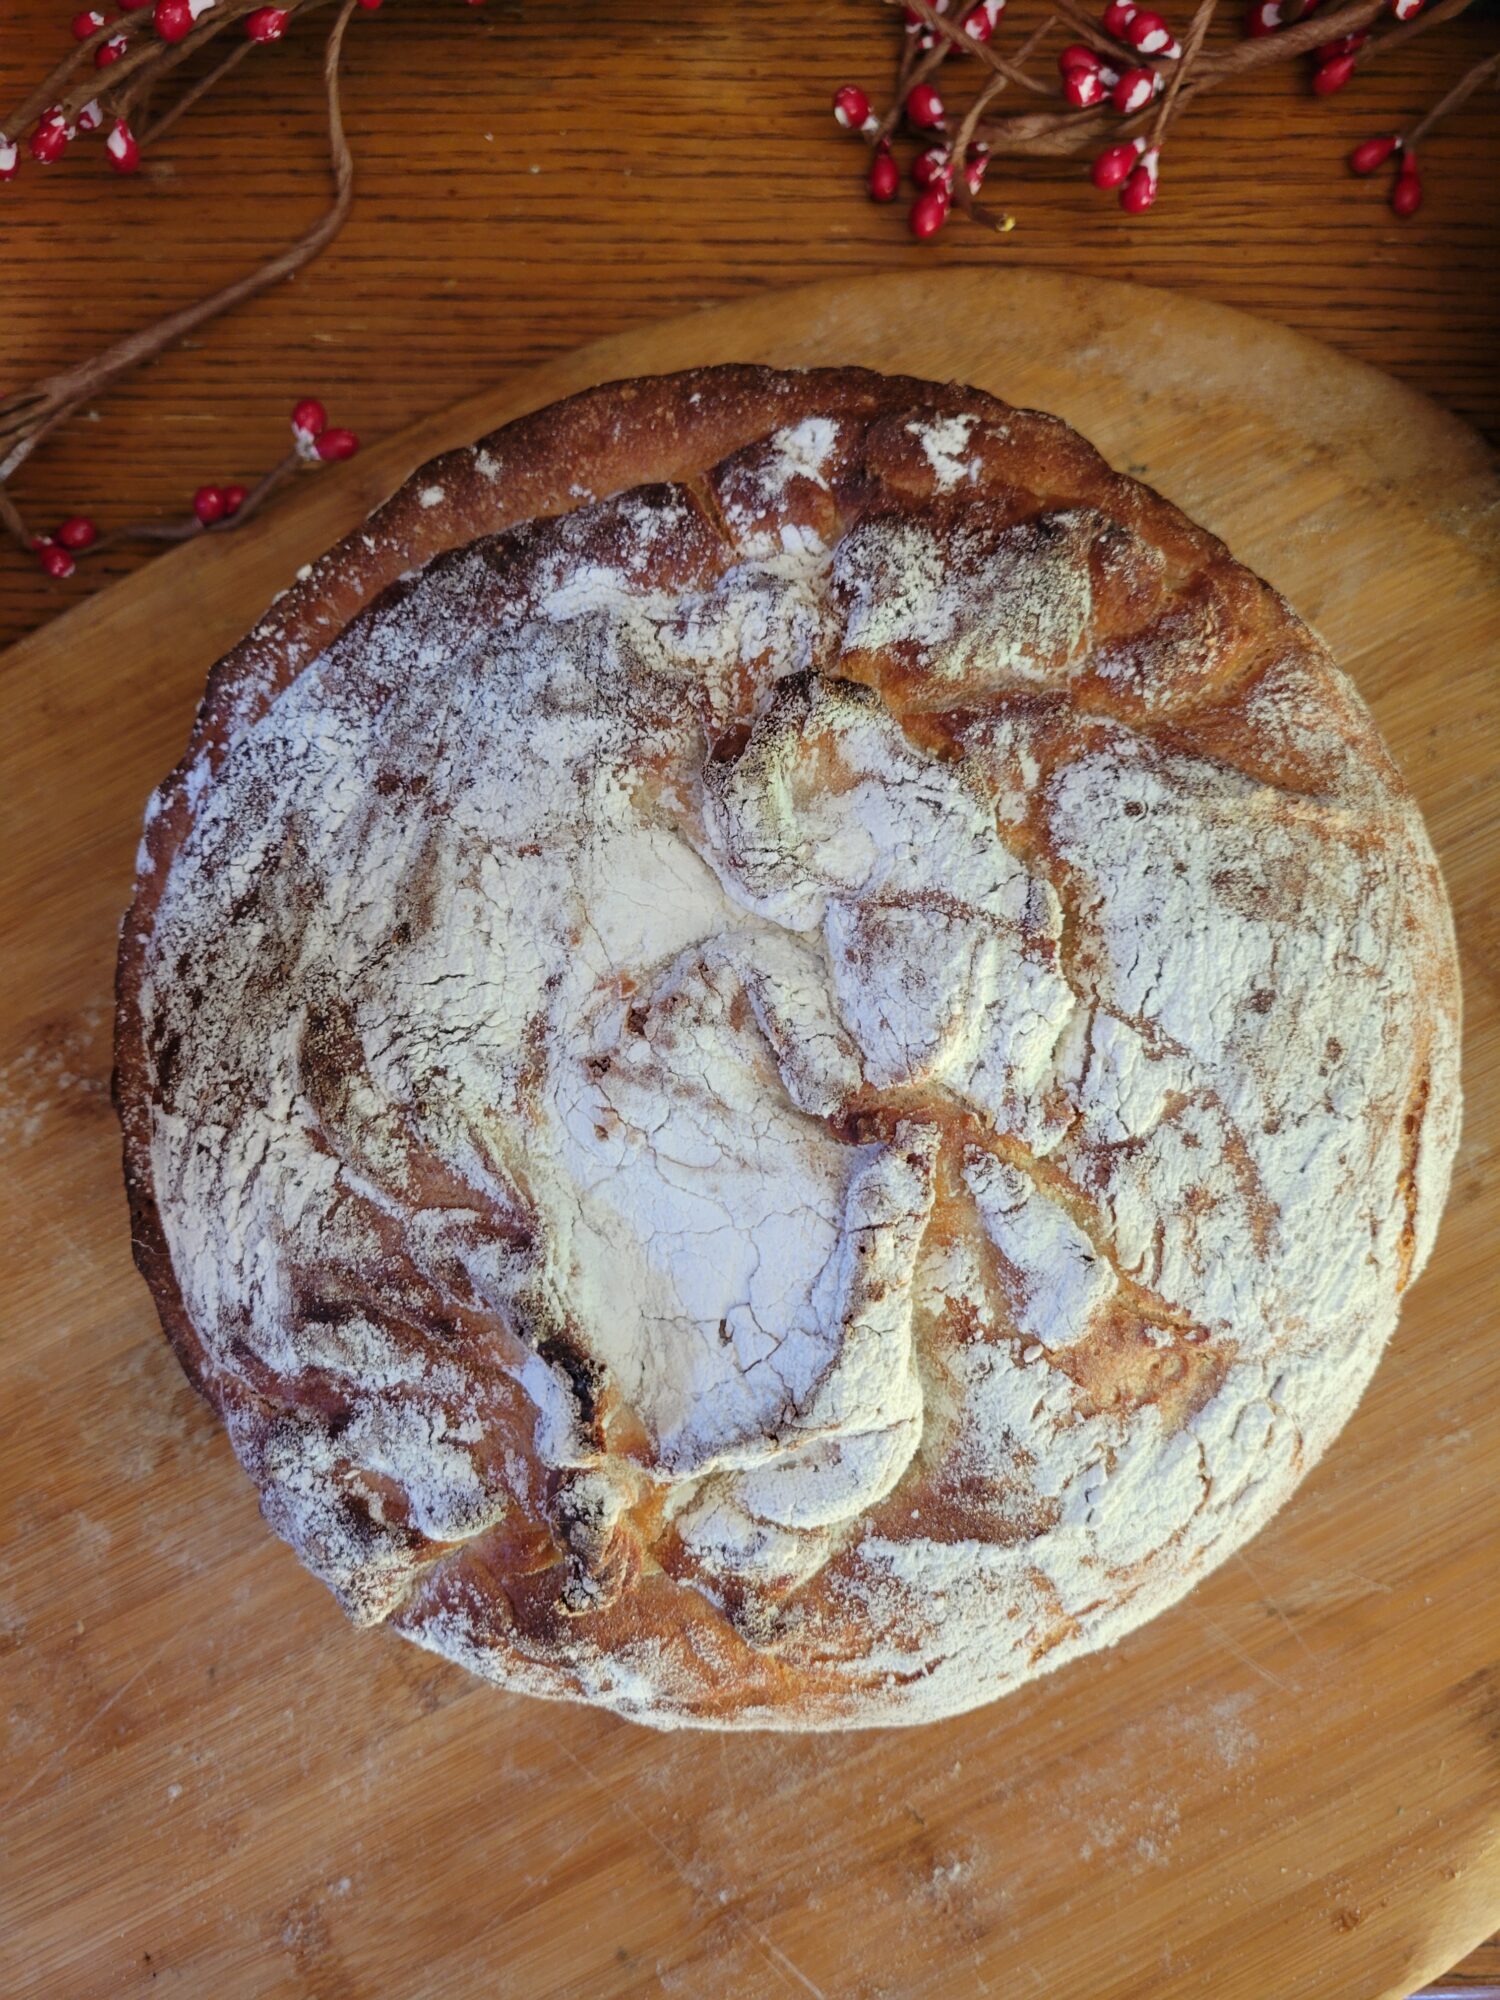
- After 45 minutes in the oven, remove the lid from the Dutch oven and bake for another 15-20 minutes, or until the crust is crisp and golden brown.You should be able to tap on the dough and it sounds hollow.
- After about an hour in the oven, carefully remove the Dutch oven and turn out the bread. Let rest until cool before slicing. This tends to take about 30-45 minutes.
Tips, Tricks, & Notes
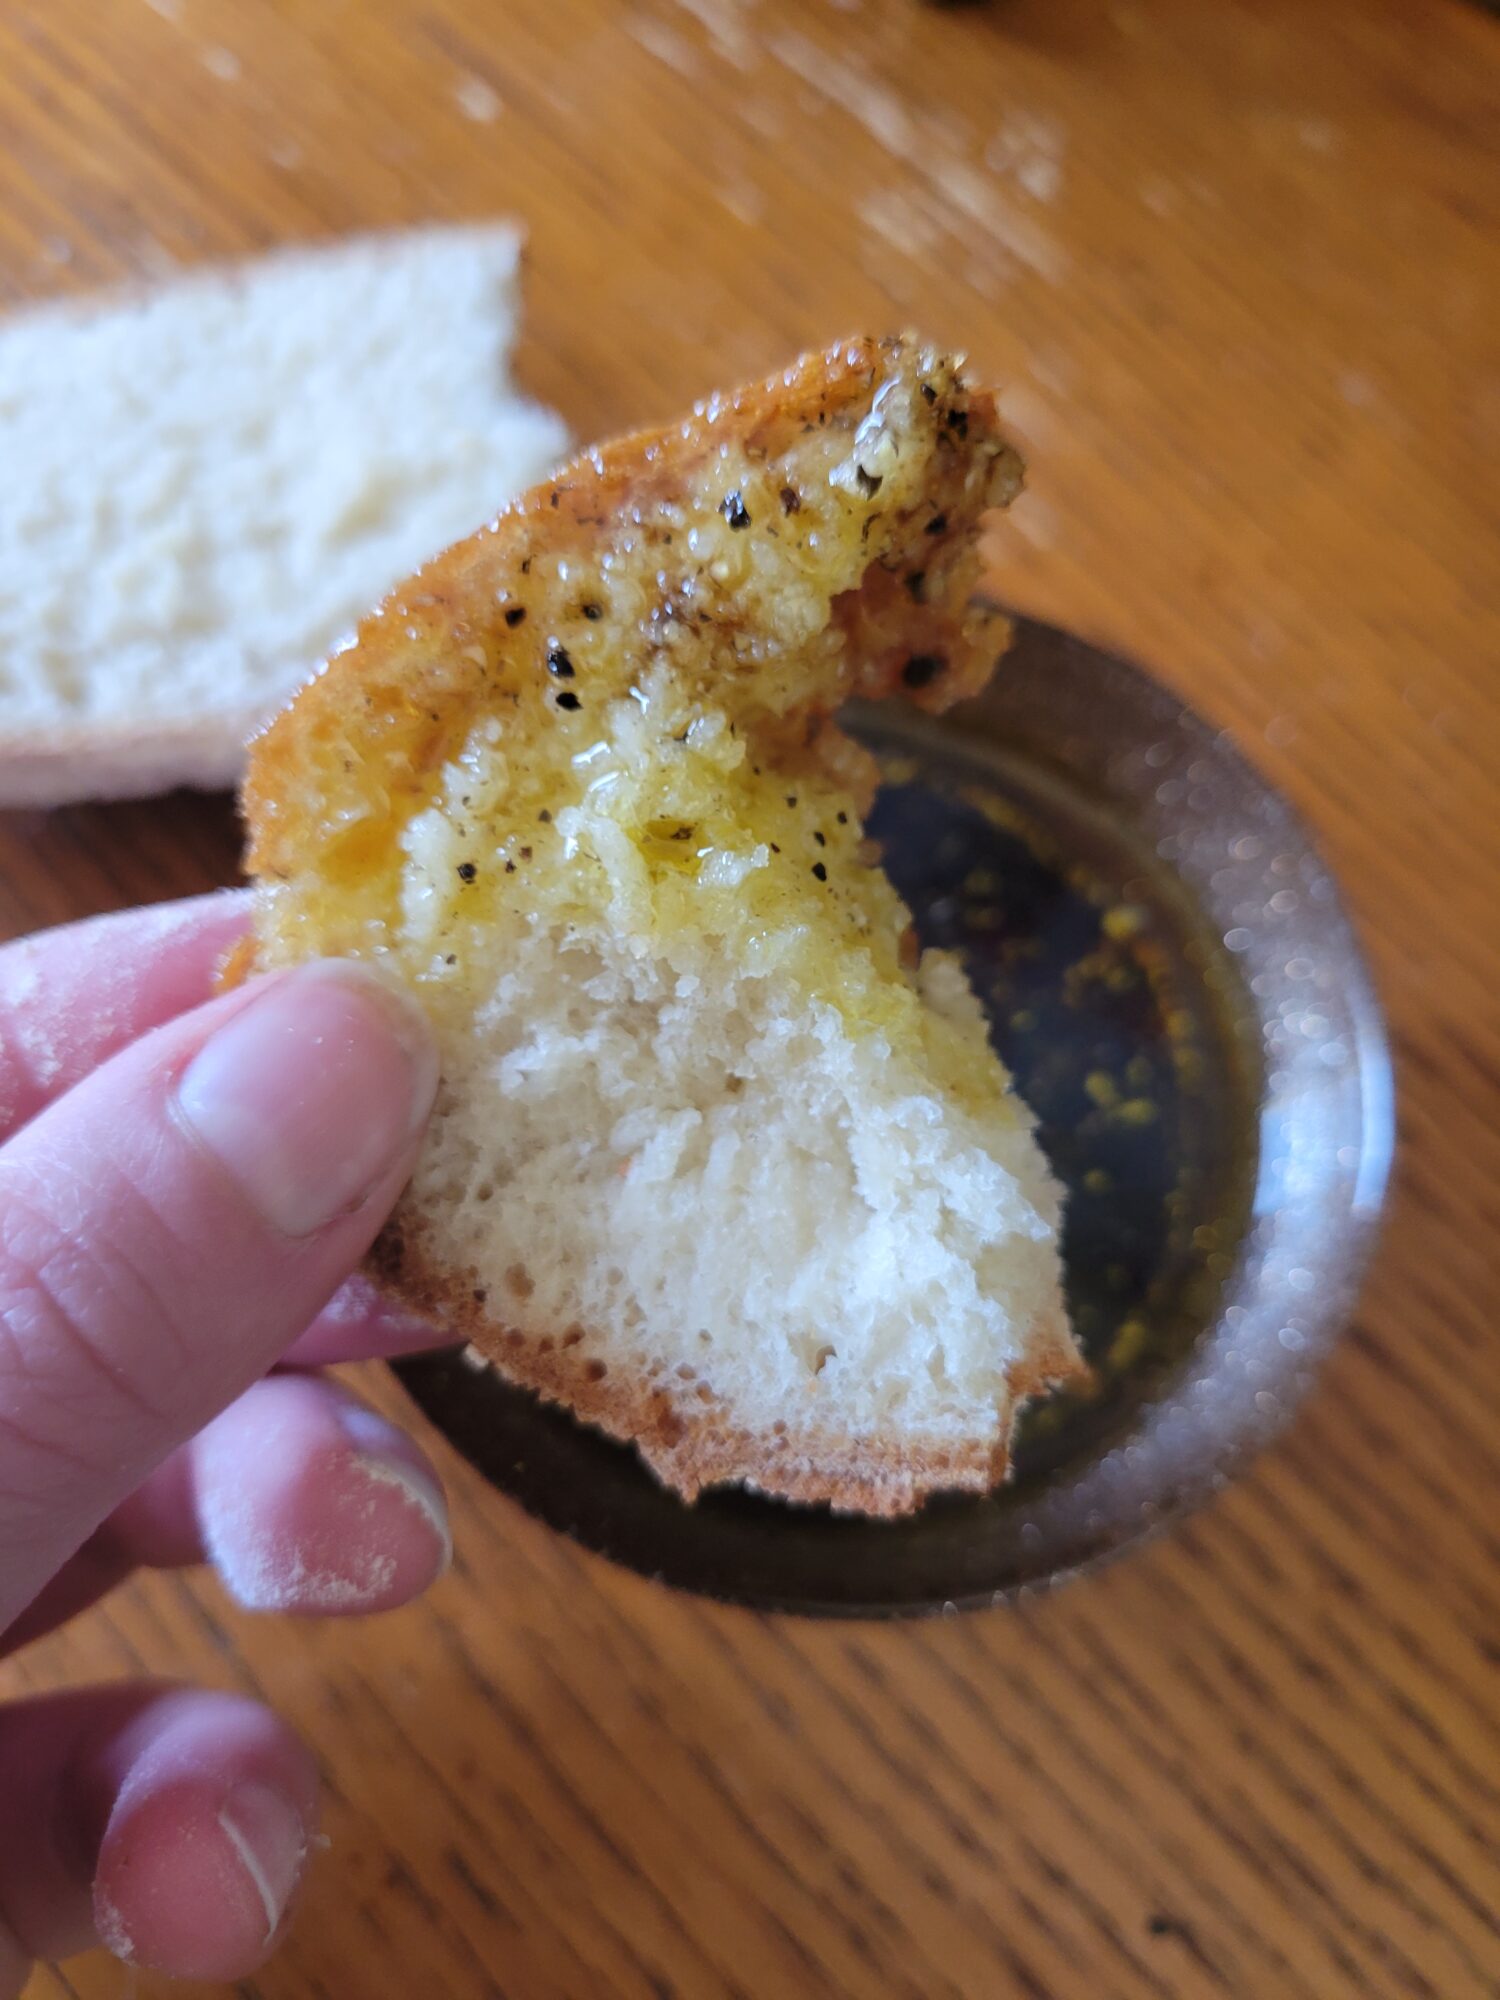
- You can use any kind of sugar that you want. The original recipe called for maple syrup or honey. But I'm honestly not as big a fan of those in bread! It goes great with butter and toast and I'm a huge fan in biscuits. But this isn't necessarily something that I'm always going for with every slice of bread.
- If you don't want to predetermine the flavor profile, white granulated sugar is a great choice. I usually use brown sugar because I enjoy the richness of the molasses. But again, this is all personal preference! Sugar is necessary to feed the yeast and help the dough rise throughout hours of proofing. The particular sugar that you use in this recipe, though, is personal preference. Use whatever sugar you prefer or have on hand!
- If you don't have a bread basket or for simply more information on No-Knead Dutch Oven Bread, I have an entire article and recipe page on it.
This recipe is adapted from Jessica in the Kitchen's No Knead Bread (Dutch Oven Bread).


Leave a Reply