
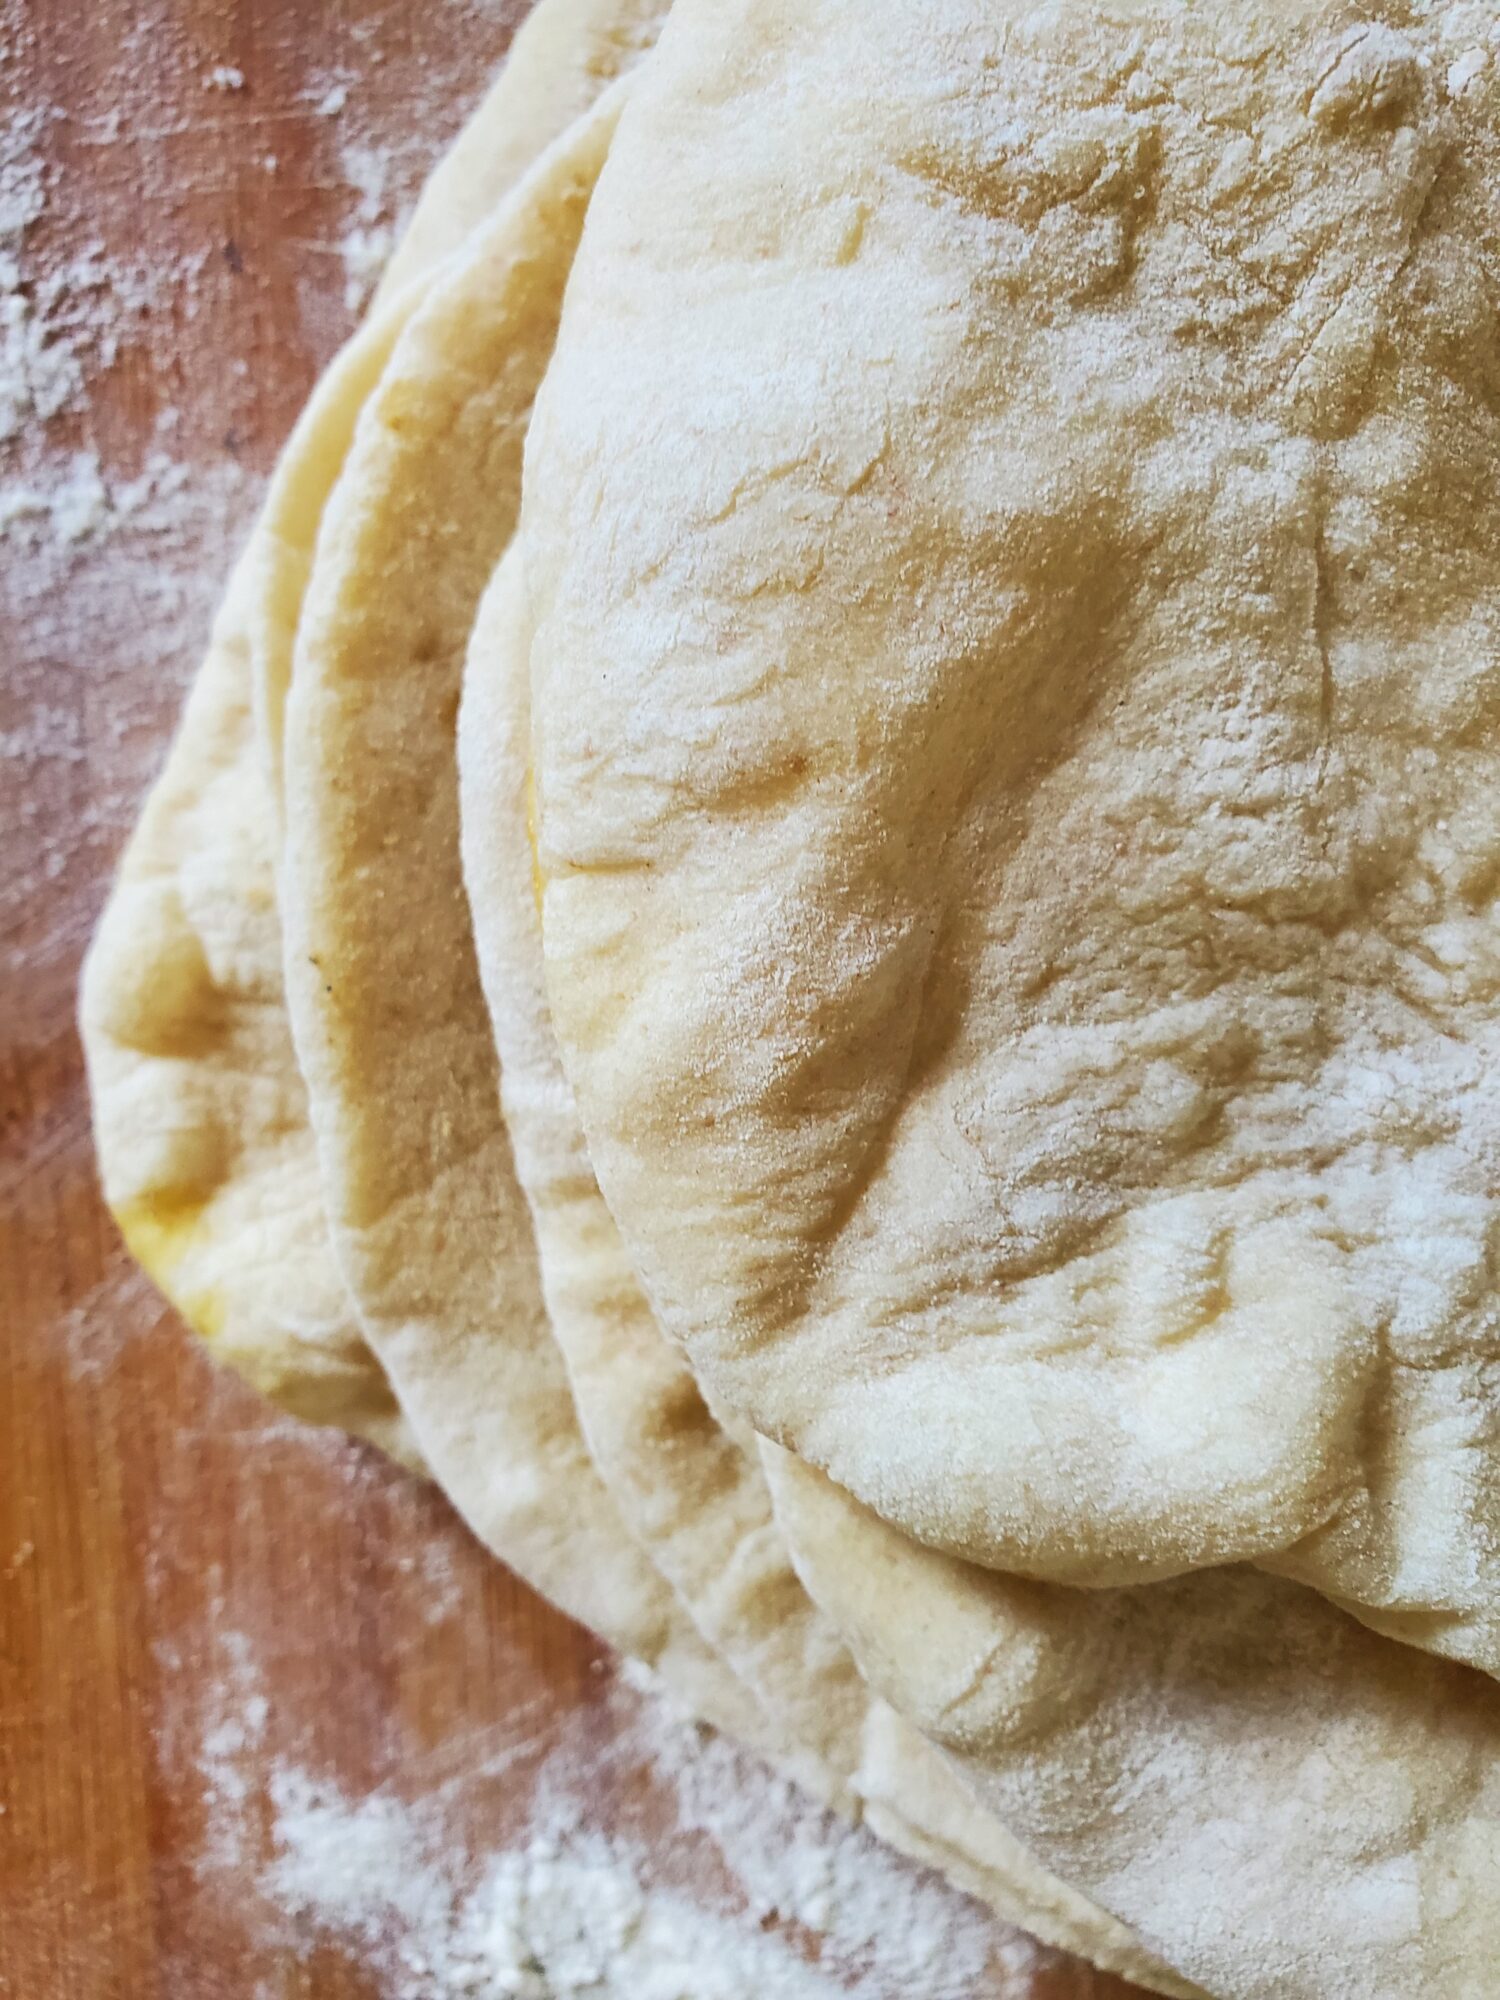
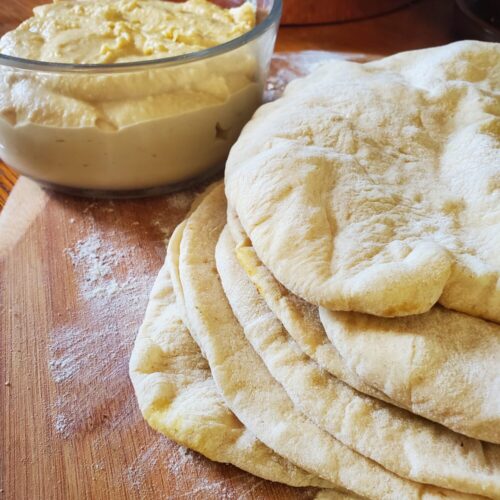
Pita Bread w/ All-Purpose & Whole Wheat Flour
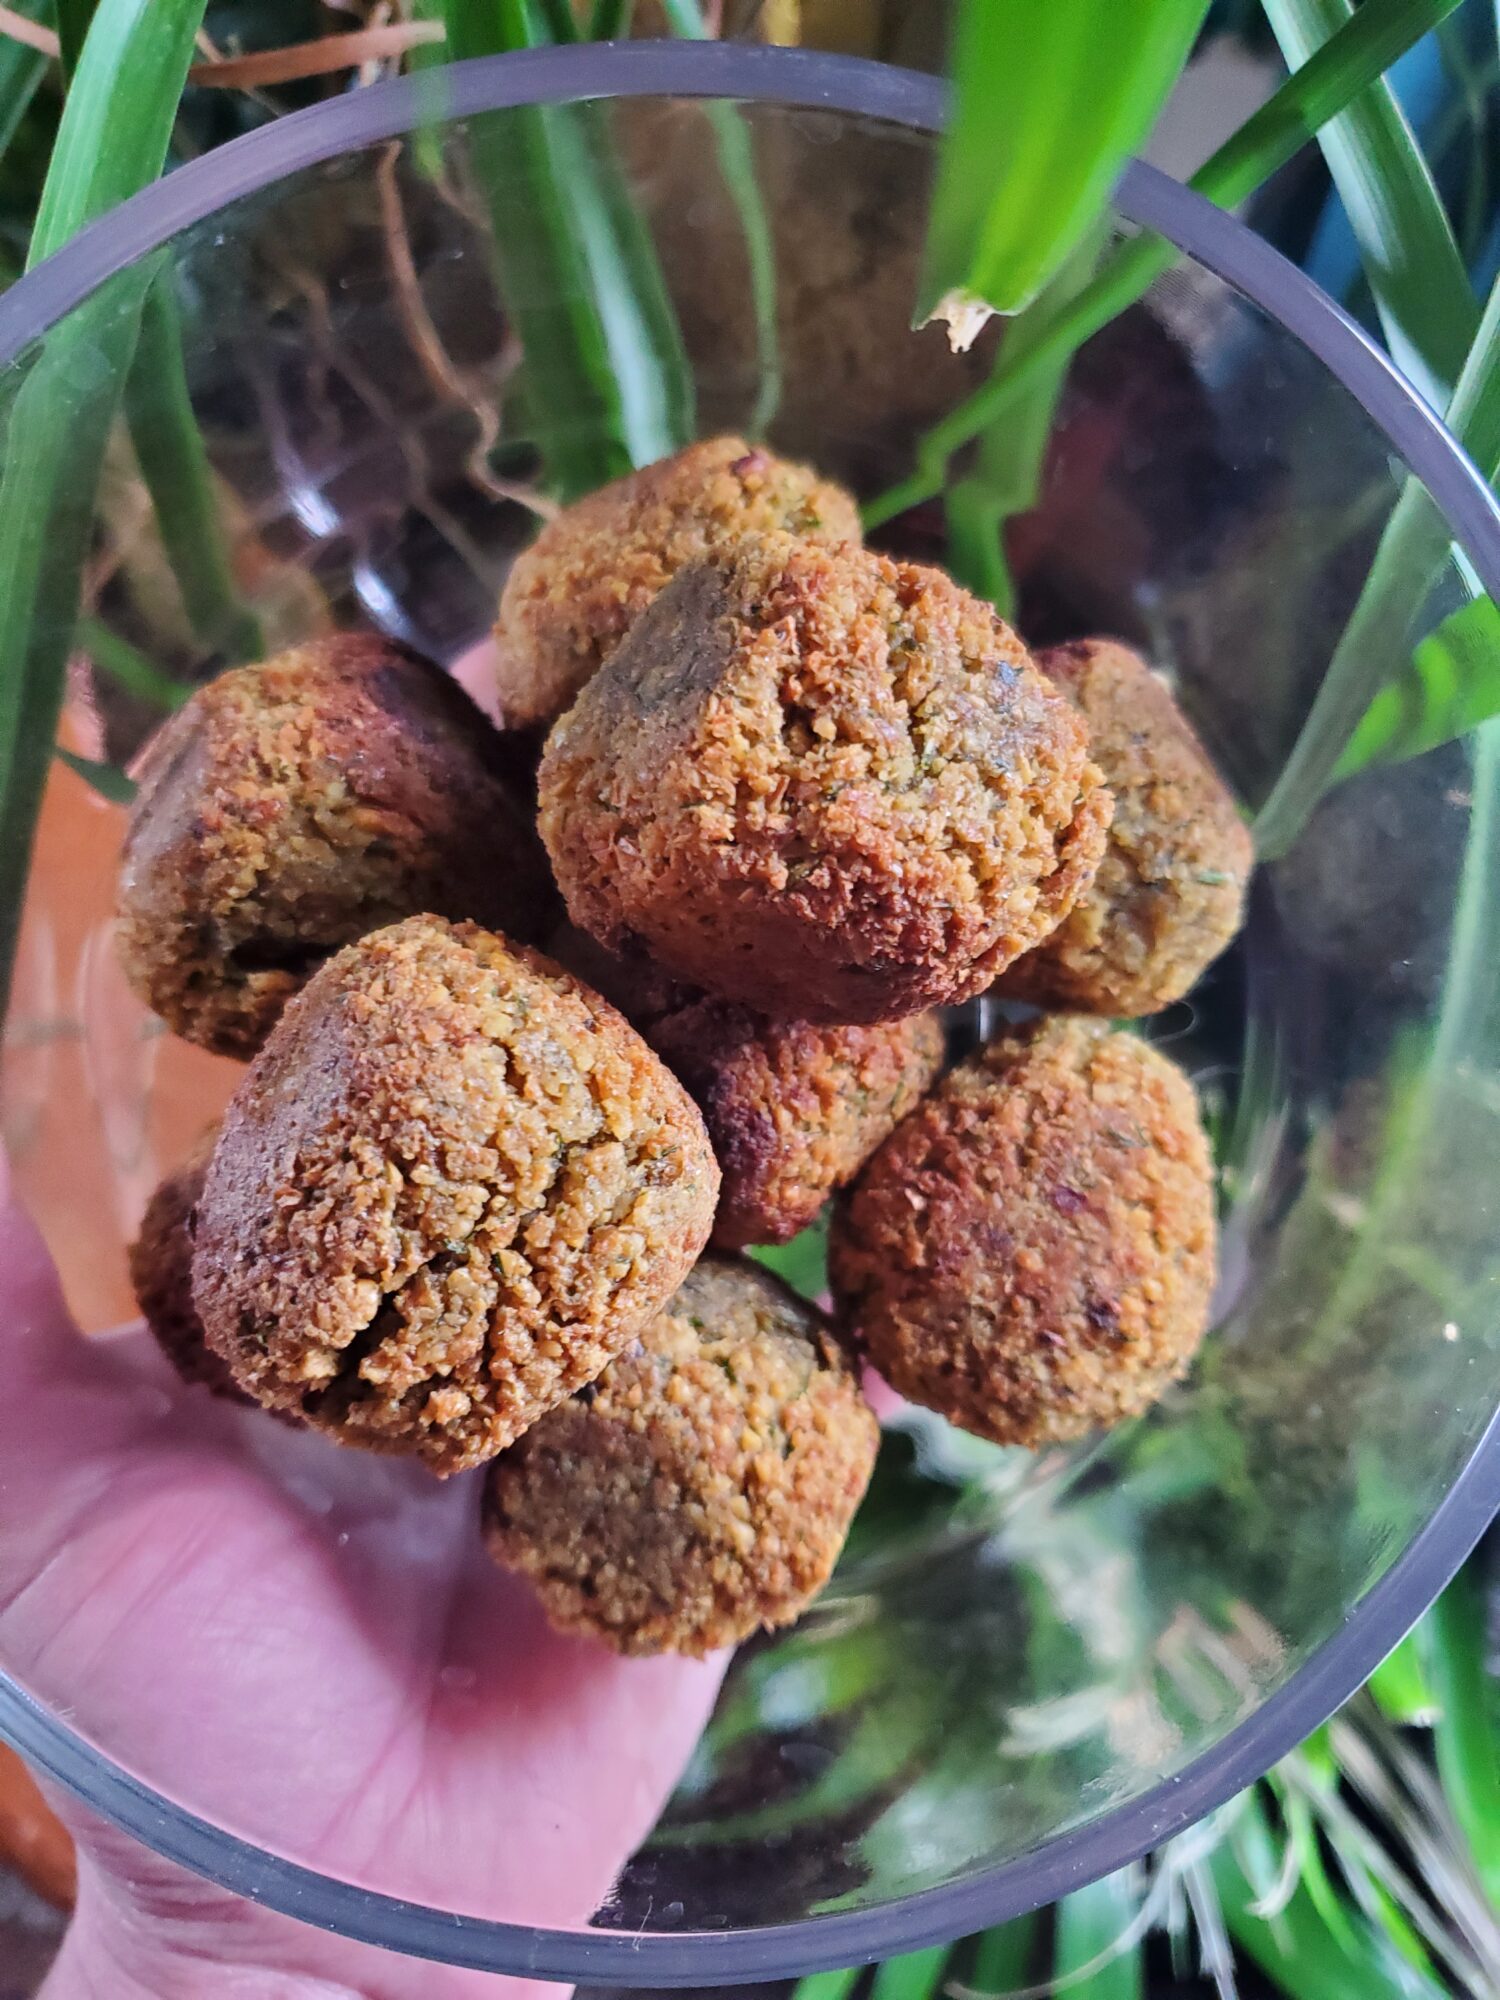
I have been in full on falafel mode lately. I've spent the last couple of days soaking chickpeas for Hummus and Falafel. As well as tossing together Tzatziki, which really only takes a couple of minutes and a cheese grater or zester! Which all must culminate in making pita bread.
I am often daunted by bread. It requires precise measurements, proofing, and cooking times and temperatures. I'm really more of a lackadaisical type of cook. I very rarely precisely measure anything and like to simply toss in what I have on hand to a lot of dishes. This is all fine and dandy when you're making curry. But is absolutely not possible for most breads! When you have mastered the art, there is some leway with knowing what the dough should look like and adding and subtracting within a certain margin to achieve that consistency. But I am not an expert with bread. And that frightens the hell out of me!
Not to be dissuaded, though, I am persevering to make pita bread! Which is also further complicated by needing for it to form the pocket in order to actually be useful for making falafel. Although this is not necessarily as difficult as it sounds at first. I make a lot of pizza dough through work and one of the banes of the pizza making world is trying not to have the dough puff up and create bubbles. So, if other similar doughs already want to do this! Surely it cannot be as difficult as it seems. And I have successfully made pita bread before. So, I know that it is actually possible to do.
This particular recipe is adapted from The Mediterranean Dish's Easy Homemade Pita Bread Recipe.
Gallery


Rolling out the dough and baking happens in such rapid succession that I didn't snap any photos of it. Especially because there are no windows and the lighting is really poor in my kitchen! But I used a large flattop griddle to bake. You can alternatively use any cast iron pan without grill lines or a baking stone.
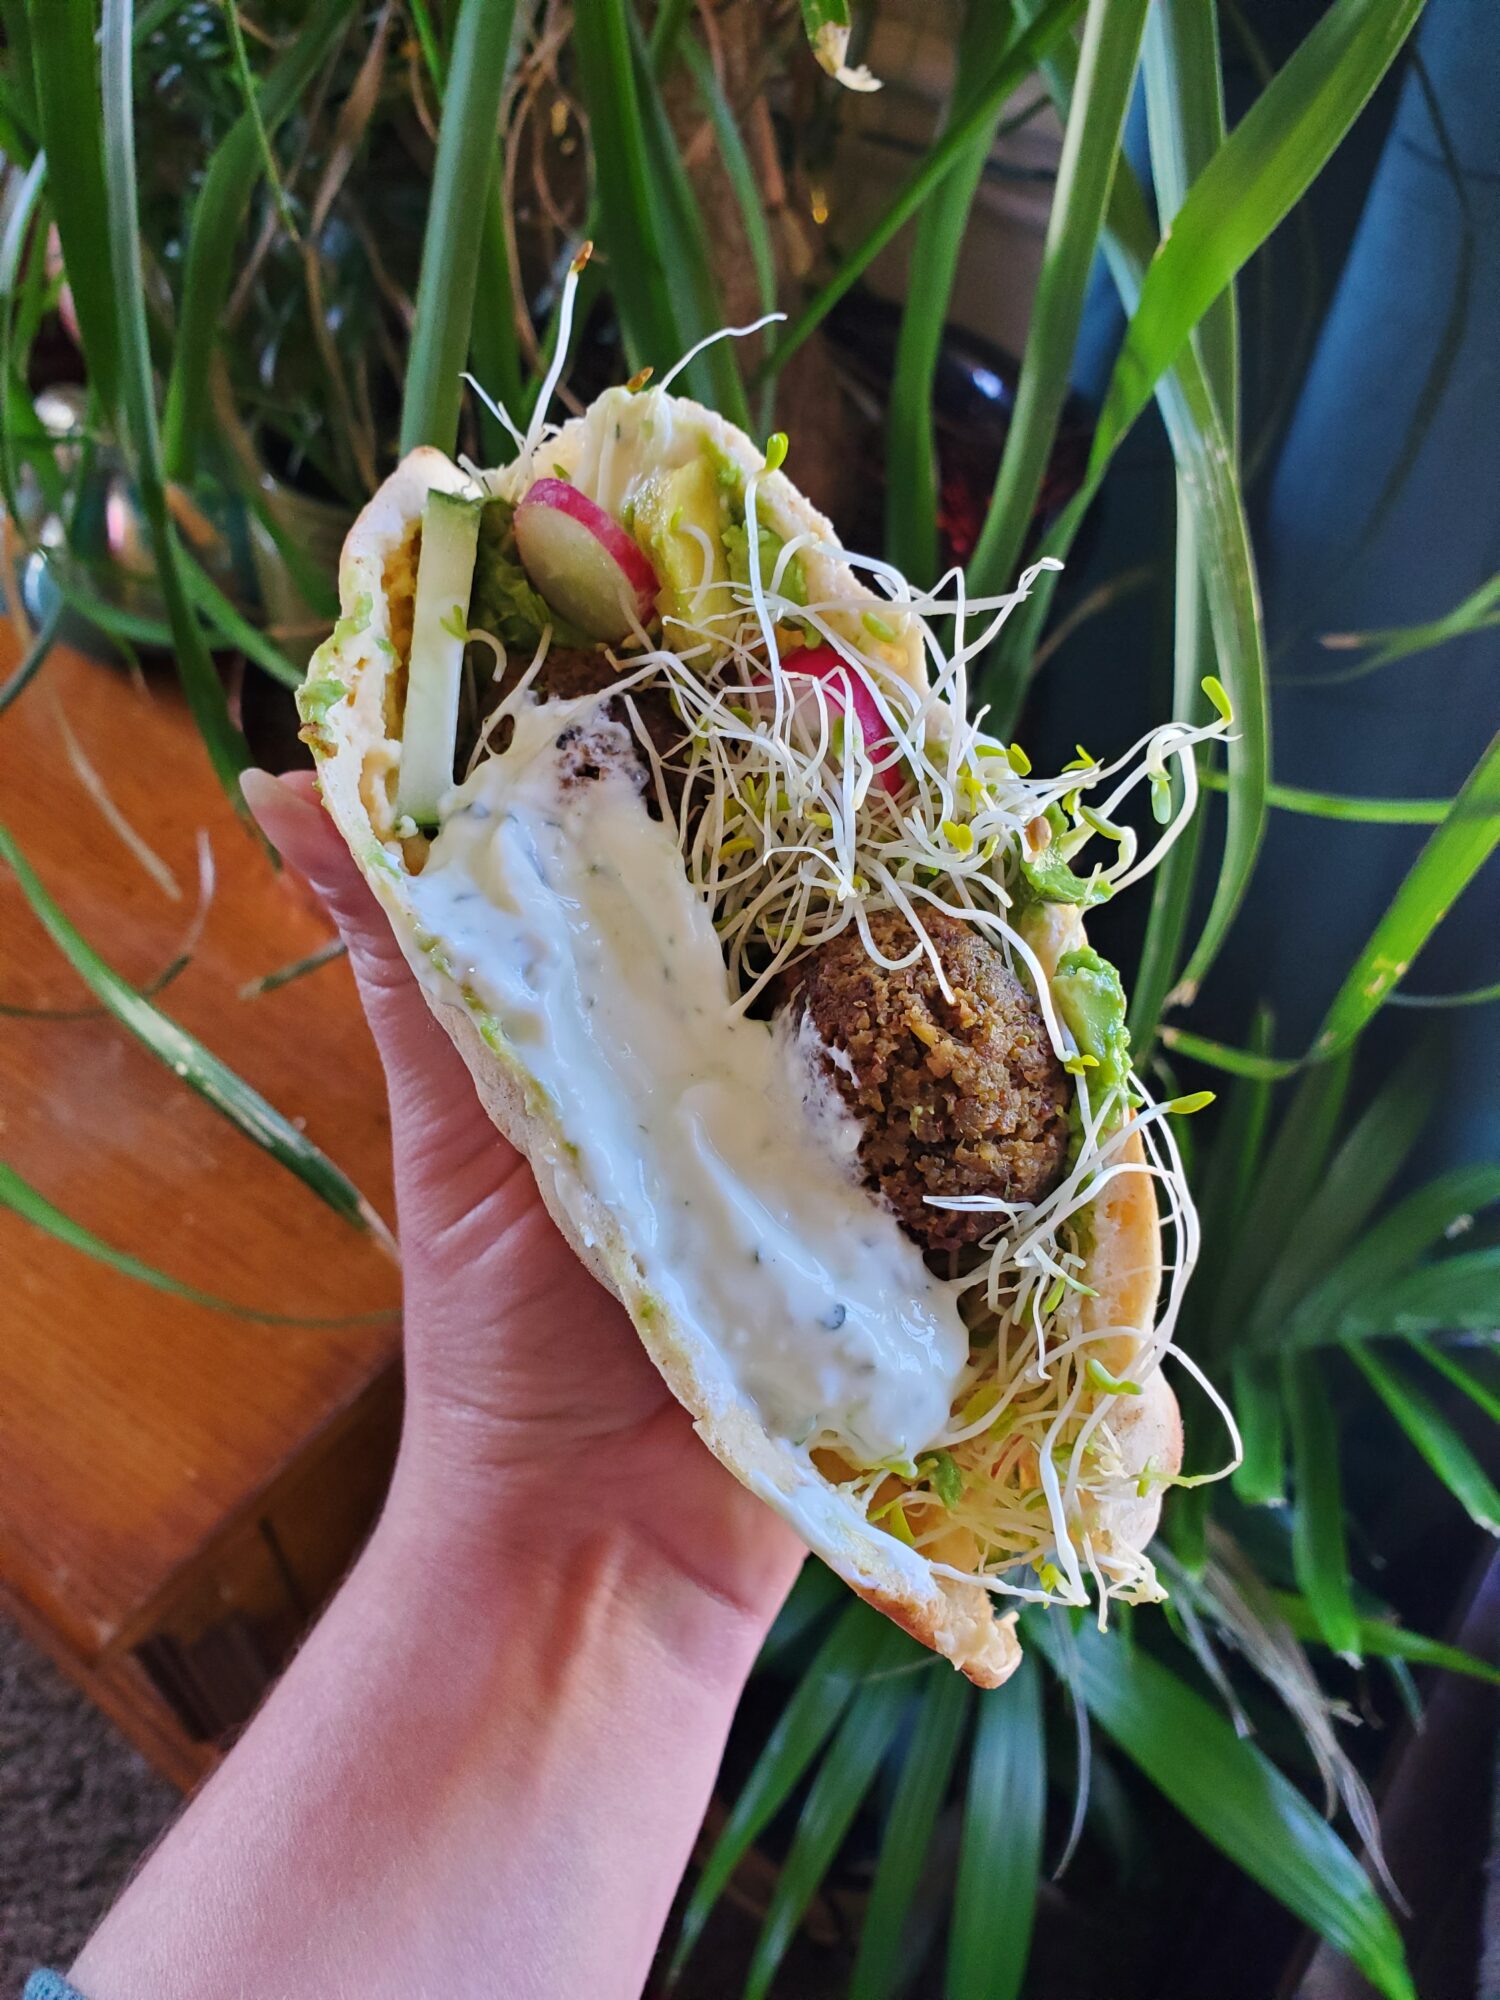
What to Make w/ Pita Bread
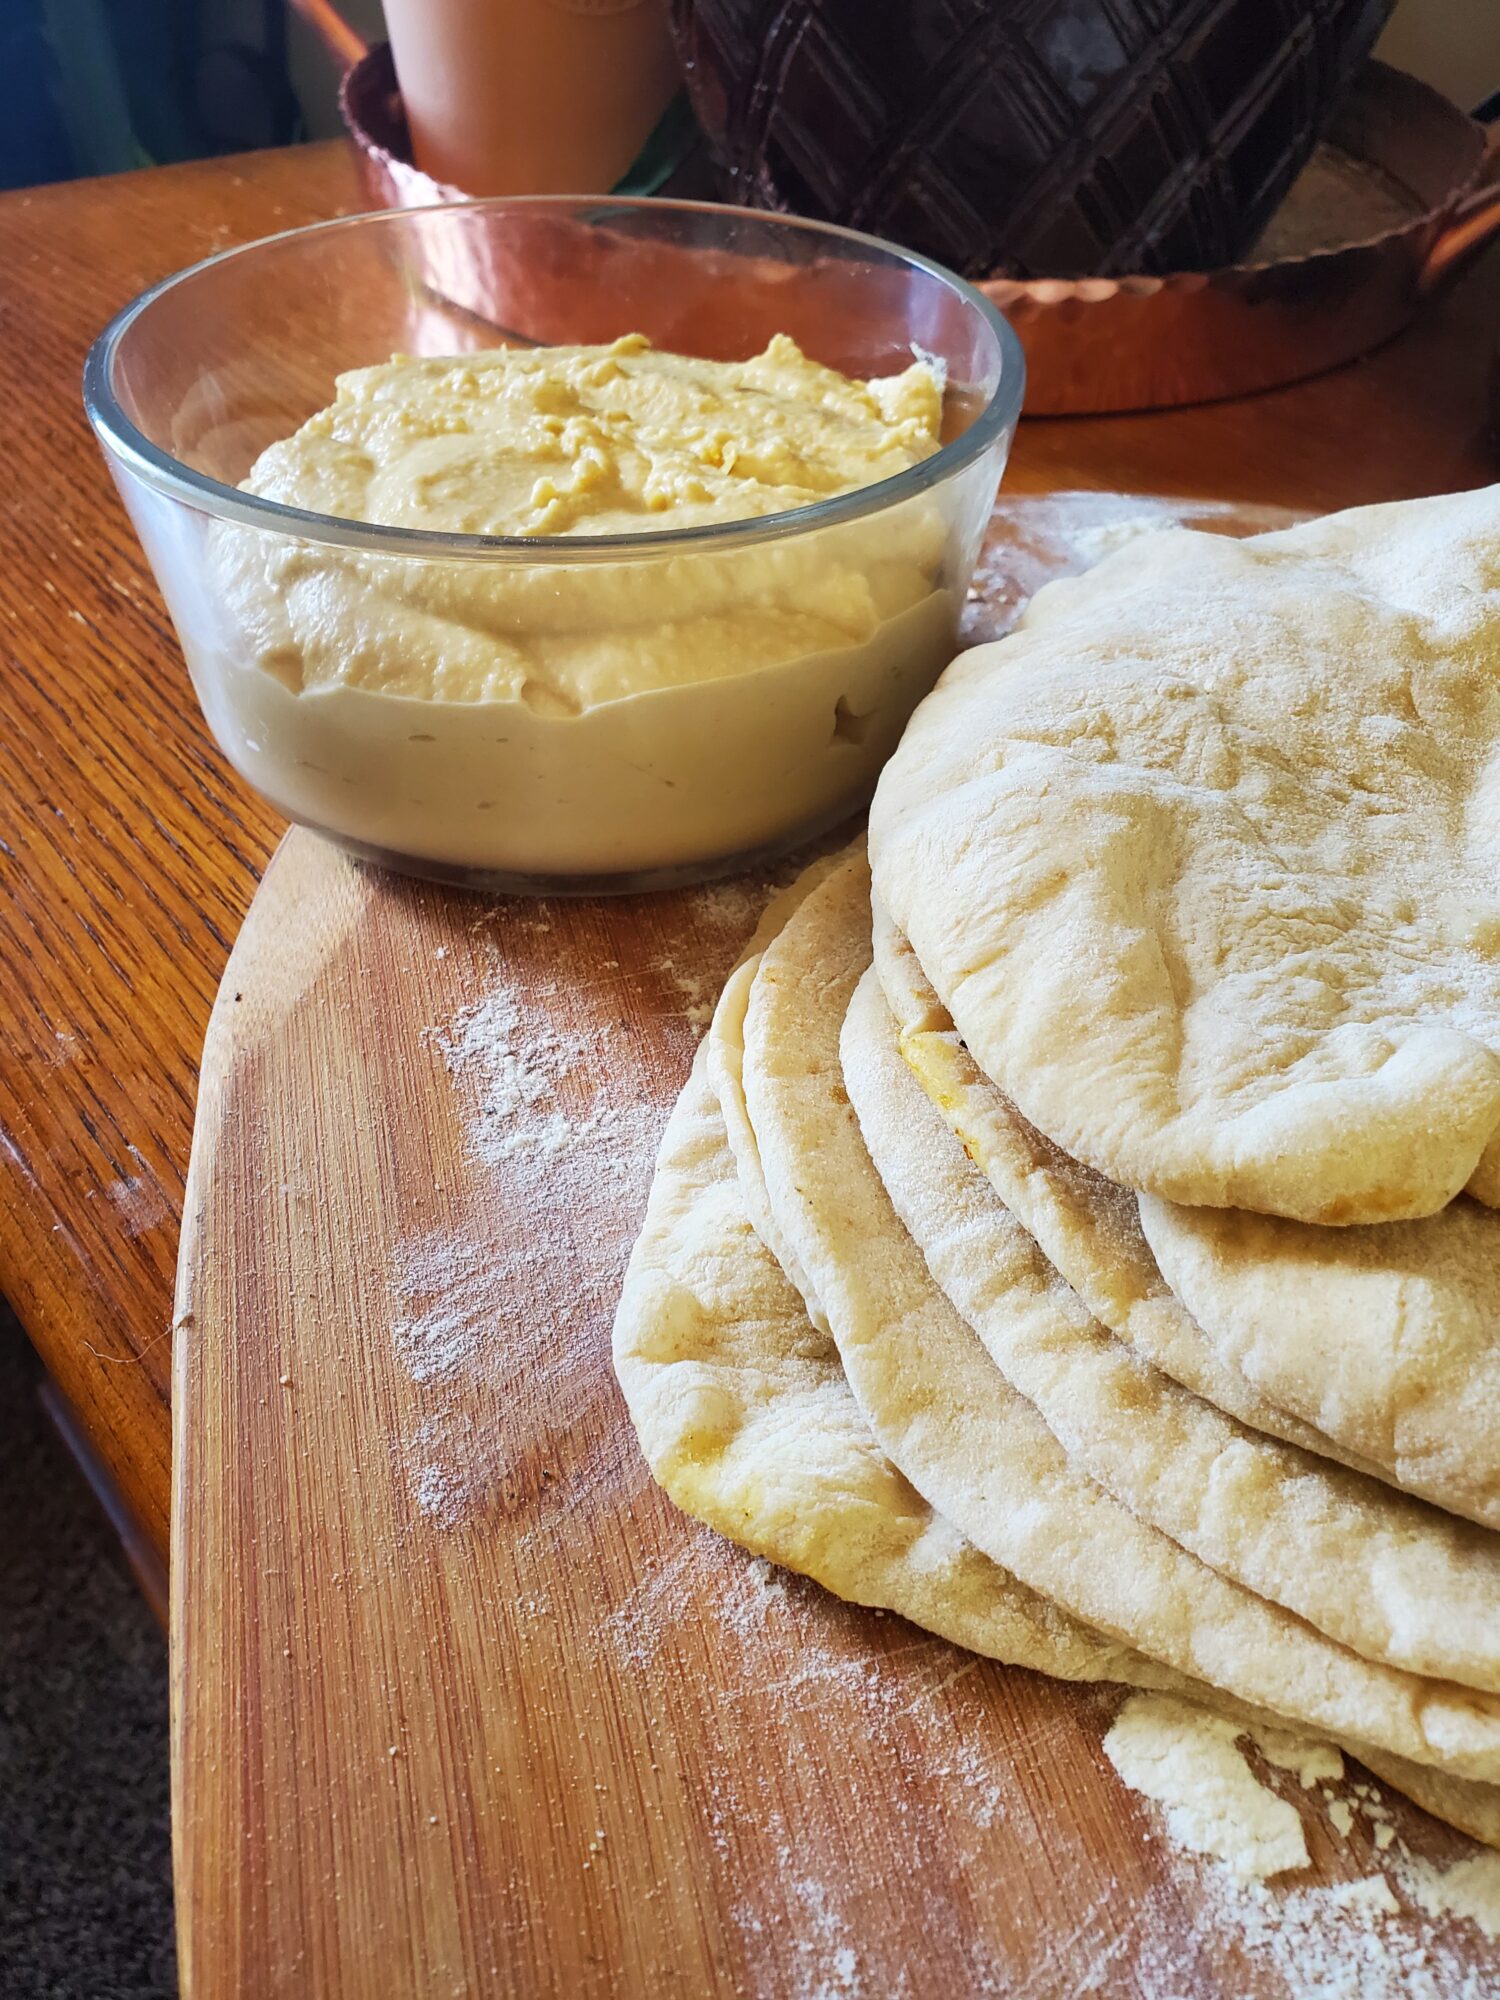
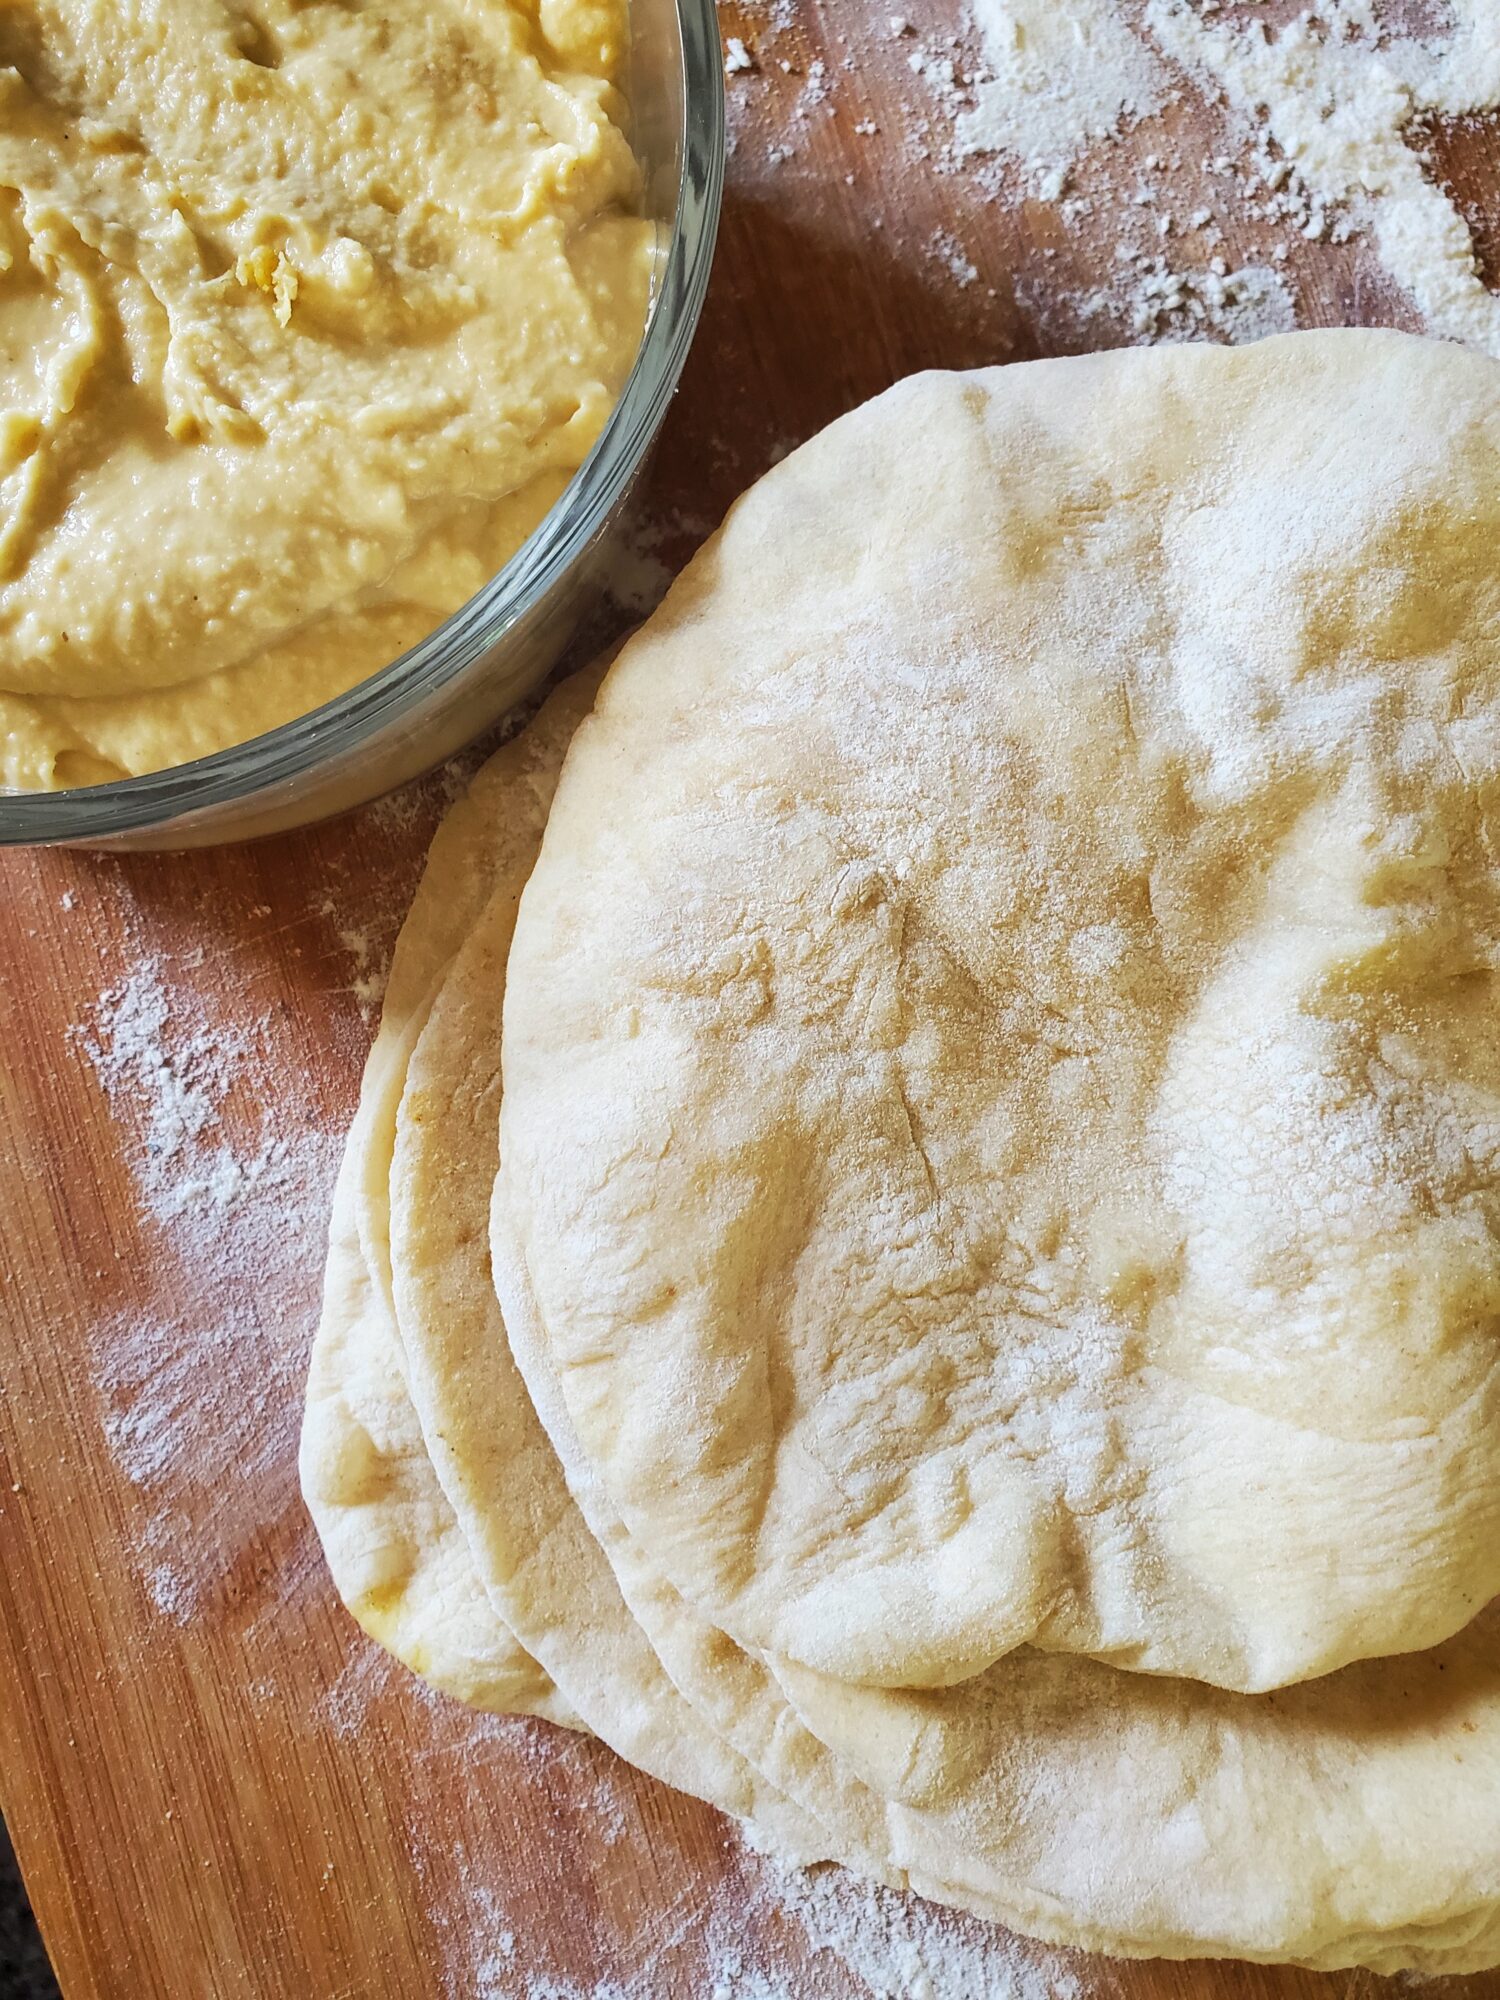
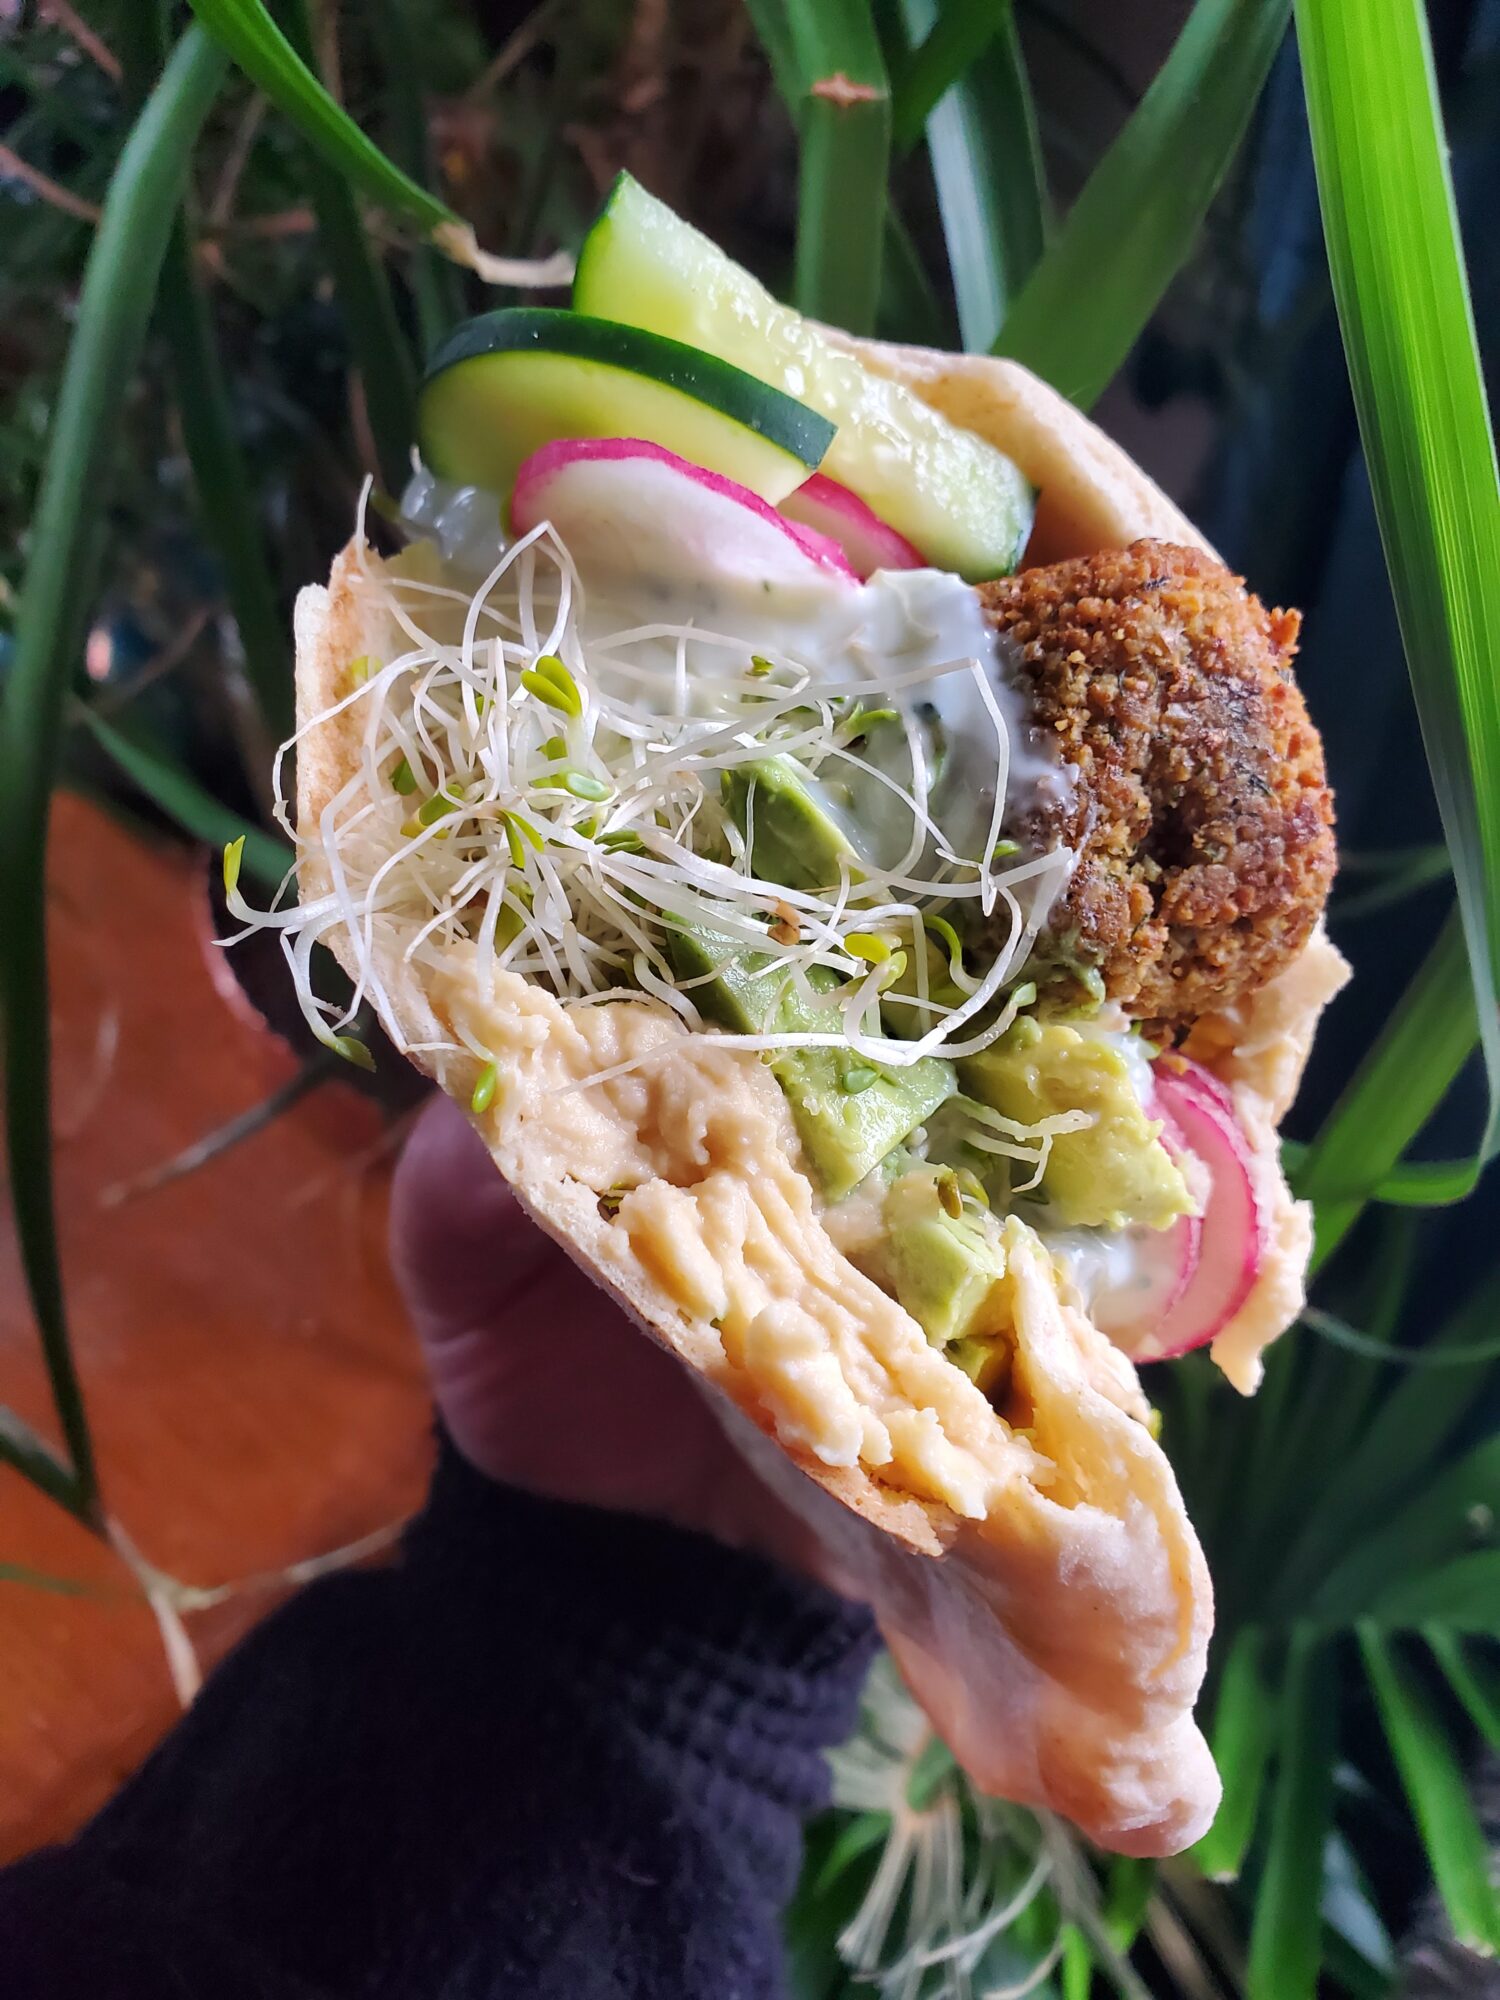
I made a couple of different versions of falafel out of this pita bread. They are all along the same lines and contained within the same recipe. Although feel free to mix and match your own ingredients to accomodate what you have or your personal culinary tastes. I also cut up the leftover pita to dip in hummus as pita chips.
Pita Bread w/ All-Purpose & Whole Wheat Flour
Equipment
- Large Bowl (preferably 2)
- Towel
- Cast Iron Skillet, Flat Top Griddle, or Baking Stone
- Oven
- Rolling Pin
Ingredients
- 1 c. water ~100°F
- 2 tsp. yeast
- 1/2 tsp. sugar
- 1 ¼ c. all-purpose flour divided, 1/4 c., 3/4 c., & 1/4 c.
- 1 ¼ c. whole wheat flour divided, 1/4 c., 3/4 c., & 1/4 c.
- 1 ½ tsp. salt
- 2 tbsp. olive oil
Instructions
Dough
- Combine warm water, yeast, sugar, 1/4 cup of all-purpose flour, and 1/4 cup of whole wheat flour. Let rest for 15 minutes, or until the yeast begins to bubble.A packet of yeast is typically 2 ¼ teaspoons. So, if you only have yeast in the package, simply remove 1/4 teaspoon.
- Meanwhile, whisk together 3/4 cup all-purpose flour, 3/4 cup whole wheat flour, salt, and oil in a large bowl.
- After the yeast has proofed, stir yeast mixture into the flour. Mix until all of the ingredients are combined. The dough should initially have a shaggy appearance.In a mixer with a dough hook attachment, this only takes a minute or two. By hand, this takes about 3-5 minutes.
- Start slowly adding in the remaining 1/4 cup all-purpose flour and 1/4 cup whole wheat flour until you get a dough that you can knead. You want the least amount of flour that you can do get a workable dough and may not need all of the flour. Just slowly add as necessary to be able to work with the dough and form a soft, pliable ball.In a mixer, this should take about 5-10 minutes.If you're doing it by hand, turn out the dough onto a liberally floured surface. It will initially be quite sticky. Start slowly adding in the flour, pushing and turning the dough into itself to combine. Once you've added enough flour for a ball to begin to form, knead it as you ordinarily would with any bread or dough recipe. Continue adding flour as necessary and knead until the gluten breaks down and the dough is almost springy. This should take about 15 minutes.
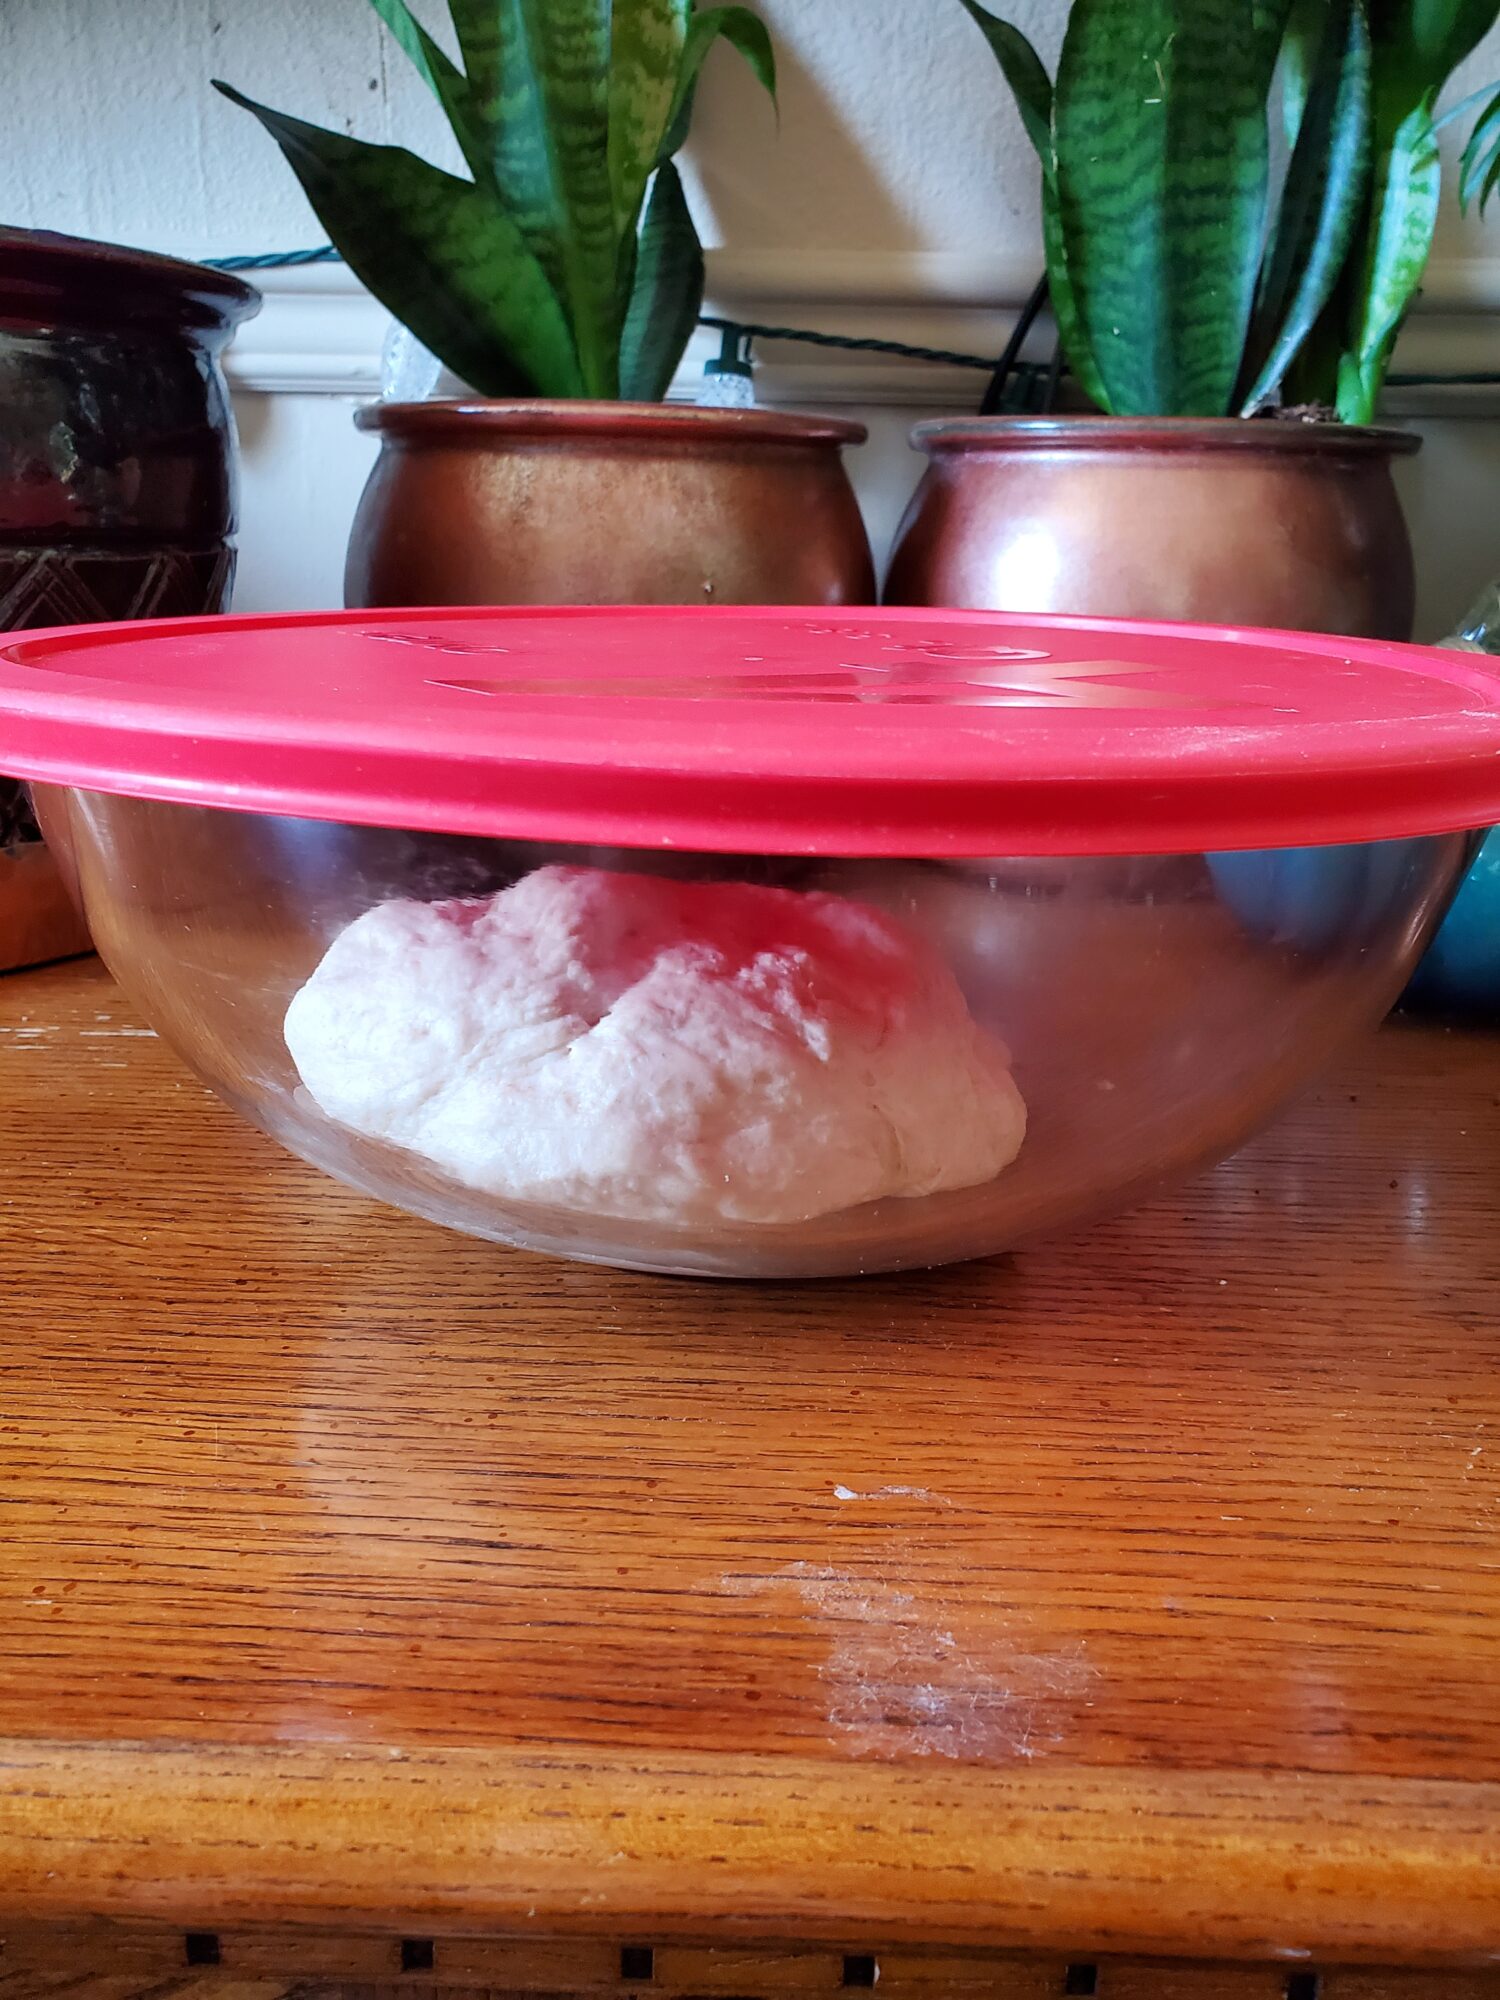
- Either wash and dry the first bowl or lightly grease another bowl and transfer the dough.You can use the same bowl and just clean out the dough and grease, but it's helpful to have a second bowl to be able to just transfer it!
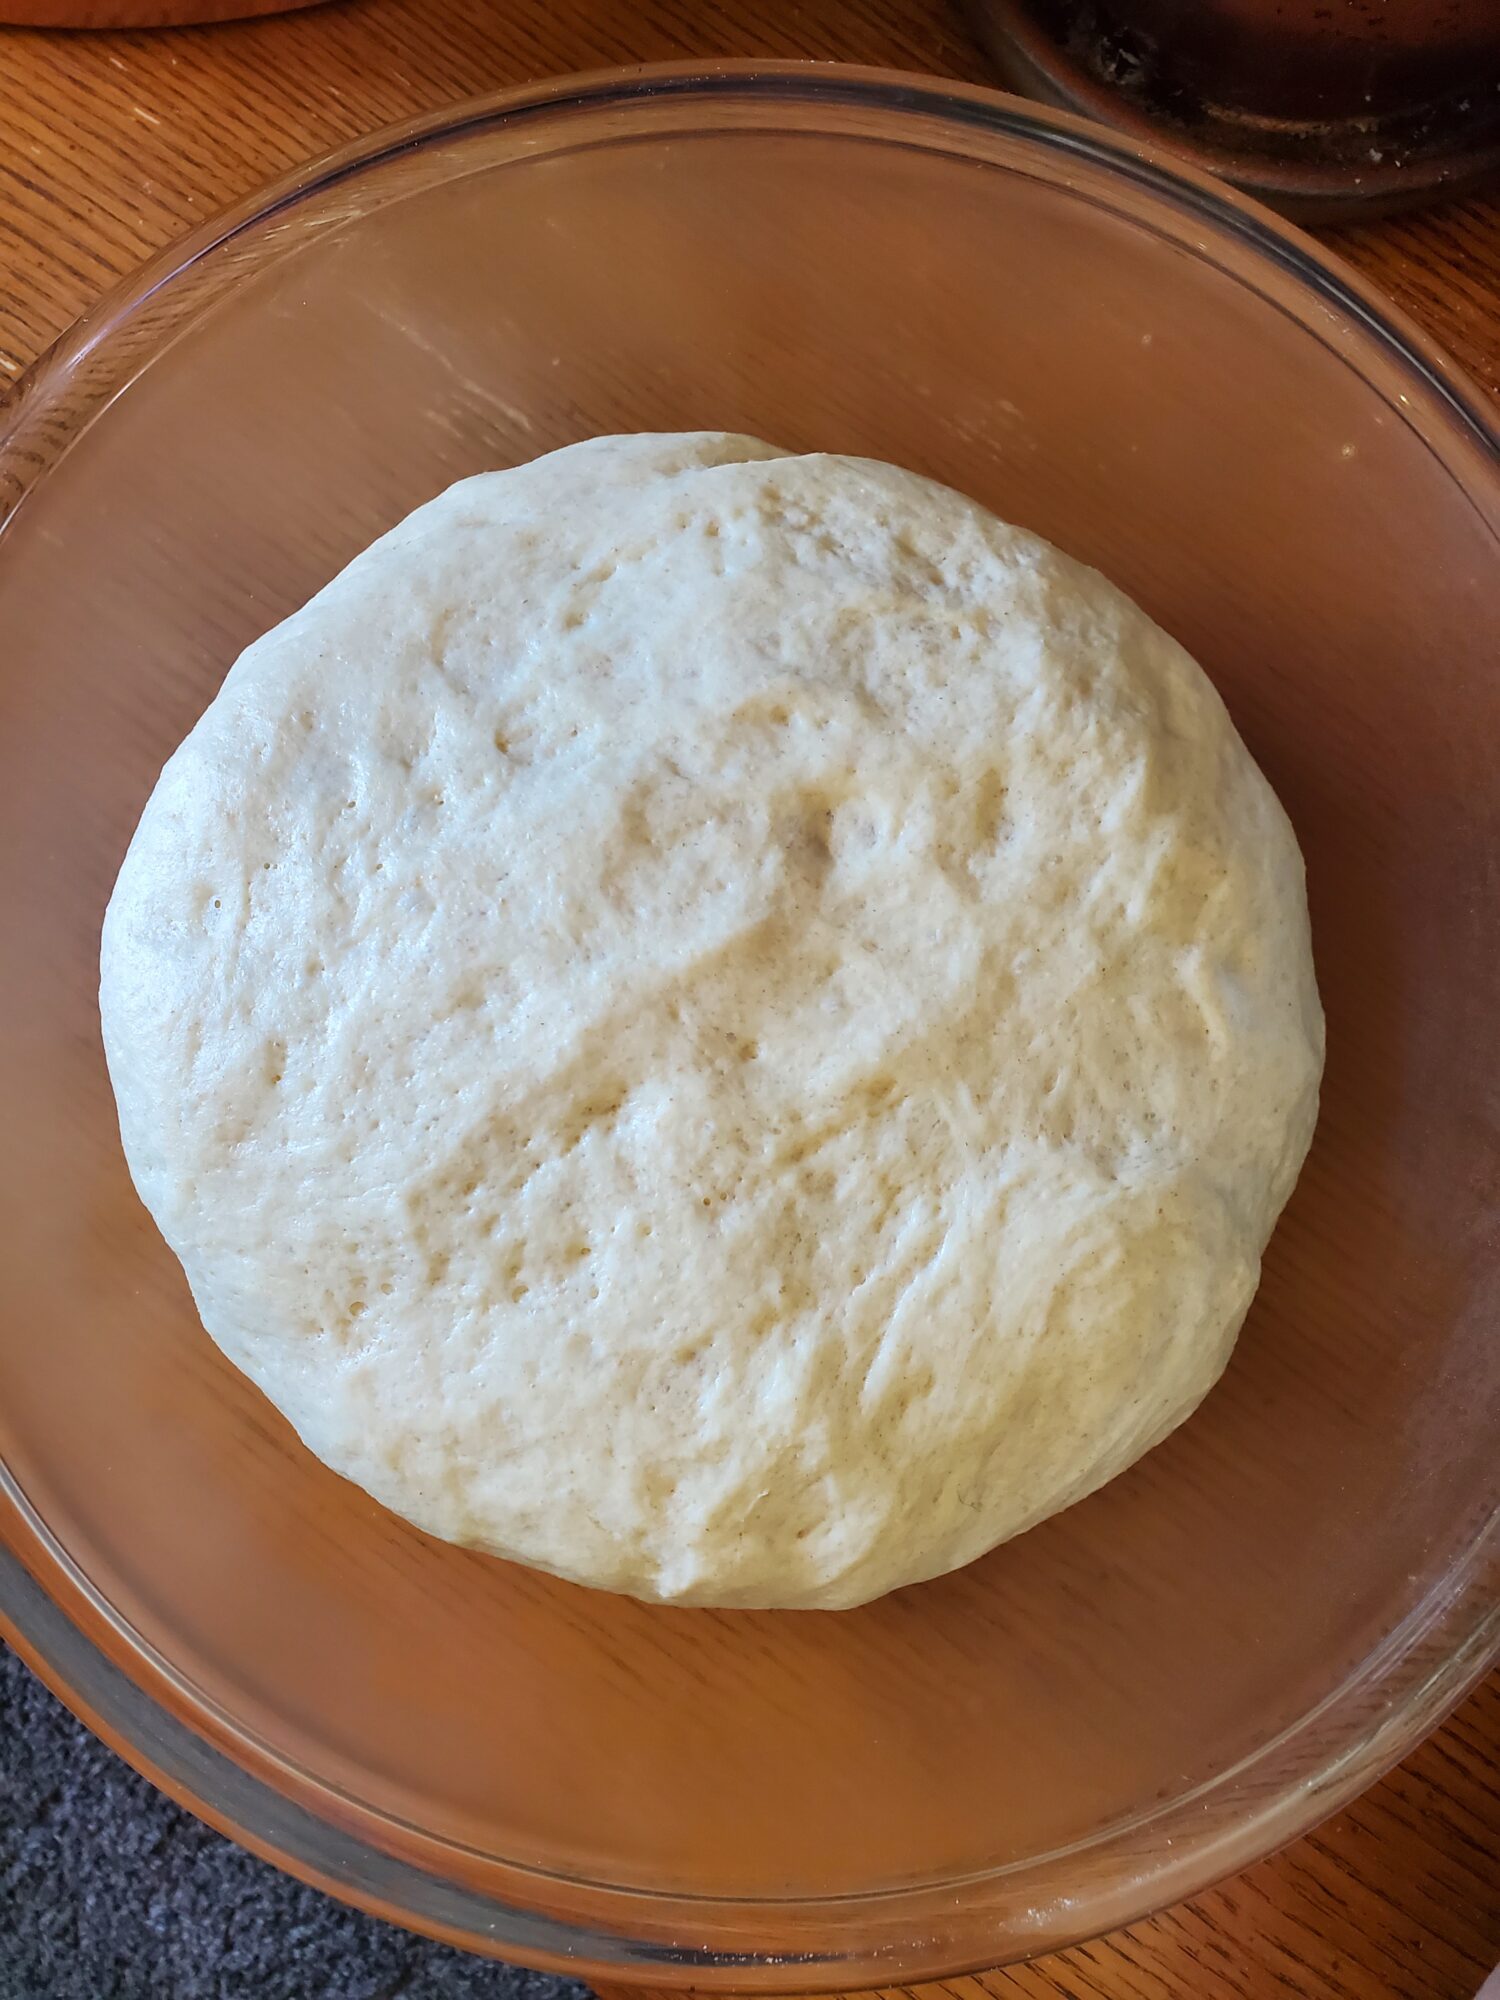
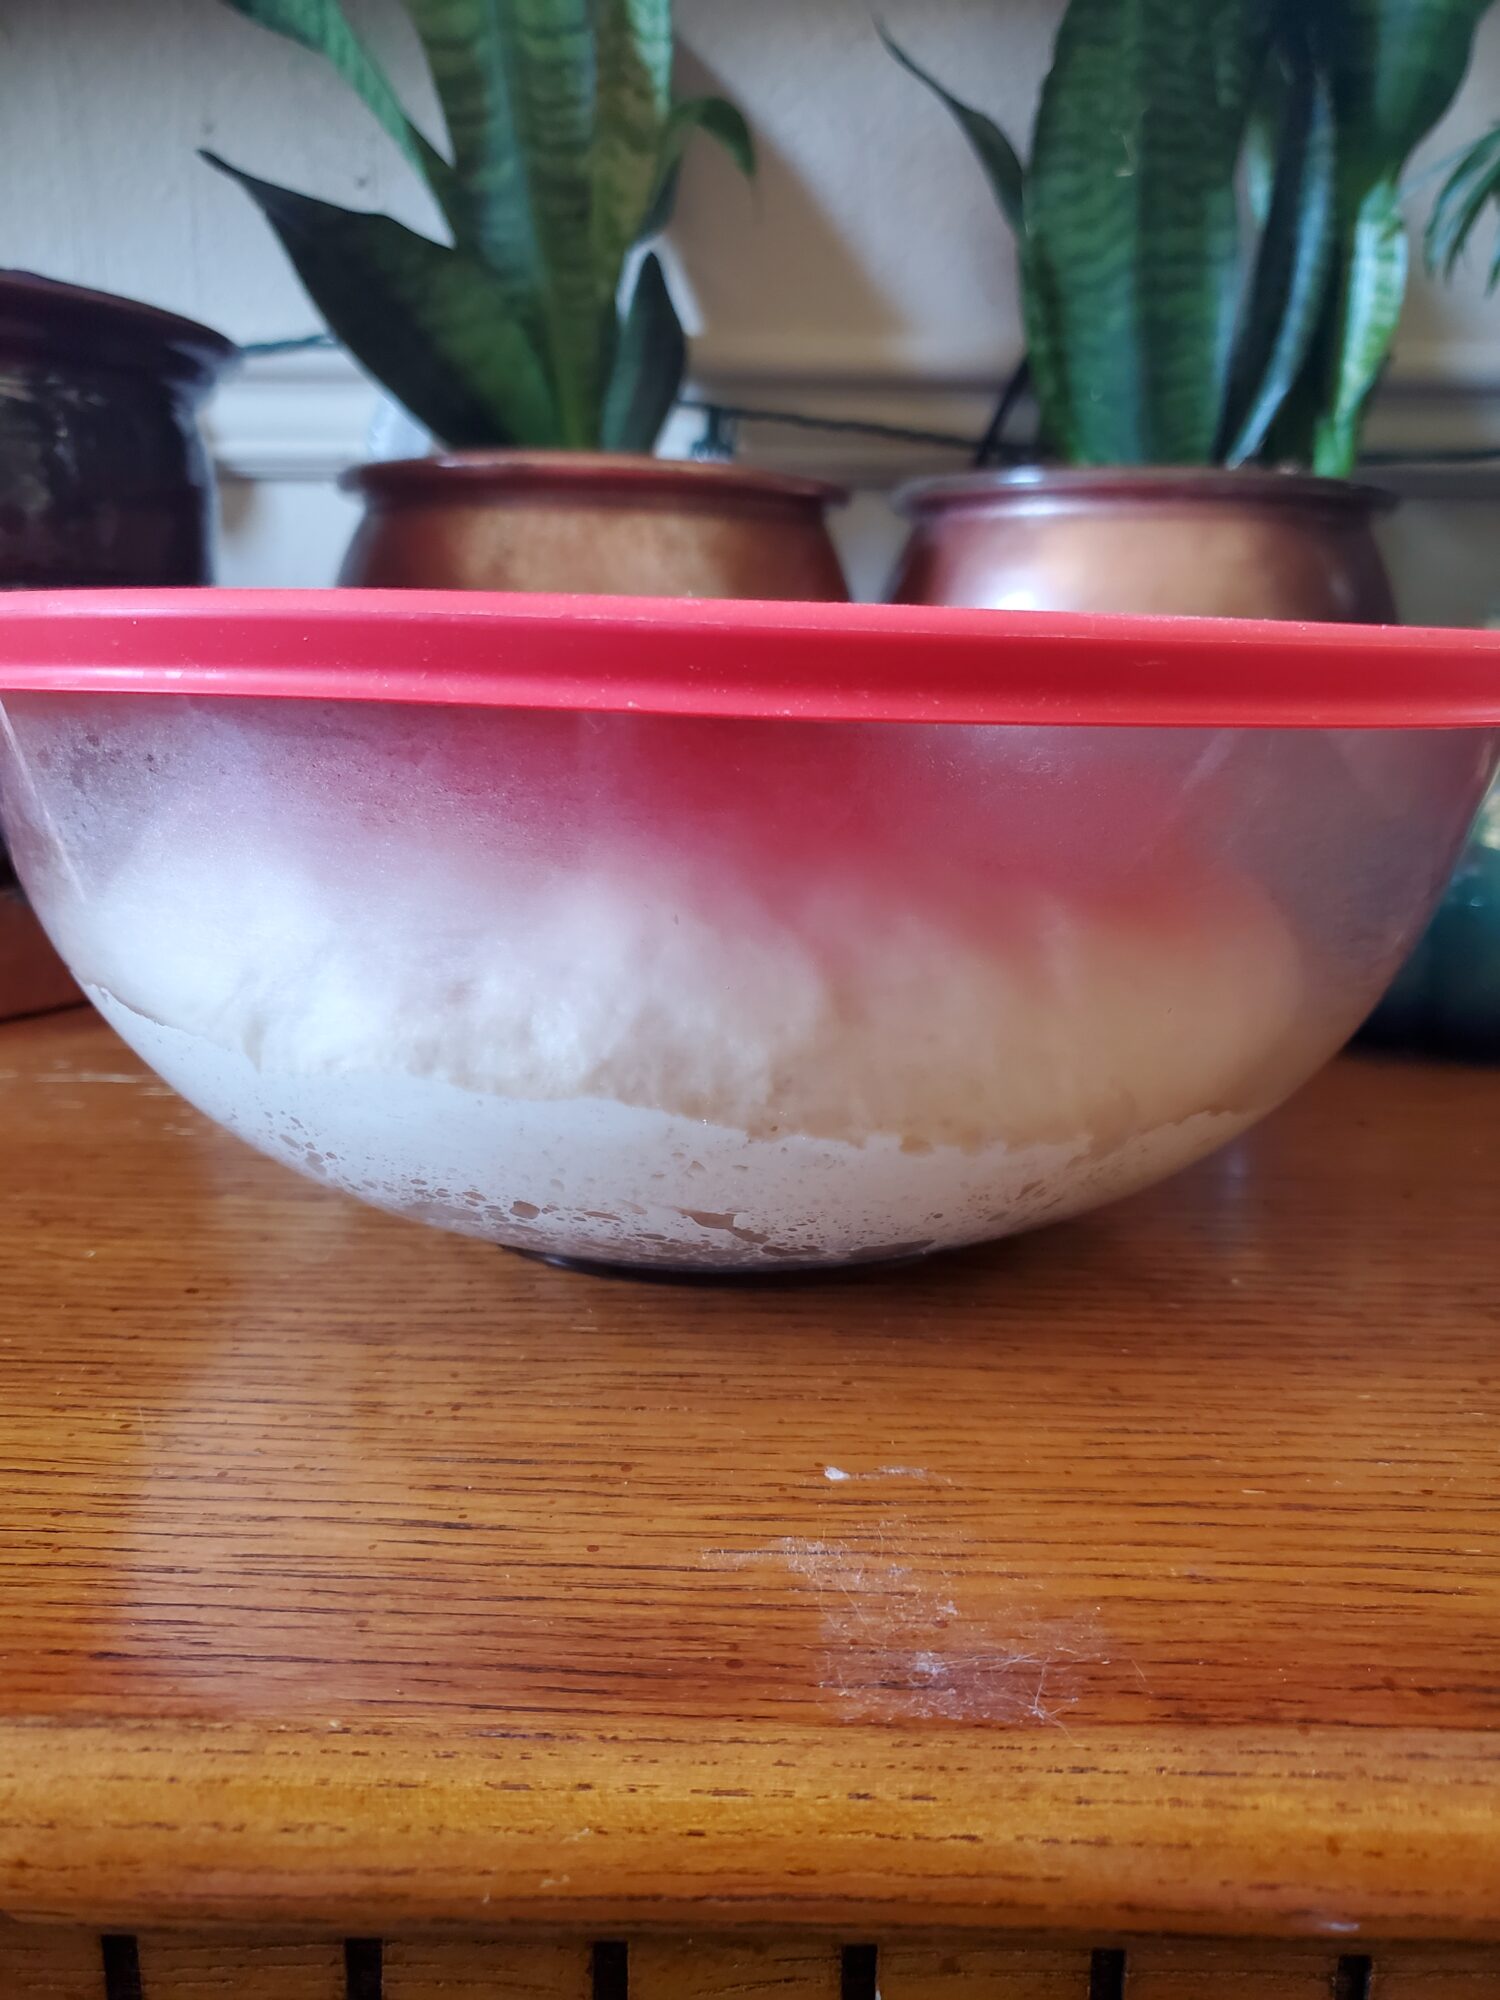
- Cover dough and let proof for 1 hour, or until doubled in size.
Bake
- After an hour of proofing, lightly flour a surface and turn the dough out. Sprinkle with just enough flour to make it workable (a tablespoon or two) and divide into 7 or 8 equal-sized balls.
- Cover with a towel and let sit another 10 minutes.
- Meanwhile, place cast iron skillet or griddle in the middle rack and preheat the oven to 475 degrees Fahrenheit.I used a cast iron griddle for this. Although any pan without grill lines works for this purpose. A baking stone would do as well.
- Roll out until the dough is about 8-9 inches wide and 1/4 inch thick. Liberally flour and lift and turn the dough often, so that it doesn’t stick.It can help to do this in two batches, so that you're only working with half of the dough at a time. Otherwise, having a second person is helpful because one person can roll out the dough while the other one watches the oven.
- Very carefully drop the dough onto the cast iron. With larger griddles or baking stones, you may be able to do this two at a time.
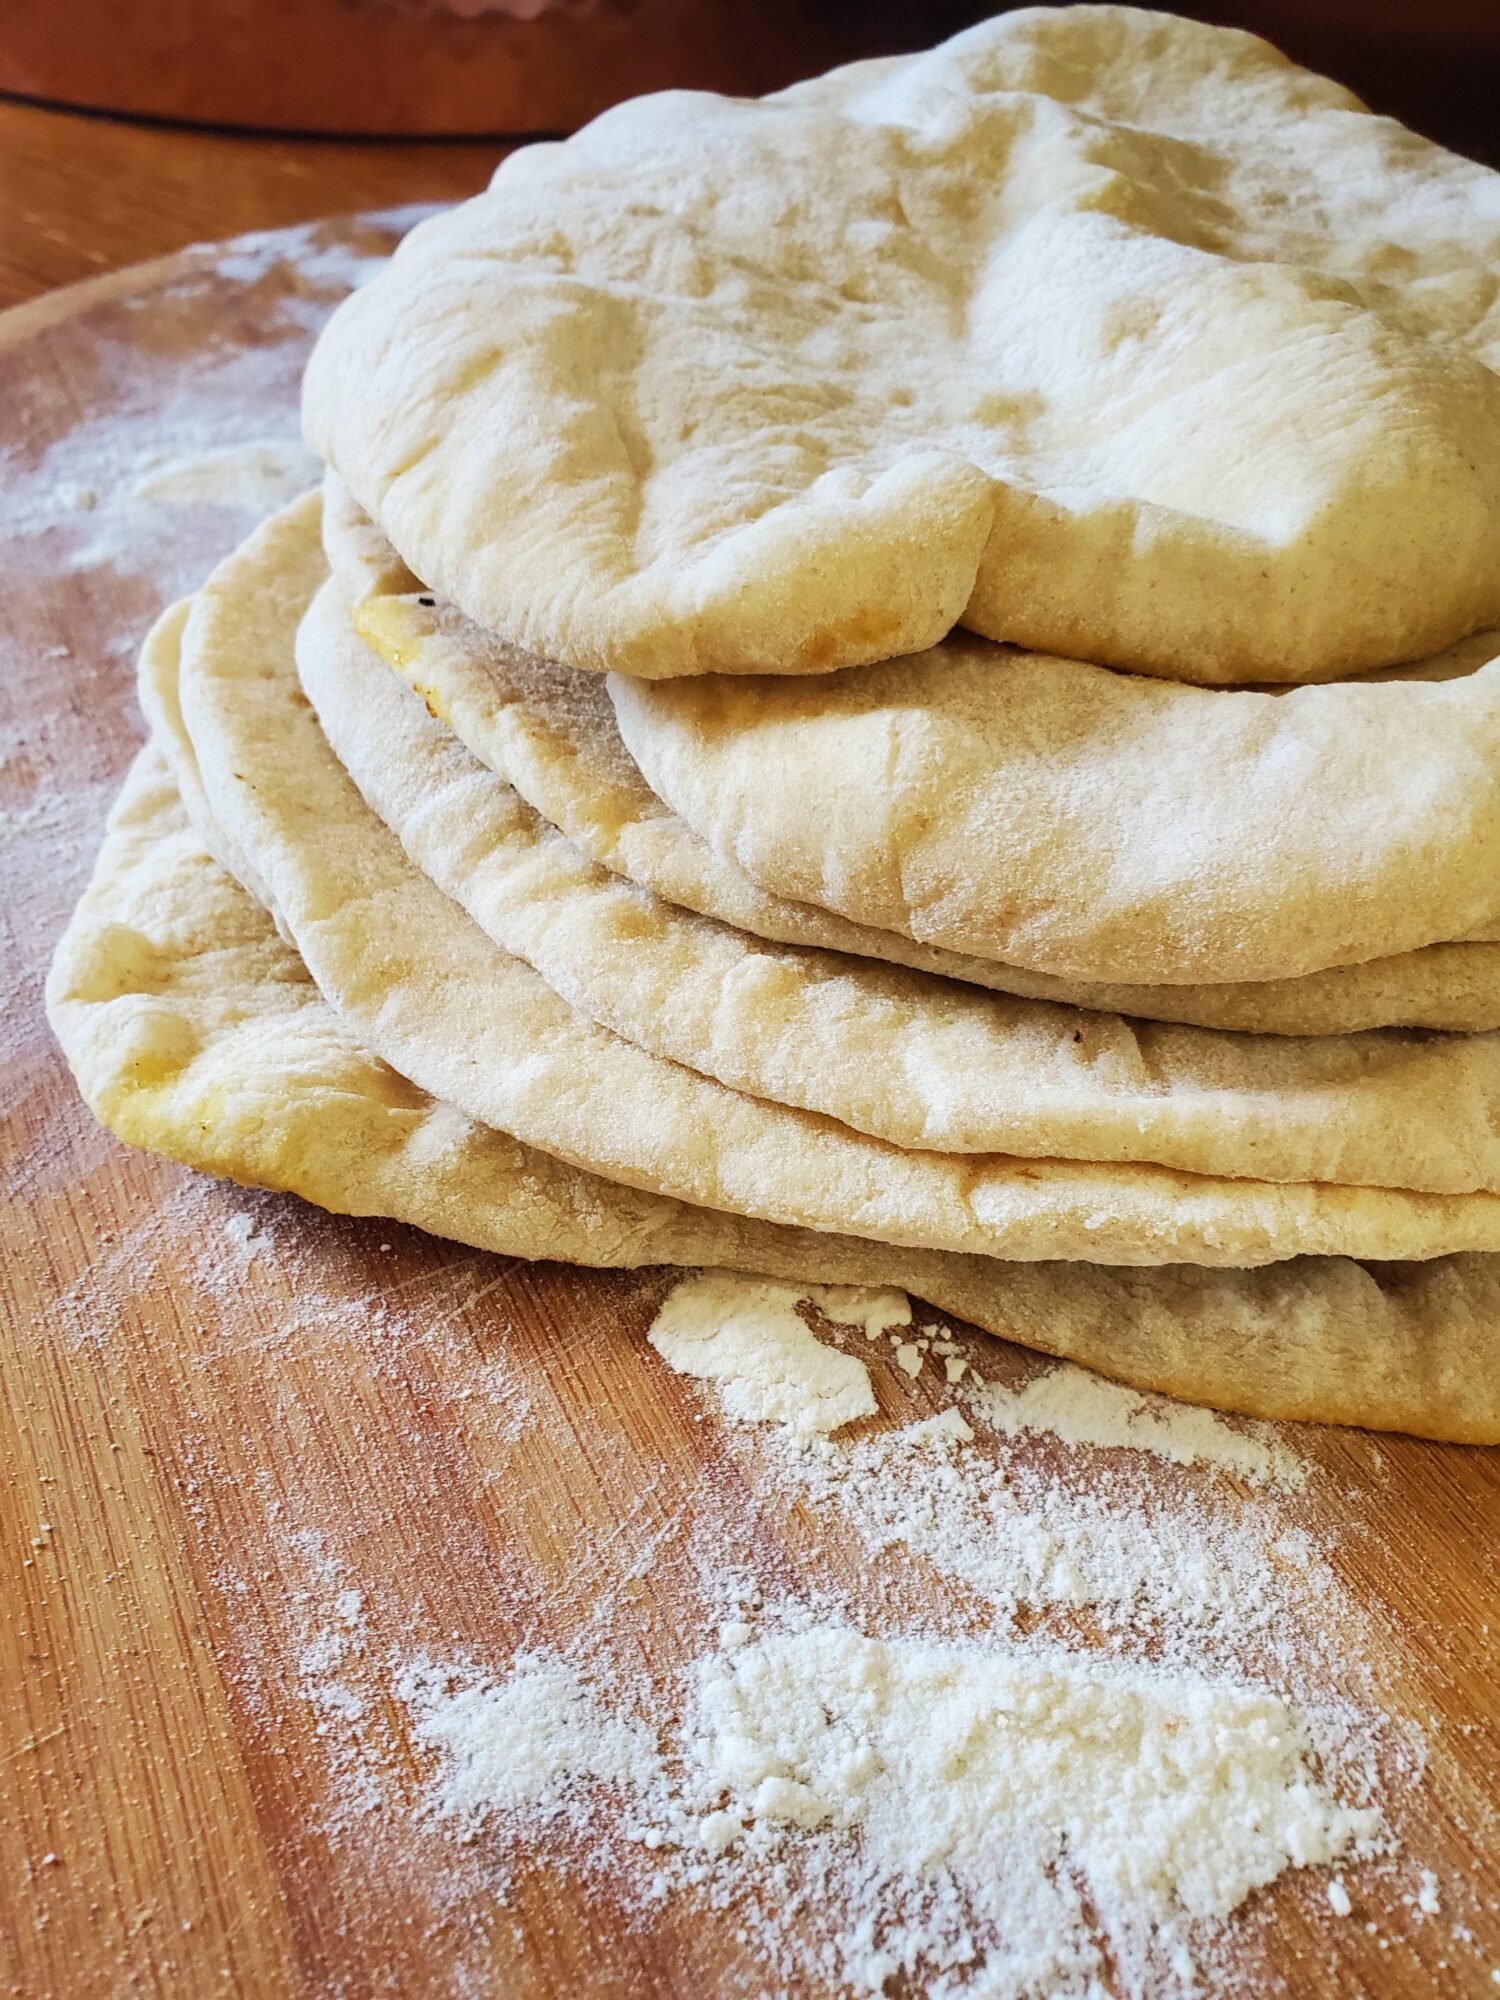
- Bake for 2 minutes, flip and bake another minute on the other side. The dough should puff up and to make that quintessential pocket. Promptly remove from the oven and cover with a towel to prevent it from drying out and cracking.
Tips, Tricks, & Notes
- I've been making pita for years. Every now and then I switch up what recipe I use, although the same basic principle applies. And one thing that I have never quite mastered is getting every single pita to rise and create a pocket! I usually get about 3/4 of them to do it right. If you need a particular number, make sure to make extra to accommodate this.
- With the pita that don't have a pocket, I like to cut them into little triangles and pretend that I also intended to make pita chips!


Leave a Reply