There's nothing that can't be elevated with a little bit of roasted garlic! Roasting gives you a gentler flavor that usually more palatable to the garlic averse. And, to us garlic aficionados, instantly makes for a sweeter, almost caramelized flavor.
You can substitute roasted garlic in any recipe that calls for garlic. Although since roasting it provides a more subtle flavor, you may need to add more to compensate. The longer the roast, the more the bite of traditional garlic dissipates.
Personally, I roast about 2 or 3 heads of garlic a month and just keep it in the refrigerator until I find something that I think might be better with roasted garlic.
If you ever see any recipe that calls for it, you can easily substitute unroasted garlic, just cut the amount in half. Roasted garlic has a much subtler flavor and you can get away with more of it. So, just don't do a one-to-one ratio unless you want to cross off the rest of your social calendar for the day!
Although we are during a global pandemic right now where you're not supposed to leave the house right now... So maybe garlic away!
Do I Need a Garlic Roaster?
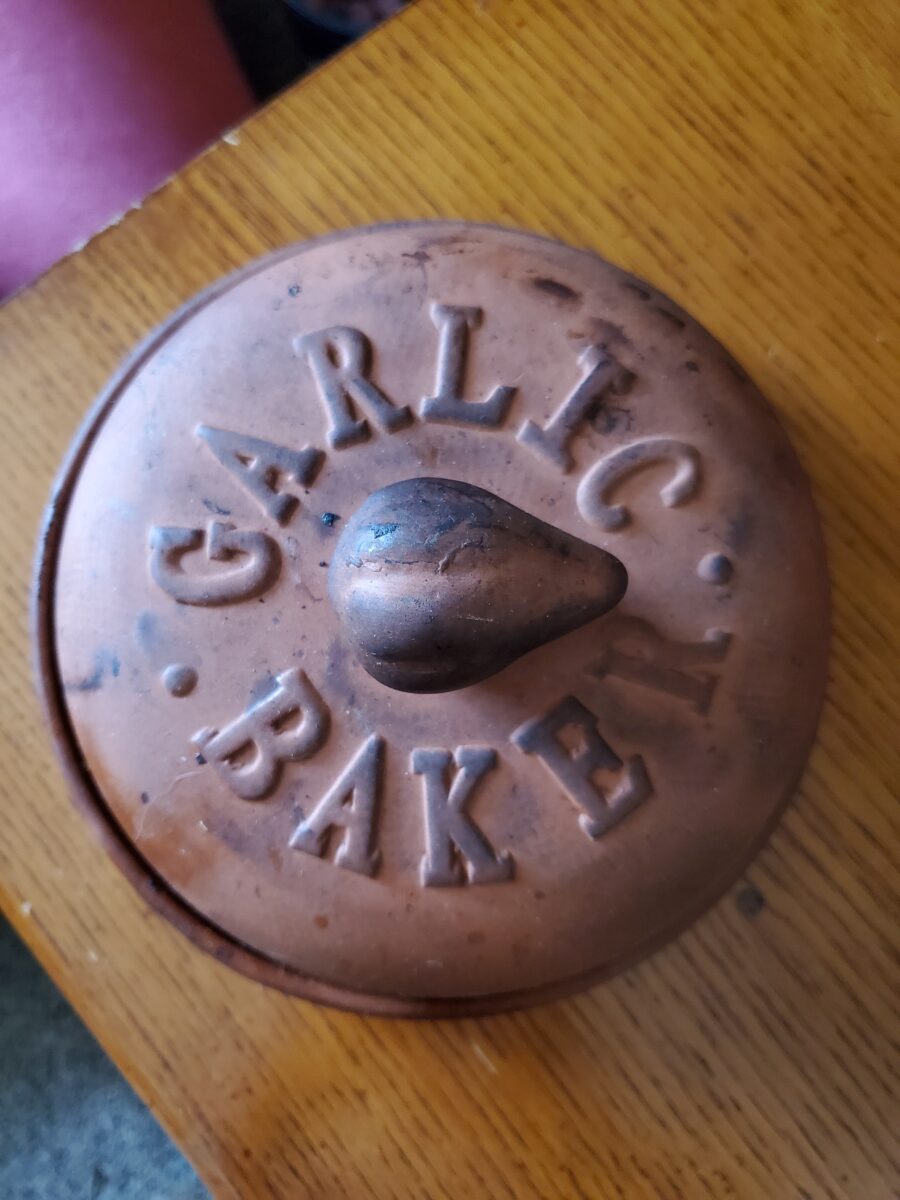
I roast my garlic for about an hour in a garlic roaster. This might sound like a ridiculous kitchen gadget, but bear with me!
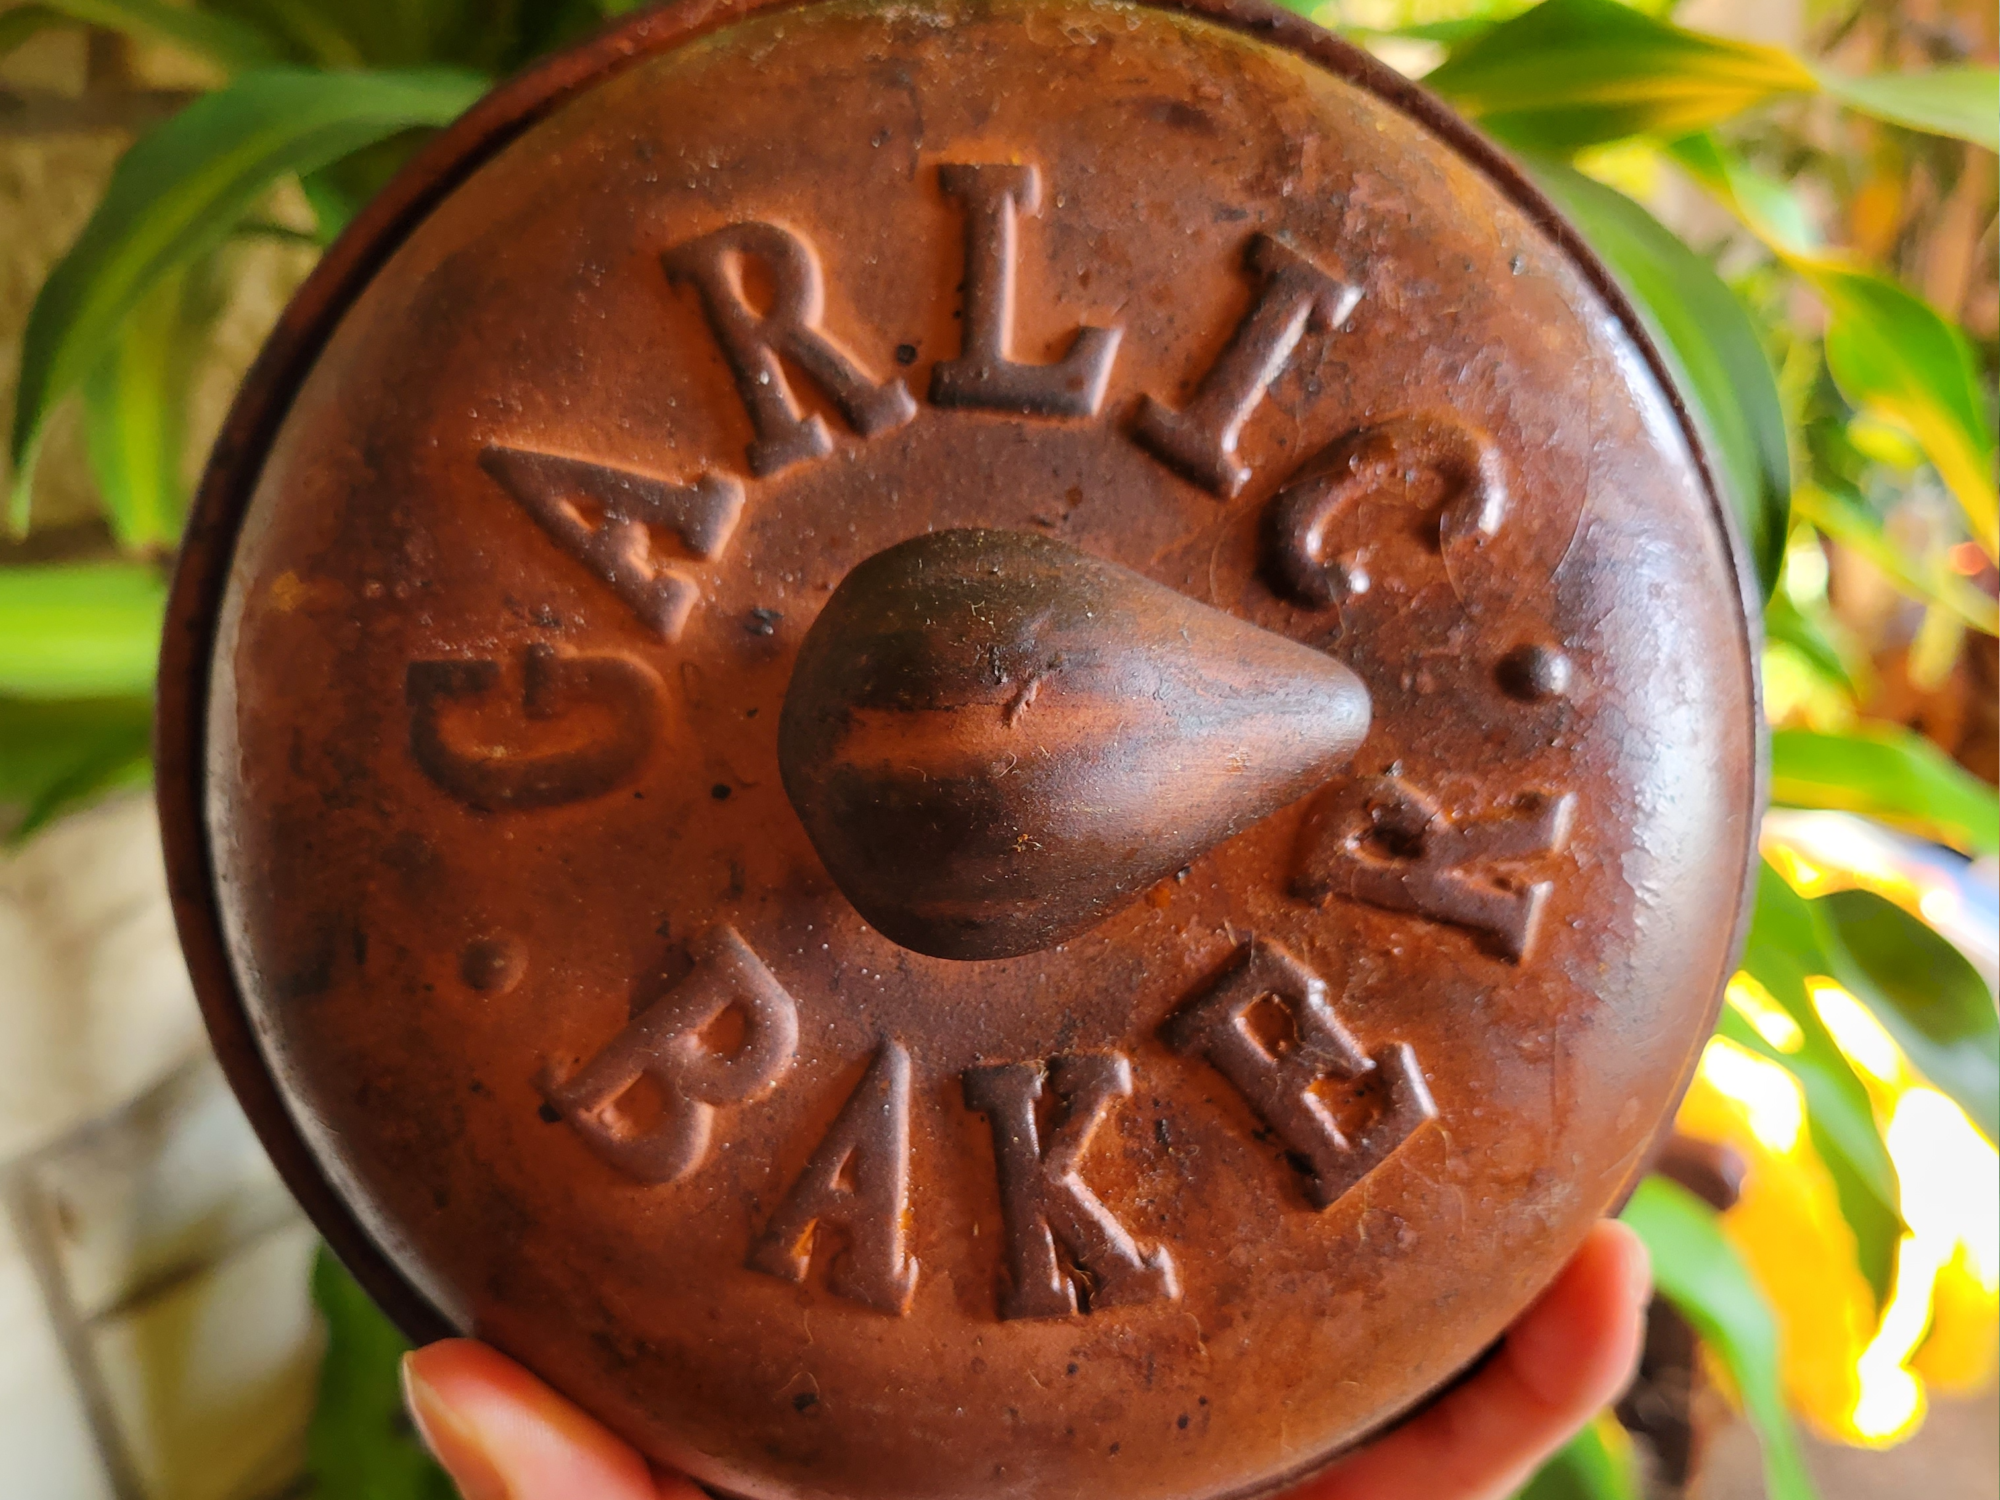
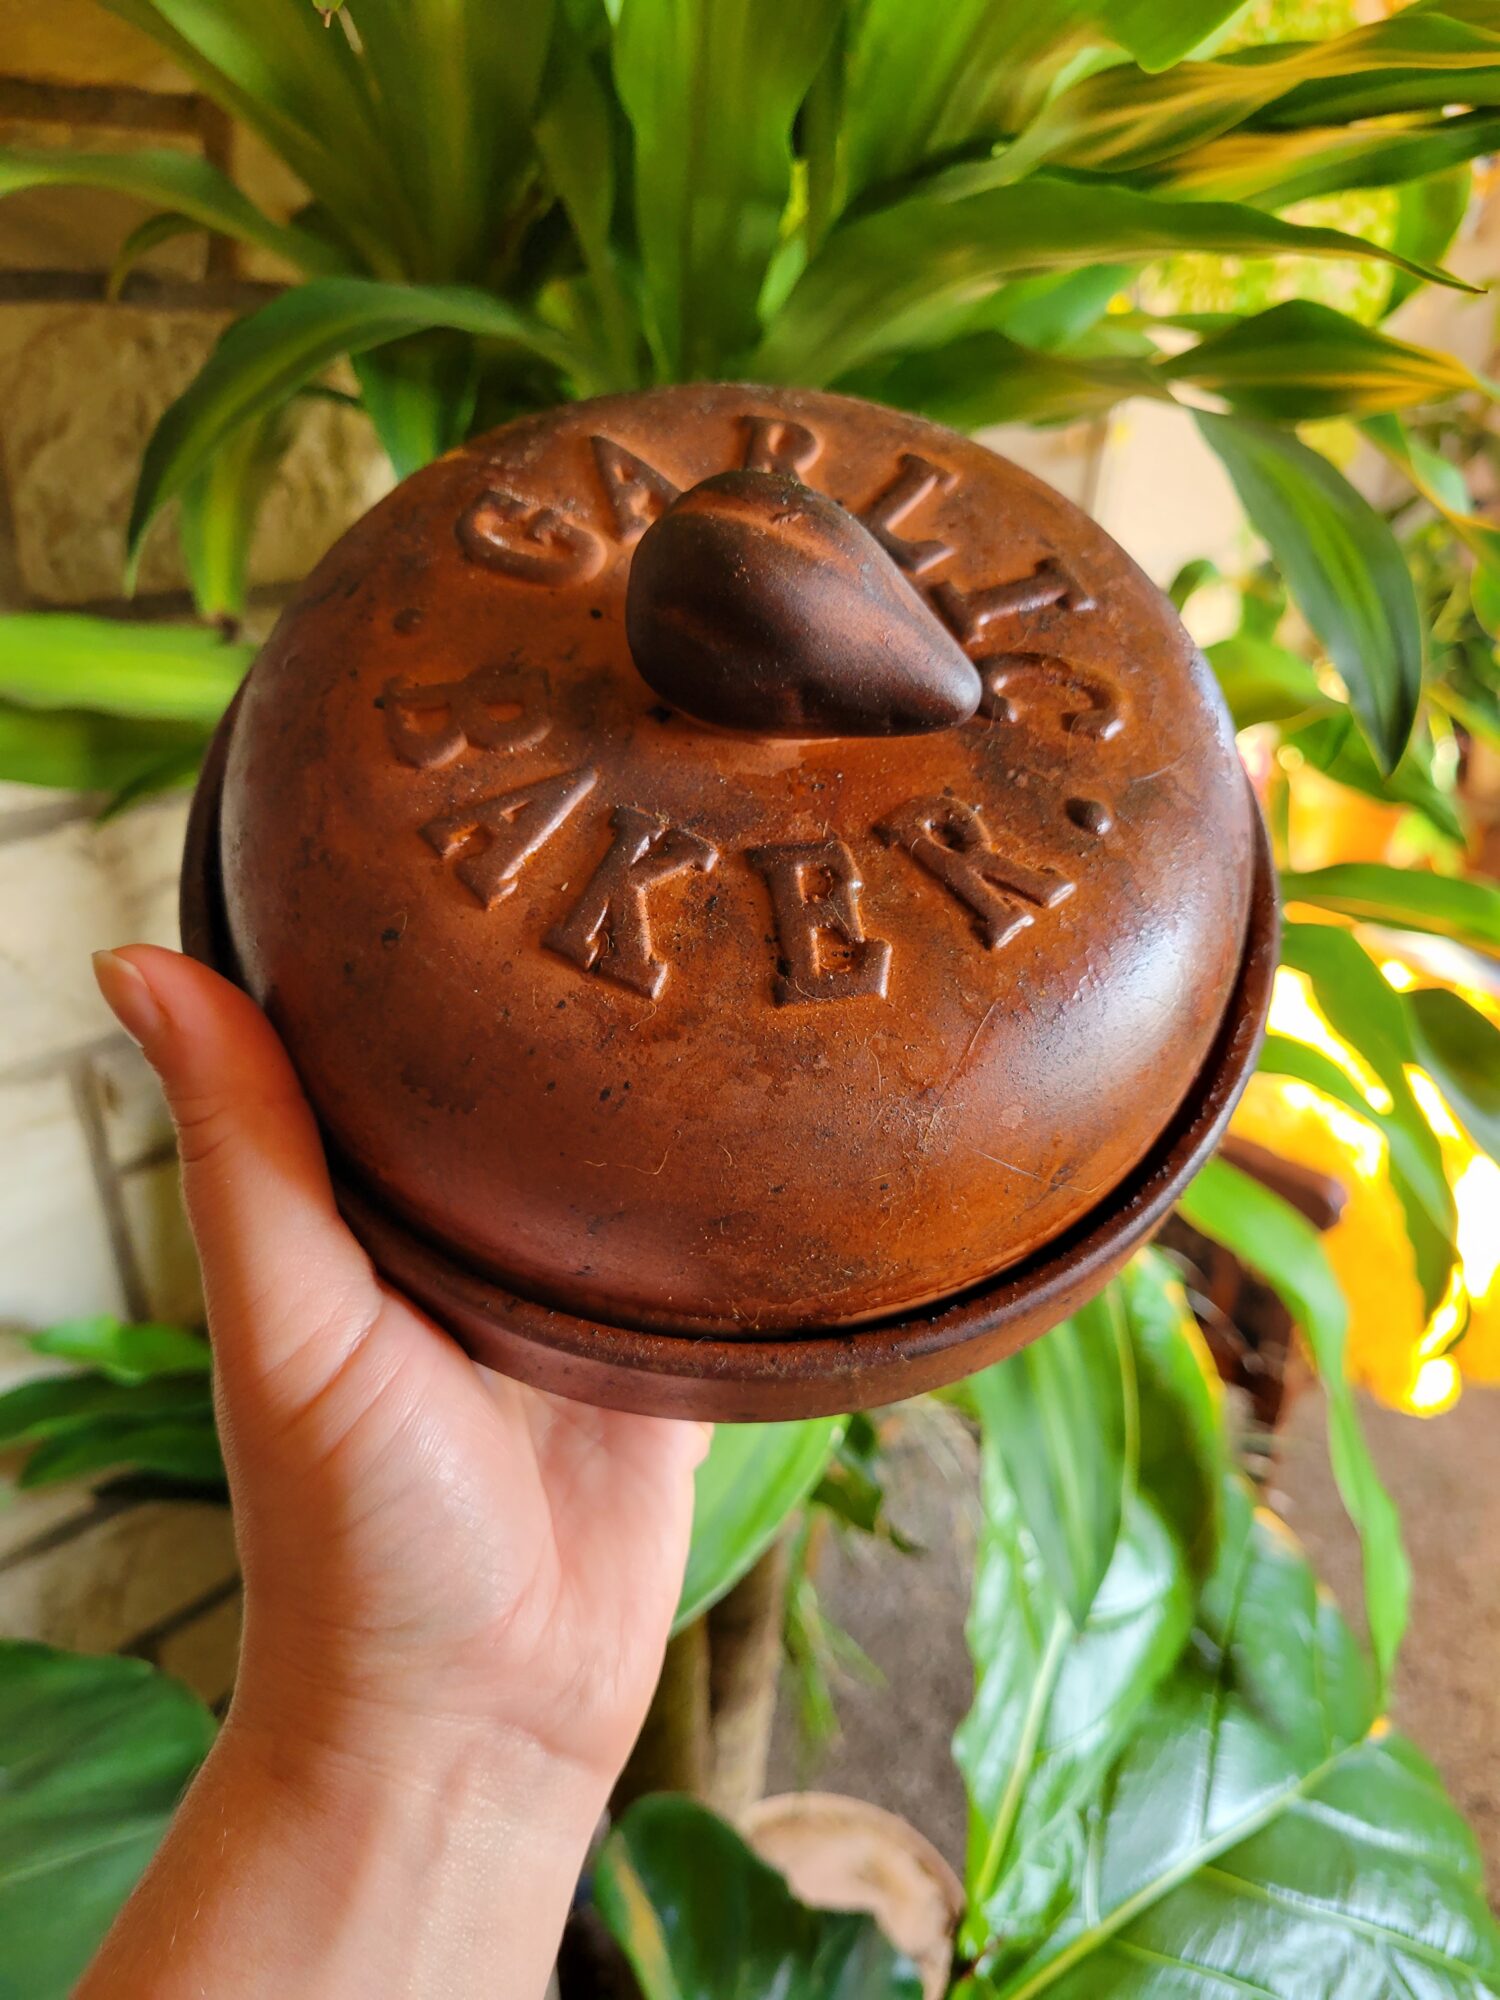
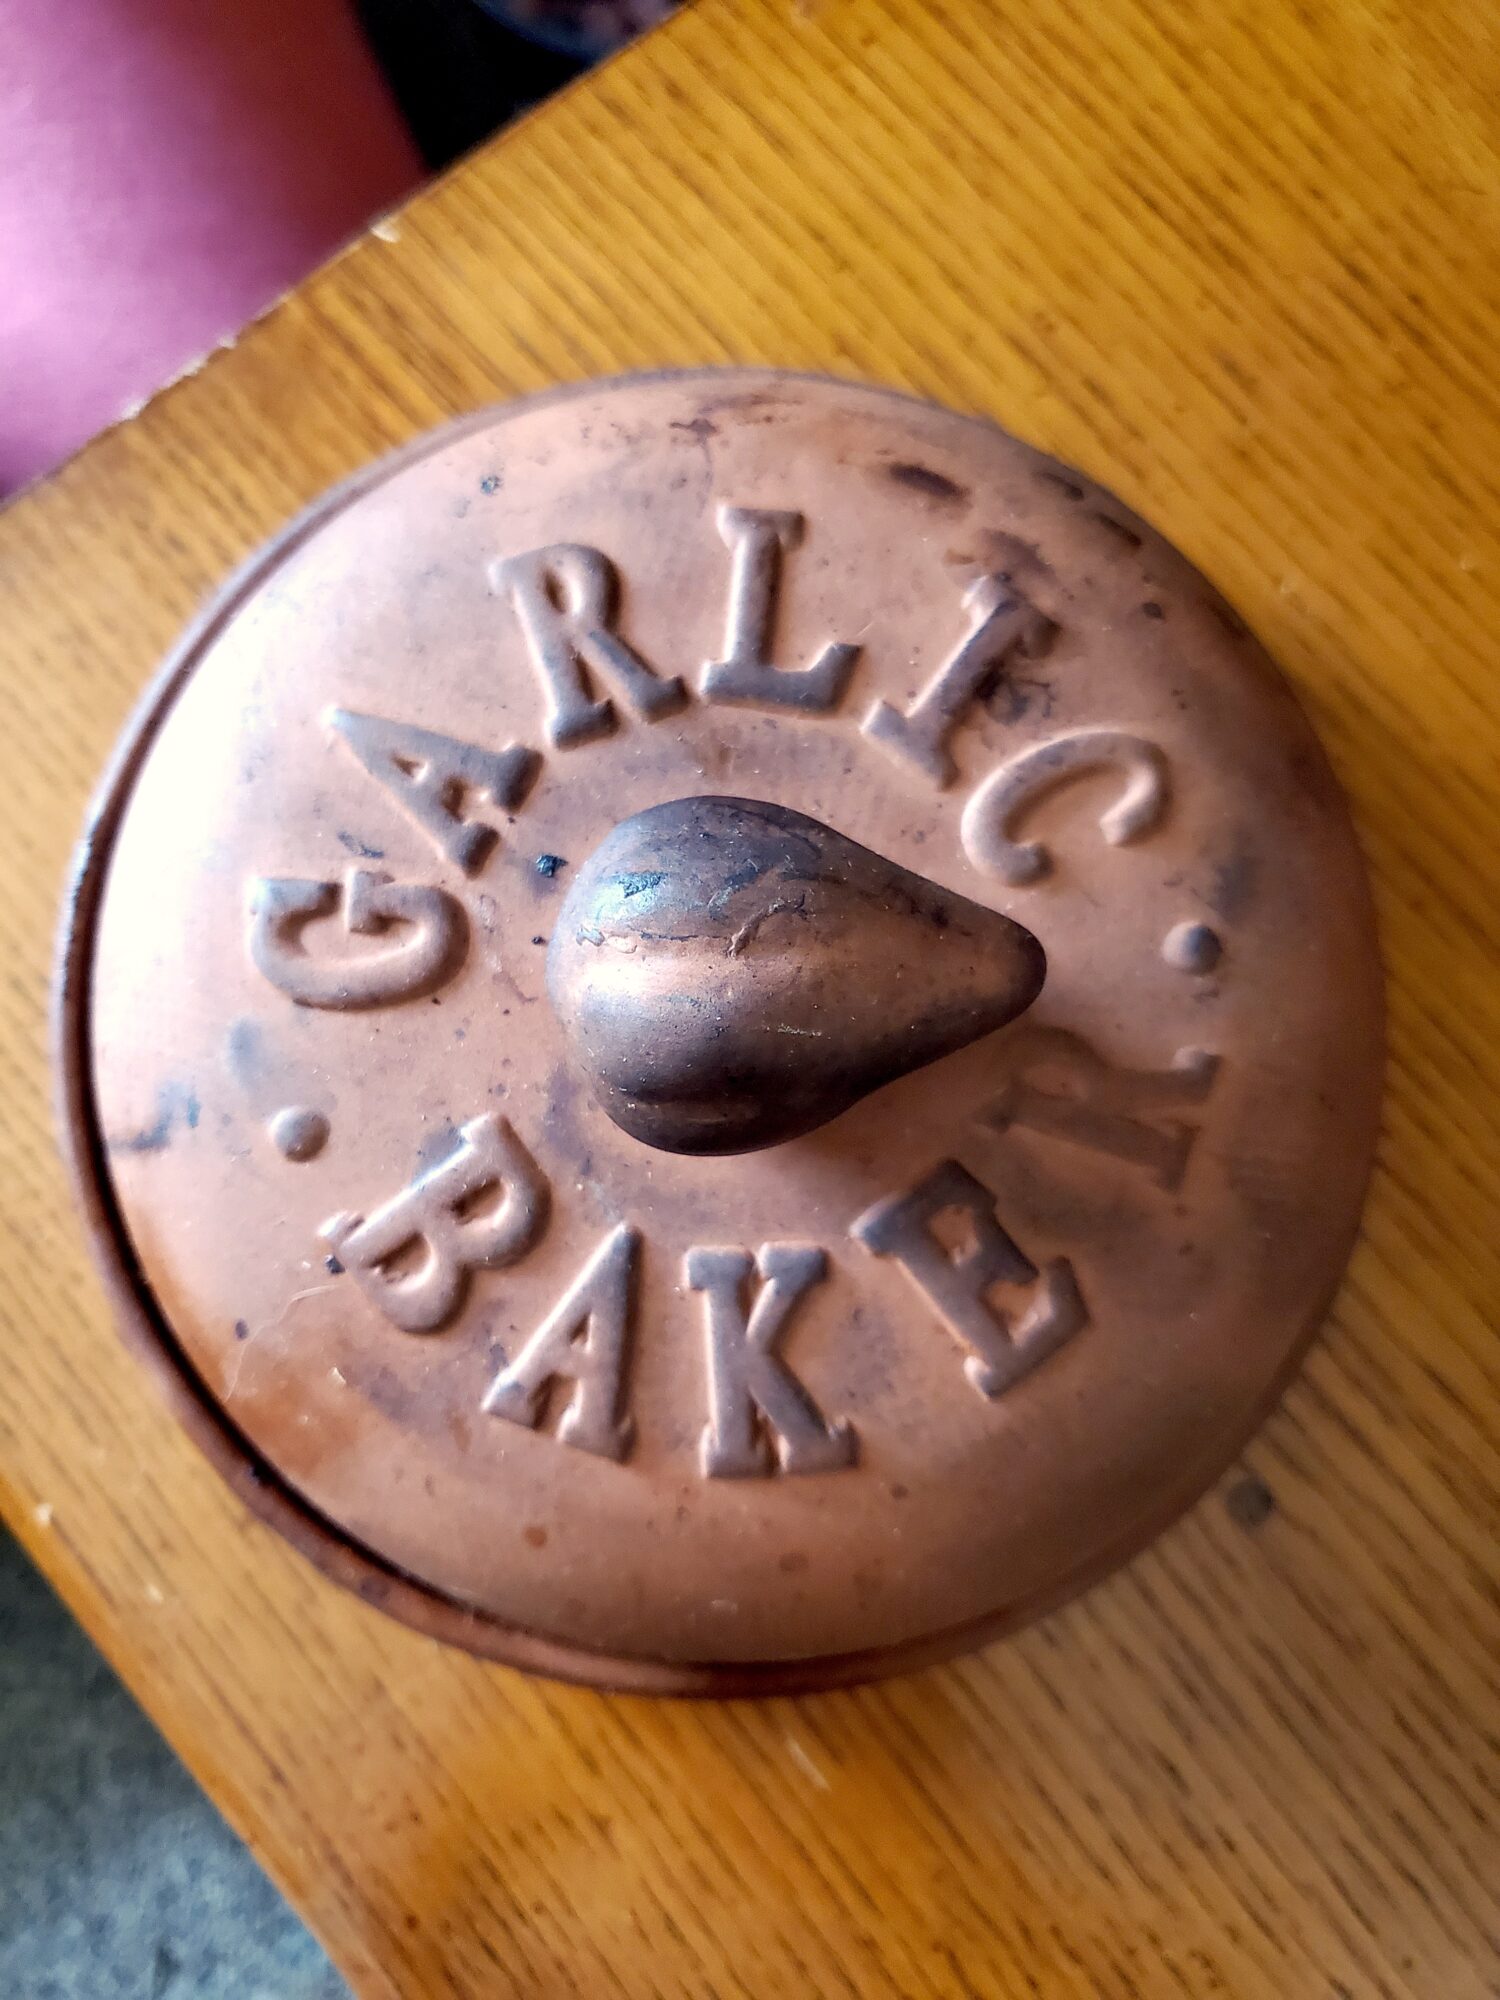
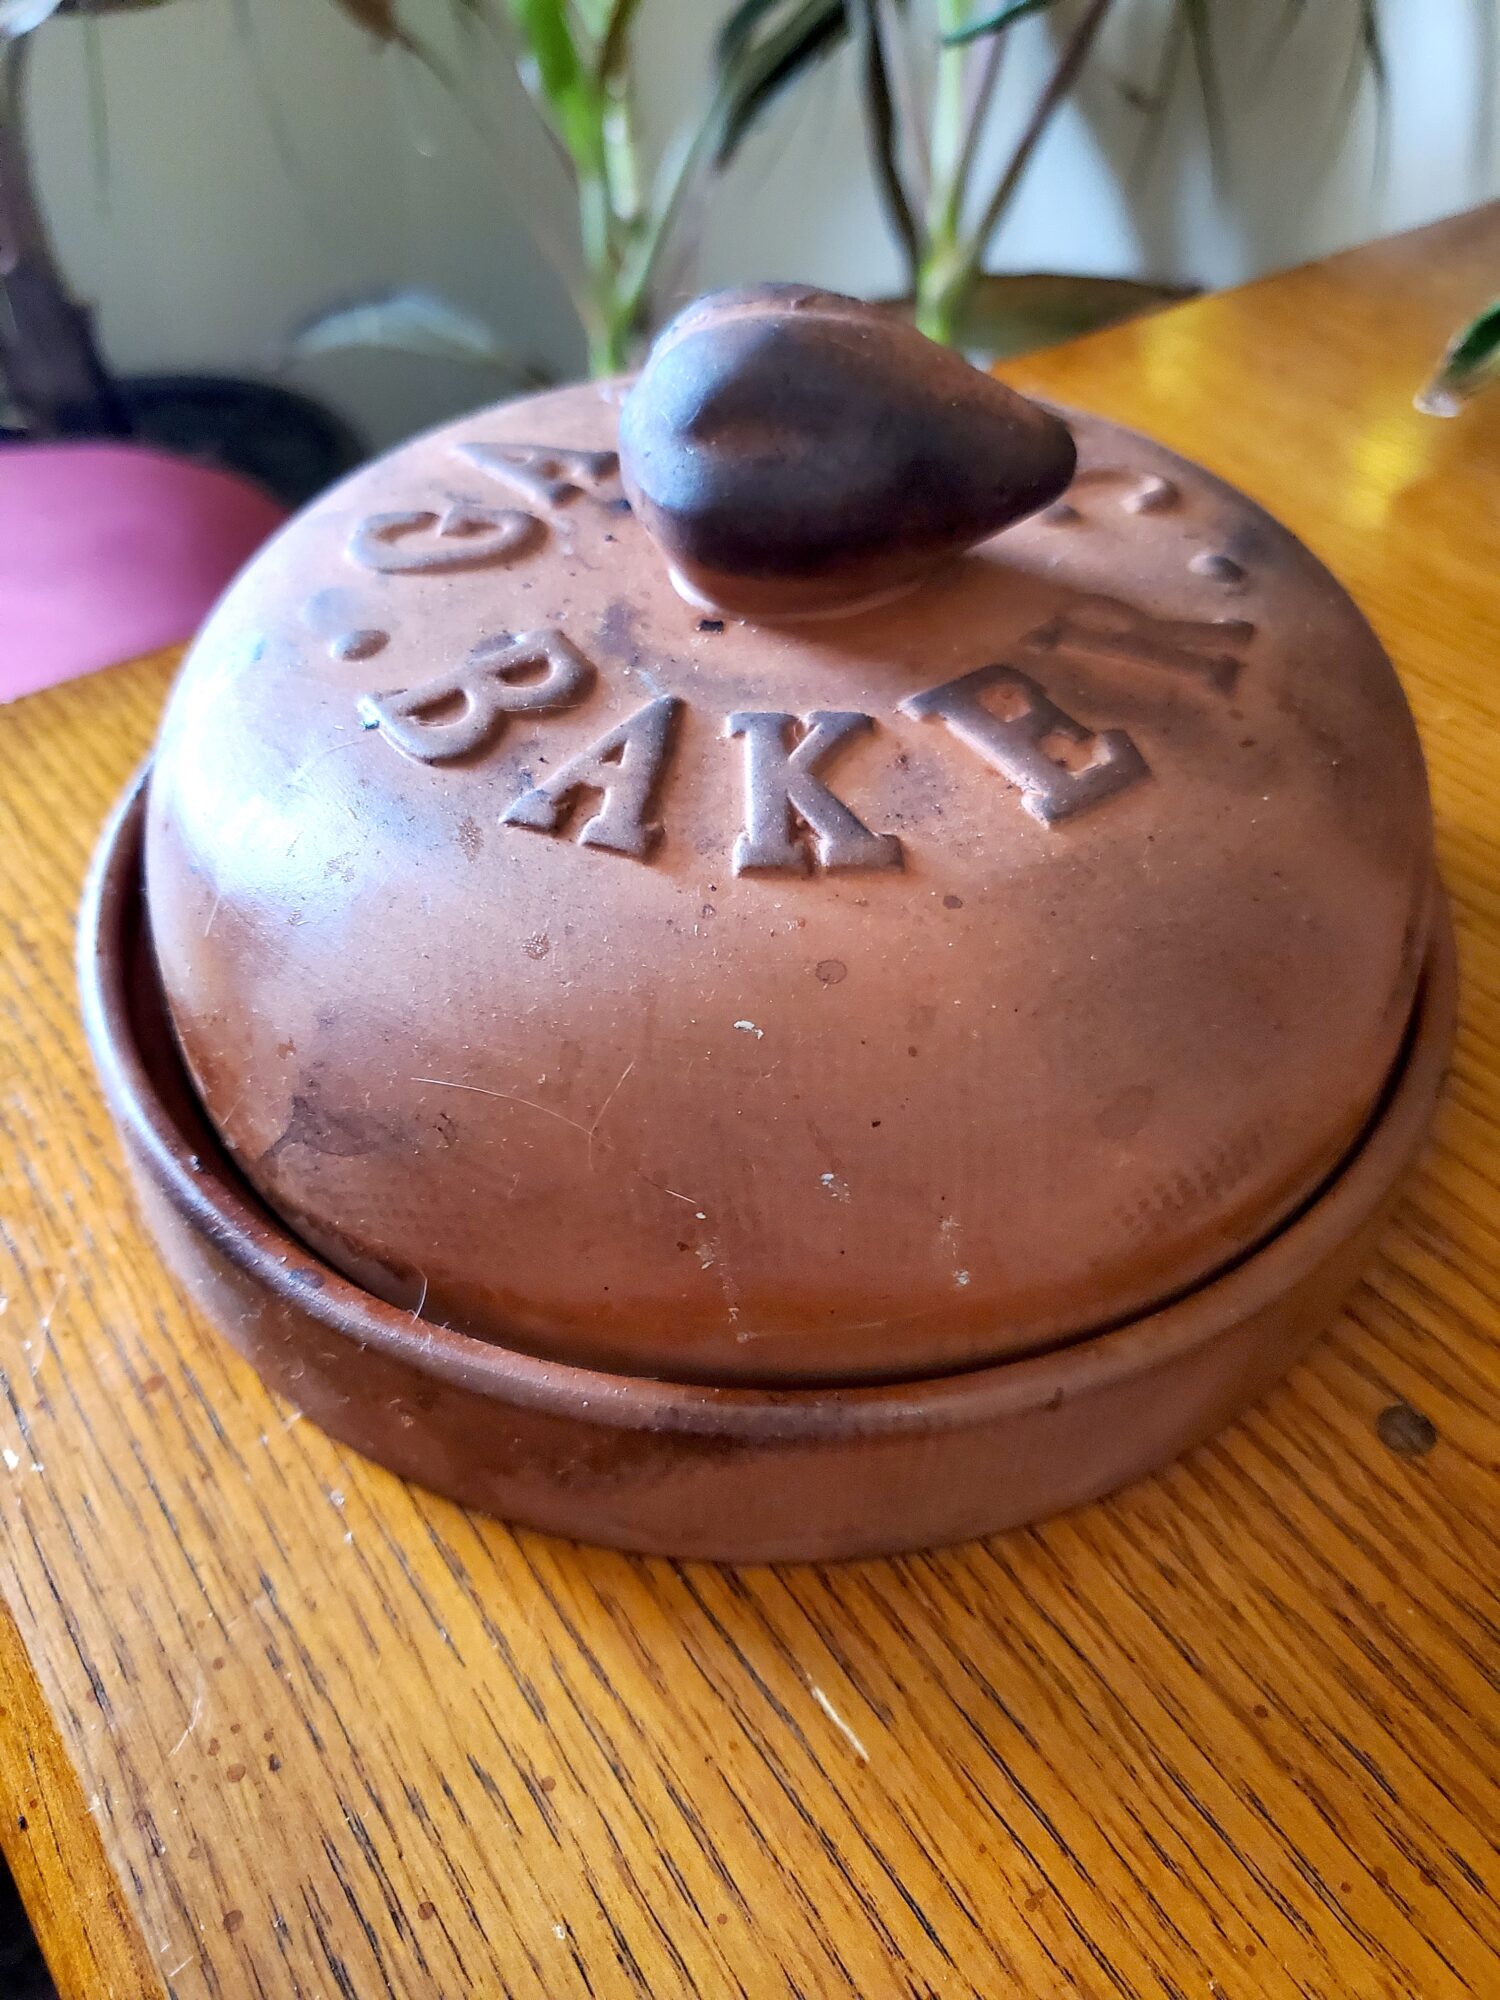
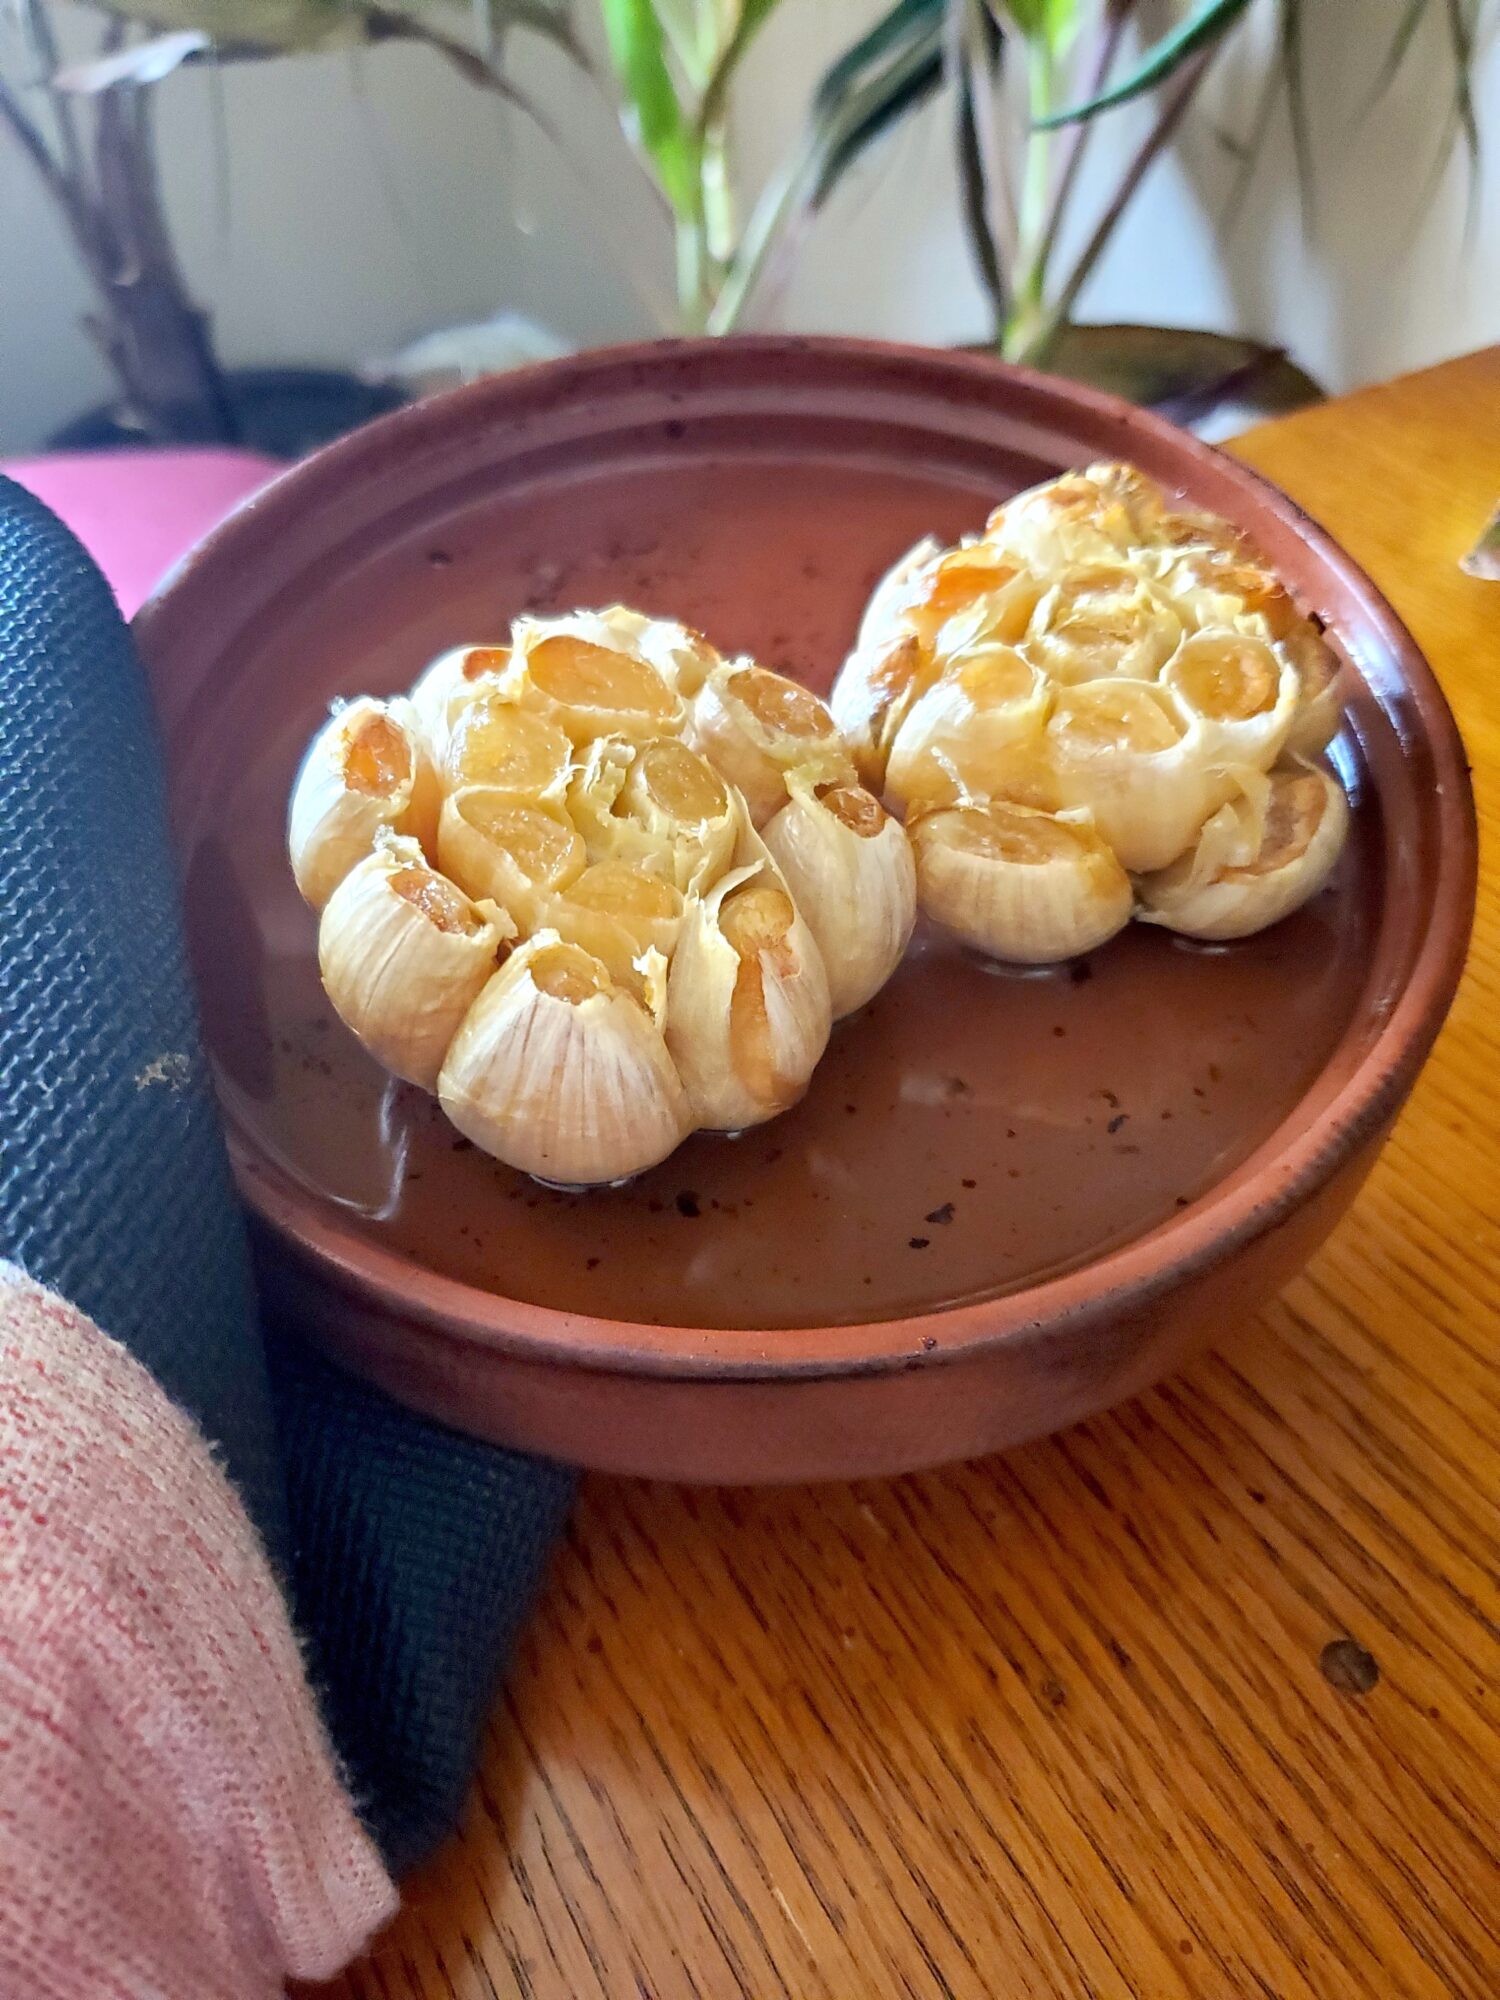
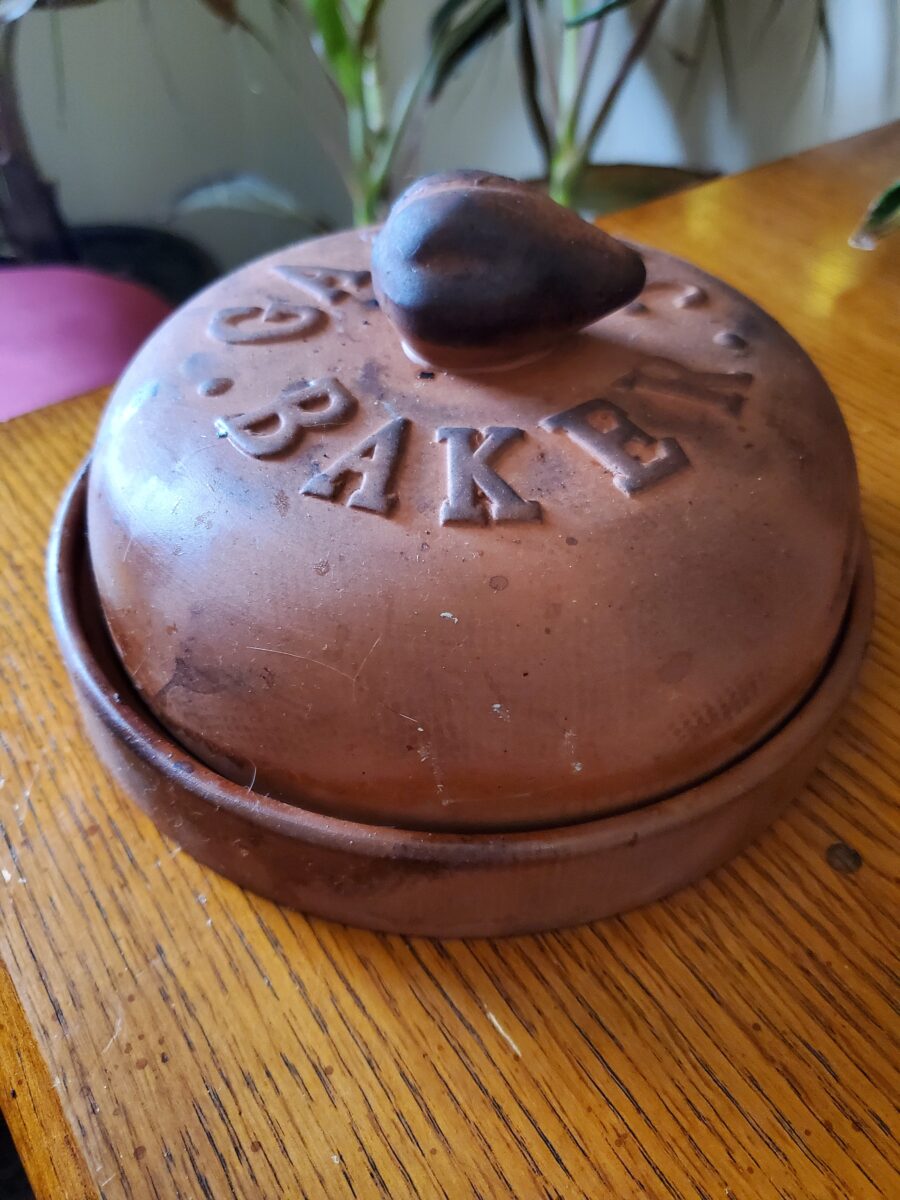
A garlic roaster is a ceramic dish with a domed top specifically designed for roasting garlic without charring it. It's not necessary. You can easily substitute wrapping the garlic in aluminum foil. This will give you a deeper, more intense color faster. This is also means that you need to be more careful not to burn the garlic because it's more exposed to the heat of the oven!
The garlic roaster creates a little oven inside an oven, though. This acts much like a double boiler would on a stovetop, so you can cook longer without risking overcooking. I definitely prefer it.
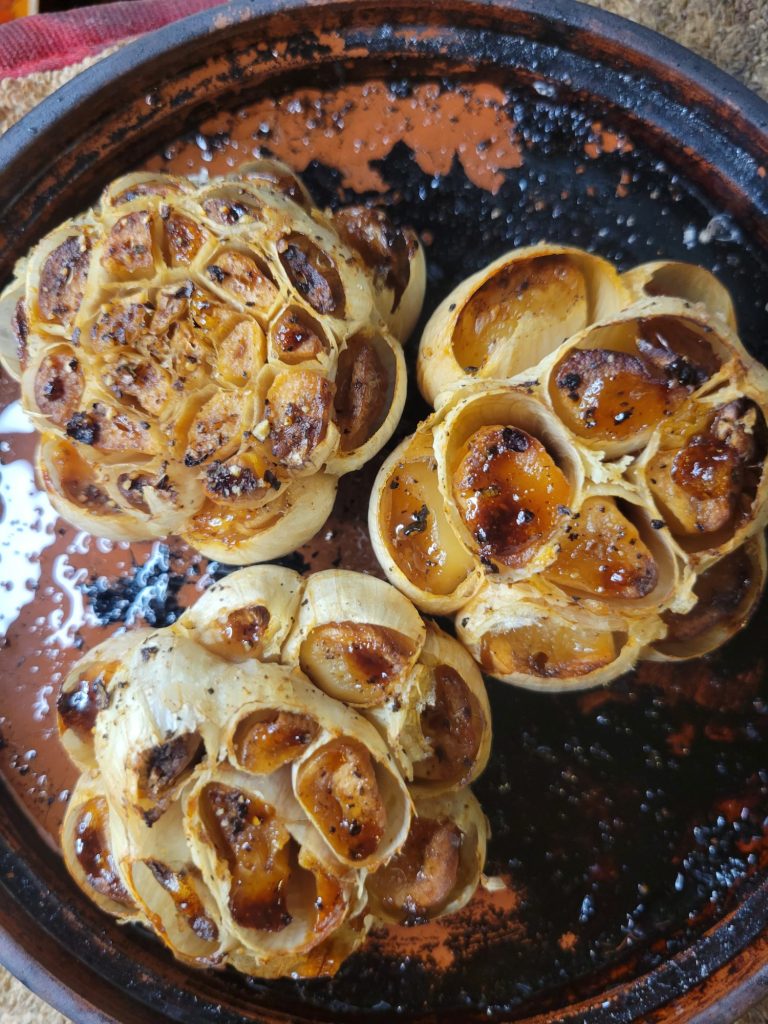
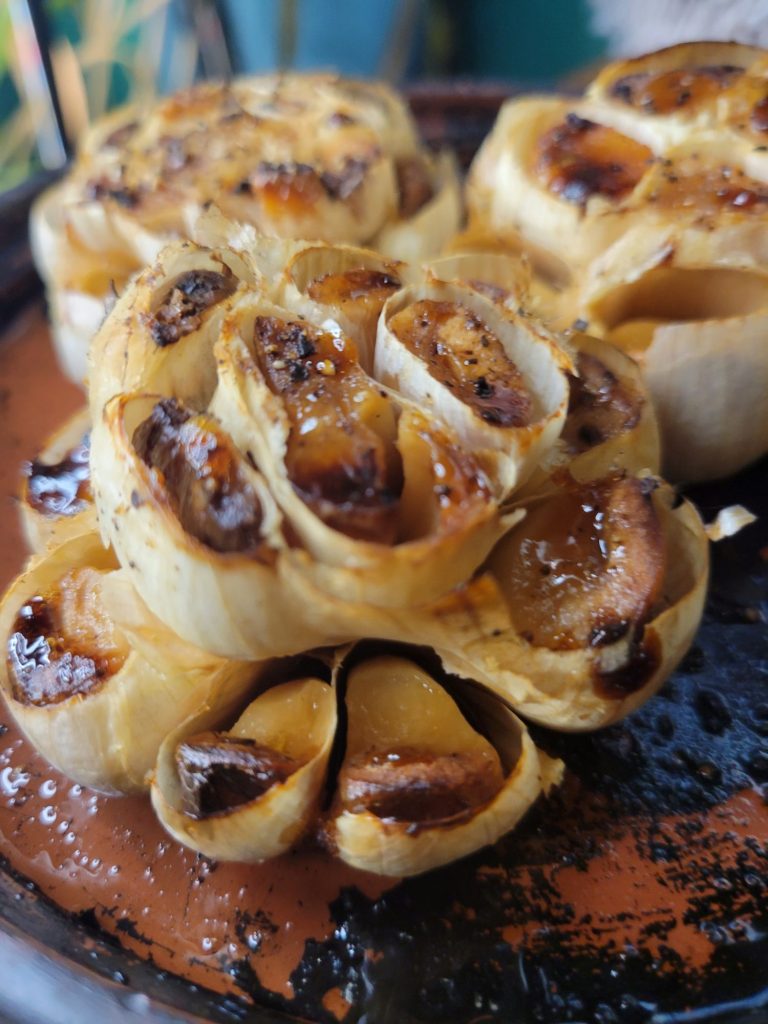
You see a lot of people roasting garlic and they get these absolutely gorgeous Instagram photos of these garlic heads that look like they've been charred in a fire pit. And, though these look delicious! I hope that some of that darkening is over-corrected because those are burnt. You want a gentle caramelization and no amount of that is going to overpower the charred flavor.
That isn't to say that you need a garlic roaster. I did do the foil method for years and it works just fine! For a longer roast, just turn the heat down slightly and watch it a little more to keep the garlic from burning.
Garlic comes out of the ground with an incredibly sweet flavor. It's almost impossible to find this way outside of your own yard or a farmer's market. But a freshly picked clove of garlic is incredibly delicious raw. It both feels and tastes like a mashed potato.
When you dry garlic, though, it settles into a more intense, bitter flavor. Which is absolutely not something that you would willingly bite into!
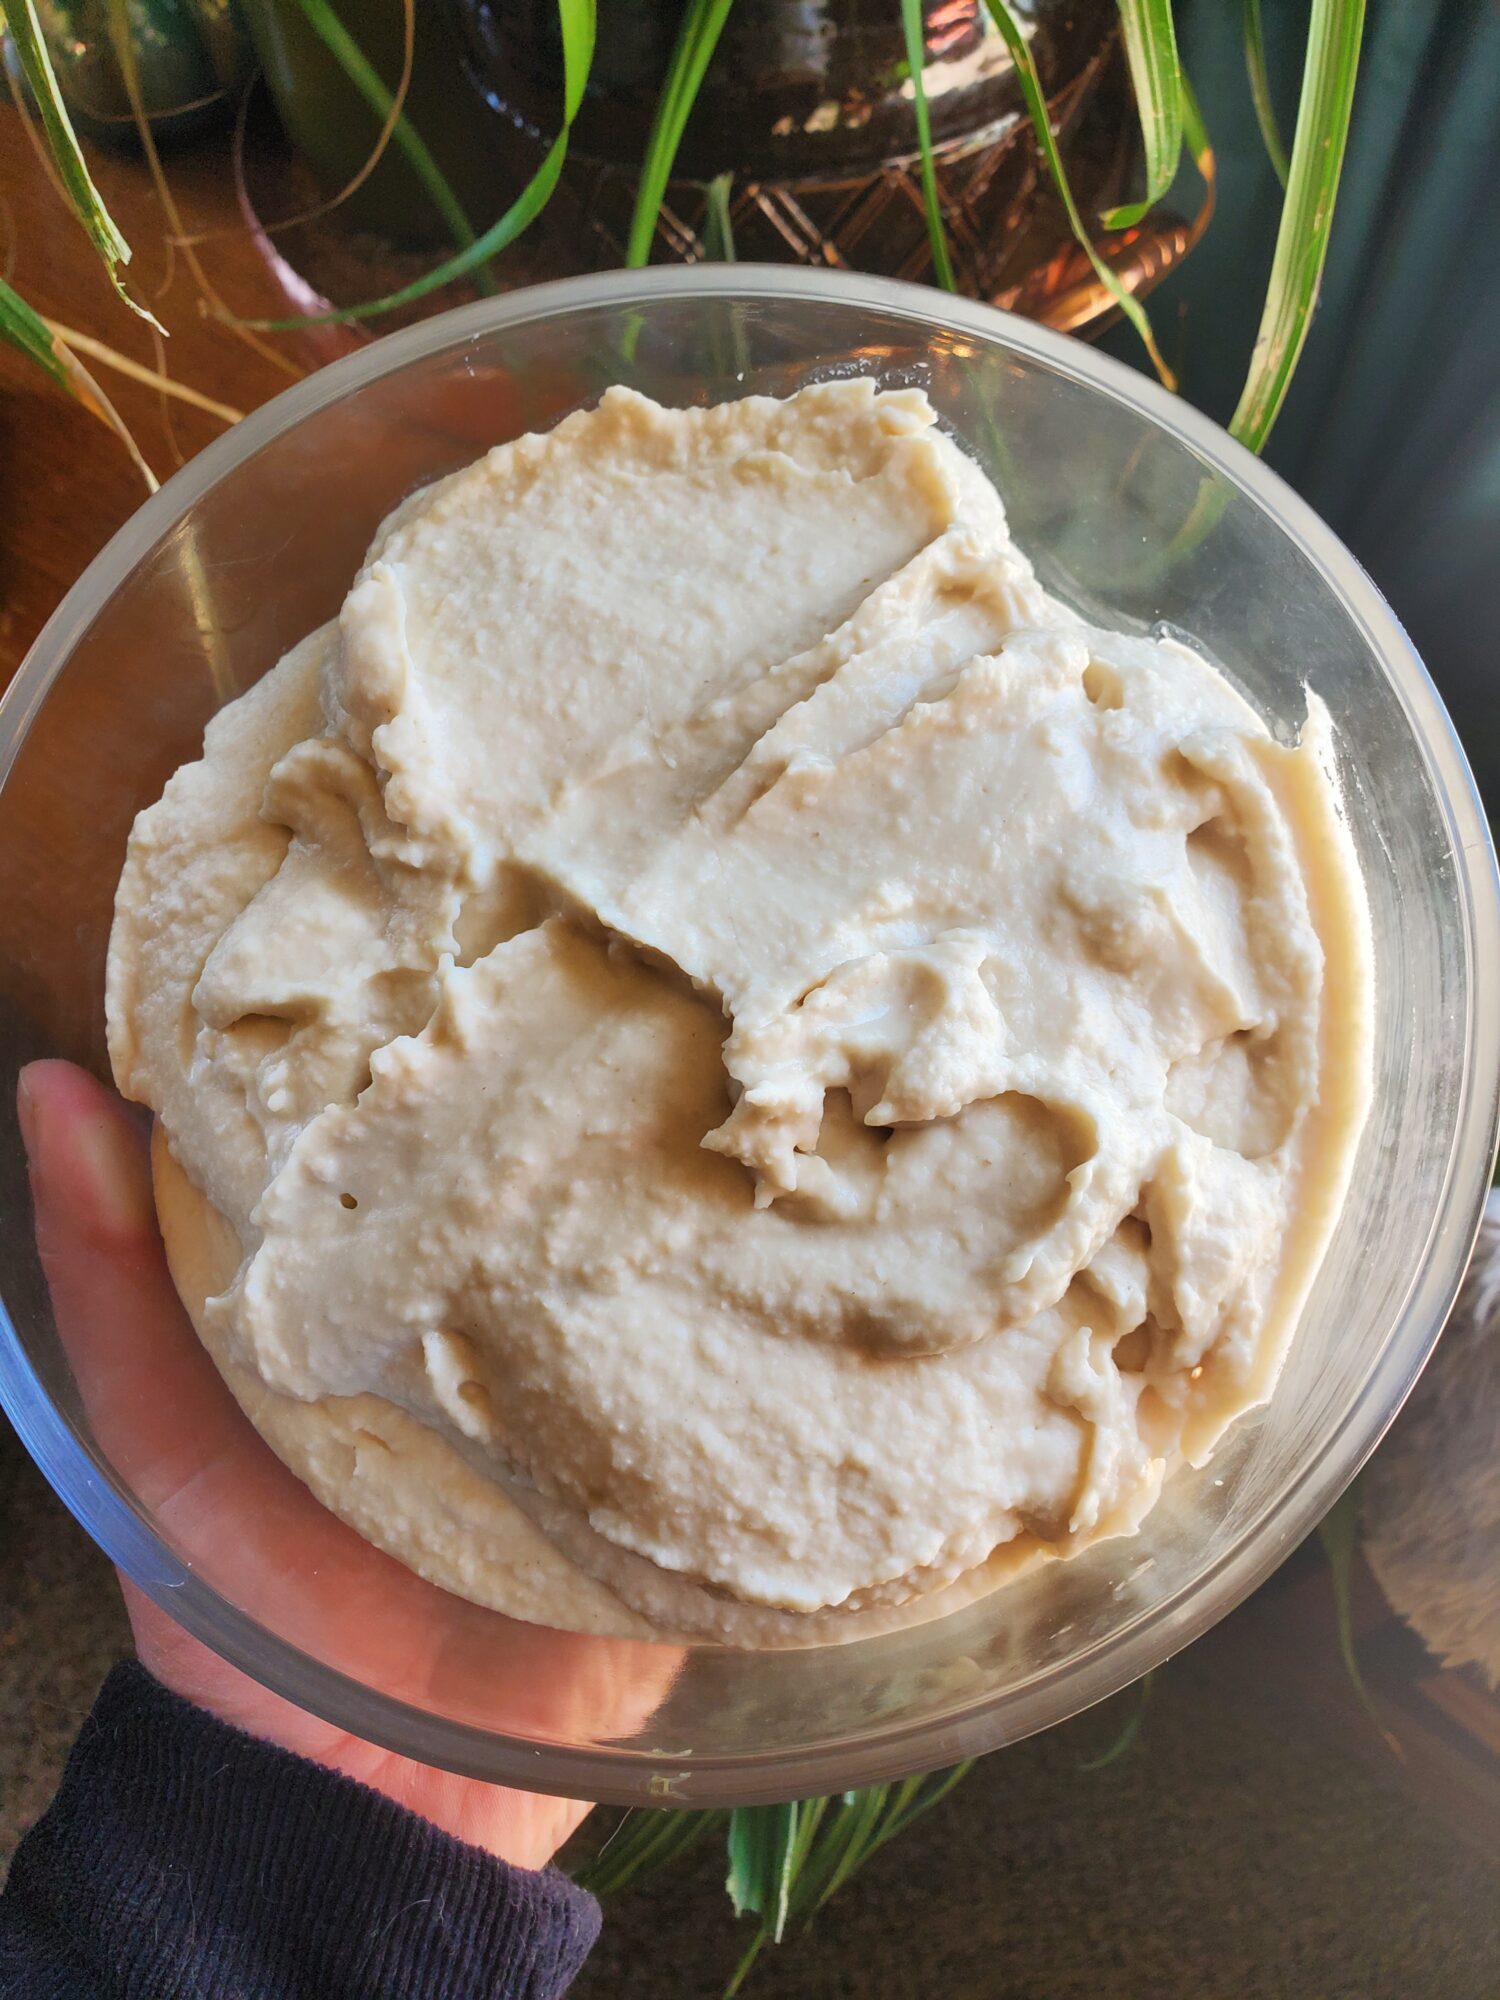
Roasting the garlic adds a more subtle flavor back into the bulbs, though. It has a much sweater, richer flavor and a consistency that will almost melt in your mouth. A lot of the time when I use roasted garlic, I don't even bother trying to chop it up, because it will virtually dissolve into the dish.
Gallery
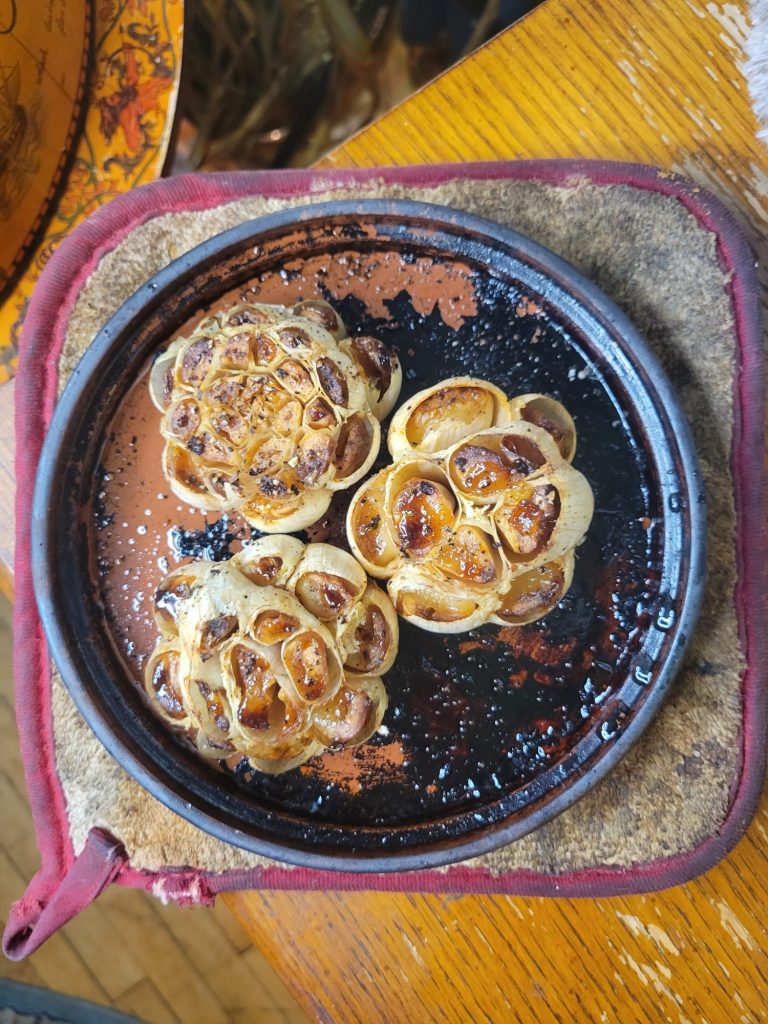
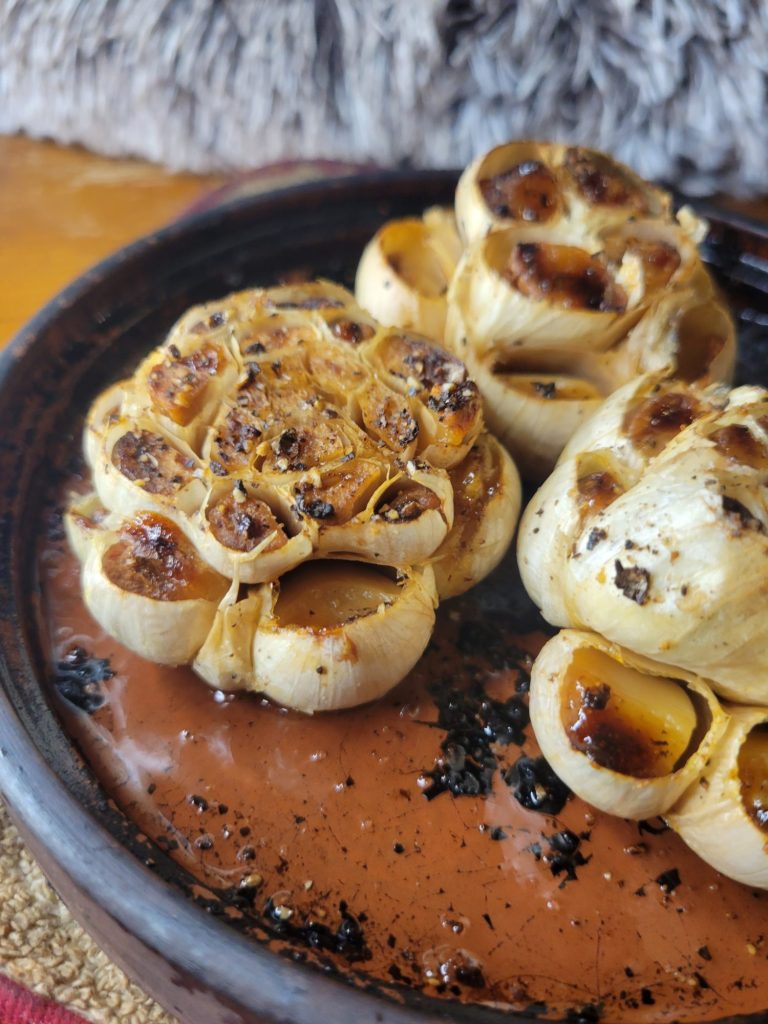
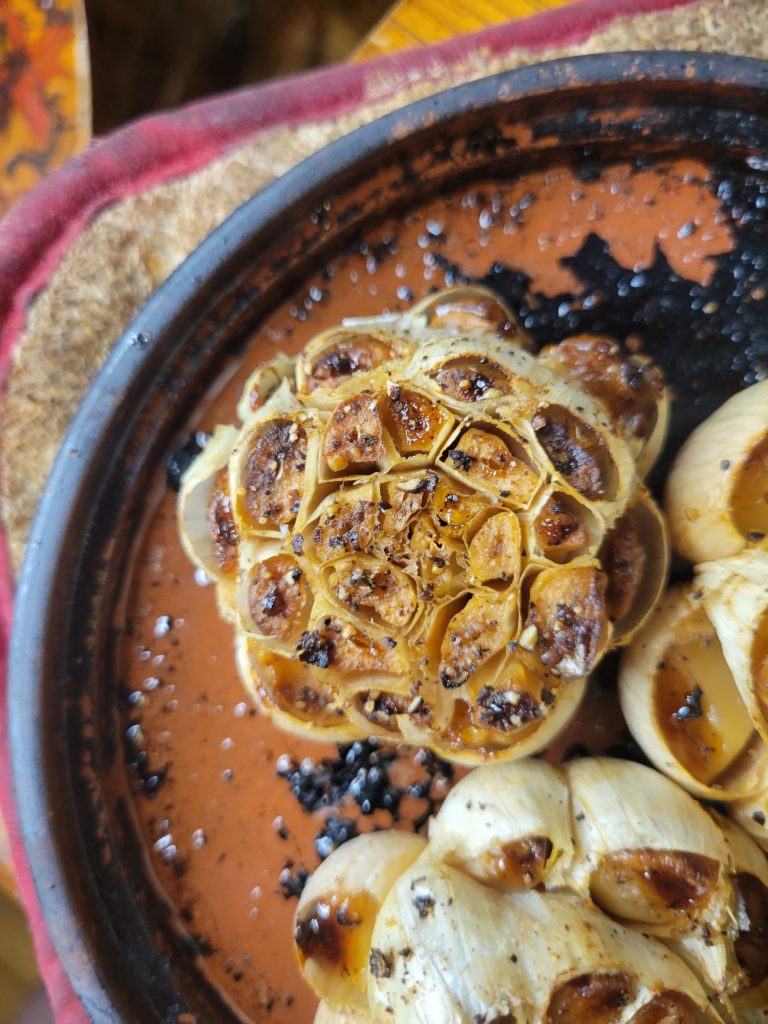
I, honestly, don't clean my garlic roaster nearly as much as I should. I also keep it in the warming drawer under my oven (yes, that is what that's for), so sometimes things do drip down onto it. This is what that's going to look like after years of wear like that! It's still usable, but far less pretty than it used to be. Although I do still prefer it to aluminum foil, which can add a slight metallic taste.
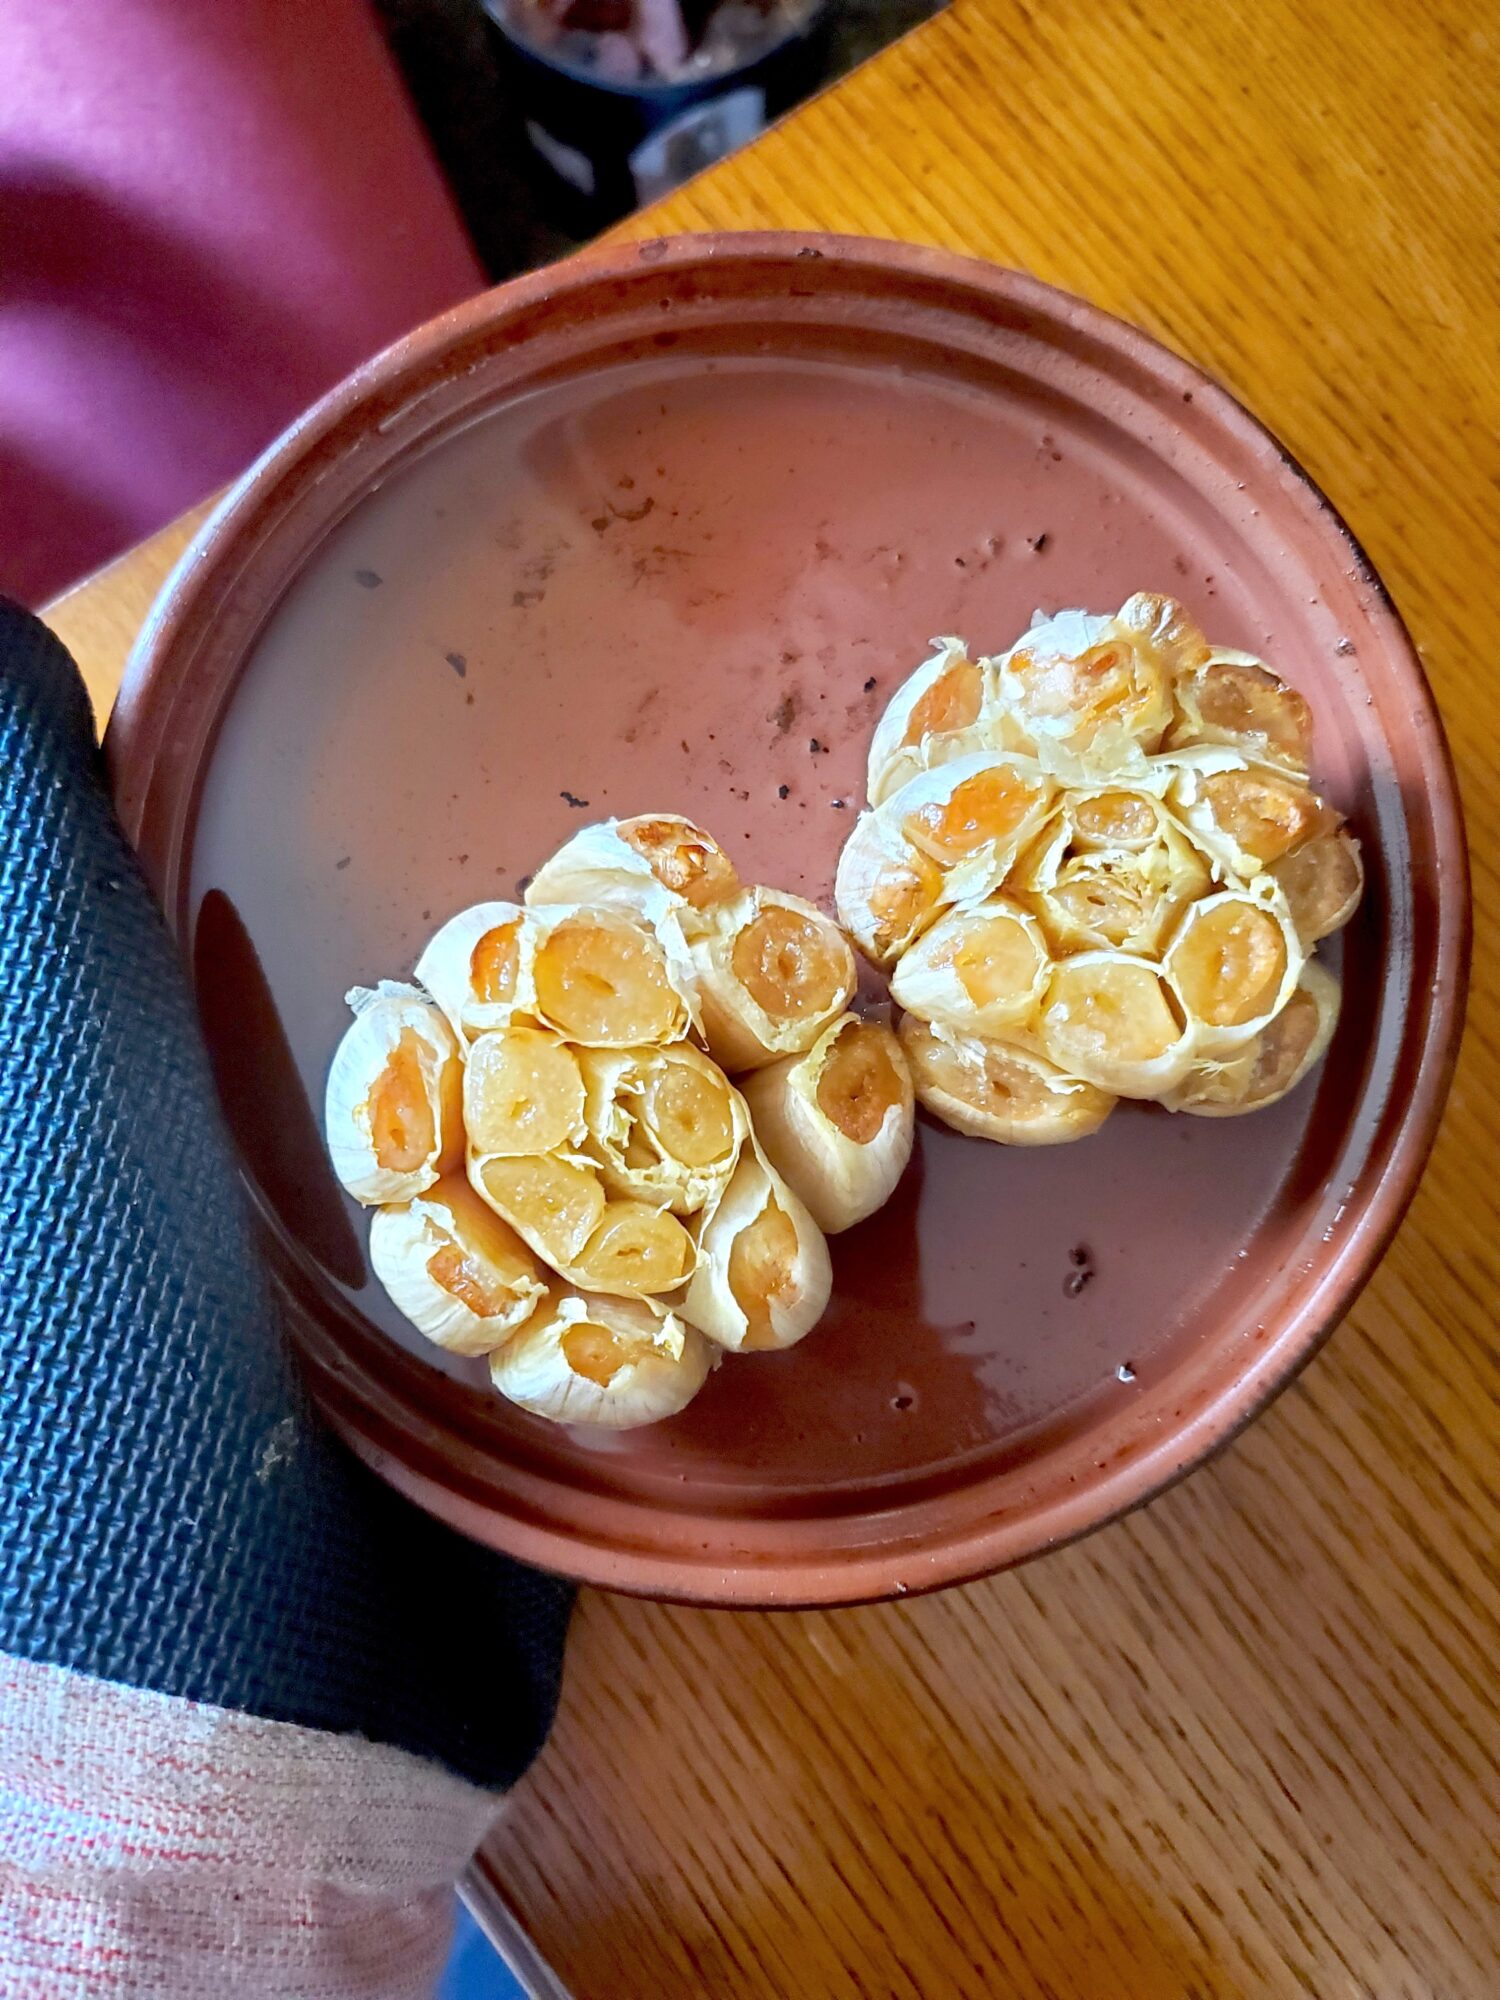
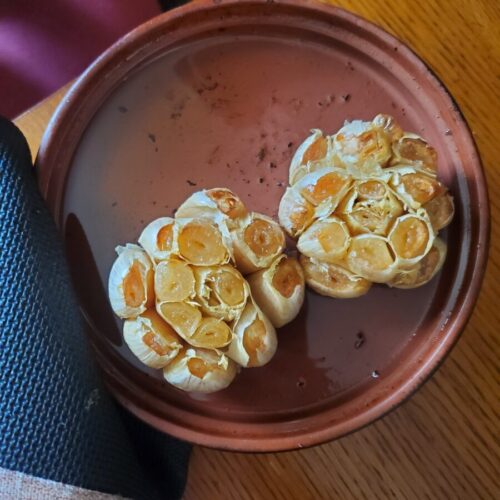
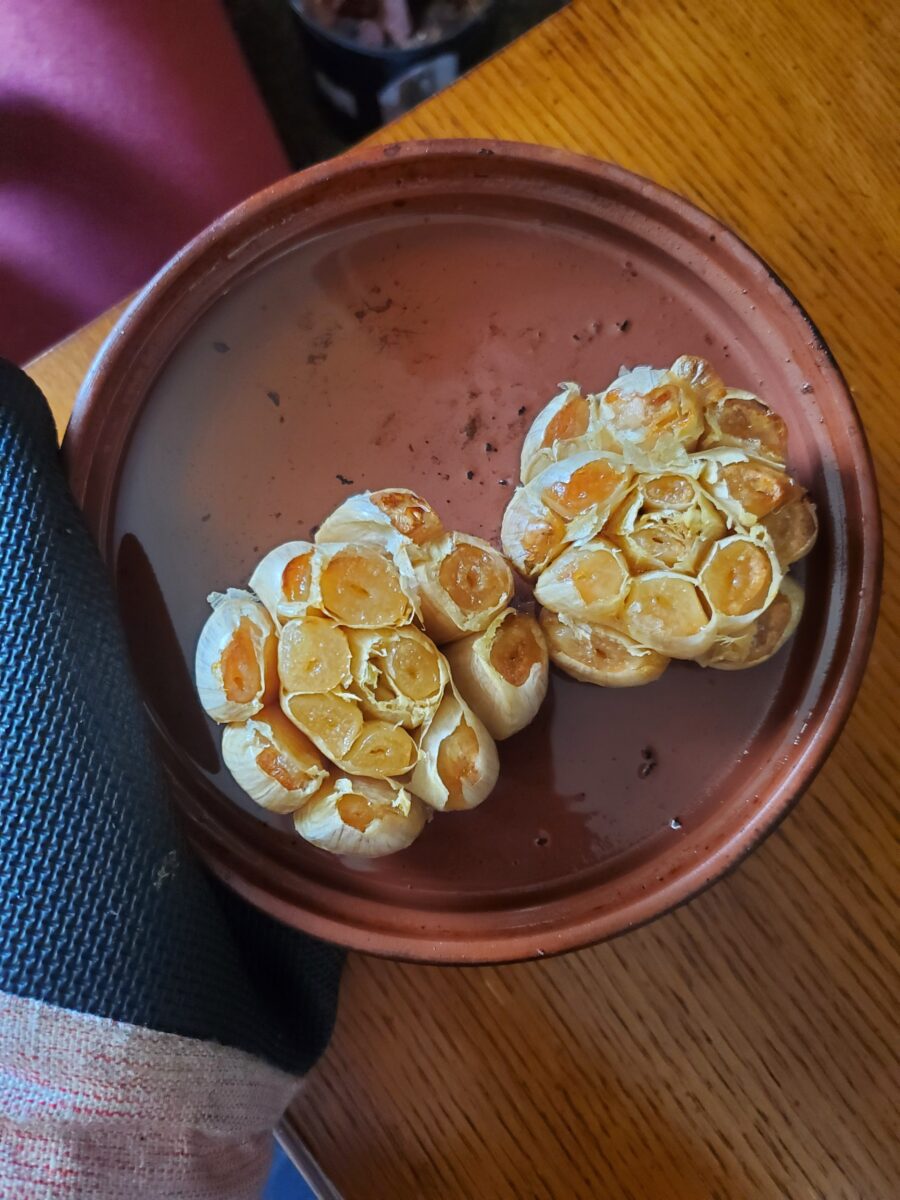
The second set of photos also goes to show about how long you can roast garlic at this temperature for. You can roast garlic anywhere from lightly golden brown to lightly charred. The longer you roast it, the more smooth the flavor will be. It can still dry out and burn, though. So, it's a trade-off!
What to Make w/ Roasted Garlic
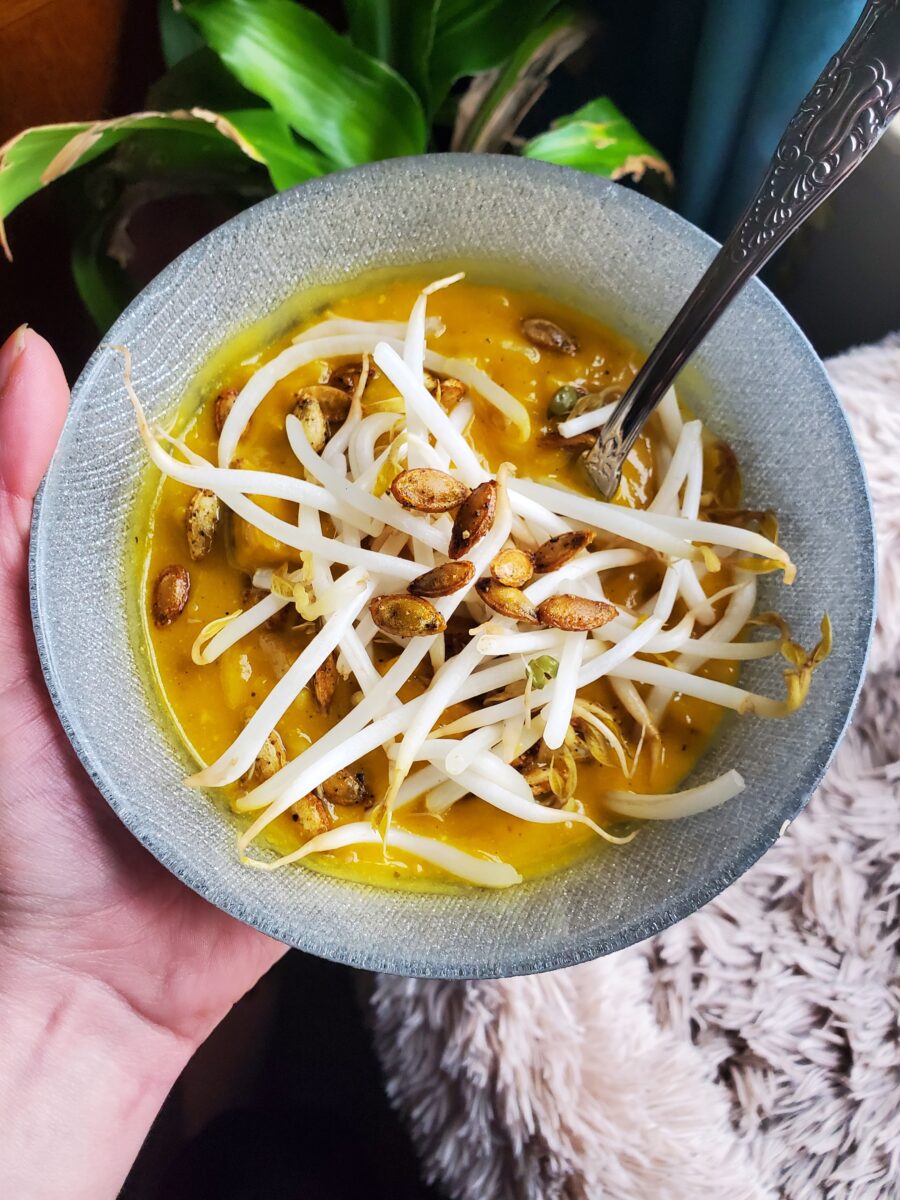
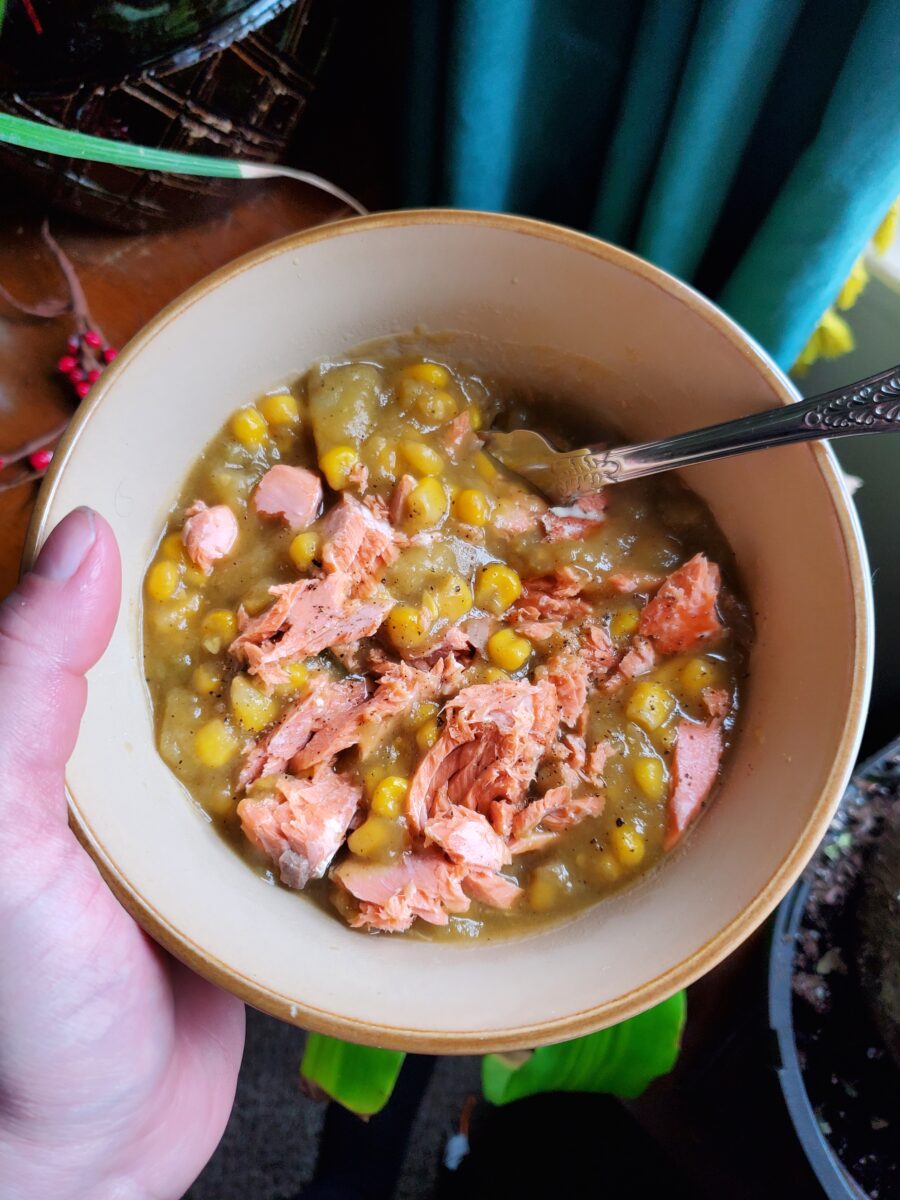
Roasting fruits and vegetables is a great way to instantly elevate a dish. It takes almost no effort and adds so much flavor to anything that you're making. I roast garlic for so many things, from quinoa and lentils to pasta sauces and salsas.
The fastest, easiest way to instantly elevate a dish is by adding a touch of roasted garlic. It only takes about an hour and I tend to roast several heads of garlic at once. That way, there's always roasted garlic in the refrigerator whenever the occasion arises. It has a milder and sweeter flavor profile than unroasted garlic. So, you can easily double the amount that you use in a recipe. This creates a greater depth of flavor, without adding that bitterness of unroasted garlic. Or having to worry about the effects on your breath!
I tend to roast 2 or 3 heads of garlic at once. You can roast as few or as many as you want at a time. It won't affect cooking time in any significant way!
Preheat oven to 400 degrees Fahrenheit.
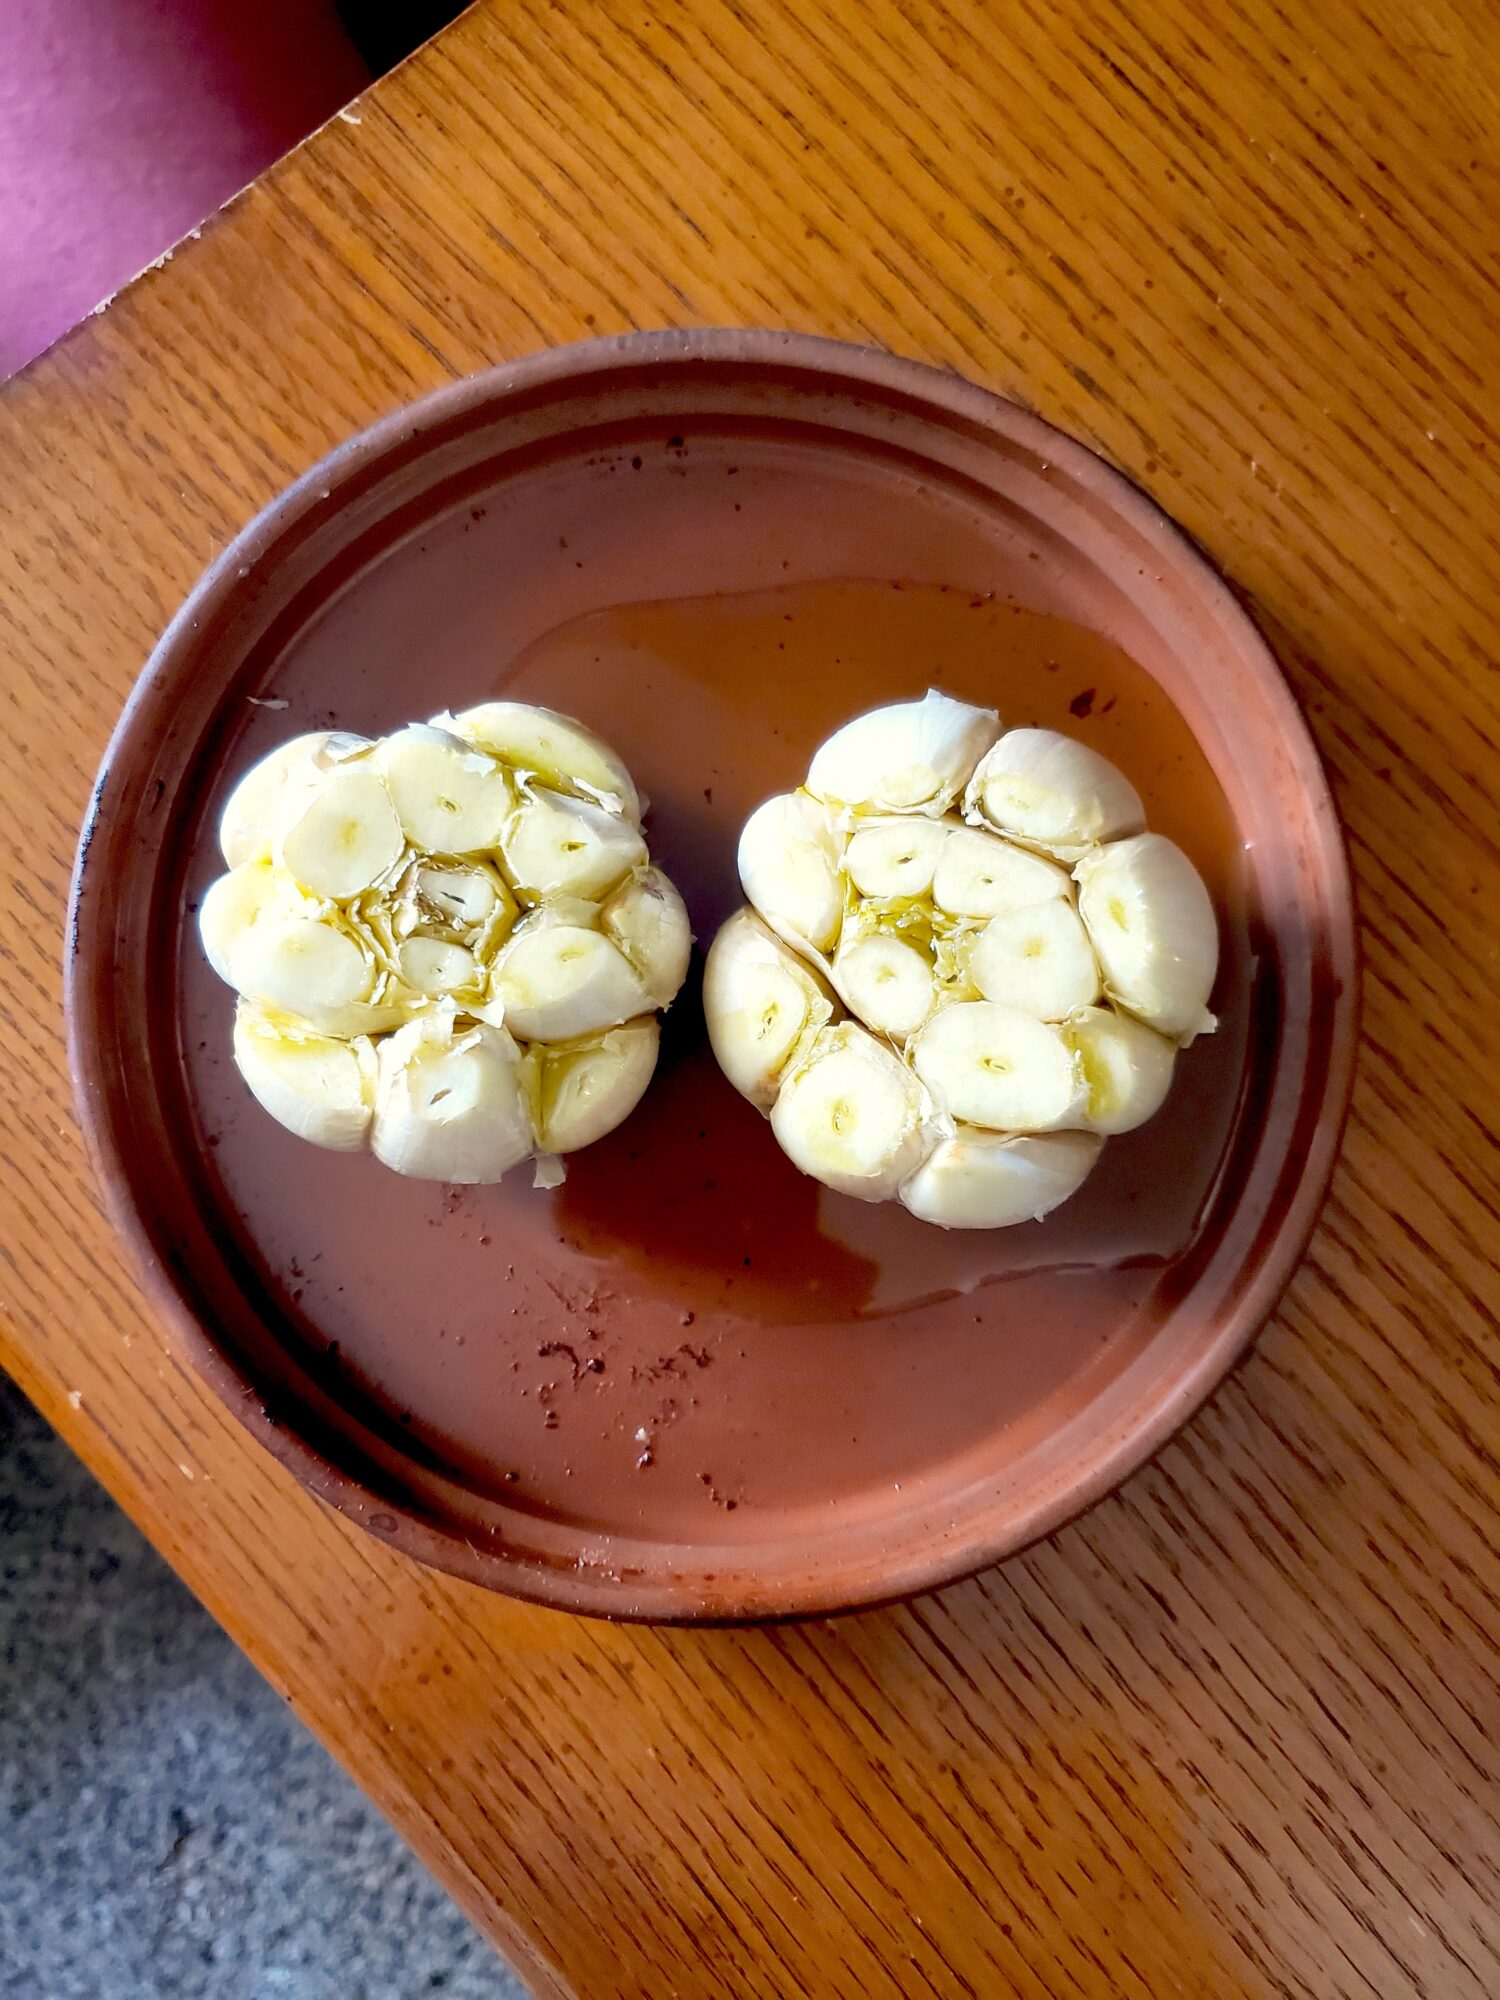
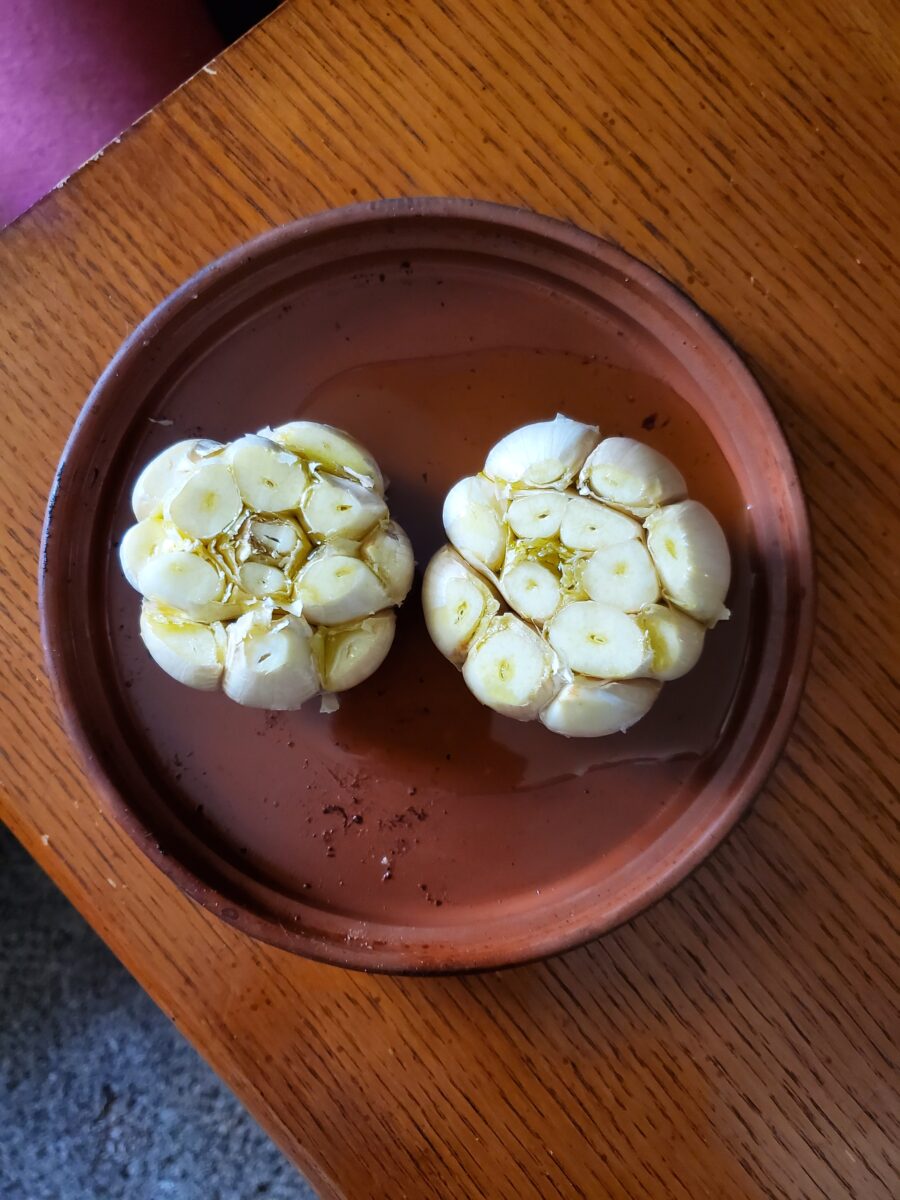
Peel some of the excess skin off of the head(s) of garlic.You want there to still be a peel around each clove, so don't be too vigorous here. But remove any excess that easily comes off. When you roast the garlic, the skin will get covered in oil and sticky. So, it just helps to have less of it to deal with!
Cut the tops off of the garlic.Cut as little off as you can. The garlic won't roast if it isn't exposed to oil, but you also don't want to waste it! So, cut just below the tops of the cloves.
Place face-up in a garlic roaster or center of enough aluminum foil to cover completely.
Drizzle with olive oil to coat. This isn't an exact amount, just make sure that it's touching every clove.
Place the lid on the roaster or wrap with foil.
Cook in the oven for 45-60 minutes, or until soft and golden brown.
Tips, Tricks, & Notes
Don't you need to add salt? No! Put down the salt shaker!! Salt will draw out the water and cause the garlic to burn. Burned garlic is bitter and acrid, or irritatingly strong. Which defeats the purpose of roasting it in the first place. You're caramelizing, not scorching.
This is means that you shouldn't try to roast garlic quickly. It does take about an hour and is worth every moment in the oven. If anything, it can help to turn down the heat and cook for longer.
There are a variety of cooking methods that also work for roasting garlic. You can apply the same method to a BBQ or smoker. Just don't put the garlic directly over an open heat source or it may cook too quickly. I'll turn on one of the side burners and then place the garlic over one of the other burners that is off.
This Page Contains Edited Images
As a general rule, I don't like to edit my images and I am firmly against alteration of images in food blogs. It's not something that we generally think about when it comes to recipes. But food styling, editing, alteration, and even faking entirely is just as rampant a problem in the recipe realm as anything else! Cooking is a very visual art and you can tell when a lot of foods are cooked based on the color. So, when this is altered and you can't use the coloration as a gauge, it makes it quite difficult to follow some recipes. I have an entire article about Food Styling and Unrealistic Expectations of Recipes.
Because of this, I try very hard not to alter any of my photos. I like to take photos with natural sunlight during the day. Ordinarily this is very true to color and I don't edit the photos at all. However, since my place is very warm with a lot of yellow lighting, sometimes my camera overcompensates and ends up with an unnatural blue tone. In the following images on this page, I adjusted the levels and hue to try and make this more true to color. In the interest of transparency, these are the before and after photos.


Leave a Reply