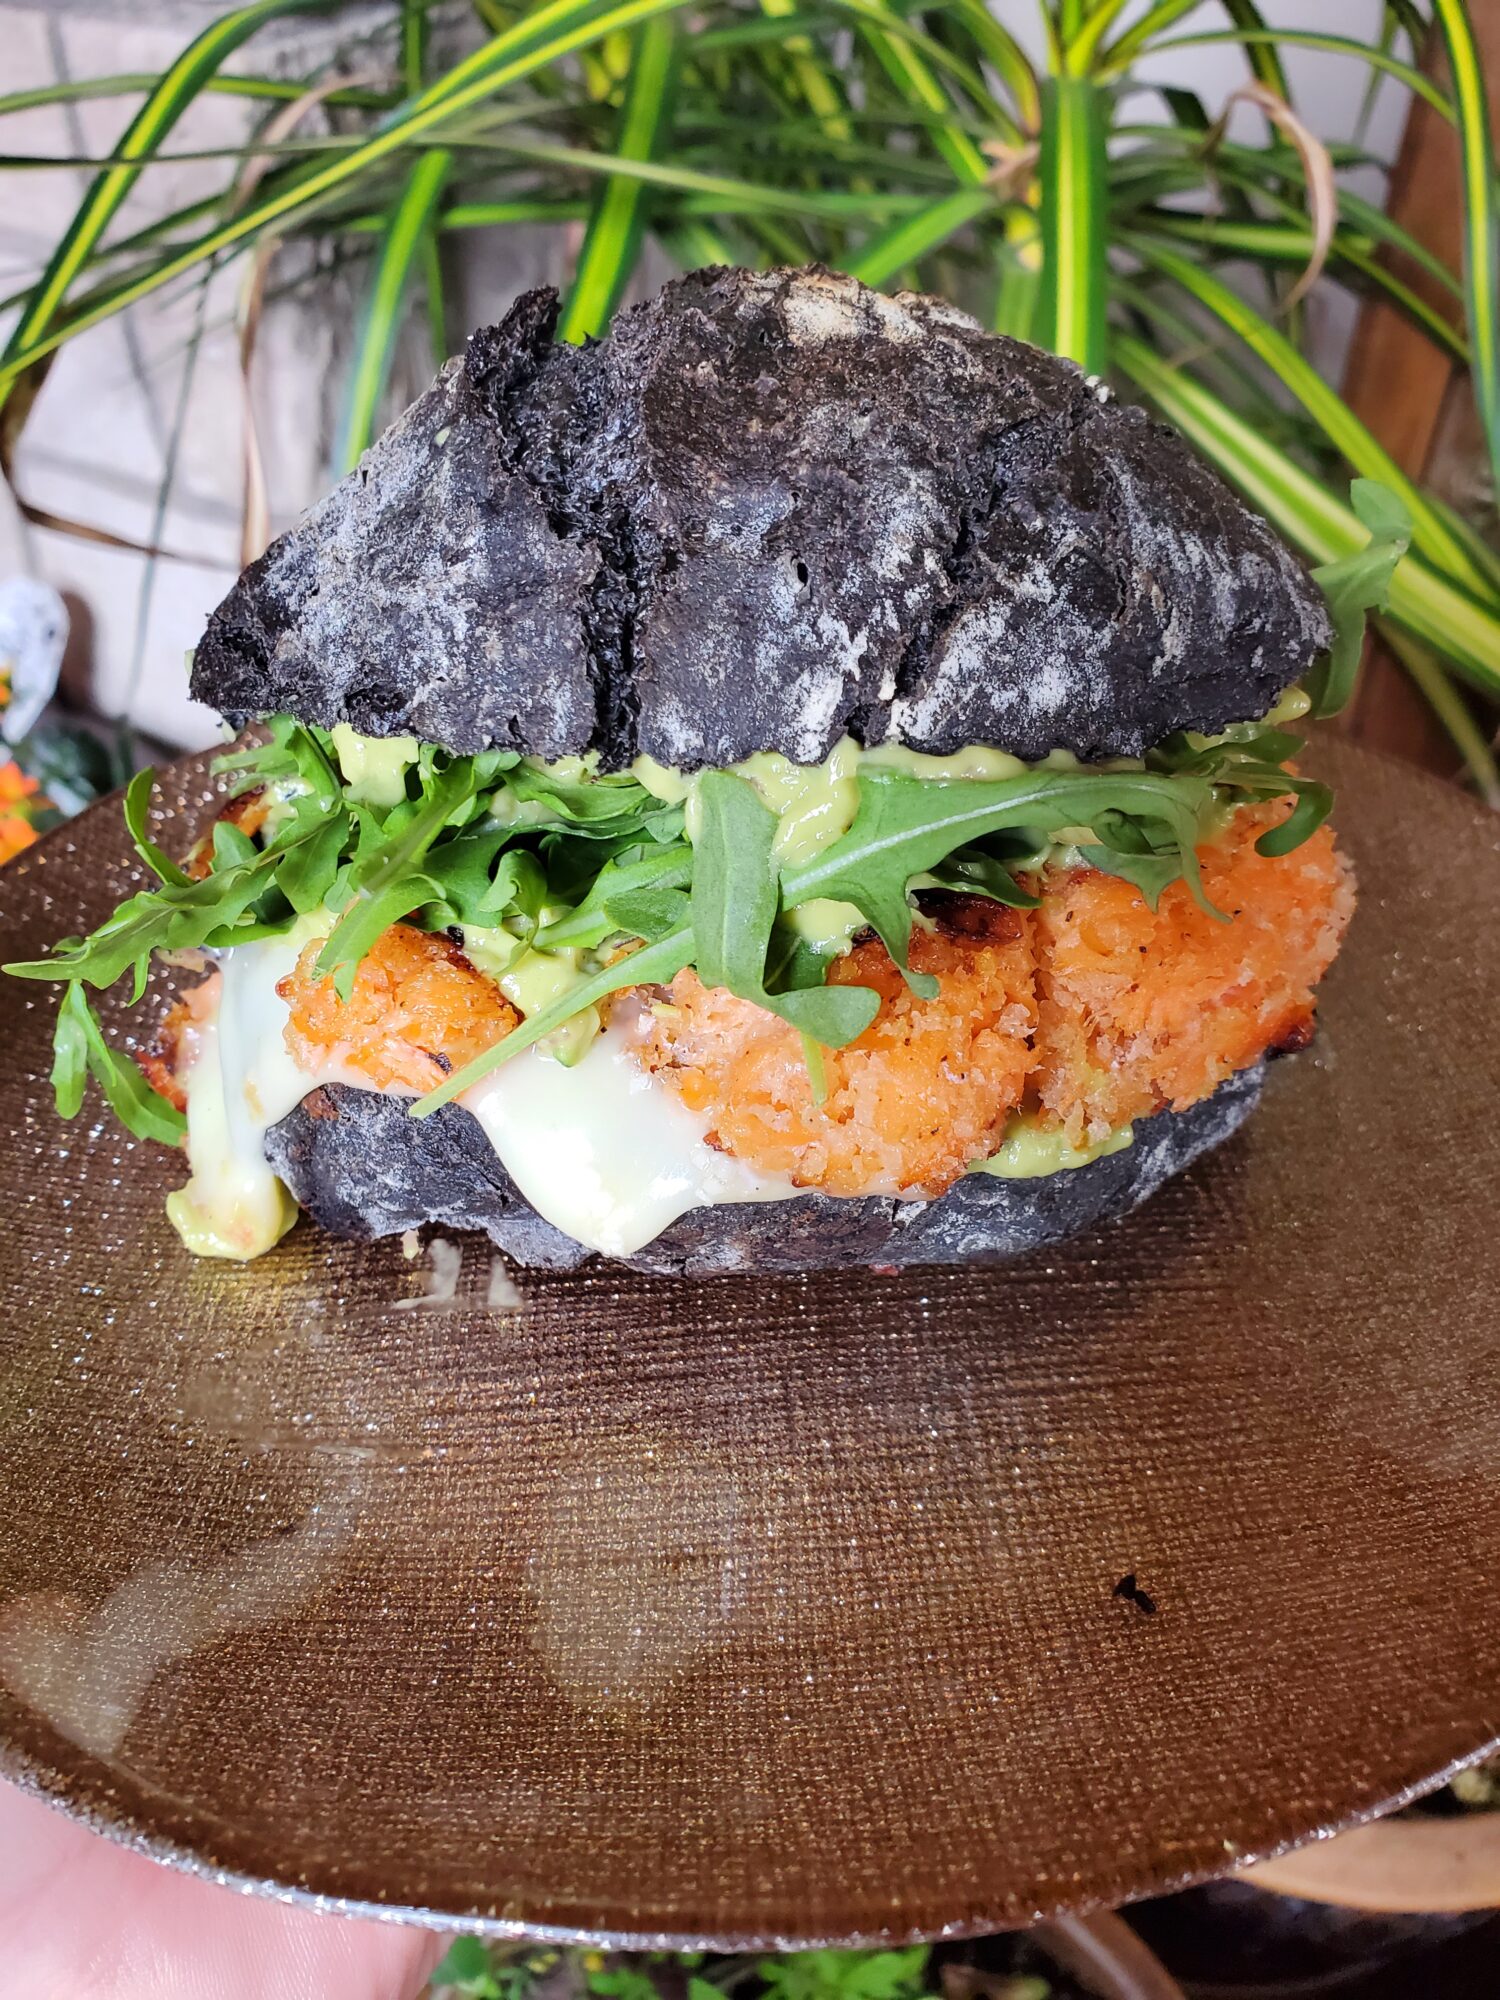
I have been pretty obsessed with salmon lately. I don't tend to eat a lot of meat. Predominantly just wild caught seafood. Today, I have been mulling over salmon burgers. The other day I altered my favorite No-Knead Dutch Oven Bread to make rolls. Mostly because it's the only bread that I can really manage to make successfully...! But also because bread is far superior homemade. Today, I want to shake things up a little bit. Every now and then I'm scrolling on Pinterest and come across salmon burgers with black buns. And I've been thinking... I do have squid ink in the deep dark recesses of my refrigerator. I could just add a bit of squid ink and then make black burger buns! They're really more like black rolls than buns because buns tend to be a little lighter and fluffier. But the leftovers that I didn't make salmon burgers out of went really well with brie afterwards! So, calling that a win overall.
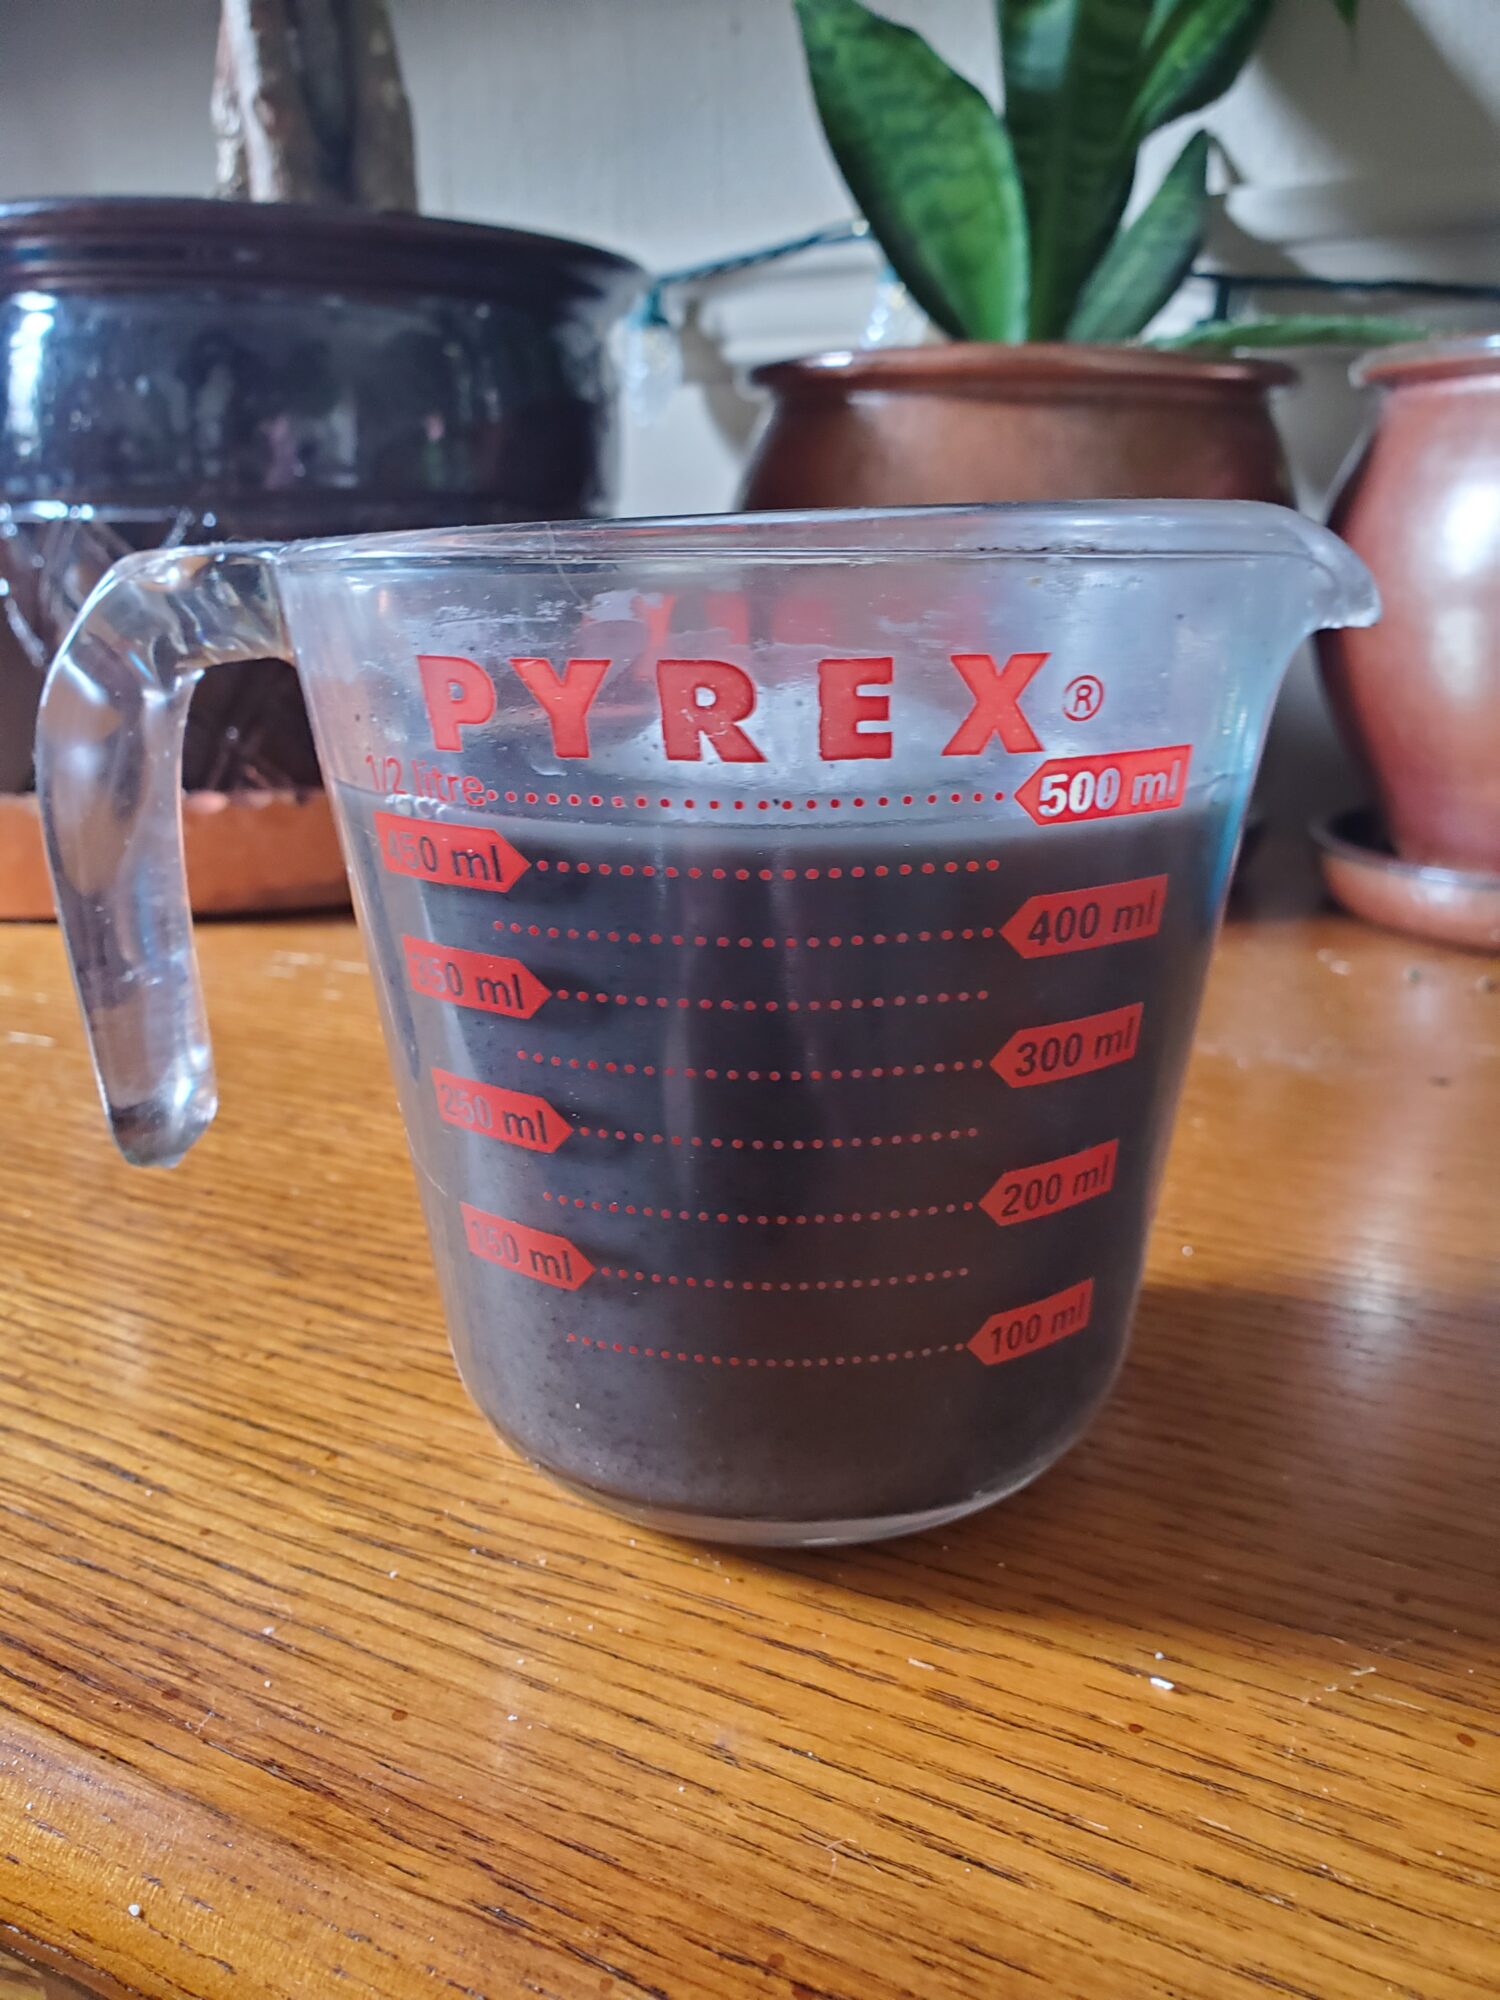
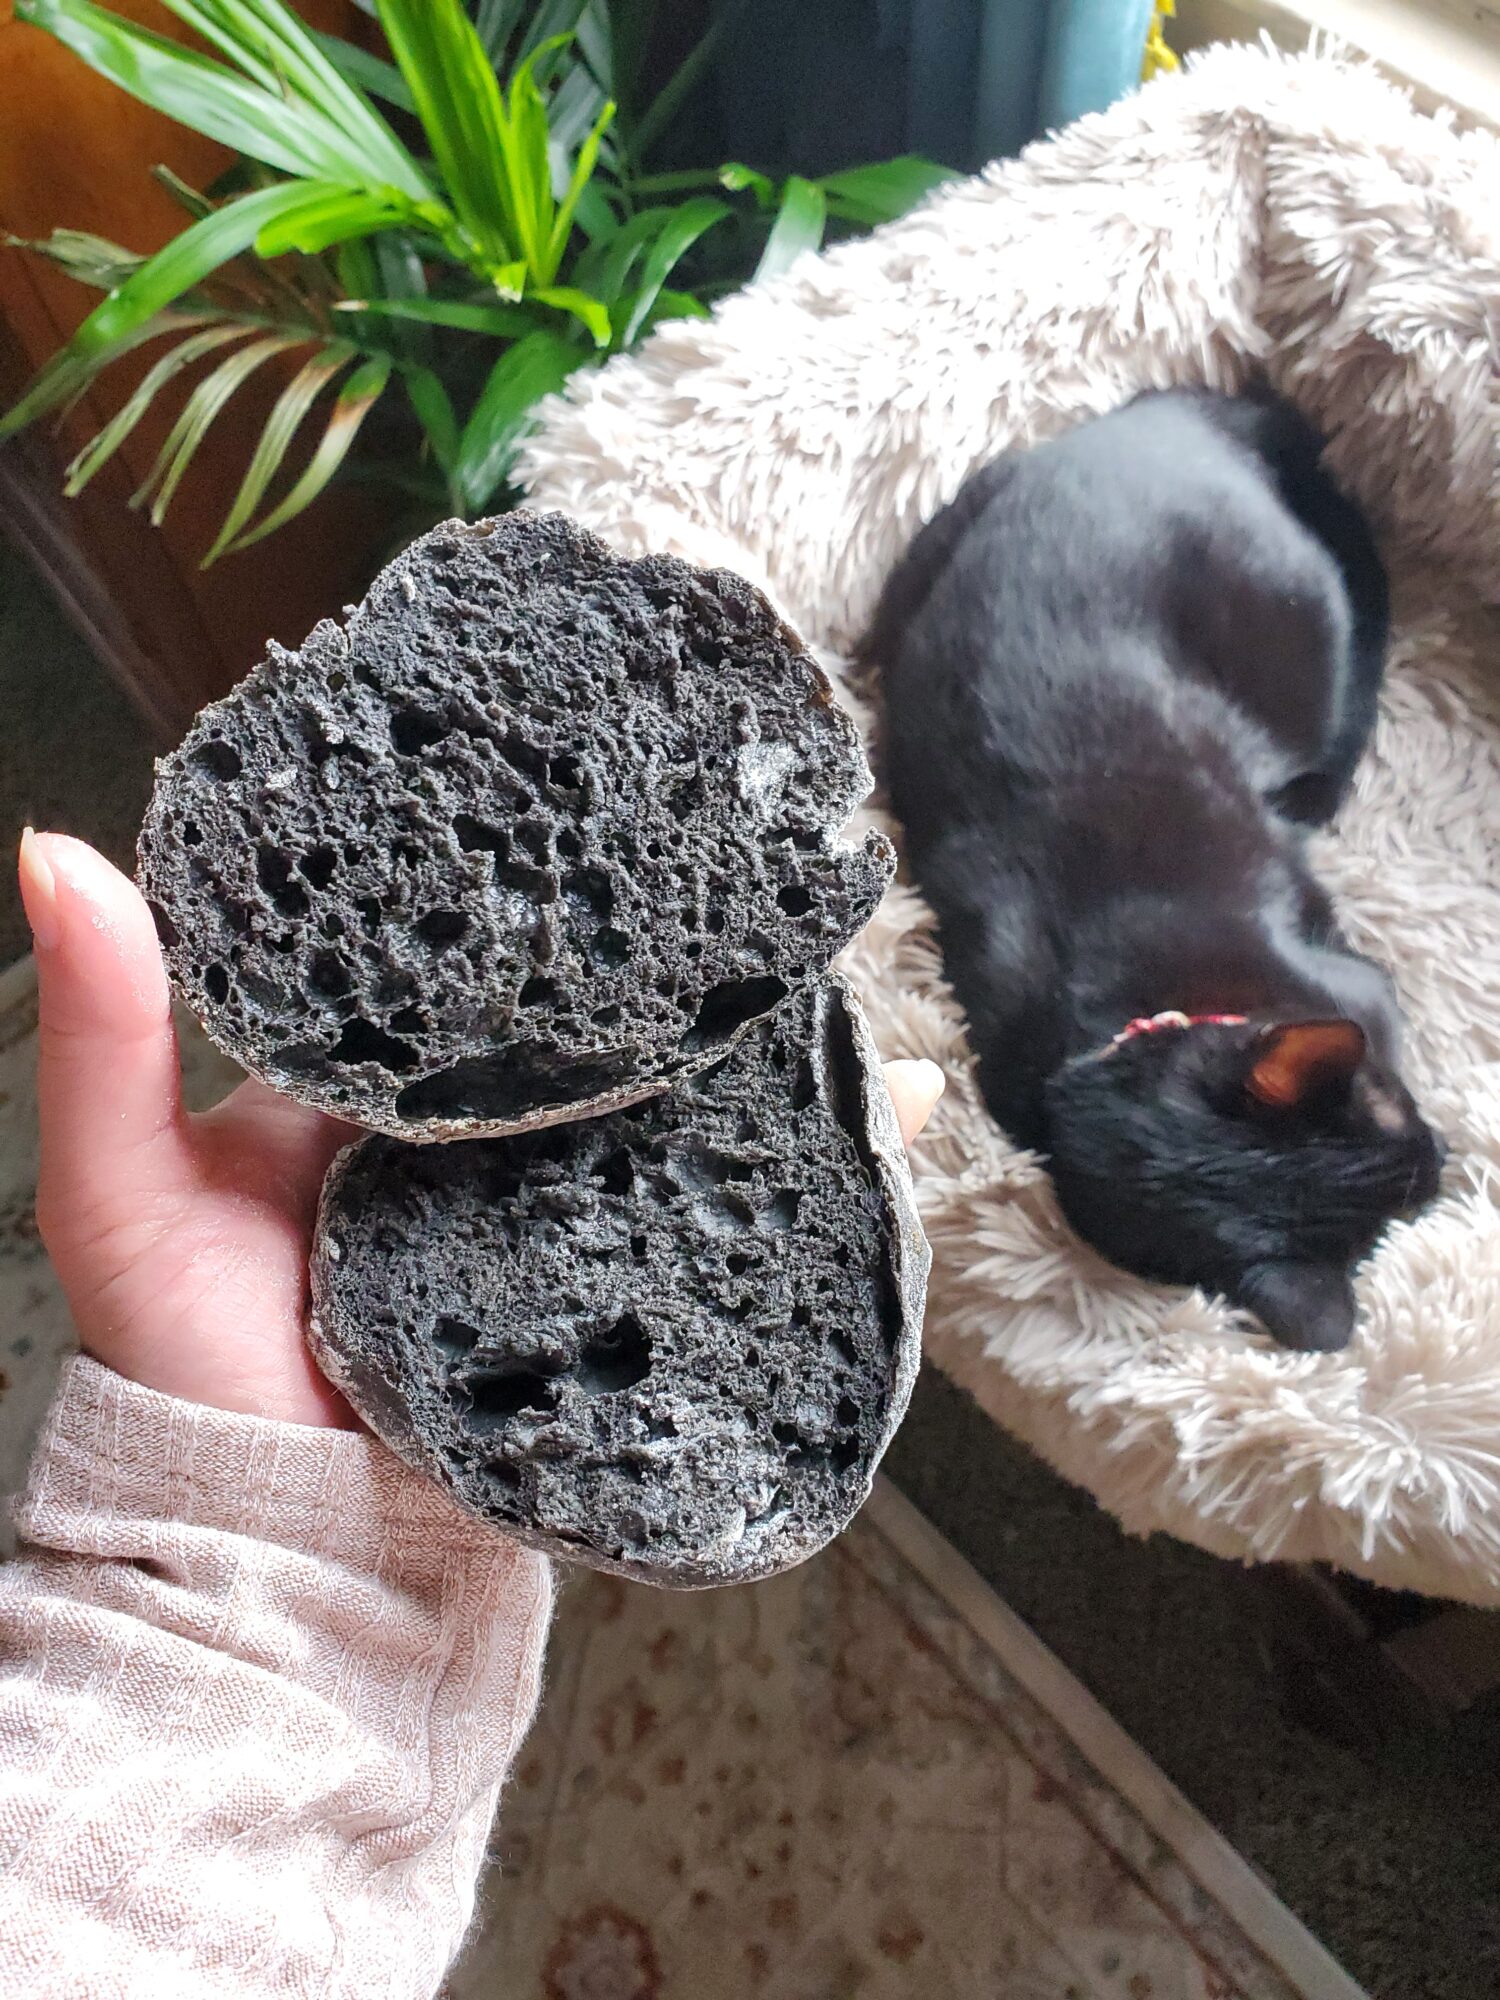
If you have a bun recipe that you enjoy making successfully, feel free to add just enough squid ink to make turn the buns black. I just added a little bit, mixed in, and then added a little bit more until I got the desired color. Too little and the flour would turn them grey, instead of black. Too much and the rolls would taste too much like squid! There is a taste. So, you don't want to go too heavy handed with it. But 2 teaspoons did this perfectly for me. Plus, when you already are planning to pair squid ink with salmon? The little added seafood pairs incredibly well.
Now, these are not entirely burger buns. If I were to make a more classic burger bun, I would go for something more along the lines of a Brioche. But, this is a recipe that I know that I can make. So, in sticking with the tried and true method before experimenting too much! I have created squid ink rolls.
Is It Really Squid Ink?
It's noteworthy to point out that "squid ink" is not in fact correct. Most "squid ink" is actually cuttlefish ink. While these are quite similar and are both cousins to the octopus, they are not the same species. Squid and cuttlefish are both a part of the Cephalopoda class. However, cuttlefish are in the Sepiida order and squid are in the Teuthida order (Ocean Conservacy's How to Tell the Difference Between Squid and Cuttlefish).
So, calling these "cuttlefish ink rolls," as opposed to squid ink burger buns, would be more accurate. And I am kind of a stickler for semantics!
But this is a very common misappropriation and the more colloquial term for anything dyed black with a vaguely fishy taste.
If you want to do any further delving into the use of cuttlefish ink in recipes like this or purchasing cuttlefish ink to make this or similar recipes, calling it "squid ink" will give you far more results. Cuttlefish ink also has a richer and more palatable flavor than true squid ink.
So, while the vast majority of recipes and even purveyors do not actually use real squid ink, they will still call it squid ink. "Cuttlefish" is also wordy... and not in an intriguing way.
I know that this is ever-so-slightly confusing and obnoxious. So, I am titling the recipe "squid ink." But am also making the caveat that it is in fact cuttlefish ink. And I can almost guarantee you that anything that you purchase for this recipe and any other similar recipe that you find using the "squid ink" monicker, will, in reality, be cuttlefish ink.
Gallery
Variations of Squid Ink Rolls
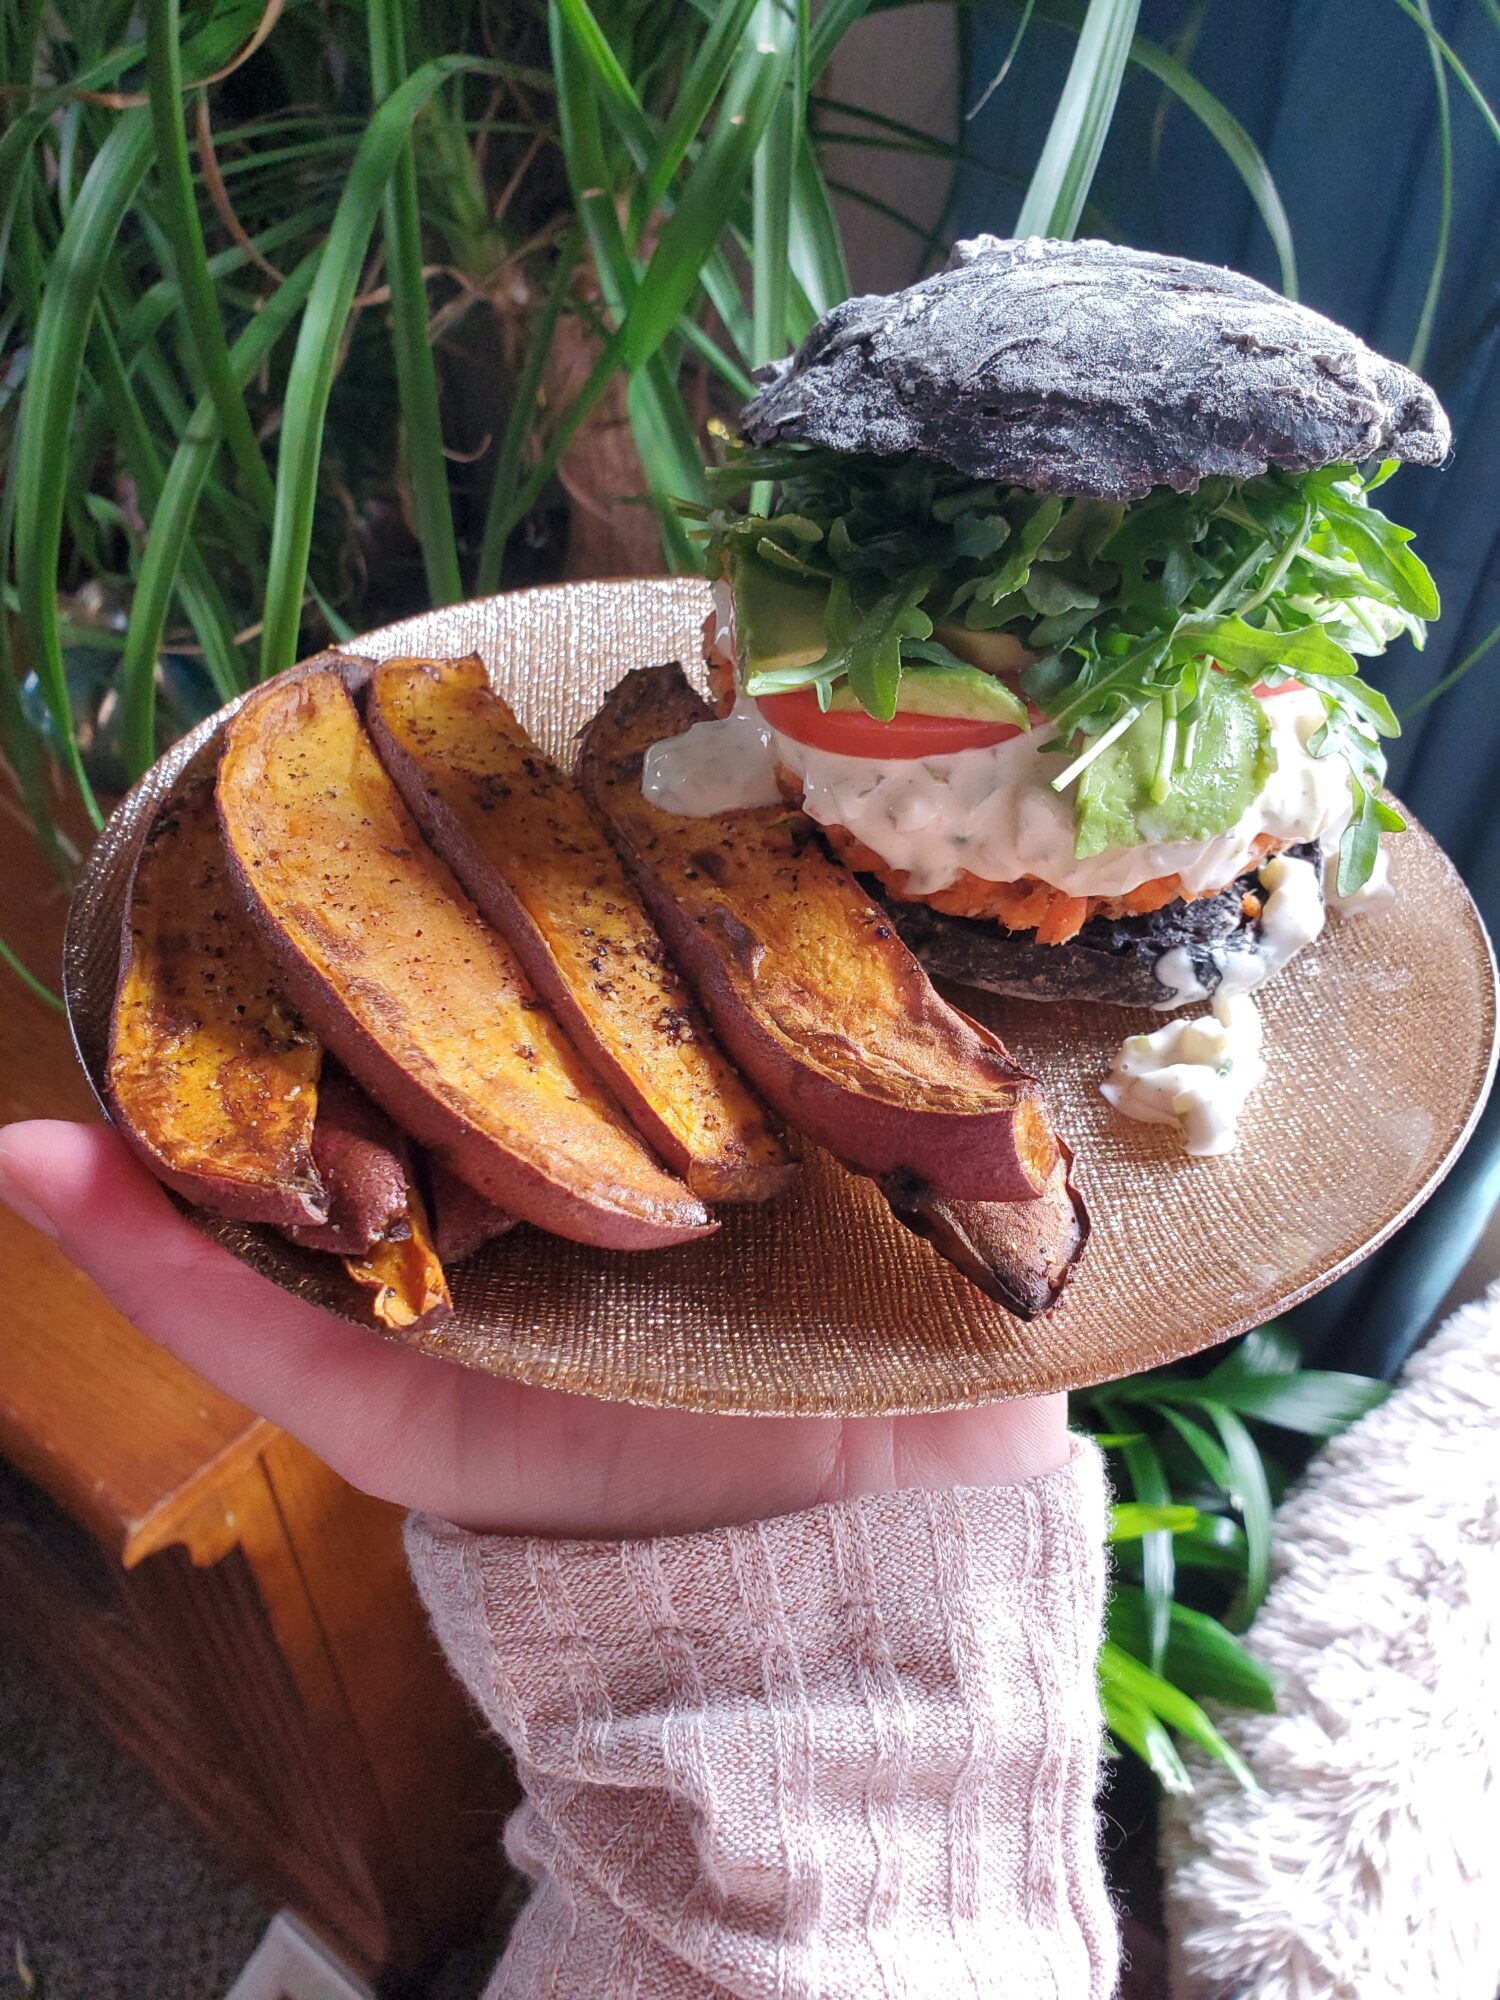
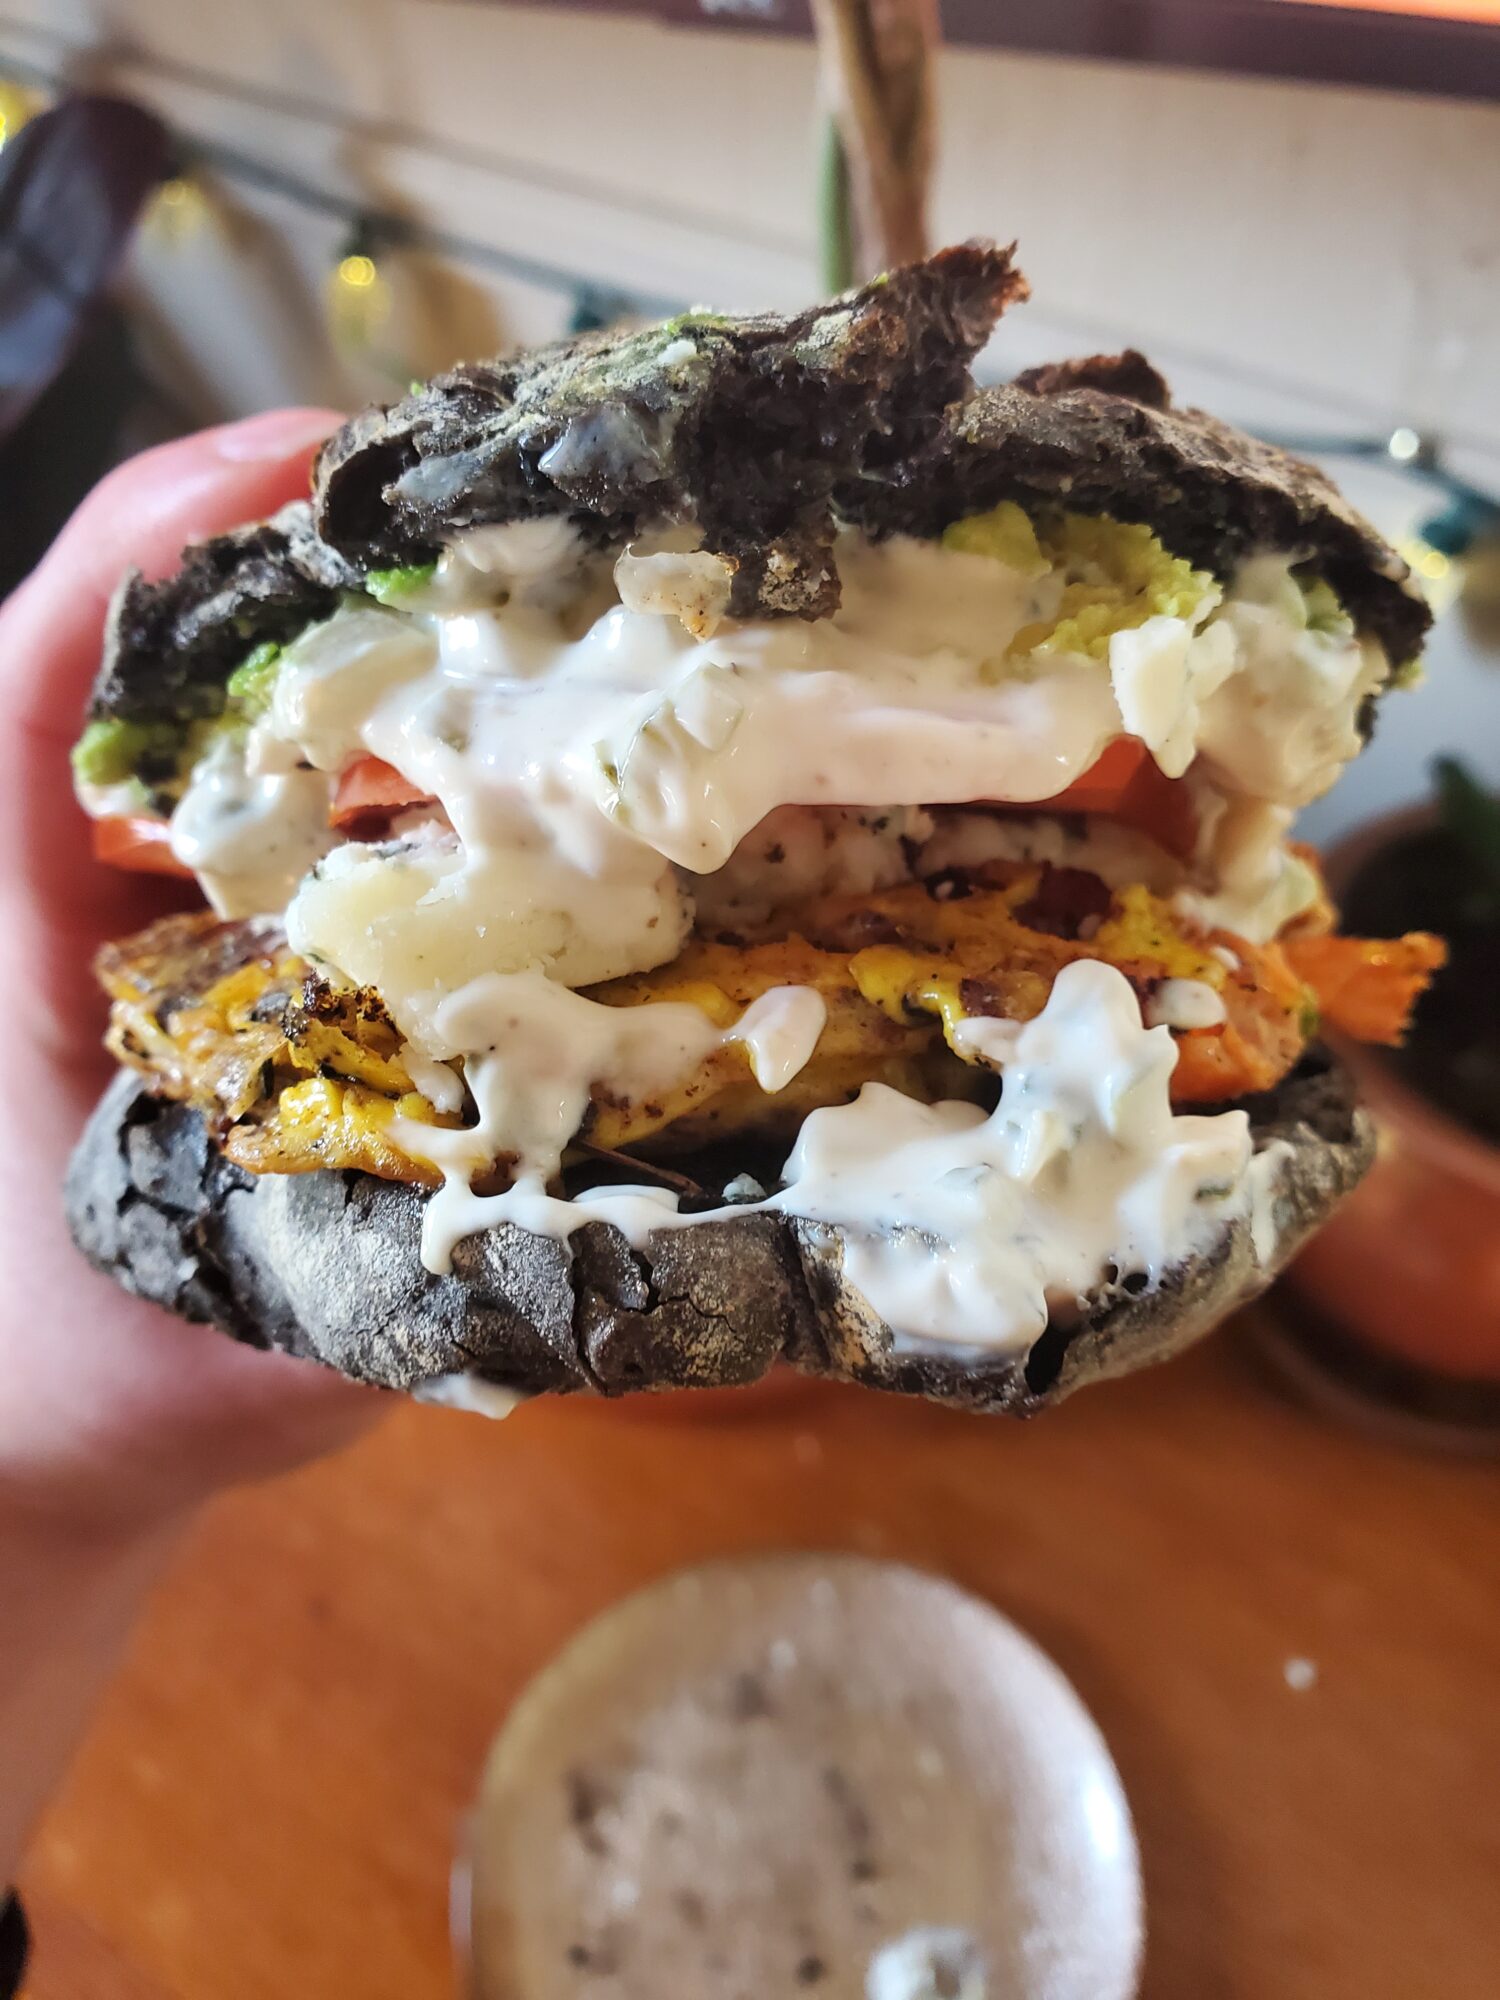
I don't ordinarily make black rolls. There are plenty of other salmon meals and non-black breads. Although, I took full advantage of it when I did! And made several different variations of salmon burgers with squid ink rolls.
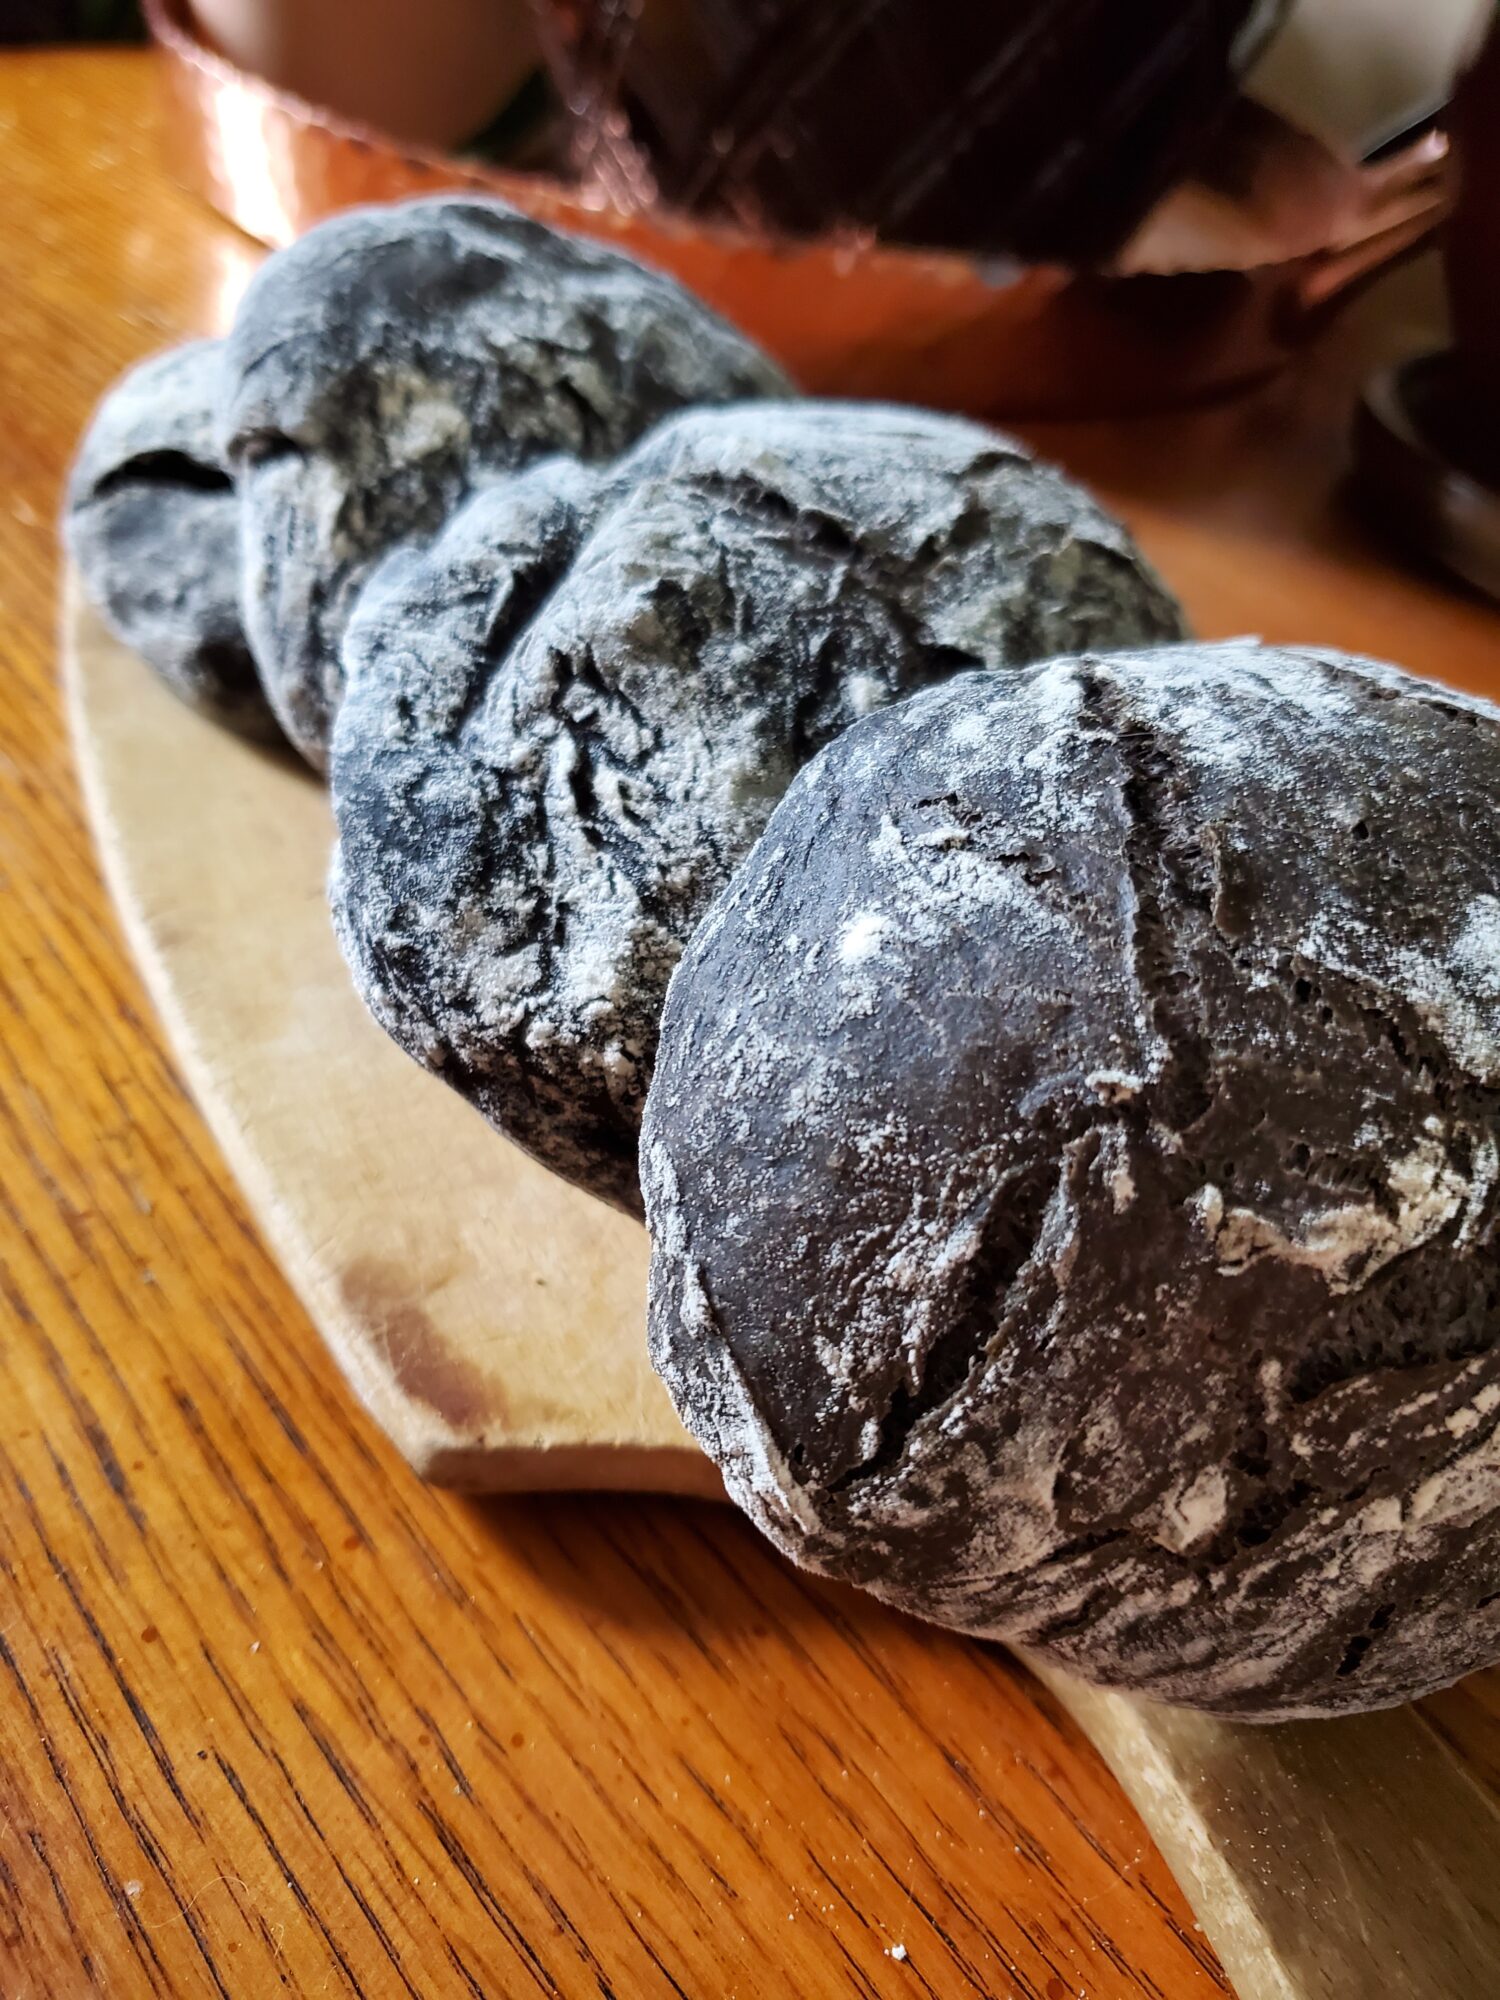
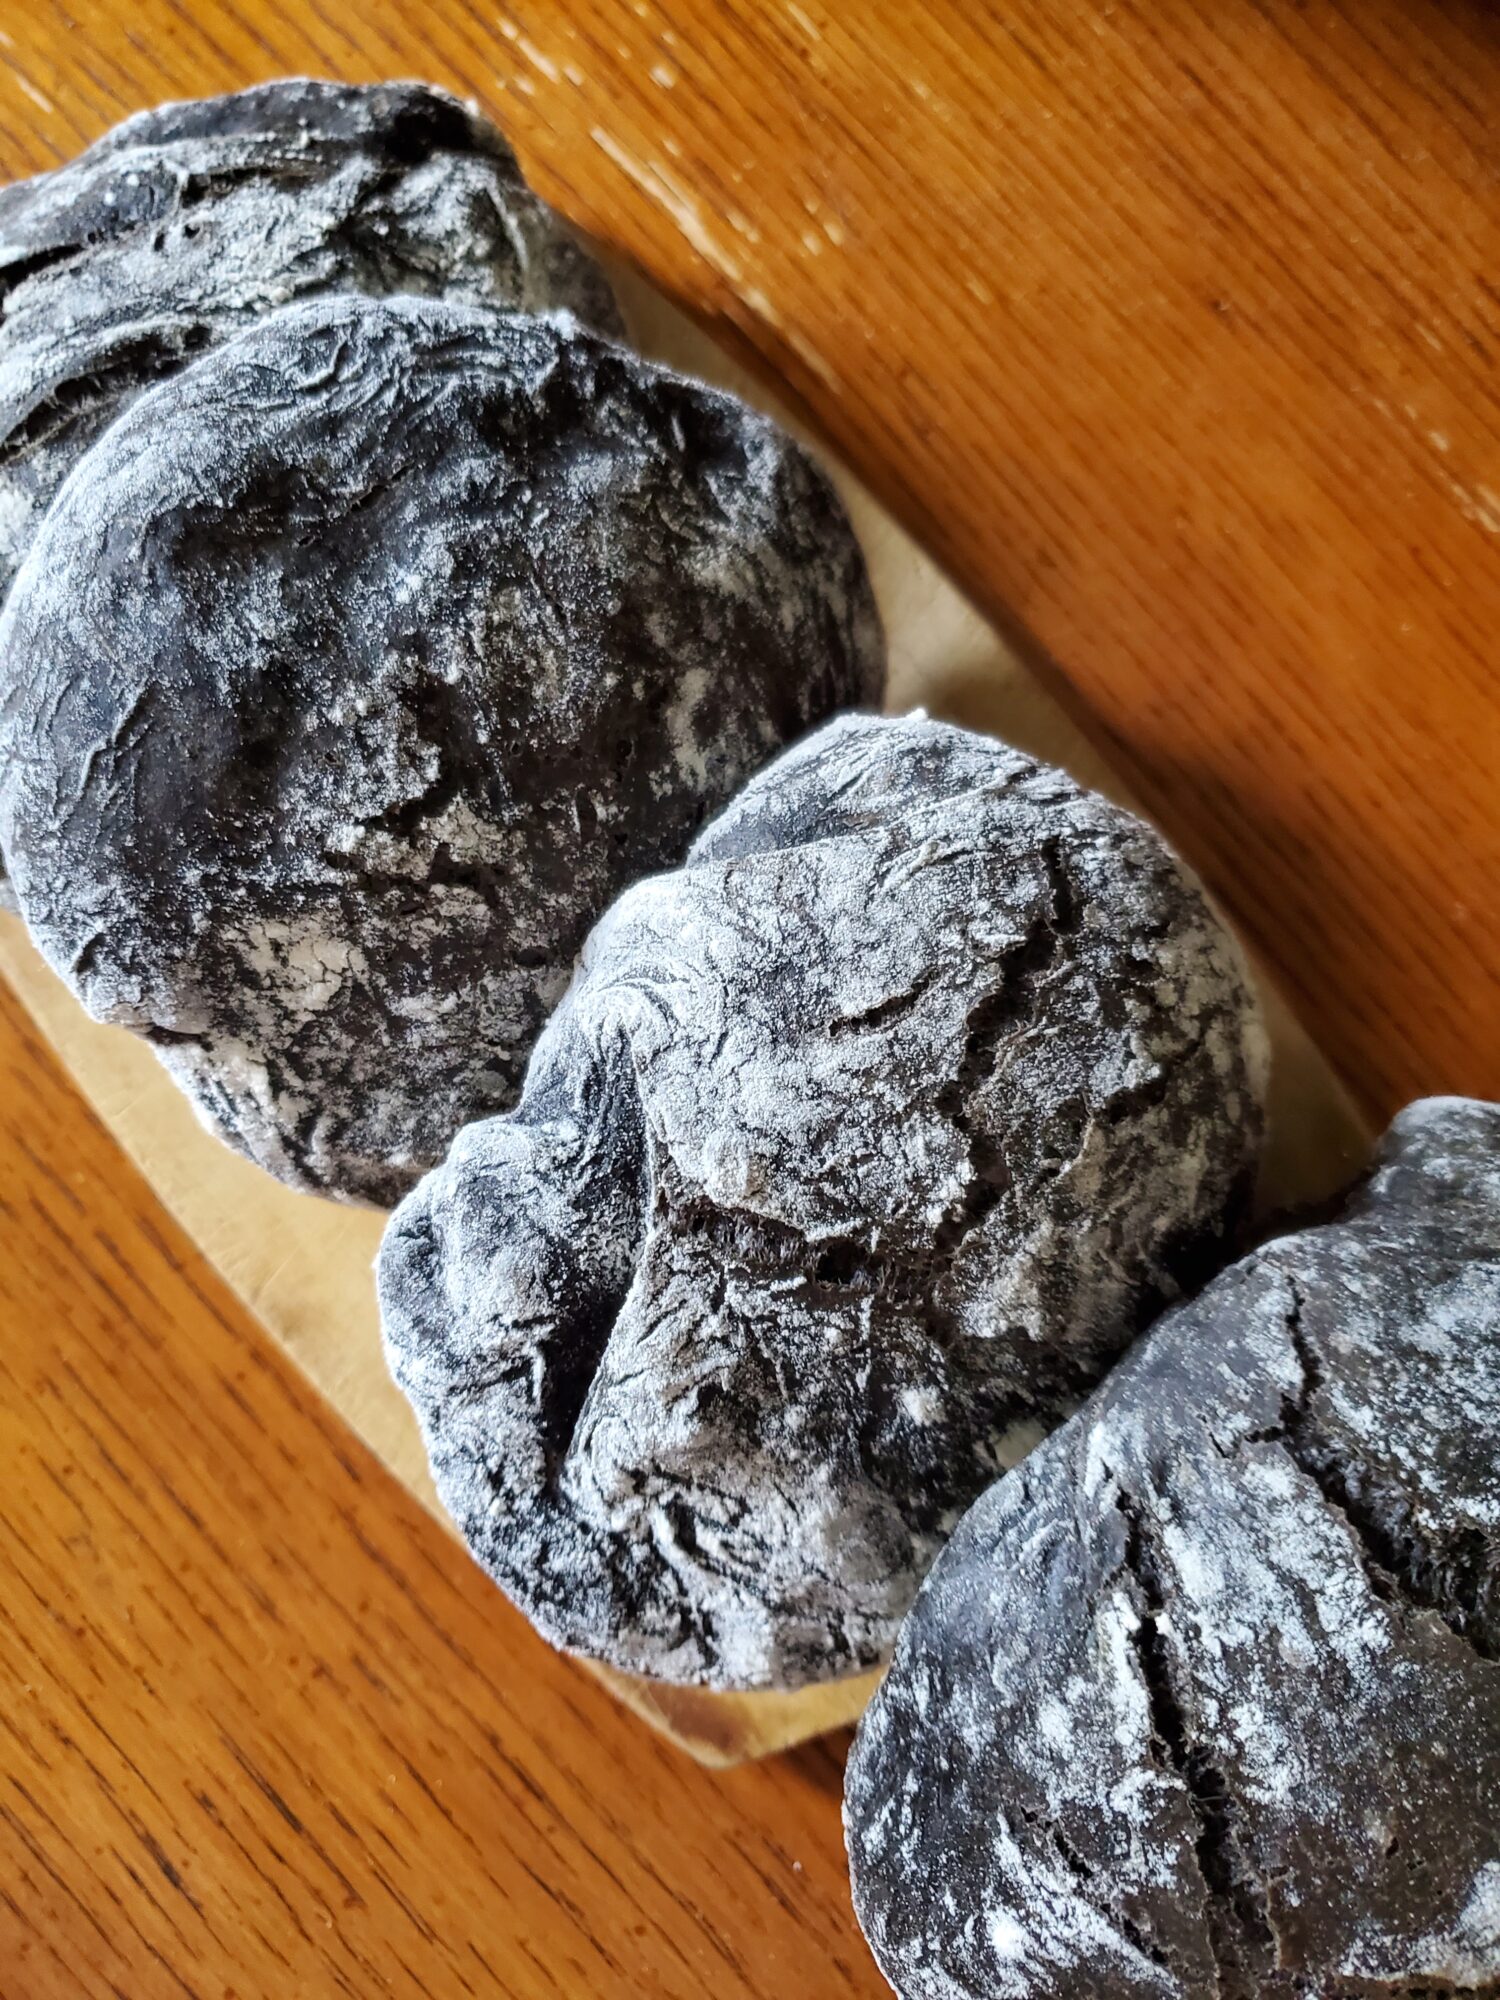
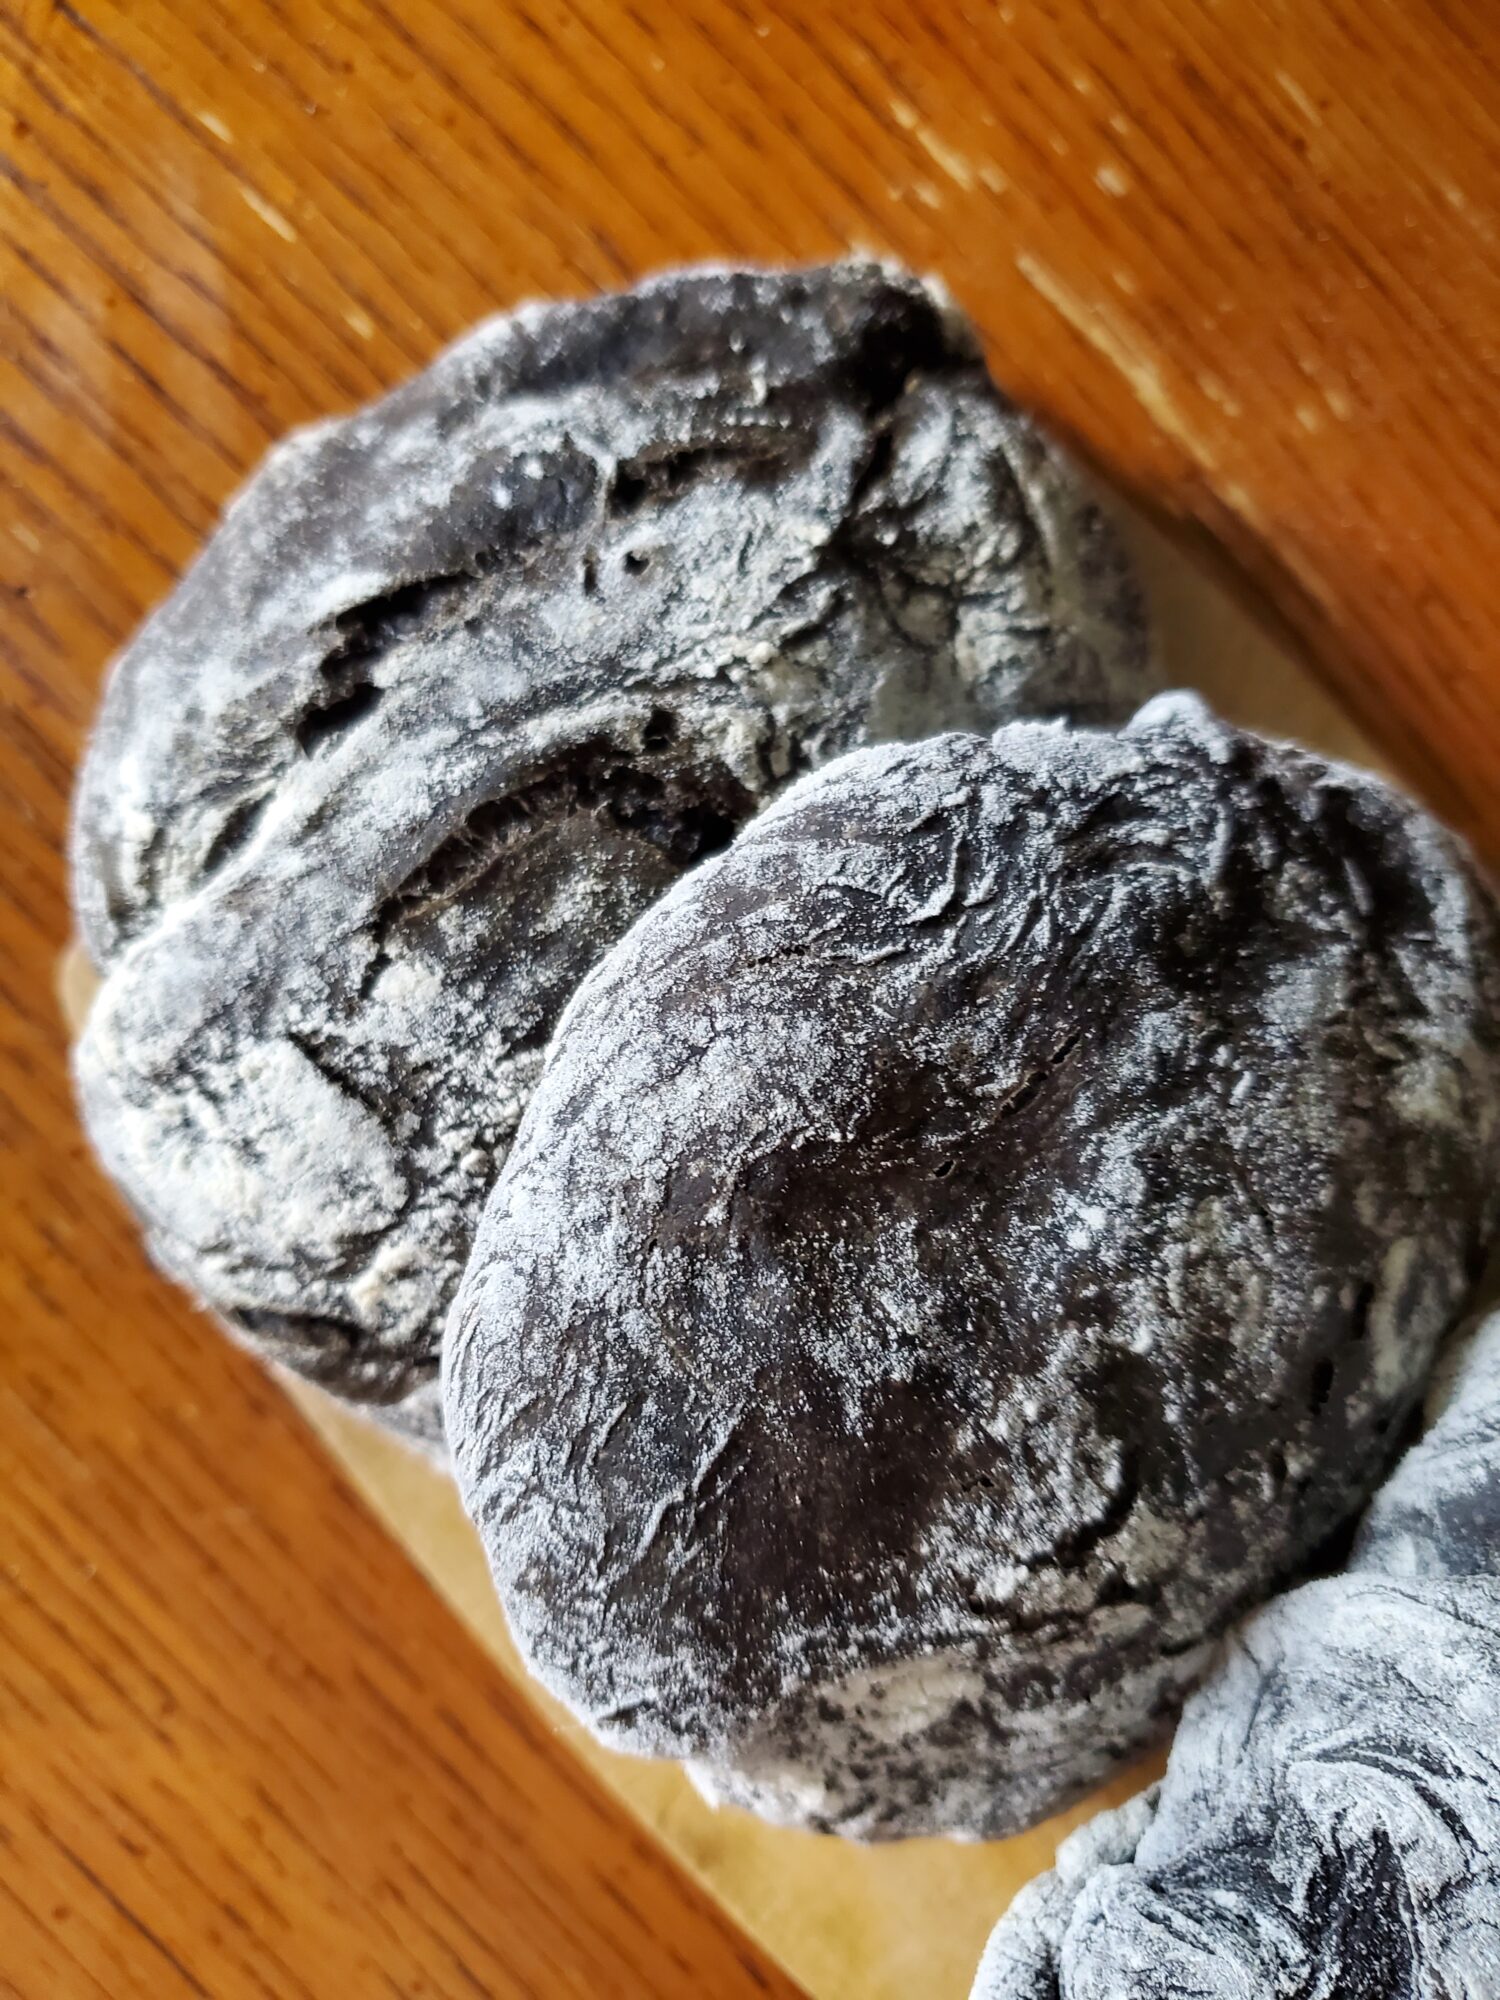
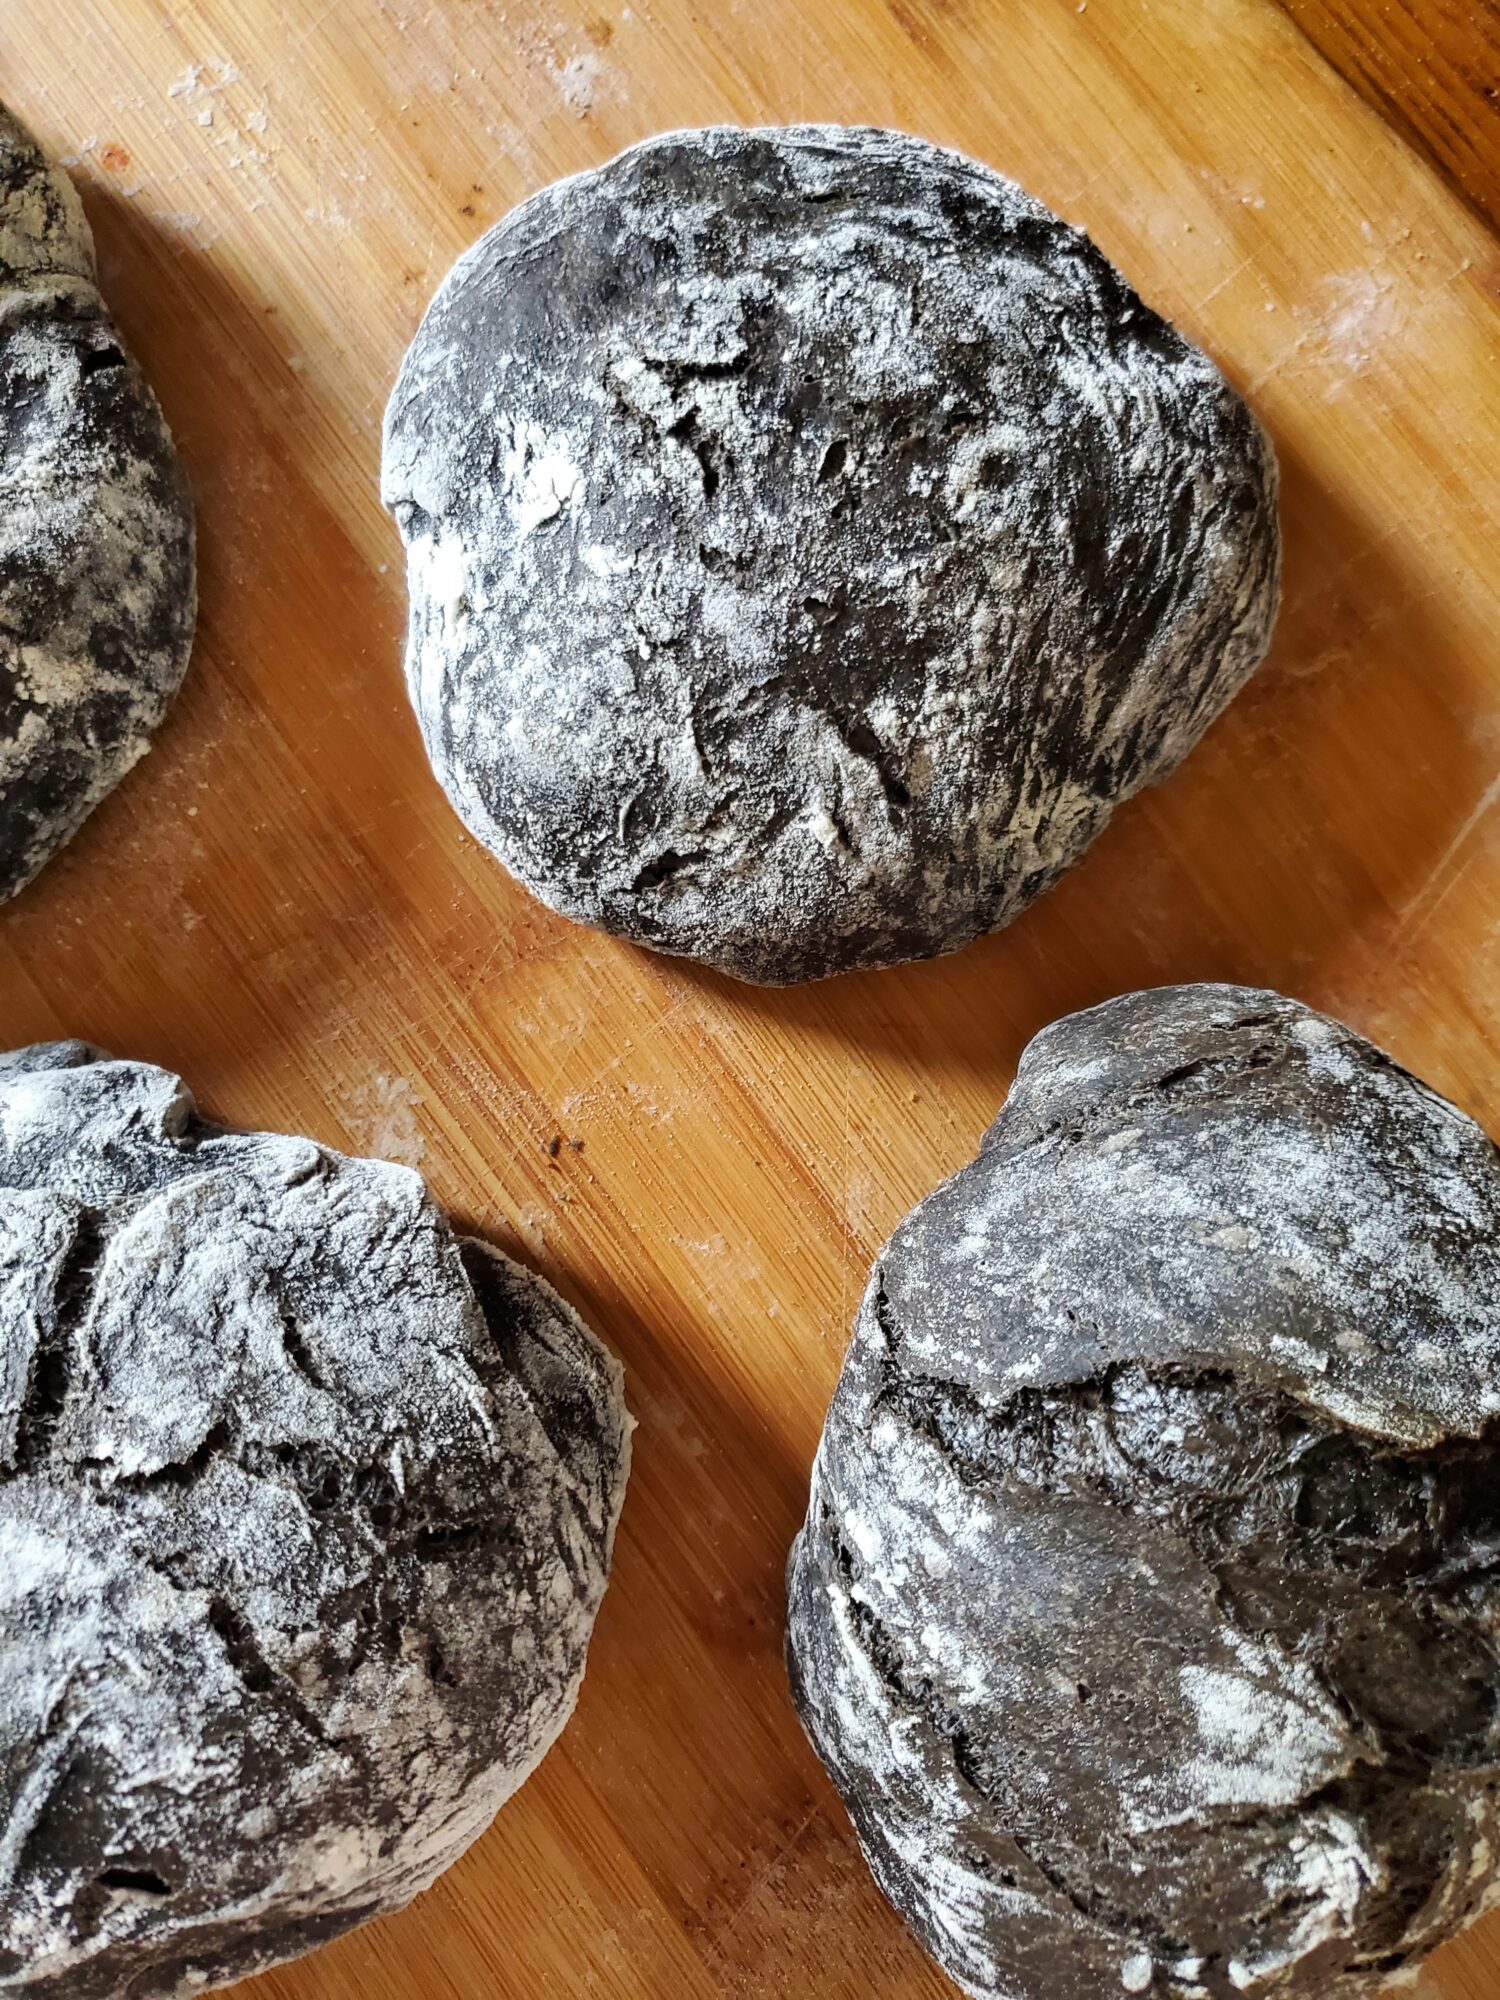
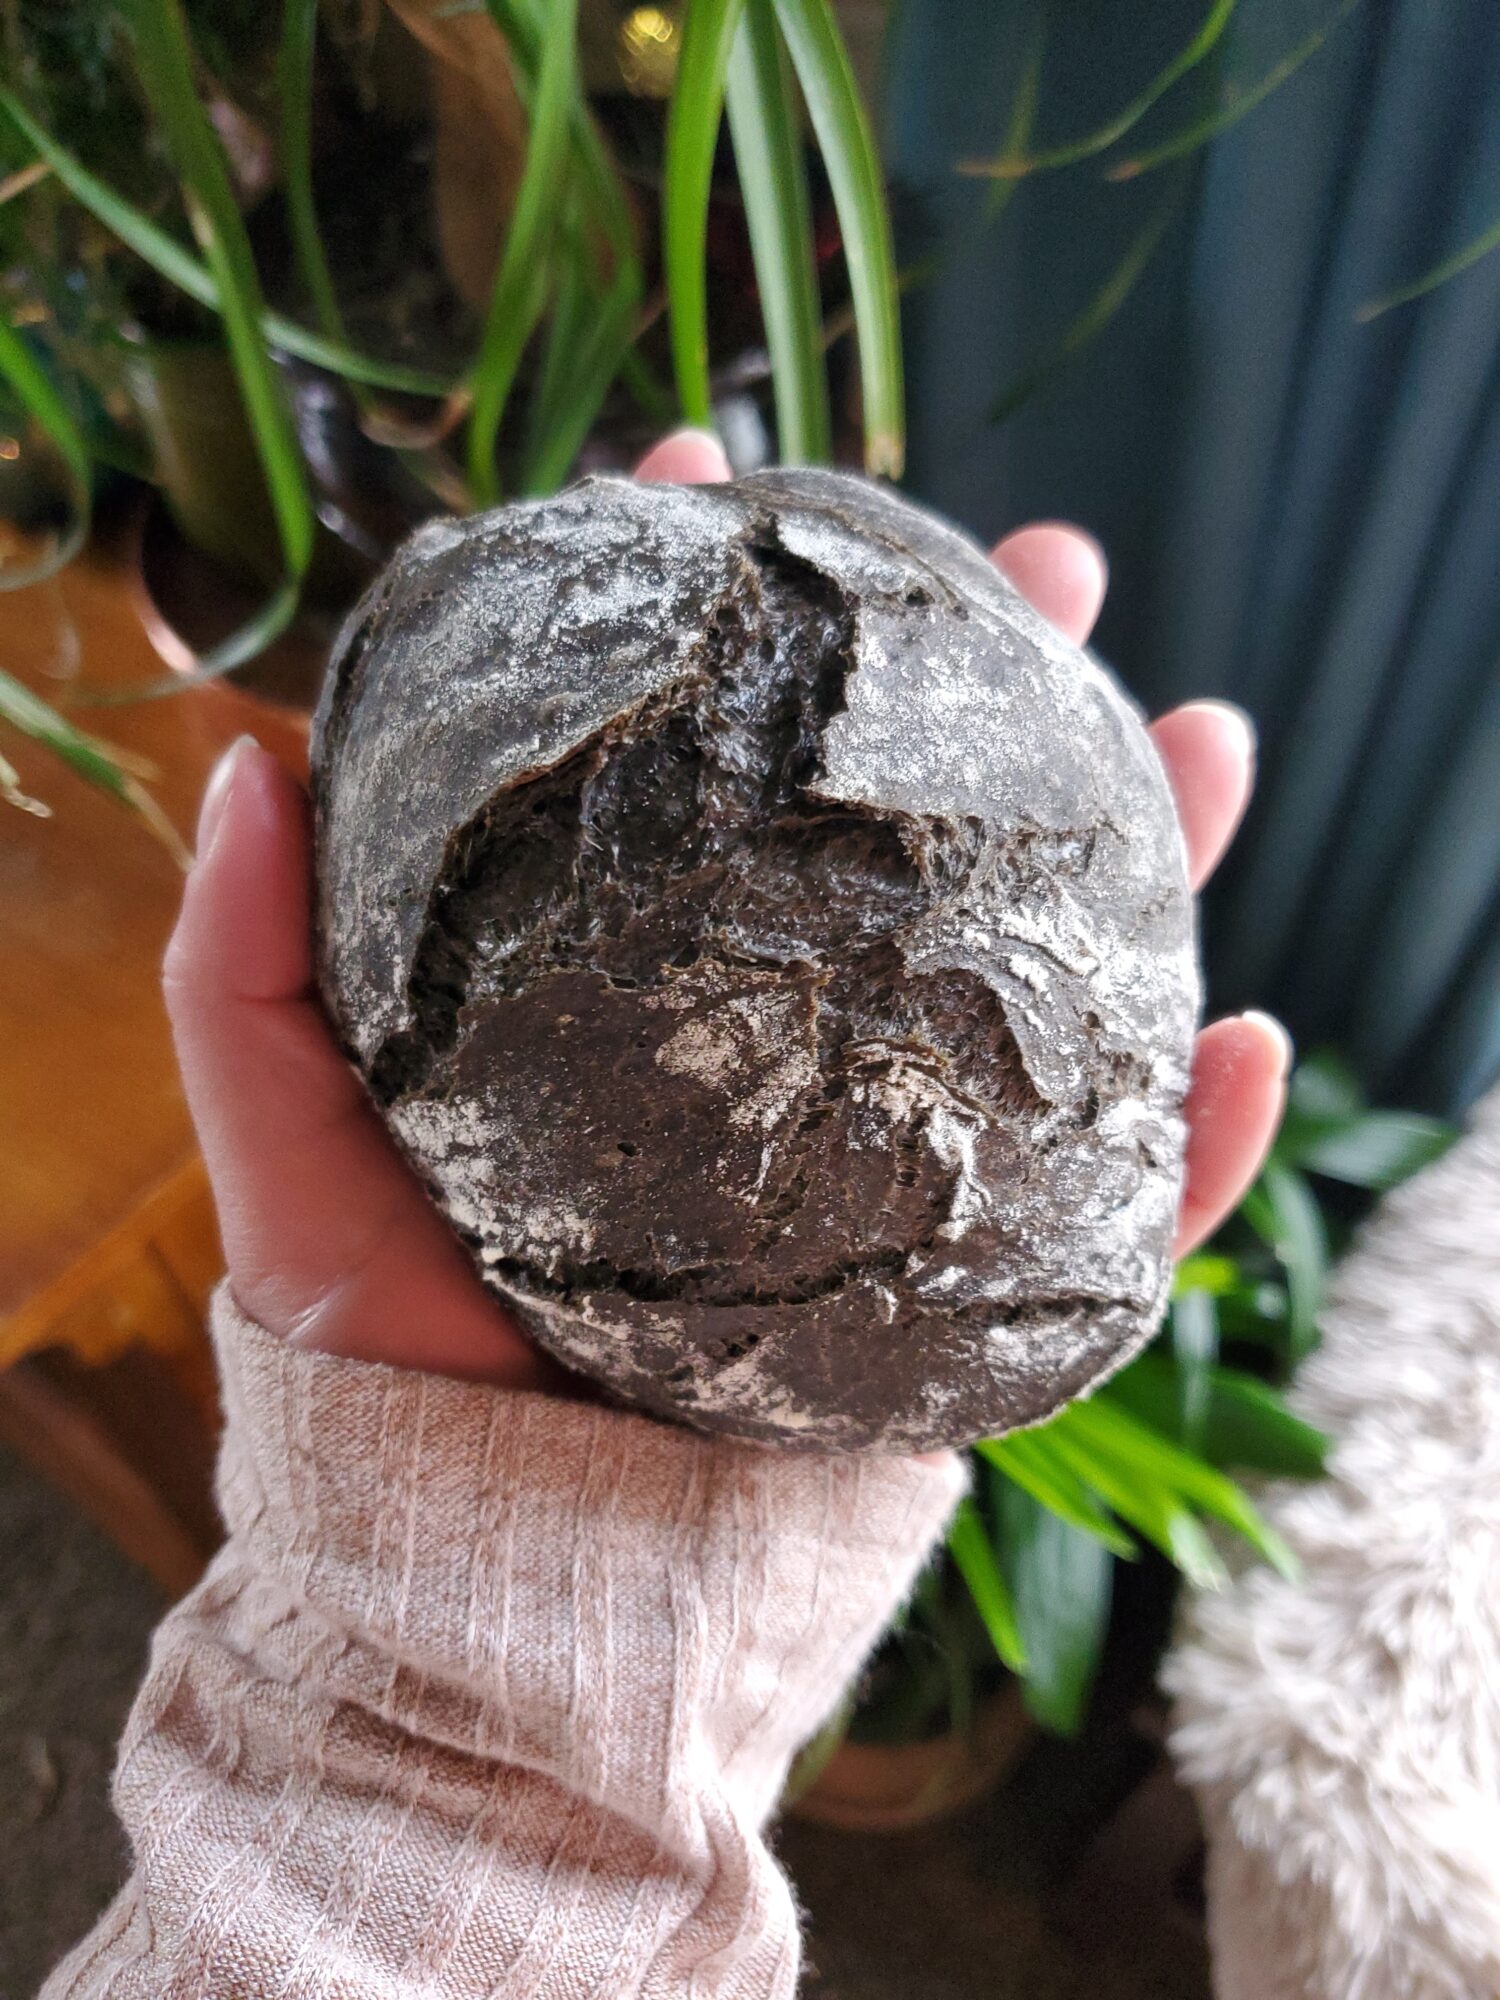
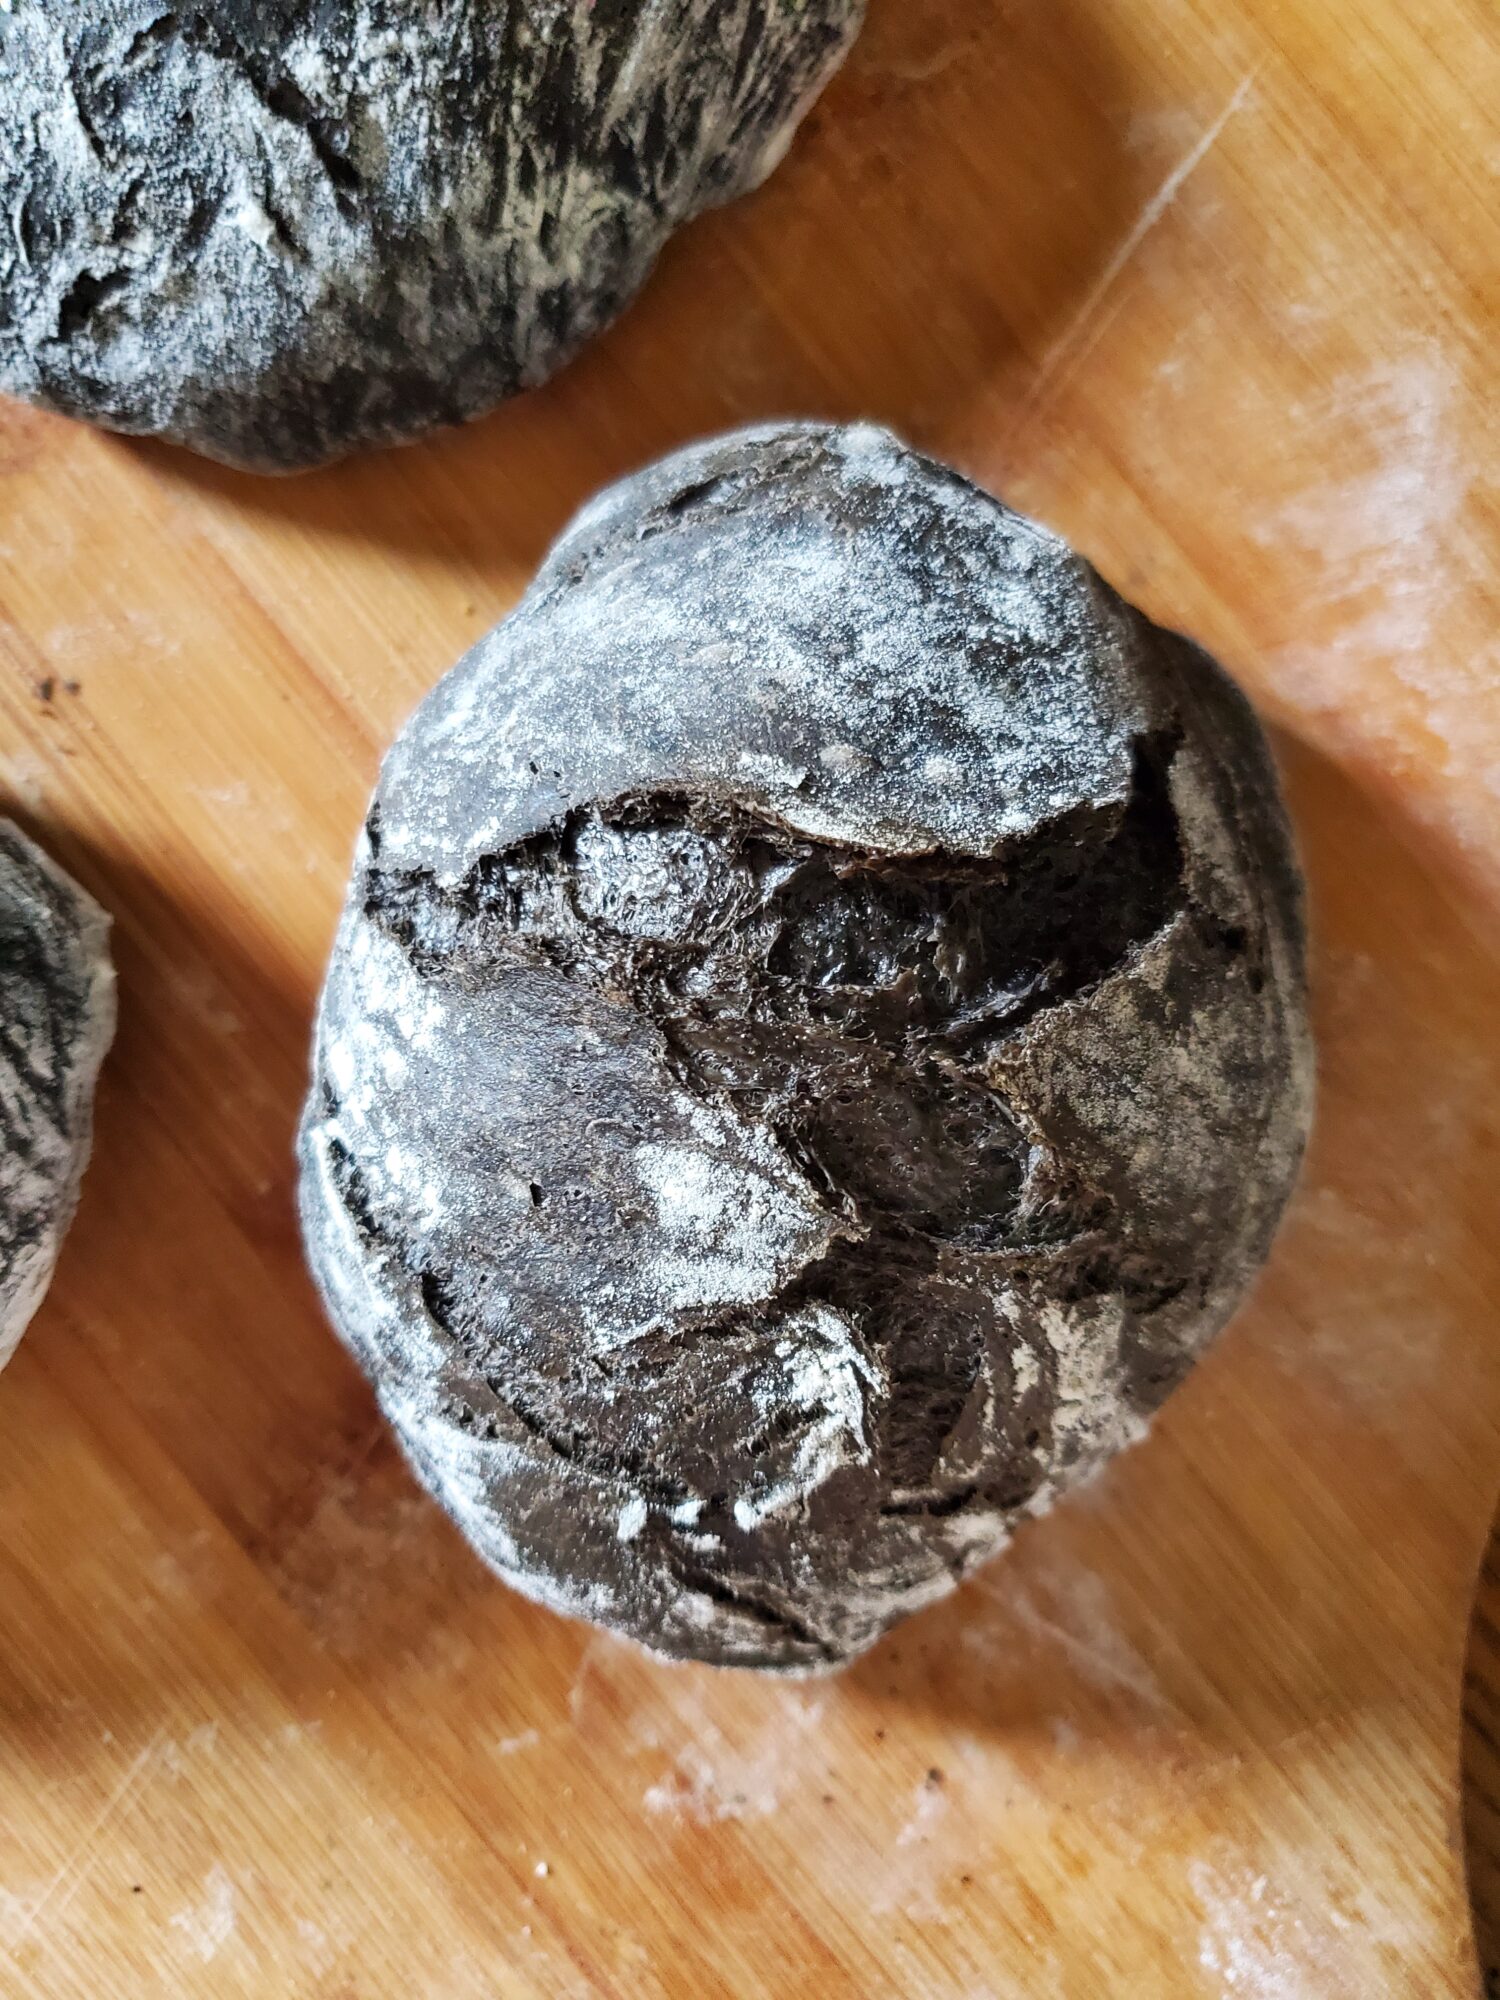
These black squid ink rolls combine cuttlefish ink with a classic no-knead Dutch oven bread recipe. The bread is usually in loaf form, but changing up the shape and the color worked quite well. You don't need much ink to dye them a morose black hue. Plus, it's a fun way to add some style to burgers. It does have a slight fishy taste, so I recommend pairing it with seafood. Although I did eat some of the leftovers with baked brie and that was phenomenal. So, don't let my making burgers out of them limit any other use that you can come up with!
7g.brown sugar(or 2 tsp. granulated sugar, maple syrup, or honey)
570g.all-purpose flour(4 ¾ c.)
2tsp.salt
2tsp.squid ink
oilto grease bowl
Instructions
Dough
Combine warm water, yeast, and sugar. Let rest for 15 minutes, or until the yeast begins to bubble.
Meanwhile, whisk together flour and salt in a large bowl.
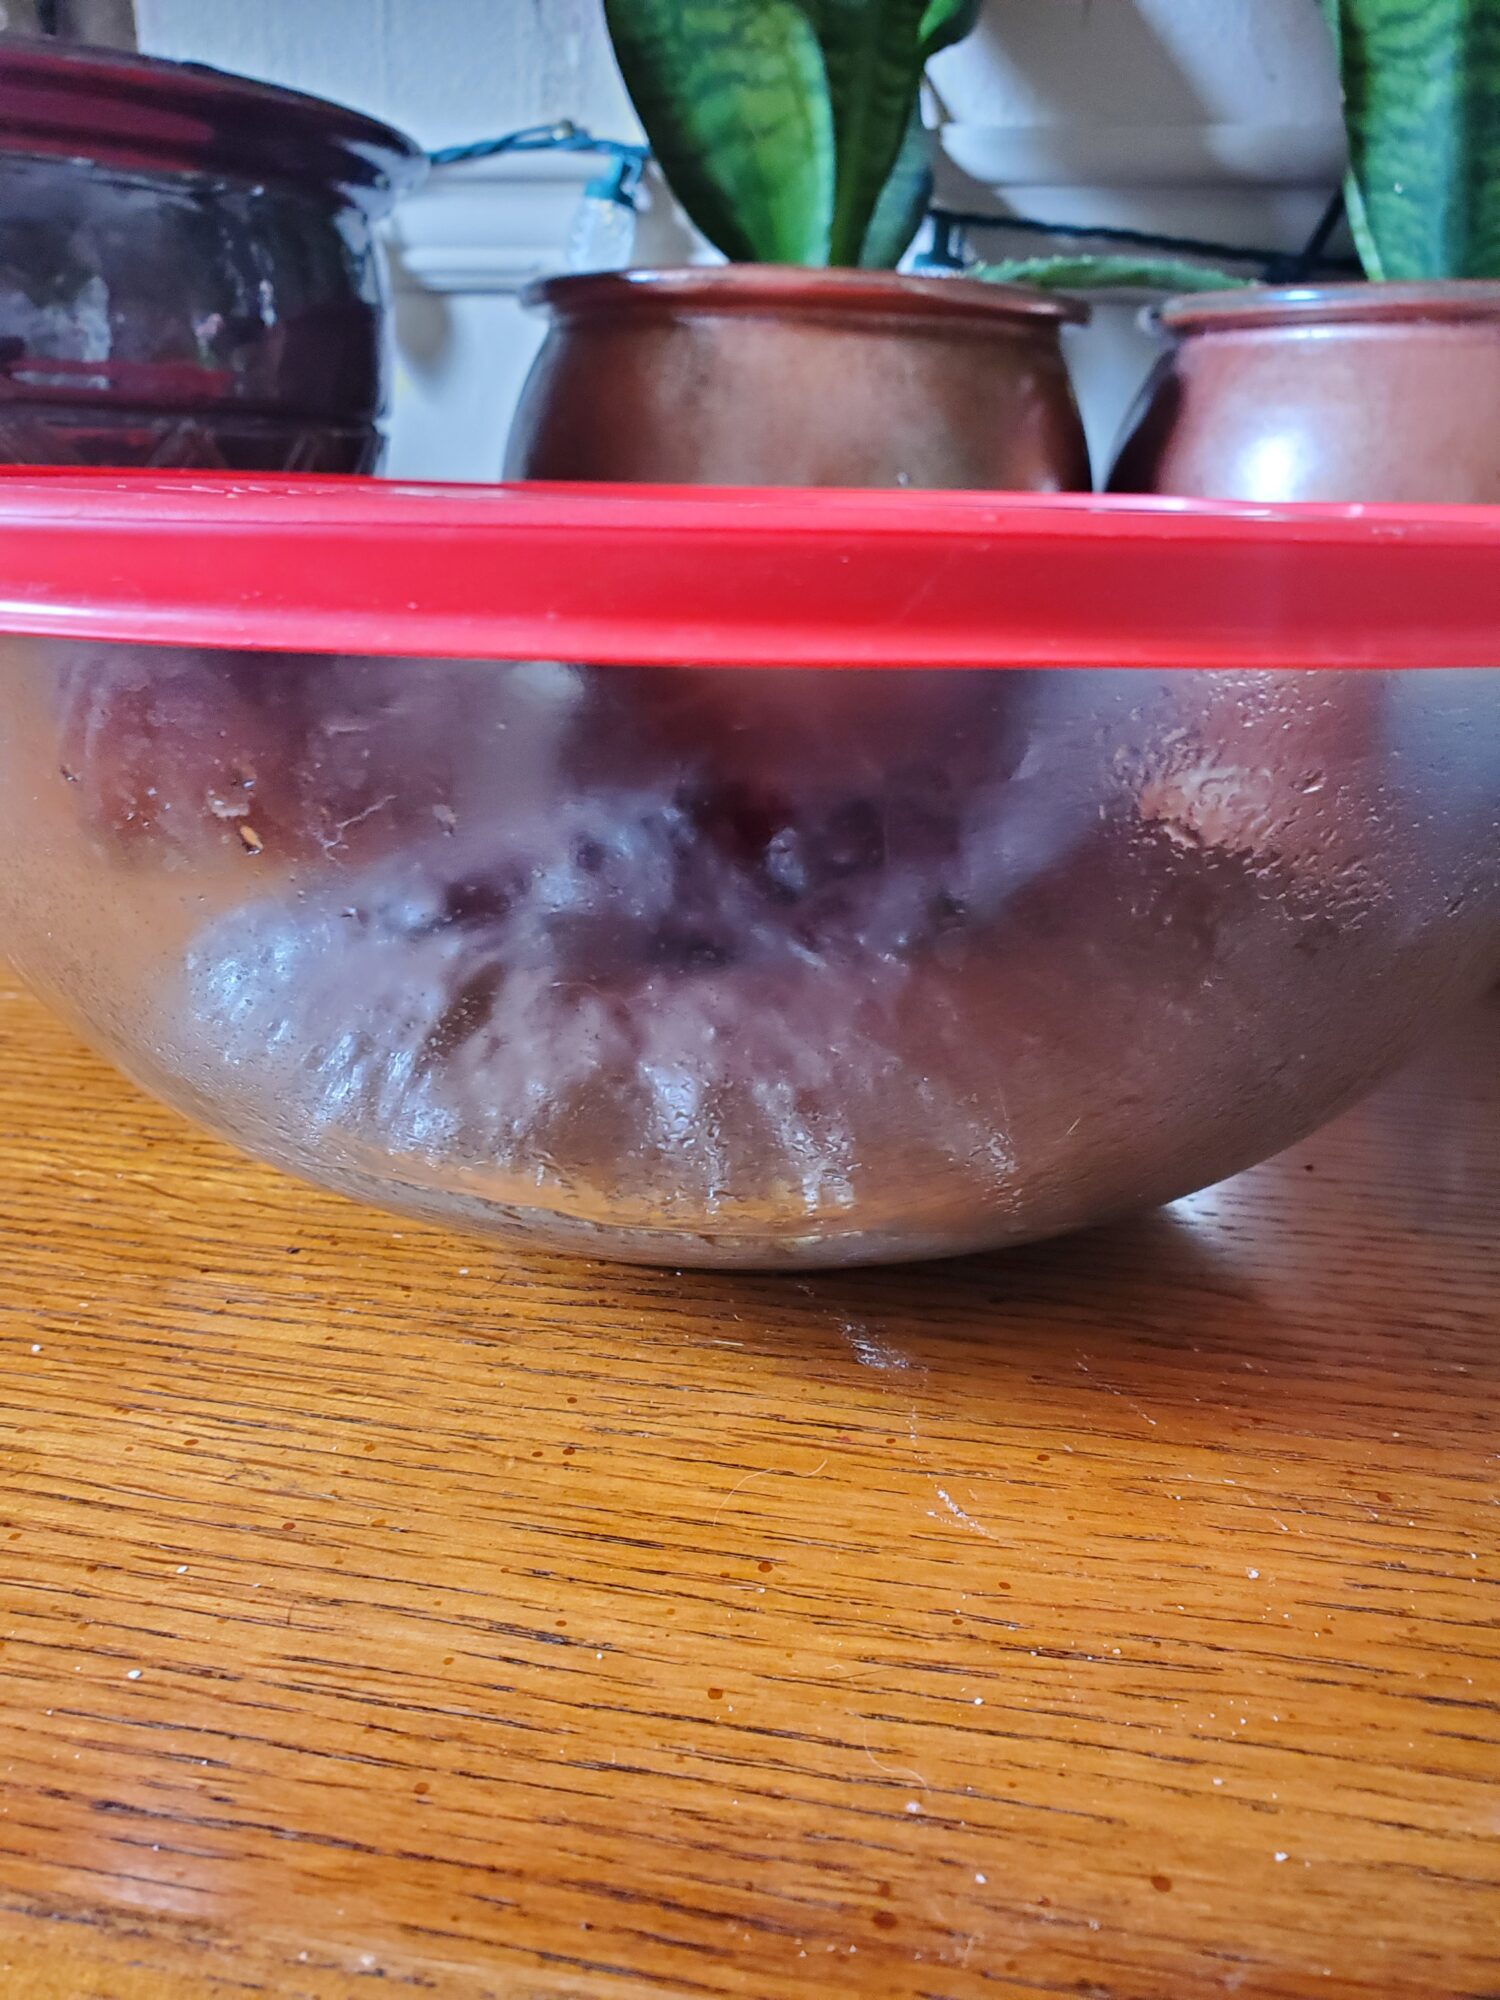
After the yeast has proofed, stir yeast mixture into the flour. Mix until all of the ingredients are combined.In a mixer with a dough hook attachment, this only takes a minute or two. By hand, this takes about 5 minutes. It's a no-knead bread recipe, so you're not necessarily looking for soft and pliable dough. Really, you just want all of the ingredients to be mixed thoroughly at this point! Which does make it a great recipe to make by hand if you prefer or don't have a mixer.
Lightly grease another bowl and transfer the dough.You can use the same bowl and just clean out the dough and grease, but it's helpful to have a second bowl to be able to just transfer it!
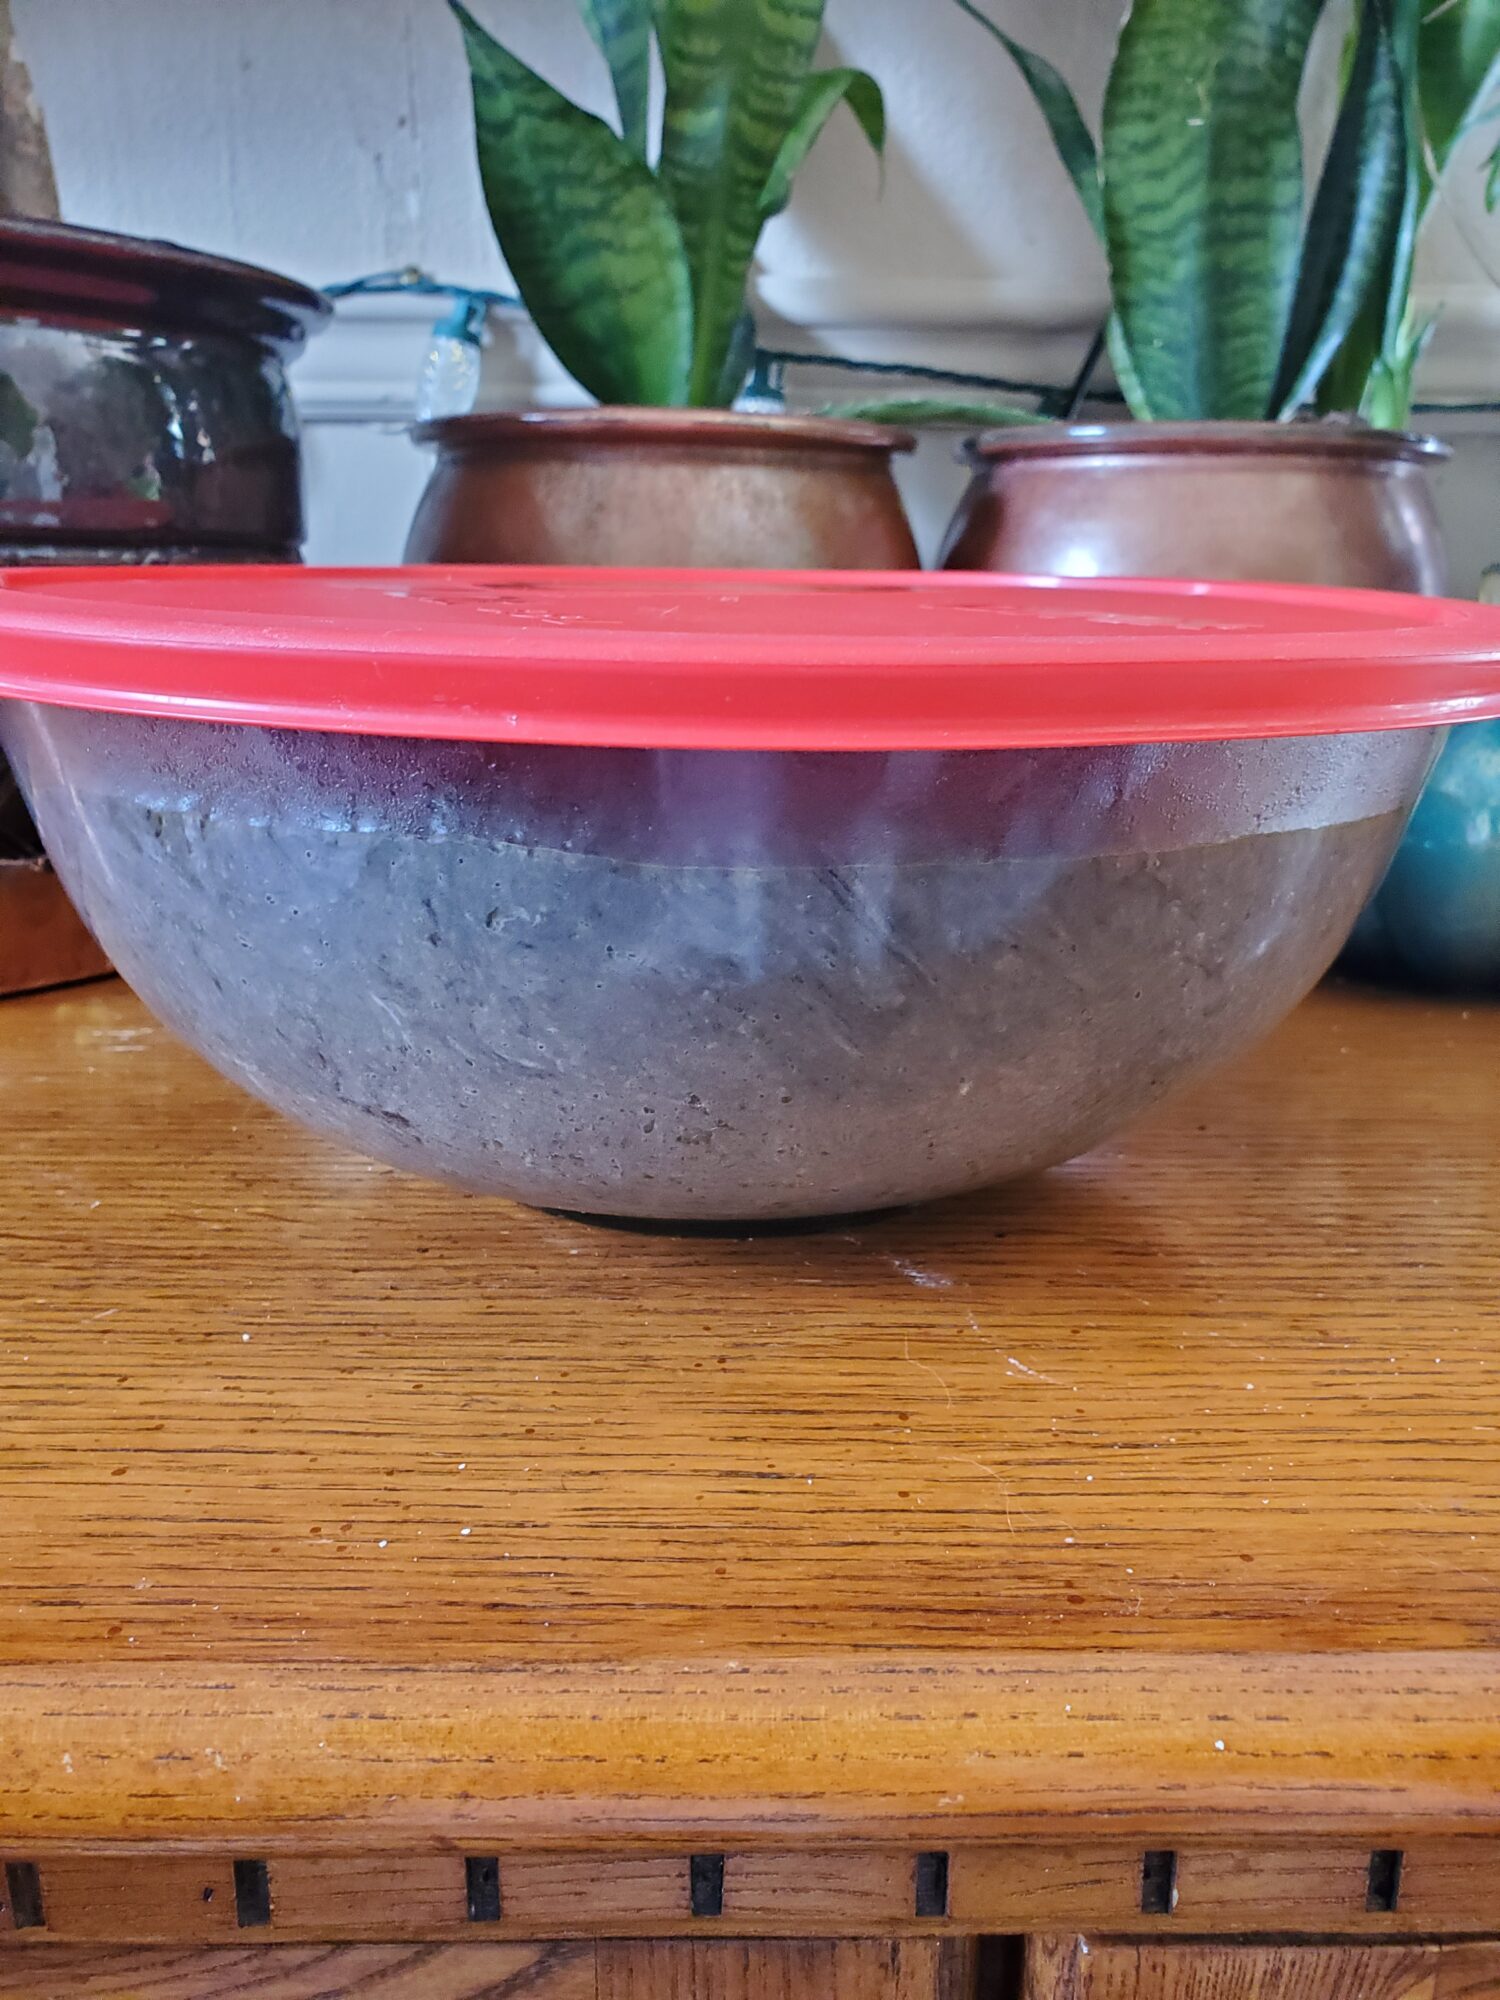
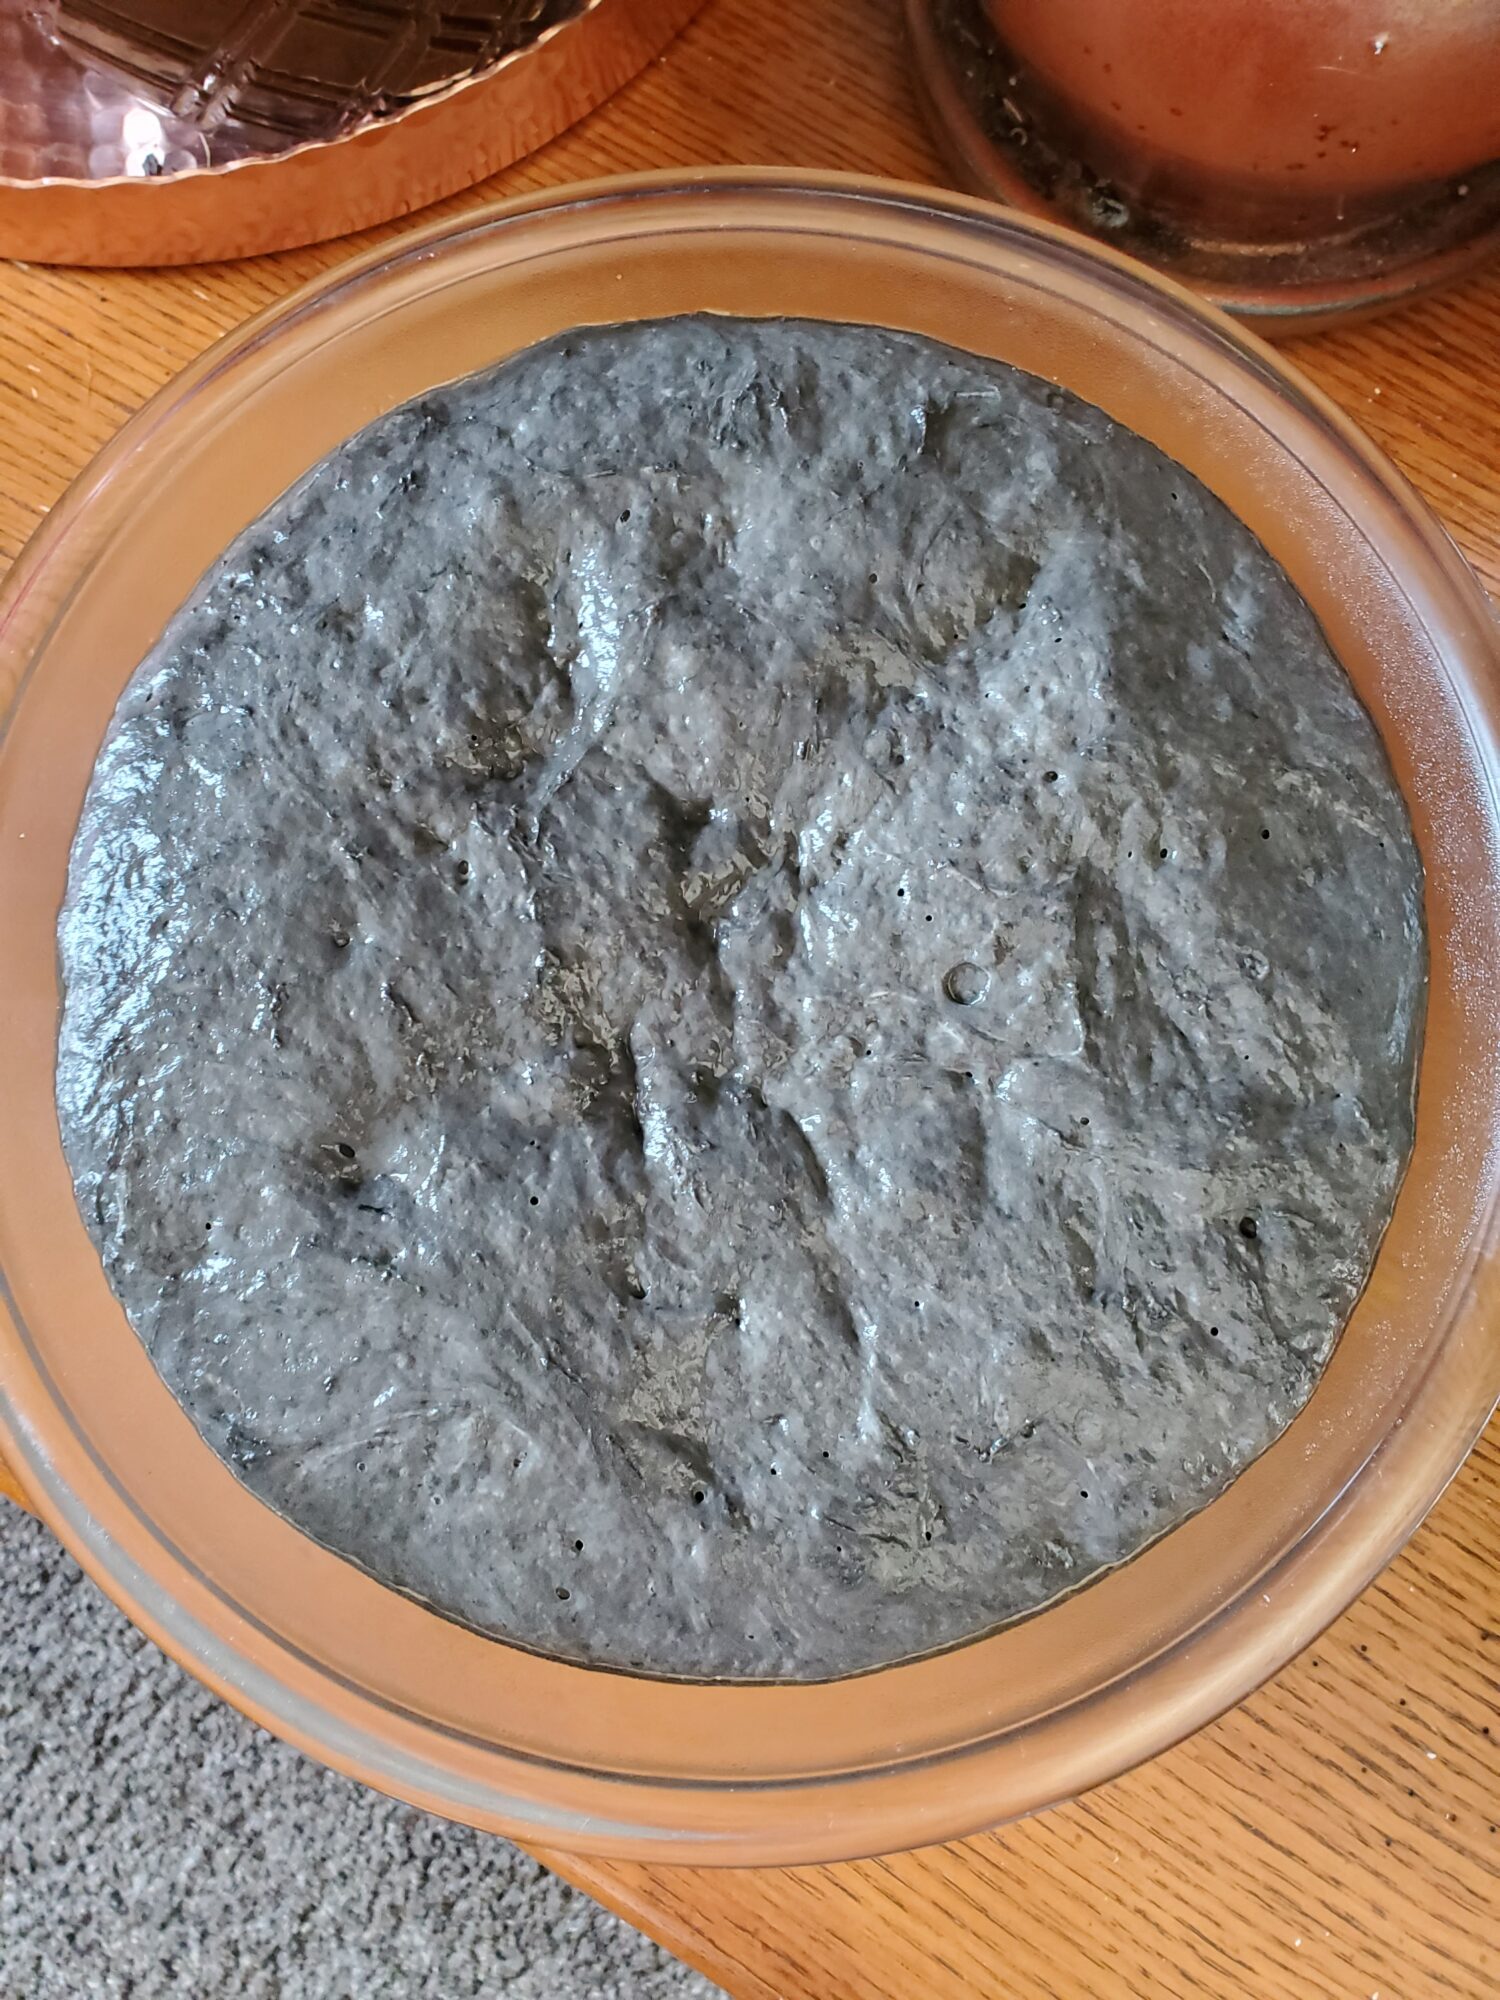
Cover dough and let proof for 2 hours, or until doubled in size.
Second Proof
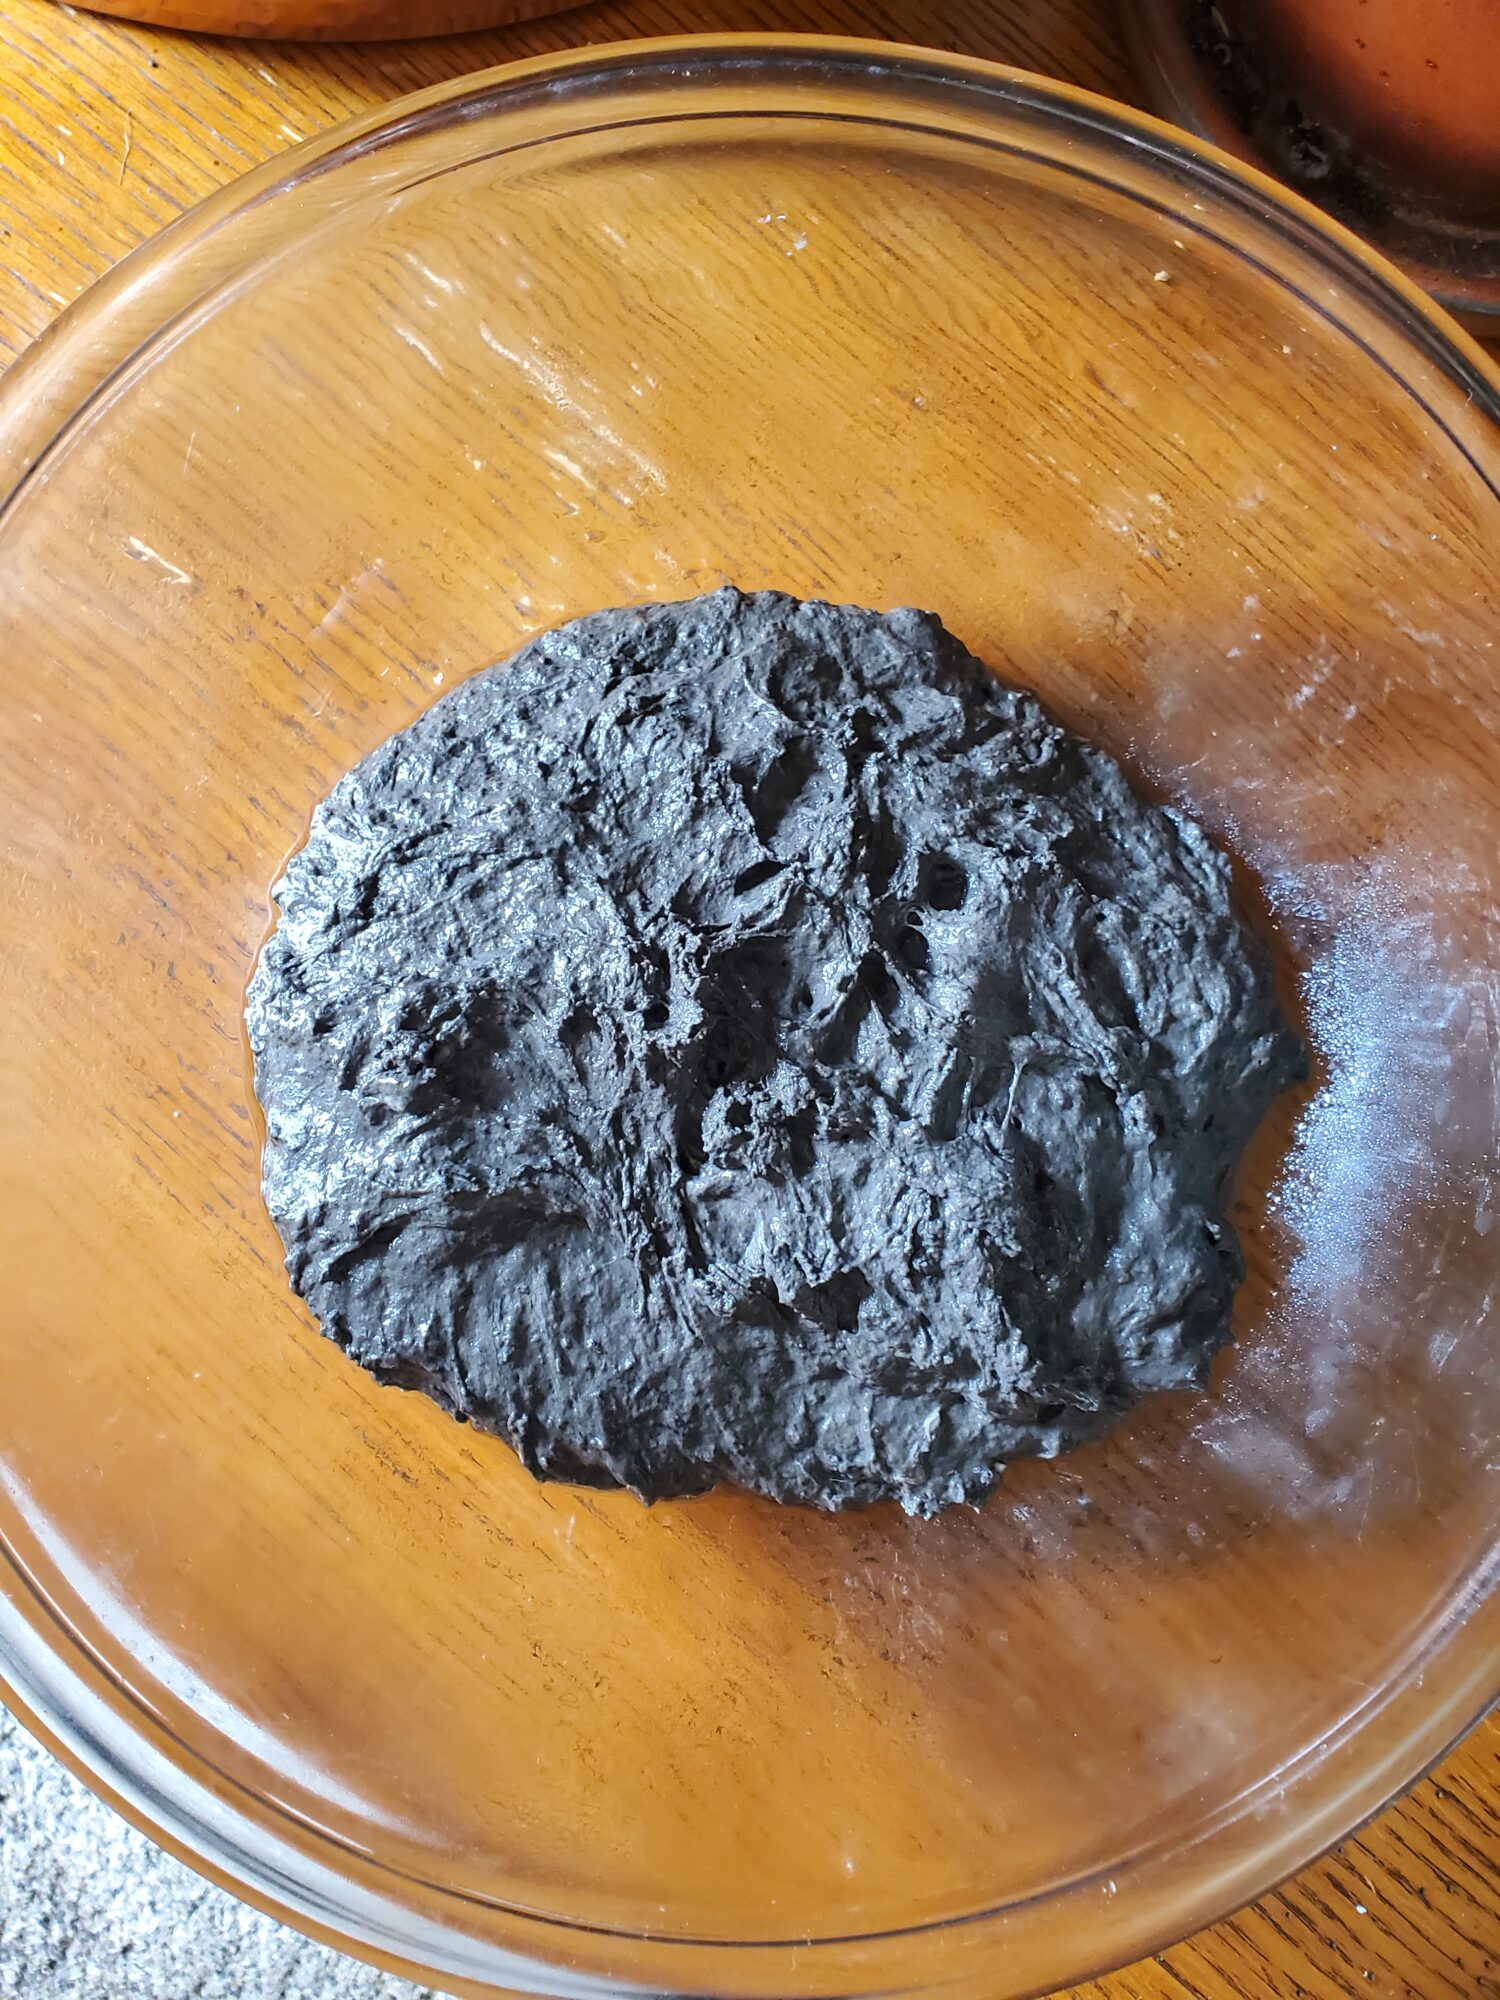
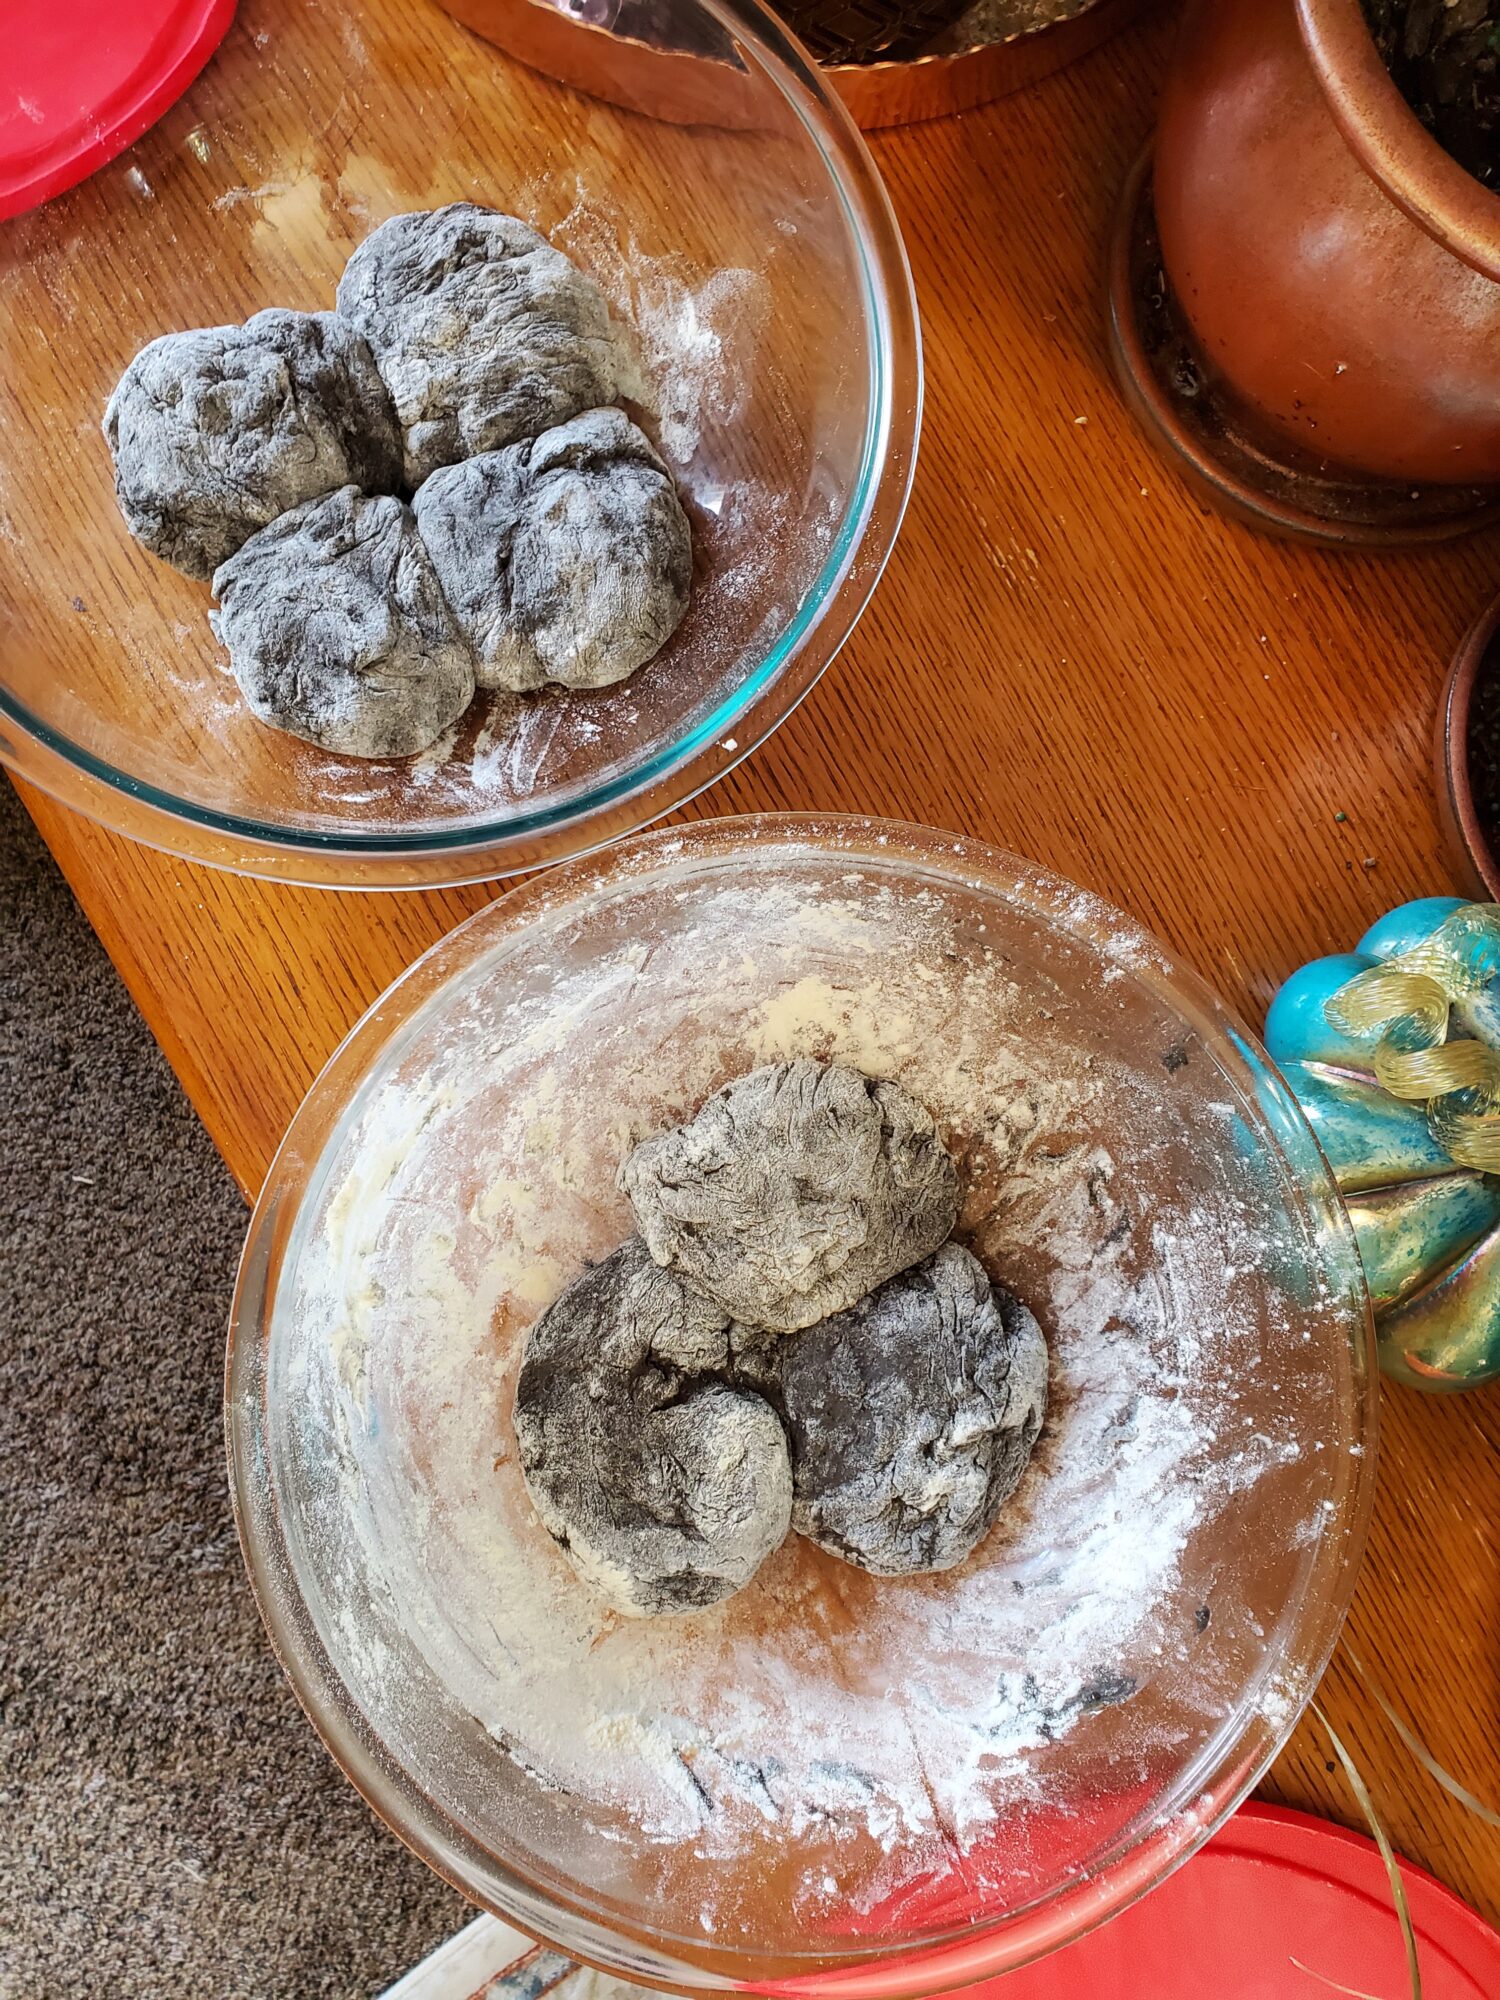
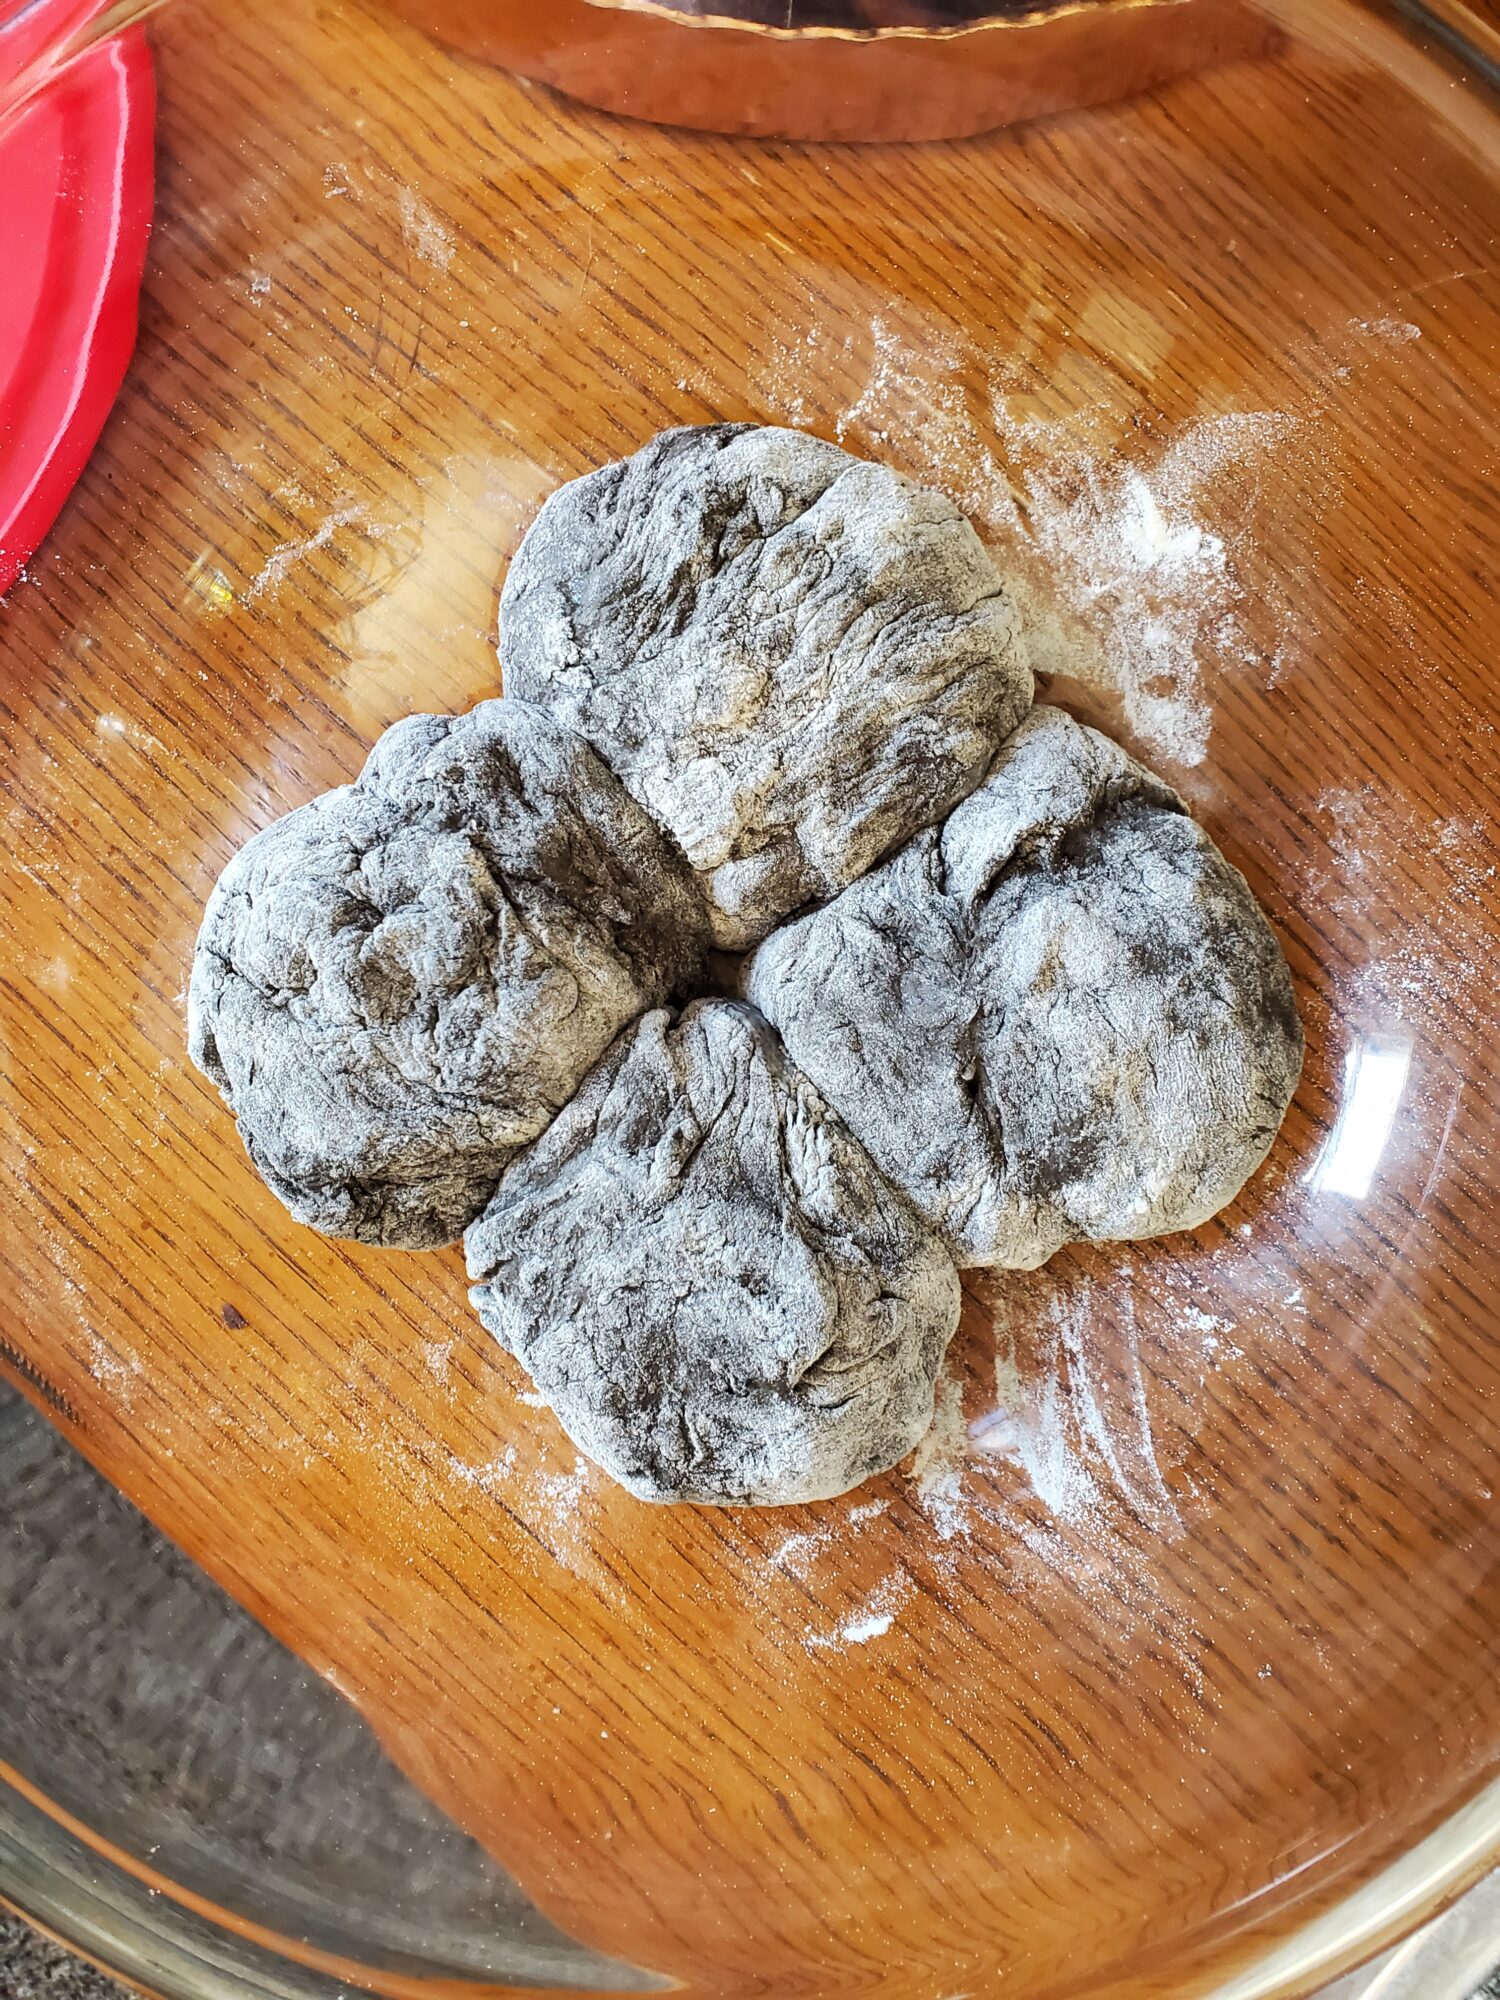
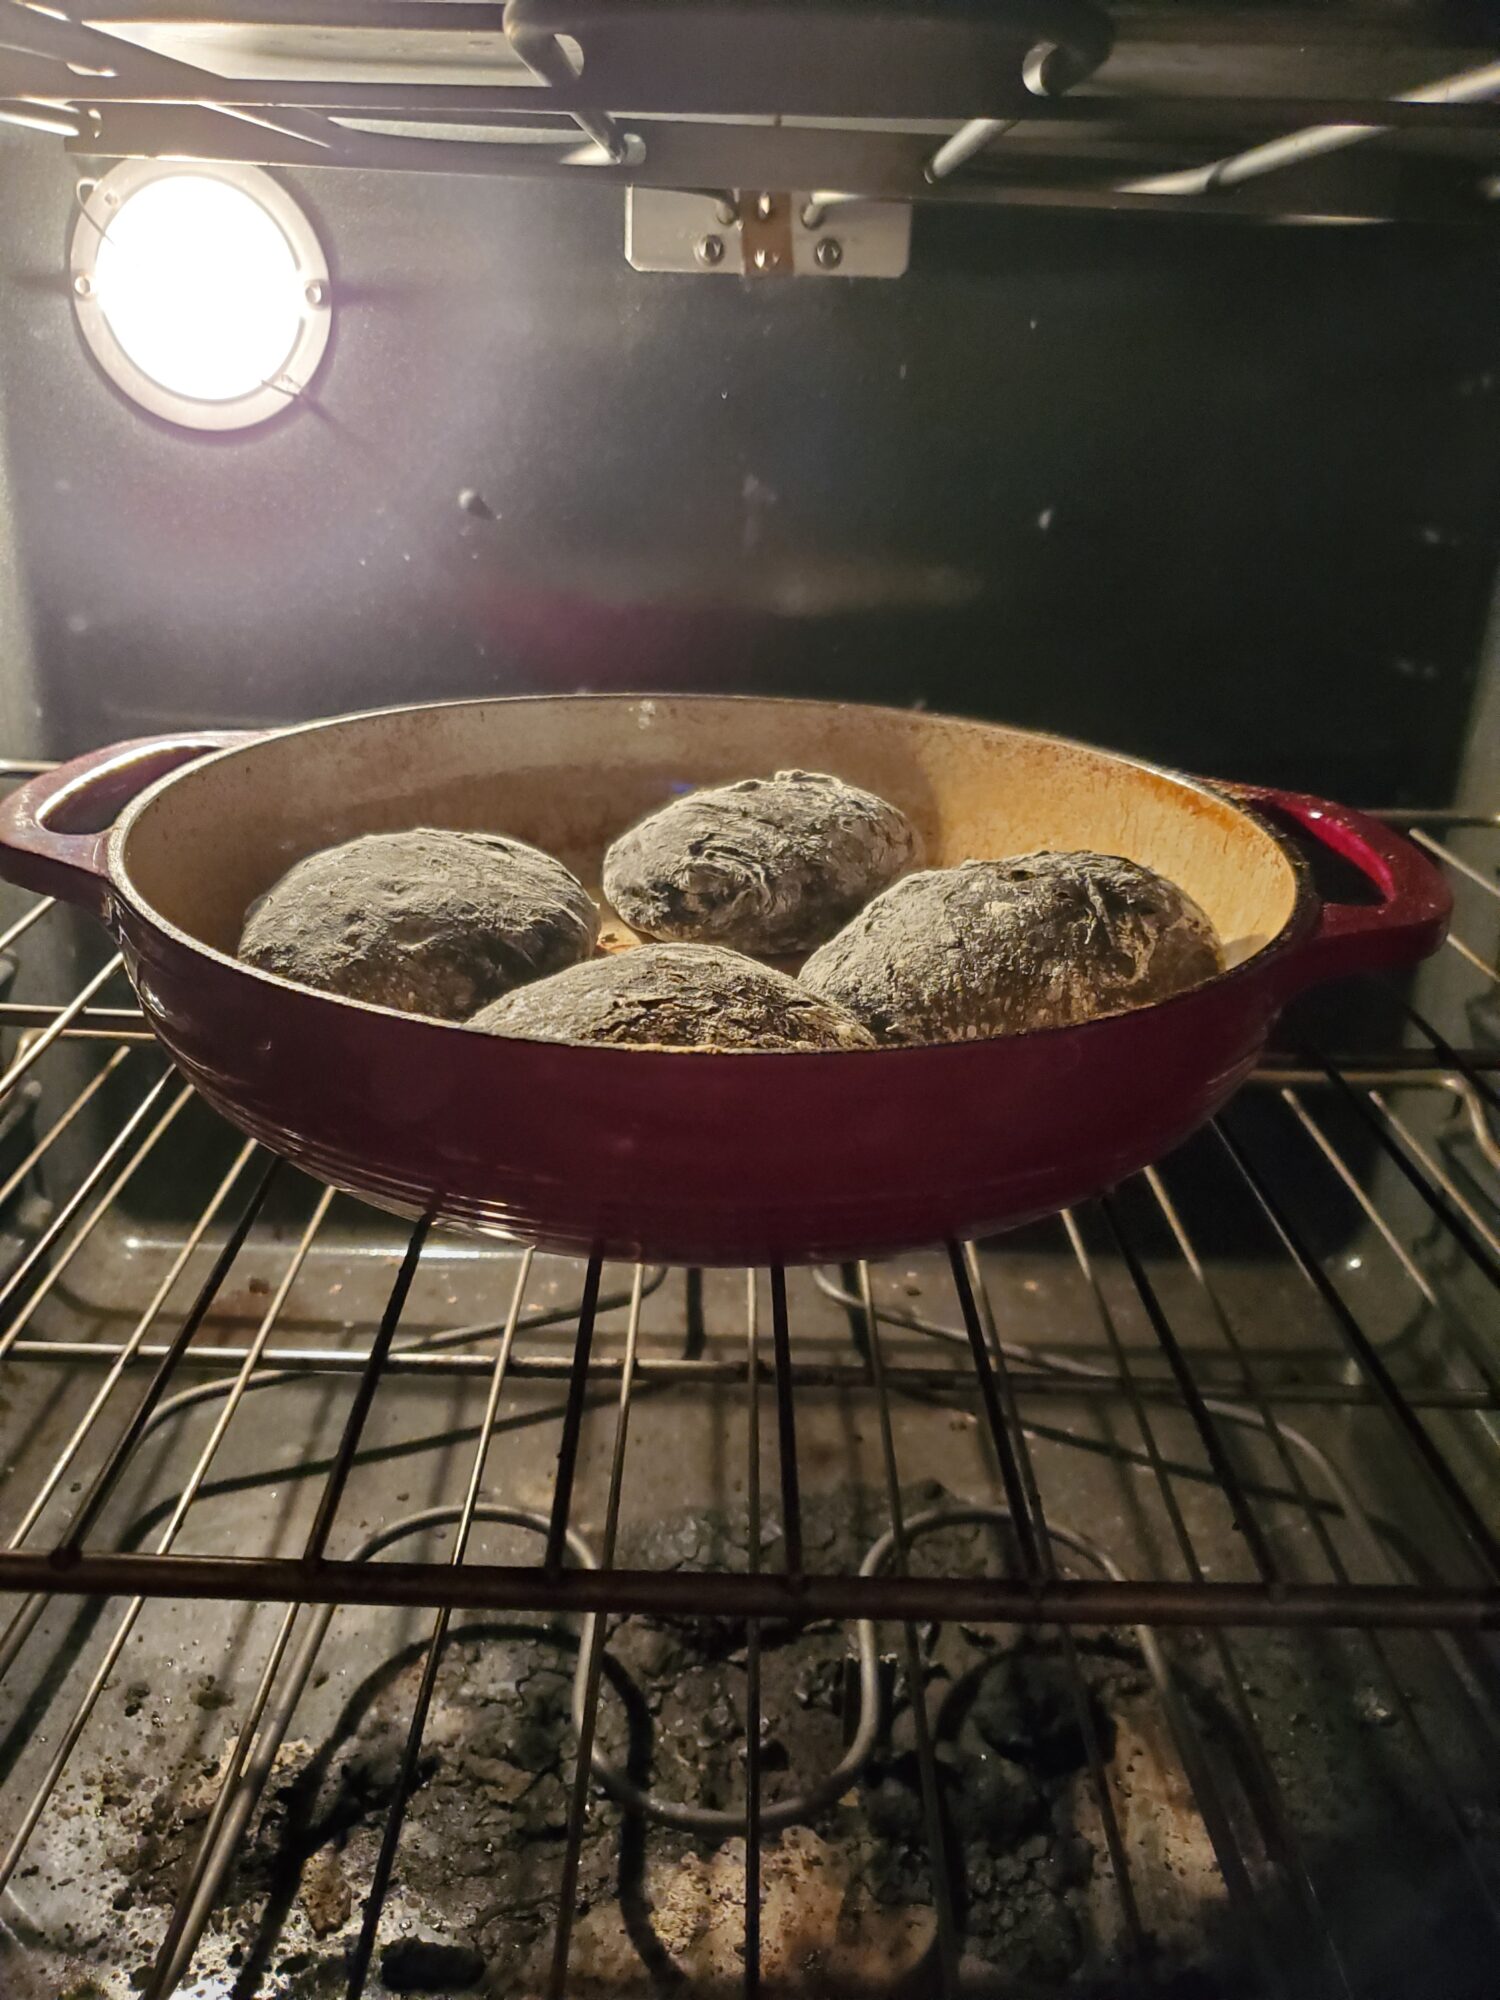
After 2 hours of proofing, lightly flour a surface and turn the dough out. Sprinkle with just enough flour to make it workable (a tablespoon or two) and separate into 6 balls.
Meanwhile, lightly grease the Dutch oven. Place it, with the lid on, in the oven and preheat to 450 degrees Fahrenheit.It's important to preheat the Dutch oven ahead of time in order to get it warm enough to cook the bread.
Let the dough proof for another half hour while the Dutch Oven preheats for at least 30 minutes.
Bake
Carefully, and with oven mitts, remove the Dutch oven. Plop the ball of dough into the center of the Dutch oven.
Using oven mitts, place the lid back on and put the Dutch oven back into the oven. Bake for 40-45 minutes.Baking time for different sized loaves remains the same. This sounds counter-intuitive, but don't open up the Dutch oven to double check! The bread bakes in a similar amount of time regardless of loaf size because of the Dutch oven within an oven baking method. Smaller loaves may need less, or no, additional cook time after the lid is removed. But the initial bake time remains the same.
After 40 minutes in the oven, remove the lid from the Dutch oven and bake for another 5 minutes, or until the crust is crisp.You should be able to tap on the dough and it sounds hollow. Since it's black, you won't be able to trust the light brown test for doneness and are just going to have to trust it at some point!
After about an hour in the oven, carefully remove the Dutch oven and turn out the bread. Let rest until cool before slicing. This tends to take about 30-45 minutes.
Tips, Tricks, & Notes
You can use any kind of sugar that you want. The original recipe called for maple syrup or honey. But I'm honestly not as big a fan of those in bread! It goes great with butter and toast and I'm a huge fan in biscuits. But this isn't necessarily something that I'm always going for with every slice of bread.
If you don't want to predetermine the flavor profile, white granulated sugar is a great choice. I usually use brown sugar because I enjoy the richness of the molasses. But again, this is all personal preference! Sugar is necessary to feed the yeast and help the dough rise throughout hours of proofing. The particular sugar that you use in this recipe, though, is personal preference. Use whatever sugar you prefer or have on hand!


Leave a Reply