There are plenty of staple ways to make homemade pizza. For a more comprehensive guide on proofing dough, I have an article on How Much Time Does It Take to Proof Pizza Dough? and Top 5 Reasons Your Dough Isn't Proofing Right. This article is for the tips and tricks that most recipes won't tell you. I absolutely adore pizza. It's one of those things that almost everyone can agree on. Raw, vegan, gluten free, made of cauliflower, thick crust, thin crust, cracker crust, et cetera. Even bad pizza is still good pizza.
I've worked in the restaurant industry for more than a decade and have made more than my fair share of pizzas. They're one of my favorite things to make. I've made pizzas professionally, at home, in brick ovens, barbecues, conveyor ovens, stone ovens, food trucks, buried in the coals of a campfire in the woods. You name it? I've probably tried it. And, throughout that time, I've come up with a list of tips and tricks that most people won't necessarily tell you about, but that can be incredibly helpful when trying your hand at it yourself.
The first 5 suggestions work for homemade pizza and restaurant ordered pizzas. The later 5 tips and tricks are more specifically for homemade pizza. And the final bonus 11th is a suggestion on how to reheat leftover pizza.
1. The Thinner the Crust, the Crispier the Pizza
I've worked in the restaurant industry almost all of my life. And nothing cracks me up more than people trying to order things that won't work out. Do you want a thin crust pizza that is still soft and chewy? That's fine, but you have to undercook it.
A lot of restaurants use conveyor belt ovens. Every single pizza cooks for the exact same amount of time (typically around 550 degrees Fahrenheit for about 7 minutes and 45 seconds). There's no one checking in on the pizza. It doesn't get pulled when the cheese starts to brown or the crust starts to crips. It just goes into the oven and out of the oven automatically on a conveyor belt. A thick crust tends to get pushed back into the oven for another minute or two because it won't cook thoroughly in that time. And intentionally crispy or well done pizzas will get pushed back in as well.
When pizzas are cooked in a stone or brick oven, they're typically still cooked for roughly the same amount of time. There's just the added ability of a person checking in on them to pull them out if they're crisping up too quickly. Although, if multiple pizzas go into the oven at the same time? Chances are that, regardless of how quickly they crisp up, they're going to be pulled out of the oven at the same time.
This means that, for the most part, all pizzas will get cooked for the exact same amount of time. So, if you order a thin, extra thin, or cracker crust? The bottom of that pizza is going to be crispy. Some might even call this ever so slightly burnt. If you don't want this? I'd recommend ordering it slightly under done. A lot of the time a 5-6 minute cook time is more what you're looking for.
Solutions for Homemade & Restaurant Pizza
For a crispier pizza, go for a thin or cracker crust.
For a softer pizza, opt for a thicker crust or cook a thinner crust pizza for less time.
2. The More Meat & Oily Ingredients, the Crispier the Pizza
Some pizza toppings are oilier than others. These tend to be things like meats, hard cheeses, certain seafood, and anything pre-cooked in oil, like potatoes. When making pizza, this most often means that the fattier ingredients, like pepperoni, sausage, parmesan, and some of the more fun toppings, like french fries and salmon. These types of ingredients tend to release oil while cooking
Pepperoni and sausage tend to release a lot of oil when cooking. They almost deep fry and become crispy very quickly. This means that, if you like crispy pizzas, loading on the meats is going to accentuate this. If you like a softer crust and less browning of the cheese?
This also tends to happen with oilier sauces, like alfredo and other cheese-based sauces.
Solutions for Homemade & Restaurant Pizza
For a crispier pizza, add ingredients with a higher fat content or cook for a longer amount of time.
For softer pizzas, opt for ingredients with a higher water content or cook for a shorter amount of time.
3. The More Vegetables & Wetter Ingredients, the Softer the Crust
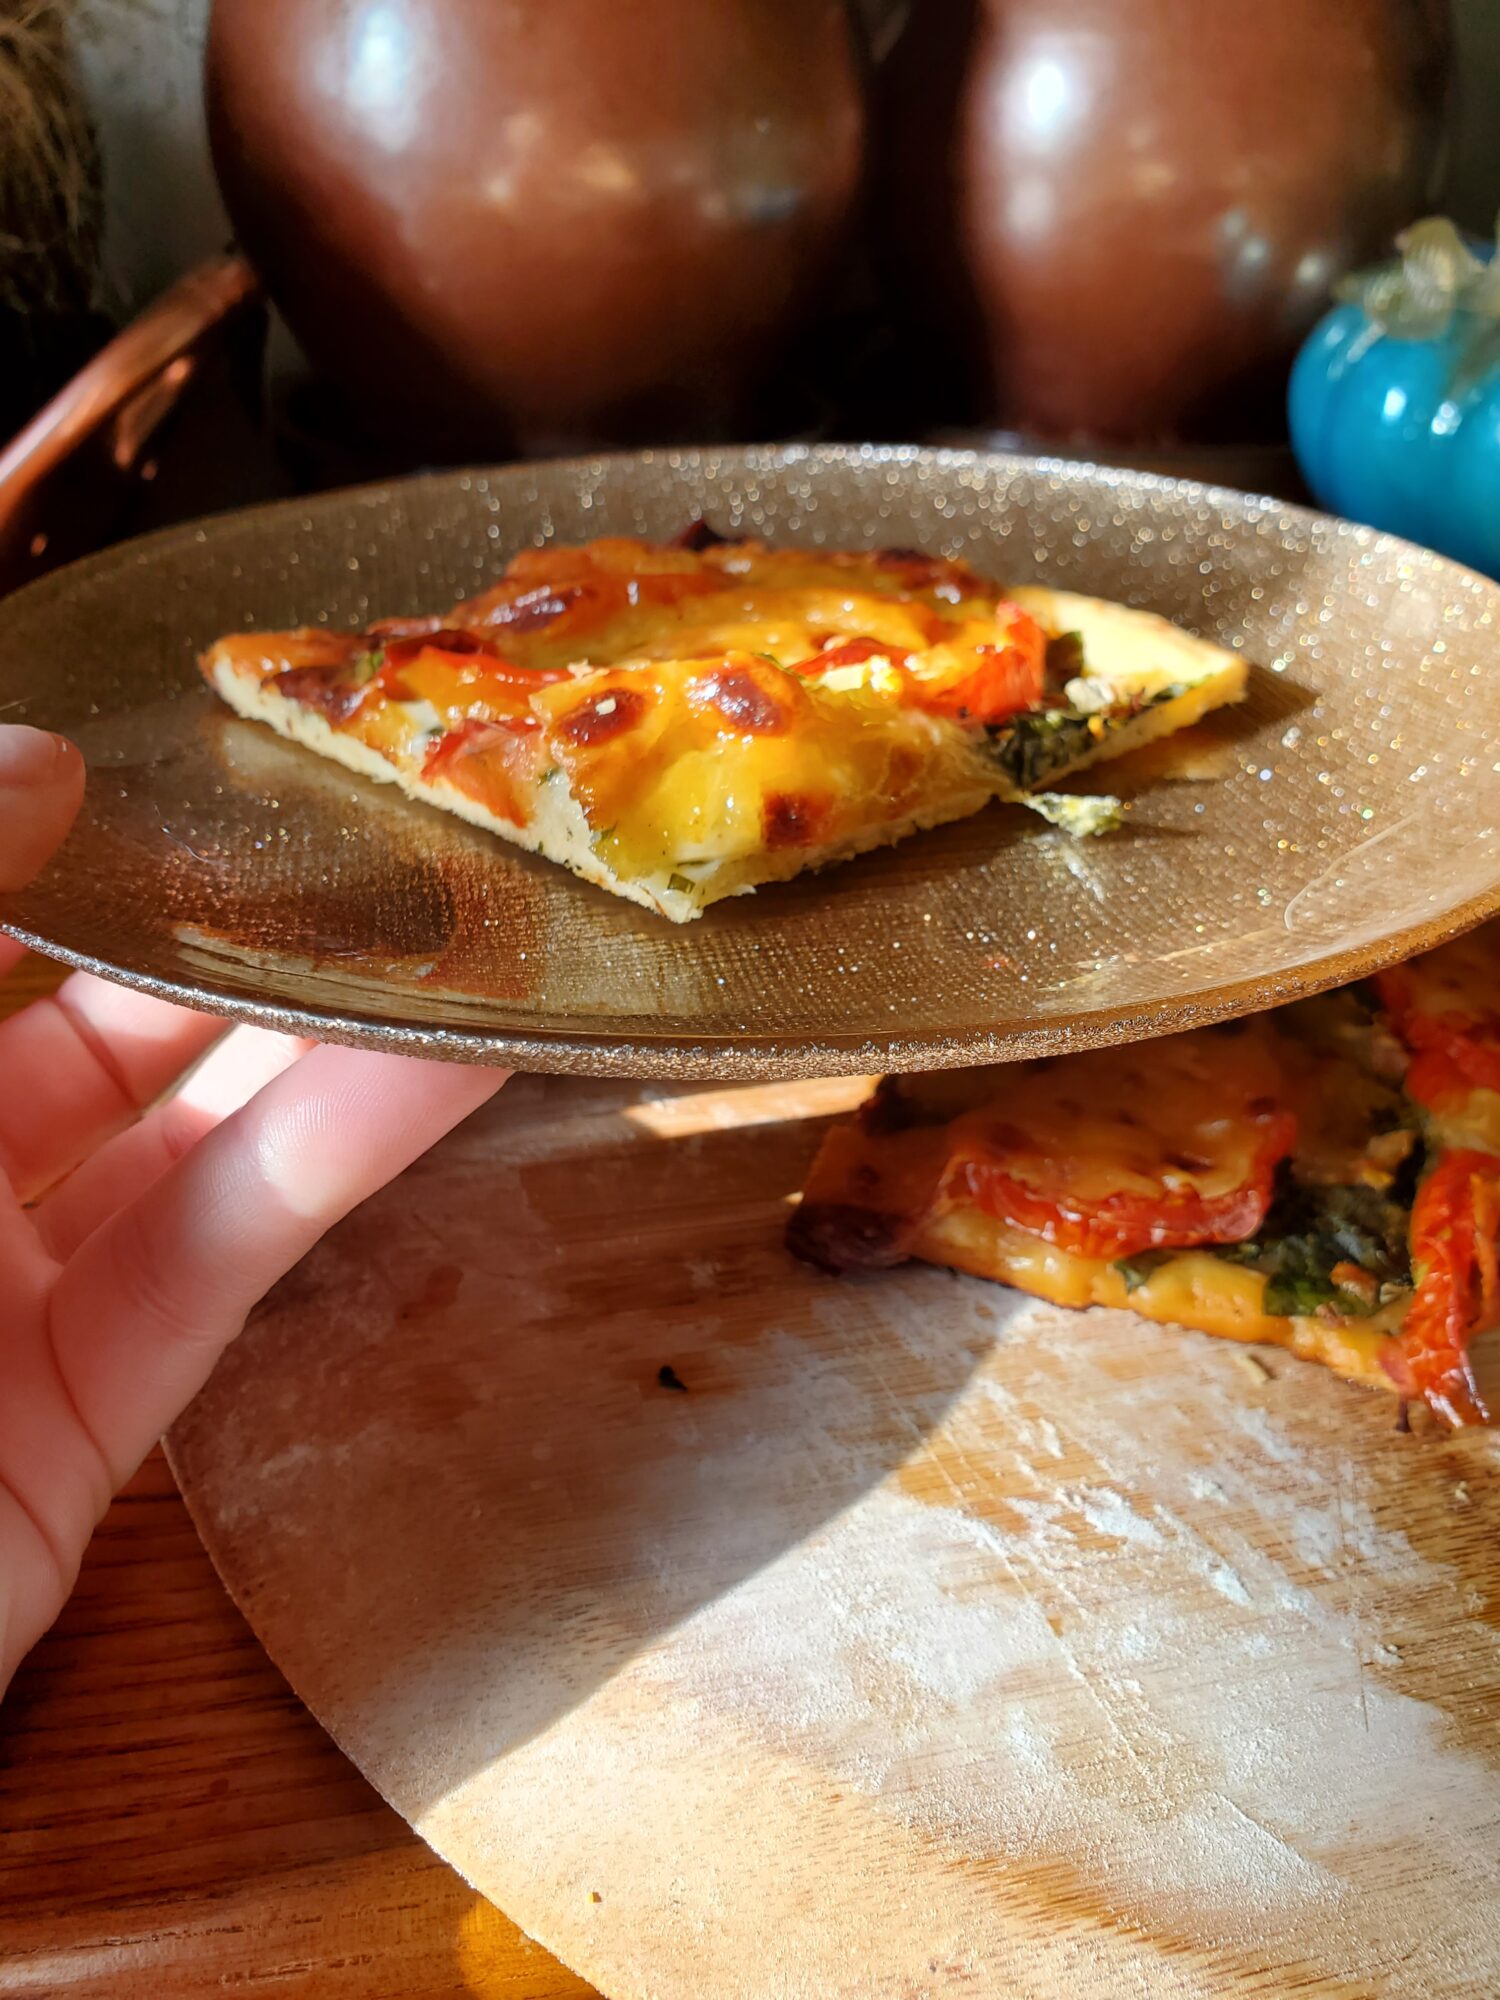
The exact opposite thing happens with wetter ingredients. Whereas oily ingredients will result in a crispier pizza overall, ingredients with higher water contents will soak into the dough and create a softer crust. Toppings with more moisture, like mushrooms, spinach, tomatoes, and softer cheeses, like gouda fresh mozzarella. Basically anything that softens while cooking, instead of crisping and browning.
This works better with thicker crust pizzas because that moisture has somewhere to go. However, with a thinner crust pizza, it will make the dough softer and limp (like New York-style pizzas that are folded to eat on the go as opposed to more Neopolitan-style pizzas that are thin, but crispier and hold their shape more when the slices are picked up). When done incorrectly, though, the crust can lose structural integrity and start to disintegrate. This results in soft spots or holes in the dough and can cause the pizza to stick to the oven or fall apart when you're trying to eat it.
This also tends to happen with tomato-based sauces, which inherently contain a lot of moisture.
Solutions for Homemade & Restaurant Pizza
For a crispier pizza, opt for a thinner crust, go lighter on the sauce, and add less toppings.
For softer pizzas, opt for a thicker crust, go heavier sauce, and add more toppings.
4. The Less Toppings, the Better
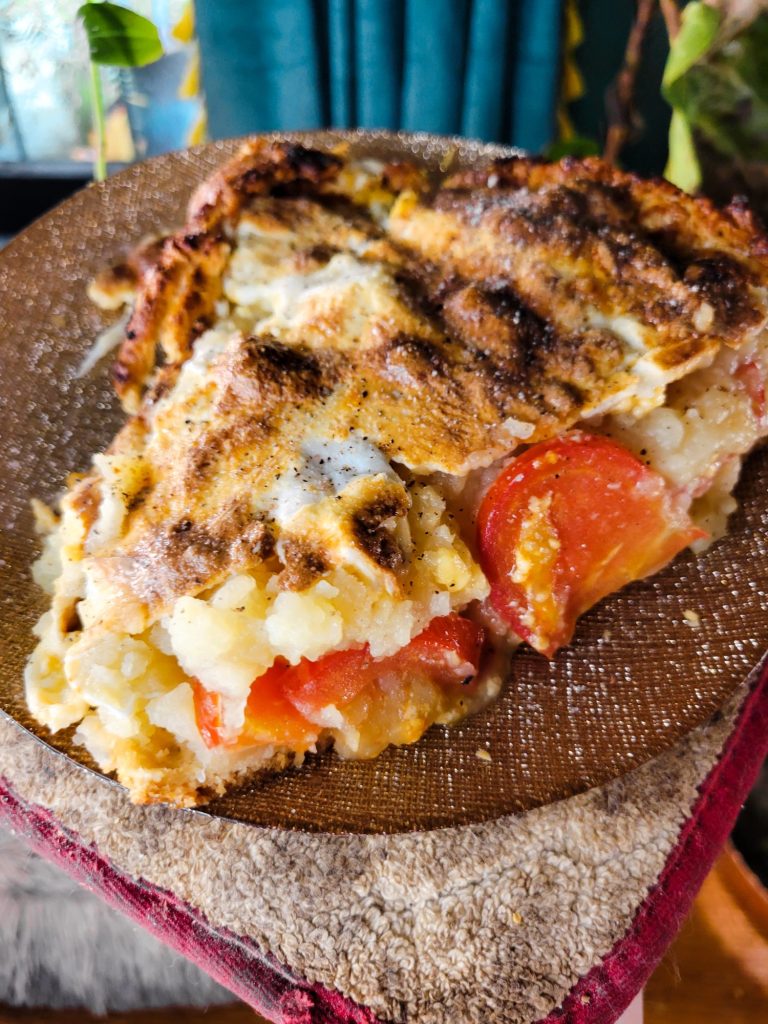
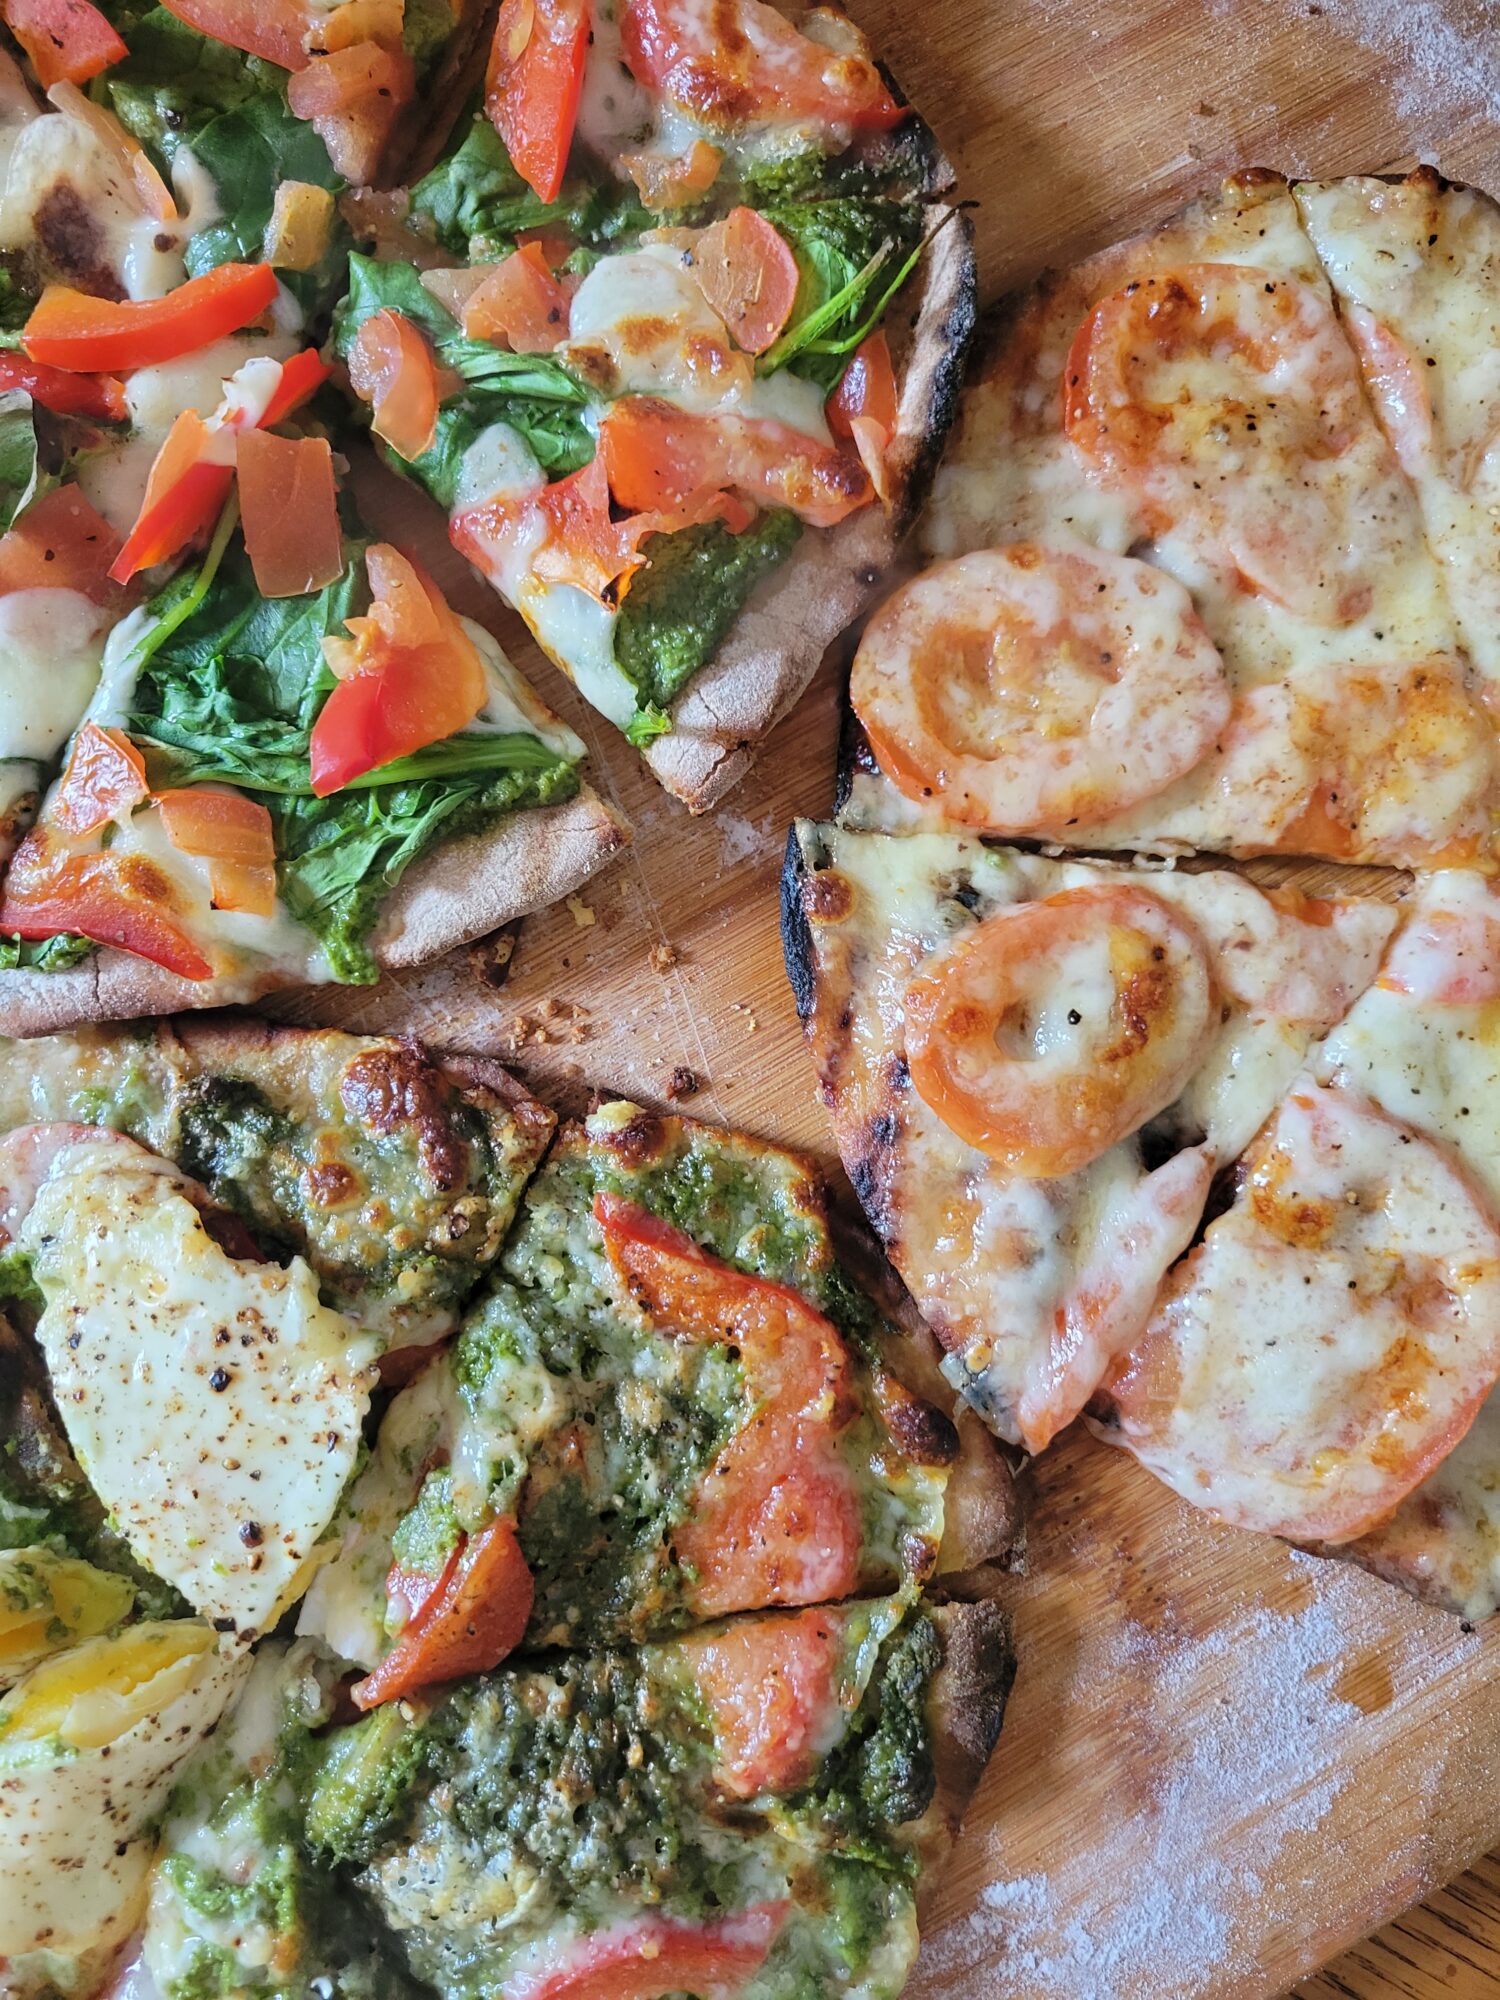
I am guilty of this. I like to overload my pizzas. I'll add in everything plus the kitchen sink. This takes a little bit of skill, though. You have to balance the amount of softening ingredients. A lot of the time I do a thick crust and overload the pizza with cheese. Otherwise, when I'm making a thin crust, I use fresh mozzarella sparingly or substitute cream cheese, which crisps more than it melts, or add in something that absorbs liquid, like nuts. I'm well known for being the one who makes bizarre pizzas in the kitchen, though, and they're not exactly for everyone. I always recommend putting less toppings!
As far as pizzas are concerned, the less toppings the better. You might want double pepperoni and bacon or extra sauce and mushrooms, but they're going to exacerbate the oil and water problem. Extra meat and cheese pizzas are going to be incredibly greasy. Extra sauce and vegetables are going to make the pizza incredibly moist. Thinner crusts may even begin to disintegrate, tear holes in the pizza, spill over the side of the pizza into the oven,
Solutions for Homemade & Restaurant Pizza
With a thin crust, use toppings sparingly.
With a thicker crust, you can get away with more toppings and a longer cooking time.
5. Avoid Half & Half Pizzas
There are a couple of issues with half and half pizzas. The first is fairly obvious: the two sides are going to mix. This is particularly problematic with different sauces. I worked with someone who would make a cavern down the middle pizzas with nothing in it so that neither the sauces nor the toppings would ever intermix. Short of essentially making a breadstick down the center of the pizza, there isn't much that you can do about this.
Pizzas tend to cook towards the center. So, no matter how careful you are making them half and half, they're not going to come out of the oven looking like that. This is particularly problematic with meat where the oil is going to separate and seep over to the other side and particularly strong toppings, like pineapple, because you will be able to taste it. I wouldn't try doing this if anyone doesn't eat meat or is allergic to any of the toppings on the other half.
The next problem is that half and half pizzas don't tend to cook evenly. Meat and hard cheeses tend to cook more quickly and will be crispier than vegetables and toppings with more moisture. Pizzas with more toppings also need a longer time to cook. So, if you have more meat on one side, more vegetables on one side, more sauce on one side, or any more than 2 toppings on one side? The halves aren't going to cook evenly. Worst case scenario, half is going to burn while the the other half is still doughy and undercooked.
Solutions for Homemade & Restaurant Pizza
Don't get half and half pizzas.
If you're going to do a half and half pizza, use the same sauce on both sides, distribute toppings evenly across both sides, don't split meat and vegetable halves.
6. Don't Load Toppings to the Edge of the Pizzas
This suggestion works for homemade pizza and restaurant pizzas alike. However, it's going to become much more obviously a problem if you're making pizza at home.
I get the thought process. I don't like pizza crust, either. Even with a deep-dish pizza I won't eat the end pieces without any sauce or cheese on them. I get that the solution to this is to eliminate the crust entirely and simply put all of the toppings to the edge of the pizza!
The problem with this is that everything tends to melt while the pizza is cooking. The sauce seeps into everything, the cheese melts, and the toppings migrate while everything else is turning into soup. The problem with all of this liquifying, though, is that everything tends to spill out. The crust of pizza isn't really there for eating. It's for saving the oven from a burning soupy mess. It can also make your pizza stick to the oven. Either way, the only solution is to scrape it off as best you can and then burn it off. Which is horribly smoky and unpleasant, especially when you're making homemade pizza.
So, the next time that you think that your local pizzeria is shortchanging you on toppings by not putting them all the way to the edge of thr pizza? They're really using that crust to keep all of the toppings from spilling out into the oven. When the crust is there, the toppings tend to pool inward towards the center. It might be a little soggier in the middle of the pizza. However, when you're making homemade pizza, you can take the edge of the pizza wheel and gently move the toppings back out towards the crust. I recommend this anyway with any large toppings, like canadian bacon, salami, sliced tomatoes, or spinach, which tend to slide with the pizza wheel when you cut it.
Solutions for Homemade & Restaurant Pizza
If you like pizza crust, great. Keep doing what you're doing.
If you don't like pizza crust, don't eat it or get some extra marinara or something to dip it in.
7. Homemade Pizza Dough Is Incredibly Simple to Make
A lot of people tend to think that making pizza is difficult at home. Even in the culinary world, I don't know all that many people who make dough at home. Especially when it's so easy to get it from the grocery store or buy dough directly from restaurants.
And I get this. When you're not used to making something, it can be intimidating to try. Especially because most things with a dough are on the slightly more difficult side! I know that I went through that phase of the pandemic where I tried to learn how to make bread to... some success.
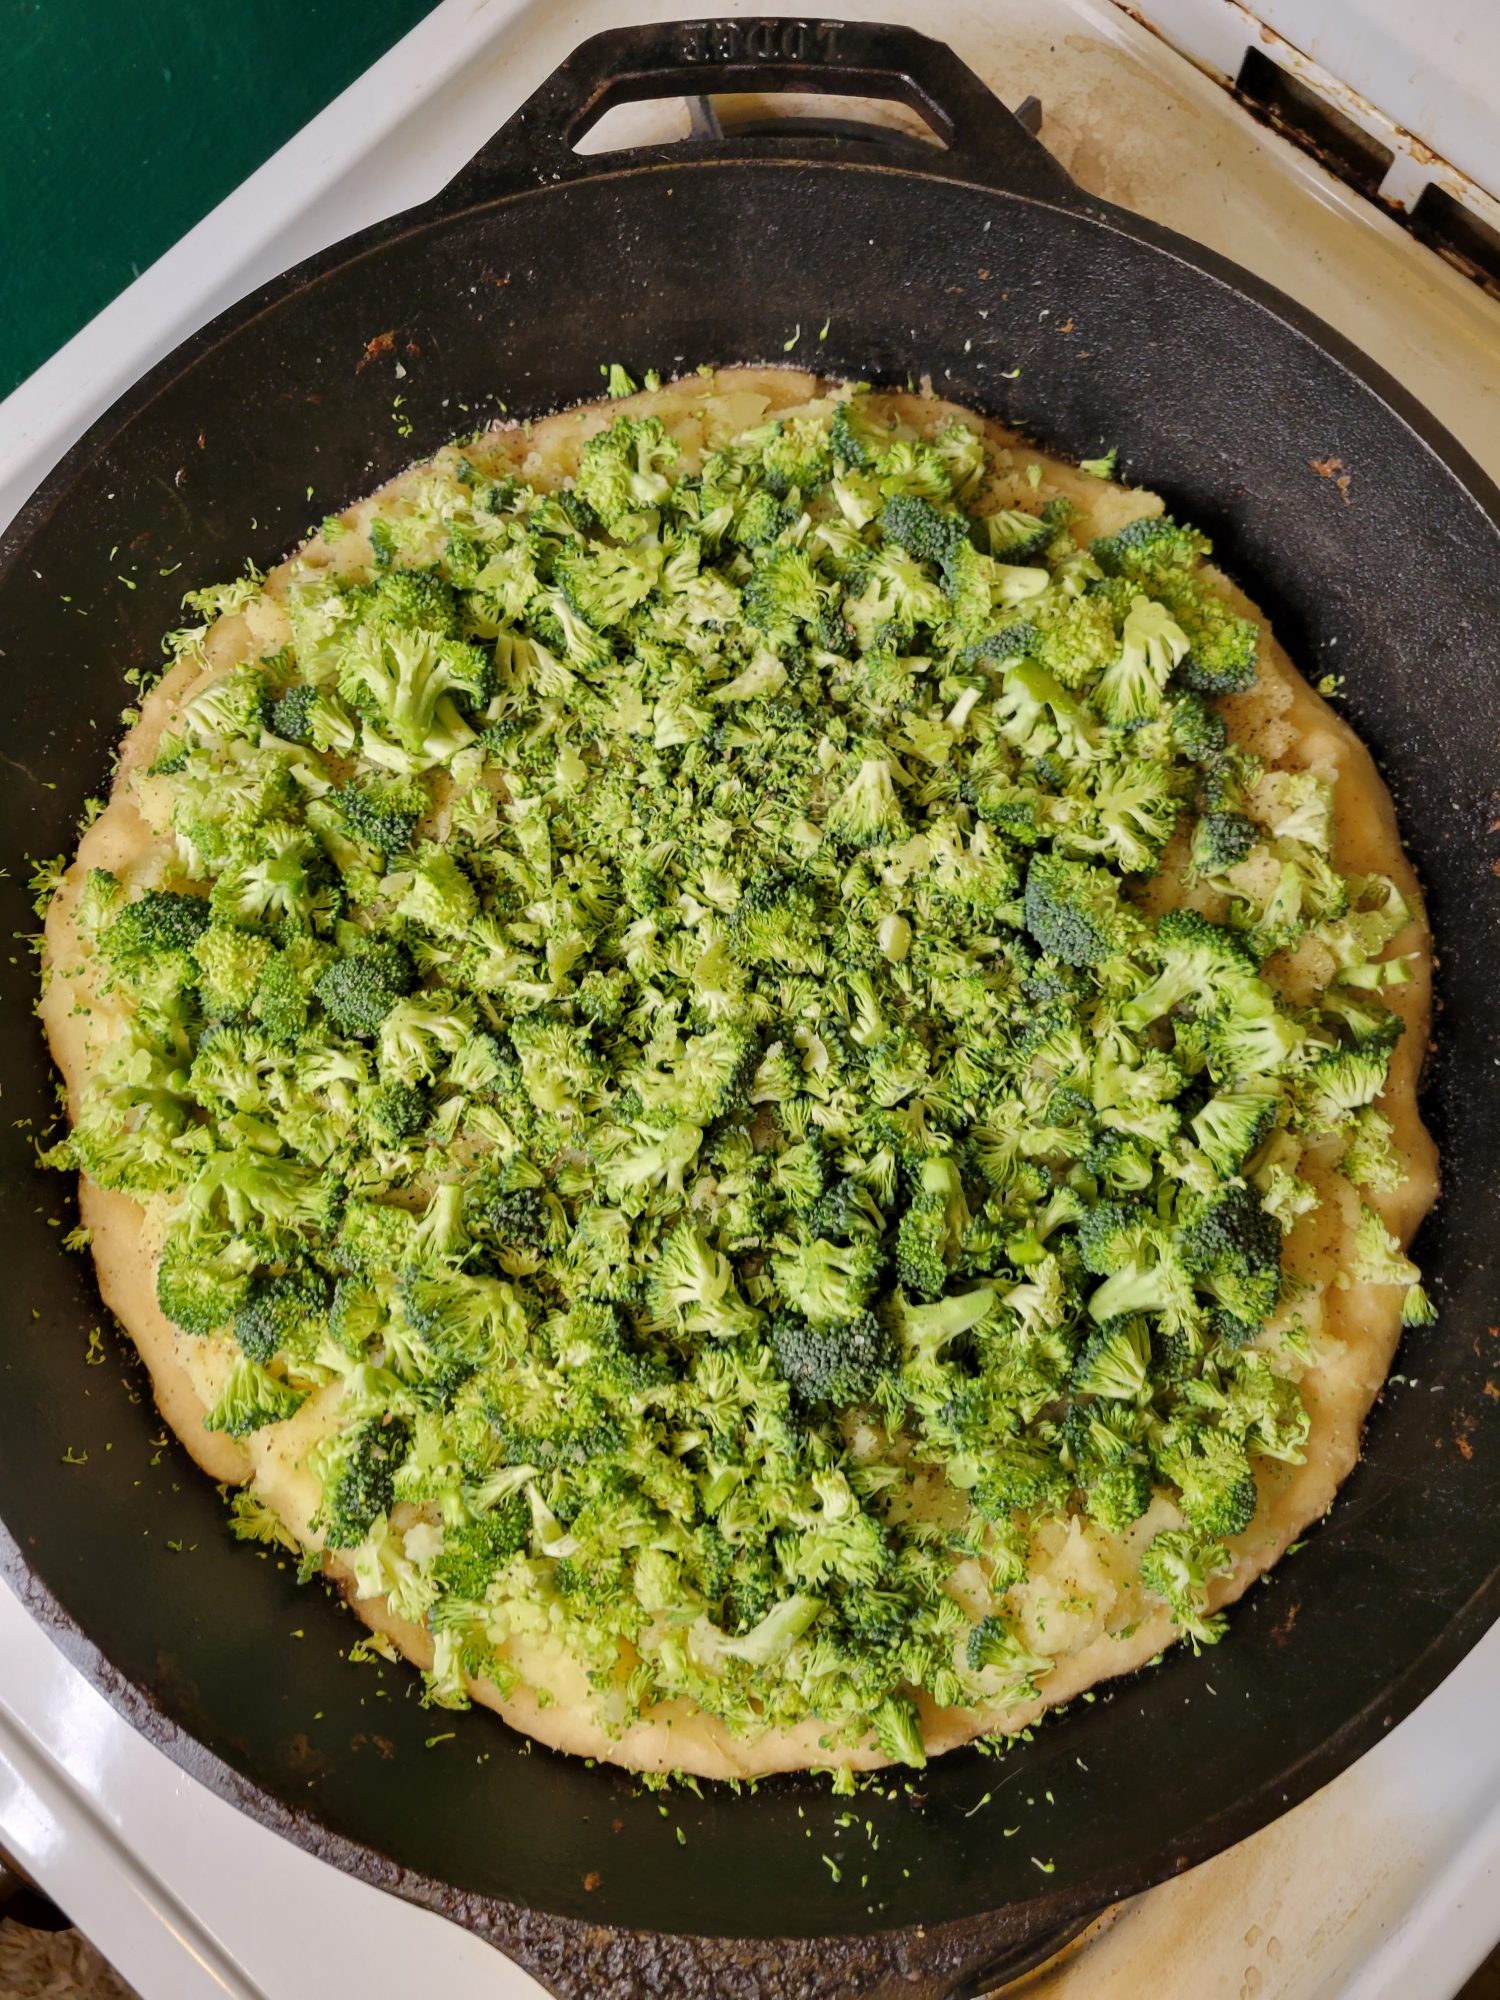
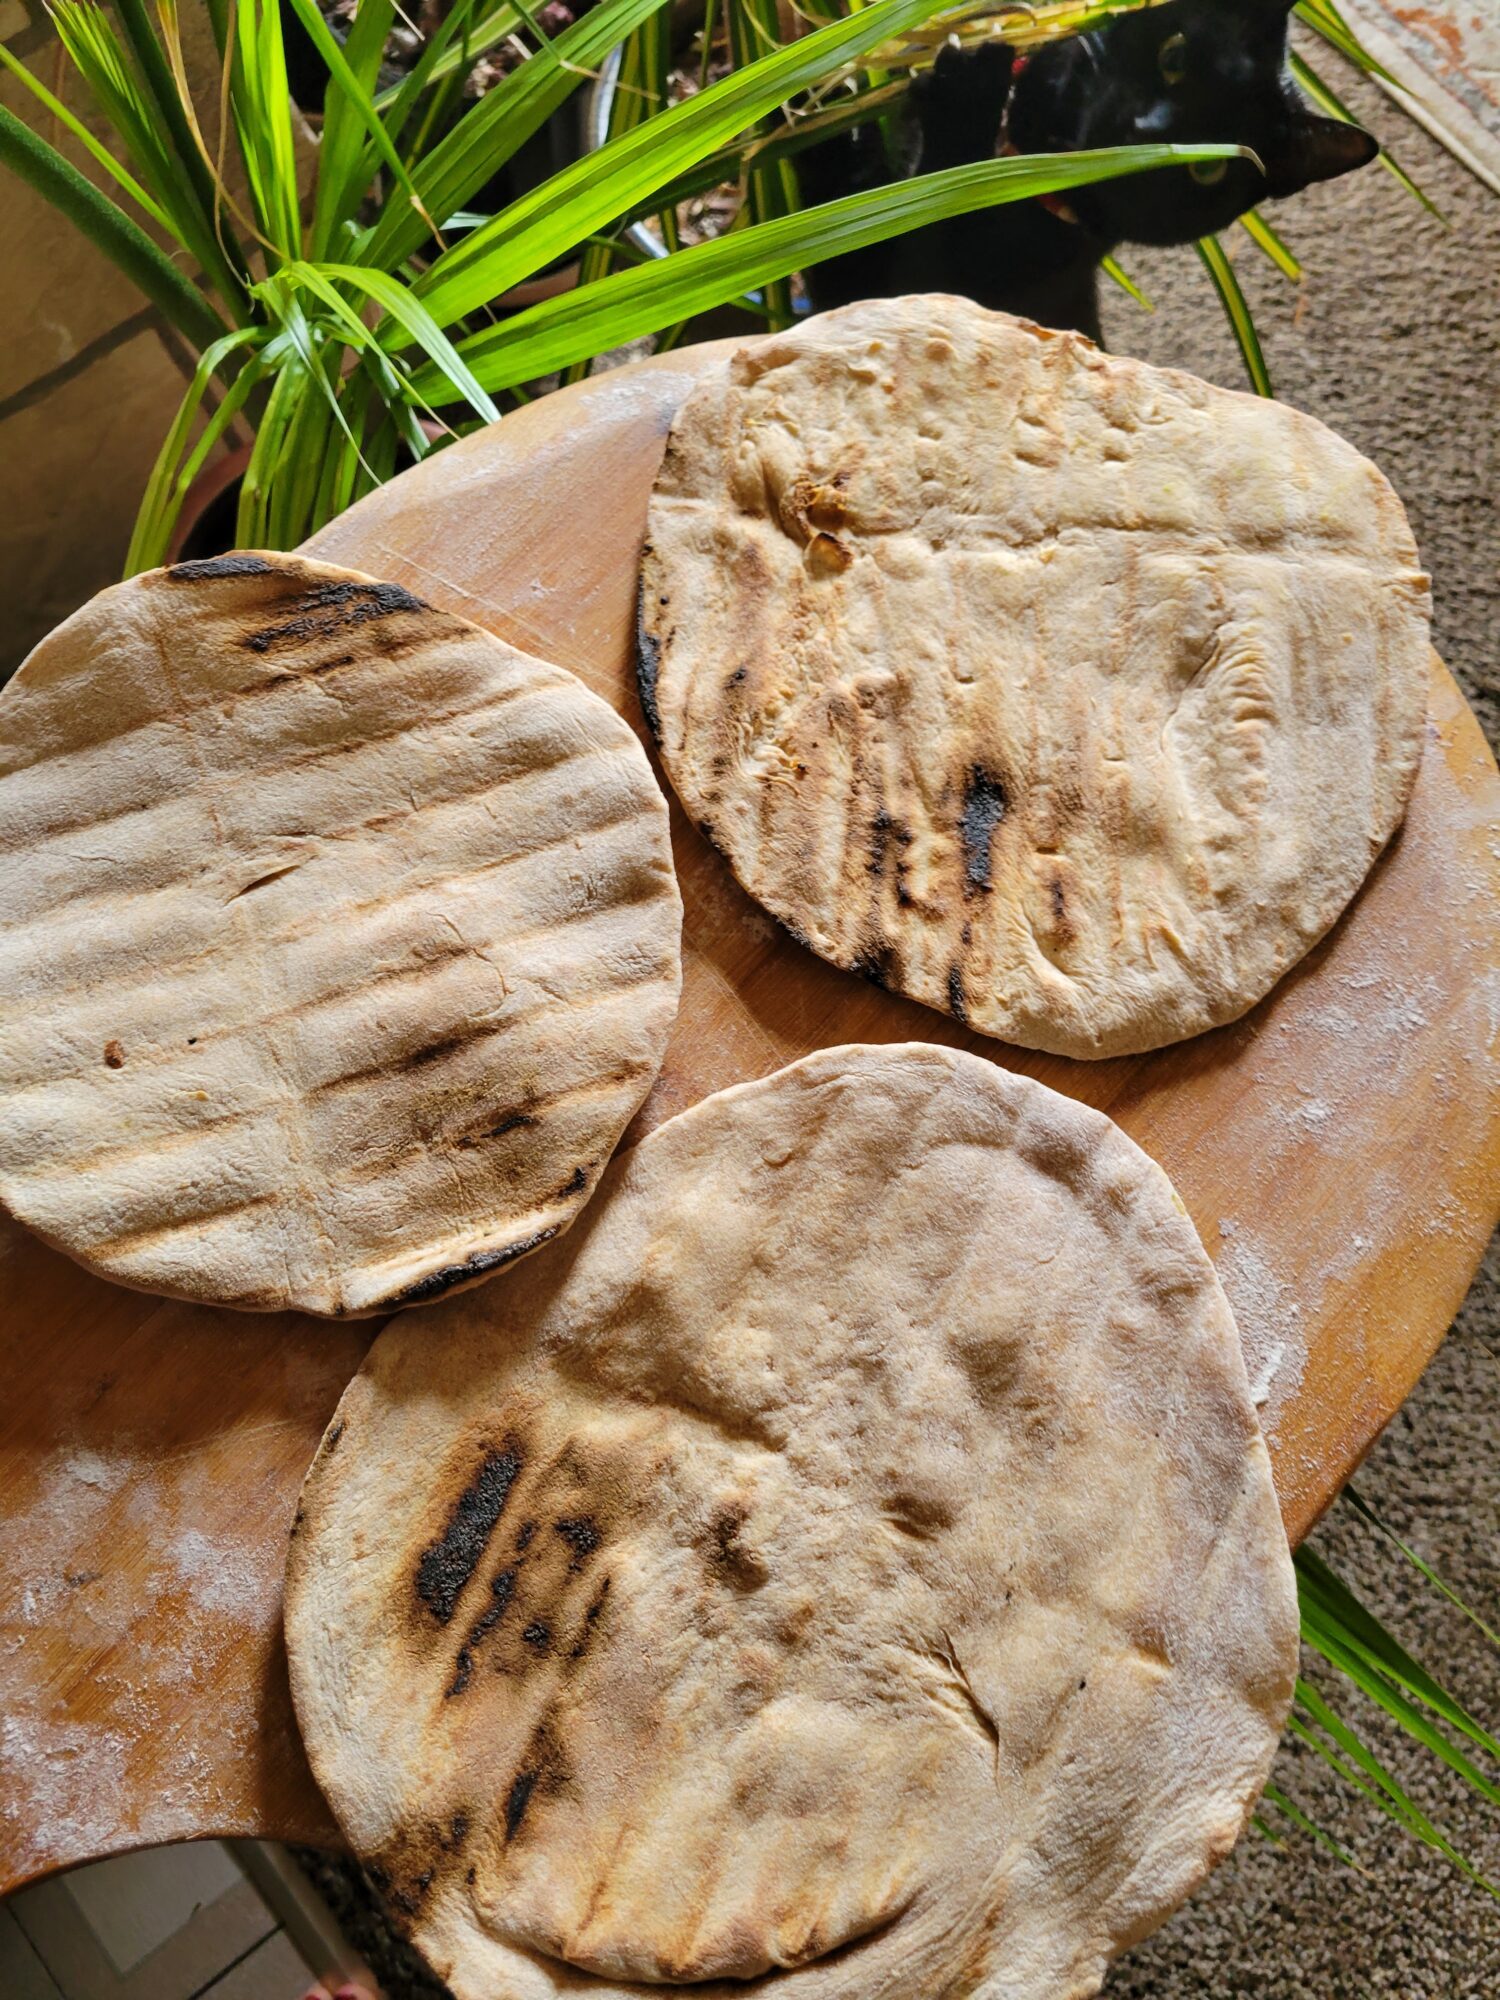
Homemade pizza dough is a different ball game, though. It's much simpler to make than it seems and there are plenty of ways to work around things not necessarily going to plan. If the dough under proofs? Make a cracker crust. If it over proofs? It'll probably still work for a thin crust. Add too much flour? Increase the water and oil content. Add too much liquid? Toss in some more flour. Oven doesn't like being at high temperatures? Throw it on the barbecue. I've even slowly cooked deep dish pizza by burying it in the coals of a campfire. Even if the yeast dies you can still make pizza. It actually gives it a more fermented taste.
If you're determined enough to make homemade pizza, there's absolutely a way.
Solutions for Homemade Pizza
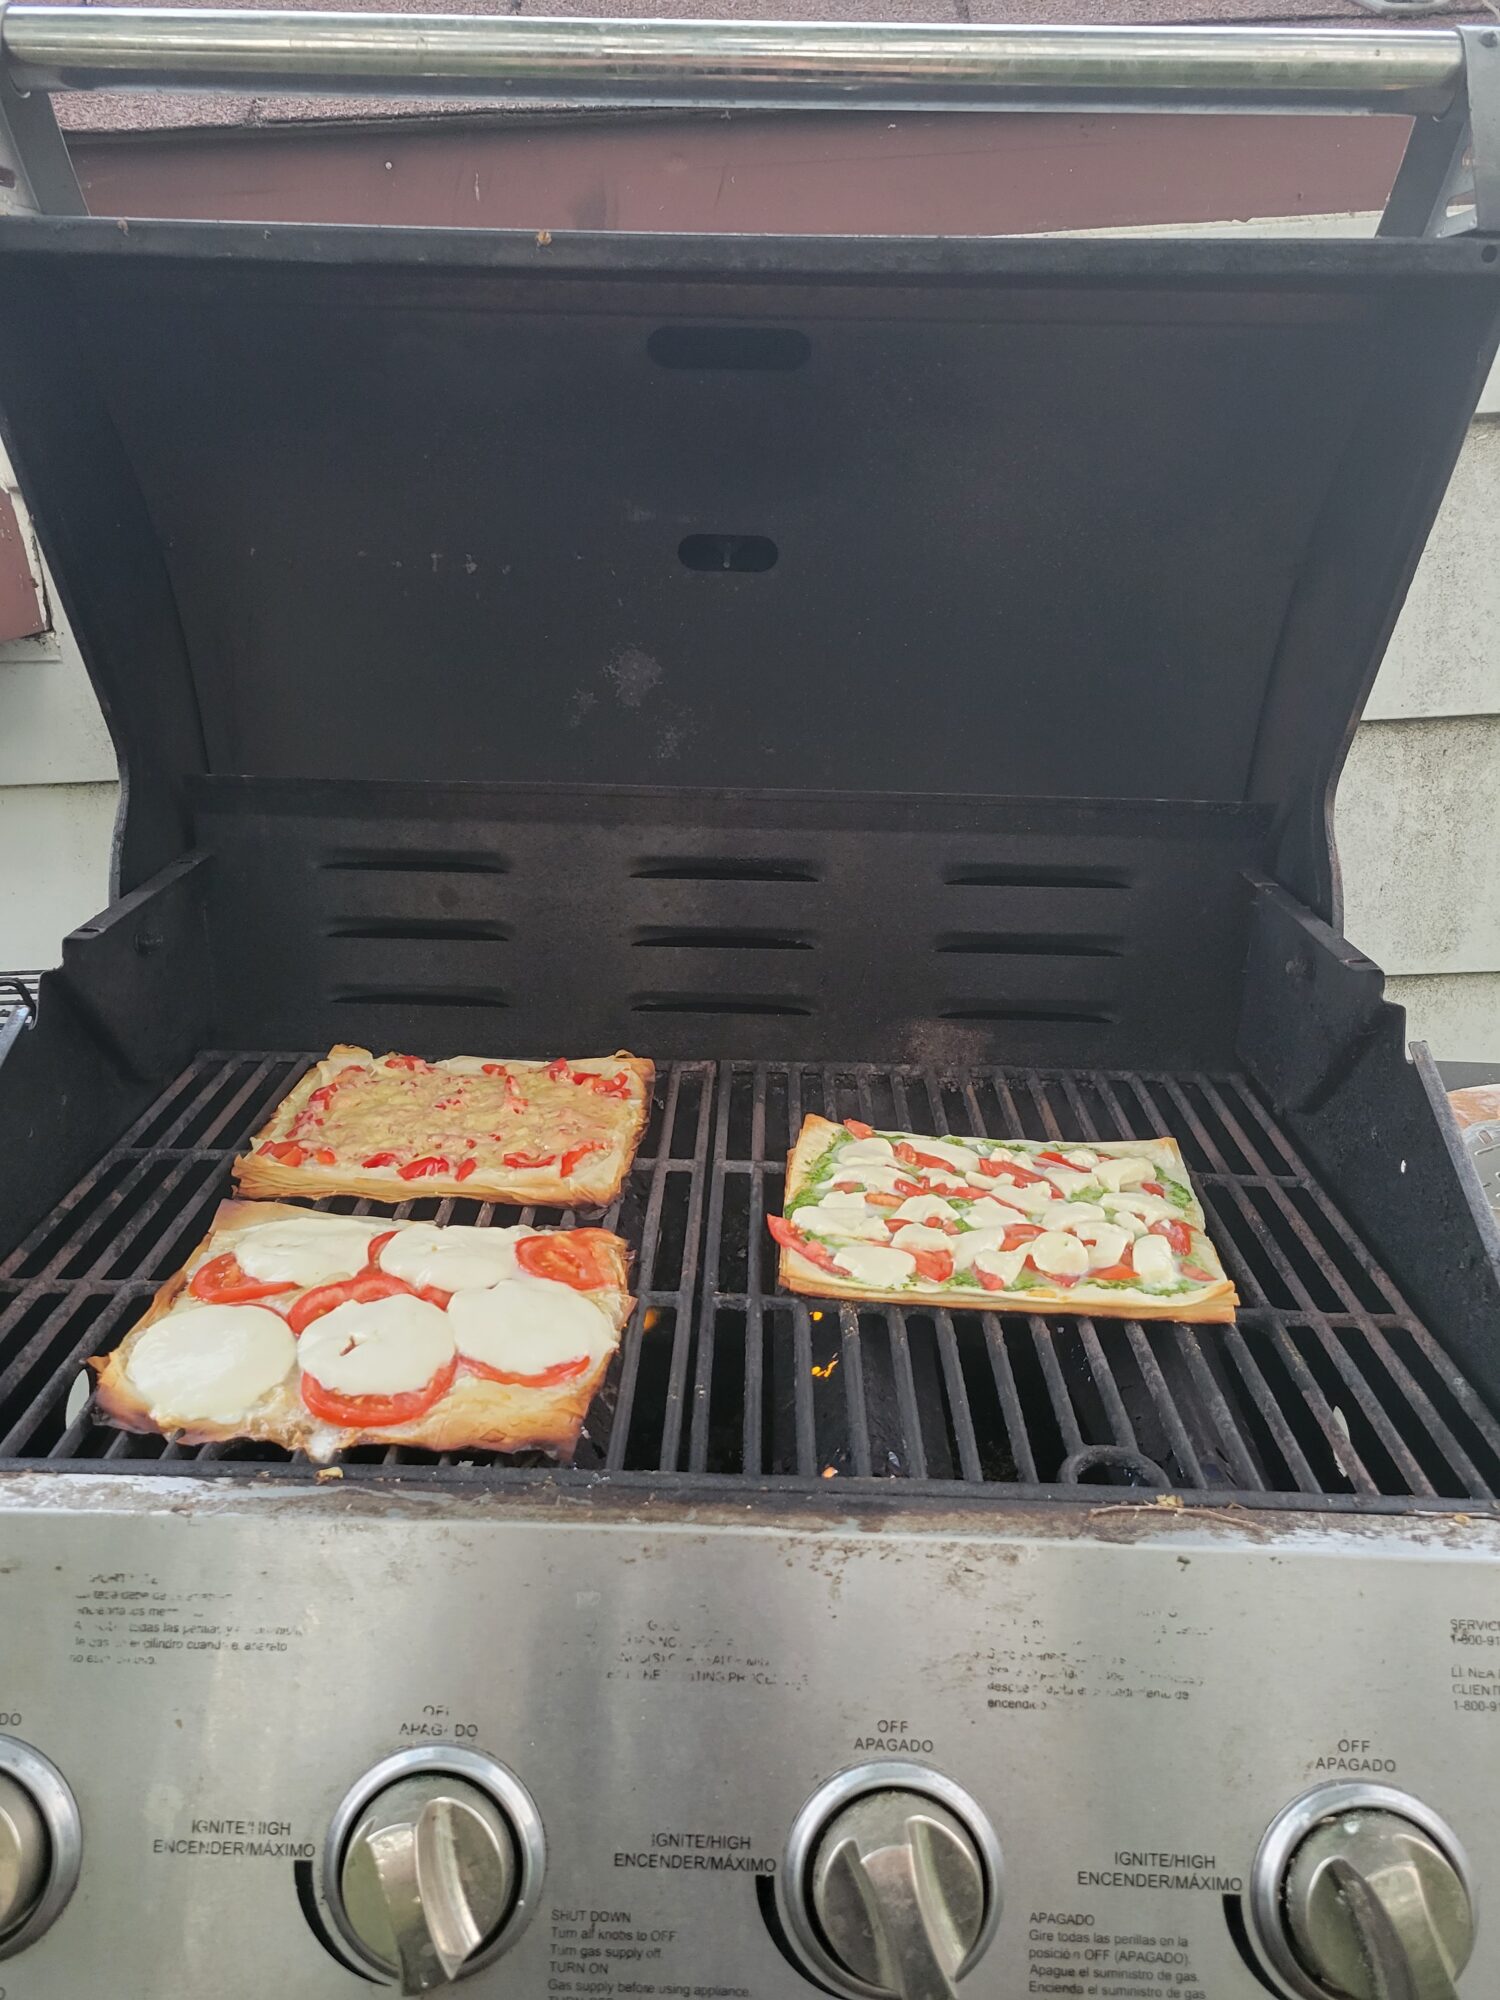
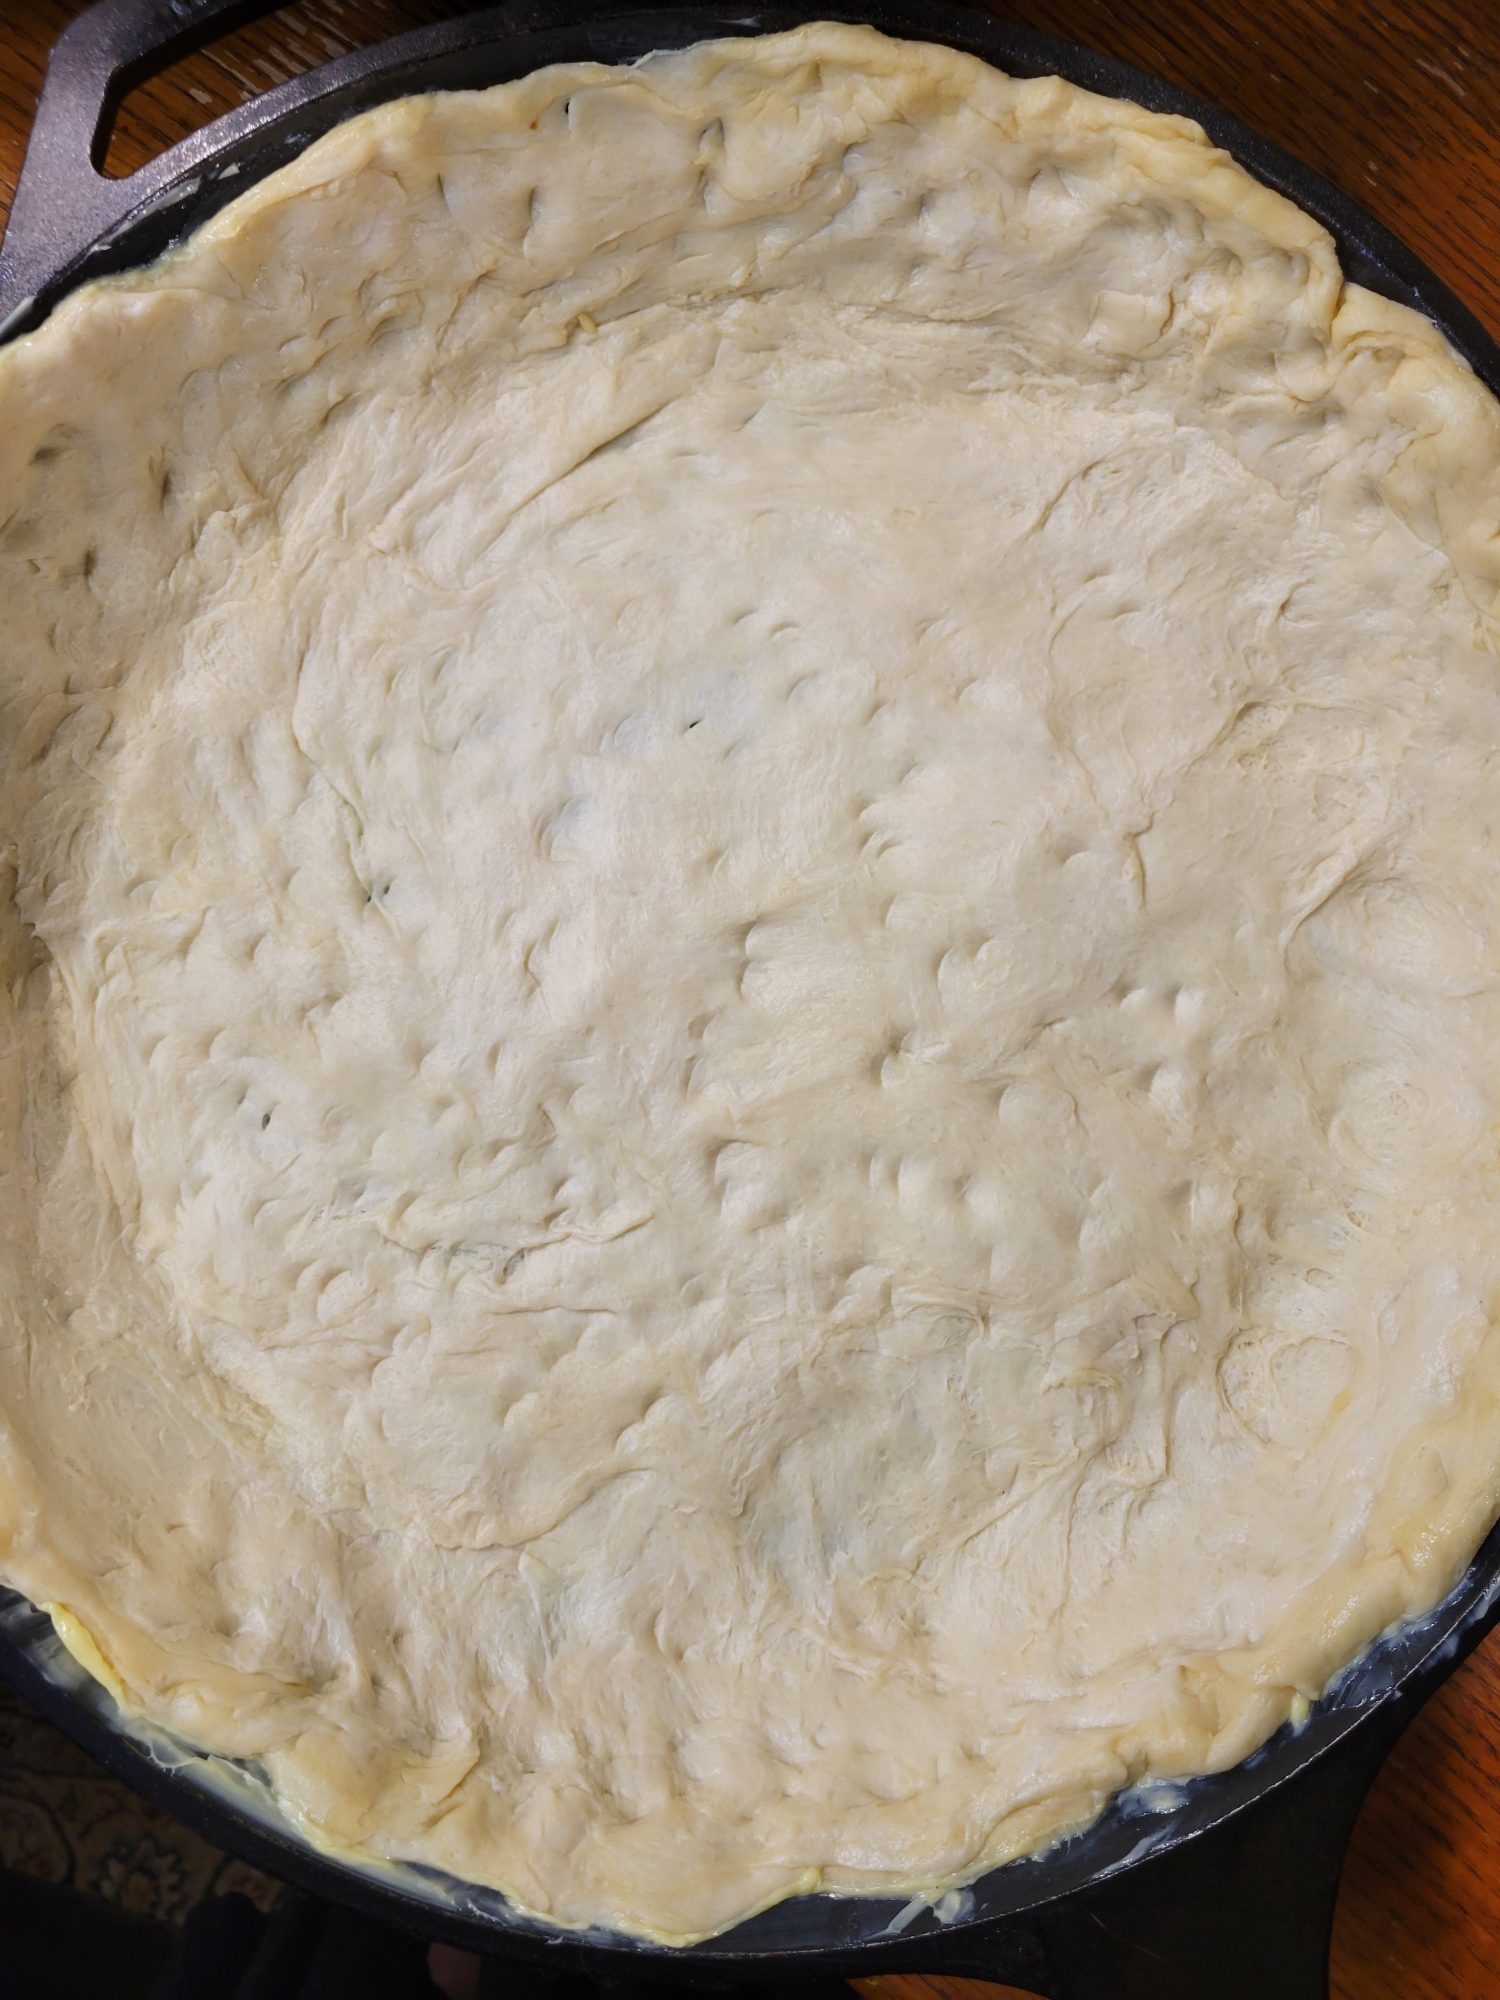
For the simpler route, buy premade dough or par-baked crust from a grocery store or restaurant. Most places do sell them, they just might give you a funky look and need to ask someone how to price it. Even biscuit dough, croissant dough, and things like puff pastry work perfectly well as homemade pizza dough.
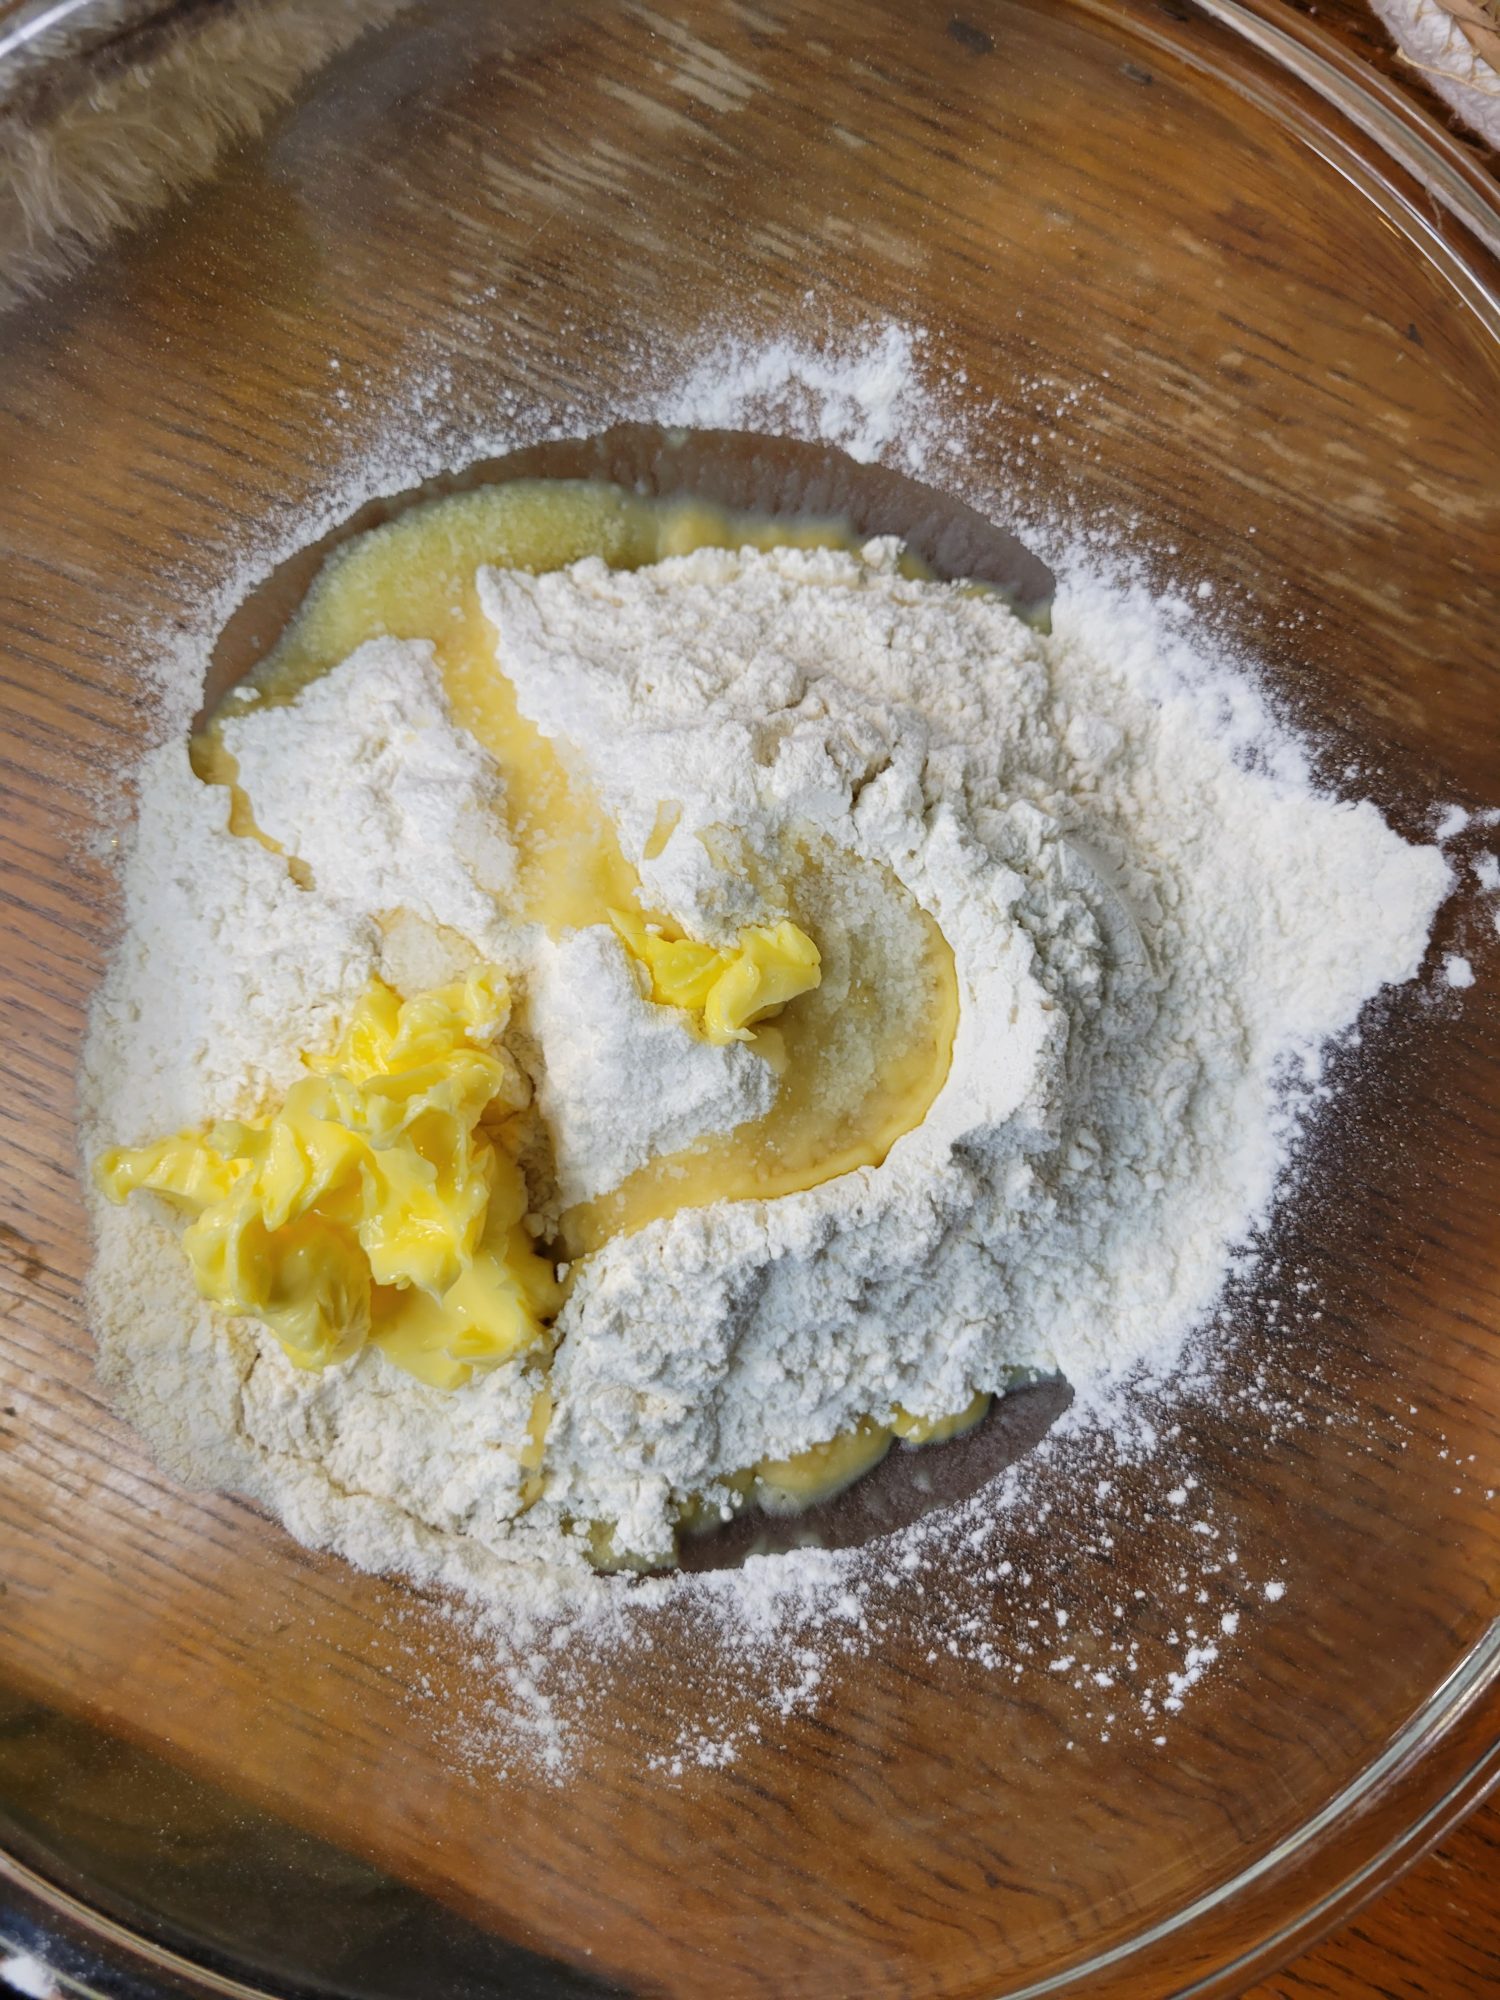
For the more adventurous, get some yeast and all-purpose flour (or part whole wheat) and have some fun with it.
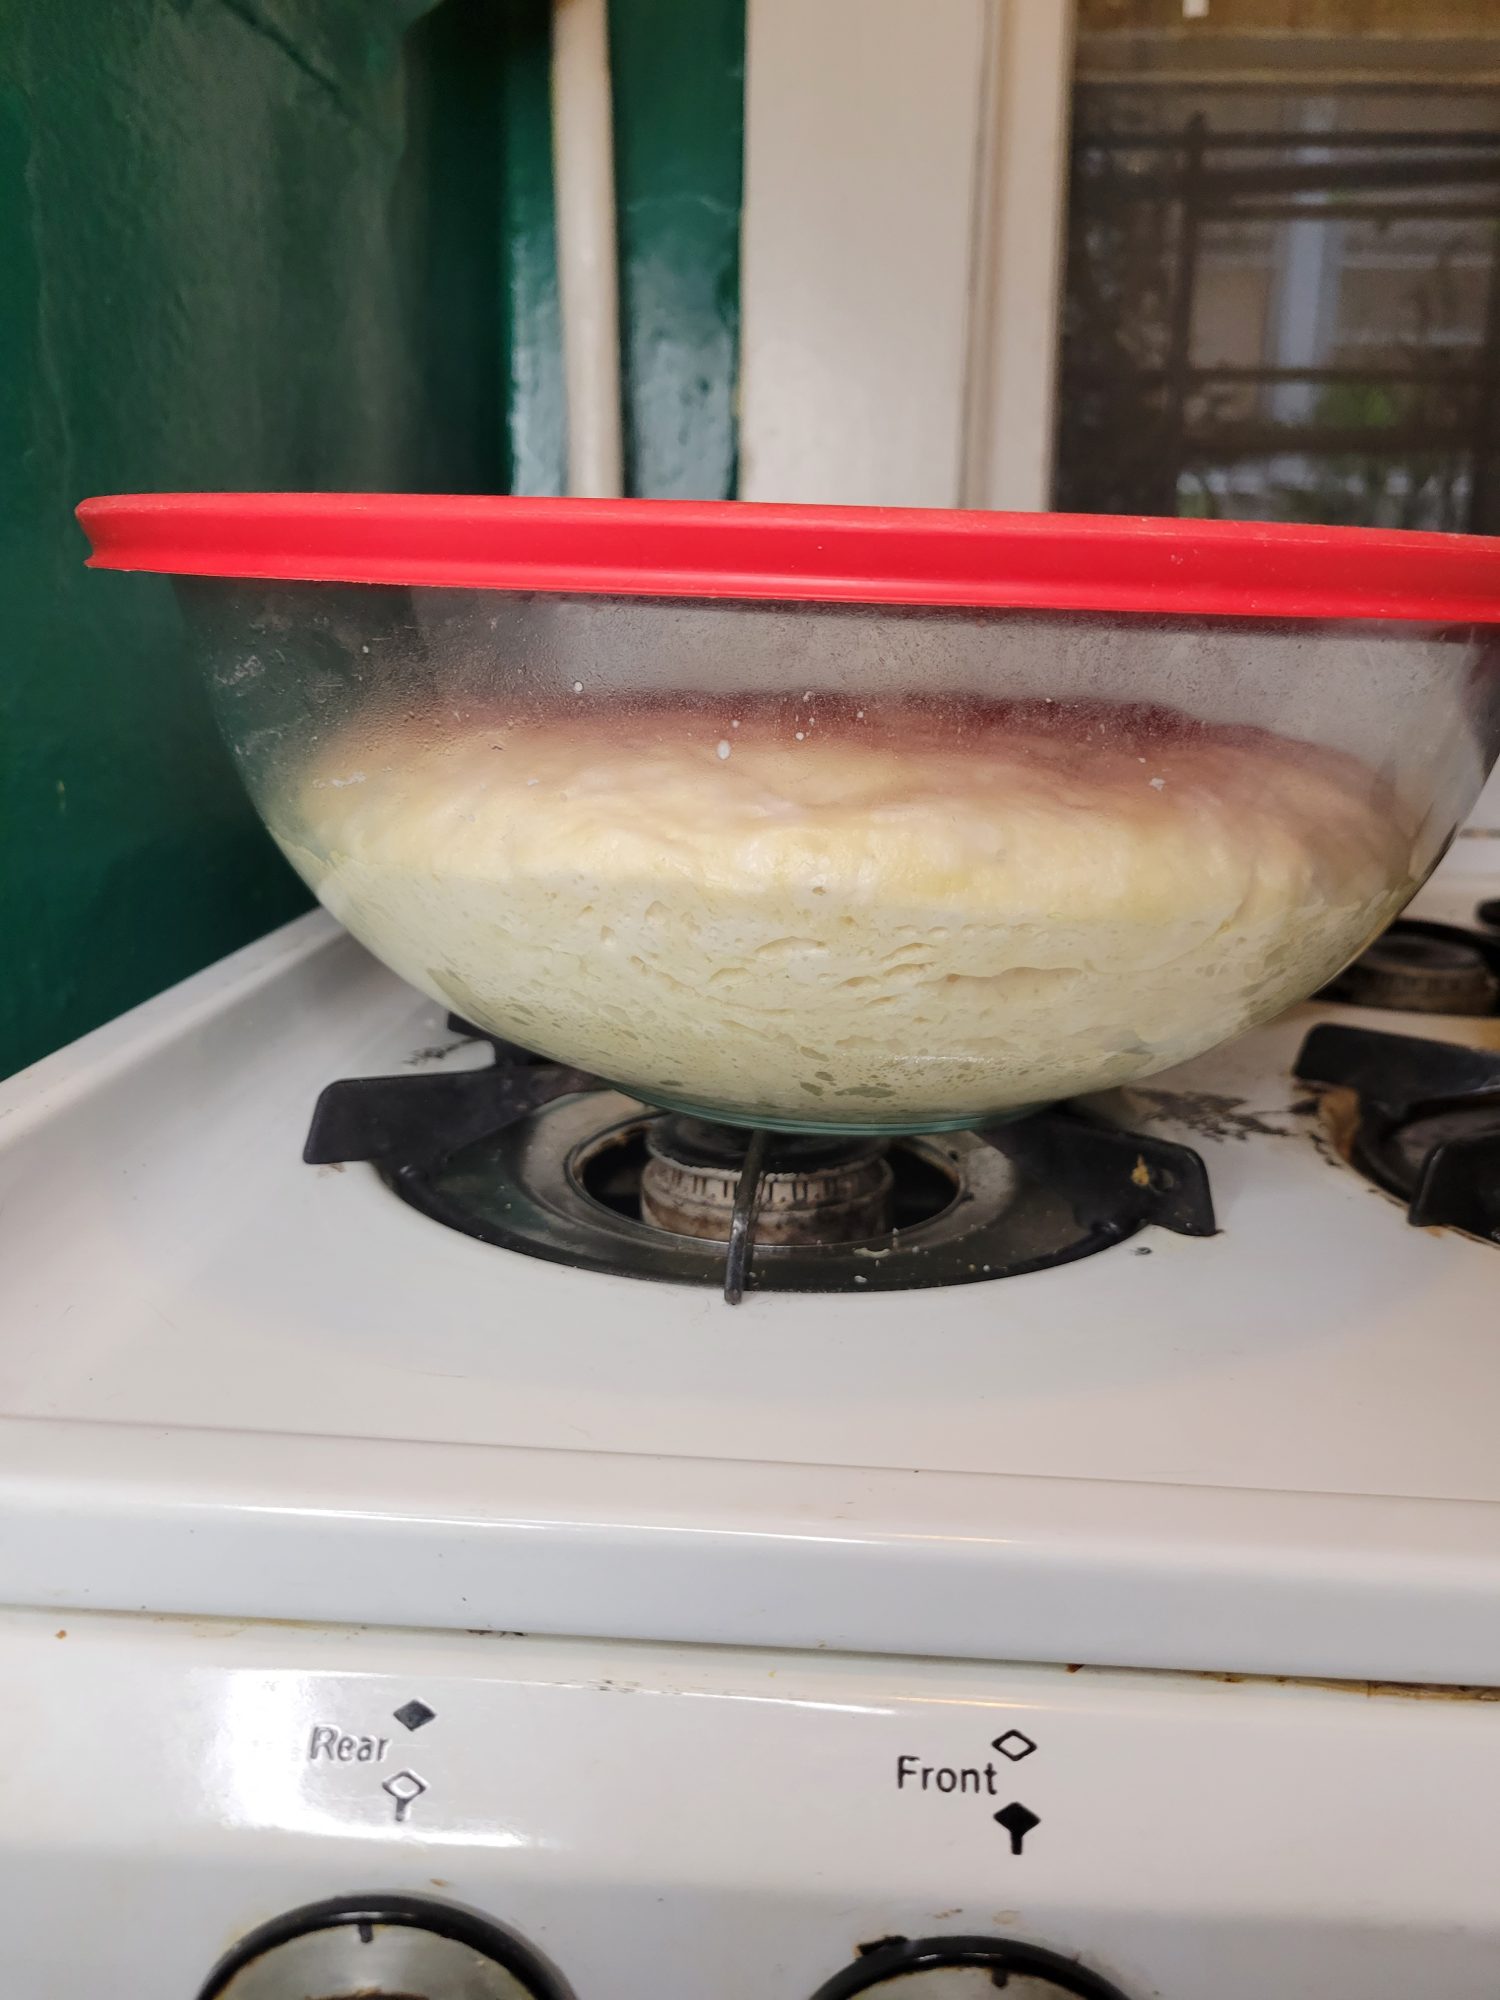
8. Pizza Dough is Best w/ 1-2 Days of Proofing
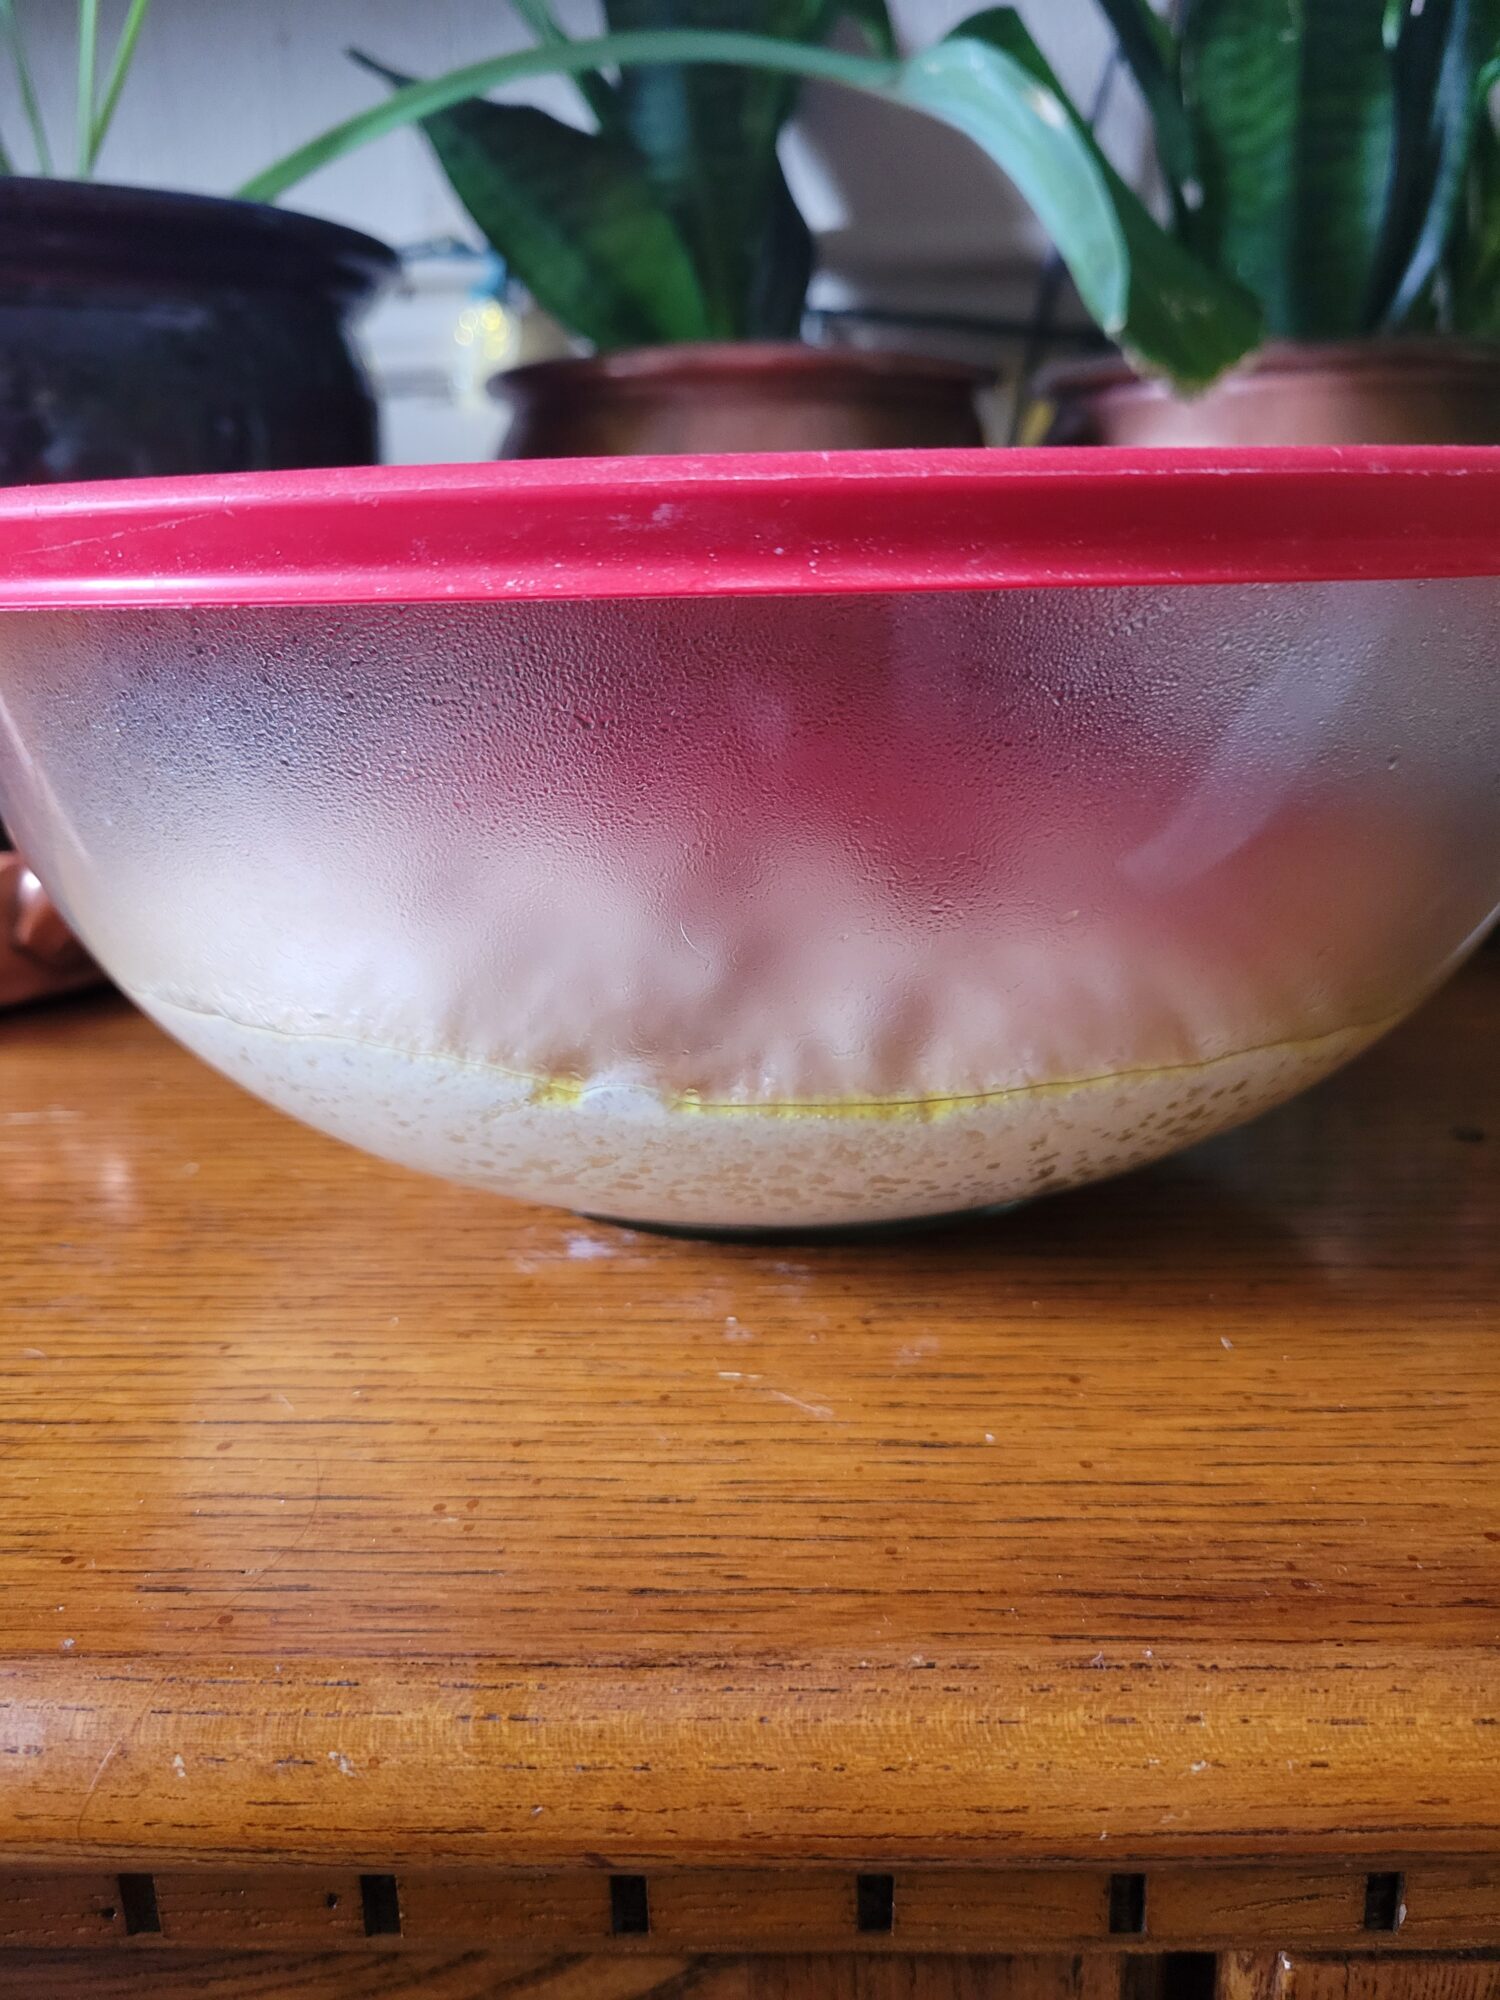
I'm not going to get into all of the ins and outs of making homemade pizza dough. But the main reason that homemade pizza dough doesn't taste the same (other than oven temperature and a baking stone) is because the dough isn't properly proofed. While it only takes about 15 minutes of active prep to make dough, it needs about 6 hours for a quick proof and 1-2 days for a slow proof.
Personally, I make 6 hour dough quite a bit because forethought isn't necessarily my strong suit when it comes to culinary endeavors at home. Although part of the reason that homemade dough just doesn't quite taste the same isn't because they're using any different ingredients. It's because restaurants don't use freshly made dough.
I had a customer ask me once if the dough was made fresh daily. And I know what he meant. He wanted to know if the dough was shipped in in bags. But the thing is that even fast food pizzerias make dough on site. There are some places, particularly bars and kids play parks, where the dough is par-baked already and they just toss them back in the oven. However, just about every single restaurant, from fast food to fine dining, make their own dough with flour, water, salt, sugar, and yeast. The only real difference is the length of the proof. (And high gluten, bleached, and bromated flour, although the difference between that and AP flour isn't as much as you'd think).
Solutions for Homemade Pizza
For a quick rise, proof the dough in a warm spot for 6 hours.
For a slow rise, proof the dough in the refrigerator for 1-2 days.
9. The Higher the Temperature, the Better
I tend to default cook most things at 350-400 degrees Fahrenheit. It works for baking salmon, cooking a lasagna, making cookies. It's the generic catch-all temperature for preheating the oven. This doesn't work quite so well withpizza, though. Pizza tends to cook better at a higher temperature.
Whether it's a thin crust pizza that needs to cook quickly before the crust dries out and becomes chewy or a thick crust pizza where a higher temperature is necessary for a faster rise? Most pizzas cook at the same temperature. And it's high. Typically around 550, but up to about 950 degrees Fahrenheit.
When anyone takes home dough or a par-baked pizza, they always wonder what temperature they need to cook it at. And I'm prone to giving them a quizzical look and just asking how hot their oven can go. You don't necessarily need to put it on broil, but anything over 400-500 degrees will probably do. A lot of ovens are coated in a residual layer of oil that will smoke at this temperature and set off the smoke alarms. Although I always recommend getting the oven up as high as it can go and pre-heating it thoroughly.
Solutions for Homemade Pizza
Preheat your oven to the highest temperature that it can reasonably cook at.
Opt for a barbecue.
10. Preheat the Oven
I don't like to preheat ovens. If I can get away without doing it? I'm probably going to. I don't like wasting gas. I tend to have cheap, poorly maintained ovens that come with run of the mill apartment dwelling. They set off smoke detectors in other rooms. I don't like the entire house heating up when it's already hot during the summer or the heat's been on all day already in the winter. I get distracted when prepping and almost always preheat the oven for far too long.
When making homemade pizza, though? Preheating actually is important.
The general rule of thumb is, if it cooks for more than 20 minutes? Preheating isn't necessarily necessary. If it cooks for less than 20 minutes? Preheat it. Pizza tends to cook in about 7 minutes. A thinner crust with less toppings might take 6 minutes. A pizza with more and/or wetter toppings might take 8 minutes. A thick crust might take 10 minutes. And a deep dish pizza with a lot of toppings can take 25-45 minutes to cook.
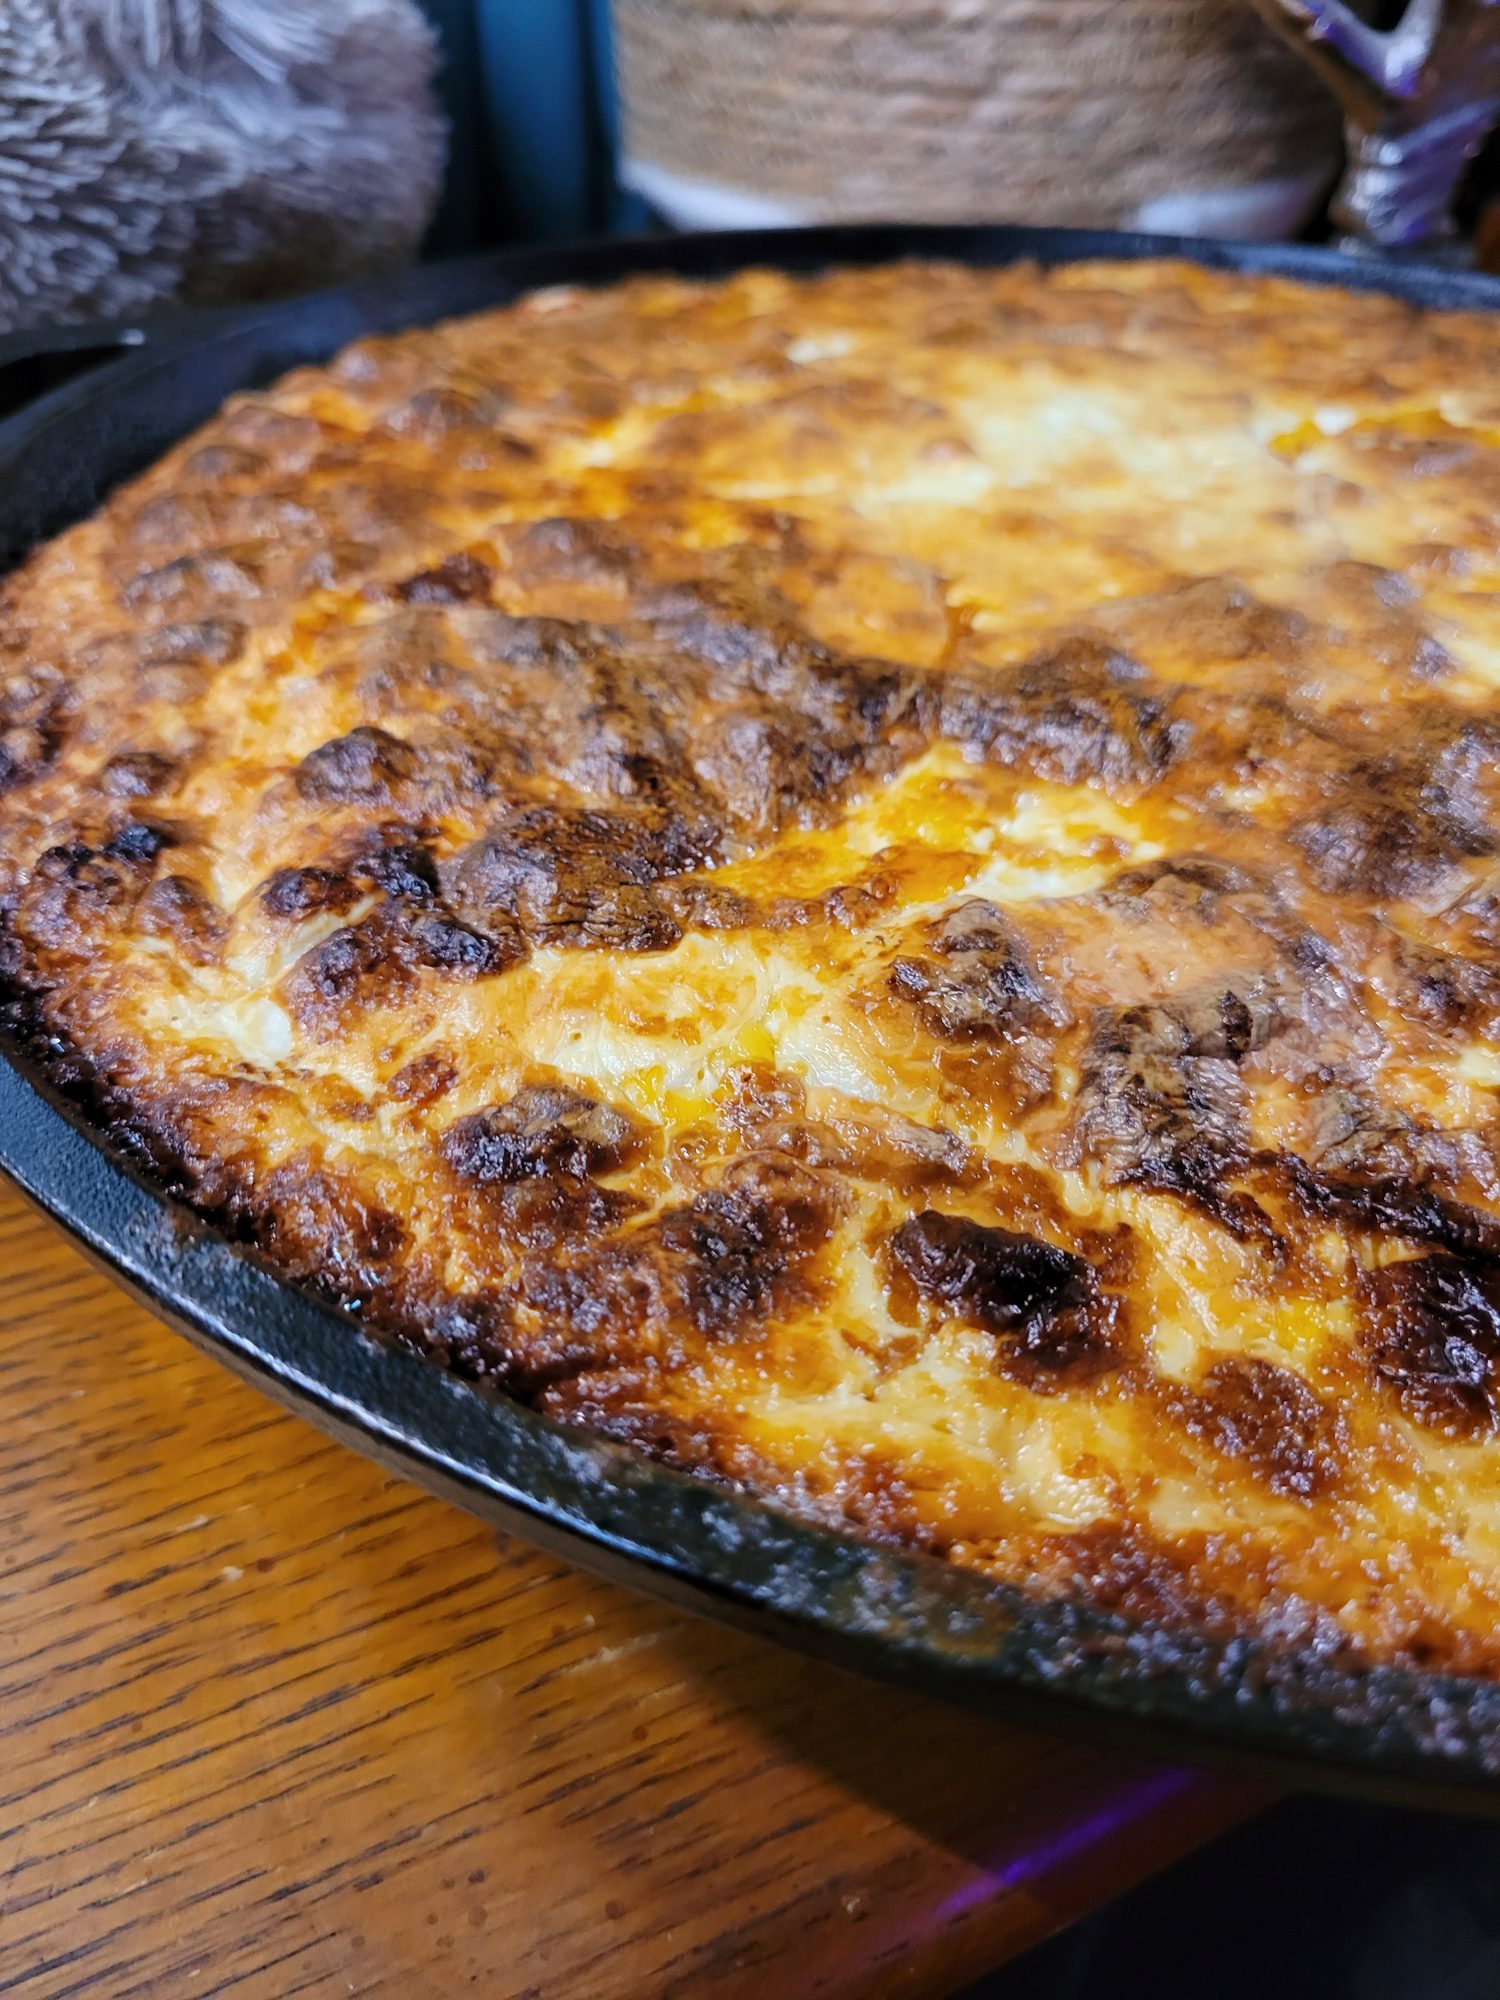
Regardless of the type of pizza, though, preheating the oven is imperative. The crust has to quickly crisp. Even with a deep dish you want a slightly crispy exterior crust to give it just a little bit of crunch. Otherwise, the dough can become soggy and may even begin to disintegrate. So, getting that temperature up ahead of time is actually necessary. Industrial-sized stone ovens in most restaurants take 2 hours to preheat.
Solutions for Homemade Pizza
Preheat the oven, preheat the oven, preheat the oven.
You can kind of make pizza in 15 minutes in an air fryer without preheating, but I wouldn't necessarily recommend it. It is a good way to reheat already cooked pizza, though.
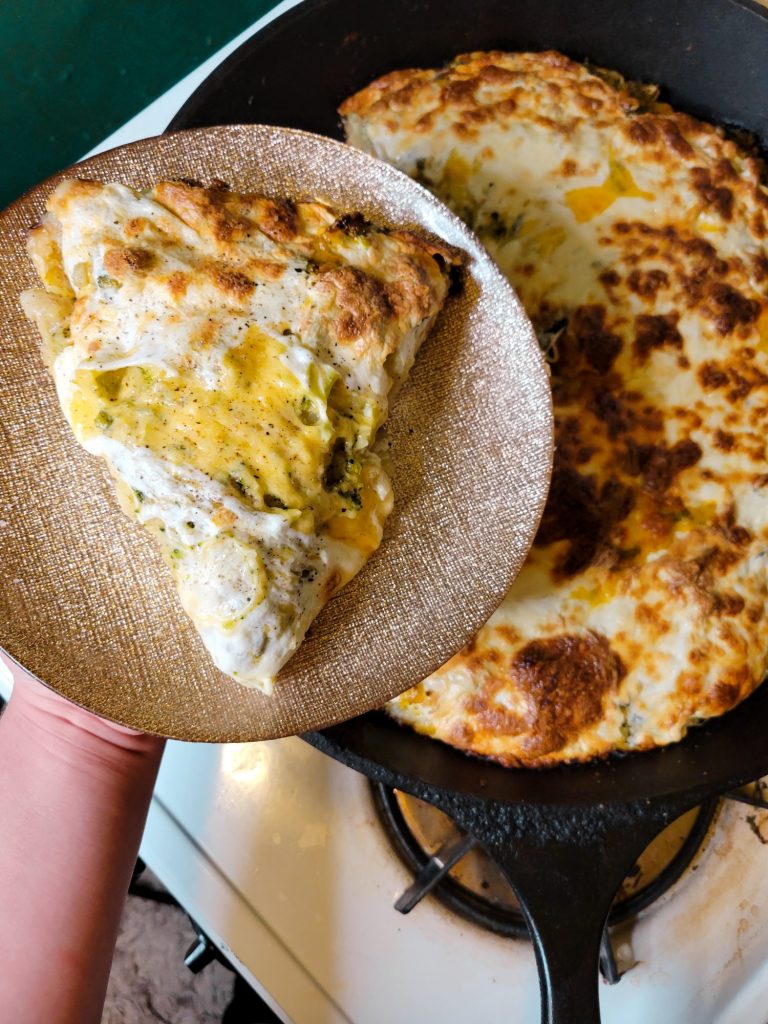
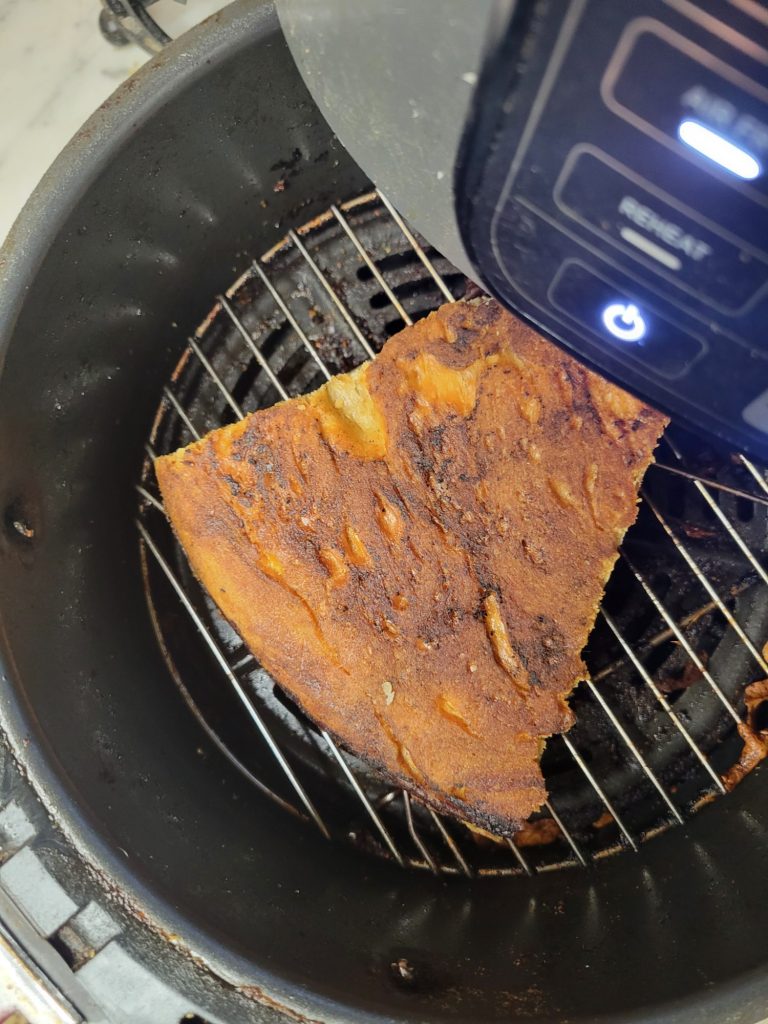
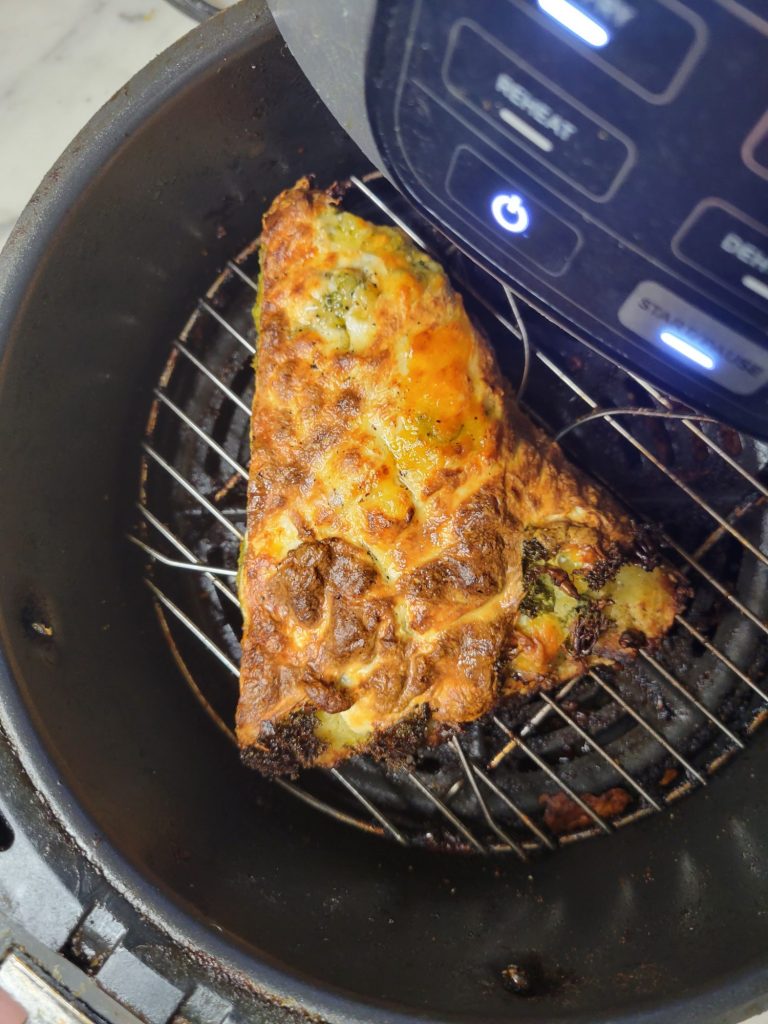
Bonus: Reheat Pizza in an Air Fryer or Toaster Oven
Now, we all know that microwaving pizza isn't a good idea. Microwaves are designed to rapidly heat food by water molecules absorbing microwave radiation. While this is safer than it sounds, it does cause the moisture within foods to evaporate. With nowhere for that water to go within the microwave oven, it causes condensation and makes food soggy. We've all seen this happen with pizza. It loses all of its crispiness, dries out the crust, and simultaneously gets a film of moisture around all of the cheese.
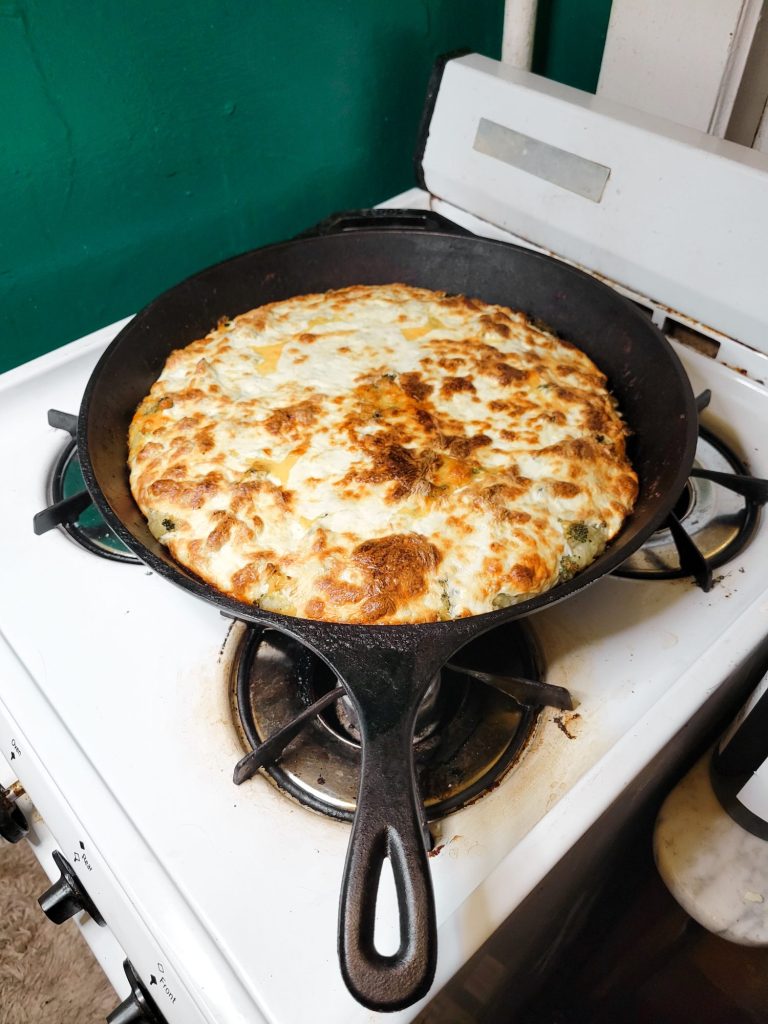
Reheating pizza in the oven is the obvious solution to this. However, I rarely have the time or energy to reheat a single piece of pizza in the actual oven. Fortunately there are other, better, solutions, and they both involve convection ovens. Convection ovens have a fan or exhaust system that blows hot air around the food. This means that it cooks more evenly and quickly. This process makes air fryers and toaster ovens the simplest way to reheat pizza without having to worry about the structural integrity. They can still overcook the pizza, though, so I recommend cooking it upside down for a couple of minutes before flipping it right-side up and letting the rest of the cheese melt. I also sometimes add a softer cheese on top, like a little bit of fresh mozzarella or even cheese curds.
This Page Contains Edited Images
As a general rule, I don't like to edit images. Food styling, editing, alteration, and even faking entirely is just as rampant a problem in the recipe realm. Cooking is a very visual art and you can tell when a lot of foods are cooked based on the color. So, when this is altered and you can't use the coloration as a gauge, it makes it quite difficult to follow some recipes. I have an entire article about Food Styling and Unrealistic Expectations of Recipes. My place has very warm lighting, though. So, sometimes my camera overcompensates and ends up with an unnatural hues. I've adjusted the hues, levels, and/or cropped the following images:


Leave a Reply