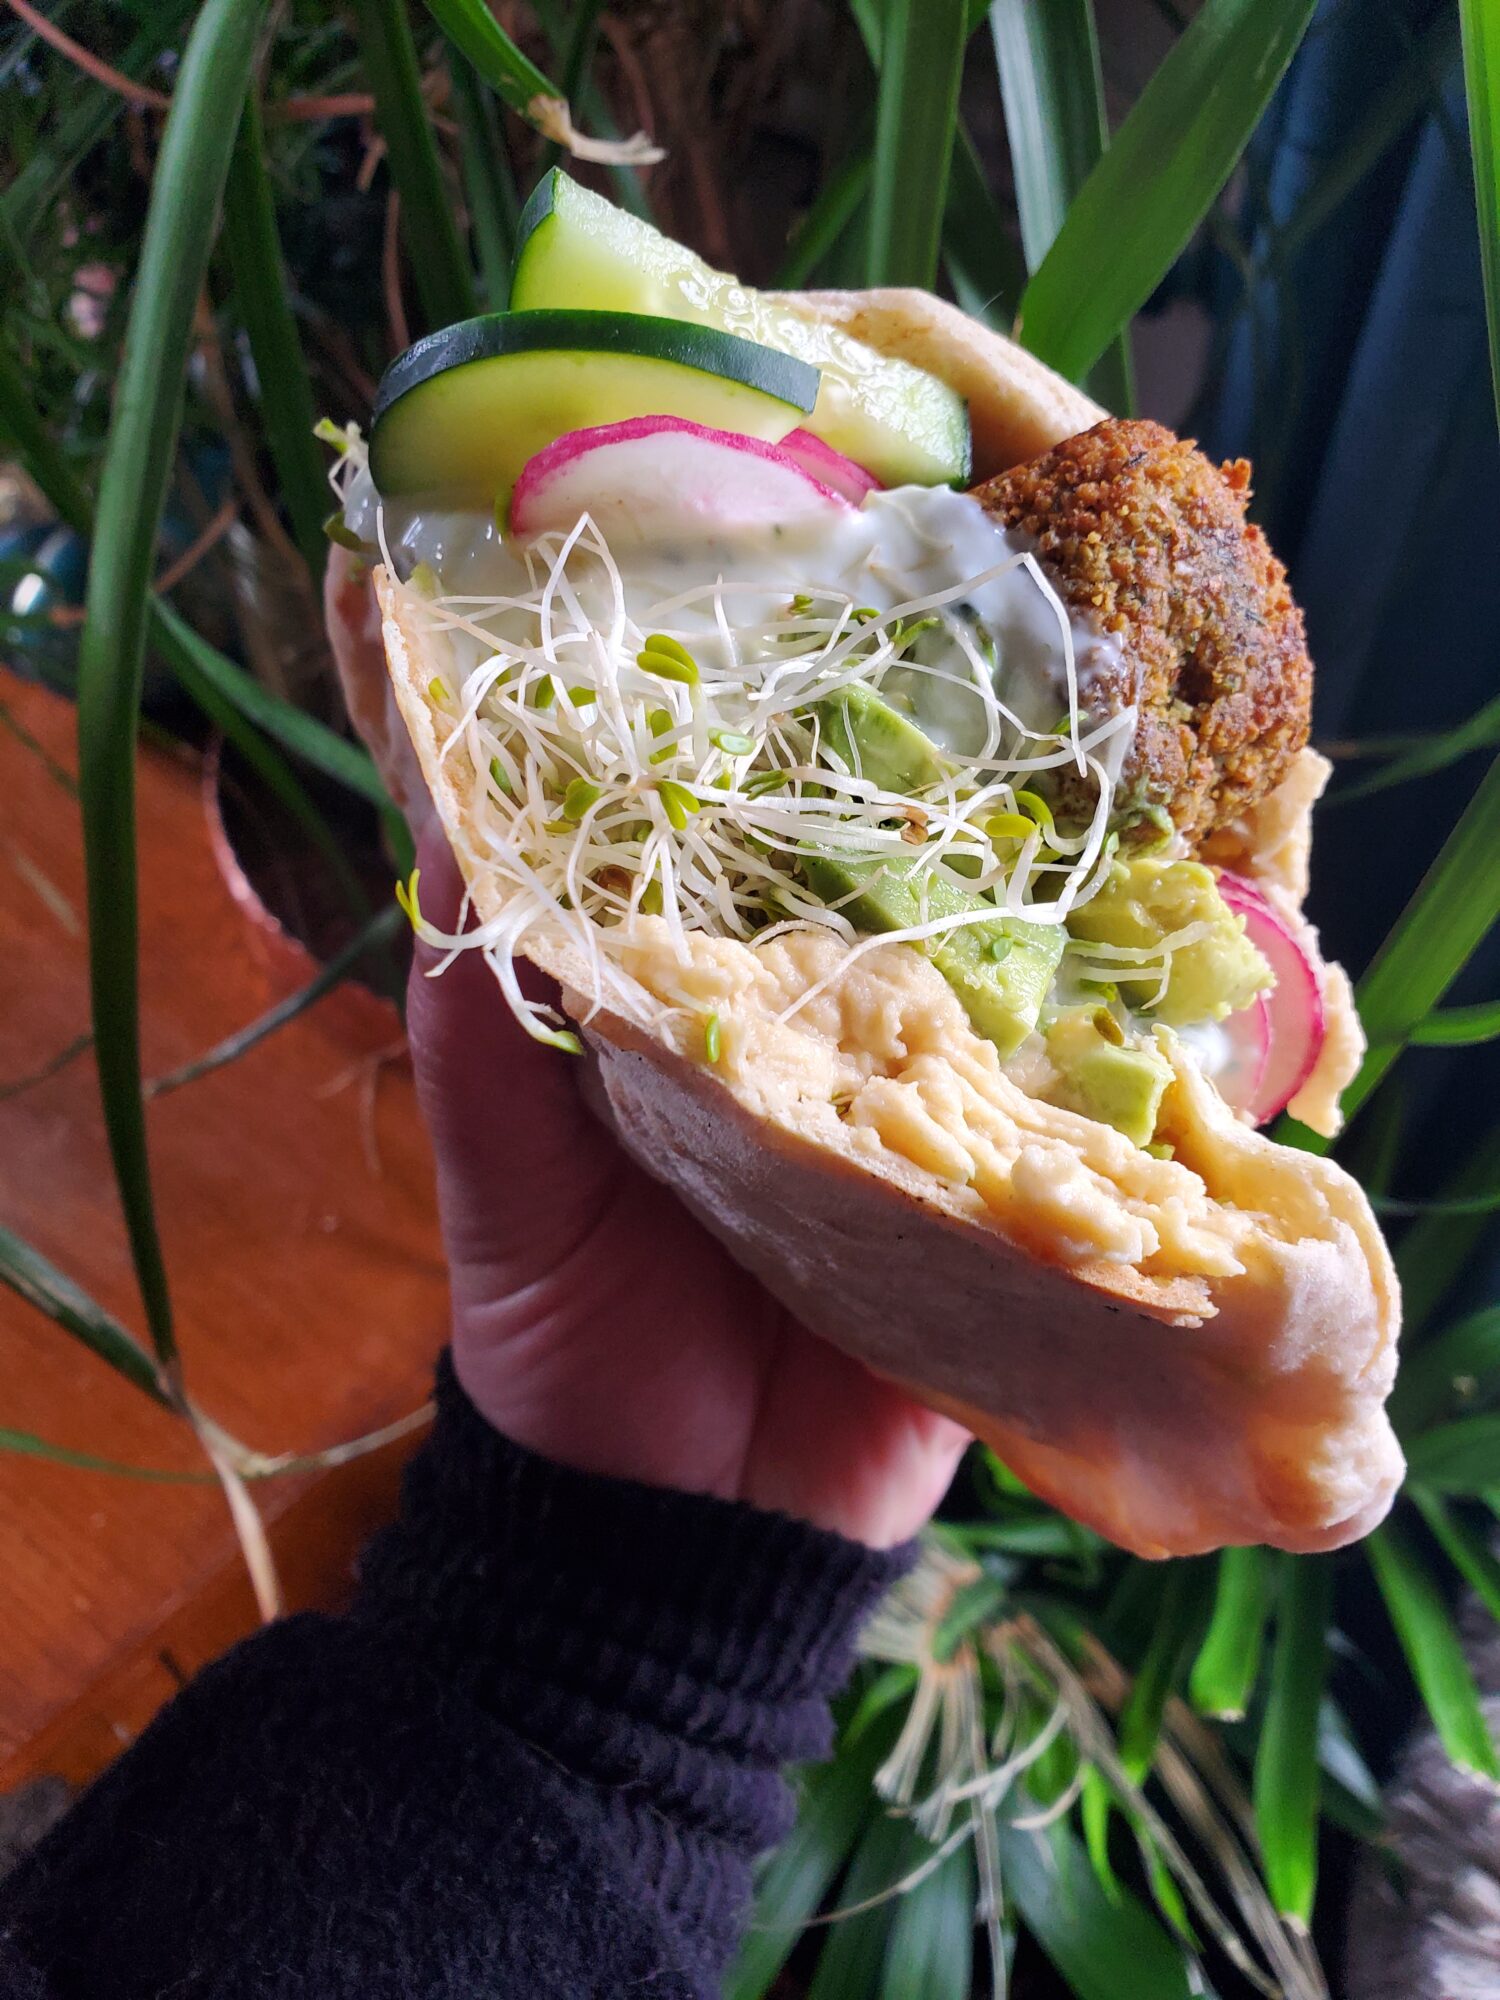
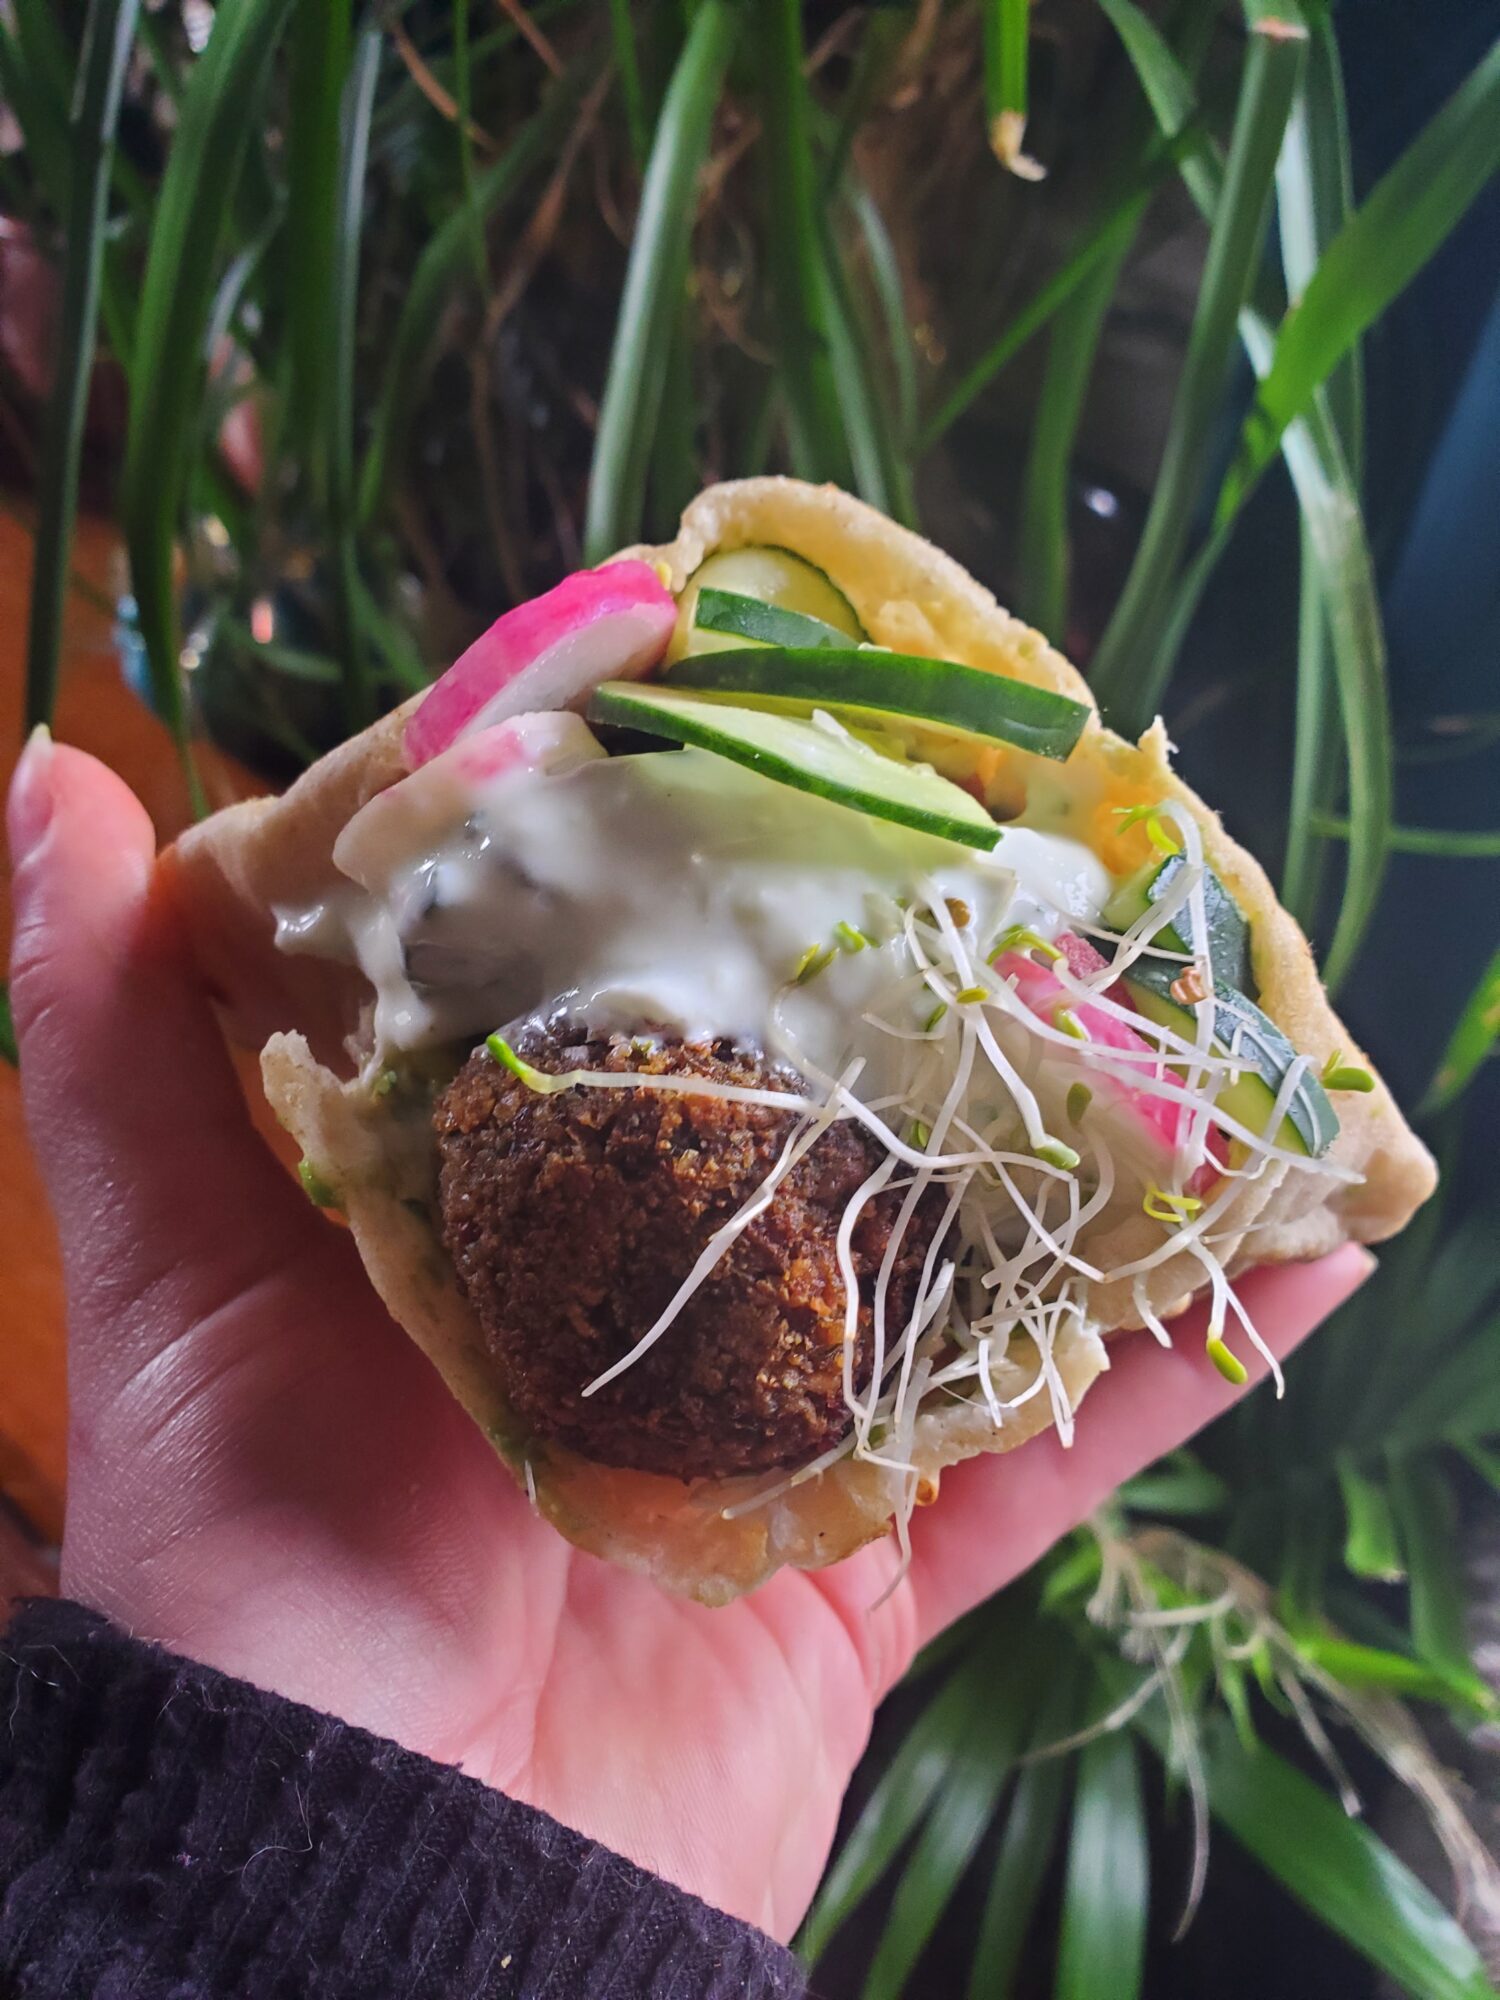
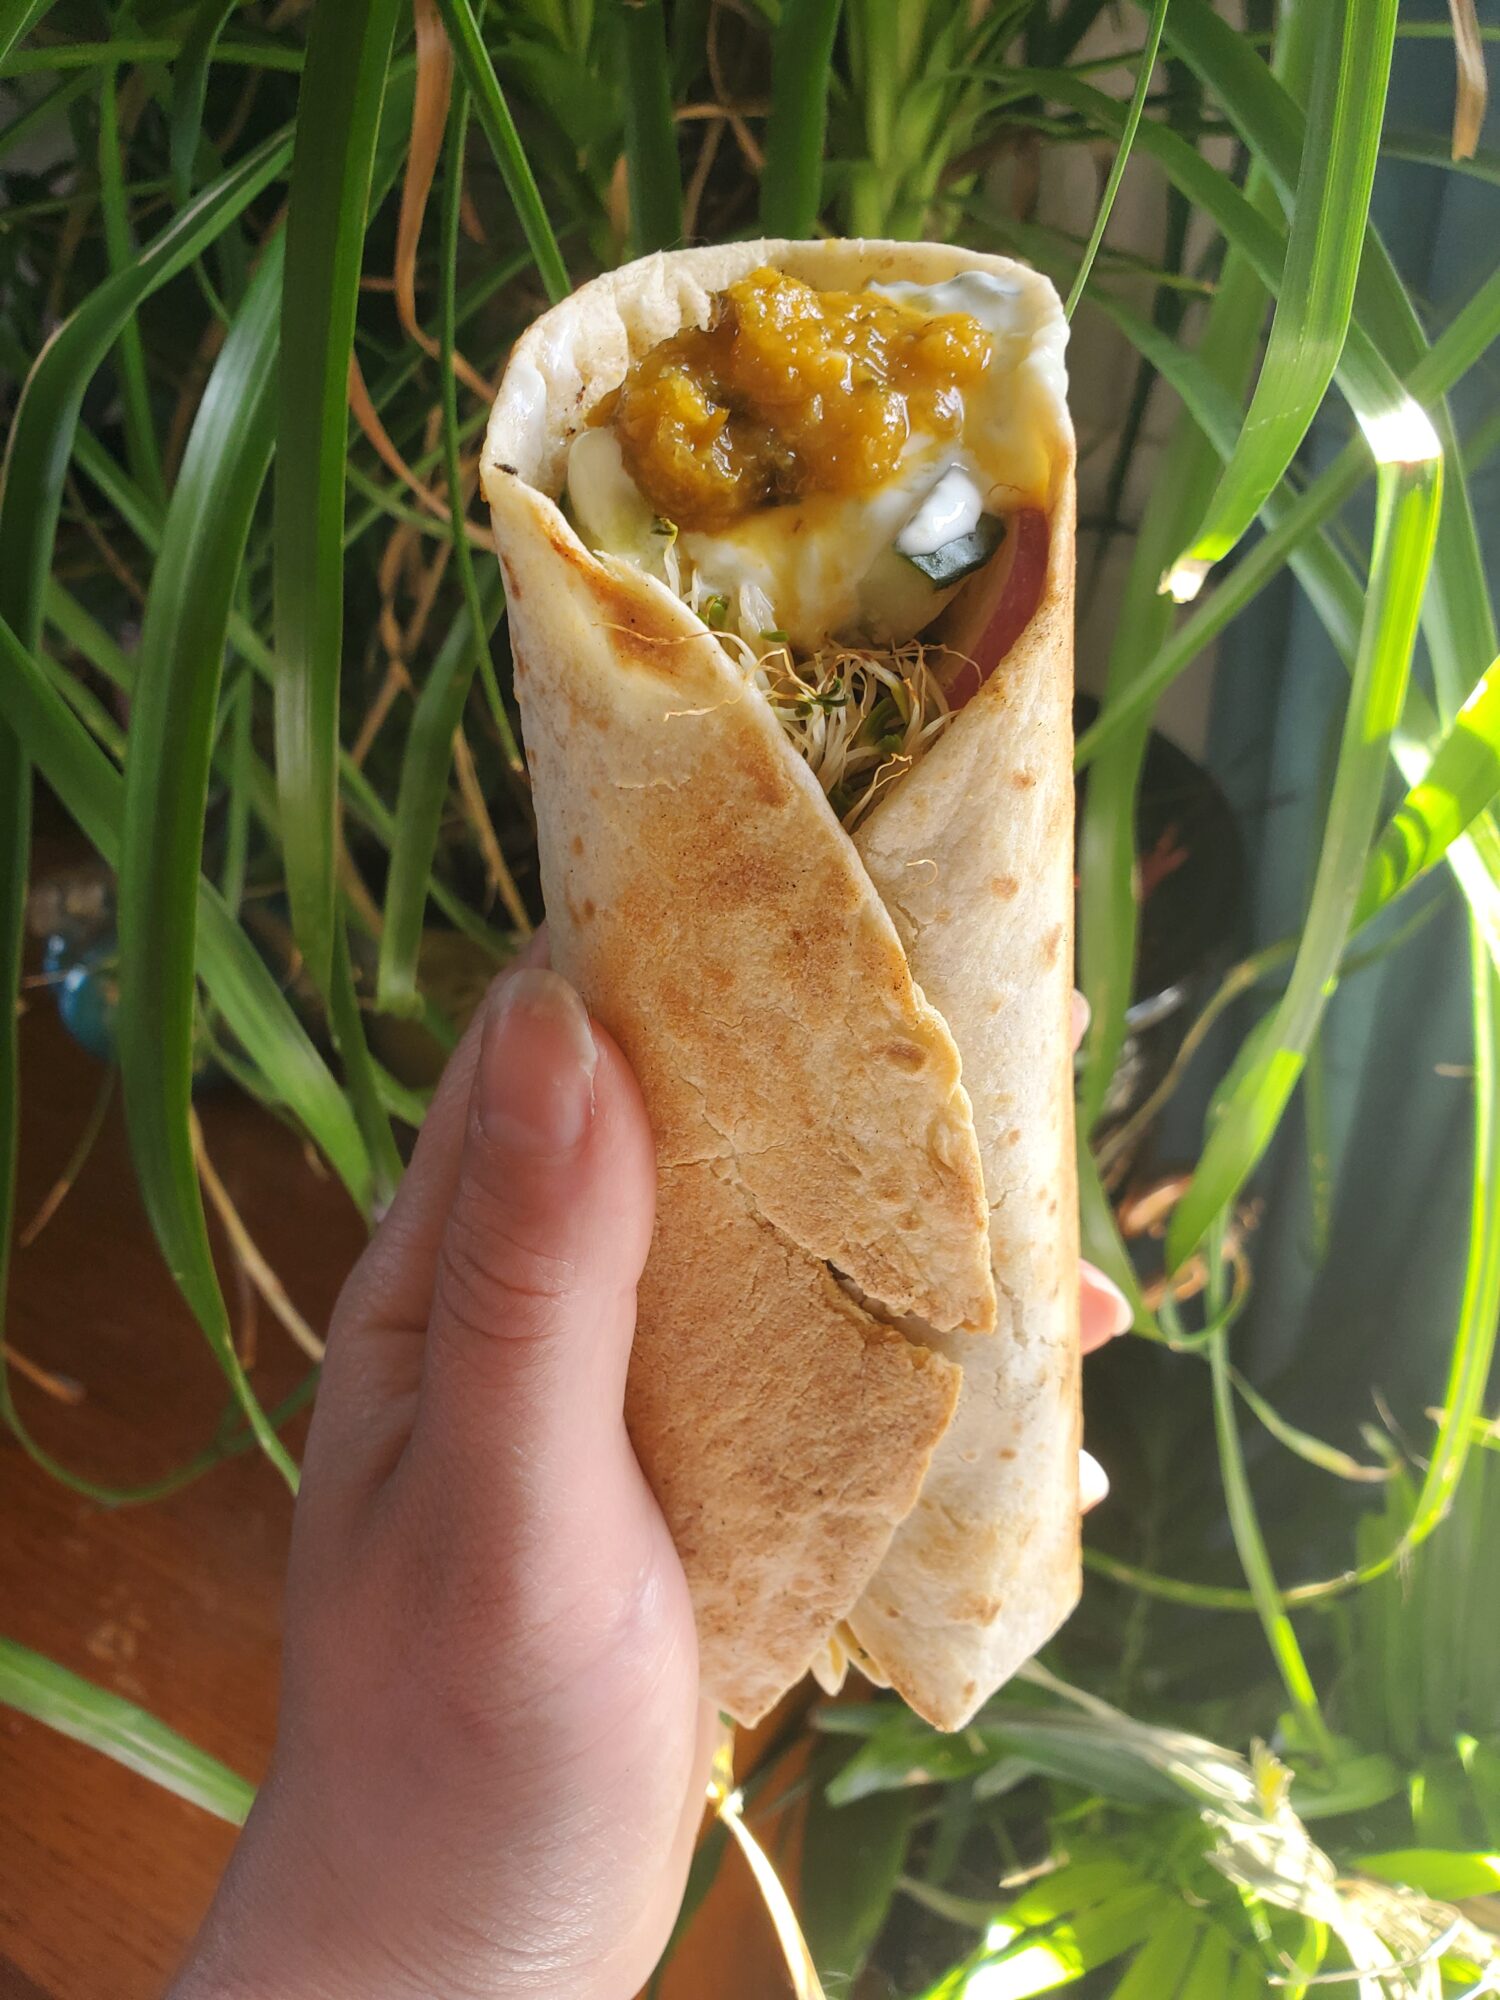
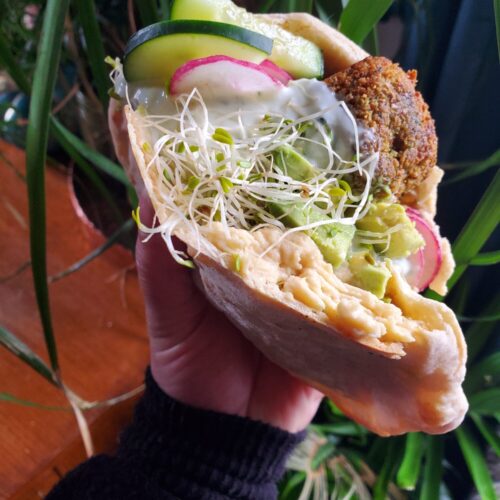
Falafel w/ Hummus, Tzatziki, Radish, & Sprouts
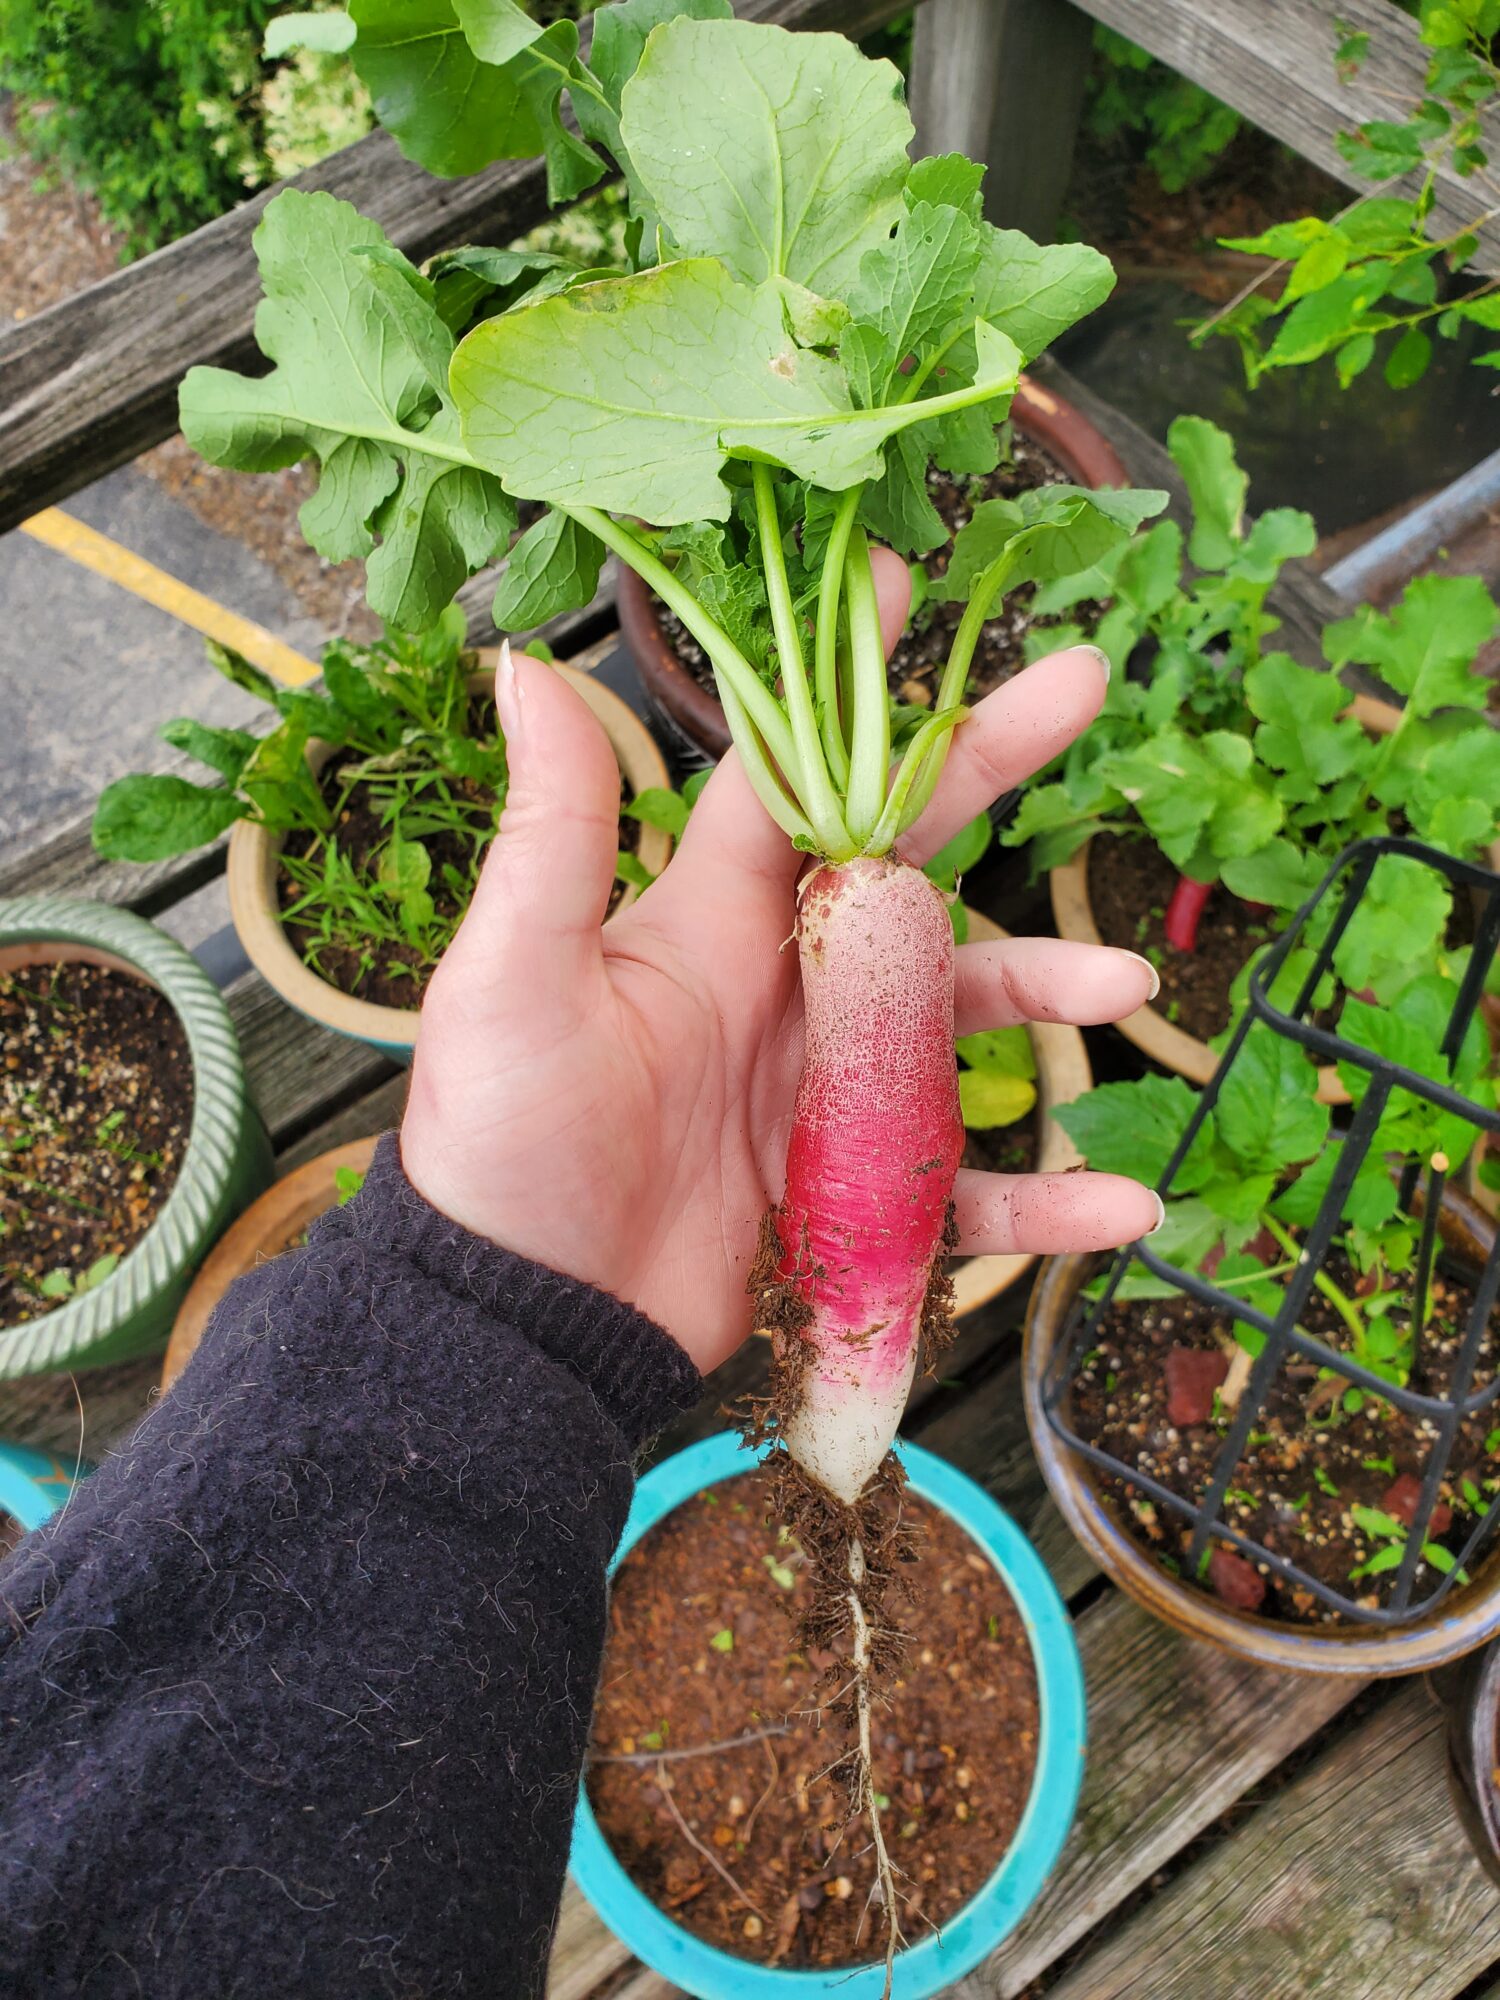
My garden produce is beginning to ripen. It may only be starting with the the radish! But fresh produce is fresh produce. And I am quite excited at its presence. Now, what exactly to make with radish was another endeavor. The obvious is salad and, while I'm sure that I will eventually end up at salad. I wanted to try my hand at something a little bit more fun! So, today I am making Falafel with Hummus, Tzatziki, Radish, and Sprouts.
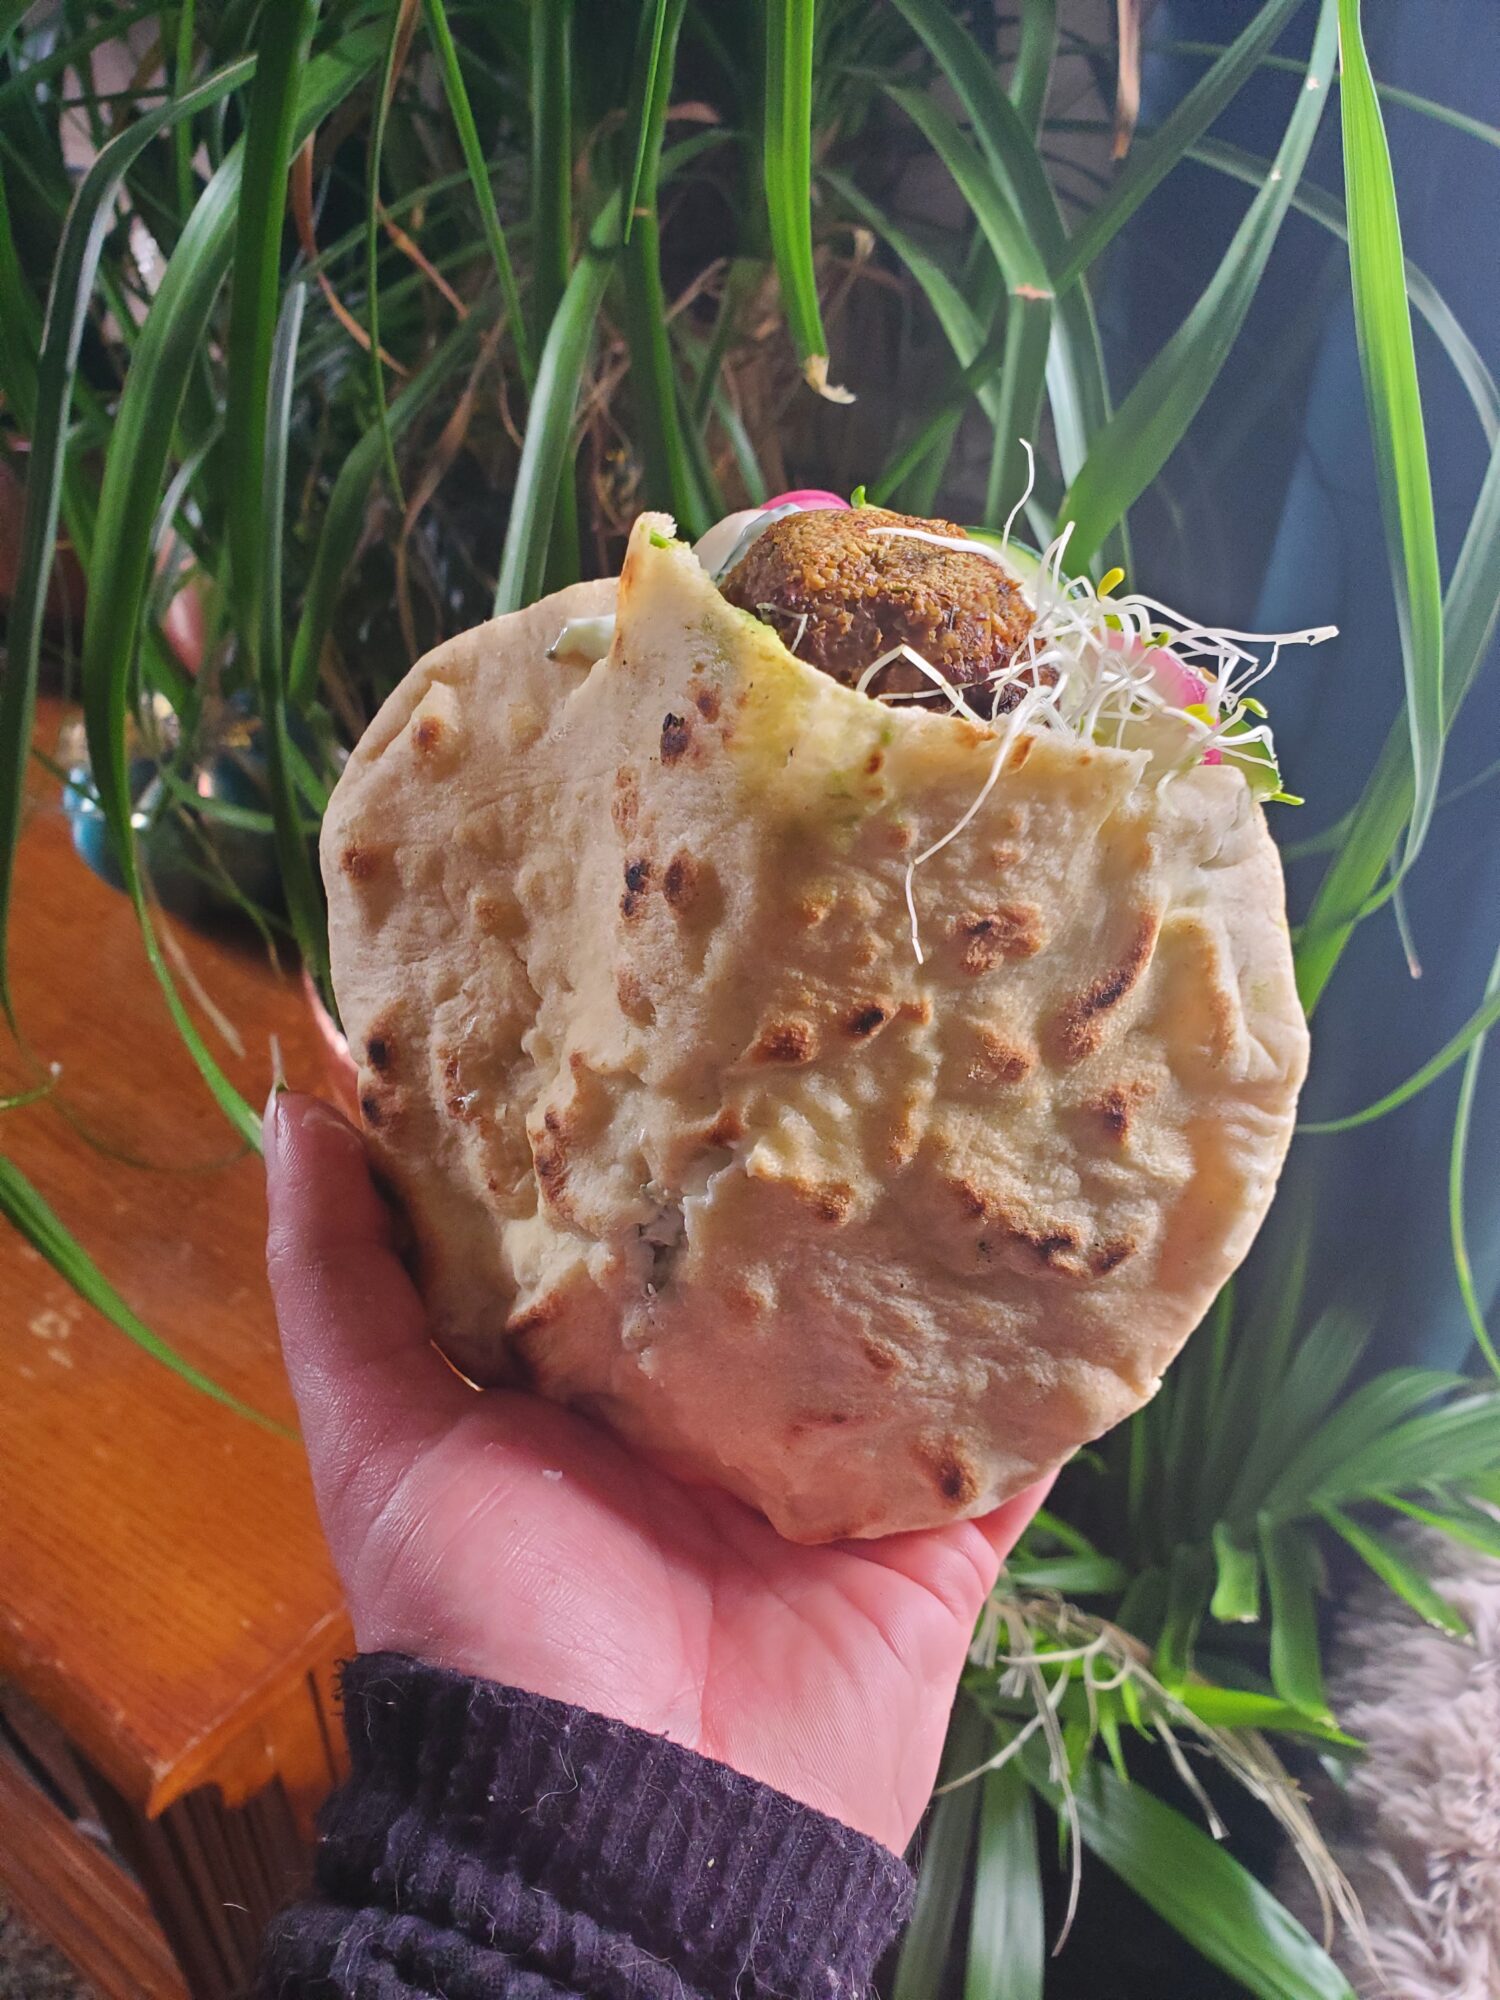
This was a bit of an undertaking for a single meal. It took me a couple of days to get everything together. The Falafel and Hummus both take 12 hours of soaking chickpeas. And then the chickpeas for hummus (and NOT for falafel) need to be cooked, which takes another couple of hours. Although Tzatziki is quite simple. Taking only a mere short few minutes to grate cucumber and combine with Greek yogurt and lemon juice. Pita Bread certainly was an undertaking, though. I'm always a tad bit afraid of bread. But I did manage to get a couple with nice, big pockets!
And now I'm perfectly thrilled with what I've managed to make. There's nothing quite so satisfying as growing the produce that inspires the dish and then making all of the components from scratch. It might be an inordinate amount of time to devote to a single deal. But someone, somewhere had to make everything that you buy in the grocery store. And someone had to grow all of the produce that you put into it.
Although much of the cultivation of food is automated today and the process is incredibly hands off. There's something so satisfying to actually be a part of what you eat in a meaningful way.
Gallery


Variations of Falafel
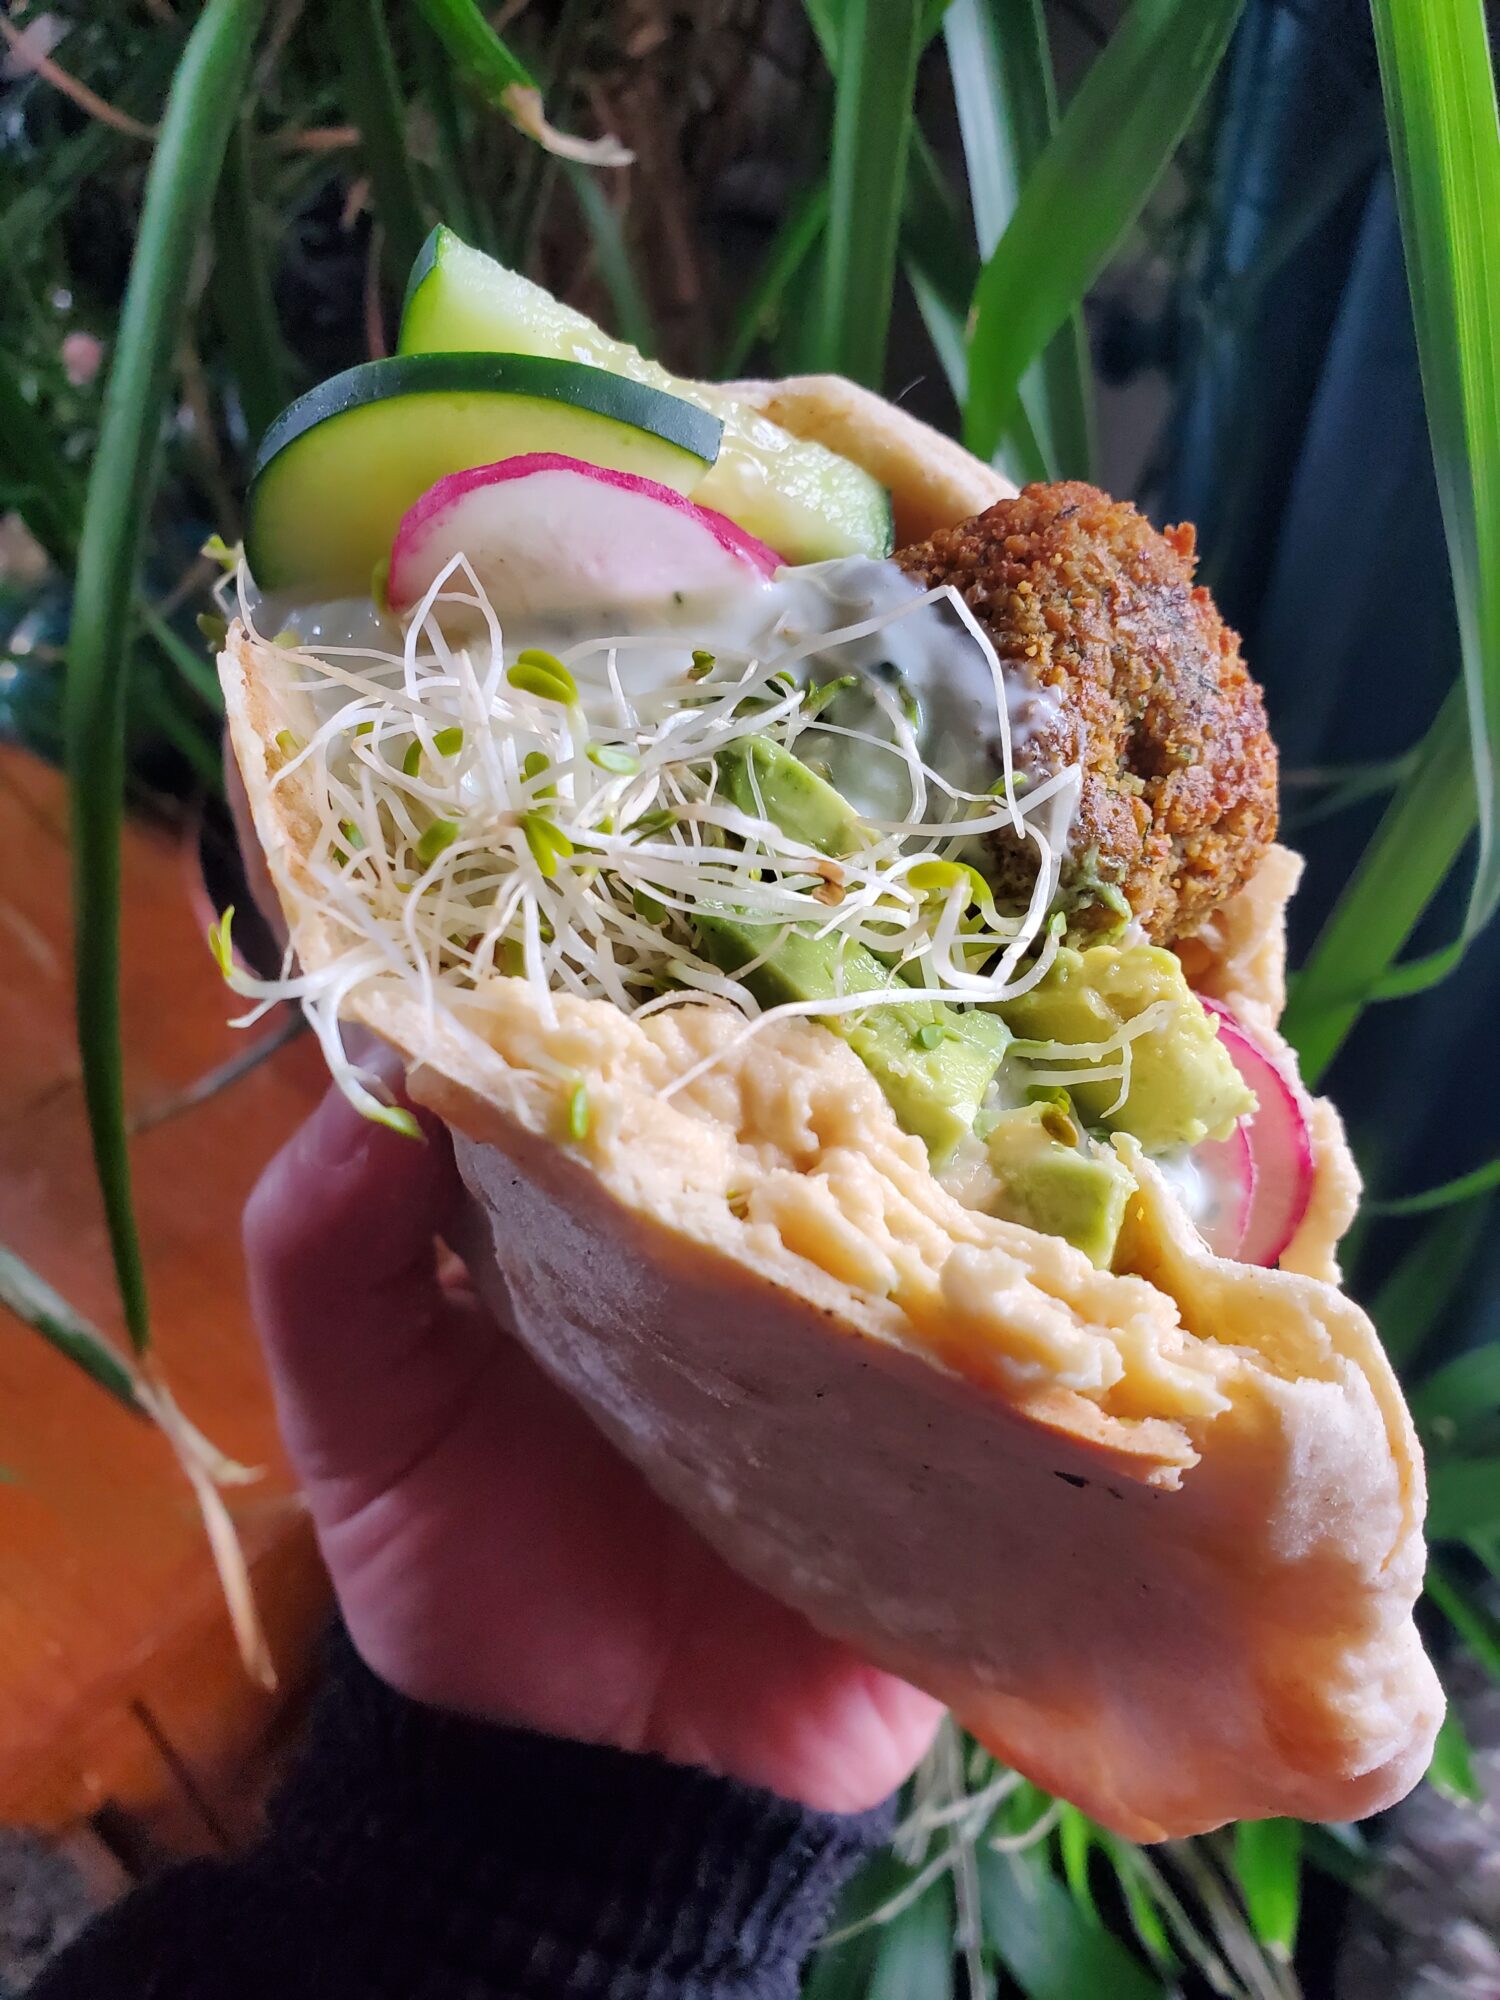
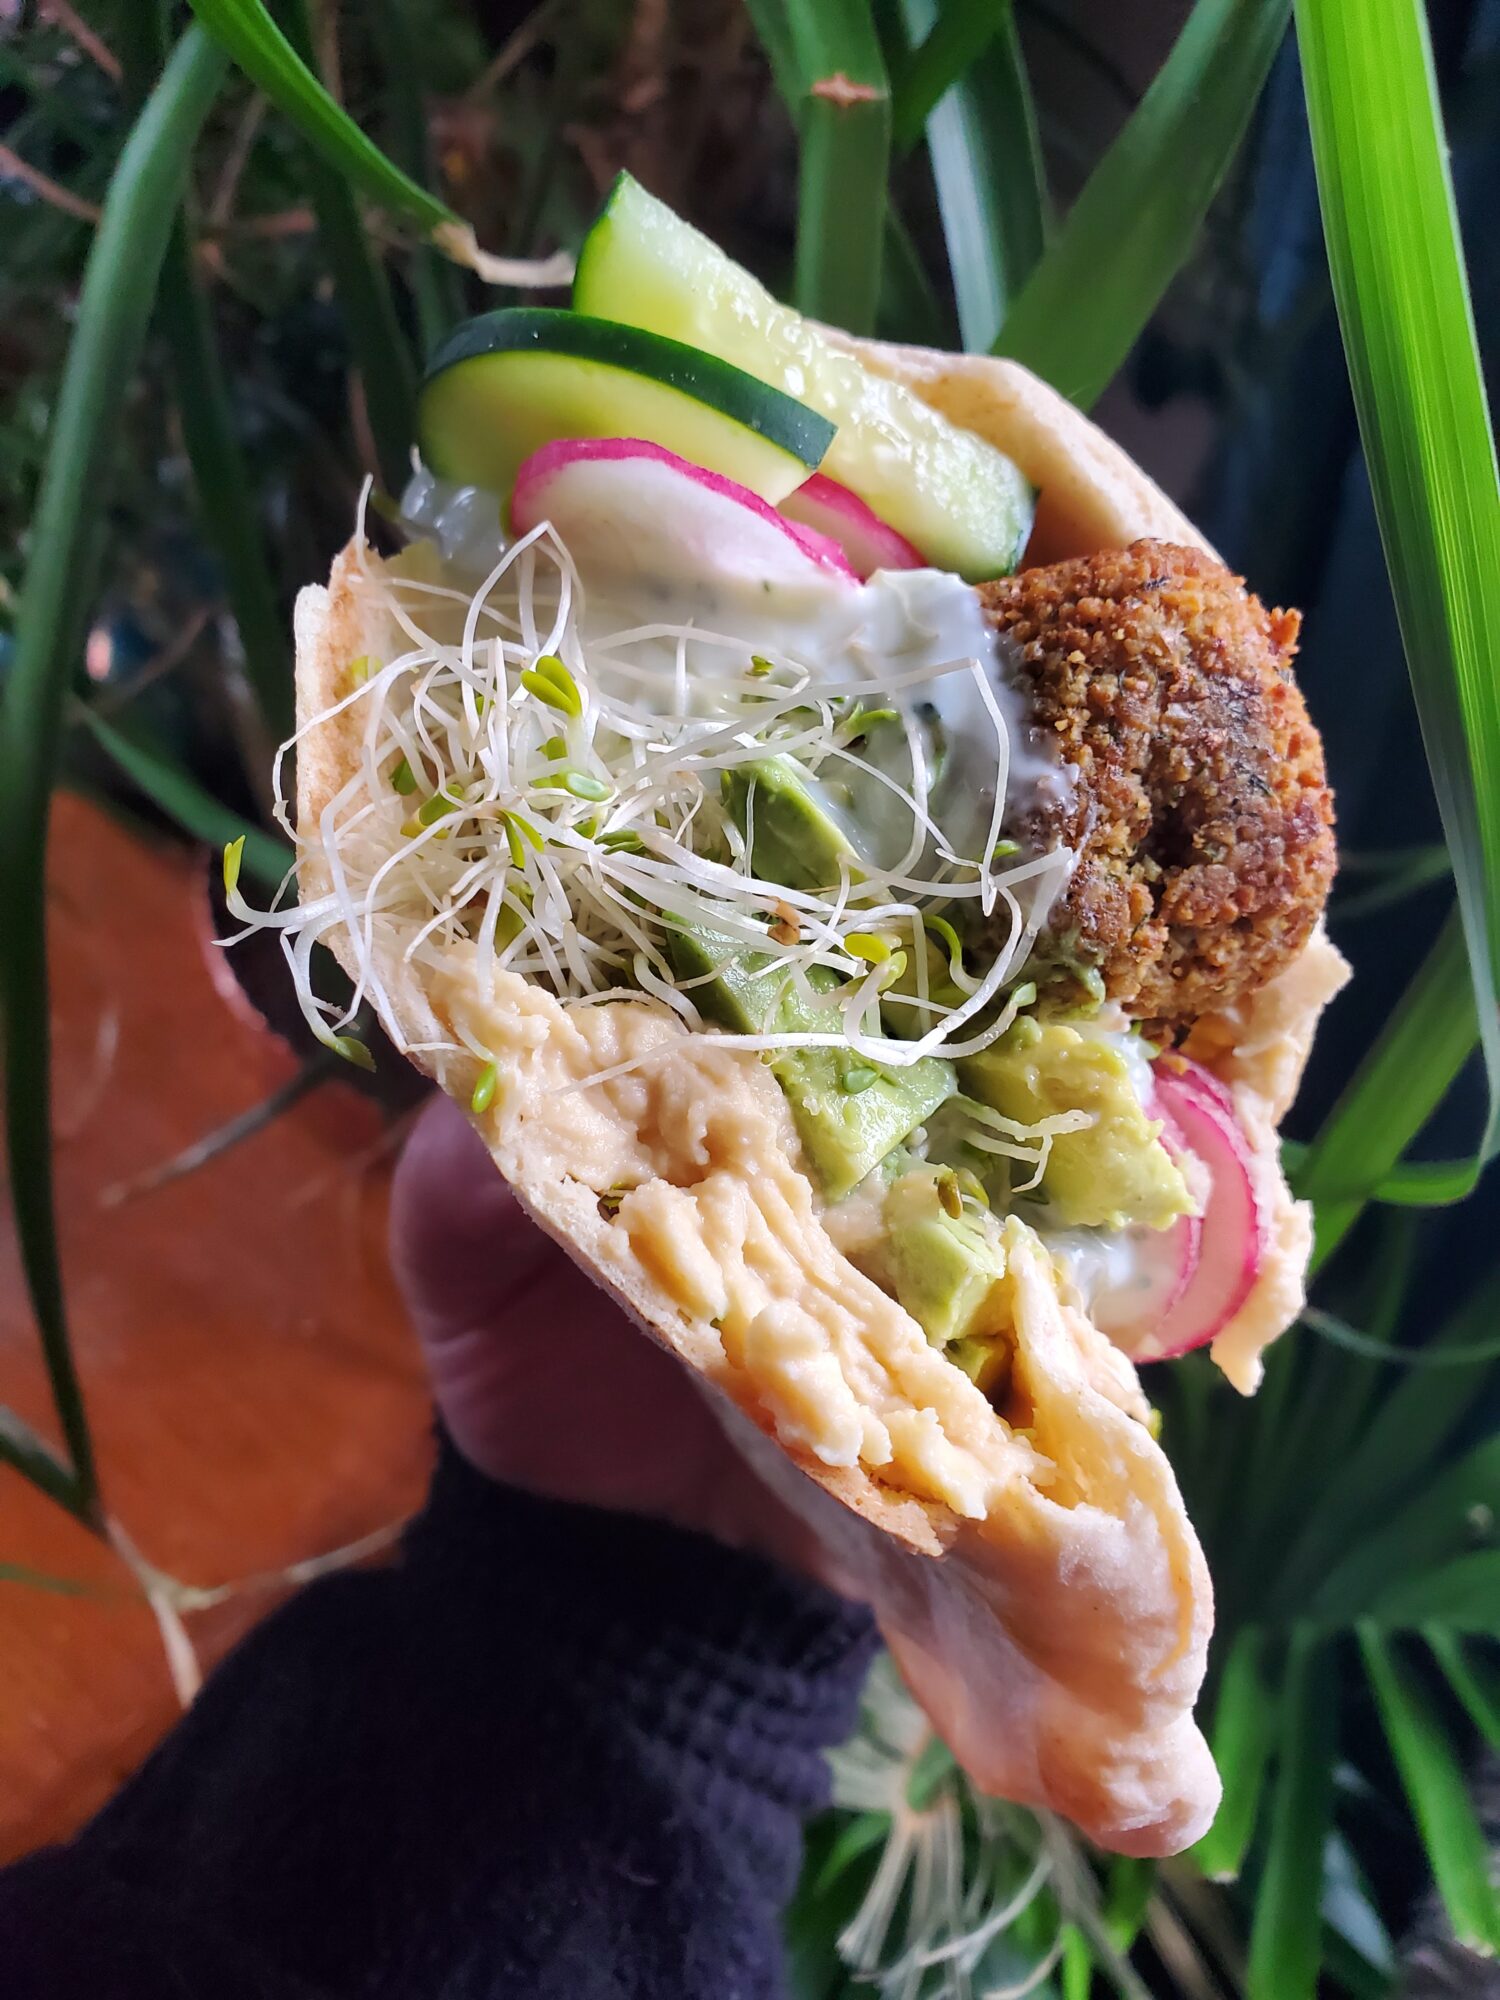
I made several variations of this falafel recipe in this article, which you can see in the photos above. Although for a fun play on falafel or various hummus or vaguely Greek and Middle Eastern recipes, I do often turn these into burritos and the like.


Falafel w/ Hummus, Tzatziki, Radish, & Sprouts
Equipment
- Large Bowl
- Food Processor
Ingredients
Hummus
- 2 c. chickpeas/garbanzo beans soaked overnight
- 2 lemons juiced
- 5 cloves roasted garlic (or 2-3 cloves unroasted garlic)
- 1 tbsp. tahini
- 2 tbsp. olive oil
- 1/2 tsp. cumin
- 1 tsp. salt
- 1/2 c. crushed ice (optional)
Pita
- 1 c. water ~100°F
- 2 tsp yeast
- 1/2 tsp. sugar
- 1 ¼ c. all-purpose flour divided, 1/4 c. and 1 c.
- 1 ¼ c. whole wheat flour divided, 1/4 c. and 1 c.
- 1 ½ tsp. salt
- 2 tbsp. olive oil
Falafel
- 1 c. dried chickpeas soaked overnight (NOT canned & NOT cooked)
- 1/2 tsp. baking soda
- 1/2 shallot minced
- 3 cloves garlic
- 1 tsp. salt
- dash pepper
- dash cayenne powder
- 1 tsp. cumin
- 1/2 tsp. coriander
- 1/8 tsp. fenugreek
- 3 sprigs green onion
- 1 c. dill
- dollop high-heat oil
Tzatziki
- 1/2 English cucumber (or 1 smaller cucumber), grated
- 1 lemon juiced
- 2 c. Greek yogurt
- 1 tbsp. olive oil
- dash salt
Sandwich
- 1 pita
- 2 tbsp. hummus
- 2 tbsp. tzatziki
- 3 falafels
- 1 radish sliced
- 2 tbsp. cucumber sliced
- 1/2 avocado diced (optional)
- 1/3 c. sprouts
Instructions
Prepare Ingredients
- I made everything in this recipe from scratch and even used produce from my garden for the majority of it. You can certainly endeavor to use as much or as little of this as you want, though! I would recommend making your own falafel and hummus while you're already soaking chickpeas. Although pita bread, hummus, and tzatziki are often easily found in grocery stores if you want to make this recipe a little simpler. Although tzatziki consists of 5 ingredients and takes less than 15 minutes to throw together!
- All of these components can also be made up to a week in advance if you want to spread it out! You absolutely do not have to make them all at once. I did this time, but I almost never do because that is a good... entire day of cooking! And not all of us have the time, energy, or stamina to do this. So, feel free to spread it out and substitute in and out what works for you.
Hummus
- The first thing that you need to start if you're going to make everything from scratch is to soak chickpeas for 12 hours, or overnight. You will also need to soak chickpeas for the falafel. You can do this in the same bowl and divide later or in 2 separate bowls to keep the measurements proportionate.Two-thirds of the chickpeas will go towards hummus and one-third would go towards falafel. Exactly what this translates to after soaking varies slightly based on how much your chickpeas soak and how much liquid they absorb, so I usually just measure beforehand. But you can certainly measure yours afterwards and divide into thirds.Either way, just remember that this part needs to be started the night before or very early the same day!
- Soak chickpeas/garbanzo beans in cold water for at least 12 hours.
- I also tend to use roasted garlic to make hummus. This is entirely optional, though. You can easily use half the amount of unroasted garlic.If you do want to roast garlic, though, you'll need a head of garlic (or several if you want extra), a drizzle of olive oil, and a garlic roaster or aluminum foil. It takes 5 minutes of prep time and about an hour to cook. They're easy to toss in the oven while you're simmering the chickpeas.
- Drain the chickpeas. Add to a large pot and cover with a couple inches of water. Bring to a boil and then reduce heat to a simmer.
- Simmer for 1 1/2 - 2 hours, or until tender. You may need to adjust the temperature to keep them from boiling as they cook down. The chickpeas are done when they're soft and begin to shed their skin.
- Drain the chickpeas immediately after cooking and remove as many of the skins as you can. You don't have to remove every single skin, but the more that you do remove, the better the texture of the hummus will be! The simplest way that I've found to remove the skins as quickly and easily as possible is to run them under cold water until cool. Then, place them in a large bowl, fill with enough water so that the chickpeas are covered by at least 1/2 an inch, and rub a handful of chickpeas between your palms at a time. Much like you're doing the "Buuuuuuuuur, I'm cold!" motion. The skins should separate and float.
- Add chickpeas, lemon juice, garlic, tahini, olive oil, cumin, and salt to a high powered blender or food processor. Blend until mixture forms a smooth paste and you can no longer see pieces of chickpeas.
- Add 1/2 c. crushed ice and blend for 2-4 more minutes. This is entirely optional, but the rapid cooling helps with the texture. If you don't have crushed ice, you can also add ice water or olive oil, 1 tablespoon at a time.
Falafel
- Place dried chickpeas in a bowl and cover with cold water. Soak overnight, or for 12-24 hours.
- After at least 12 hours, drain the water from the chickpeas.
- Place all ingredients, except for the high heat oil, into a food processor. Pulse until chickpeas just start to break down. You don’t want large chunks of chickpeas or onions, but you also don’t want a paste. You’re shooting for roughly the texture of very coarse cornmeal.
- Remove from the food processor and chill for at least 15 minutes.
- Ball up a little of the chilled batter. They should be about an inch wide and you should be able to get about two dozen falafel out of this recipe.
- Meanwhile, heat high-temperature cooking oil over medium-high heat. I like to do this in a cast iron pan, but any high-temperature skillet is fine.
- Gently slide into the oil with a slotted metal spoon or deep fryer basket. The heated oil may sputter, so don't do this with your hands and keep your face away from the oil!
- Cook for 2-3 minutes and then rotate, cooking another 2-3 minutes until the falafel is crisp and lightly browned on the outside.
Pita Bread
- Combine warm water, yeast, sugar, 1/4 cup of all-purpose flour, and 1/4 cup of whole wheat flour. Let rest for 15 minutes, or until the yeast begins to bubble.
- Meanwhile, whisk together 3/4 cup all-purpose flour, 3/4 cup whole wheat flour, salt, and oil in a large bowl.
- After the yeast has proofed, stir yeast mixture into the flour. Mix until all of the ingredients are combined. The dough should initially have a shaggy appearance.
- Start slowly adding in the remaining 1/4 cup all-purpose flour and 1/4 cup whole wheat flour until you get a dough that you can knead. You want the least amount of flour that you can do get a workable dough and may not need all of the flour. Just slowly add as necessary to be able to work with the dough and form a soft, pliable ball.
- Cover dough and let proof for 1 hour, or until doubled in size.
- After an hour of proofing, lightly flour a surface and turn the dough out. Sprinkle with just enough flour to make it workable (a tablespoon or two) and divide into 7 or 8 equal-sized balls.
- Cover with a towel and let sit another 10 minutes.
- Meanwhile, place cast iron skillet or griddle in the middle rack and preheat the oven to 475 degrees Fahrenheit.I used a cast iron griddle for this. Although any pan without grill lines works for this purpose. A baking stone would do as well.
- Roll out until the dough is about 8-9 inches wide and 1/4 inch thick. Liberally flour and lift and turn the dough often, so that it doesn’t stick.
- Very carefully drop the dough onto the cast iron.
- Bake for 2 minutes, flip and bake another minute on the other side. The dough should puff up and to make that quintessential pocket. Promptly remove from the oven and cover with a towel.
Tzatziki
- Using a fine cheese grater, shred the cucumber.
- Combine all of the ingredients in a small bowl (grated cucumber, lemon juice, Greek yogurt, olive oil, and salt). Stir and serve immediately or chill in the refrigerator.
Assemble Sandwich
- Cut one end of the pita off.I tend to pick the least attractive side so that you can't see it! This should be about a 2-3 inch hole and is simply your way into the pita. It can be smaller or larger depending on how easy you find to insert the rest of the ingredients.
- Spread the hummus and tzatziki inside of the pita. I tend to do one on the top and one on the bottom side. Although this is entirely personal preference. Just make sure to get all the way into the bottom and sides of the pita!
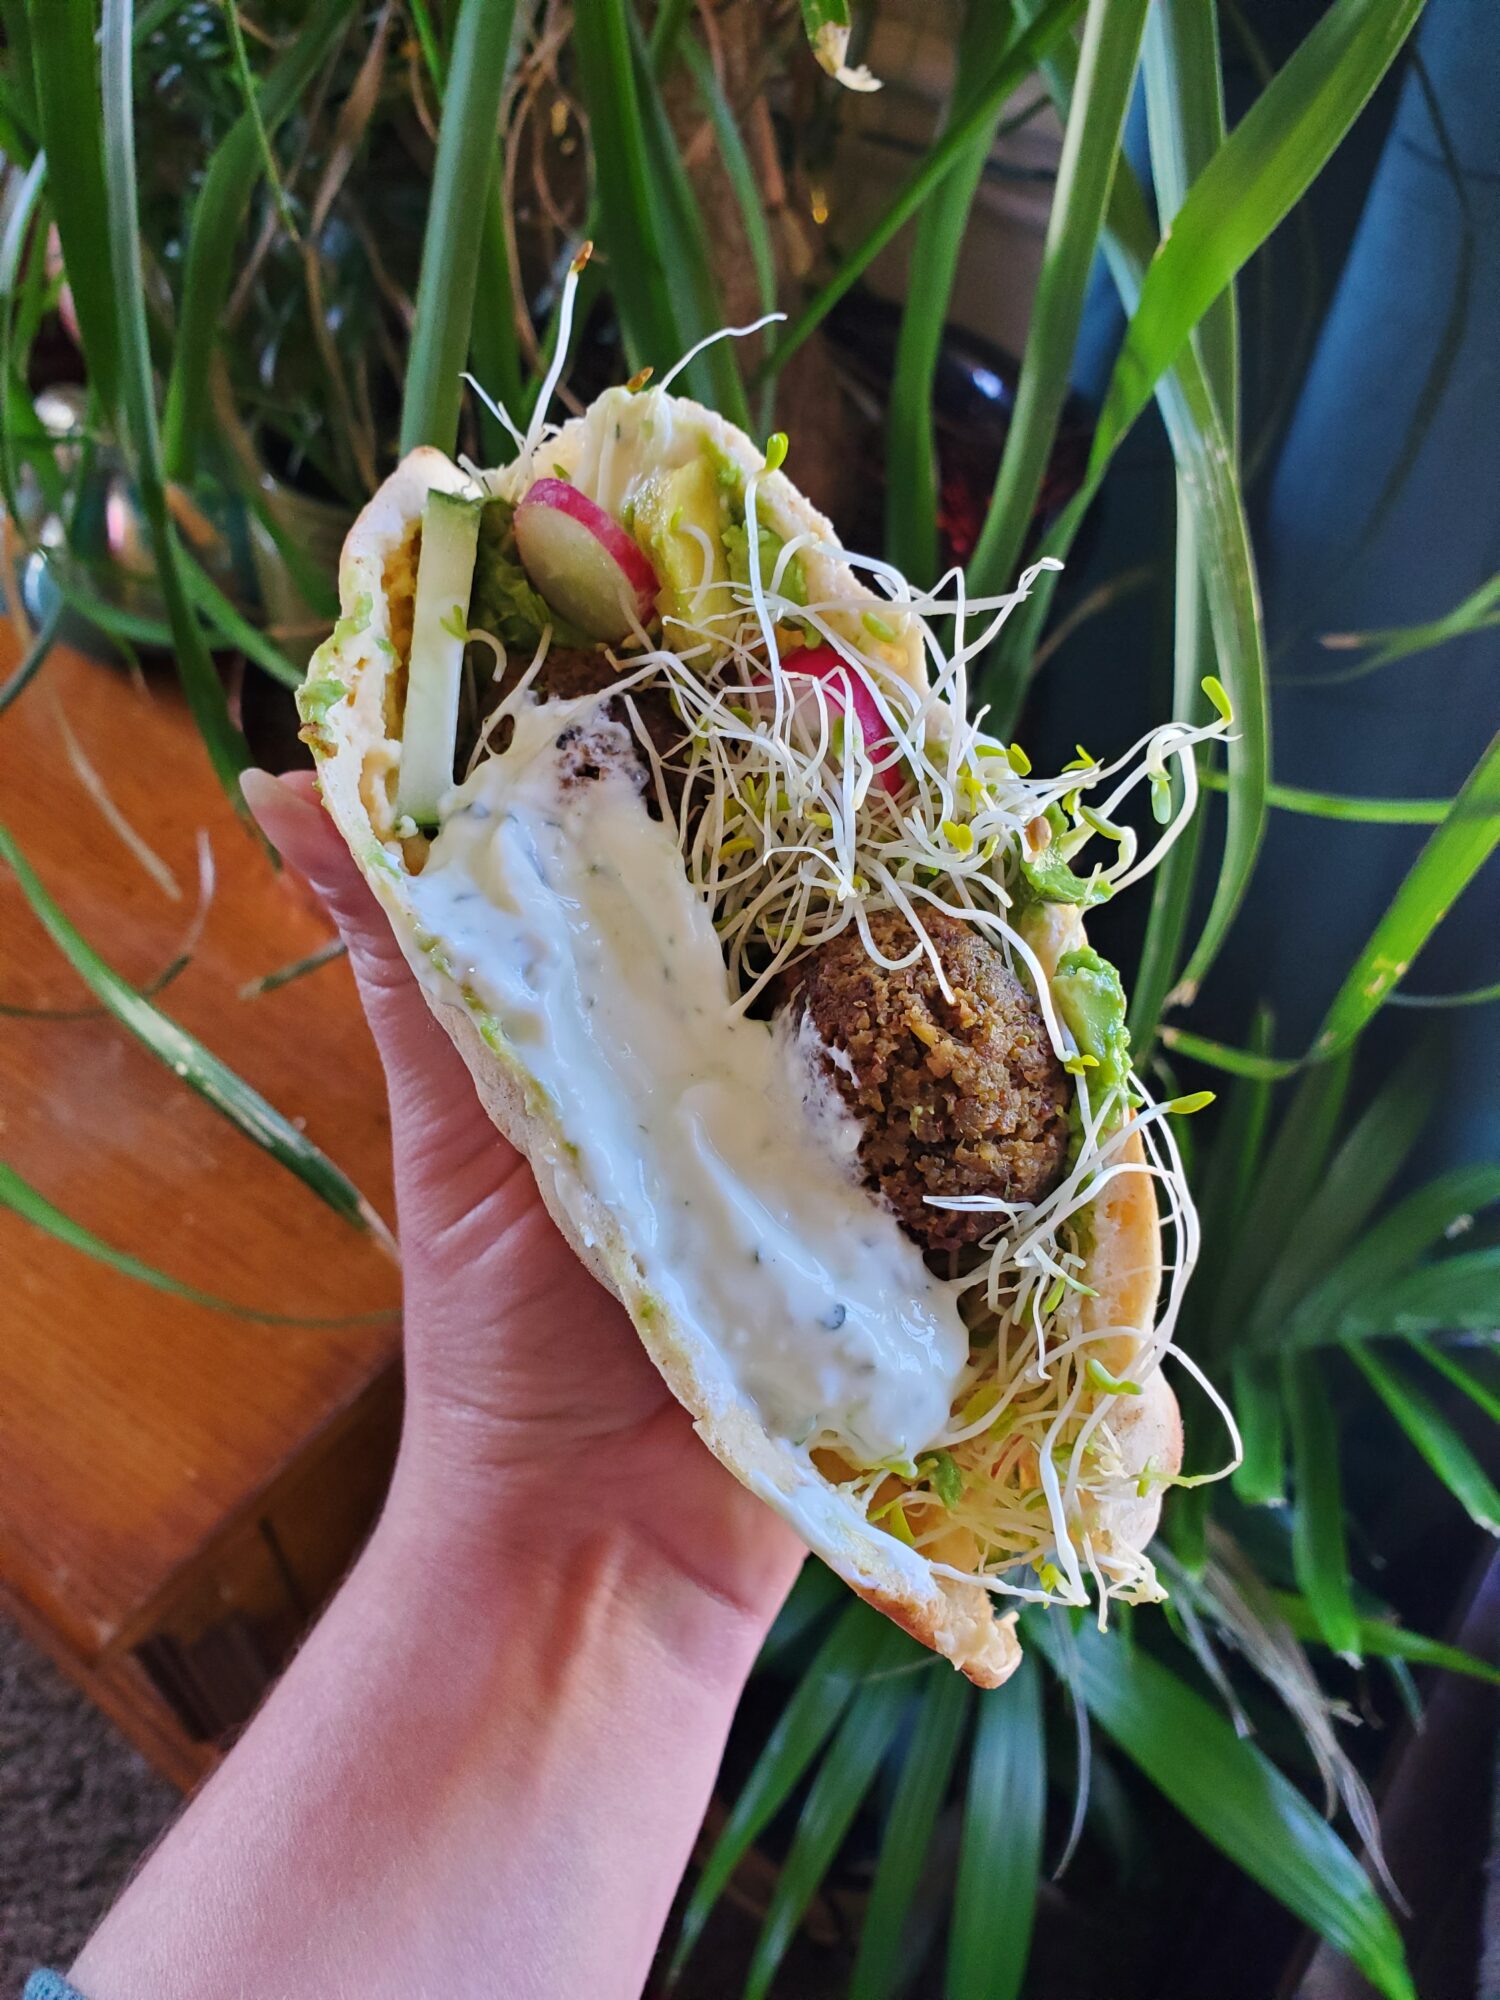
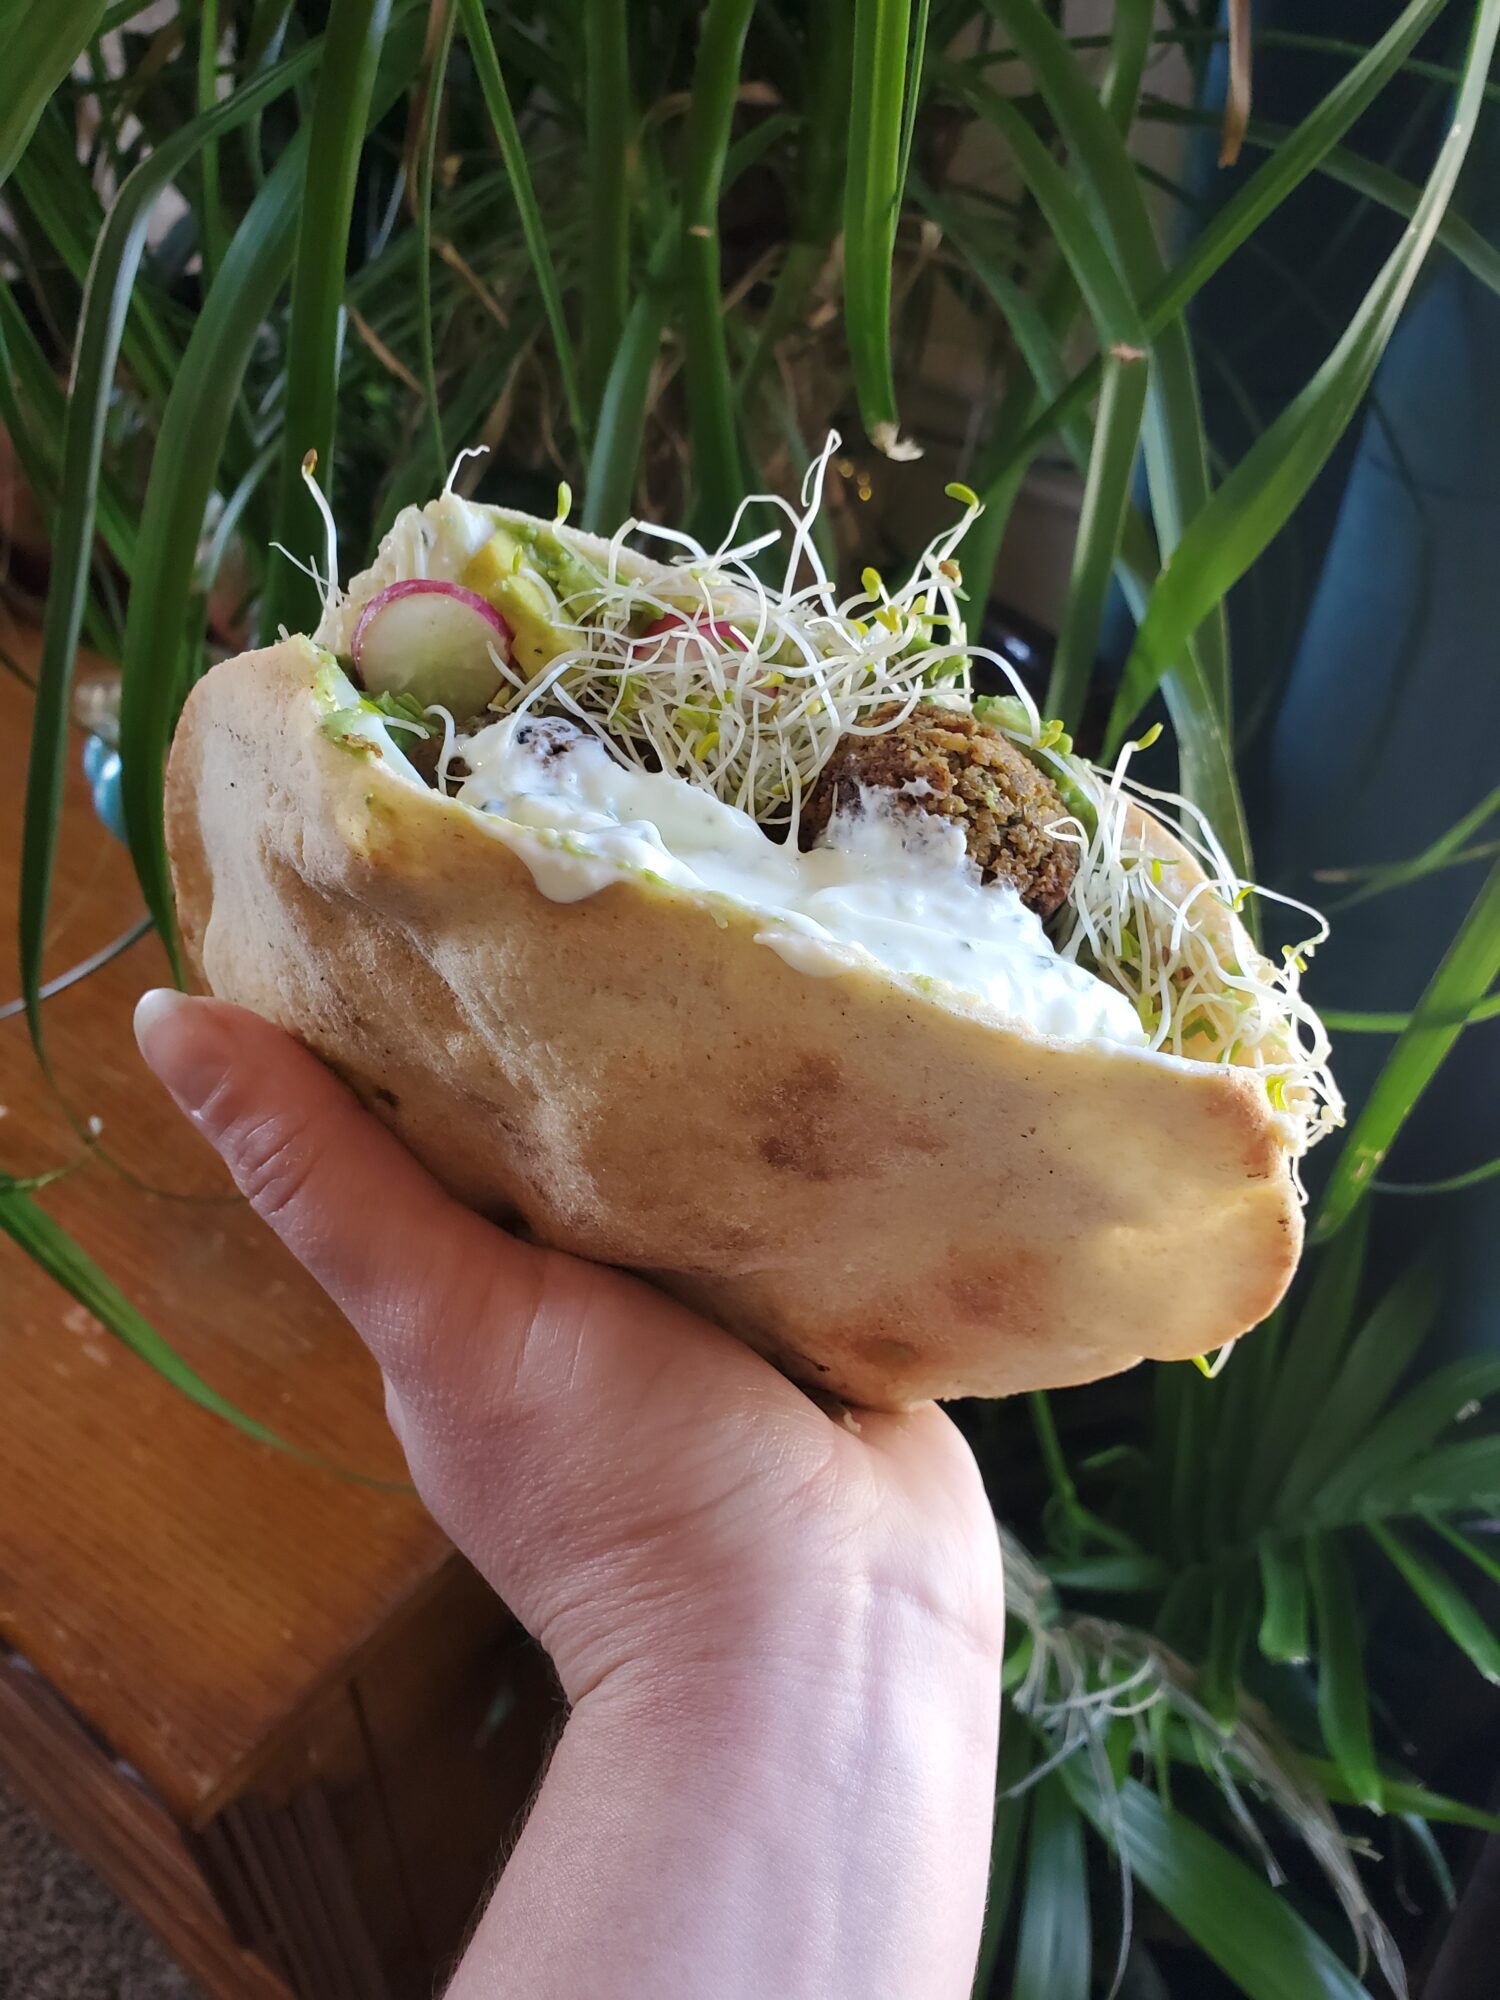
- Add one falafel, followed by radish, cucumber, and sprouts. Be sparse here. You really only want to fill the pita 1/3 of the way. Continue adding falafel, radish, cucumber, and sprouts another third of the way. And top with final third of falafel, radish, cucumber, and sprouts.For presentation purposes, whole pieces of falafel look fantastic. For actual eating purposes? This means that every bite certainly isn't going to contain every ingredient! So, I will oftentimes break the falafel up into smaller pieces. For one of these variations I also added avocado. This is entirely optional, but I had it on hand! So, why not?
- Serve immediately.Although all of the components can be made ahead of time, it will get soggy if you let rest! Much like a sandwich will get when you refrigerate it and wish that the condiments hadn't soaked in. This is personal preference, though, and nothing is going to spoil or need to be re-heated if you make it in the morning and eat it for lunch.
Tips, Tricks, & Notes
- I hate to call falafel a sandwich. I tend to call the completed dish also just "falafel," though, which can be confusing! Because falafel balls are distinct from falafel sandwiches. Hence, why I have slightly abashedly started referring to the completed dish as a sandwich.
- I have more in-depth recipes for all of these components. For additional tips and tricks, check out:
Leave a Reply