It's the peak of summer and I'm in full on barbecue mode. My barbecue was actually stolen a couple of years ago. So, in defiance, I have refused to purchase another one. Although the other day I was running some errands and spotted a free barbecue on the side of the road. After a couple of hours thinking about how free barbecues in this area don't come around often and probably does work if they went to all of the trouble to trek it out to the curb (quite a long distance in this part of the suburbs!) So, when I drove past it again on my way home? I decided that I would inspect it a little further. It seemed in reasonable condition. The "free" sign said that it worked, but the side burner didn't. And I decided that that was good enough! Although I must have been a sight. I'm 5'1" tall, wearing a calf-length off-white skirt, and shoving a full-sized barbecue into the back of my full-sized truck by myself.
Strange sight aside! The barbecue actually does work. All four main burners are functional. The grates required a little bit of elbow grease and I should probably deep clean and get a cover before winter and all of the snow that that entails in Wisconsin! But, I am overall quite pleased with this find and will now endeavor on an entire series of barbecue posts.
First Barbecue Meal
My first barbecue meal, of course, had to be pizza. Now, I'm an enormous fan of pizza. Which you would never know perusing this blog because I almost never make it at home! That's because I'm used to making pizza dough in bulk at work. So, if you give me a 50 pound bag of flour, any of several different kinds of yeast, sugar, flour, salt, oil, and water? I can make pizza dough without following a recipe or measuring anything at all.
Although making pizza at home is an entirely different ballgame to making pizza in a professional setting. For one, pizza takes 2 days to ferment in the fridge. And most home cooks aren't planning on pizza that far ahead of time! But the bigger problem is that scaling down a recipe that much doesn't always translate. You constantly see people putting the same amount of yeast in a home batch as in a larger-than-life one! Which just hurts my brain to think about.
So, I don't often make pizza at home! But I decided to persevere today and try my hand at it. I took a page out of The New York Times' recipe book and tried my hand at their Pizza on the Grill. I'm generally a fan of The New York Times cooking section. None of the recipes are spectacular. But they've definitely tested them and tend to put out fairly solid, albeit basic, recipes. Since that's pretty much what I was going for here? That sounded good enough! I'll probably try something a little bit more out of the box latter, but this recipe's perfectly adequate for today!
Gallery
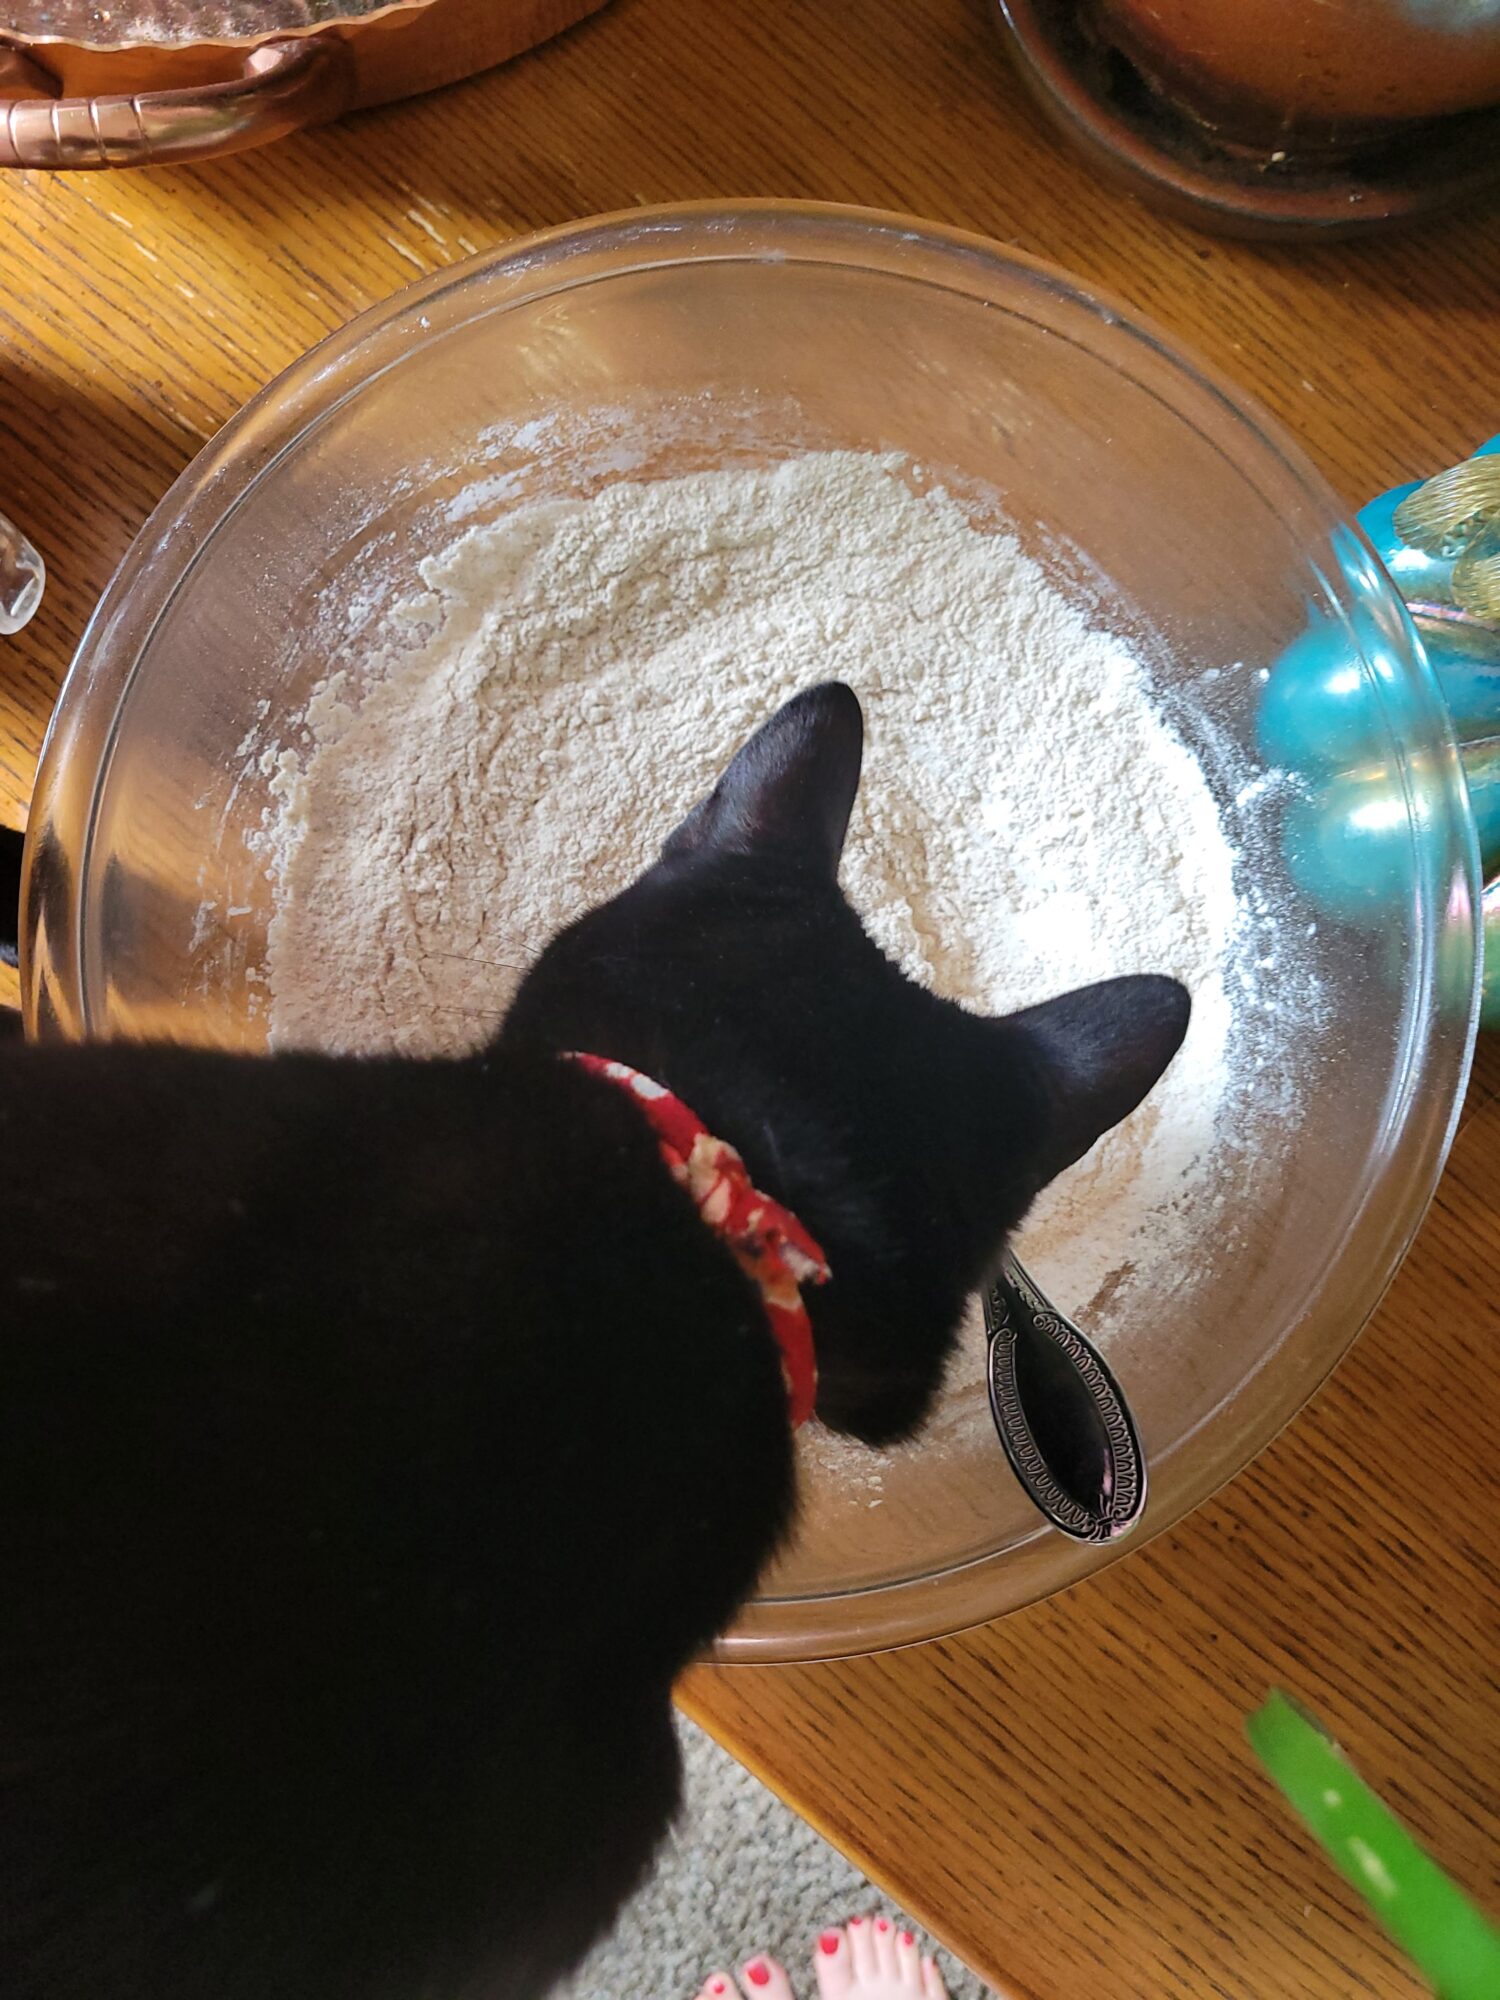
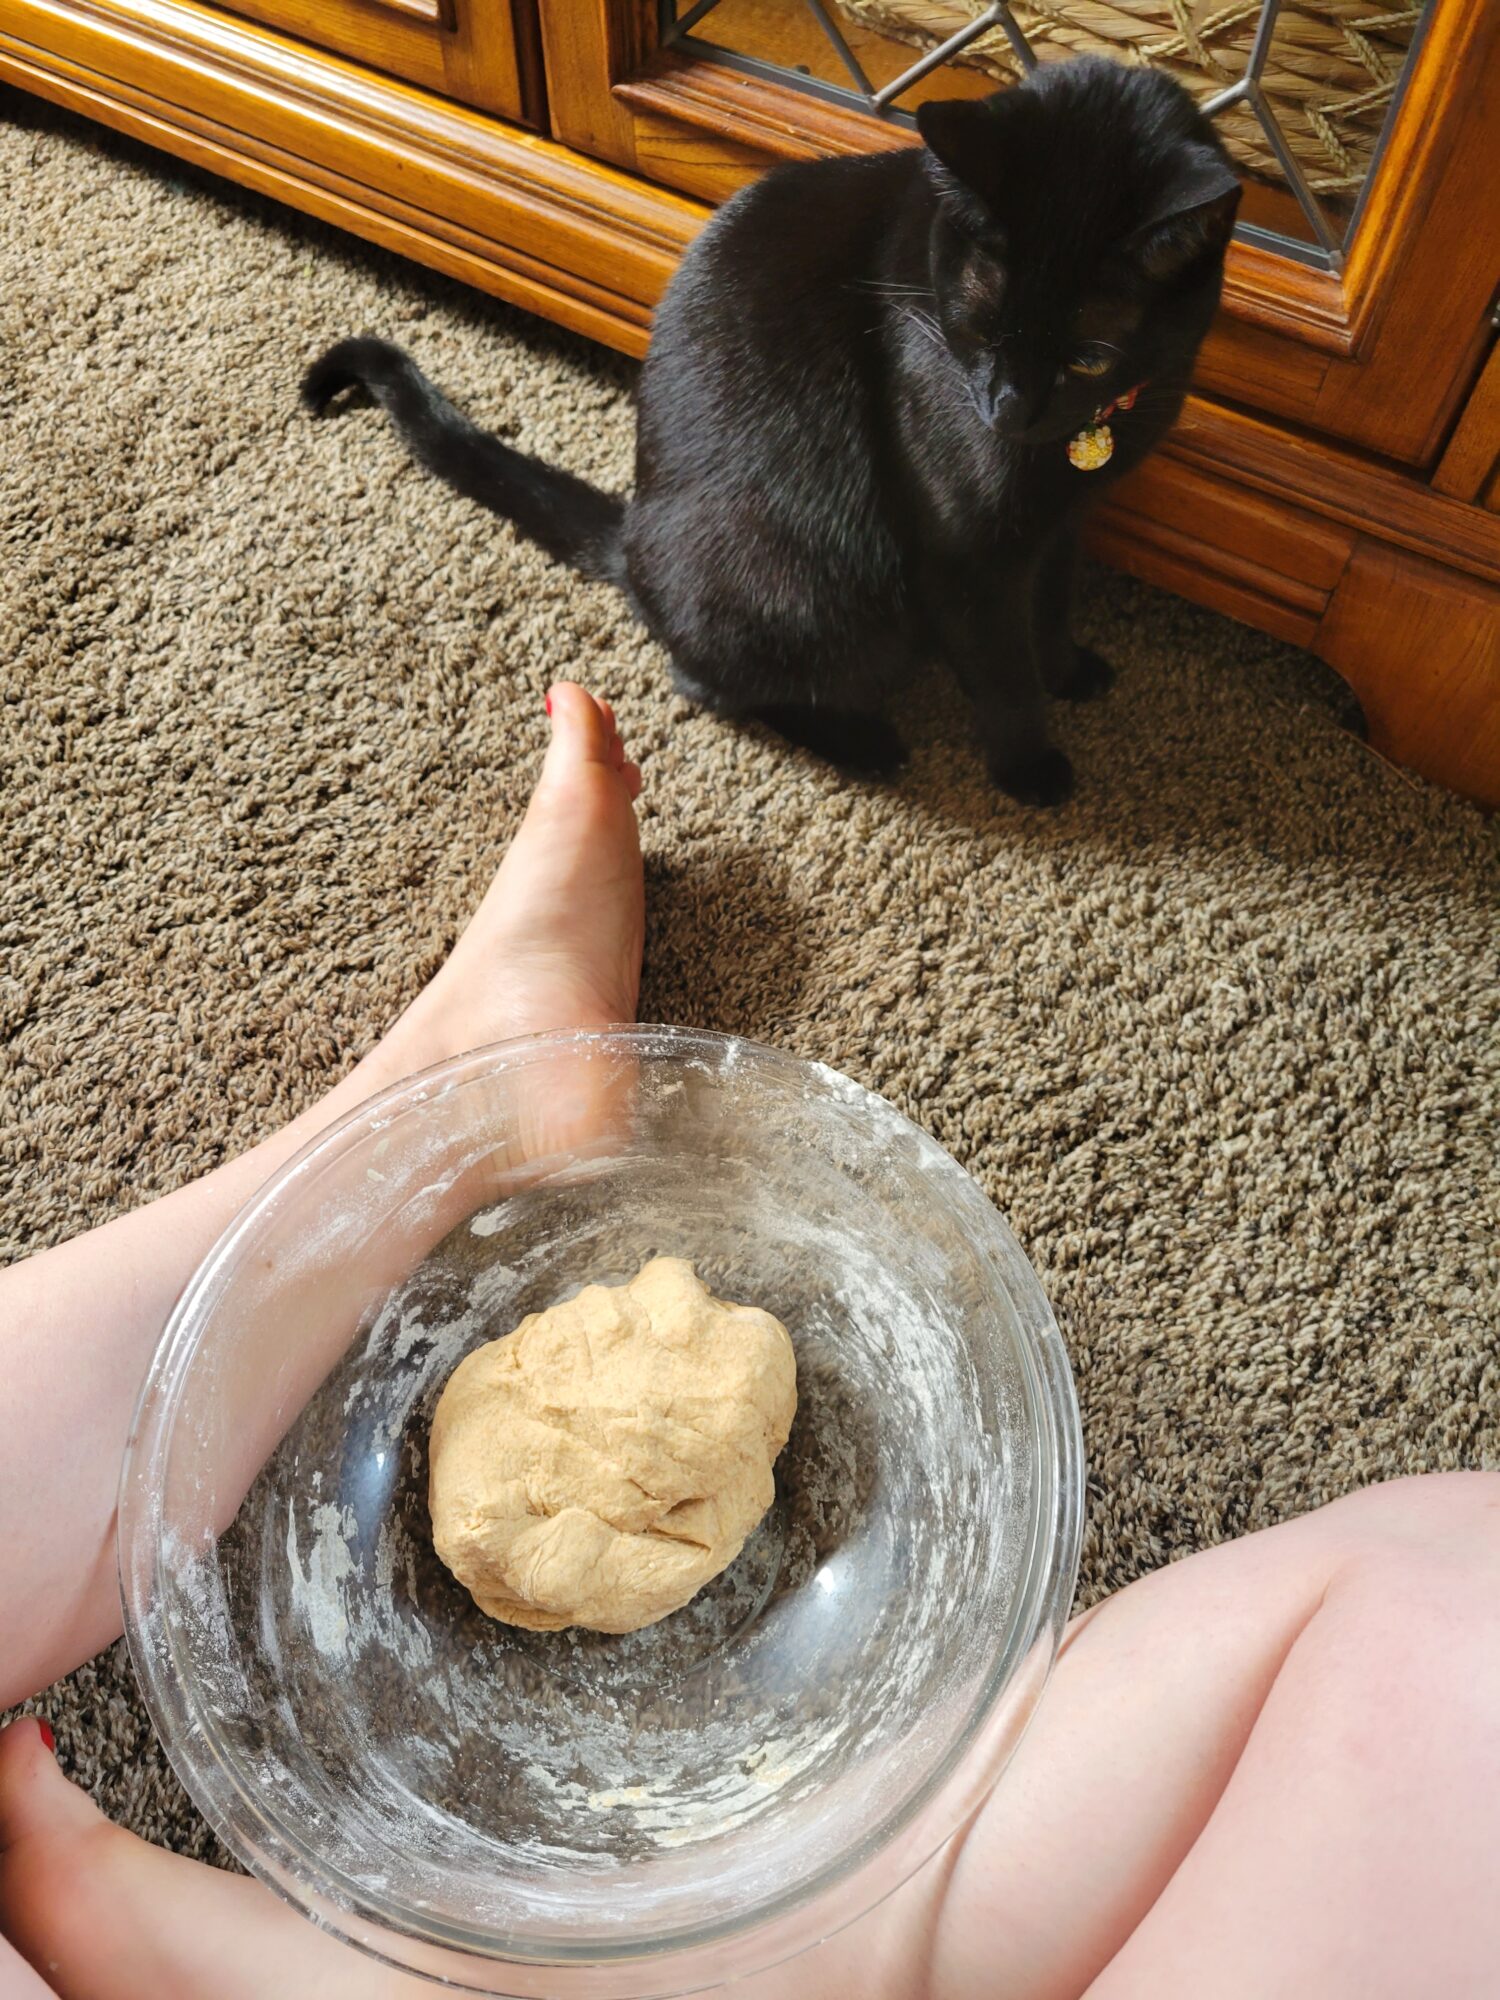
This recipe also kind of pokes fun at my cooking process. Yes, my deck is VERY slanted. And yes, I like to make dough by hand. Which can be easier said than done with very little counter space! So, I do tend to sit on the floor with a large bowl, that I hold in place with my legs, and knead by hand. The cat may be judging me here! But it does work. Otherwise, using a standing mixer or lightly floured countertop works as well.
What to Make w/ Pizza Dough
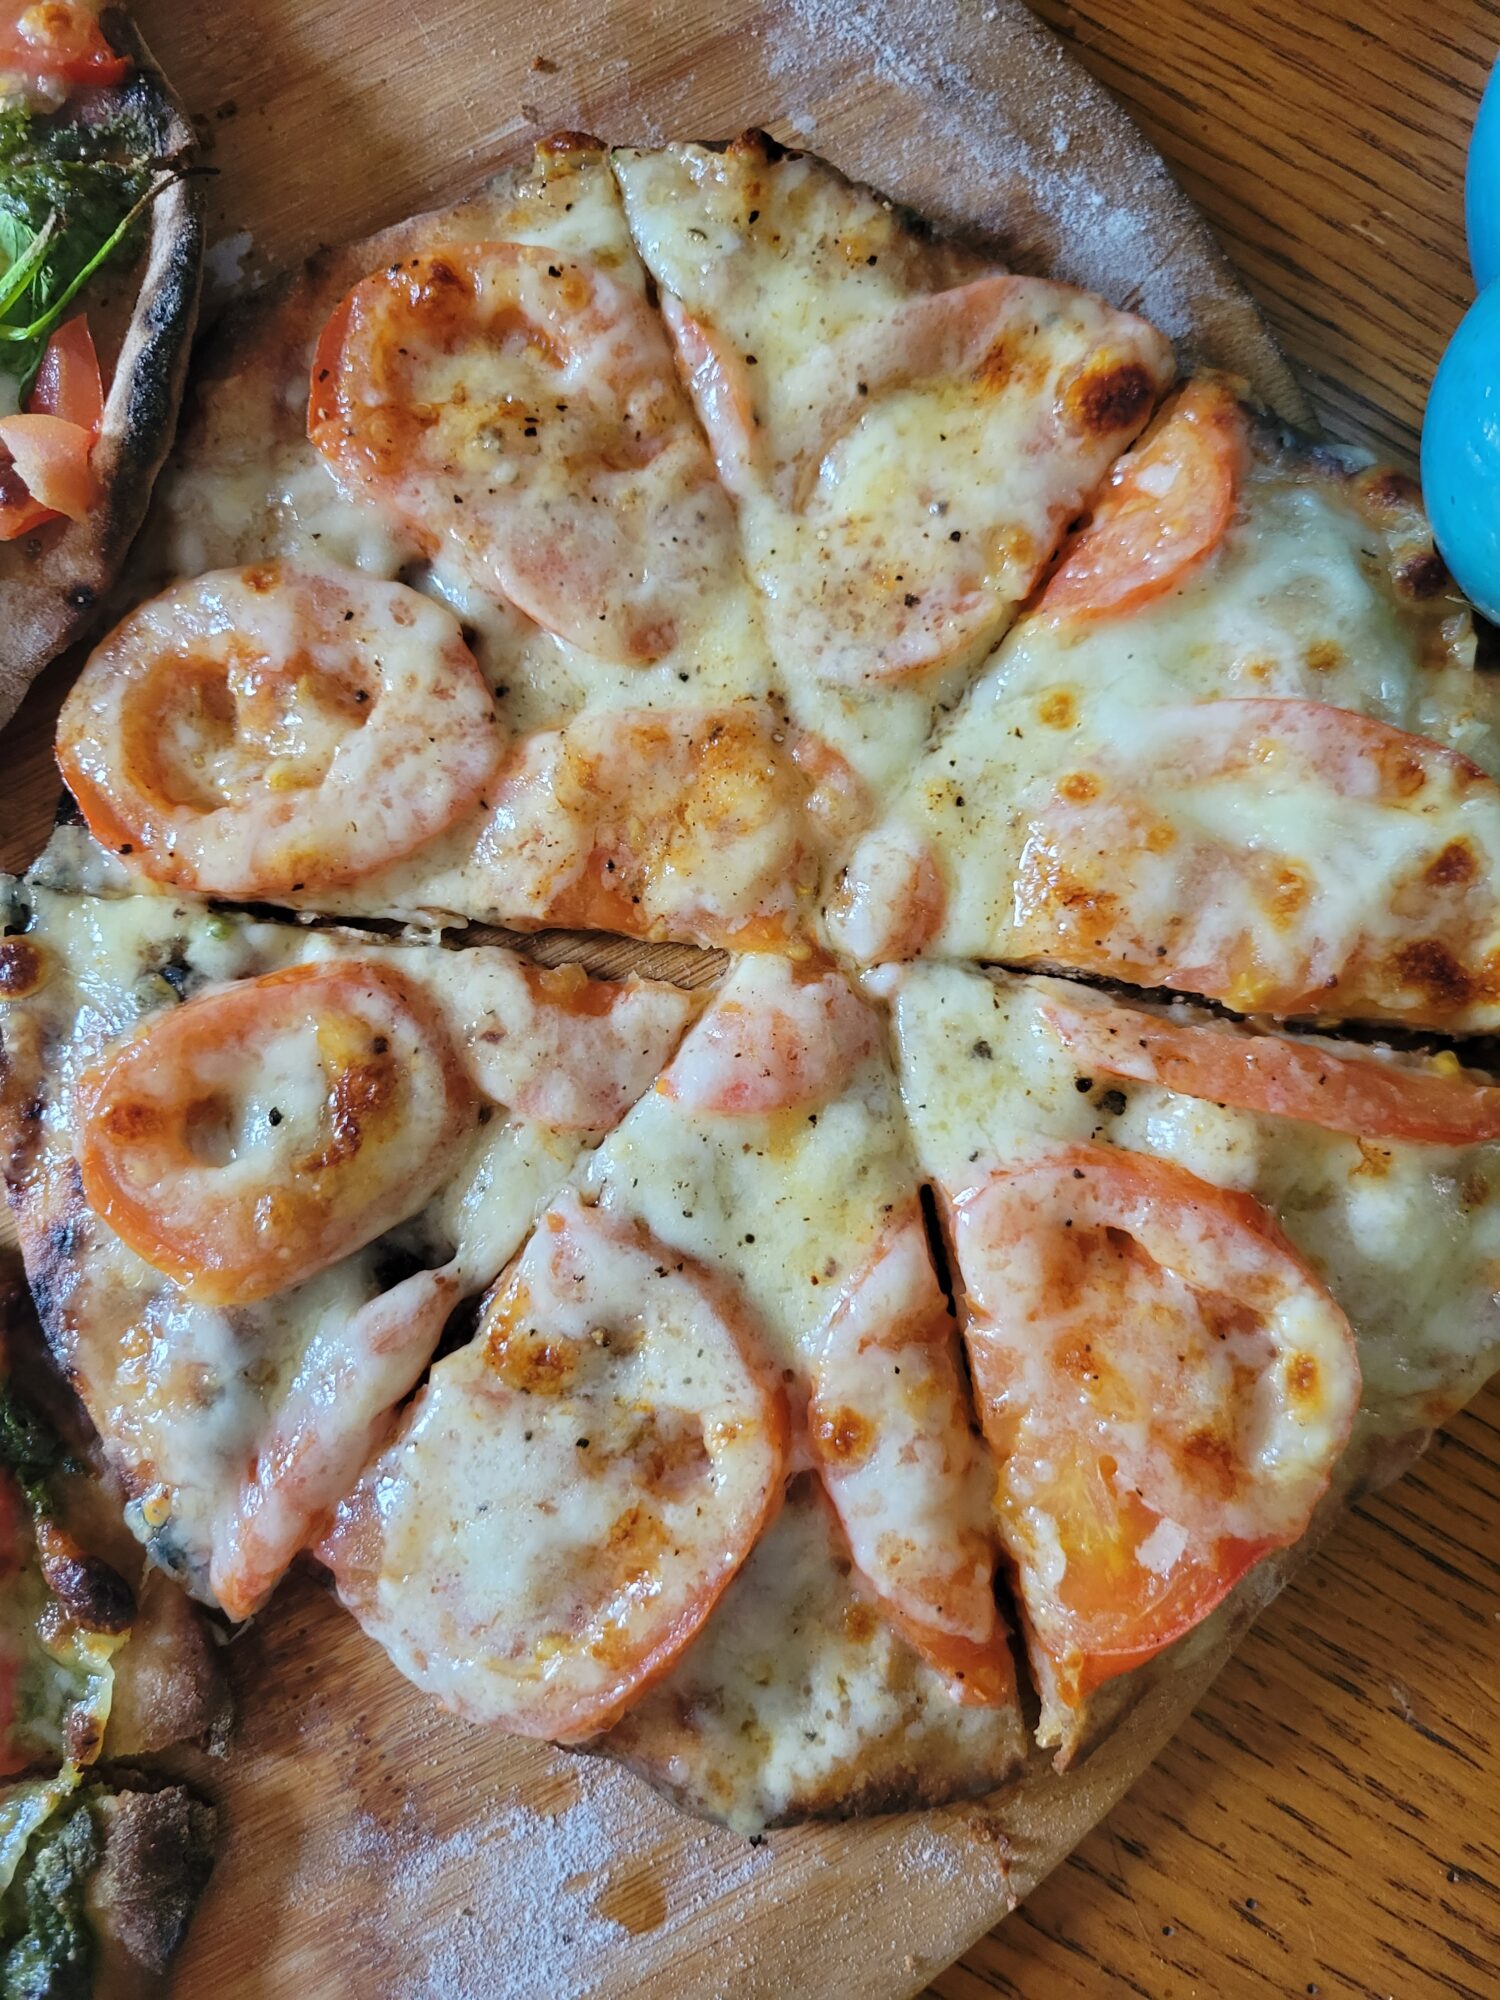
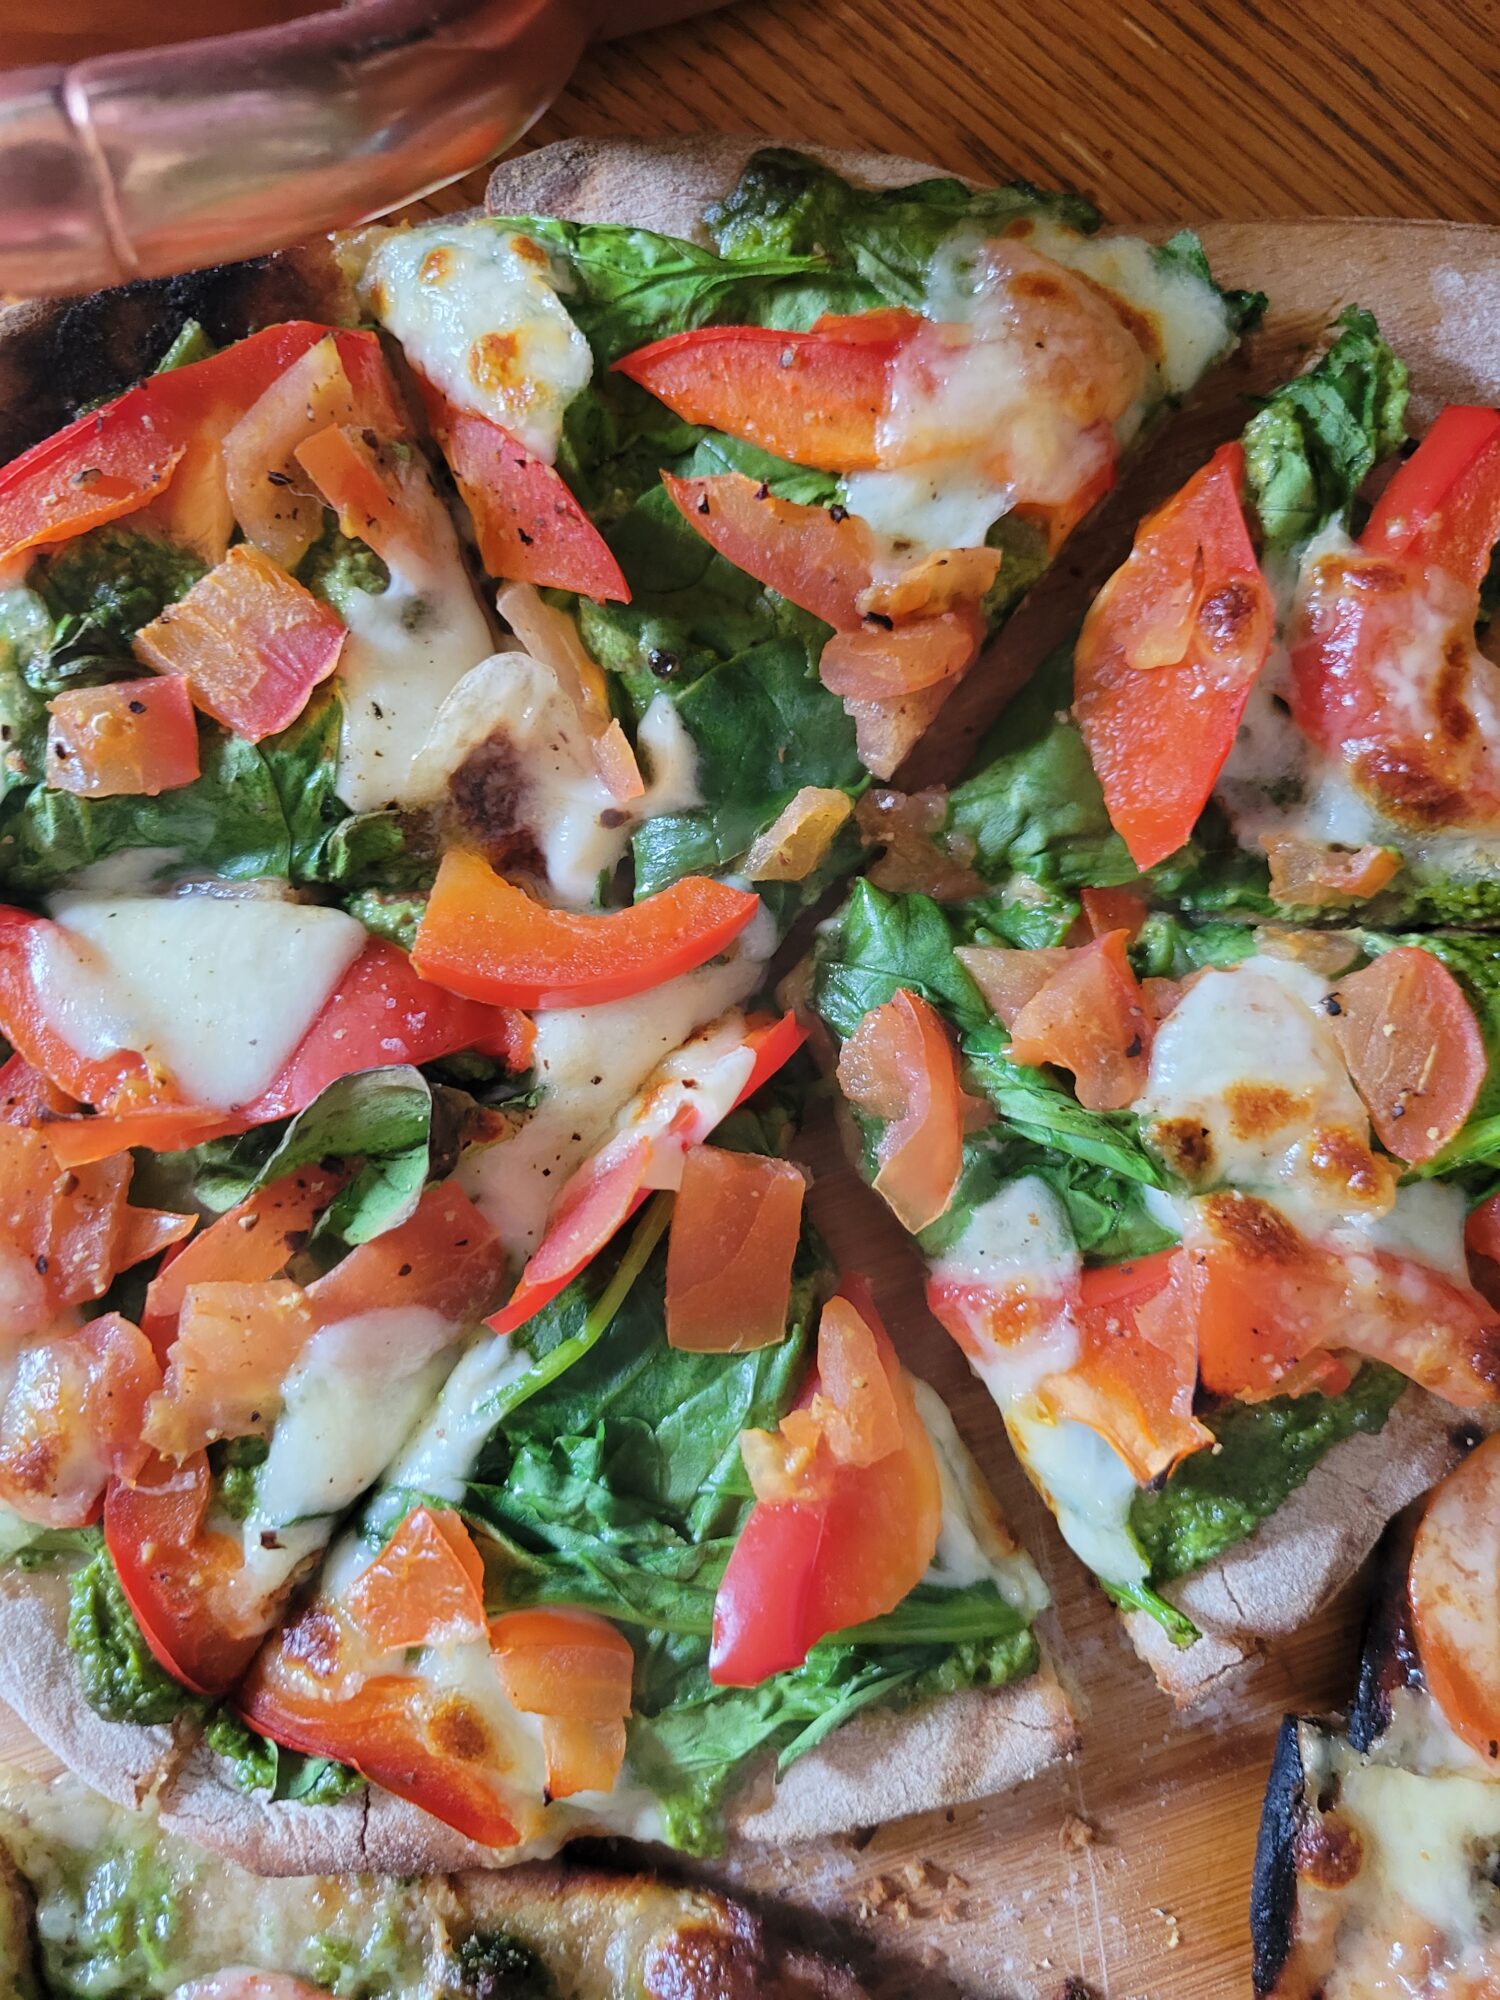
I made all of these pizzas at the same time, so they're all contained in the same recipe. Although pizza is a great opportunity to mix and match your own favorite toppings and ingredients that you have on hand.
Barbecue Pizza Dough is a quick and easy way to make dough. It's more of a Neapolitan-style and takes a fraction of the time as oven-baked pizza. It resembles a brick oven or high heat stone dough that you're going to get in restaurants without having to actually acquire an industrial oven or build one in the backyard. As much as I'd like to do that one day! A barbecue is more more reasonable. Barbecuing pizza is also great for parties and potluck. Everyone from the kids to the adults like to customize their own pizza and watch it grill in the backyard.
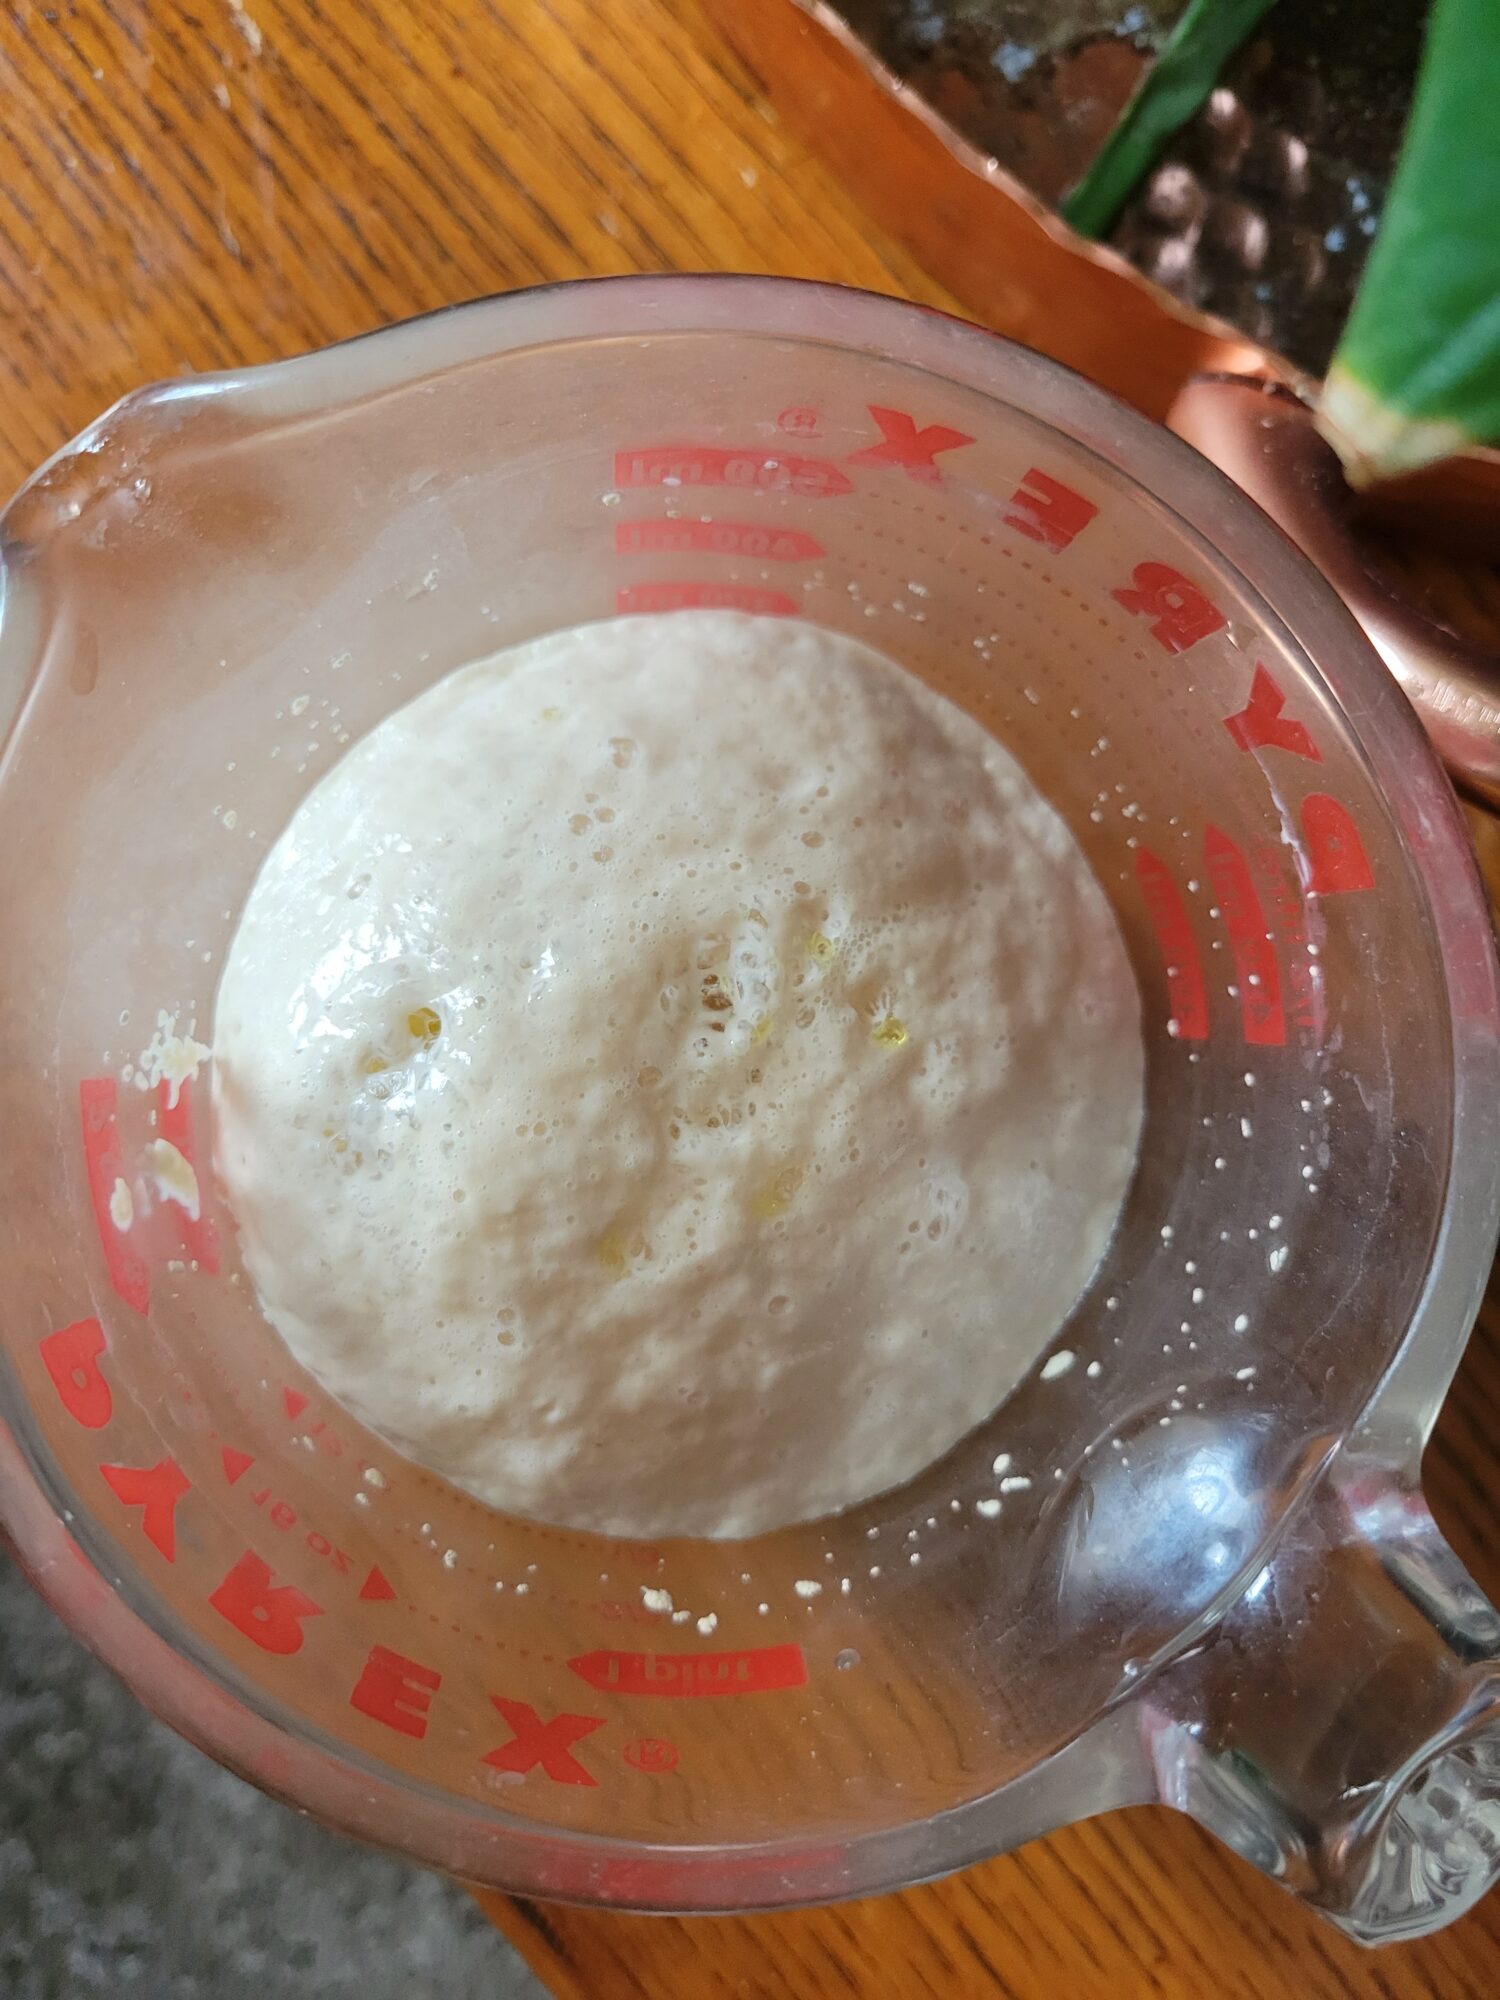
Combine warm water, yeast, and sugar. Let rest for 15 minutes, or until the yeast begins to bubble.This recipe calls for 2 teaspoons of yeast. A typical package contains 2 ¼ teaspoons yeast. For pizza dough, this is perfectly fine! If you want, you can measure out the extra 1/4 teaspoon. Although pizza dough is a lot more forgiving than a lot of other doughs. A little extra here or there and you will absolutely still end up with pizza dough!
Meanwhile, whisk together whole wheat flour, all-purpose flour, and salt in a large bowl.
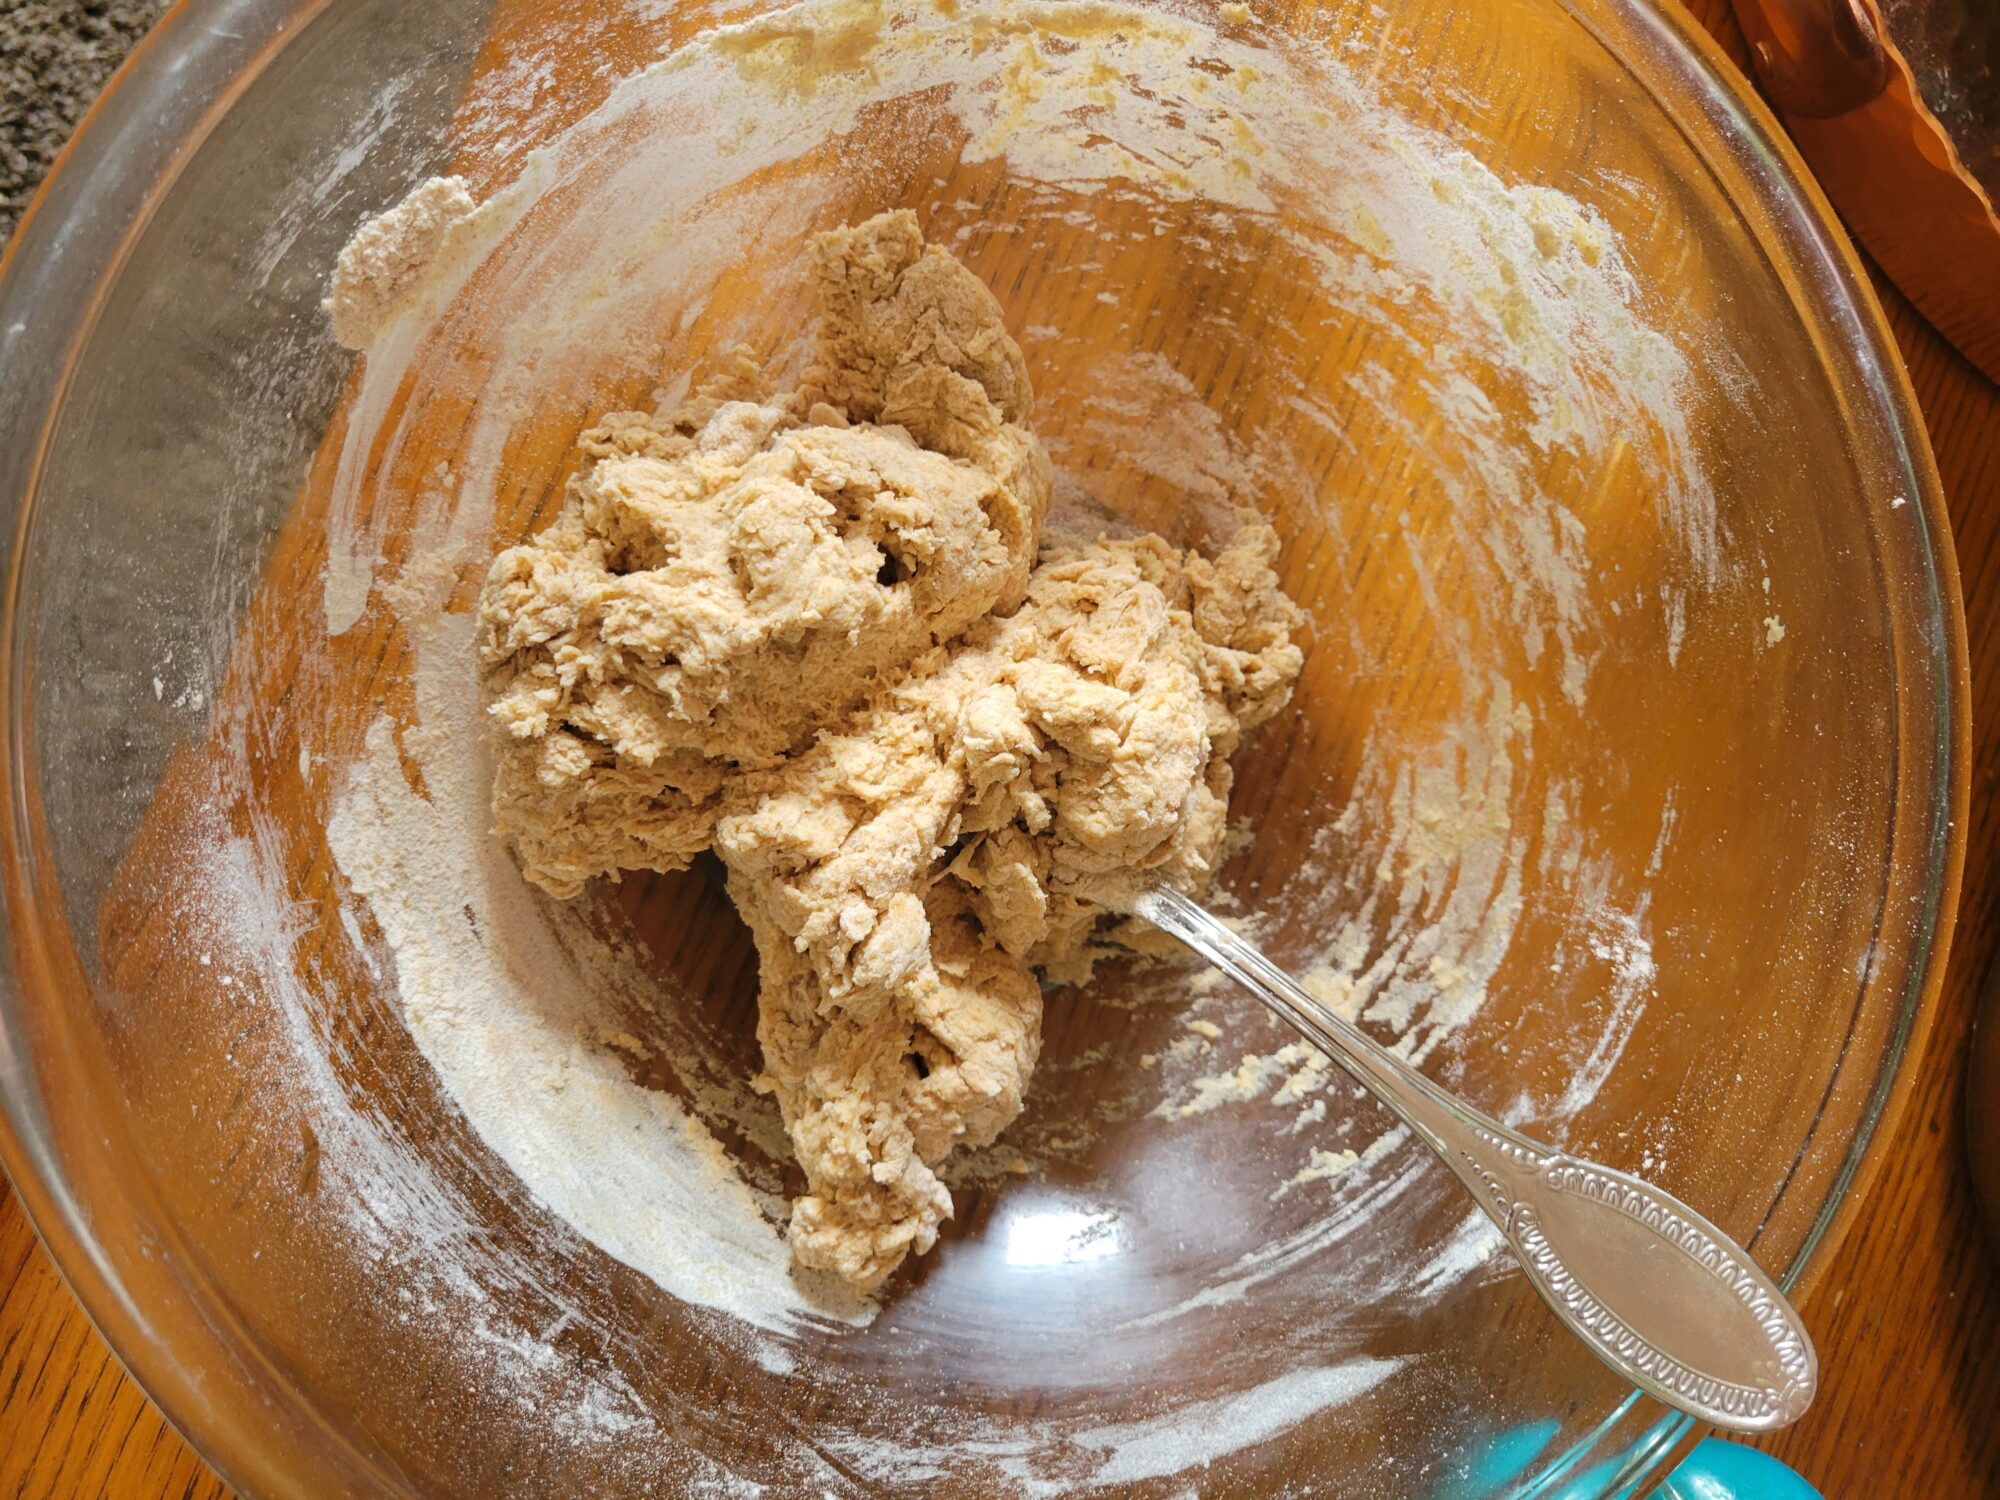
After the yeast has proofed, stir yeast mixture into the flour. Mix until roughly incorporated and the dough has a shaggy appearance.
Add in the olive oil and mix until all of the ingredients are combined.In a mixer with a dough hook attachment, this only takes a minute or two. By hand, this takes about 5 minutes. It's a no-knead bread recipe, so you're not necessarily looking for soft and pliable dough. Really, you just want all of the ingredients to be mixed thoroughly at this point! Which does make it a great recipe to make by hand if you prefer or don't have a mixer.
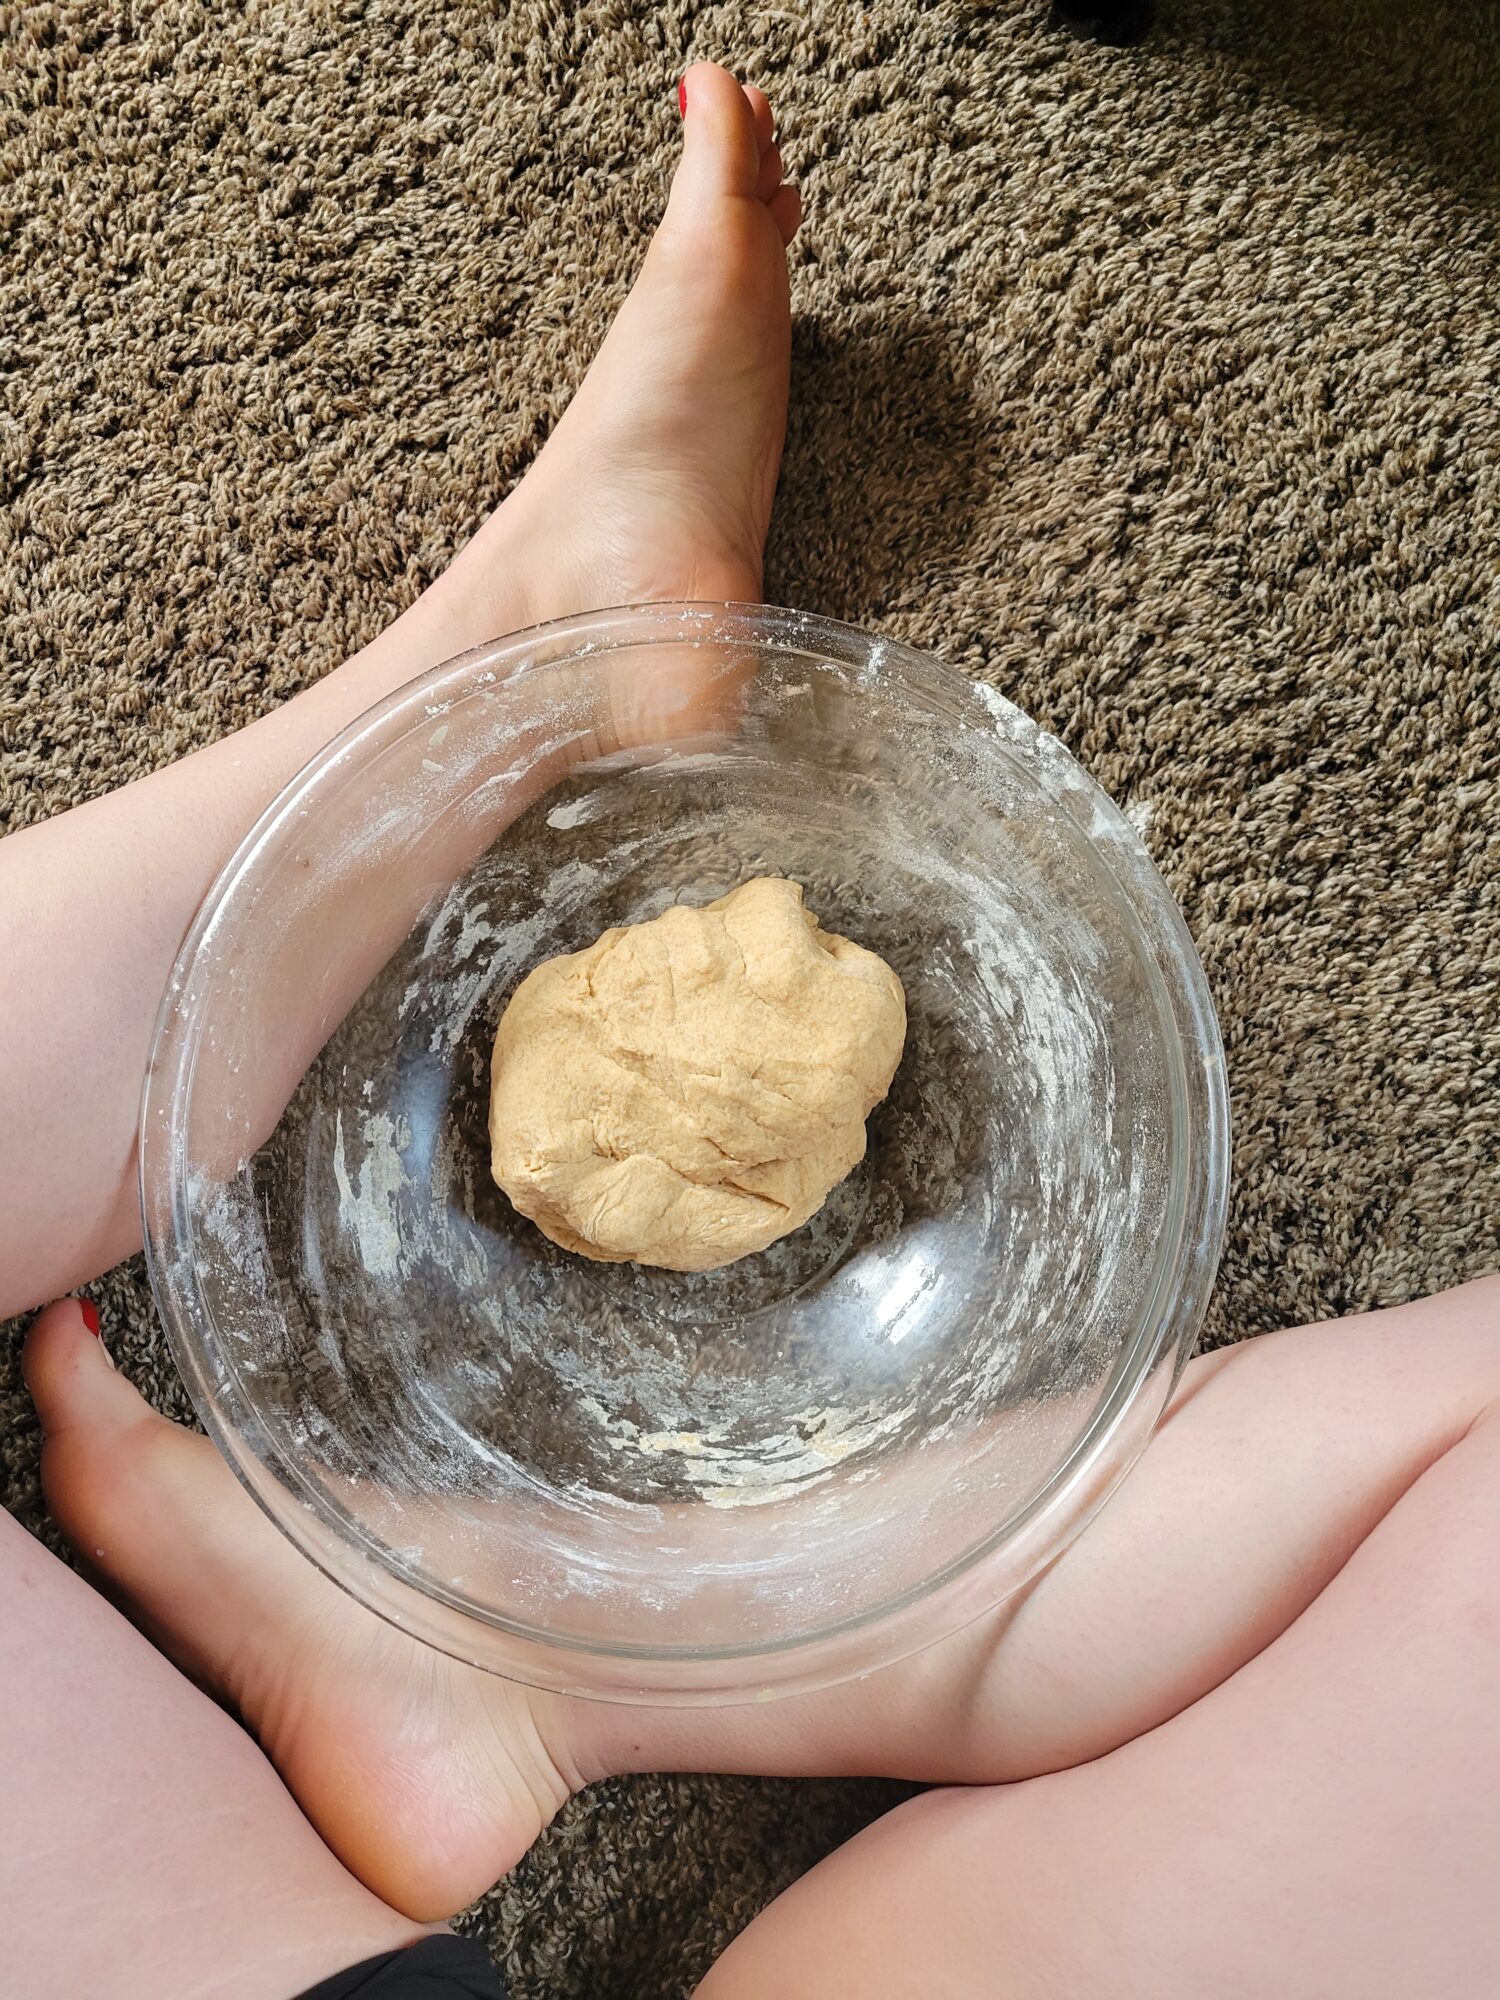
Lightly grease a large bowl and transfer the dough.
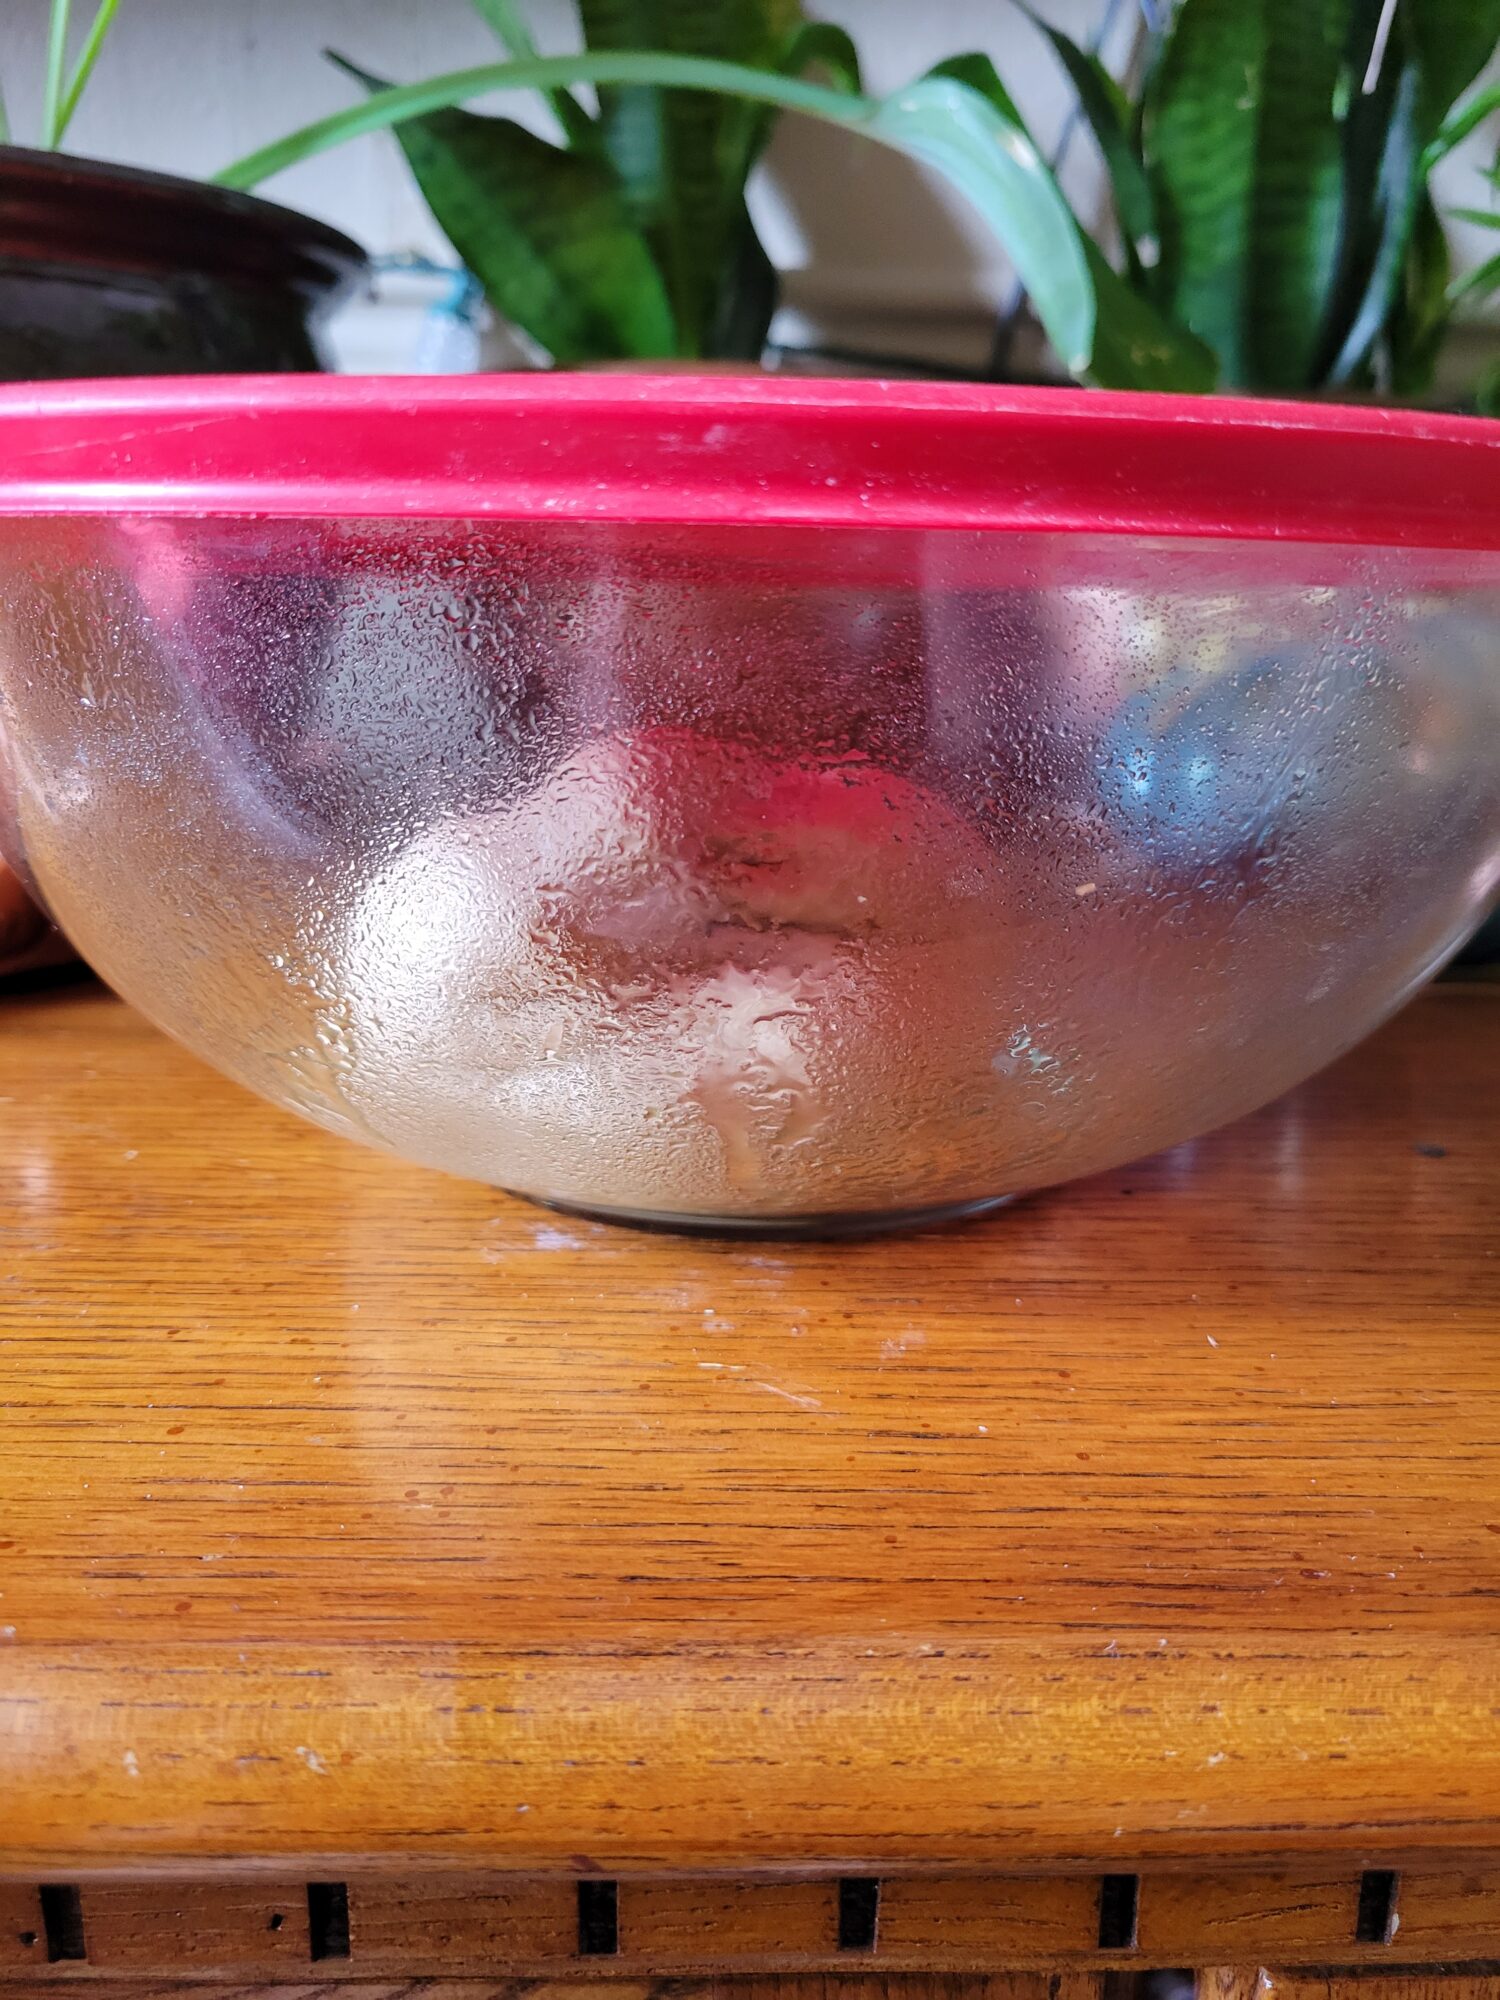
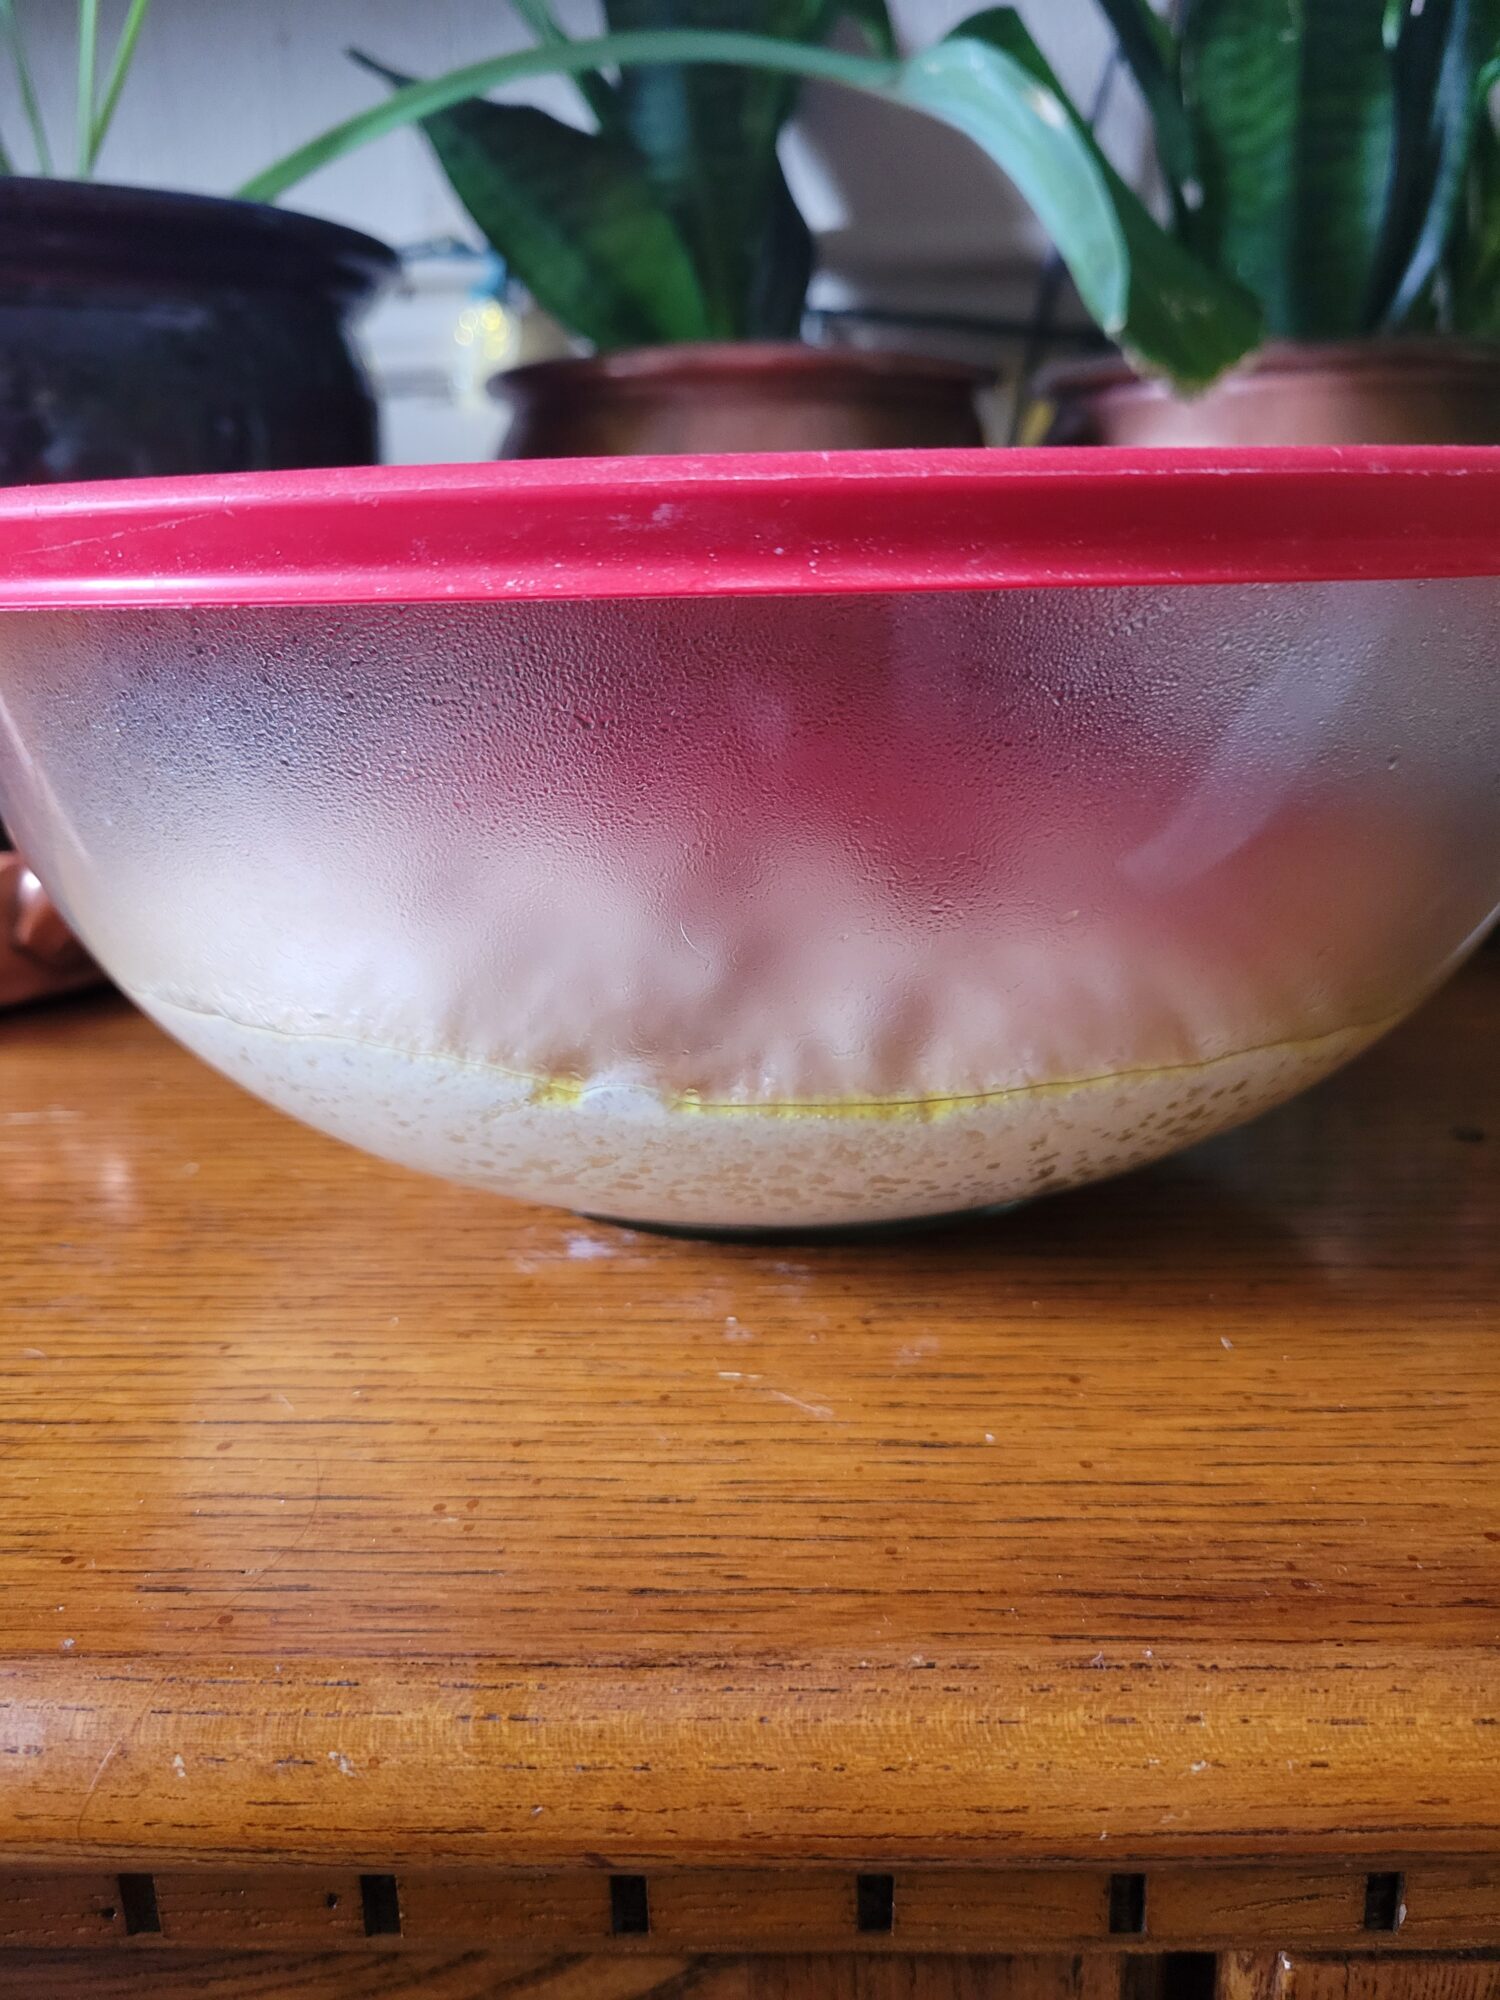
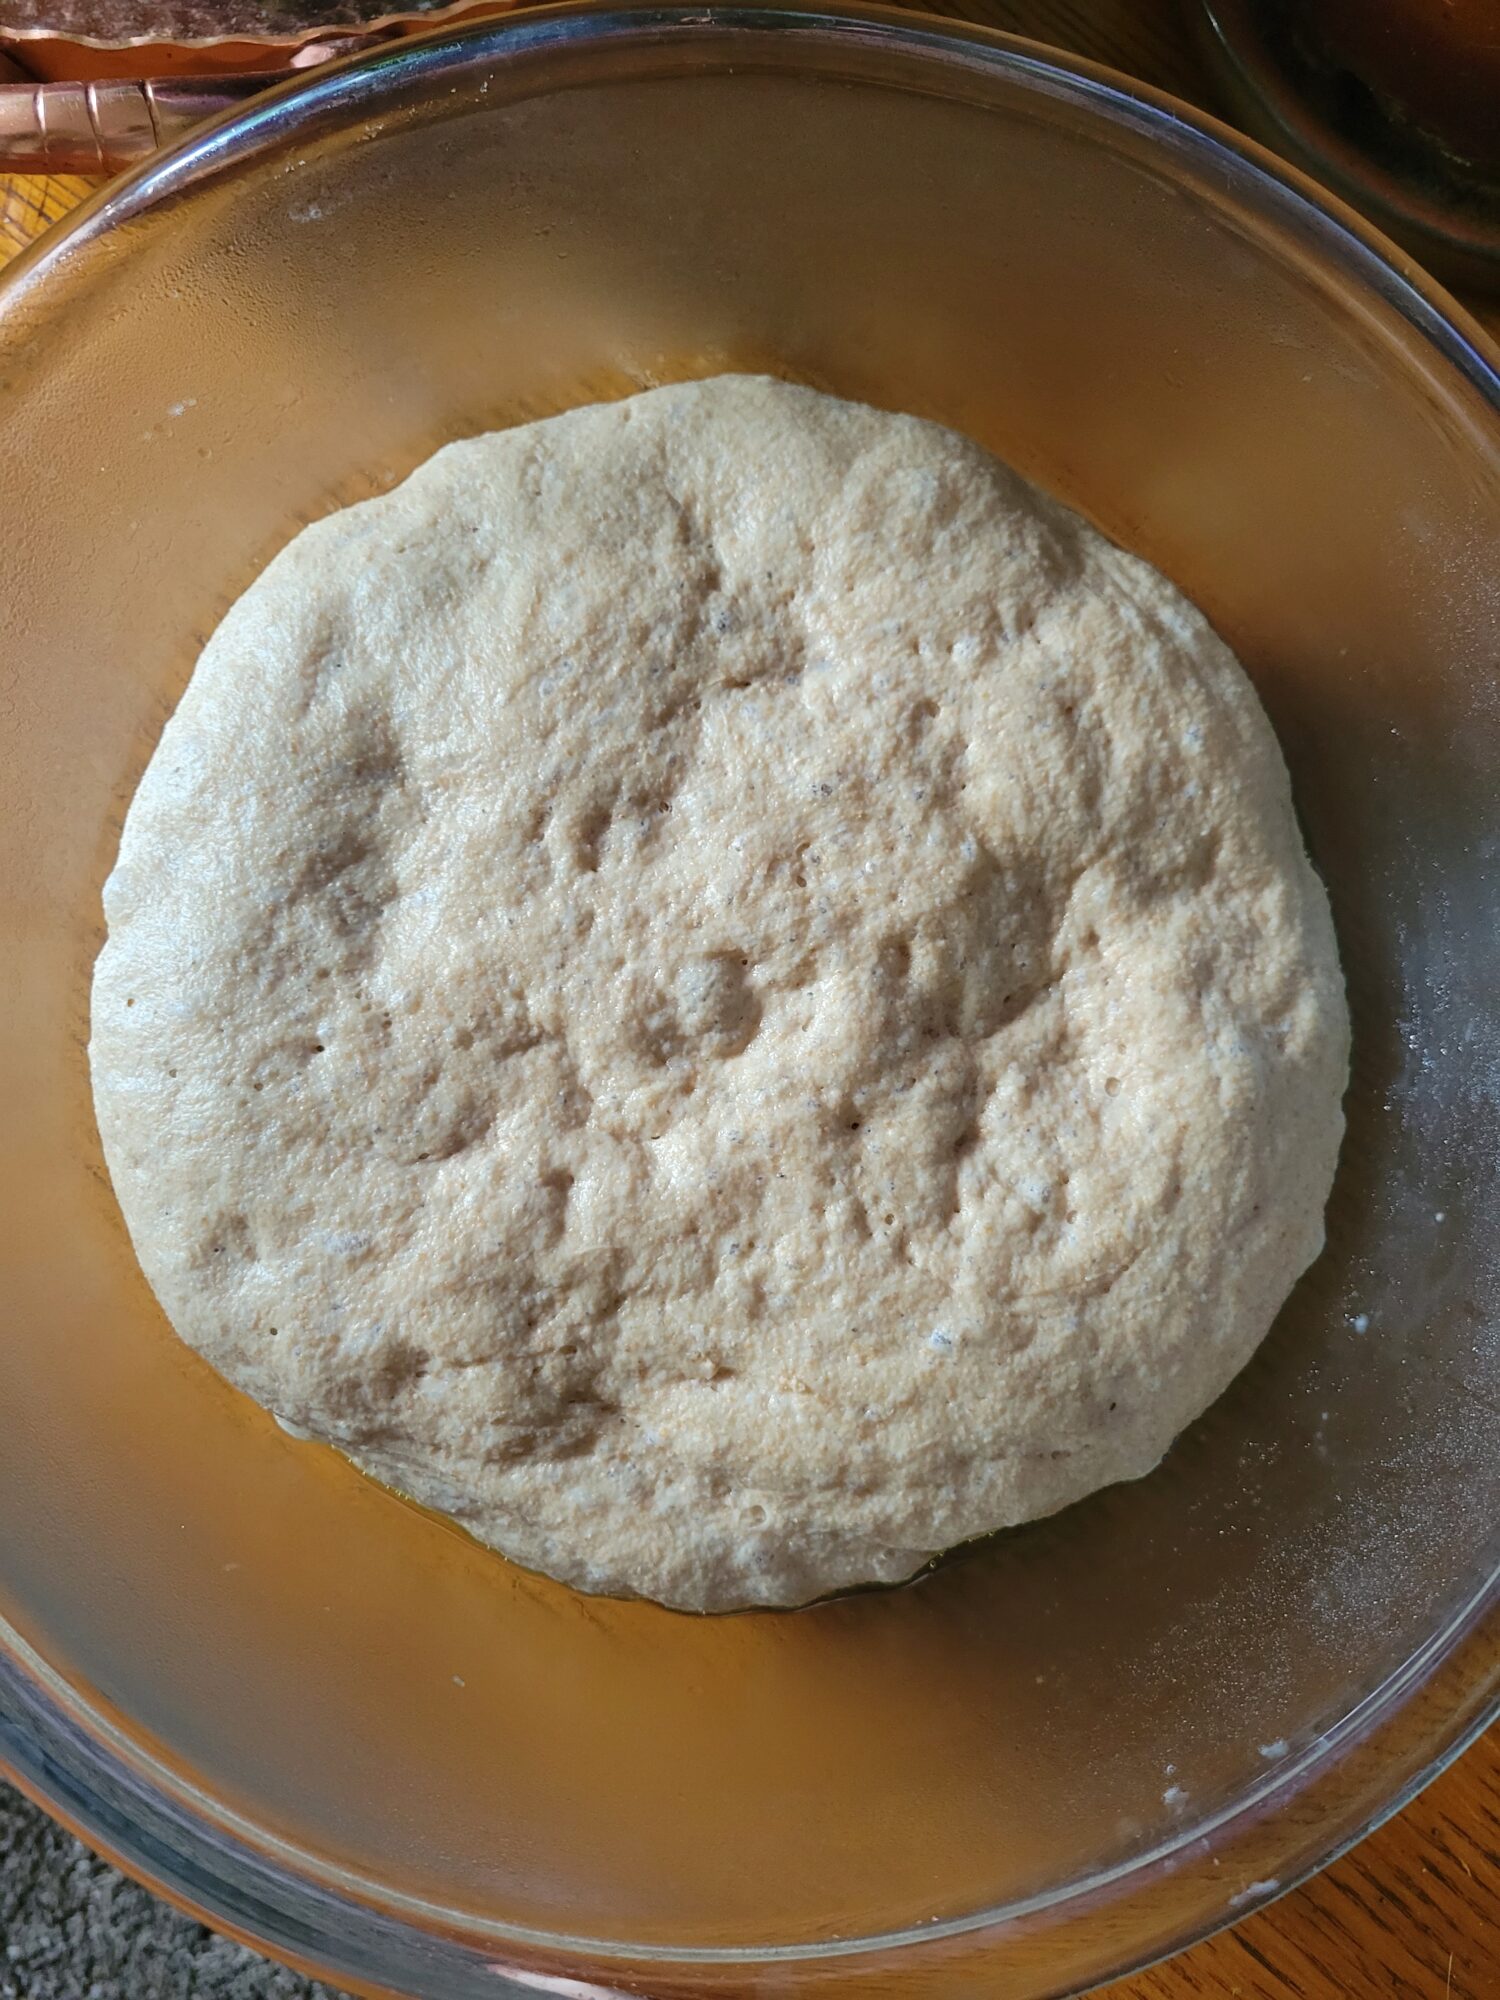
Cover dough and let proof for 6 hours, or until doubled in size.A quick pizza dough proof can be done in about 6 hours. Ideally, the dough is made 2 days ahead of time and proofed in the refrigerator for that time. However, I almost never know that I'm going to make pizza 2 days ahead of time! And 6 hours is perfectly adequate.It will ferment less and you may want to sprinkle a little bit more salt in after the proof to add a little bit more flavor. Just make sure to do this after the proof because too much salt can dampen the grown or even kill the yeast.
Grill Dough
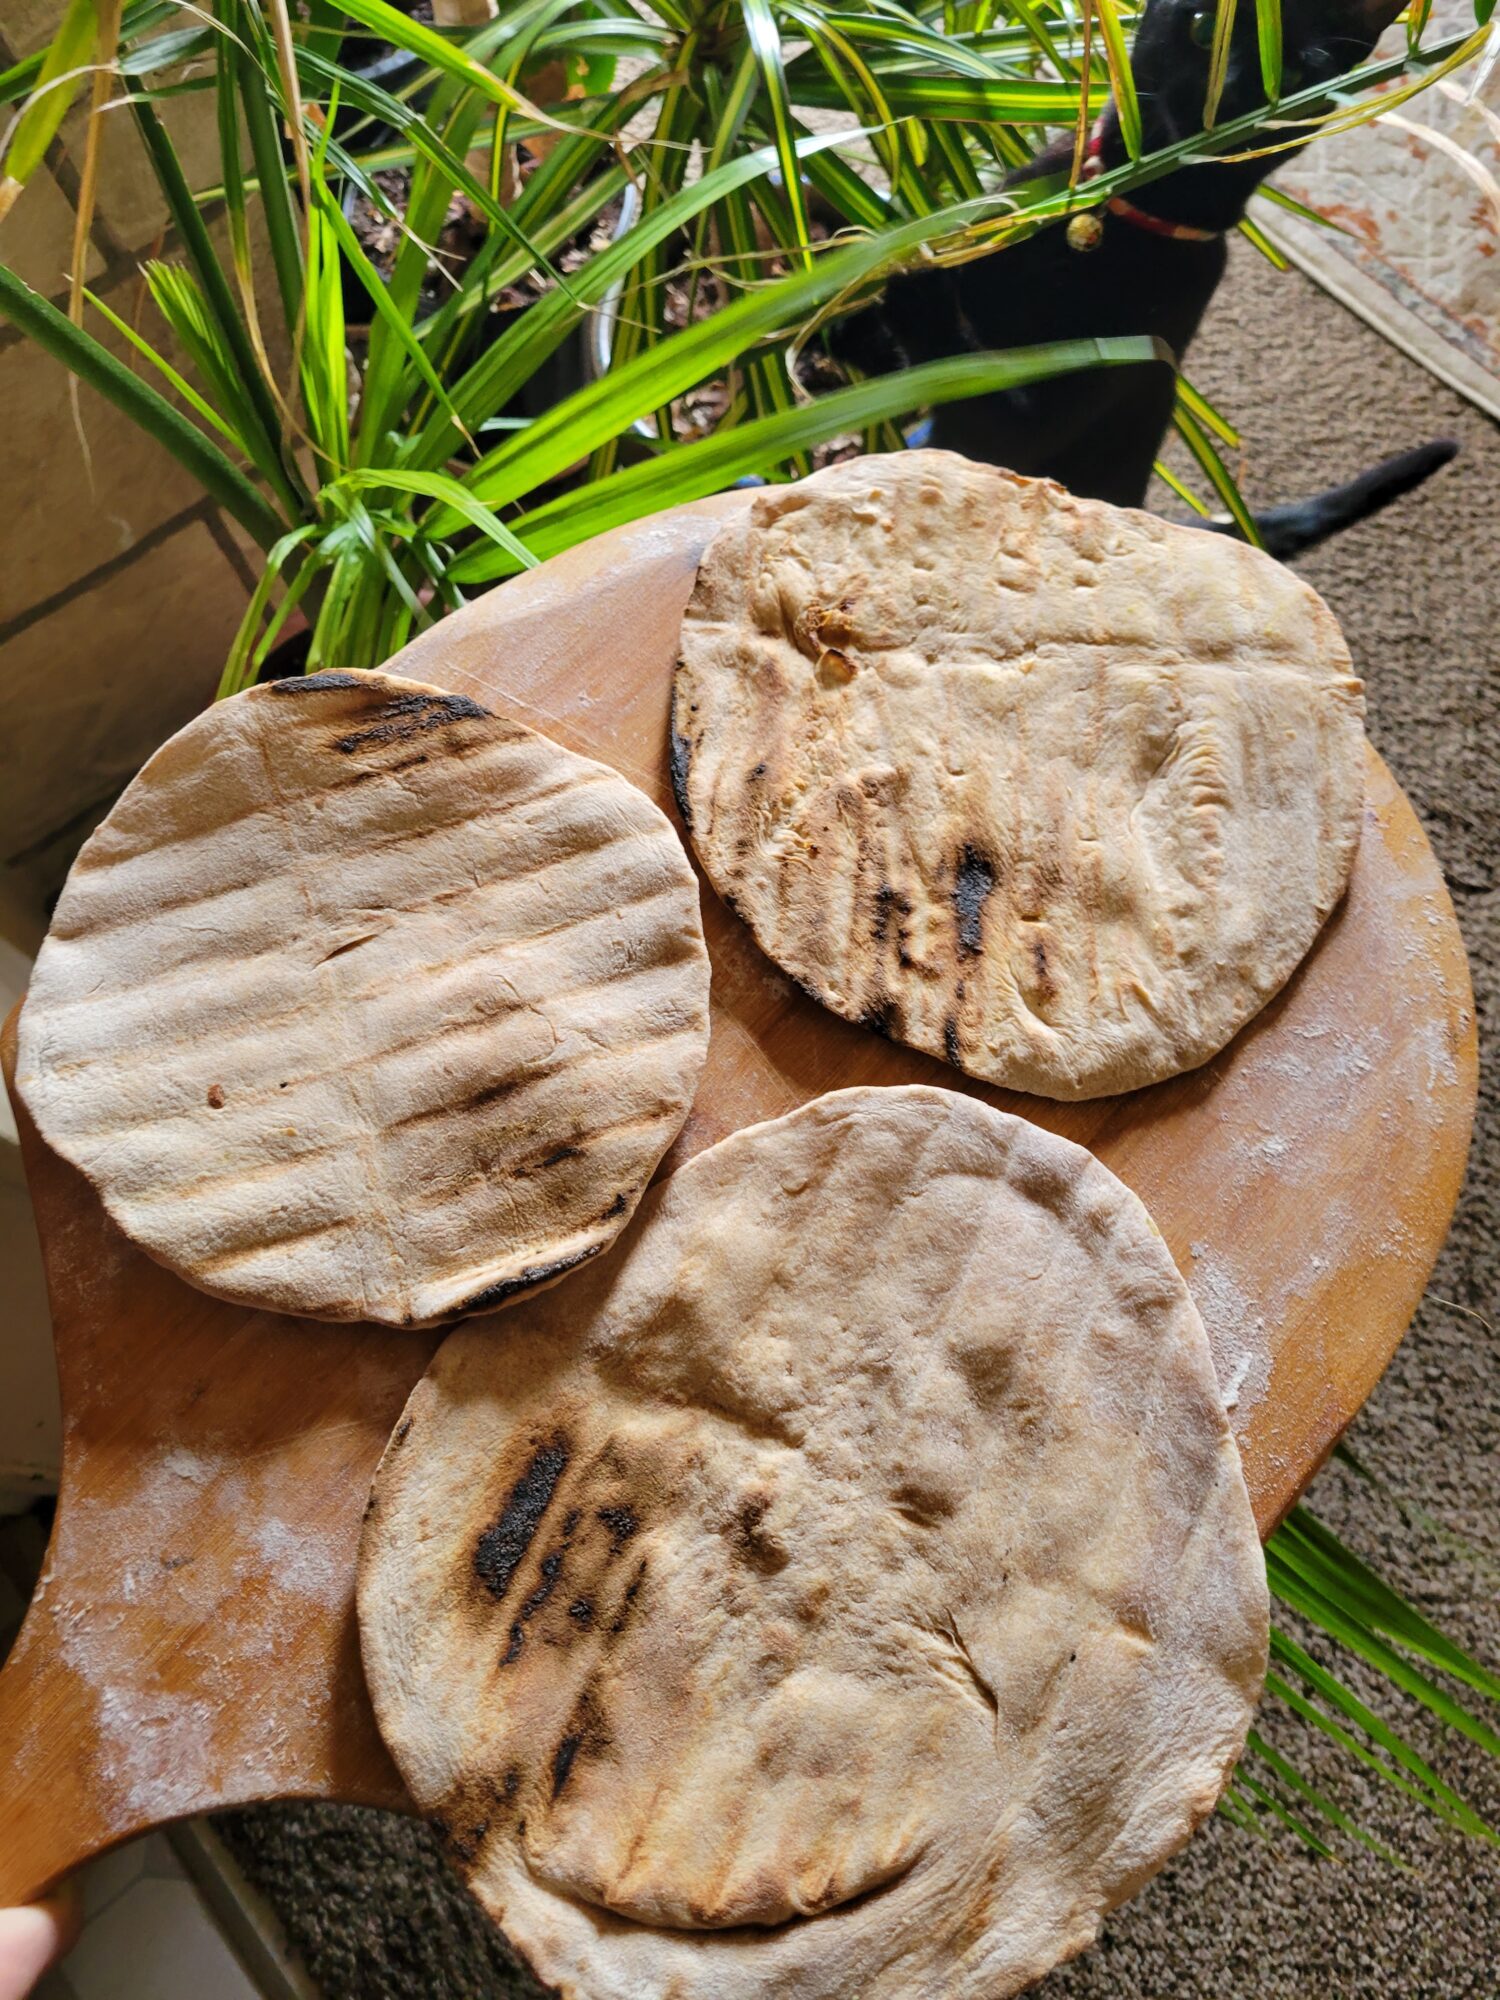
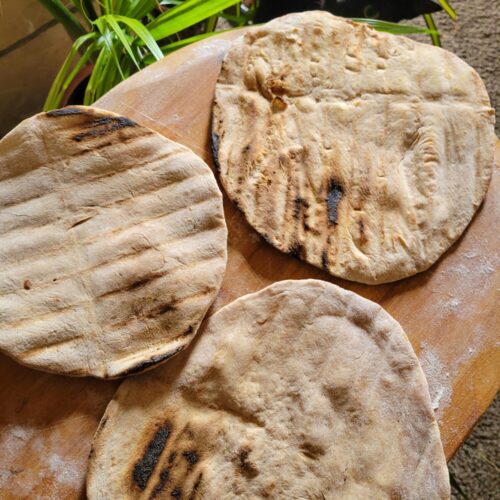
Preheat the barbecue to medium-high heat.I turned on all 4 burners so that I could cook all 3 crusts at the same time. You can do this with 2 burners or on a charcoal grill. Just adjust the cooking times based on how quickly the dough begins to char.
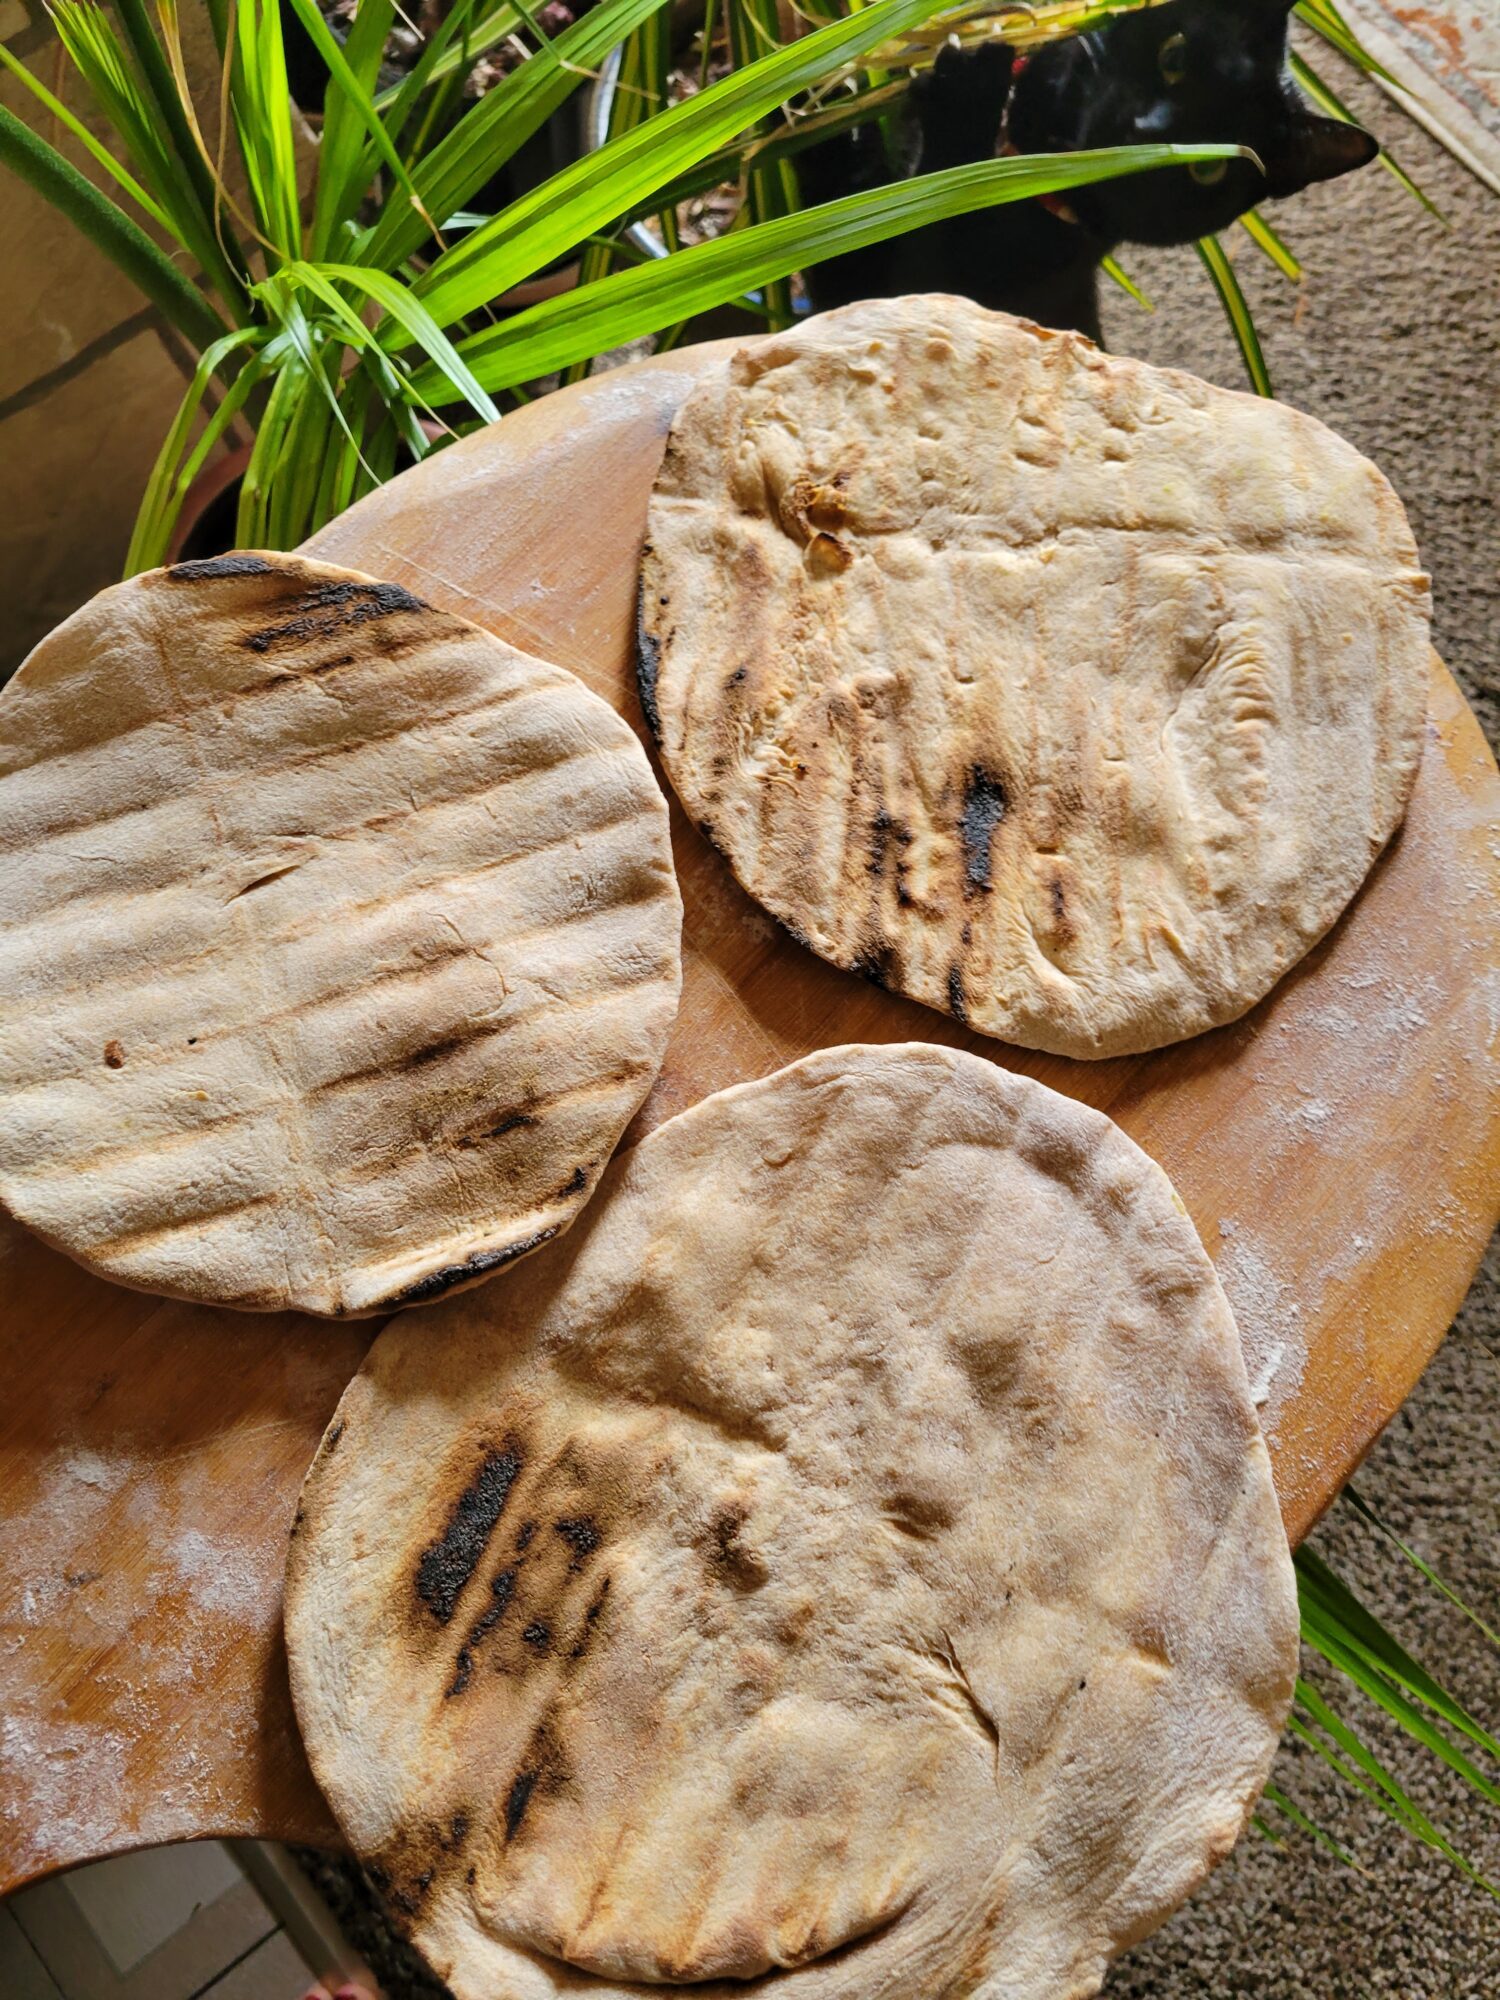
Divide the dough into thirds. Lightly flour a large, flat surface and roll out each dough until roughly 1/4 inch thick and 8 inch rounds.I like to do this on a pizza peel because they're relatively large and mobile. You have to transport the dough from your prep area to the barbecue. So, any cutting board or flat surface that is mobile helps in this regard. Otherwise, you can roll out the dough on your countertop, lightly flour a plate, and transport it that way.
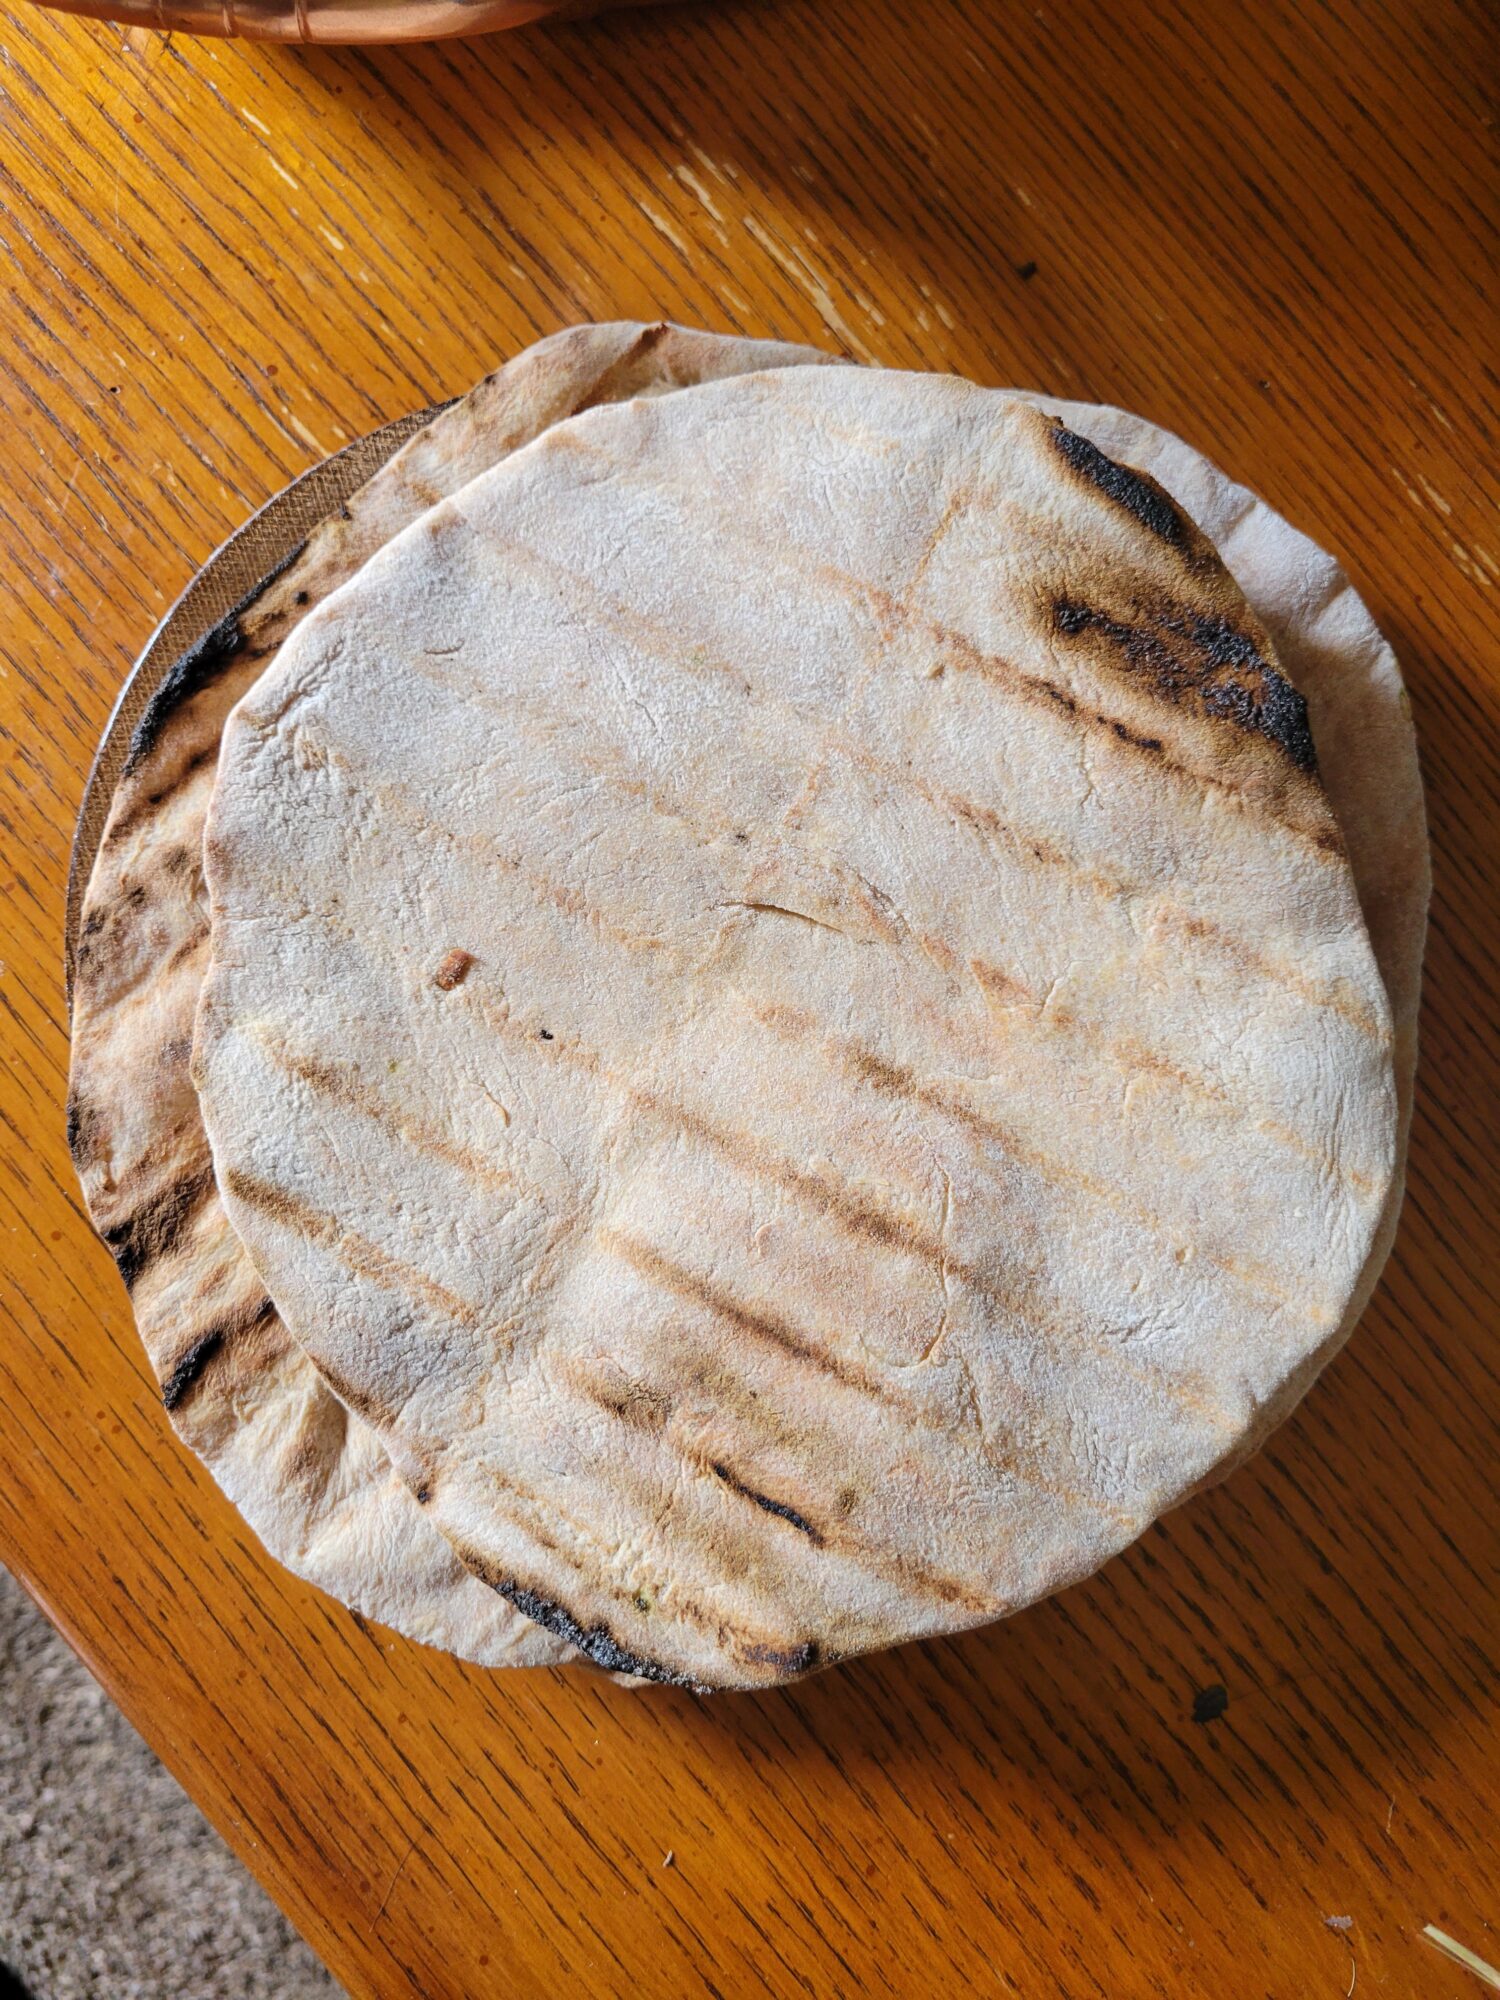
Carefully pick up the dough and drop it onto the grill.There is no great way to do this. If you have a pizza peel, you can tilt the peel at about a 30 degree angle and shimmy it slightly as you pull the peel out from under the dough. For anyone who's never done this before, it's easier said than done! And dough is not forgiving at this stage. If it doesn't slide onto the grill smoothly, you really only had one shot at it!So, I suggest getting both of your hands under the dough with your fingers outstretched, holding it in as much of a flat, round shape as possible. Letting it hover just above the grill and then gently, but swiftly, pulling both of your hands out to the right and left side at the same time.This sounds complicated, but you're really just doing your best to plop the dough evenly on the grill! You don't want it rolling under itself, stretching into oblong shapes, or slipping between the grates. Do whatever method helps you achieve this.
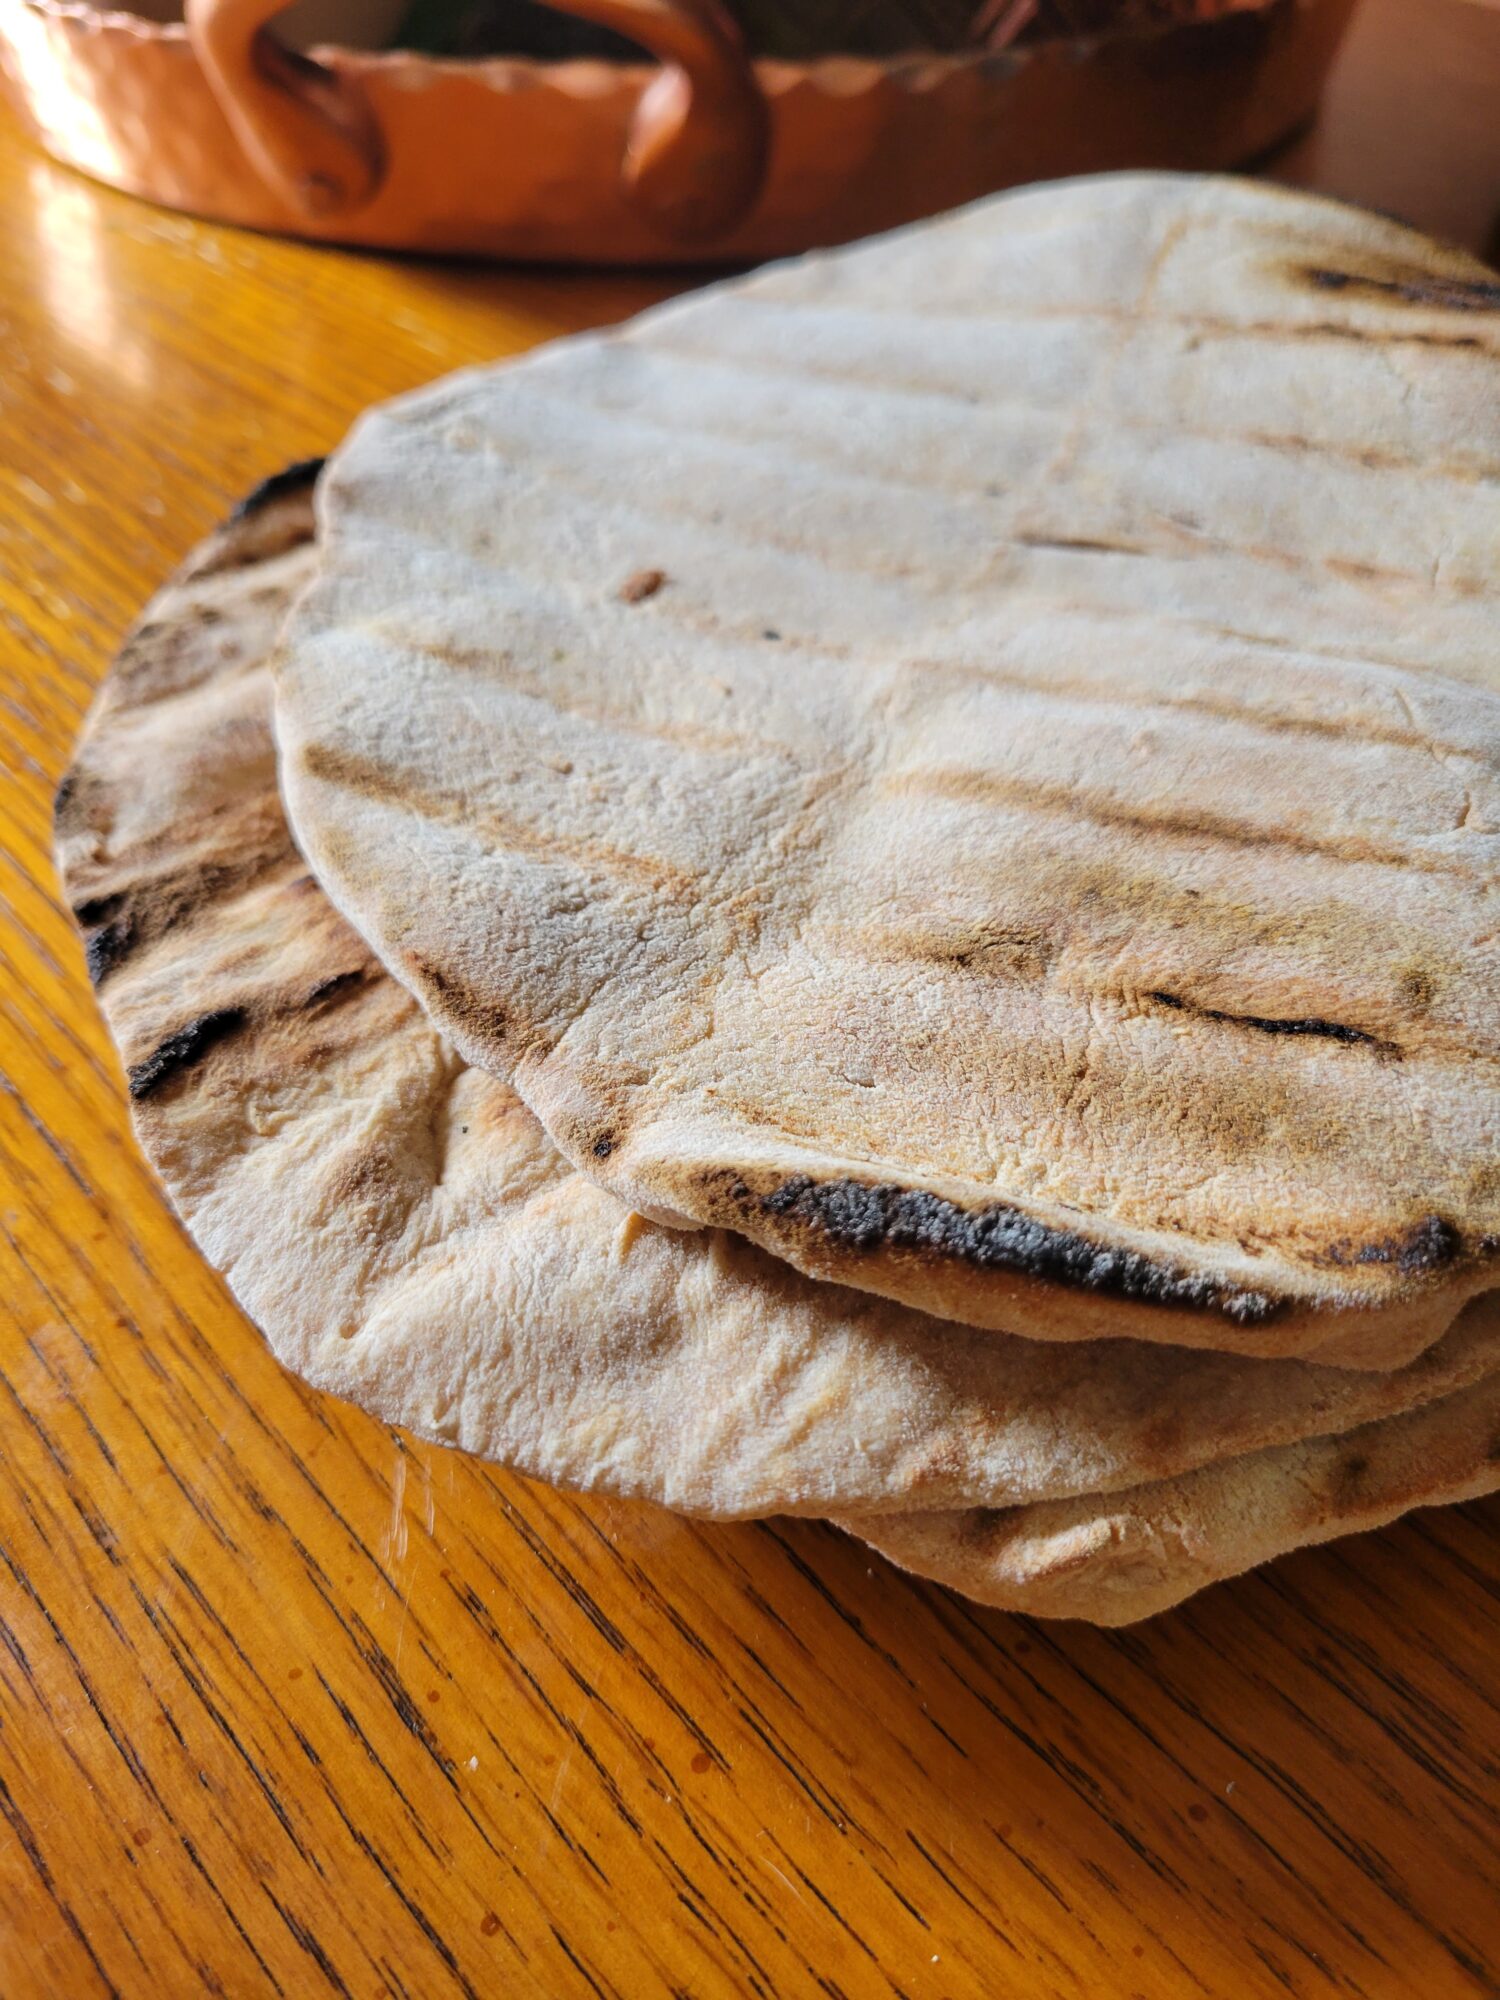
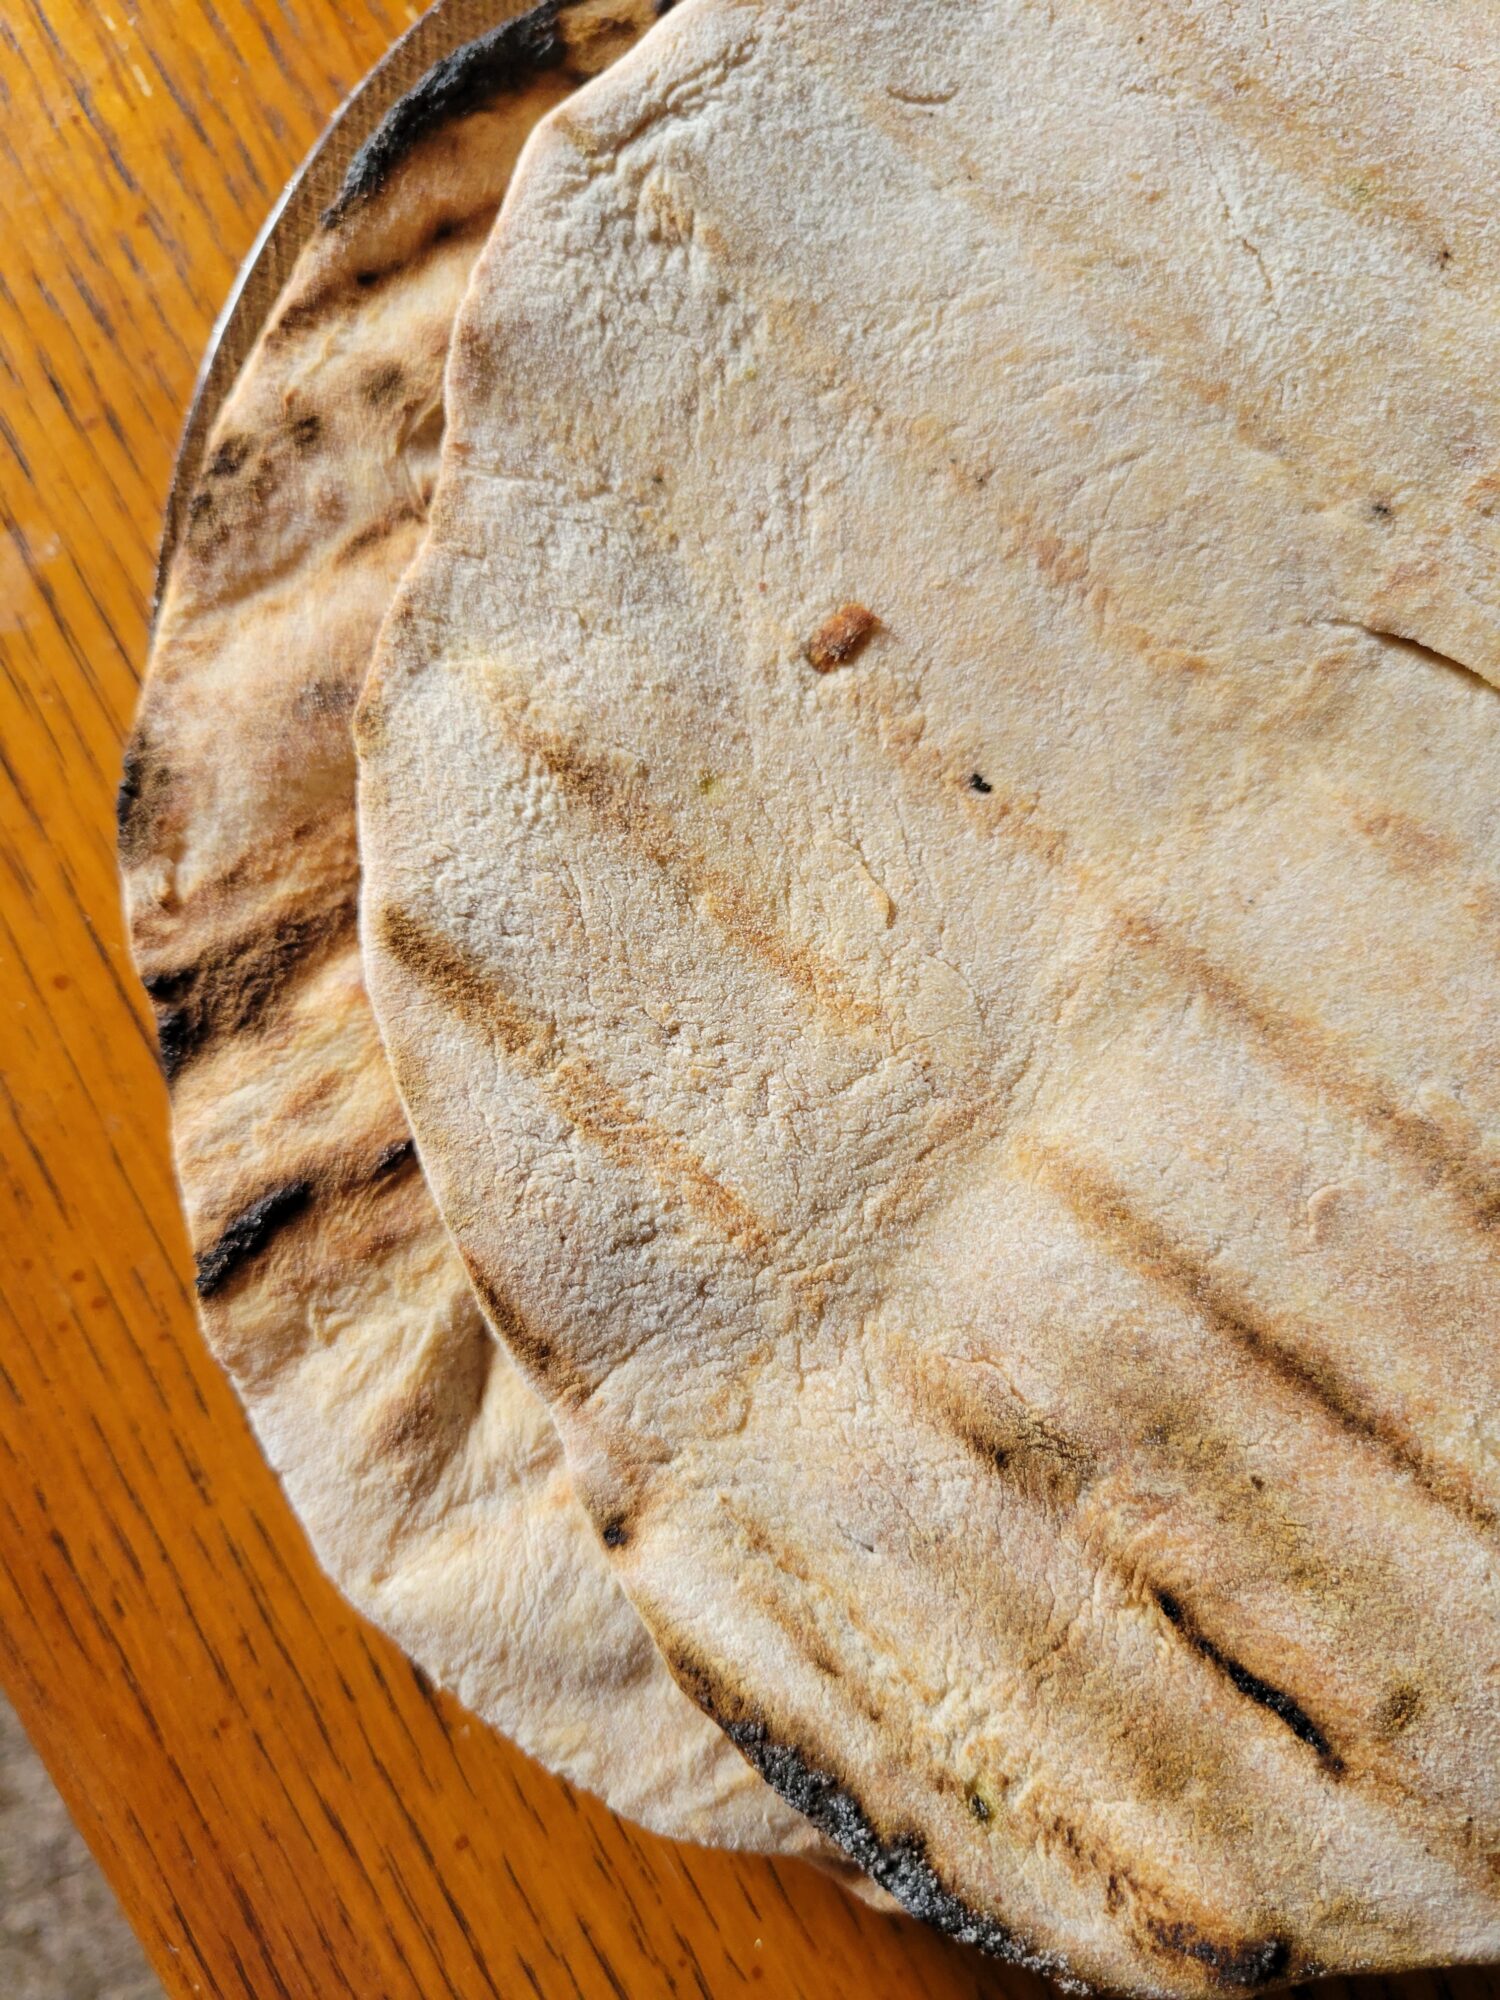
Grill until the dough just begins to char and grill lines begin to form. This takes about 30 seconds to 2 minutes. Immediately flip before it burns and cook another 30 seconds to 2 minutes on the other side.What you're looking for here are grill lines. The dough will rise and puff up ever-so-slightly. But focus more on how quickly the dough chars. You want the dough to darken, but NOT BURN. You don't want to be moving the dough around too much. Although there is no going back if you burn it. It's best to slightly under-cook as well because you still have to top the pizza and cook again until the cheese melts.The dough will rise slightly more if you close the lid. Although then you're entirely guessing at this process! If you've made this dough before and are familiar with how long it cooks, go ahead. Otherwise, leaving the lid open and watching it is perfectly fine. This is a thin, flatbread-like dough. So, getting some rise on it is not necessary.
To cook, turn the grill down to medium after topping pizzas and grill another 6-10 minutes, or until the cheese melts. You can also switch over to the oven at this point and cook for the same amount of time at 450 degrees Fahrenheit.


Leave a Reply