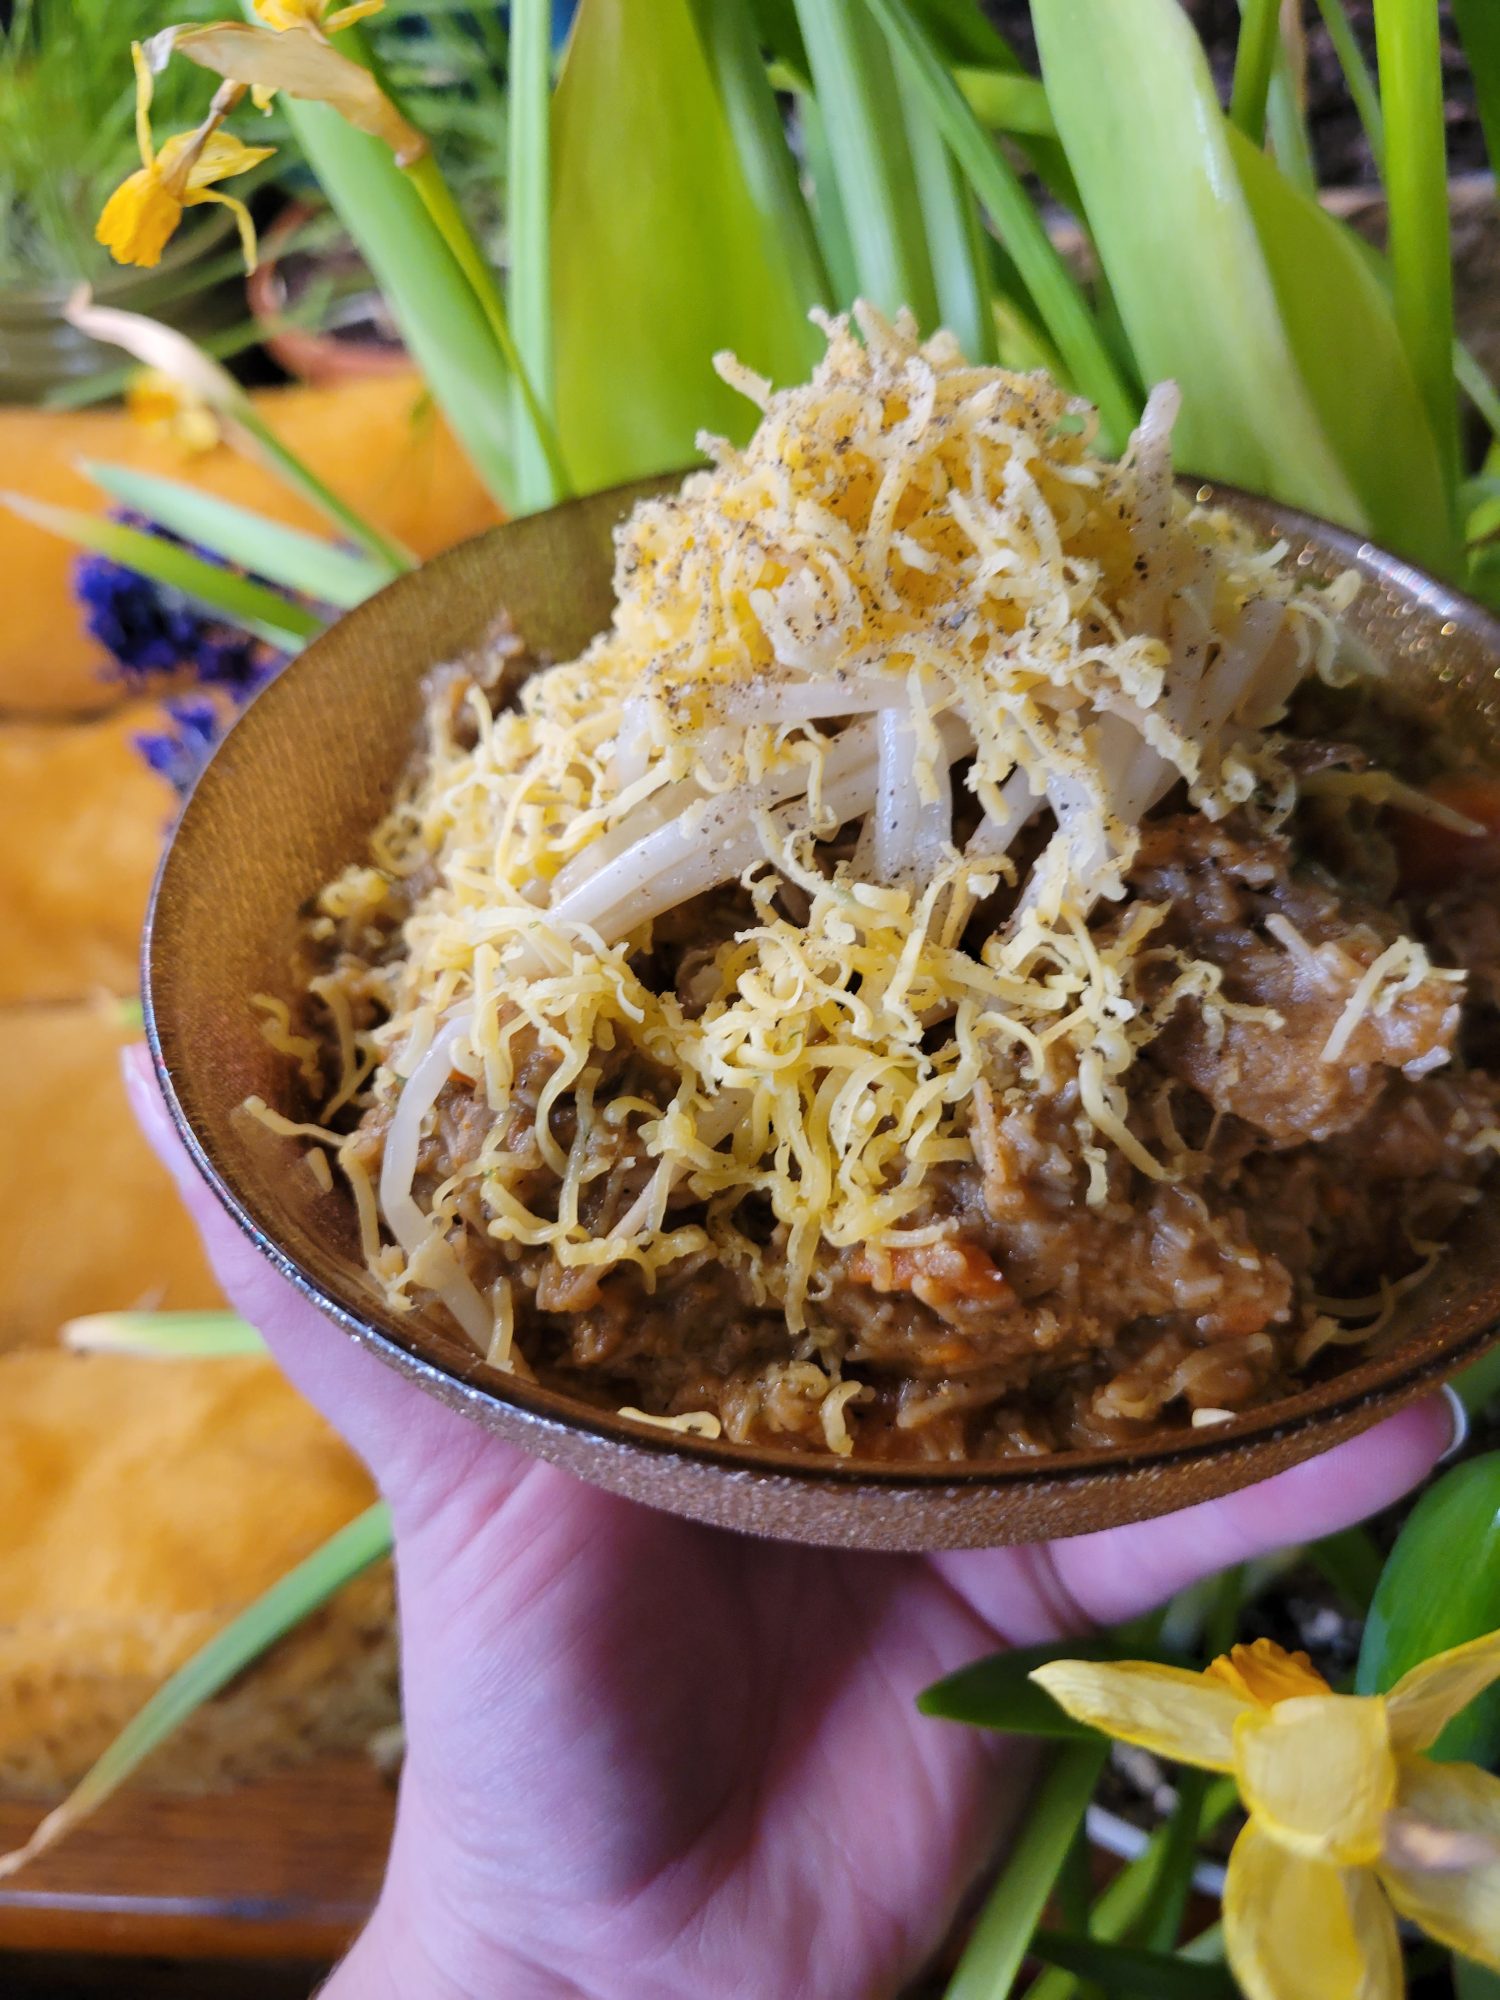
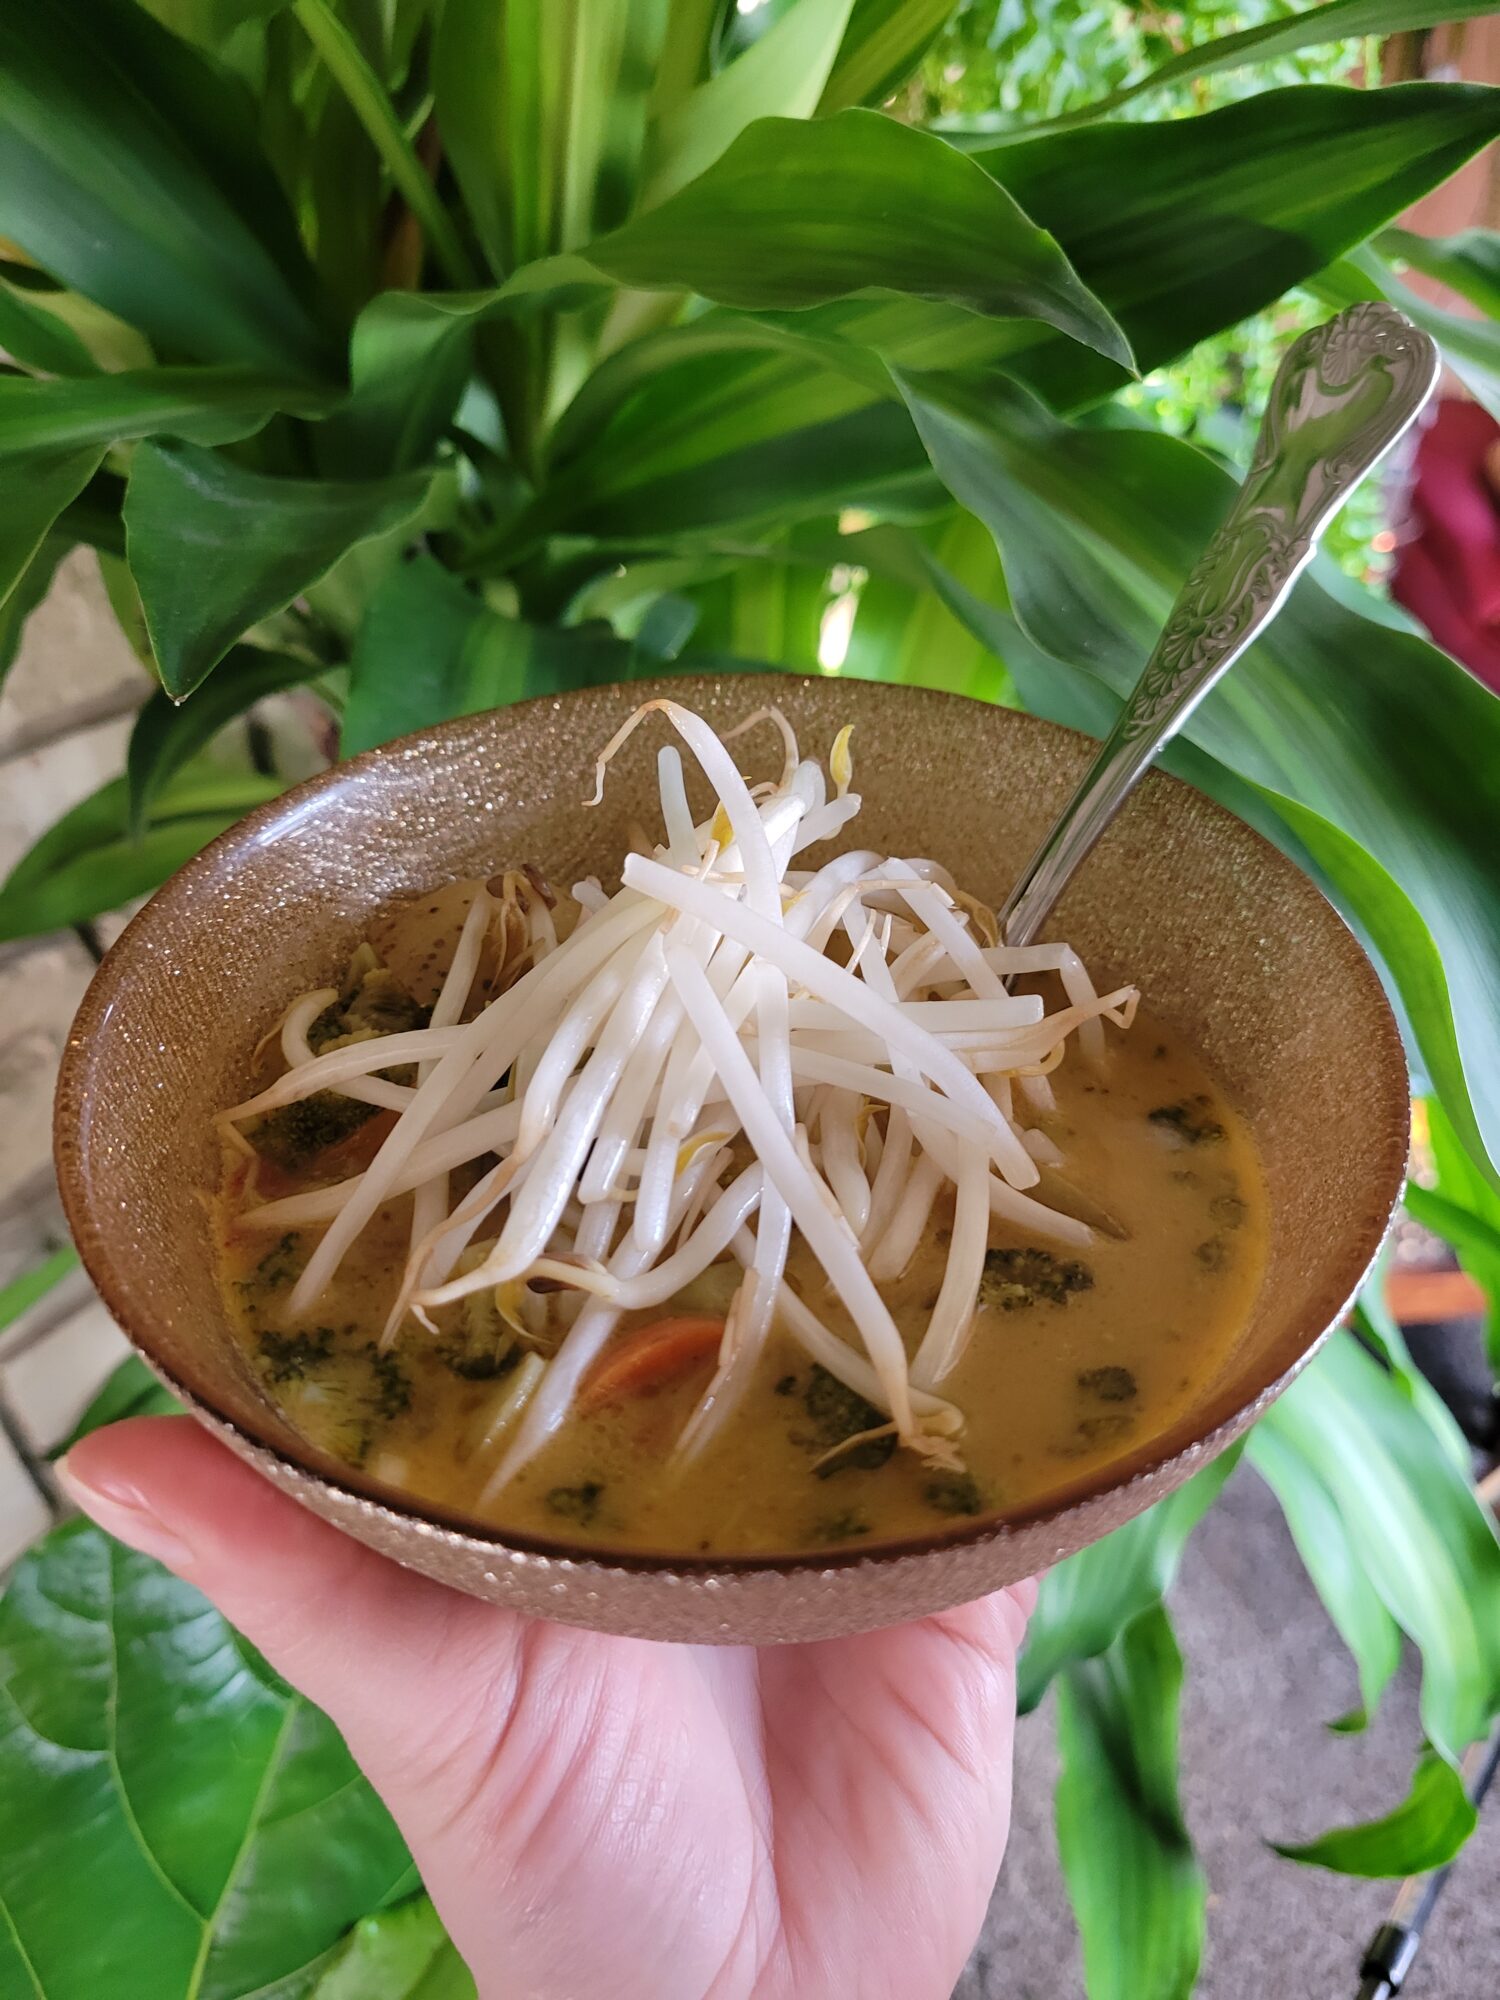
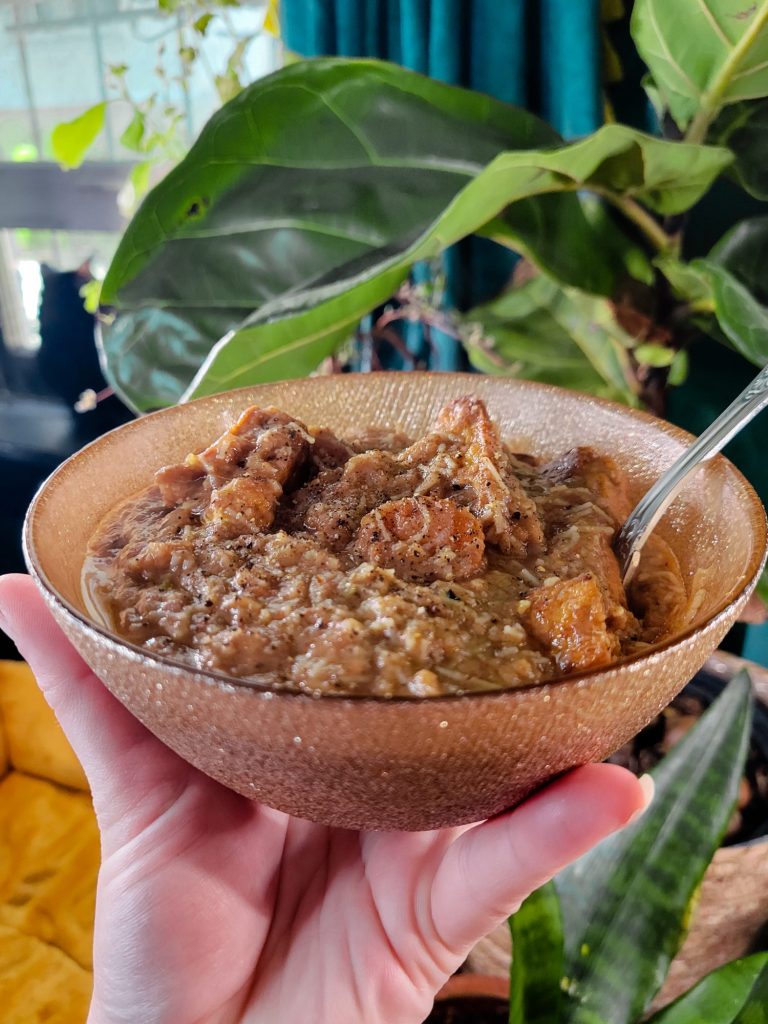
Curry w/ Bananas, Tomatoes, & Vermicelli
The other day I made Curry w/ Multicolored Potatoes, Peanuts, & Sprouts by puréeing whole, unroasted peanuts. And it got me thinking... What else can I purée into curry?? I'm constantly mixing and matching seemingly disparate ingredients that I have on hand. So, making a banana and tomato curry isn't necessarily out of my wheelhouse. They're also not necessarily the most outlandish of ingredients. After all, that sounds like a pretty fun base for a health smoothie. So, it's not so outlandish that I've turned it into Bananas Curry.
Although I'm not particularly fond of the stringiness of bananas or cooked tomatoes when the skin starts to roll up. Now, the obvious solution here is just to cut up the bananas very finely and blanch the tomatoes to remove the skin. But that's far more effort than I really want to commit to this endeavor. Although, after I had a similar textural issue with peanut hulls the other day? The obvious solution here is simply to purée the ingredients in a food processor until smooth. I even tossed in the onions after I realized that this was an ingenious way not to have to put too much effort or knife skills into a dish.
It was also delicious. Which might be slightly surprising because it started out as what's ostensibly pink slushie. But it turns out that smoothie curries are, in fact, the sweet and savory combination of fruits and vegetables that were missing from my life.
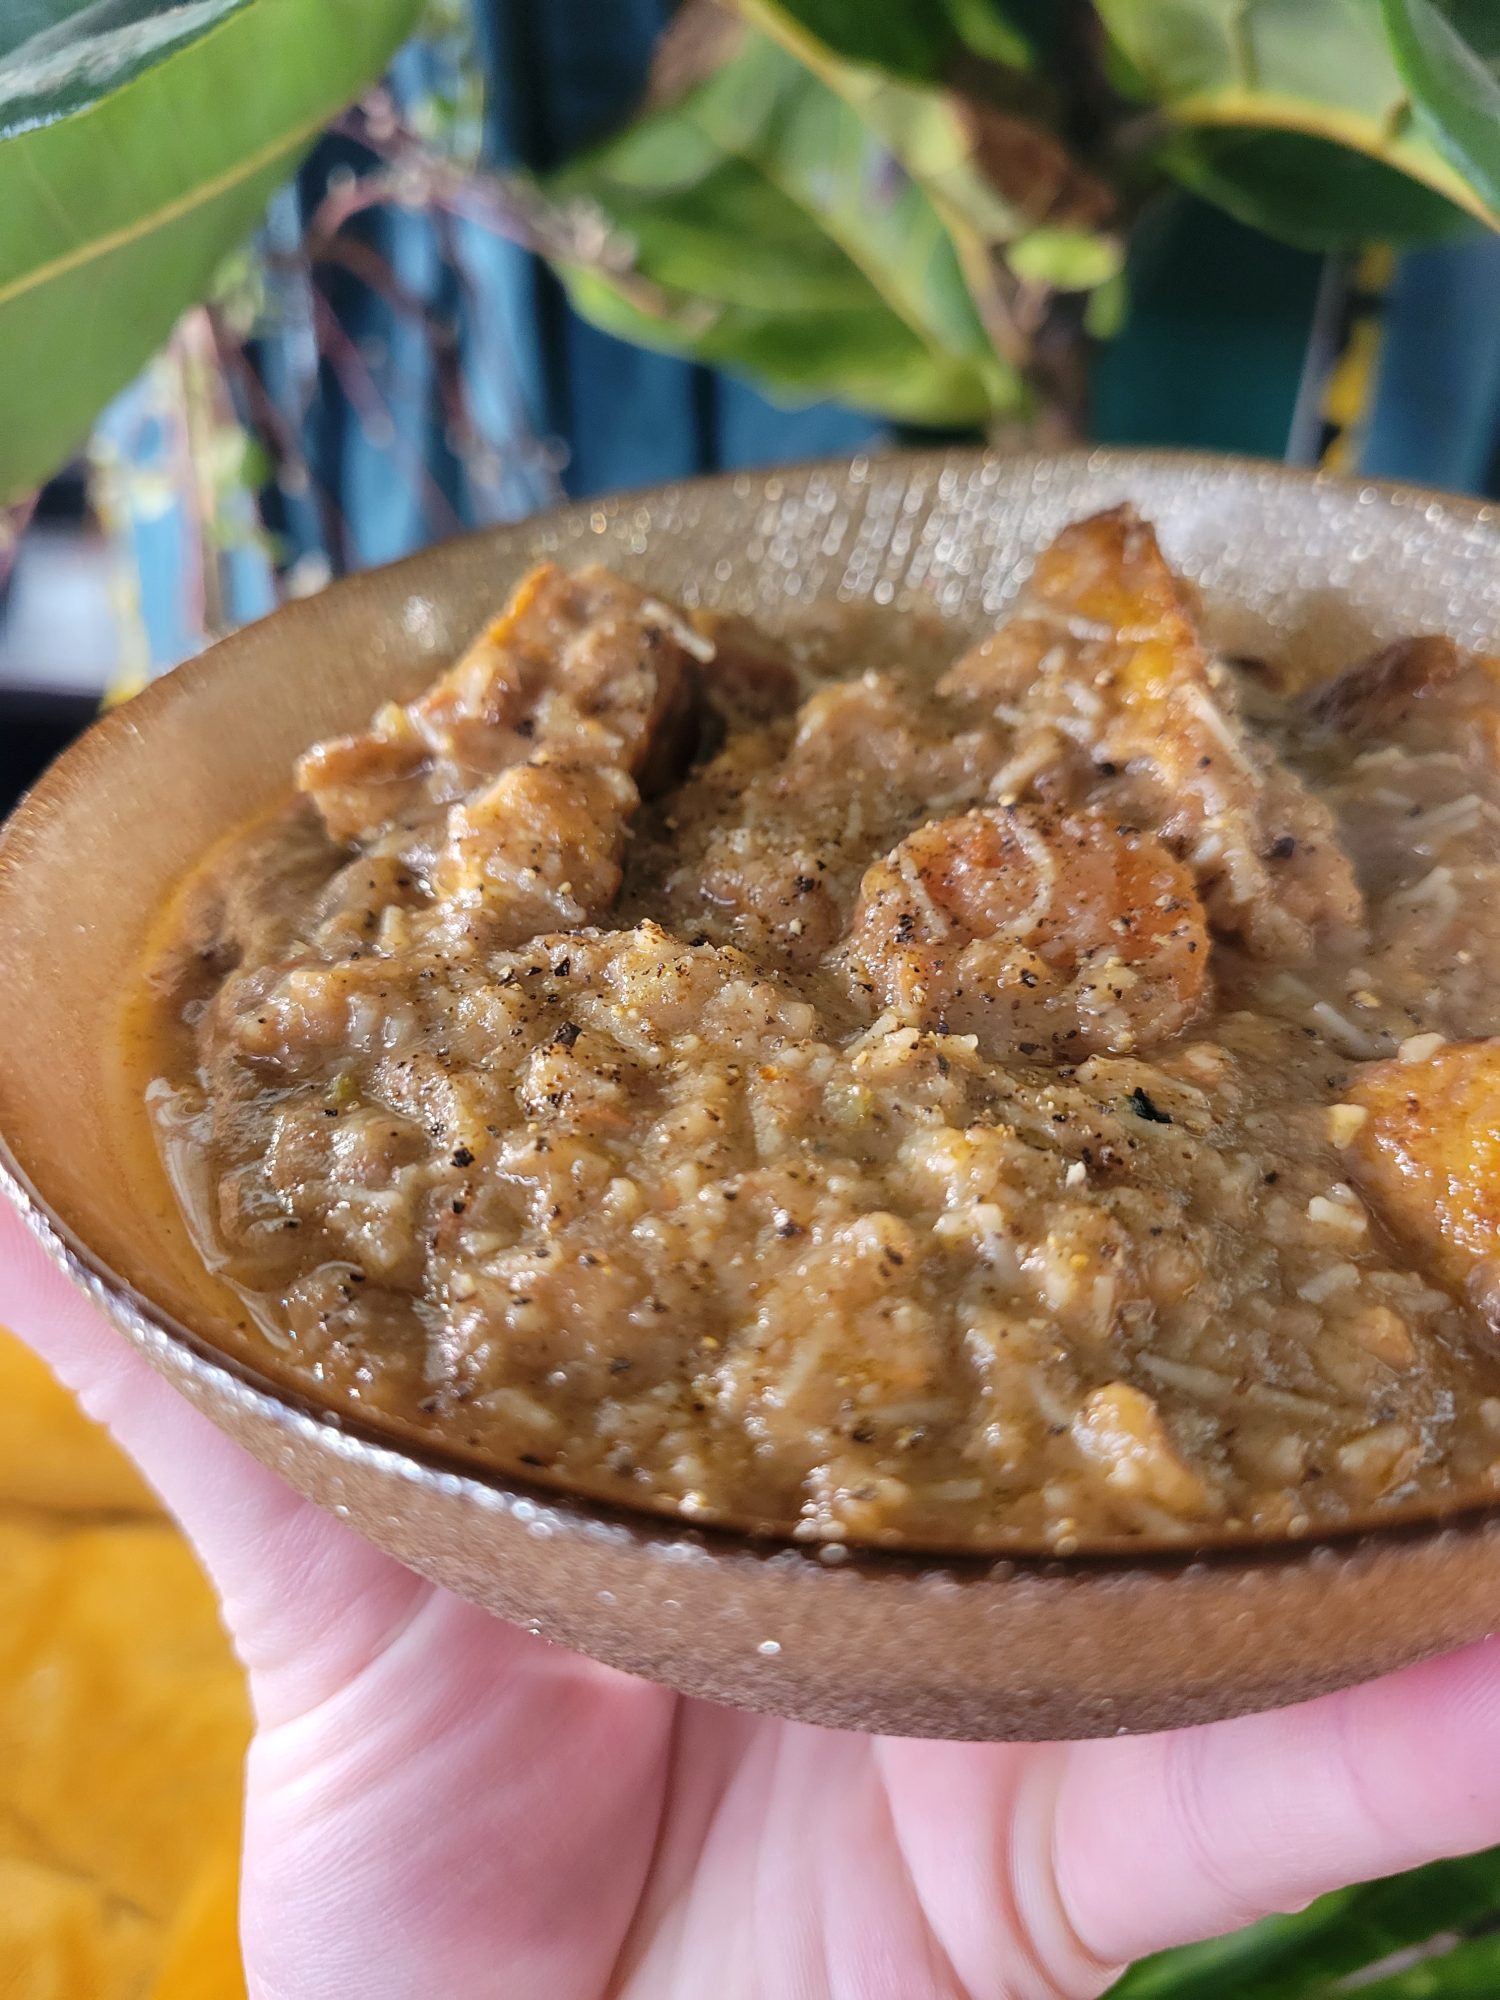
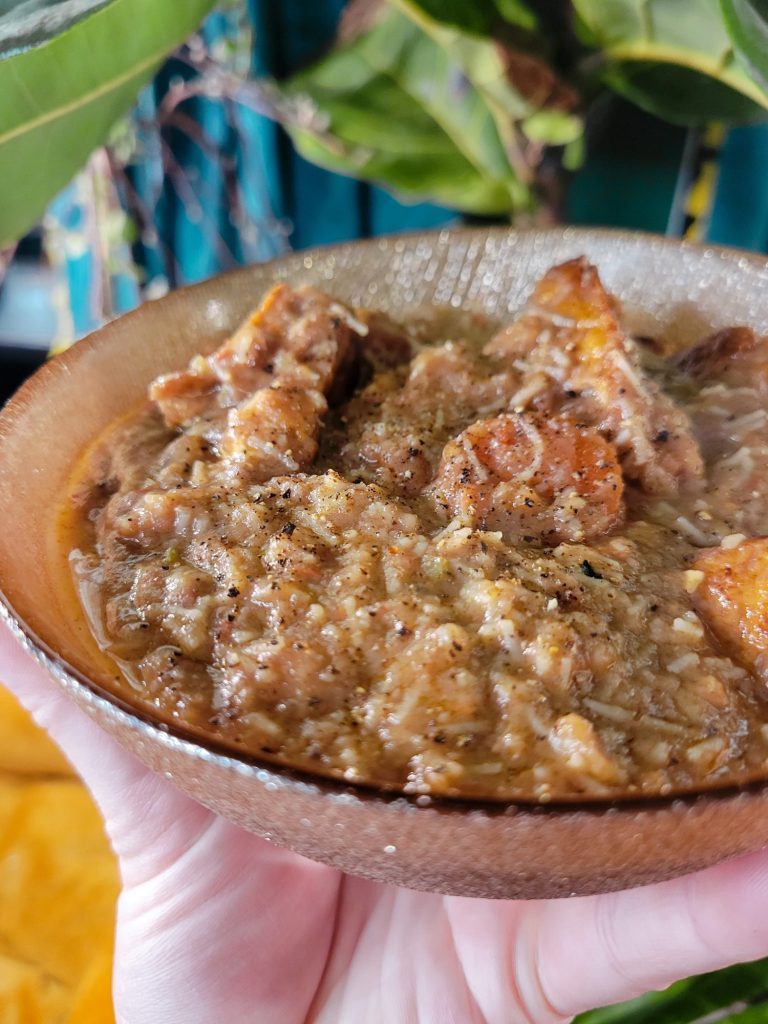
Gallery


Variations of Bananas Curry
I don't always add bananas to curry. Although I'm certainly no stranger to adding anything and everything to a pot of simmering coconut milk. So, it's not entirely out of the realm of possibility that I was eventually going to toss bananas into it. Although I have a plethora of other curry recipes if bananas are less your cup of tea, but you're still looking for something fun and interesting.
Curry w/ Bananas, Tomatoes, & Vermicelli
Equipment
- Food Processor (optional)
- Large Pot
- Stovetop
Ingredients
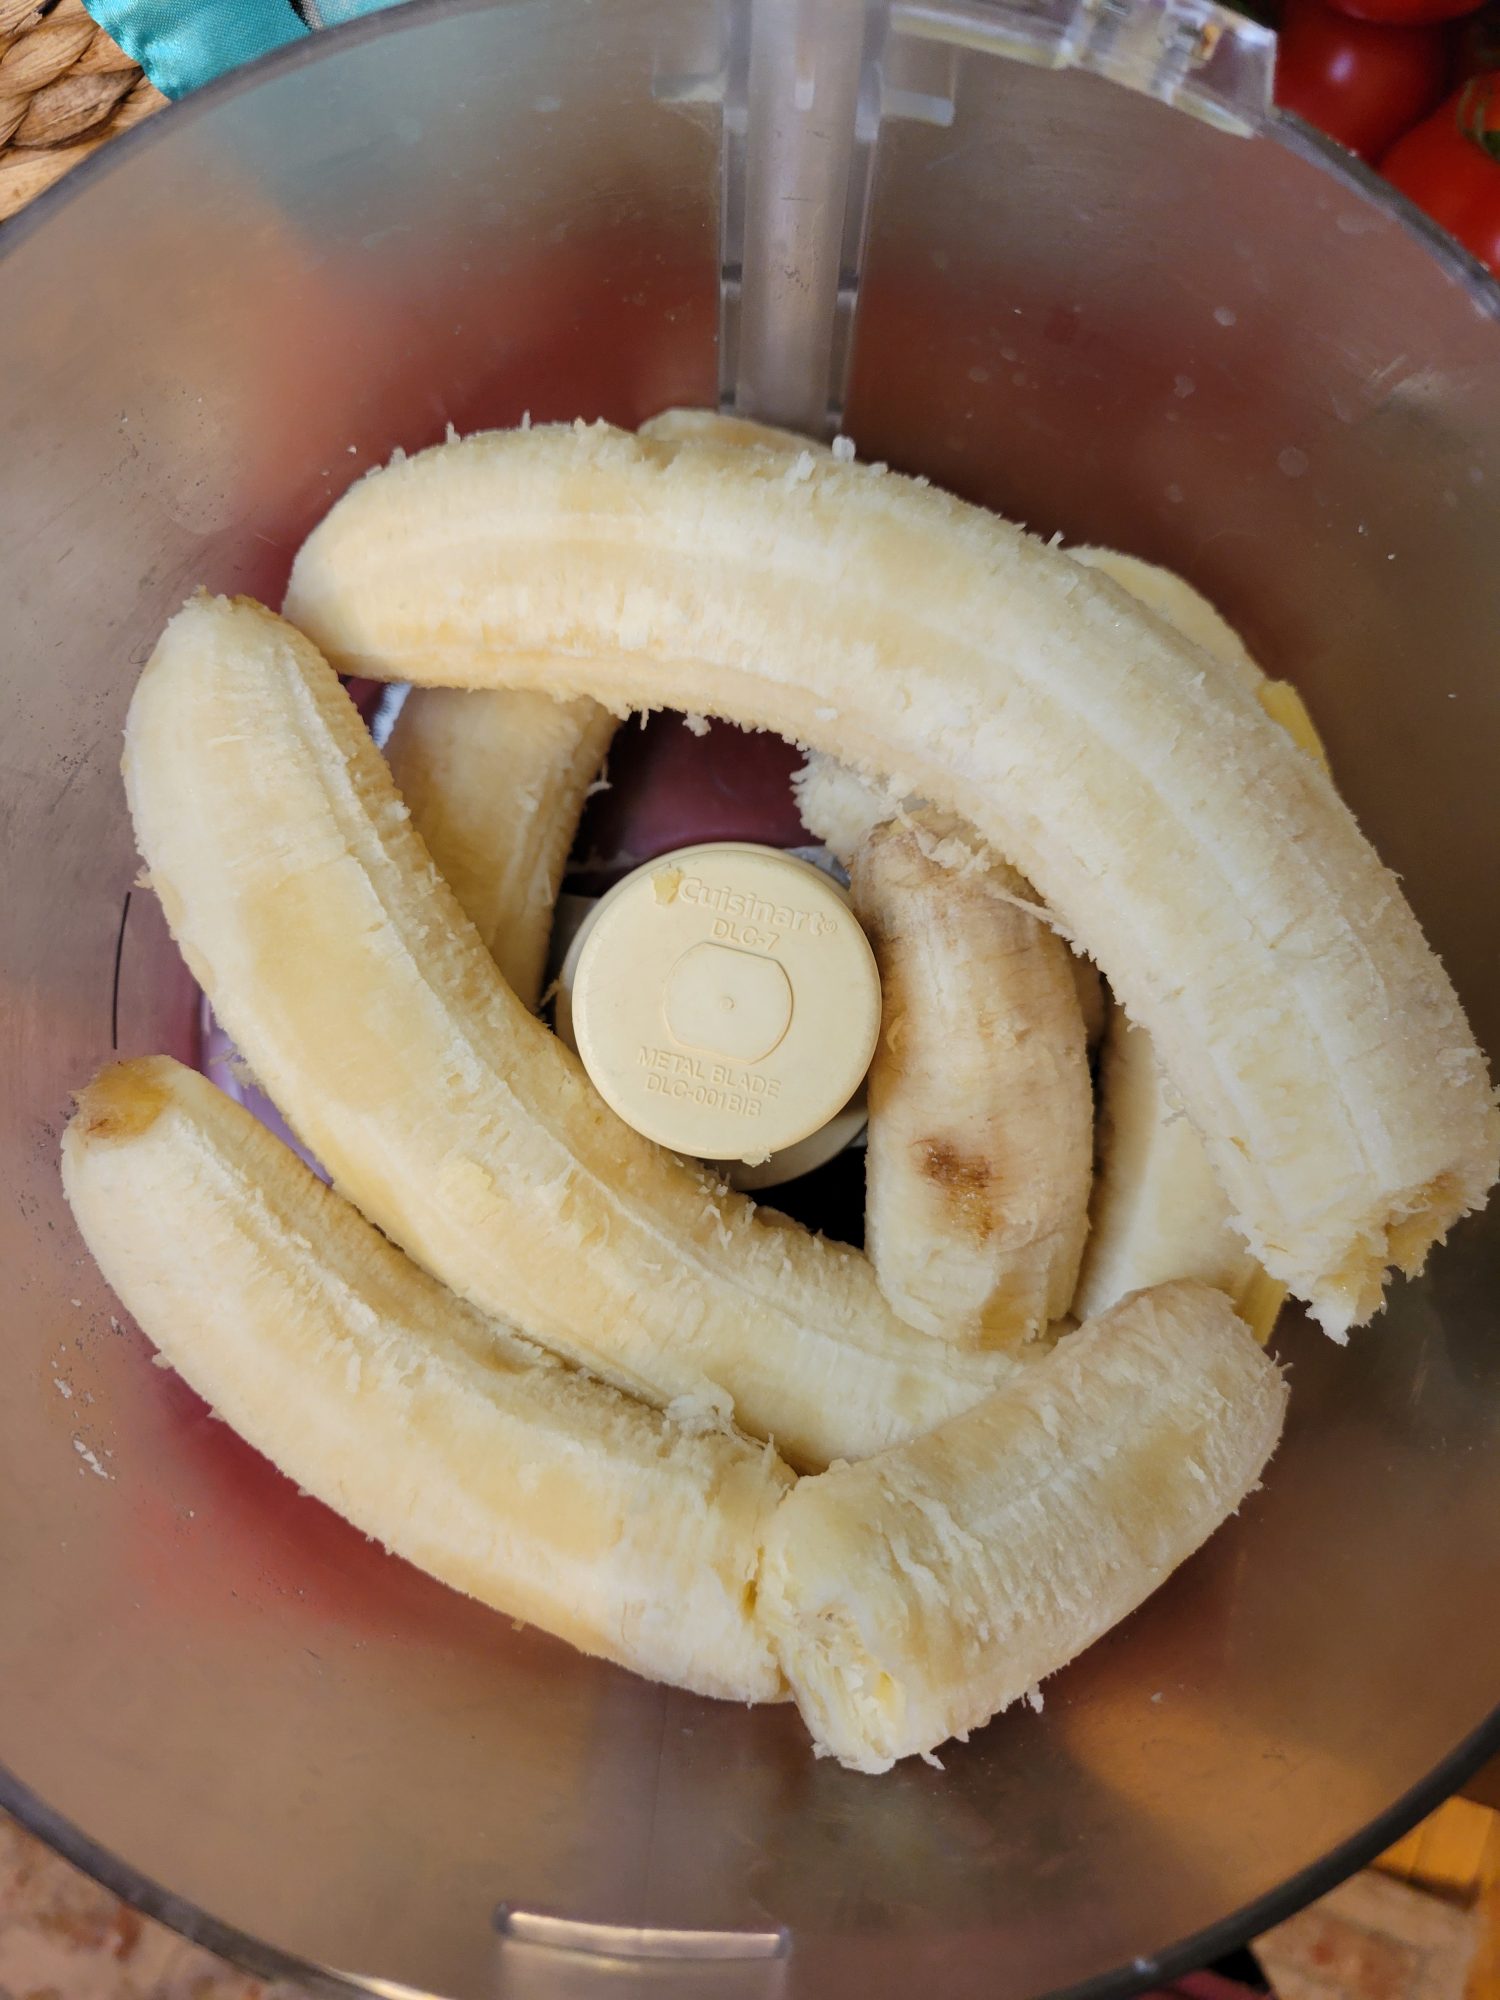
- 6 bananas puréed
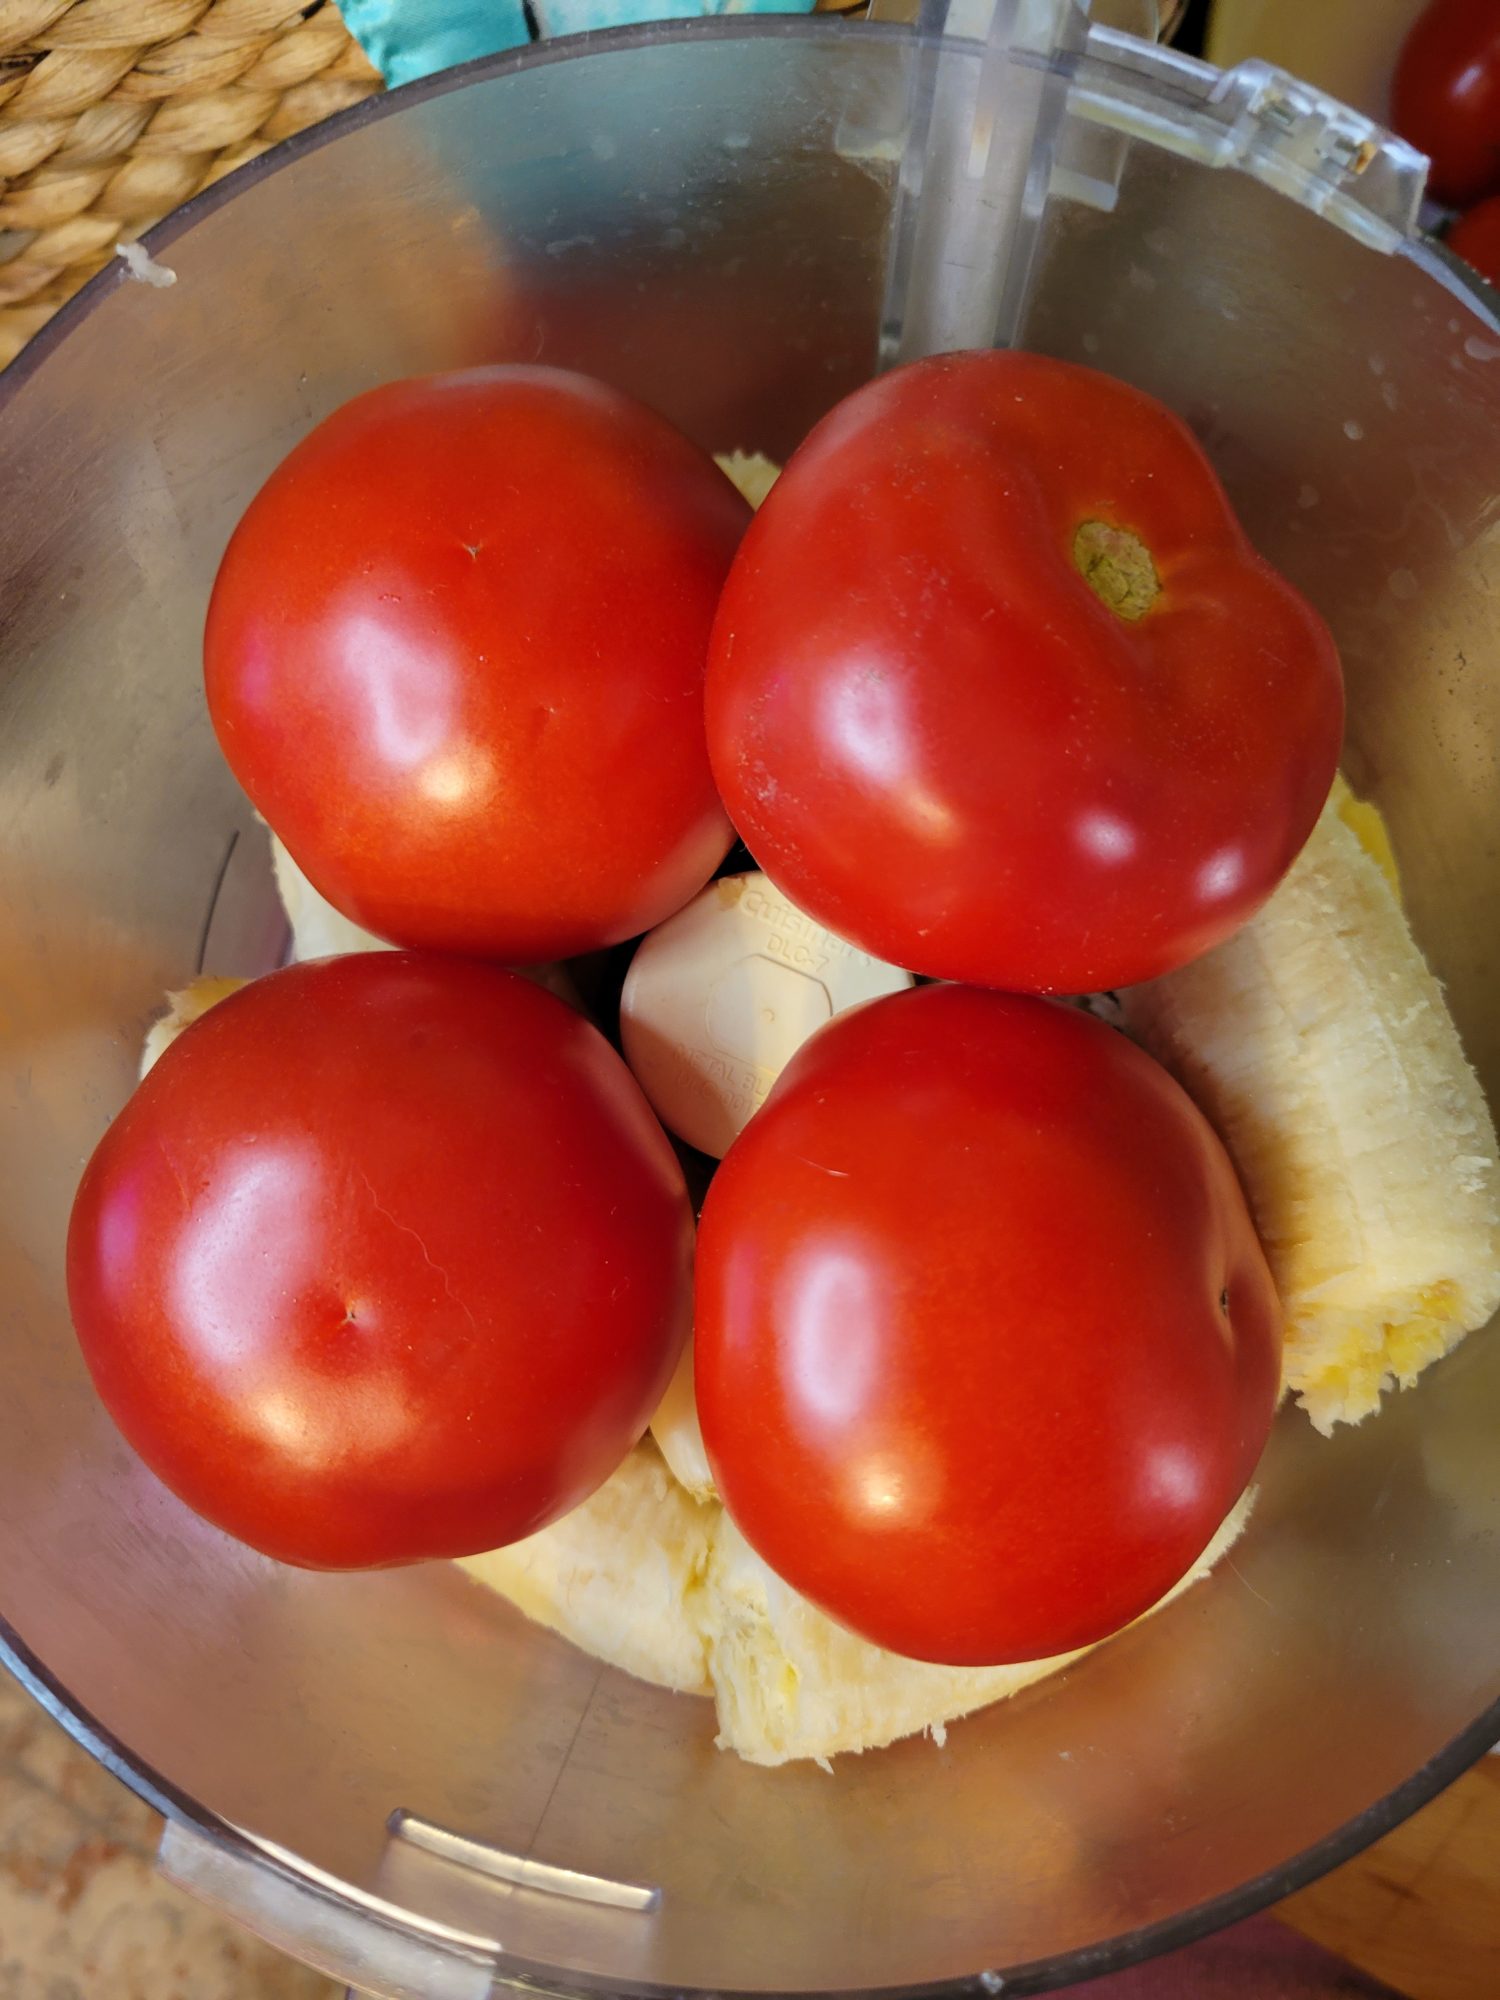
- 4 medium tomatoes puréed
- 3 cloves garlic puréed
- 2 carrots diced
- 1/2 yellow onion minced
- 2 cans coconut milk
- 1 can water
- dash cumin
- dash coriander
- dash cayenne pepper
- dash salt
- dash pepper
- 16 oz. tofu (1 package), fried
- 4 serranos minced
- 3 carrots sliced
Instructions
Simmer Curry
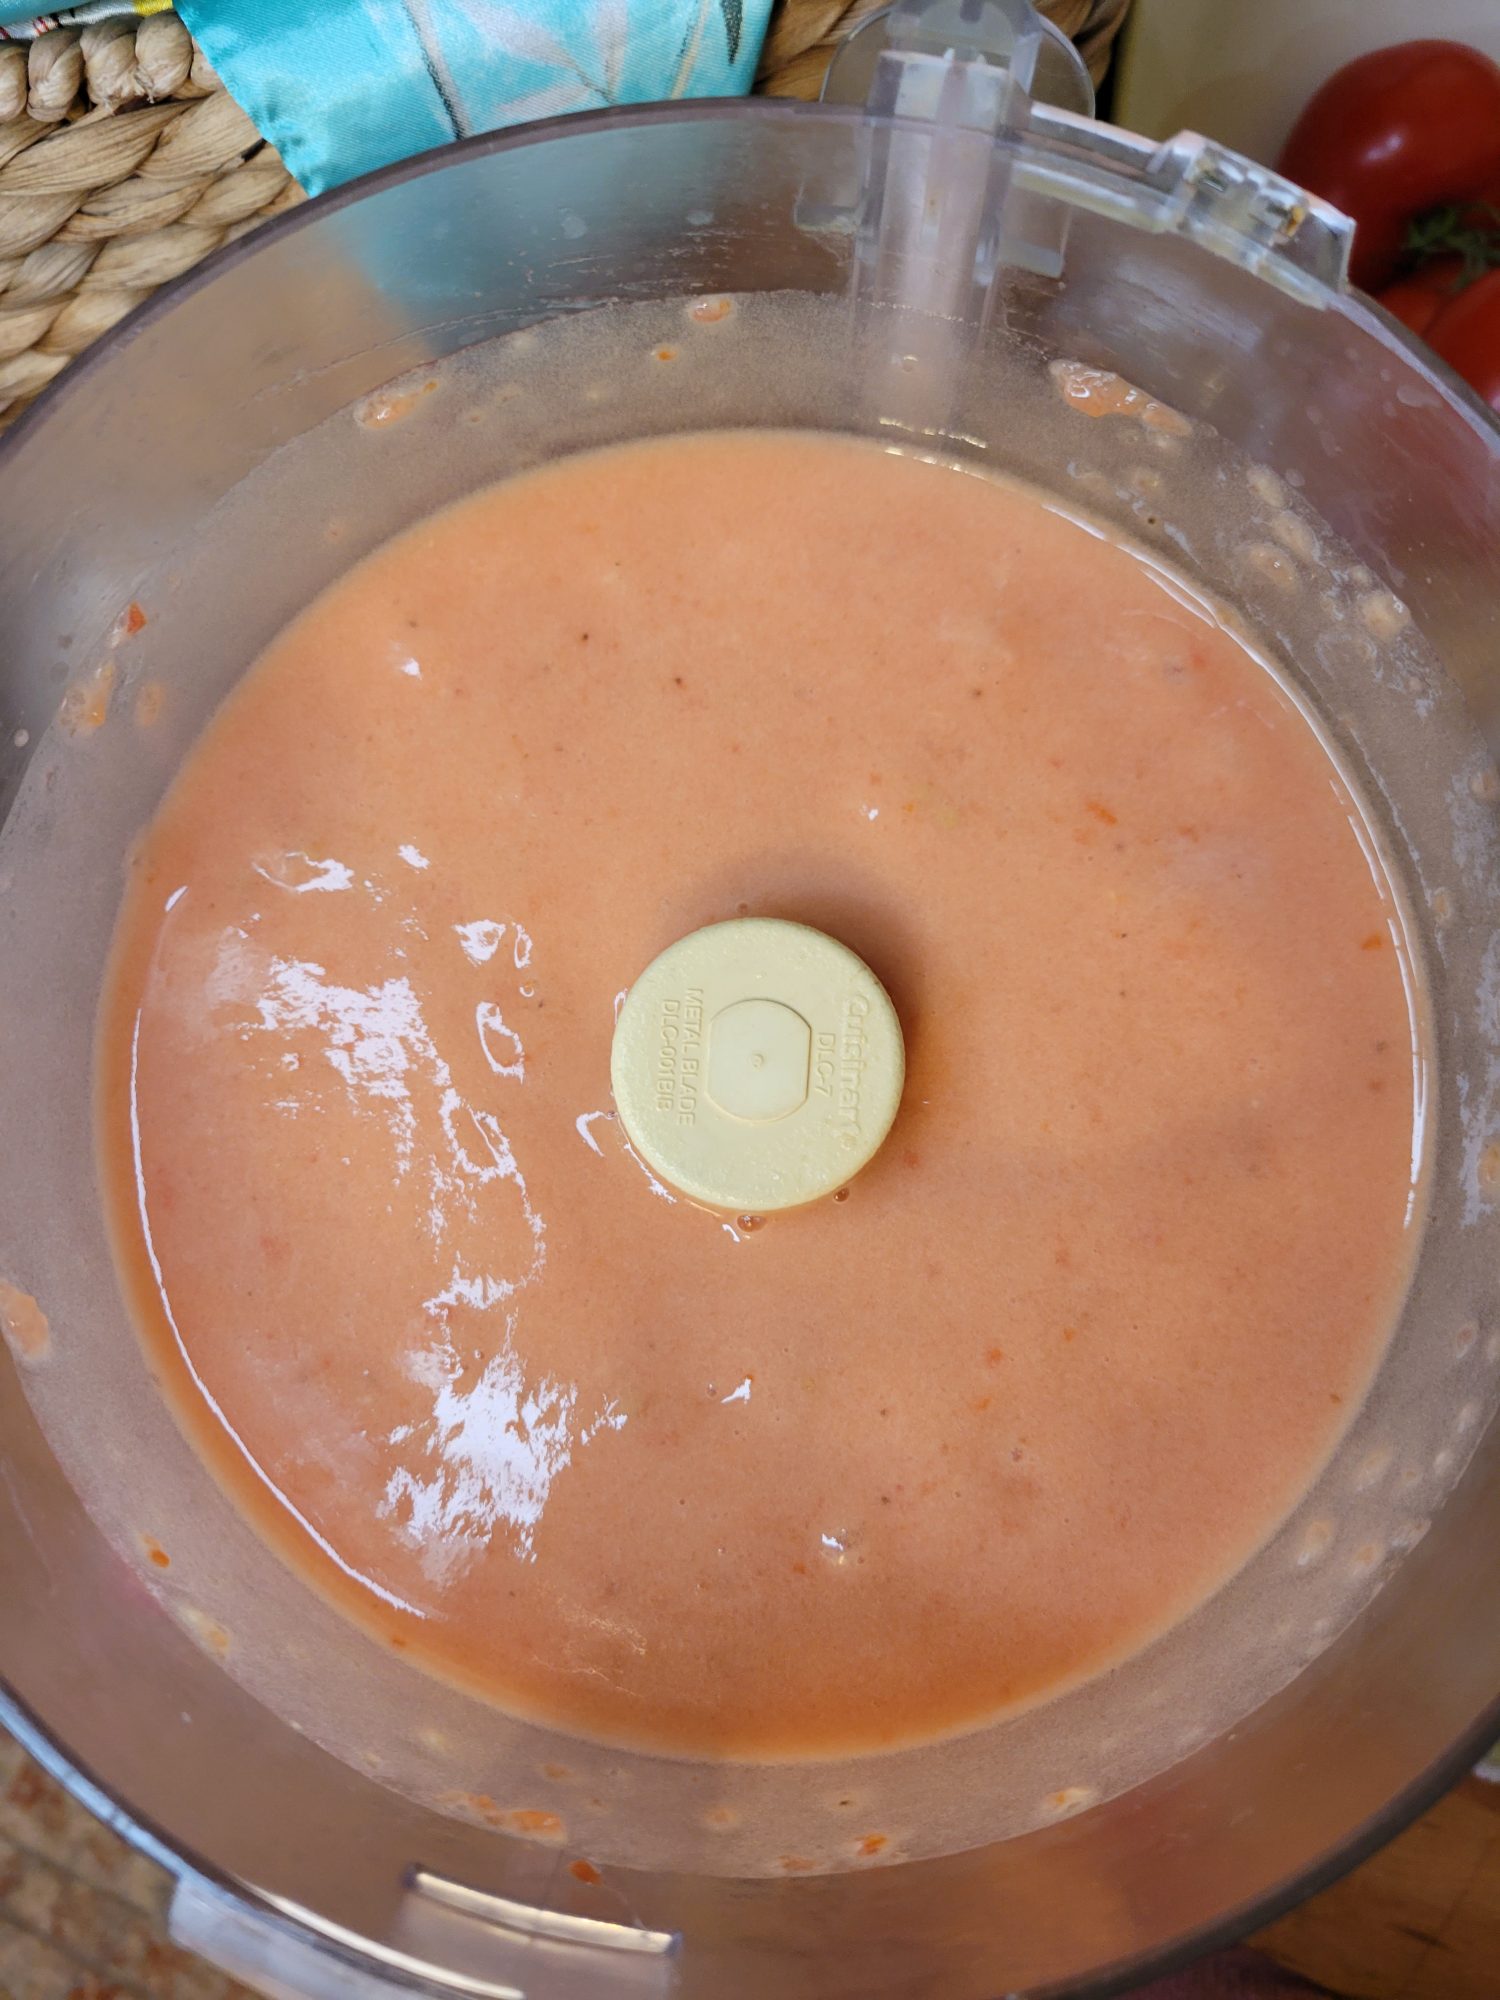
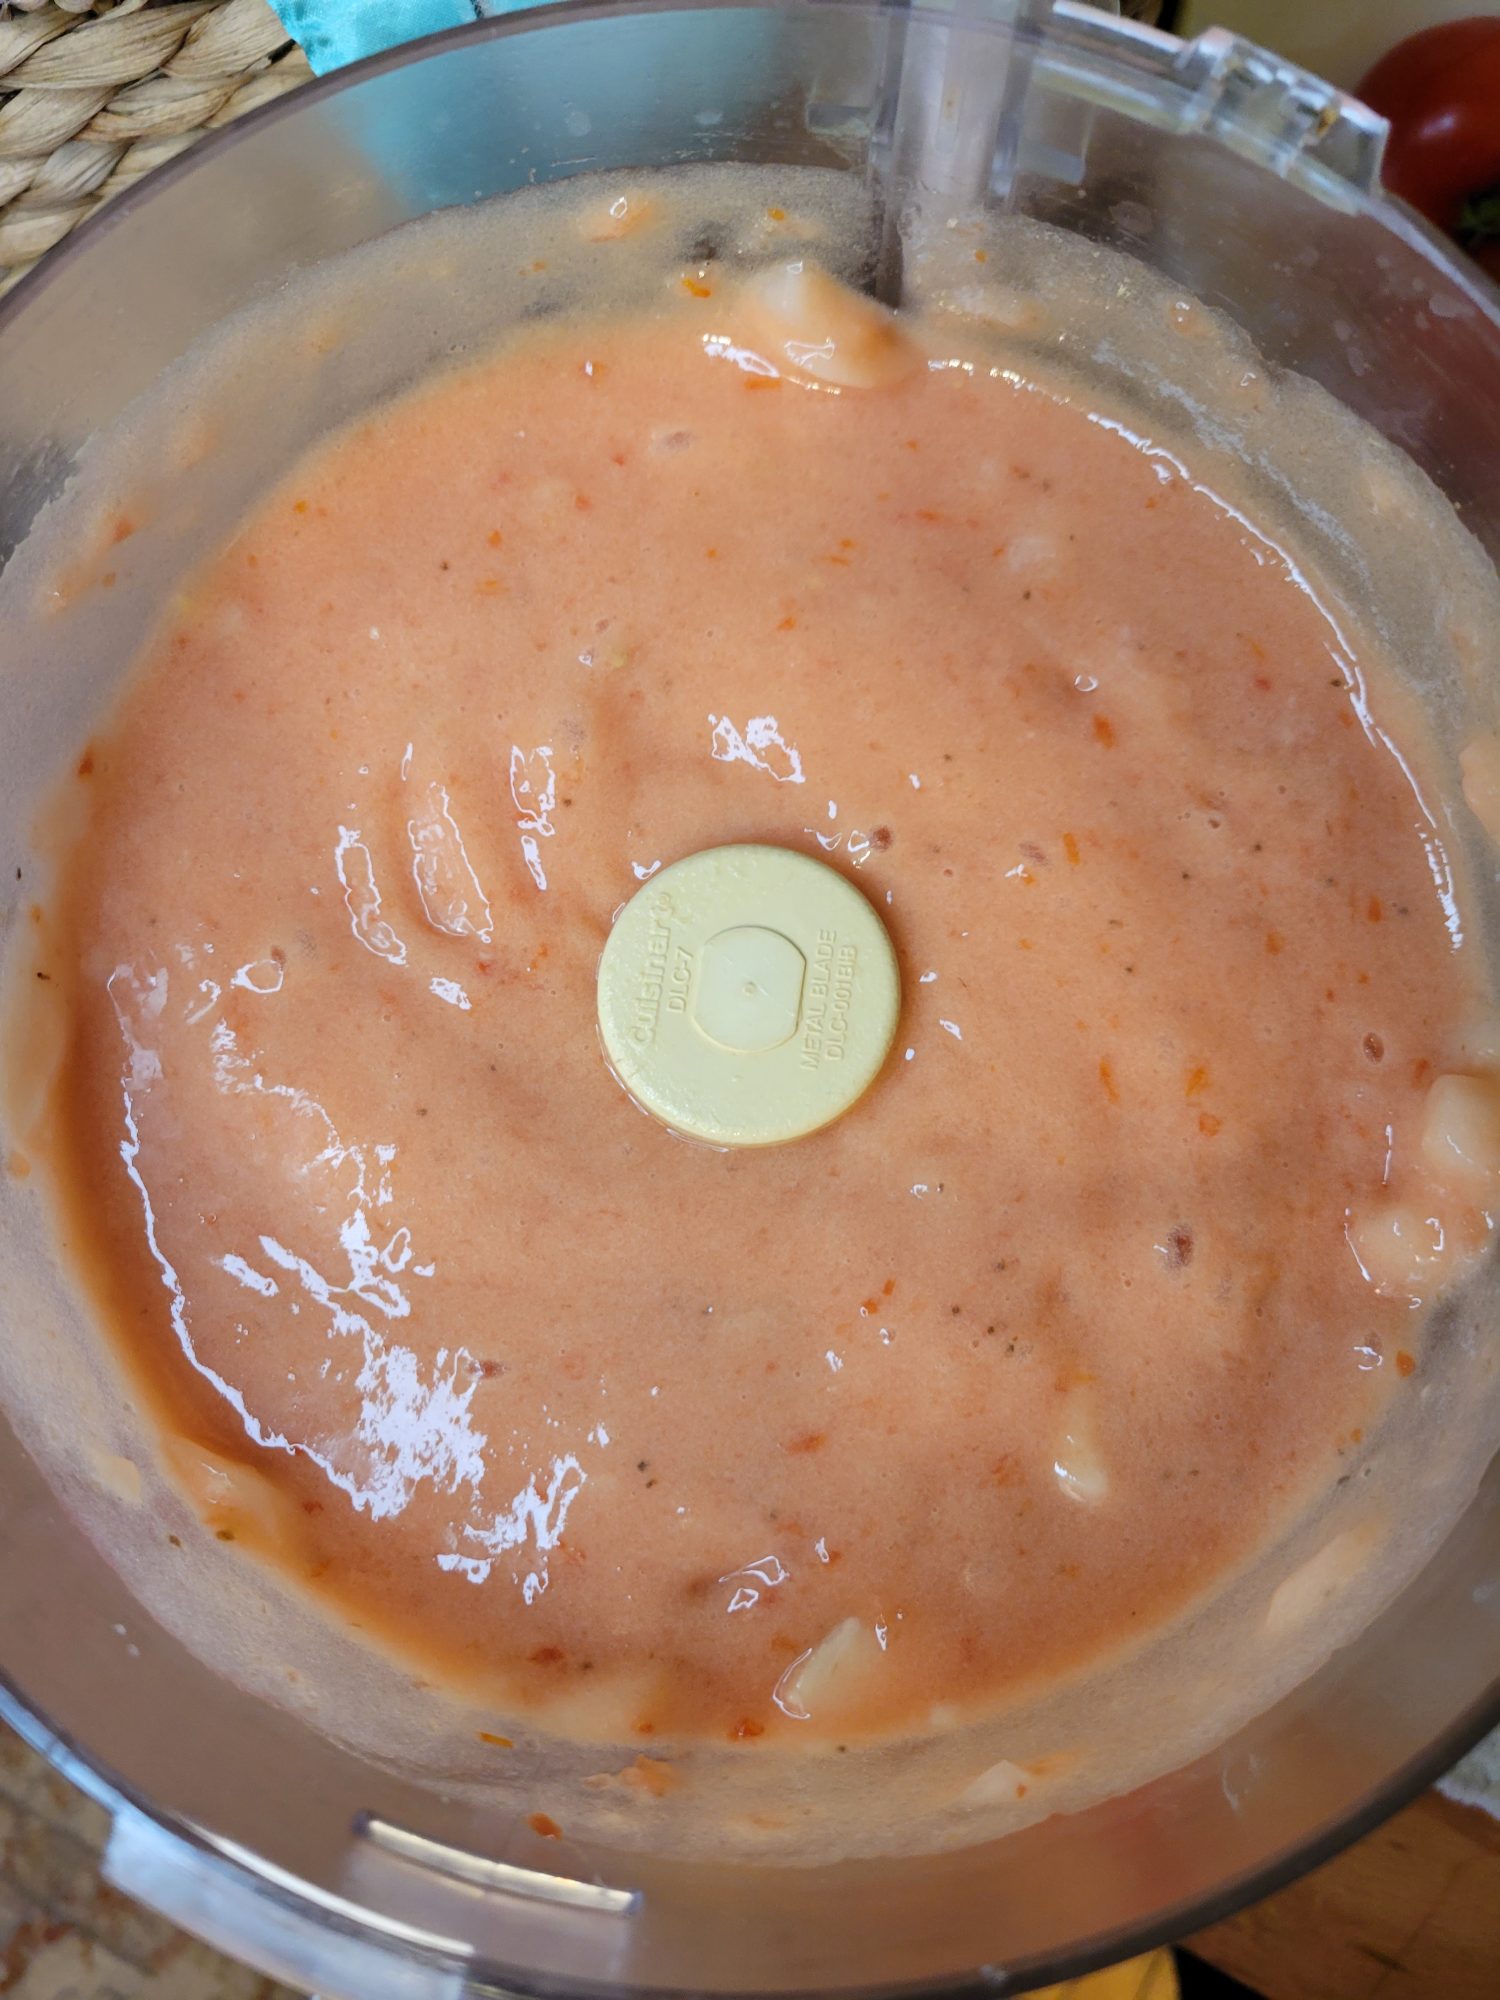
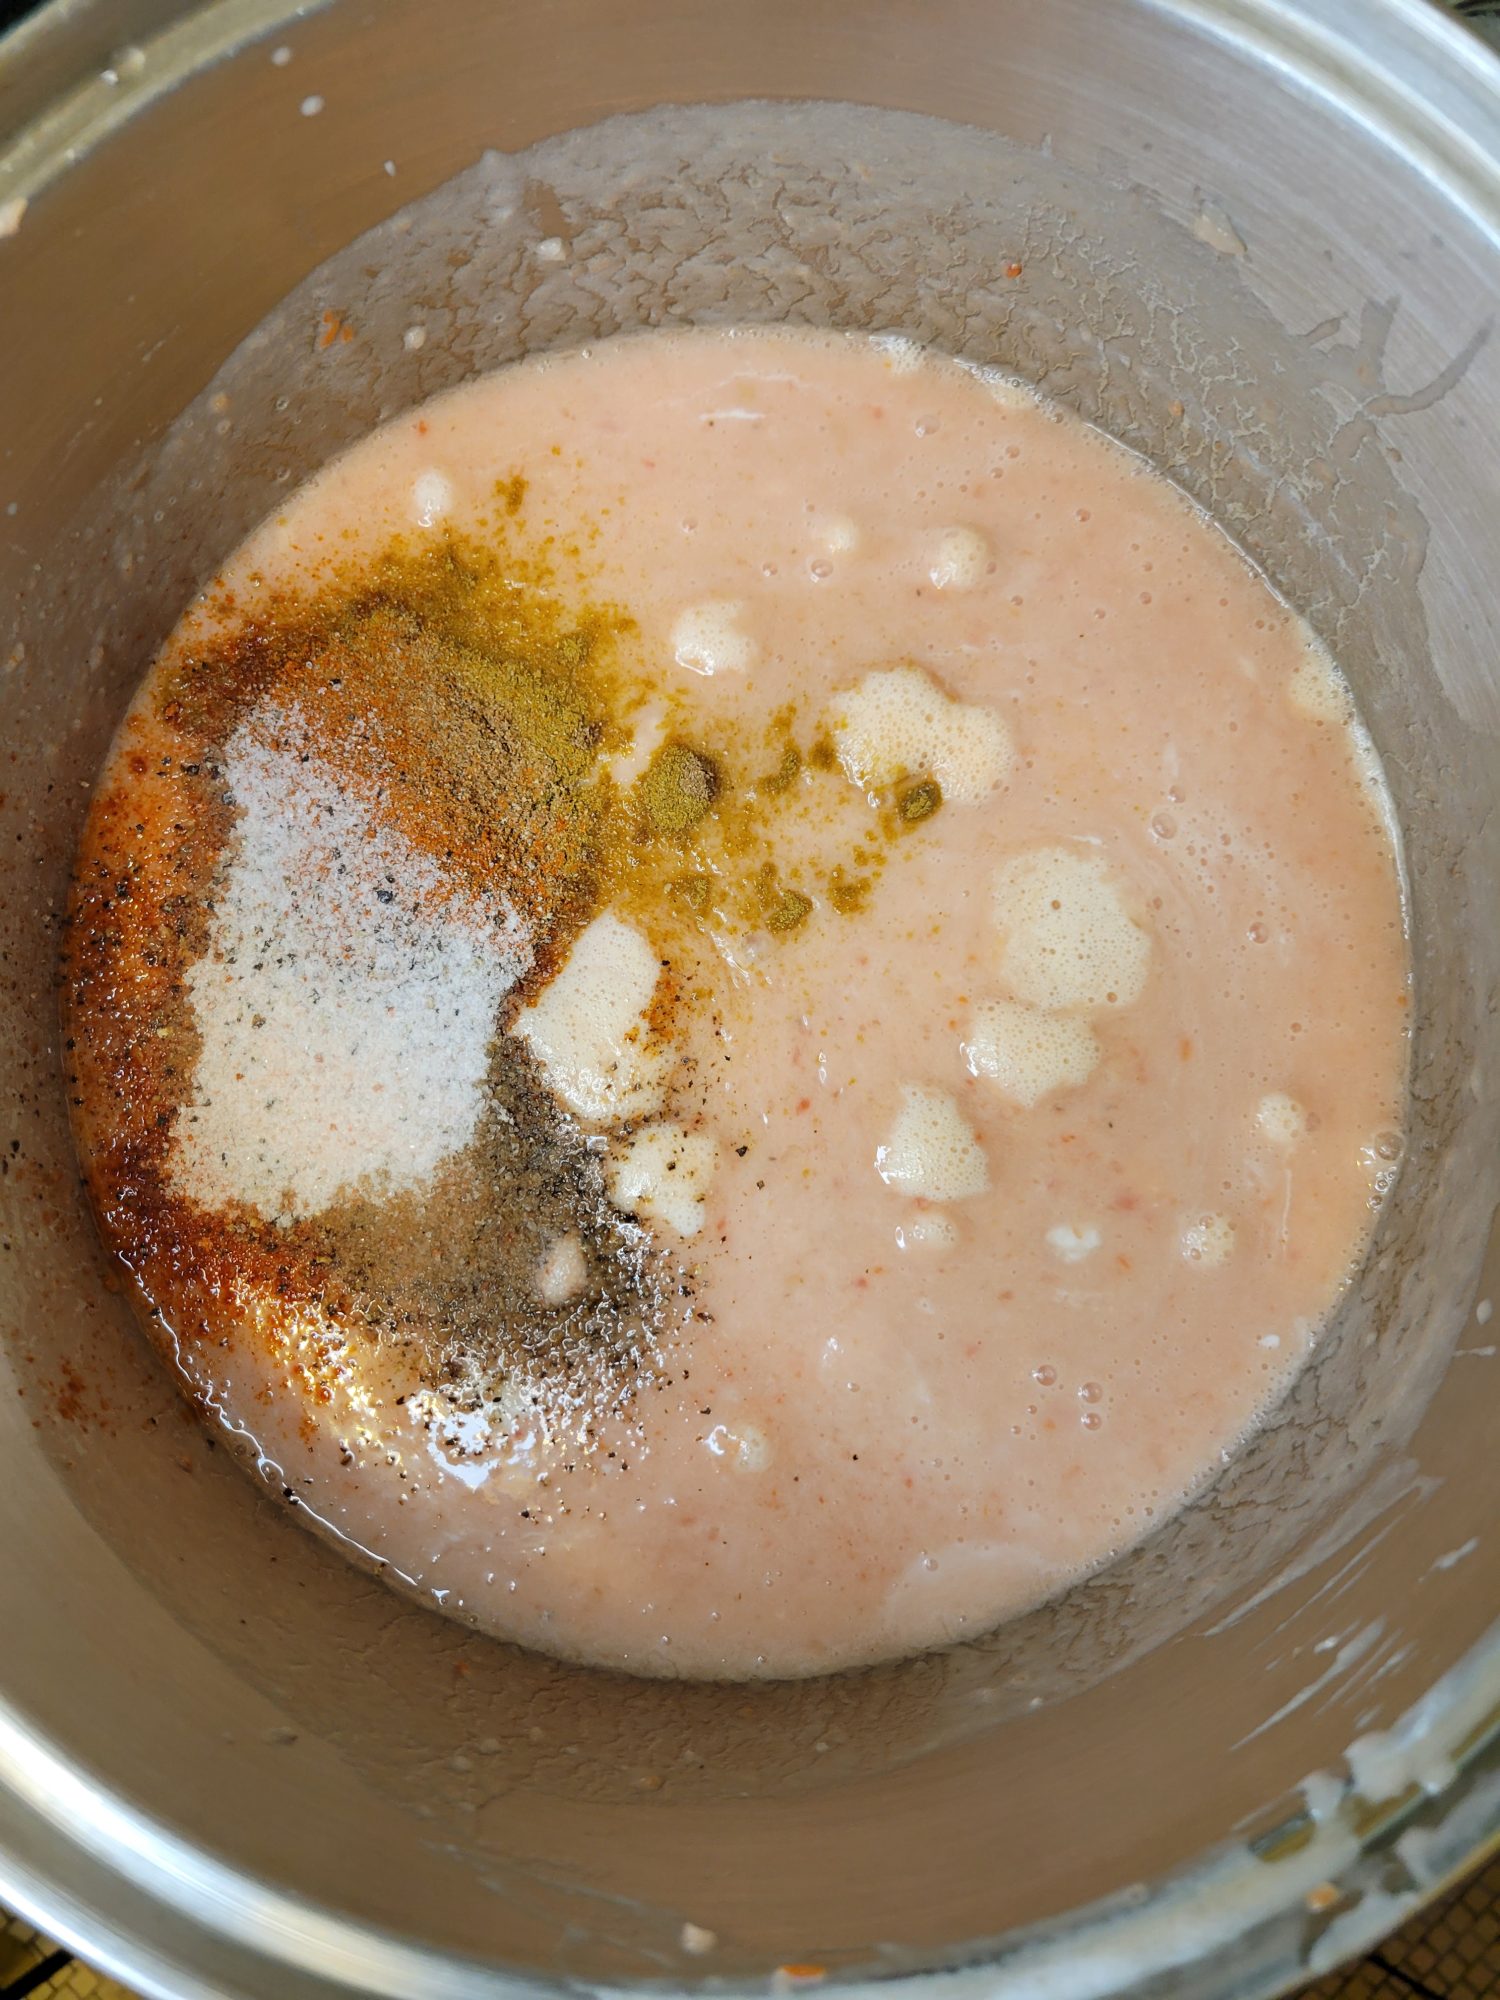
- Add the bananas, tomatoes, and garlic to a food processor. Purée until smooth.This is optional. You can easily dice the produce! I don't like the stringy bits of bananas and the curly ends tomato skins after they cook. A lot of the time people will blanch the tomatoes to resolve this. Although puréing is a lot quicker and easier if you similarly can't be bothered!I also just tossed in the garlic cloves because... easier than mincing while you're already at it!
- Add all of the ingredients, except for the rice vermicelli, to a large pot.
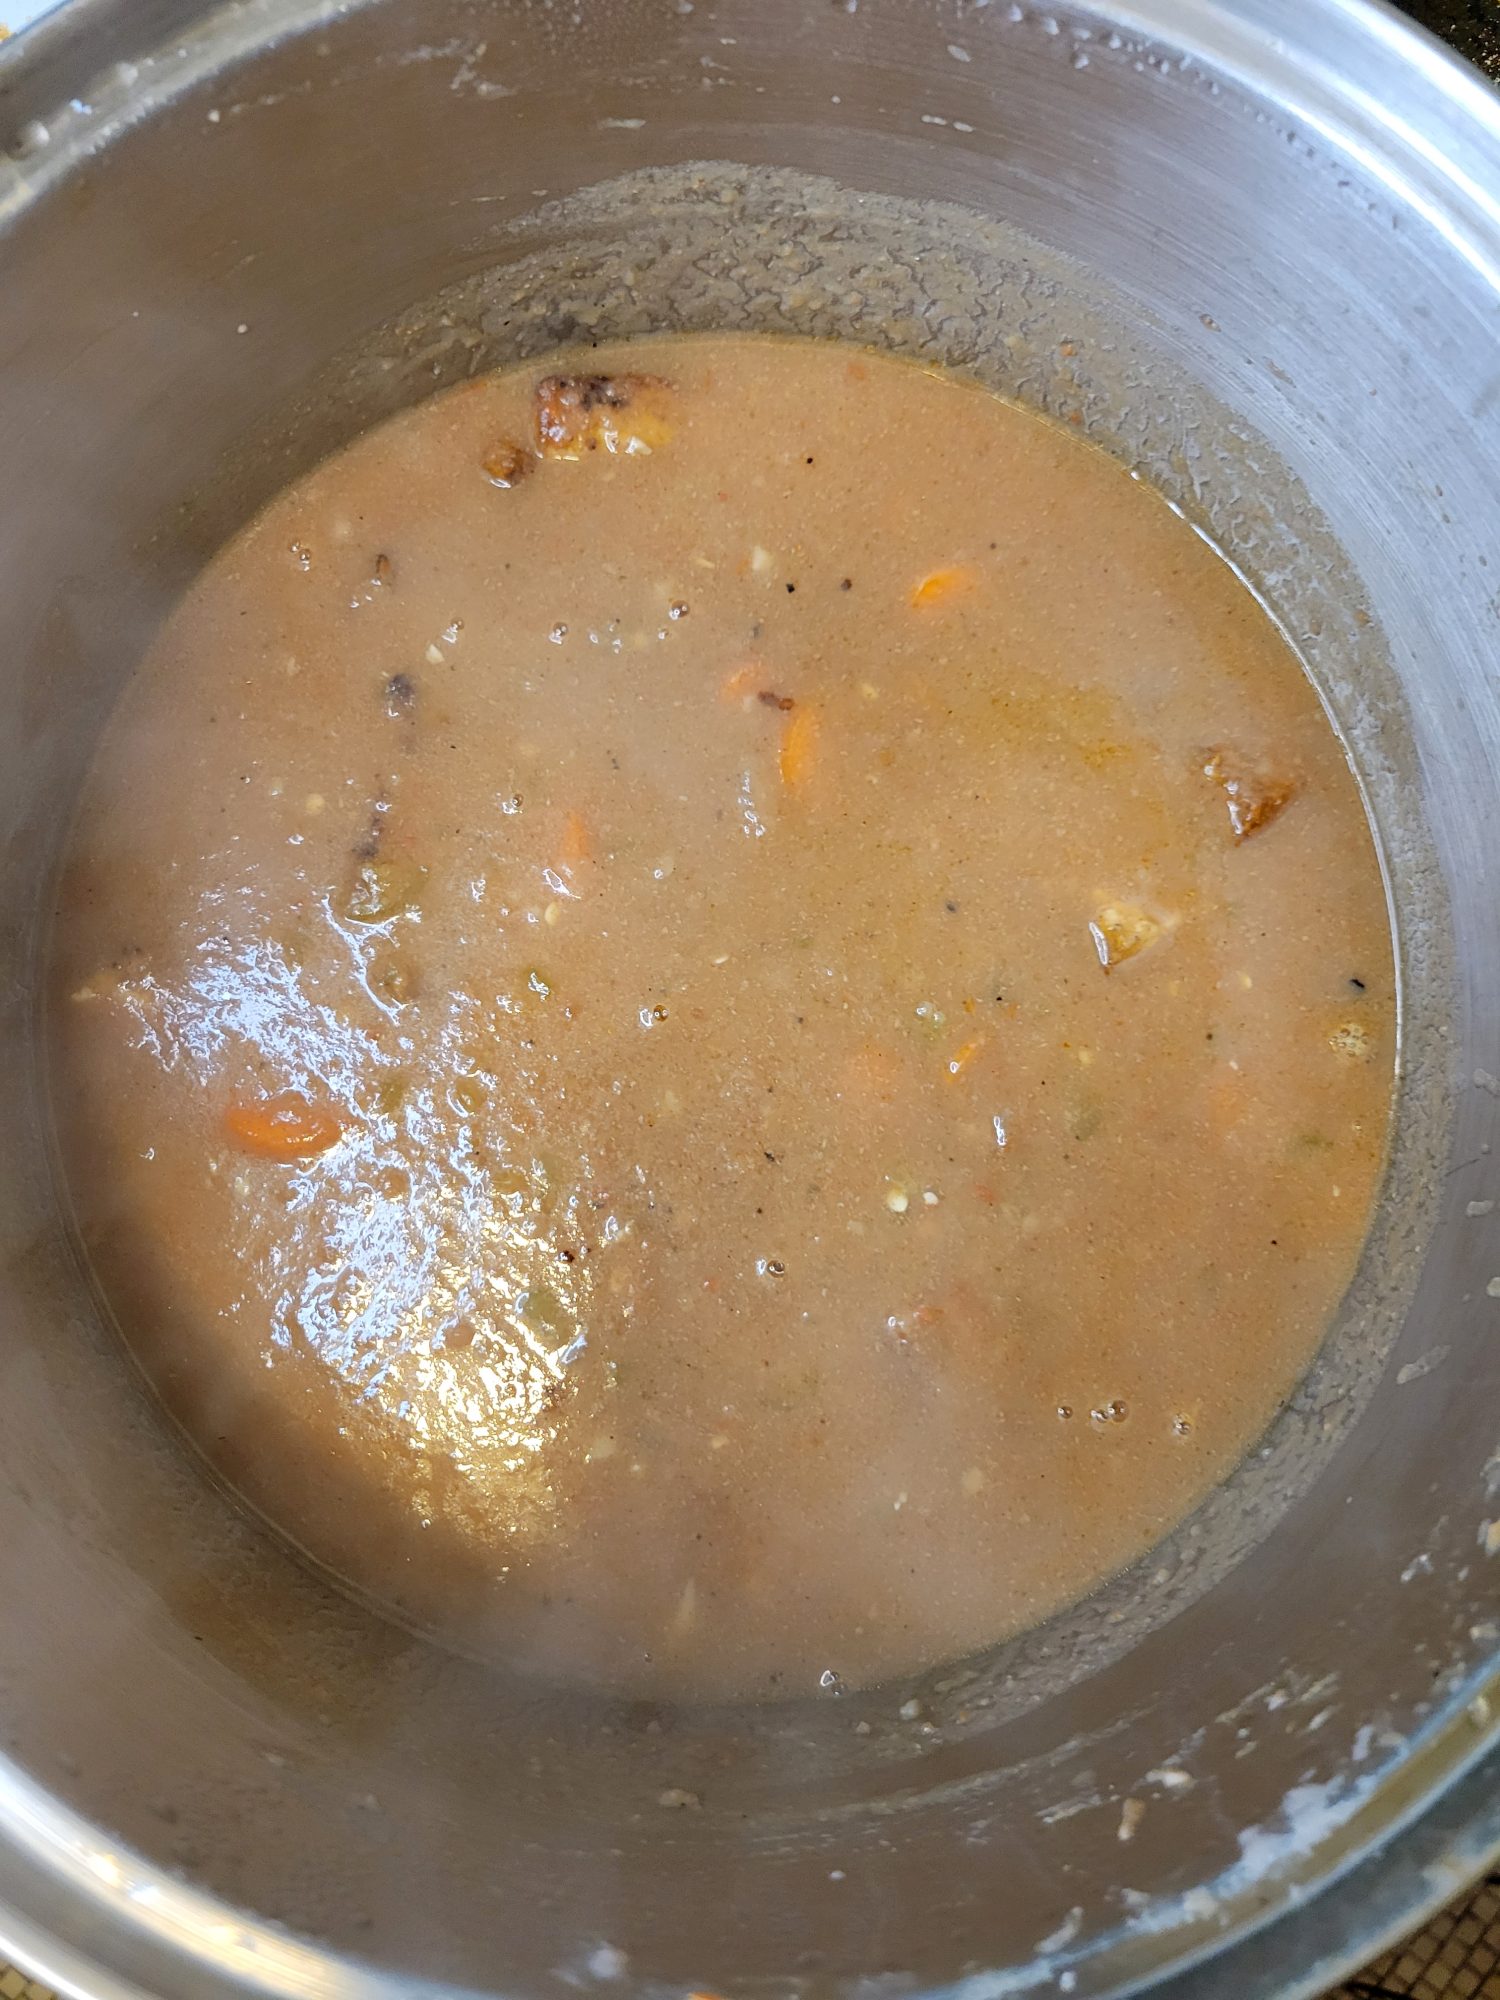
- Bring to a boil and then reduce to a simmer.
- Simmer for at least 2-4 hours. You want the liquid to reduce in half. If it’s reducing too quickly, add water and turn down the temperature. If it isn’t reducing fast enough, bring to a boil again and reduce to a slightly higher temperature.The longer that you cook, the more the flavors will permeate the ingredients, so simmering at a lower temperature for longer is always an option. I’ll sometimes lower the temperature to a very light simmer and pretty much leave it be for 6-8 hours.You never want to leave a pot on the stove unattended, but this is the kind of dish that you can kind of set up and let do its thing. You may need to turn the temperature down periodically to adjust for too rapid a simmer to keep it from boiling as the liquid evaporates. But, other than that, this is a pretty hands off dish!
Fry Tofu
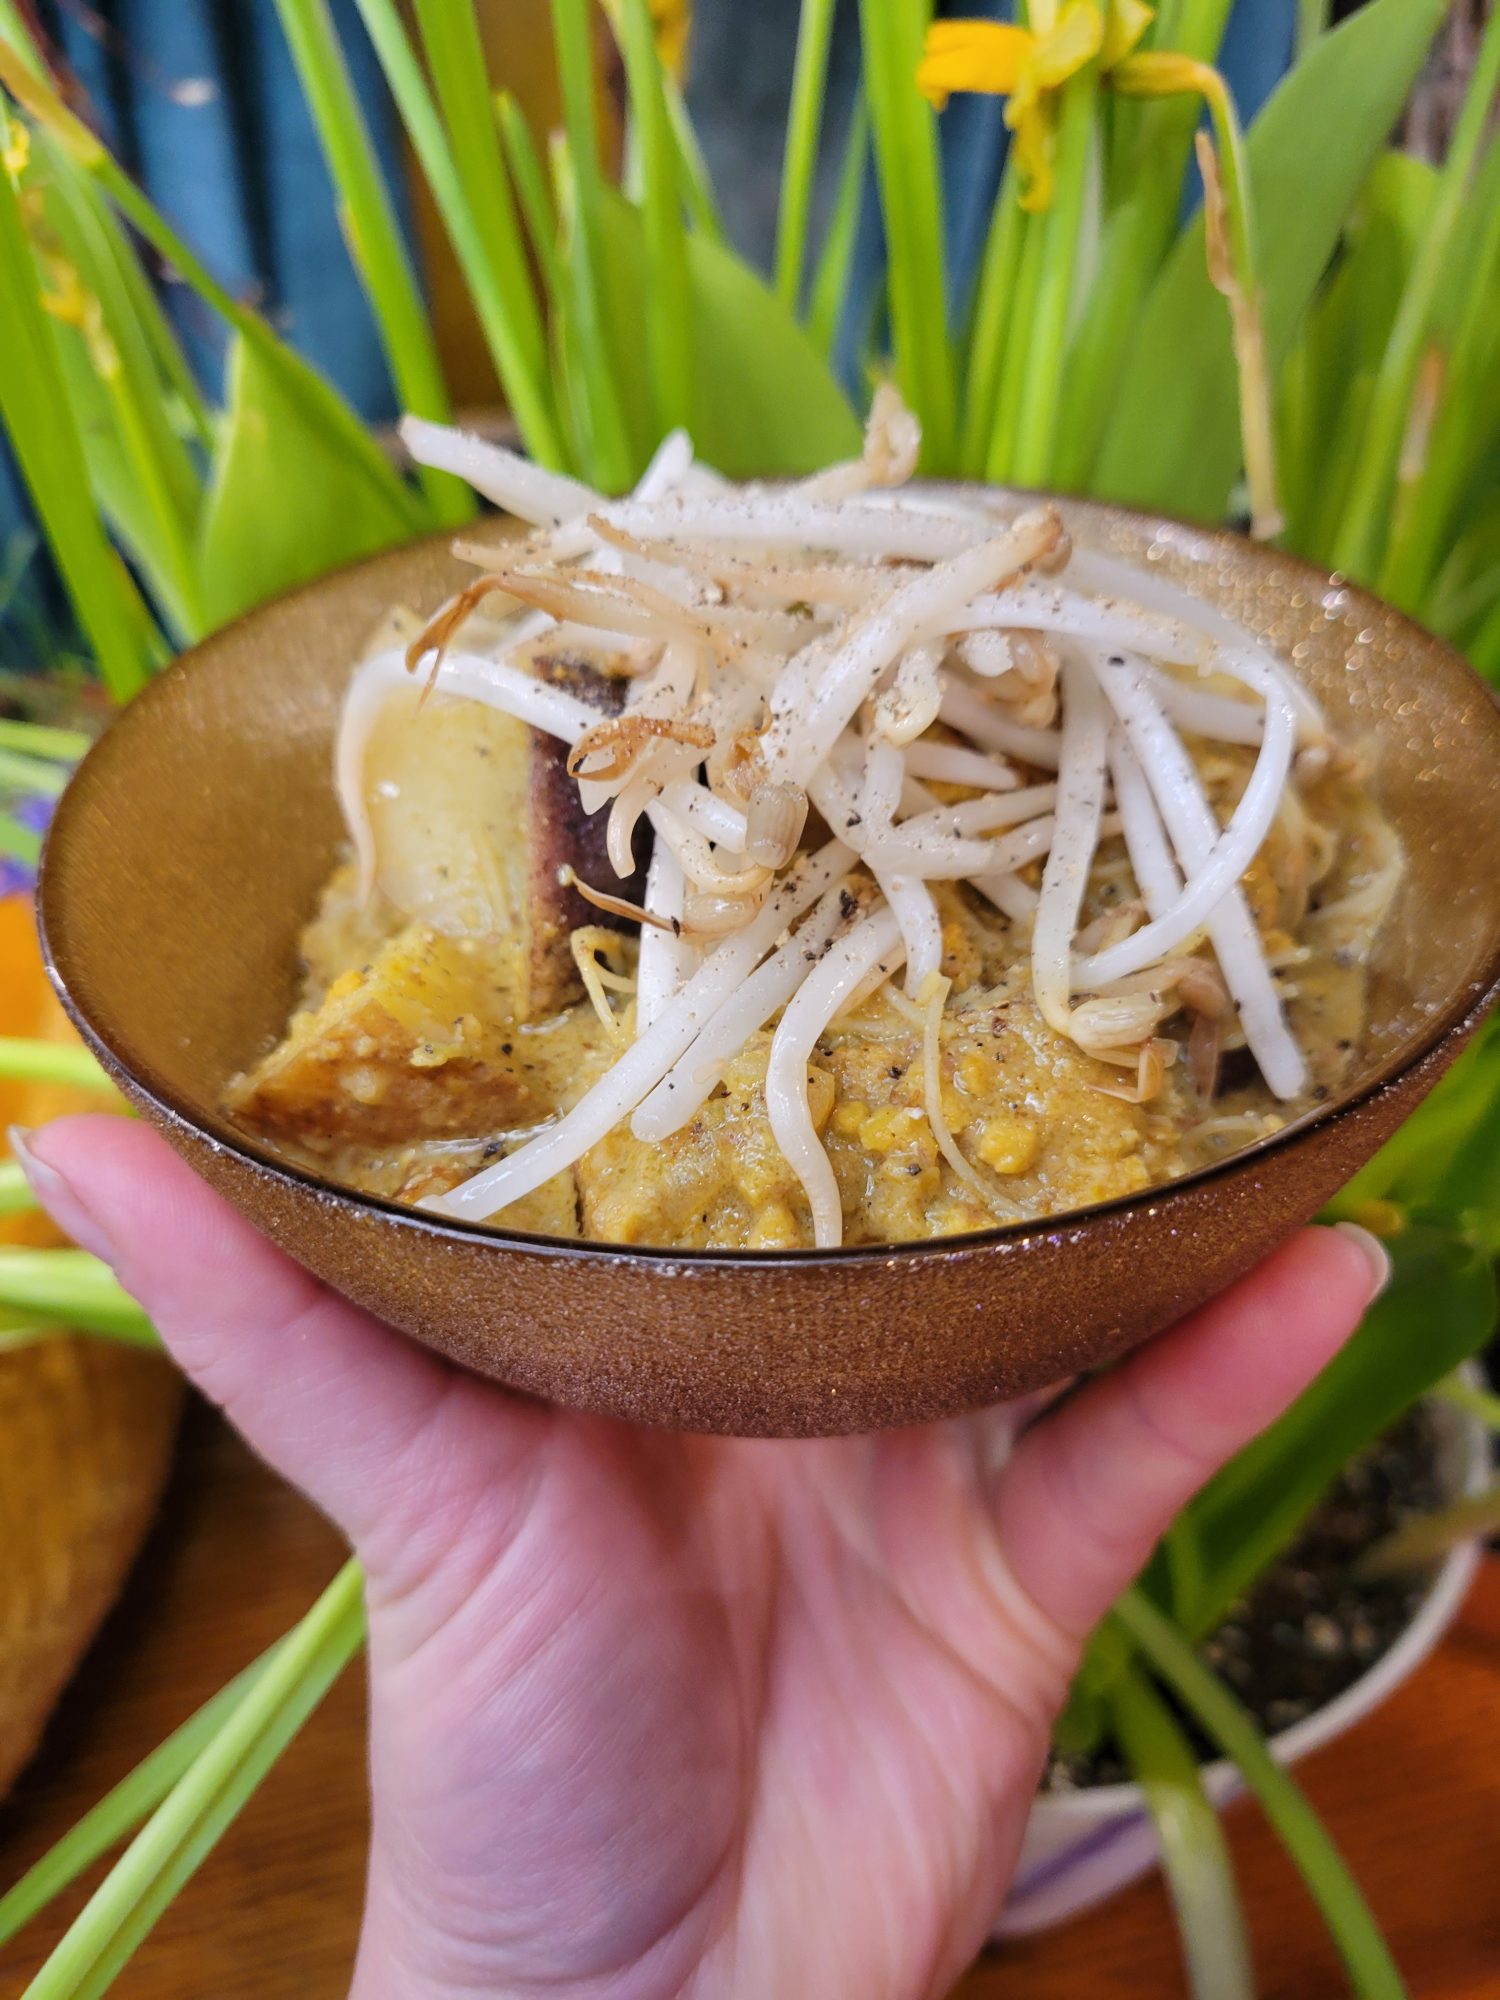
- After the curry has reduced about in half, you're going to want to add the tofu so that it can absorb the flavors. You can either put them in as is to reduce the oil in the curry or crisp the edges to help the tofu keep its shape. For this recipe, I lightly fried the tofu.
- While the curry is simmering, drain the water out of the tofu and cut into cubes.
- Wrap in paper towels to absorb the moisture.It's important to absorb as much water out of the tofu as you can. Oil is less dense than water, so the molecules repel one another. With cold ingredients, this causes separation. When you're frying at high temperatures, though, this can cause boiling hot oil to spray back at you.
- Meanwhile, preheat 1-2 tablespoons of oil in a cast iron skillet over medium-high heat.
- When the skillet has preheated and the majority of the water has absorbed into the paper towels, carefully add the tofu to the skillet. Fry until golden brown. This should take about 2-4 minutes. Rotate until all sides are evenly fried.
- Remove from heat and wrap again in paper towels to absorb the excess oil.Remove from heat and wrap again in paper towels to absorb the excess oil.
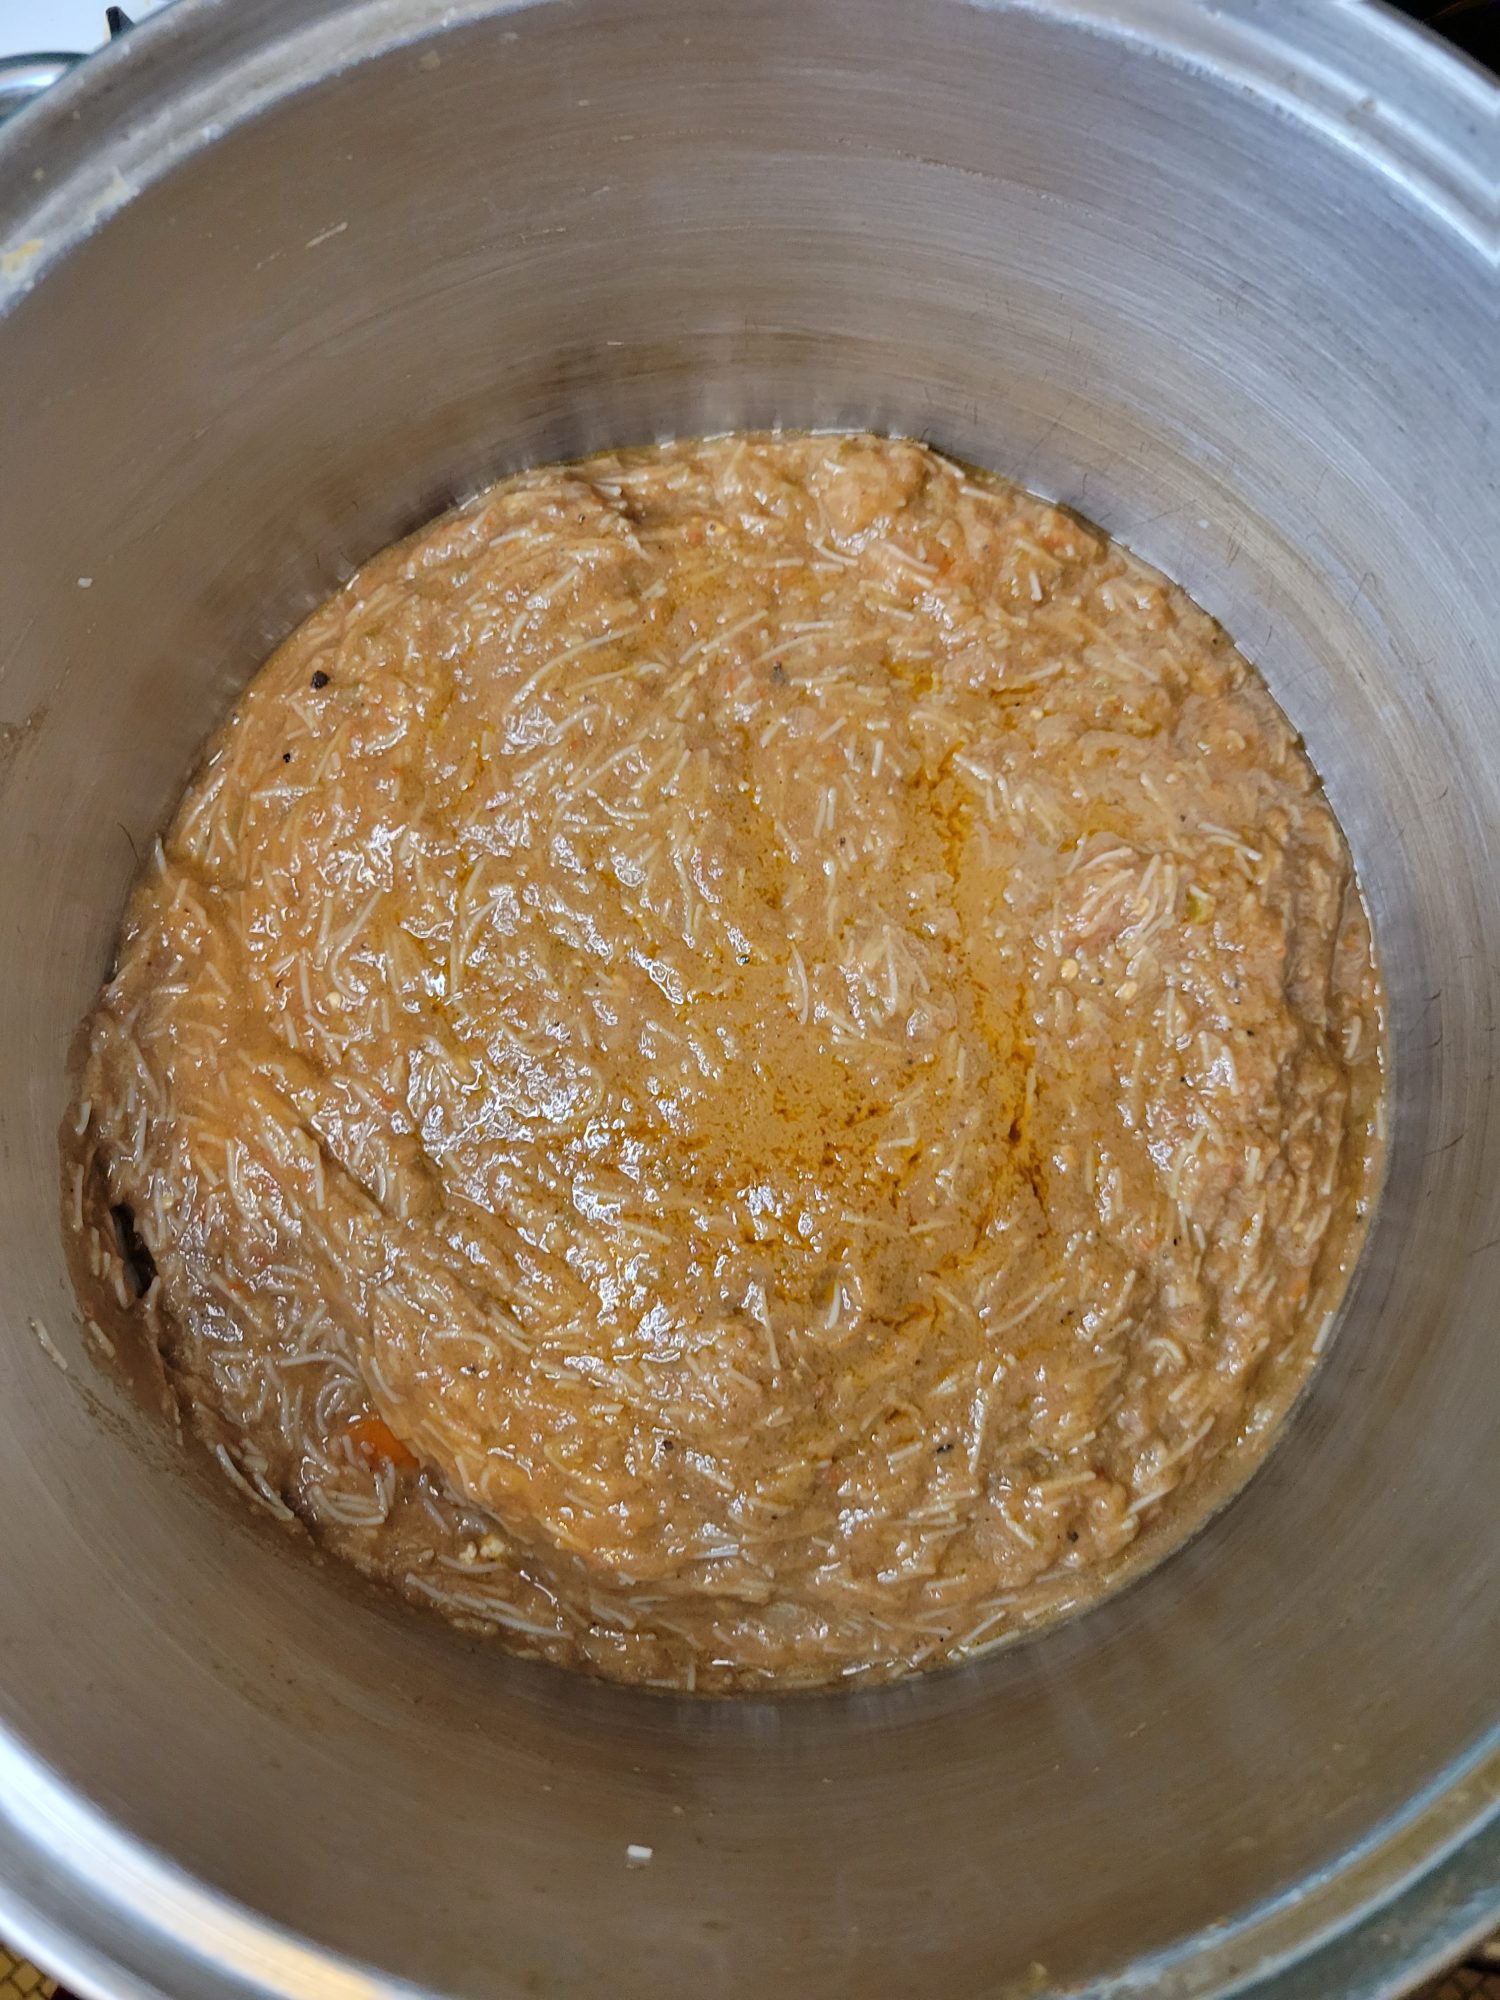
- Add the tofu to the curry and simmer for another hour or two.
Cook Vermicelli
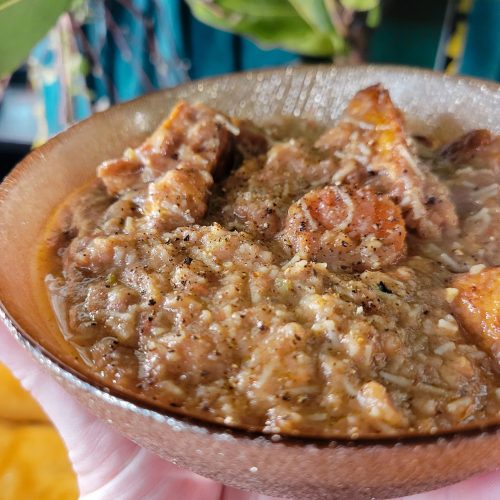
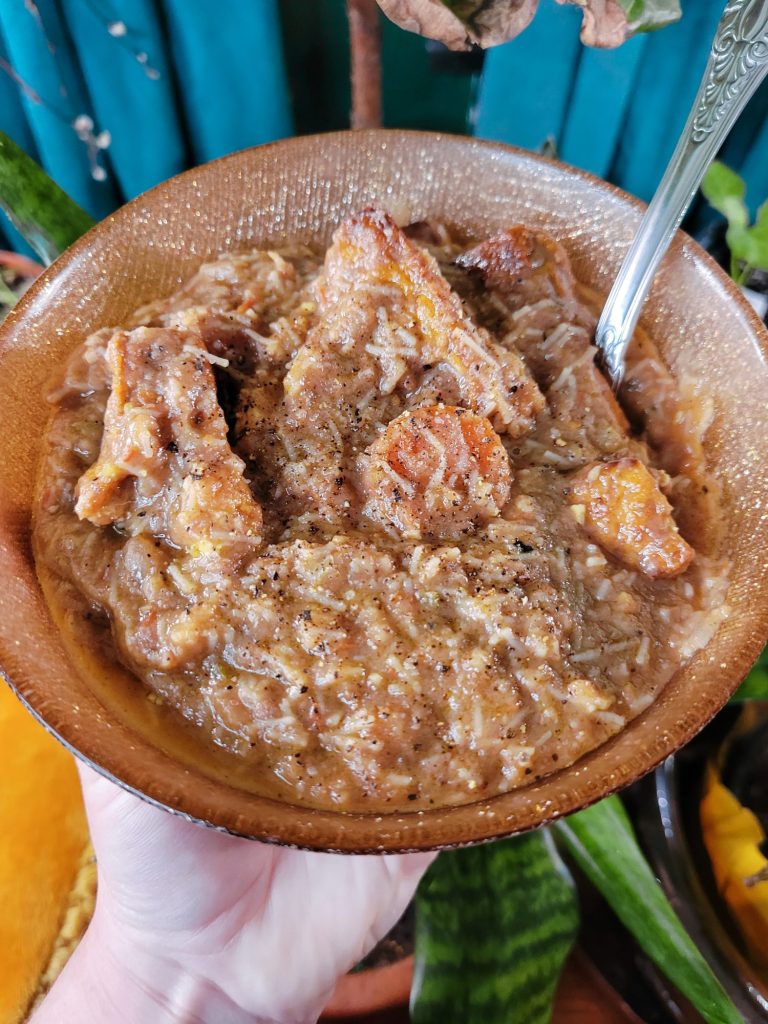
- After simmering the curry until it's simmered down to your liking, add the vermicelli.
- Add the vermicelli and cook according to the manufacturer's instructions.Vermicelli cooks very quickly. I tend to add the vermicelli and then immediately remove it from heat. Merely sitting in the once simmering curry is sufficient enough soften it enough to eat without overcooking.
Serve
- Serve immediately or refrigerator.Curry will continue to the absorb the spices the more time passes. It’s one of those dishes that I like to make ahead of time because it often tastes better after the flavors have had time to set overnight.
Tips, Tricks, & Notes
- To make the curry spicier, put more hot peppers towards the end of the cooking process. Peppers added in the beginning stage will have a slower, more robust flavor that permeates through the dish. Peppers added towards the end of the cooking process will have more of a kick in the teeth, mouth burn.
- If the curry absorb too much moisture, you may need to add more water. This is to taste. I tend to like a thicker curry with larger chunks, much like a thick stew. If you’re in the other camp that likes a more liquid curry, don’t hesitate to add more water. If you’re unsure, taste periodically and adjust to what you like. You can always add more water, even after you’re done cooking entirely, to lighten it up. The curry will thicken more as it cools and overnight.
- Do you need to sauté the produce? A lot of curry recipes want you to sauté or otherwise cook vegetables beforehand. The first direction is typically, “sauté onions and peppers in oil on the stove.” I tend not to do this because it tends to mean adding oil to the curry. Since you’re simmering down for several hours, the natural oils in the vegetables that you use will separate. This will create a film of oil on top of the curry. Some people like this. It can also be an indicator of how spicy a curry is sometimes because the more peppers that you use, the more oils will naturally leach out of them.
- I don’t tend to find oily curry appetizing, though! So, I try to minimize the amount of added oil is in the recipe. If you’ve ever had a soup or sauce that’s separated, you know what I’m talking about. The oil will separate and settle on the top because it’s less dense than water. It will be obvious if it’s a problem.
- If you do end up with too much oil, add an ice cube or a frozen metal ladle to draw out the oil. Then, just spoon it out until you have removed enough oil. Alternatively, if you refrigerate the curry, the oil will rise to the surface. This will create a semi-solid chunk on top and you can spoon it out. If there’s a lot of oil and it has solidified enough, you can sometimes just pick up the layer with your fingers and remove it this way.
- For a more in-depth article on preparing tofu, check out my article on The Fundamentals of Fried Tofu. High heat oil and a precise cooking temperature are important to keep the tofu from drying out or burning.
This Page Contains Edited Images
As a general rule, I don't like to edit my images and I am firmly against alteration of images in food blogs. It's not something that we generally think about when it comes to recipes. But food styling, editing, alteration, and even faking entirely is just as rampant a problem in the recipe realm as anything else! Cooking is a very visual art and you can tell when a lot of foods are cooked based on the color. So, when this is altered and you can't use the coloration as a gauge, it makes it quite difficult to follow some recipes. I have an entire article about Food Styling and Unrealistic Expectations of Recipes.
Because of this, I try very hard not to alter any of my photos. I like to take photos with natural sunlight during the day. Ordinarily this is very true to color and I don't edit the photos at all. However, since my place is very warm with a lot of yellow lighting, sometimes my camera overcompensates and ends up with an unnatural blue tone. In the following images on this page, I adjusted the levels and hue to try and make this more true to color. In the interest of transparency, these are the before and after photos.


Leave a Reply