I didn't necessarily start out intending to make Peanuts Curry today. Really, I'm just attempting to use all of the random things that I randomly keep on stock in my pantry for no apparent reason. Every time that non-perishable goods go on sale, I tend to buy them in bulk. Is there a sale on 5 pounds of unroasted, unsalted peanuts?? Then, I'm absolutely on board. I'm going to put them in an airtight container and move several times over the next couple of years and just lug them around!
Peanuts
Now, I'm not knocking peanuts. I'm actually a huge fan of peanuts. They're a much better price than a lot of other nuts, but are still incredibly flavorful and high in nutrients. I believe that peanuts just get a reputation as being a food for children because of the abundance of sugary peanut butter. However, peanuts really are one of my favorite foods and I do like to cook with them quite a bit! I have pages of recipes with Peanuts in them. The real problem with these particular peanuts is that they're shelled, but still in the hull. So, I either have to remove the hull on every single nut or deal with the unpleasant textural experience of peanut hulls between my teeth.
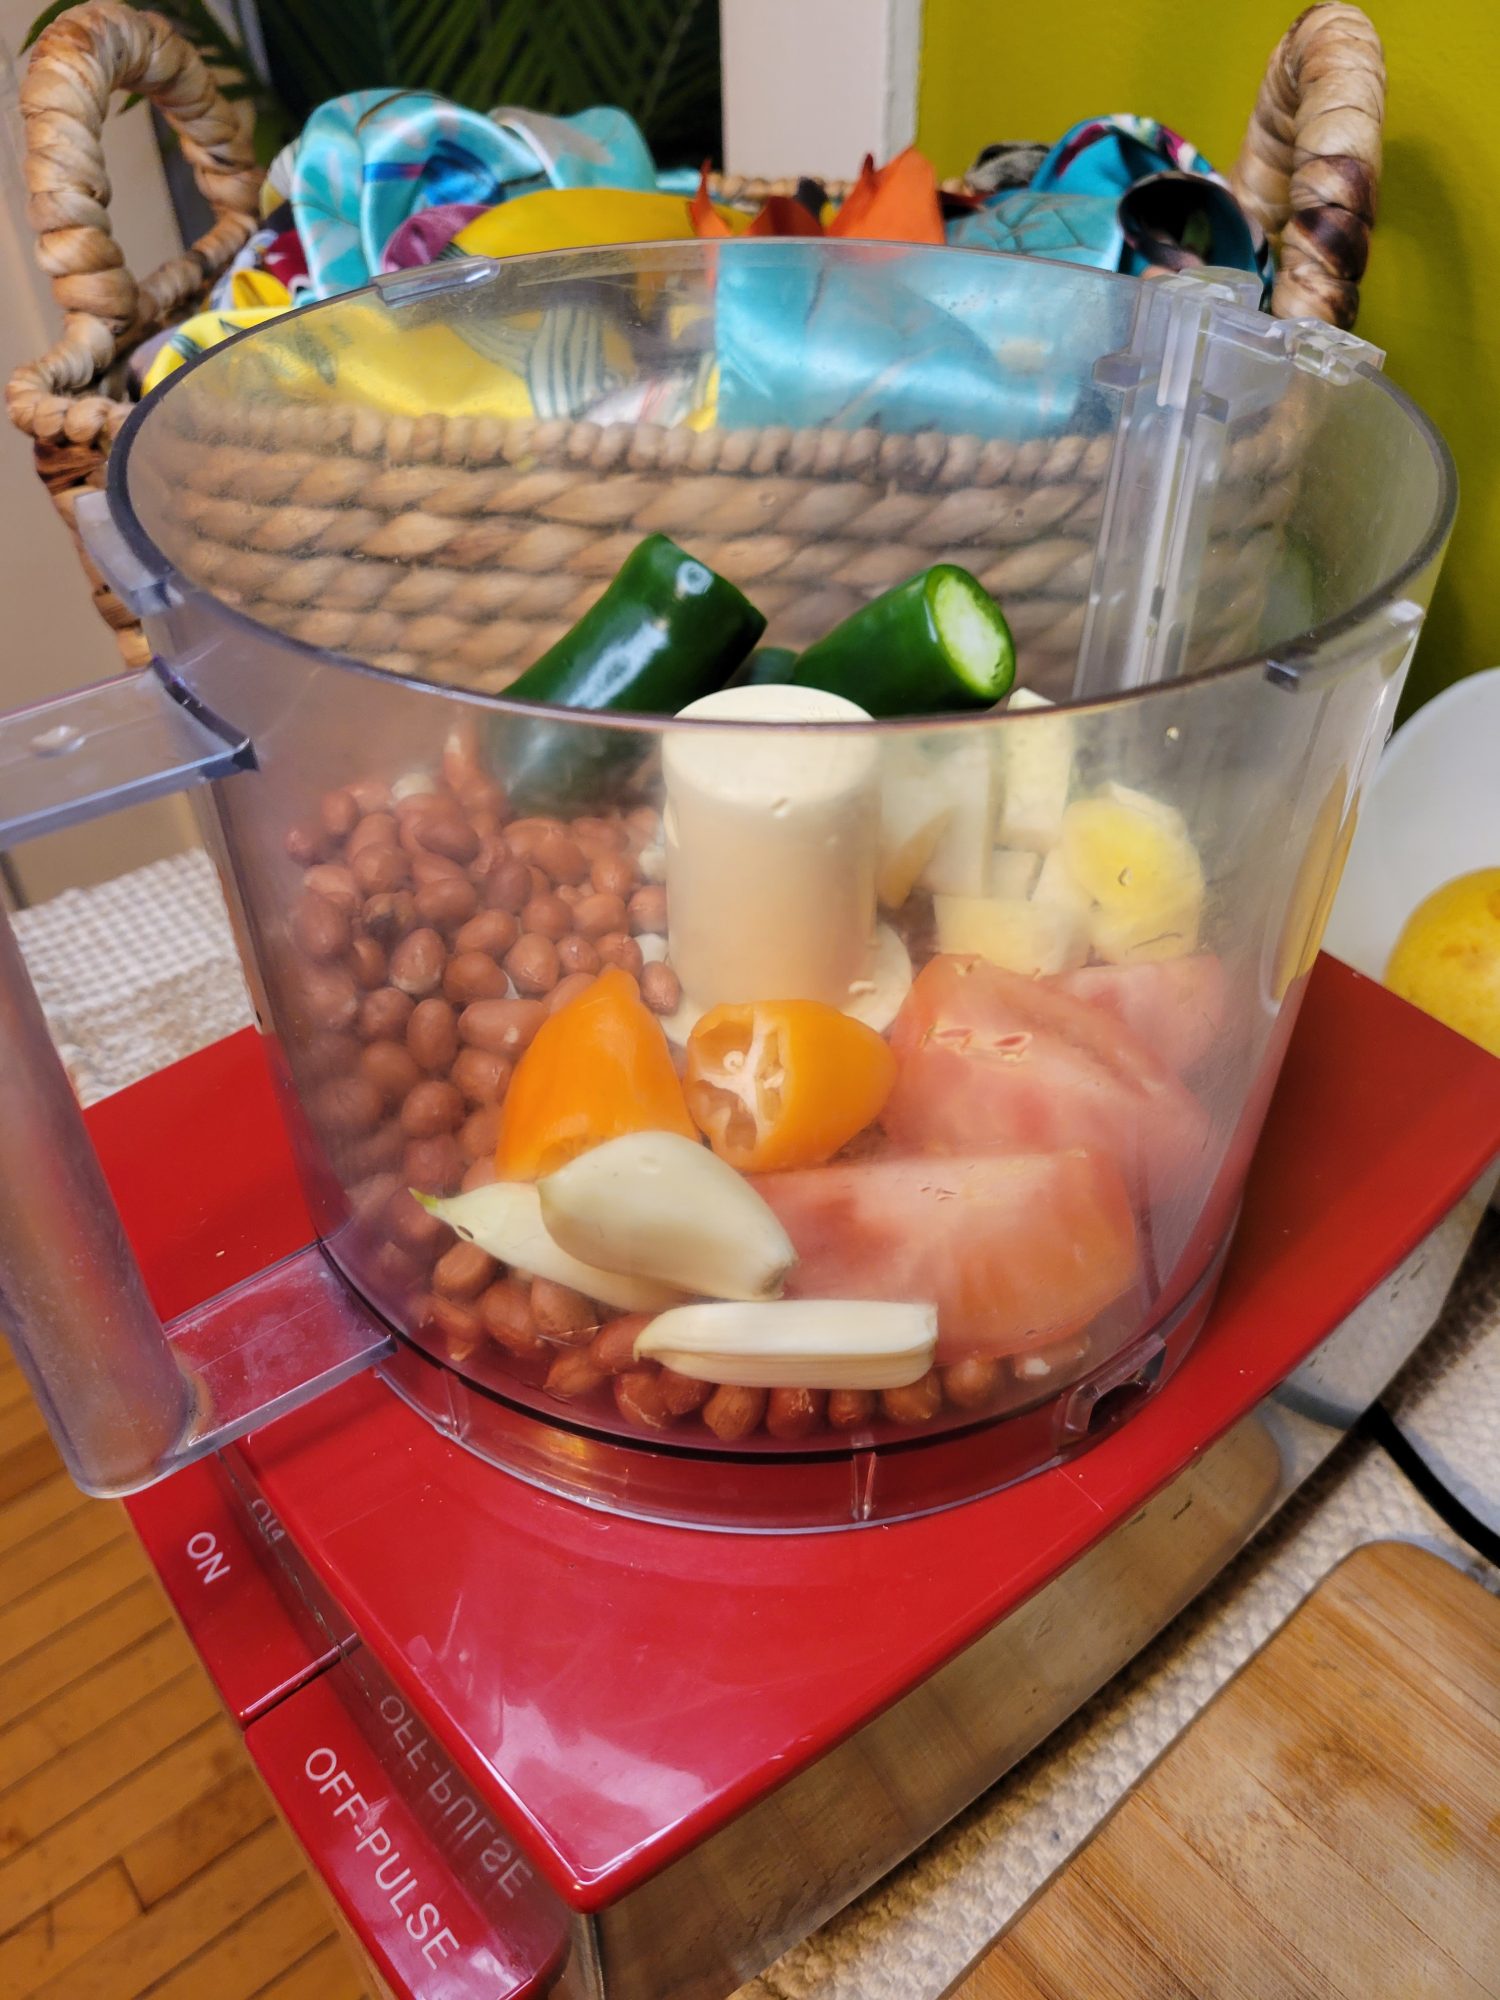
That's why today I decided that I was going to find a workaround to this and purée all of the peanuts with tomatoes, garlic, ginger, habaneros, jalapeños, and coconut milk in a food processor until all of the little peanut hulls become soup. This was actually incredibly simple and delicious. If you don't have a food processor, then peanut butter works as a great substitute here. You absolutely do not have to essentially make your own peanut butter in a food processor to make this curry. Just make sure to find peanut butter without added sugar.
Gallery
Variations of Peanuts Curry
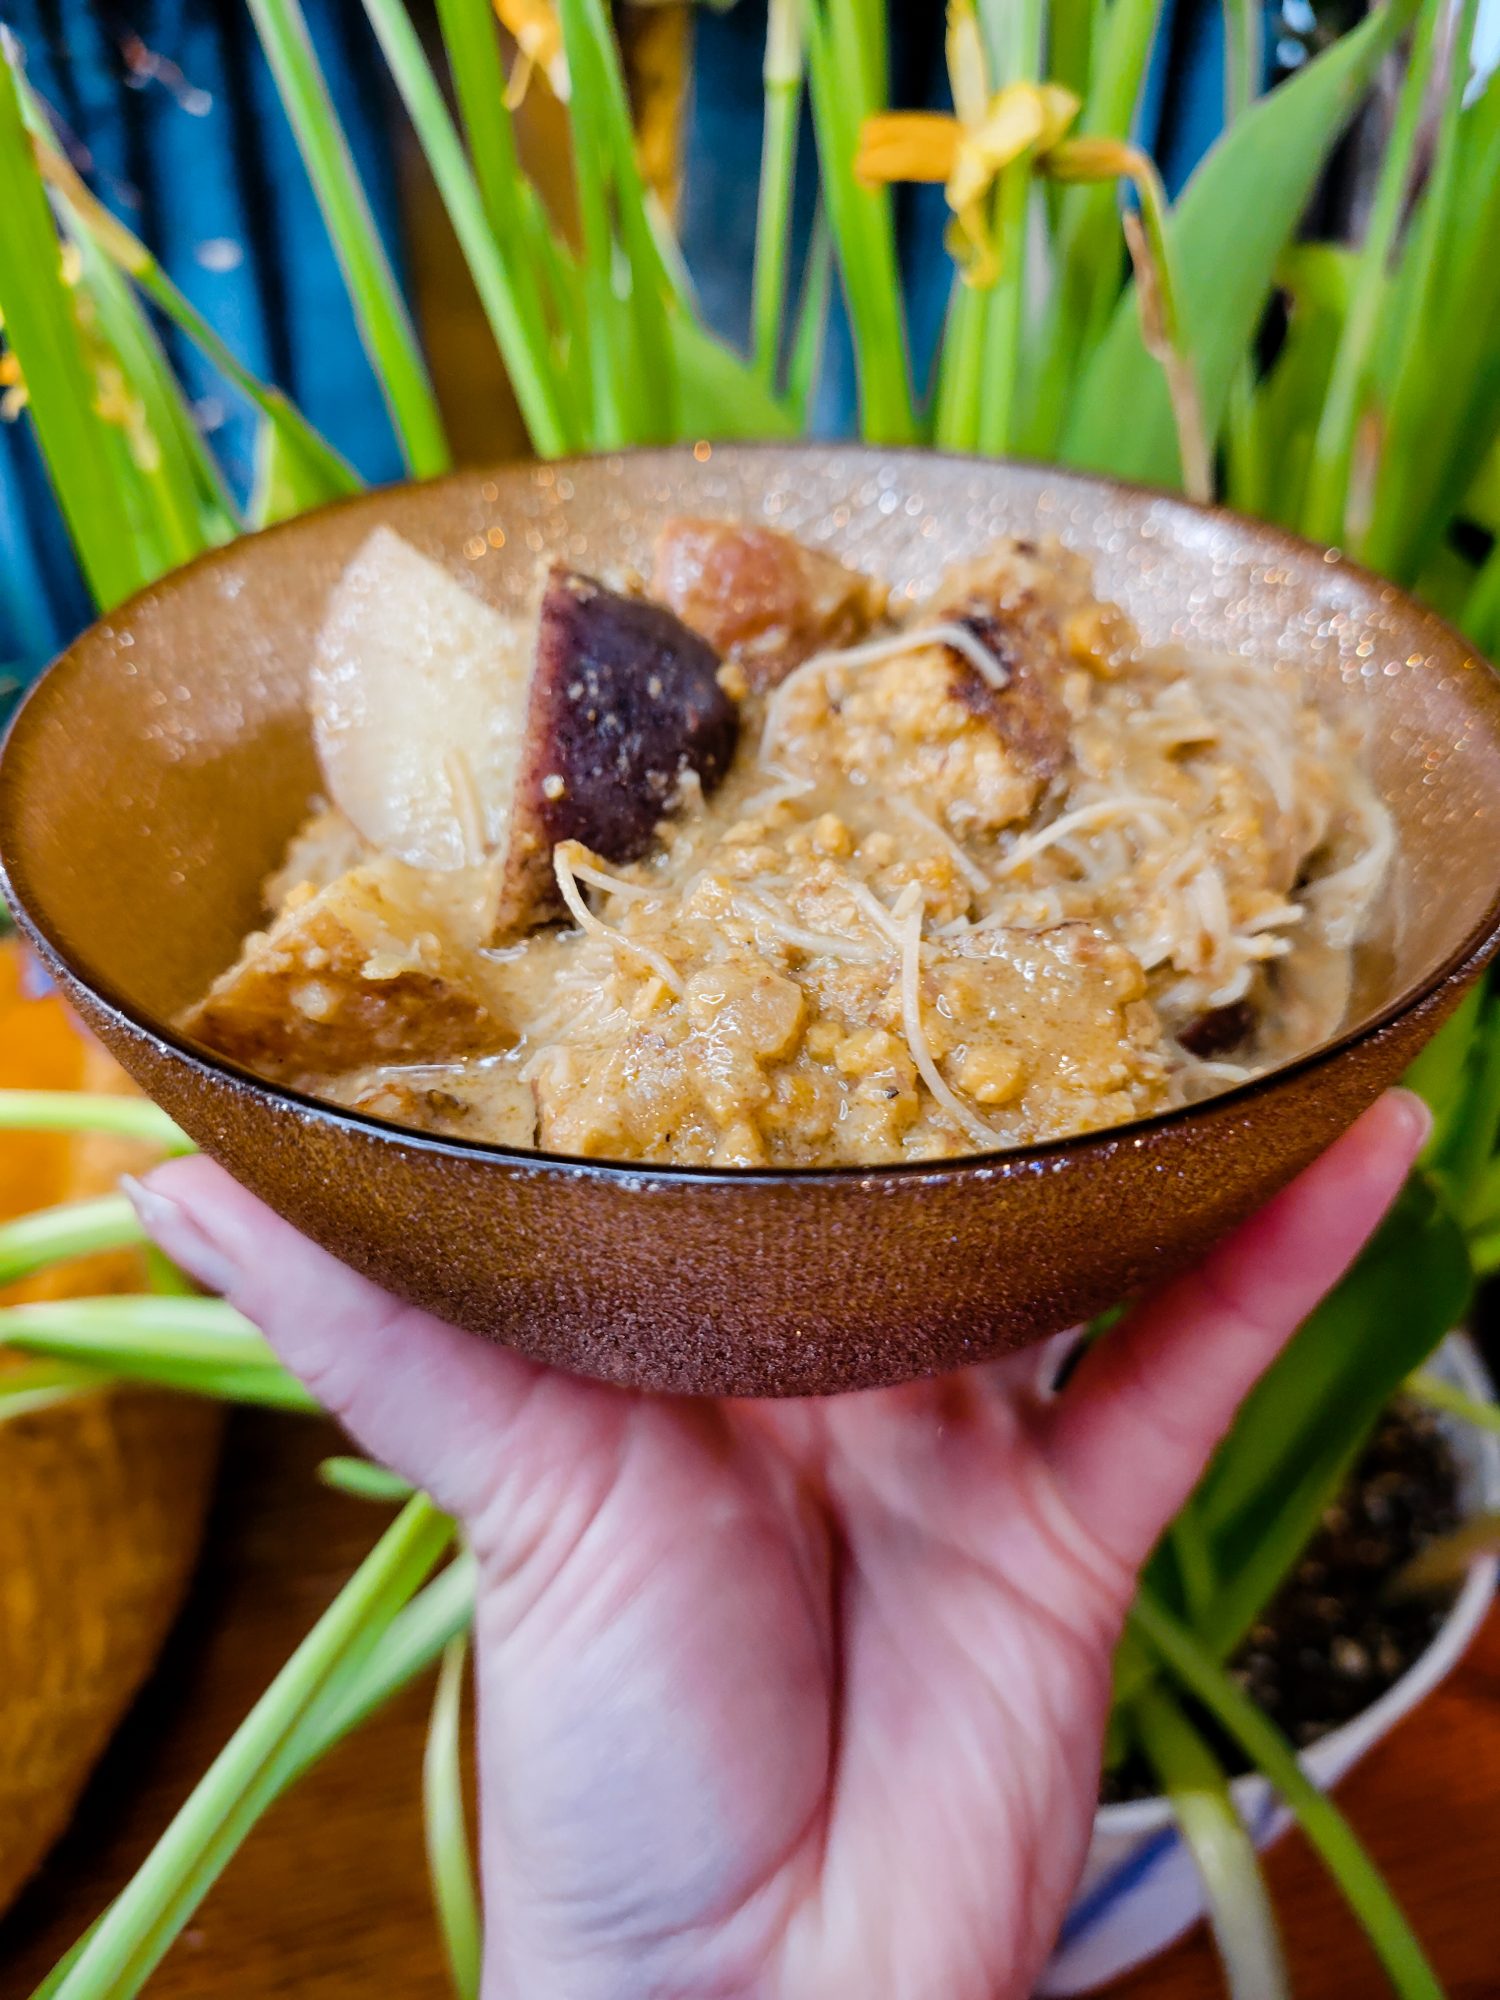
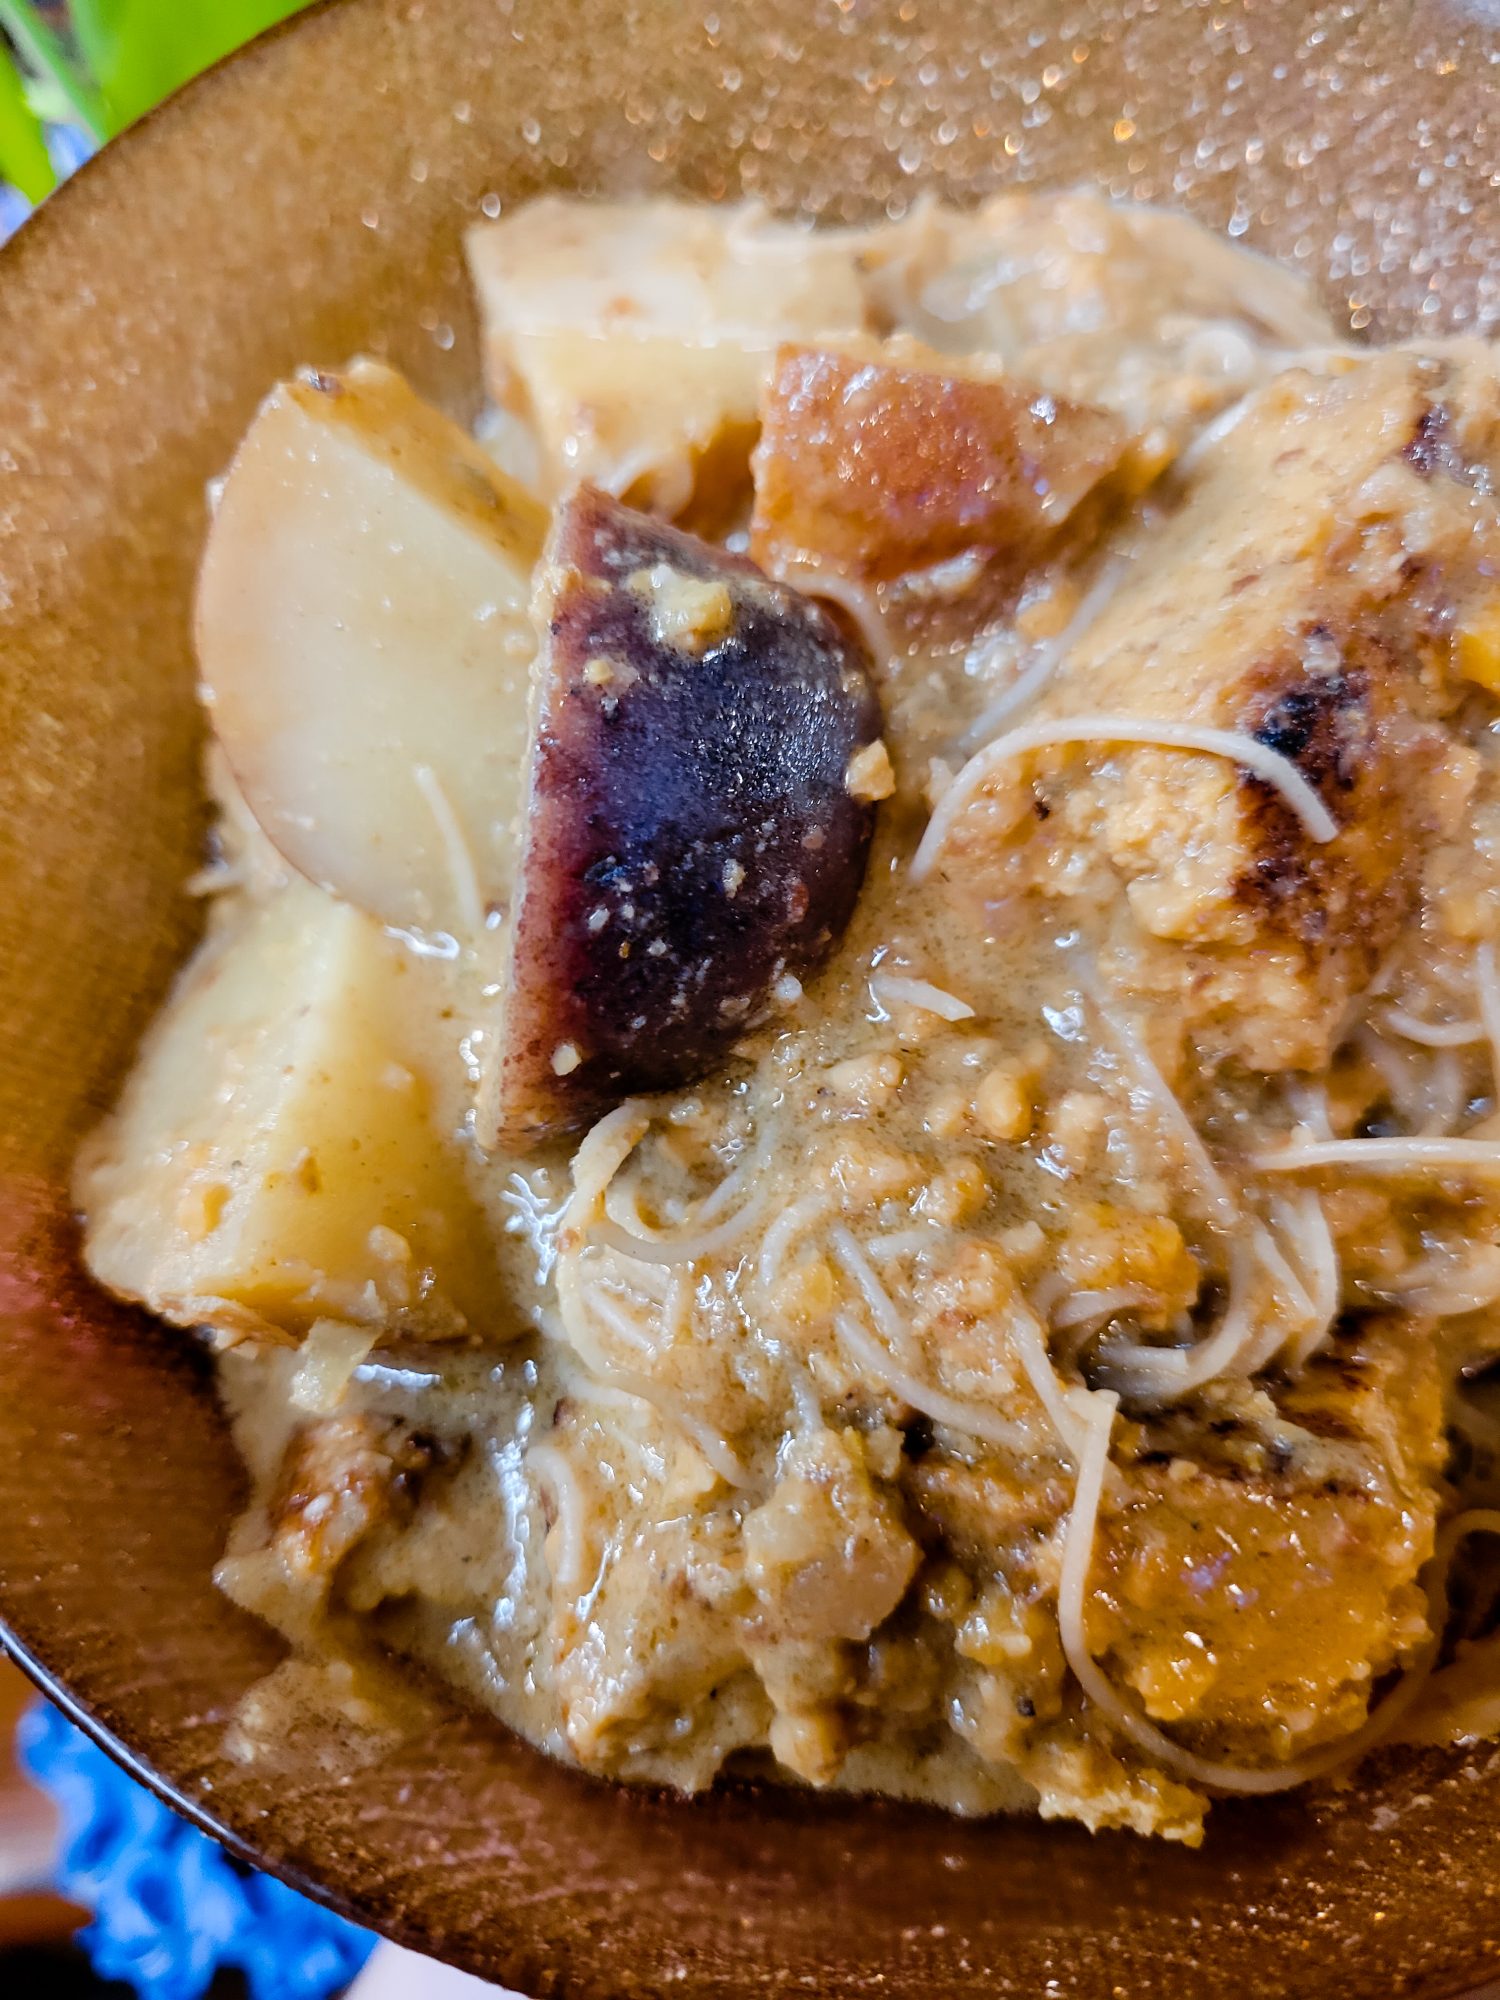
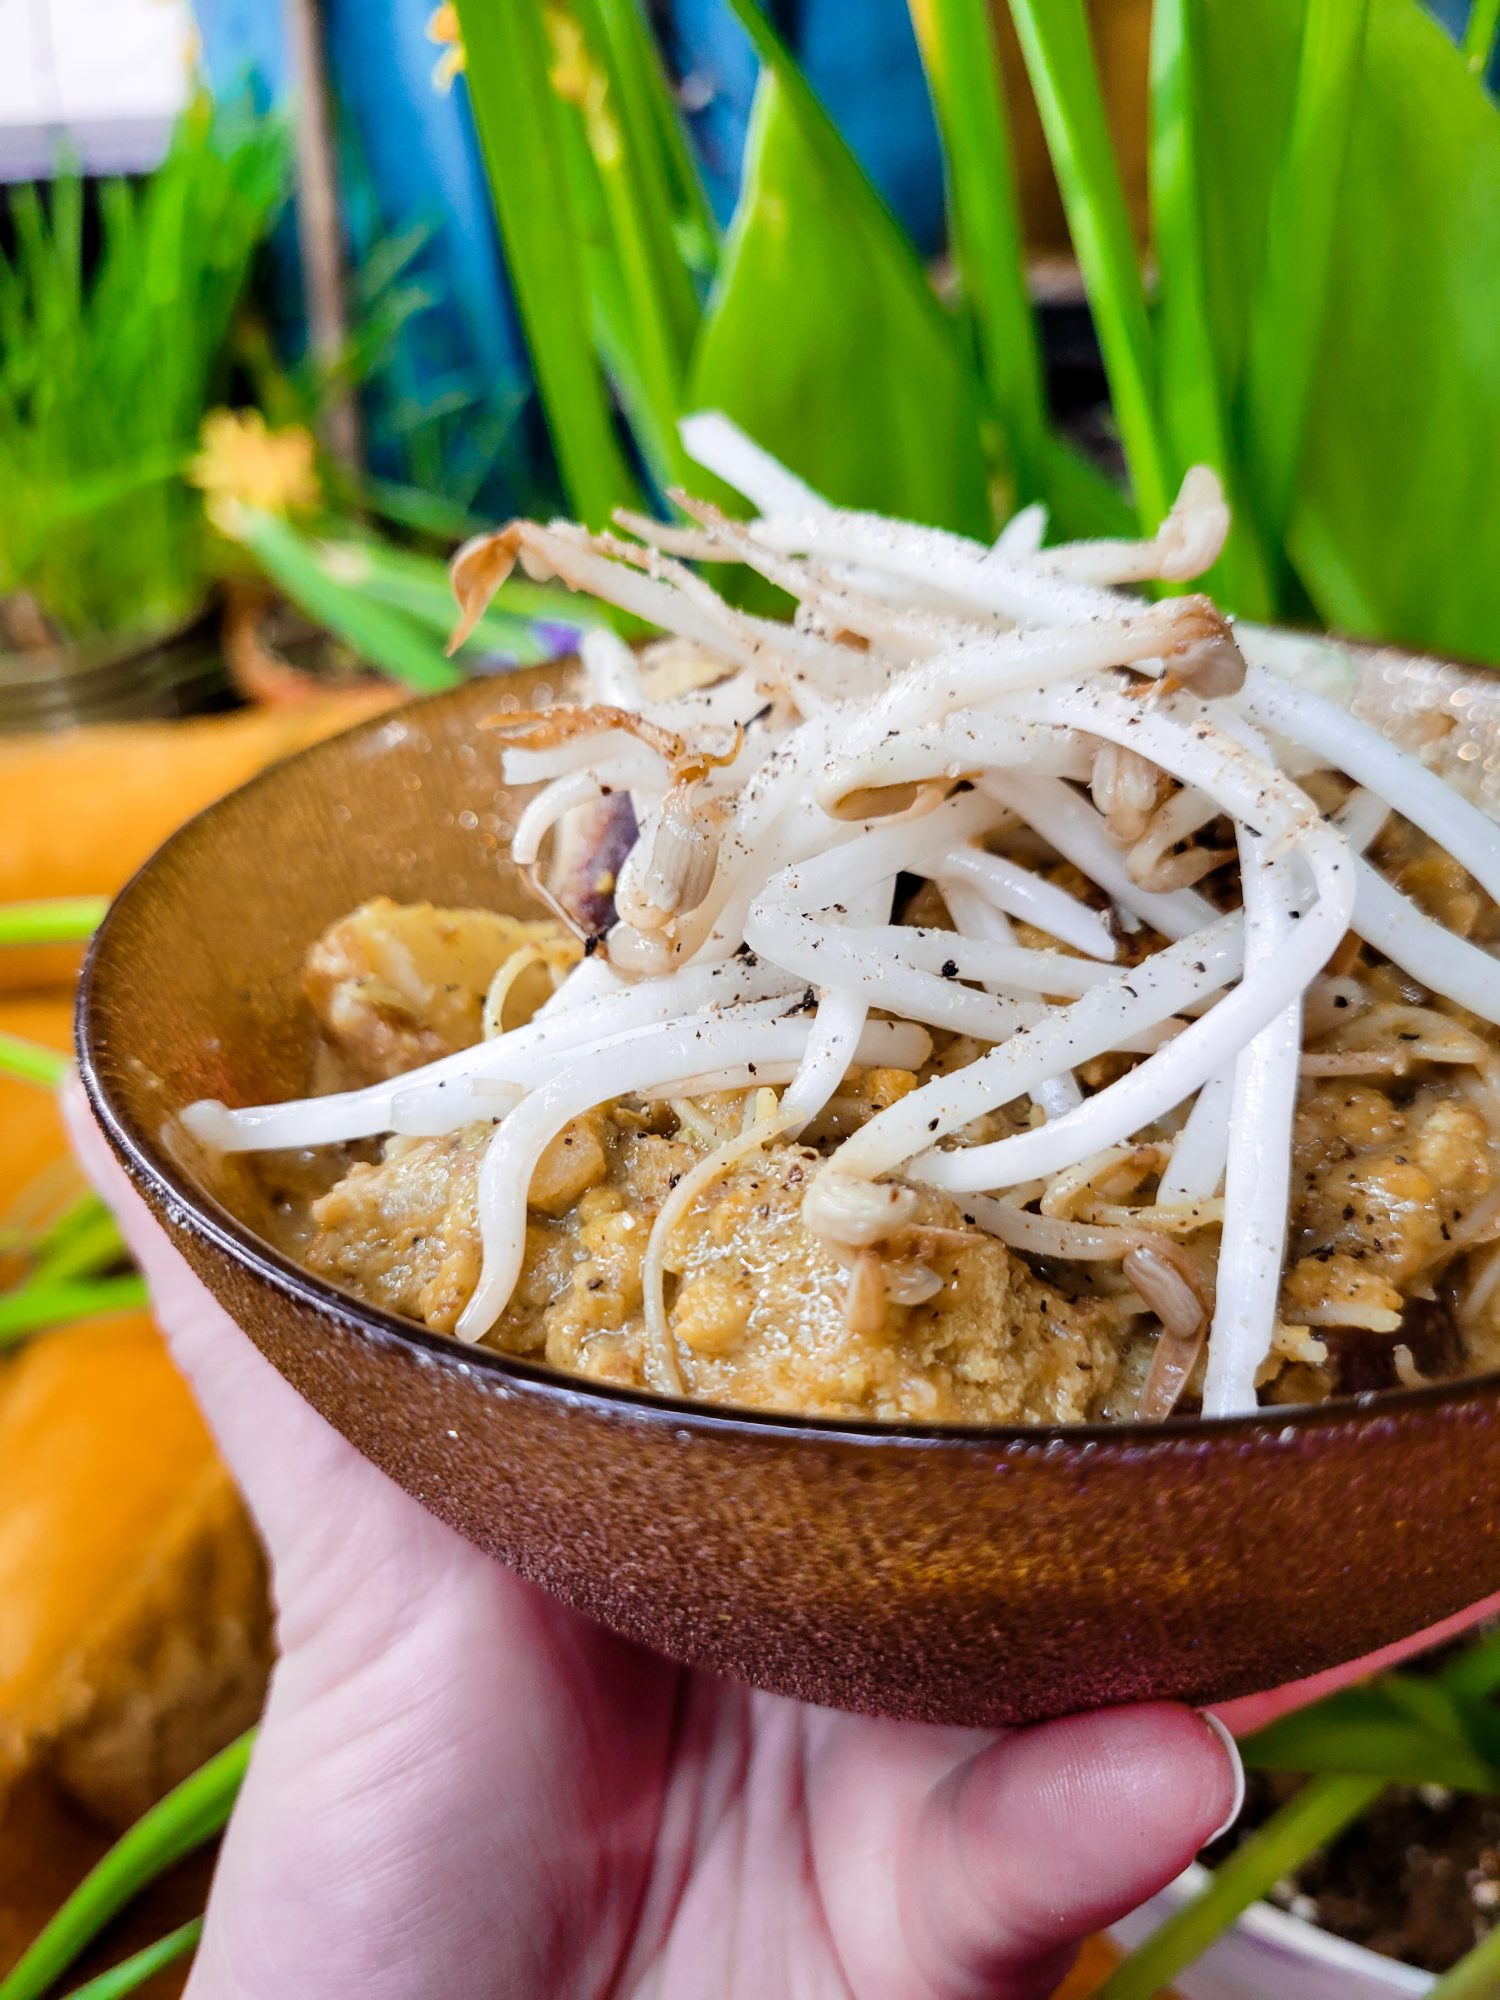
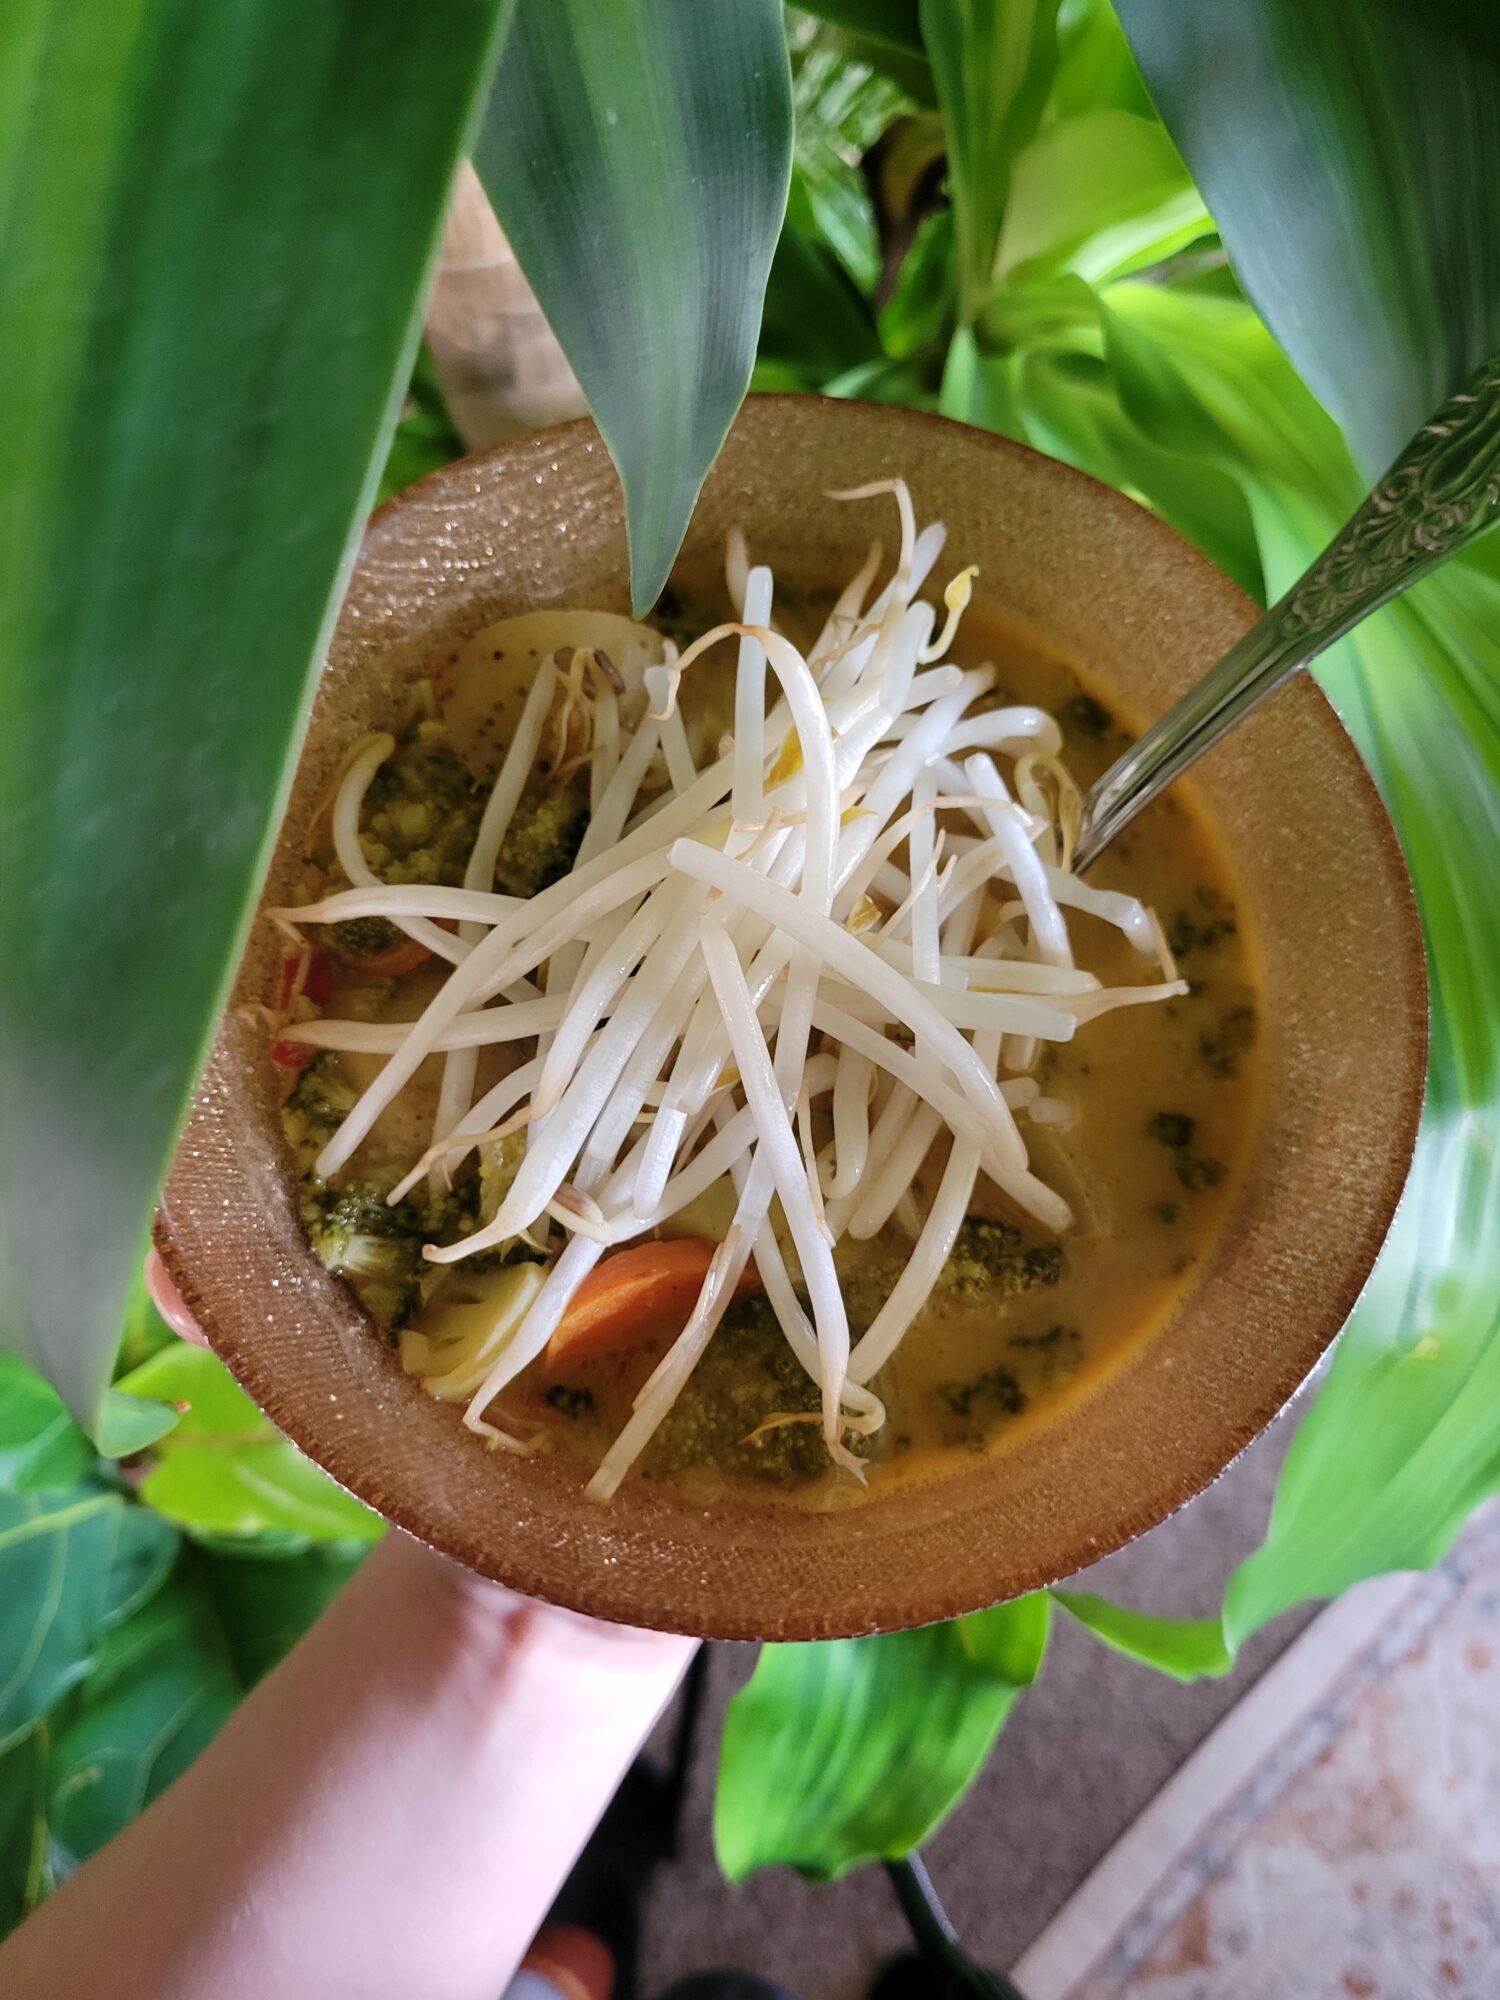
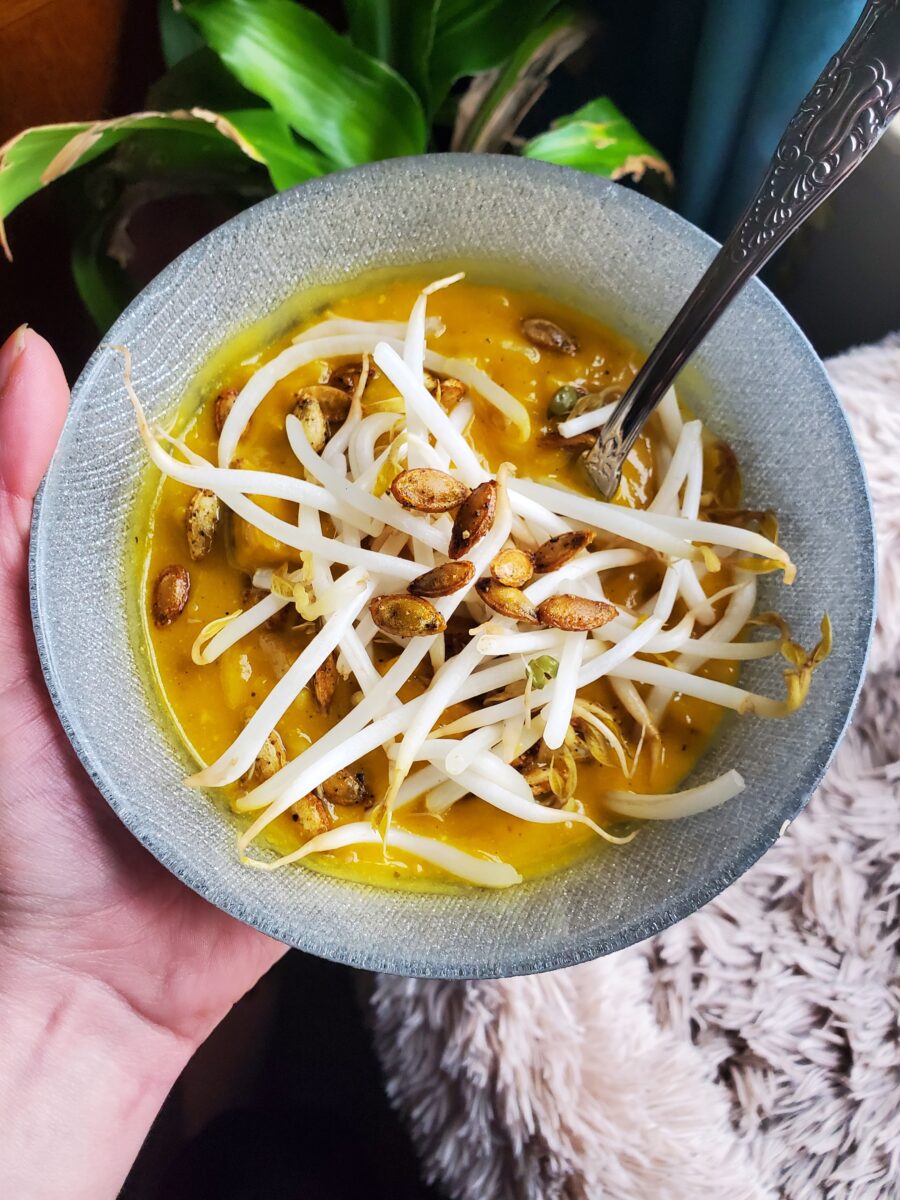
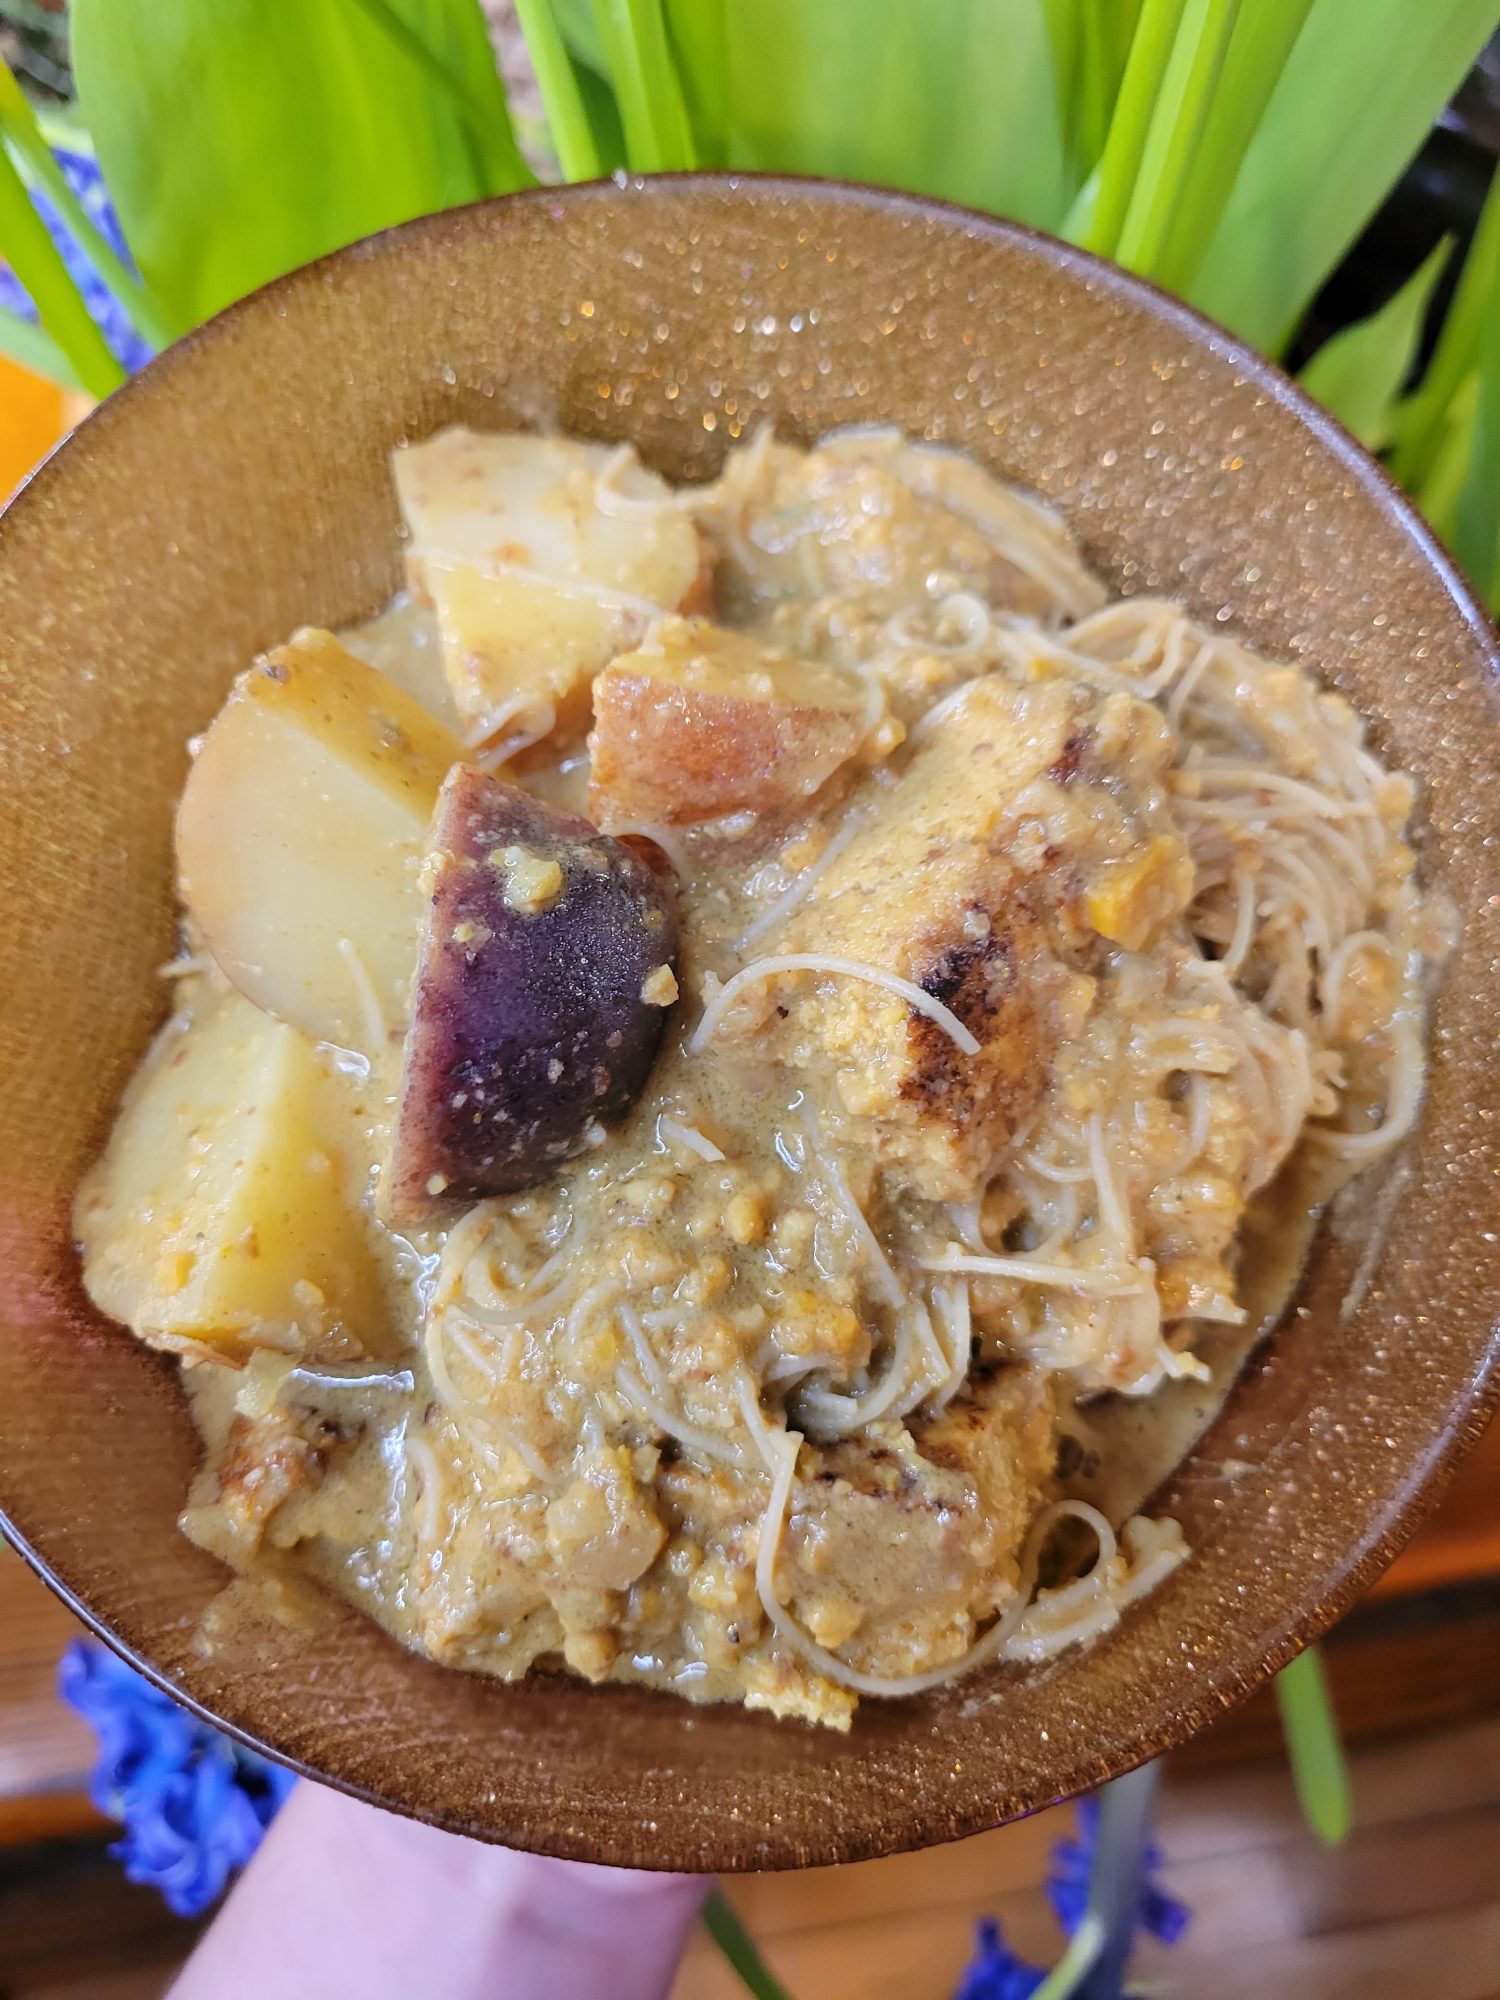
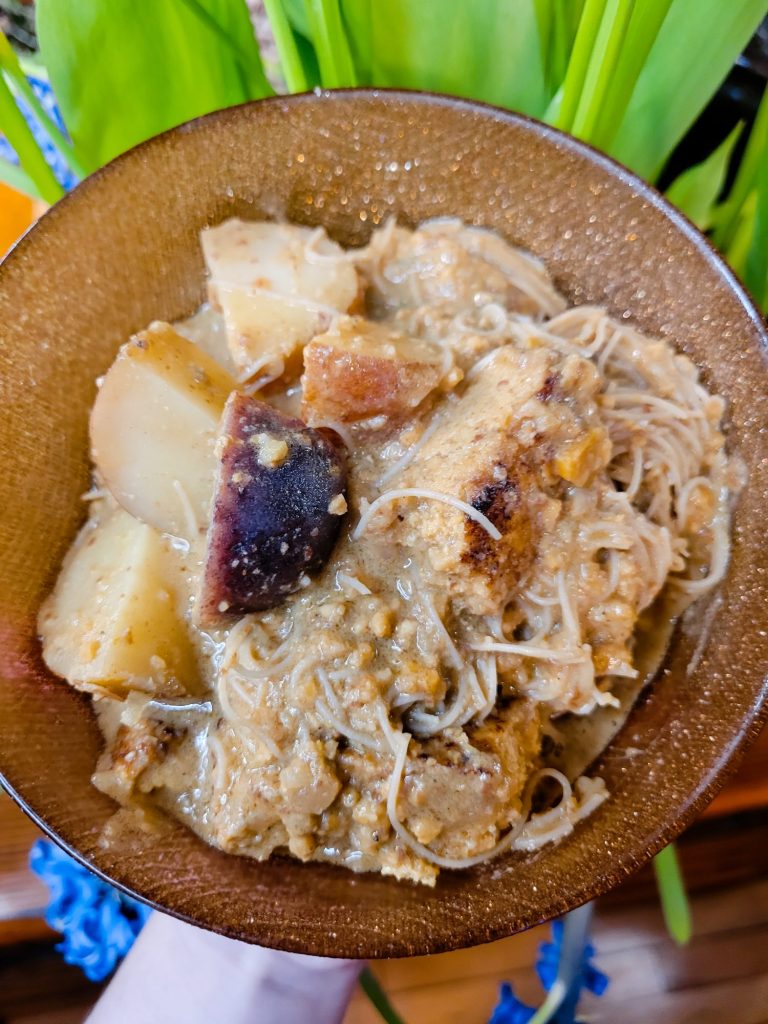
I absolutely adore curry. It goes great with peanut butter. Although. I'm no stranger to adding any number of things to curry, from squash and sprouts to broccoli and beer, the sky is the limit. Just about any fresh fruits and vegetables and be substituted in your own variation. I used tomatoes, peppers, ginger, knob onions, and sprouts here with tofu and vermicelli because that's what I had on hand. Although it's incredibly simple to mix and match what you have or to your own personal culinary tastes and preferences.
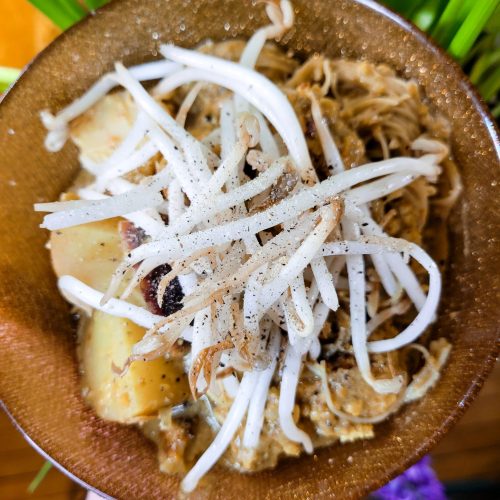
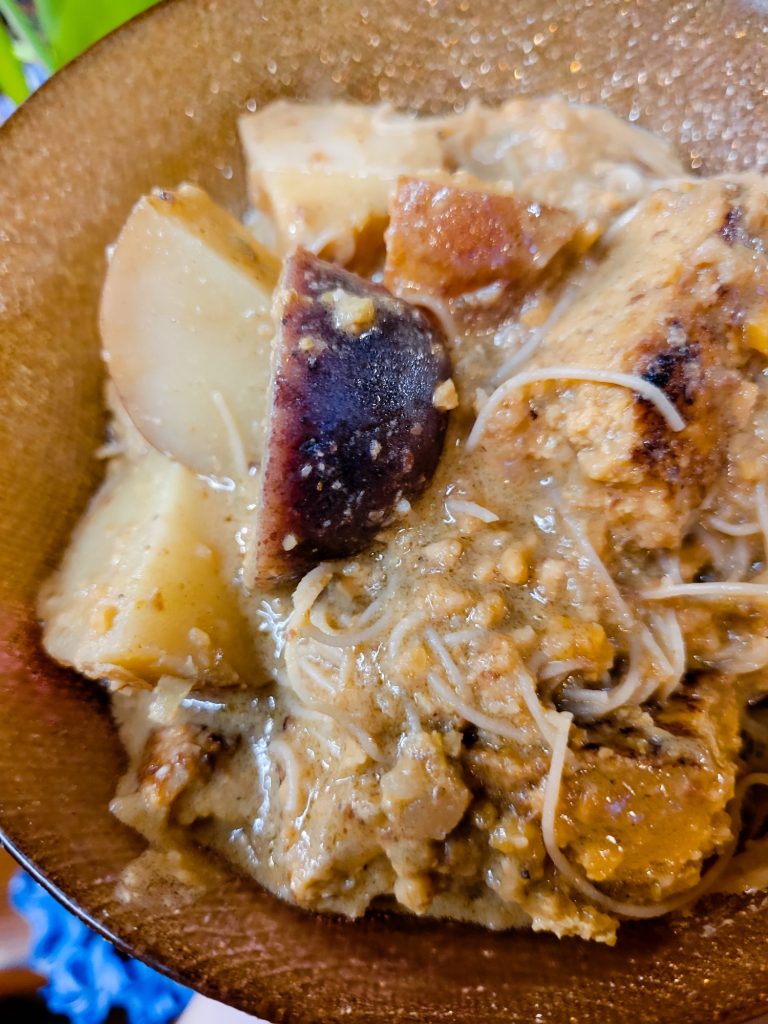
This Peanuts Curry consists of tomatoes, garlic, ginger, habaneros, jalapeños, onions, turmeric, limes, coconut milk, tofu, and brown rice vermicelli noodles. Although curry is a great recipe to mix and match in your own favorite ingredients or what you have on hand.
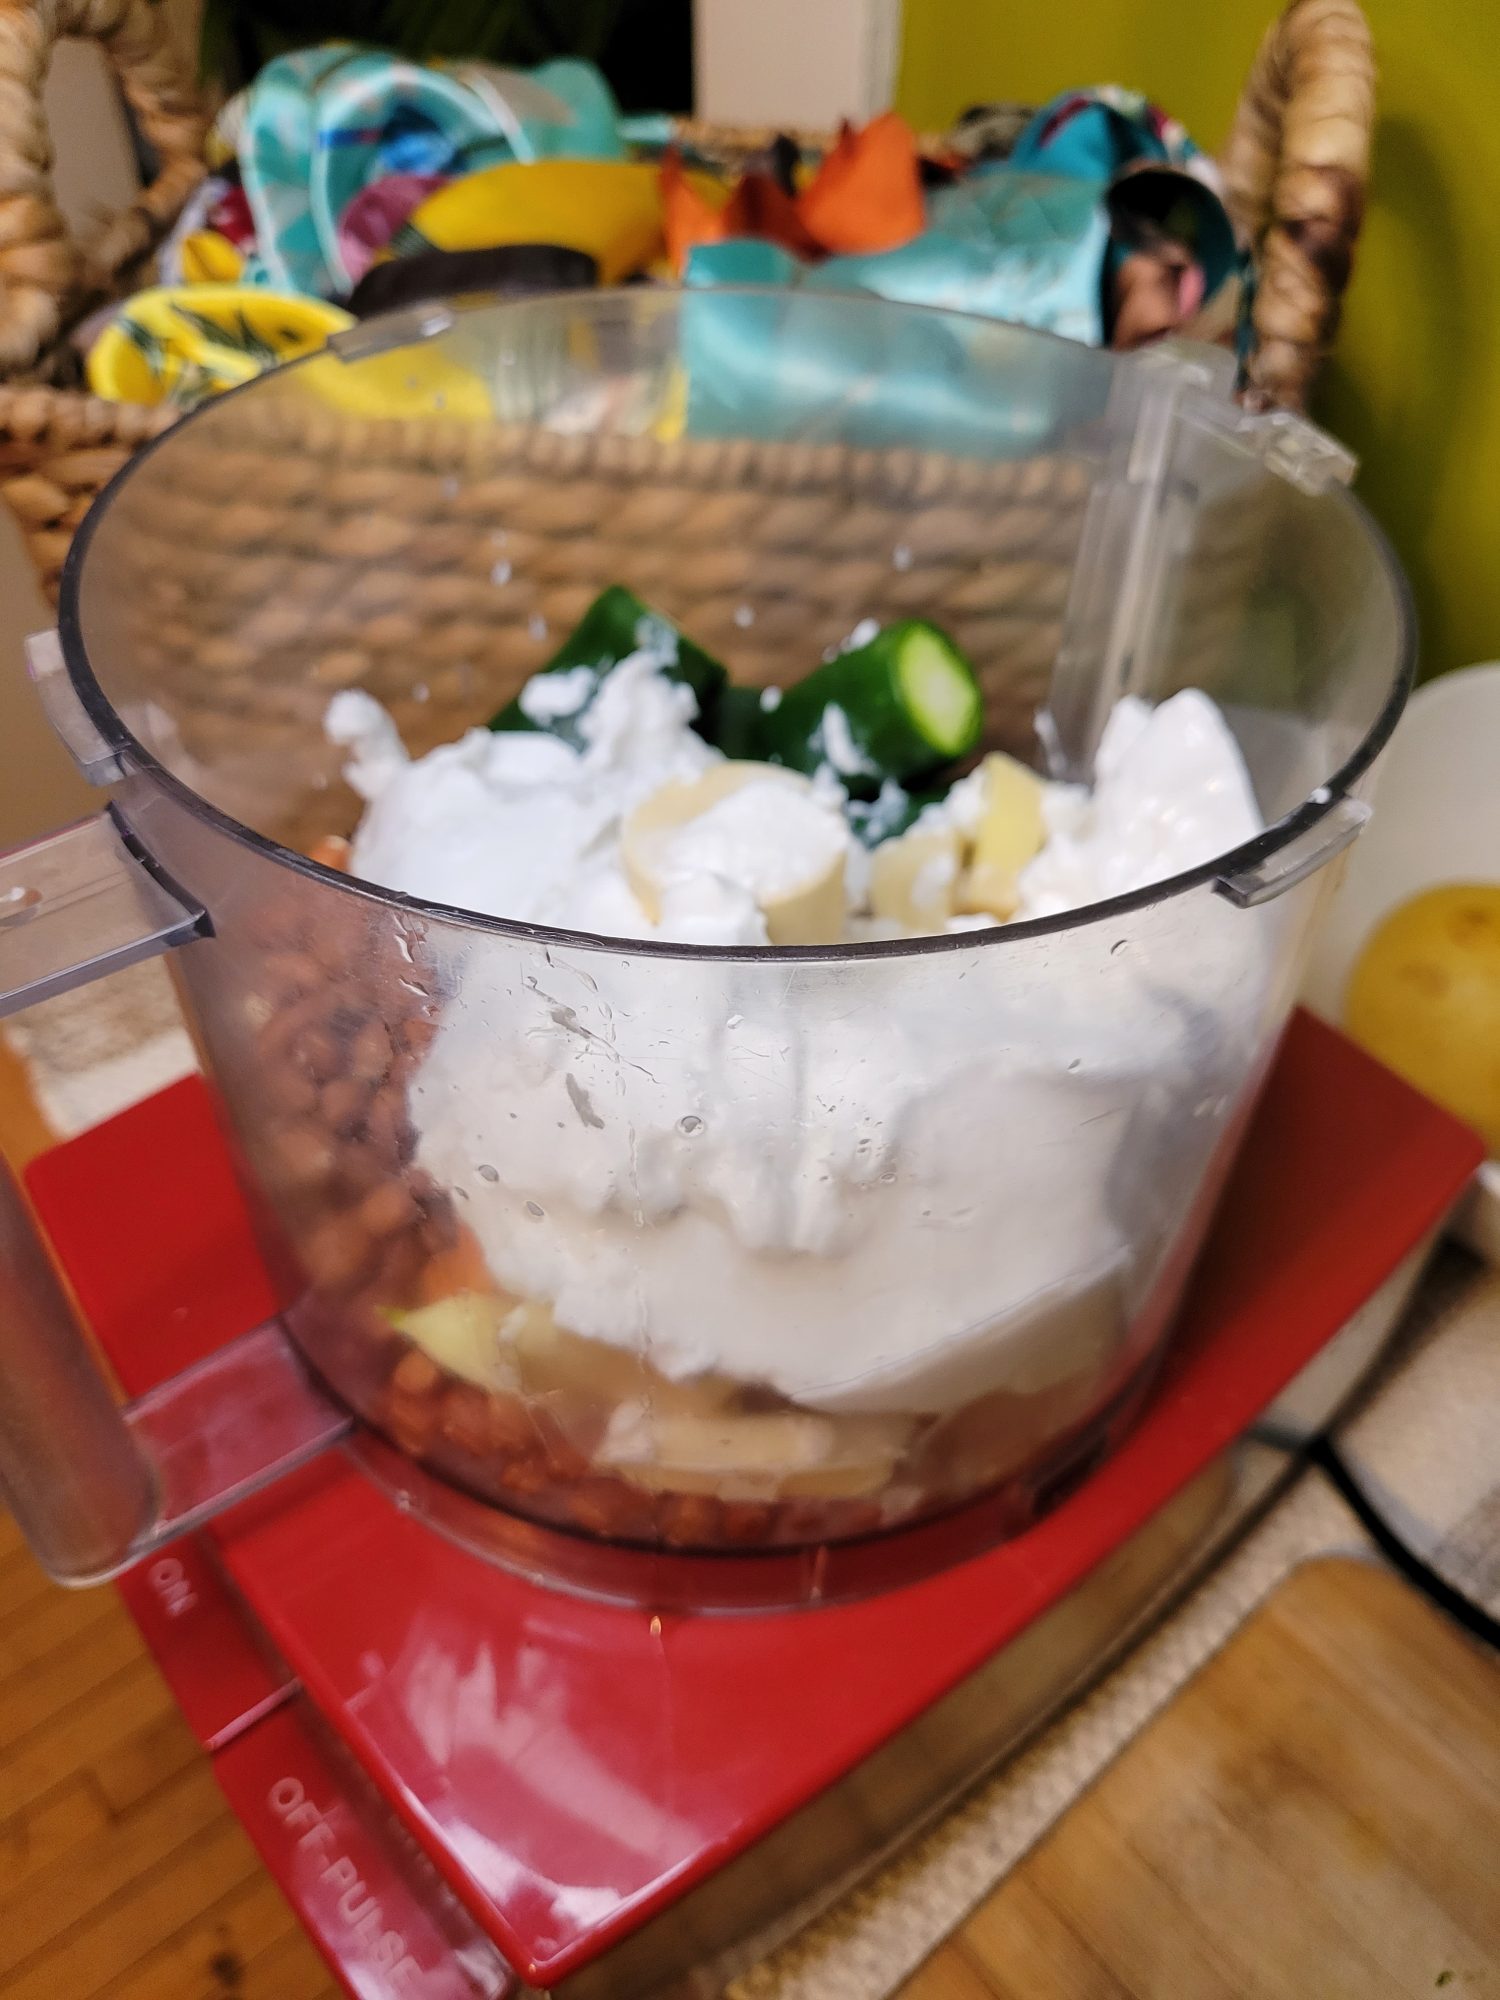
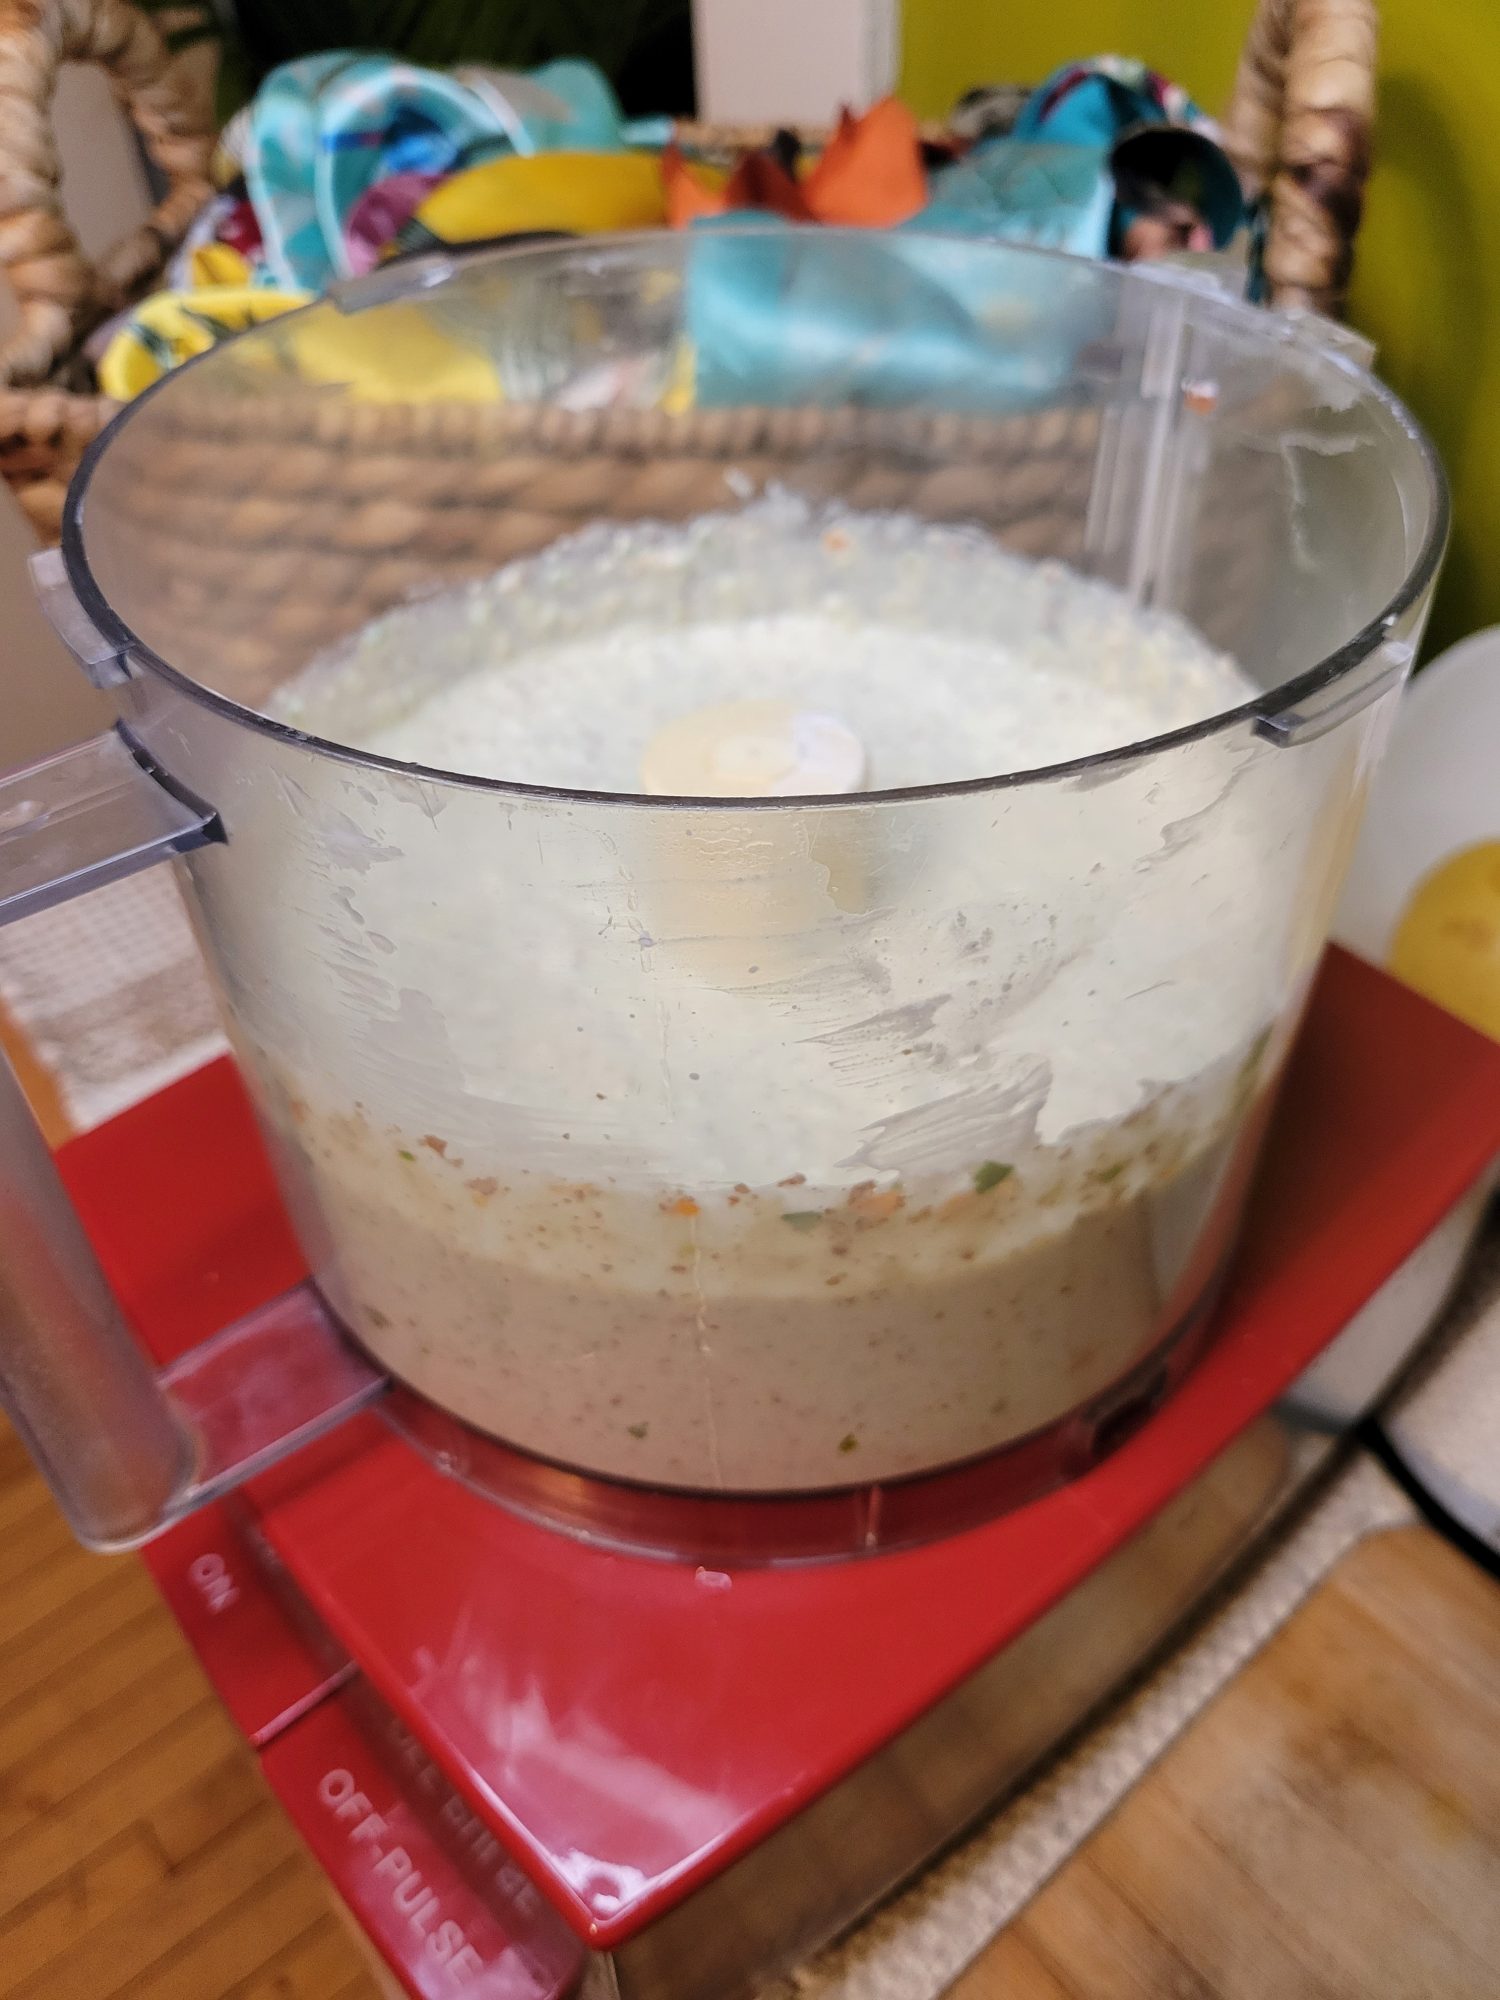
Add whole, unroasted peanuts, tomato, garlic, ginger, habaneros, jalapeños, and 1 can coconut milk to a food processor. Pulse until the desired consistency is reached.For a smoother curry, purée entirely. For a chunkier curry, simply pulse until the peanuts have broken down slightly. I'm not particularly fond of the texture of peanut skins. Although I absolutely detest sitting there and peeling them! So, I puréed mine. This is optional, though. You can chop or skin the peanuts and keep them whole. Although this is entirely personal preference!I also reserved a couple of whole peanuts for garnish. Although, again, this is optional.
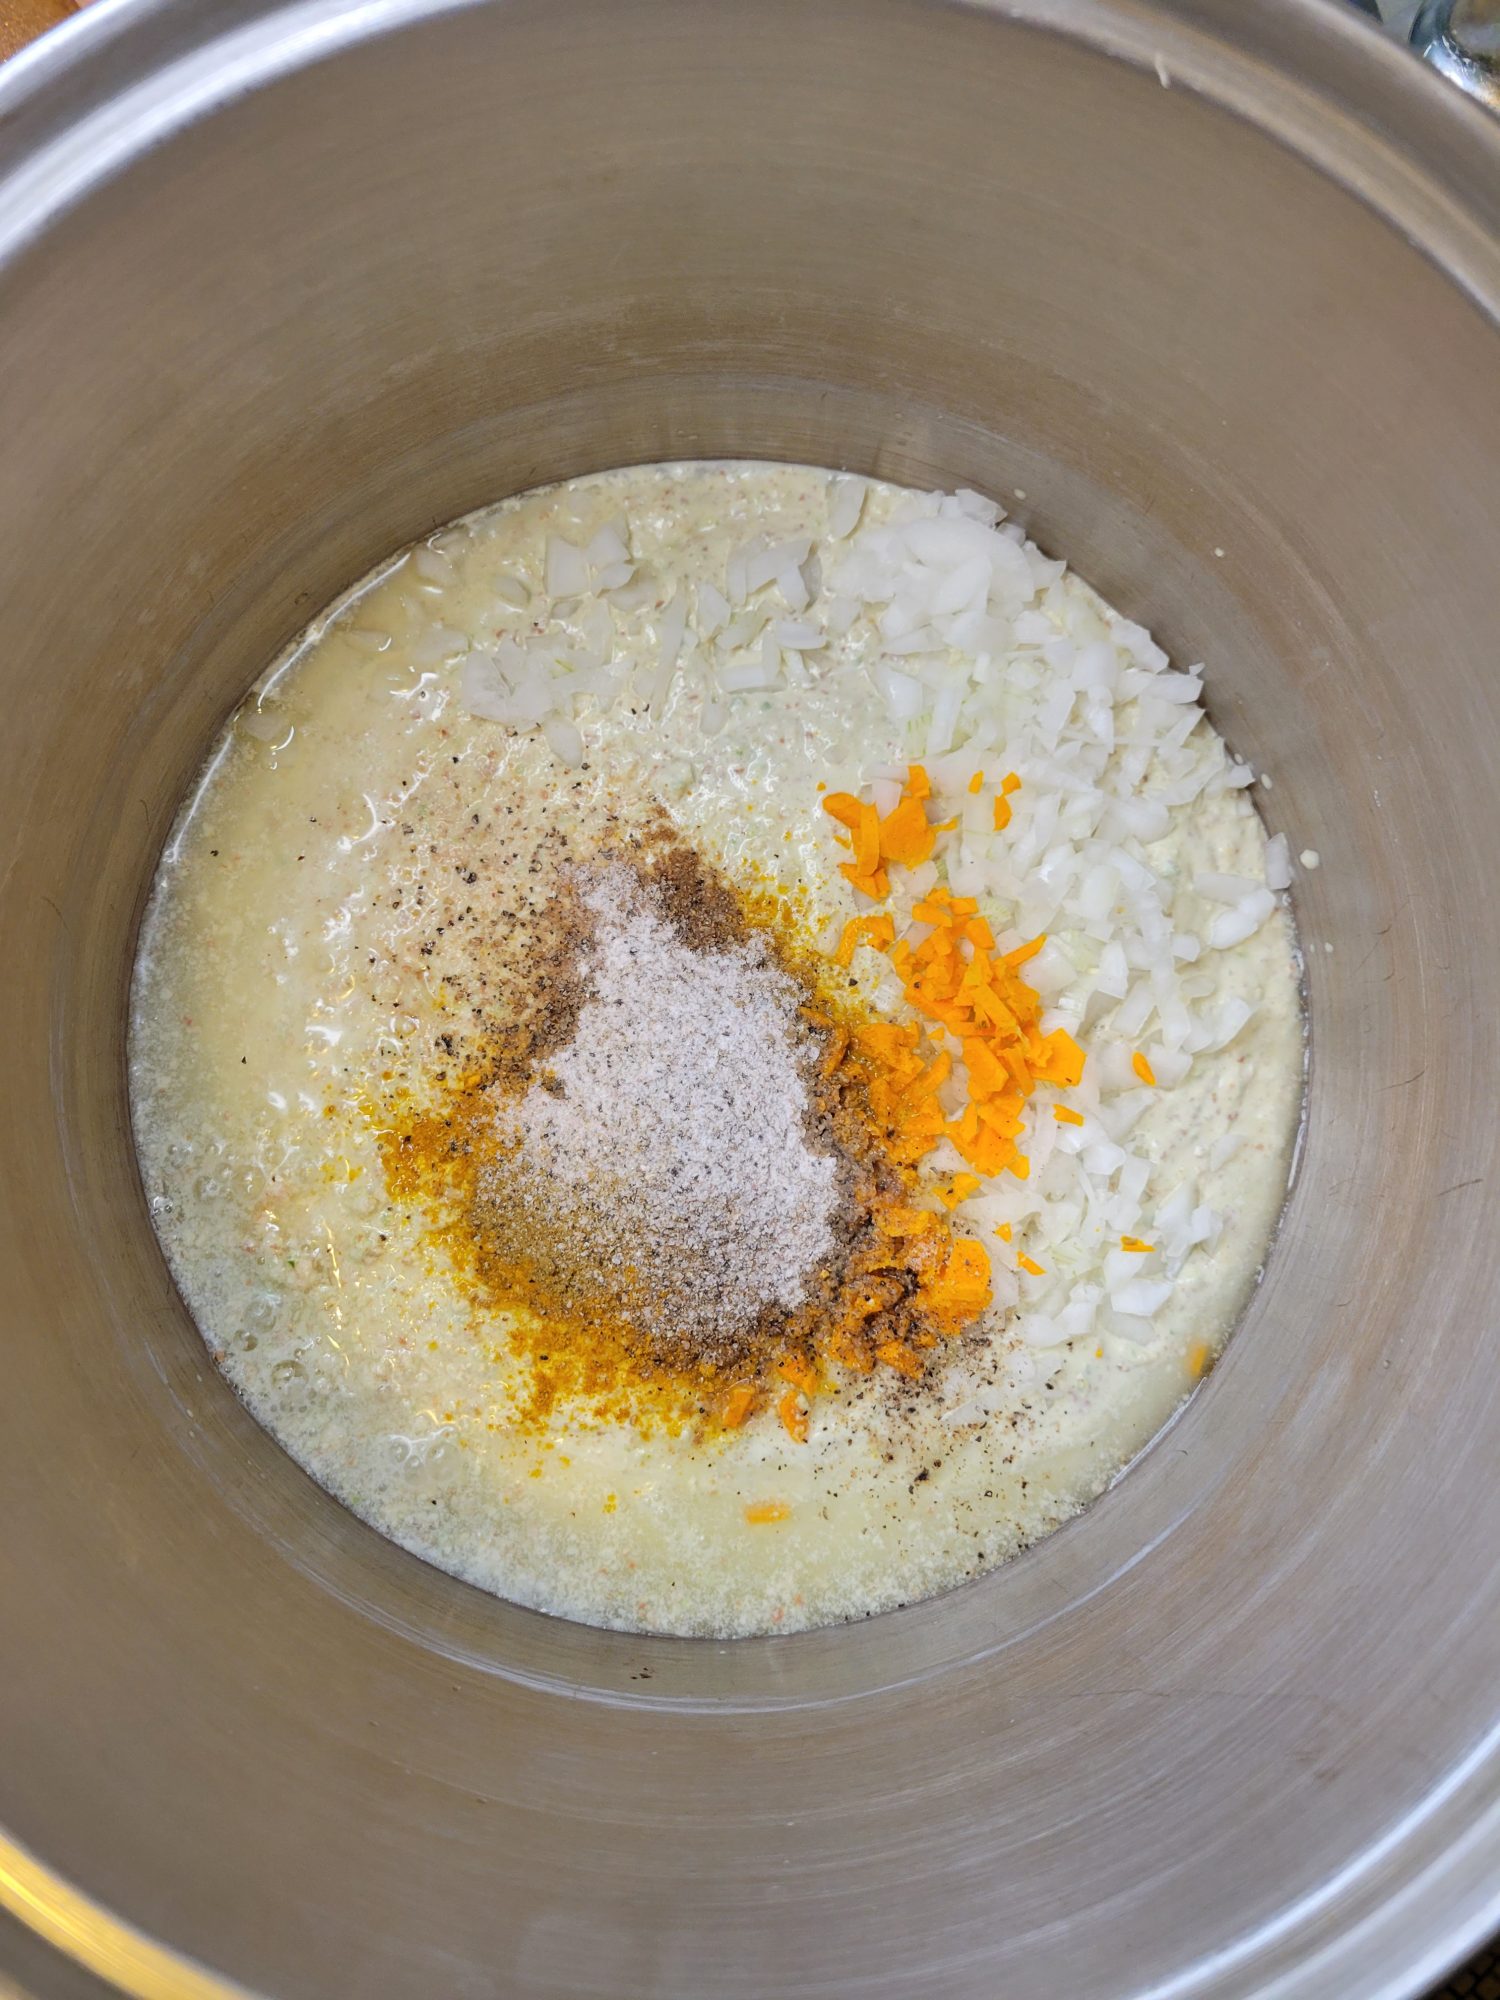
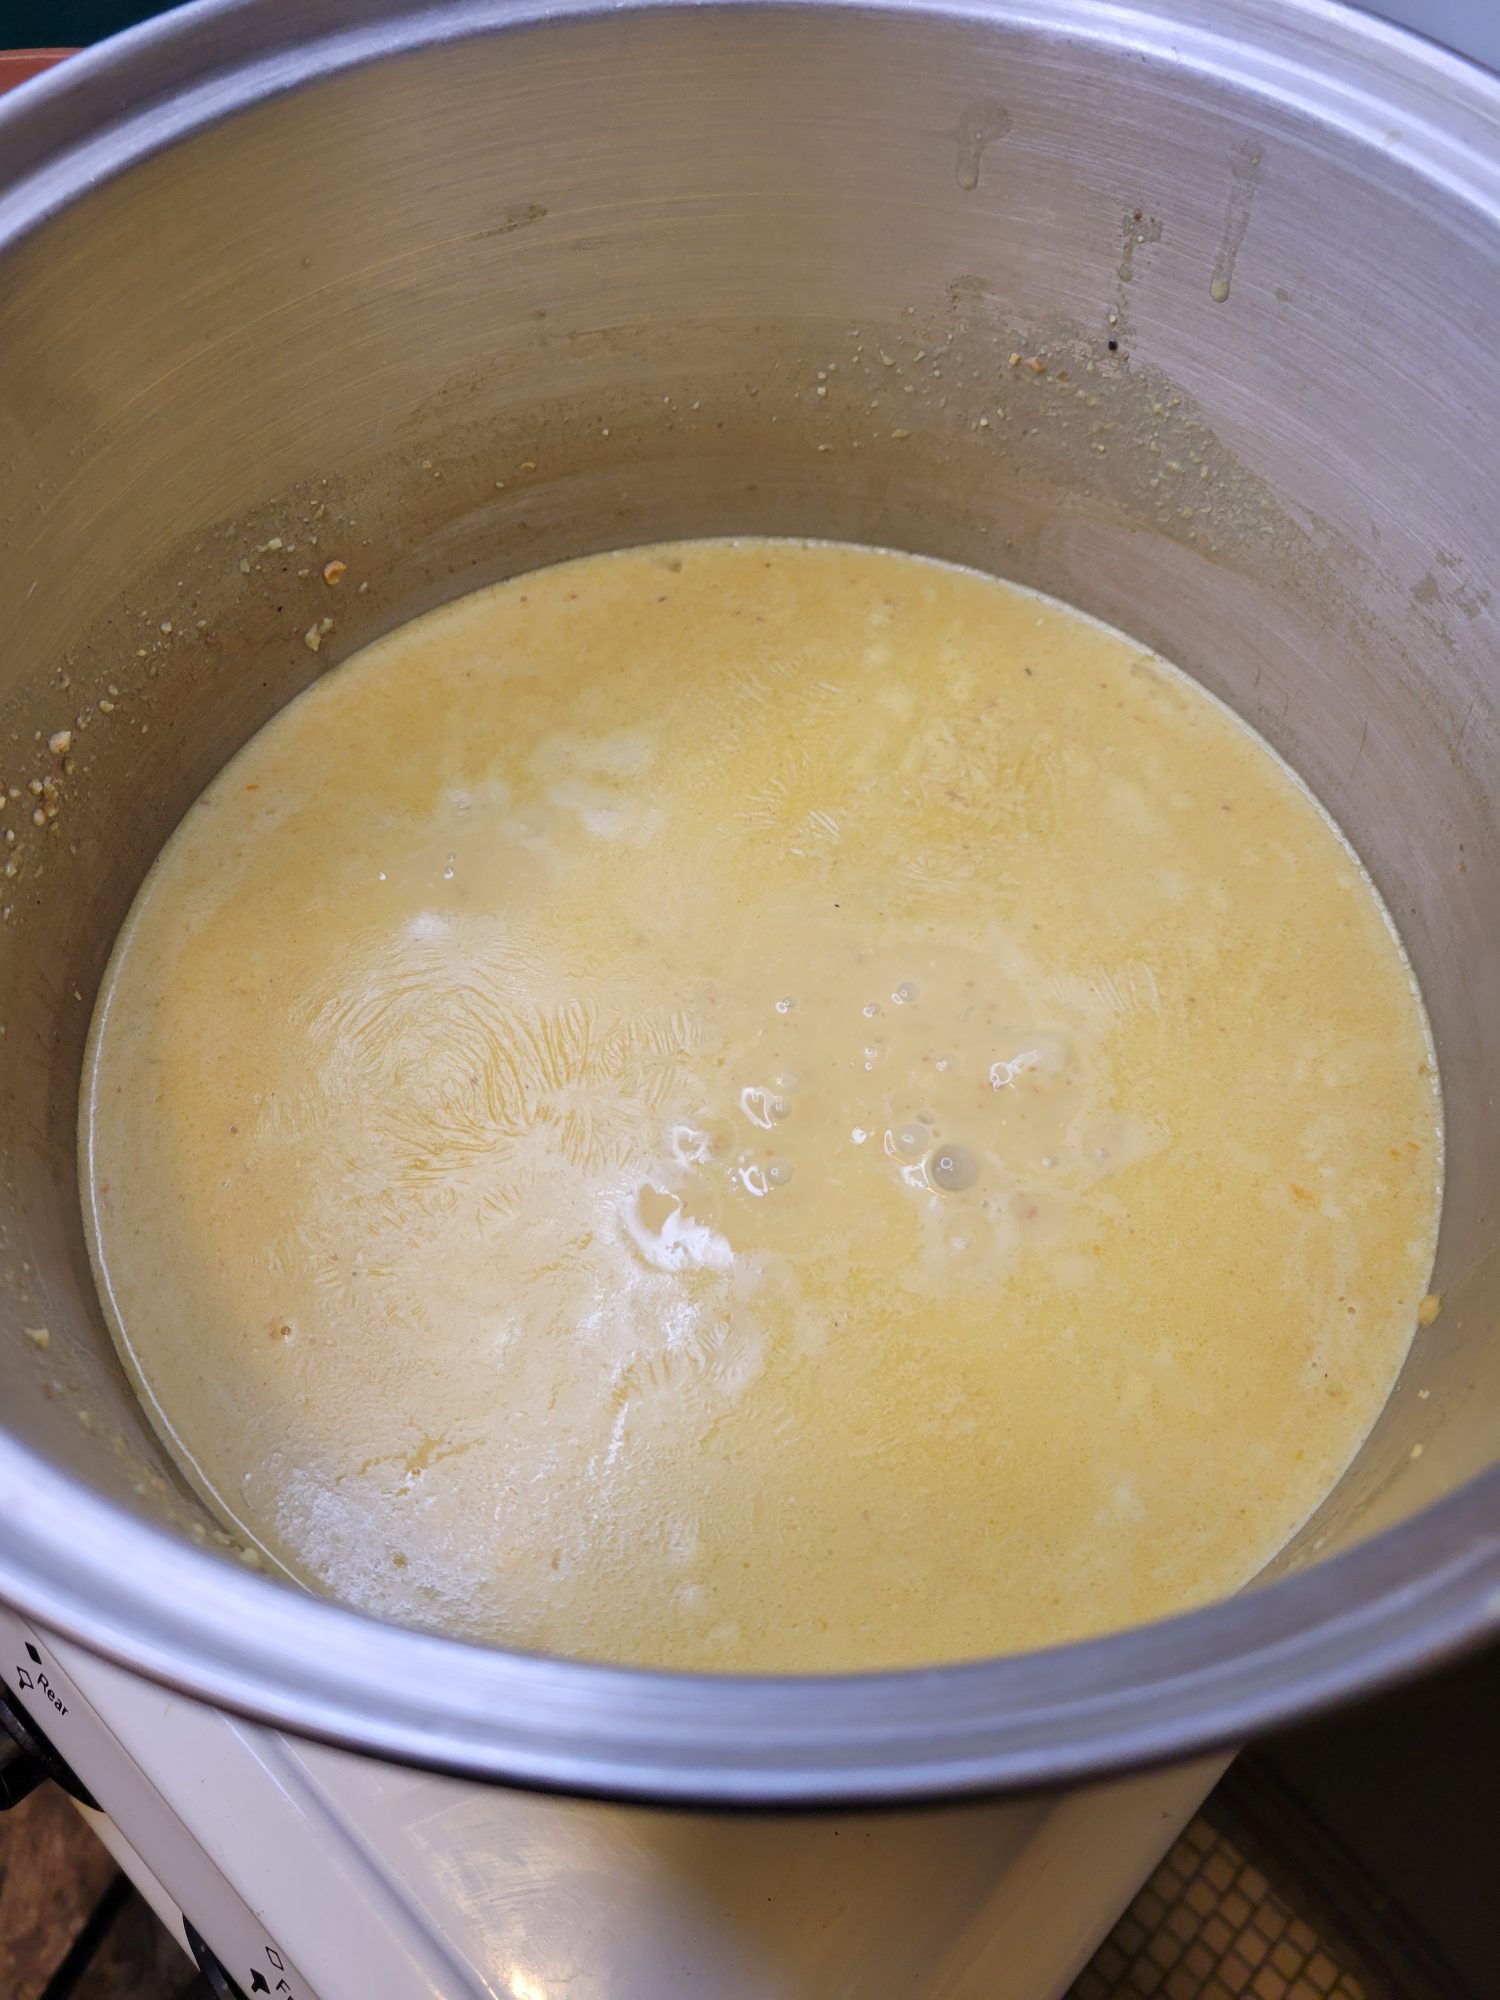
Add peanut mixture, the chopped bulb of the onion (not the greens), turmeric, lime juice, coriander, cumin, curry powder, salt, pepper, and coconut milk to a large pot.You can add the onion and turmeric to the purée as well. Although the turmeric will turn your food processor (and, really, absolutely anything and everything that it touches!) orange.Although you can alternatively mince and chop all of the ingredients for a chunkier curry.
Bring to a boil and then reduce to a simmer.
Simmer for at least 2 hours. You want the liquid to reduce in half. If it’s reducing too quickly, add water and turn down the temperature. If it isn’t reducing fast enough, bring to a boil again and reduce to a slightly higher temperature.The longer that you cook, the more the flavors will permeate the ingredients, so simmering at a lower temperature for longer is always an option. I’ll sometimes lower the temperature to a very light simmer and pretty much leave it be for 6-8 hours.You never want to leave a pot on the stove unattended, but this is the kind of dish that you can kind of set up and let do its thing. You may need to turn the temperature down periodically to adjust for too rapid a simmer to keep it from boiling as the liquid evaporates. But, other than that, this is a pretty hands off dish!
Fry Tofu
After the curry has reduced about in half, you're going to want to add the tofu so that it can absorb the flavors. You can either put them in as is to reduce the oil in the curry or crisp the edges to help the tofu keep its shape. For this recipe, I lightly fried the tofu.
While the curry is simmering, drain the water out of the tofu and cut into cubes.
Wrap in paper towels to absorb the moisture.It's important to absorb as much water out of the tofu as you can. Oil is less dense than water, so the molecules repel one another. With cold ingredients, this causes separation. When you're frying at high temperatures, though, this can cause boiling hot oil to spray back at you.
Meanwhile, preheat 1-2 tablespoons of oil in a cast iron skillet over medium-high heat.
When the skillet has preheated and the majority of the water has absorbed into the paper towels, carefully add the tofu to the skillet. Fry until golden brown. This should take about 2-4 minutes. Rotate until all sides are evenly fried.
Remove from heat and wrap again in paper towels to absorb the excess oil.
Add the tofu to the curry and simmer for another hour or two.
Cook Vermicelli Noodles
After simmering the curry for at least 4 hours and the curry is just about simmered down to your liking, add the vermicelli. The exact cooking time will vary by brand, but cook to the manufacturer's recommendation.For my brand and noodles, this typically means adding the noodles and simmering for about 5 minutes. Most brands specify boiling, but a slow simmer in the curry works just as well! Just cook until tender. Brown rice noodles tend to have to cook a little bit longer, but will reach a similar consistency eventually.
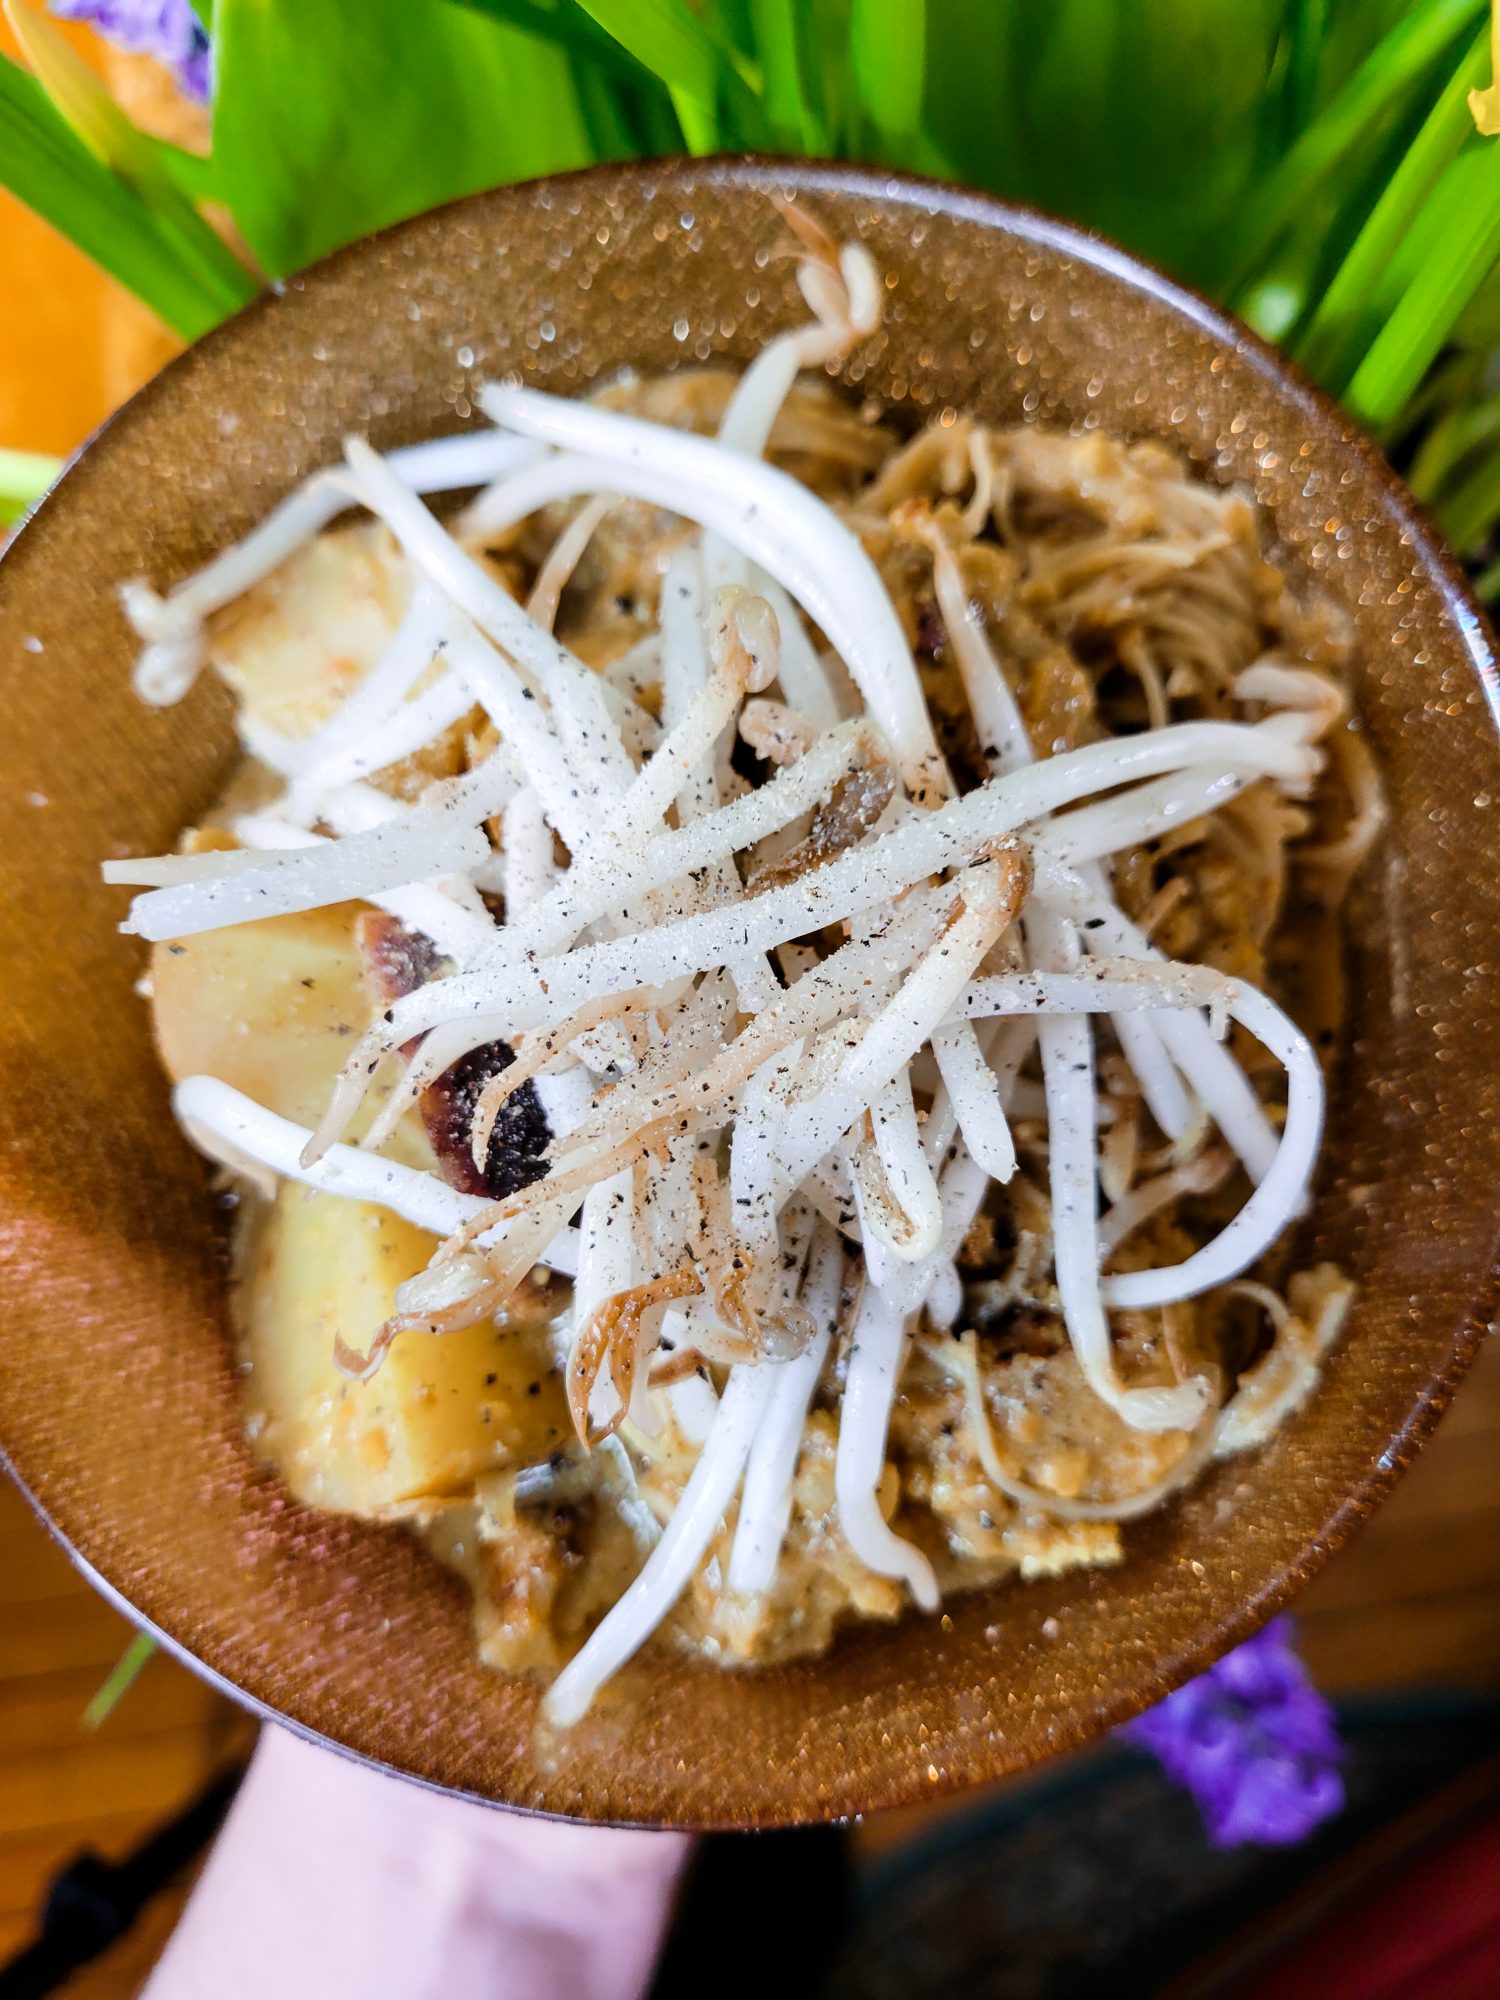
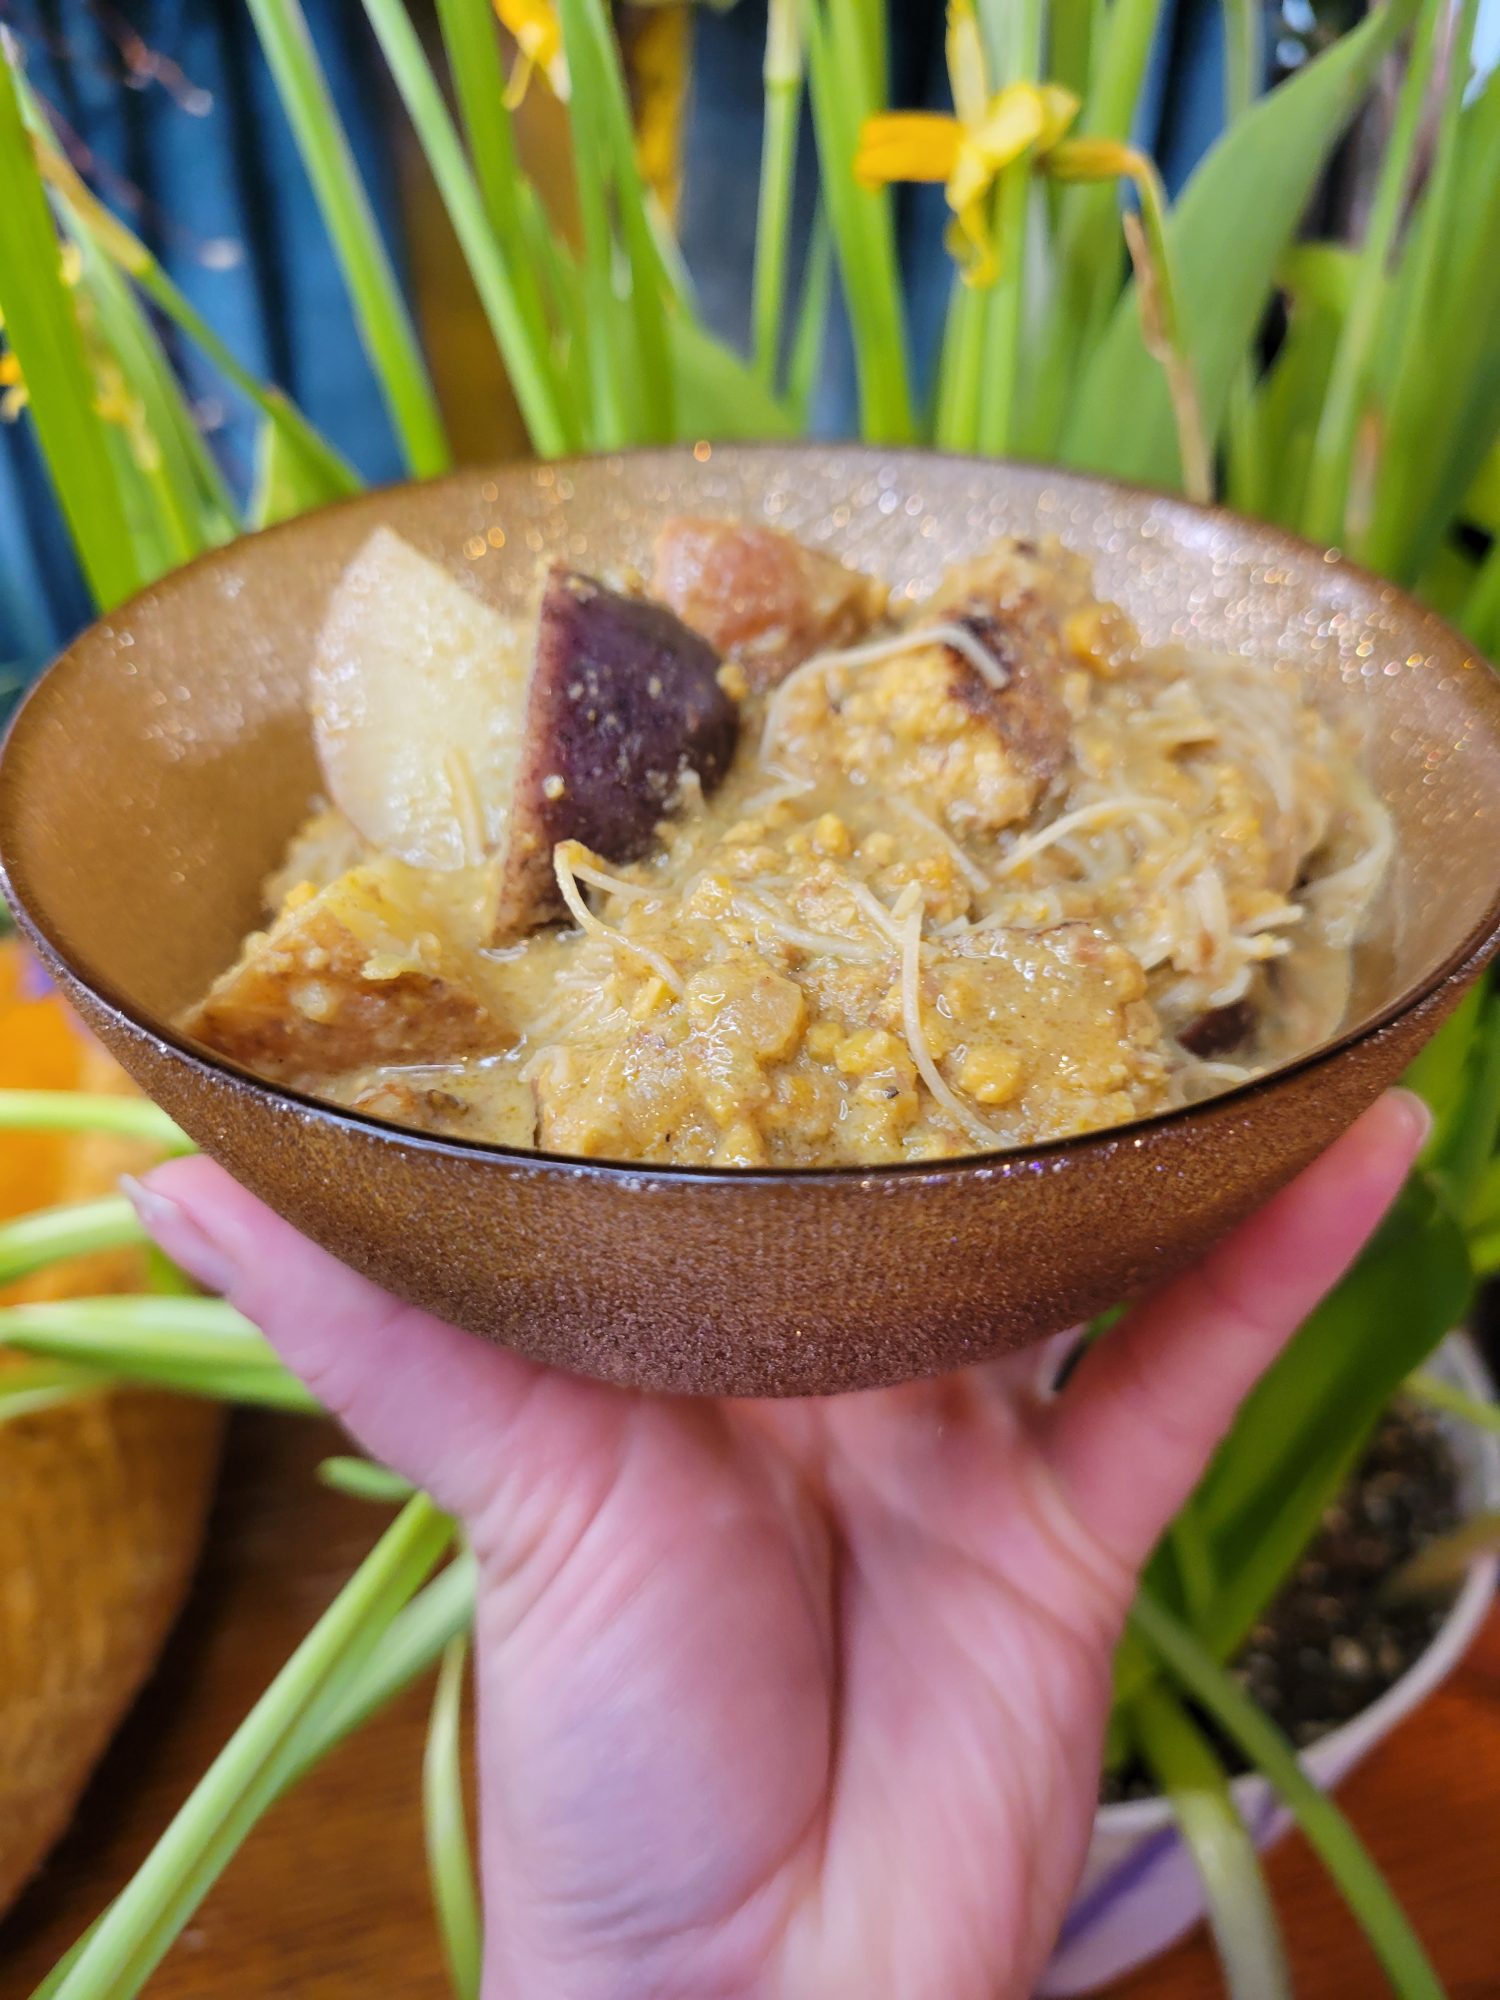
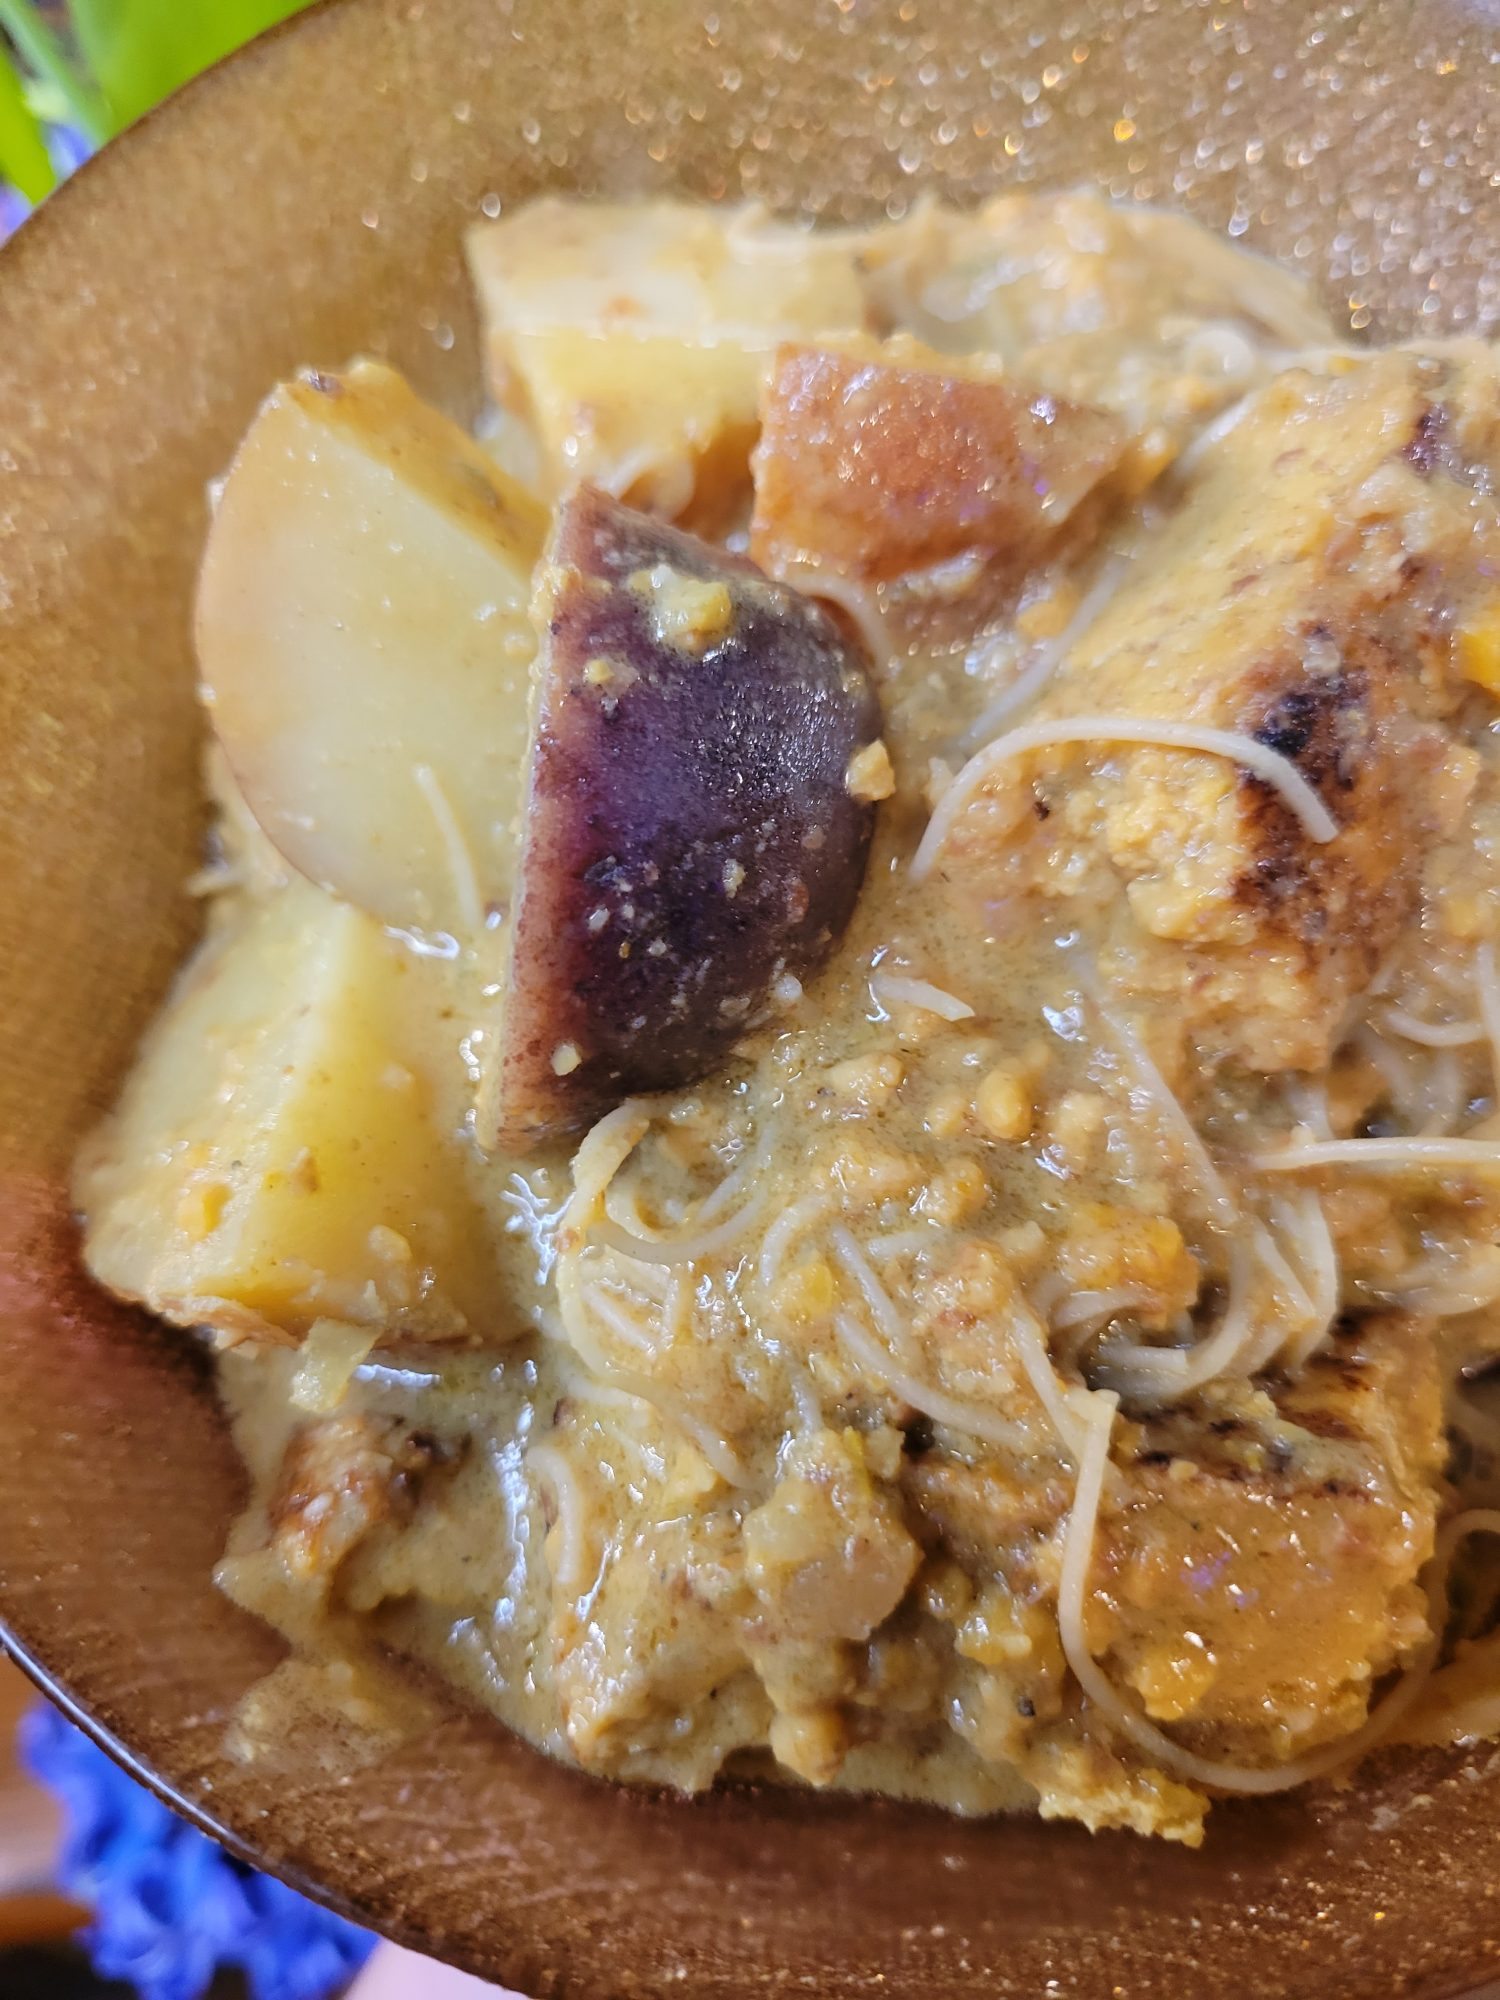
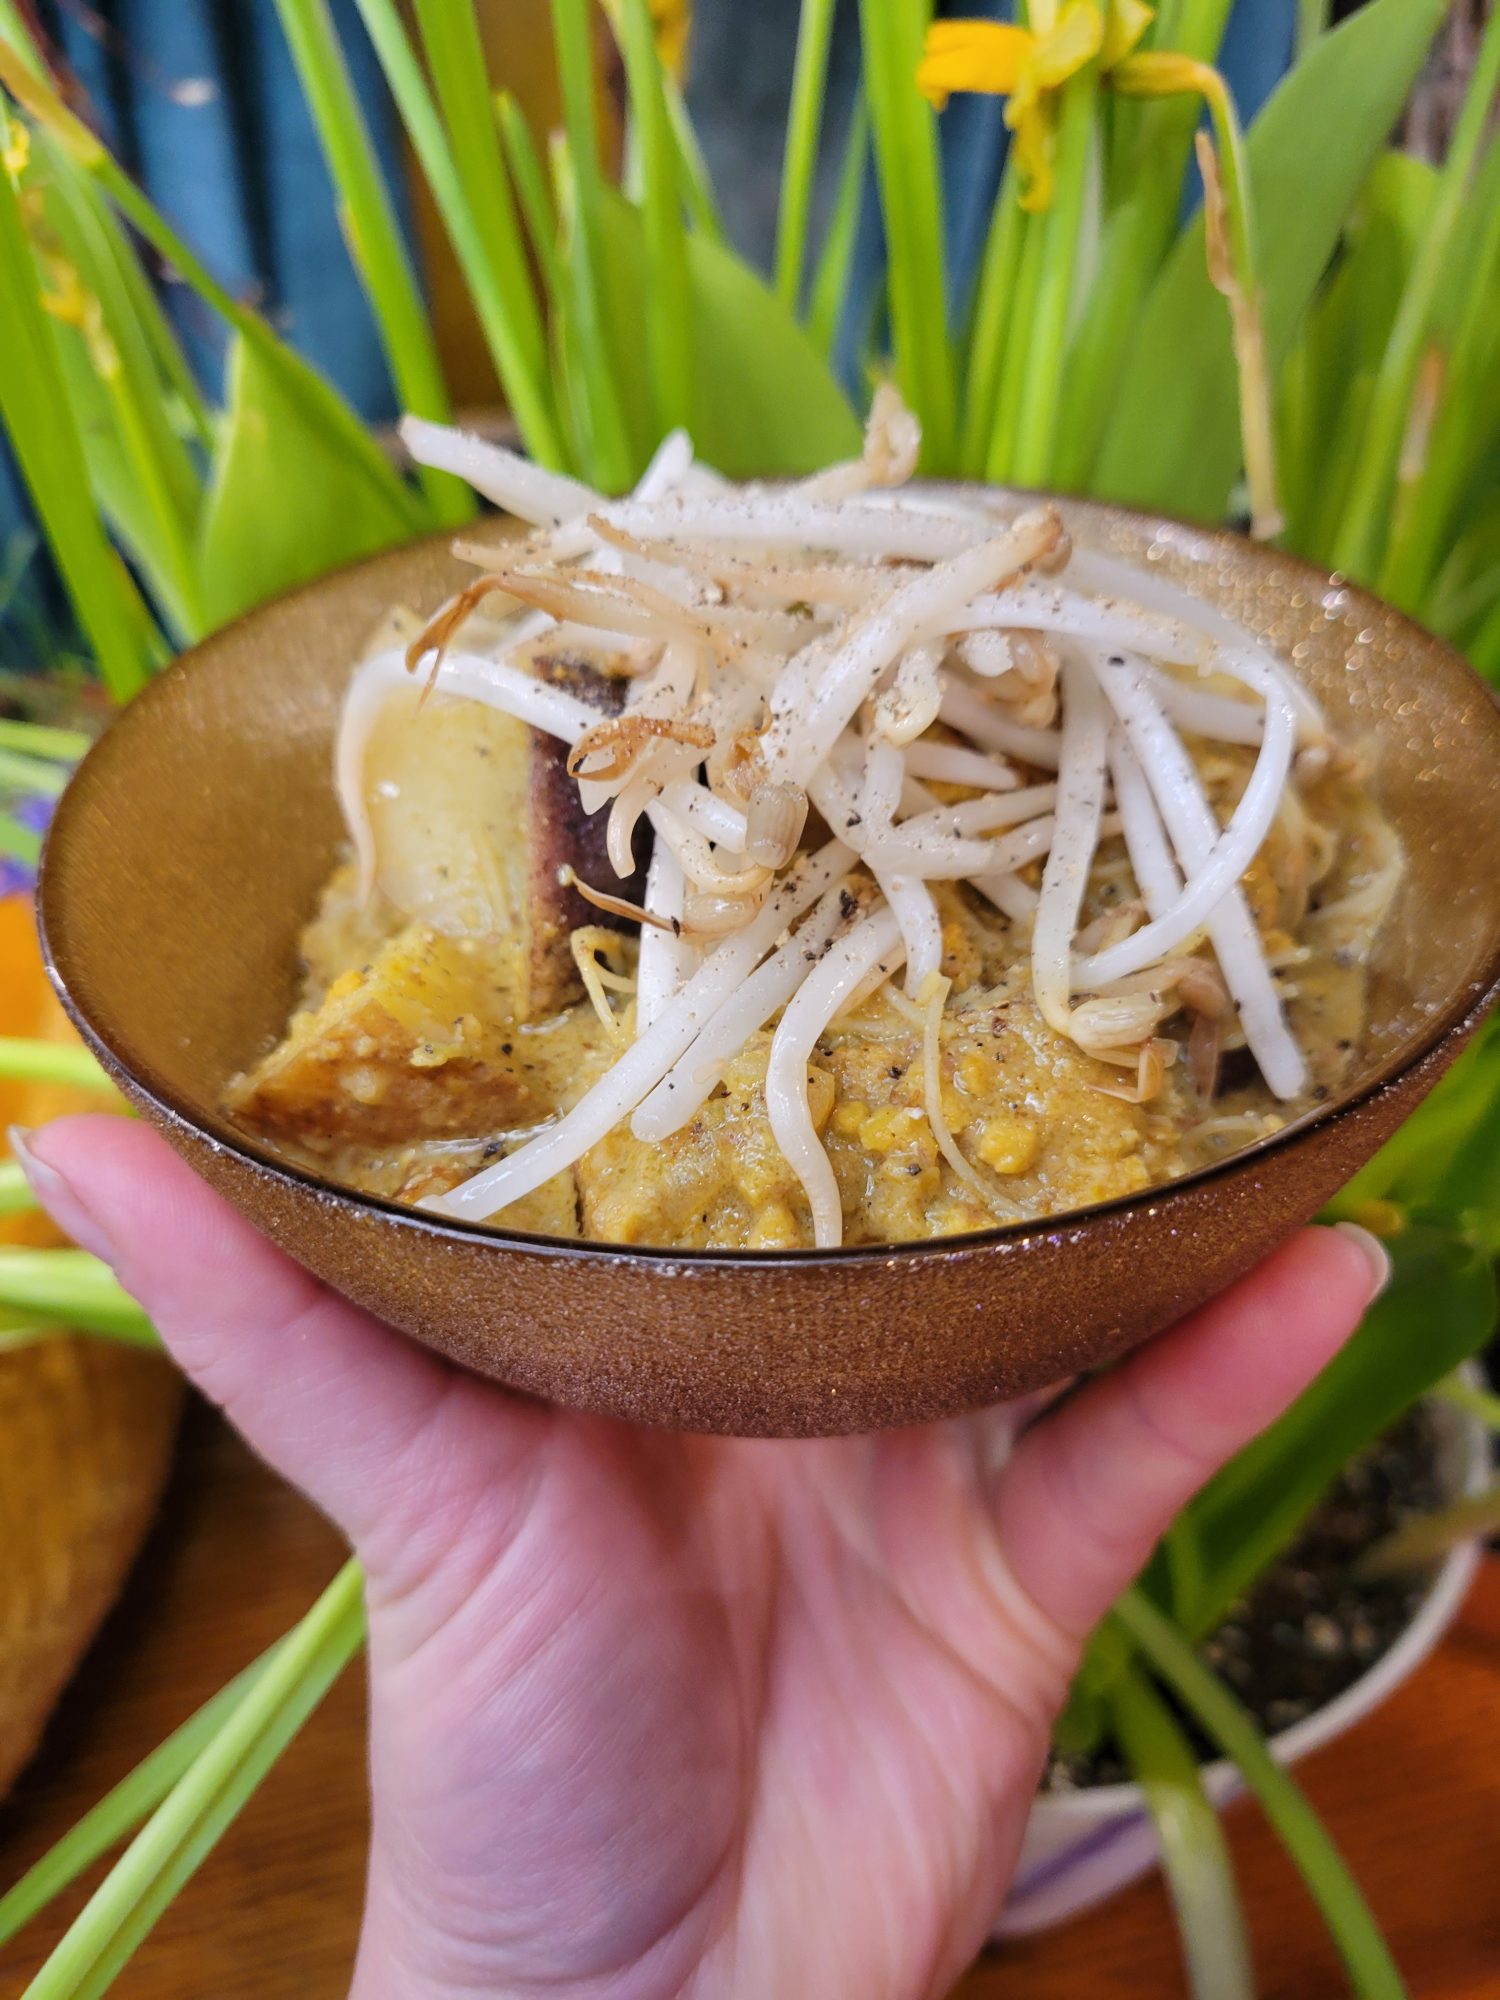
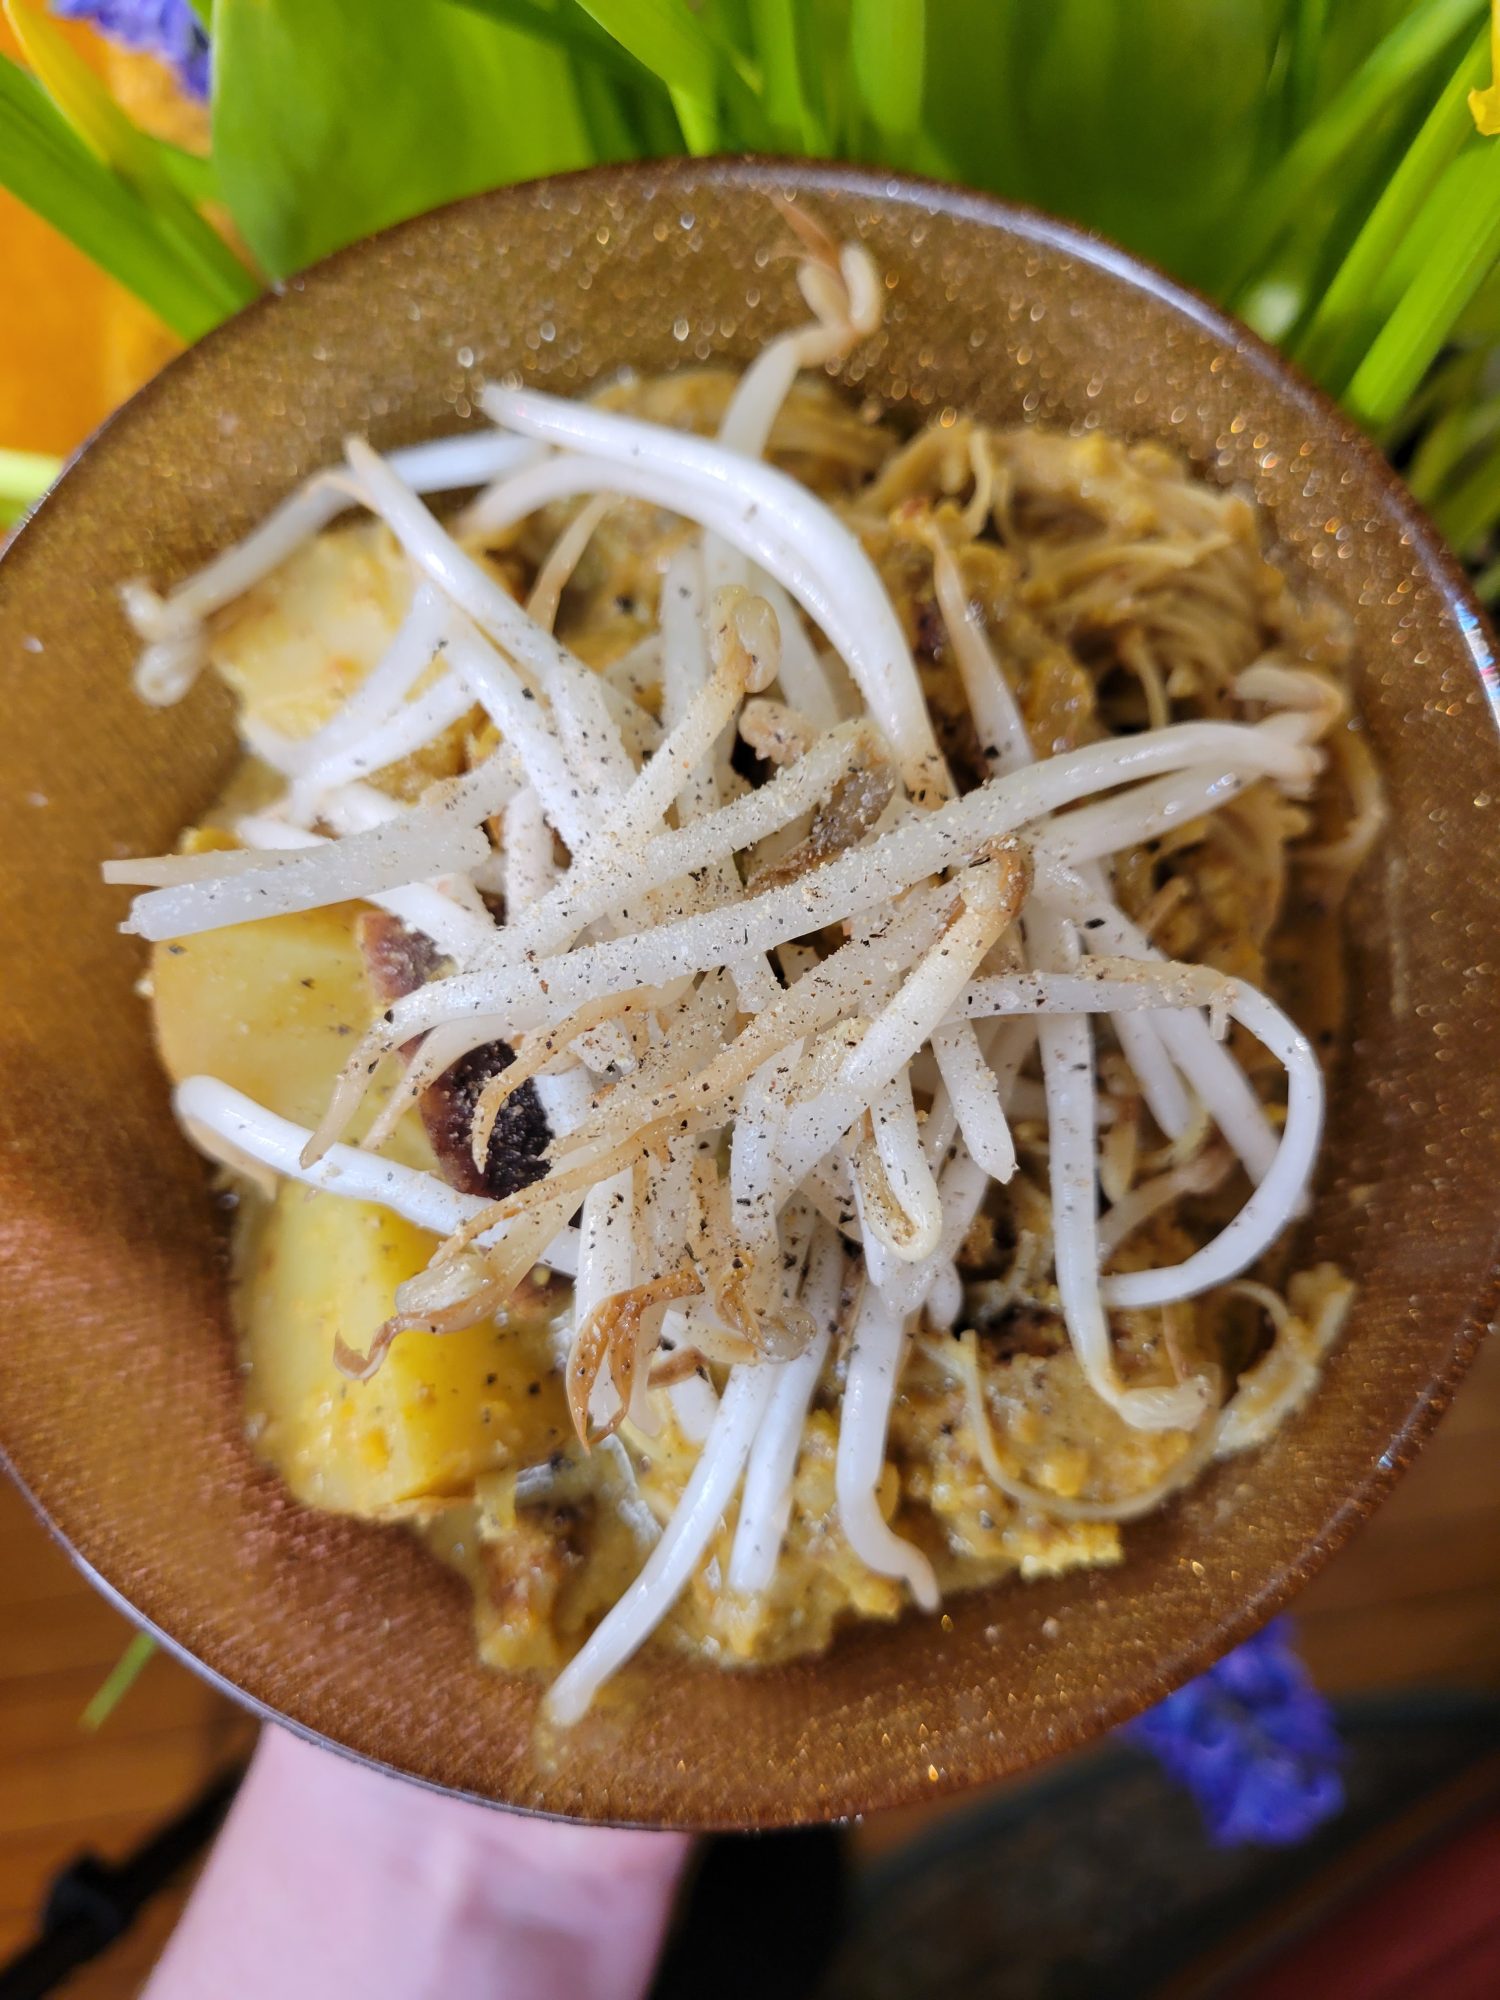
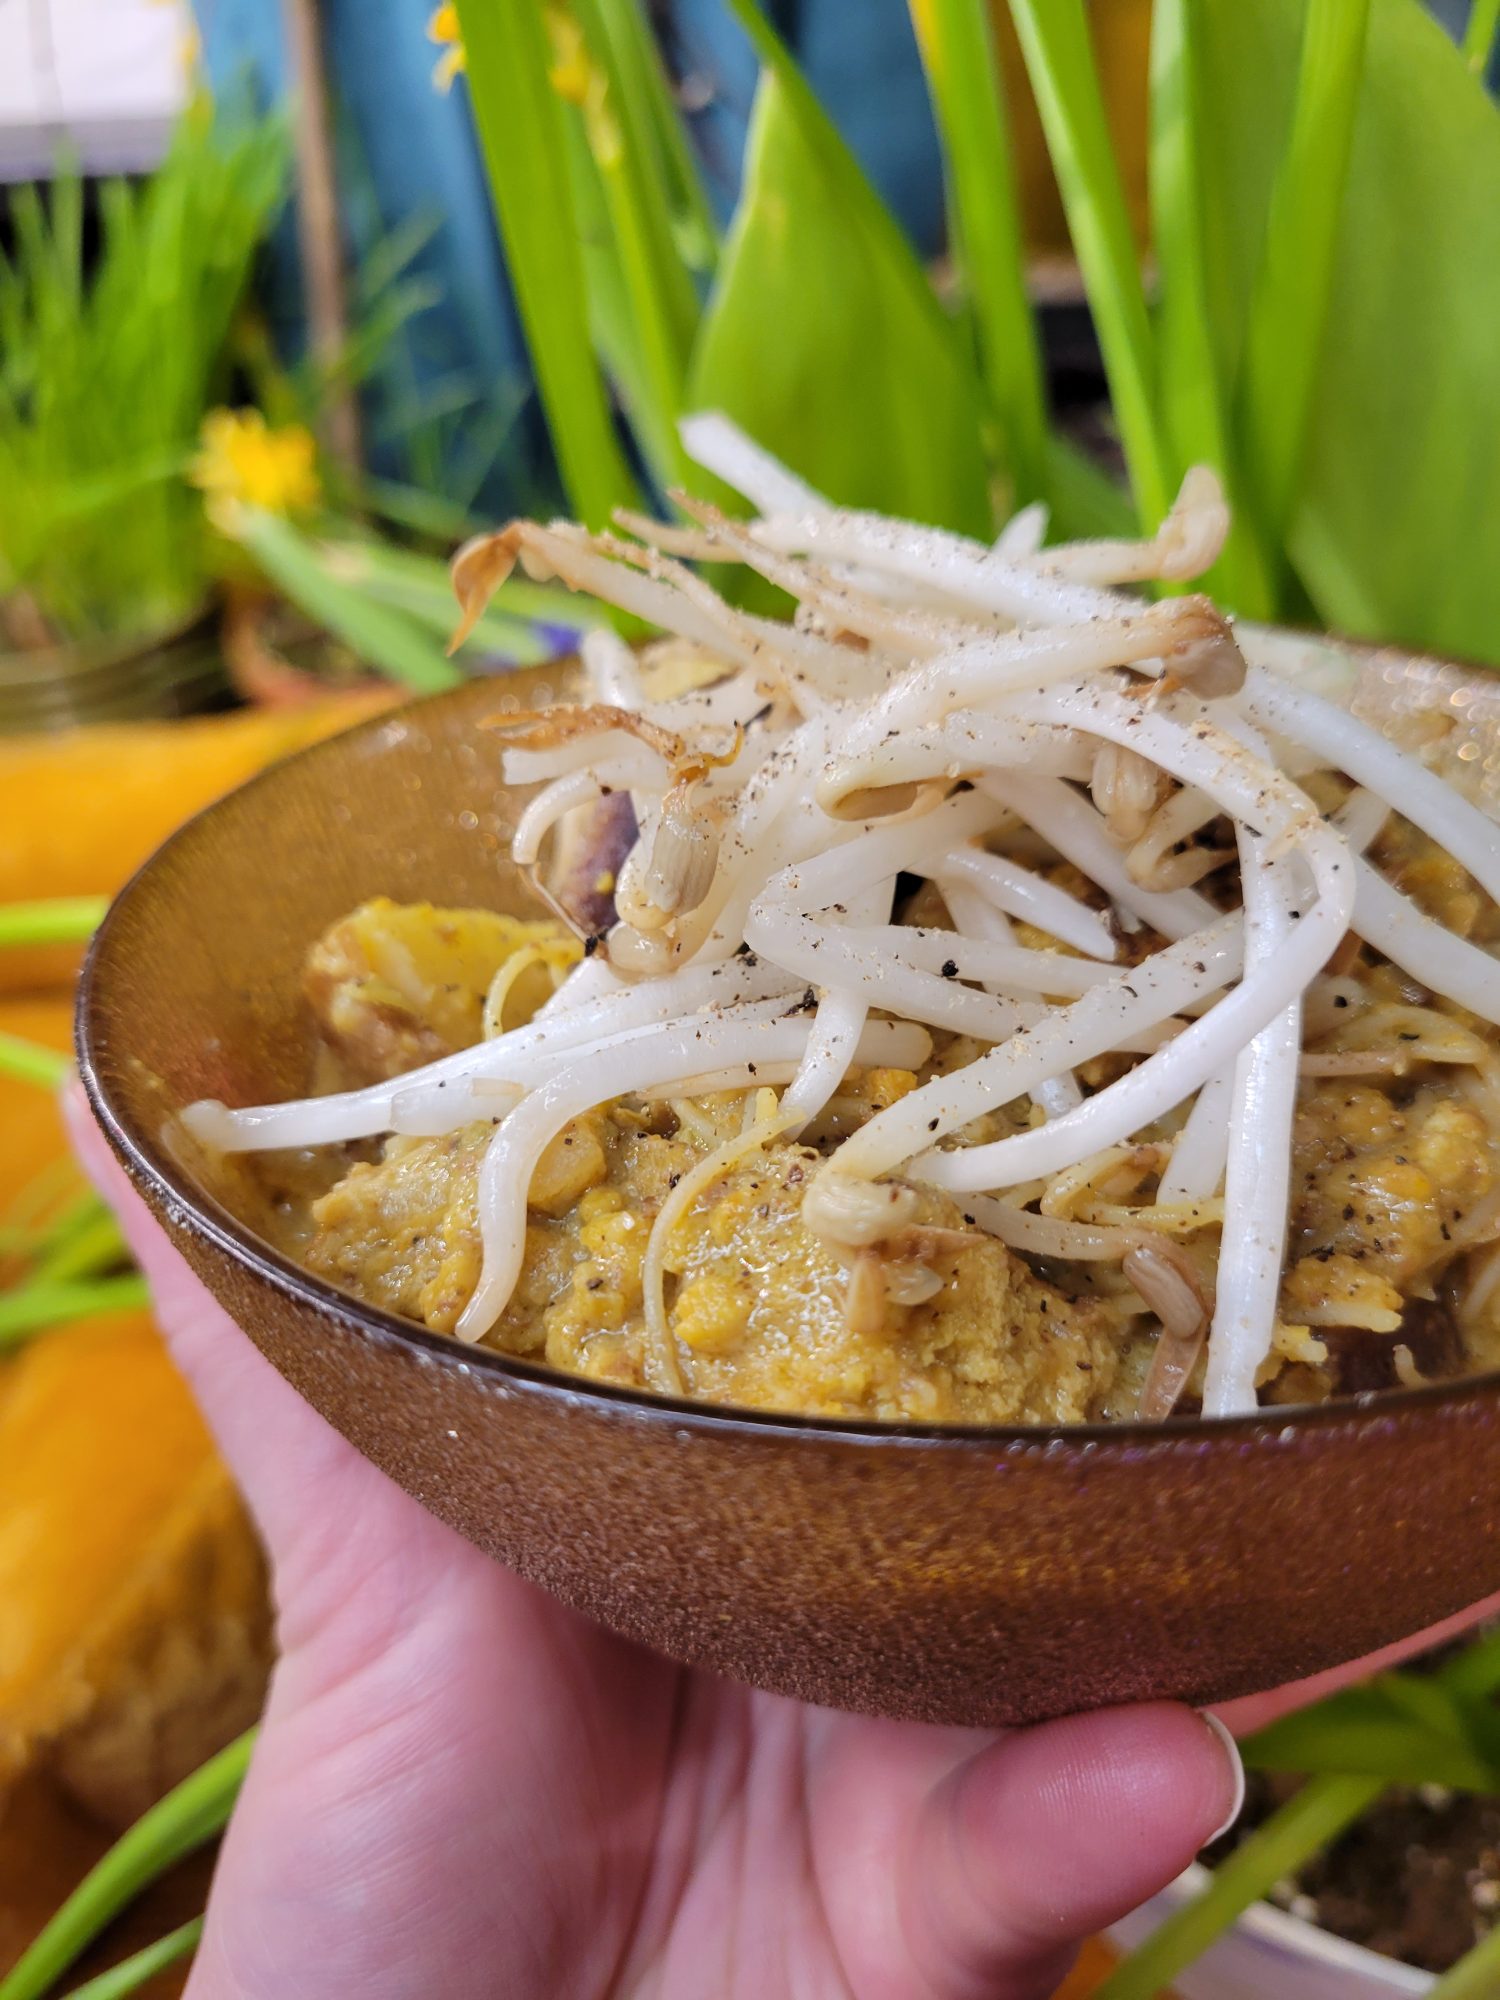
Serve either immediately or the next day with sprouts, reserved peanuts, and/or the chopped greens of the onion.Curry will continue to the absorb the spices the more time passes. It’s one of those dishes that I like to make ahead of time because it often tastes better after the flavors have had time to set overnight. Just make sure to only add the garnish when ready to serve.
Tips, Tricks, & Notes
In a pinch, peanut butter can be used as a substitute for whole peanuts. Just make sure to watch the salt and sugar content.
To make the curry spicier, put more hot peppers when you cook the squash and lentils. Peppers added in the beginning stage will have a slower, more robust flavor that permeates through the dish. Peppers added towards the end of the cooking process will have more of a kick in the teeth, mouth burn.
If the curry absorb too much moisture, you may need to add more water. This is to taste. I tend to like a thicker curry with larger chunks, much like a thick stew. If you’re in the other camp that likes a more liquid curry, don’t hesitate to add more water. If you’re unsure, taste periodically and adjust to what you like. You can always add more water, even after you’re done cooking entirely, to lighten it up. The curry will thicken more as it cools and overnight.
Do you need to sauté the peppers? A lot of curry recipes want you to sauté or otherwise cook vegetables beforehand. The first direction is typically, “sauté onions and peppers in oil on the stove.” I tend not to do this because it tends to mean adding oil to the curry. Since you’re simmering down for several hours, the natural oils in the vegetables that you use will separate. This will create a film of oil on top of the curry. Some people like this. It can also be an indicator of how spicy a curry is sometimes because the more peppers that you use, the more oils will naturally leach out of them.
I don’t tend to find oily curry appetizing, though! So, I try to minimize the amount of added oil is in the recipe. If you’ve ever had a soup or sauce that’s separated, you know what I’m talking about. The oil will separate and settle on the top because it’s less dense than water. It will be obvious if it’s a problem.
If you do end up with too much oil, add an ice cube or a frozen metal ladle to draw out the oil. Then, just spoon it out until you have removed enough oil. Alternatively, if you refrigerate the curry, the oil will rise to the surface. This will create a semi-solid chunk on top and you can spoon it out. If there’s a lot of oil and it has solidified enough, you can sometimes just pick up the layer with your fingers and remove it this way.
For a more in-depth article on preparing tofu, check out my article on The Fundamentals of Fried Tofu. High heat oil and a precise cooking temperature are important to keep the tofu from drying out or burning.
I used Fresh Turmeric in this recipe. You can easily substitute dried turmeric, but there is something particularly refreshing about fresh turmeric. And, if you can find it, mincing it and preserving in olive oil is the key to longevity.
This Page Contains Edited Images
As a general rule, I don't like to edit images. Food styling, editing, alteration, and even faking entirely is just as rampant a problem in the recipe realm. Cooking is a very visual art and you can tell when a lot of foods are cooked based on the color. So, when this is altered and you can't use the coloration as a gauge, it makes it quite difficult to follow some recipes. I have an entire article about Food Styling and Unrealistic Expectations of Recipes. My place has very warm lighting, though. So, sometimes my camera overcompensates and ends up with an unnatural hues. I've adjusted the hues, levels, and/or cropped the following images:


Leave a Reply