I have leftovers today. I almost always have leftovers, though. My general cooking philosophy is that, if you make one or two big dishes at the beginning of the week, then you don't have to cook again! This incredibly simplifies the culinary process and means that I almost always have some variation of home cooked meals on hand. The best thing to do with all of these leftovers is to take the components of the dishes and turn them into something new and interesting throughout the week. That way it doesn't get repetitive. And you also get to stretch your culinary legs and come up with new ways to utilize the same general dishes. One of my favorite things to do in this spirit is to make Mexican food out of them. Hence the vermicelli burrito here today!
Vermicelli is a thin rice noodle oftentimes used in stir fries and spring rolls. I've been turning it into a fresh fruit and vegetable salad with tofu lately. This takes about a half hour to put together and keeps remarkably well with all of the acidity and citrus of the rice vinegar and freshly squeezed lime juice.
I also have been absolutely obsessed with making avocado dip. One day I didn't have the time, patience, or chickpeas to make hummus and wasn't quite in a guacamole mood. Especially since, as much as I absolutely adore guacamole, it doesn't necessarily keep that well and tends to exclusively go well with Mexican and Latin American dishes. Which, again, as fond as I am of these! Aren't always the flavor profile that I'm going with when turning all of my leftovers into new meals.
Hence, the vermicelli breakfast burrito.
Gallery
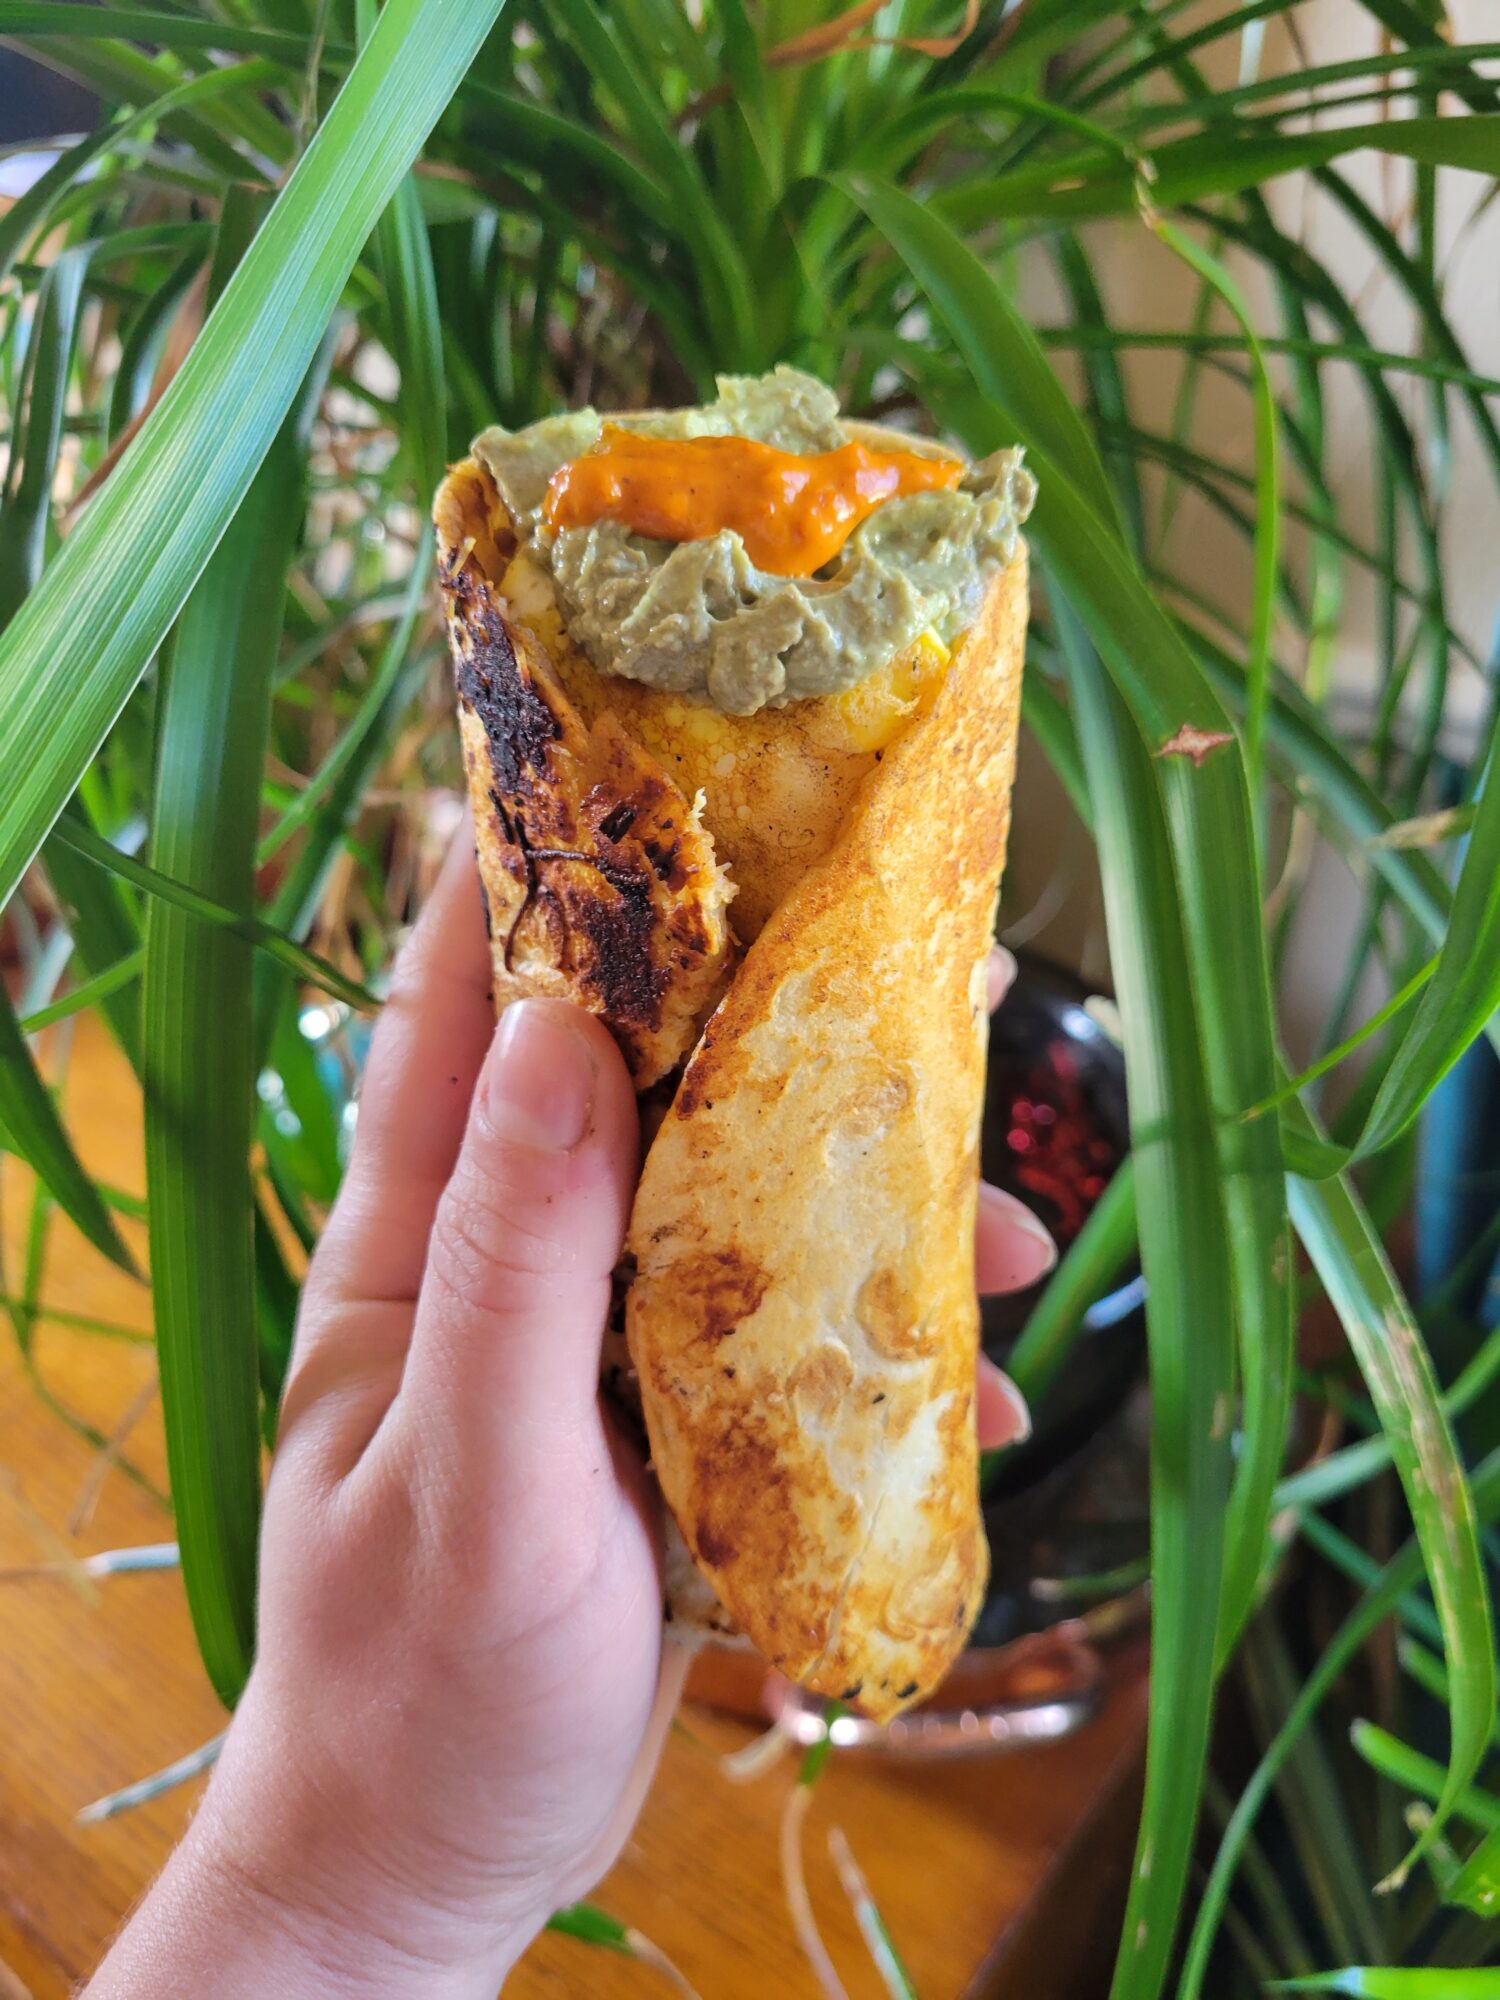
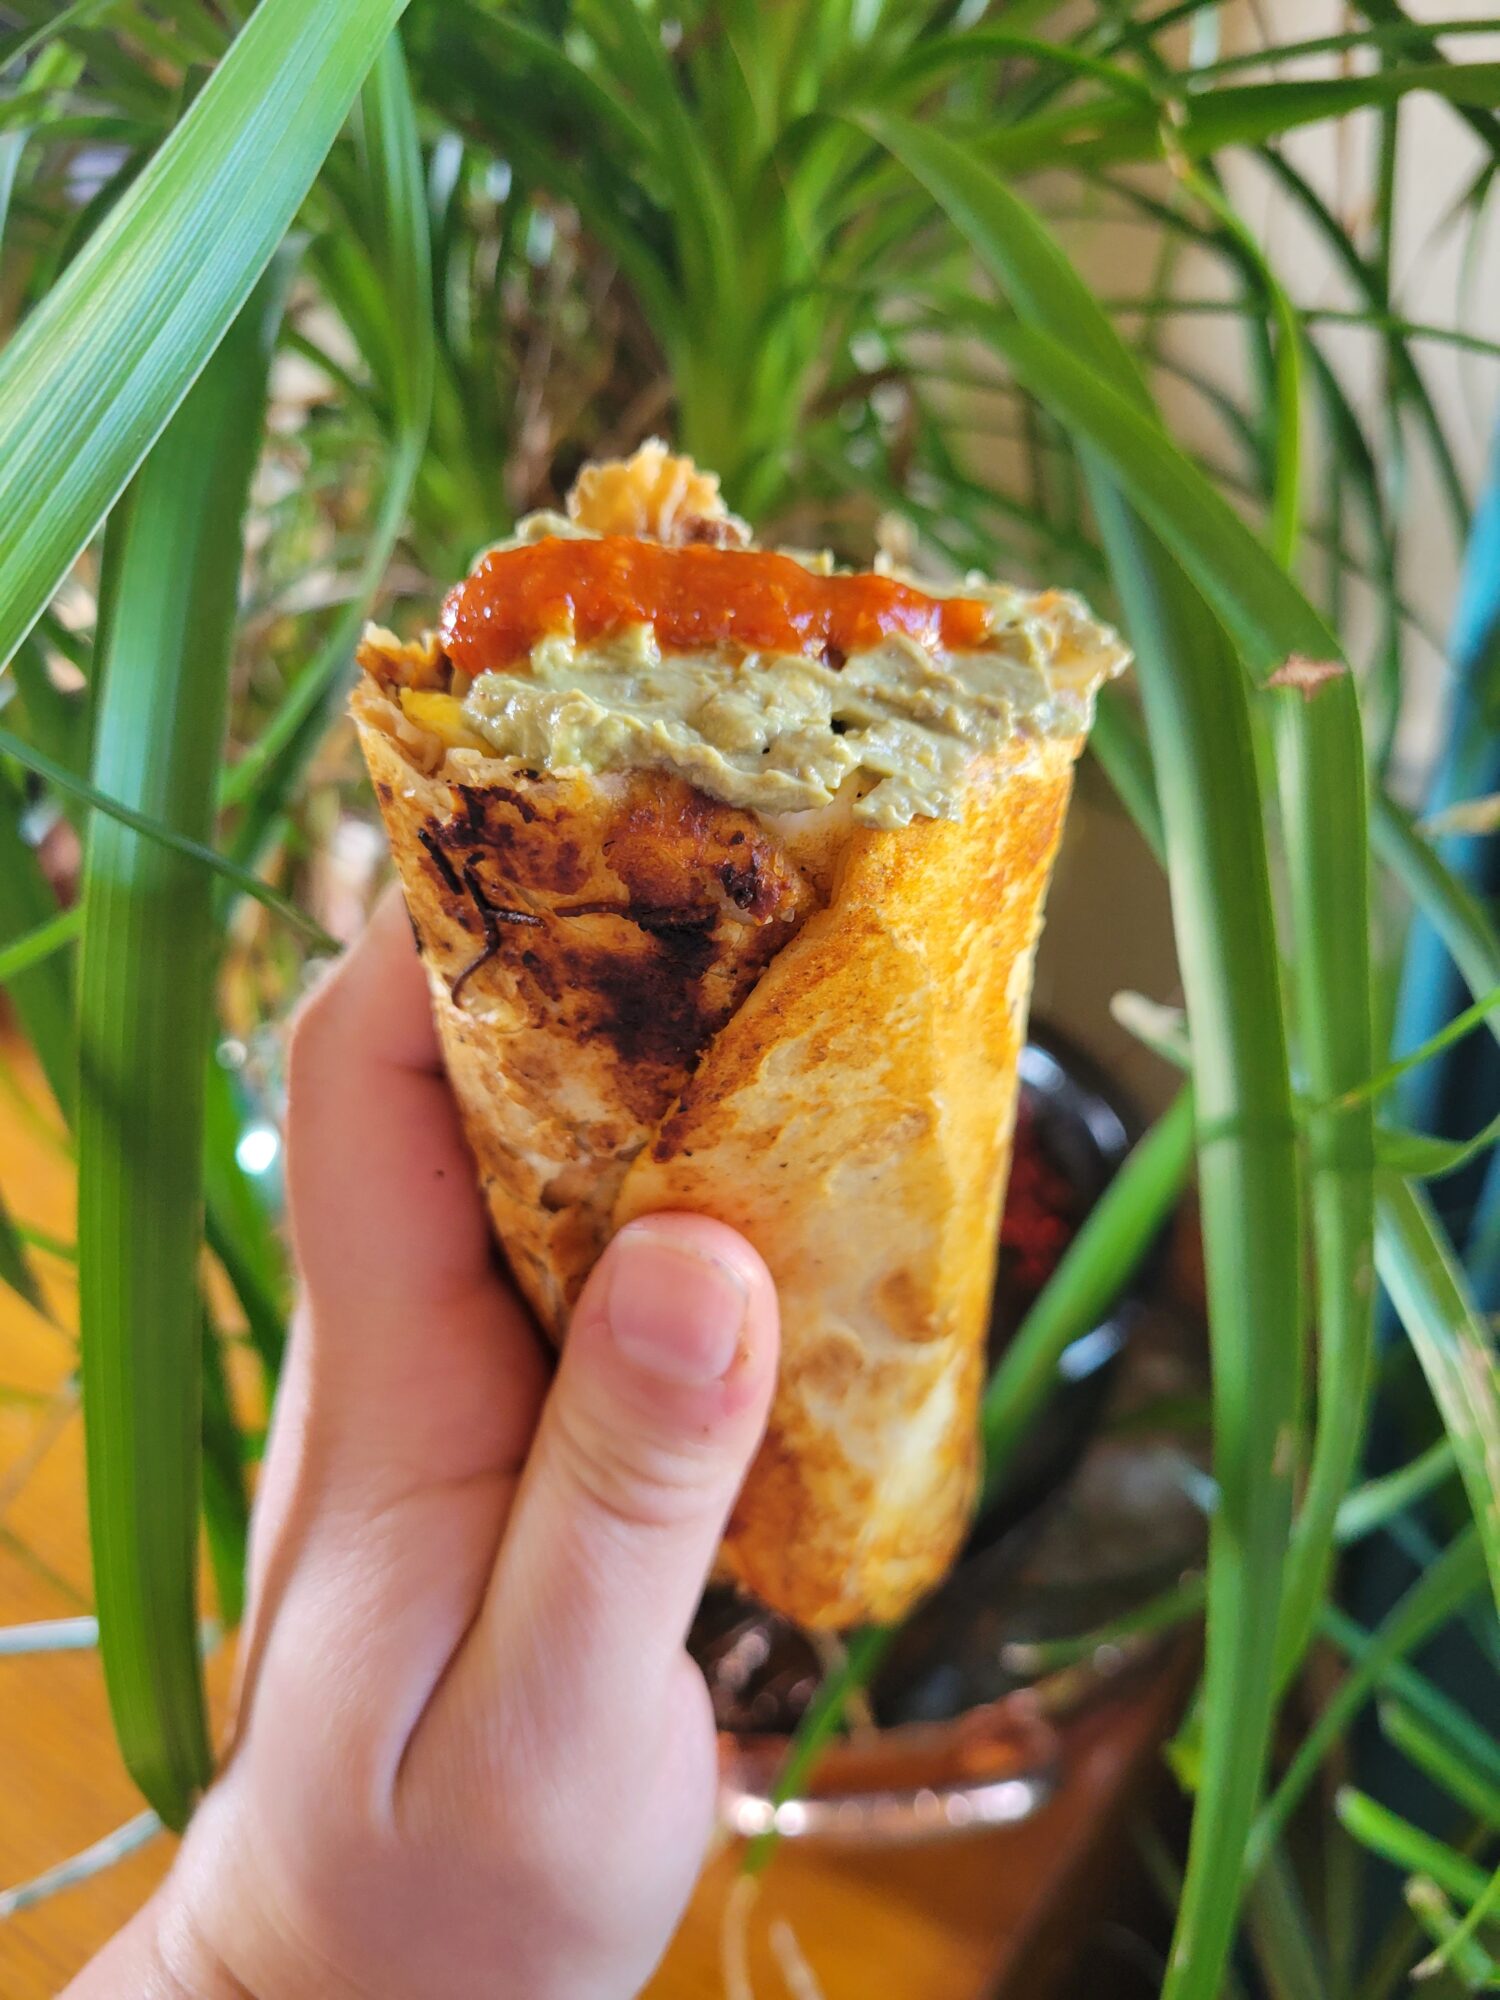
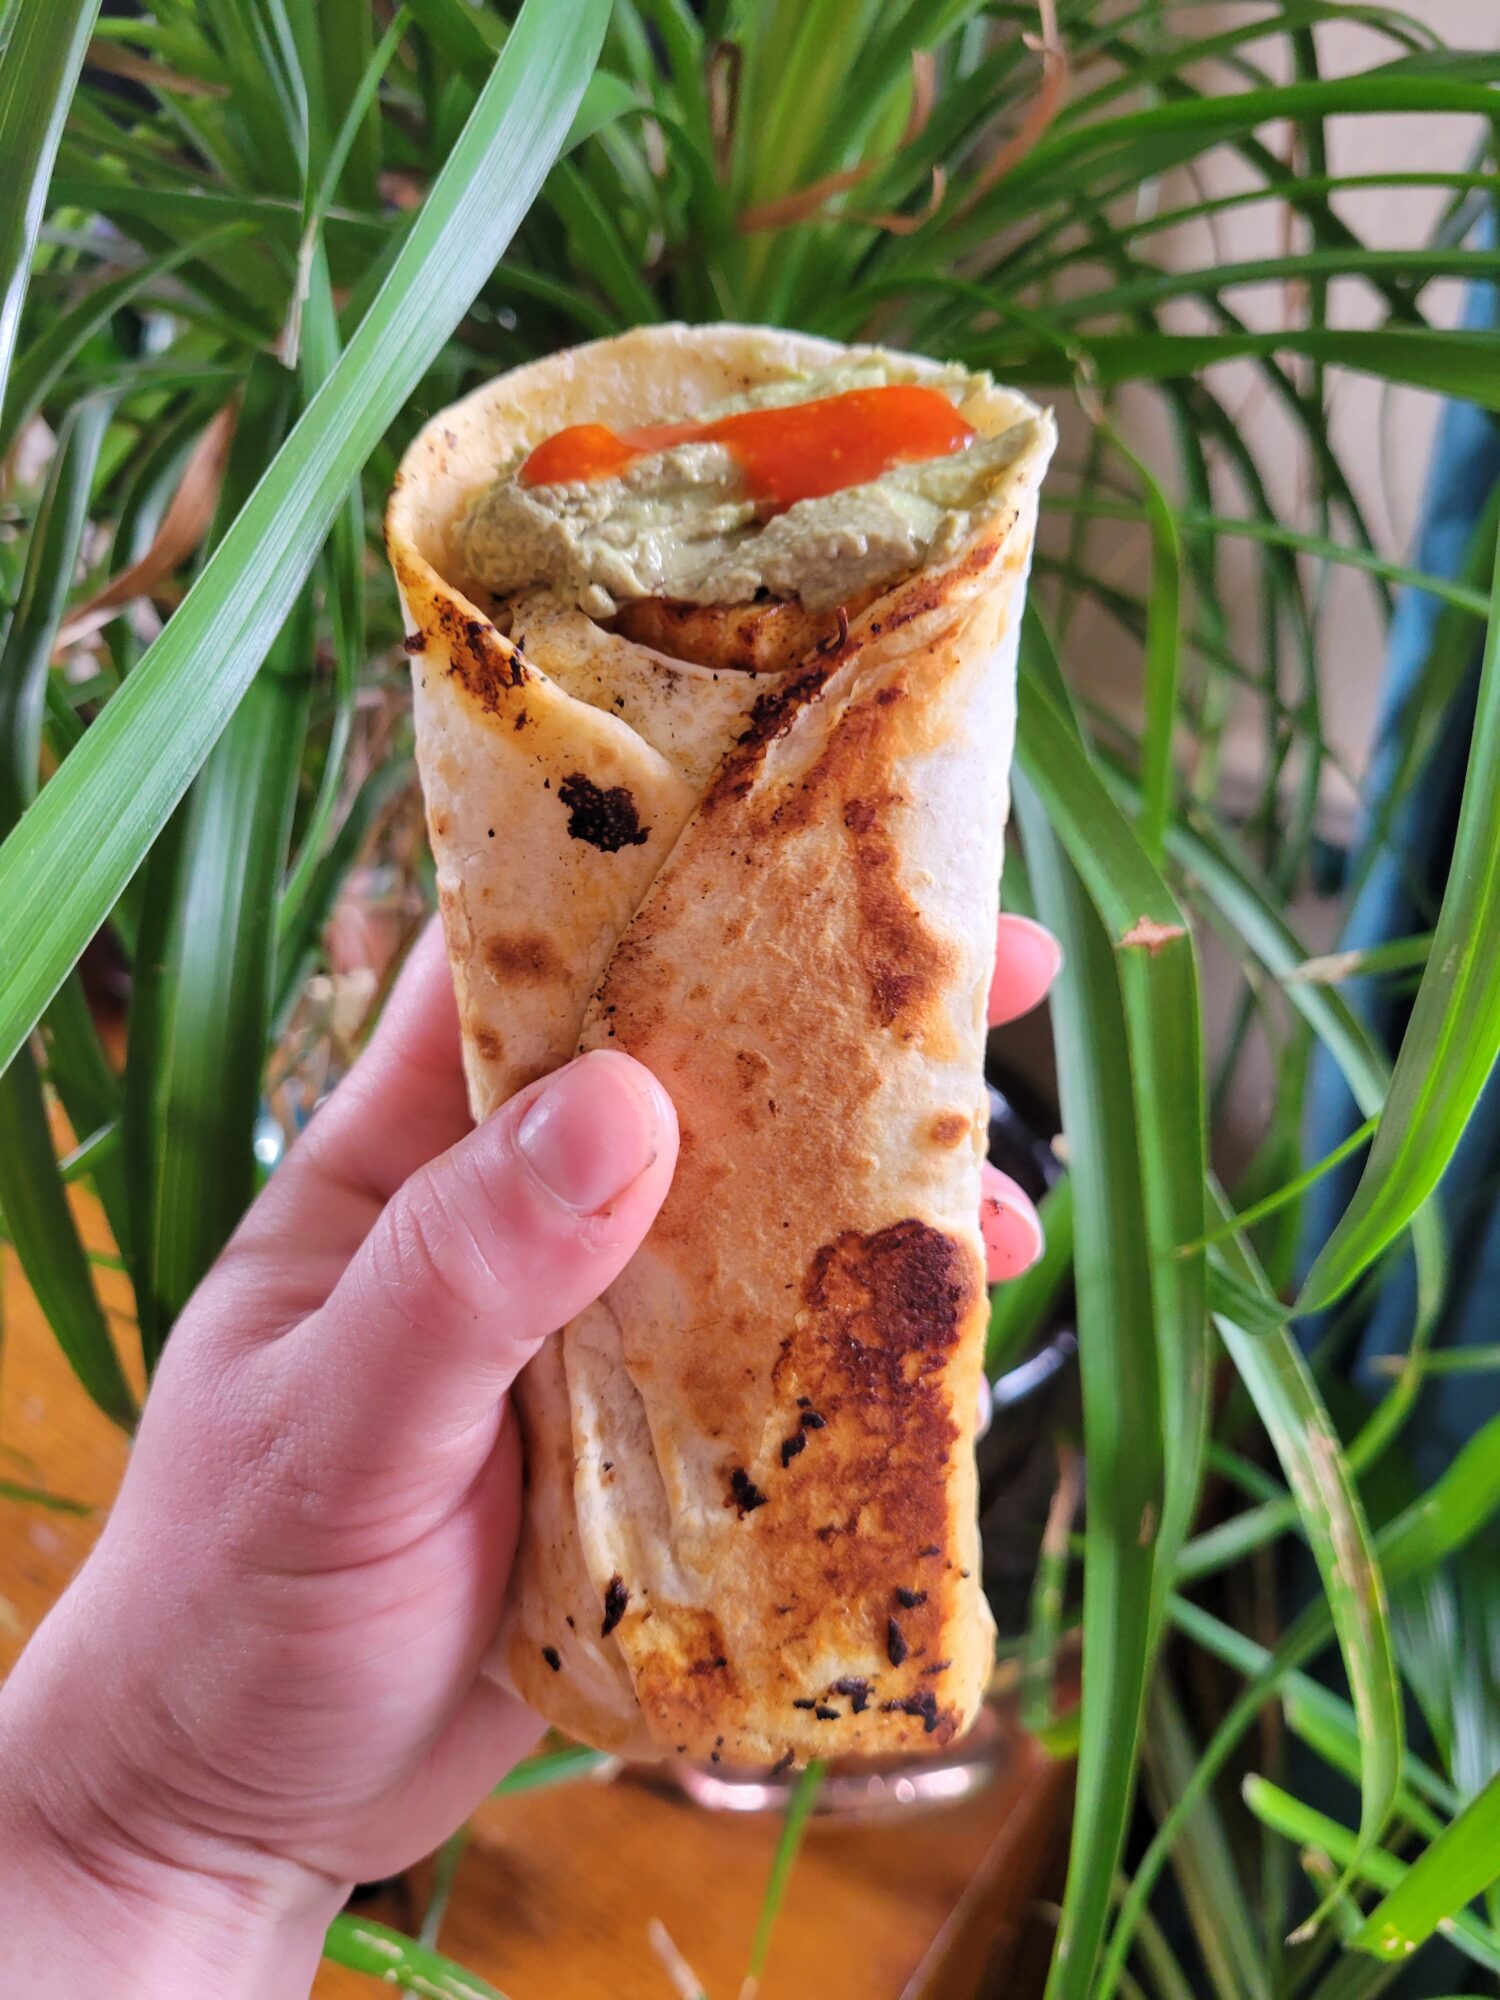
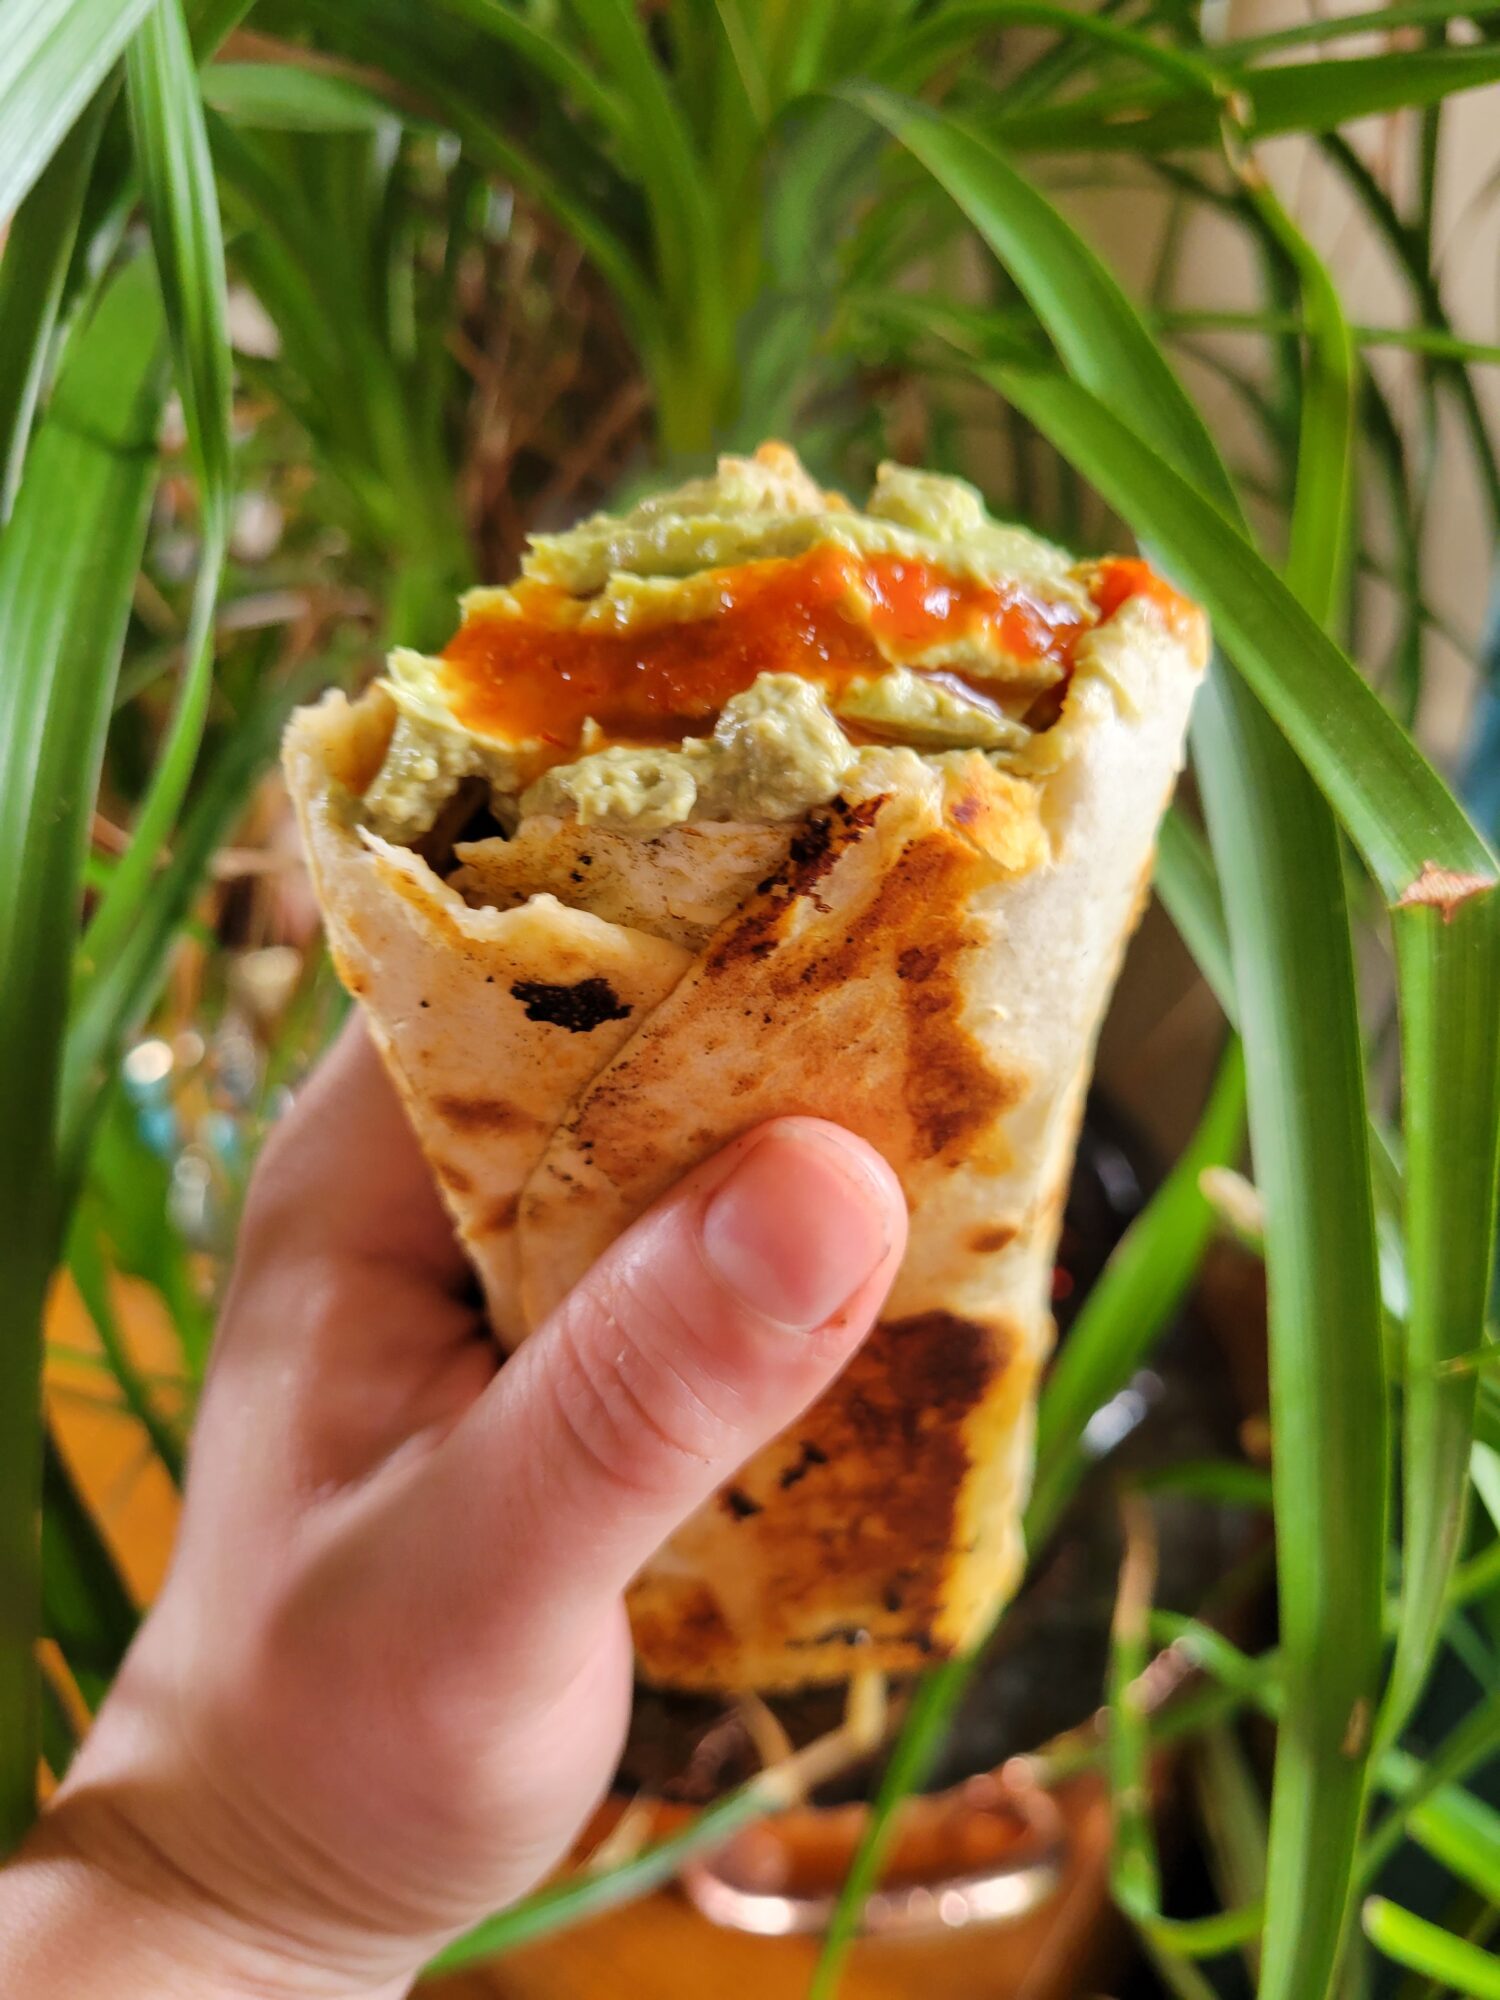
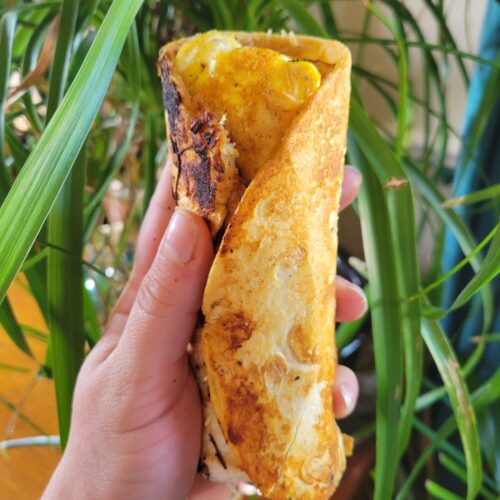
Variations of Vermicelli Burrito
I'm a big fan of adding absolutely everything into a burrito. Vermicelli isn't quite as far fetched as it might seem, though! It is a brown rice noodle. And, while it's not quite as typical as brown rice in burritos and it does have quite the different flavor profile. But it's nonetheless absolutely delicious!
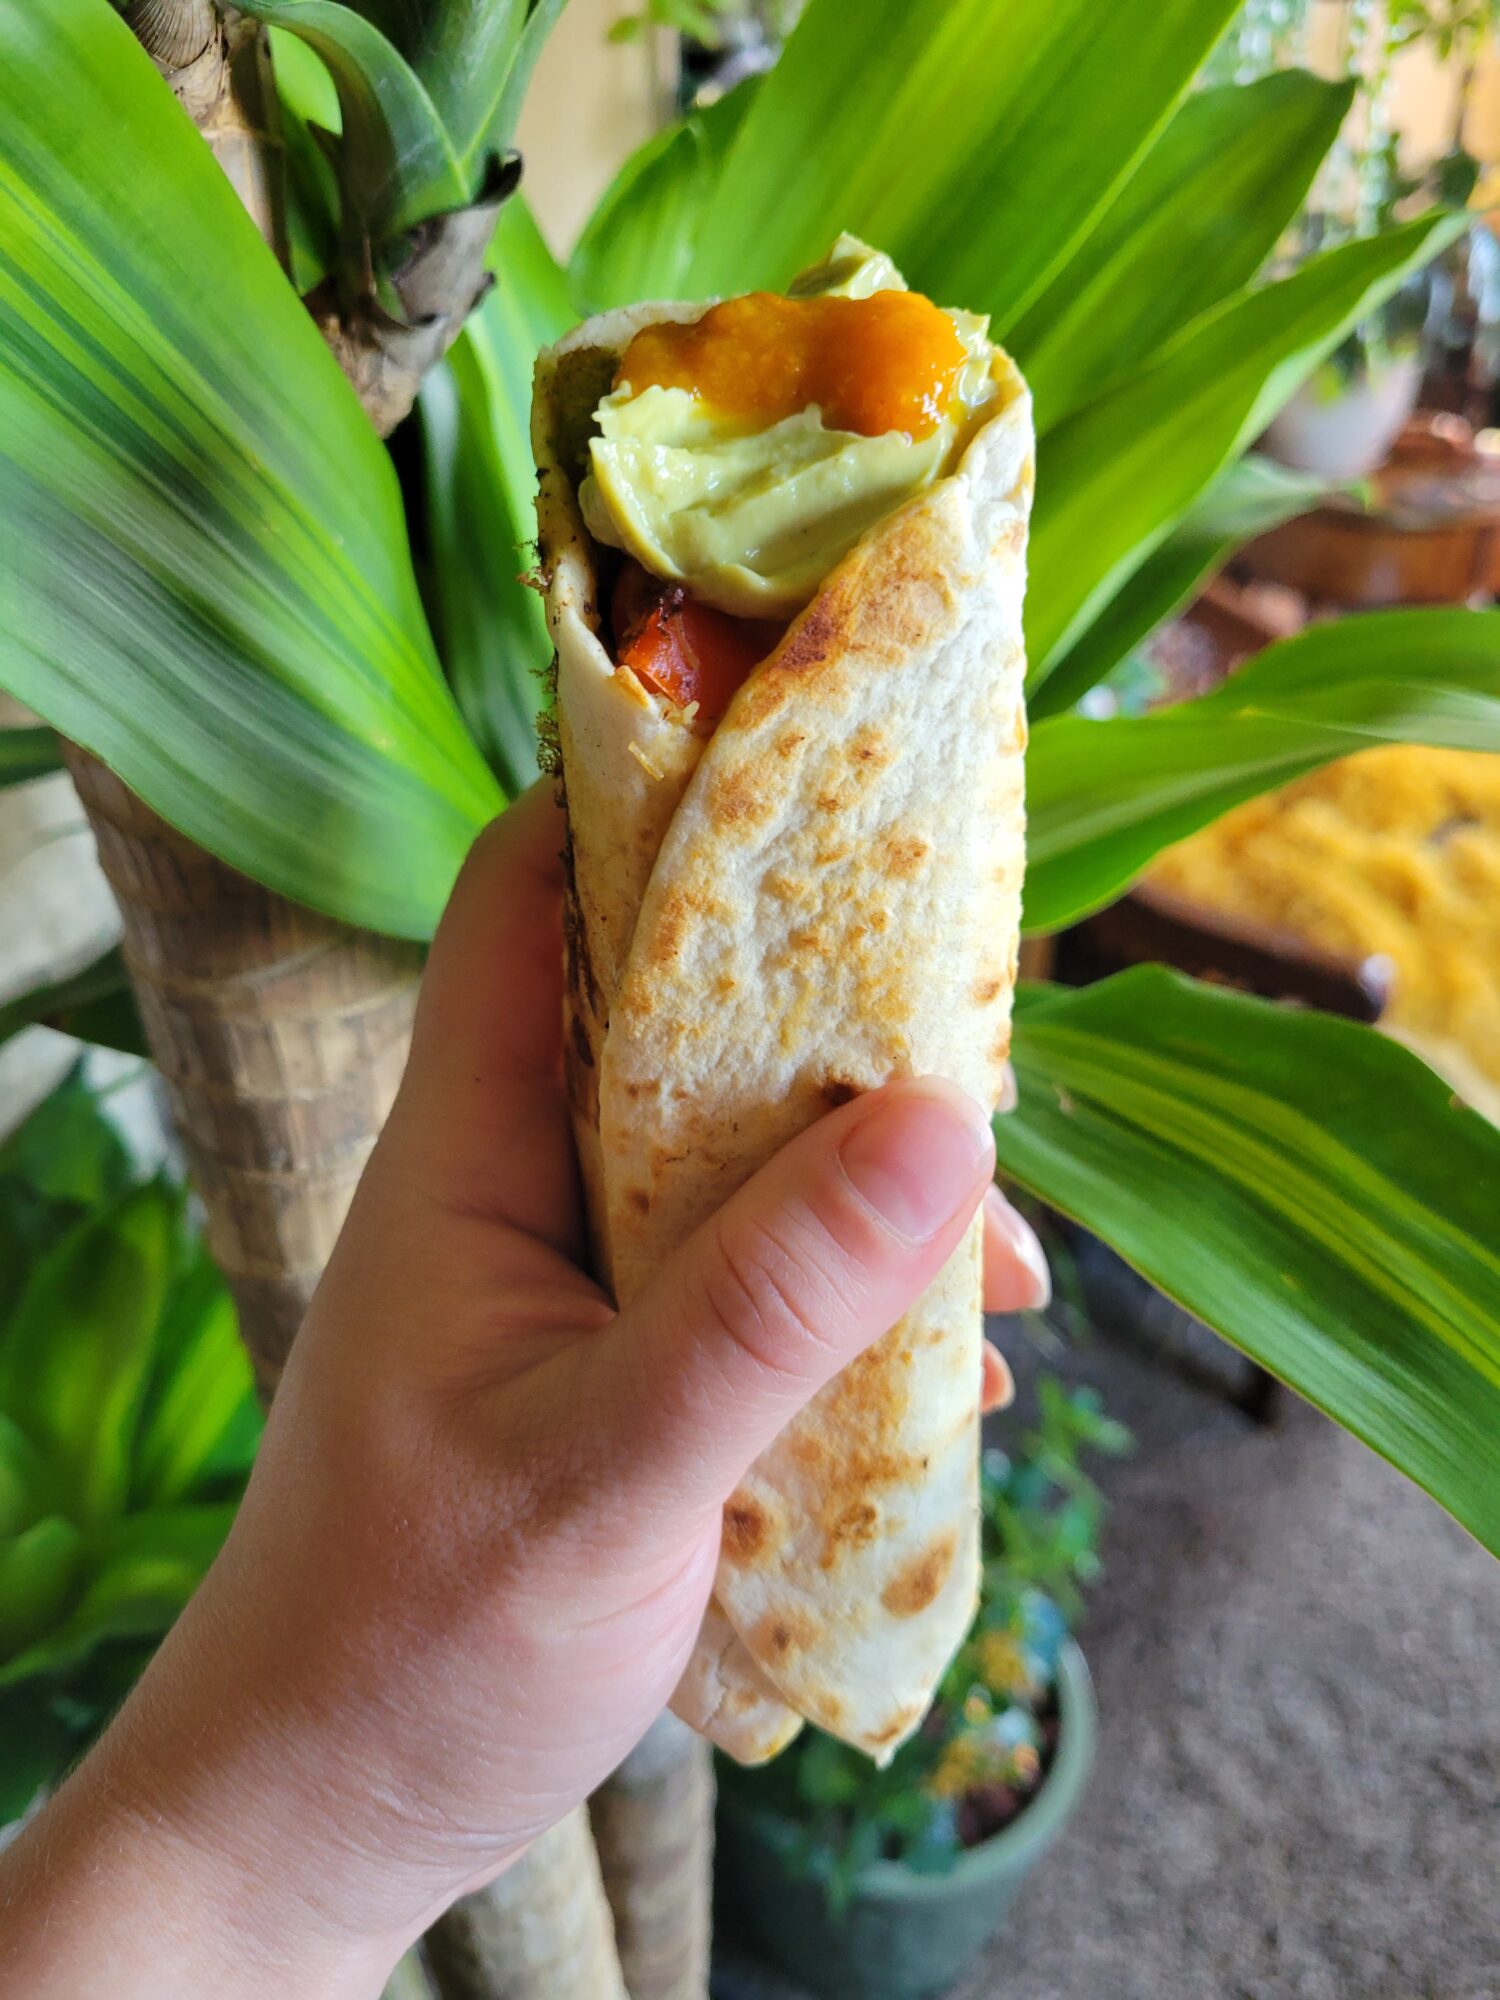
This vermicelli burrito combines a perfectly runny egg with a fresh vermicelli salad and avocado dip with Greek yogurt, walnuts, and lime. I'm always a fan of turning leftovers into new and interesting dishes. Which are absolutely delicious to boot! And exceptionally easy to throw together in a pinch.
dollopavocado dip(optional, omit or substitute sour cream)
dollophot sauce(optional)
Instructions
Prepare Ingredients
This Vermicelli Salad w/ Cucumber & Tofu recipe requires a large bowl, large pot, skillet, stovetop, and paper towels. It takes about a half hour to toss together, most of which is spent cooking the vermicelli and frying tofu. As the rest of the salad is raw and simply mixed together.
I also topped this burrito with Avocado Dip w/ Greek Yogurt, Walnuts, & Lime. This is my new favorite sour cream substitute. It's kind of a mix between hummus and guacamole and works fantastically well in a wide range of burritos.
Cook Tortilla
Preheat the pan on medium-high. If you aren't using cast iron, make sure to lightly oil the pan to prevent sticking.
Wet both sides of the tortilla and add to the preheated pan. Cook for 4-6 minutes, or until the bottom begins to brown.
Remove the tortilla from heat and turn the stove off. Add toppings and fold the burrito. Wrap it slightly less tightly than you ordinarily would in order to leave room for the egg later on.We're also intentionally holding off on the egg! It will need to be cooked after the tortilla is prepared so that the egg doesn't completely set and remains runny.
Turn the stove back up to medium and add the tortilla to the skillet immediately, before it preheats. Cook for about 4 minutes, or until the bottom begins to brown. Rotate until all sides are cooked.The first side will likely take longer to cook than the subsequent sides, which may toast in as little as 2 minutes. Adjust the temperature if it's cooking too quickly and burning or too slowly and cracking.
Remove from heat and set aside. It's best to cover so that it doesn't cool off to quickly. But this isn't entirely necessary.
Cook Egg
Leave the skillet on medium heat and add oil.I use a pretty well seasoned cast iron pan to cook eggs, so I don't add any more than a spritz of oil. You may need upwards of a teaspoon for other types of pans, though. Use just enough so that your eggs don't stick!
Crack egg into the pan.It should be hot enough that the egg sizzles, but doesn't deep fry or brown immediately.
Let cook until golden brown on the bottom and you can flip the egg with ease. The whites should be fairly set on both sides, but not completely cooked.You want to cook this relatively quickly so that the egg yolk doesn't set, though. It should take about a minute or two. Turn the heat up if the egg whites don't cook quickly enough or down if the egg yolk starts to cook. Also immediately flip if this happens!
Flip and turn off the stove. Cook for another 30 seconds, or until the egg white is completely cooked. It should already be mostly set and this should take no time at all!
Complete Burrito
Carefully unwrap the burrito slightly and place the egg inside. Rewrap the burrito and squeeze slightly so that the egg begins to run.You don't have to break the yolk, but it will continue to cook inside of the warm burrito shell. So, if you don't, you might not get that runny egg! This will also be kind of messy and I recommend eating over a plate or wrapped in parchment paper or food storage wraps. I have a set of reusable beeswax wraps for this.
Top with Greek yogurt and hot sauce of choice. I like to use Greek yogurt because it's oftentimes healthier than sour cream and pairs well with the nutty flavor of the quinoa. Omit or substitute with a vegan alternative for an entirely animal-product free recipe.
Serve immediately. Before the egg cooks!
Tips, Tricks, & Notes
For a more in-depth article on burritos, check out my article on The Fundamentals of Making Burritos. I highly suggest using cast iron and there is precise temperature that works best for cooking at that may vary slightly depending on your stovetop and type of skillet. If you're having trouble rolling the burrito without cracking, there are solutions for this as well!


Leave a Reply