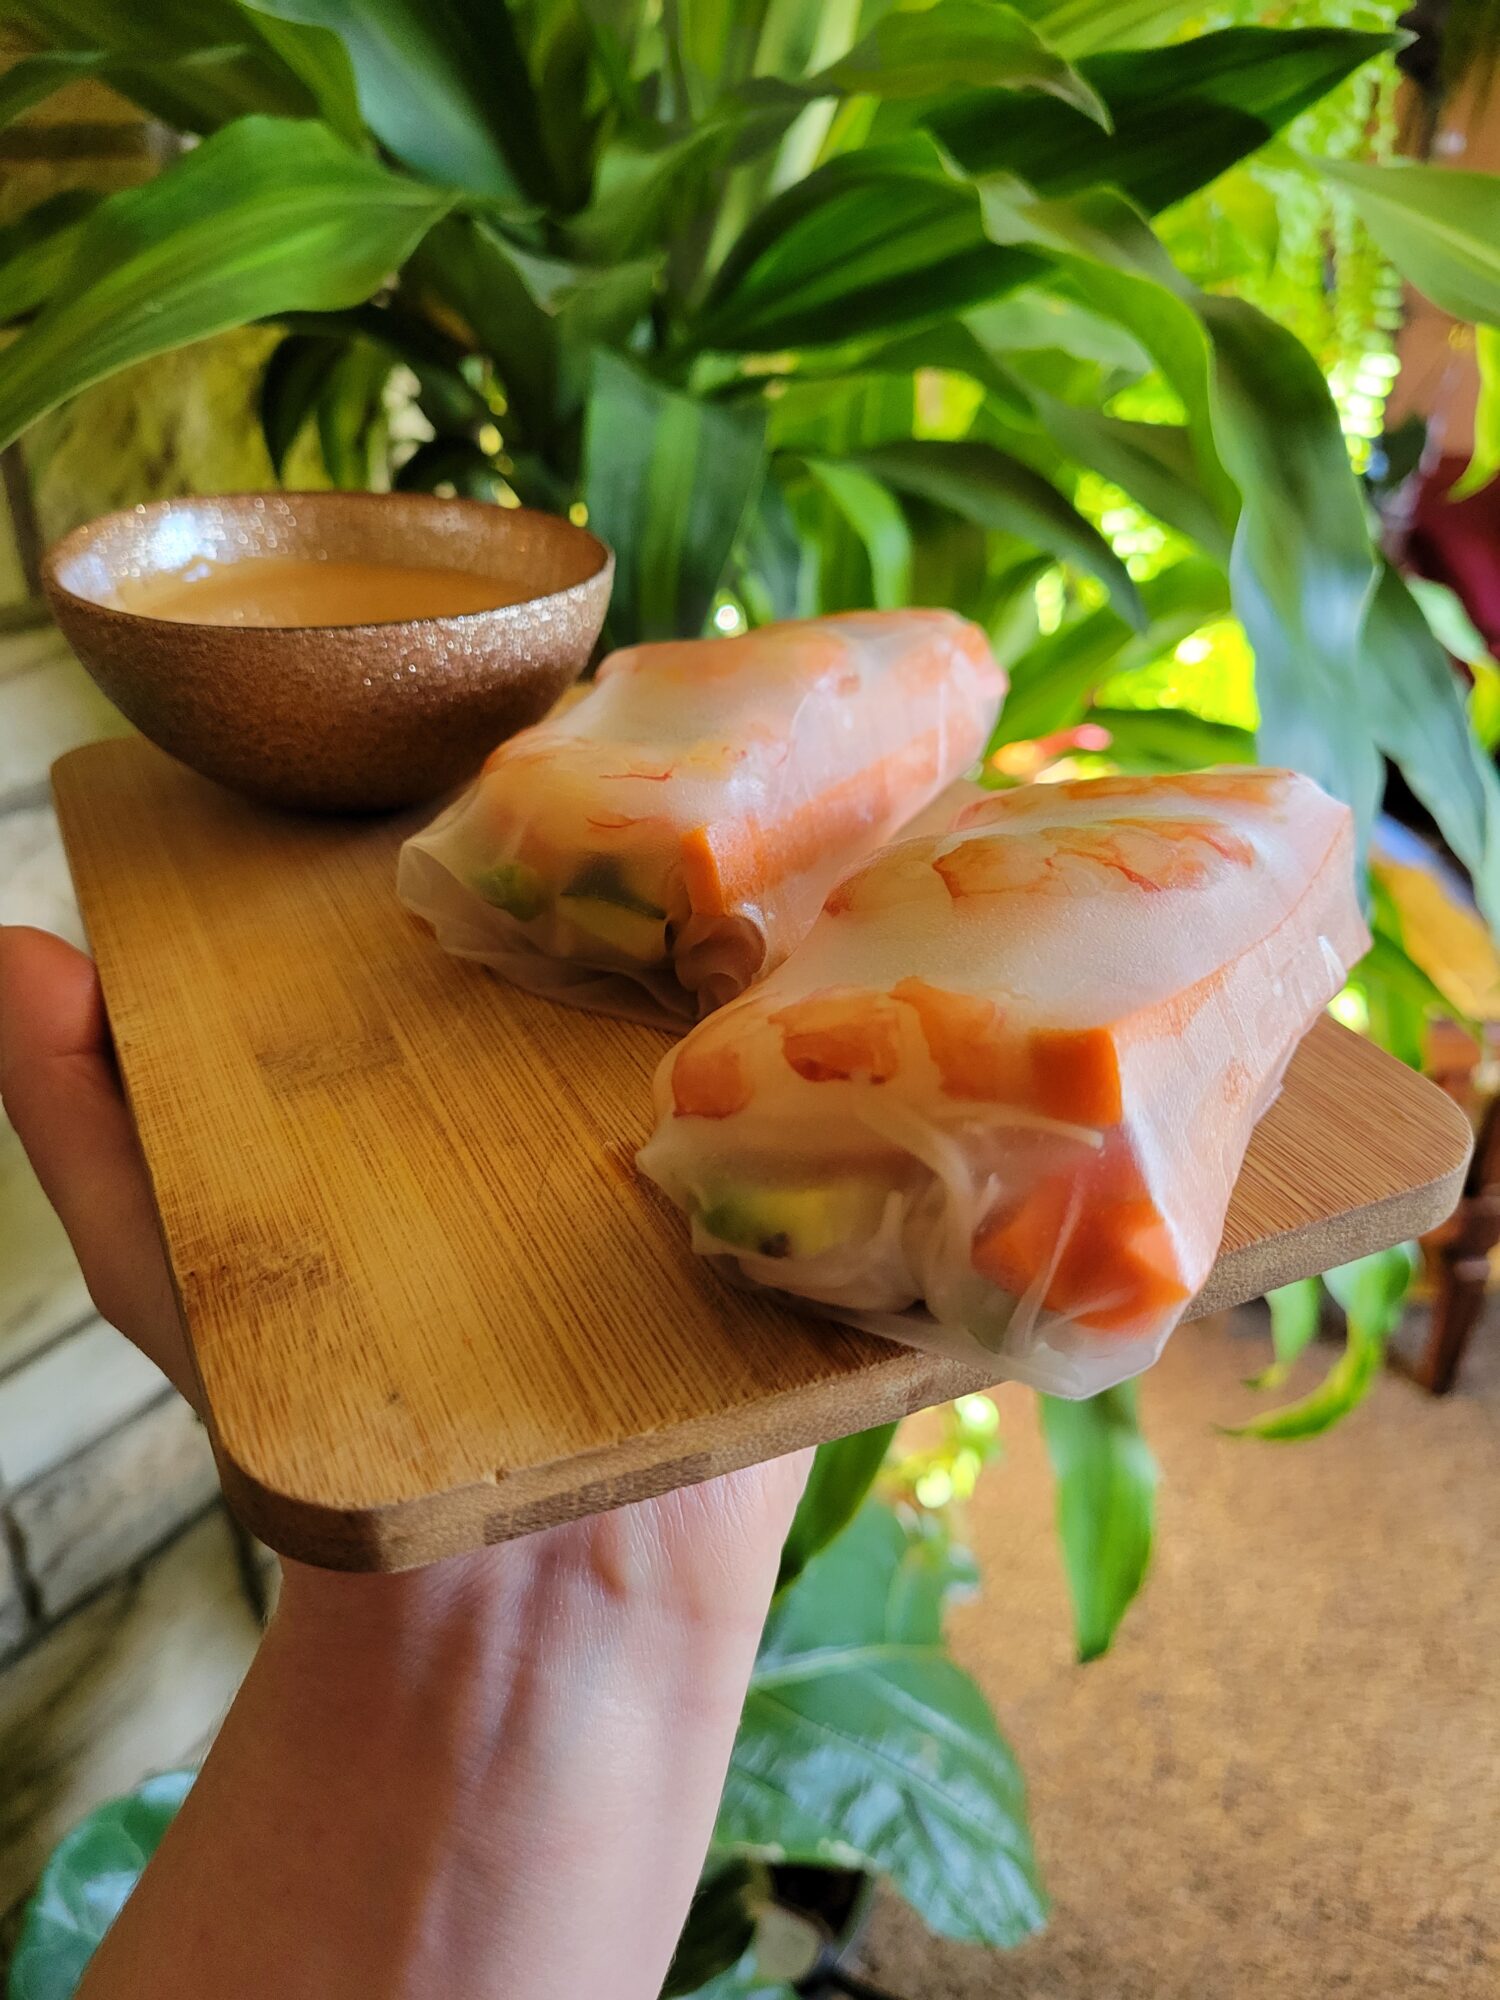
Spring Rolls w/ Shrimp, Carrots, & Avocados
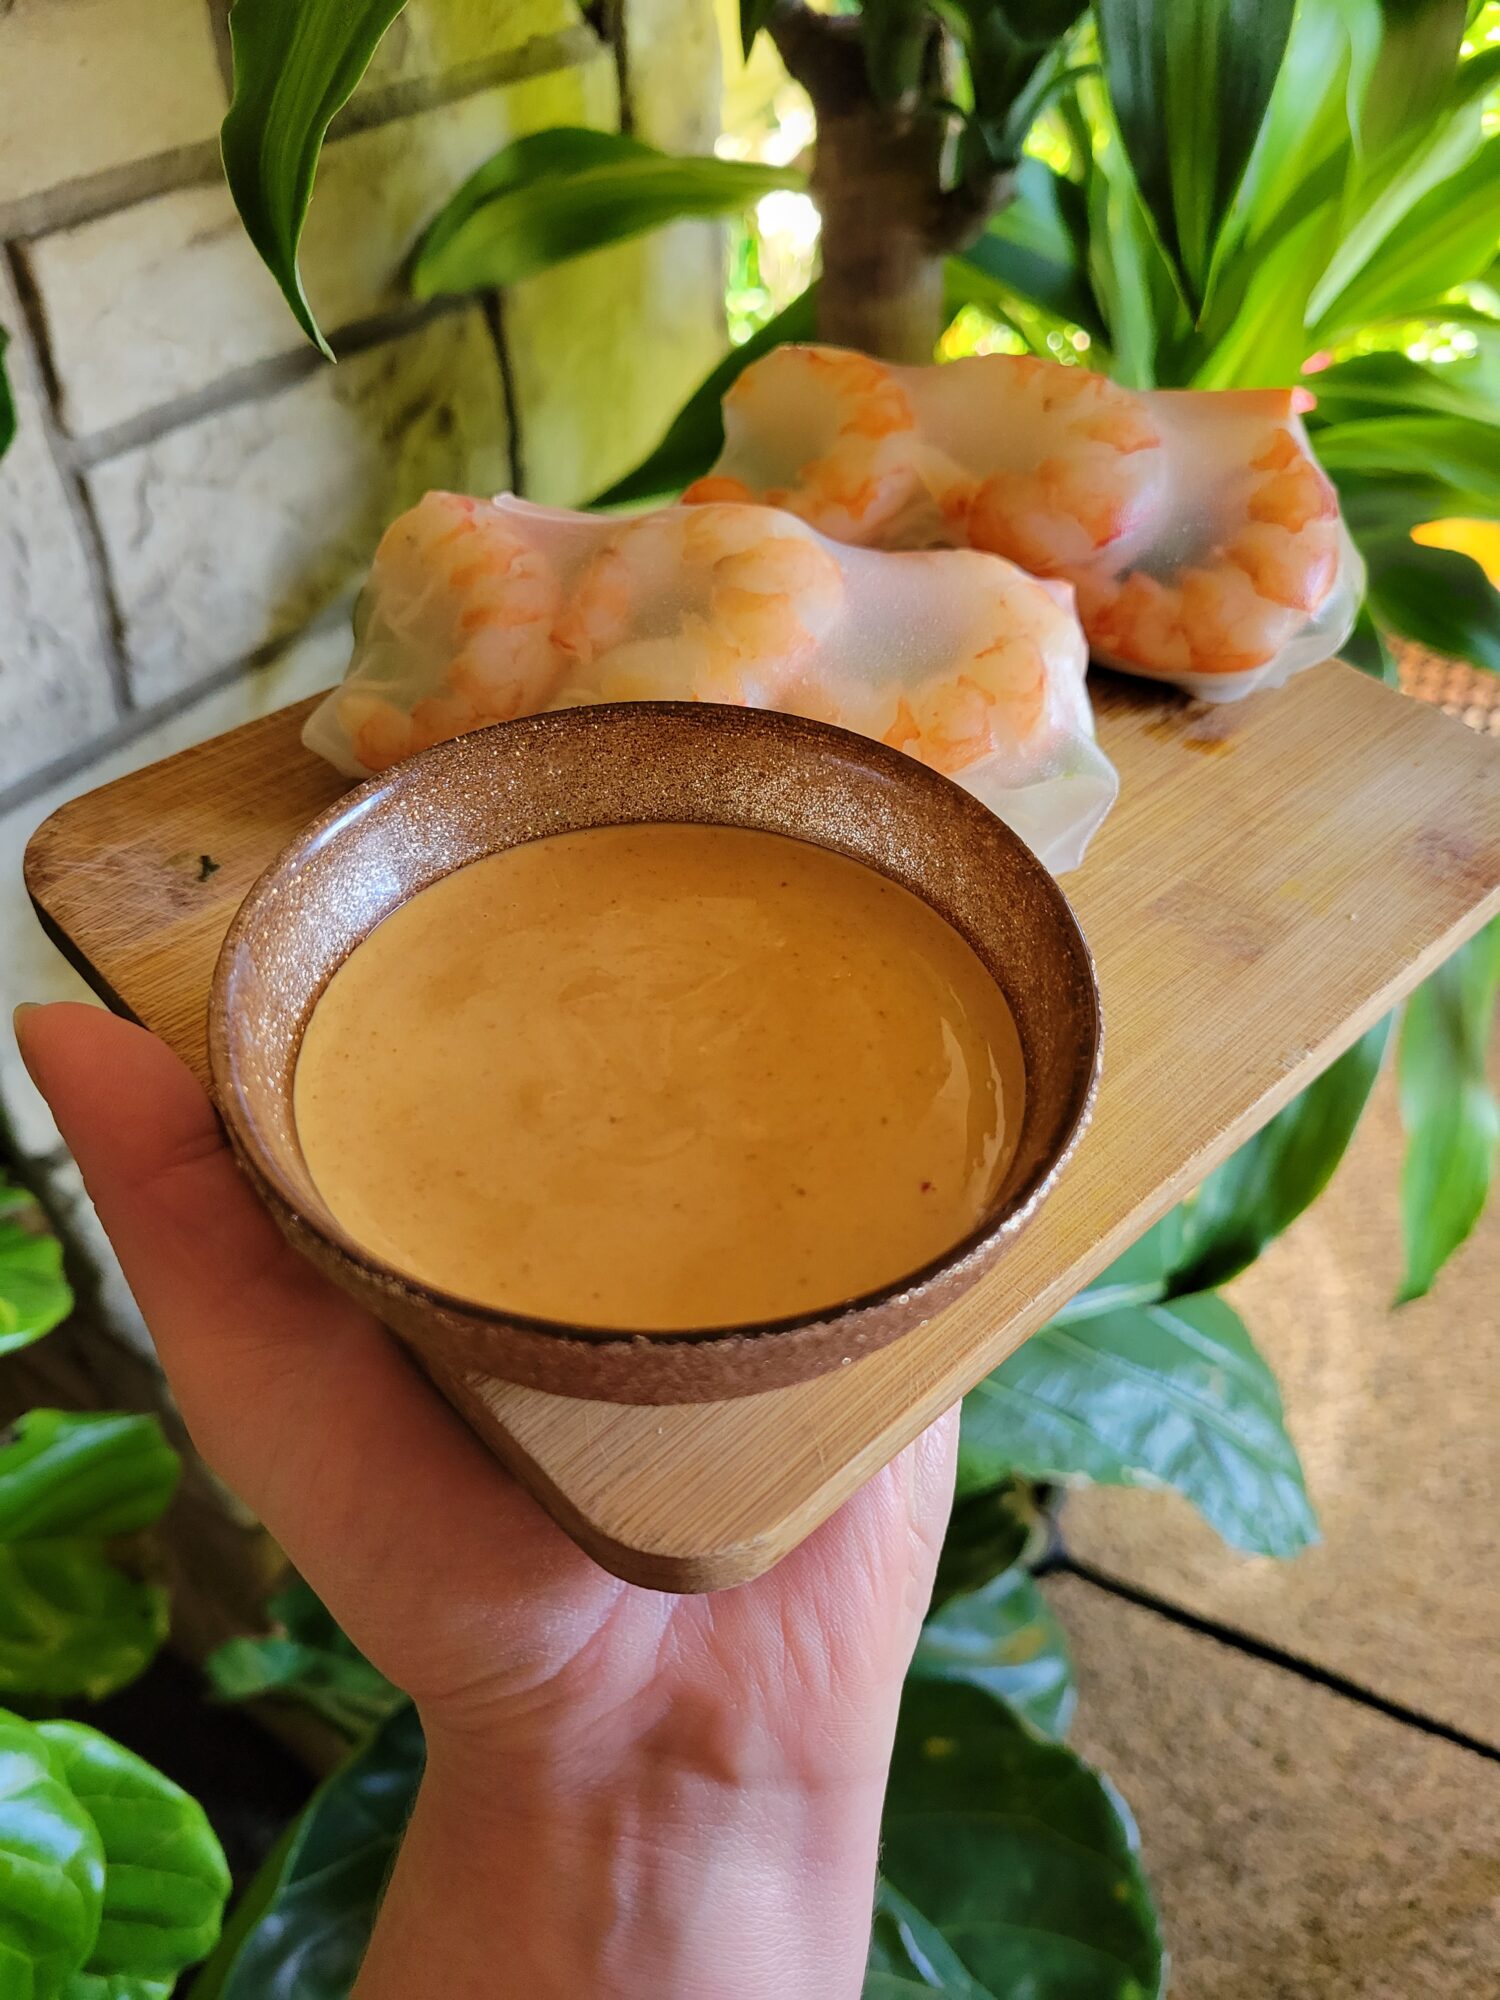
I am always looking at those beautiful spring rolls with the bright pink shrimp glistening through the rice paper. They always look so elegant, reposed, and so above and beyond what I'm capable of making! After all, I do like a good plating and have a flair for the dramatic. But I also just... don't make spring rolls! Or really anything resembling spring rolls. And, no matter your culinary skill level, new things can be incredibly daunting! Especially when the presentation is so important. Because, no matter how delicious it actually may be? So, much of spring rolls is the aesthetic. Although I am taking on the challenge and going to give my best try at Patagonian shrimp spring rolls!
Gallery
Variations of Shrimp Spring Rolls
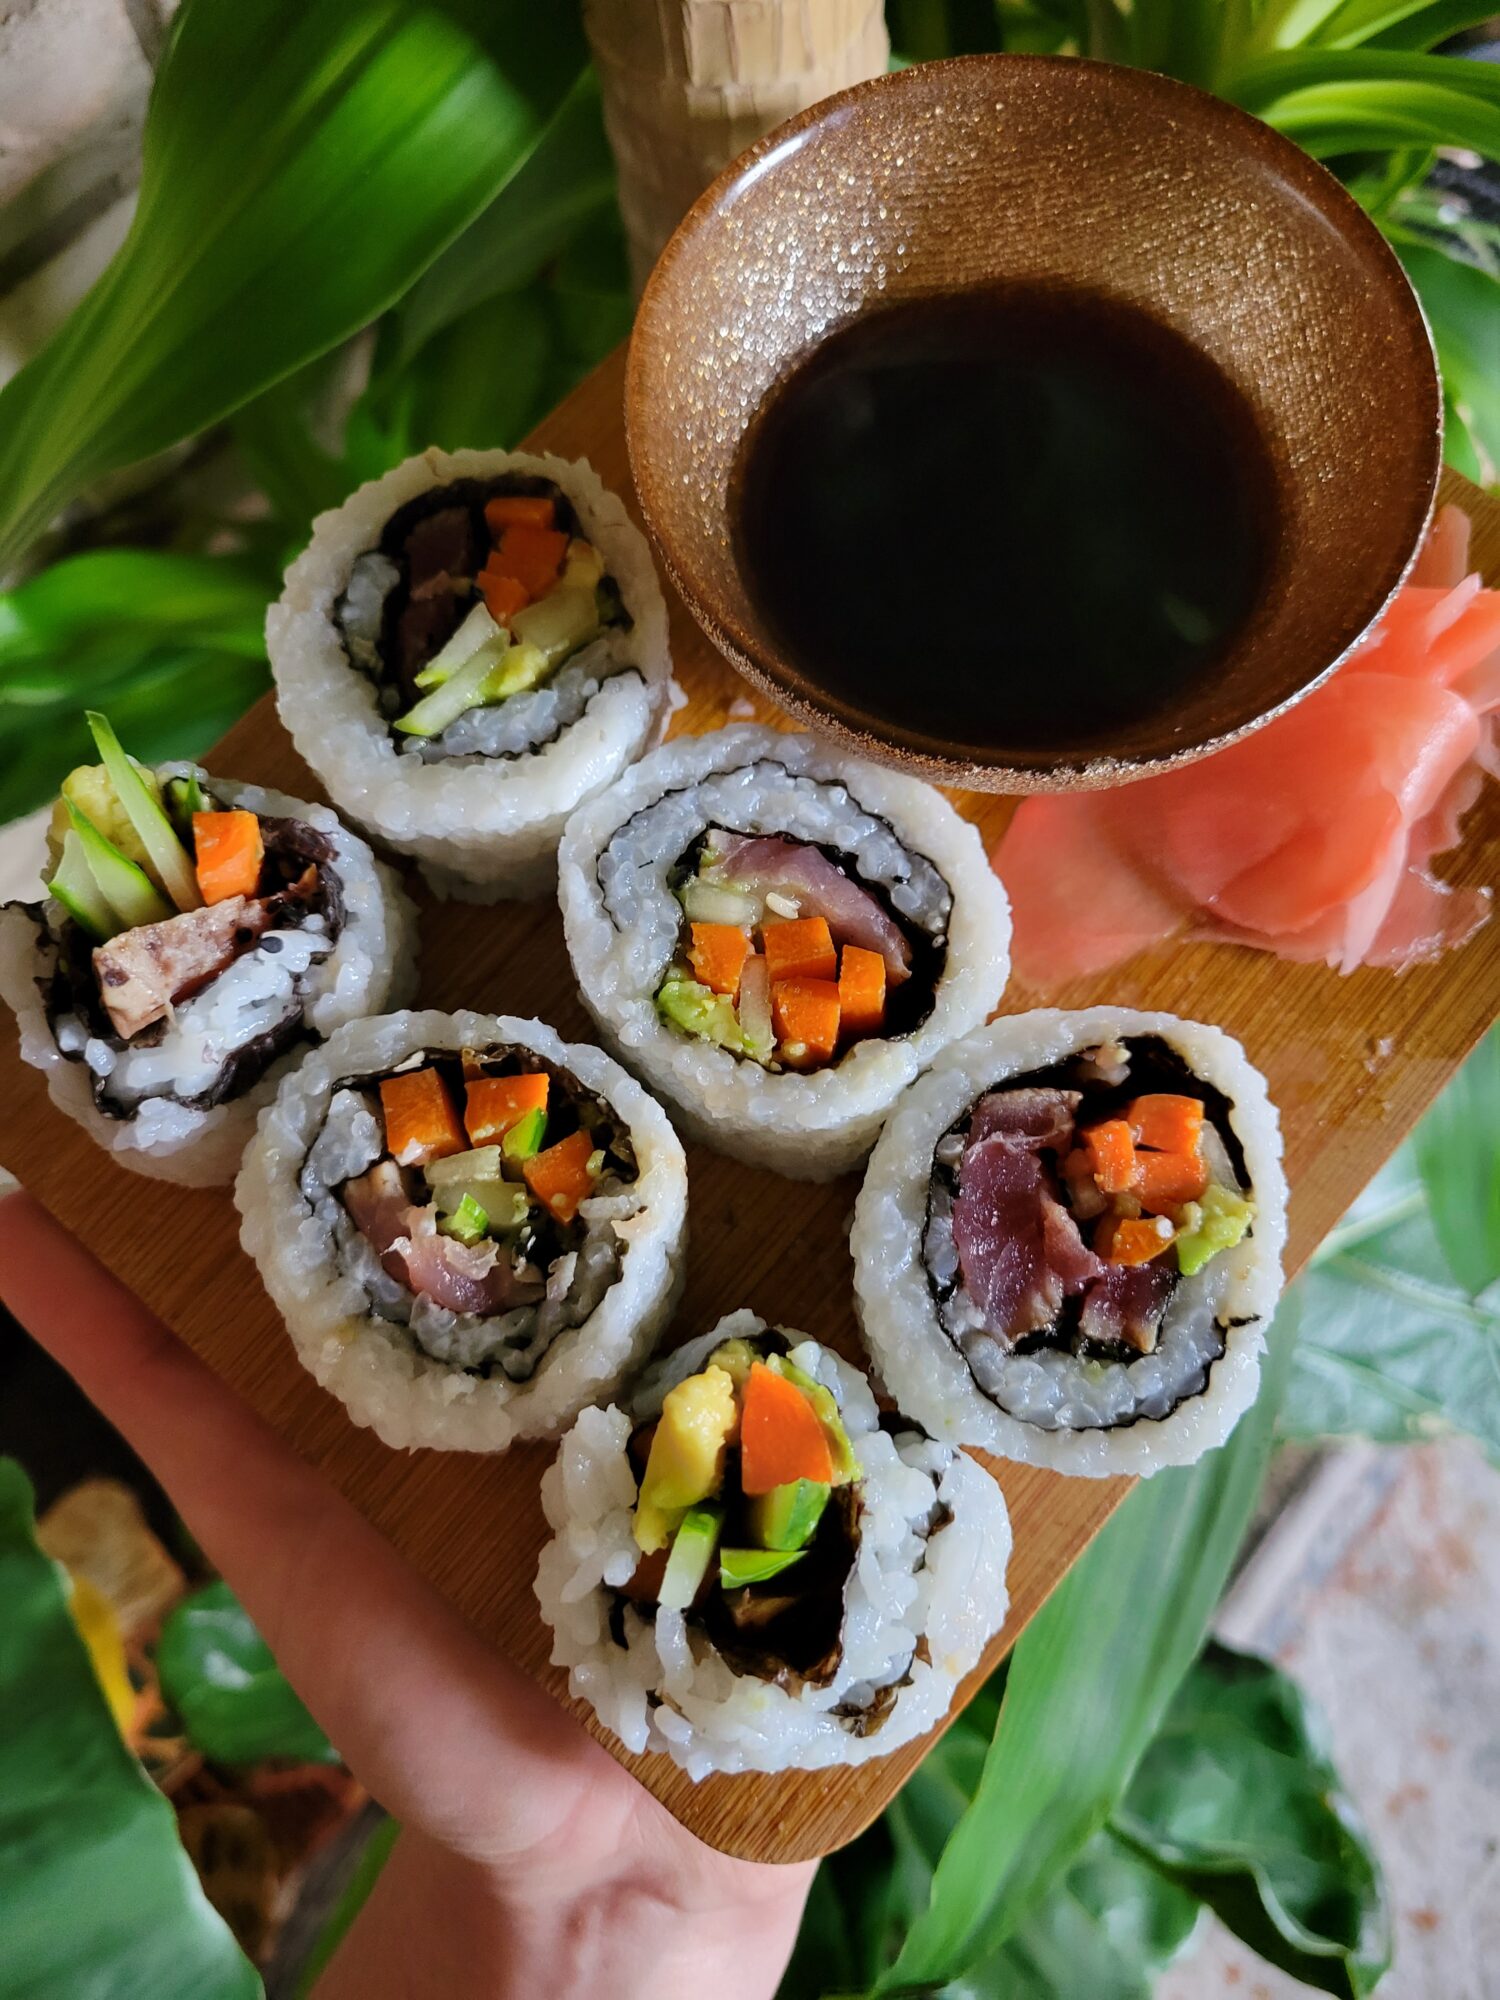
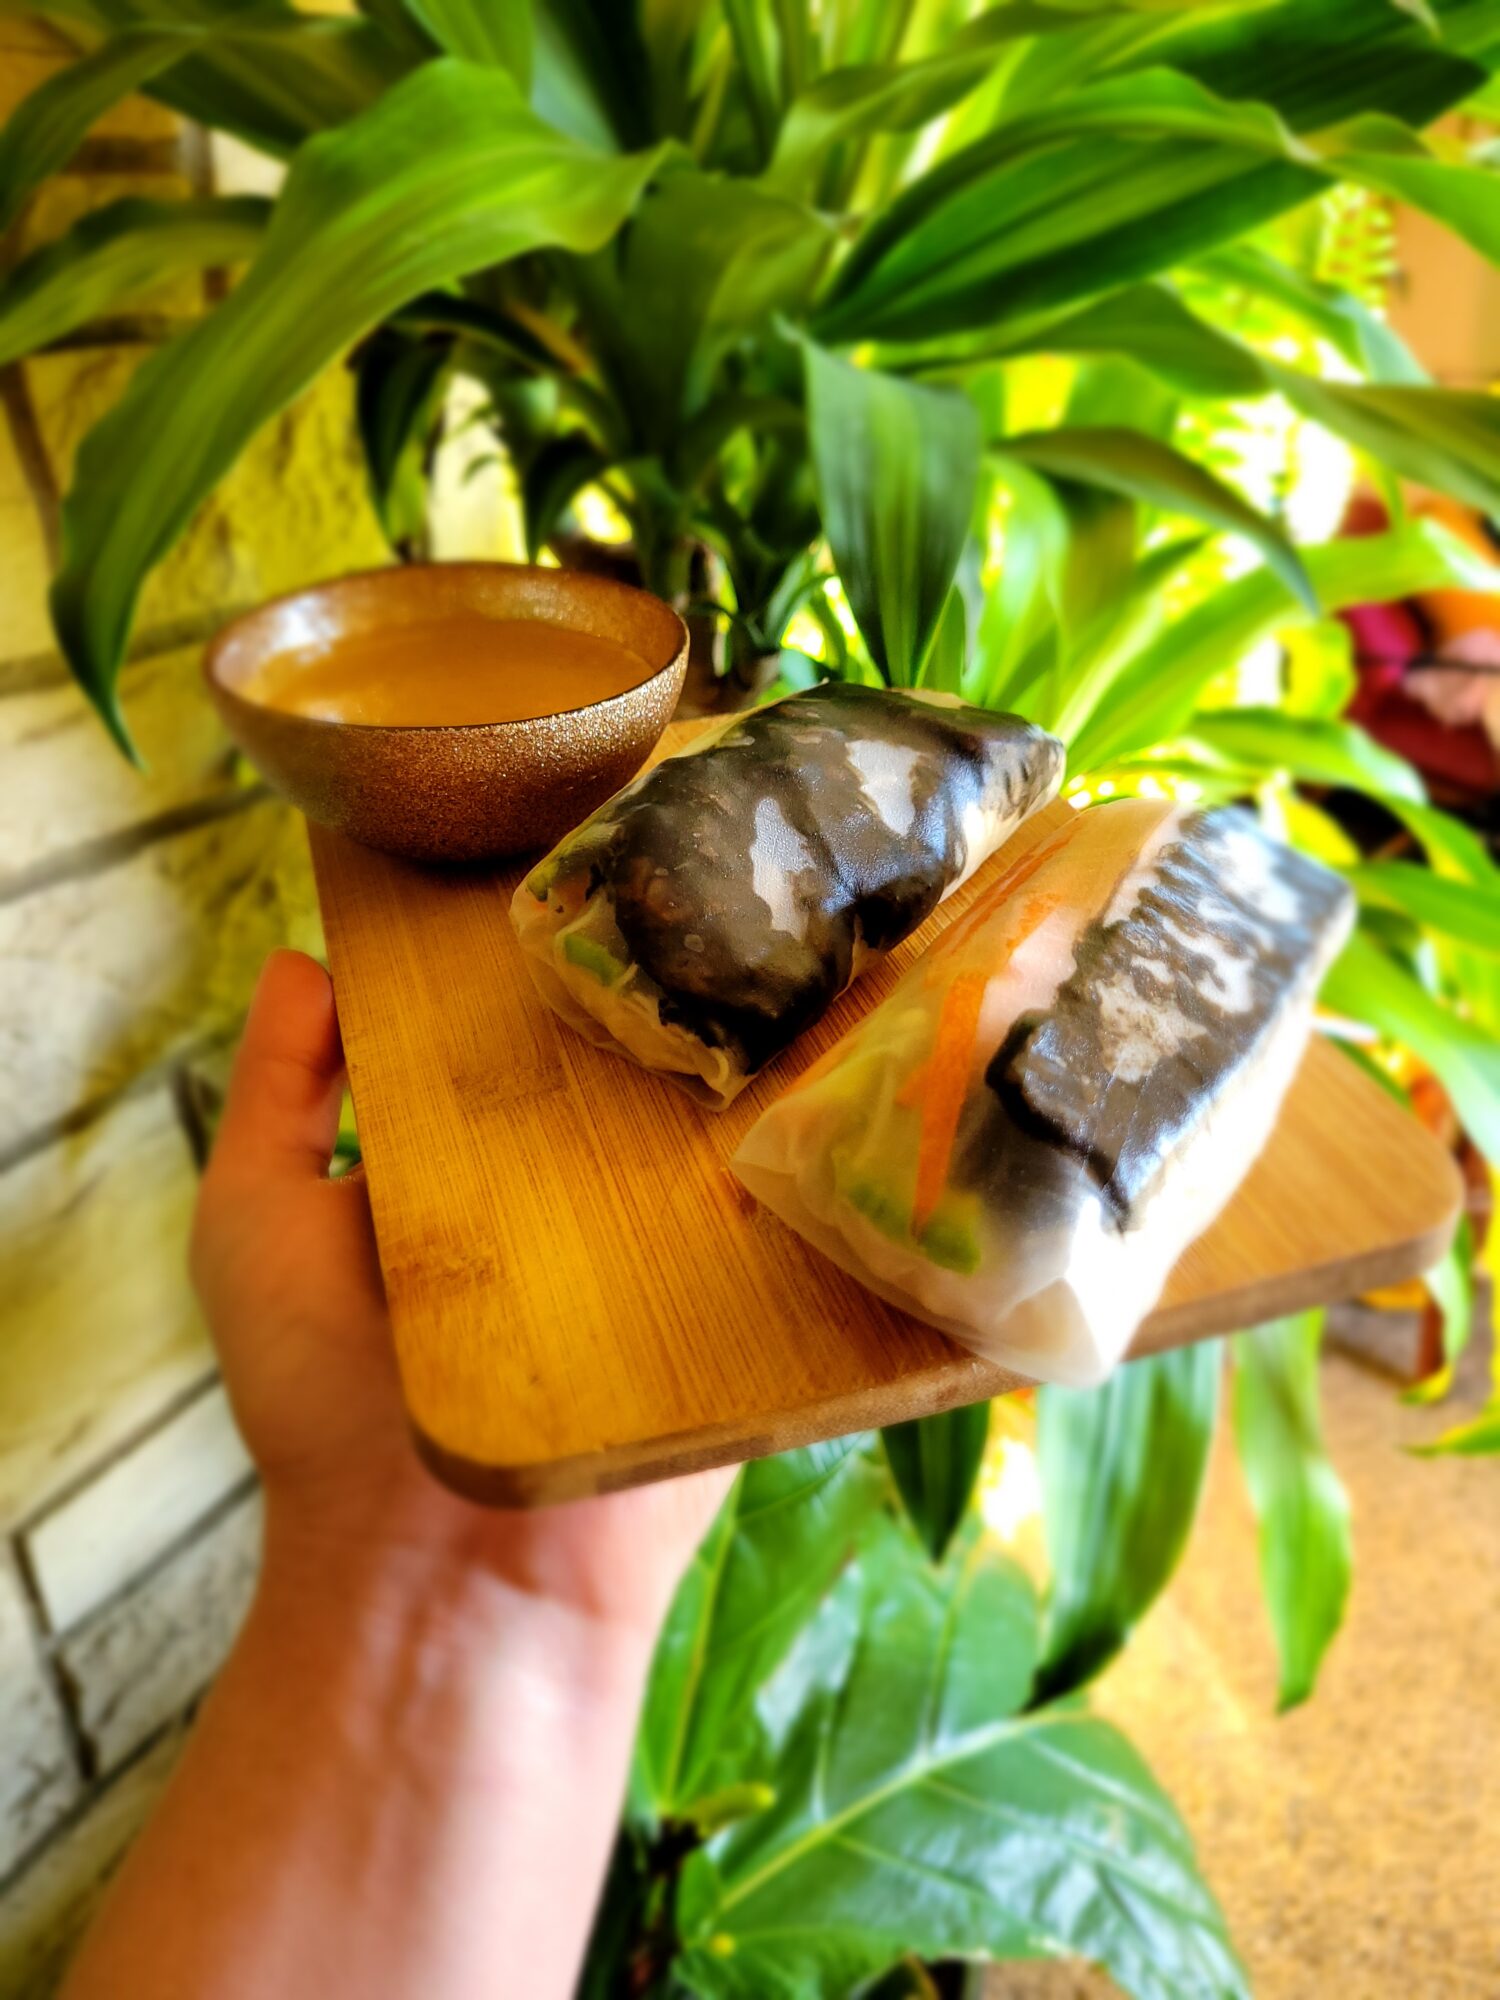
In addition to these Patagonian shrimp rolls, I also made tofu and Halloween-themed squid ink versions. I don't make that many rolls, but I do appreciate a good sushi roll and dabble in a similar culinary vein at times! So, while they might be something that I've never made before and a little bit out of my culinary comfort zone? But they're really not entirely out of my wheelhouse. And actually a little bit simpler to make than I'd originally imagined. After all, very little cooking is involved in making spring rolls. It's more about thinly slicing the fruits and vegetables and figuring out how exactly to wrap them in an aesthetically pleasing way!

Spring Rolls w/ Shrimp, Carrots, & Avocados
Equipment
- Small Bowl
- Large Pot
- 2 Large Plates
Ingredients
Peanut Sauce
- 1/3 c. peanut butter
- 1 tbsp. rice vinegar
- 3 tbsp. tamari or soy sauce
- 1/2 lime juiced
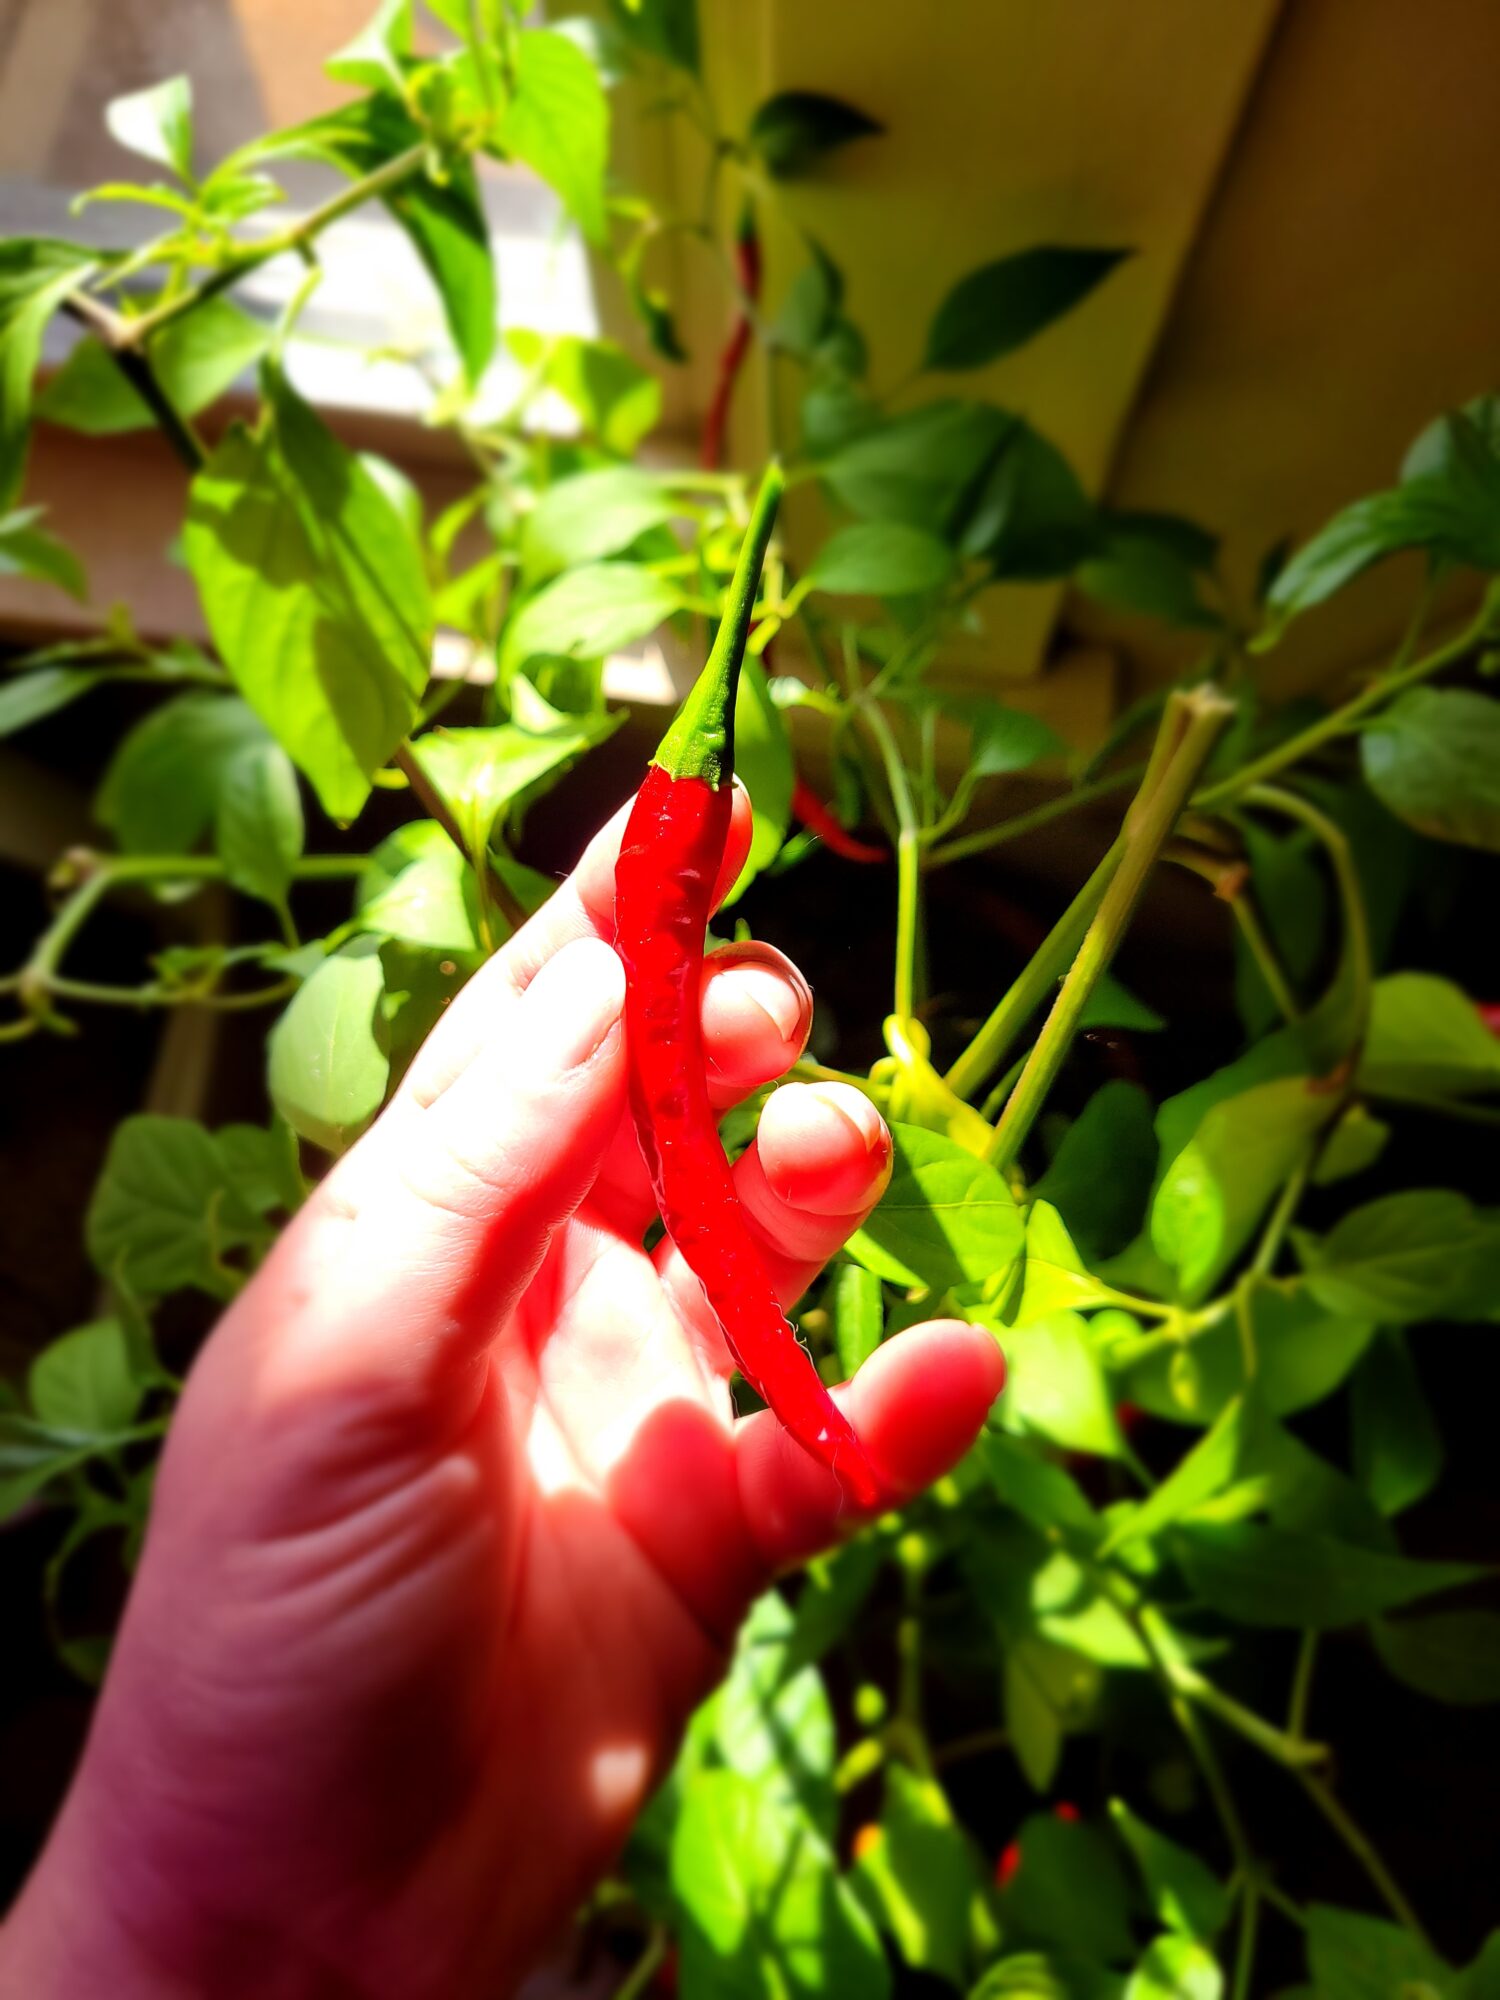
- 1 Thai chili minced
- 2 tbsp. water
Spring Rolls
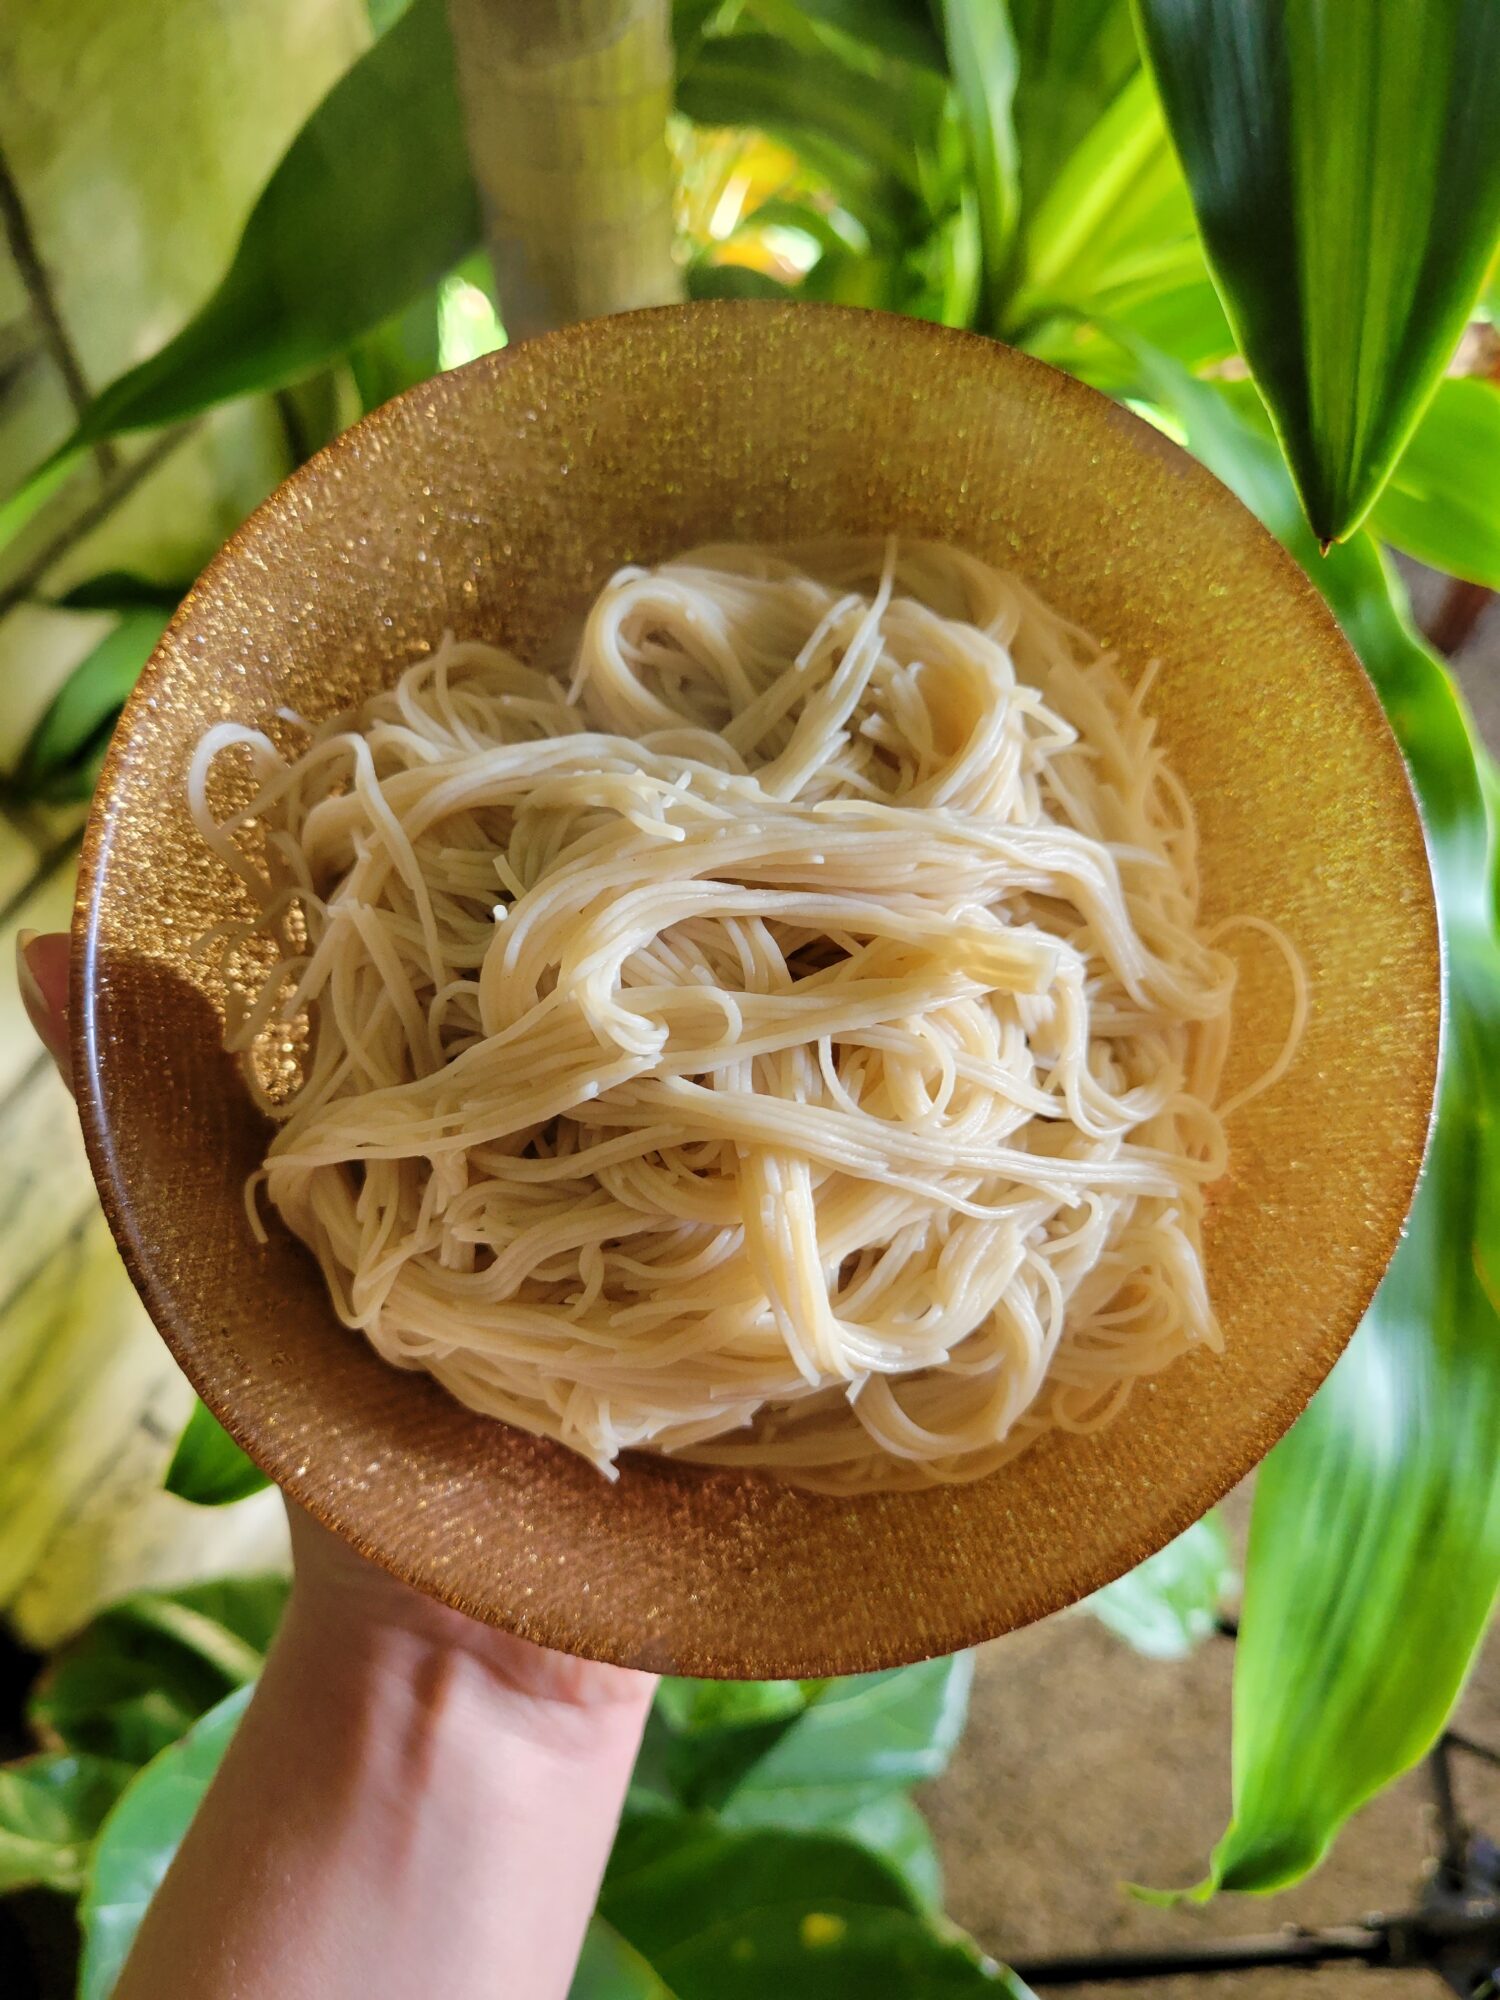
- 1 c. vermicelli noodles
- 1 tbsp. high heat oil for cooking
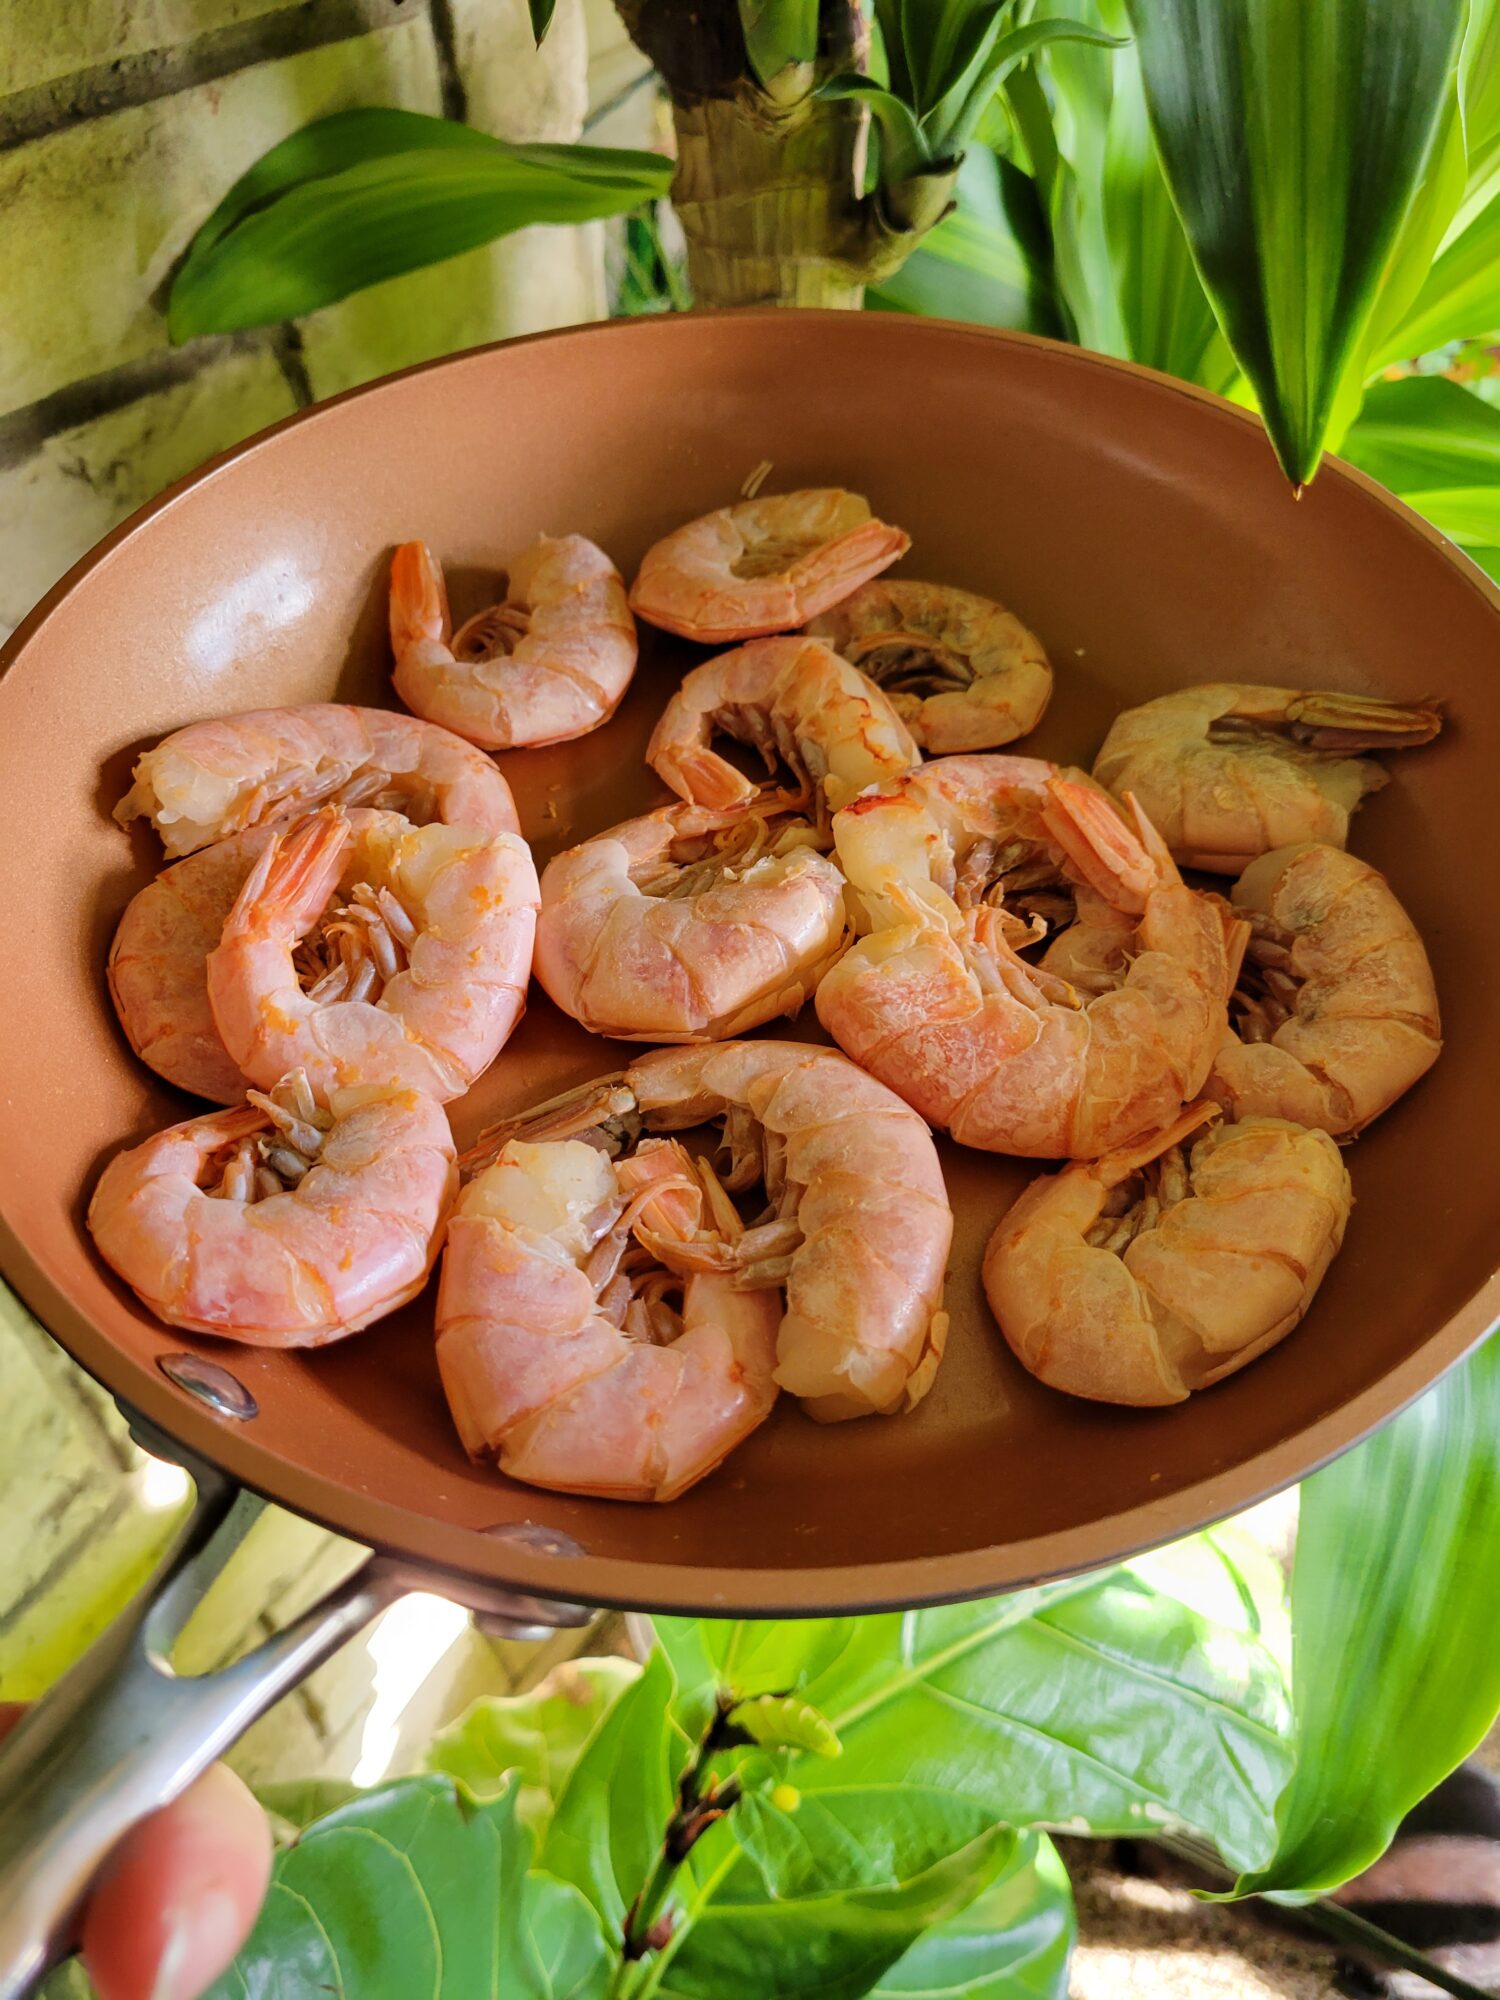
- 8 oz. Patagonian shrimp fried
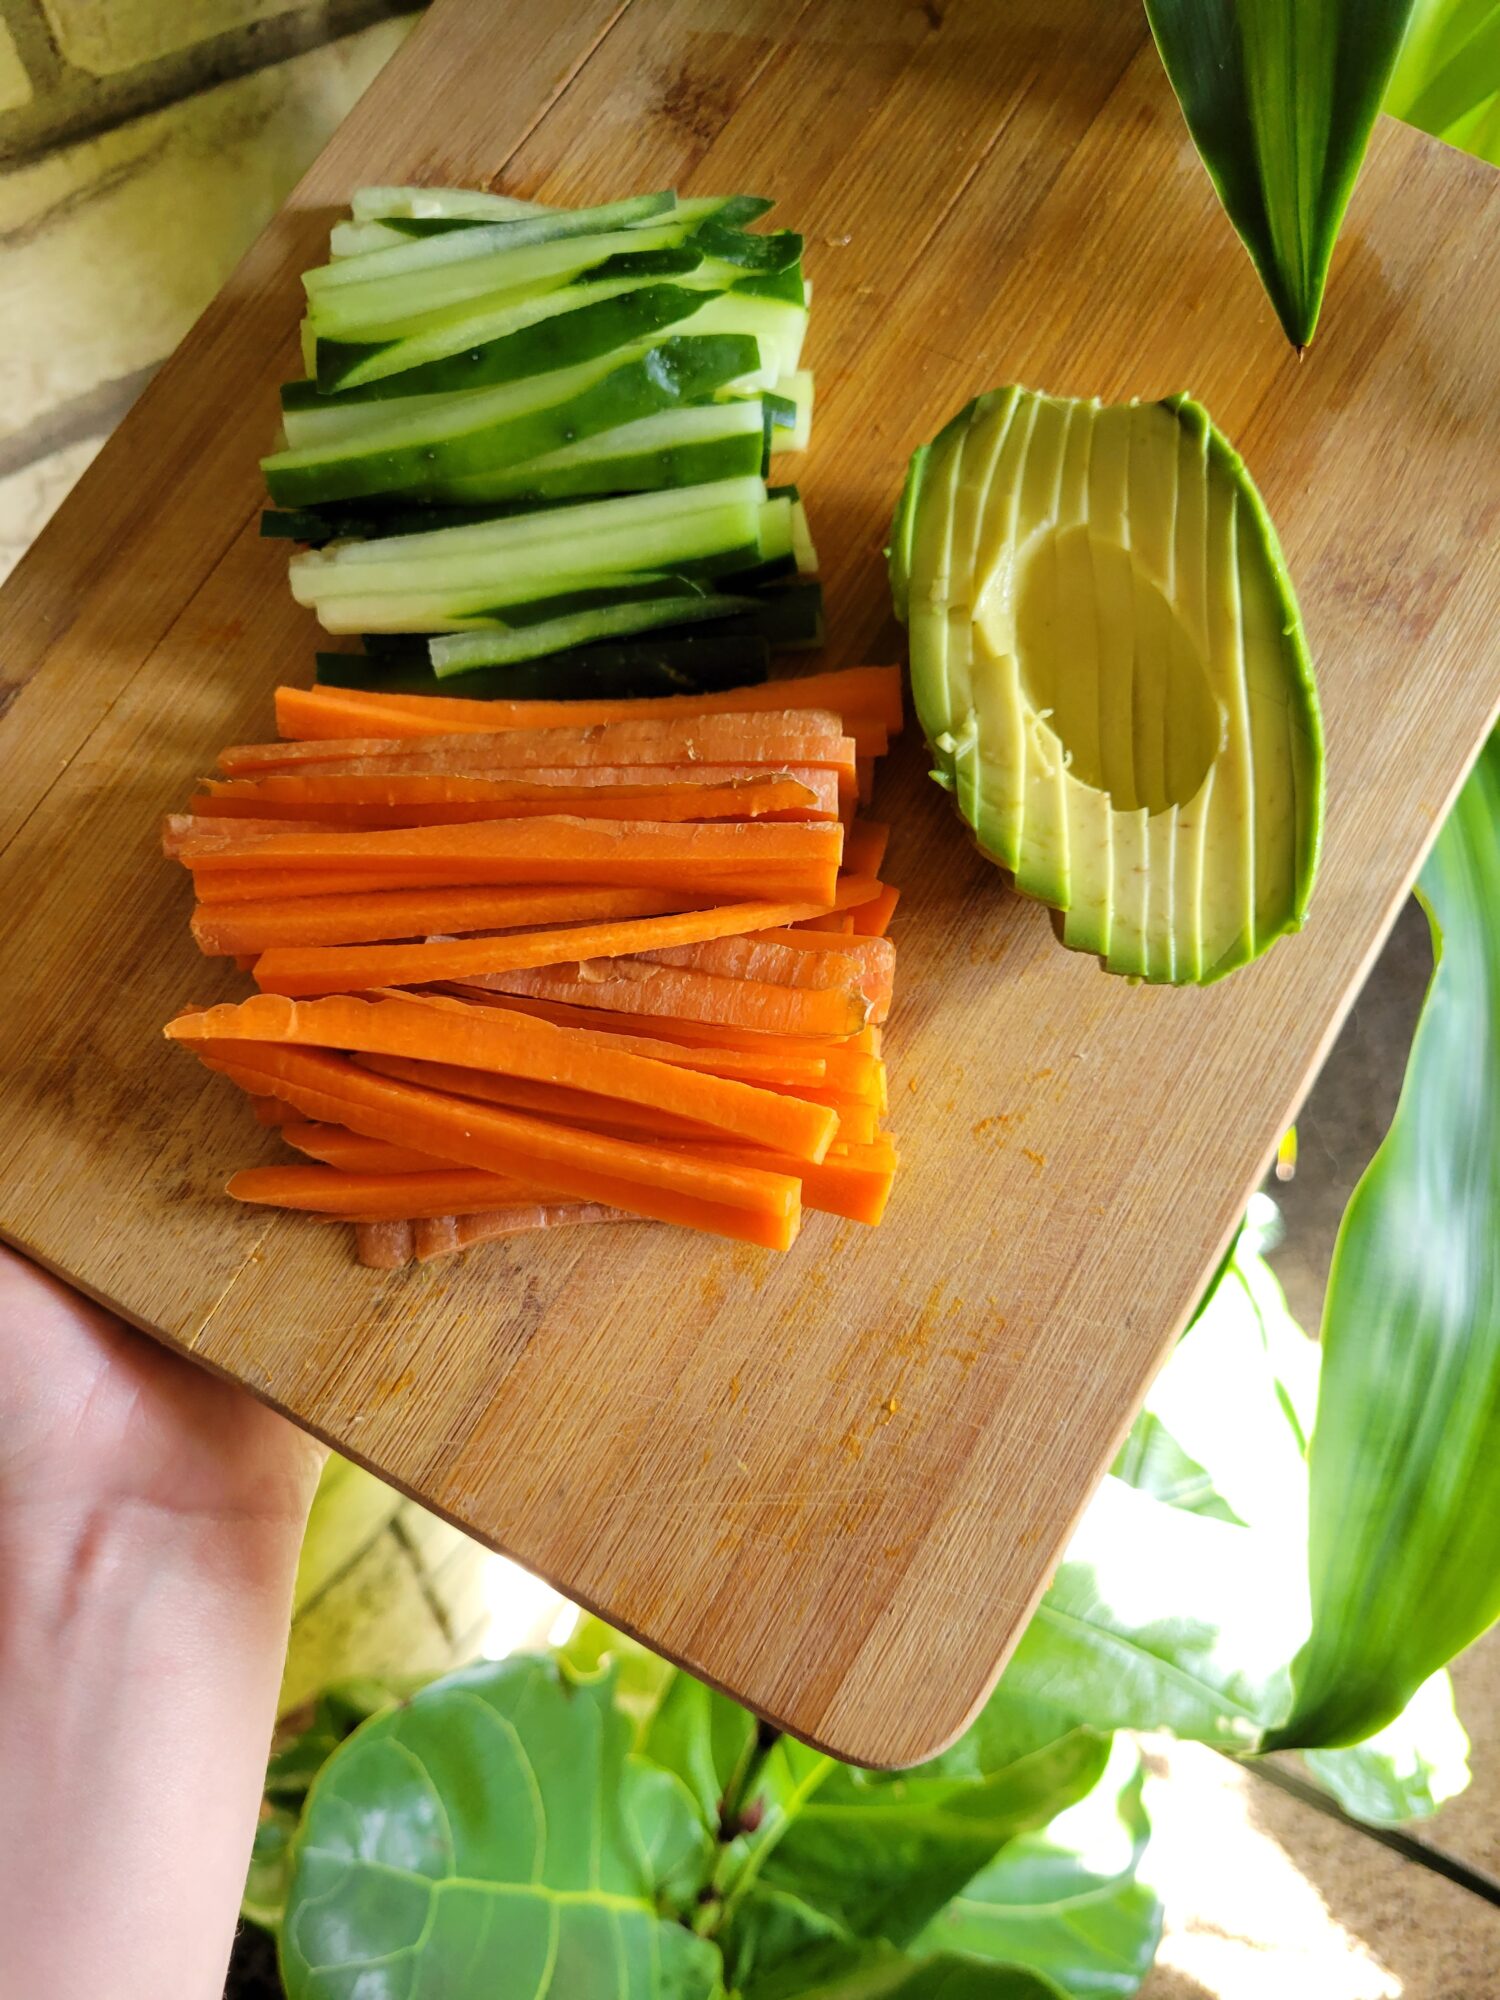
- 1/2 carrot thinly sliced
- 1/2 cucumber thinly sliced
- 1/2 avocado thinly sliced
- 6 rice paper sheets
- warm water for dampening rice paper
Instructions
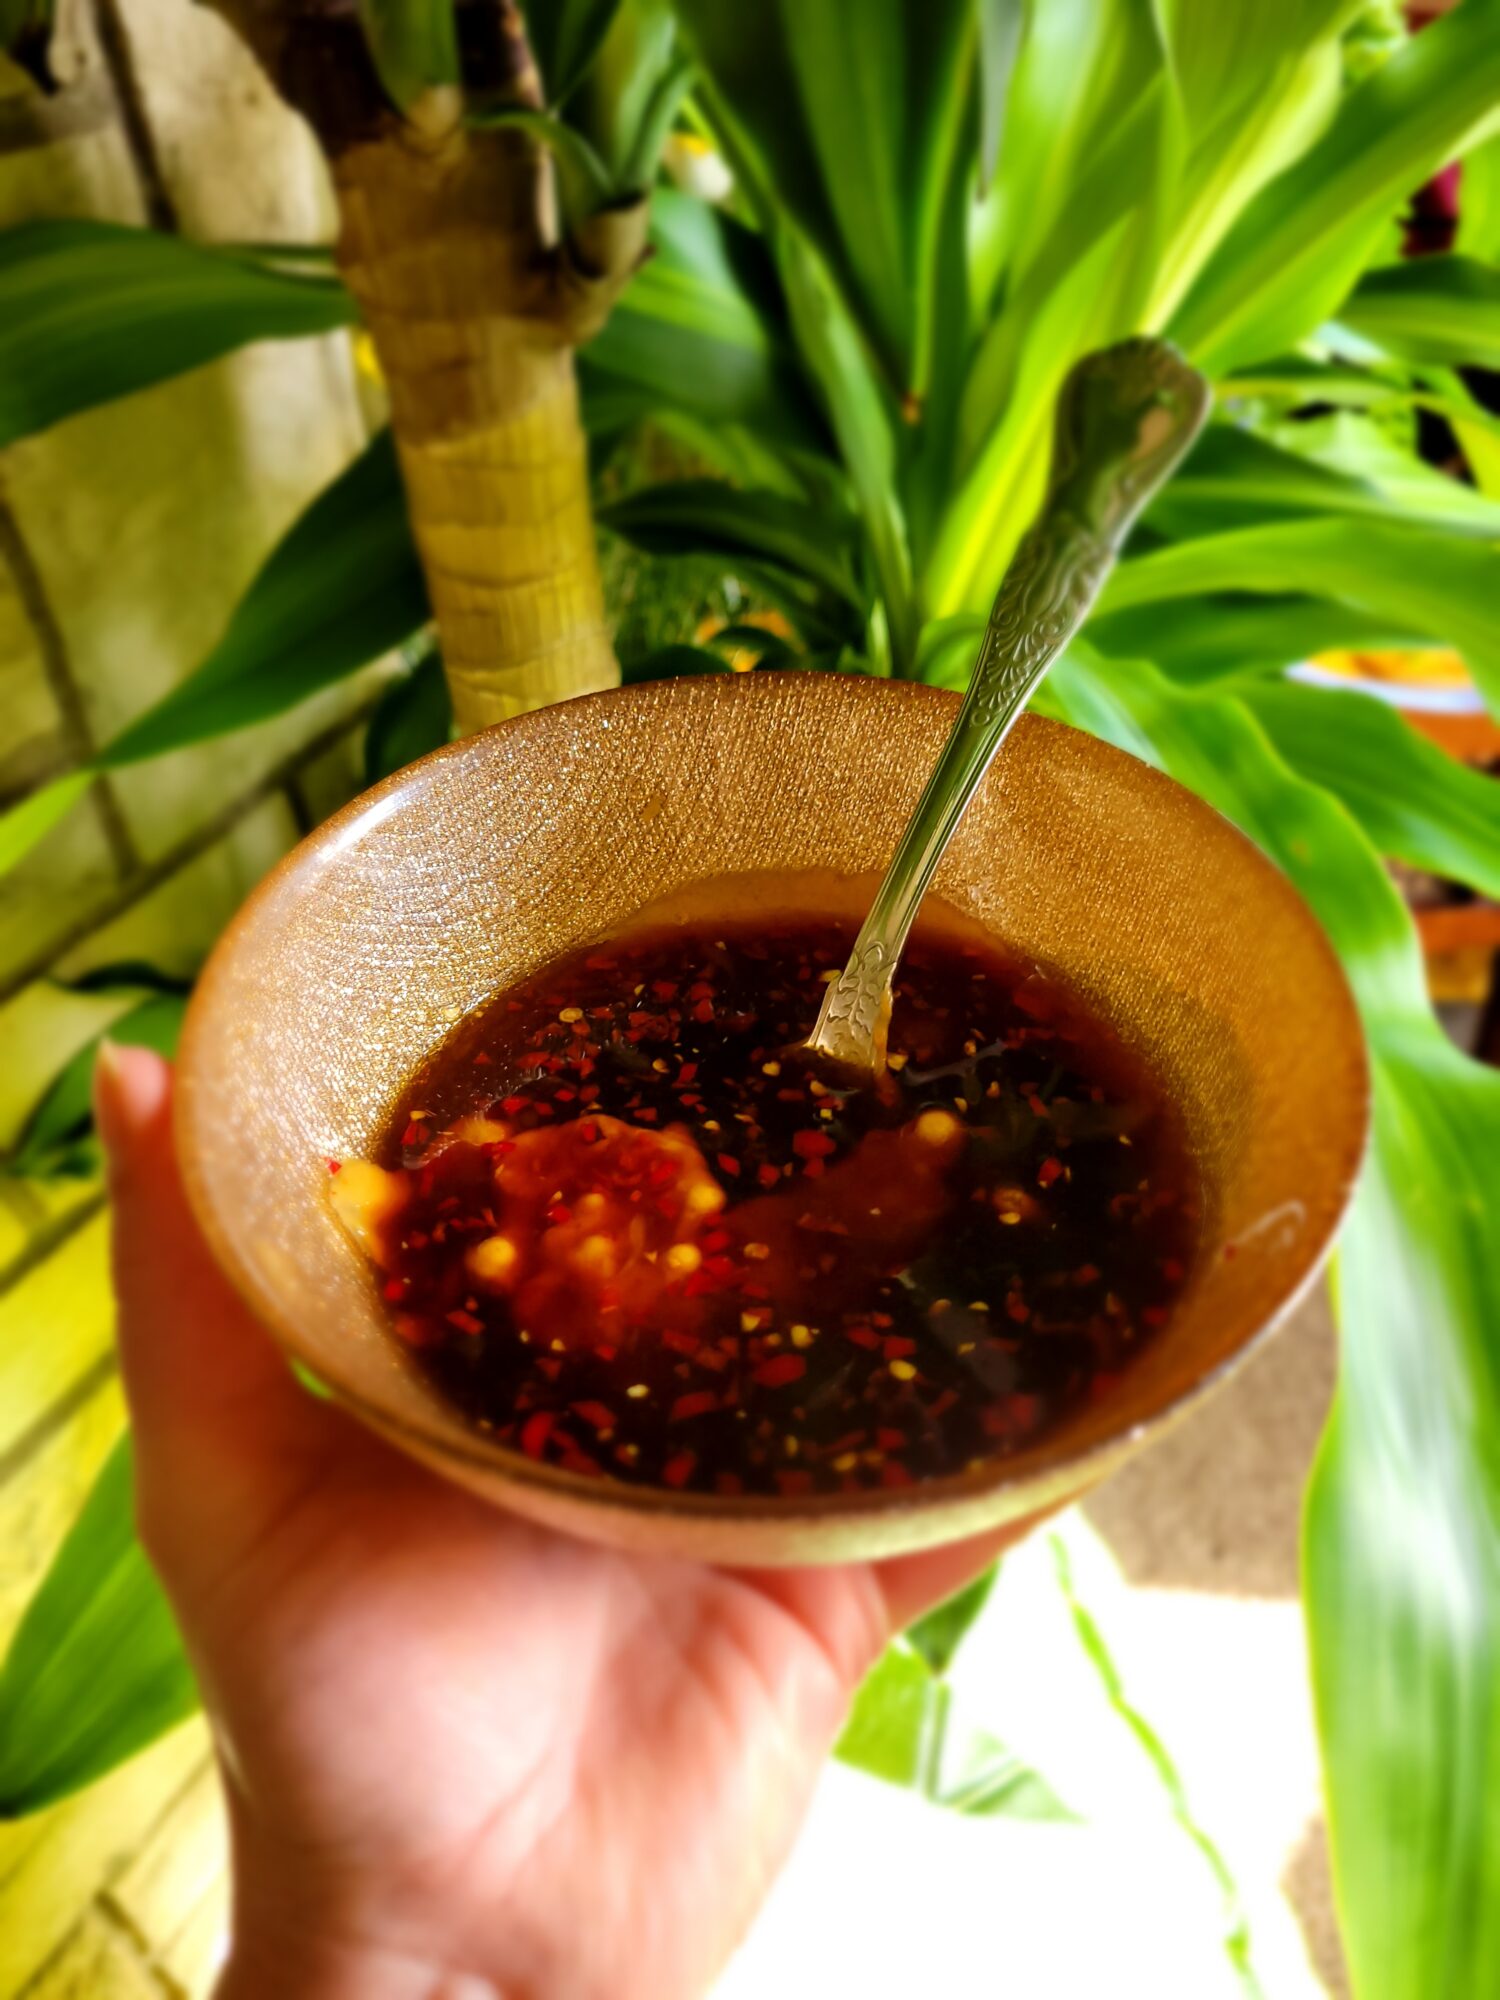
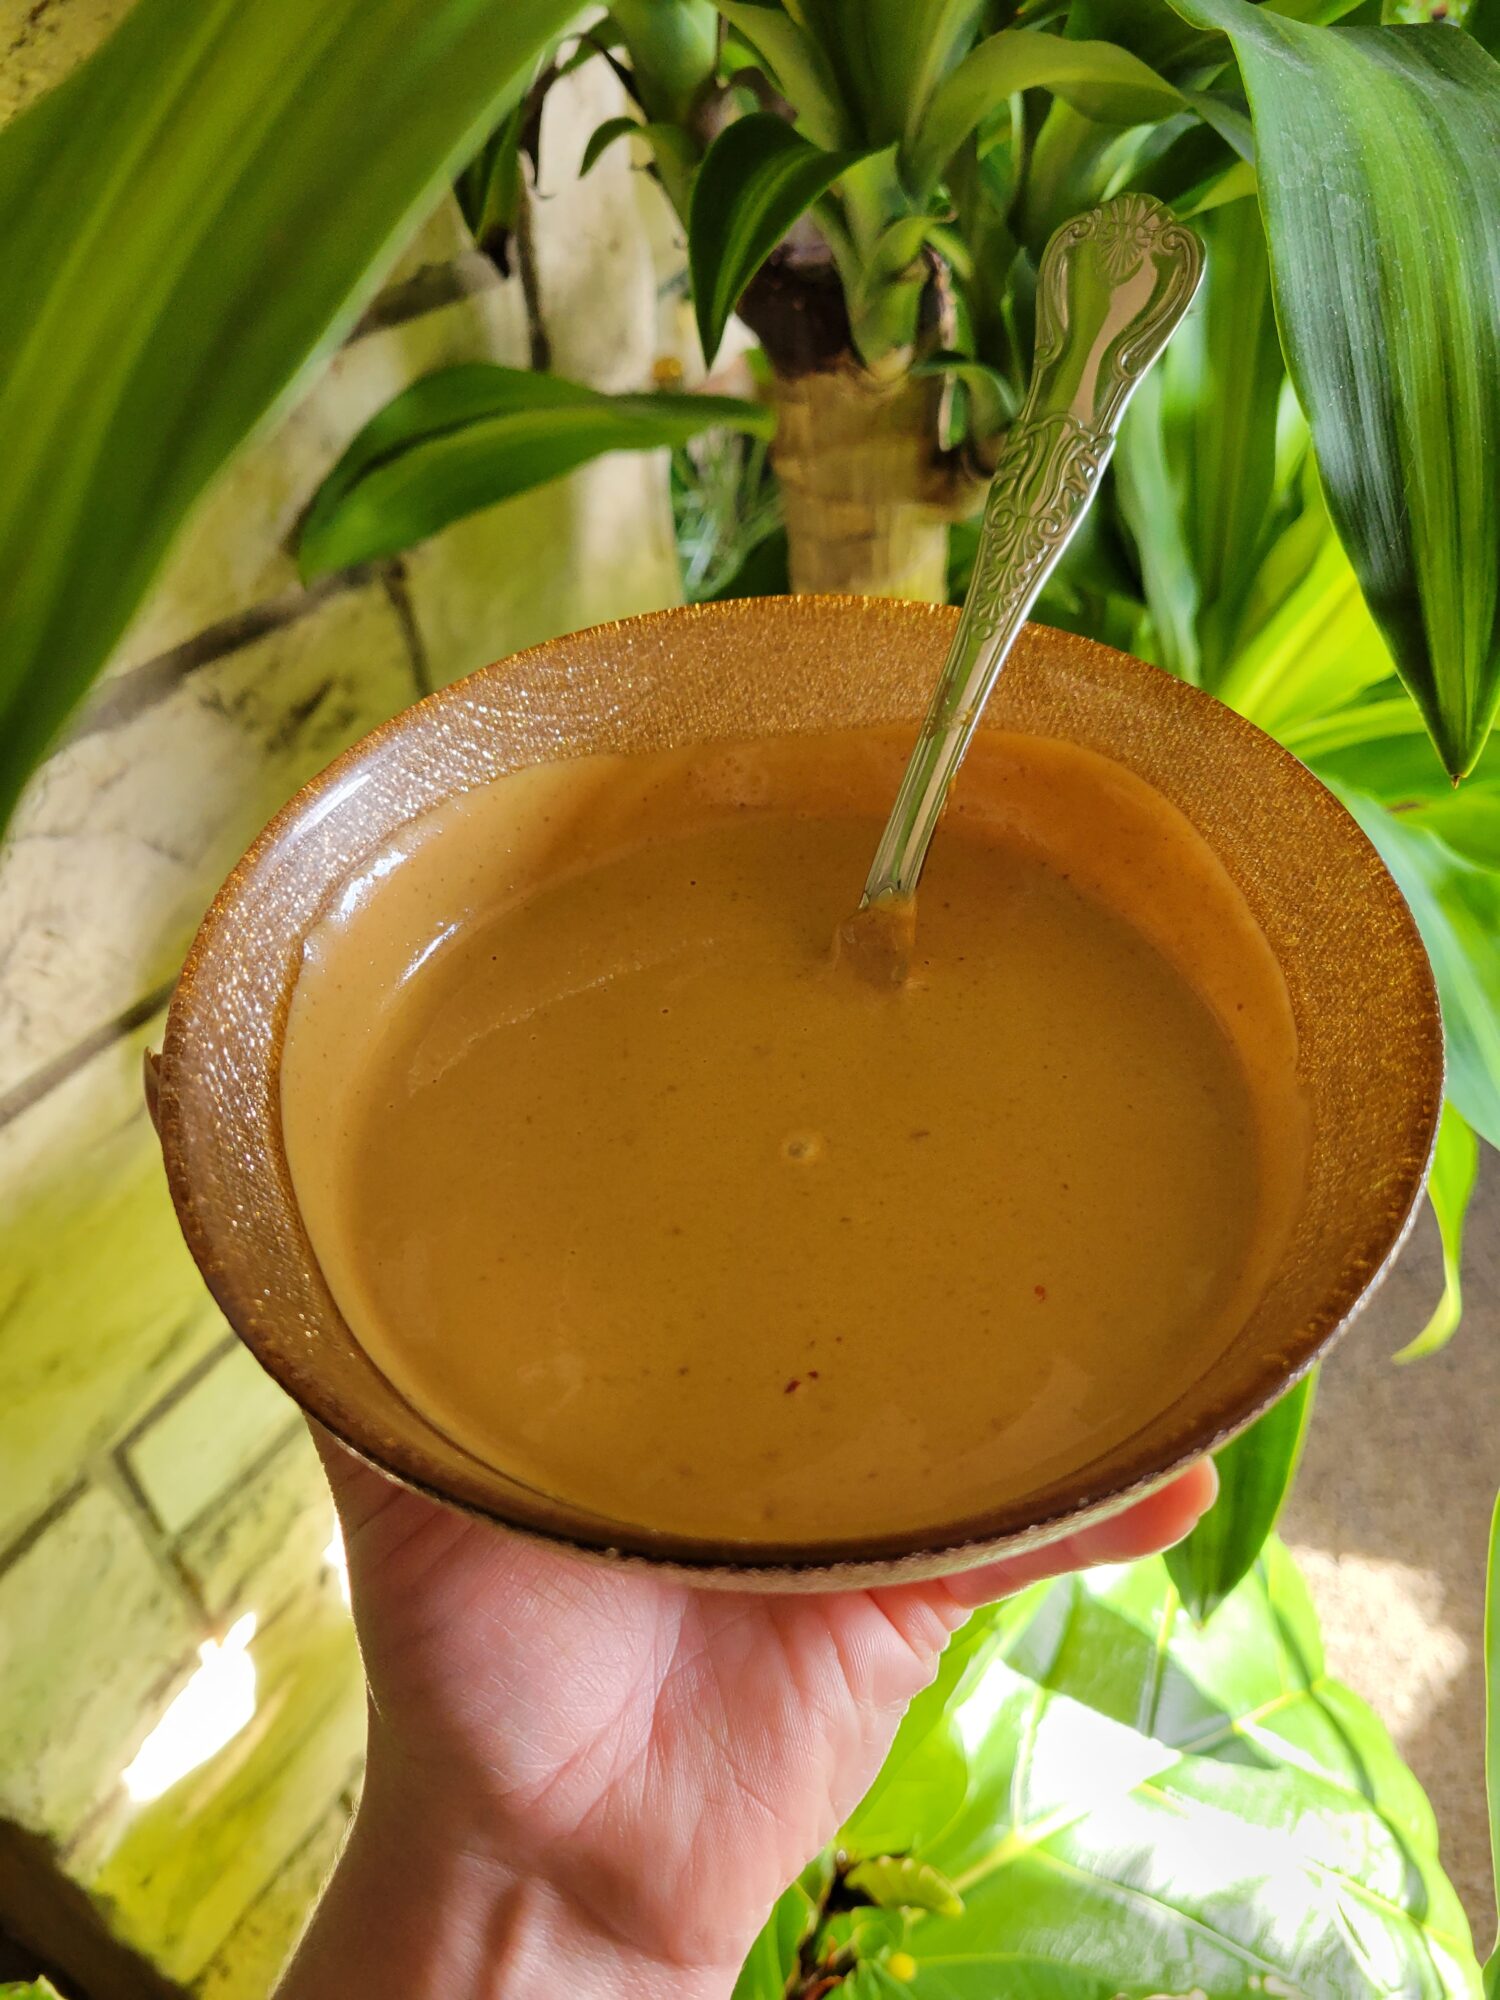
Peanut Sauce
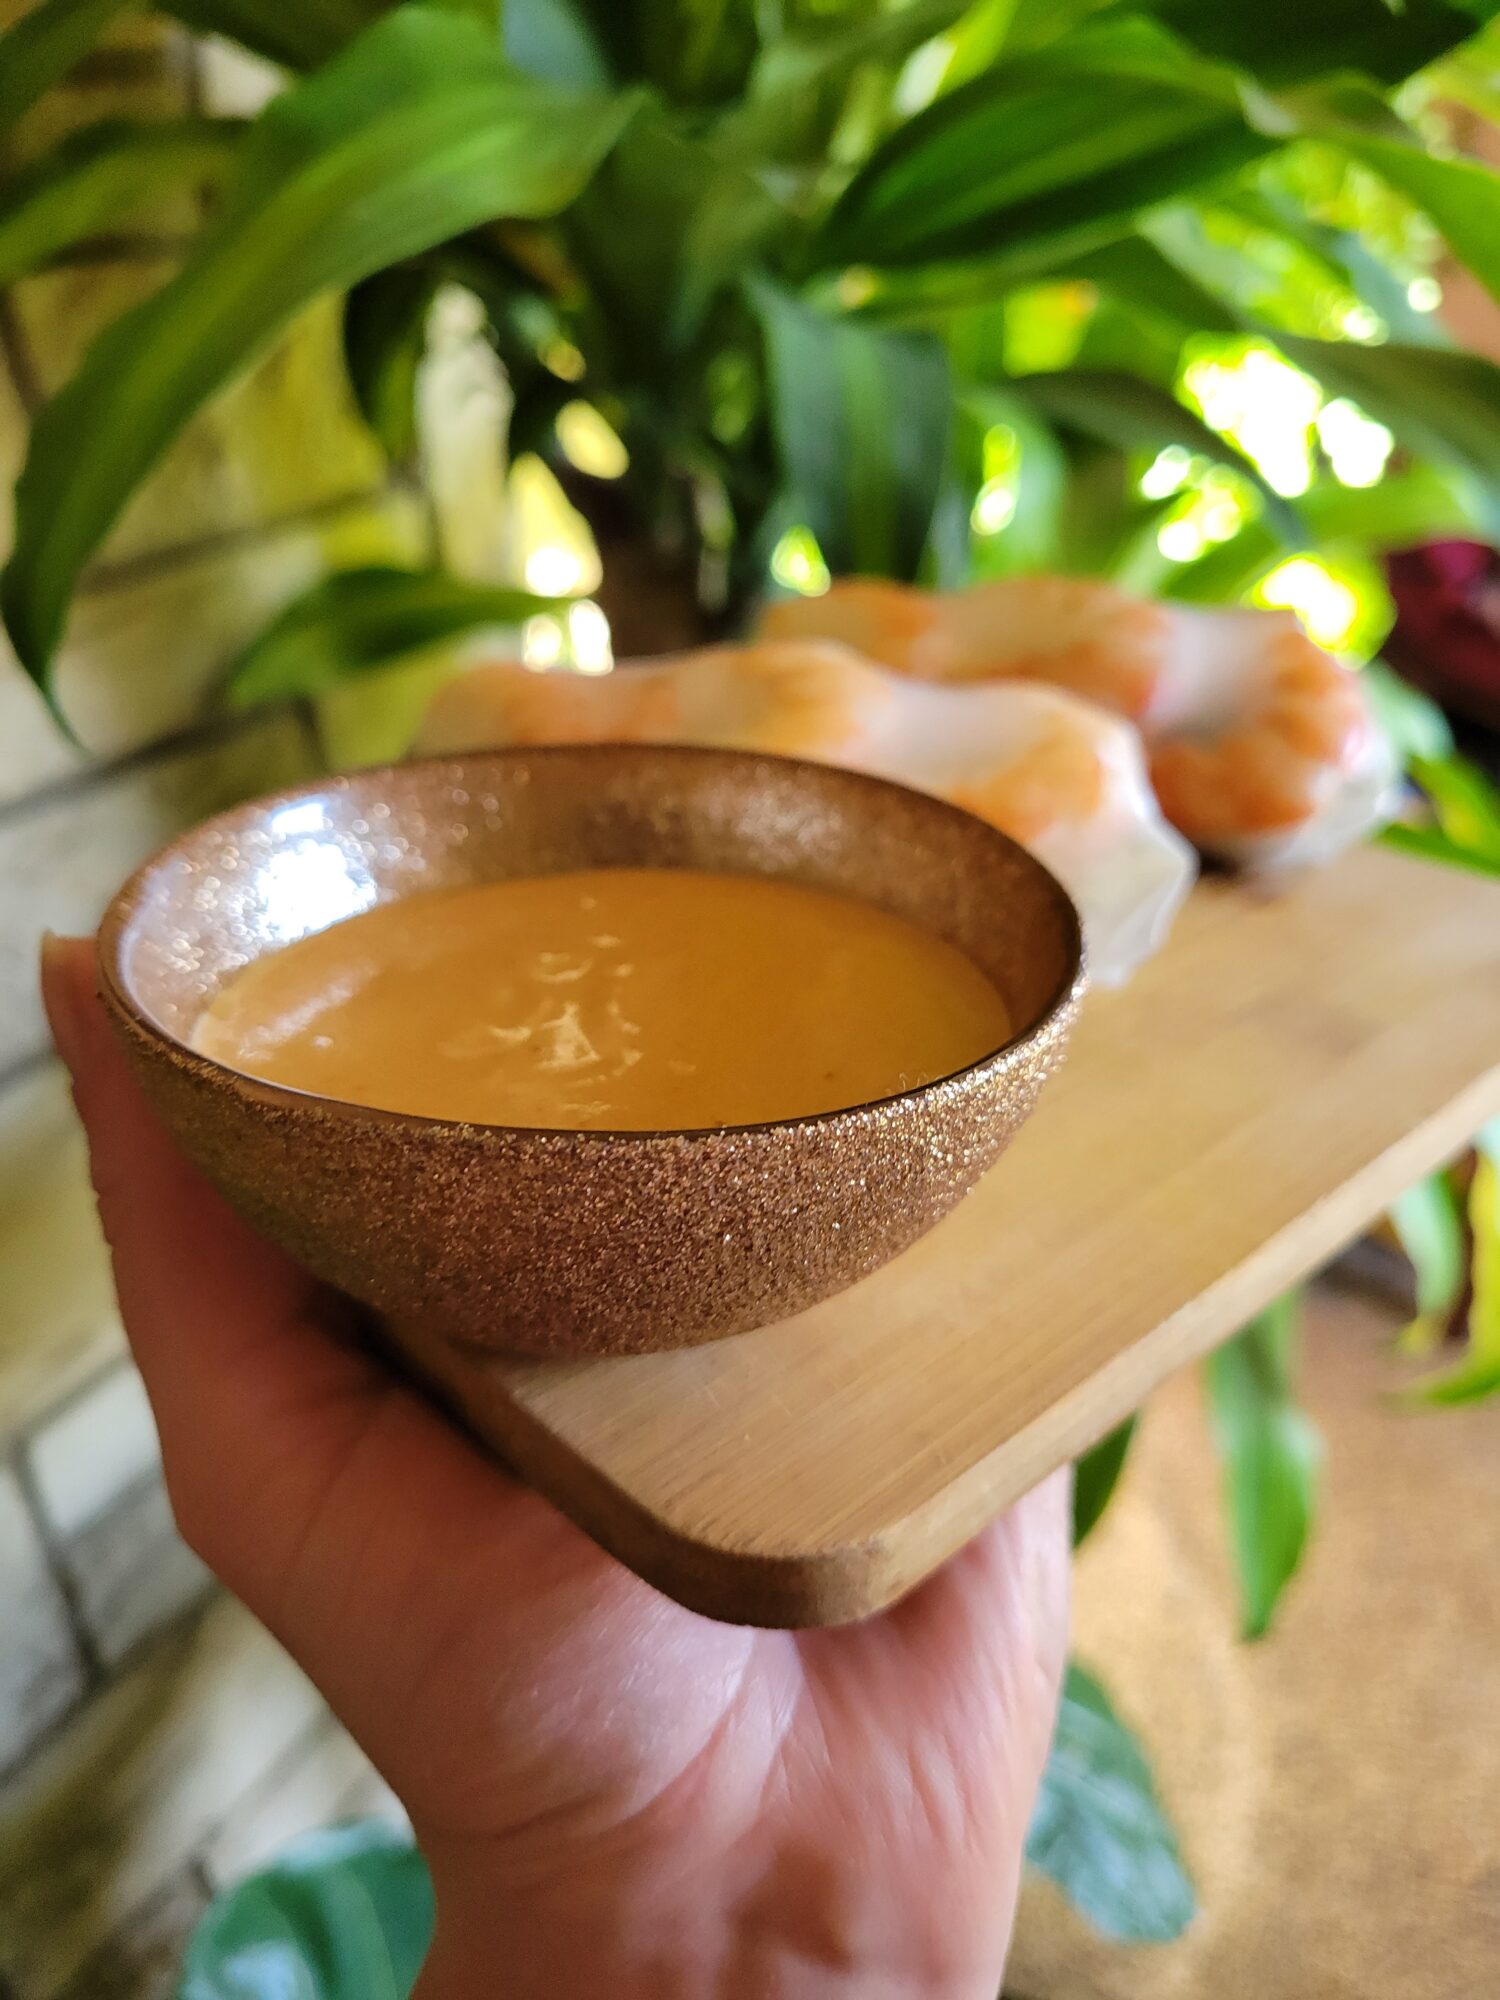
- Combine all of the ingredients for the peanut sauce in a bowl and mix until combined.If you don't have to have to finely mince the chilis, you can always put all of this in a food processor and pulse until puréed. This method also helps if you only have chunky peanut butter and still want a smoother consistency.
Cook Vermicelli
- Add about 3 inches of water to a large pot and bring to a boil over high heat.
- Cook vermicelli according to the manufacturer's instructions.Vermicelli cooks very quickly. I tend to add the vermicelli and then immediately remove it from heat. Then, go on to prepare the produce. Merely sitting in the once boiling water is sufficient enough soften it enough to eat without overcooking.
Fry Shrimp
- Preheat high heat oil in a skillet over medium-high heat.
- Add whole shrimp to the skillet and turn in the oil.
- Cook, turning occasionally, for 3-5 minutes, or until the shrimp is cooked.Shrimp is done when the meat reaches 135-140 degrees Fahrenheit. At this point the shell should be bright red and the inner meat should be white, not grey or translucent. The tails should also curl in to create a spiral.
Assemble Spring Rolls
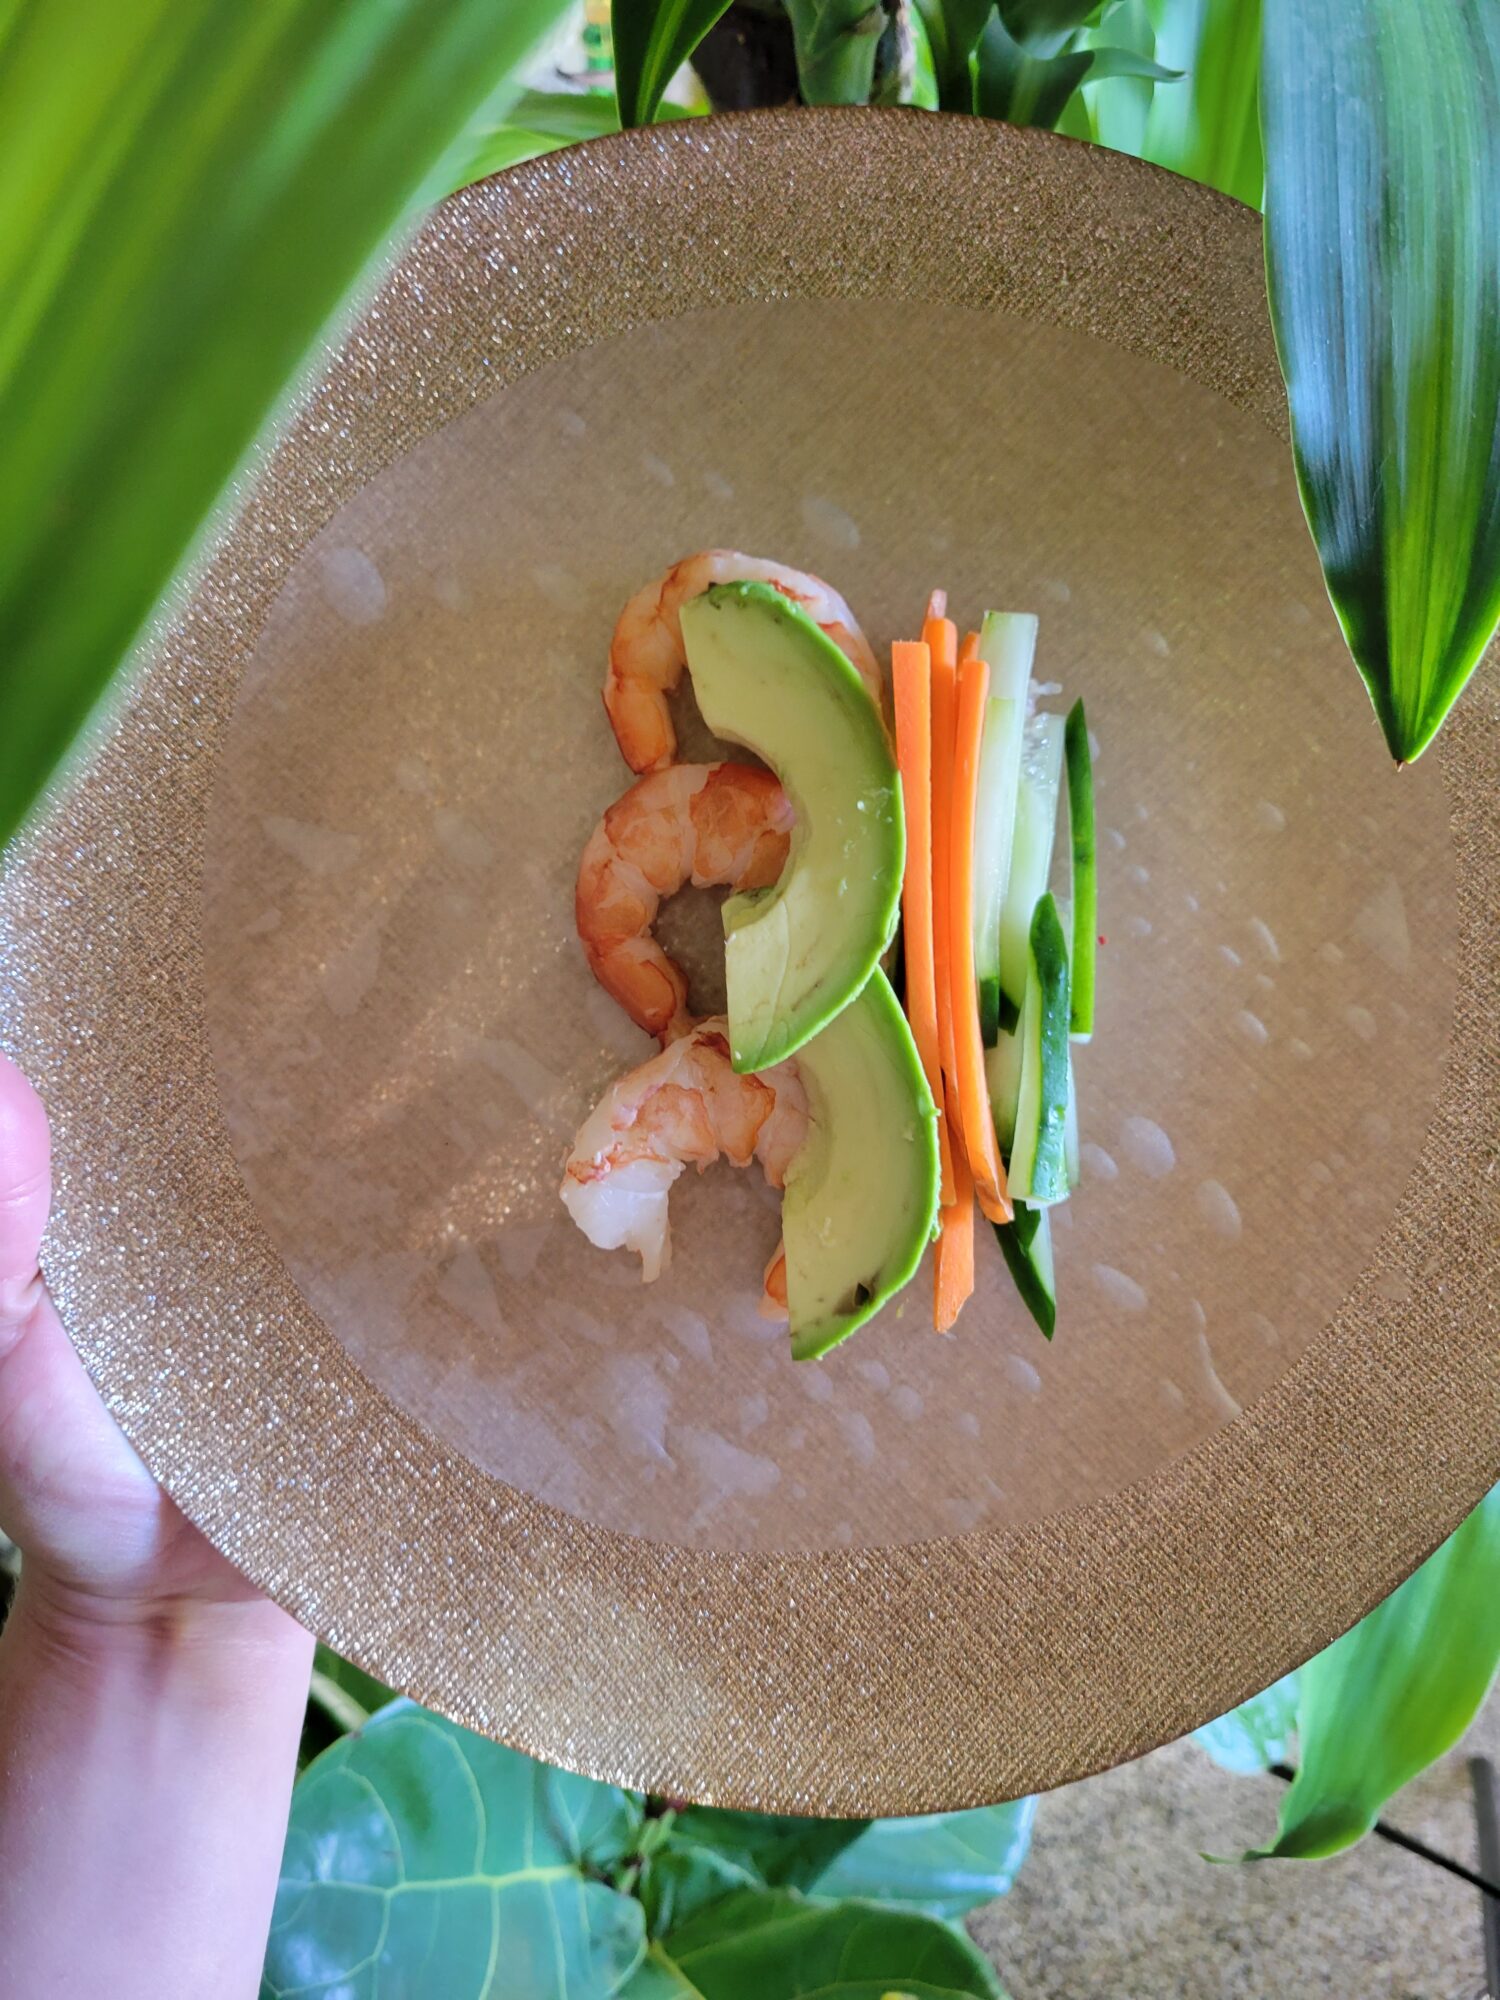
- Add warm water to a large plate. Then, place one rice paper in and wet for 15-30 seconds, or until it becomes translucent and malleable.
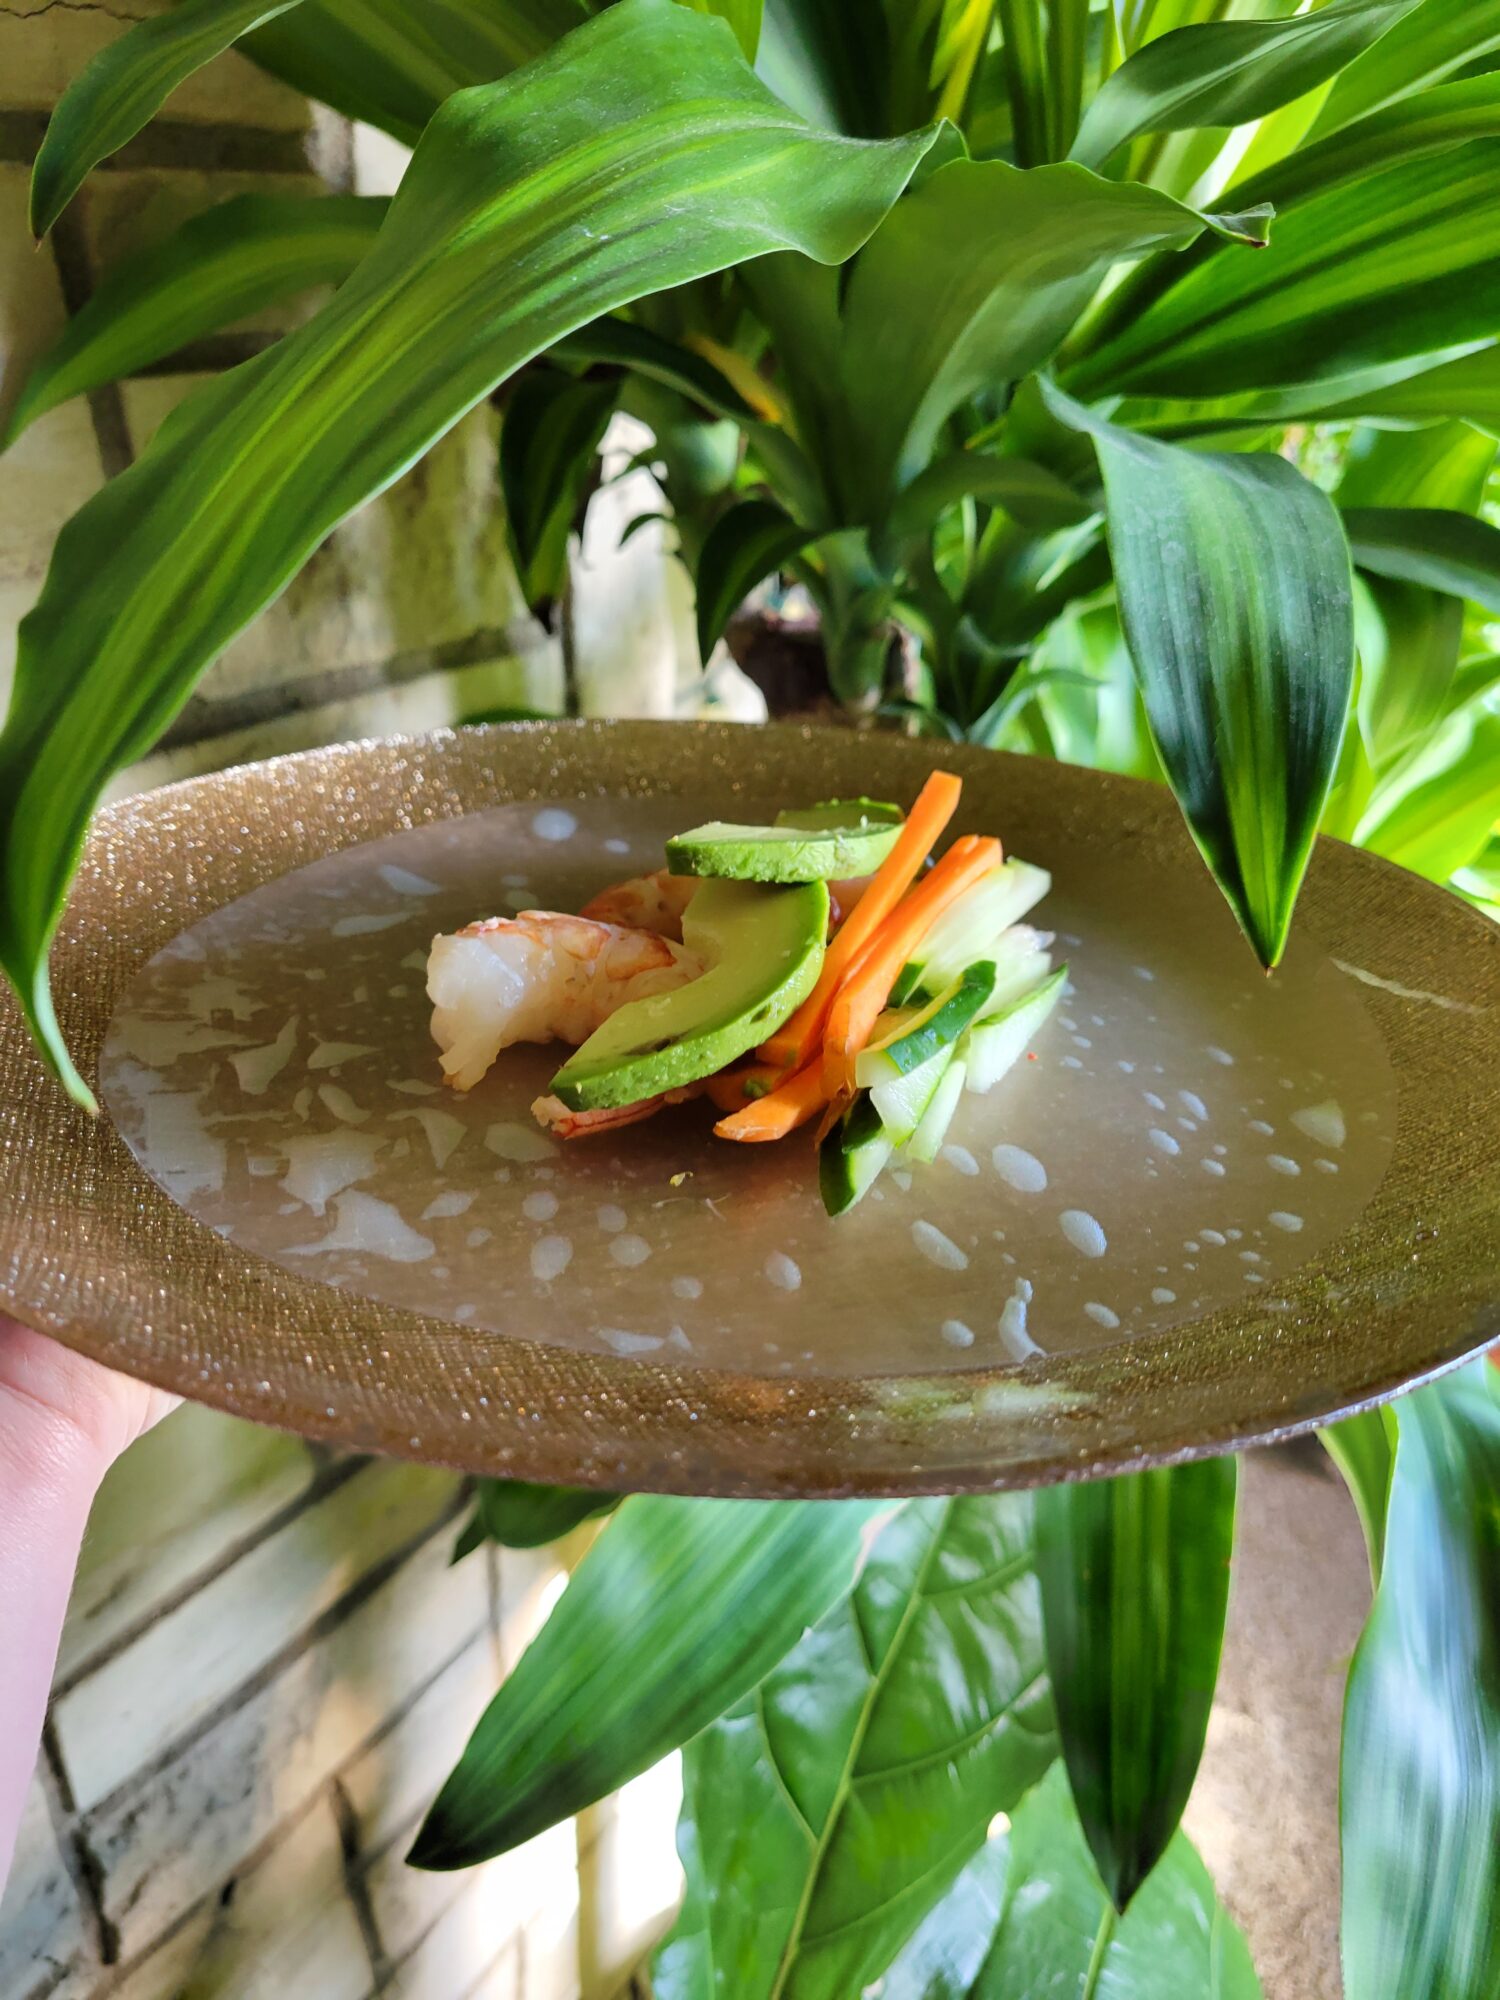
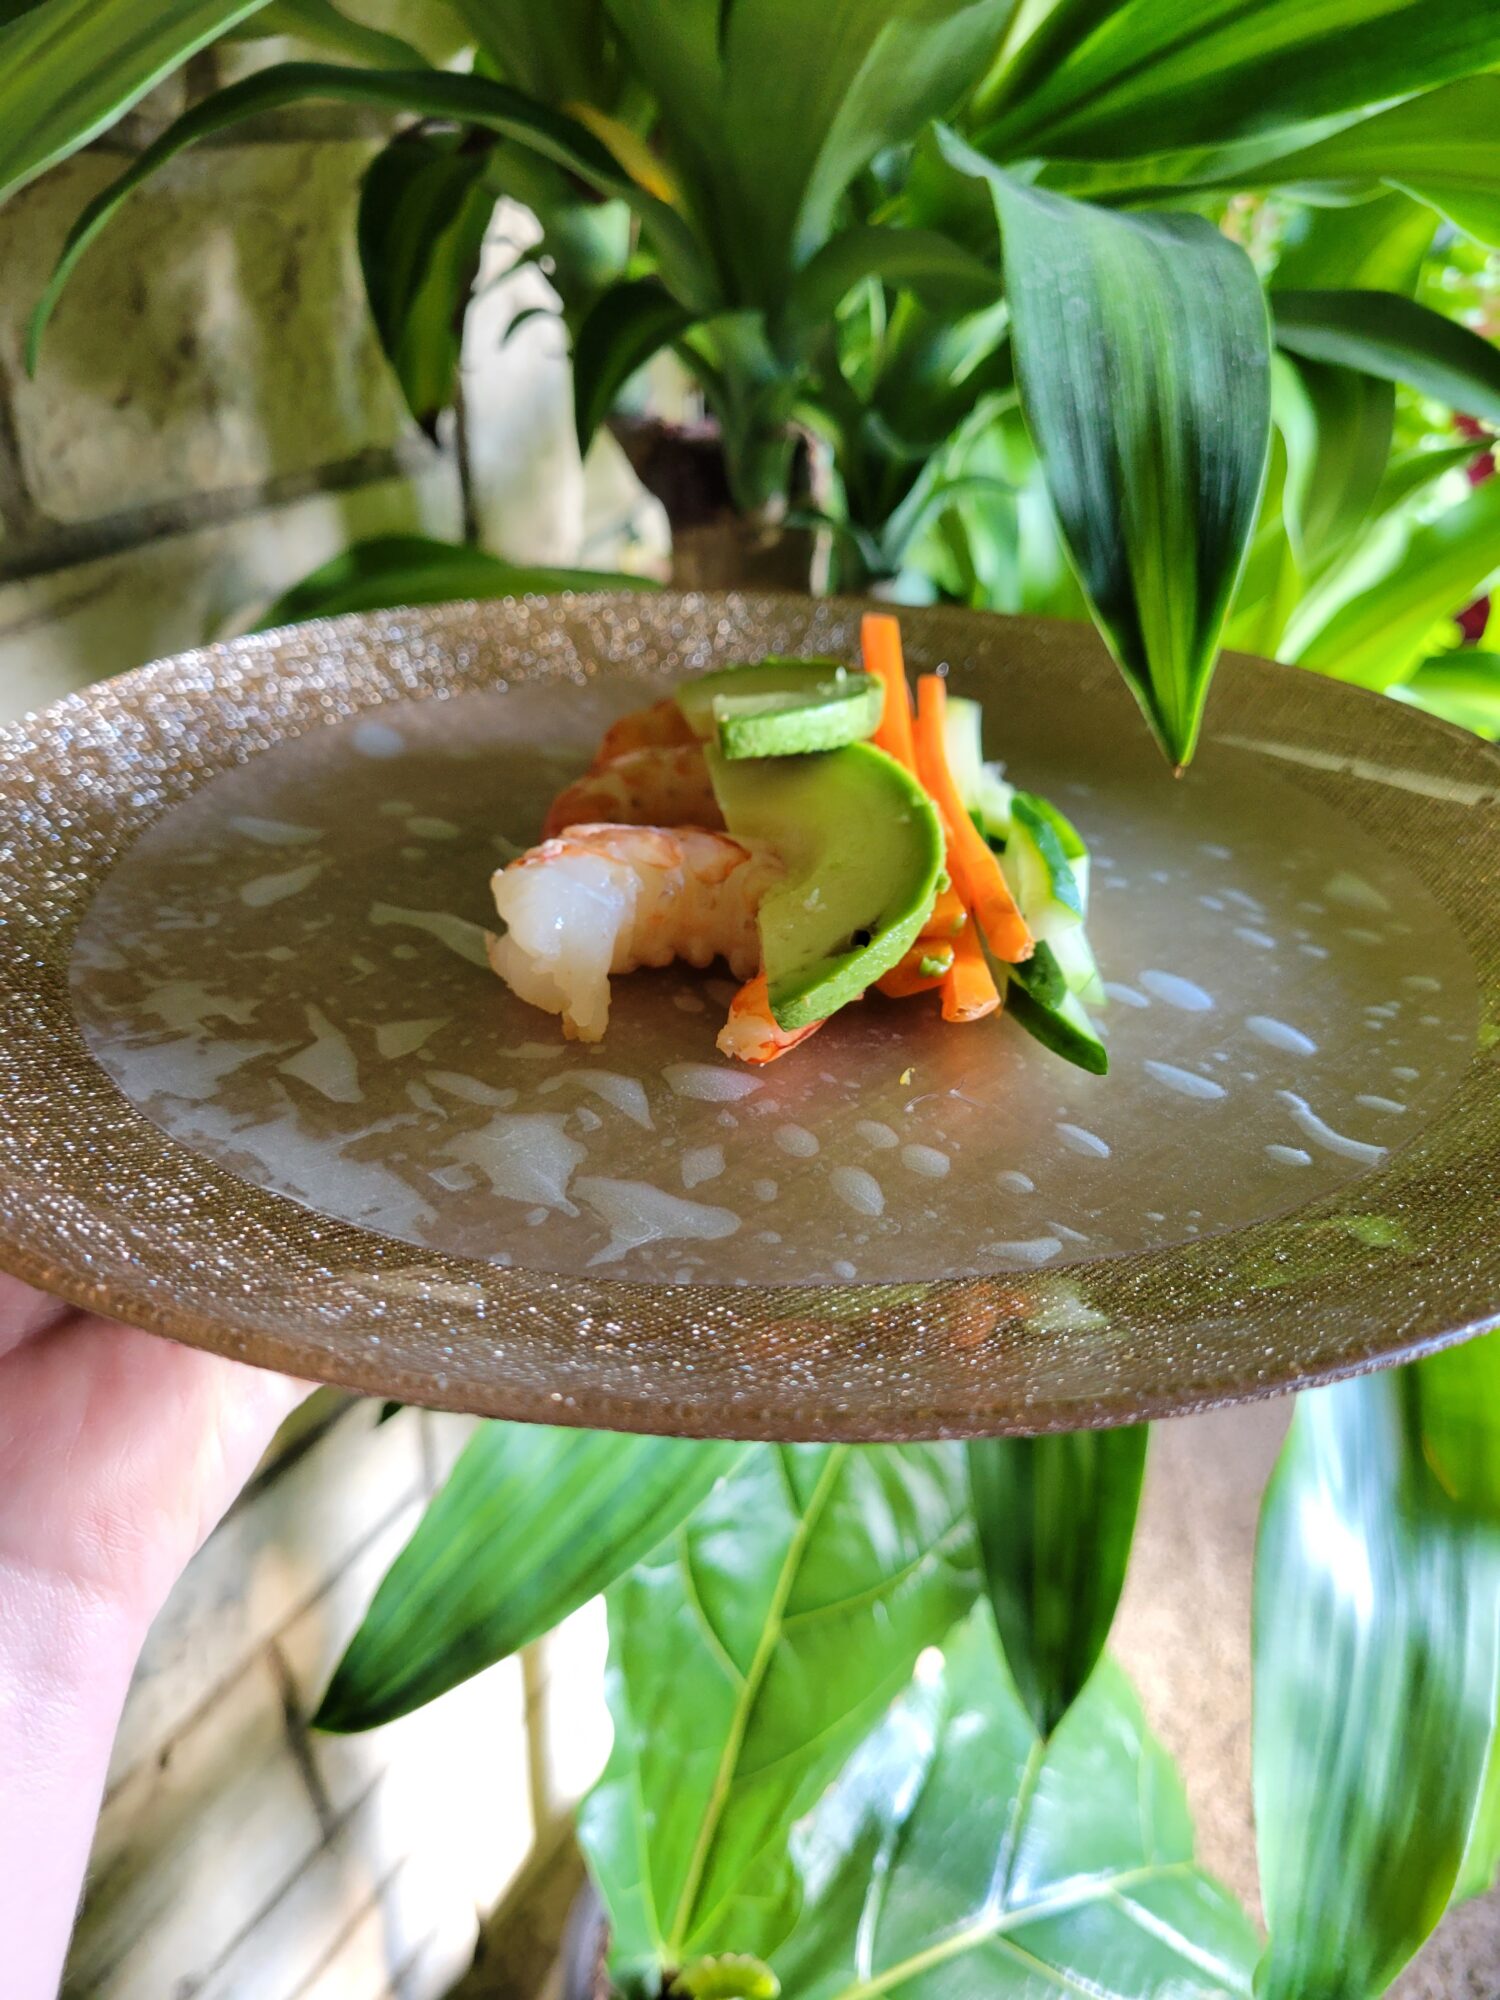
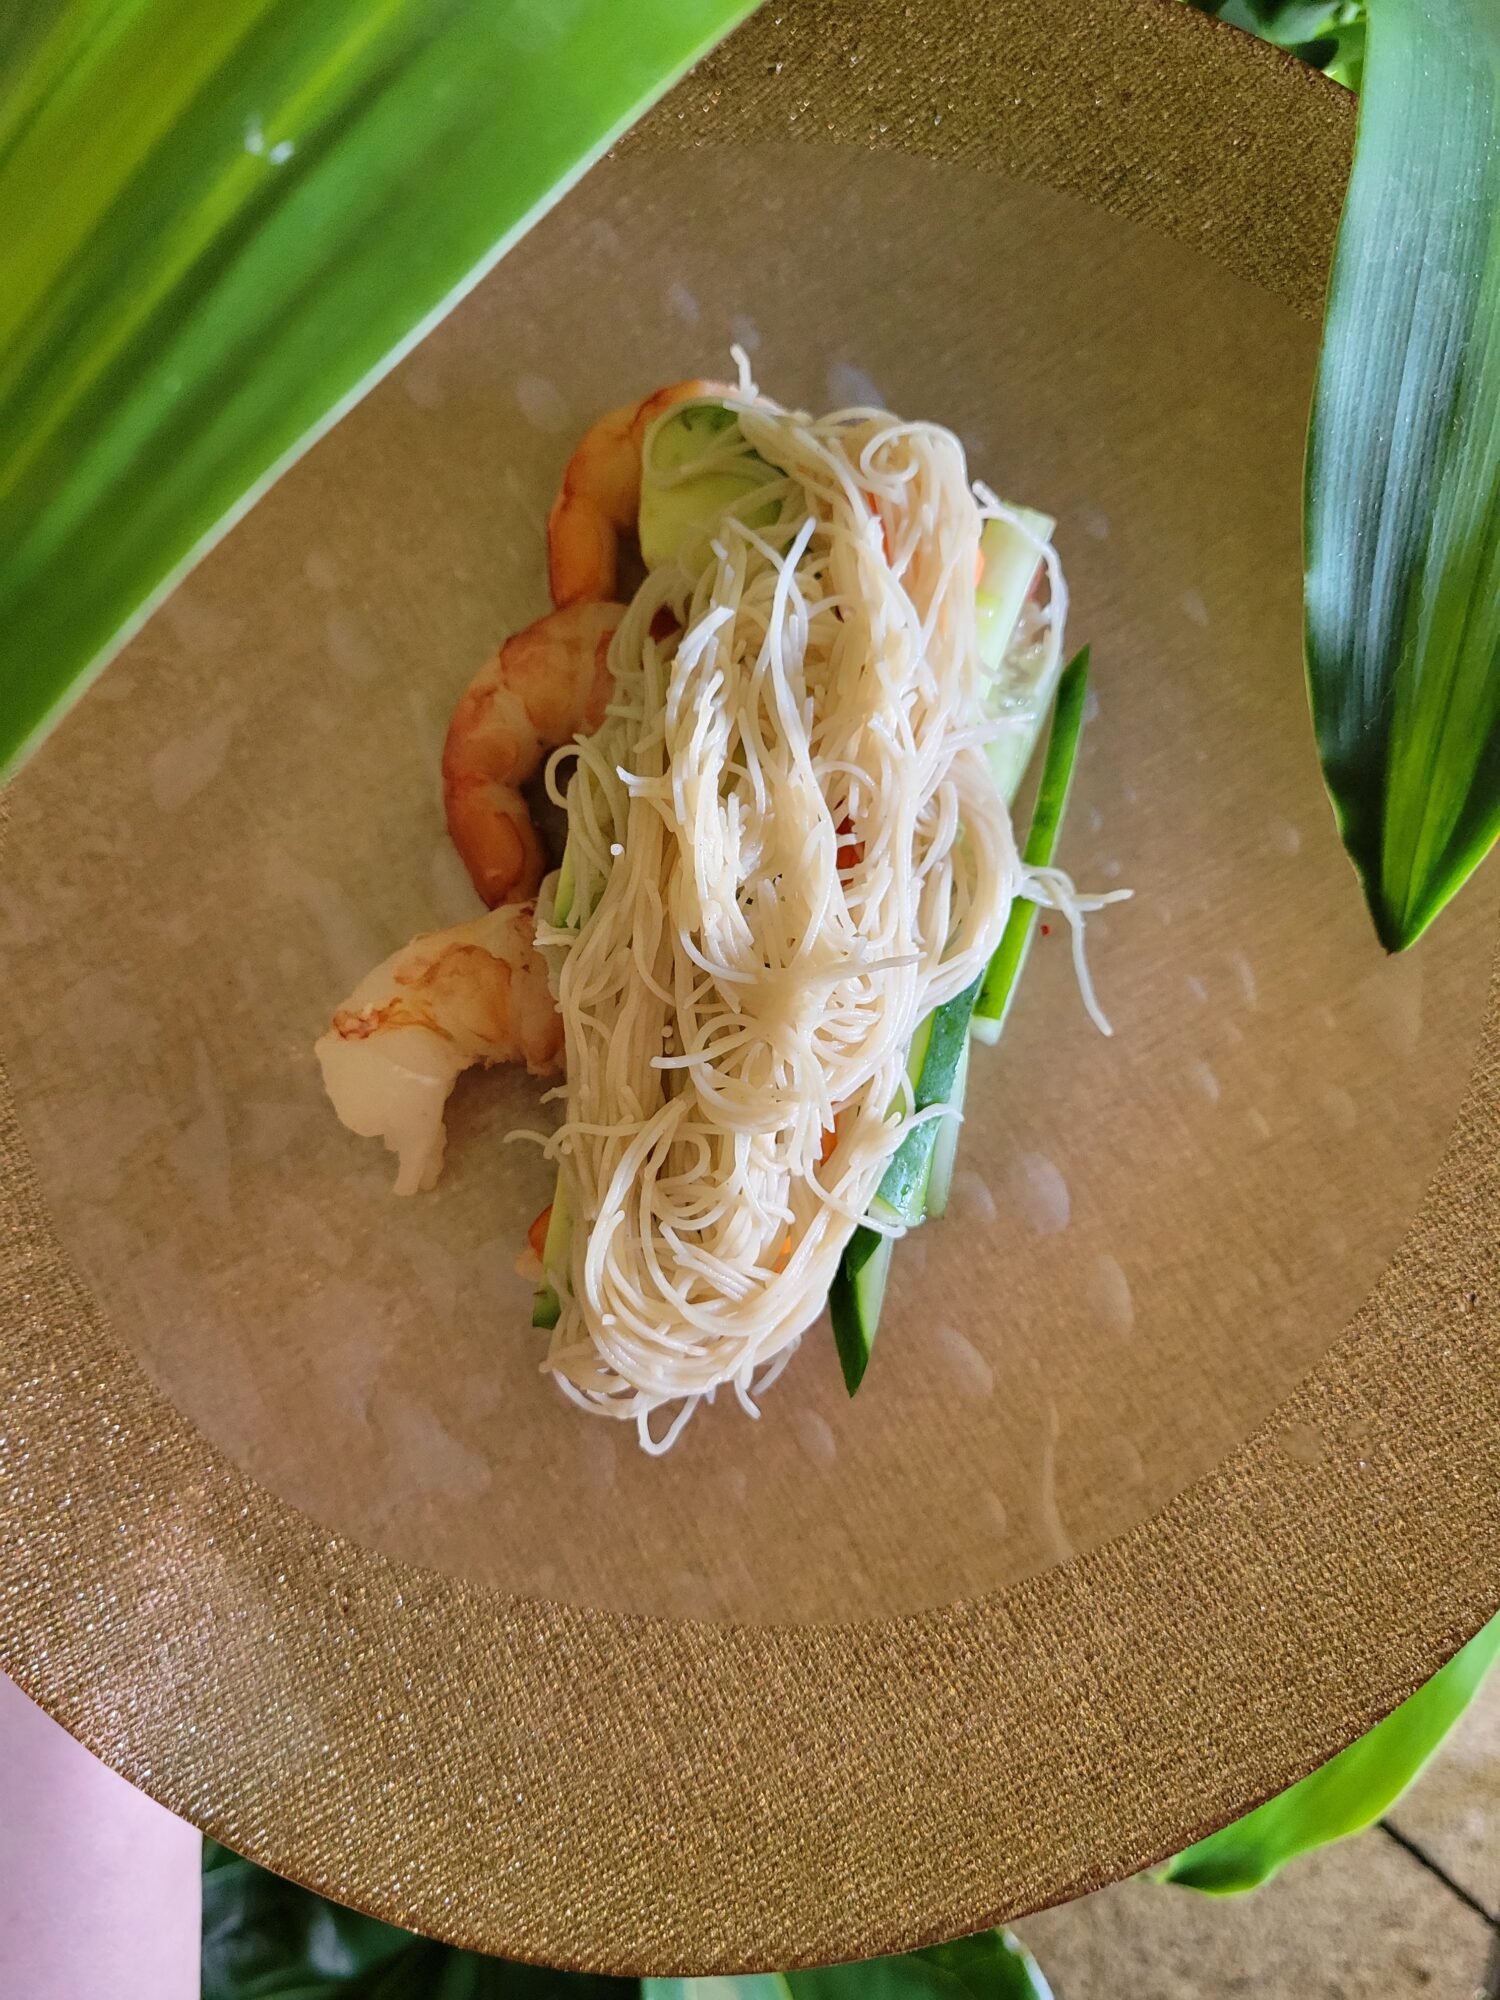
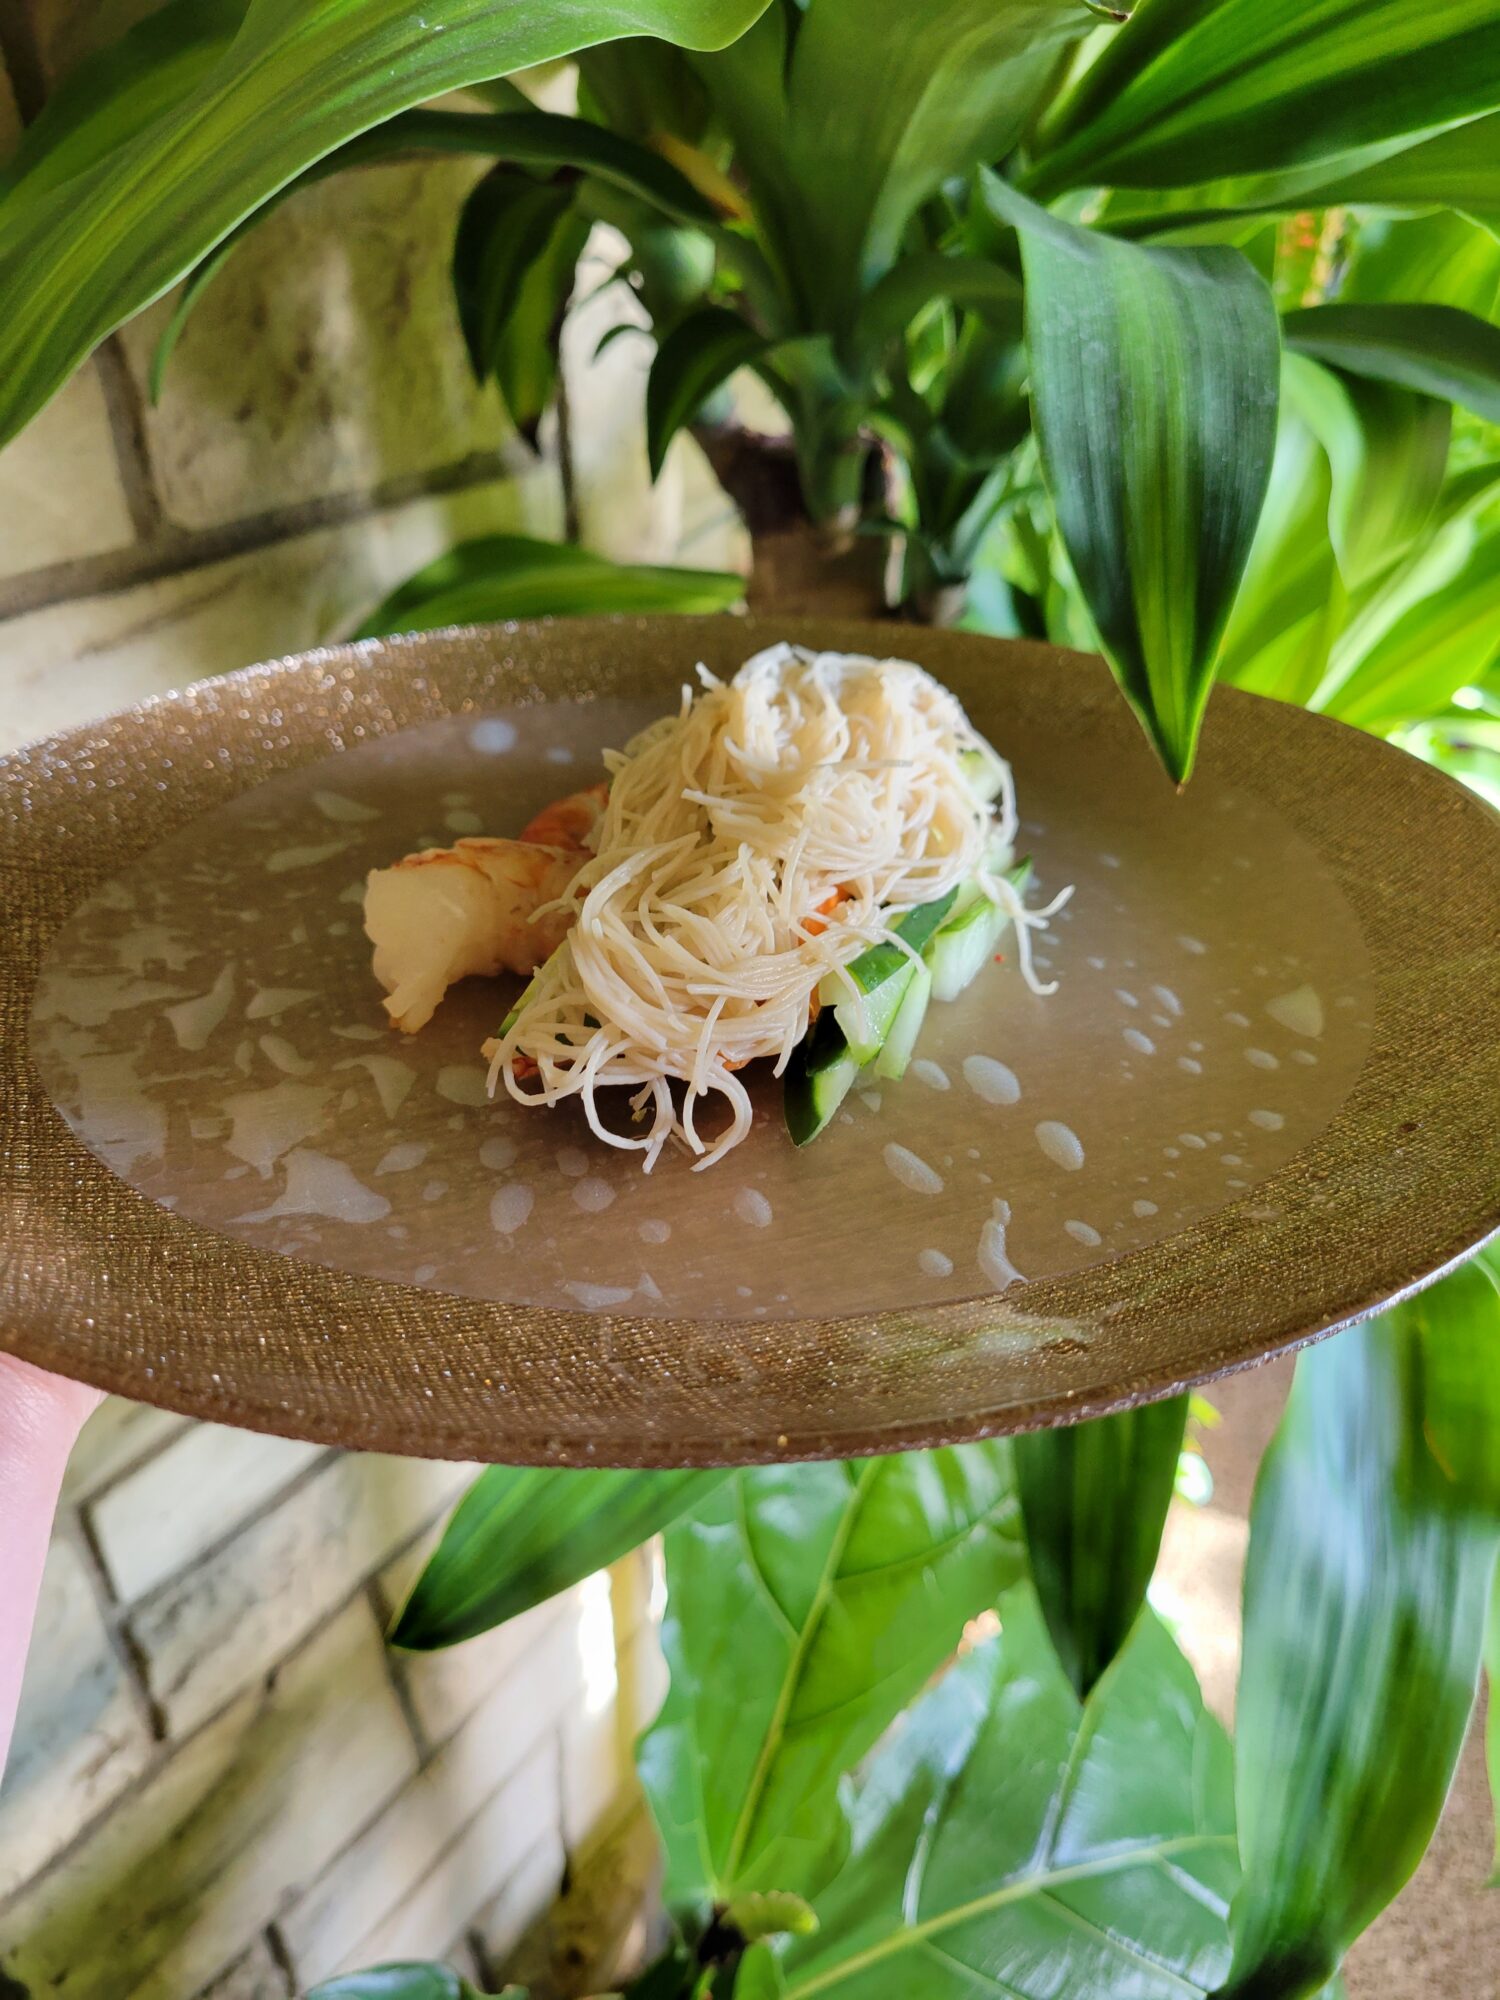
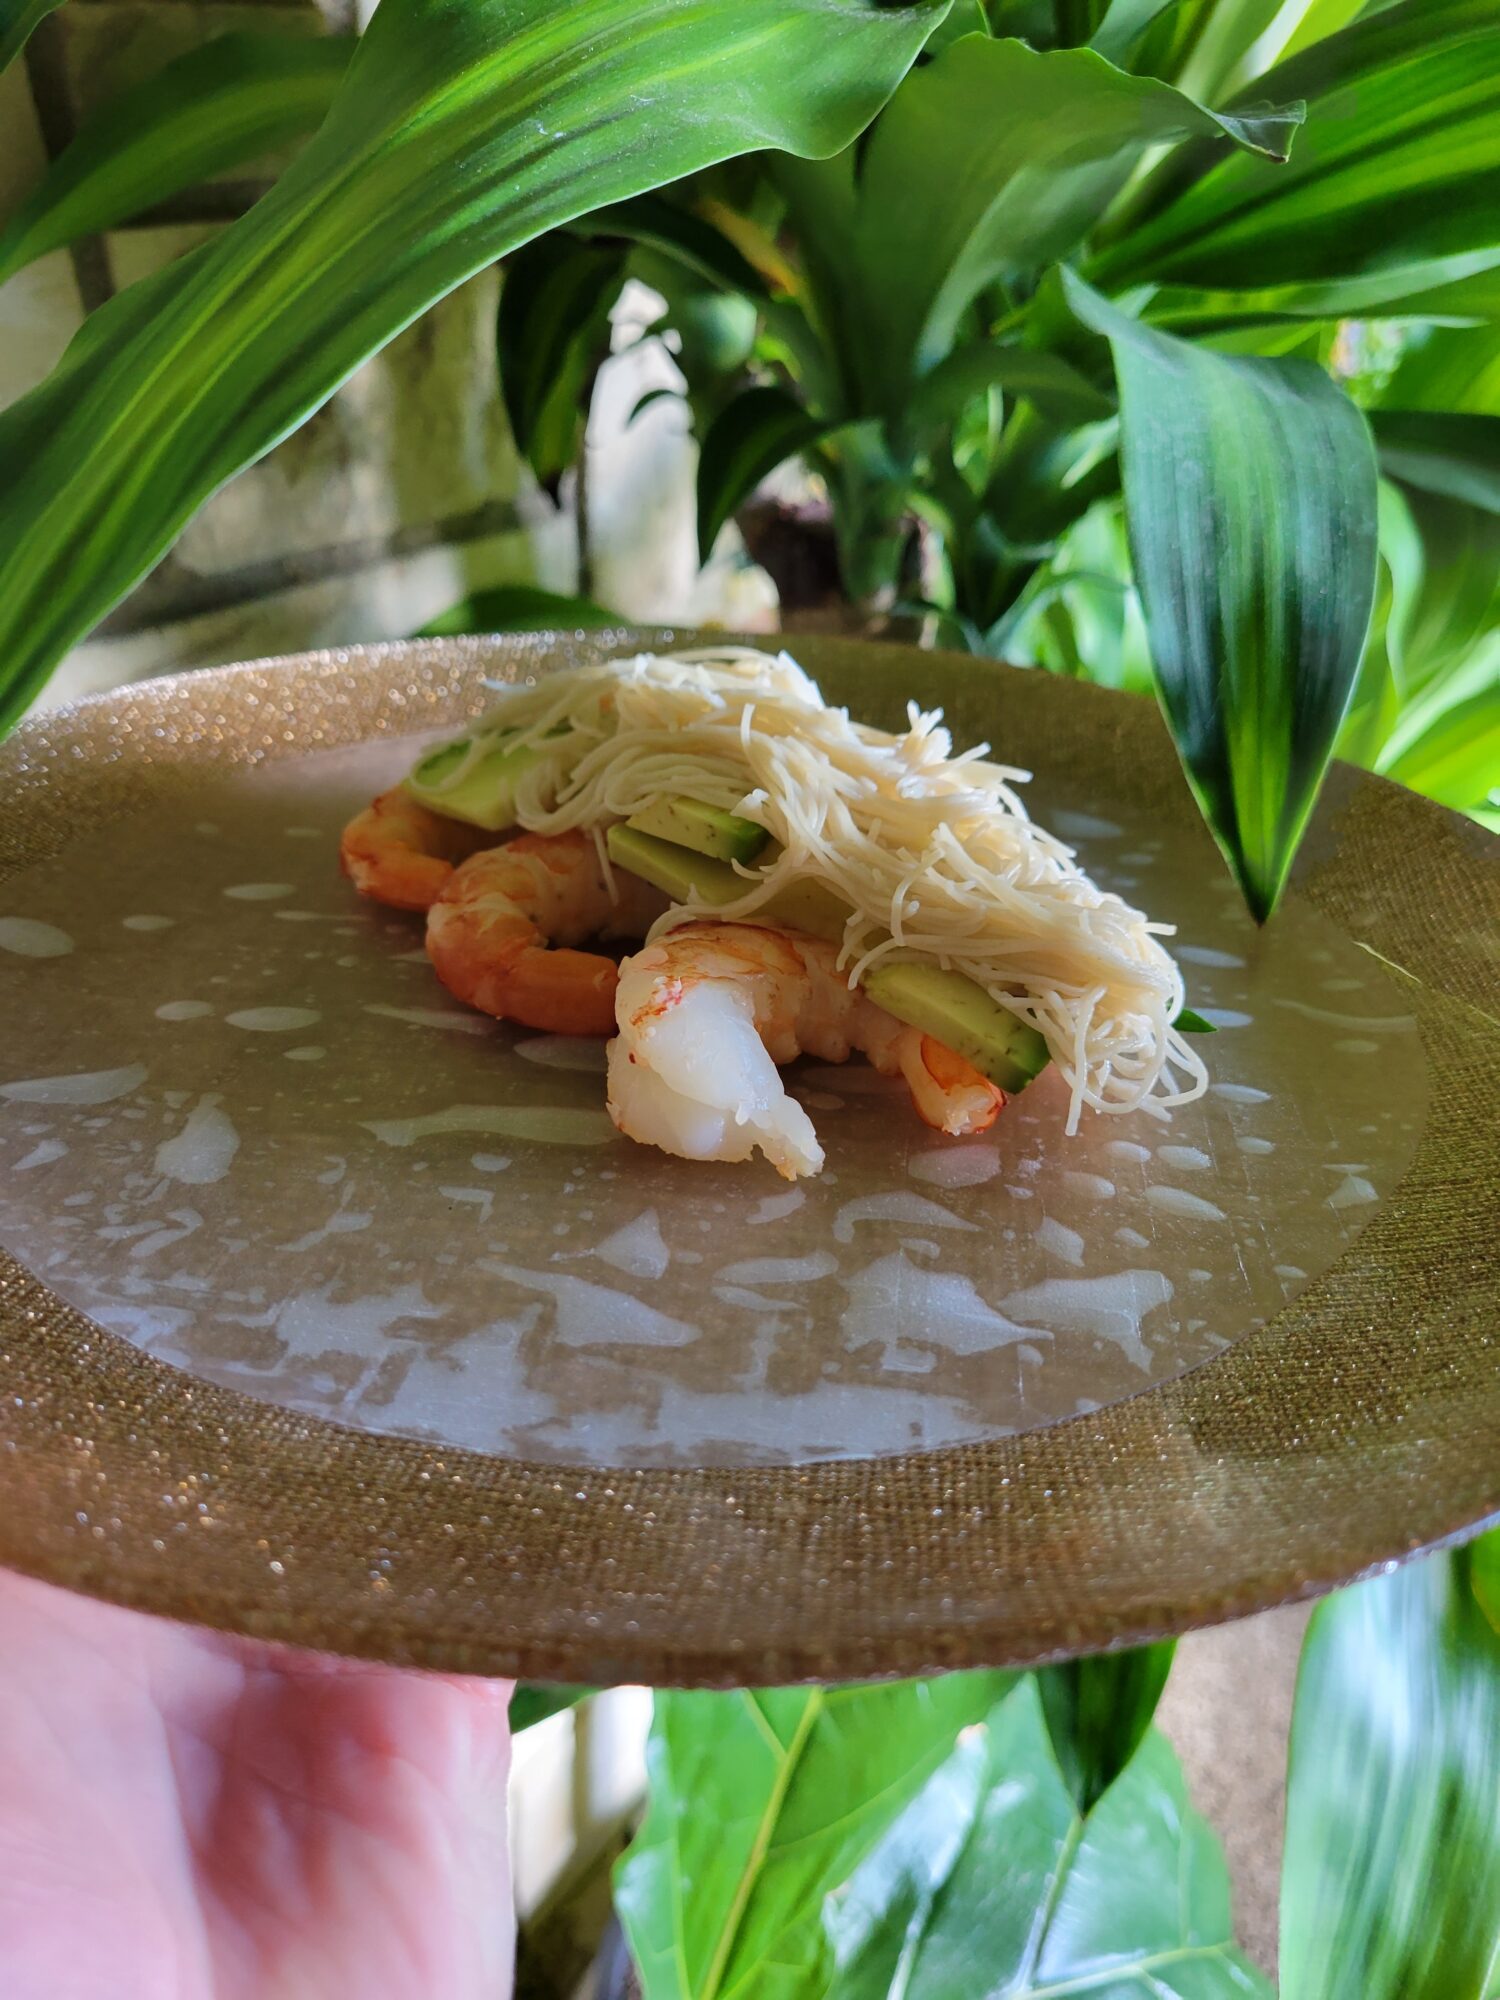
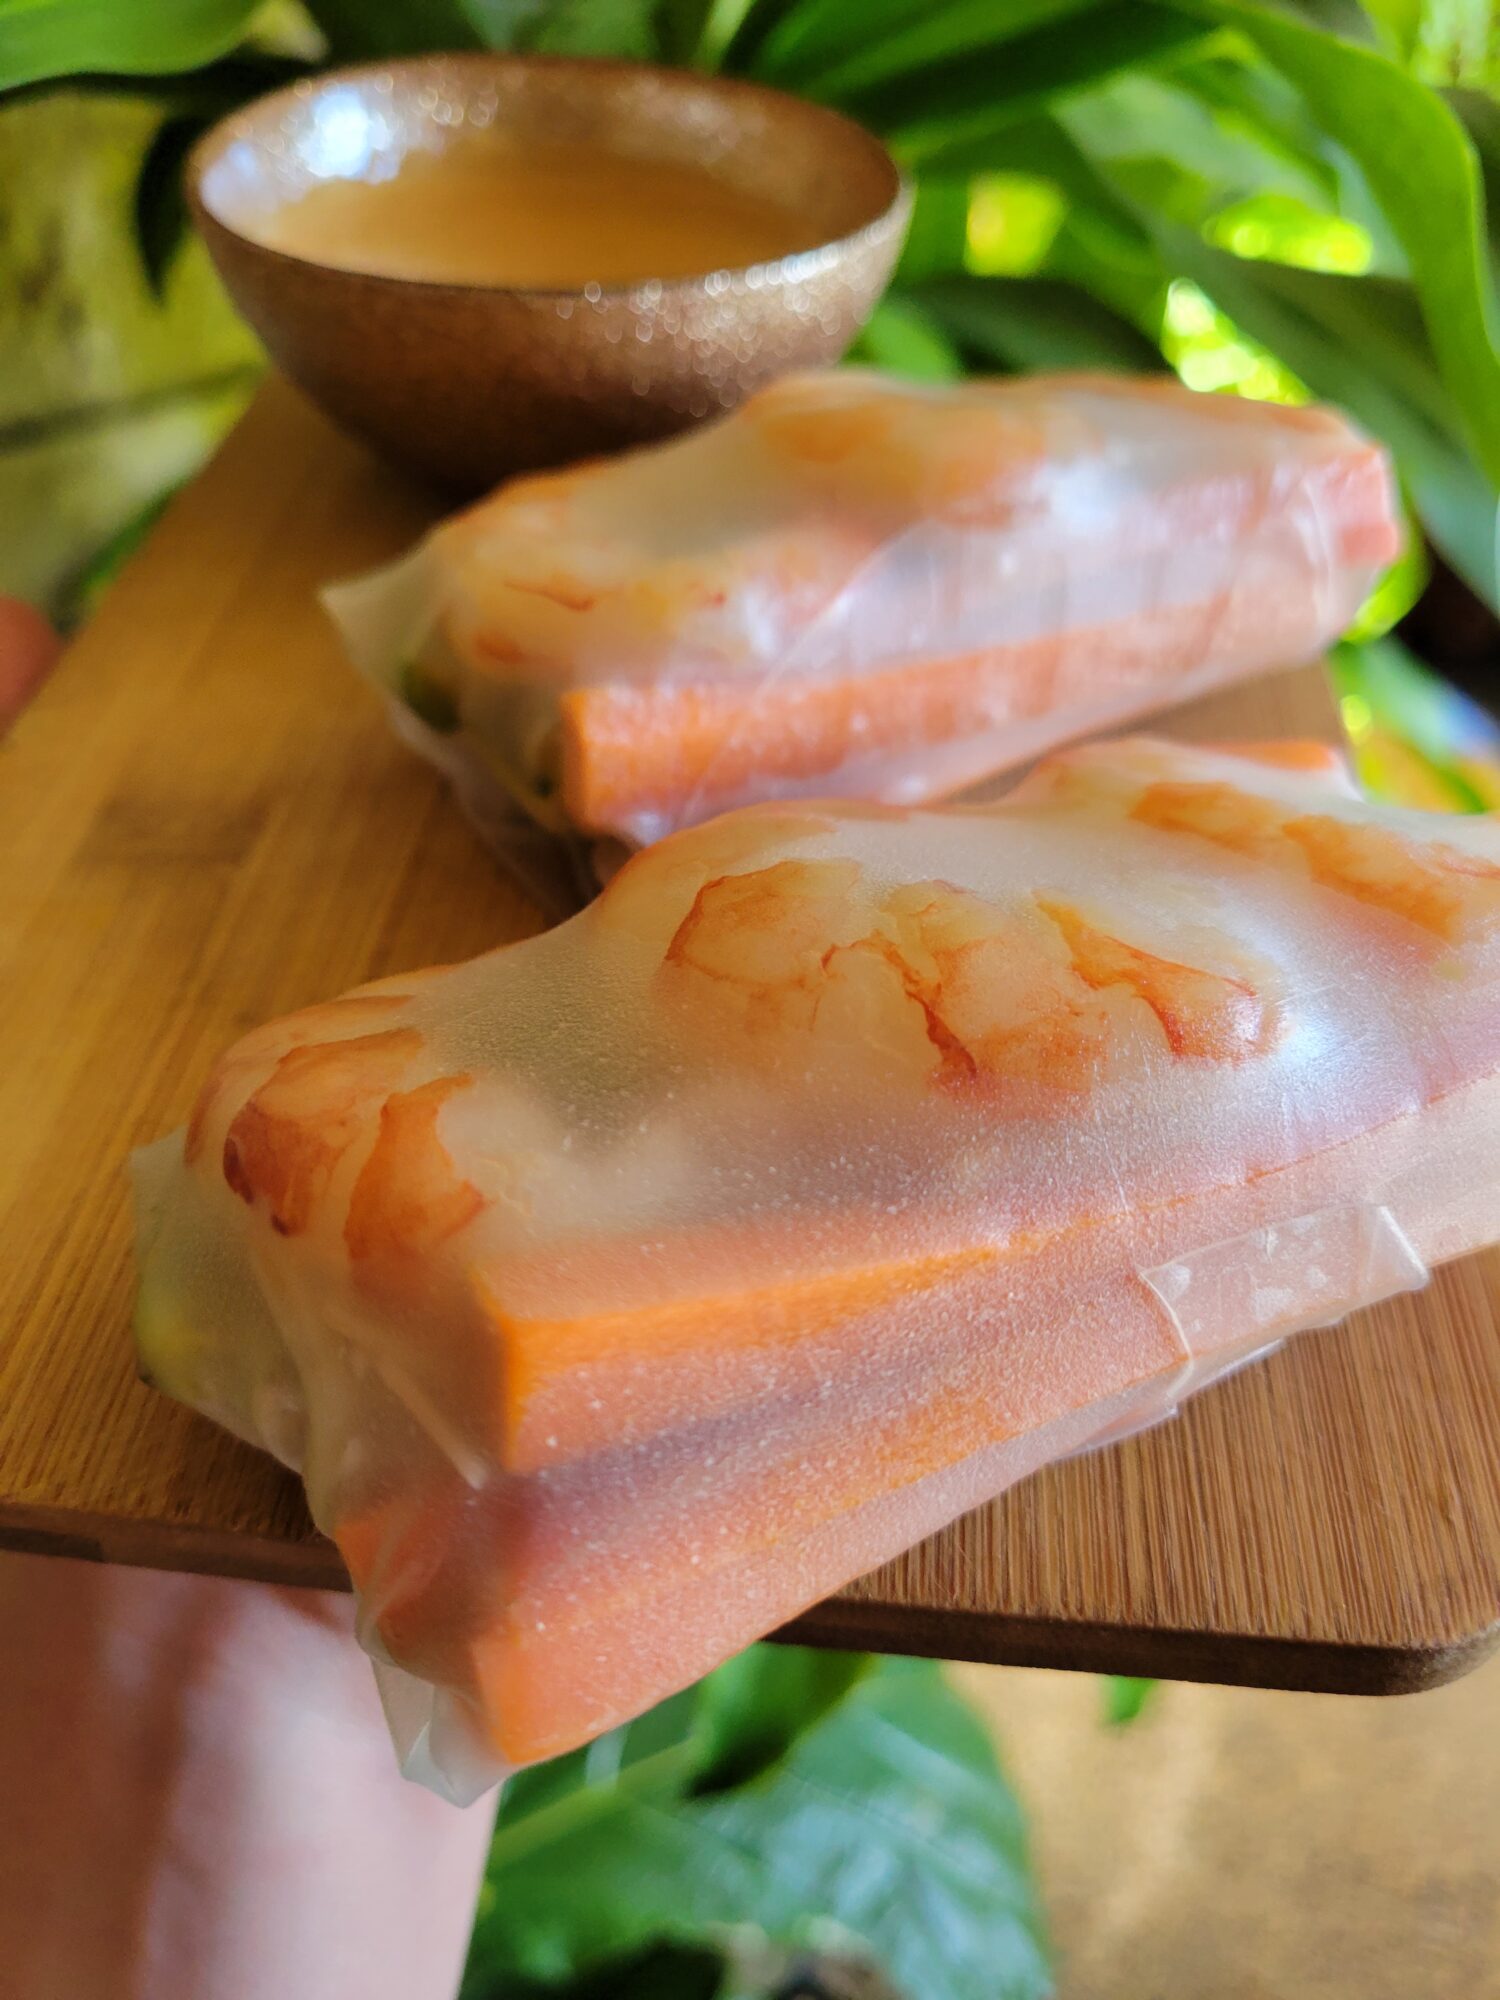
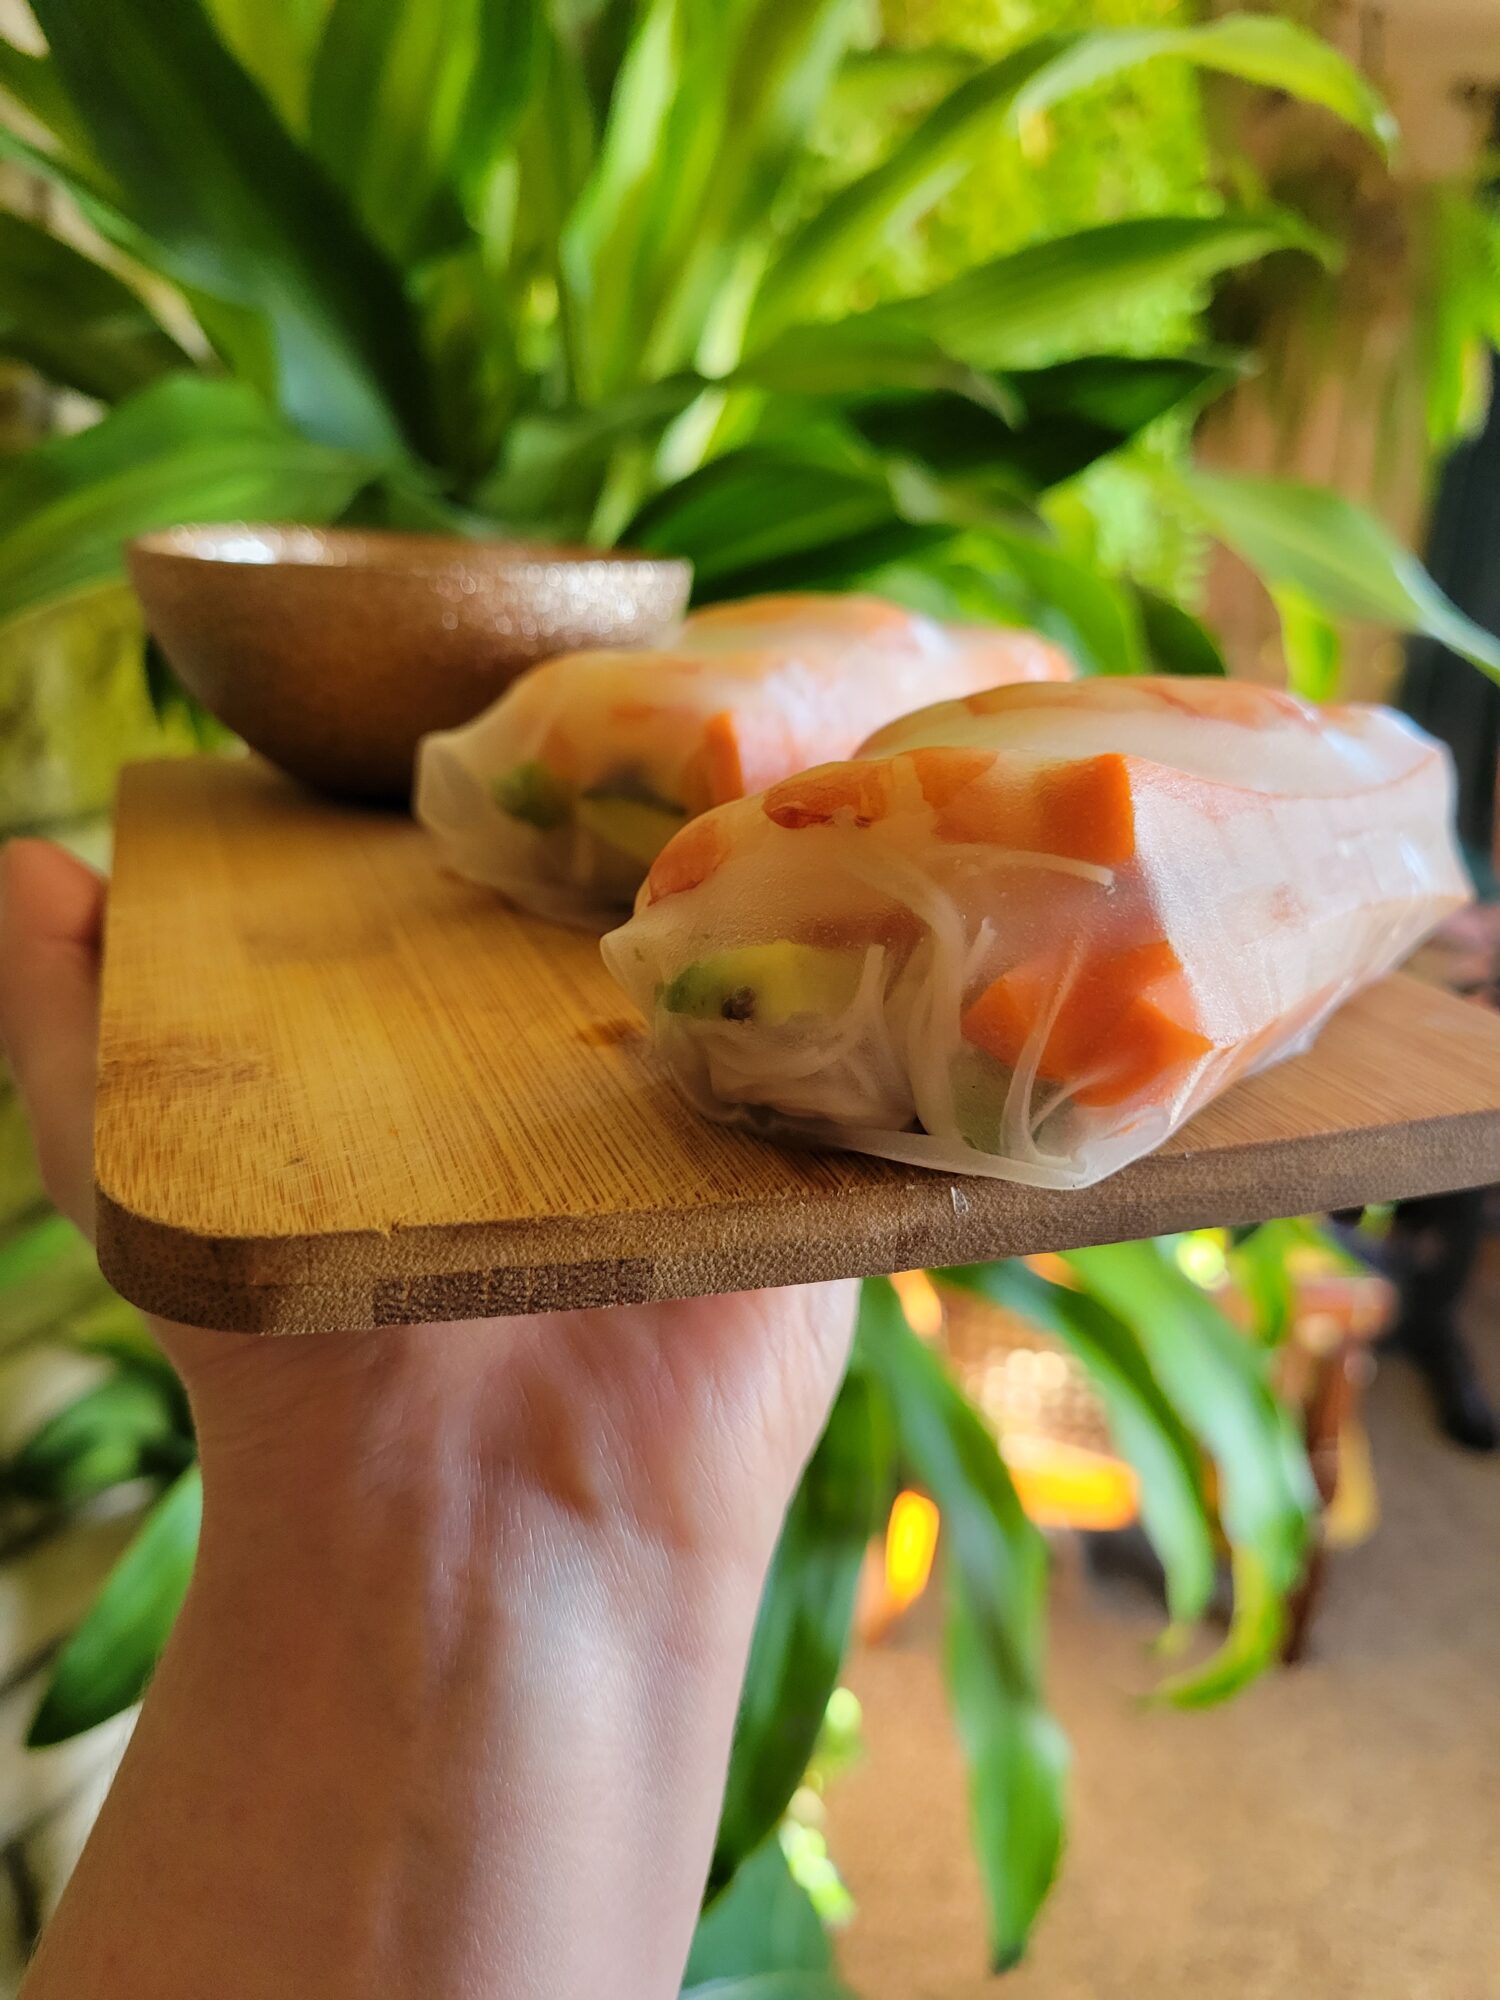
- Move the rice paper to a dry plate or cutting board and place all of the filling ingredients into the center of the sheet.You want these fairly tightly packed in the center. Or alternatively slightly towards the back side. It should be rectangular in shape and fairly compact. Just make sure that they're not loosely lying around! You will need to compress them together to make the spring roll shape.It doesn't matter what order you put the toppings in. Although I started with the ingredients that I most wanted to be seen through the translucent rice paper. With the way that I ended up folding them, this was the most prominently visible part of the spring roll! And can be arranged in quite an artistic way if you want to get fancy with it.I didn't get that fancy, but started with the shrimp on the bottom, avocado next to it on the side, carrot and cucumber slices in the middle, and vermicelli on the top. The vermicelli was also the most pliable with no sharp edges, so this may have helped in wrapping the spring roll.
- Gently fold in both of the sides on the short ends.This is like folding an envelope in on the sides. The two ends aren't going to touch in the center, but they will keep the fillings from spilling out at what will become the top and bottom of the spring roll.
- Carefully pull one of the remaining long ends around the toppings.Pull tight enough for the fillings to compress into the spring roll shape. It's a similar process to making sushi rolls, where you want it to be as tightly round as possible, without tearing the rice paper.
- Then, roll the spring roll from that folded edge to the end of the rice sheet.In theory, this should make a spring roll! Although getting the correct tension to form a roll without it ripping did take a bit of practice and patience.Making a spring roll is kind of like trying to do origami with cling wrap. It sticks together immediately and you don't have a lot of wiggle room to start over! So, I would recommend having a few extra sheets of rice paper until you get the hang of it. Knowing how to wrap a tortilla definitely came in handy for me. But it still took a couple of tries to get a technique down!
Serve
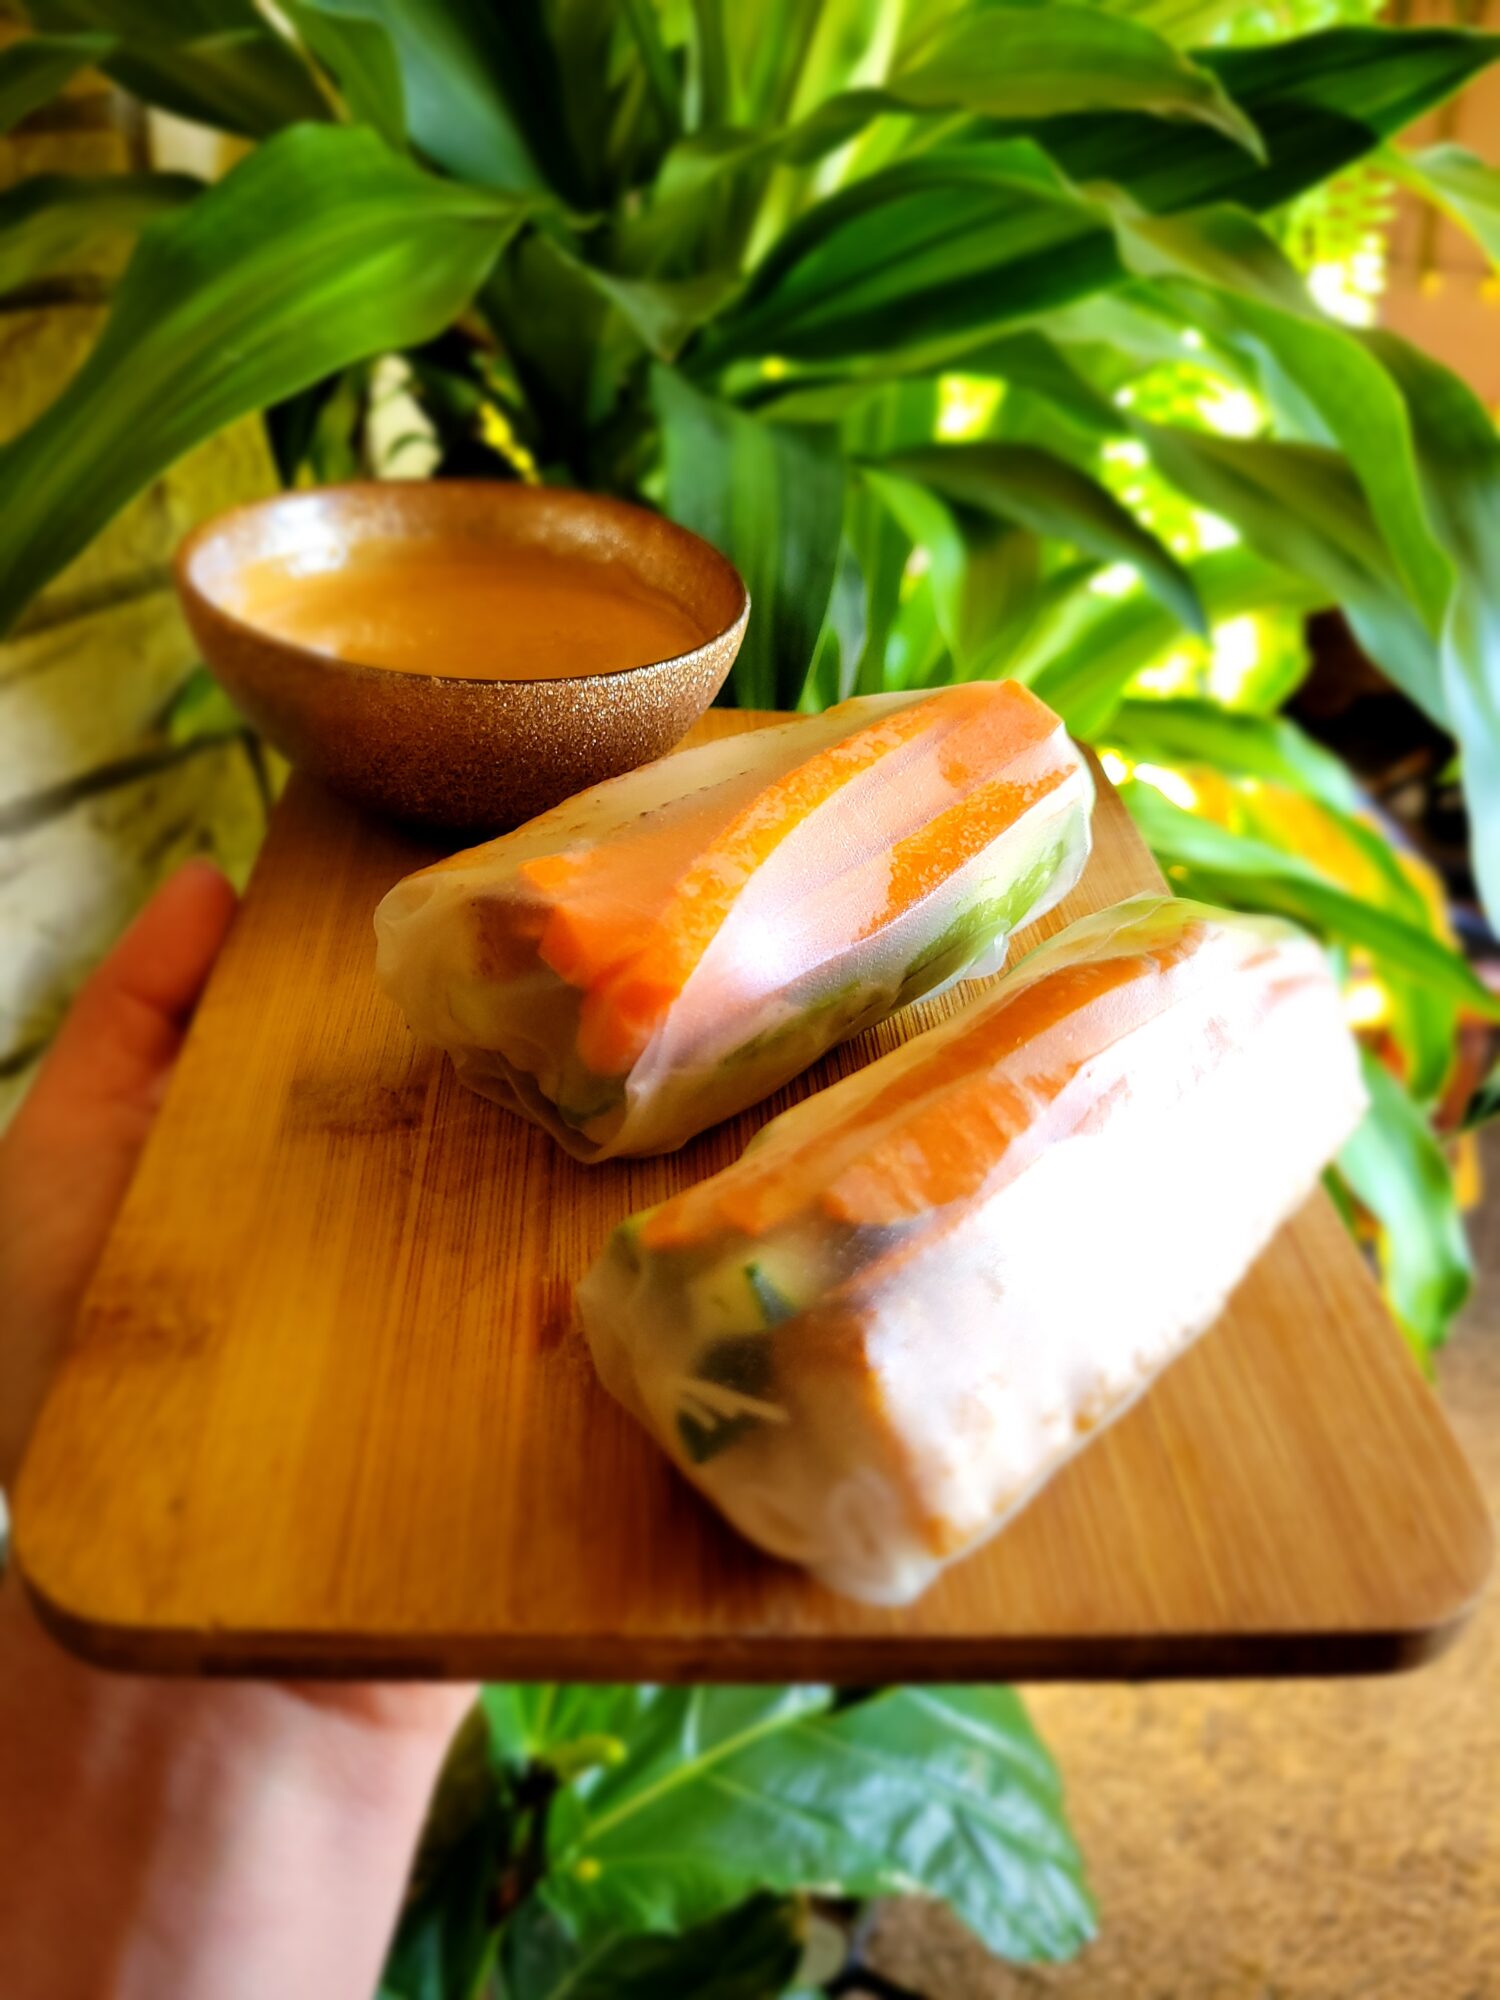
- Serve immediately alongside the peanut dipping sauce.
Tips, Tricks, & Notes
- For a more in-depth article on how to make peanut sauce, I have an entire recipe on Peanut Sauce w/ Tamari & Thai Chili.


Leave a Reply