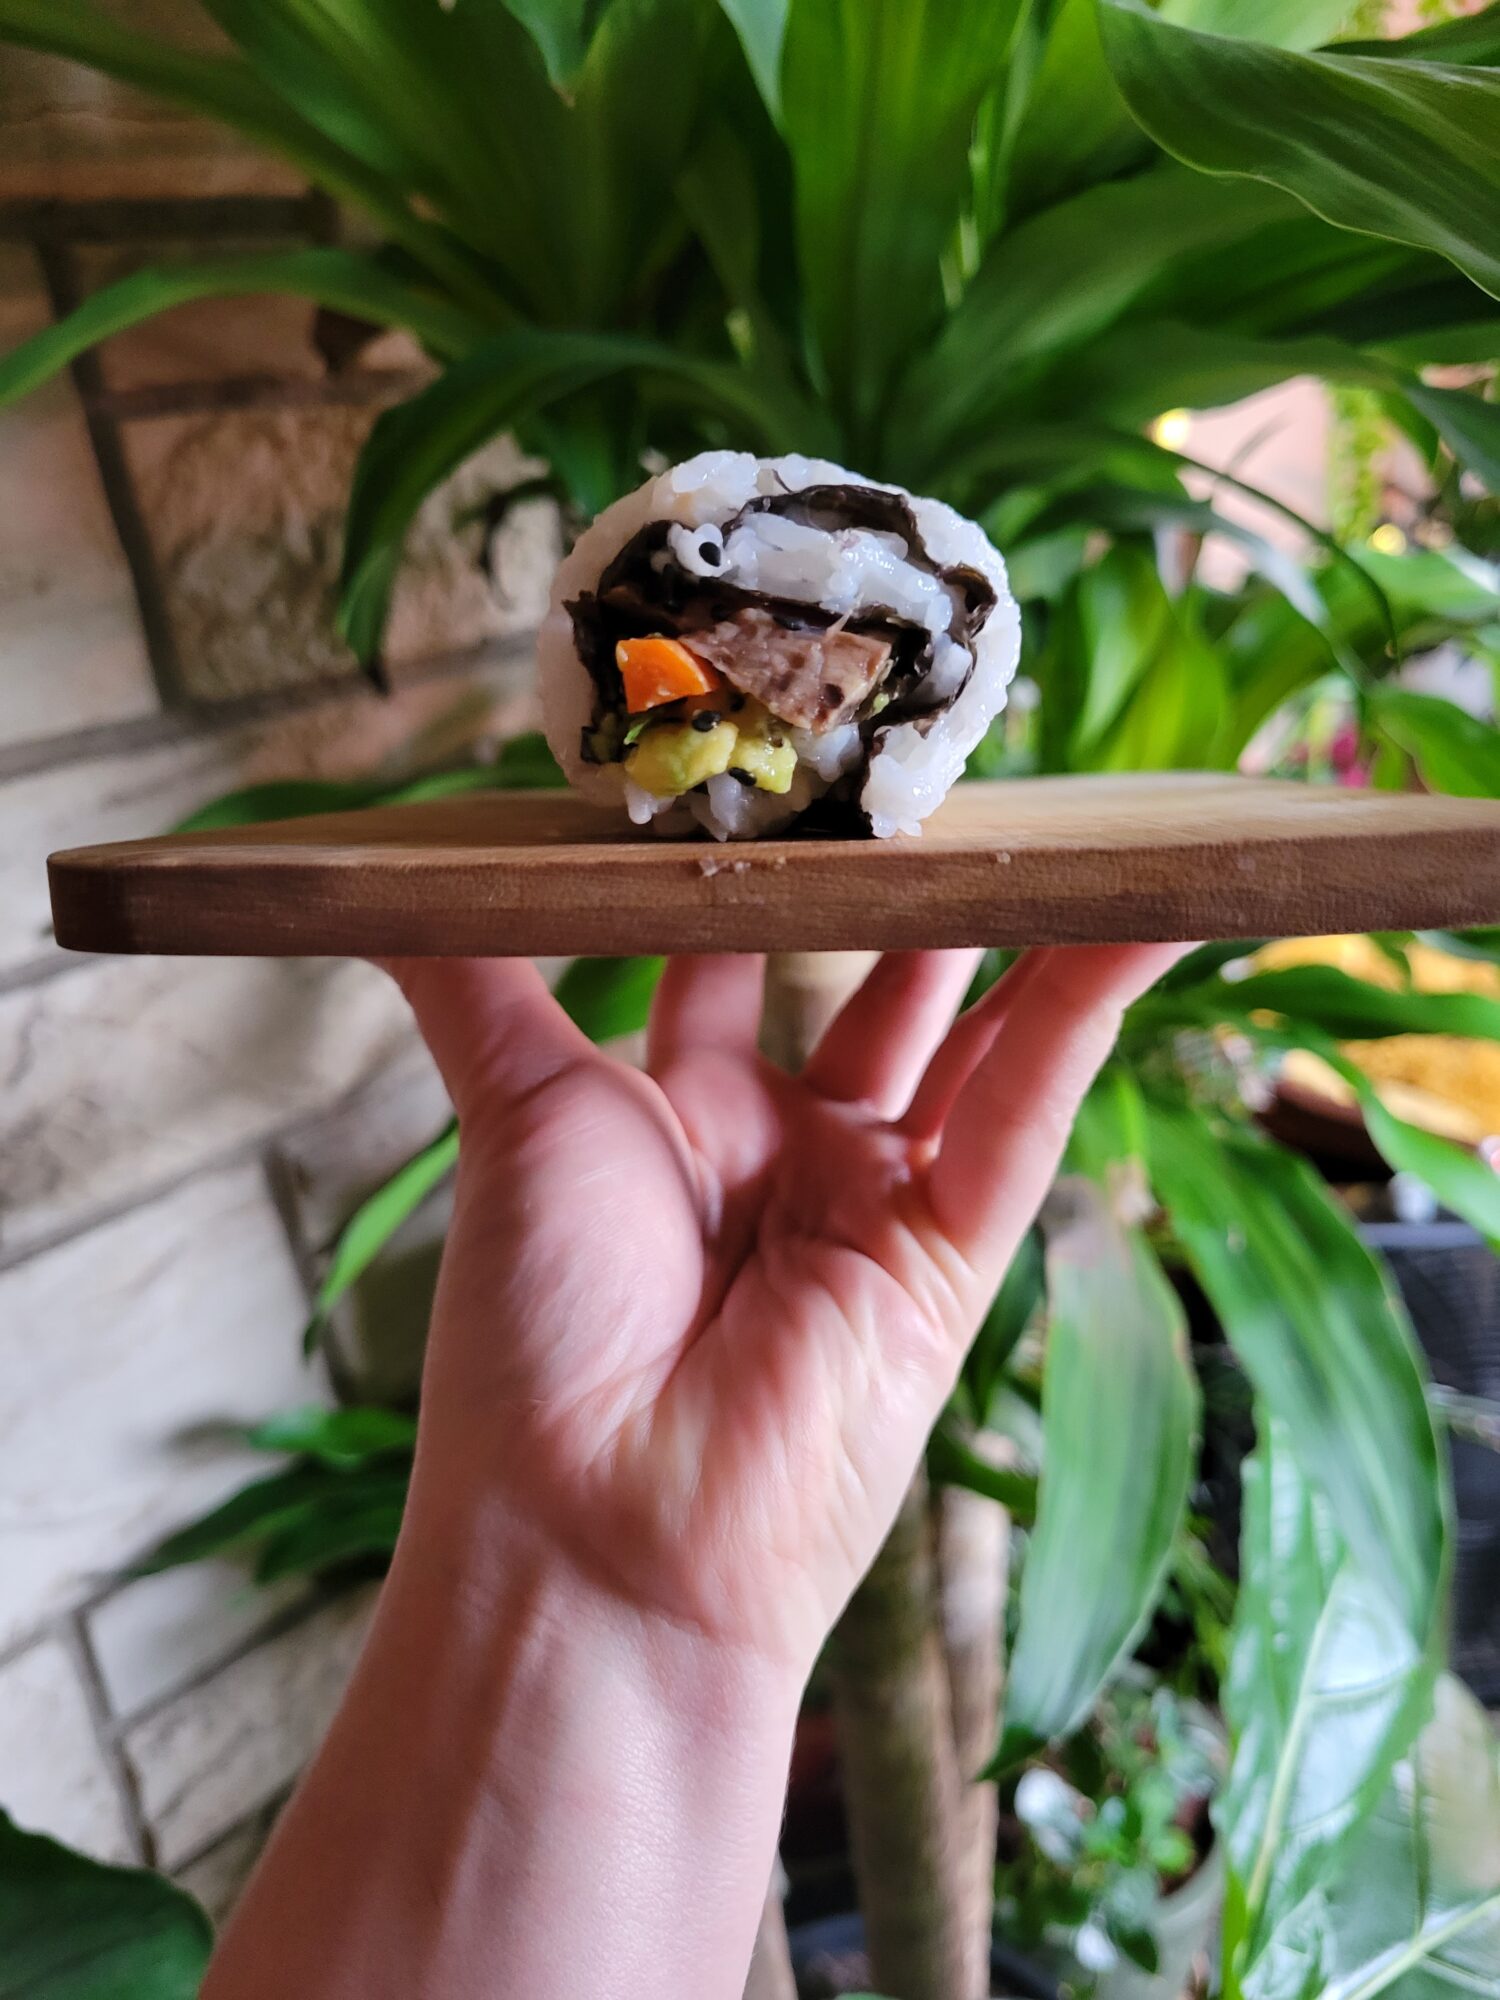
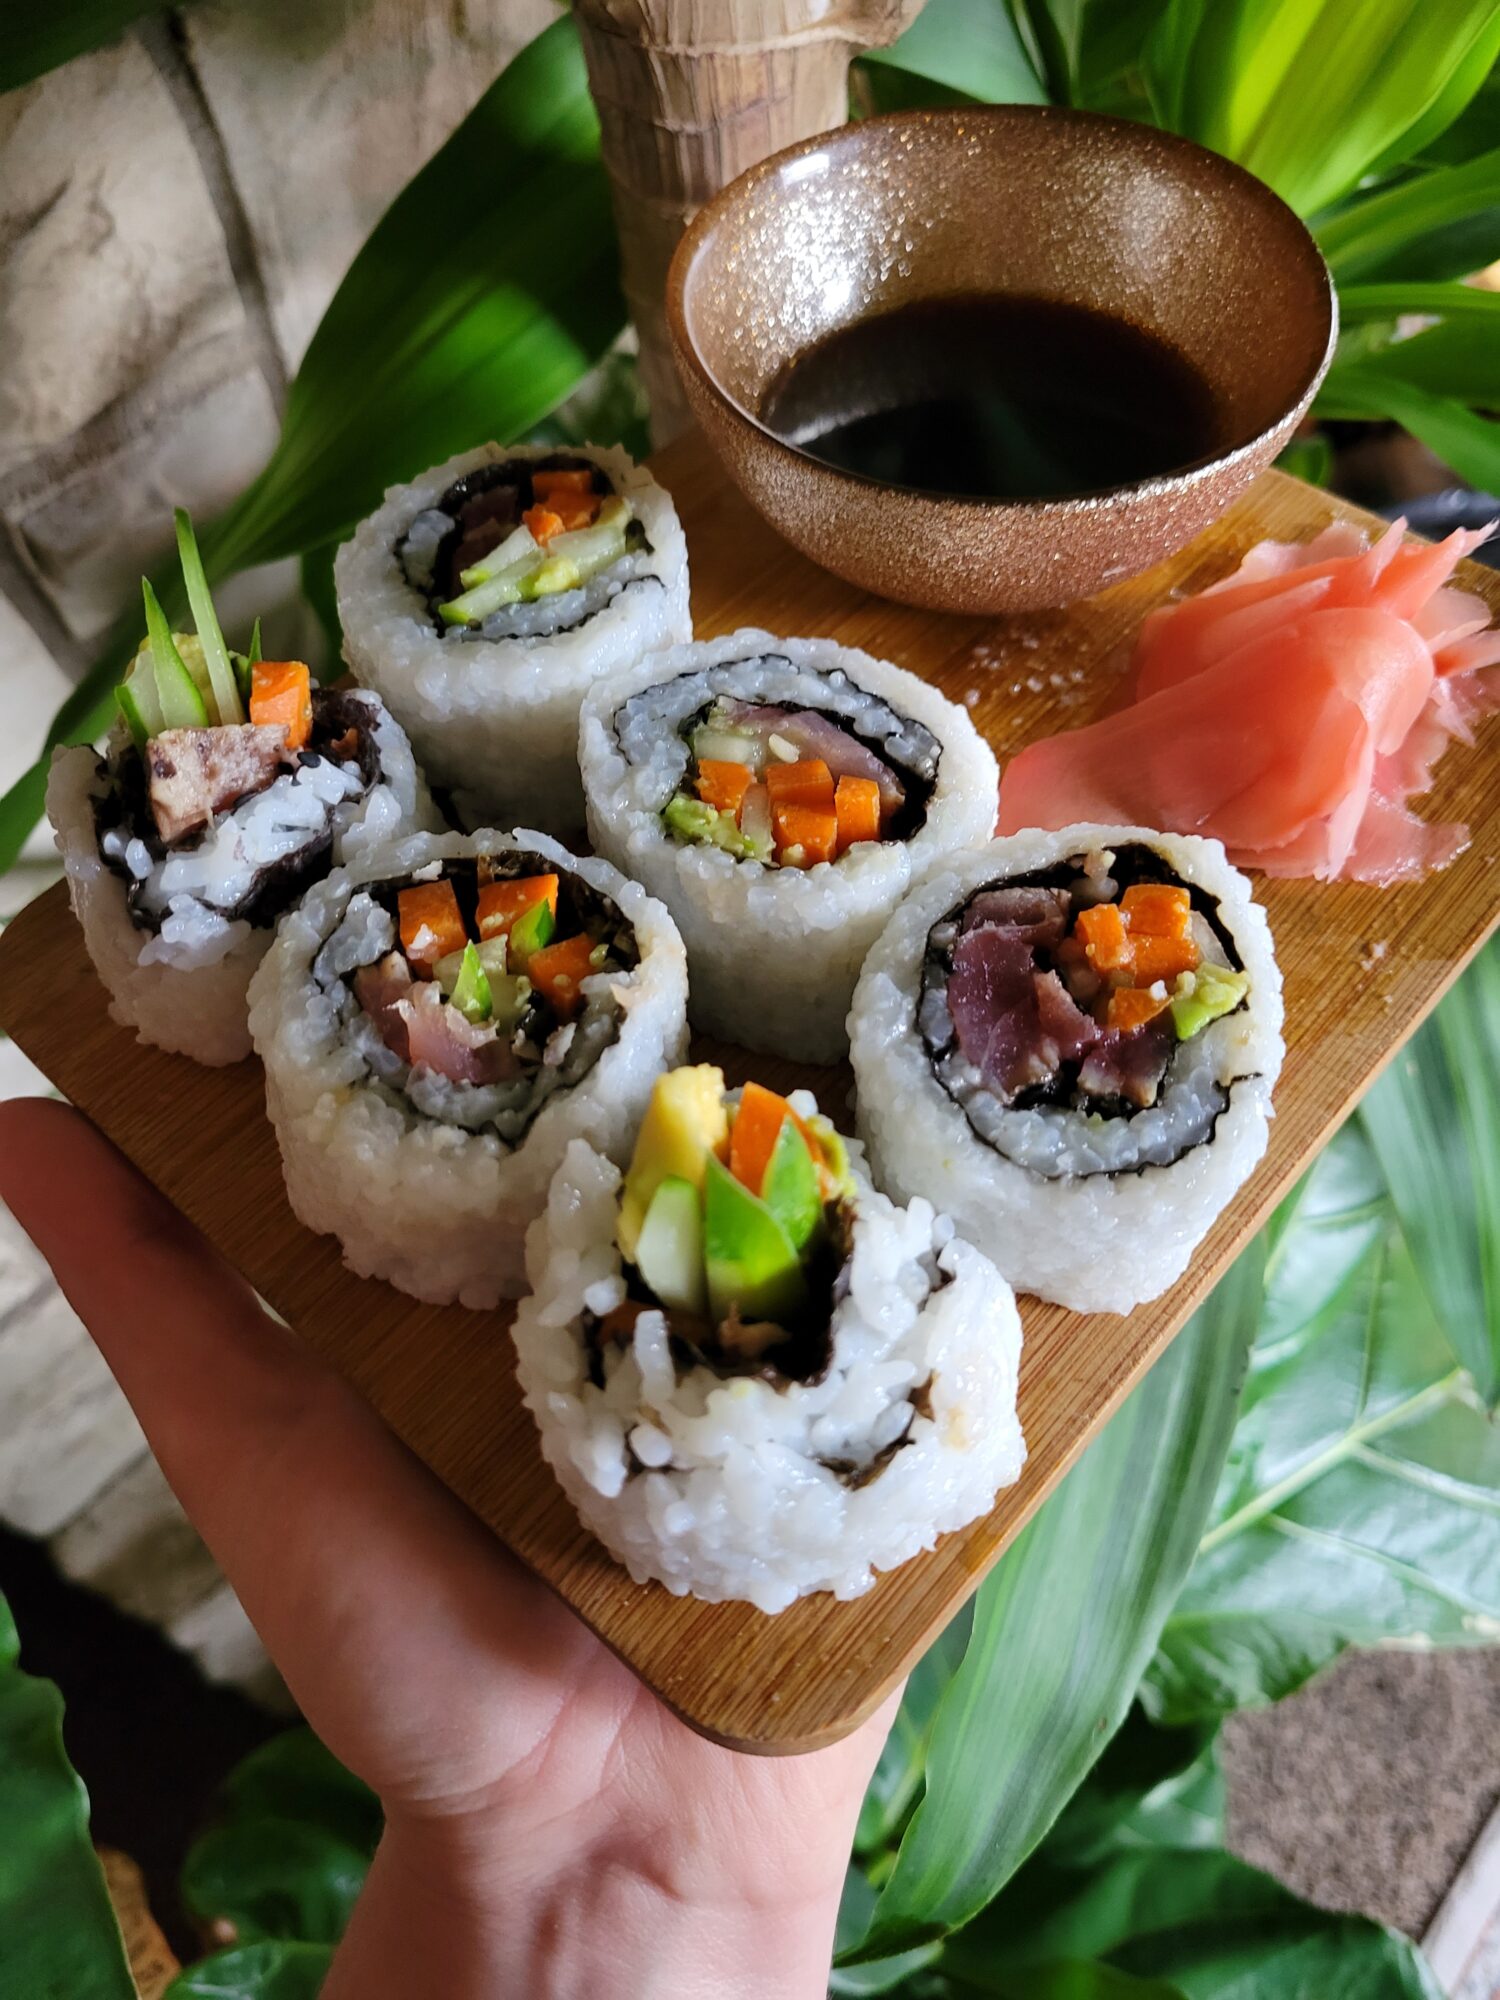
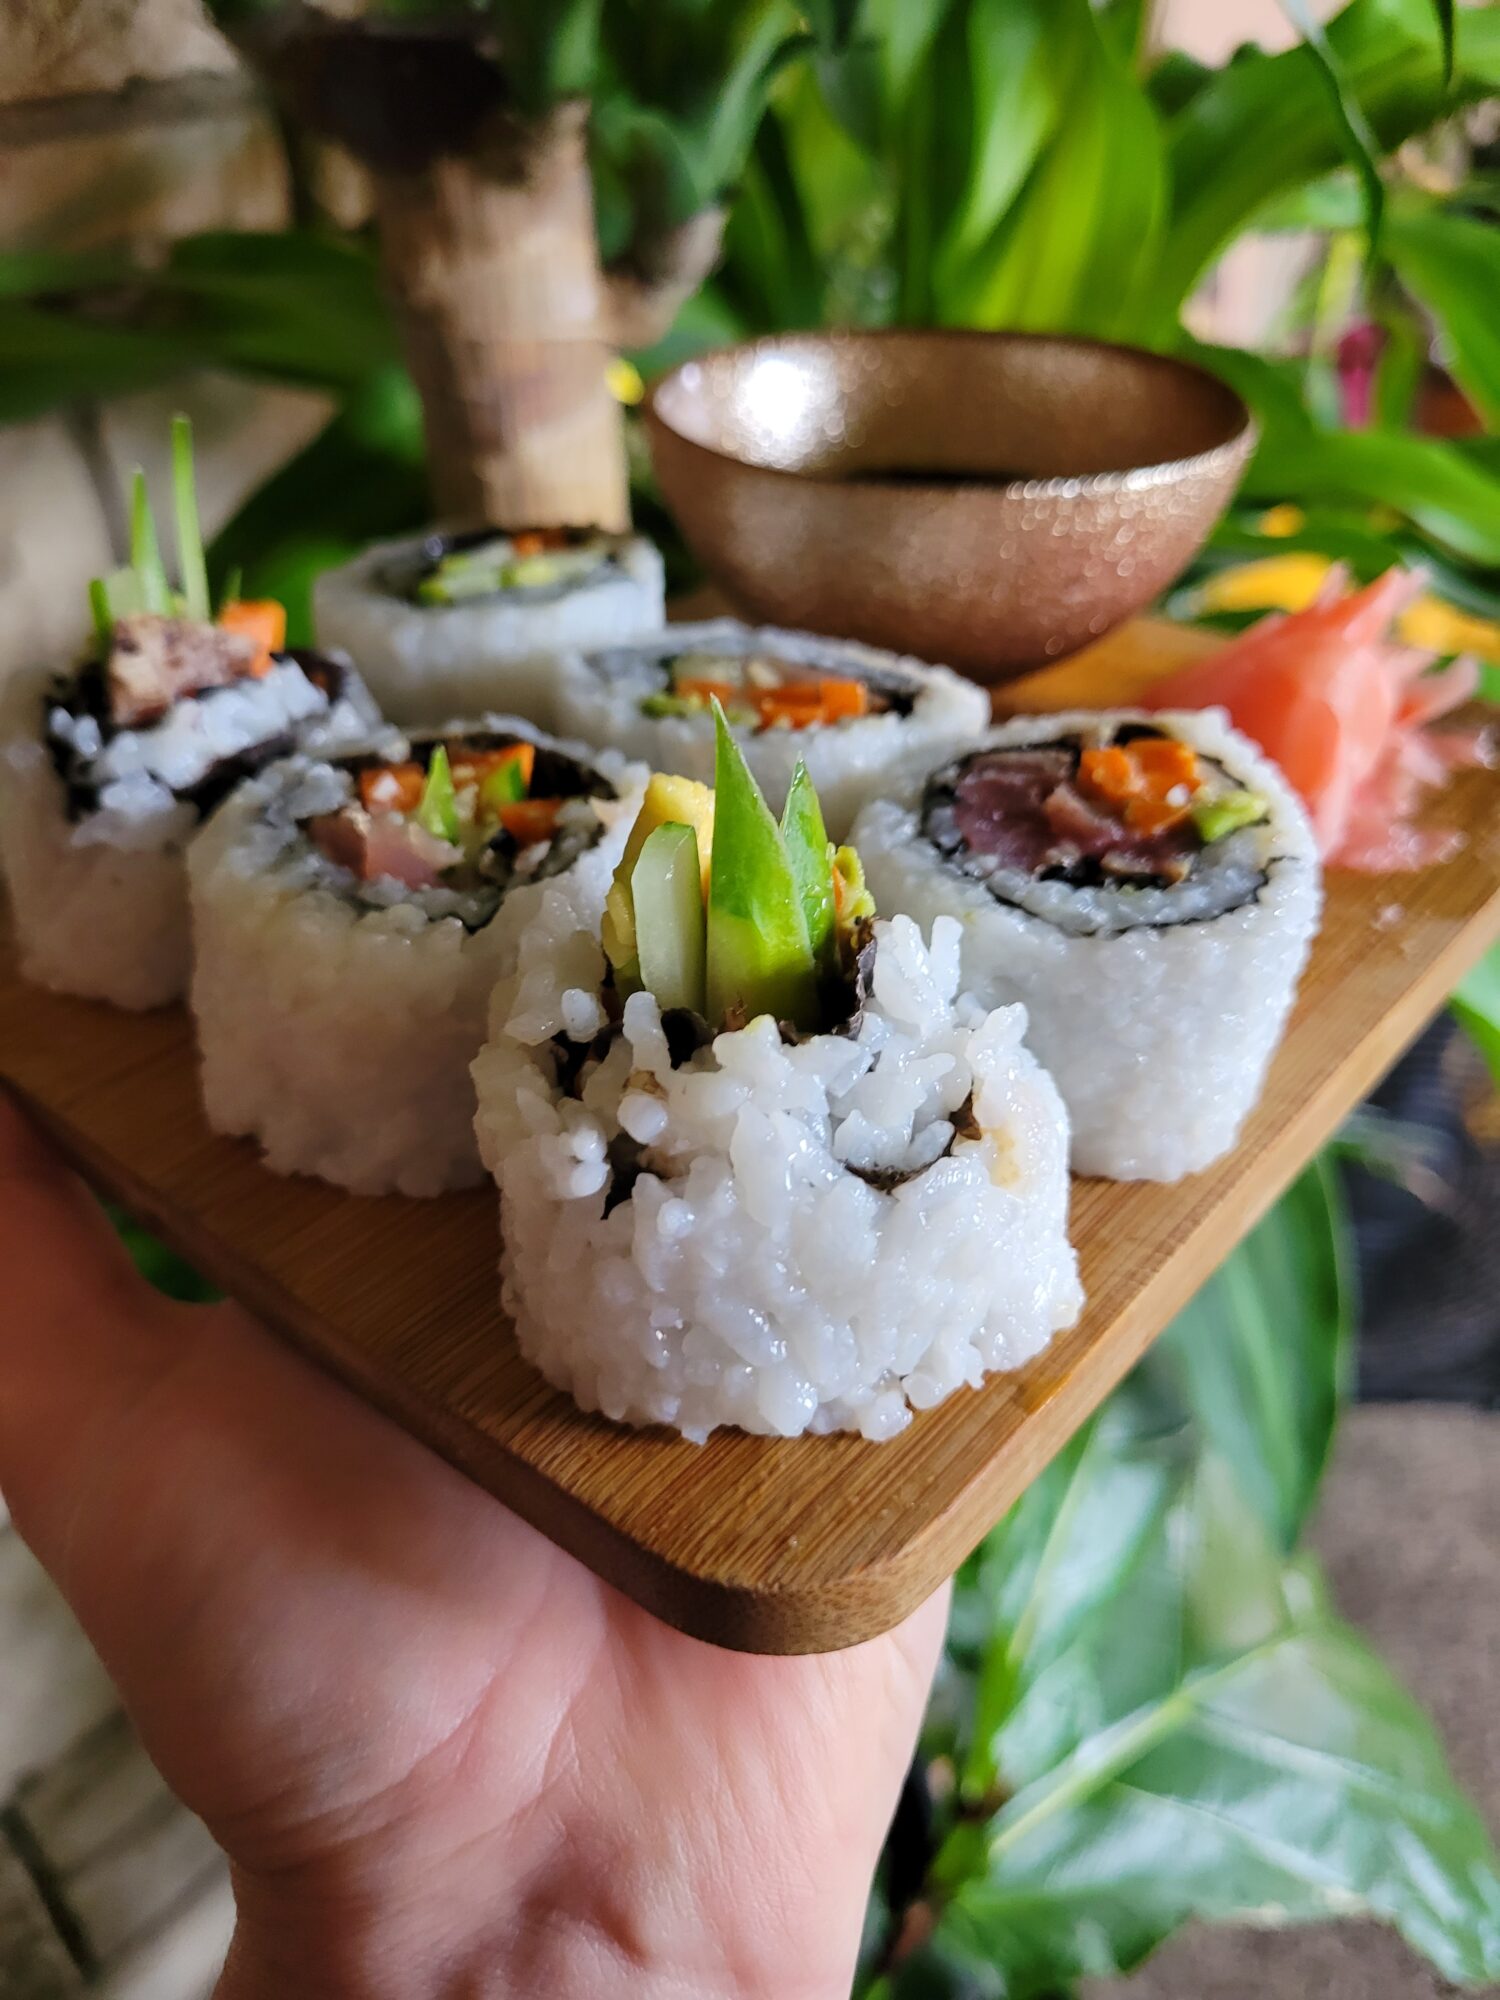
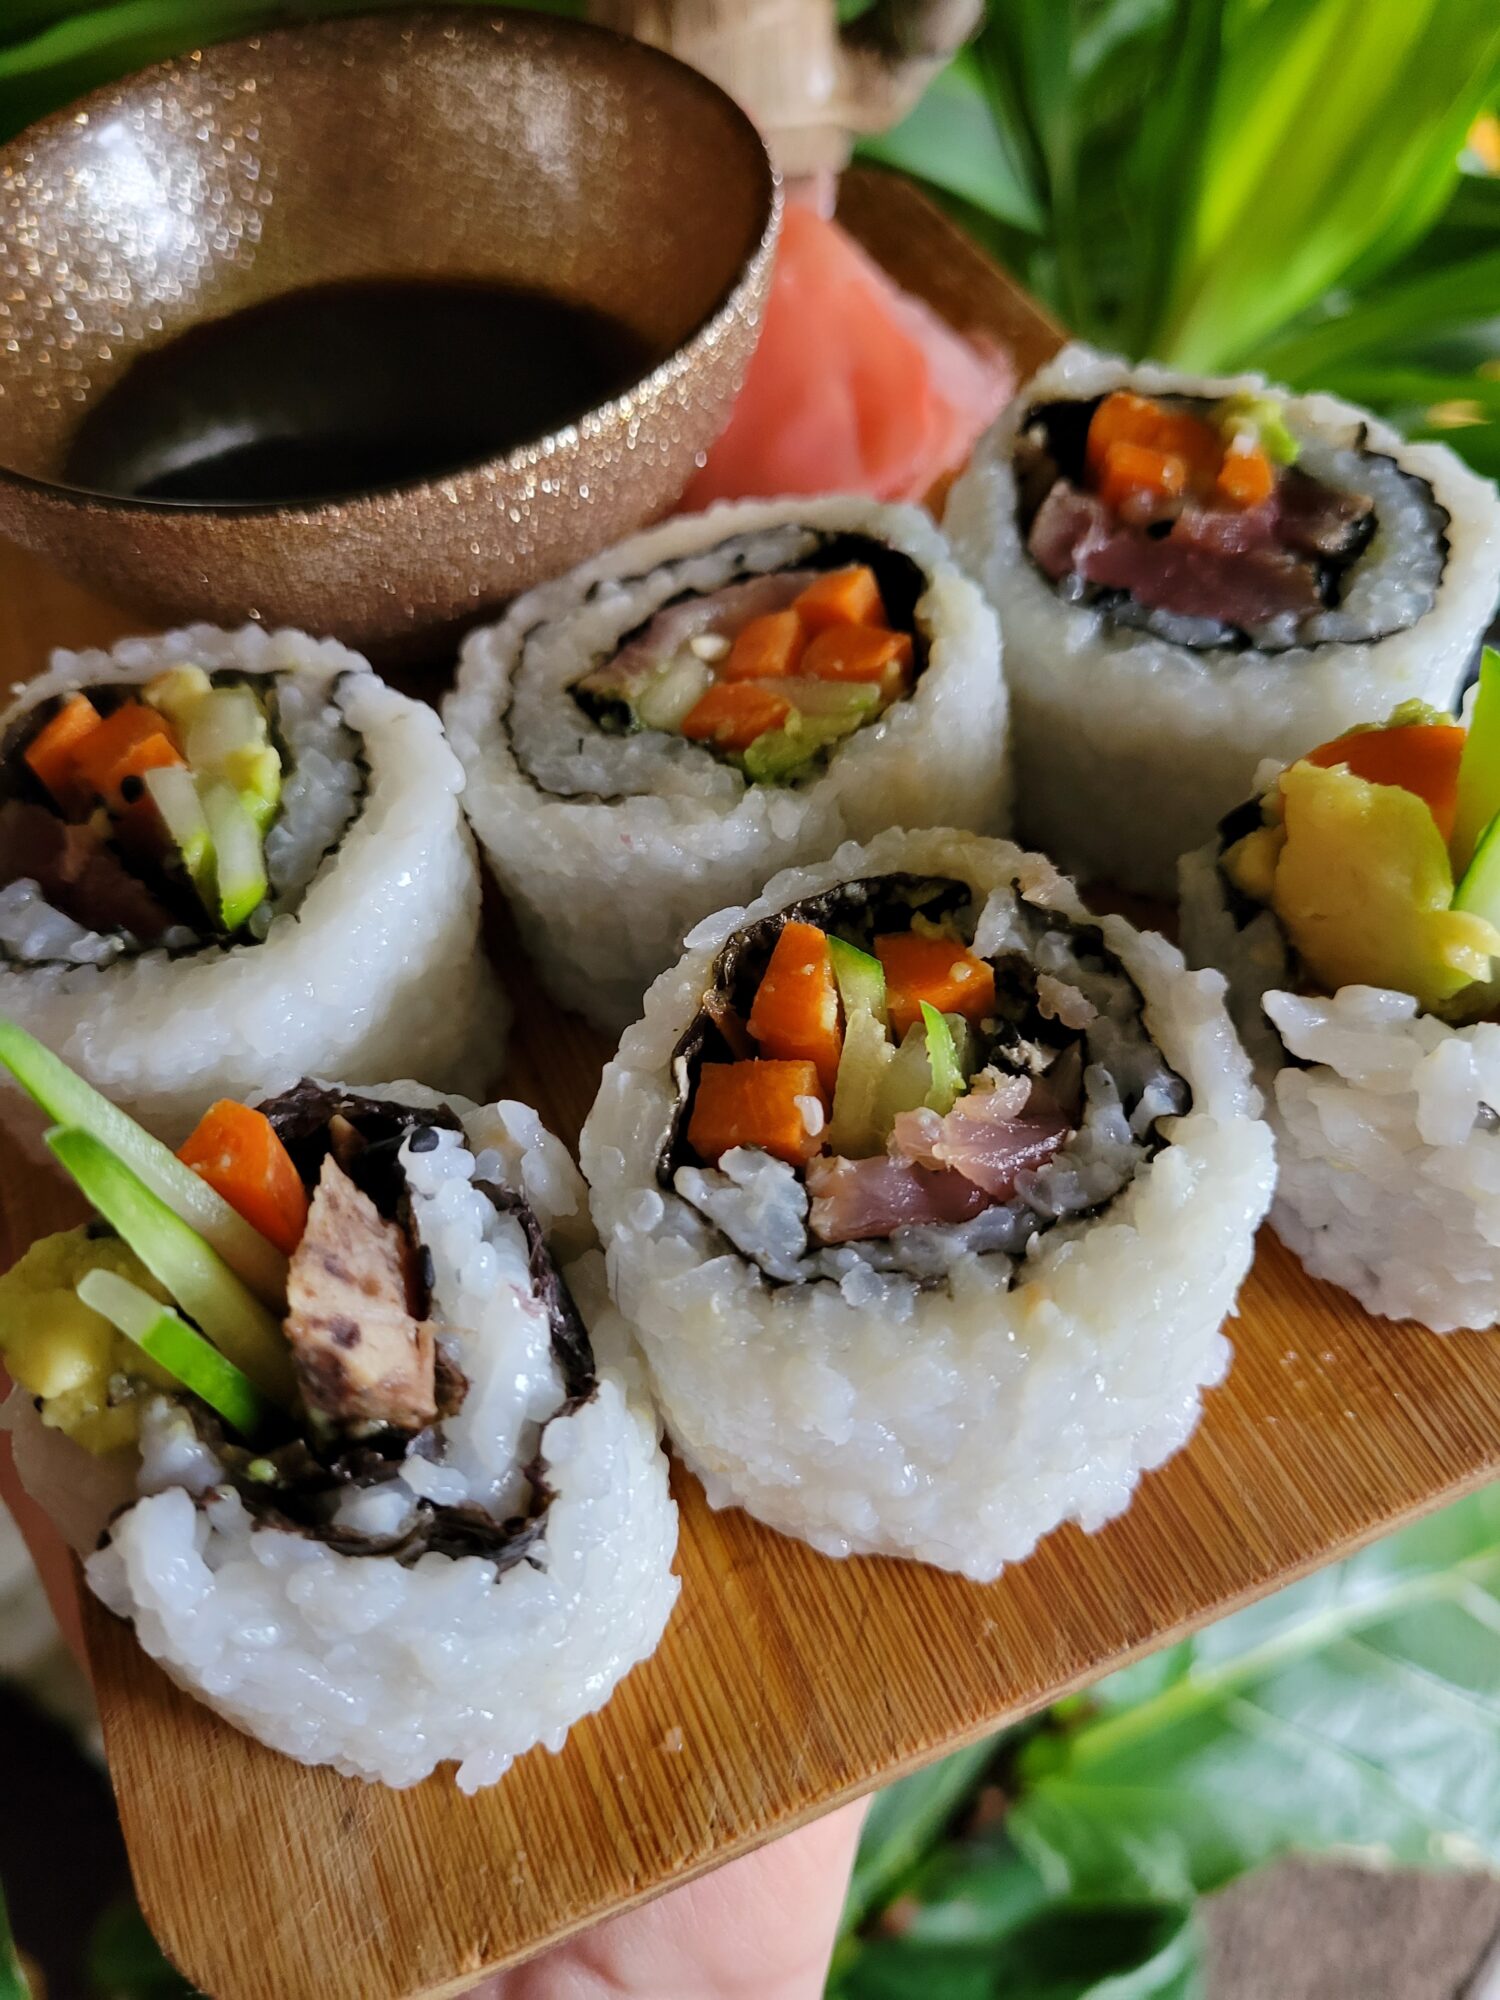
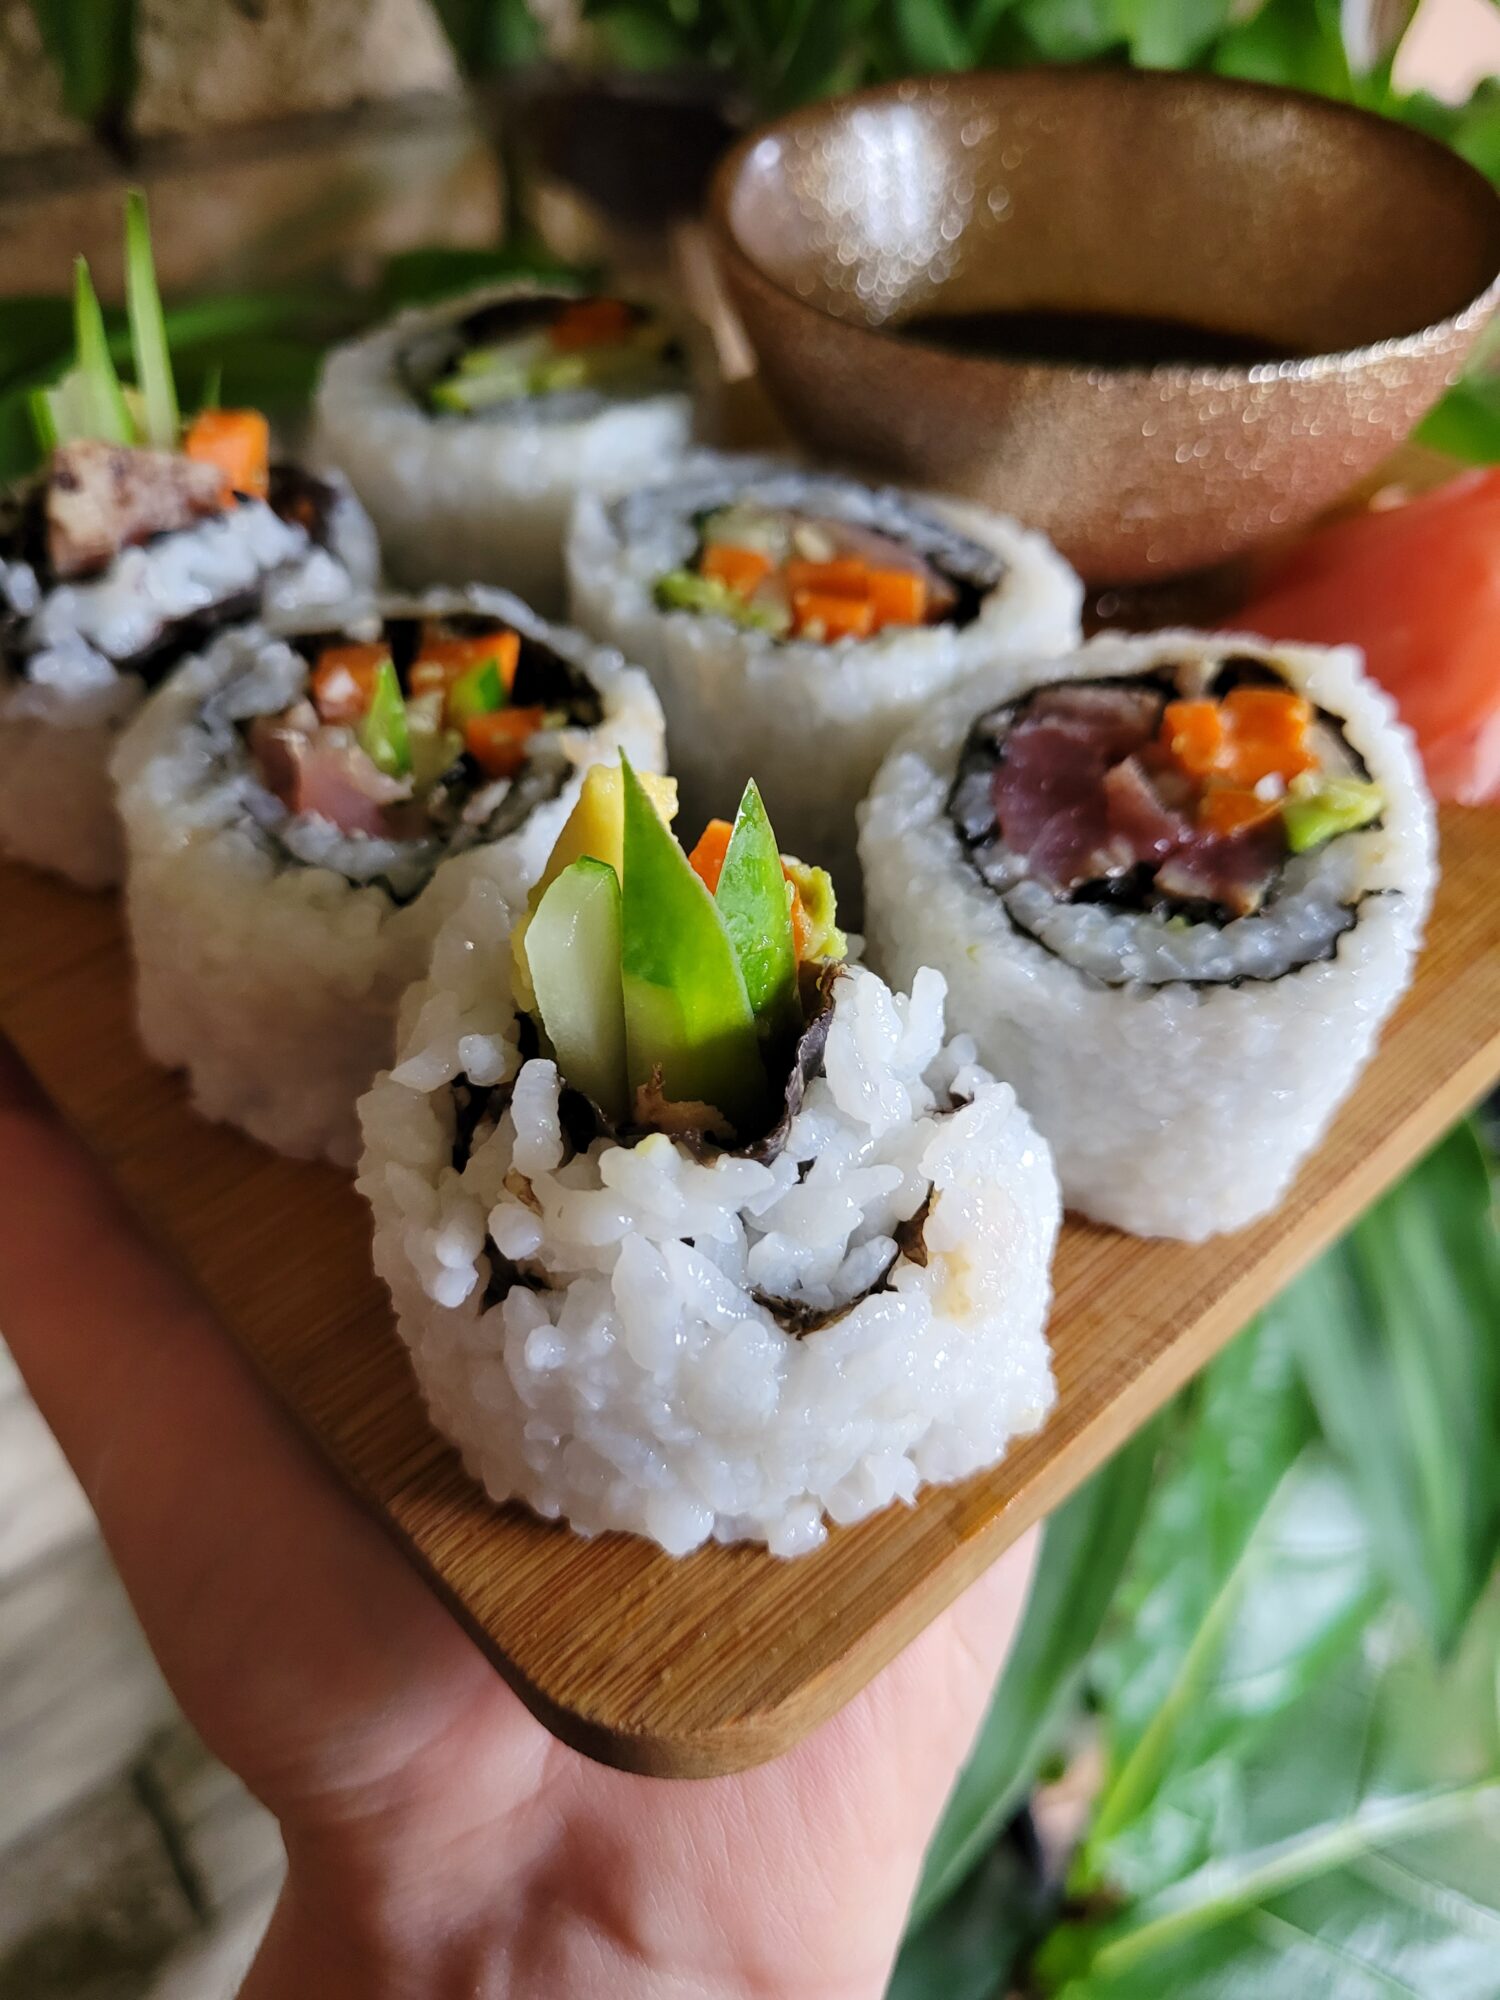
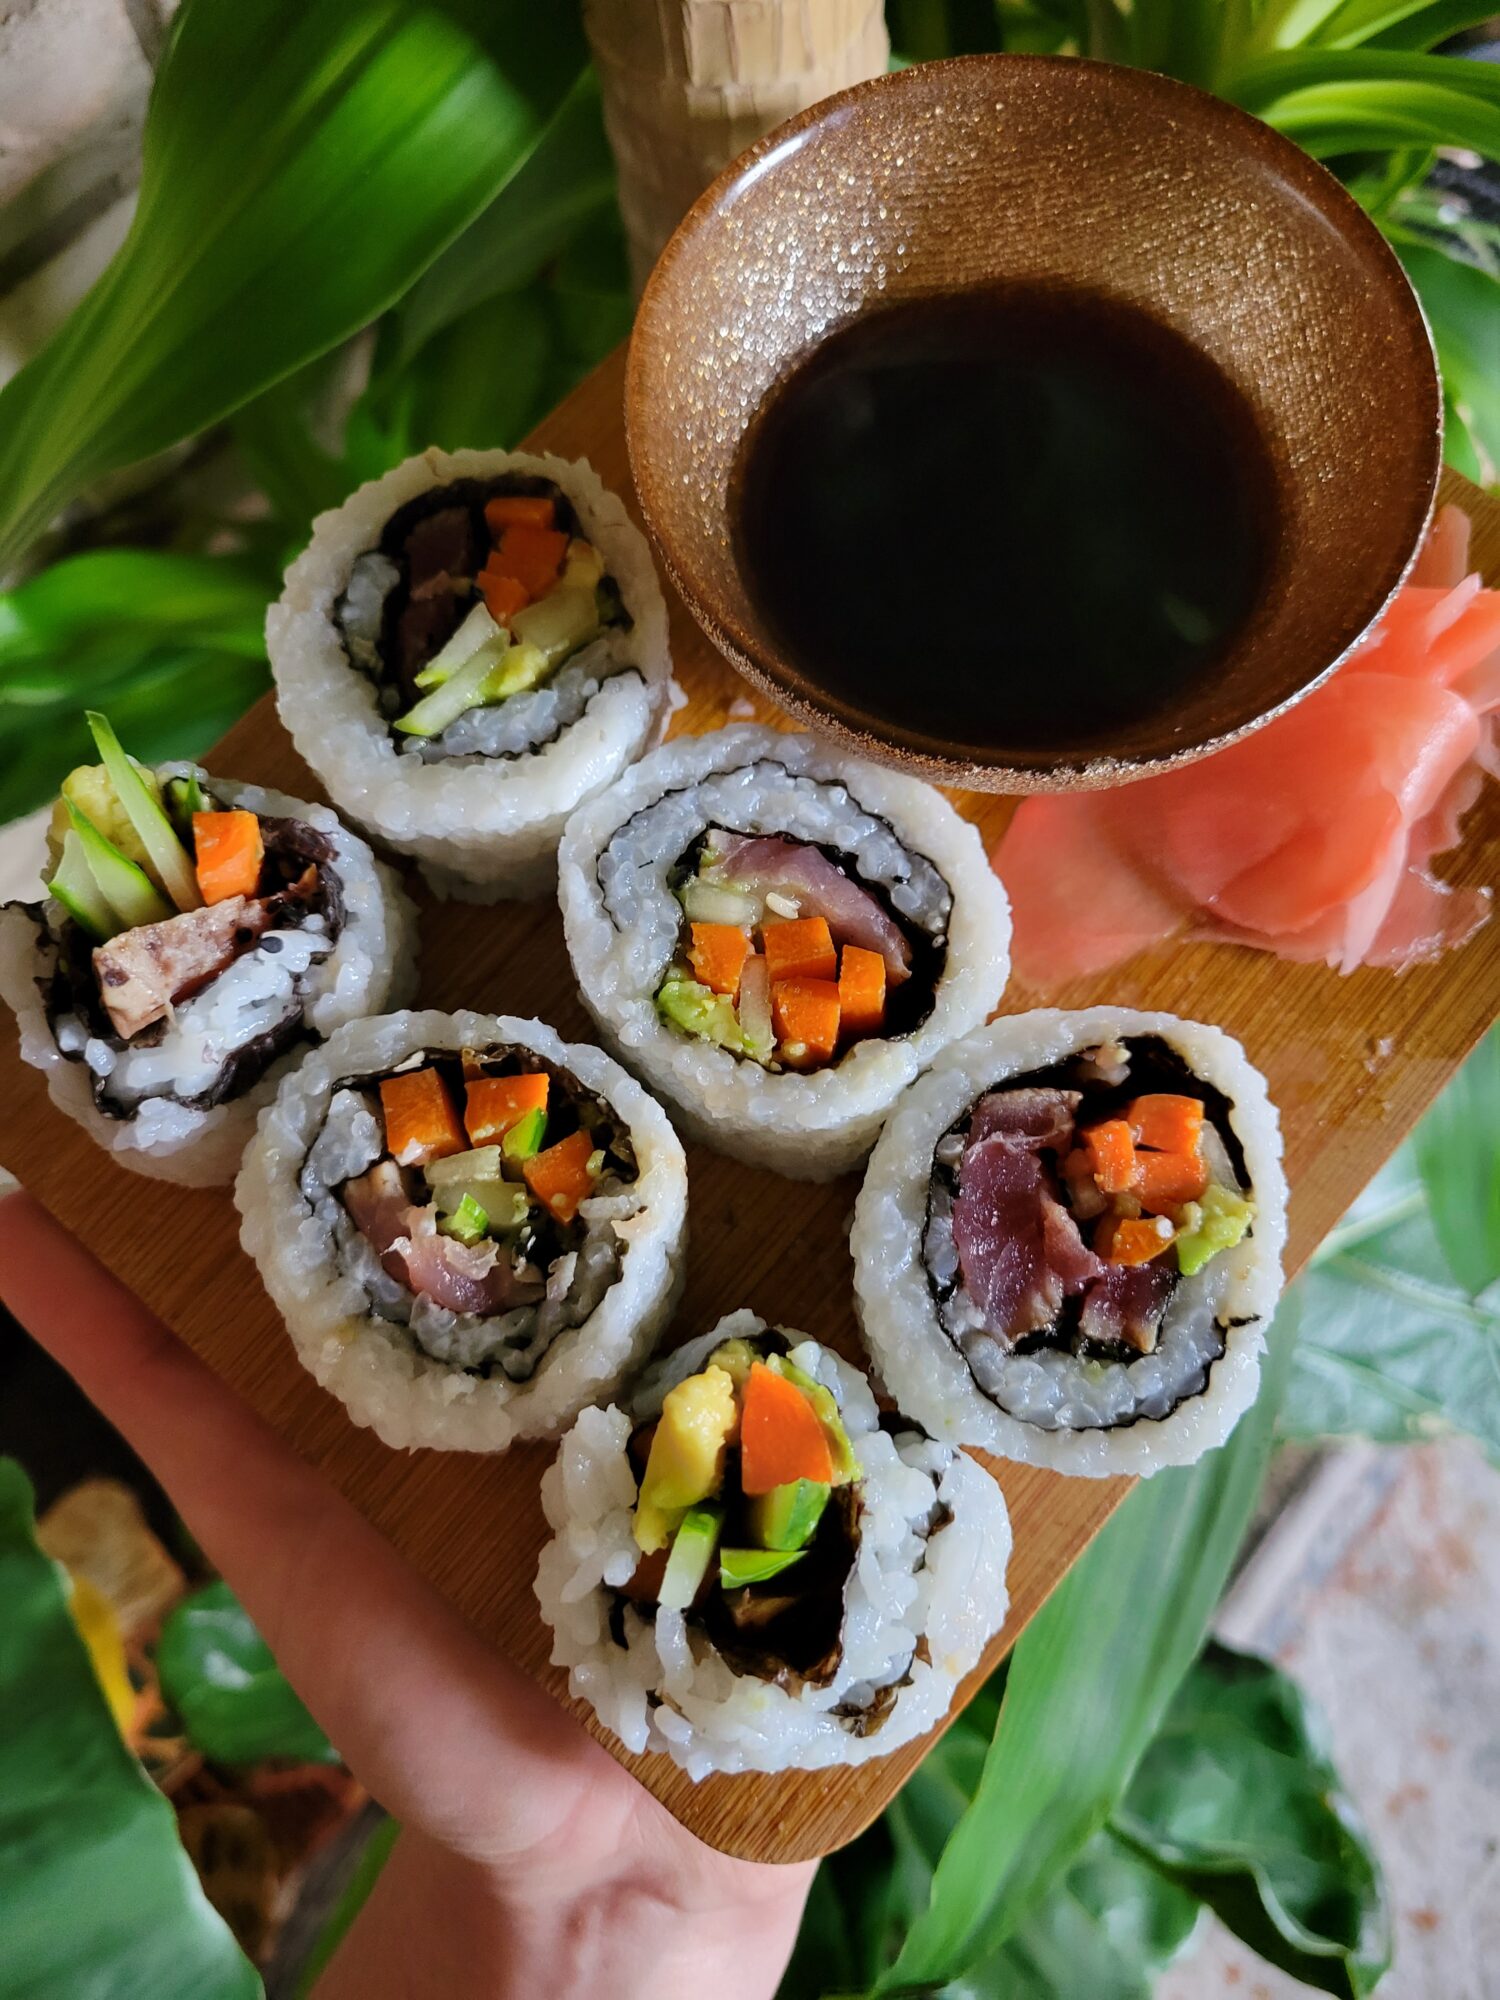
Sushi w/ Ahi Tuna, Cucumbers, Carrots, & Avocados
I have never made sushi before. I have helped in the endeavor. I had friends in college who liked to make vegan sushi rolls. So, I have been an accomplice in the making. But have never played the predominant role! Nevertheless, I have ahi tuna steaks from Salad w/ Ahi Tuna Steak, Tamari Quinoa, & Apples and absolutely must consume them. Because raw fish... does not keep! It is an eat it or pet food it immediately type of dish. So, I am absolutely determined to make ahi tuna sushi today!
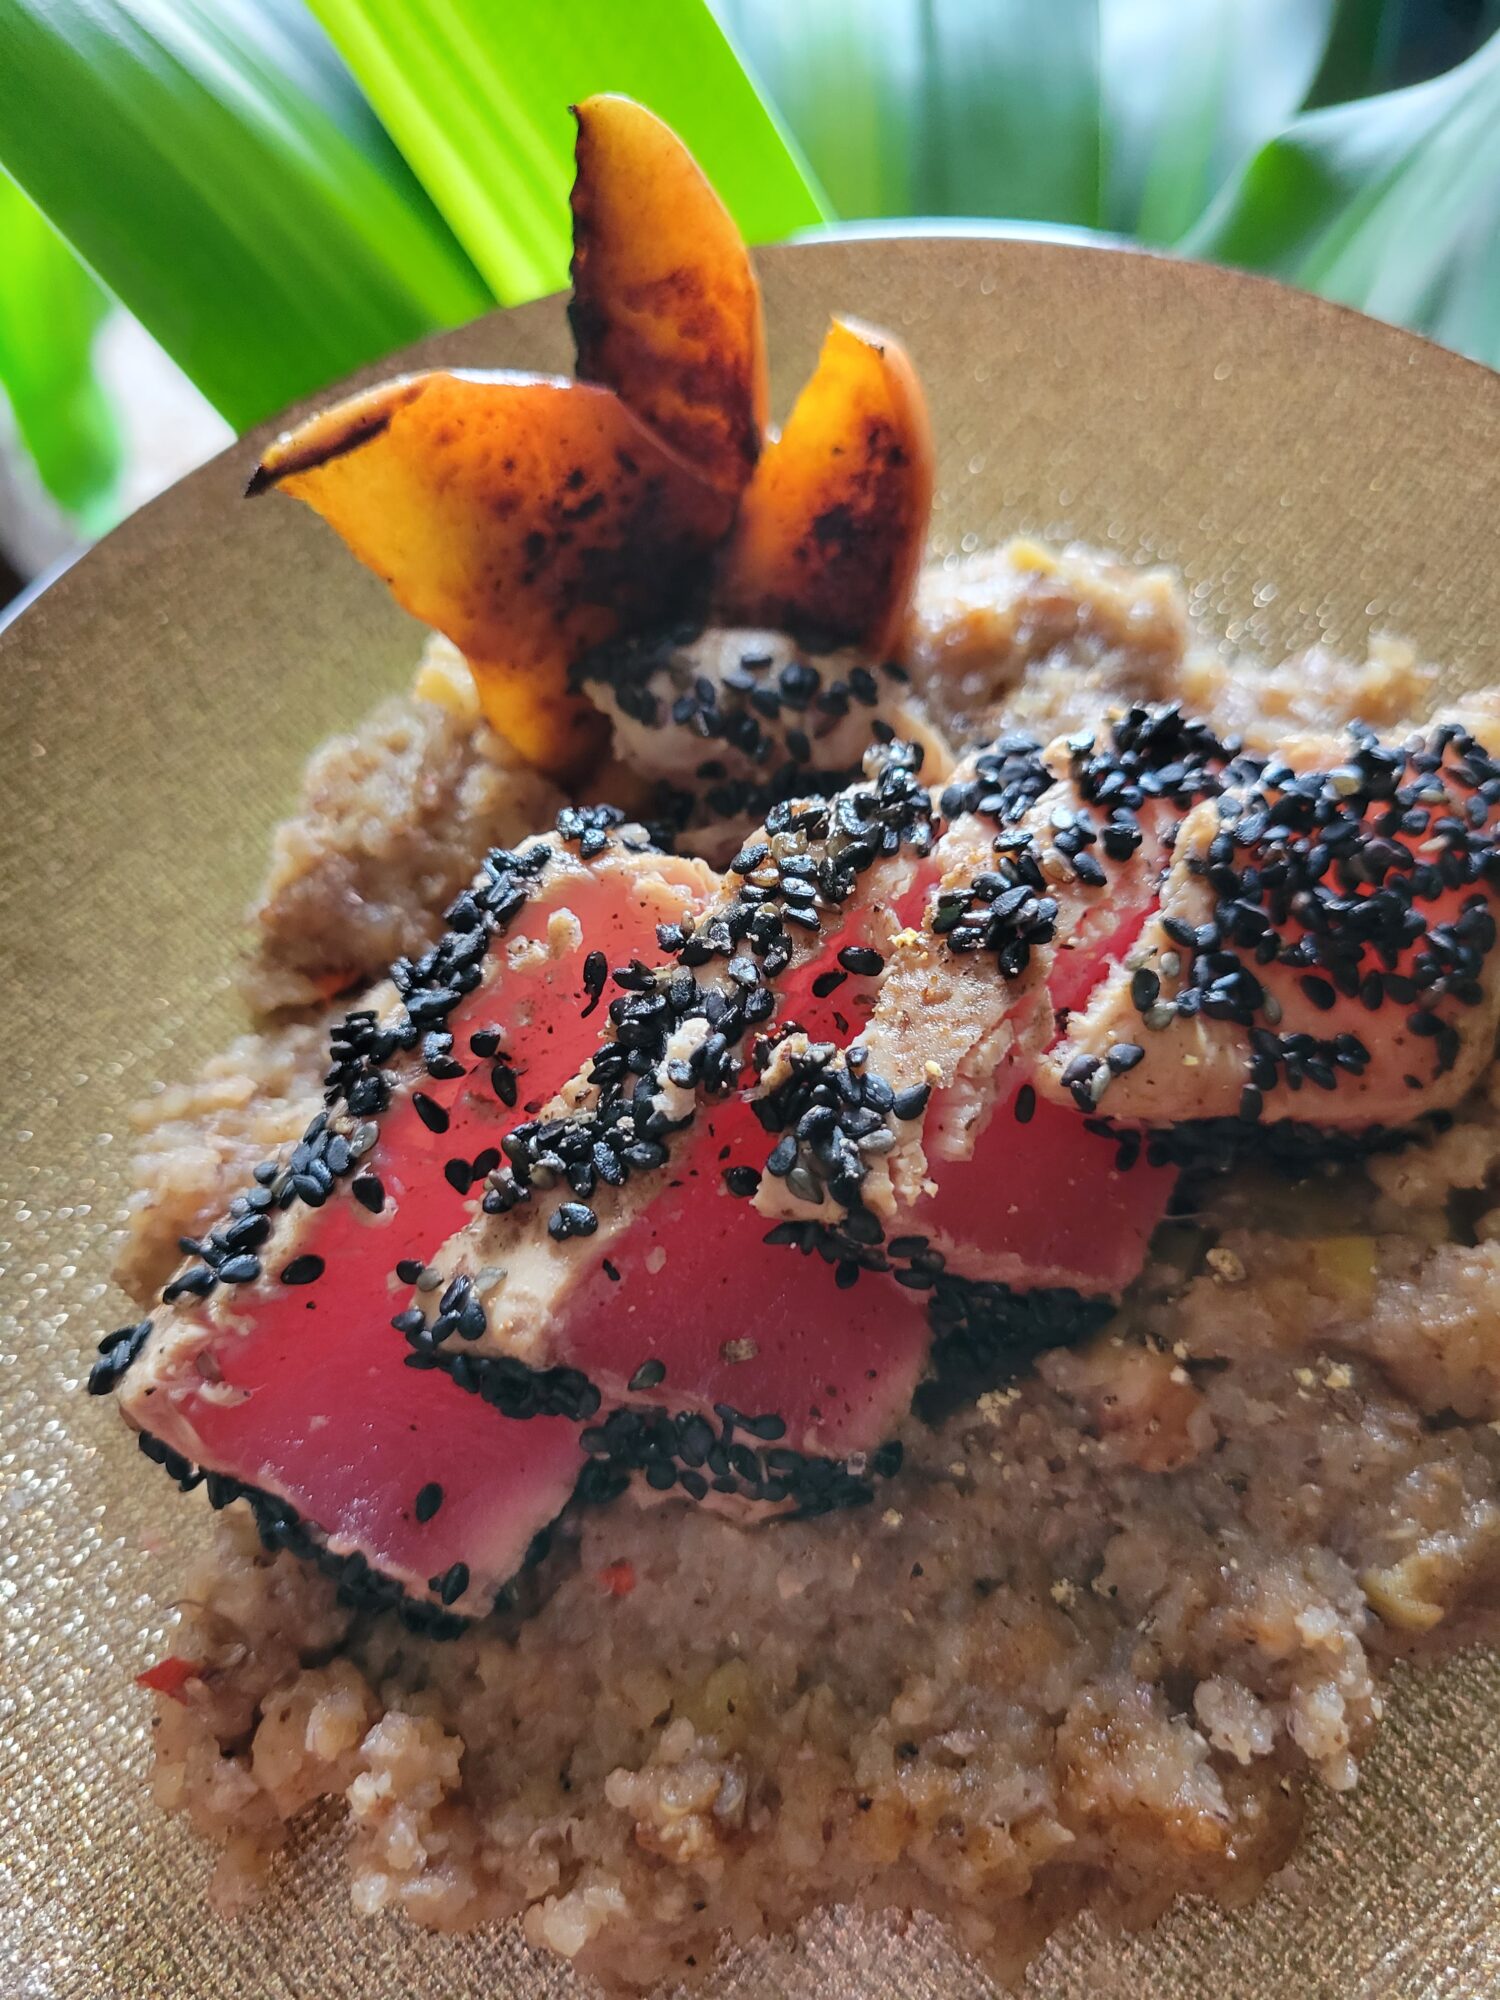
Now, the tuna would ordinarily be finely diced for a spicy tuna roll or delicately sliced and used for sashimi. But I have already black sesame crusted it and lightly seared. So, if you would like to go down that route, simply prepare the tuna to taste and then follow the rest of the recipe to your liking. Otherwise, you're more than welcome to sear the tuna with me. A lot of people are afraid of raw fish and vastly prefer the cooked variety of sushi. Any way is completely valid, as long as you enjoy making it and it's delicious in the end!
Gallery


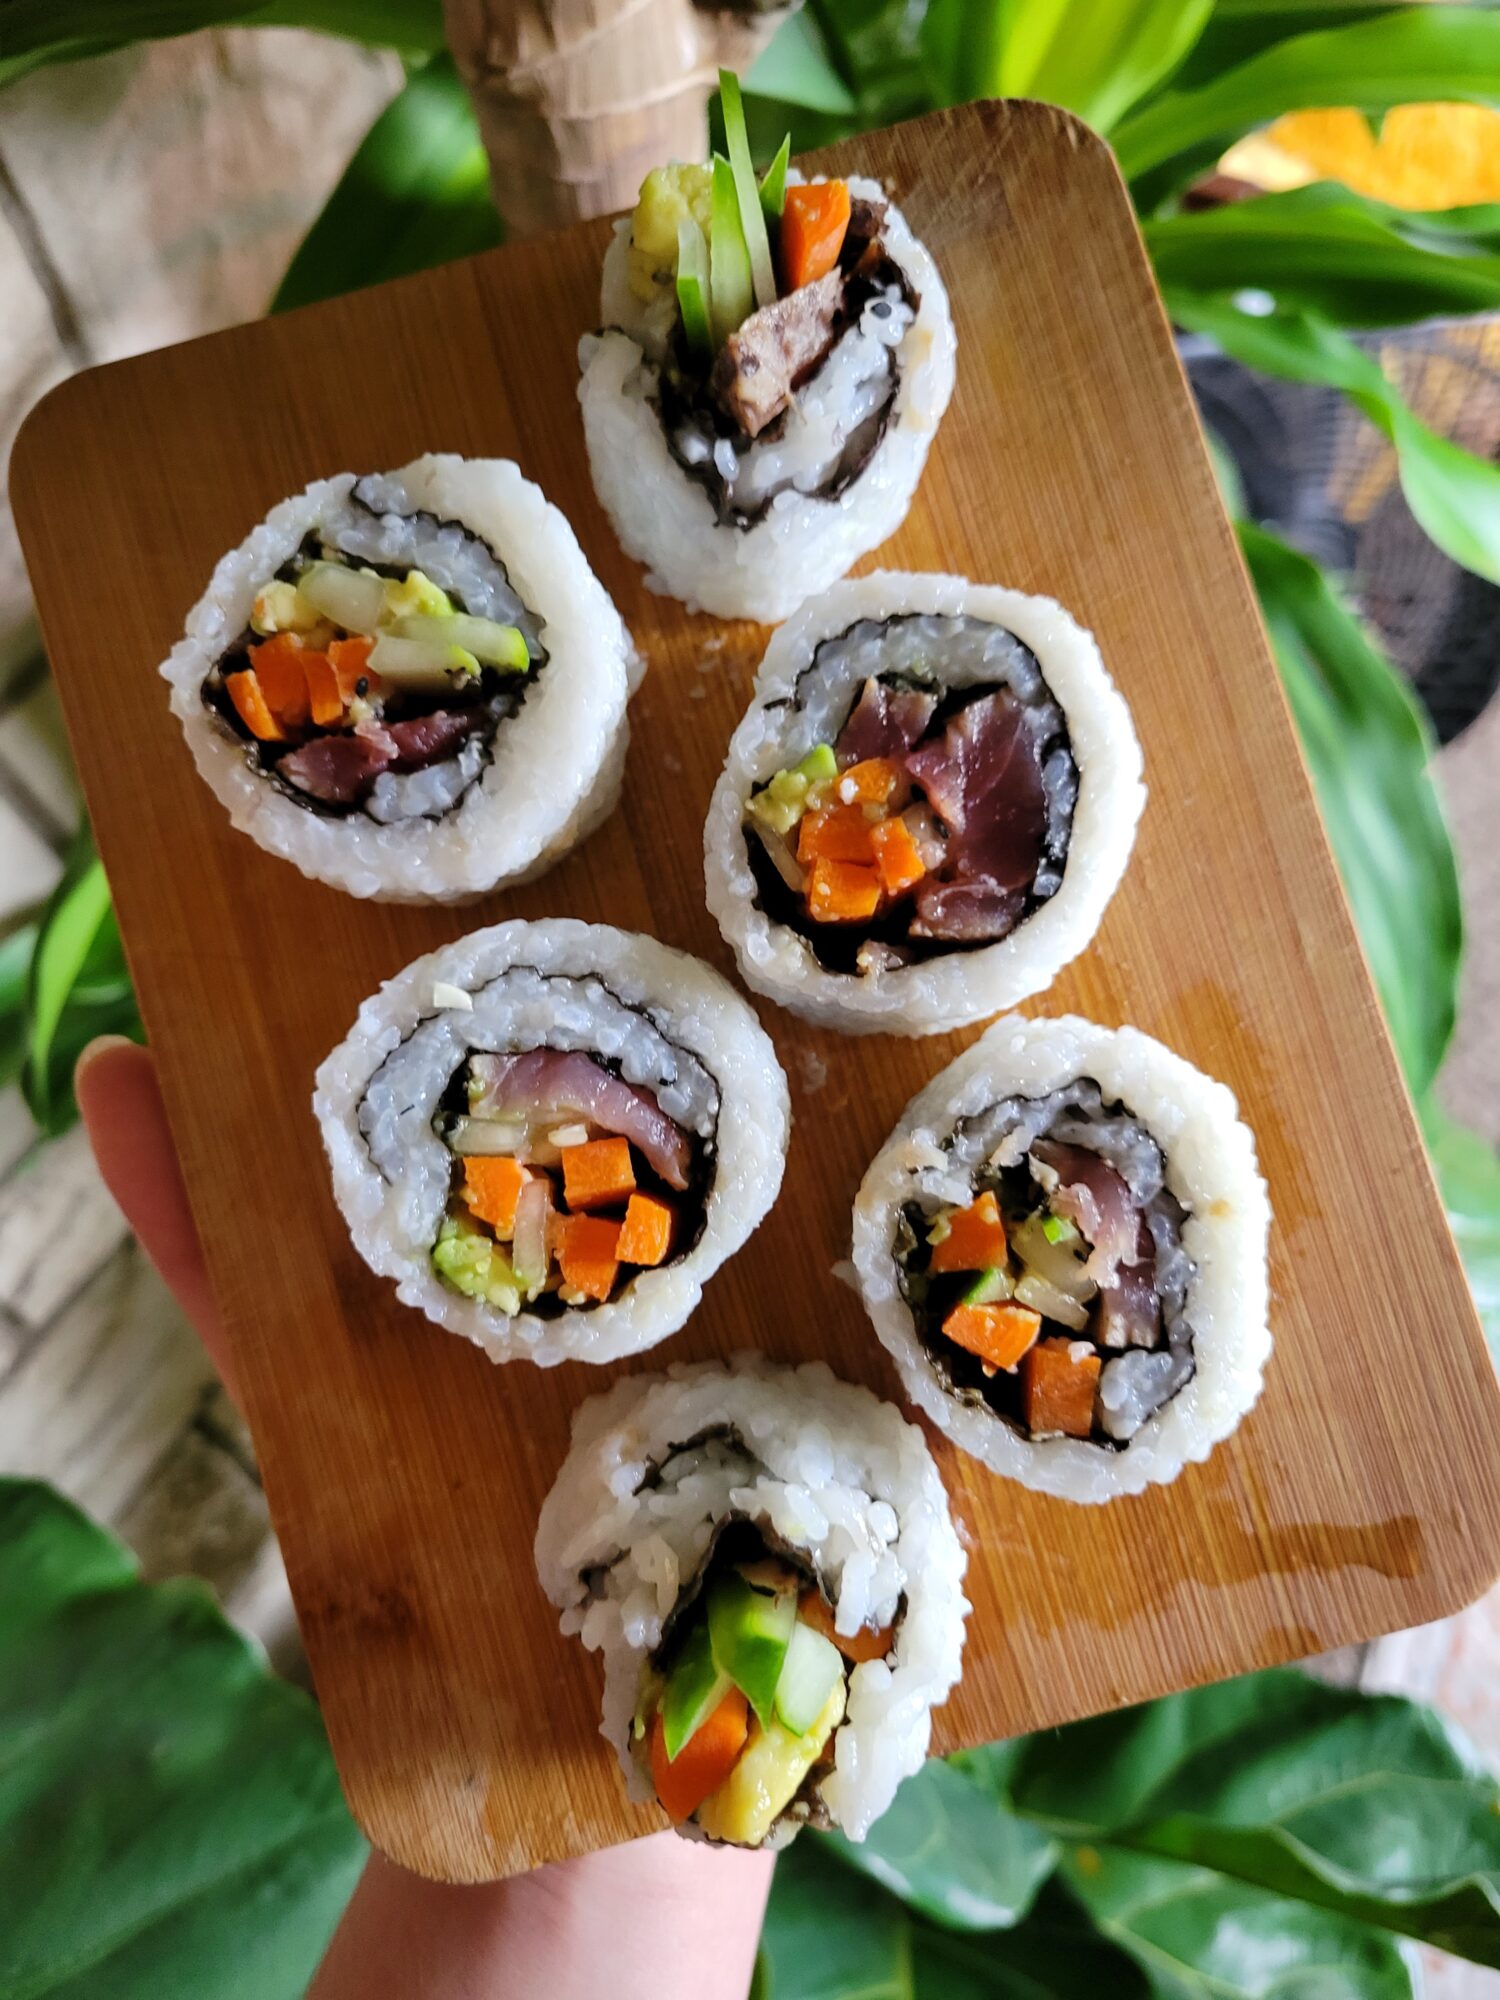
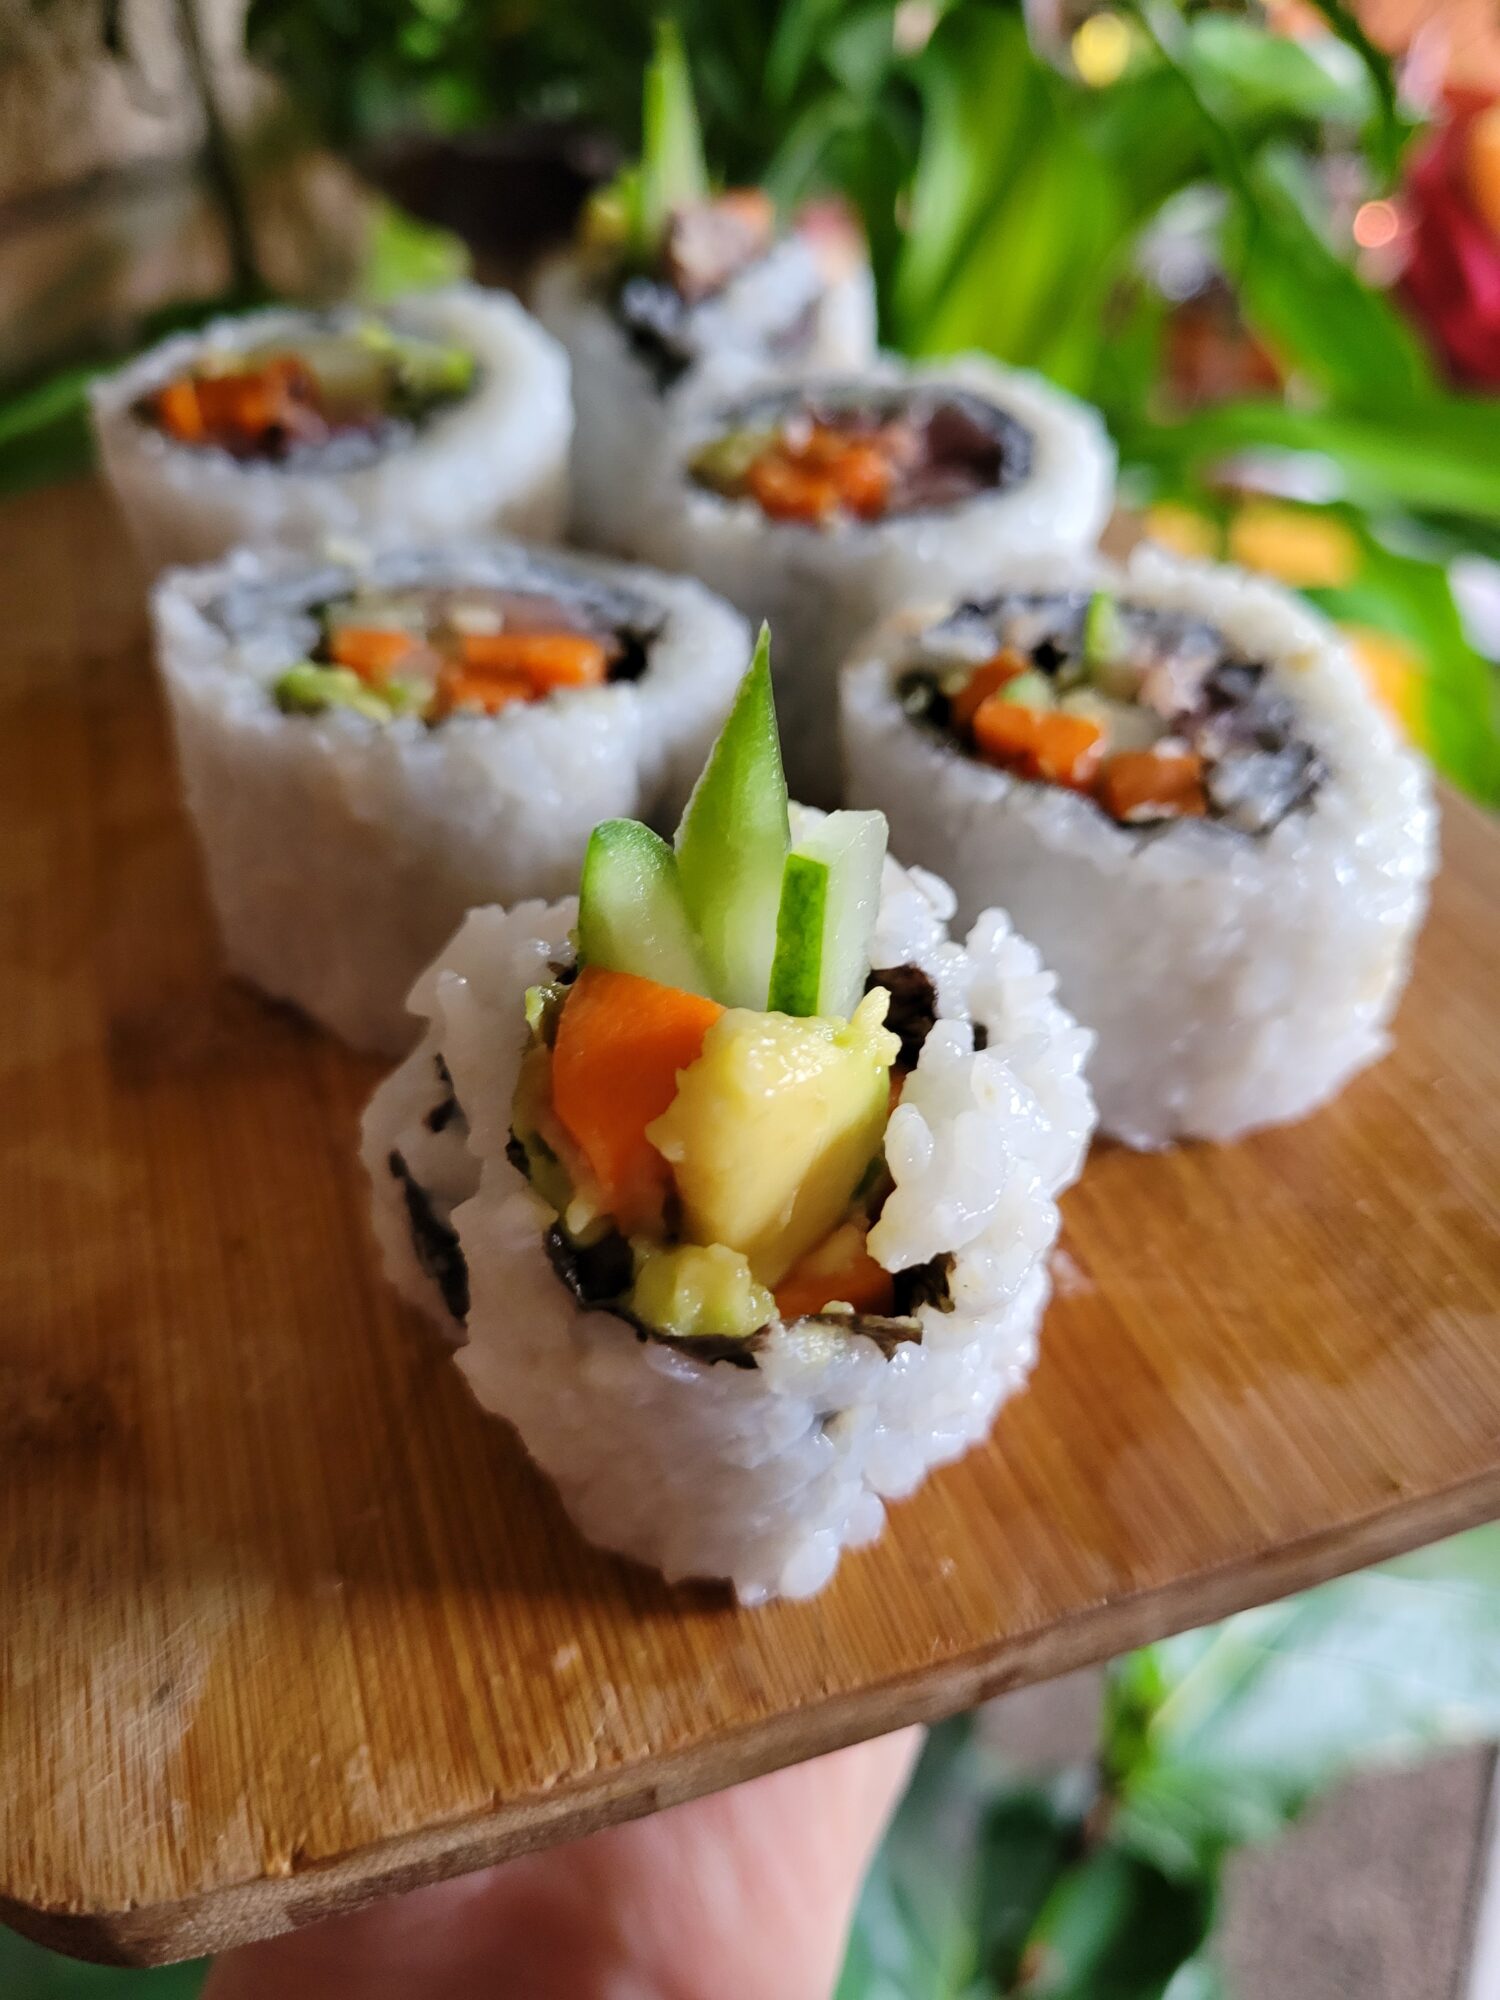


Variations of Ahi Tuna Sushi
This might be my first time making sushi, but I do often cook with fish. I don't tend to eat a lot of meat, but make an exception for wild caught seafood at times. A lot of seafood is easier to make than we like to think that it is! I quite often find myself lost at the seafood counter trying to figure out whether or not I can sound knowledgeable enough to actually order and then subsequently make fish. But attempting it is half of the battle! And, once you start to know what you're looking for, it's really not as magical and mysterious as I want to believe that it is.
Sushi w/ Ahi Tuna, Cucumbers, Carrots, & Avocados
Equipment
- Rice Cooker
- Small Bowl
- Skillet (preferably cast iron)
- Stovetop
- Plastic Wrap
- Sushi Rolling Mat (optional)
Ingredients
Sushi Rice
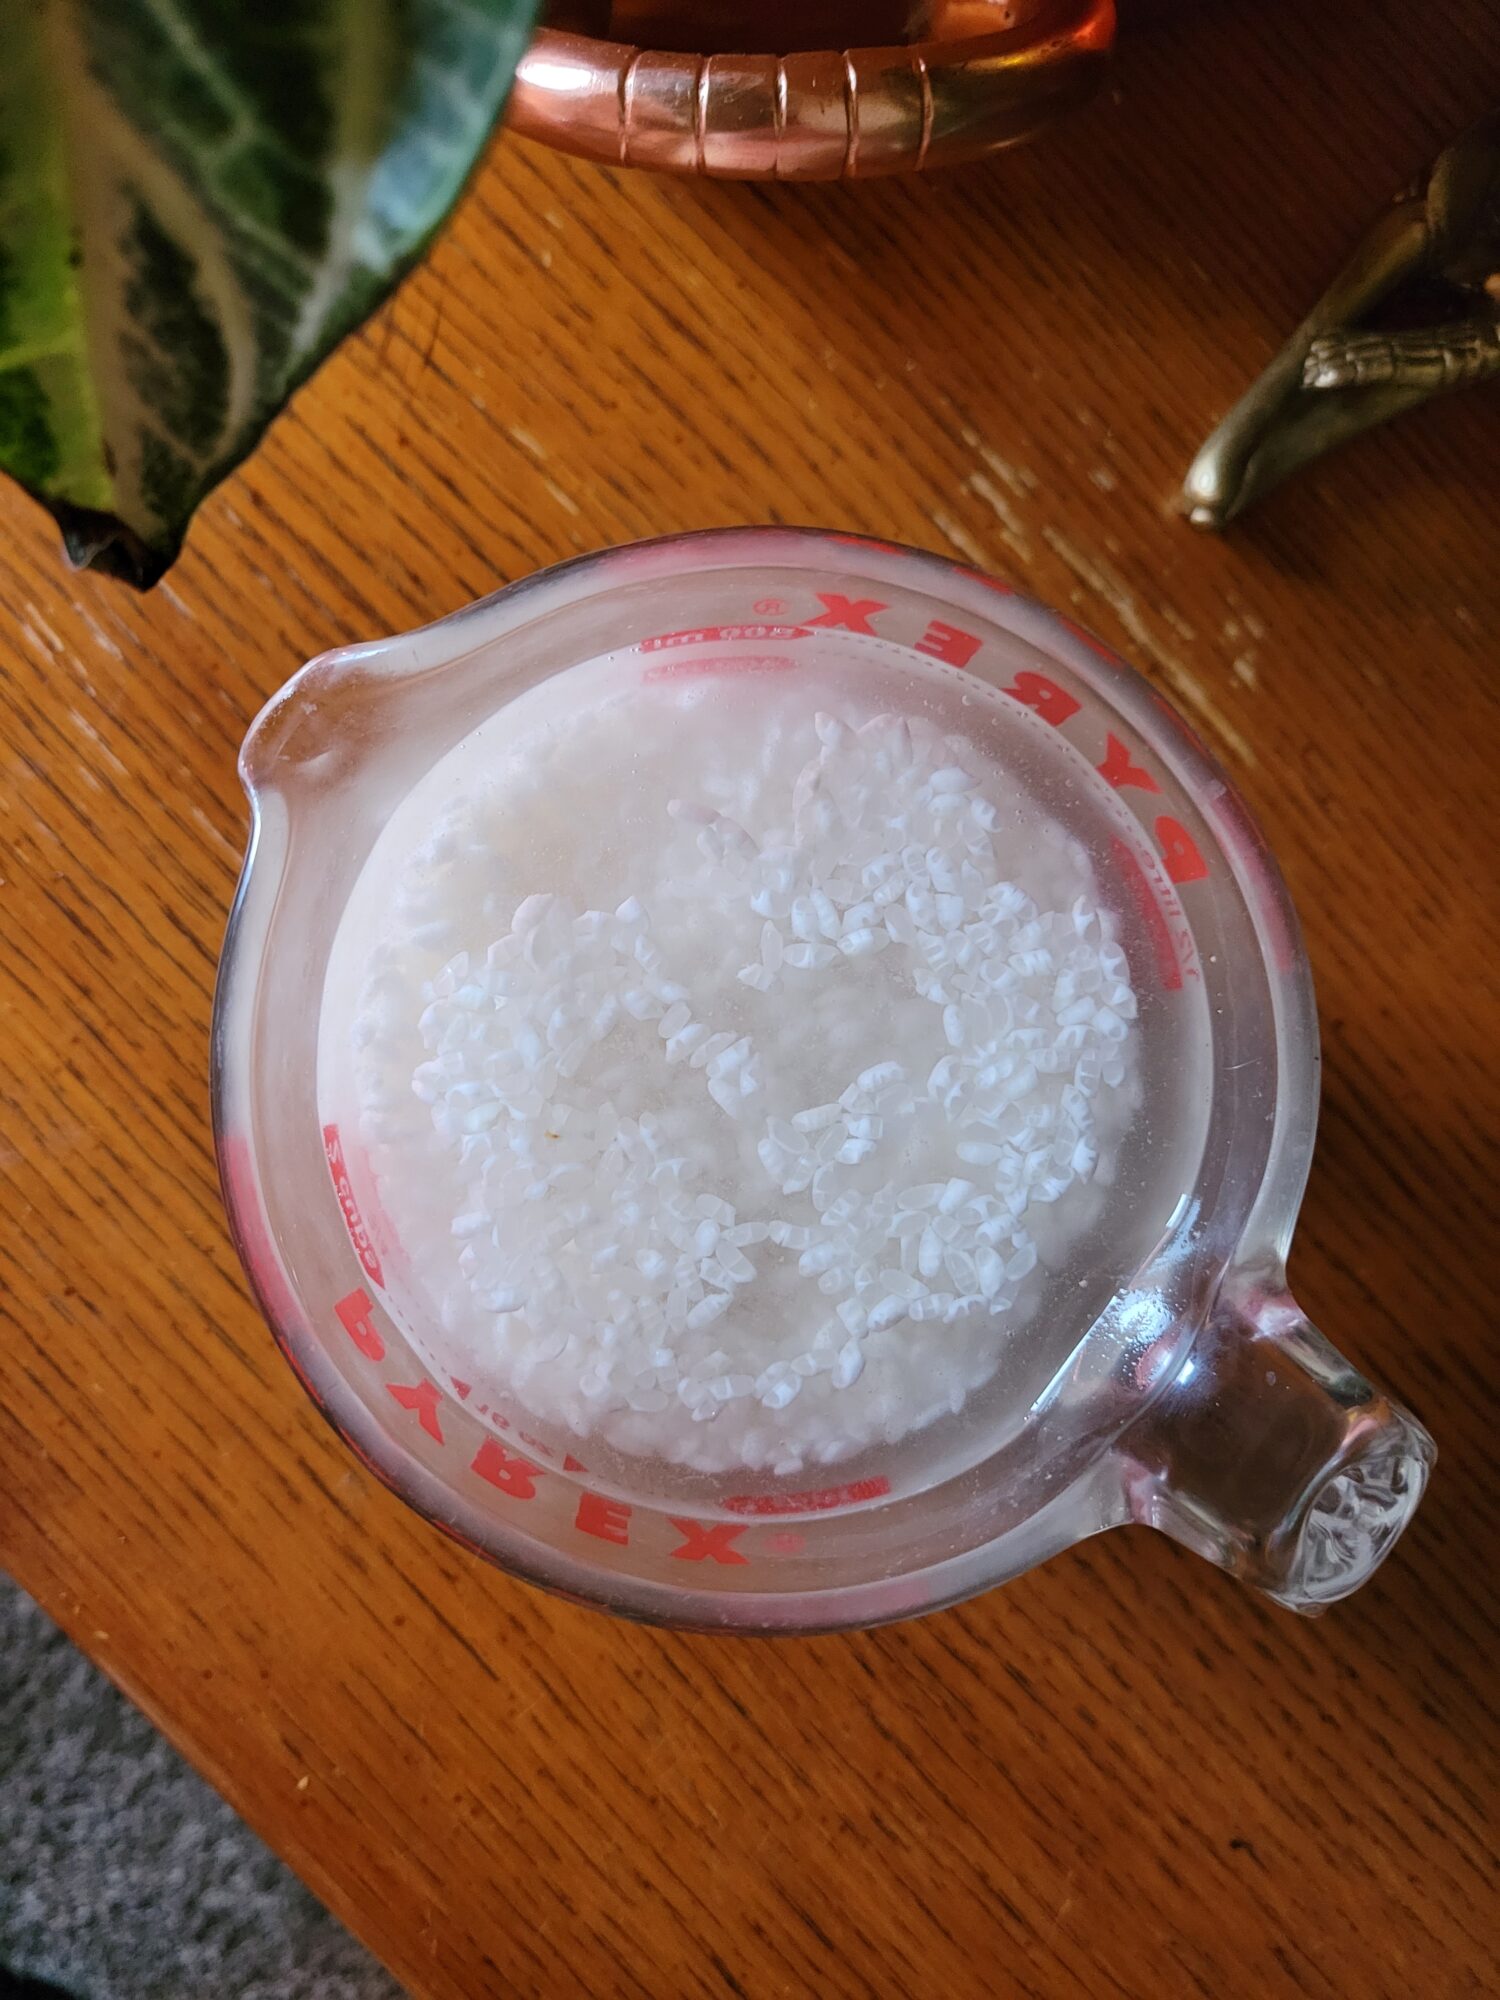
- 1 ½ c. sushi rice
- 2 c. water
- 1/4 c. rice vinegar
Ahi Tuna Steak
- 2 tbsp. tamari
- 2 tbsp. apple cider vinegar
- dash salt
- dash pepper
- 6 oz. ahi tuna steak sushi or sashimi grade
- splash high heat oil for pan
- 3 tbsp. black sesame seeds
Sushi Roll
- 1 sheet nori
- ~1/2 c. sushi rice
- 2 slices ahi tuna steak (marinating & searing optional)
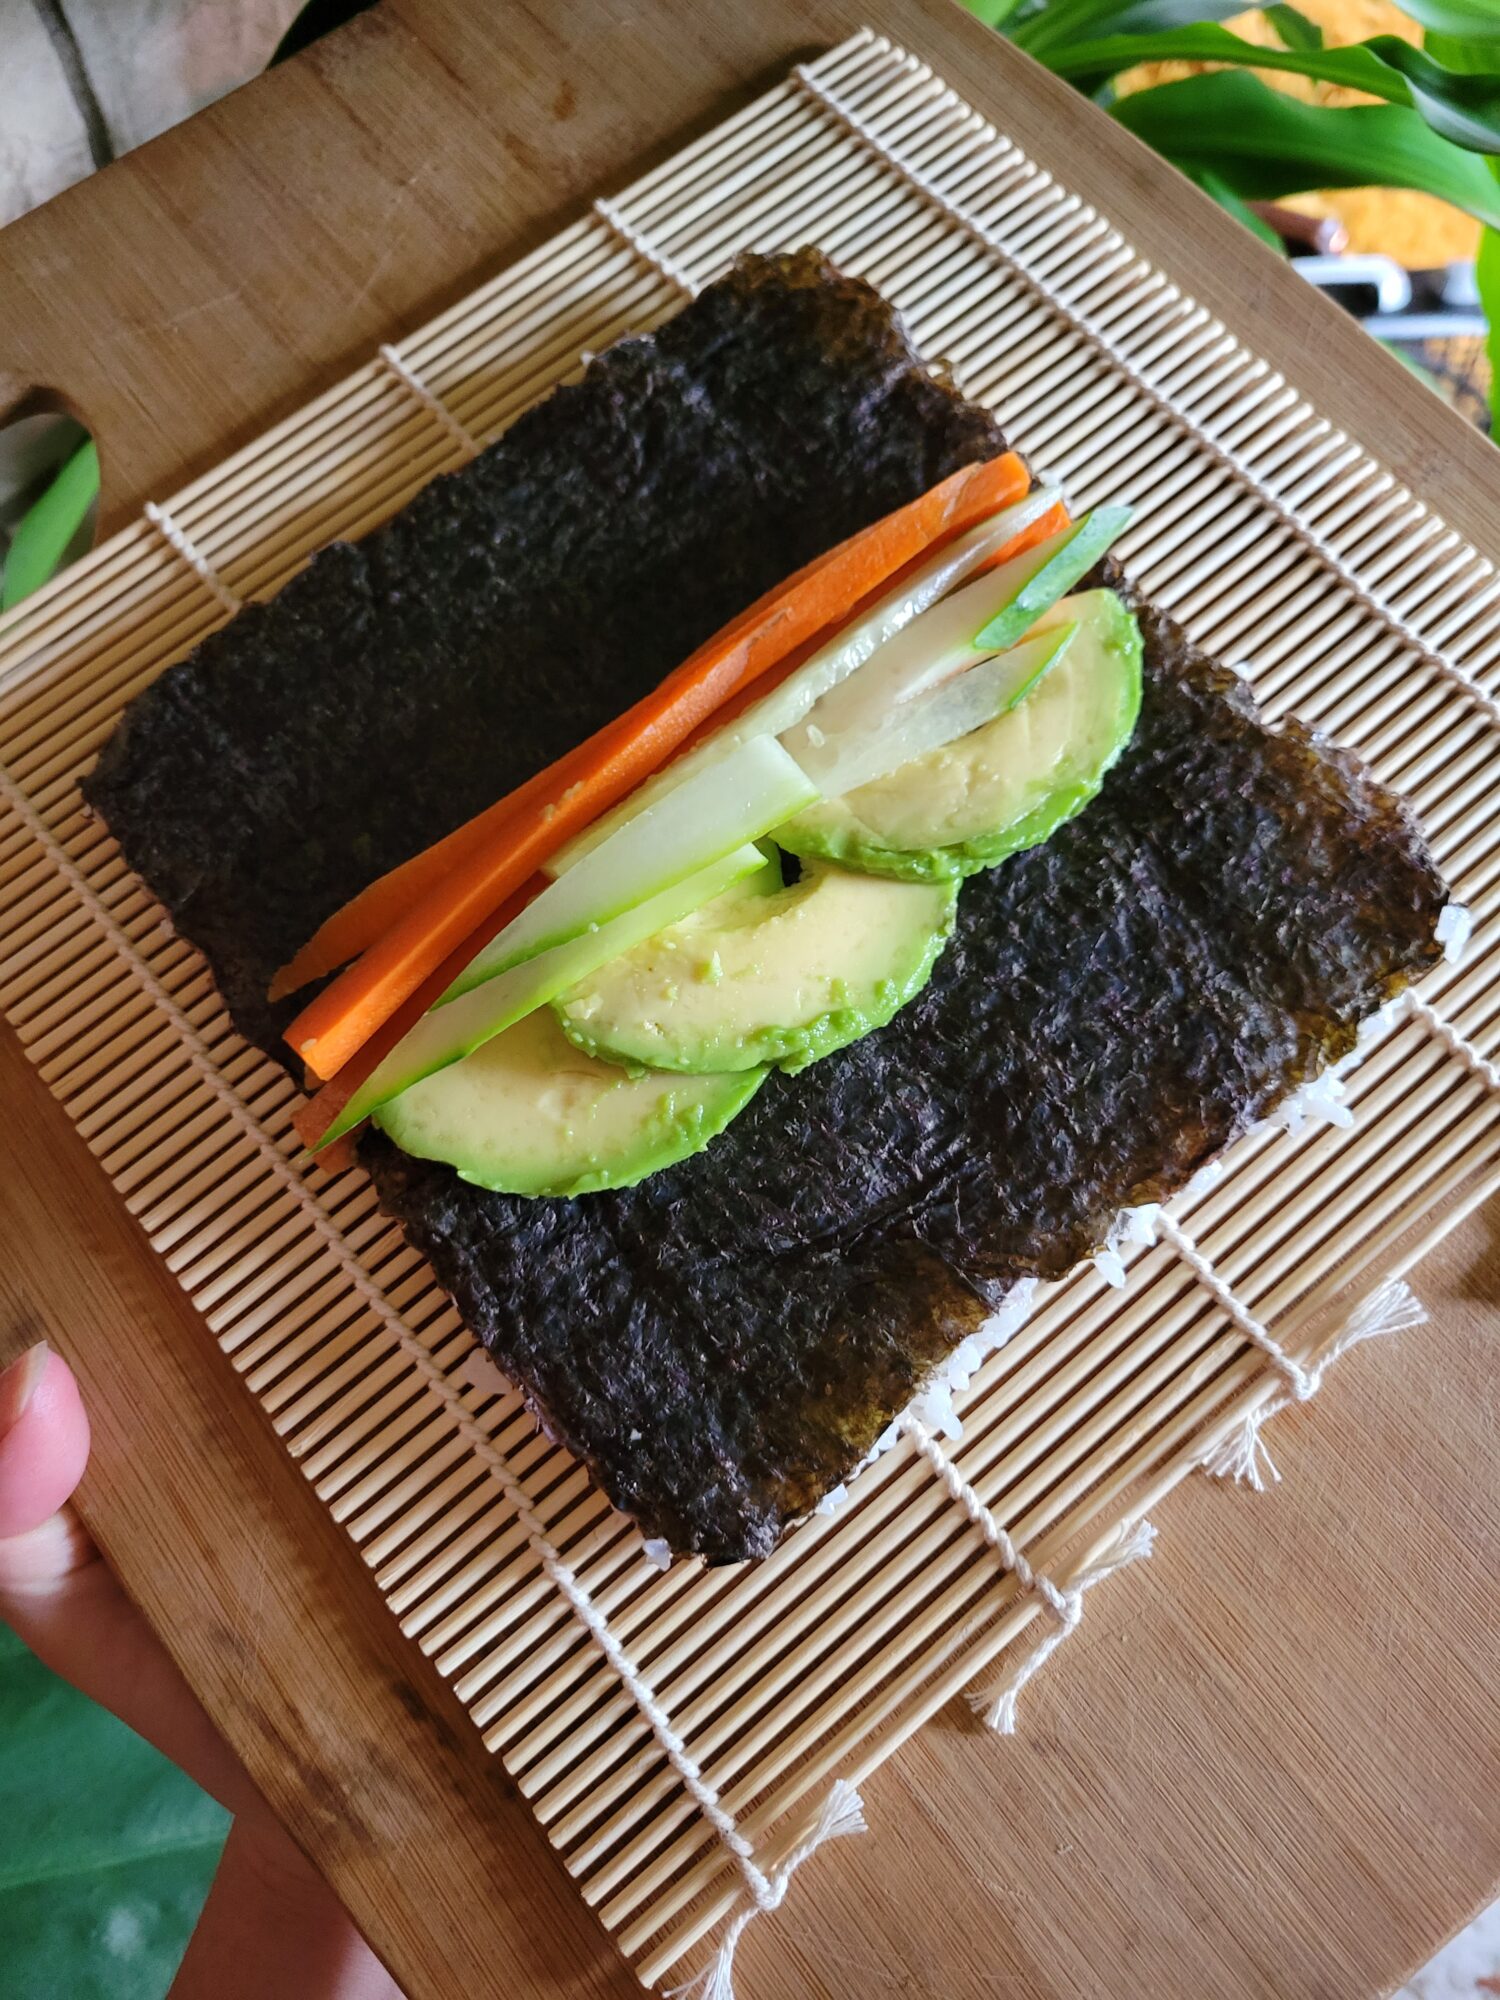
- cucumber thinly sliced
- carrot thinly sliced
- avocado thinly sliced
- 1 tsp. pickled ginger (optional)
- 1 tbsp. tamari (or soy sauce)
Instructions
Sushi Rice
- Add sushi rice to a small bowl and soak in water for 15 minutes.
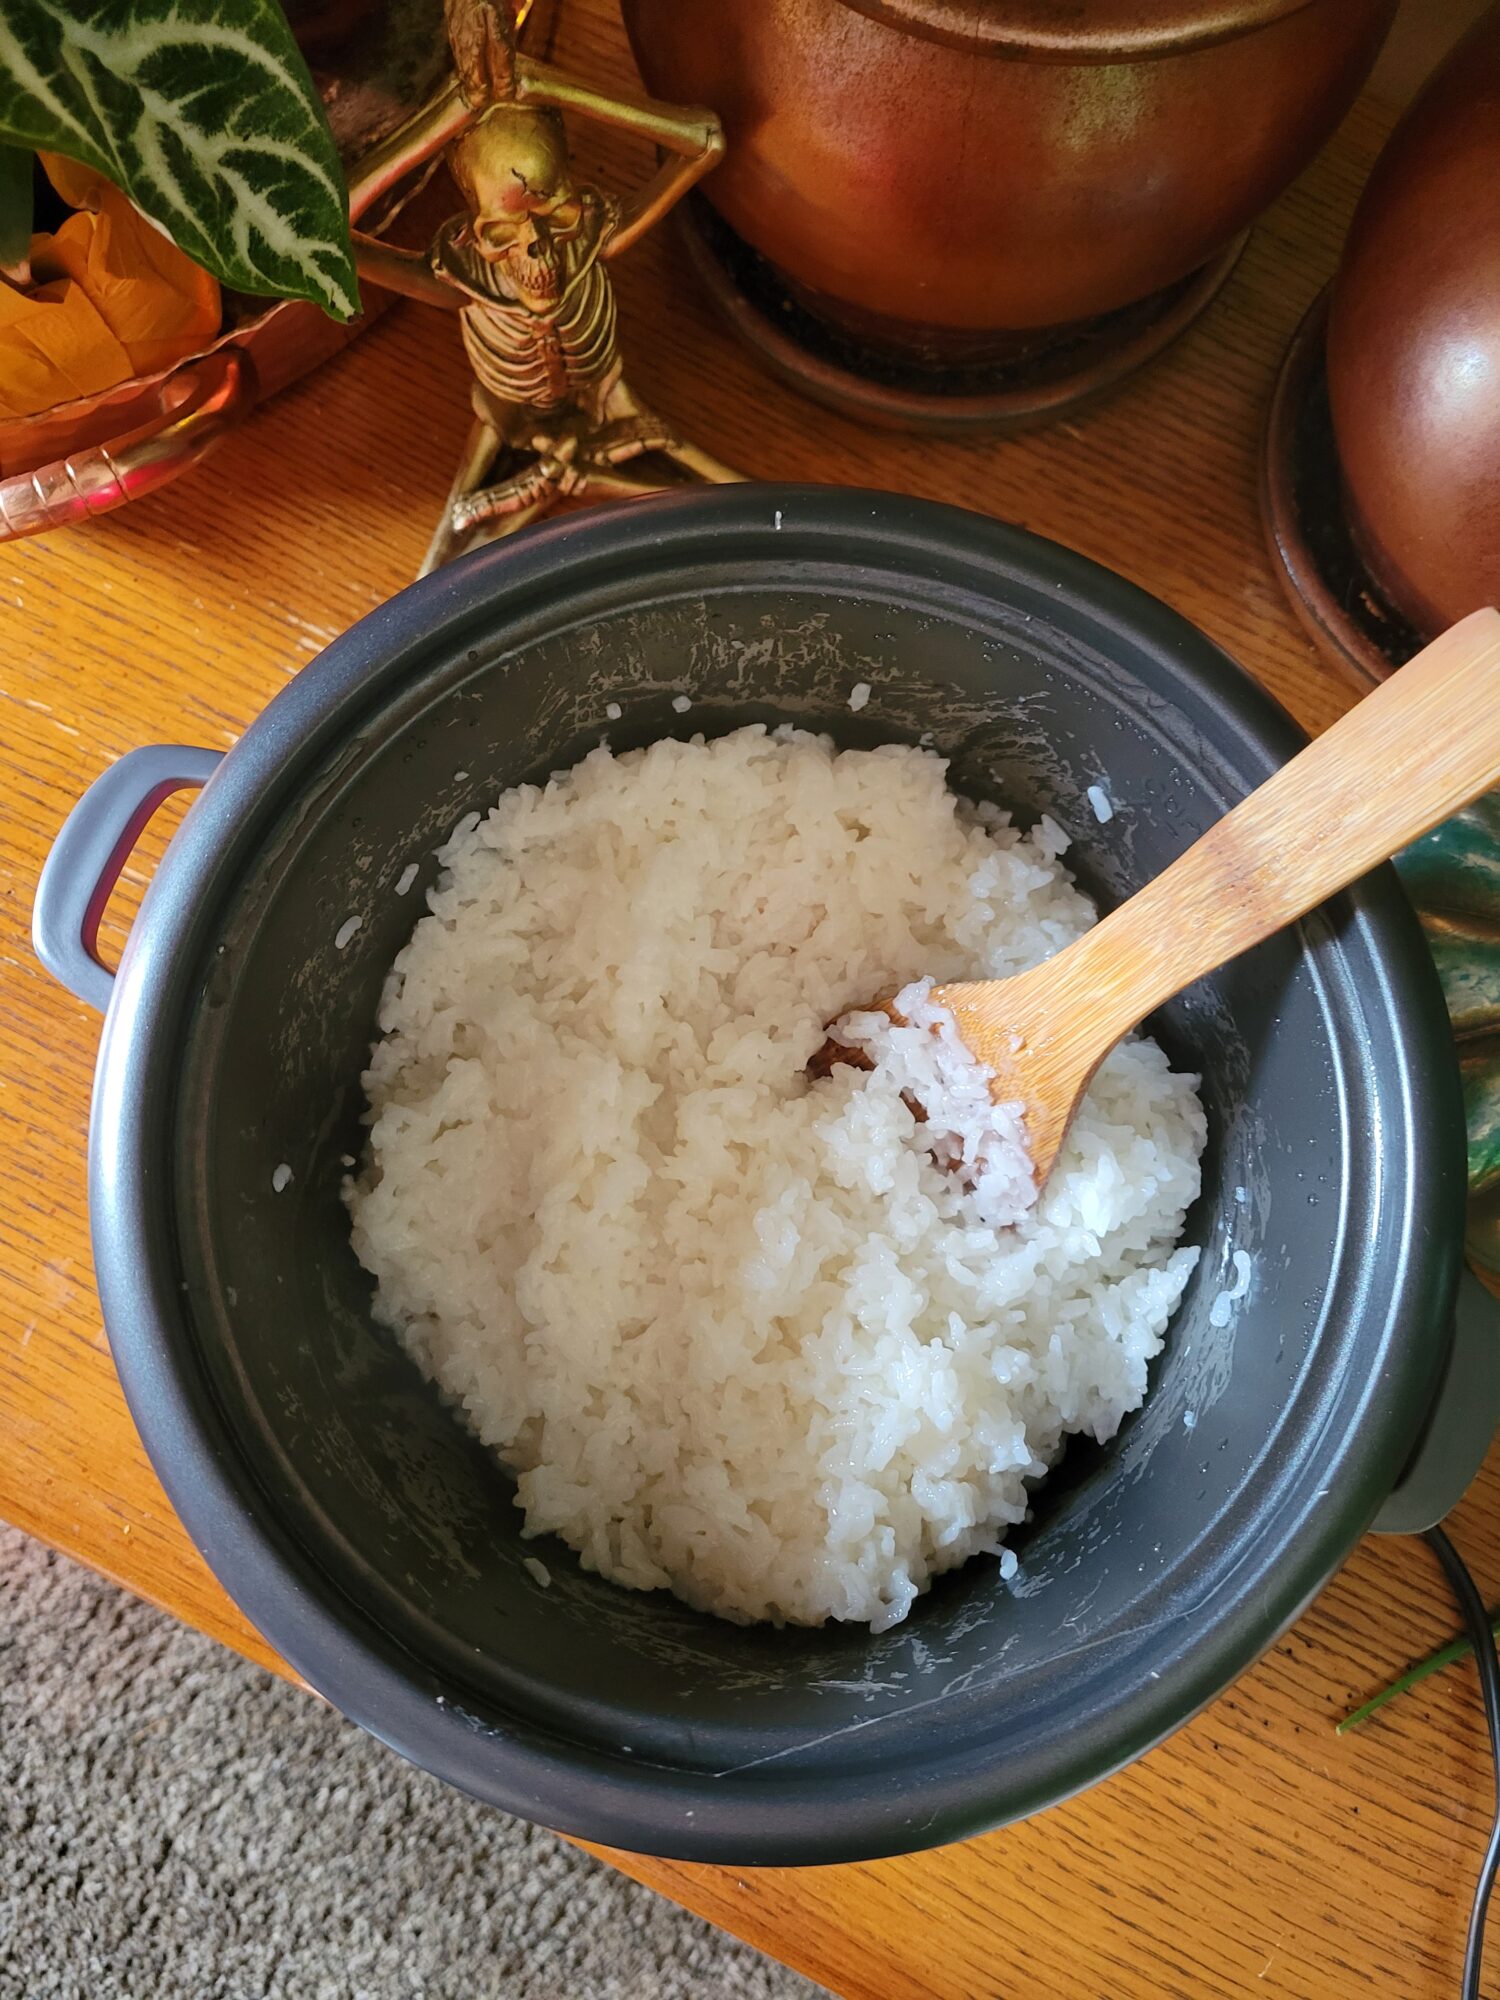
- Put rice and water into the rice cooker. Press the cook button on the rice cooker. It should take about 30-45 minutes to cook.Alternatively you can simmer on the stove. Add all of the ingredients to a pot, bring uncovered to a boil, lower heat to a simmer, and cook covered for about 15 minutes, or until the sweet squash and rice are tender. Turn off heat, add lid, and let sit another 5-10 minutes.
- When the rice is fully cooked, let sit for 10 minutes, and then fluff with a wooden spoon and mix in rice vinegar.Do not use a fork or other metal utensil. It will scratch off the nonstick surface on the rice cooker. This will leach teflon into your food and cause future dishes to stick to the bottom!
Ahi Tuna Steak
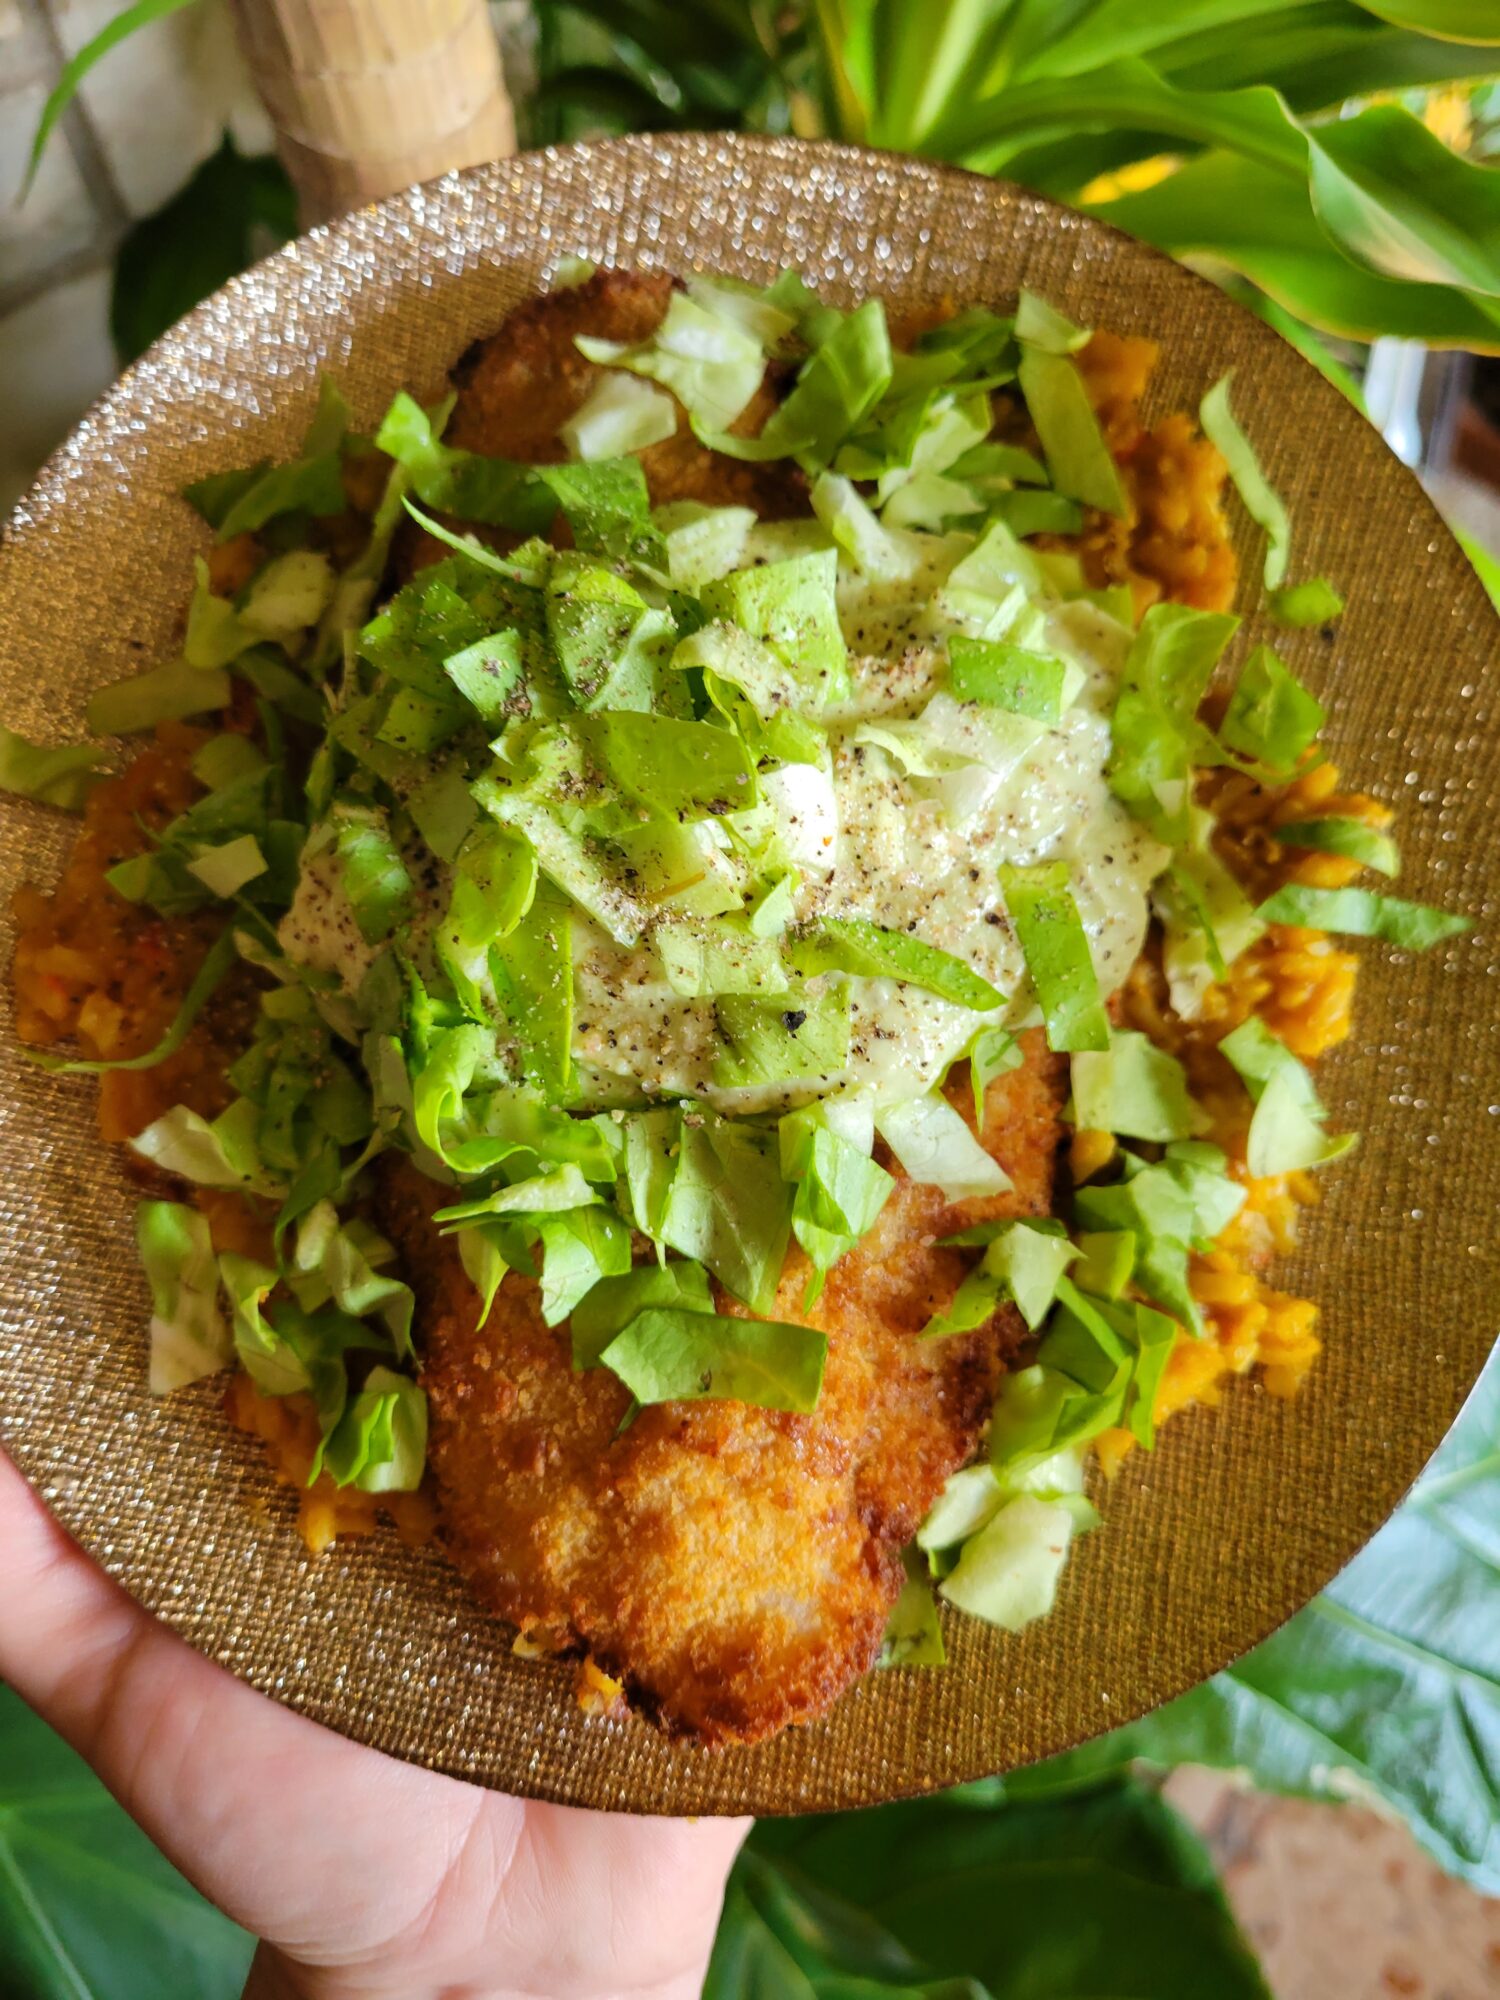
- I made ahi tuna steak for Salad w/ Ahi Tuna Steak, Tamari Quinoa, & Apples. Tuna for sushi does not need to be prepared in this way! It's just what I had on hand and needed to use rapidly. If you want to sear the tuna in this way, these are the instructions. Otherwise, you can simply get sashimi-grade tuna steaks and thinly slice, or finely chop for more of a spicy tuna roll.
- Remove the ahi tuna steak from the refrigerator and let rest for about 15 minutes, or until it just about reaches room temperature.
- Pat the tuna dry with a paper towel to remove any excess moisture. Then, dip the tuna into the tamari marinade. Making sure to rotate it so that all sides are lightly coated.
- Place the tuna on a plate or other flat surface and coat with black sesame seeds.
- Add another drop of oil to the skillet and carefully place the ahi tuna steak.
- Cook for 2 minutes, or until the outer layer has just begun to turn a whiter hue.
- Flip the fillet and cook another 2 minutes on the other side.
- Remove from heat and let rest a few minutes.
- Slice the ahi tuna steak into 1/4 inch slices.
Sushi Roll
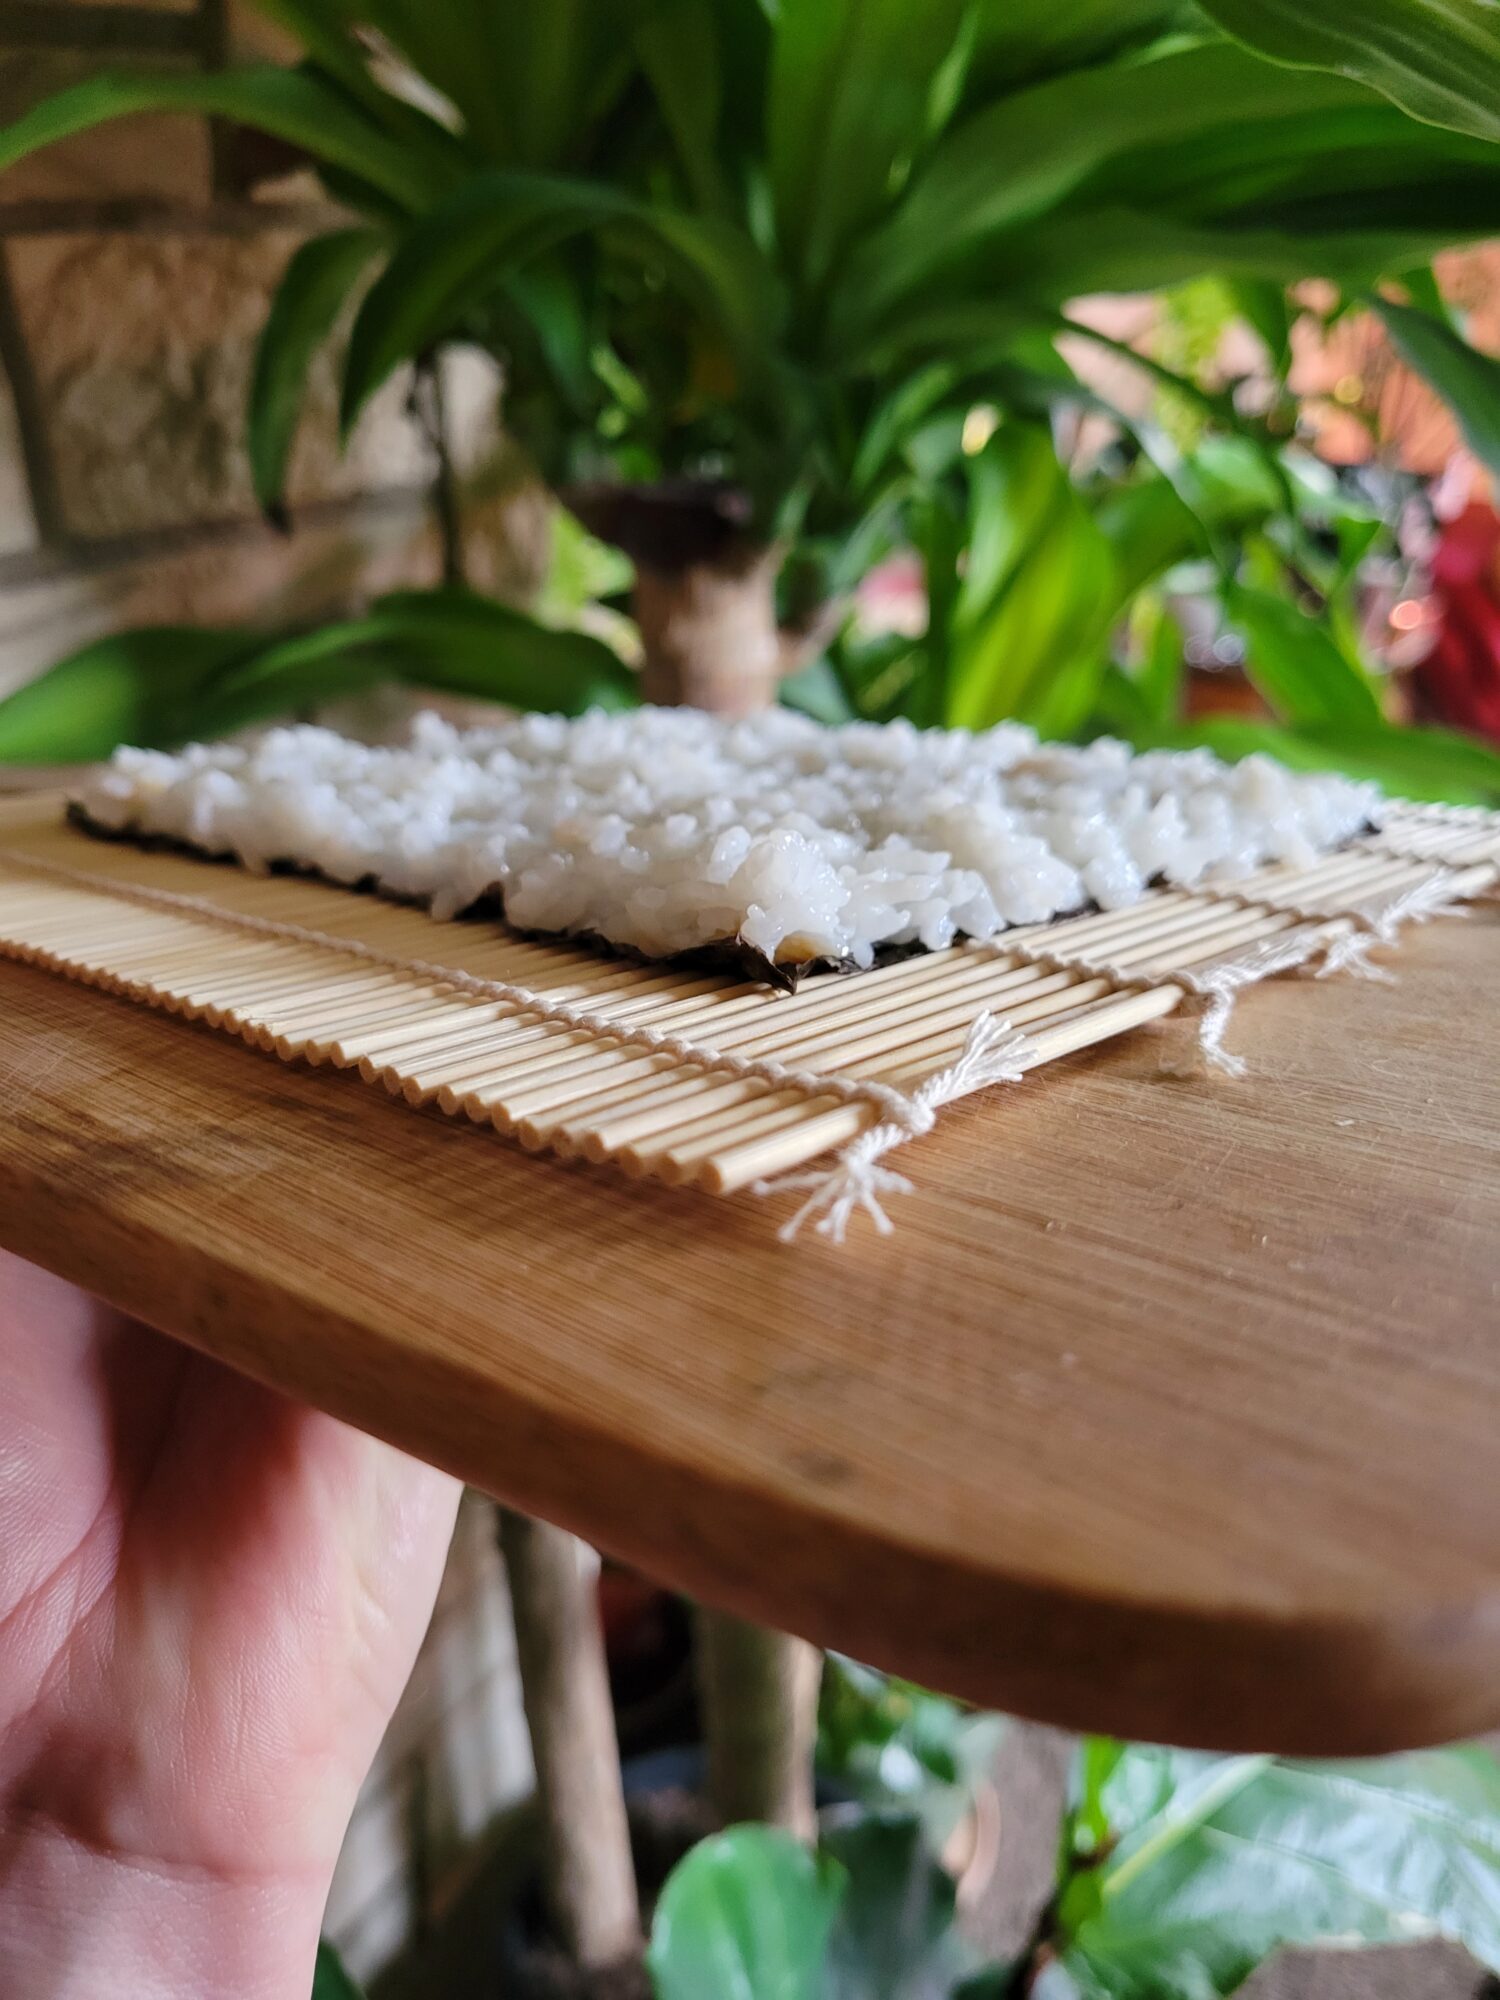
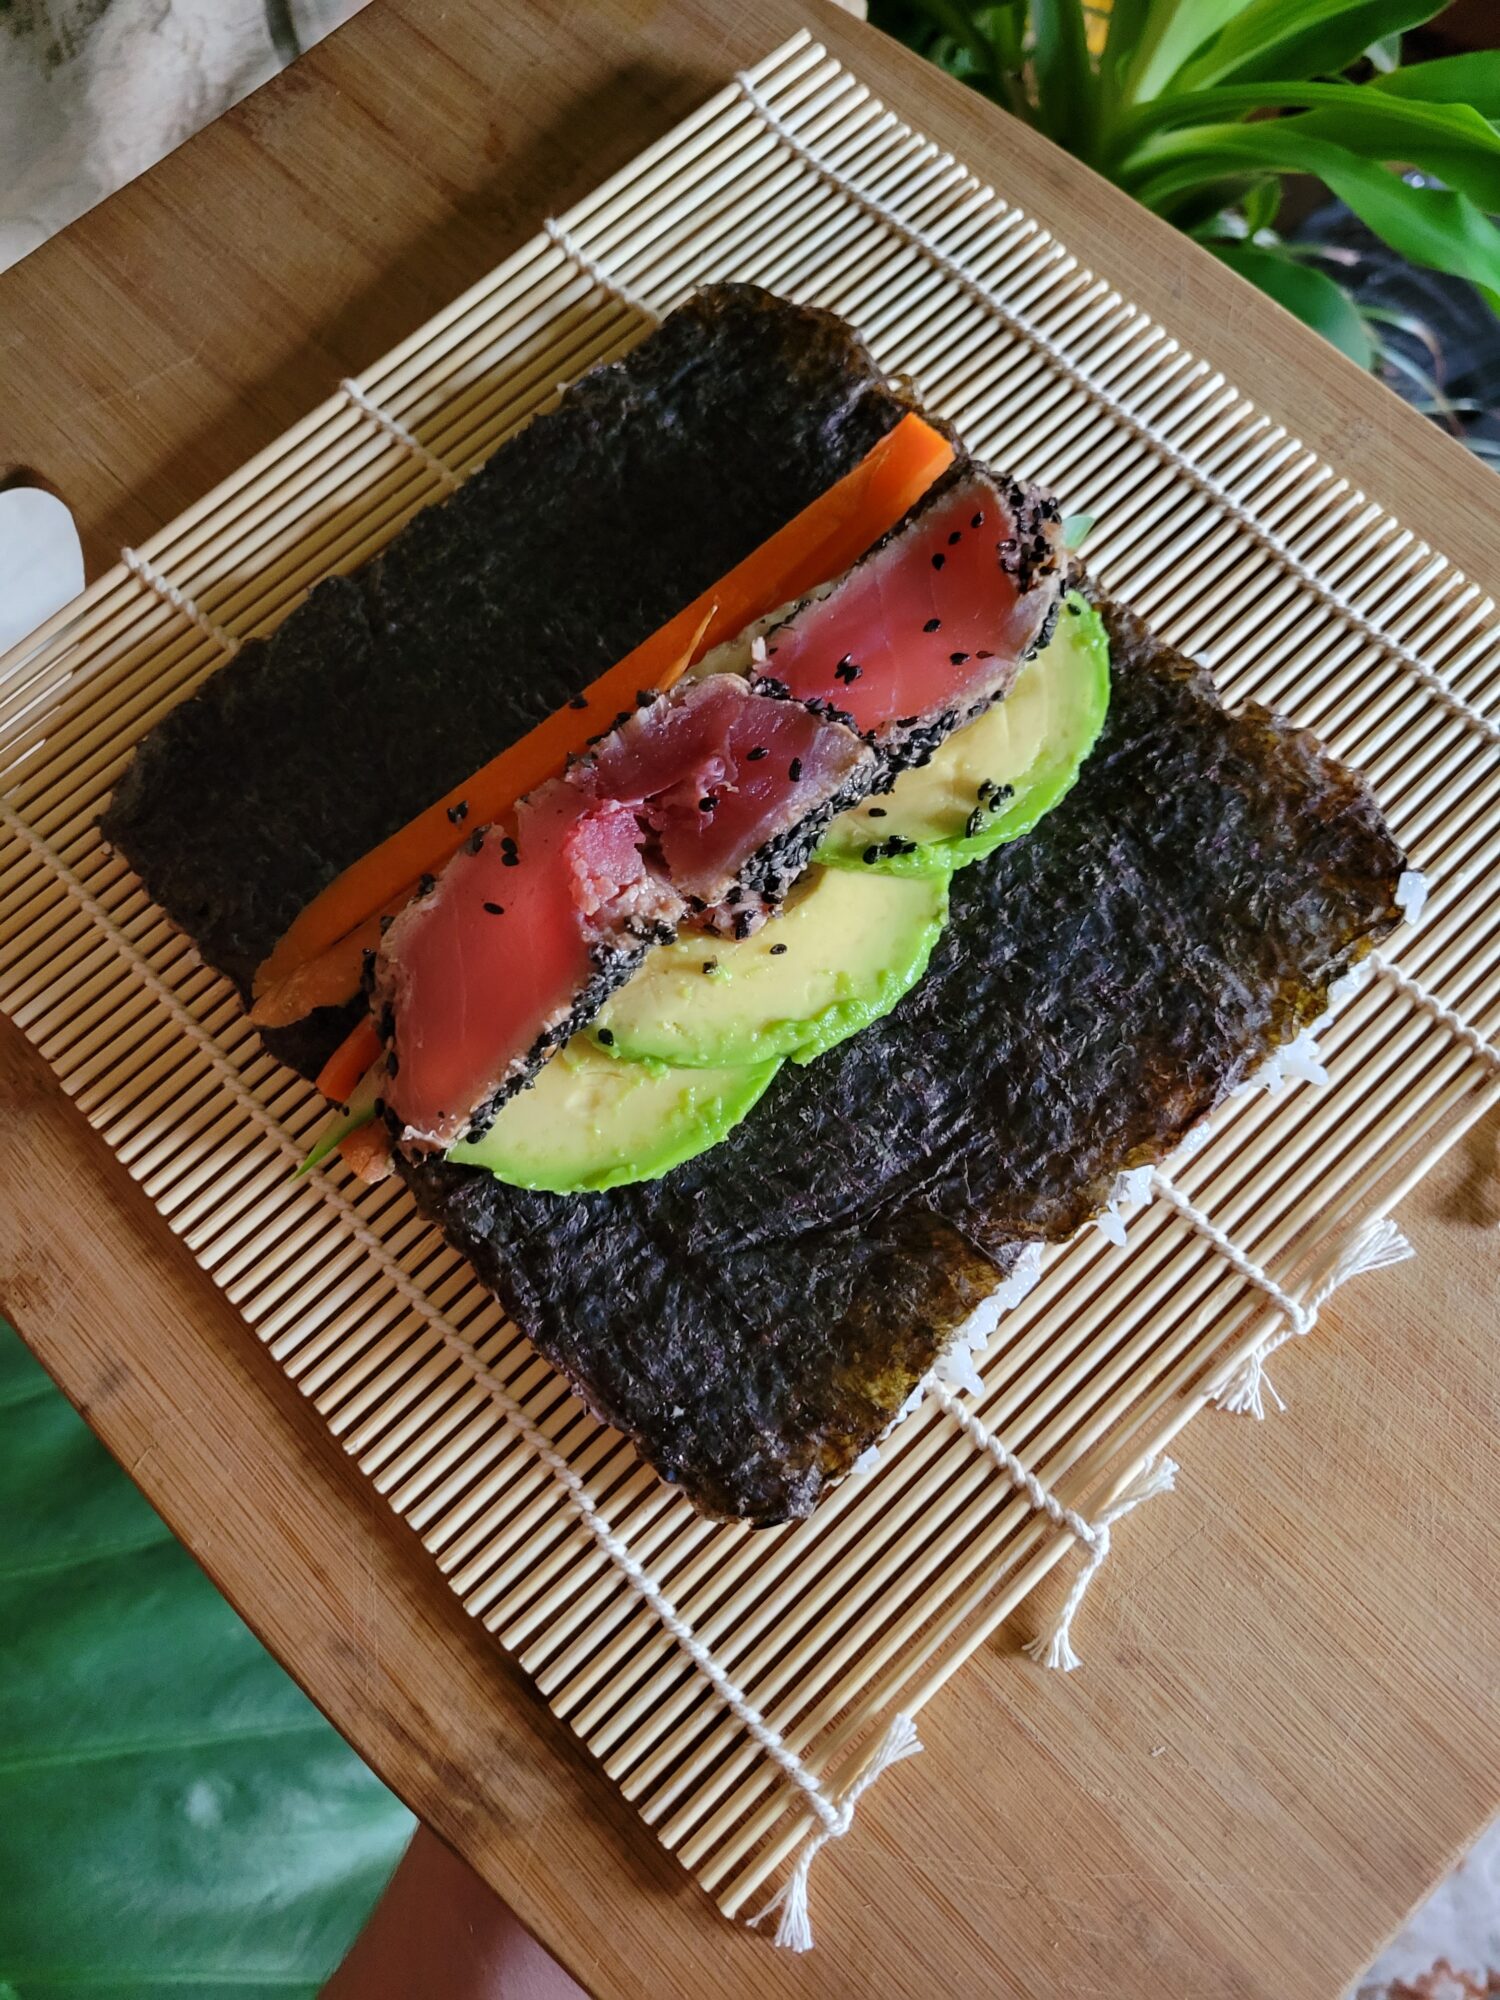
- Place the nori on a flat surface and add roughly a baseball-sized amount of sushi rice to the center of the sheet.Gently spread the rice evenly across the nori. Making sure to spread outward toward the edges, rather than to press into the sheet.
- Flip the nori over so that the rice is on the bottom and the nori is facing upwards.It's helpful to place the rice on a sheet of plastic wrap in order to keep the sticky rice from sticking to things. I found that slightly wetting the plastic wrap helped keep it from sticking to the plastic wrap as well!
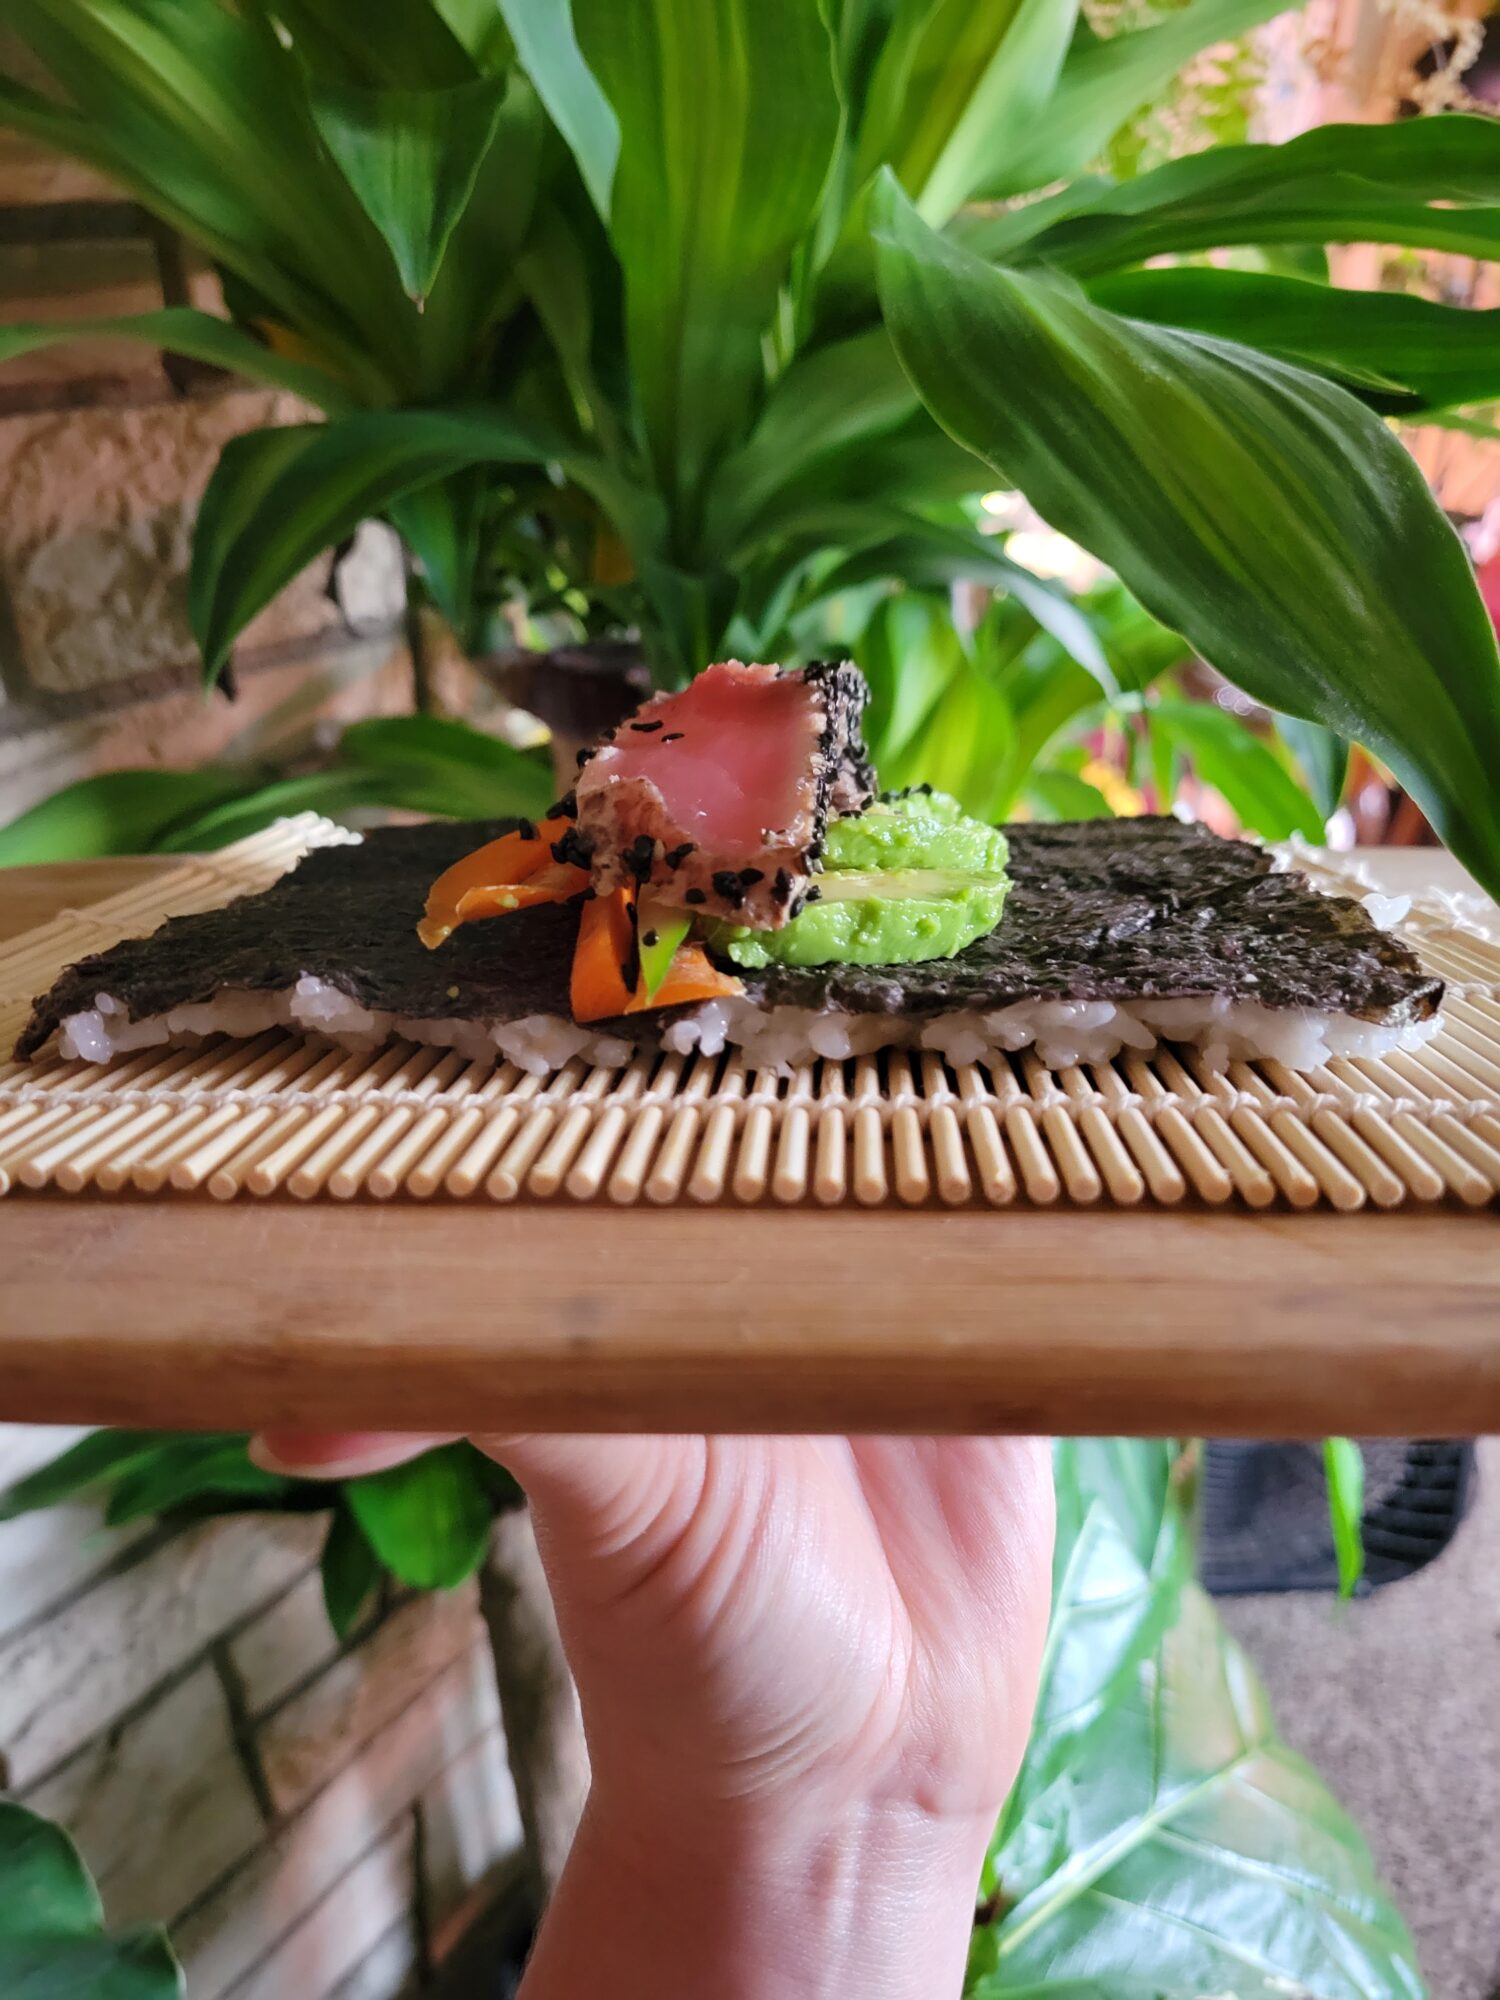
- Place the thinly sliced cucumber, carrot, avocado, and tuna evenly across the center of the roll.
- If you haven't already wrapped the roll in plastic wrap, do so now to prevent it from sticking to the mat!You can also do this without a sushi mat. The mats are designed to give you a tighter roll, but you can just use the plastic wrap or even a thick cloth placemat.
- Gently roll the nori around the fillings in the middle, making sure to pull it tightly and evenly together. This is the most important part of rolling the sushi because, if the roll isn't tight enough here, you're going to have to unroll it and restart the rolling process! So, make sure that it is tight enough to hold all of the toppings in.My sushi roll wasn't perfect. I didn't get it tight enough the first time and did unroll it and try again! But it is actually possible for a novice to do. And just keep at it!
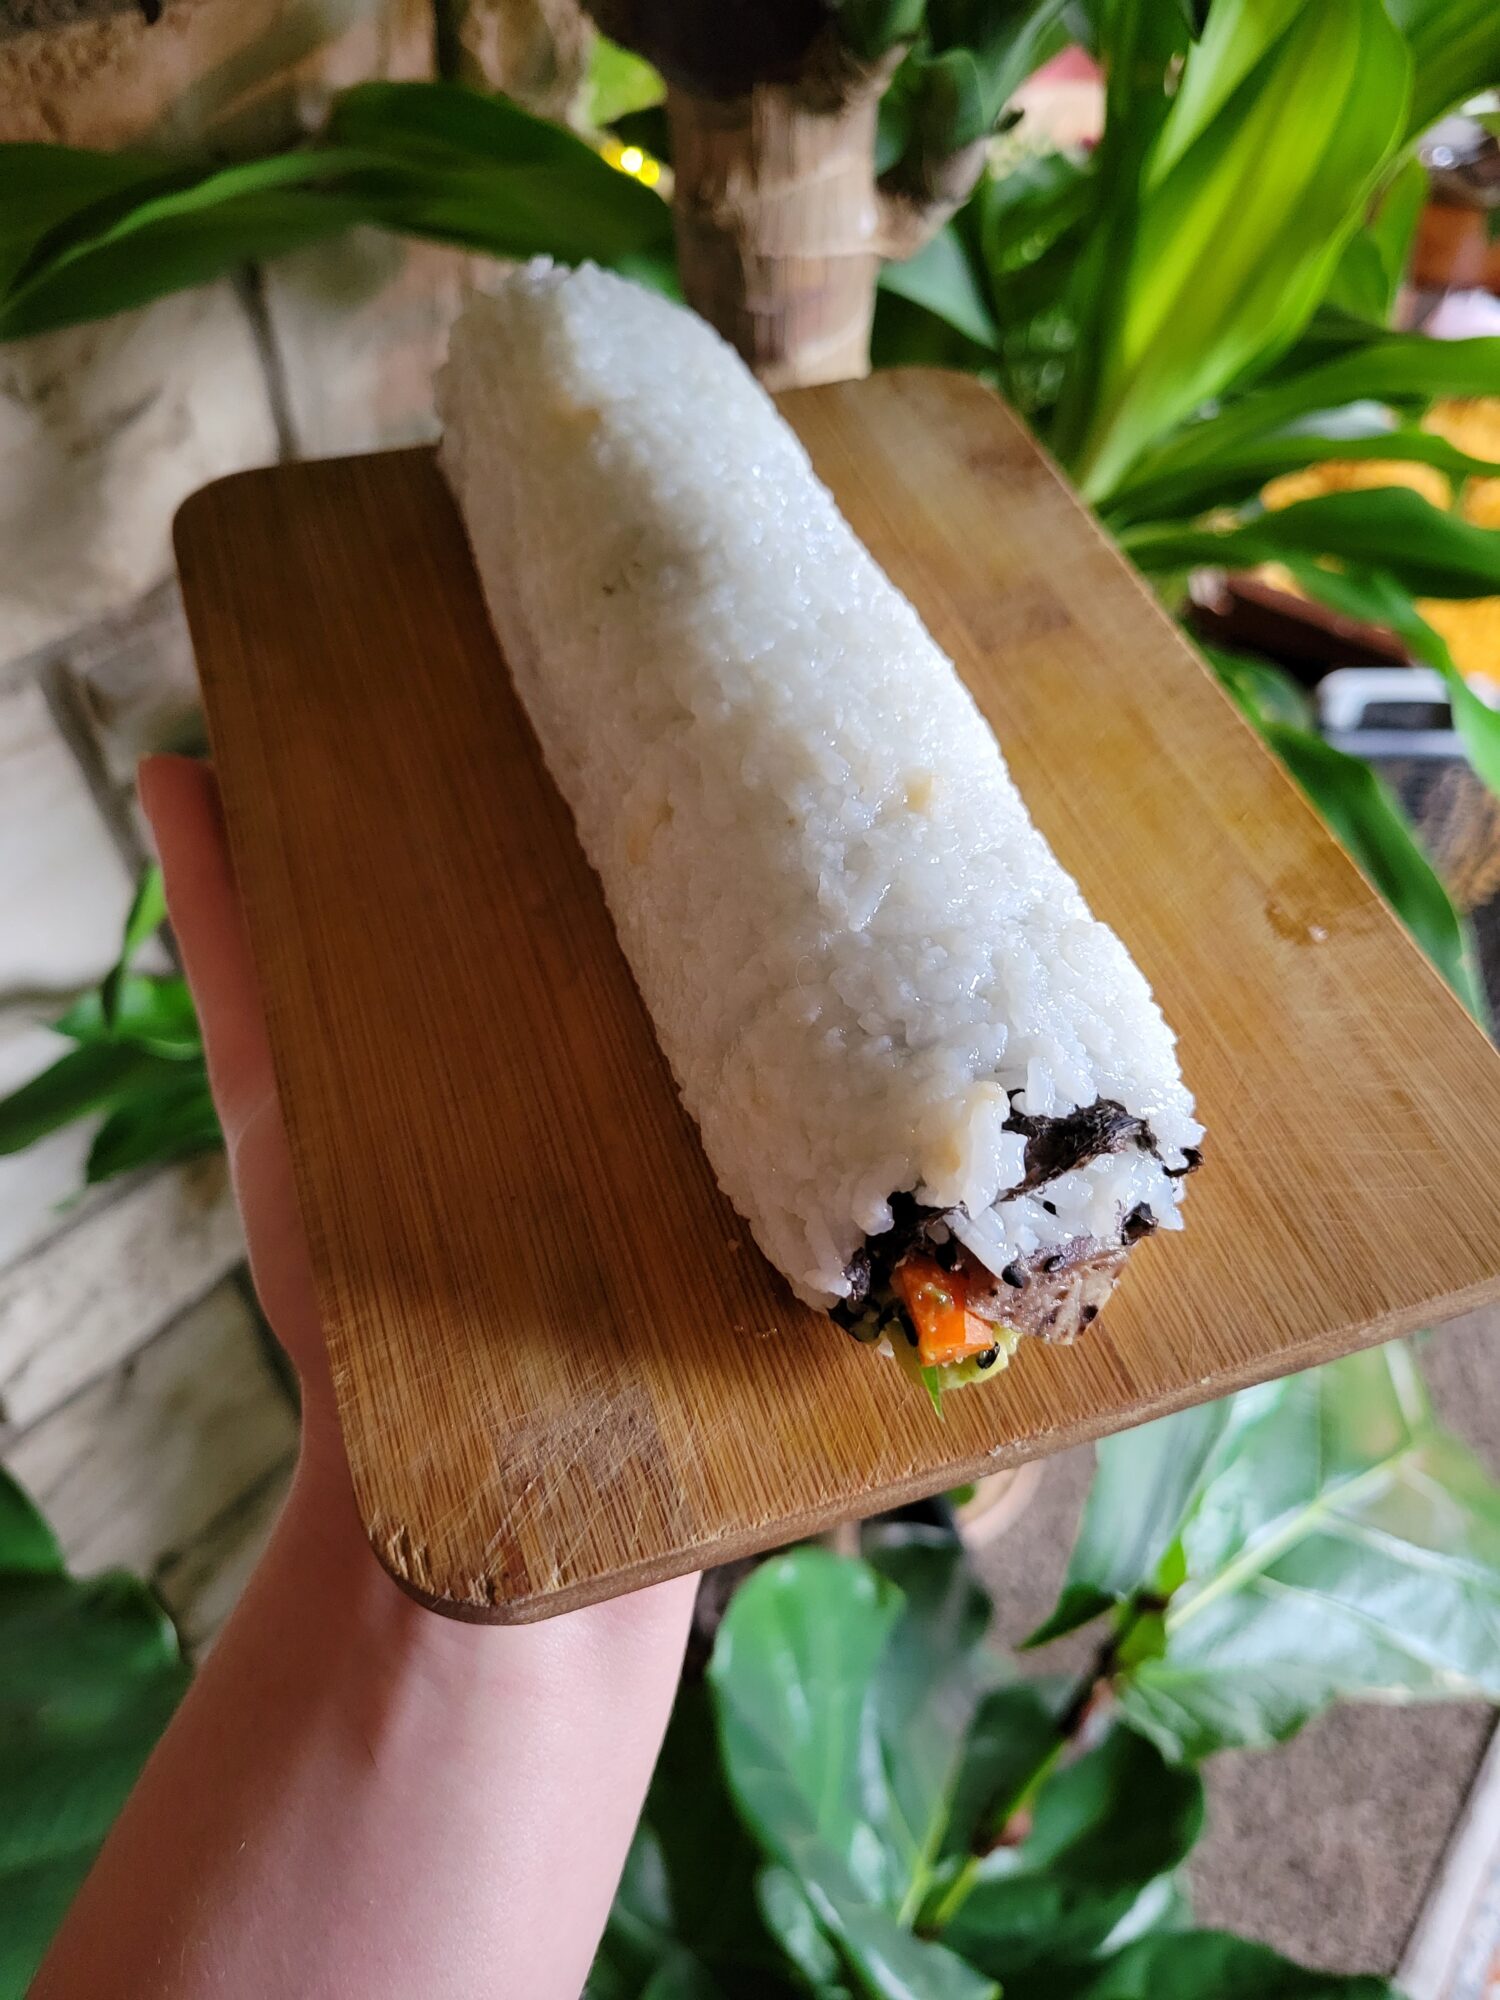
- Continue to roll the sushi until the end of the roll. Then, making sure that the plastic wrap is all of the way around the sushi, wrap the roll in the sushi mat and pull the roll tightly.
- Once the roll is tightly rolled, carefully remove the plastic wrap.
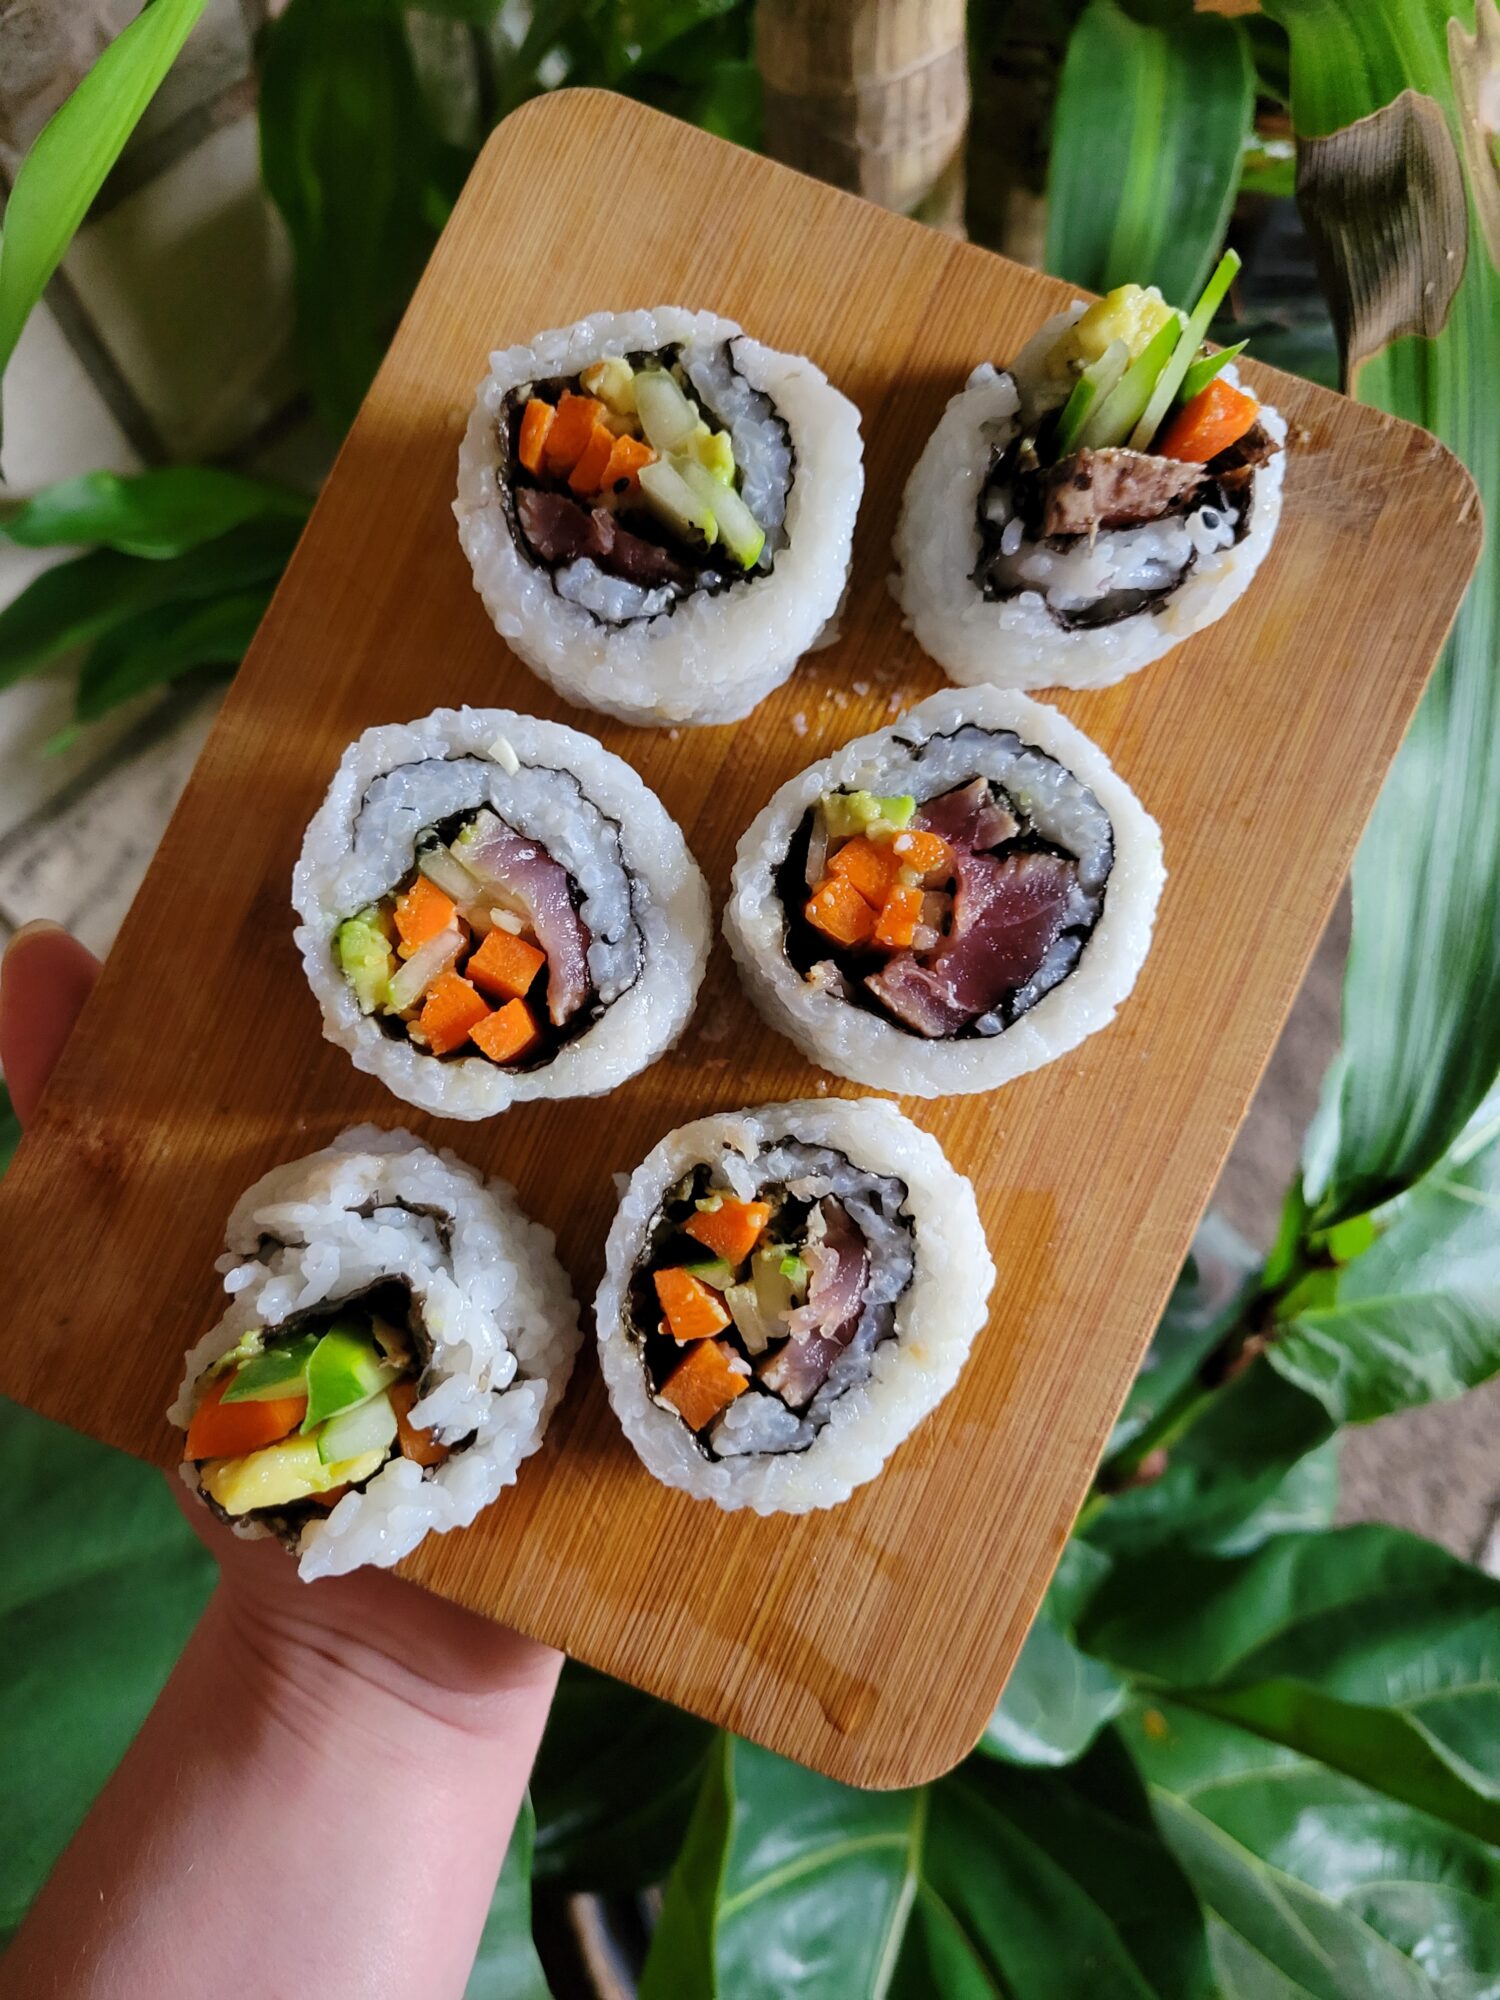
- Wet a sharp knife and slice the roll into 6 evenly-sized pieces.
- Serve immediately, along with a side of pickled ginger and tamari.
Tips, Tricks, & Notes
- I have more in-depth articles and tips and tricks on how to make Ahi Tuna Steak w/ Tamari & Black Sesame Seeds and Rice Cooker Sushi Rice.


Leave a Reply