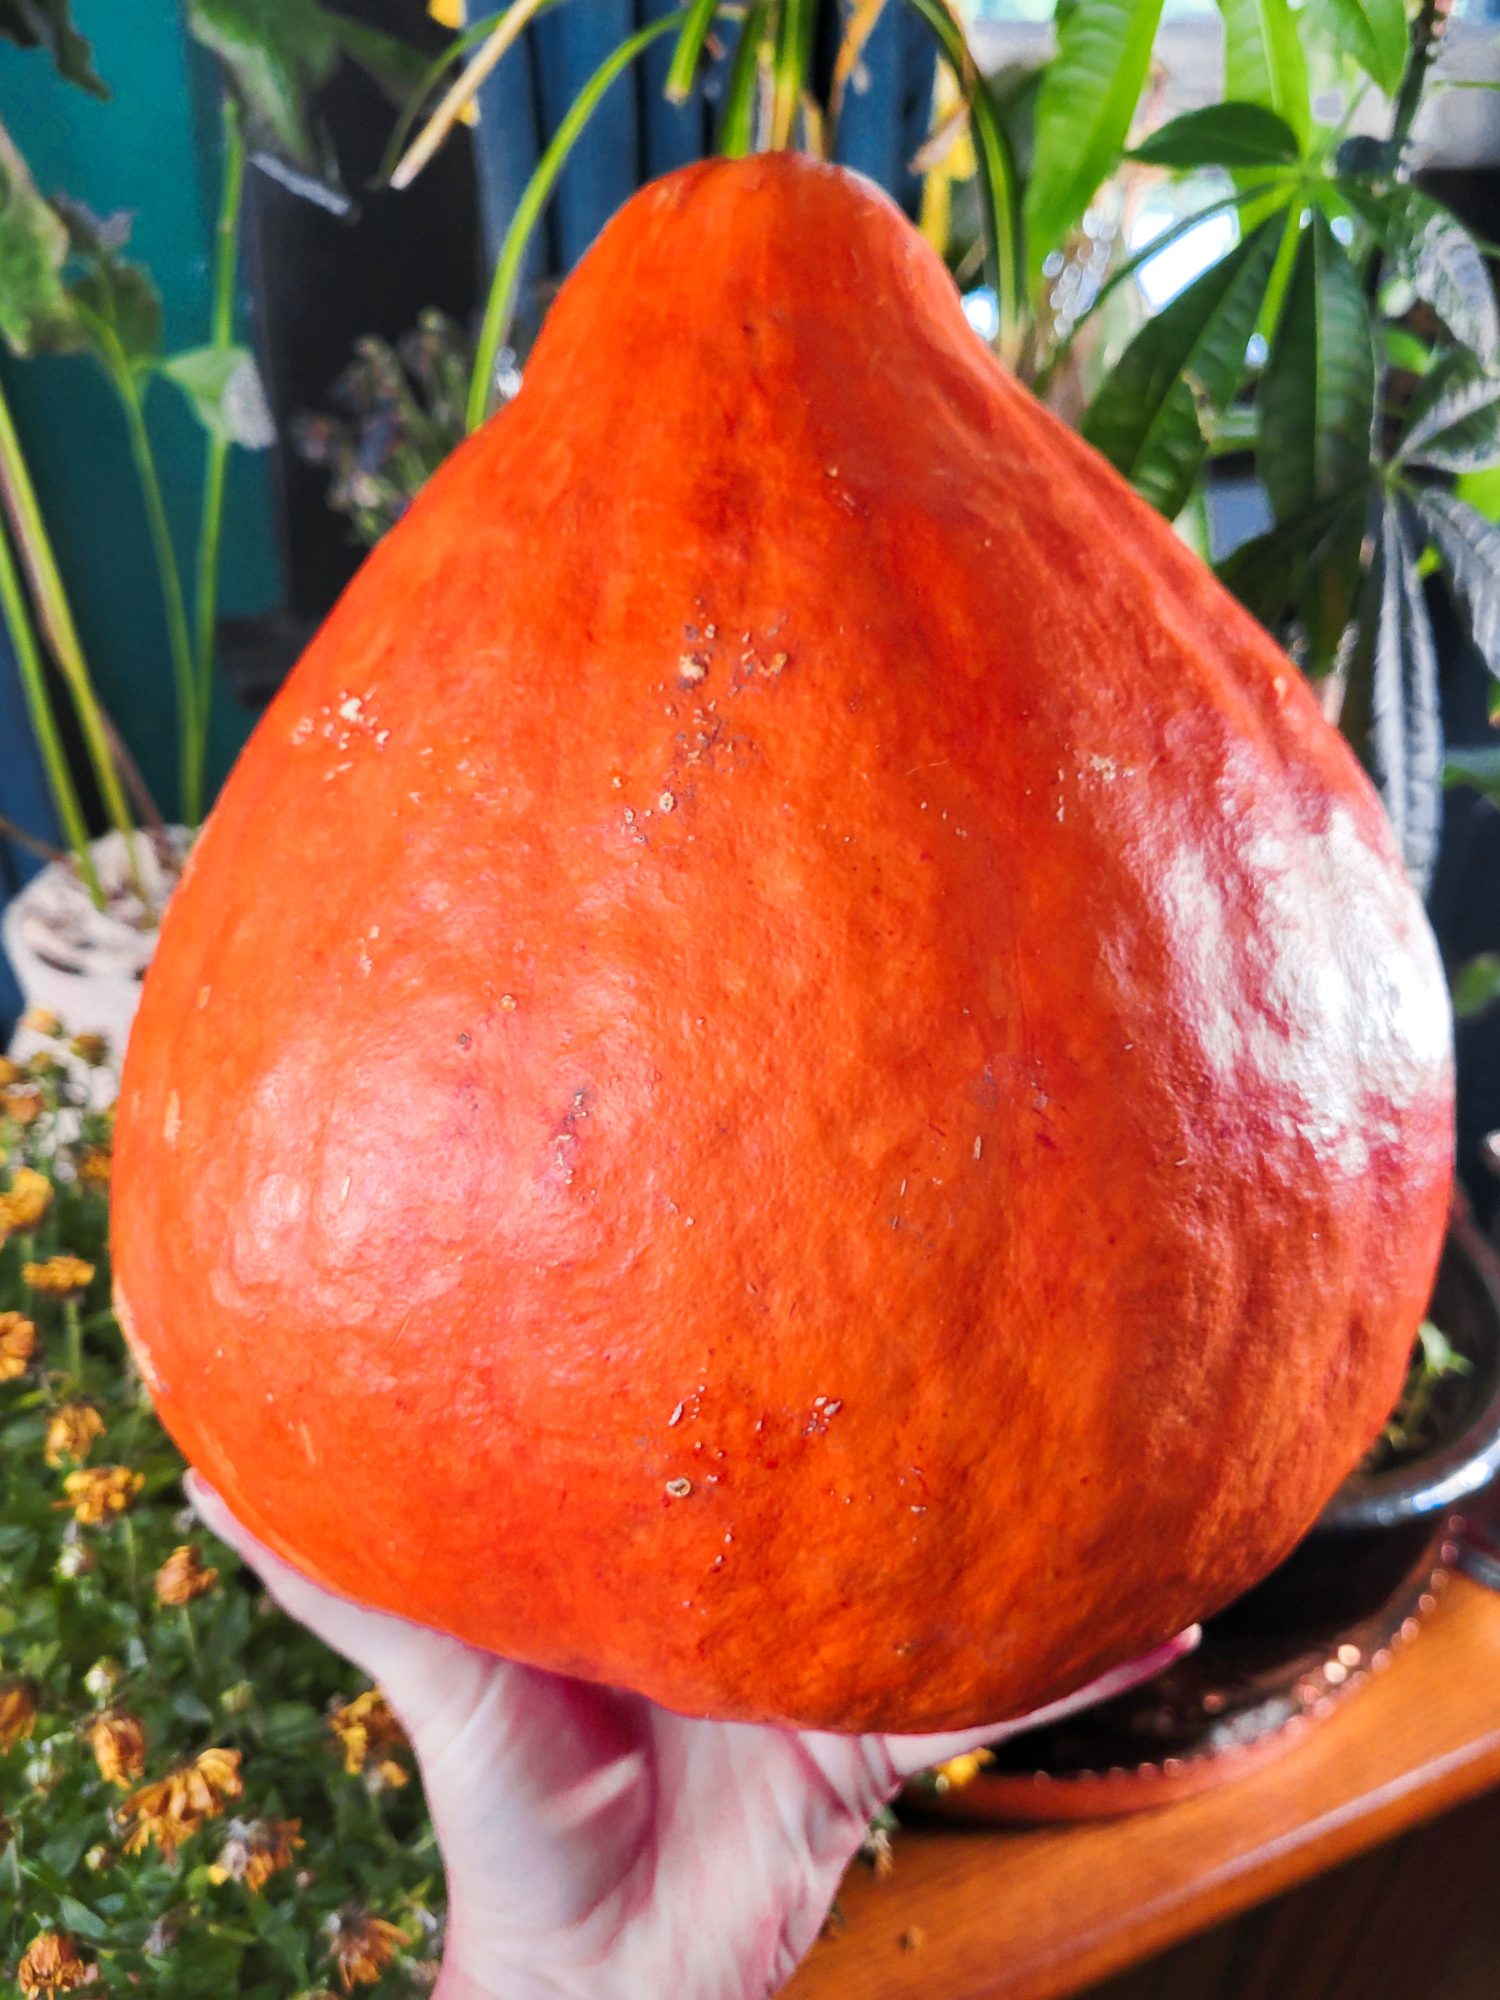
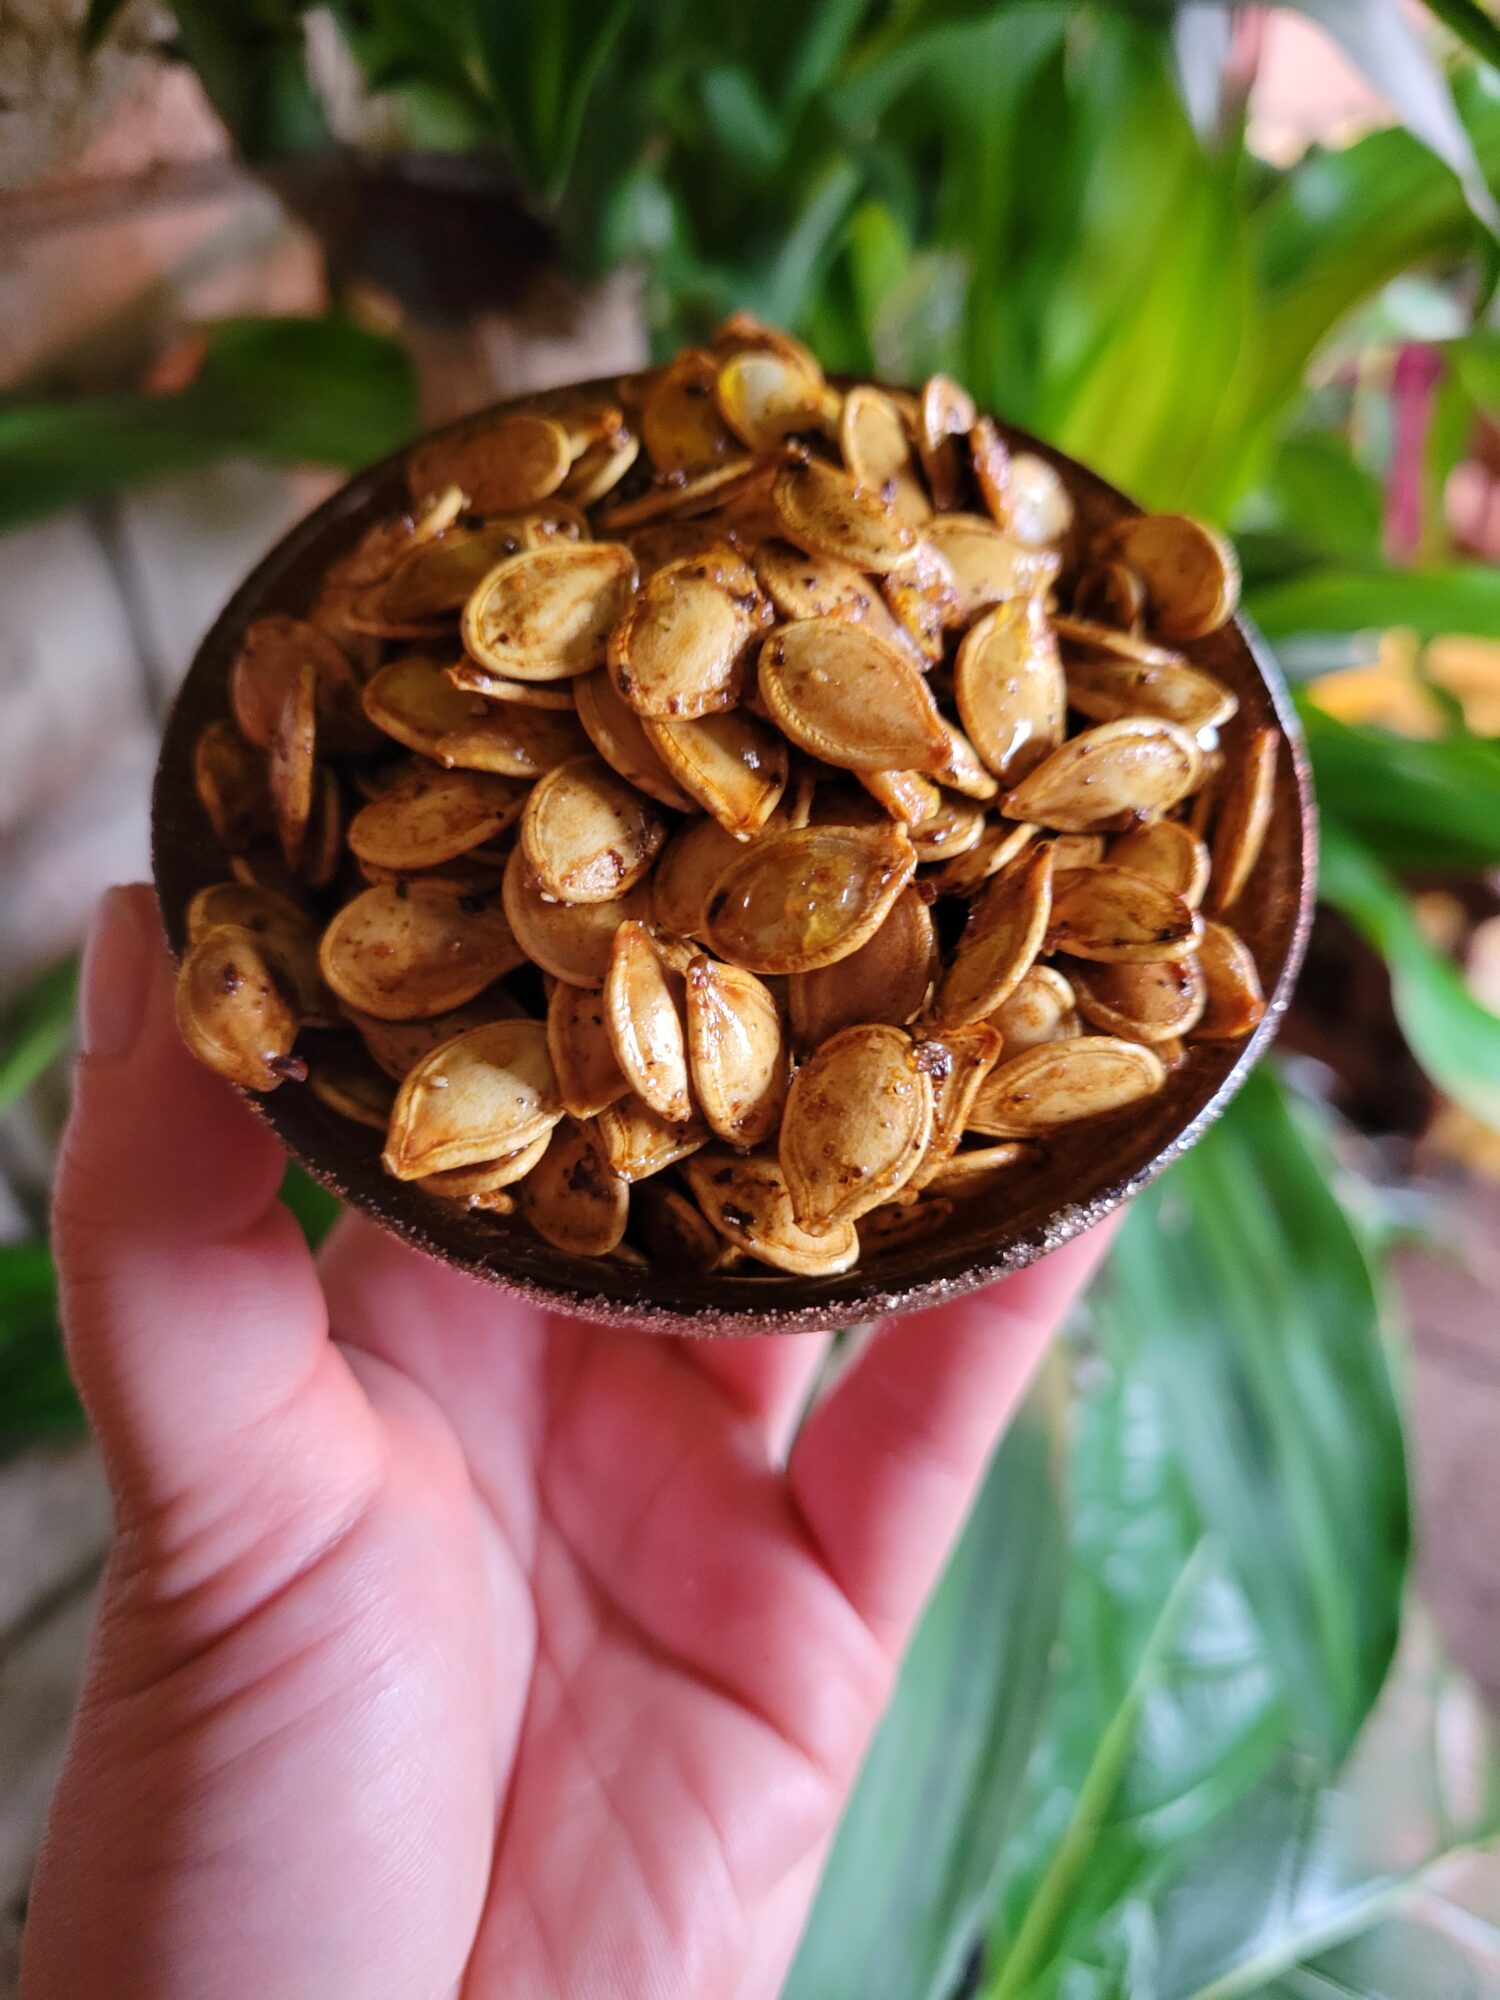
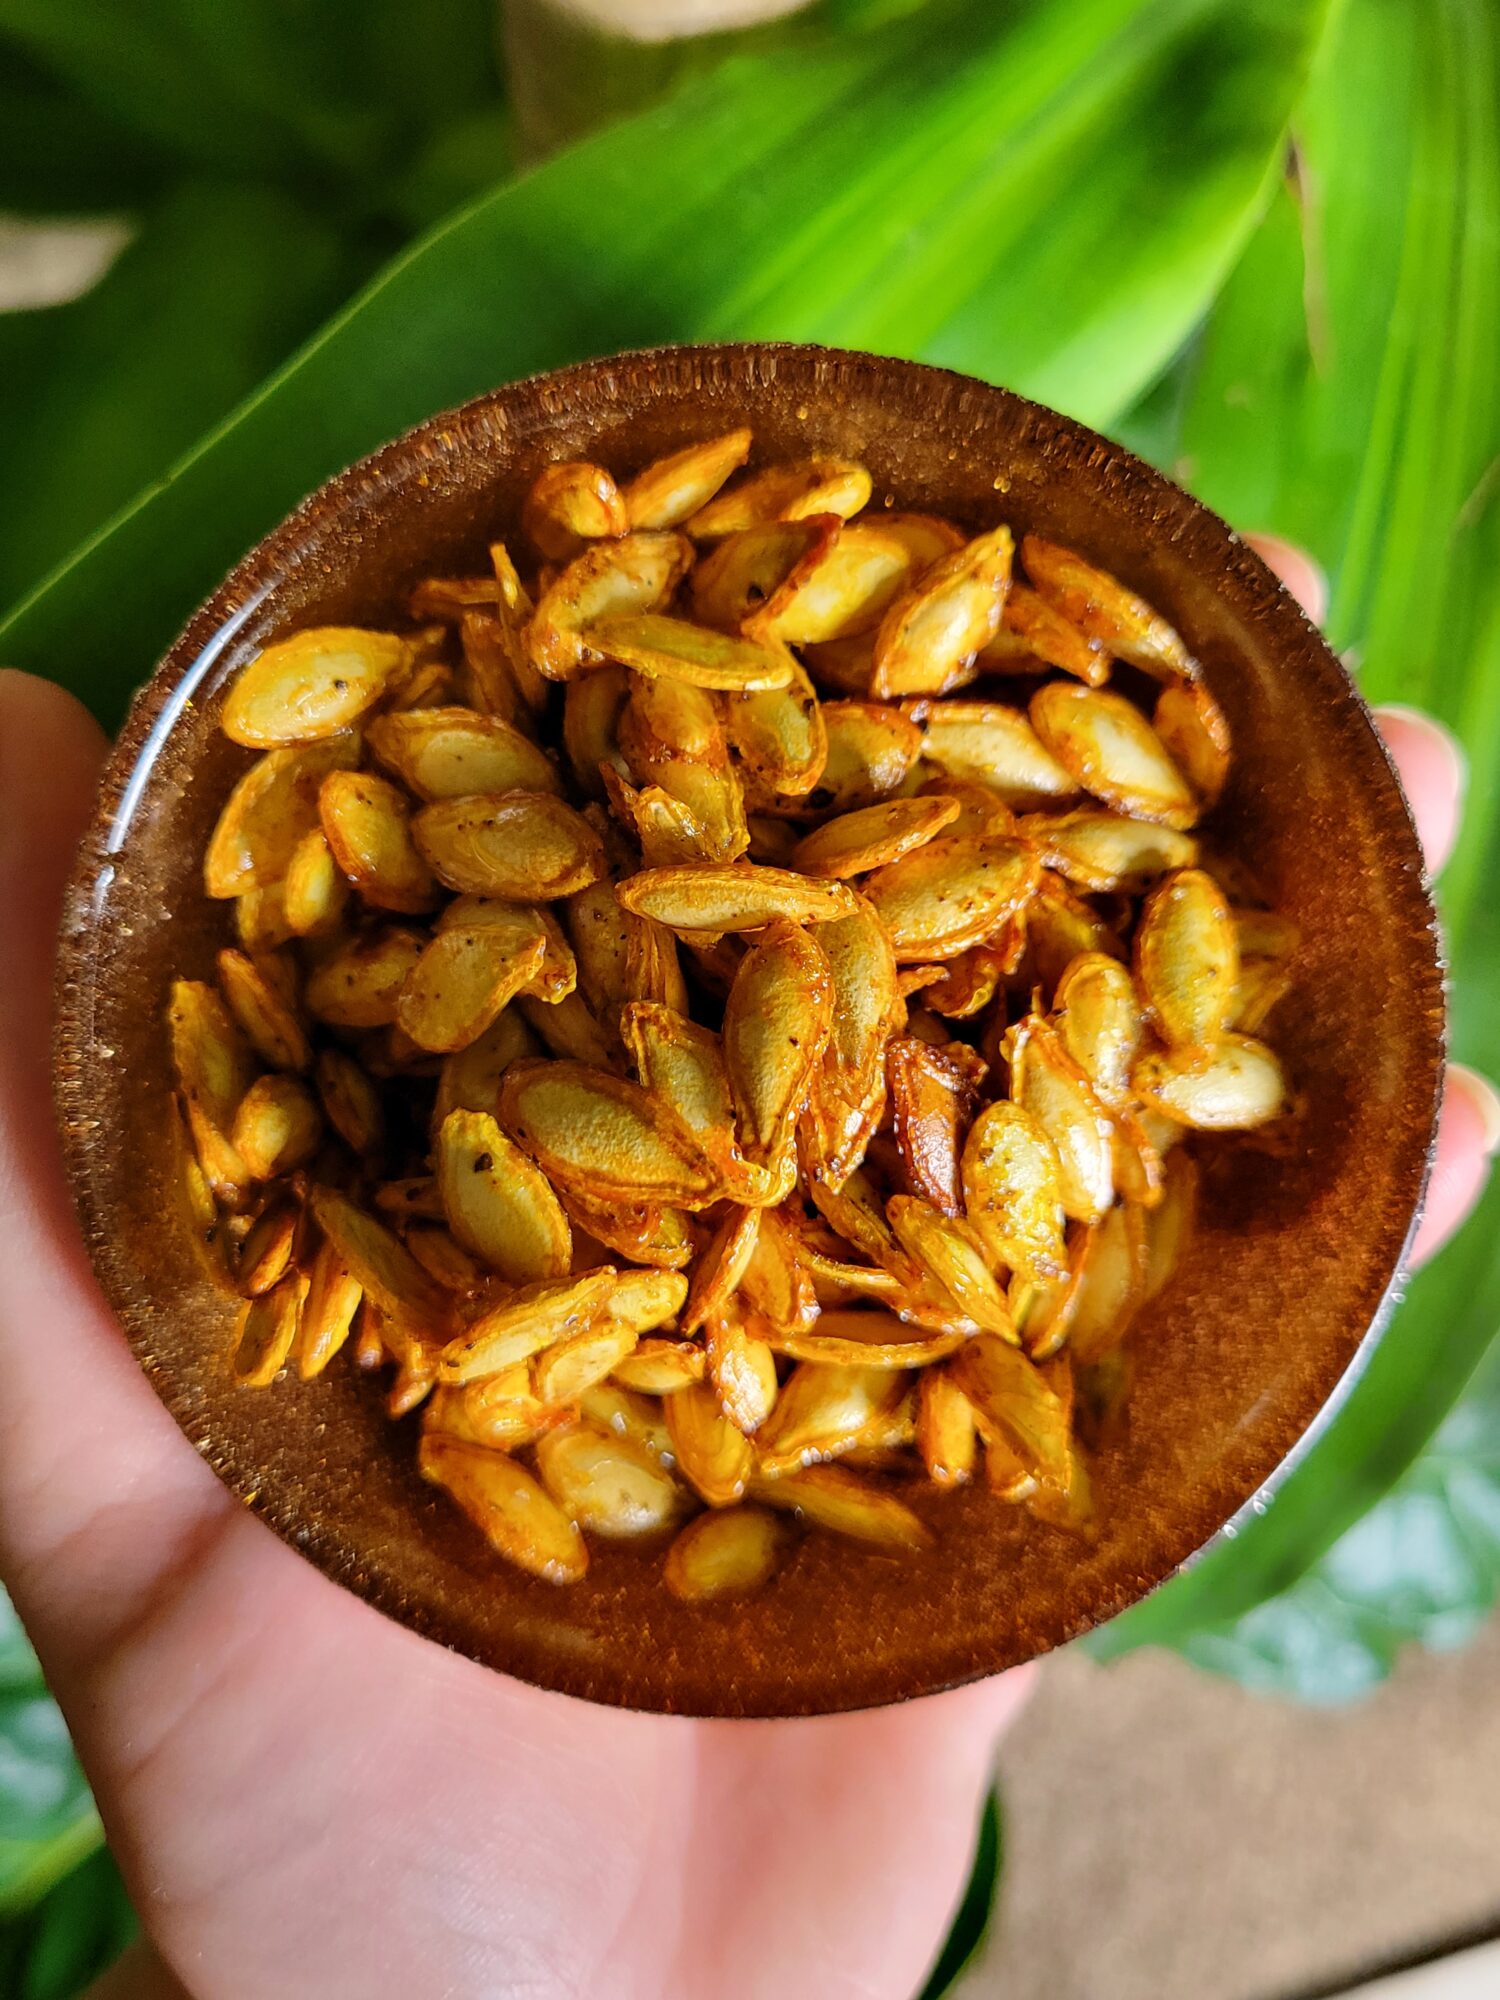
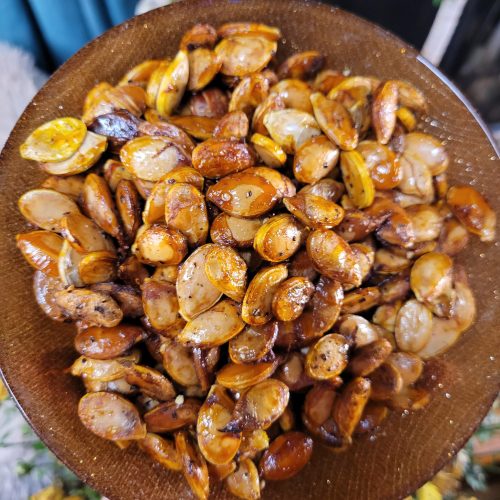
Whenever I roast squash, my favorite part is always the seeds. Sometimes I roast extra squash and freeze it just so that I can get my hands on more squash seeds. I grew up always roasting pumpkins seeds as a kid and the tradition stuck. Although now I've really amped up my gourd game. As much as you can roast the seeds of most carving pumpkins and the seeds of pie pumpkins are an absolute must? The real game changer is finding out how delicious other varieties of squash are. I'm particularly fond of Ambercup or Calabaza. Although the seeds of edible squash all tend to roast up pretty well. Hubbard squash tend to have incredibly large seeds, so they have a much longer cook time. Although it is always nice not to have to fret over them burning so quickly!
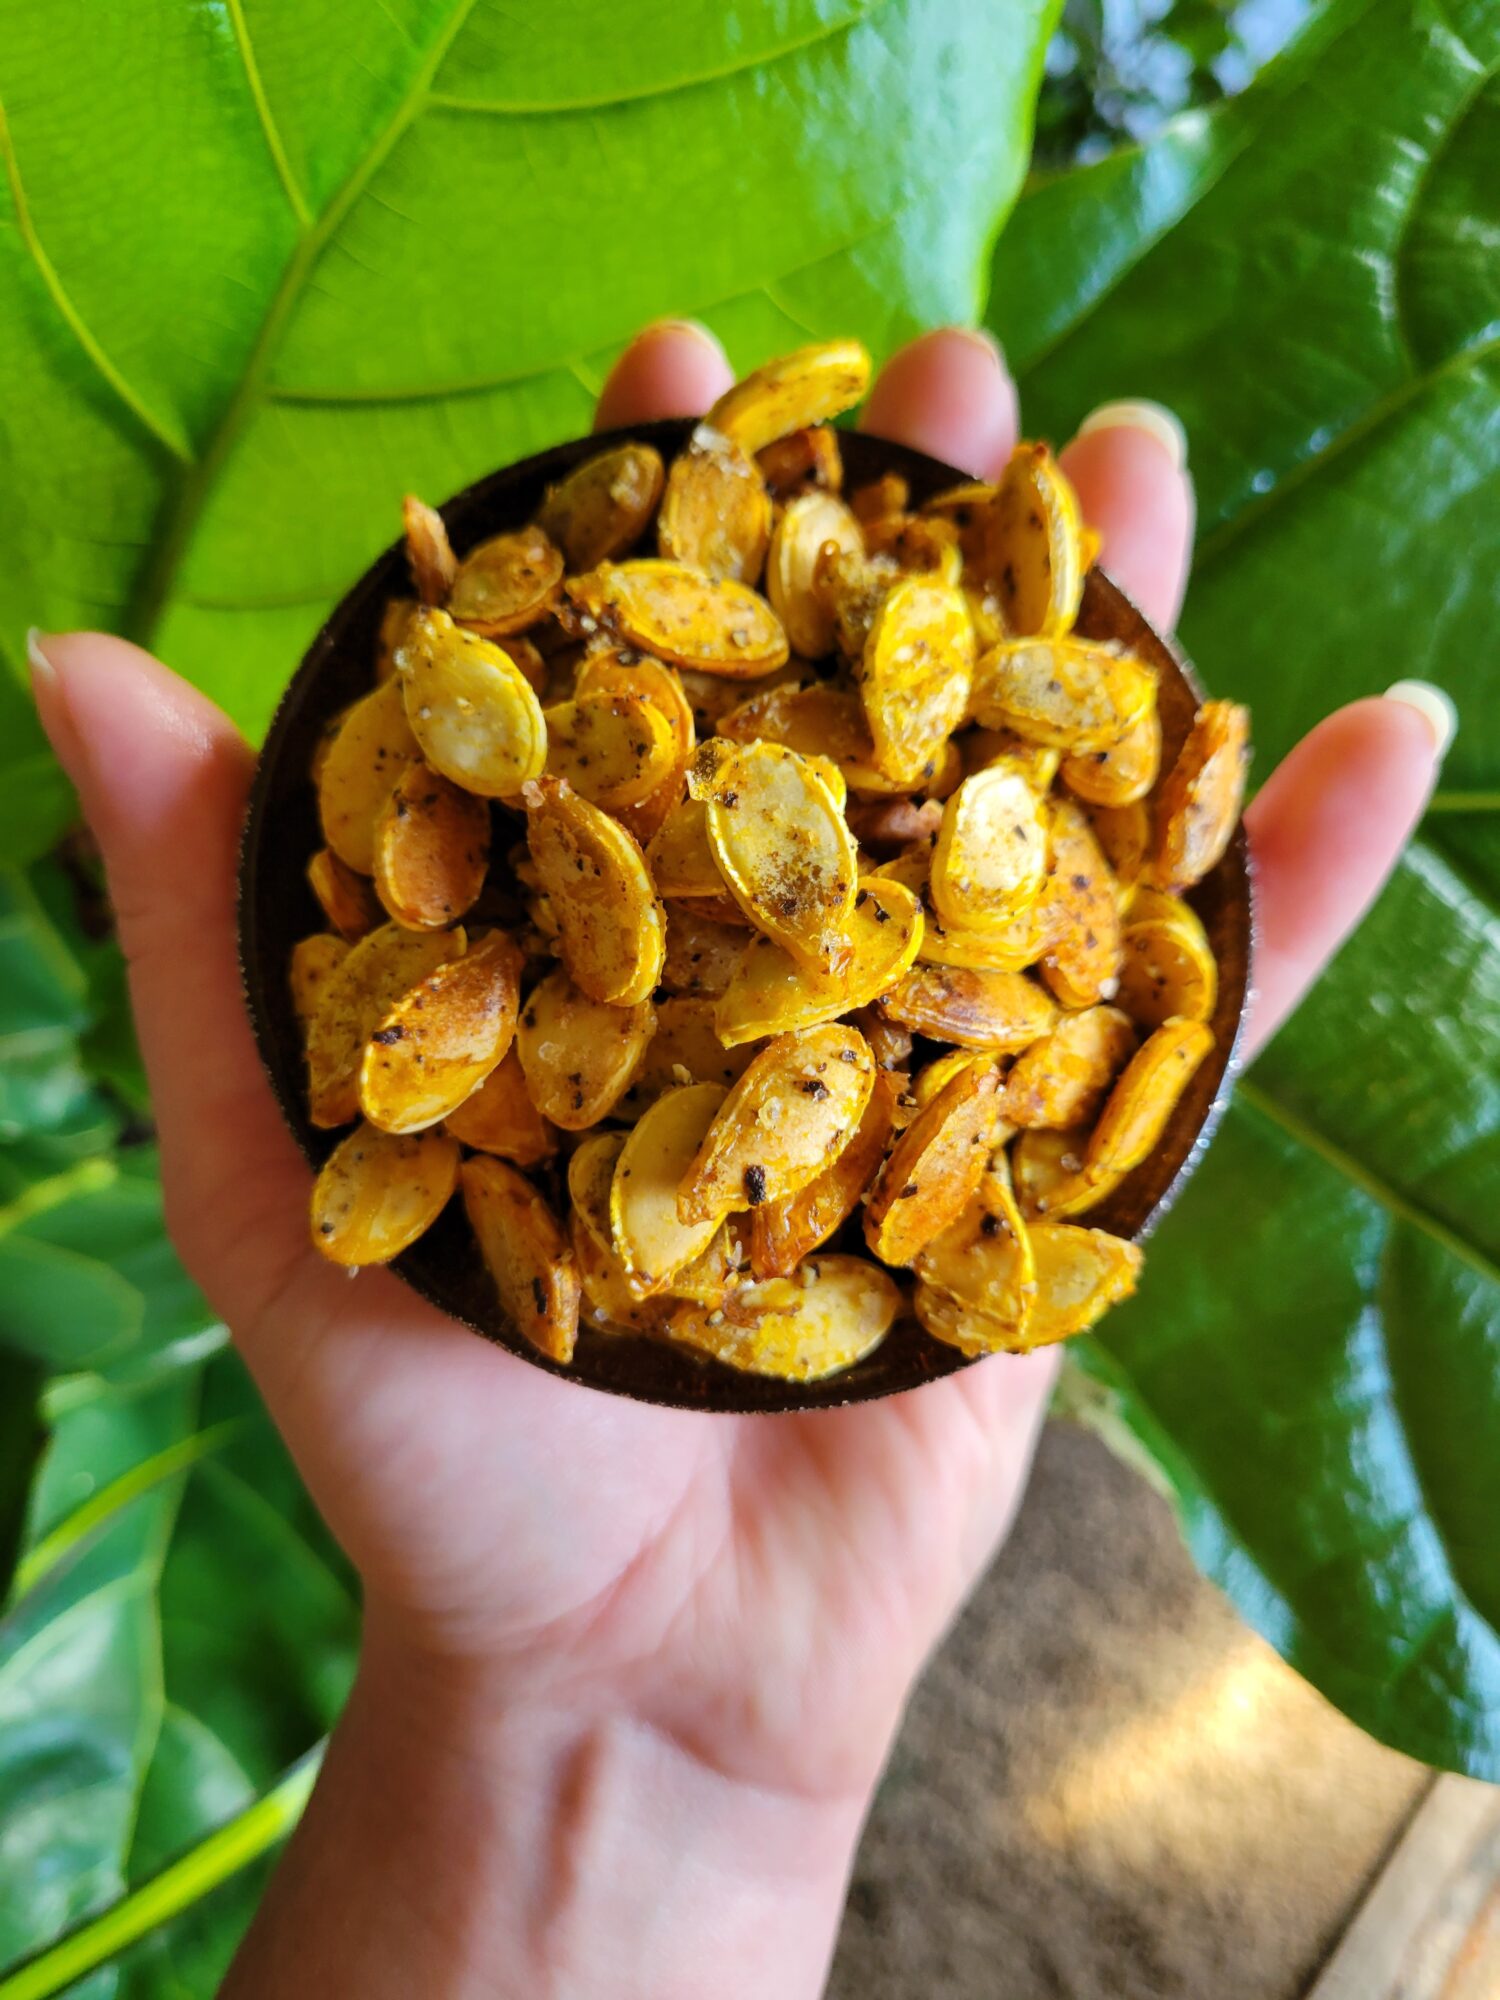
This does make roasted hubbard squash seeds also a little bit chewier than your typical pumpkin seeds. If you don't want such a massive seed to snack on, you might want to skip these or even chop them up a bit before roasting. I tend to use them as a snack on the road or as garnish on top of dishes. So, tossing chopped up pieces into granola or sprinkled over something fun is always a great option for this dish! Although the size of the seeds also varies dramatically from squash to squash, even within the same variety.
Gallery
Variations of Roasted Red Hubbard Squash Seeds
I roast all of my squash seeds. No matter the size or shape of winter squash, the seeds are always absolutely delectable.
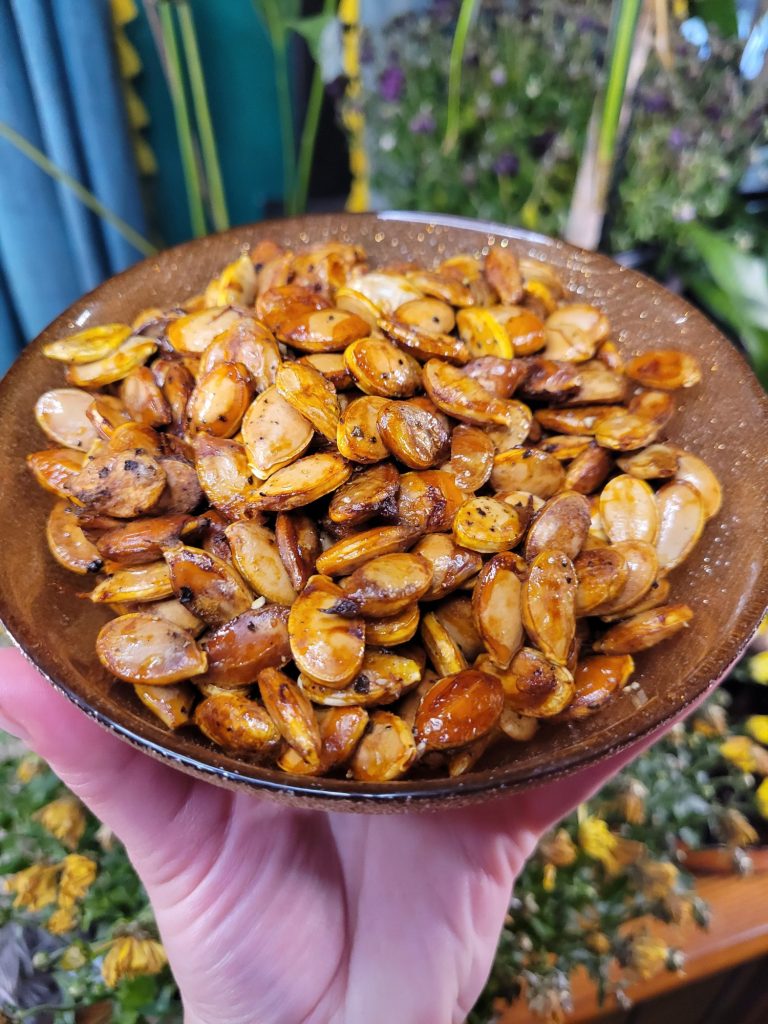
These Roasted Hubbard Squash Seeds are much larger than typical pie pumpkins and have a much more robust flavor than their usual counterparts. Plus, squash seeds are almost the best part of squash to begin with. I routinely get more squash just to be able to roast the seeds! Hubbard squash are a bit on the large side for this. Although Ambercup or Calabaza are all good options as well. If nothing else, they make for a great garnish or packed into granola. Although the size of the seeds also varies dramatically from squash to squash, even within the same variety.
seeds ofred hubbard squash(or similarly large squash or pumpkin)
drizzleolive oil
dashsalt
dashpepper
Instructions
Preheat oven to 350 degrees Fahrenheit.
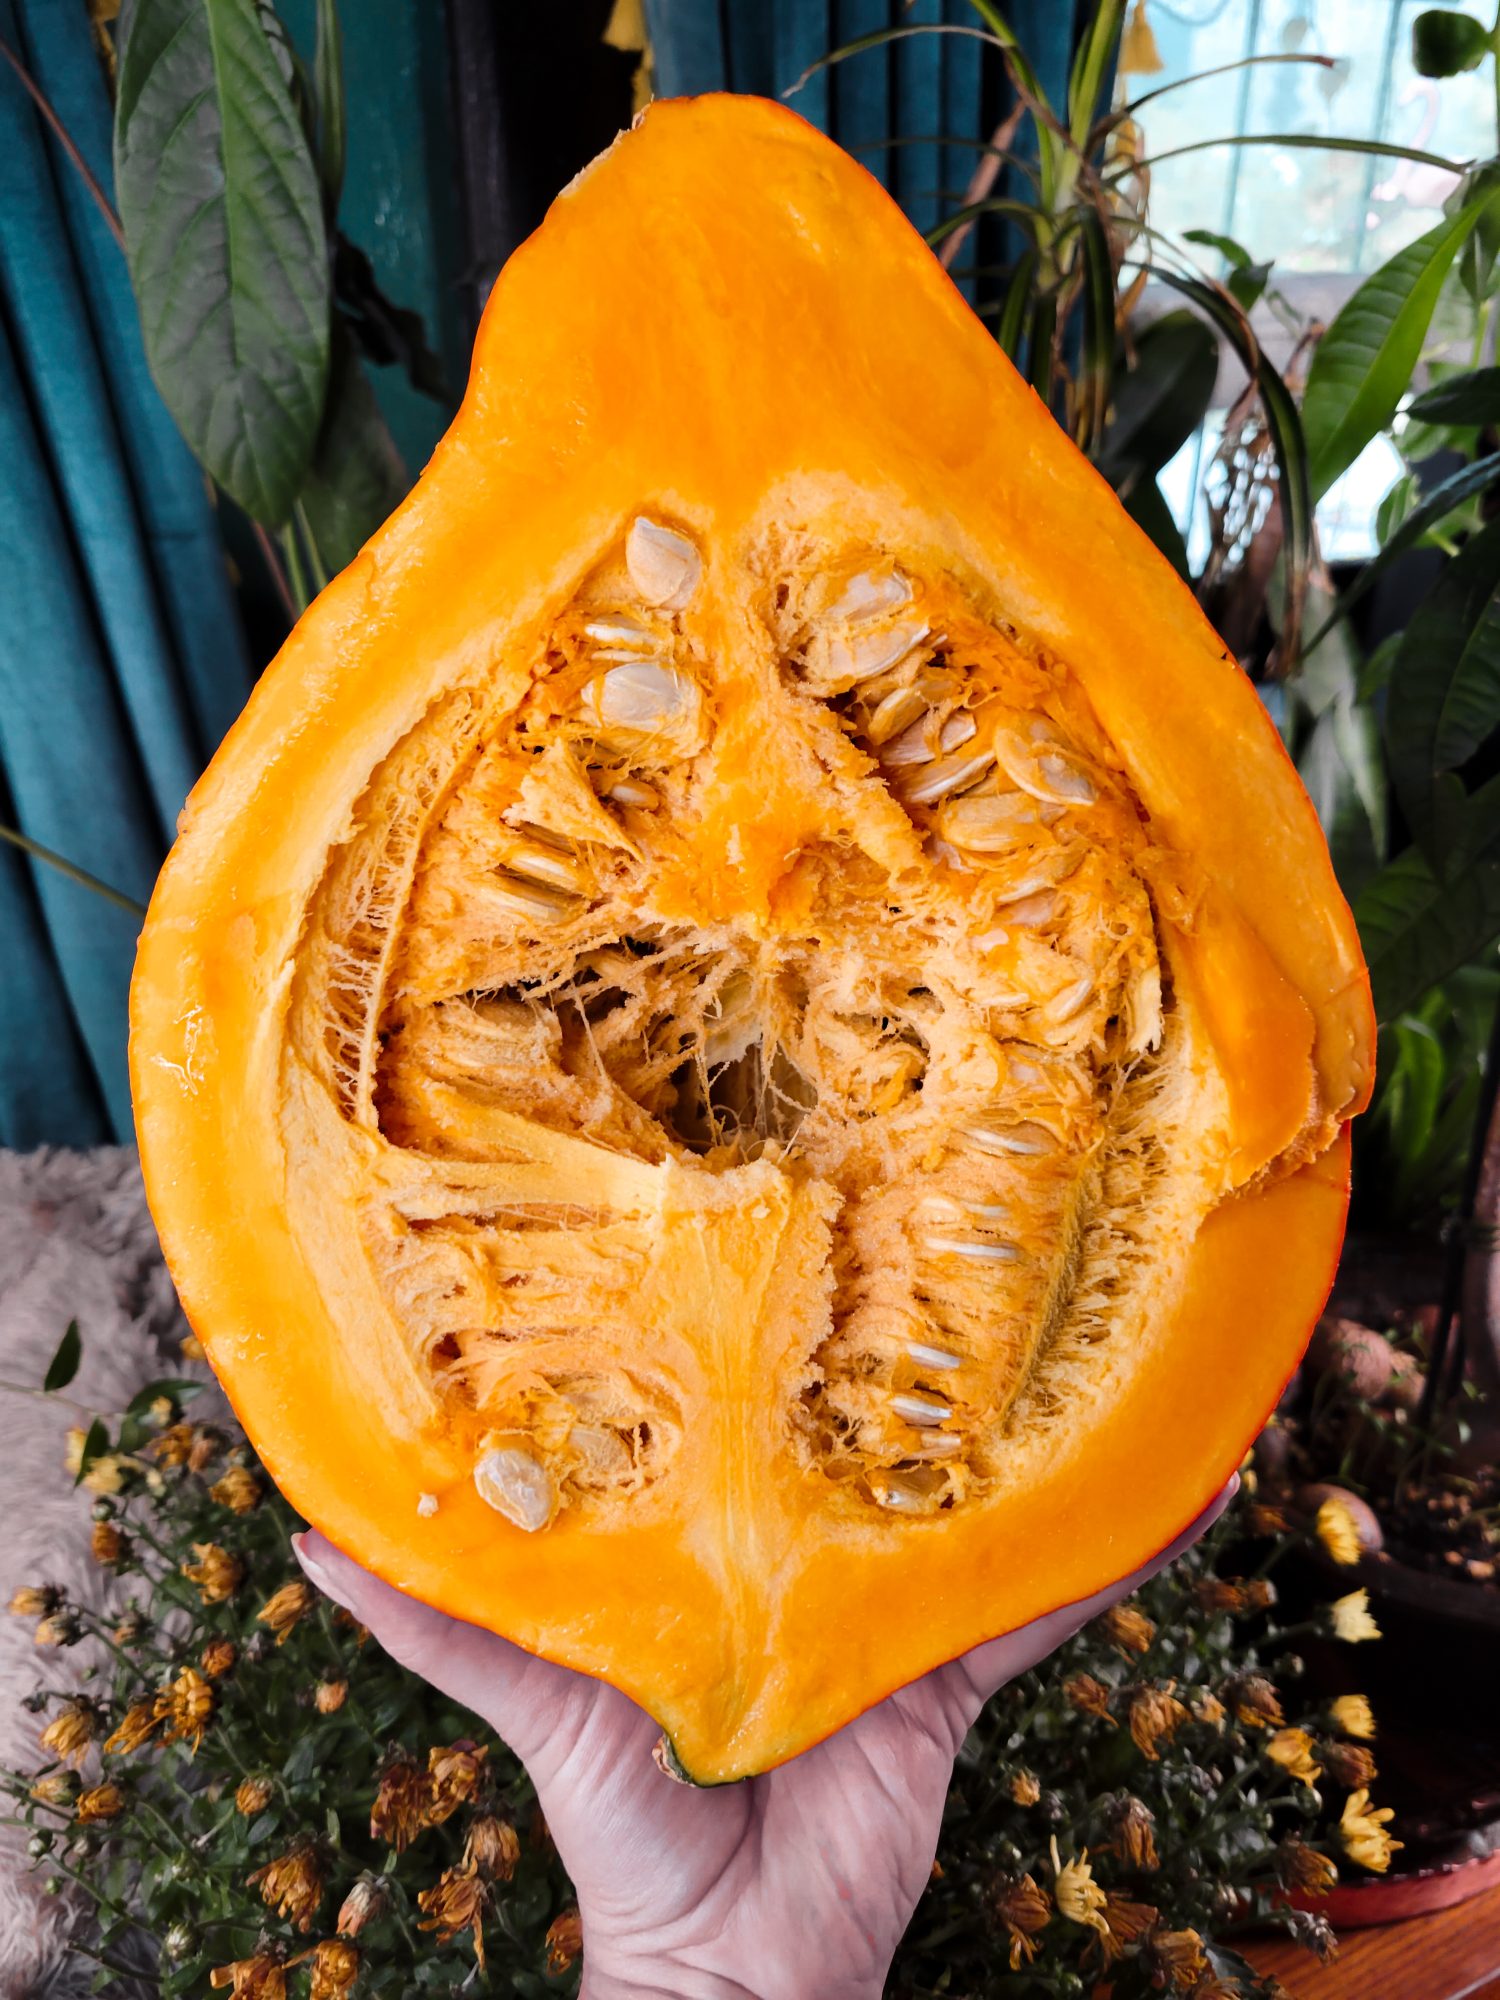
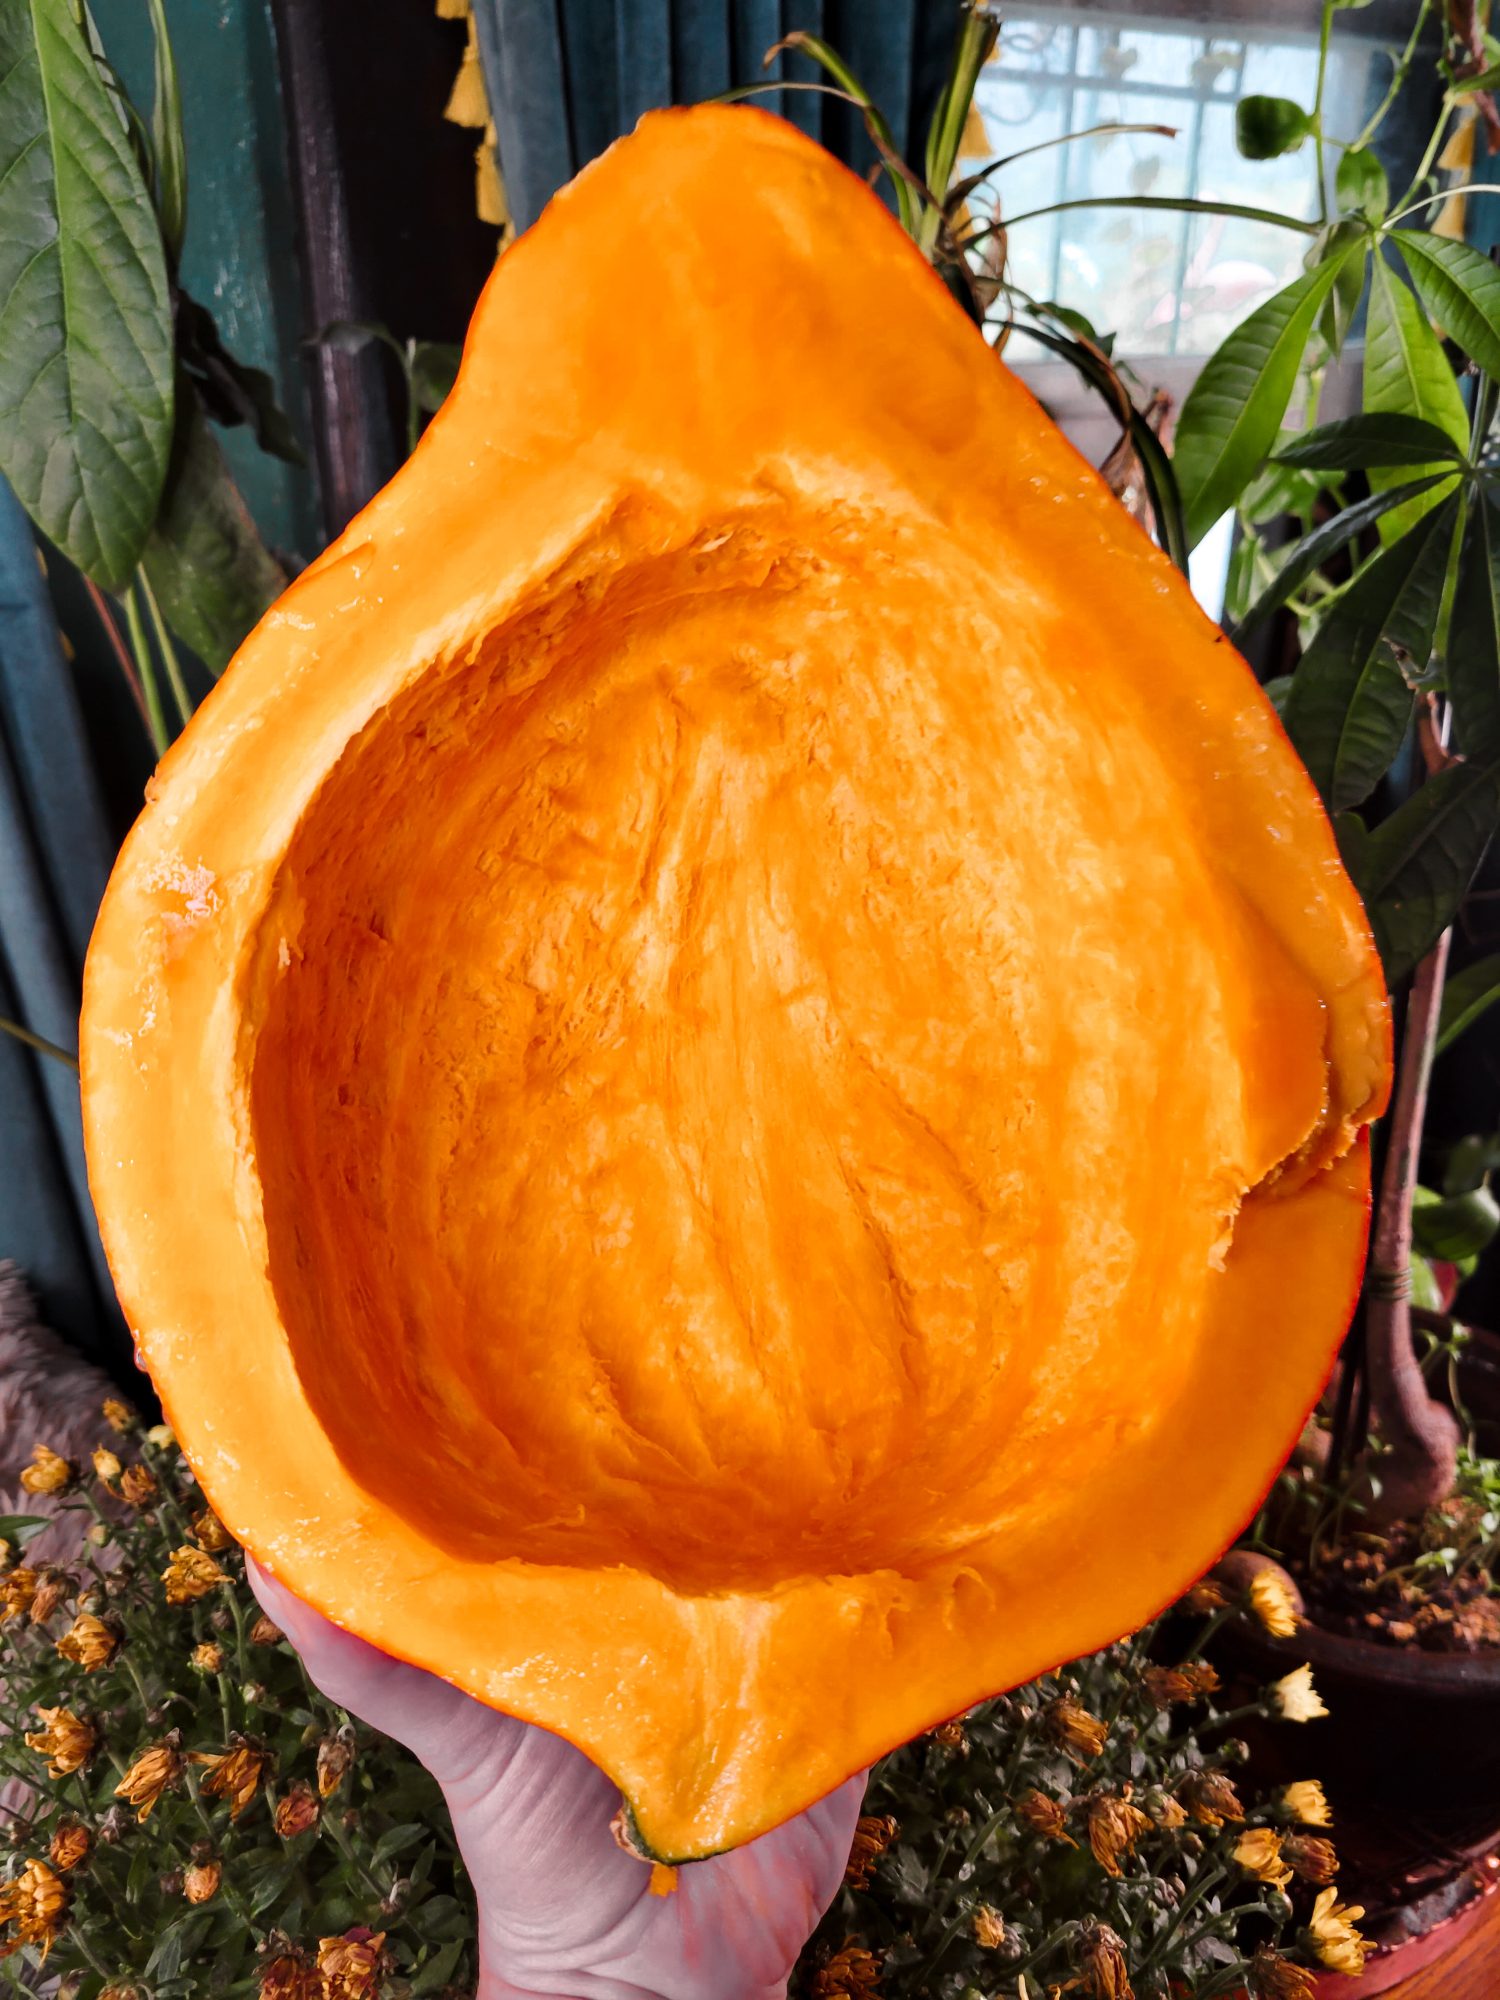
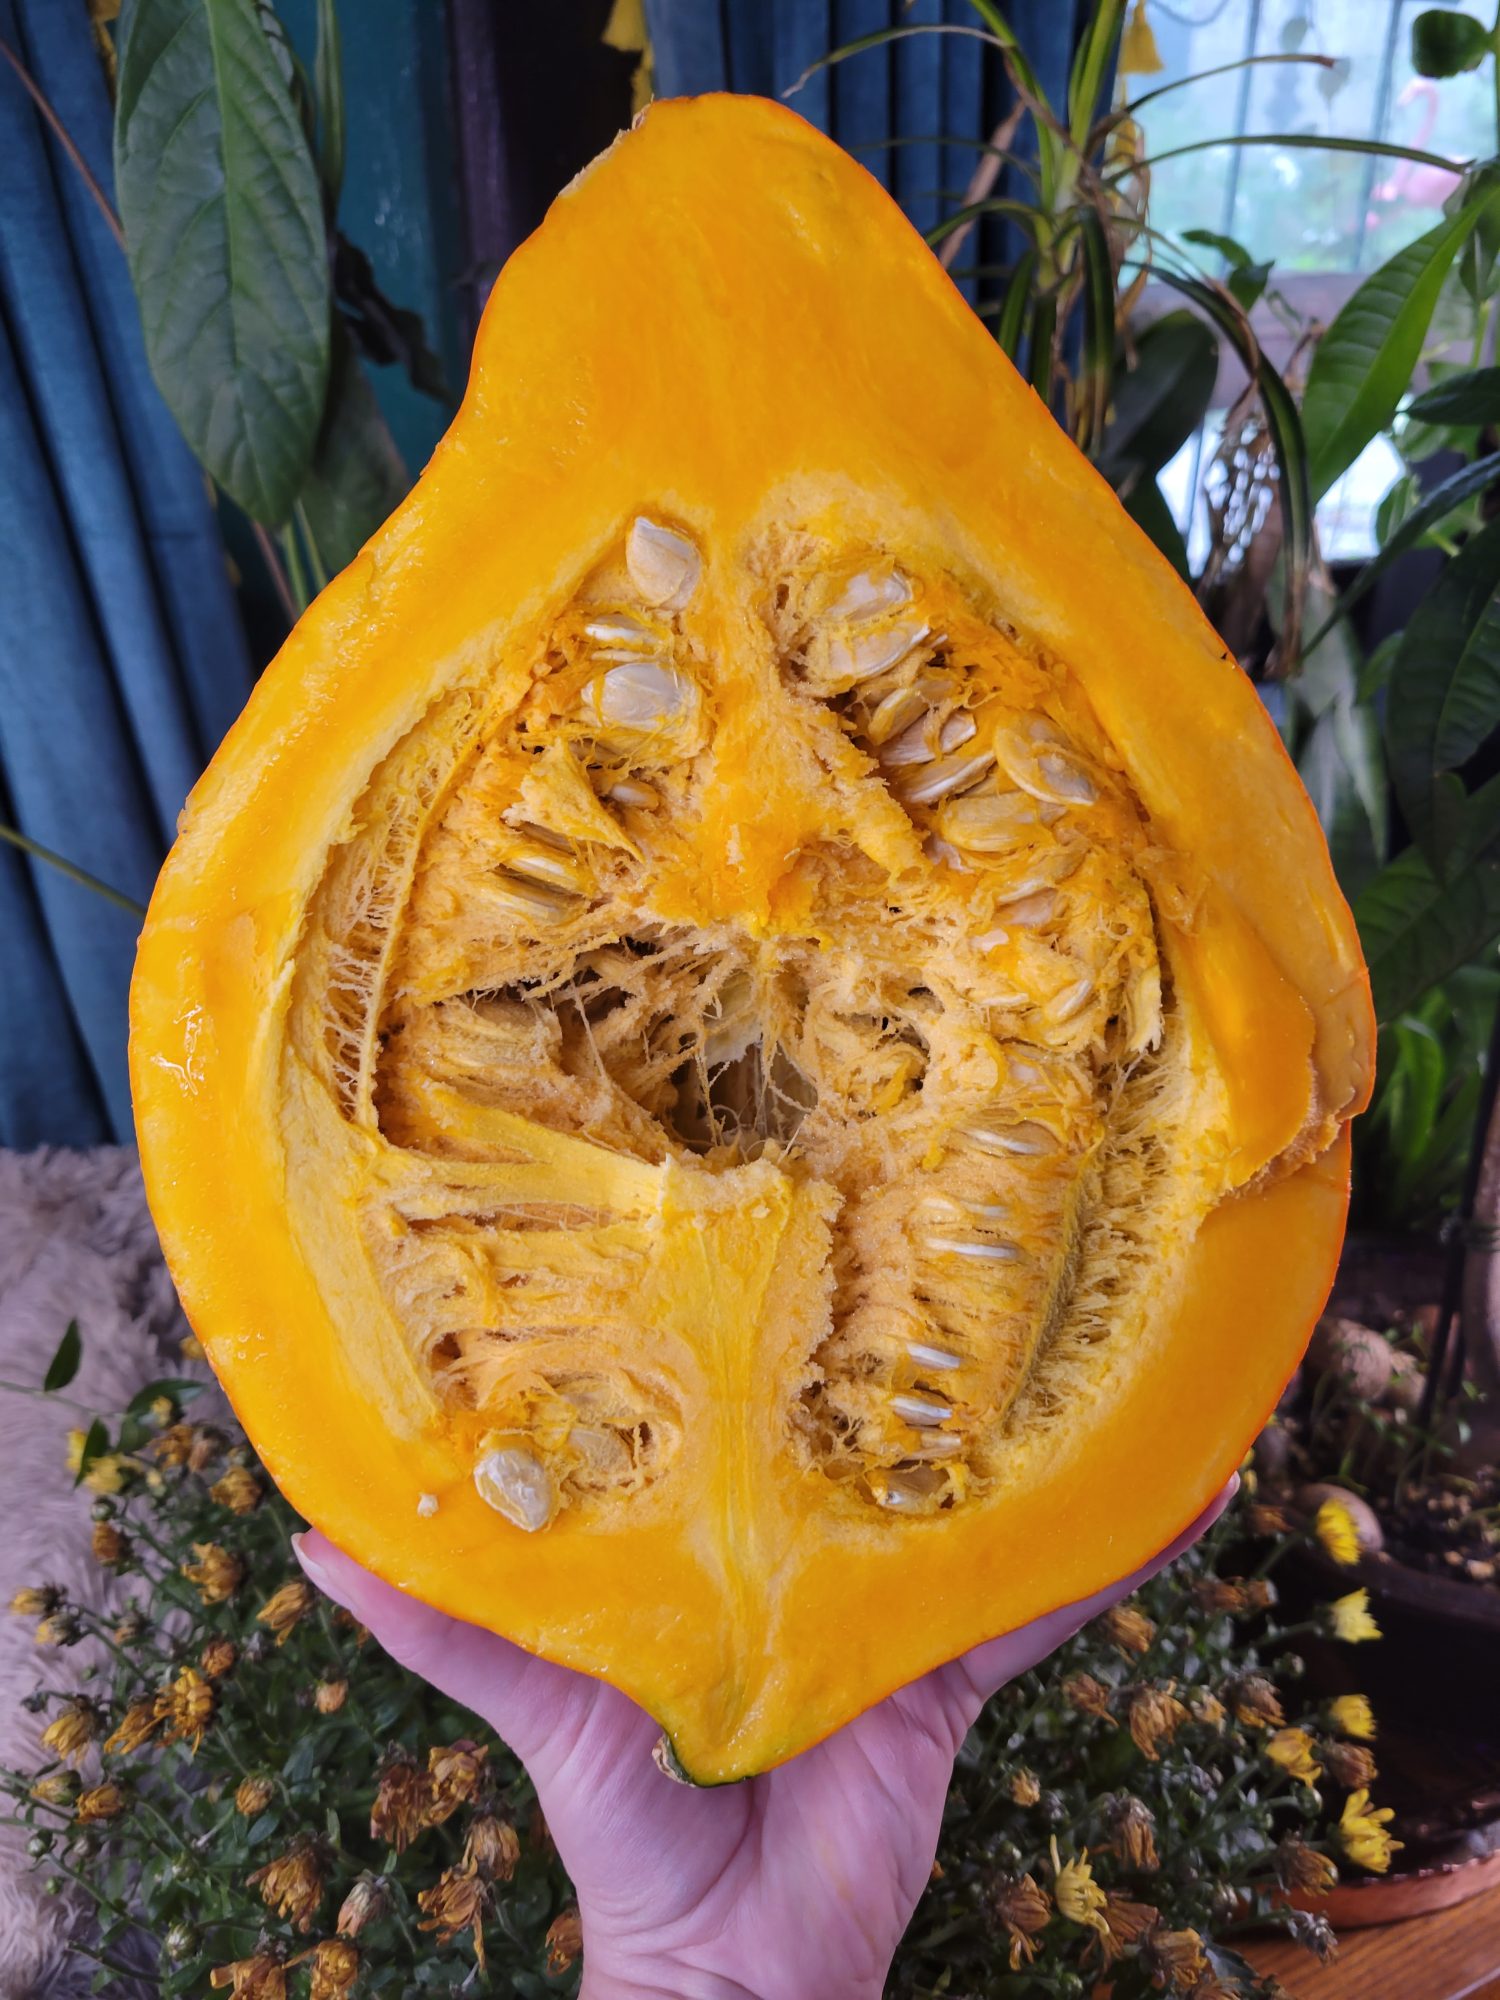
Cut squash in half.
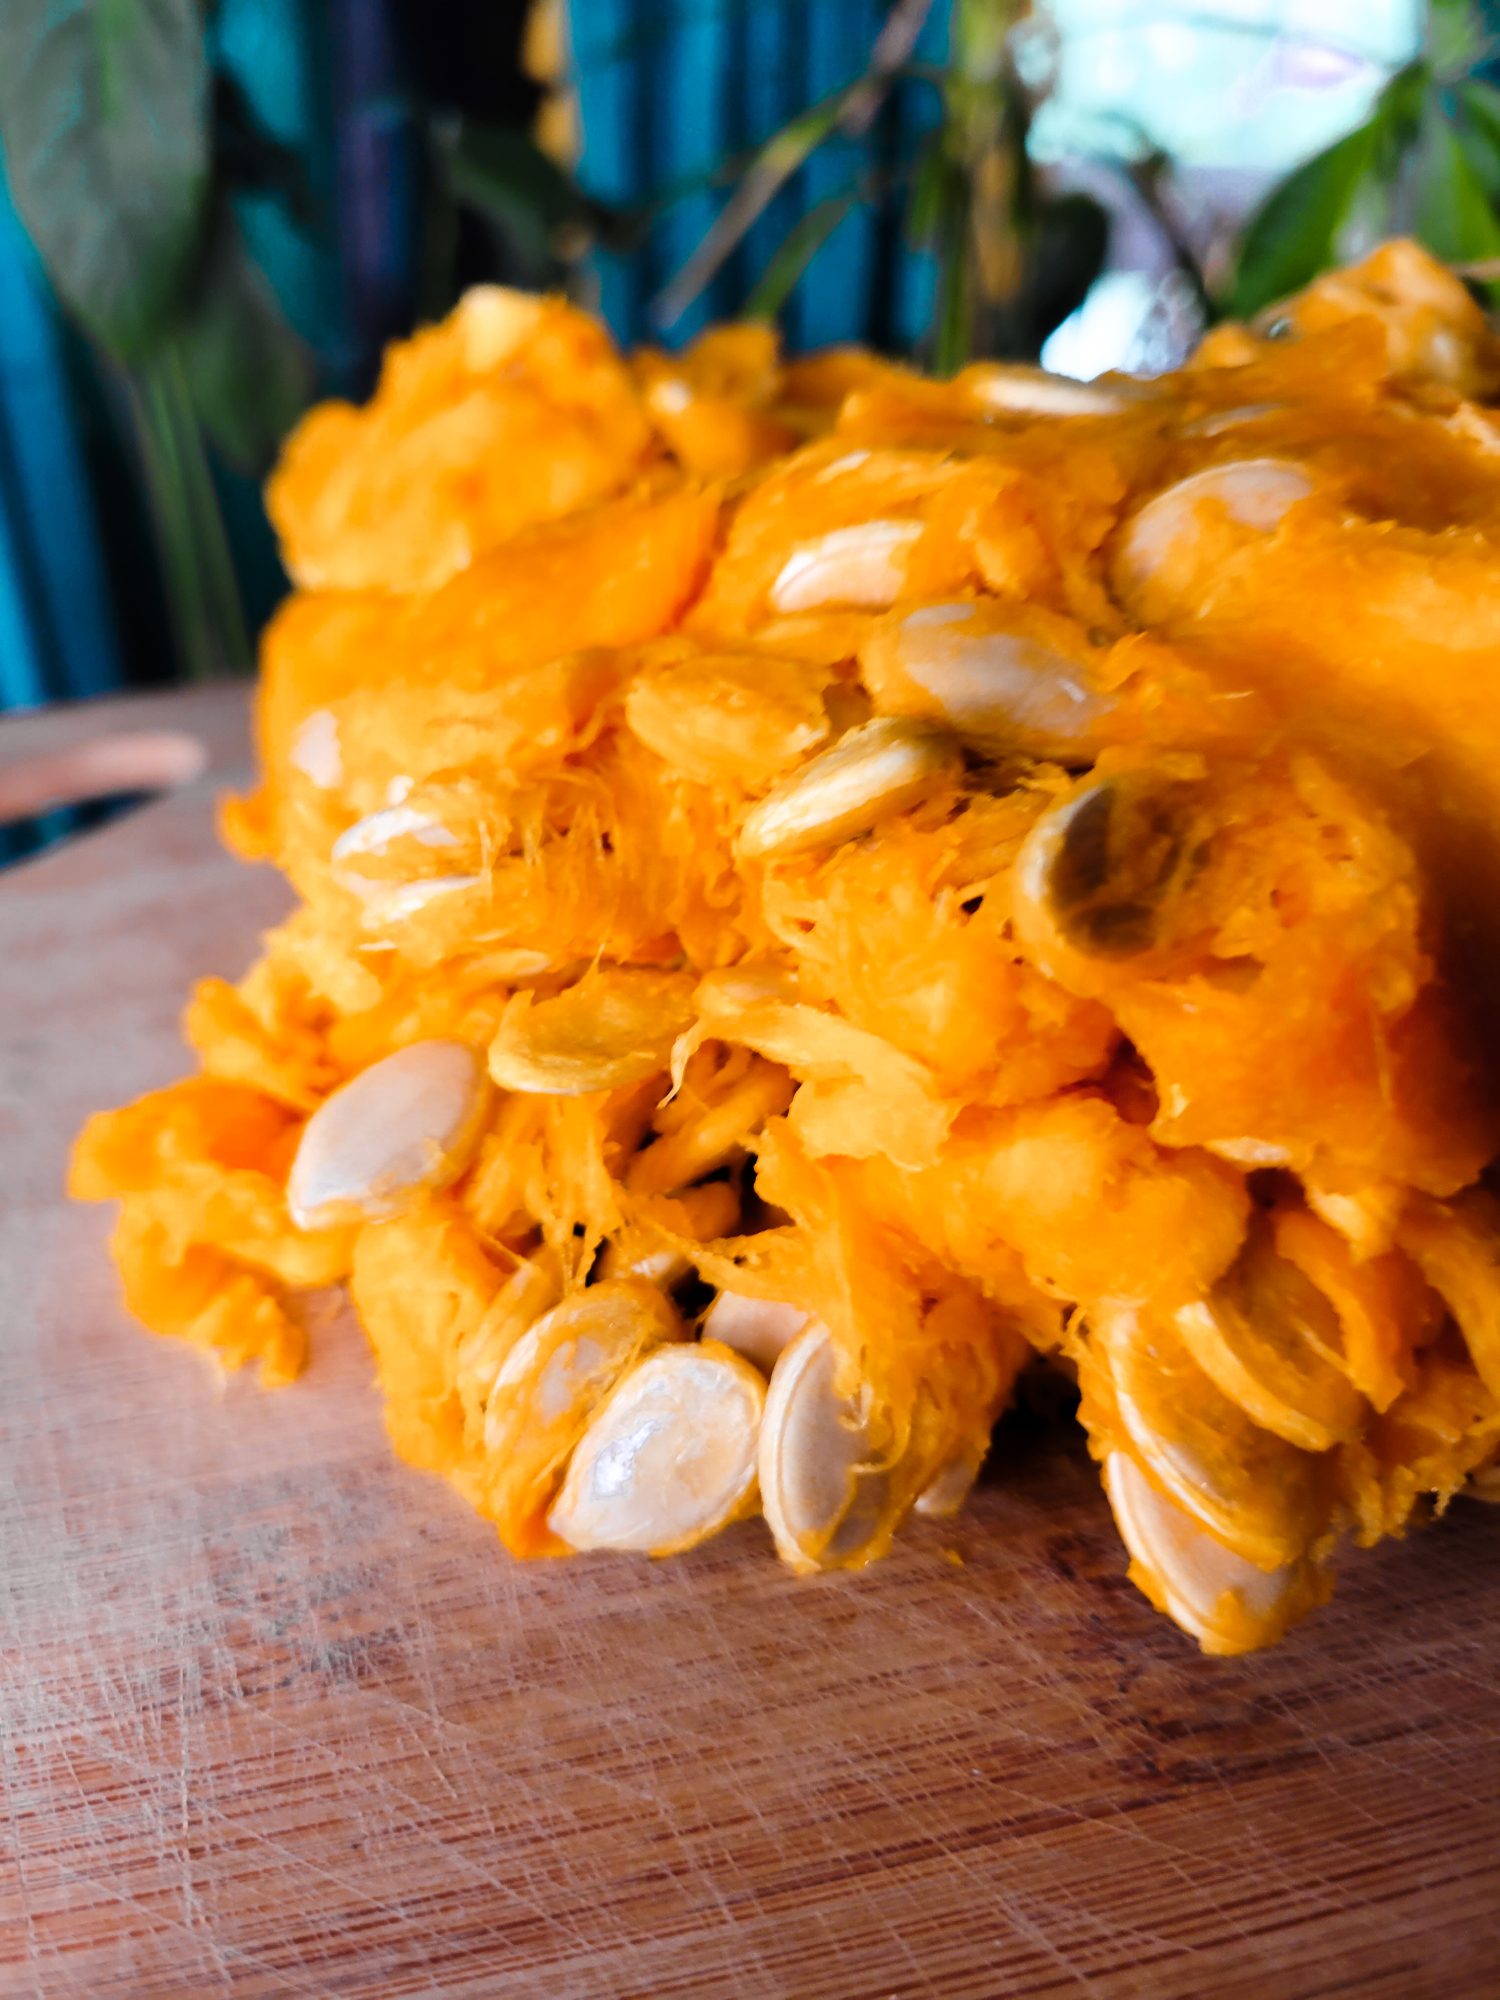
Using a spoon, scoop out the innards to remove all of the seeds and stringy pieces.
Separate the seeds.This can be kind of tedious, but stick with it. The "guts" are still edible, but can be texturally unpleasant and burn faster than the seeds. I will usually keep them to puree into soup or pet food. However, most people will discard them! Just make sure not to toss any seeds!
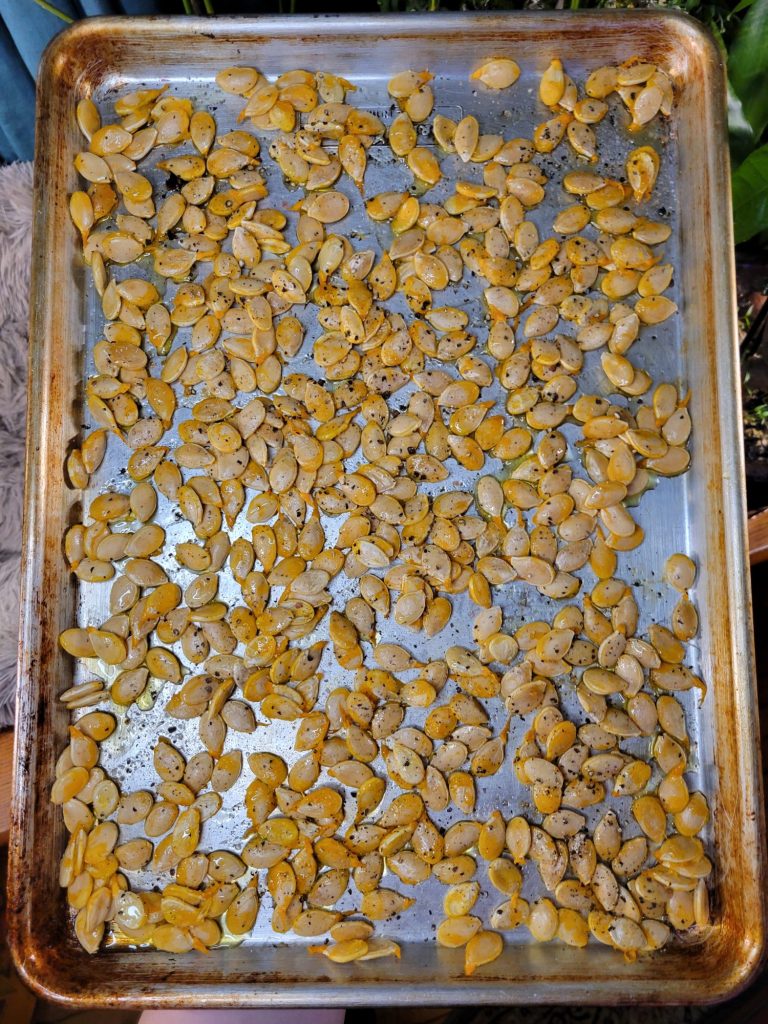
Add seeds to a bowl and sprinkle with olive oil, salt, and pepper.You want just enough oil to coat them, but not drown them. You're roasting, not deep frying here! You can also do this directly on the baking sheet. Just be careful not to over oil them. You're roasted the seeds, not deep frying them!The exact amount of salt and pepper also depends on the amount of seeds and personal preference. You can always add more after roasting if you under season it.
Spread across a baking sheet so that the seeds aren't touching too much.I will pat my fingers across the seeds to rapidly separate them. It's almost like trying to flatten the pile. The seeds will just slide away from one another. It's alright if they're touching, just not on top of one another.
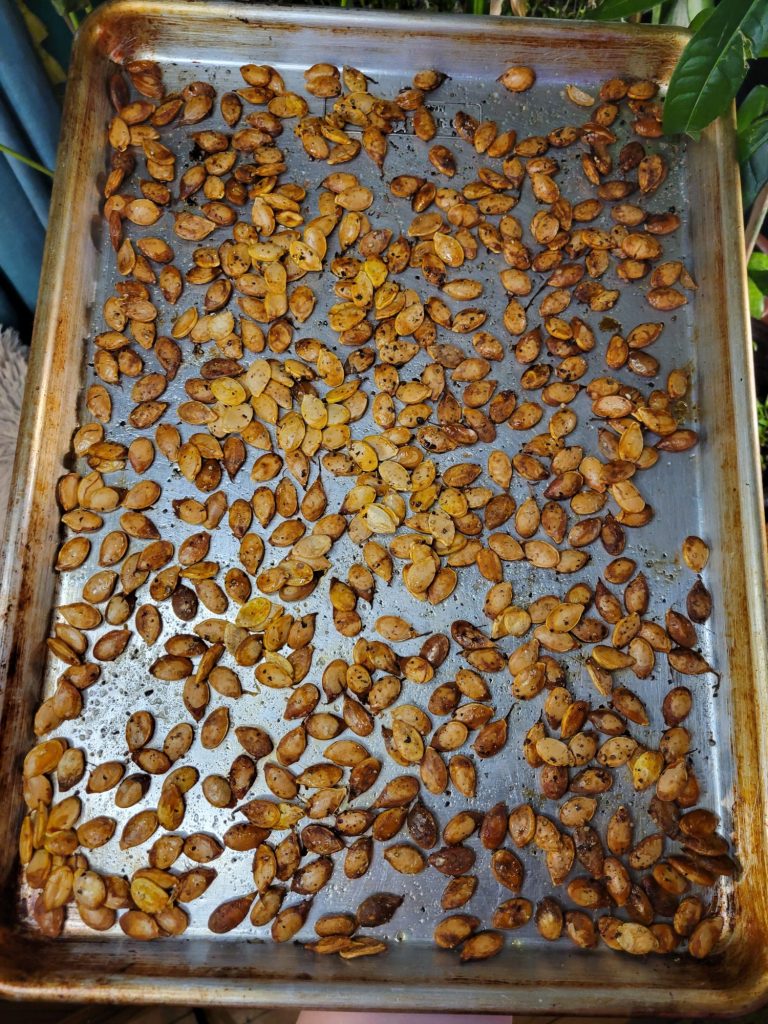
Roast the seeds for 15-20 minutes, or until golden brown.
Remove from the oven and immediately the seeds or remove from the baking sheet entirely to let cool.They will continue to cook slightly on the baking sheet. So, if you don't mind them a little crisper, leave on. If they're definitely done or even overdone slightly, remove from the baking sheet as soon as possible!
As a general rule, I don't like to edit my images and I am firmly against alteration of images in food blogs. It's not something that we generally think about when it comes to recipes. But food styling, editing, alteration, and even faking entirely is just as rampant a problem in the recipe realm as anything else! Cooking is a very visual art and you can tell when a lot of foods are cooked based on the color. So, when this is altered and you can't use the coloration as a gauge, it makes it quite difficult to follow some recipes. I have an entire article about Food Styling and Unrealistic Expectations of Recipes.
Because of this, I try very hard not to alter any of my photos. I like to take photos with natural sunlight during the day. Ordinarily this is very true to color and I don't edit the photos at all. However, since my place is very warm with a lot of yellow lighting, sometimes my camera overcompensates and ends up with an unnatural blue tone. In the following images on this page, I adjusted the levels and hue to try and make this more true to color. In the interest of transparency, these are the before and after photos.


Leave a Reply