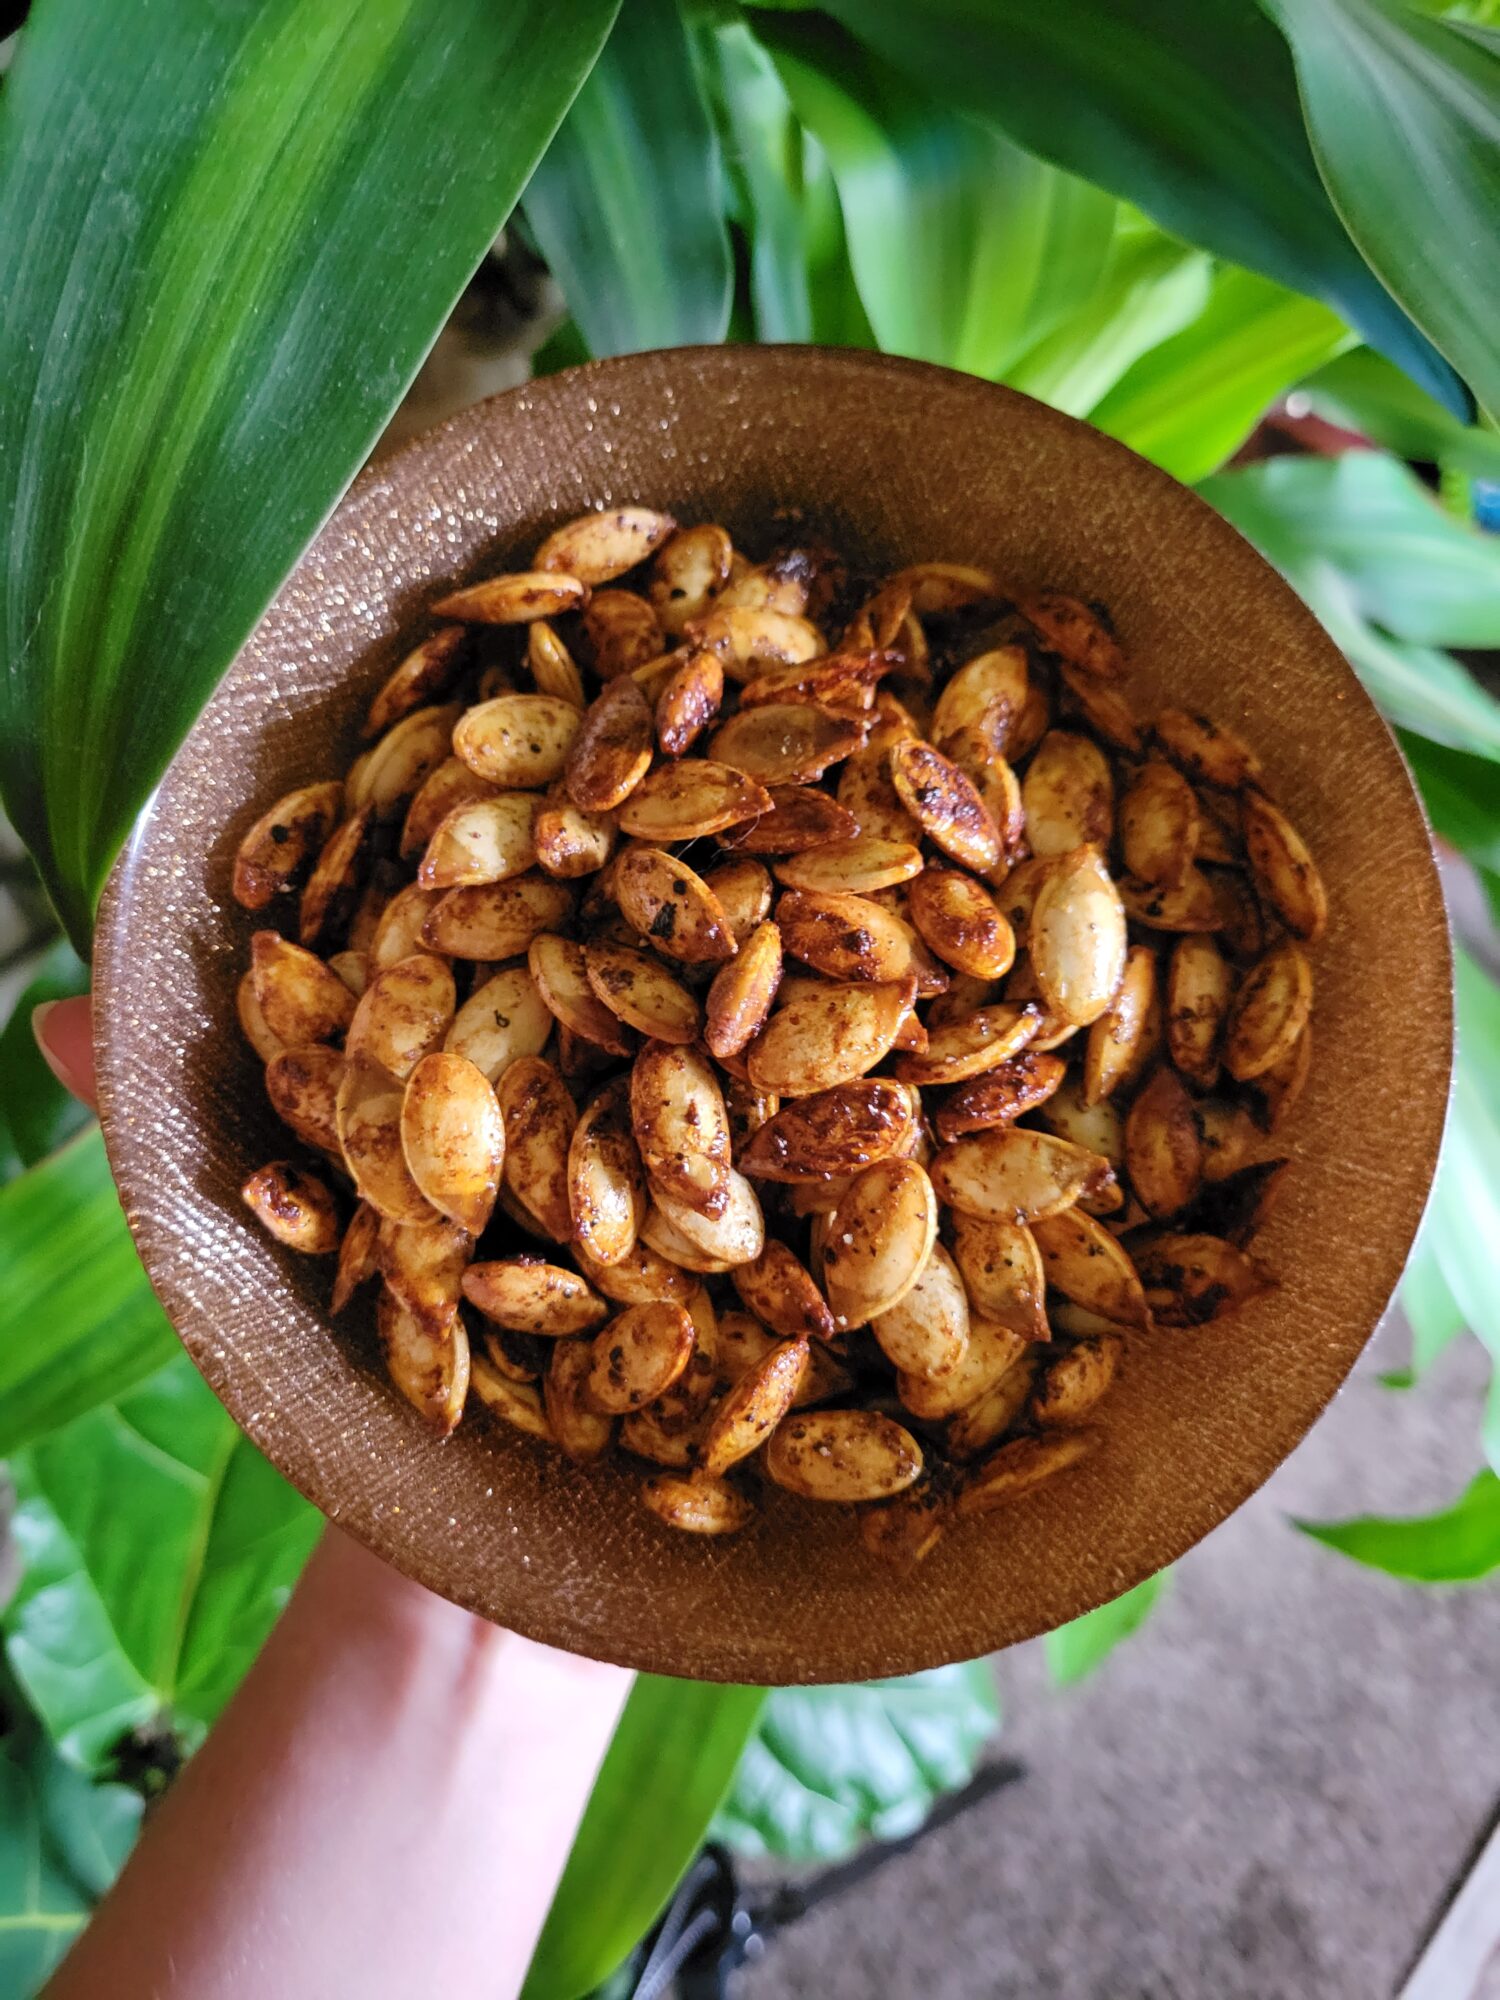
This may have more seeds per pound than any other squash or pumpkin that I have roasted for eating purposes. They're bigger and meatier than most squash seeds. Ending up with a kind of bitter flavor profile. Partially because they do take so much longer to roast than smaller seeds. But the sheer amount of roasted blue hubbard squash seeds makes it worth it! I'm constantly roasting squash and eating the pumpkin seeds before I even think about using the actual squash because they are typically a relatively small proportion of the actual gourd. But I constantly wish that there were more of them! While these might not be the tastiest of tiny delicious little seeds. I'll take it, though!
Gallery
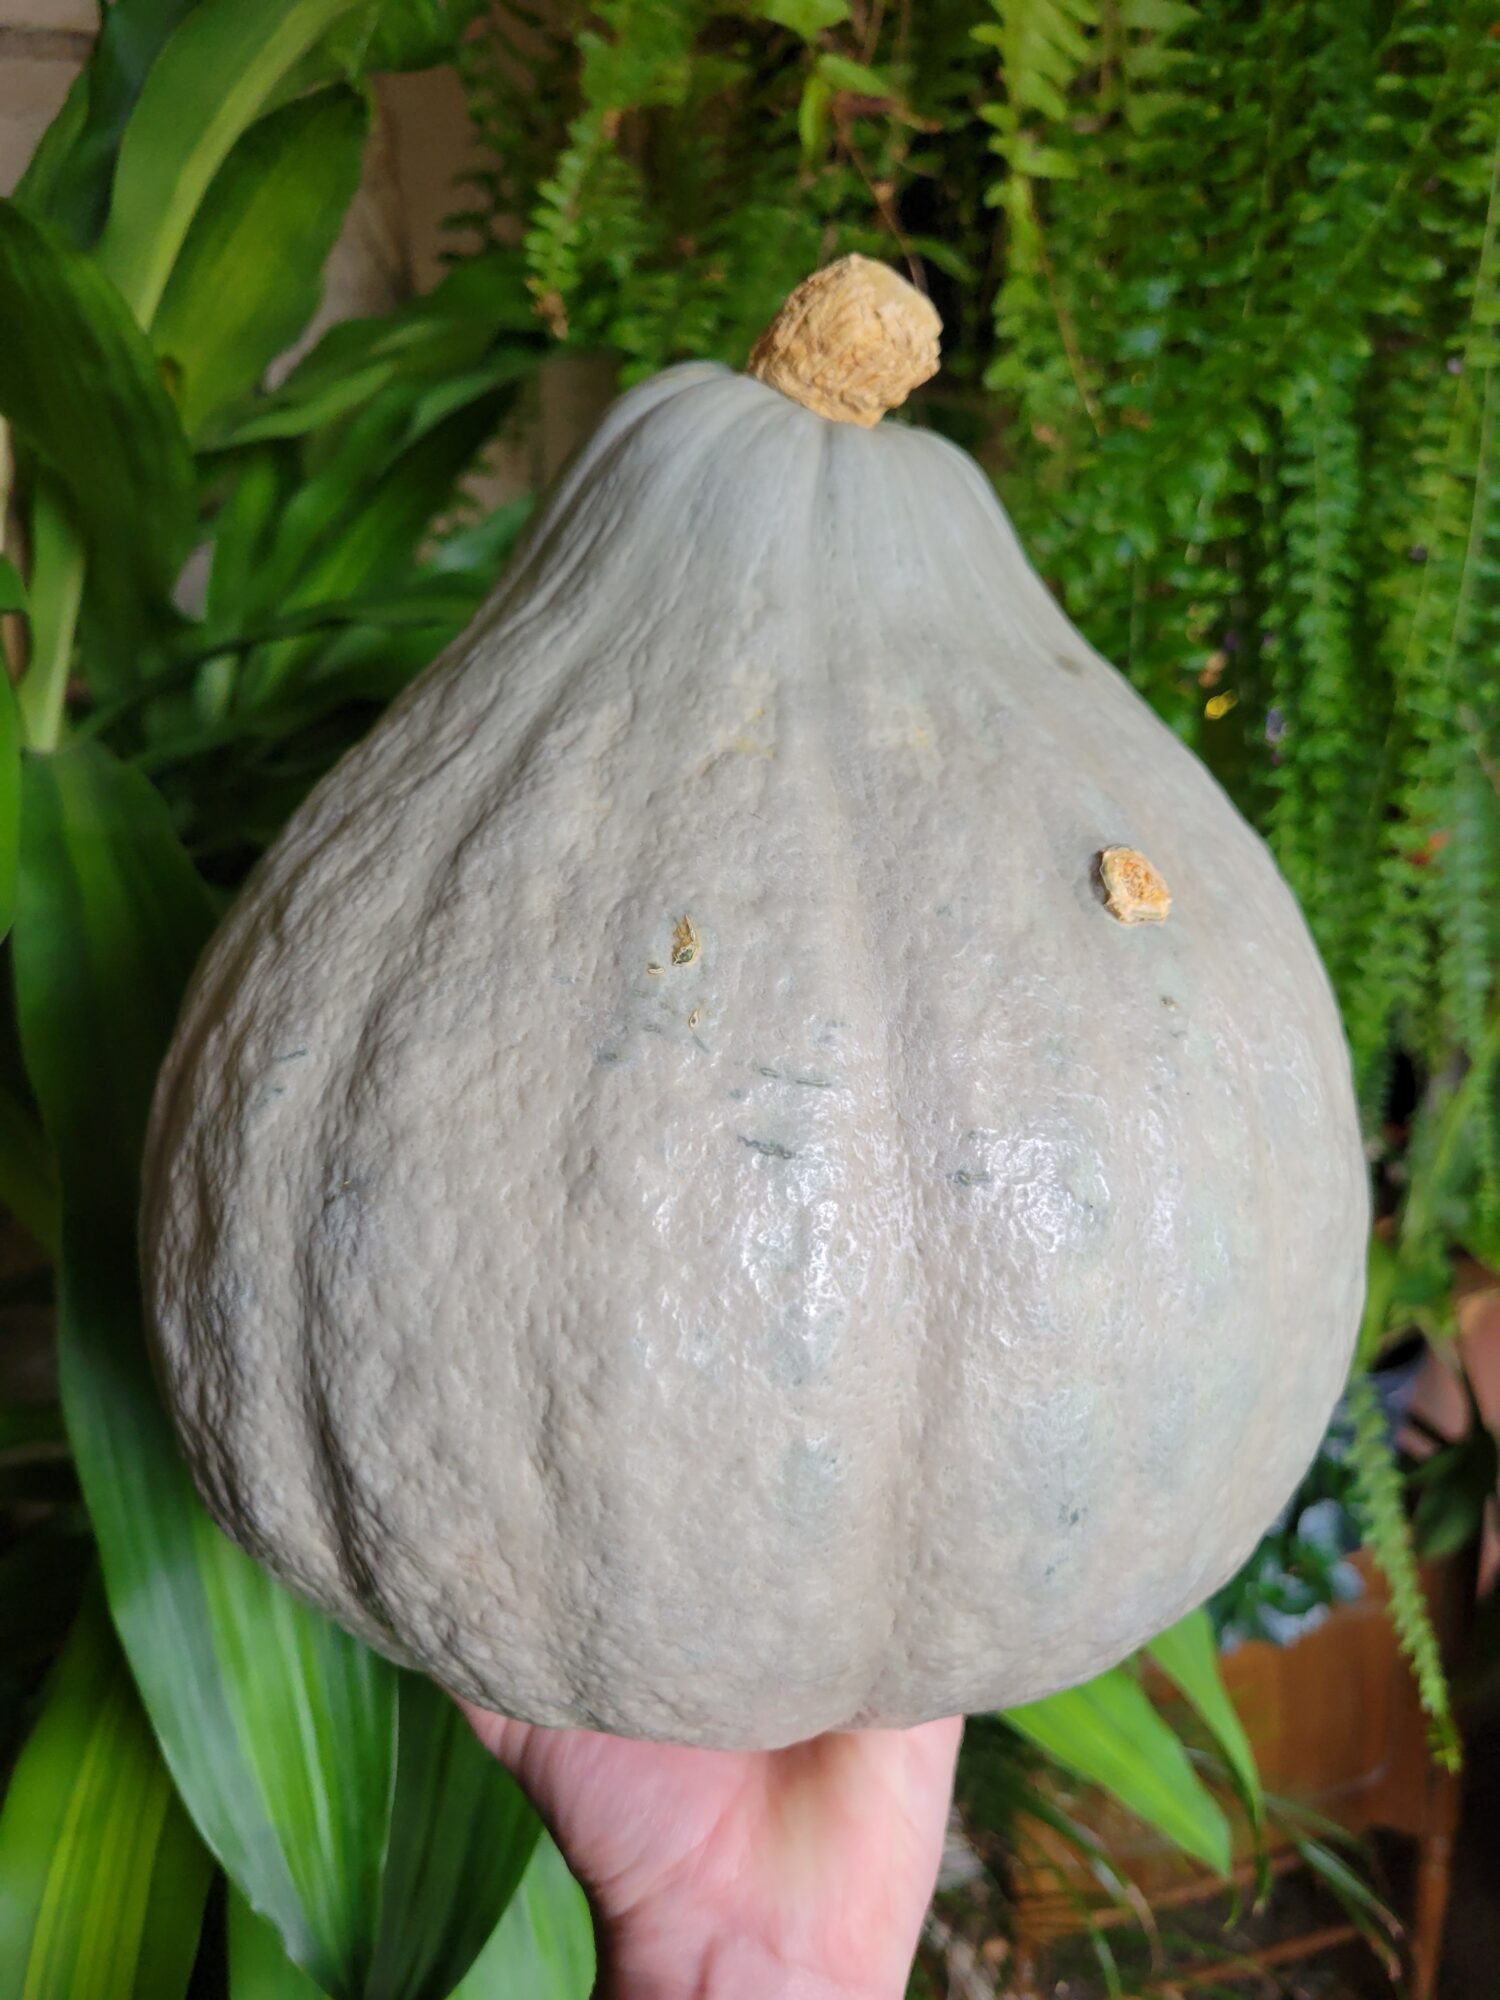
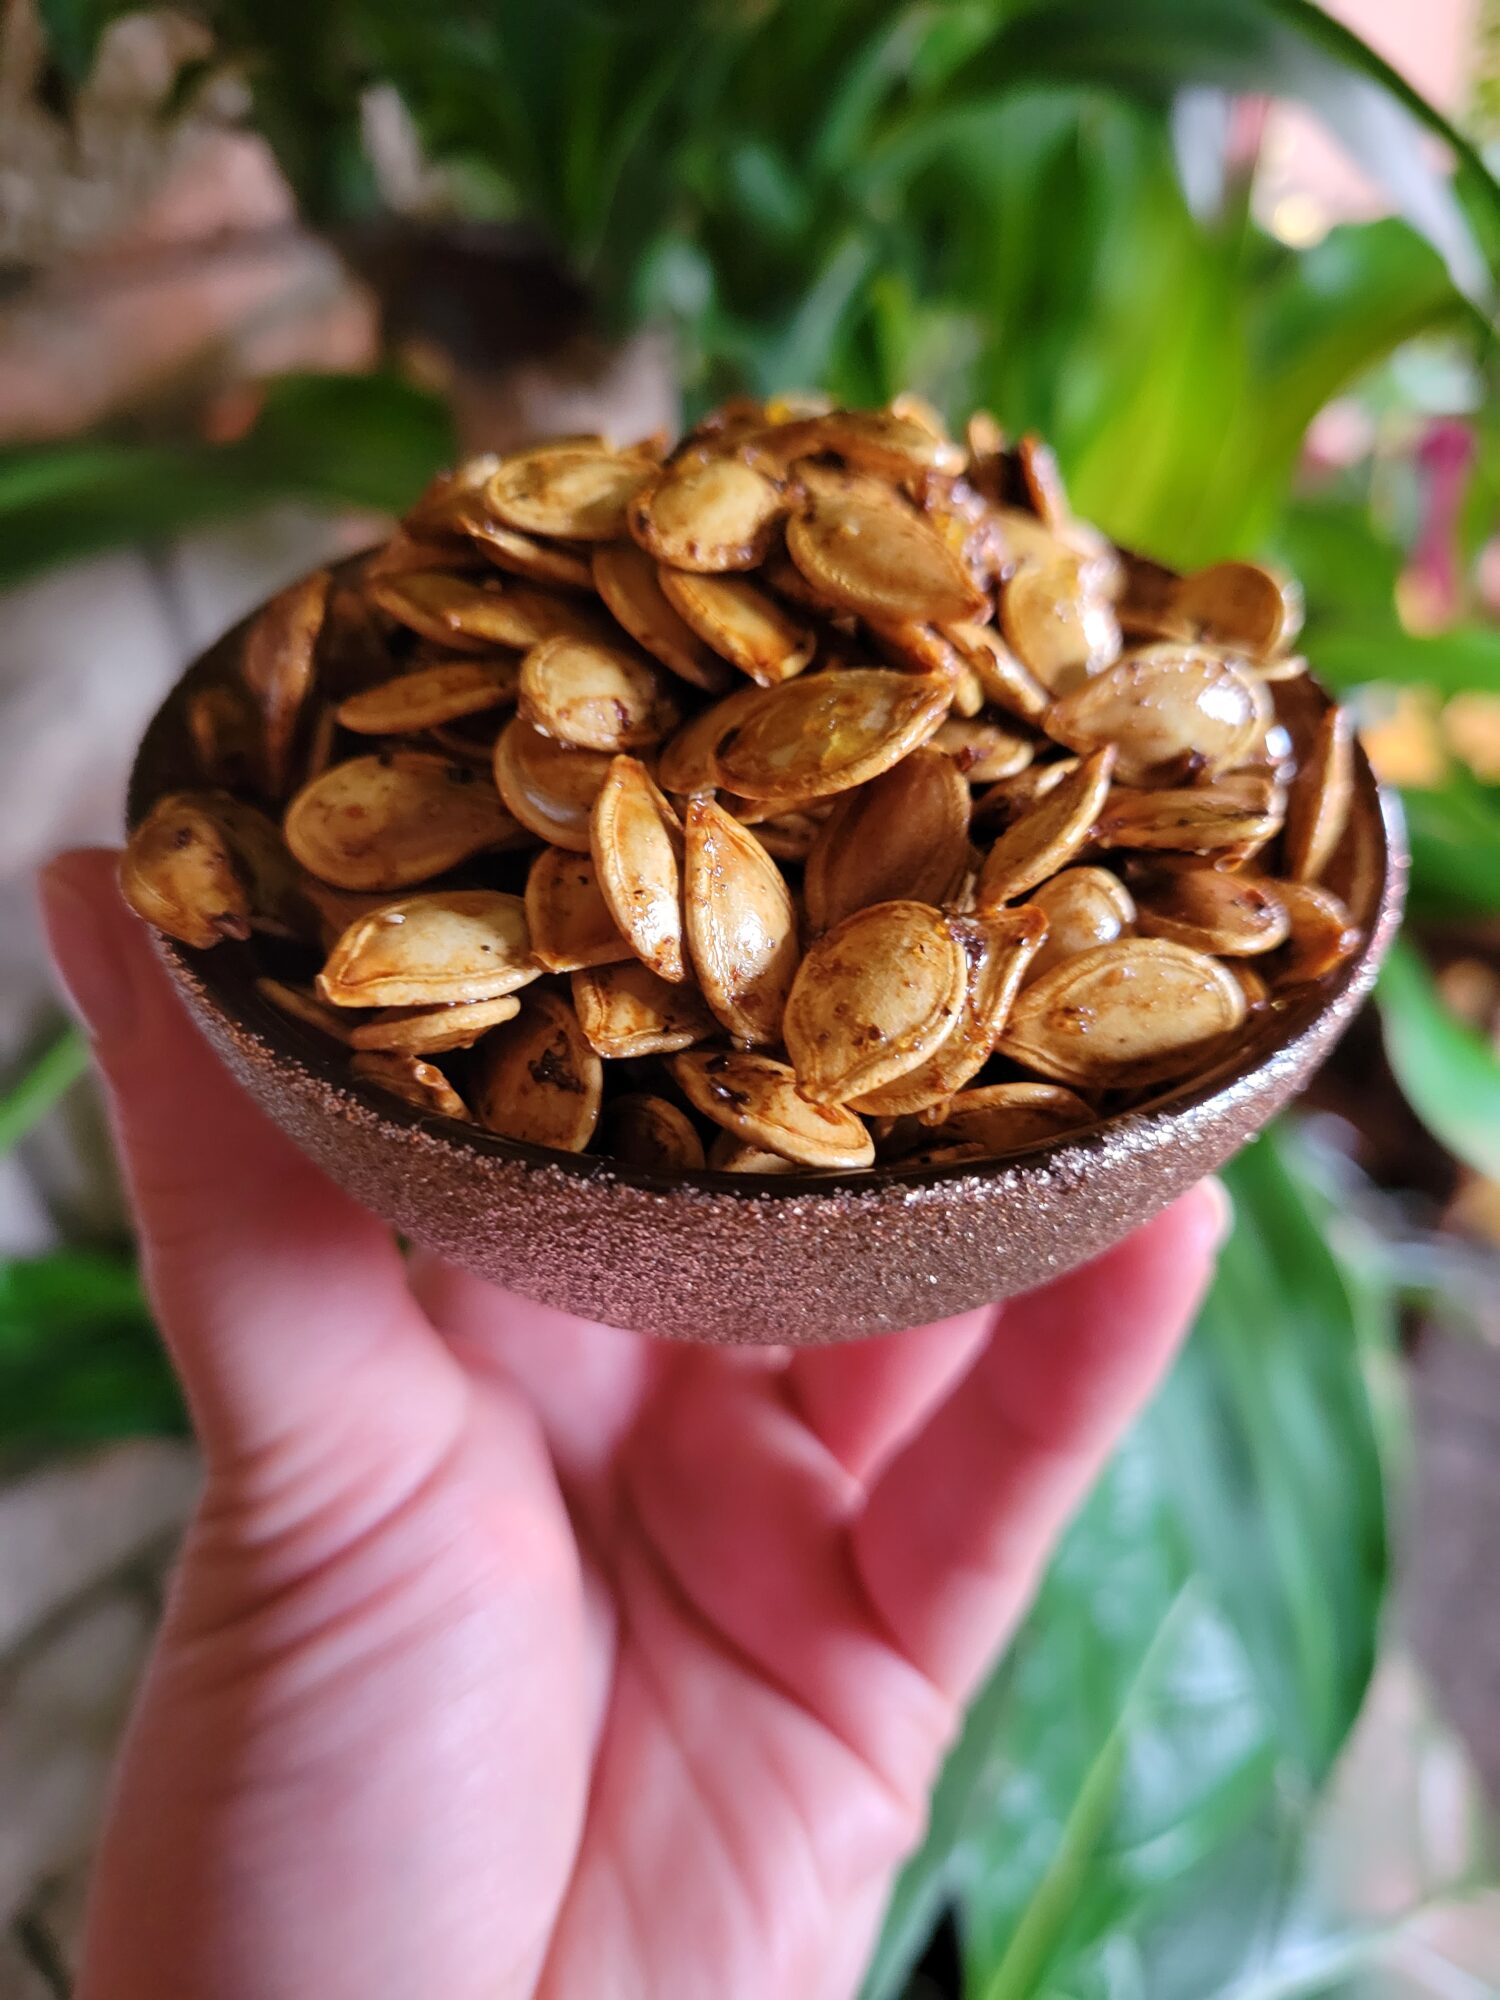
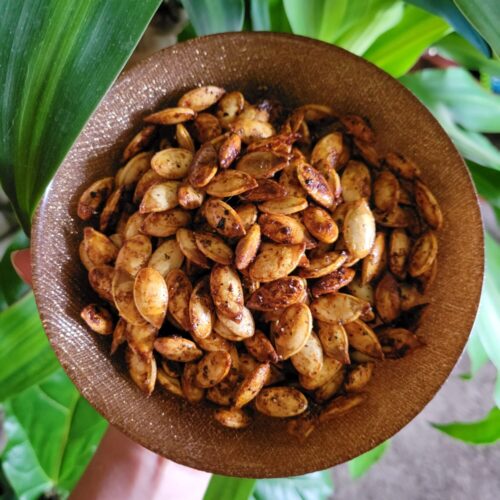
Variations of Blue Hubbard Squash Seeds
Roasting squash seeds are one of my favorite things to do. I'll sometimes get extra squash just to freeze it and roast the seeds. They're maybe my favorite part of any and all gourd roasting experience! Larger seeds take longer to cook, though. So, increase the cooking time dramatically until softened. They vary widely by individual squash, regardless of type of gourd.
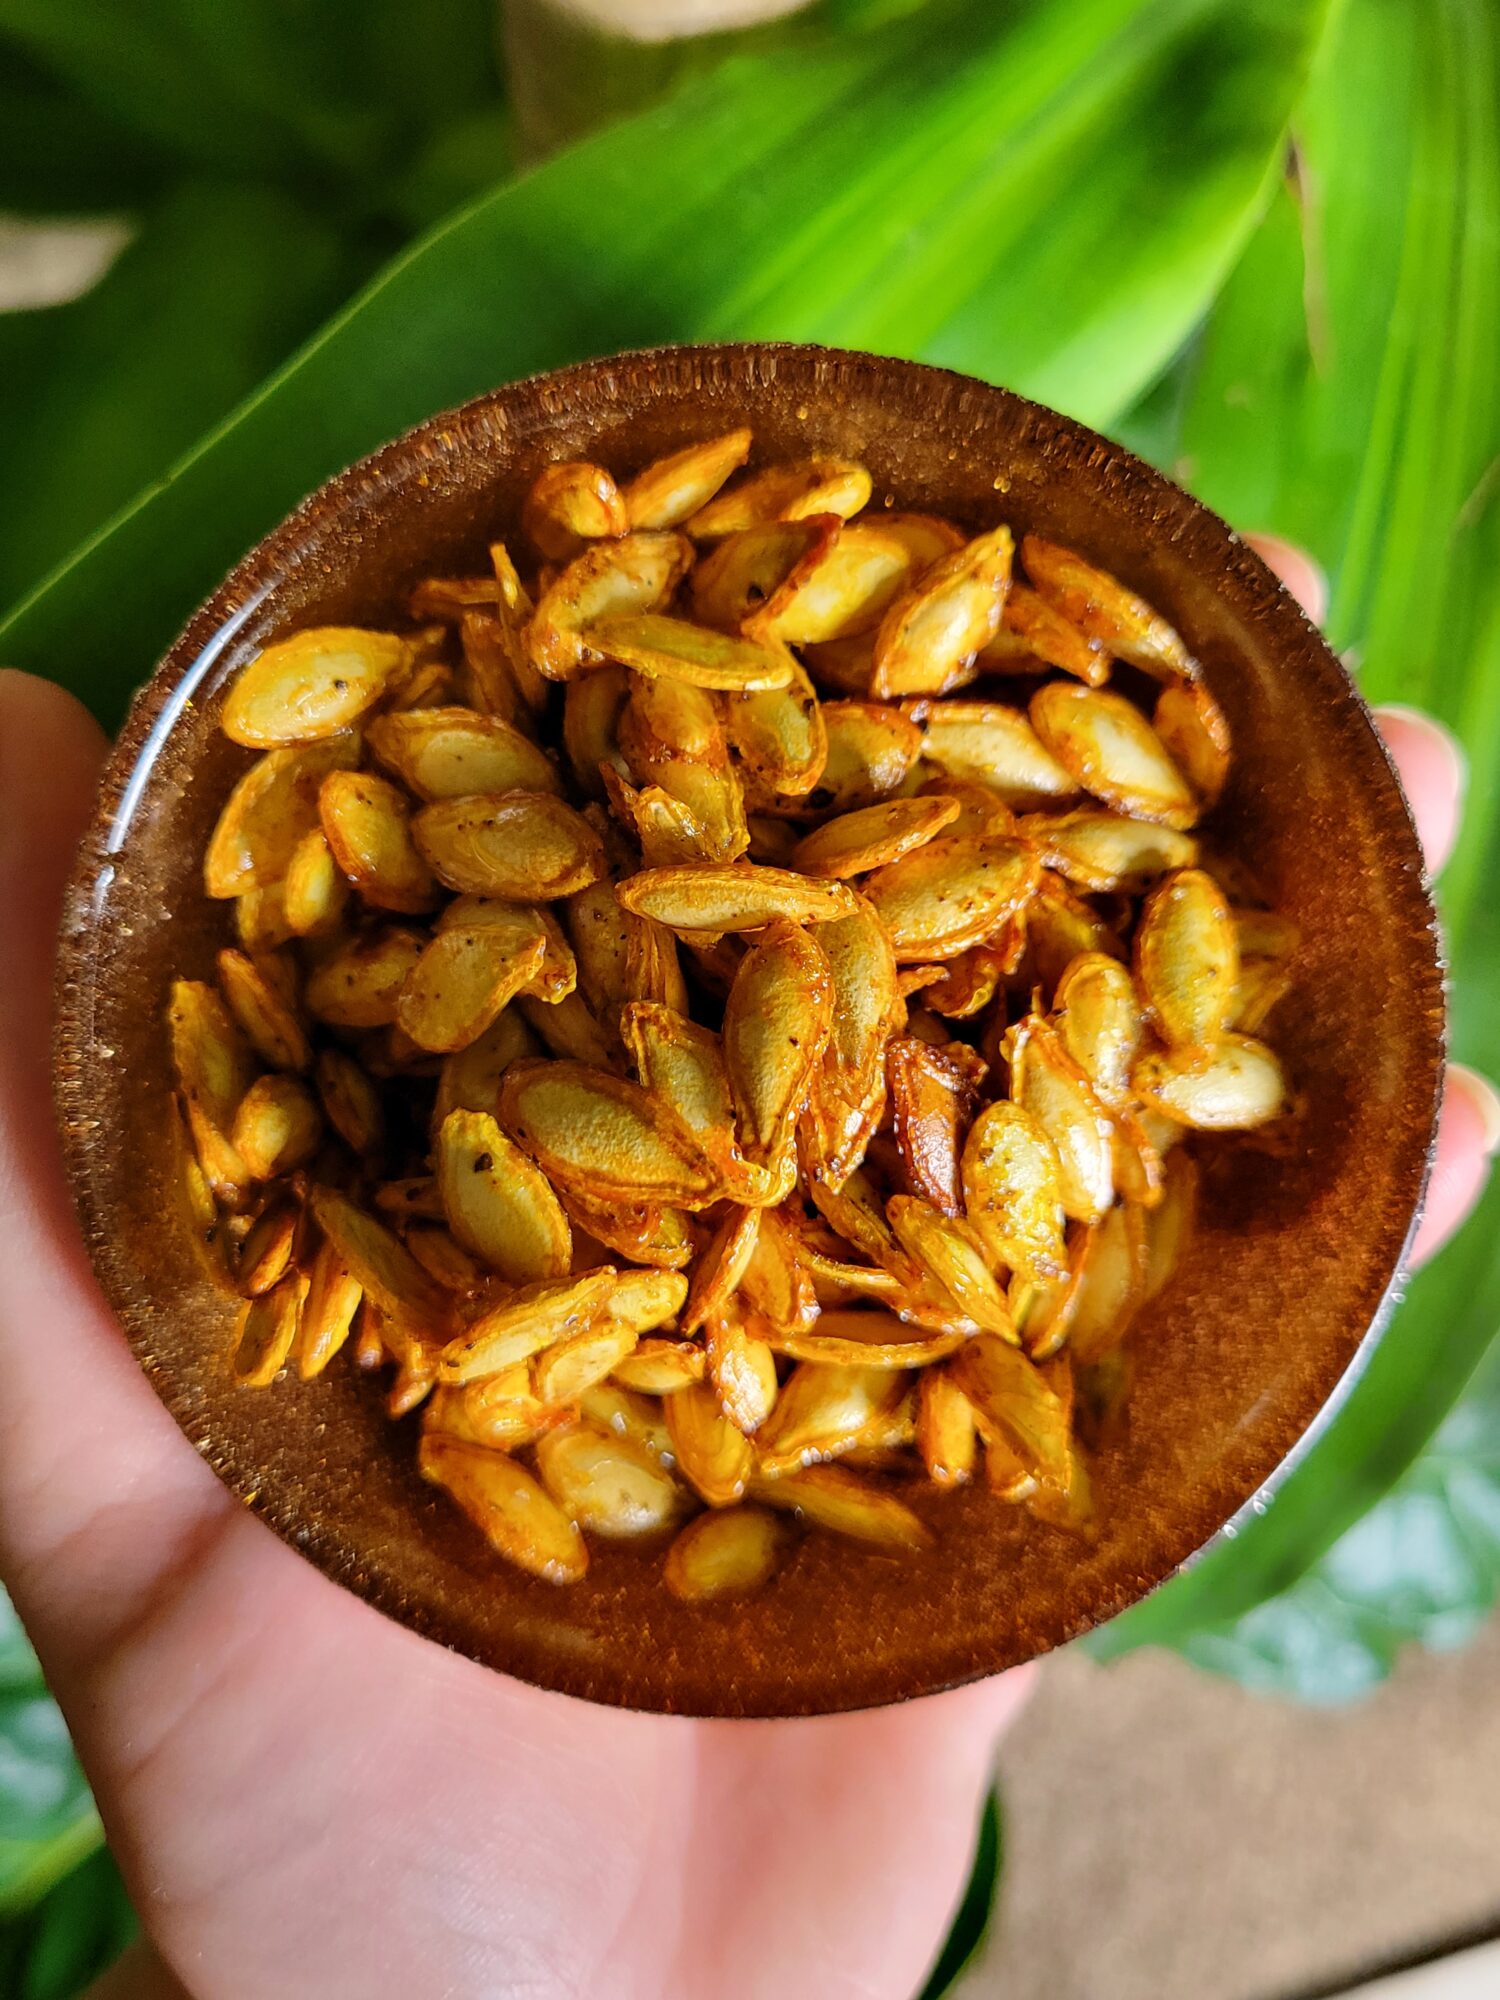
These Roasted Blue Hubbard Squash Seeds are absolutely delicious. Any edible squash has edible seeds. They're maybe the best part of any squash roasting experience! I will get extra squash, freeze the roasted squash, and then just eat all of the squash seeds in anything and everything until I have to get more squash.
seeds ofblue hubbard squash(or similarly large squash or pumpkin)
drizzleolive oil
dashsalt
dashpepper
Instructions
Preheat oven to 350 degrees Fahrenheit.
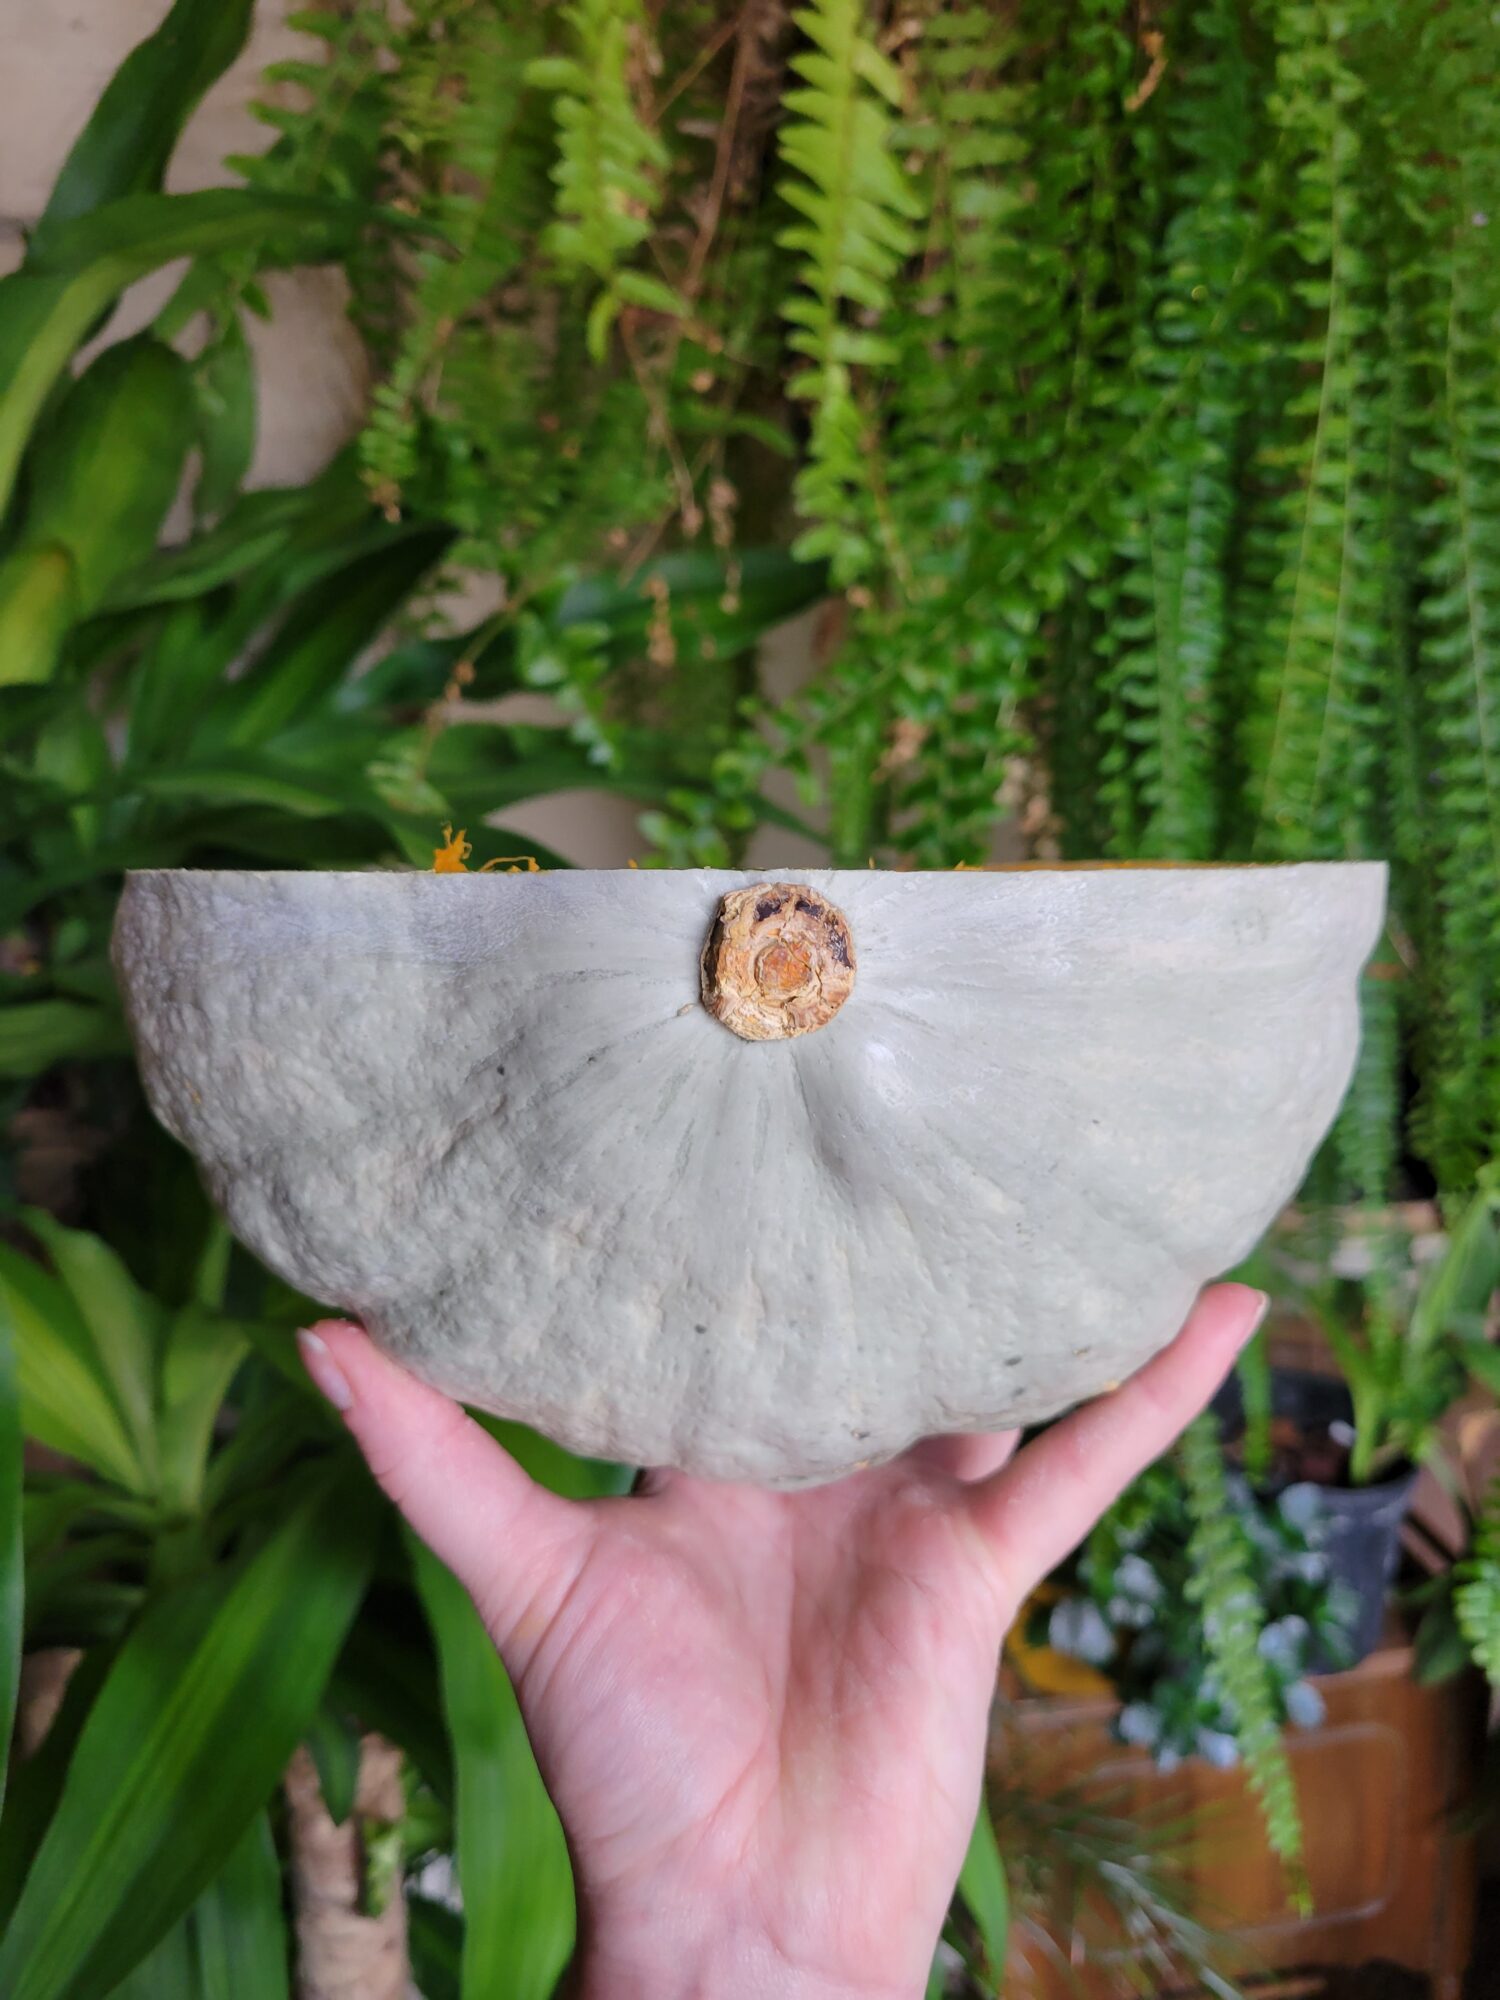
Cut squash in half.
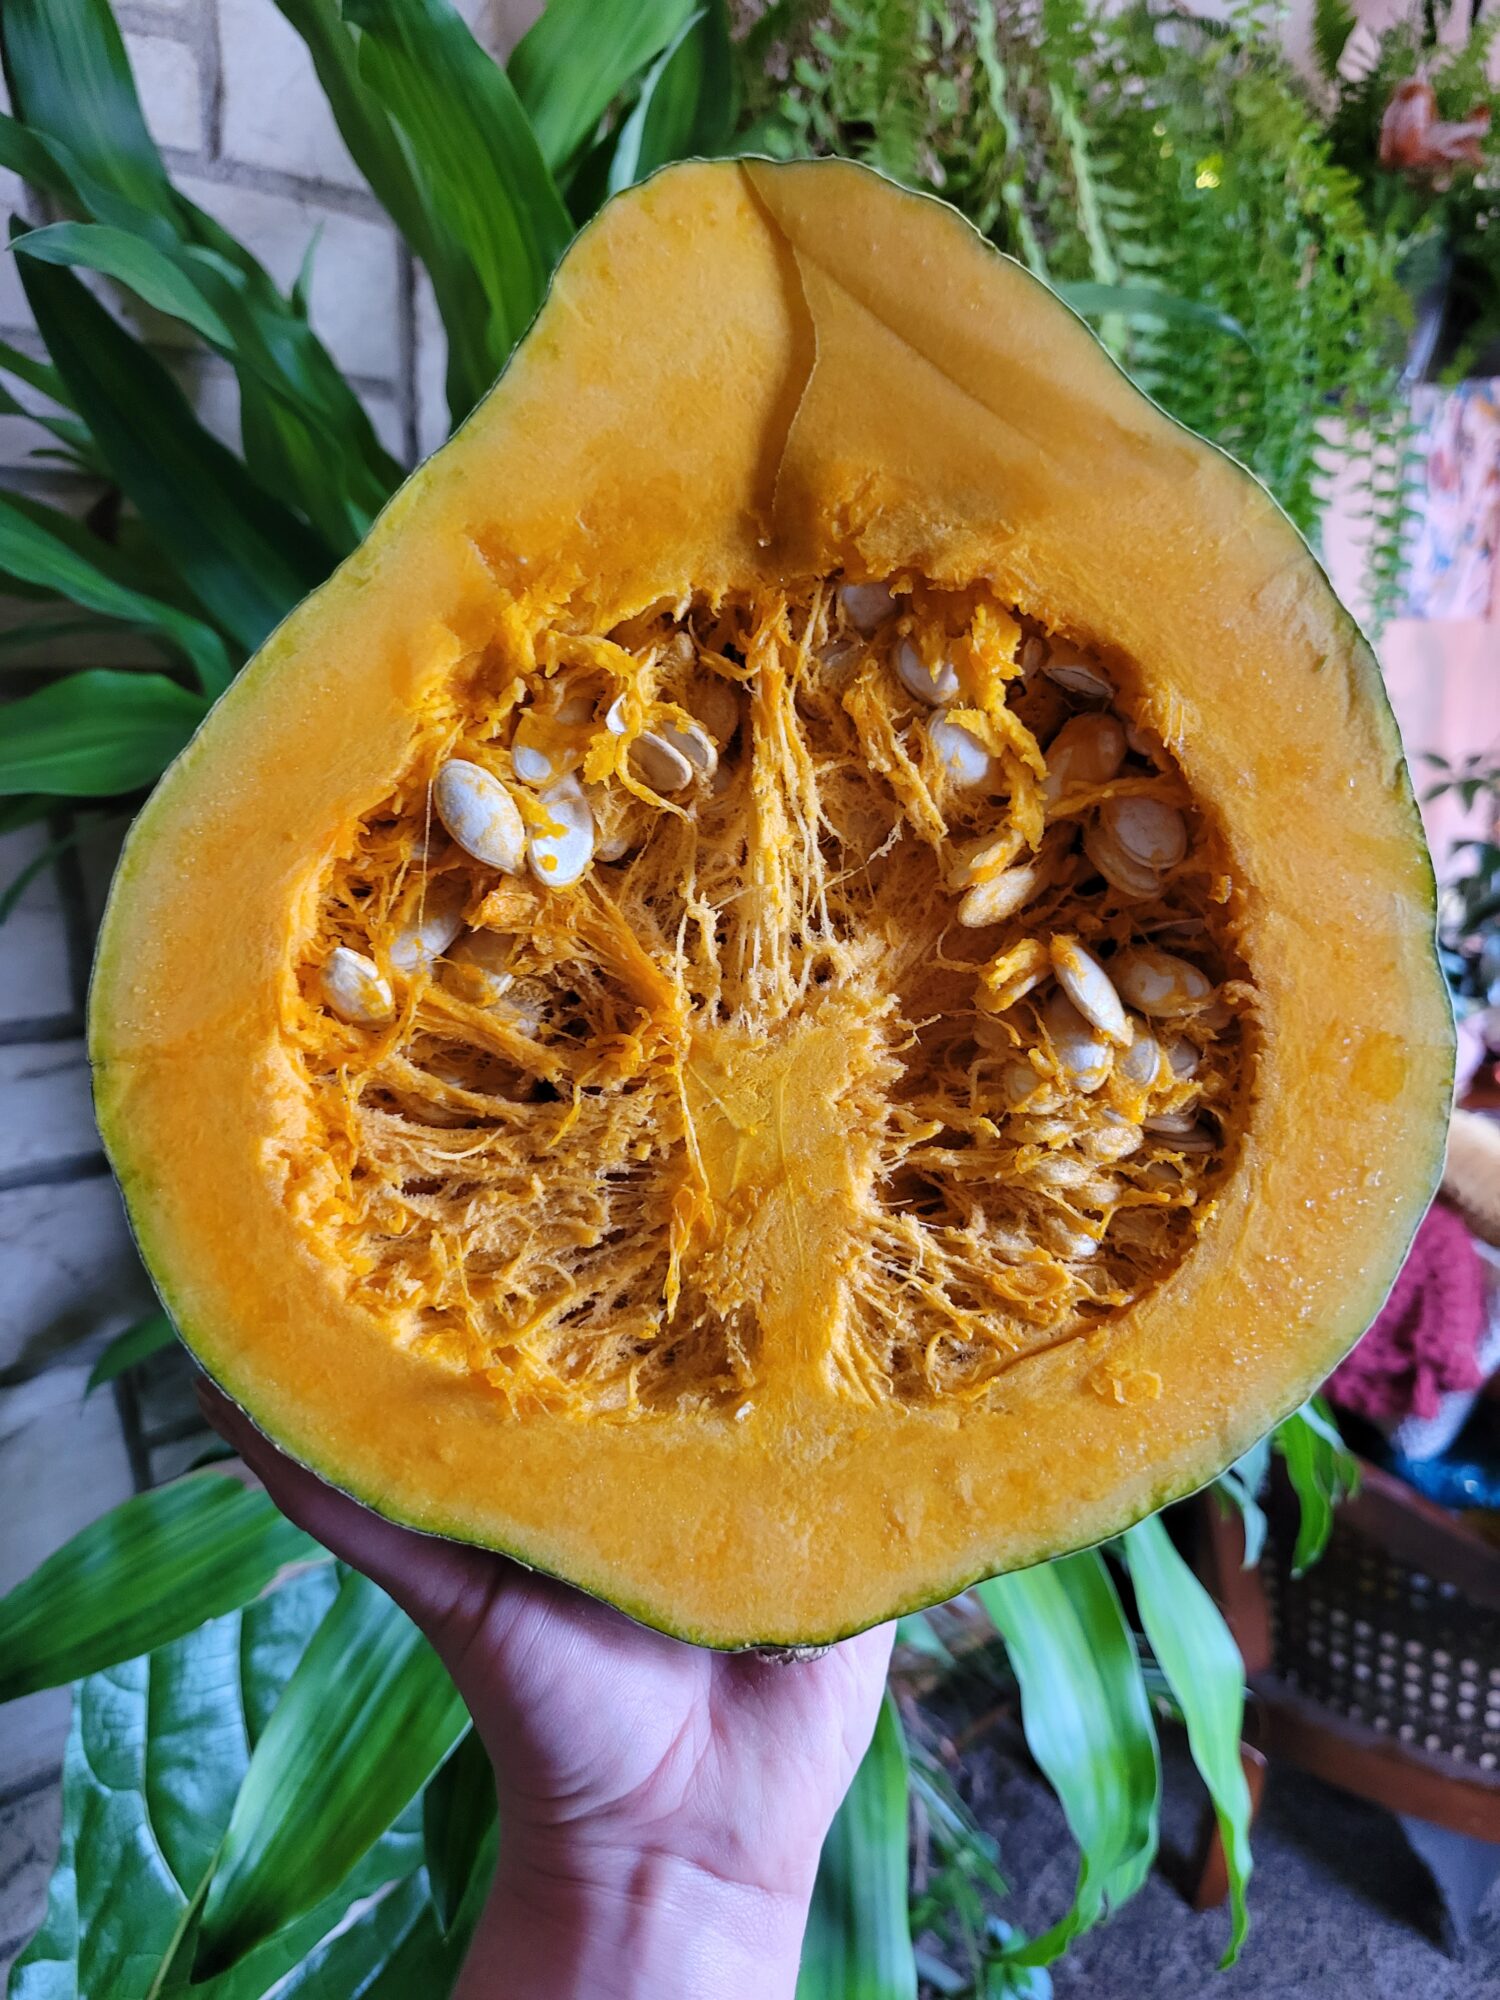
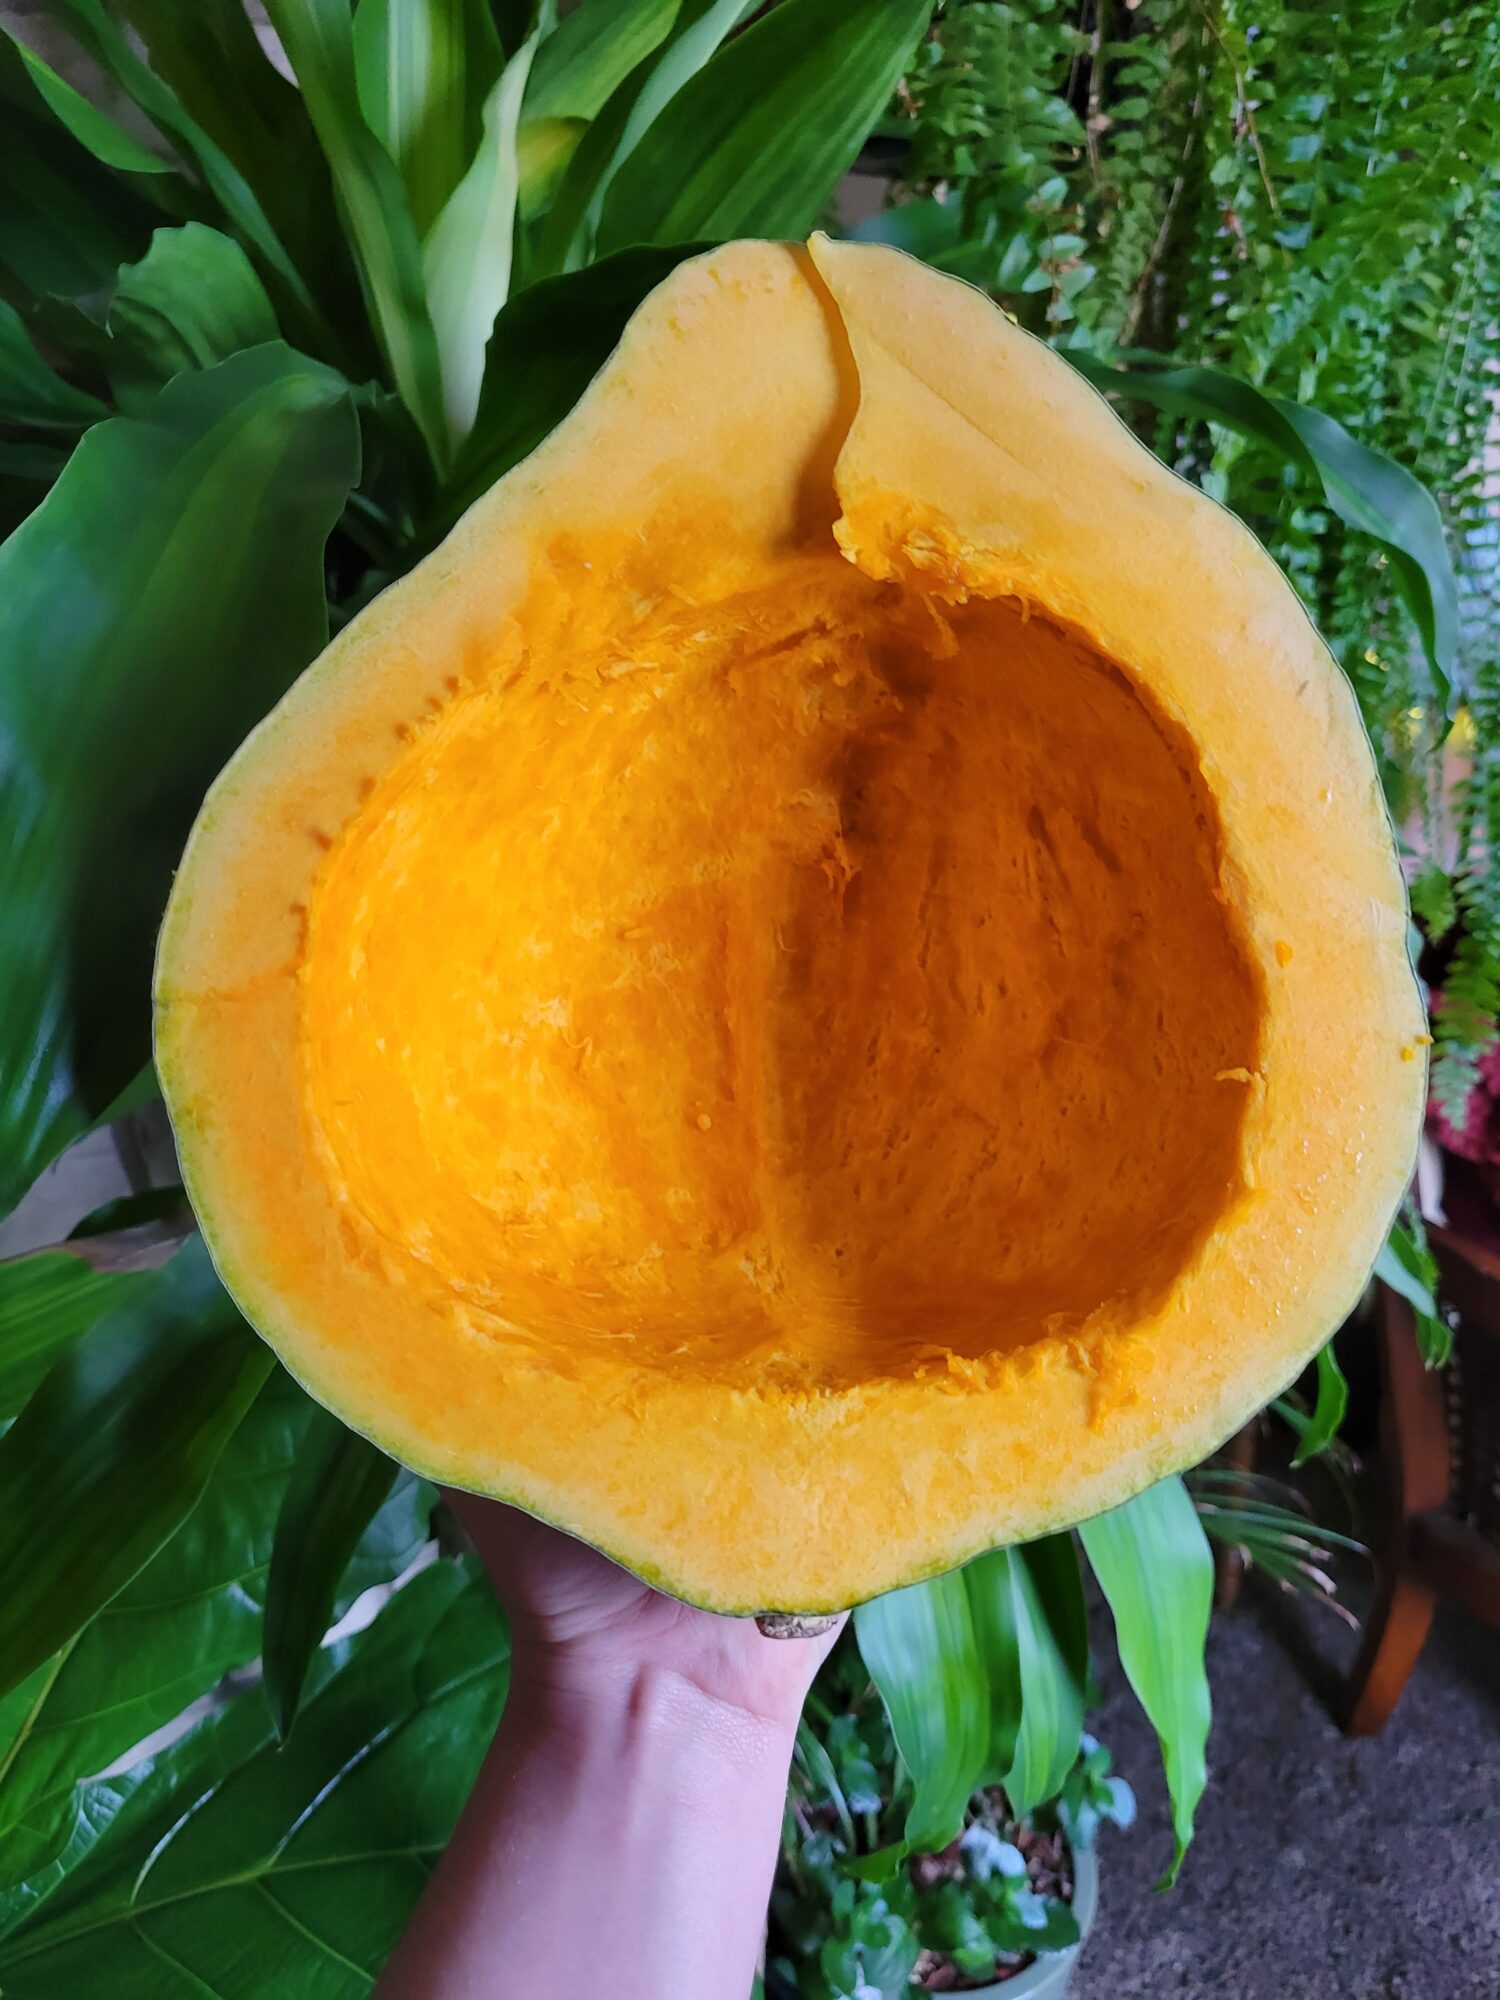
Using a spoon, scoop out the innards to remove all of the seeds and stringy pieces.
Separate the seeds.This can be kind of tedious, but stick with it. The "guts" are still edible, but can be texturally unpleasant and burn faster than the seeds. I will usually keep them to puree into soup or pet food. However, most people will discard them! Just make sure not to toss any seeds!
Add seeds to a bowl and sprinkle with olive oil, salt, and pepper.You want just enough oil to coat them, but not drown them. You're roasting, not deep frying here! You can also do this directly on the baking sheet. Just be careful not to over oil them. You're roasted the seeds, not deep frying them!The exact amount of salt and pepper also depends on the amount of seeds and personal preference. You can always add more after roasting if you under season it.
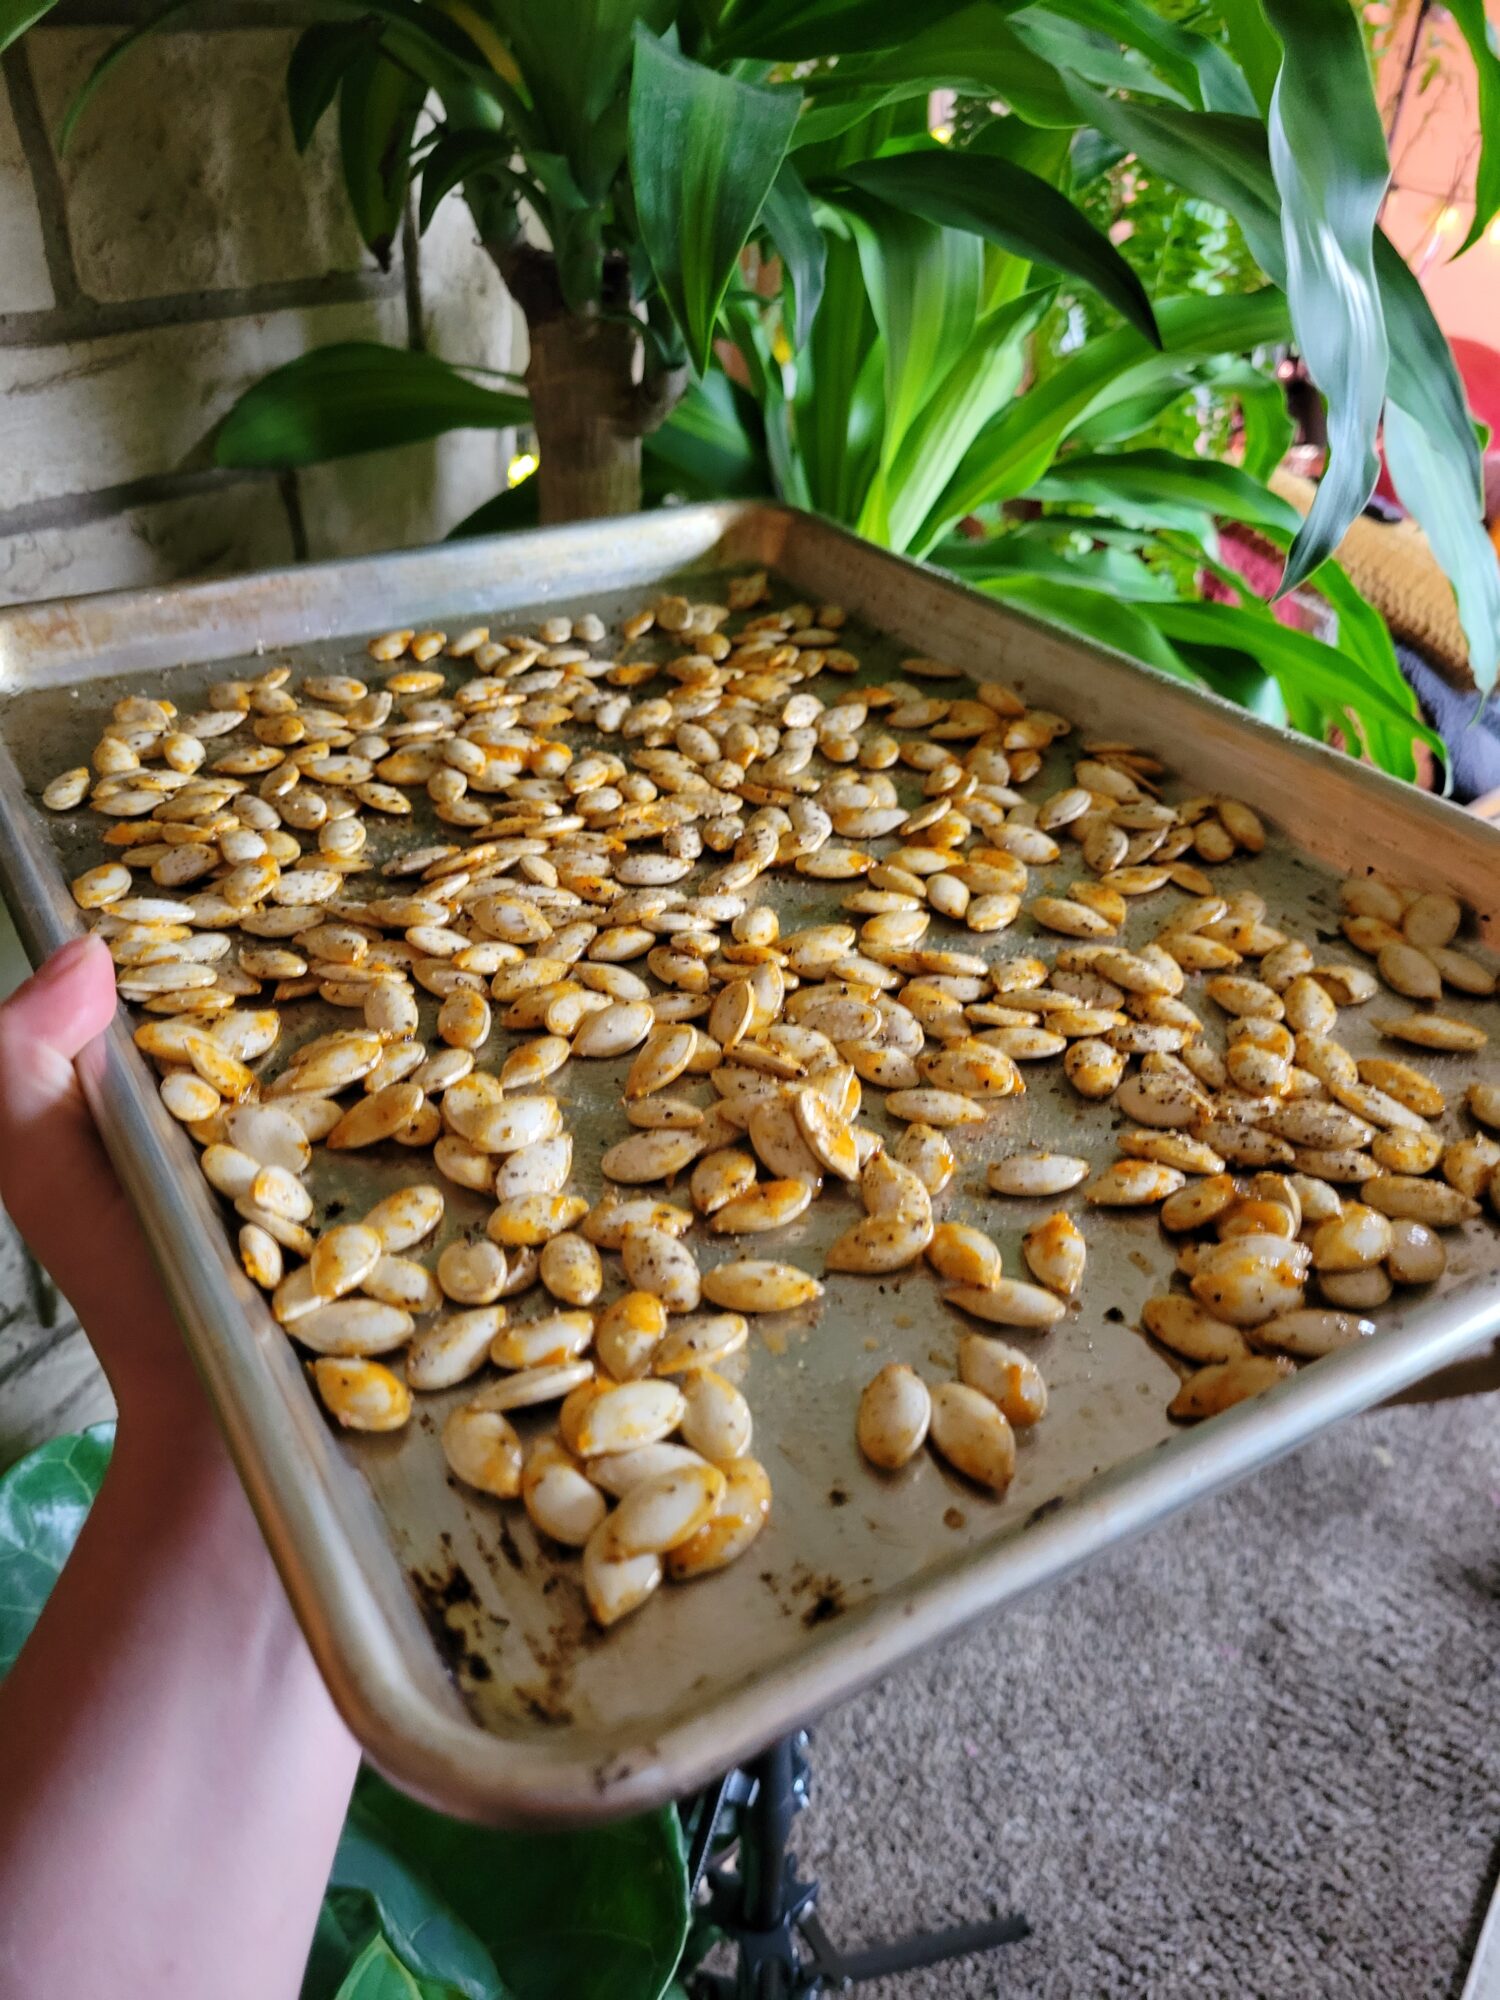
Spread across a baking sheet so that the seeds aren't touching too much.I will pat my fingers across the seeds to rapidly separate them. It's almost like trying to flatten the pile. The seeds will just slide away from one another. It's alright if they're touching, just not on top of one another.
Roast the seeds for 15-20 minutes, or until golden brown.
Remove from the oven and immediately the seeds or remove from the baking sheet entirely to let cool.They will continue to cook slightly on the baking sheet. So, if you don't mind them a little crisper, leave on. If they're definitely done or even overdone slightly, remove from the baking sheet as soon as possible!


Leave a Reply