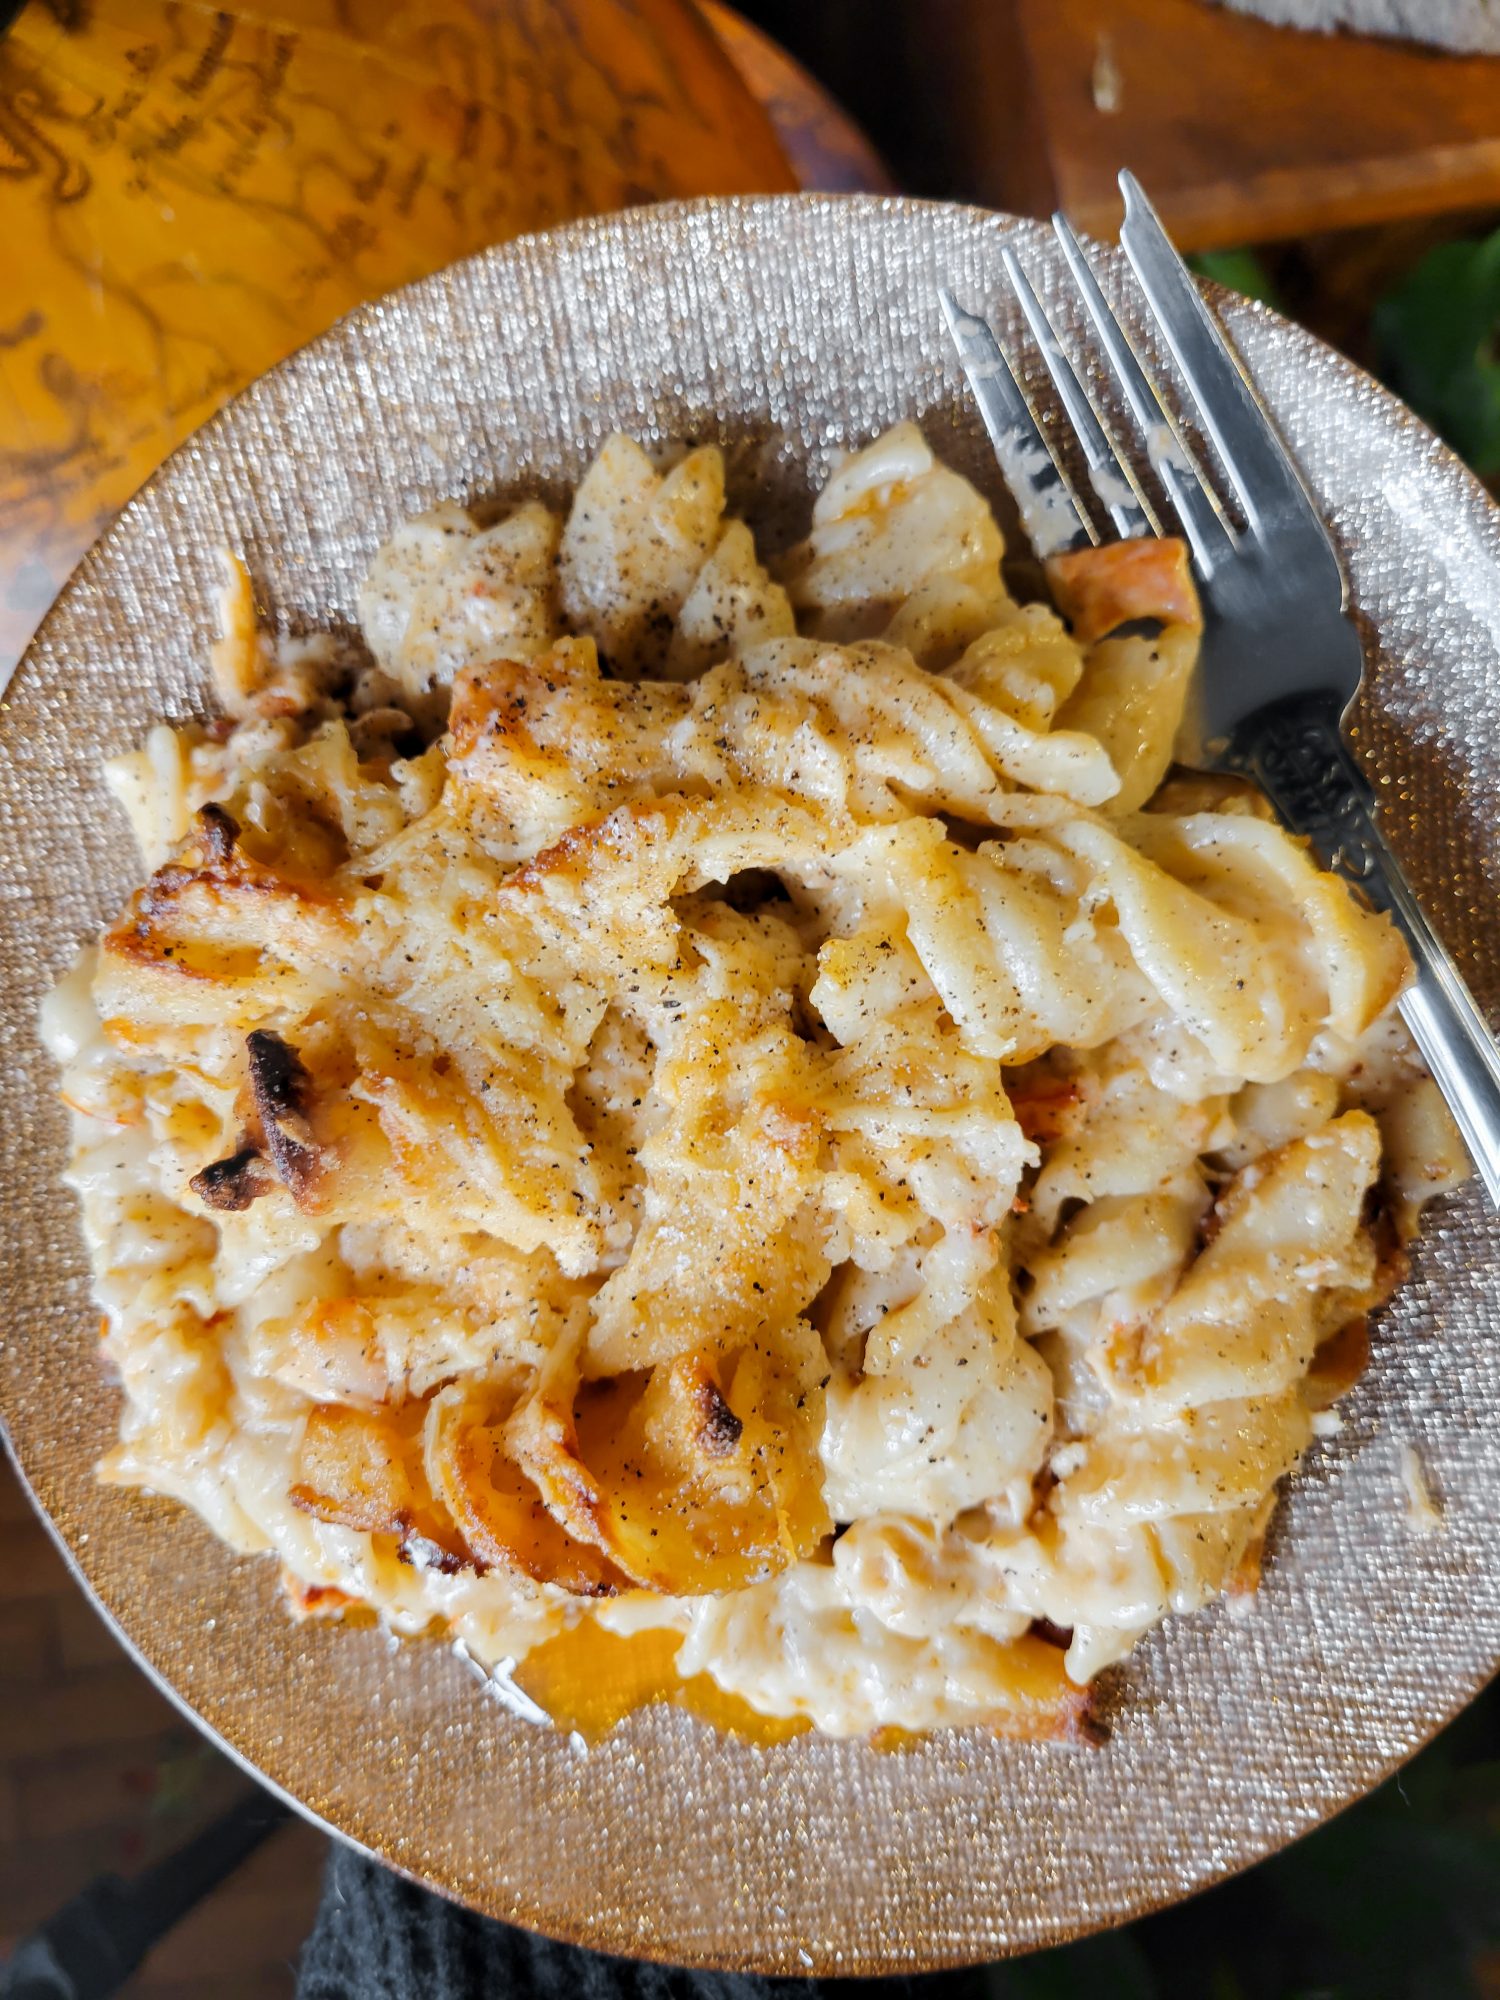
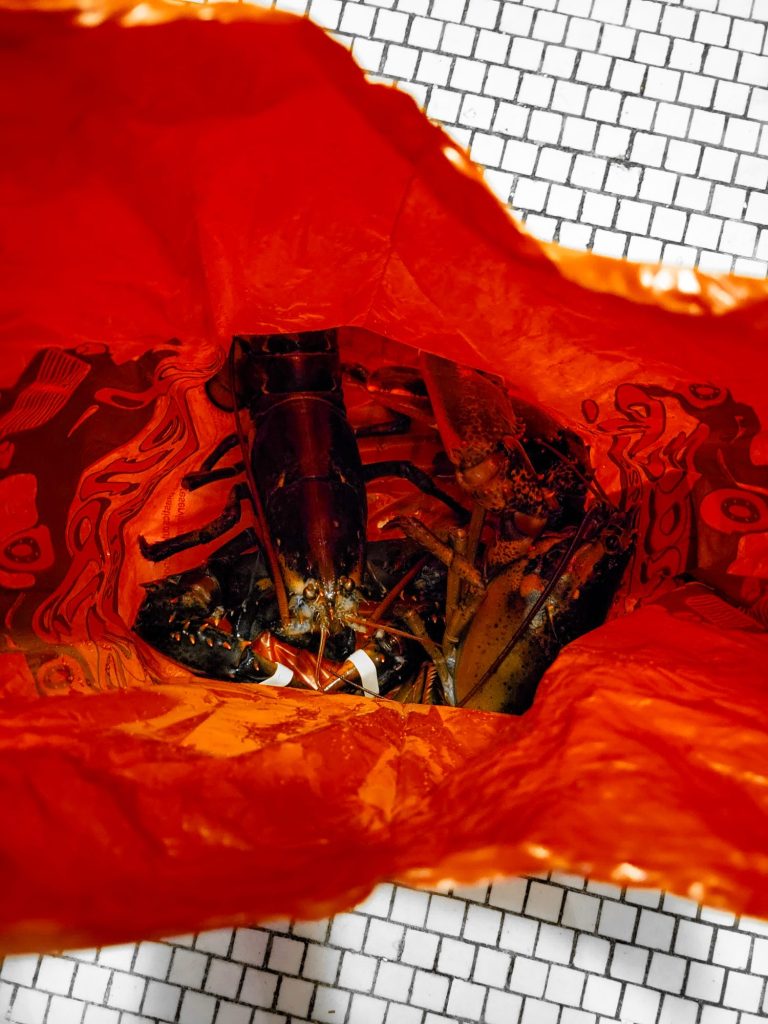
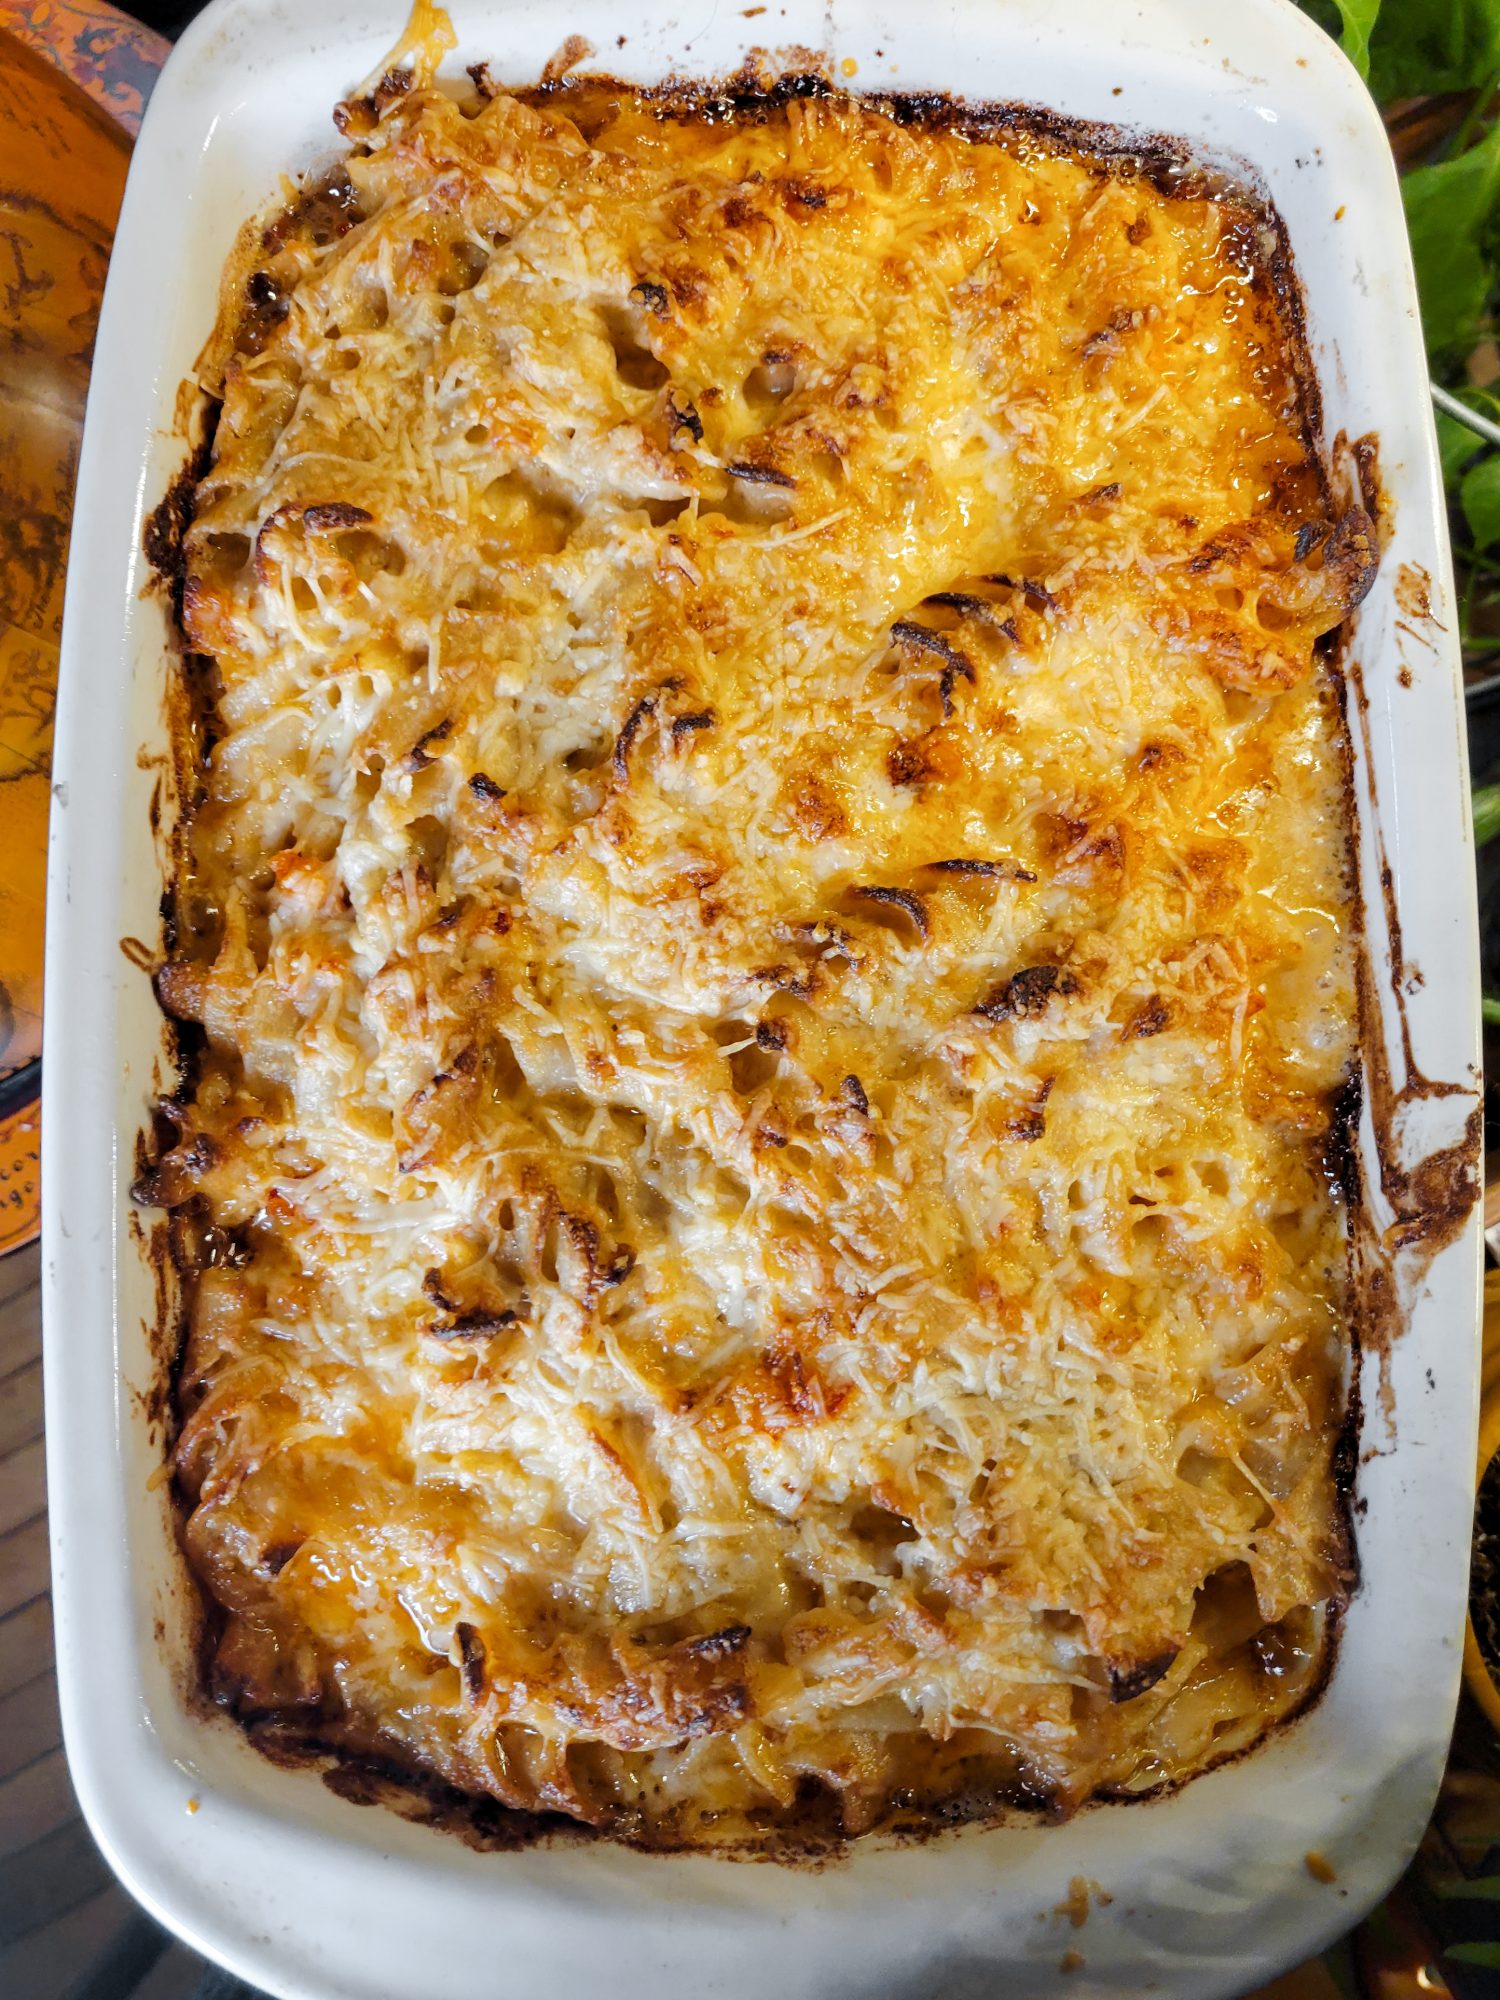
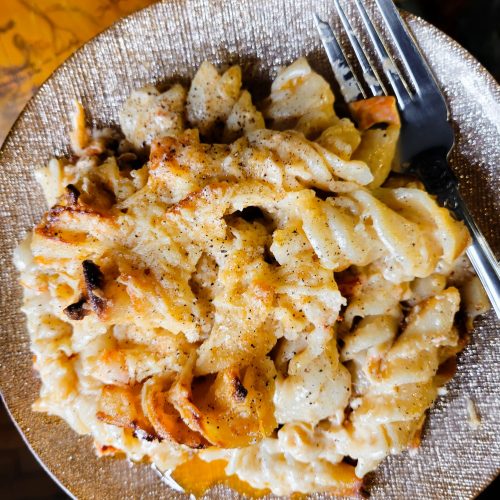
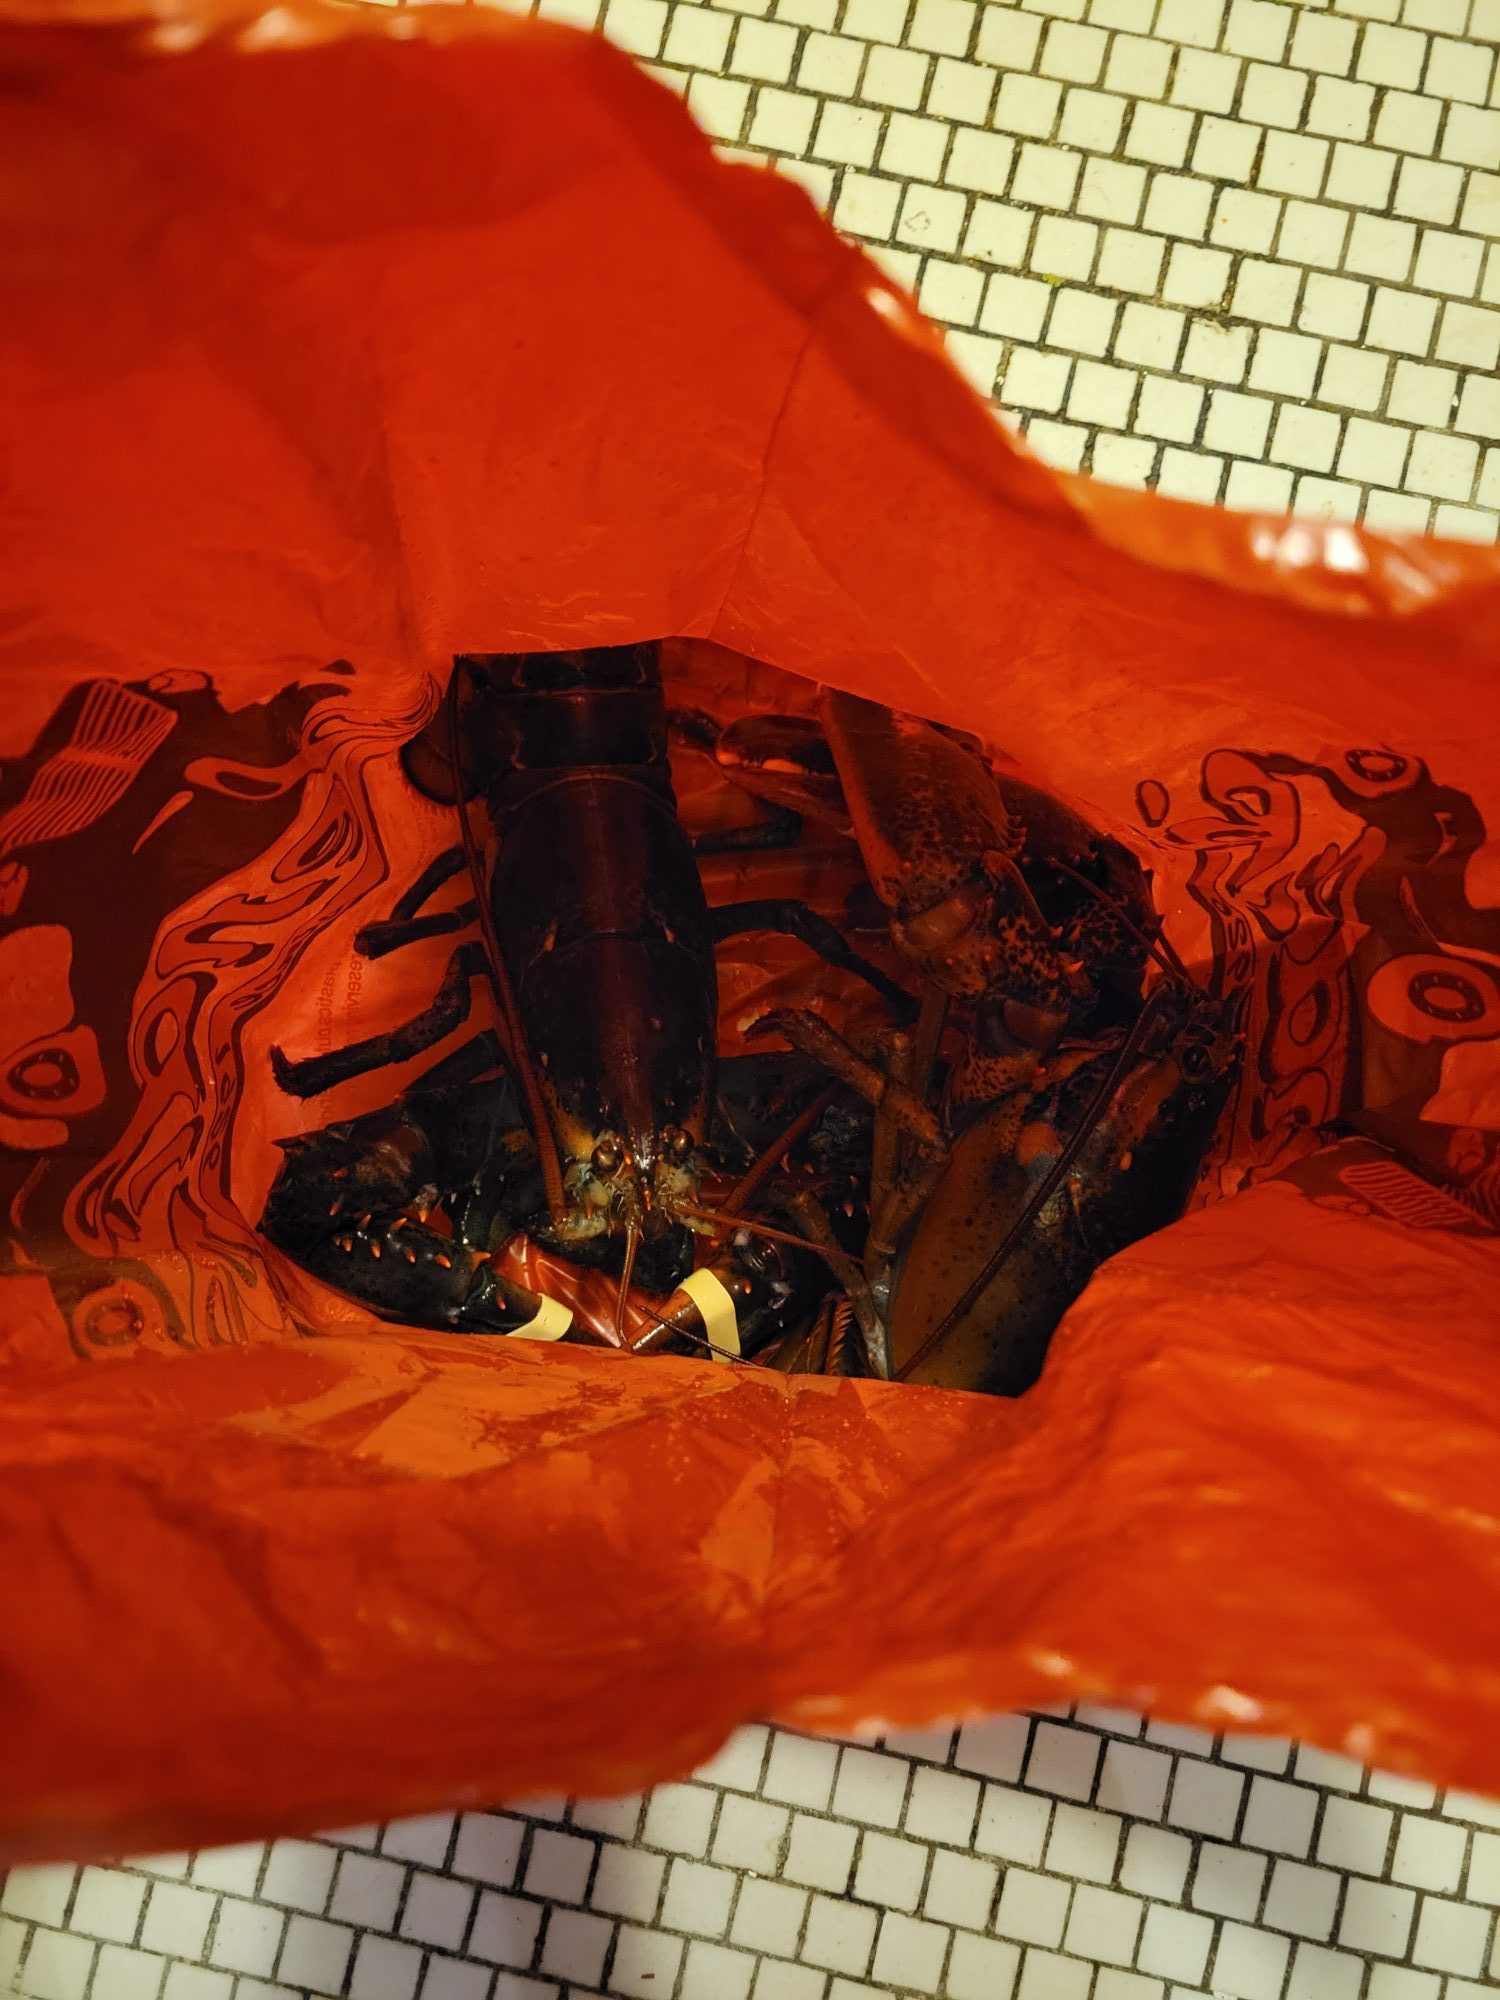
I'm from the West coast and grew up with crab aplenty. Lobster we didn't have, though! And since now I live in Wisconsin and neither is plentiful, I'm branching out. Especially because one of my local grocery stores sells live lobster. I also like to have fun with the holidays! And it's been quite the busy couple of weeks. So, I'm making Lobster Macaroni & Cheese. I'm also adding Patagonian shrimp because they're delicious and the more seafood the better! And it's absolutely one of the best macaroni and cheese recipes that I've ever made.
Live lobster also tends to be less expensive where I live as well. It's more affordable than frozen lobster from my local grocery store, boutique grocers, and Costco. Don't ask me why that is. I have absolutely no explanation. Although here we are! If you're not up for live lobster, frozen lobster, another seafood of choice, and omitting the meat entirely.
I also used scotch whiskey BellaVitano cheese. Which isn't necessarily my go-to cheese for macaroni. Although I am quite pleased with it here! Any range of semi-hard cheese will do well here from cheddar gruyère.
Gallery
Variations of Lobster Macaroni & Cheese
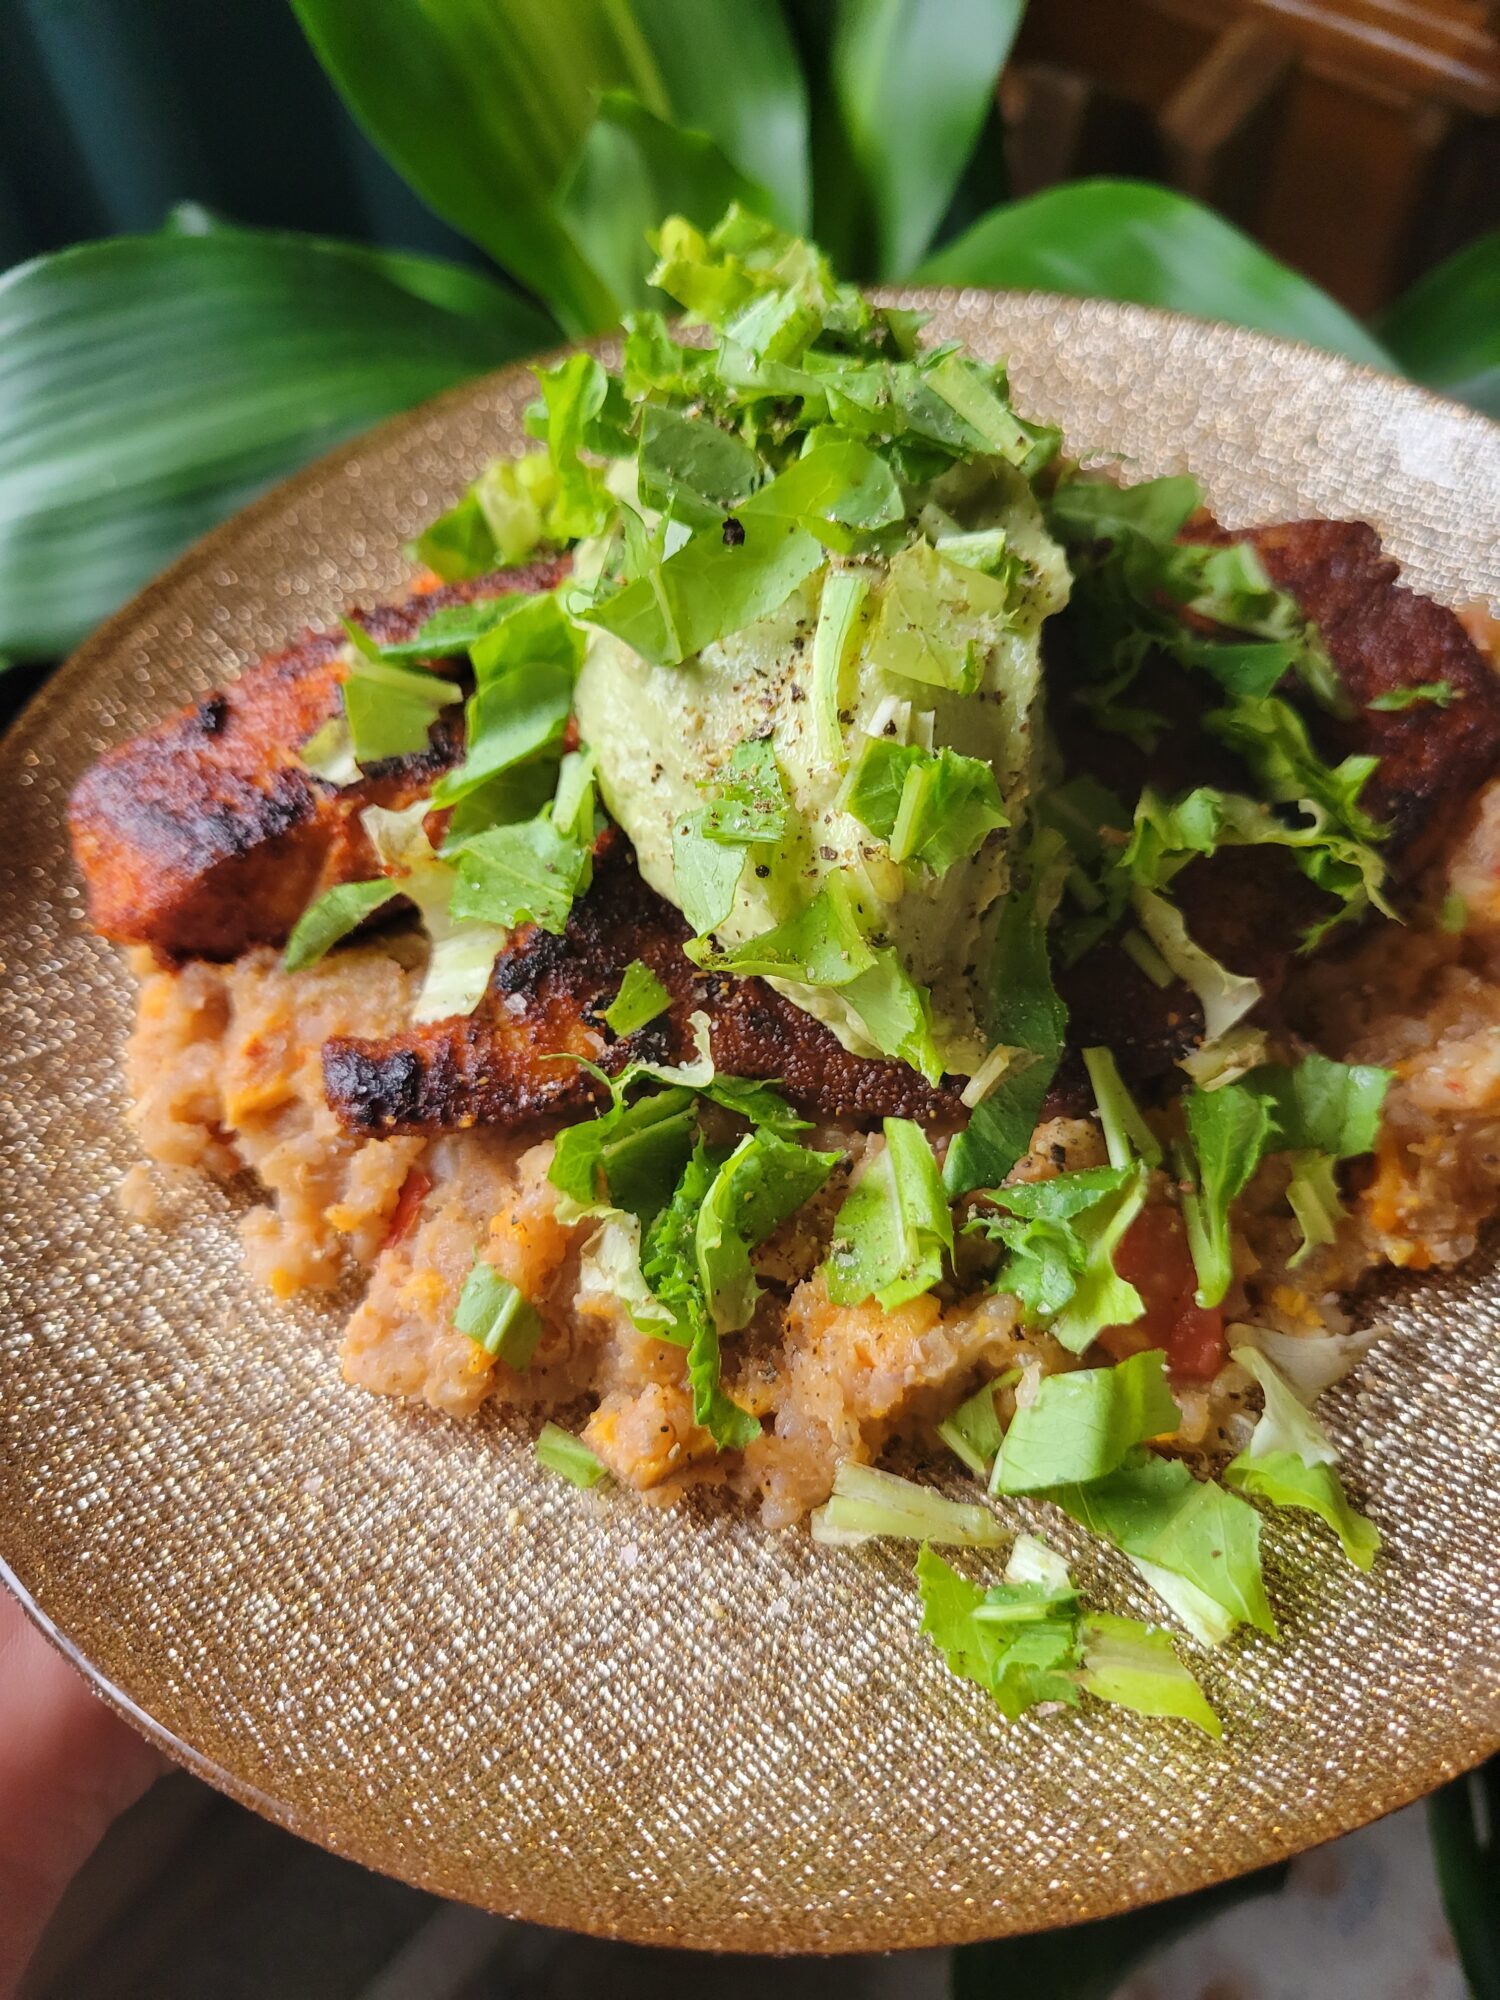
I don't ordinarily put lobster in macaroni and cheese. It's one of the few dishes that can be as simple or fancy as you want, and is still absolutely delicious. I don't tend to eat much meat. Growing up on the west coast, though, where you could get live crab on the dock? I'm particularly fond of seafood and tend to splurge on it once in a blue moon. This means that, every time I make it, I make a big deal out of it and have as much fun as possible!
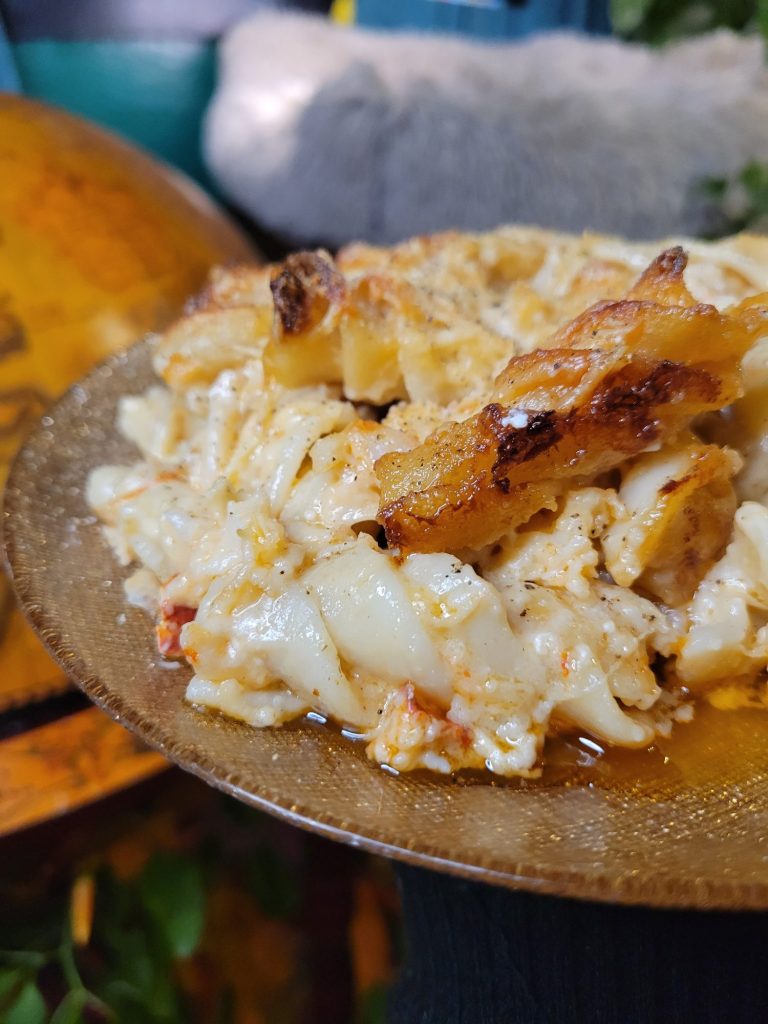
This Lobster Macaroni & Cheese recipe consists of live lobster, Patagonian shrimp, cream, kirsch, and scotch whiskey BellaVitano cheese. Any number of semi-hard cheese will do, though. From aged white cheddar to gruyère.
2c.scotch whiskey BellaVitano cheese(or white cheddar)
Instructions
Cook Lobster
I used live lobster for this. However, you can easily use pre-cooked, frozen lobster tails and skip this step. Where I'm at the live lobster is about half the price of frozen lobster. So, that makes it an obvious choice! Although if you can't find live lobster or just don't want to deal with live lobster, frozen lobster or any other seafood of choice works as a substitute.Lobster, like most crustaceans, begin to release toxins when they die. You have to keep them alive until they're cooked. So, you're only ever going to find lobster that is live or that has been cooked immediately and frozen. You can reasonably keep a lobster alive for maybe a day in a fish tank or bathtub. But it's going to be a lot simpler to buy it the day of and cook immediately!
Bring a large pot of water to a rolling boil.
Place a sharp knife behind the eyes and swiftly plunge it into the brain.Contrary to popular belief, lobsters can actually feel pain. Studies have shown that they react to painful stimuli. While it's not entirely known what their experience of pain feels like, being boiled alive is on of the most painful stimuli that humans have researched. So, the general recommendation these days is to kill the lobster right before cooking.
Place the whole lobster into the boiling water and cook until it turns that quintessential red shell color and the meat is opaque.The exact cooking time will vary by size of the lobster. I tend to cook them more from sight for this reason. Although the general recommendation is to cook them for 5-8 minutes per pound. Just make sure not to overcook them! Overcooked lobster is hard and rubbery. You can somewhat get away with this in macaroni and cheese, though. If you've ever overcooked lobster and don't want to waste it? Macaroni and cheese is one of your best bets!
Remove from heat and chill until the lobster is cool enough to handle.
Remove the flesh from the shell.This can be easier said than done if you're not used to it!The claws and tail will tend to twist off fairly easily.For the tail, press on the soft inner side of the tail, pressing outward until the shell starts to separate from the flesh. Then, peel the outer end of the shell from the flesh down the tail until you can pull all of it out in one piece.For the claws, twist off the pincers, gently smack the claw with the back side of a steel knife until it cracks, and then pull out the flesh in one piece. Alternatively, you can use a crab cracker or mallet. Just make sure to peel off the shell, rather than crushing it!For the large parts of the arms, break them apart at the knuckle and use a seafood or cocktail fork to pull out the meat. You can also use any thin handle end of a fork or even a toothpick to do this.The smaller legs will pluck right out. Break them apart at the segments and squeeze the meat out like a tube of toothpaste.Remove any gunk, organs, and any discolored flesh attached to the body.I like to keep the shell to make seafood broth. Although the shell is also great in compost for the garden or ground into an extra source of calcium for chickens.
Shred the lobster meat or cut it into smaller, bite-sized pieces.
Cook Patagonian Shrimp (optional)
You can cook the Patagonian shrimp, like the lobster. I've found that the do cook during the 45 minutes that macaroni and cheese spends baking in the oven, so I put them in raw.Although you certainly can cook them beforehand. I sometimes do cook them. But I didn't feel like it after the eventful cooking of the lobster! So, I did skip it this time. But cooking is a perfectly reasonable option. Especially if you don't want to deal with slippery, uncooked shrimp.
Preheat 1 tablespoon butter or oil in a skillet over medium-high heat.
Add whole shrimp to the skillet and turn in the butter or oil.
Cook, turning occasionally, for 3-5 minutes, or until the shrimp is barely cooked.Much like lobster, shrimp is done when the meat reaches 135-140 degrees Fahrenheit. At this point the shell should be bright red and the inner meat should be white, not grey or translucent. The tails should also curl in to create a spiral.
Let the lobster and shrimp cool slightly, remove the shells, and then dice. Mix together in a small bowl and squeeze half of a lemon over them.
Cook Pasta
Add about 4 inches of water to a large pot and bring to a boil over high heat.
Cook pasta according to the manufacturer's instructions. This typically entails boiling for about 8-12 minutes, or until barely al dente.The pasta will cook another half hour in the oven, so make sure not to overcook them during this stage!
Drain and set aside.You may want to stir it occasionally to keep the noodles from sticking together.
Prepare Roux
Turn the oven up to 350 degrees Fahrenheit.
Lightly coat the bottom and sides of a large baking dish with olive oil and set aside.
Preheat saucepan on medium-heat. Add 1/4 cup butter and melt.You can re-use the same skillet for cooking the shrimp without cleaning, the residual butter and flavor of shrimp is fine.
Immediately when the butter melts, add flour and stir constantly until incorporated. This should take about 3 minutes.Do NOT brown or overcook, though. You just want the butter and flour to incorporate until you add the spices.
Add salt, pepper, mustard, Worcestershire sauce, and kirsch. Stir constantly for 5 minutes, or until lightly browned.
Add heavy whipping cream, a little at a time, and stir constantly until incorporated after each addition. This is very important because the milk needs to be slowly incorporated in order to mix in without separating.
Add wine and kirsch, similarly a little at a time, and mix until fully incorporated.
Meanwhile, grate the cheese and add to roux 1/2 cup at a time. Mix constantly until fully incorporated.
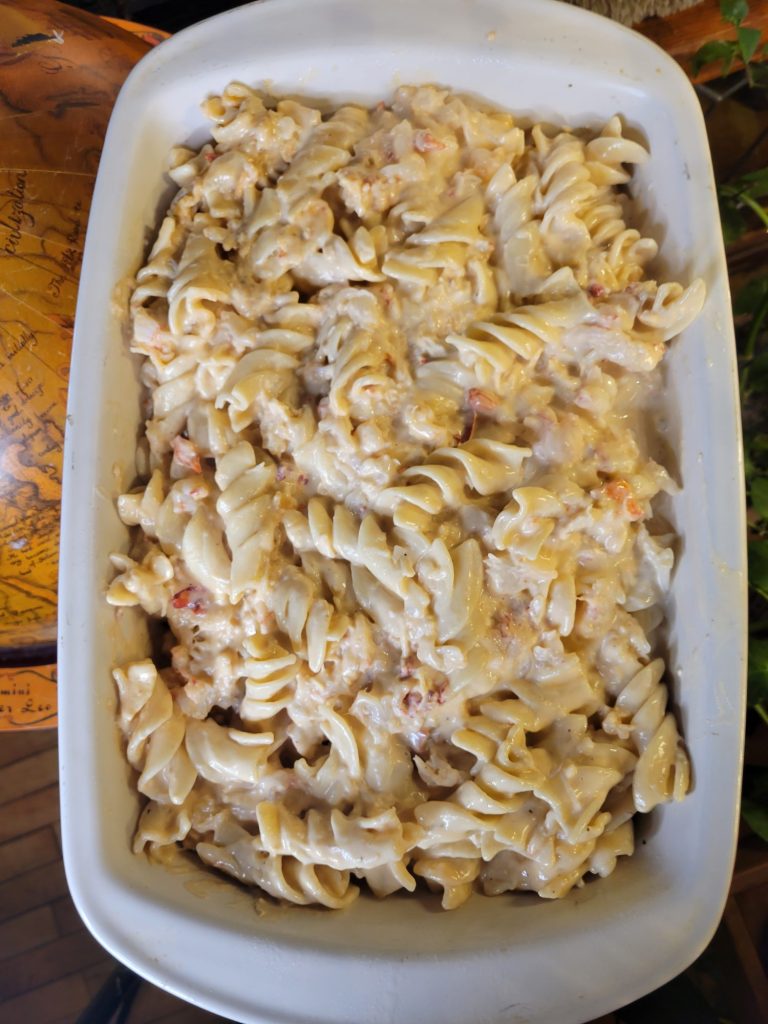
Add lobster, patagonian shrimp, and noodles. Stir until fully coated in the cheese mixture.
Bake Macaroni and Cheese
Pour macaroni and cheese into greased baking dish.
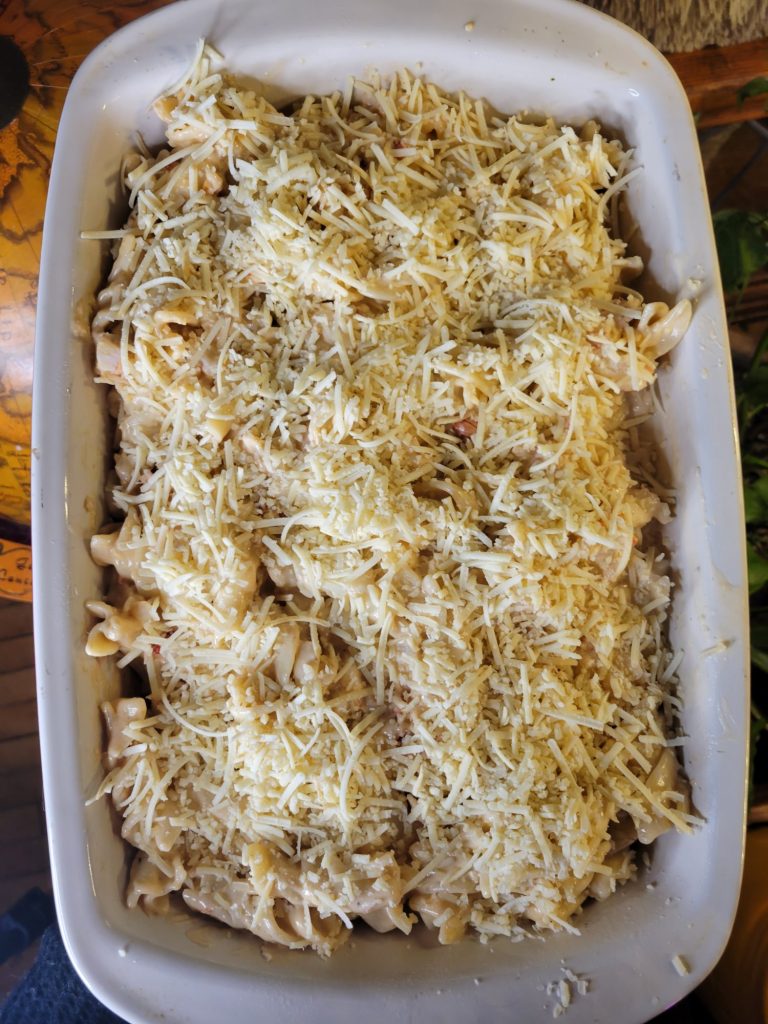
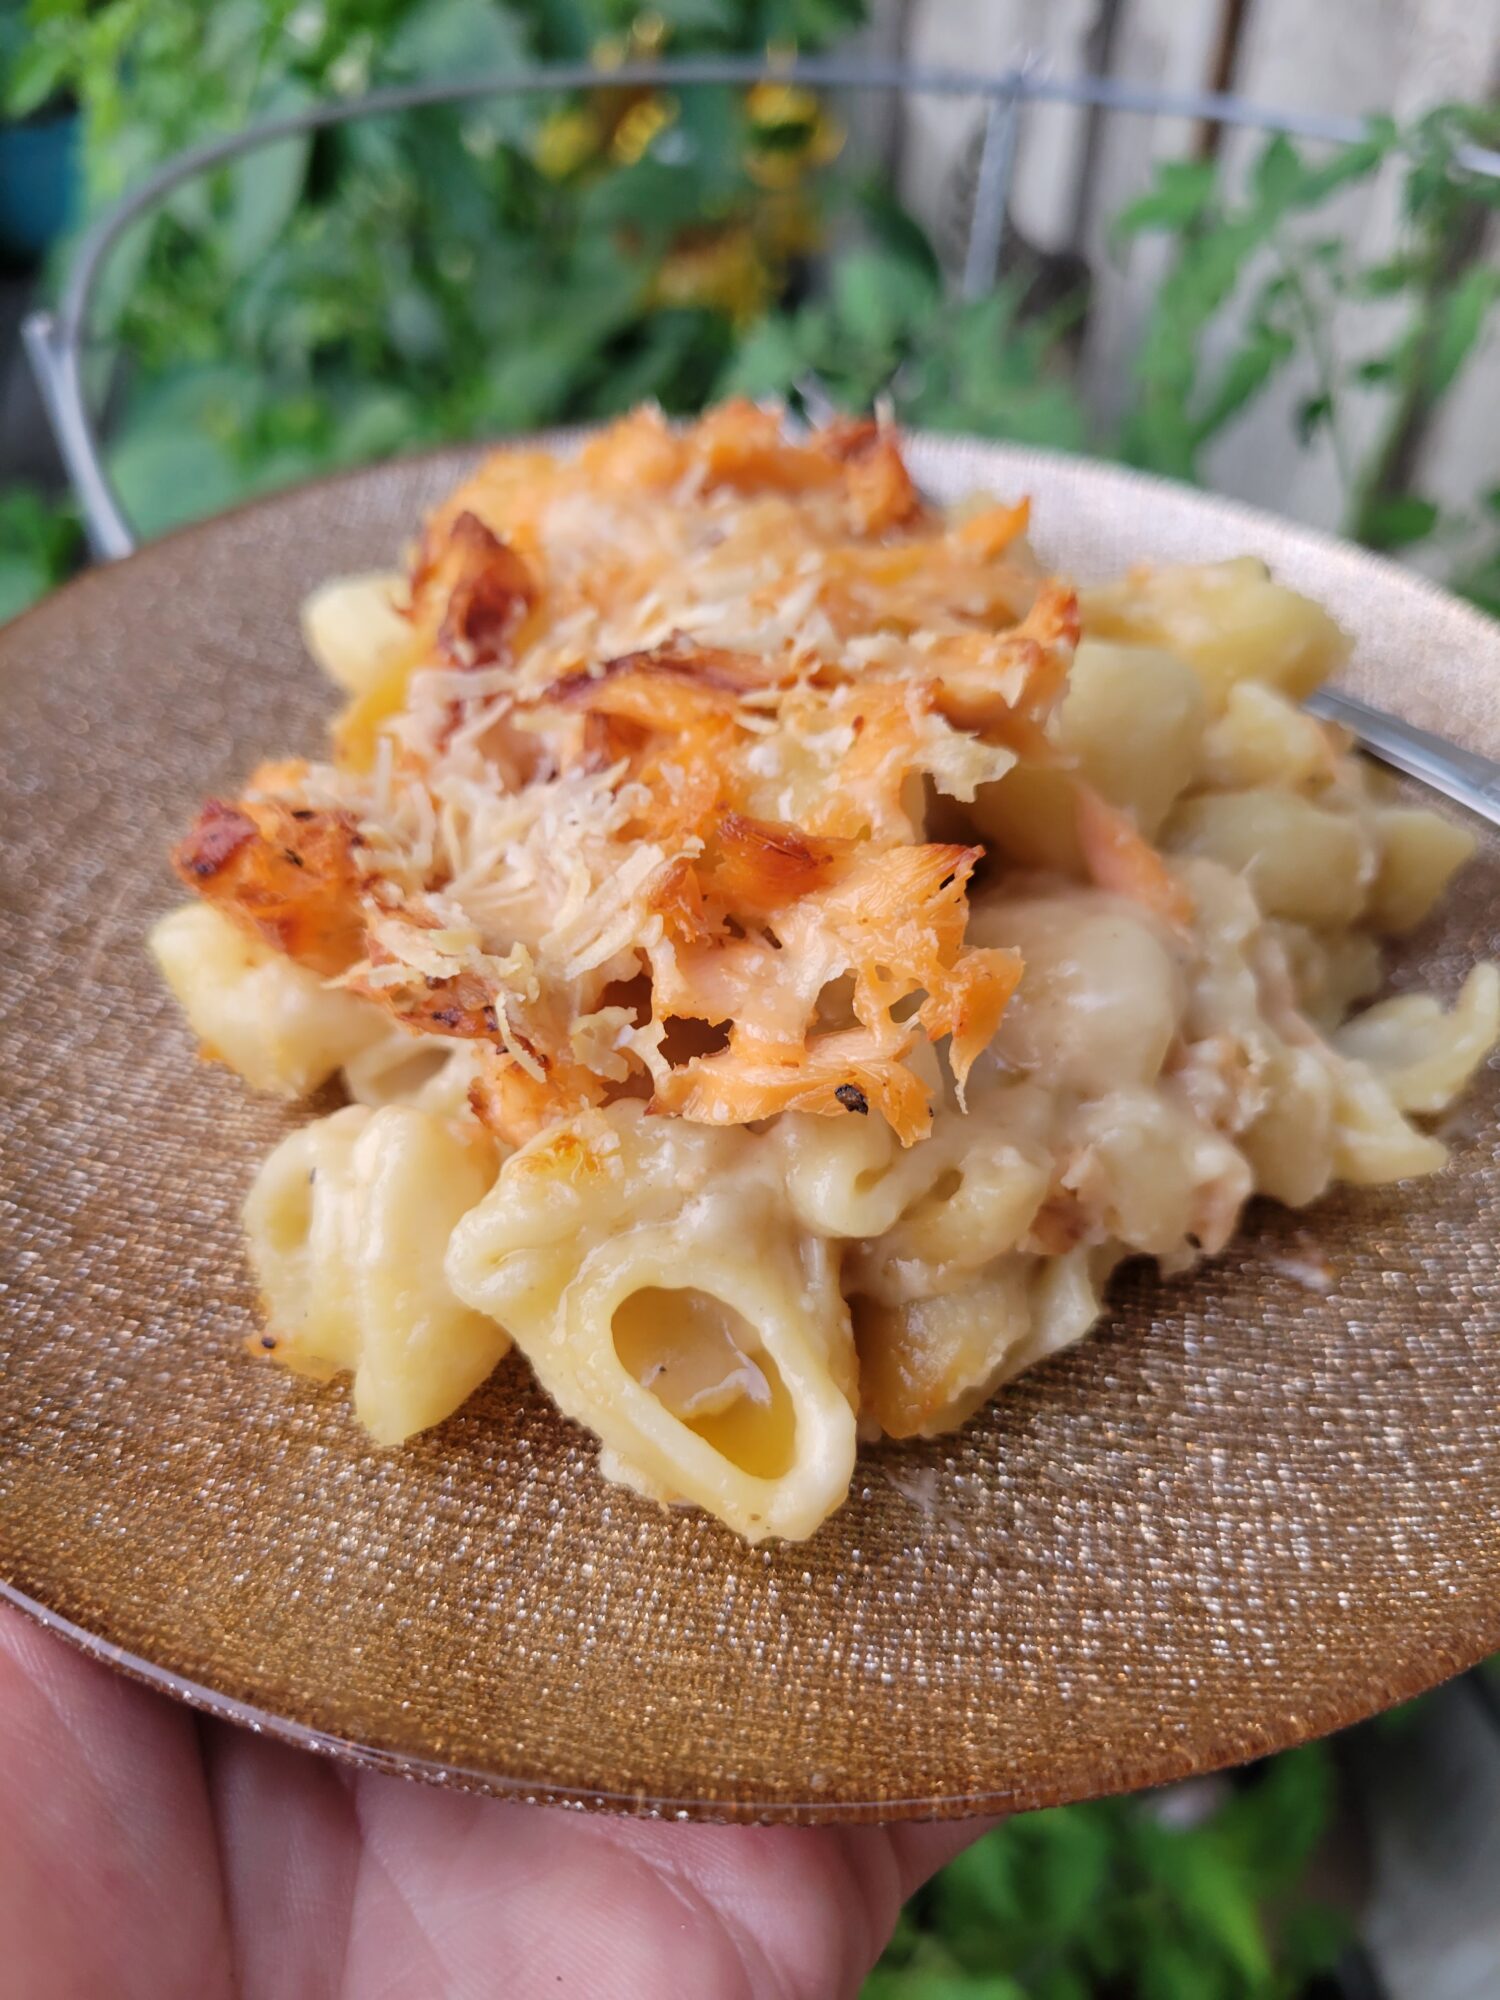
Top with the seafood mixture and grate cheese over the top.
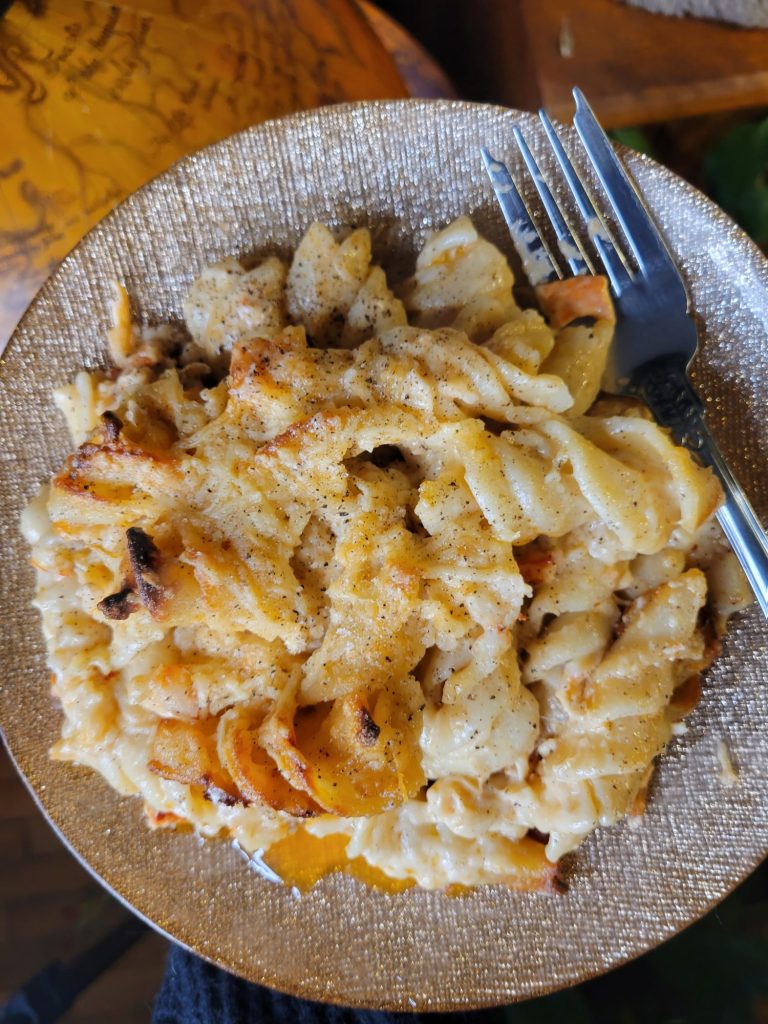
Bake for 40-45 minutes, or until the top begins to brown.
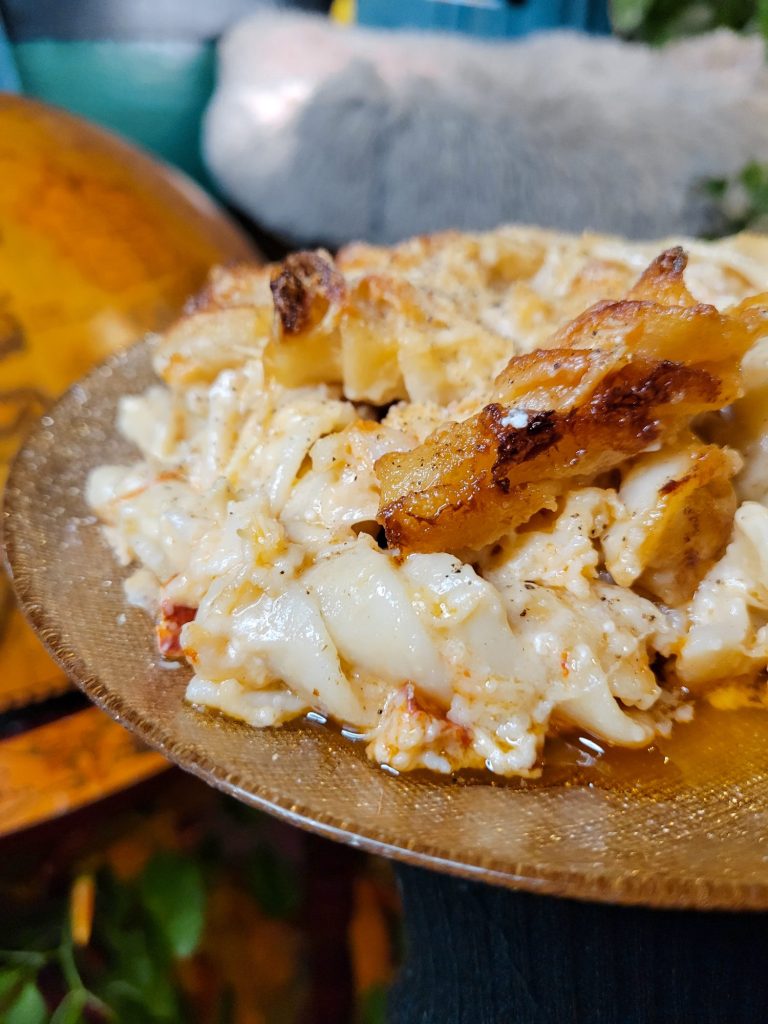
Let cool slightly and cut into 2-inch squares. Serve immediately.
Tips, Tricks, & Notes
You can substitute any other seafood or meat of choice for this macaroni recipe. As well as omitting it completely and just making macaroni and cheese with heavy whipping cream (or milk) white wine (or not)! Macaroni is incredibly versatile. It's one of those dishes where, if you had absolutely no measuring cups and just basic instructions, you could wing it without much trouble. Just don't break the roux by heating too quickly or adding too much dairy at a time and you can pretty much add in whatever you want!
This Page Contains Edited Images
As a general rule, I don't like to edit my images and I am firmly against alteration of images in food blogs. It's not something that we generally think about when it comes to recipes. But food styling, editing, alteration, and even faking entirely is just as rampant a problem in the recipe realm as anything else! Cooking is a very visual art and you can tell when a lot of foods are cooked based on the color. So, when this is altered and you can't use the coloration as a gauge, it makes it quite difficult to follow some recipes. I have an entire article about Food Styling and Unrealistic Expectations of Recipes.
Because of this, I try very hard not to alter any of my photos. I like to take photos with natural sunlight during the day. Ordinarily this is very true to color and I don't edit the photos at all. However, since my place is very warm with a lot of yellow lighting, sometimes my camera overcompensates and ends up with an unnatural blue tone. In the following images on this page, I adjusted the levels and hue to try and make this more true to color. In the interest of transparency, these are the before and after photos.


Leave a Reply