Gourd season is in full swing and I have been taking full advantage! Almost every meal that I've had lately has had roasted pumpkins or squash and I'm absolutely thrilled. The season is fleeting, my own gourd crop did abysmally this year, and all that I want to do is roast pumpkins and squash constantly! This pumpkin hummus recipe came about as more of an experiment than anything else.
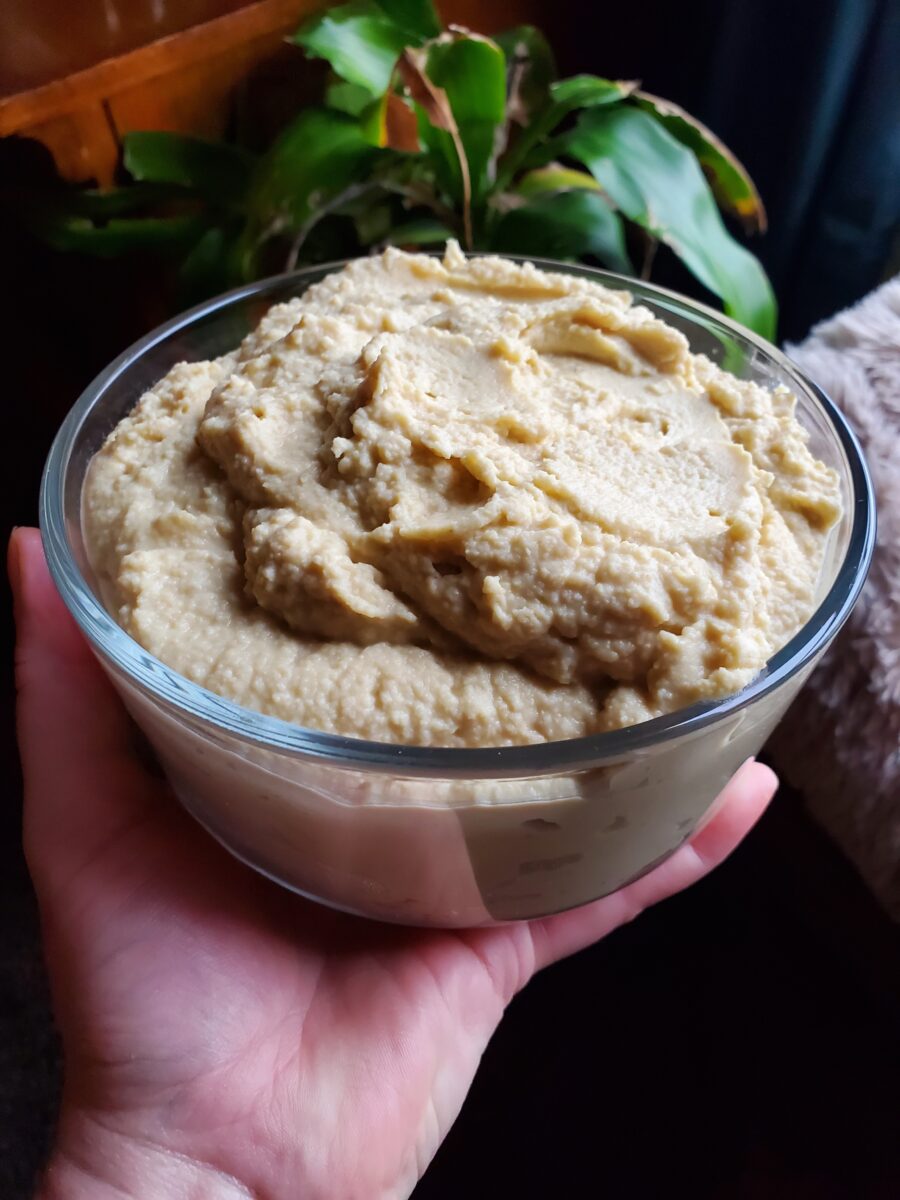
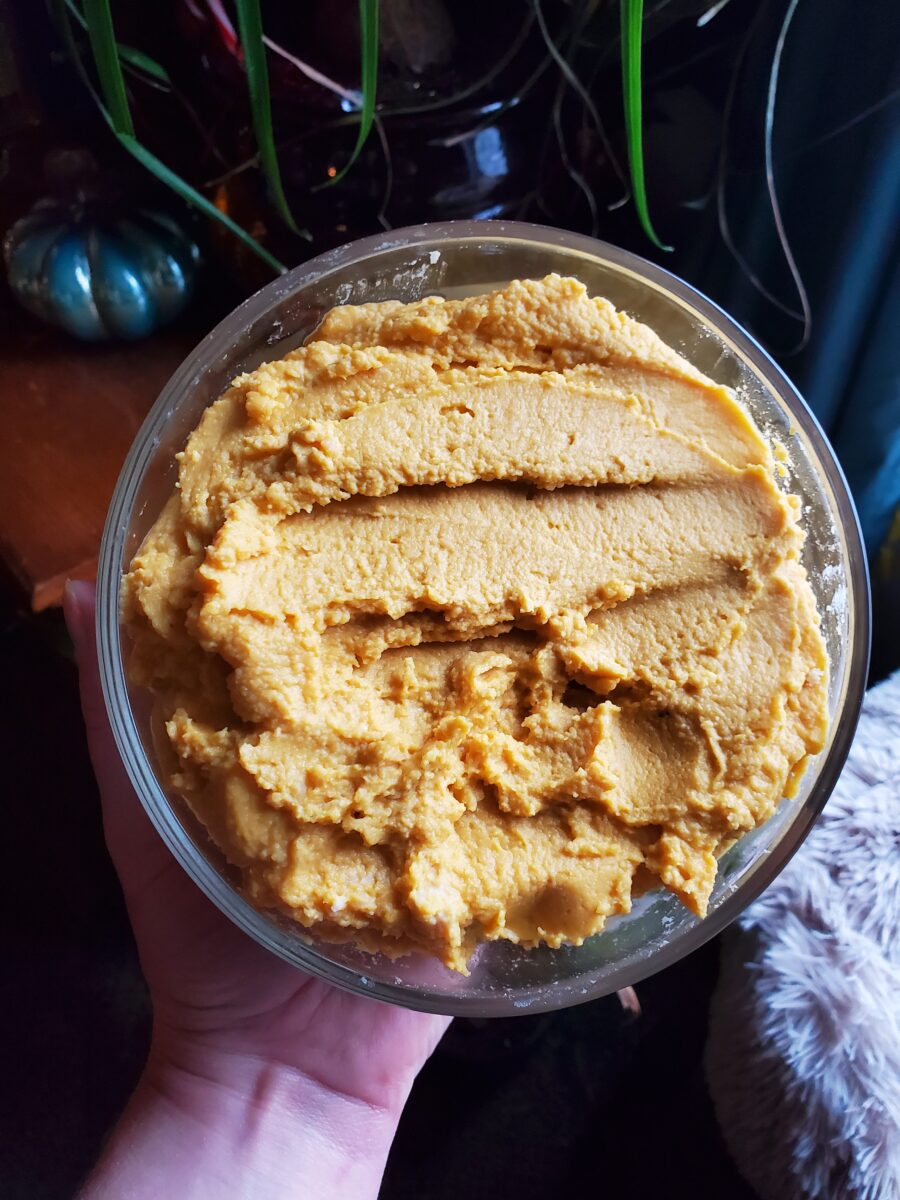
For starters, I wanted to see if it was possible and how best to go about adding pumpkin purée to hummus. I was looking to make sure that the pumpkin complimented the hummus and that it still maintained the same consistency that you love and expect. In order to attempt this, I doubled the recipe to make both classic hummus and pumpkin hummus. That way I could test them side-by-side.
Also note that, because of this, the process photos are all of a double batch. If you want that much hummus, double the recipe that I provide here. Otherwise, you will end up with a more manageable amount!
Cuisinart vs. Vitamix
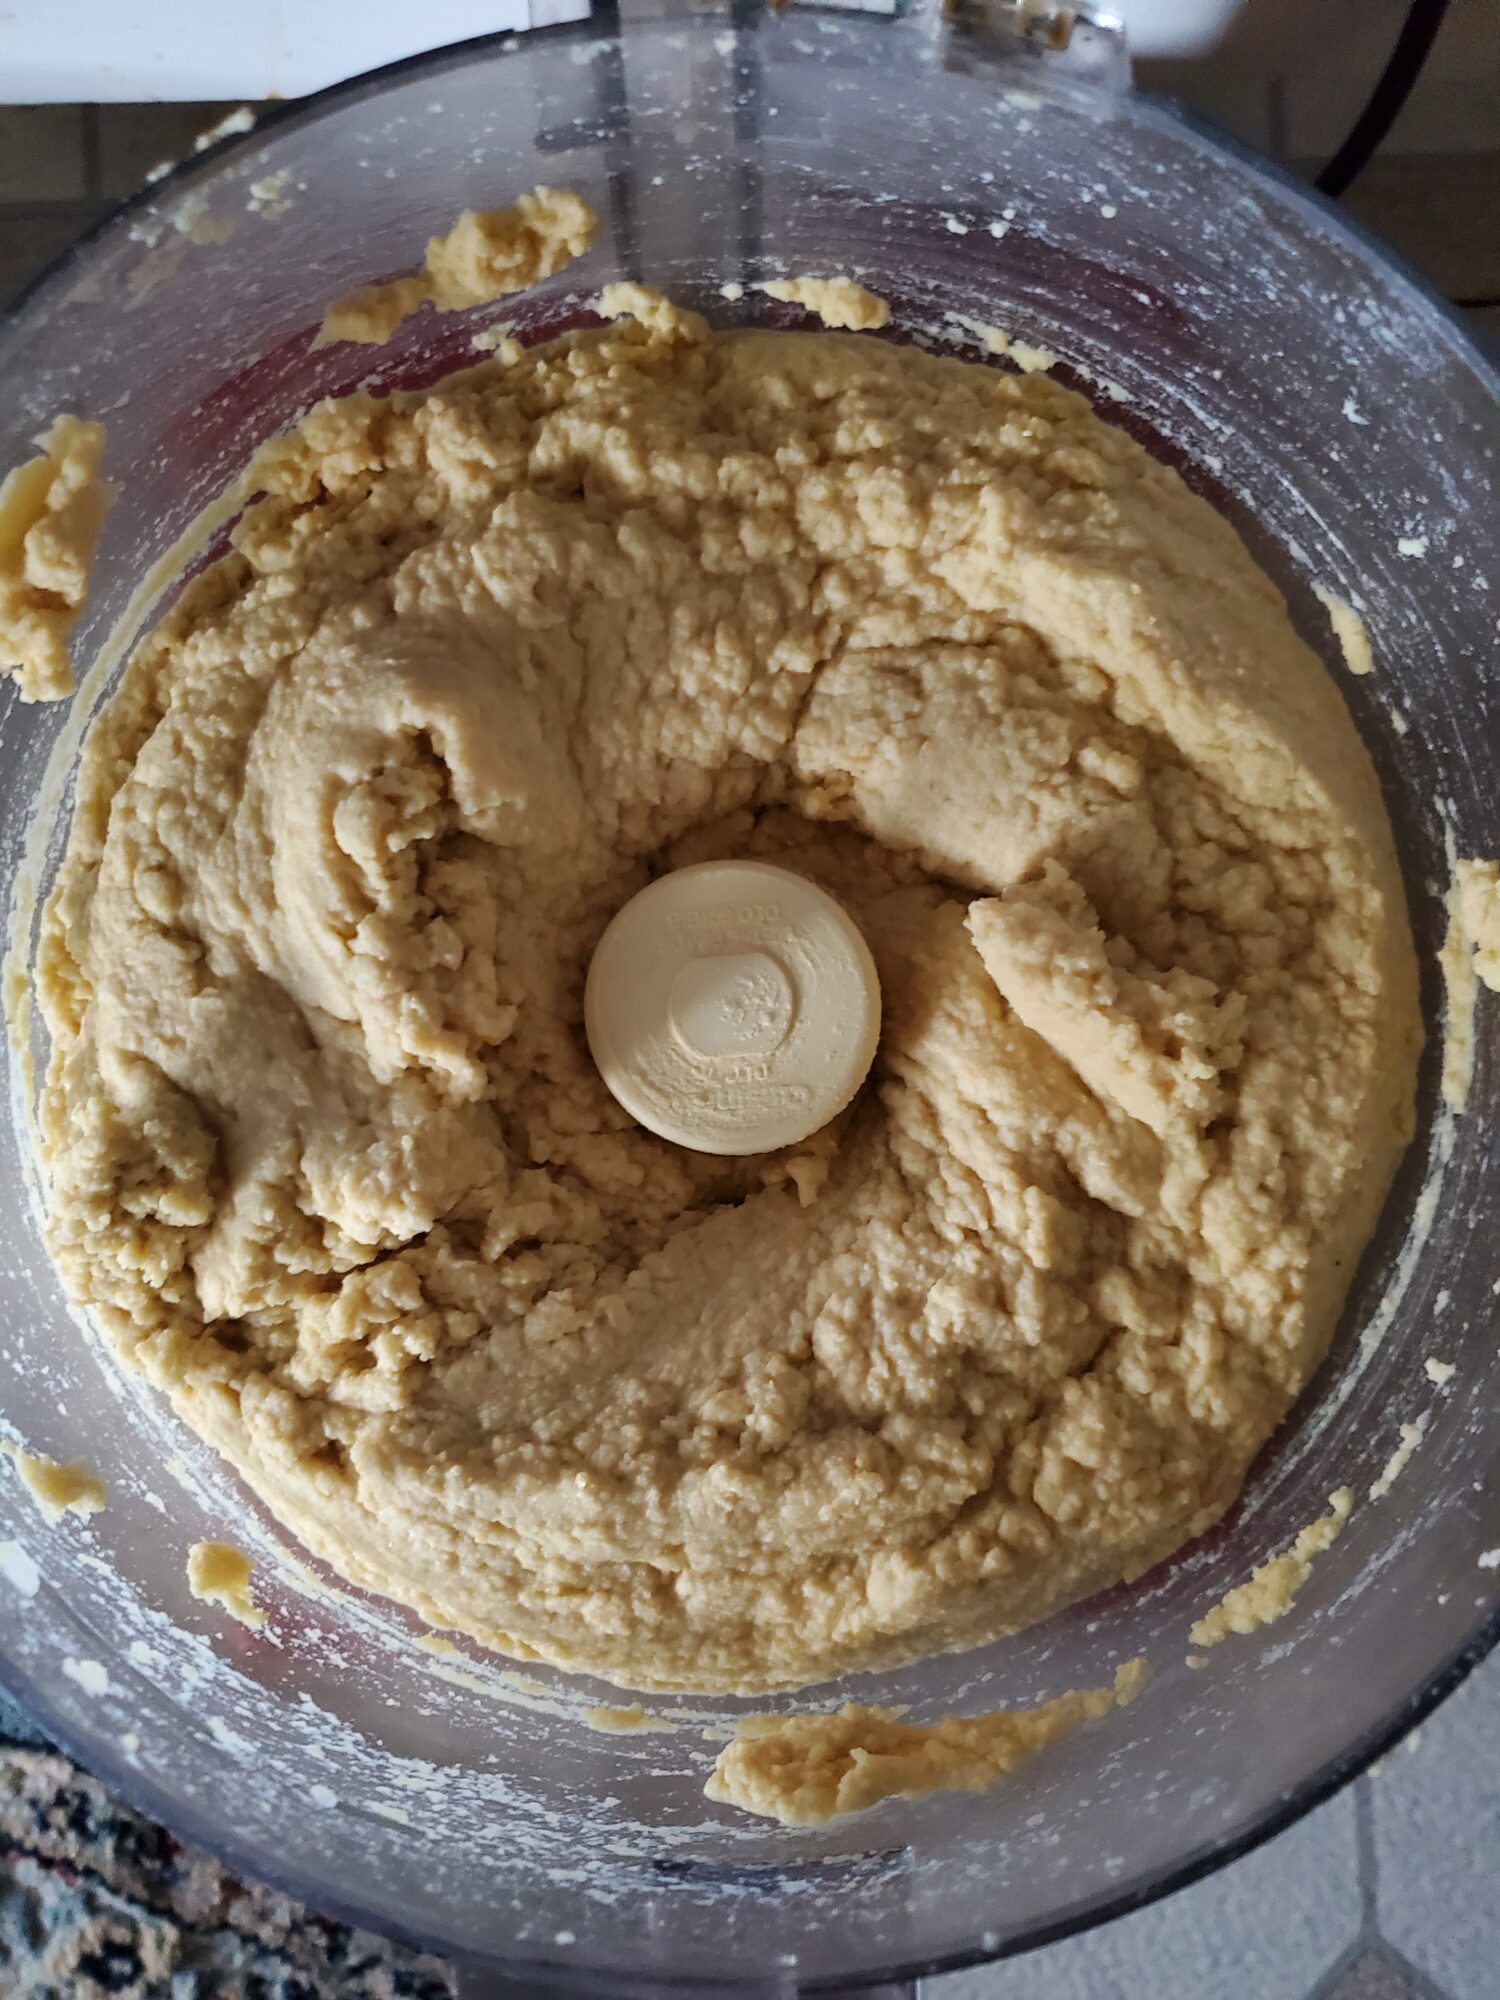
Secondly, I also tested out the difference between using a Cuisinart food processor and a Vitamix blender. The Cuisinart is my go-to staple. It works incredibly well for mixing and I use it for everything from Guacamole to Cheesecake. But for hummus, it does tend to leave a little bit of graininess. And I often try to combat this with rapid cooling and adding a bit of crushed ice.
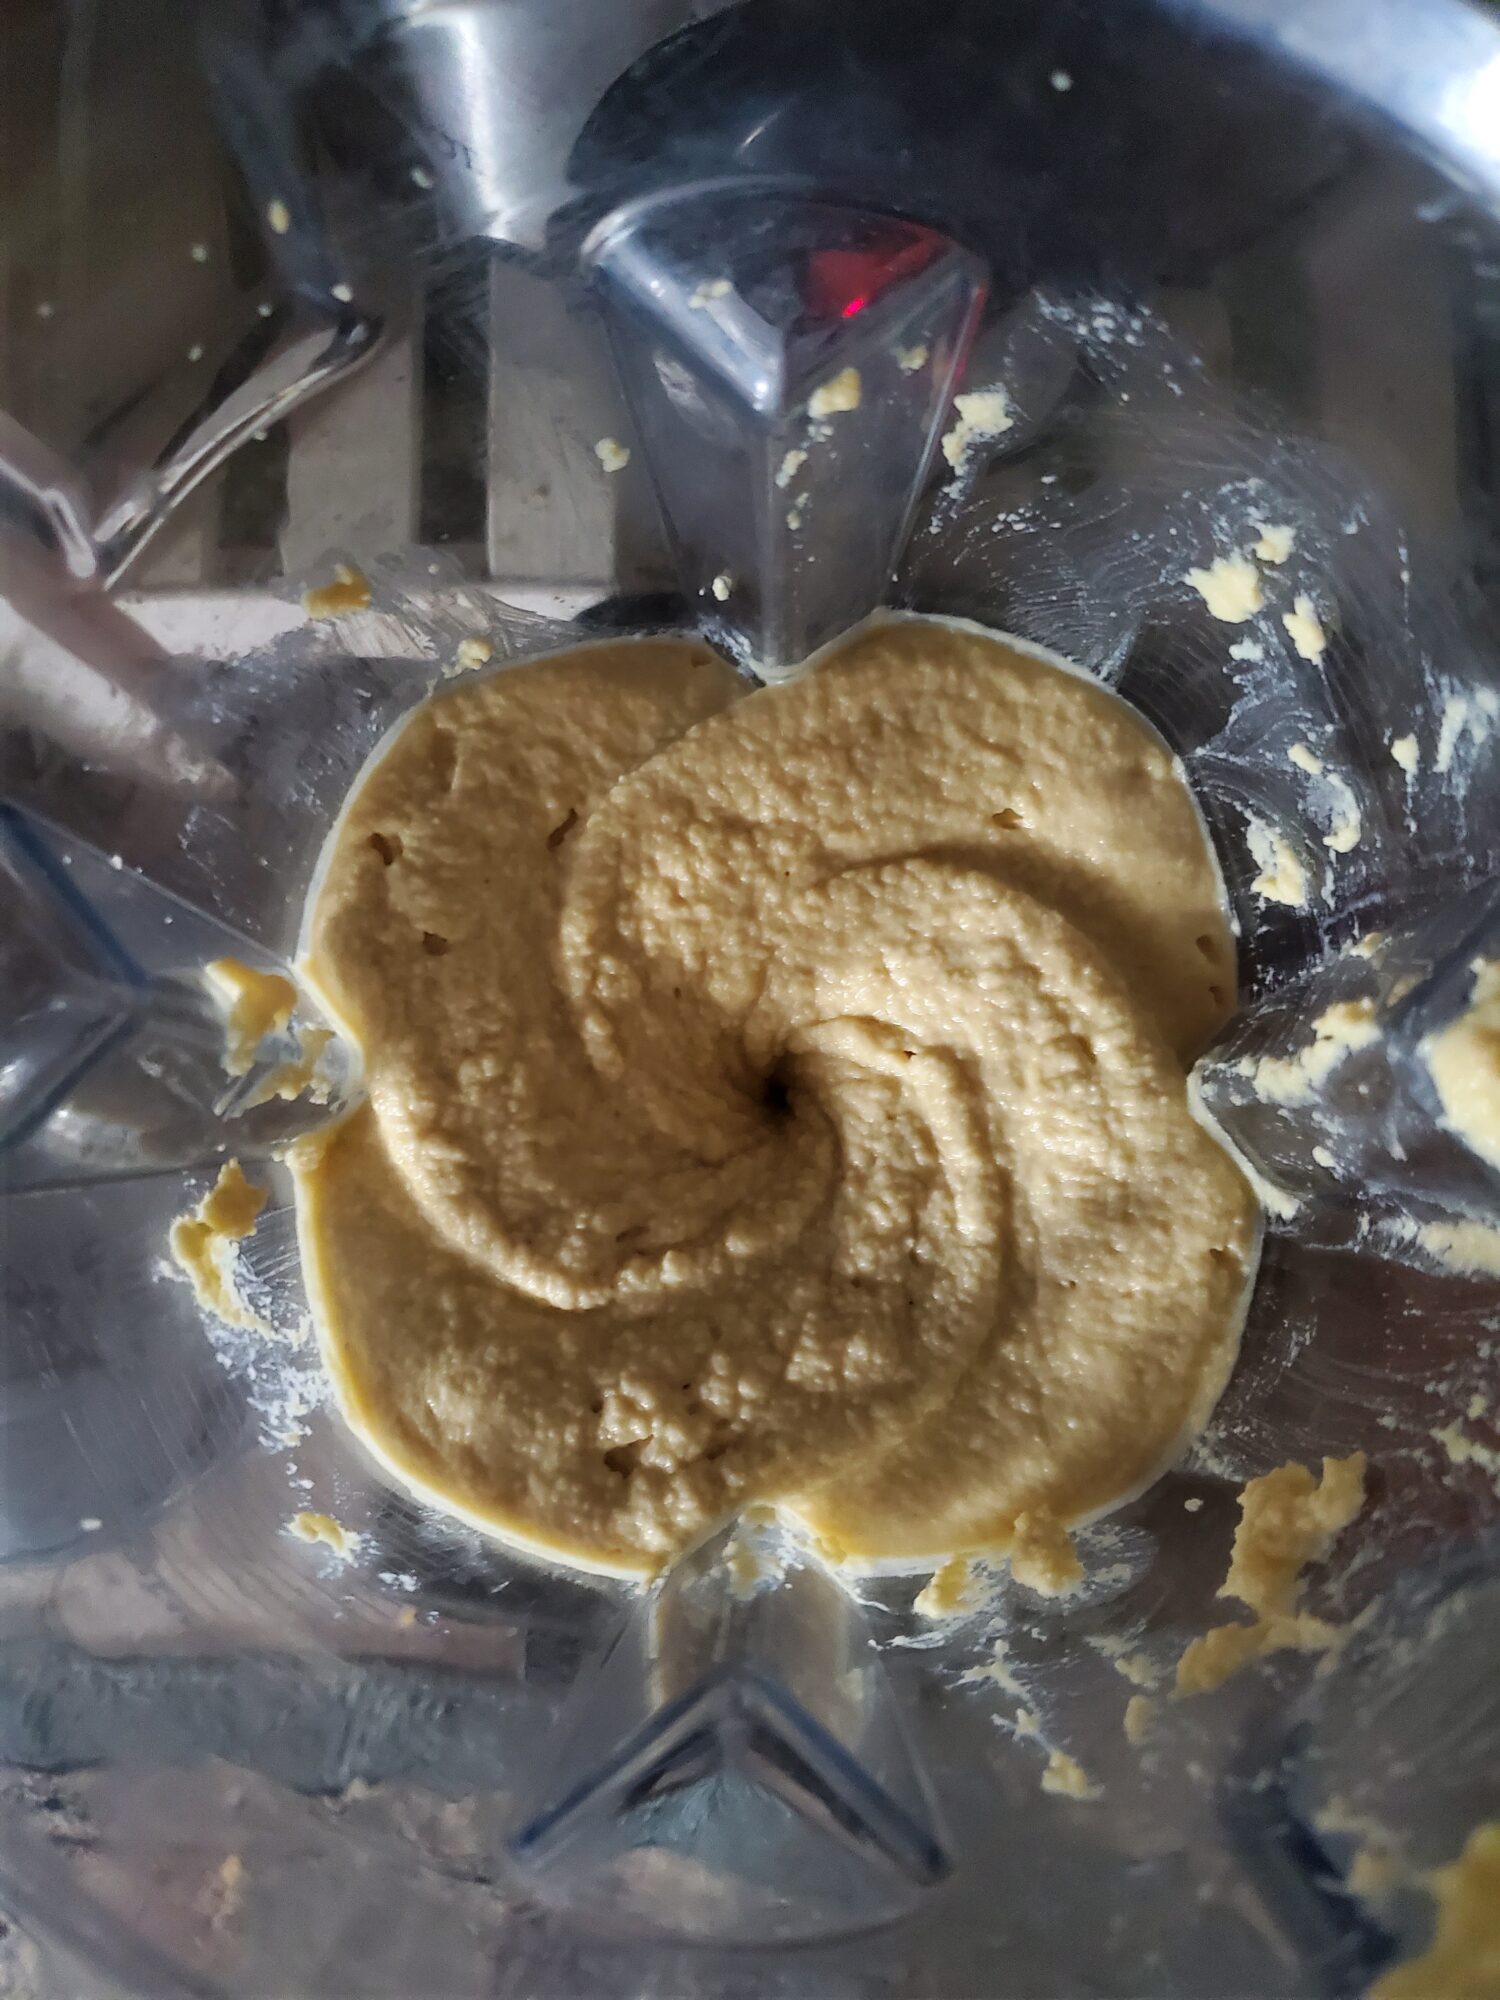
But today I decided to see if I could just emulsify it in the Vitamix. After all, Vitamixes are meant for pulverizing when merely puréeing won't do! I'm also perpetually debating over whether the Vitamix was a worthwhile purchase and whether or not it has an individual use past novelty for an expensive appliance that my Cuisinart could do perfectly well. So, hoping that it isn't merely redundant, I tried it out one after the other!
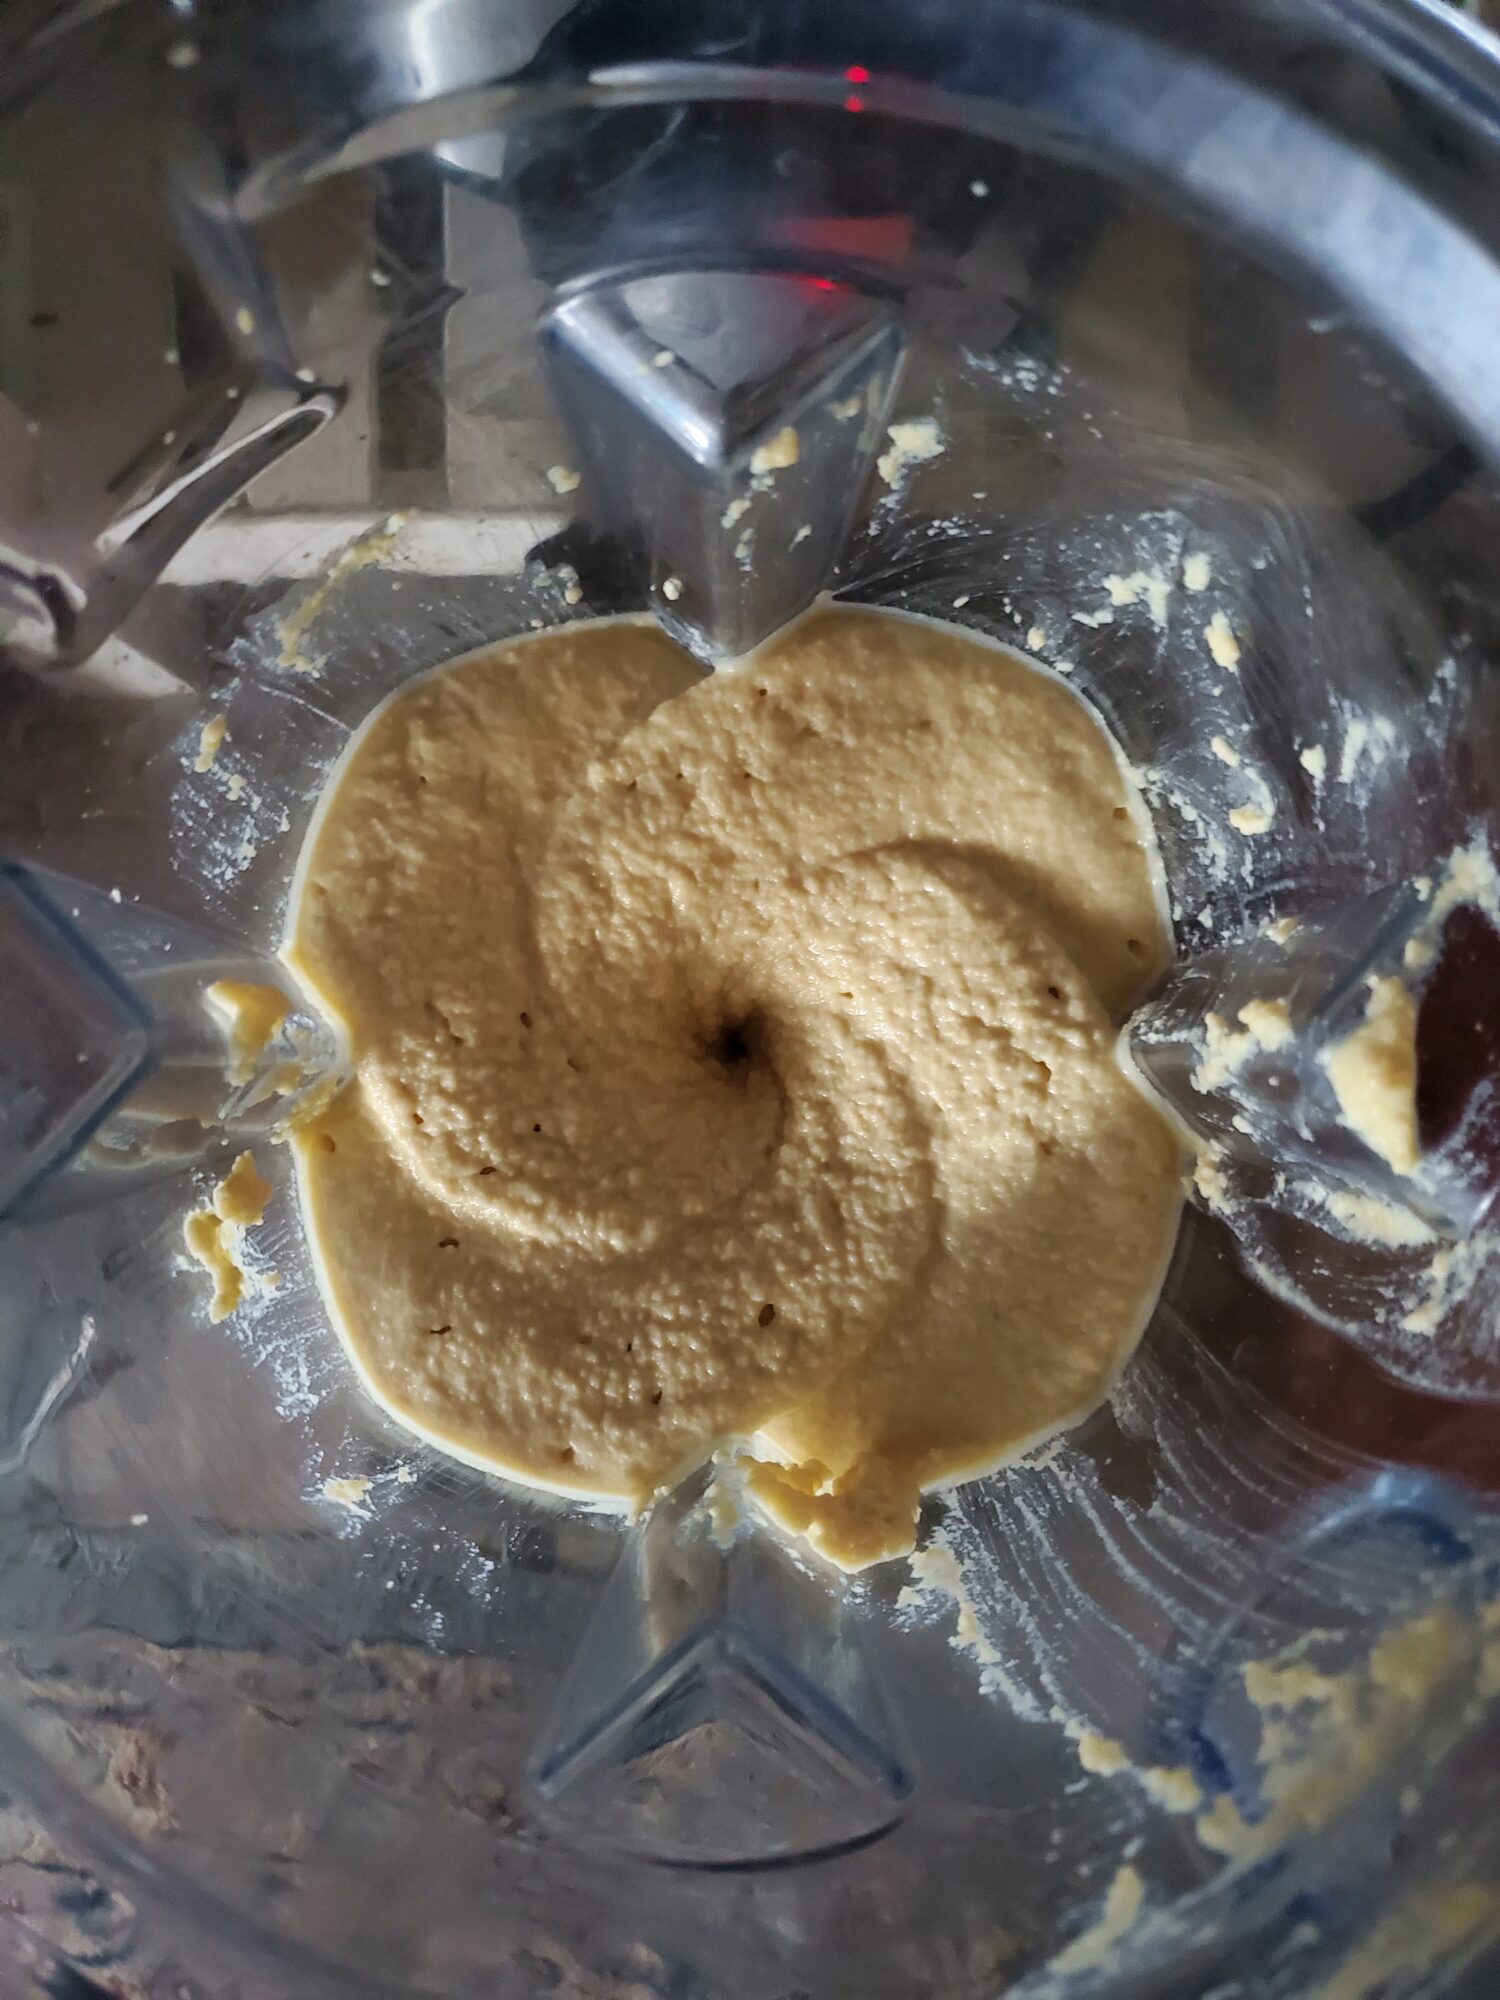
I came to the conclusion that yes, the Vitamix did purée more efficiently. Does it justify its cost and place on my kitchen mantle? Today, yes. It did indeed create a smoother consistency than the Cuisinart. Enough to send all of you scrambling out to purchase another kitchen appliance? Notably not.
While the Vitamix did do a better job at creating a smoother consistency, it didn't perform so much above and beyond the Cuisinart that I would recommend it if you didn't already have one! Although I would wager that either would be preferable to less powerful methods, like an immersion or bullet blender. Although I've never attempted to use these to make hummus, I've watched other people attempt the endeavor and it always makes me cringe! For hummus, it really does help to have a larger mixer and never, ever, ever use canned chickpeas!!
Gallery
Variations of Pumpkin Hummus
There are a number of different types of hummus and similar dips out there. From classic to squash and even roasted red pepper.
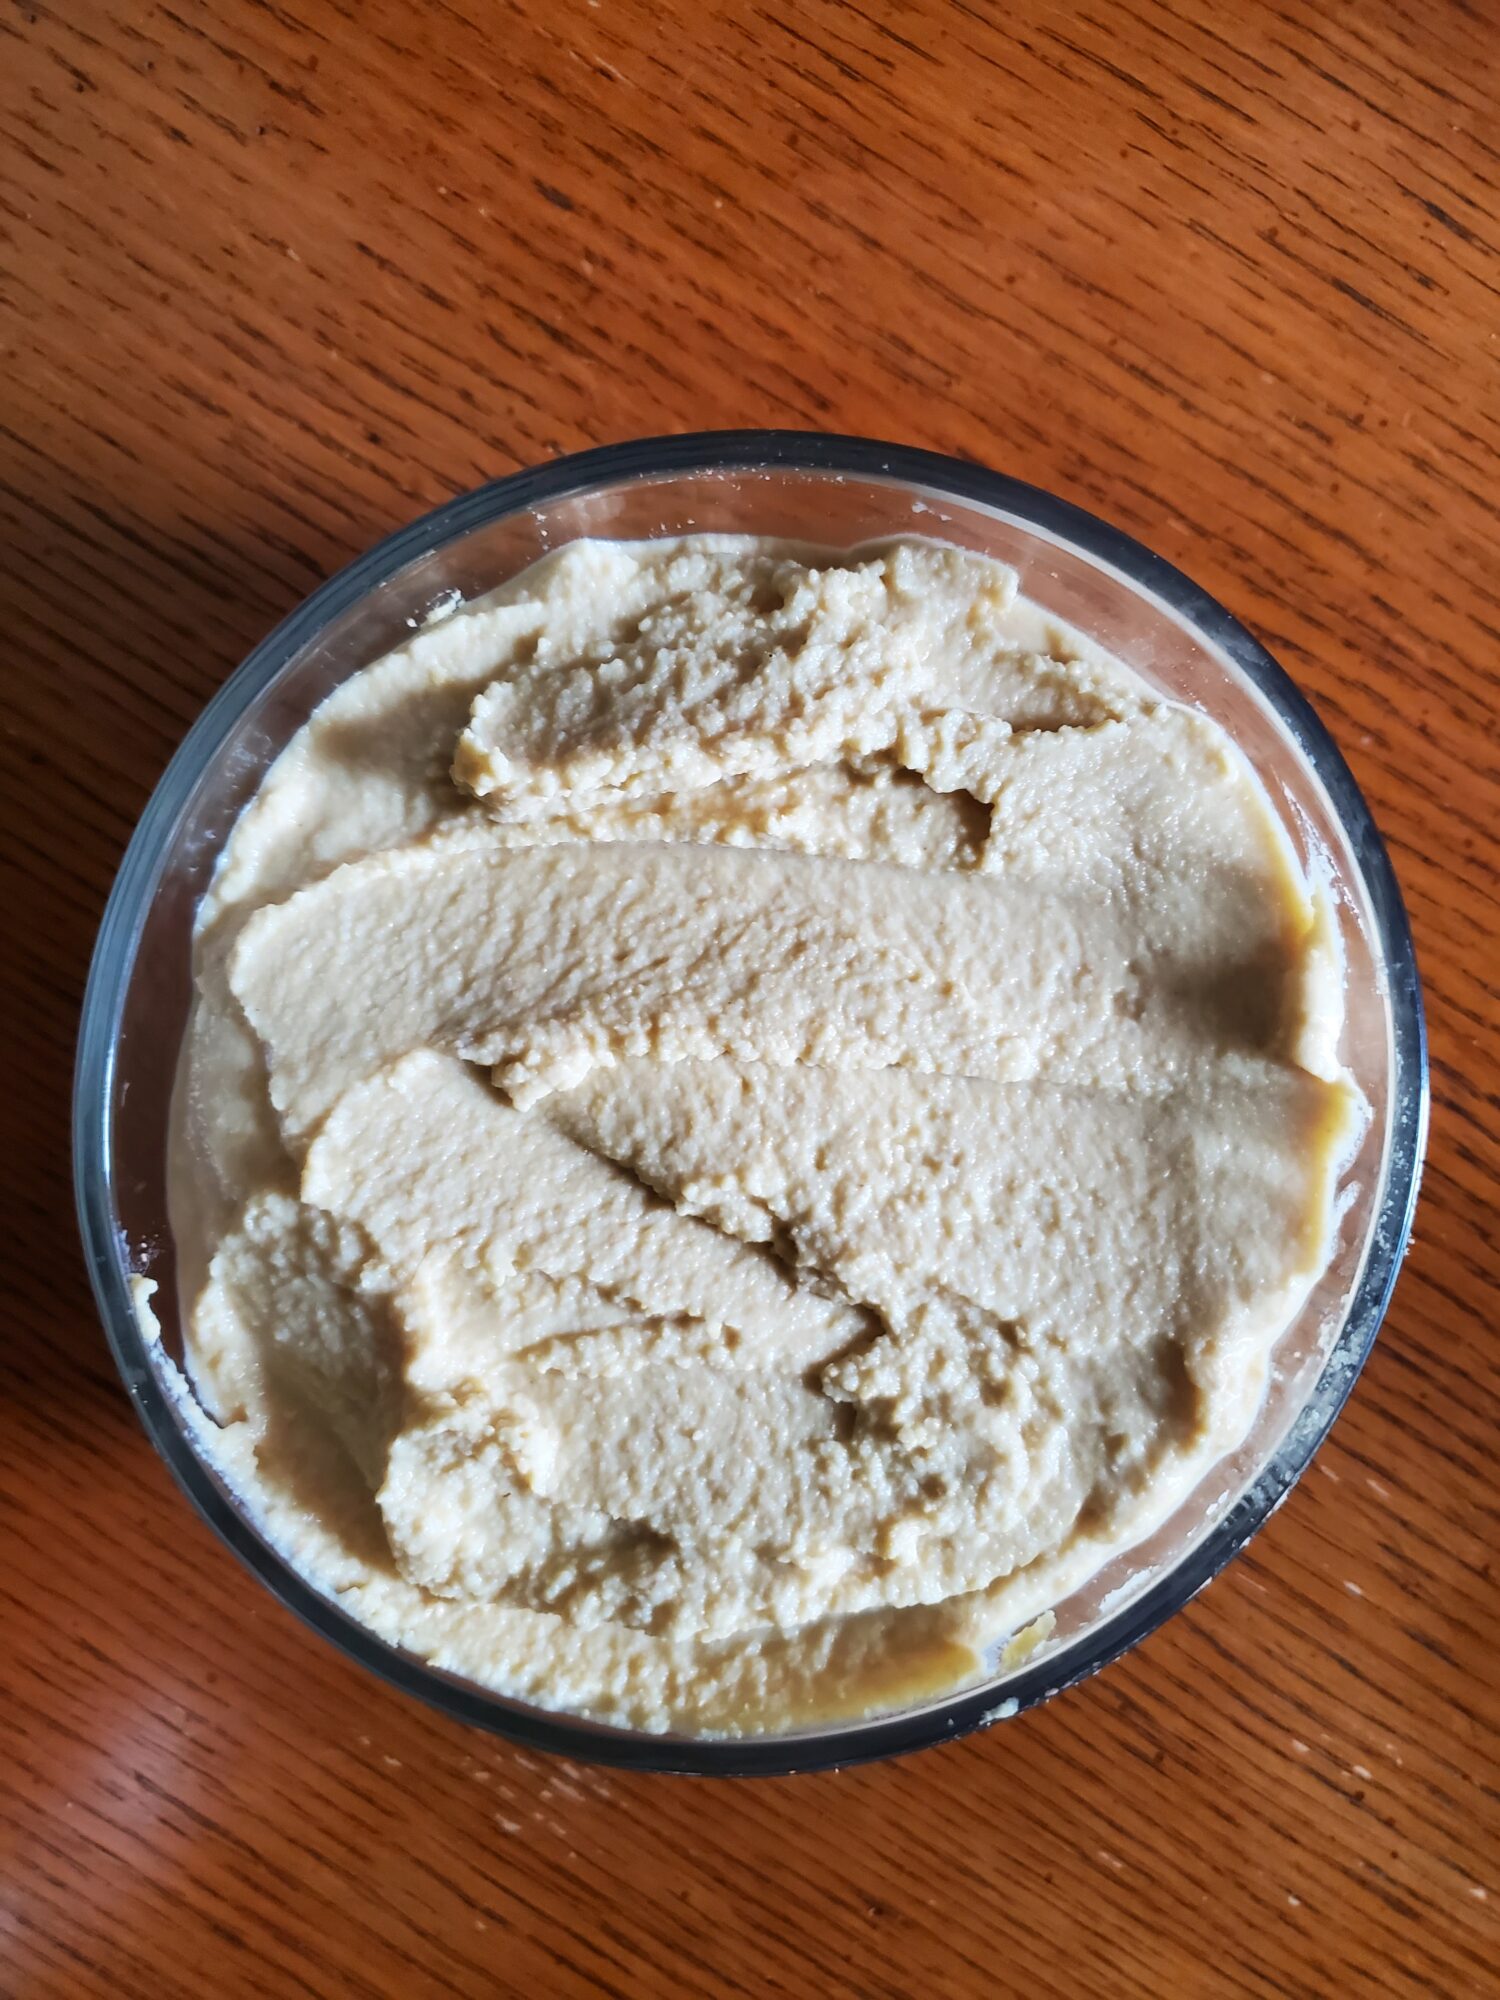
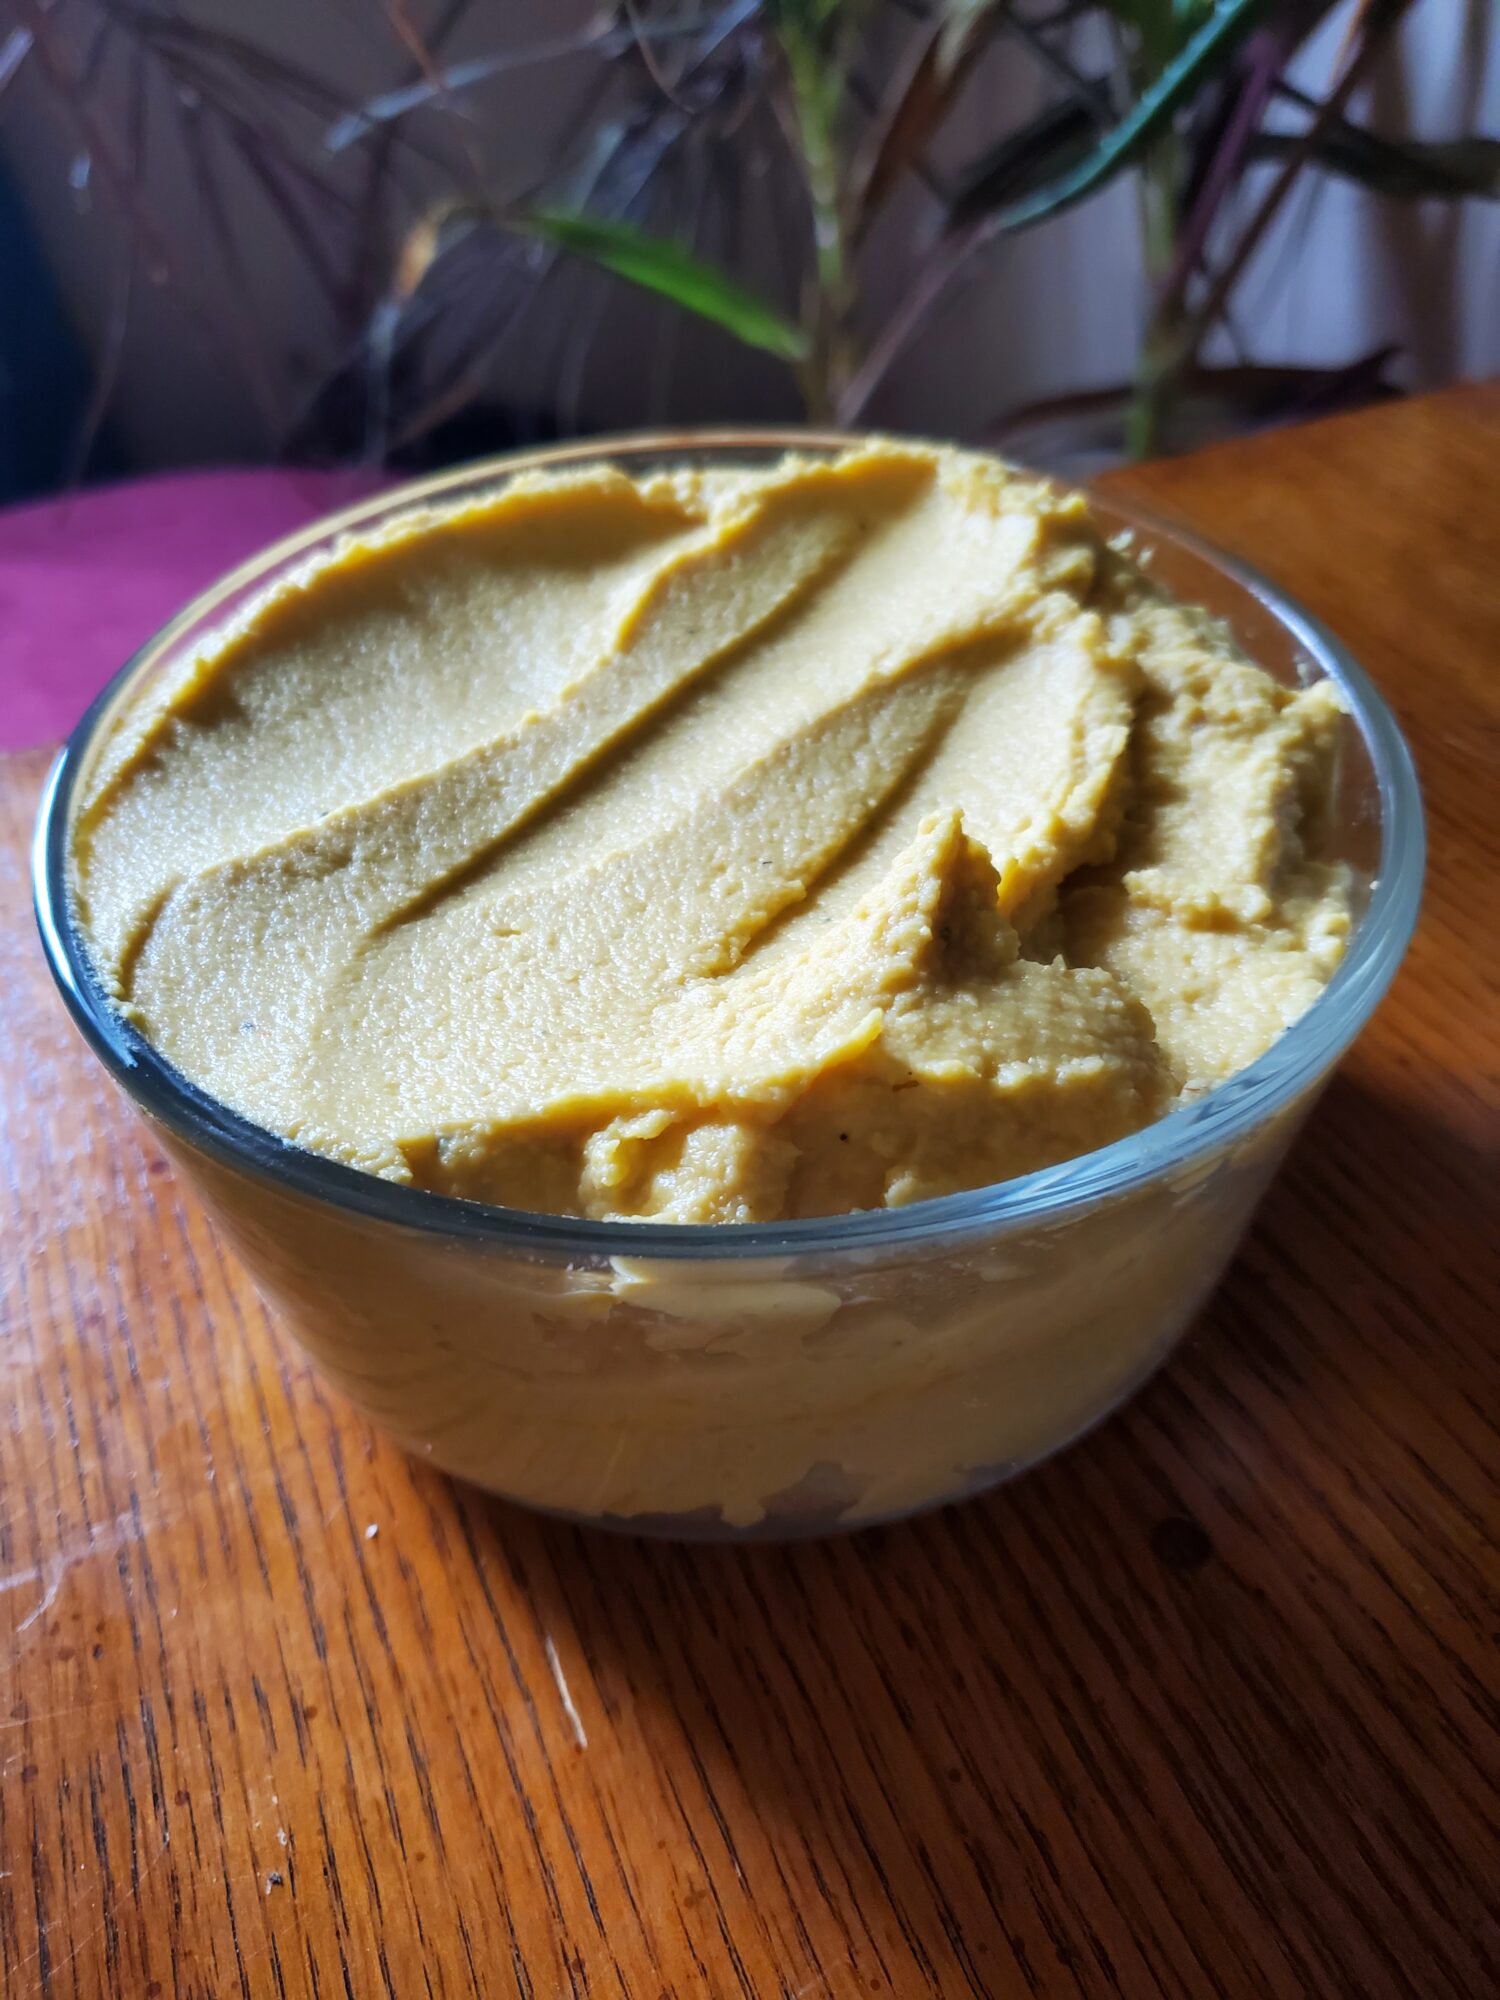
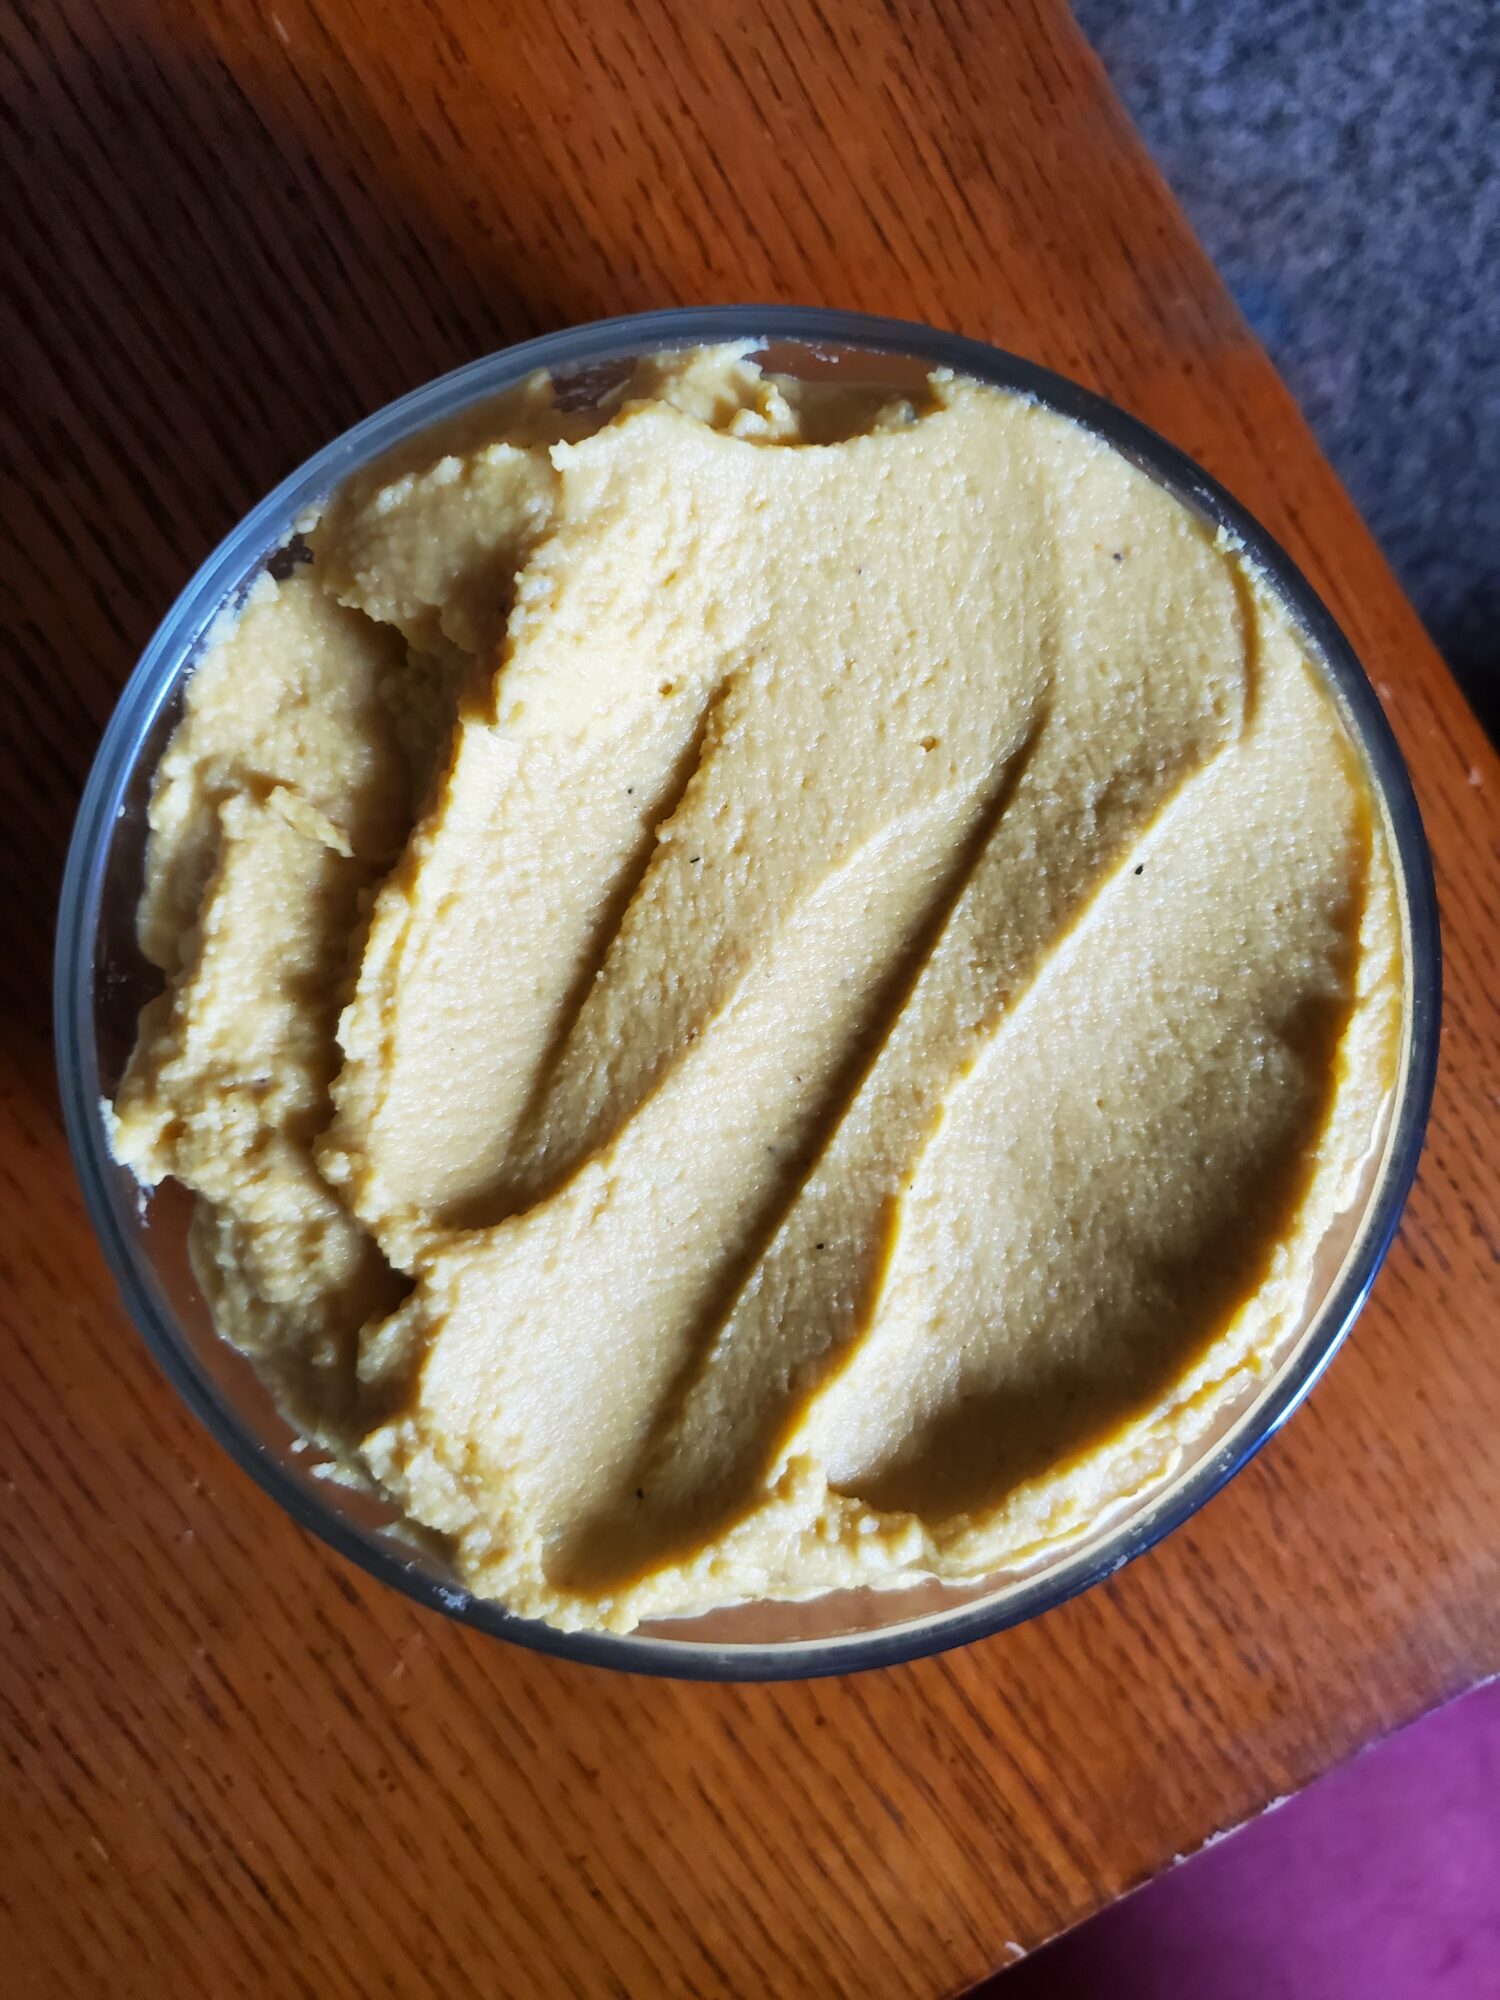
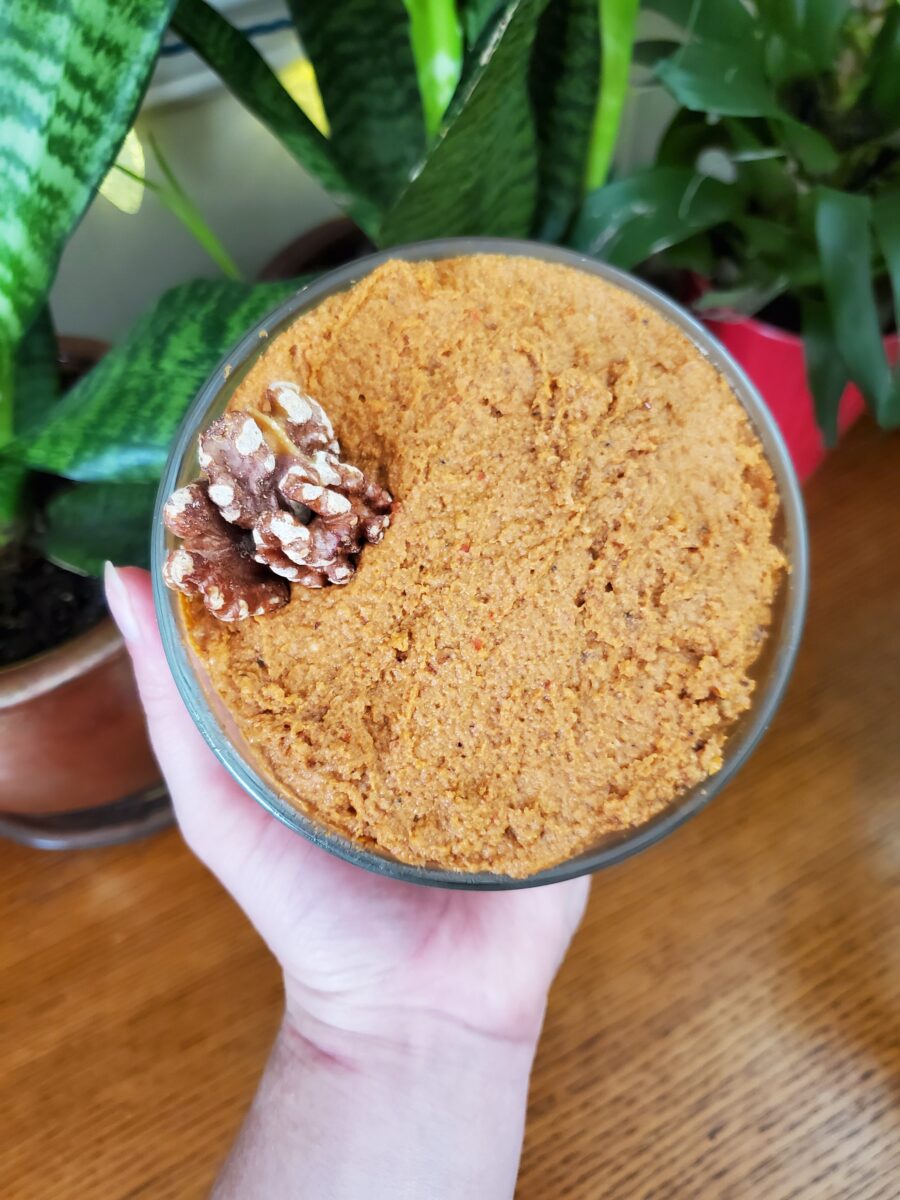
Roasted pumpkin hummus is a delicious pairing of classic hummus with the natural sweetness of the pumpkin and citrusy tartness of the lemon. It reigns as one of my favorite hummus recipes of all time and I can't wait until next pumpkin season to taste it again!
I made a large batch of hummus and then cut it in half to add pumpkin to one. I have adjusted the recipe for just the amount of the pumpkin proportion. If you want to make both batches at once, just double the hummus recipe, remove half of it from the food processor, and then add pumpkin purée and mix until combined.
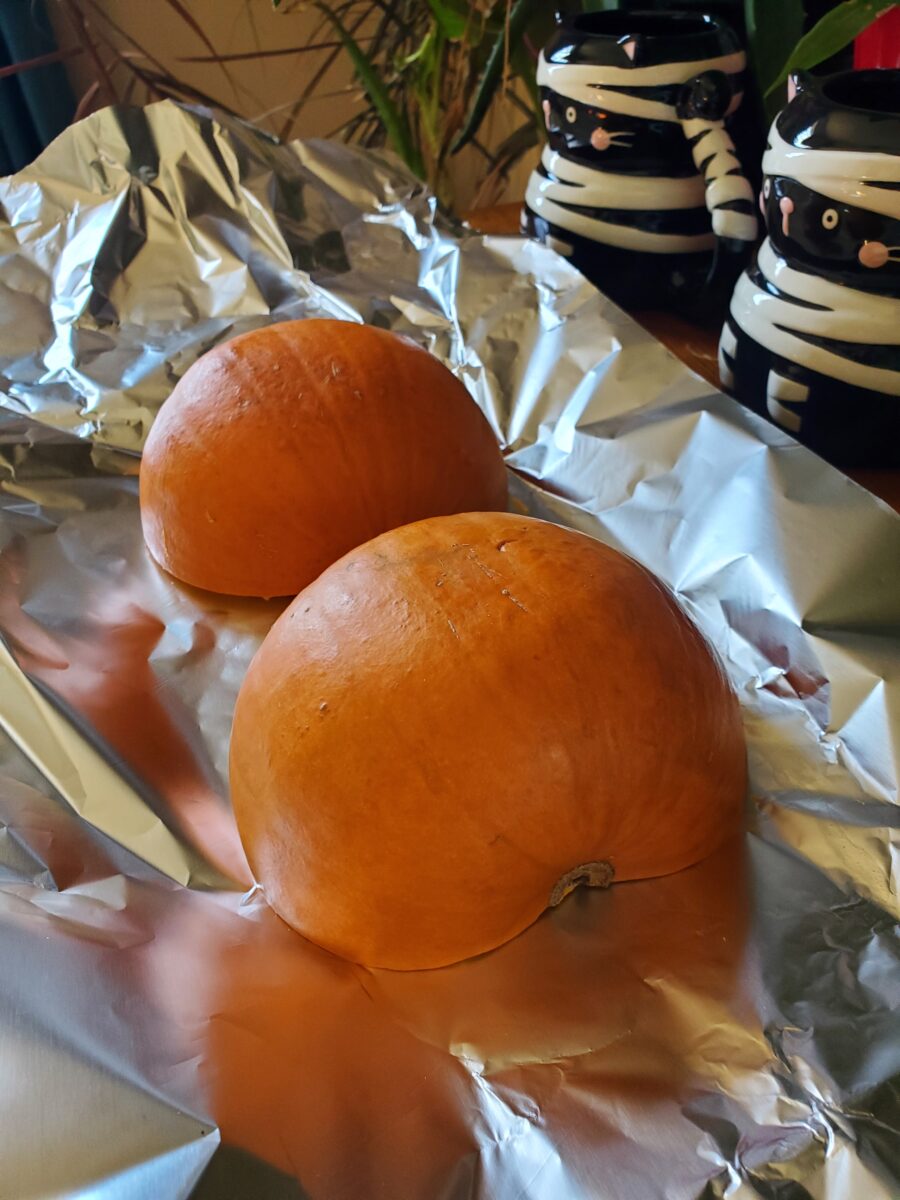
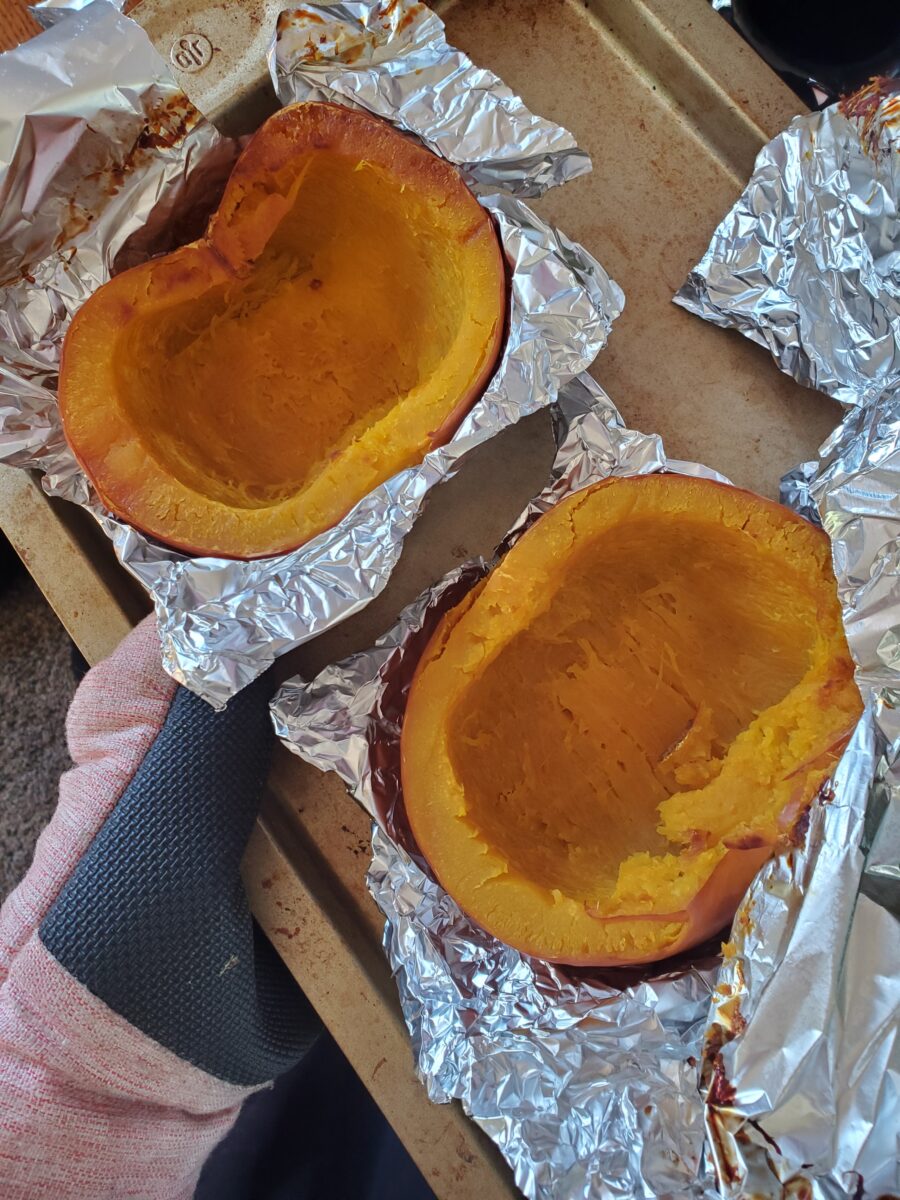
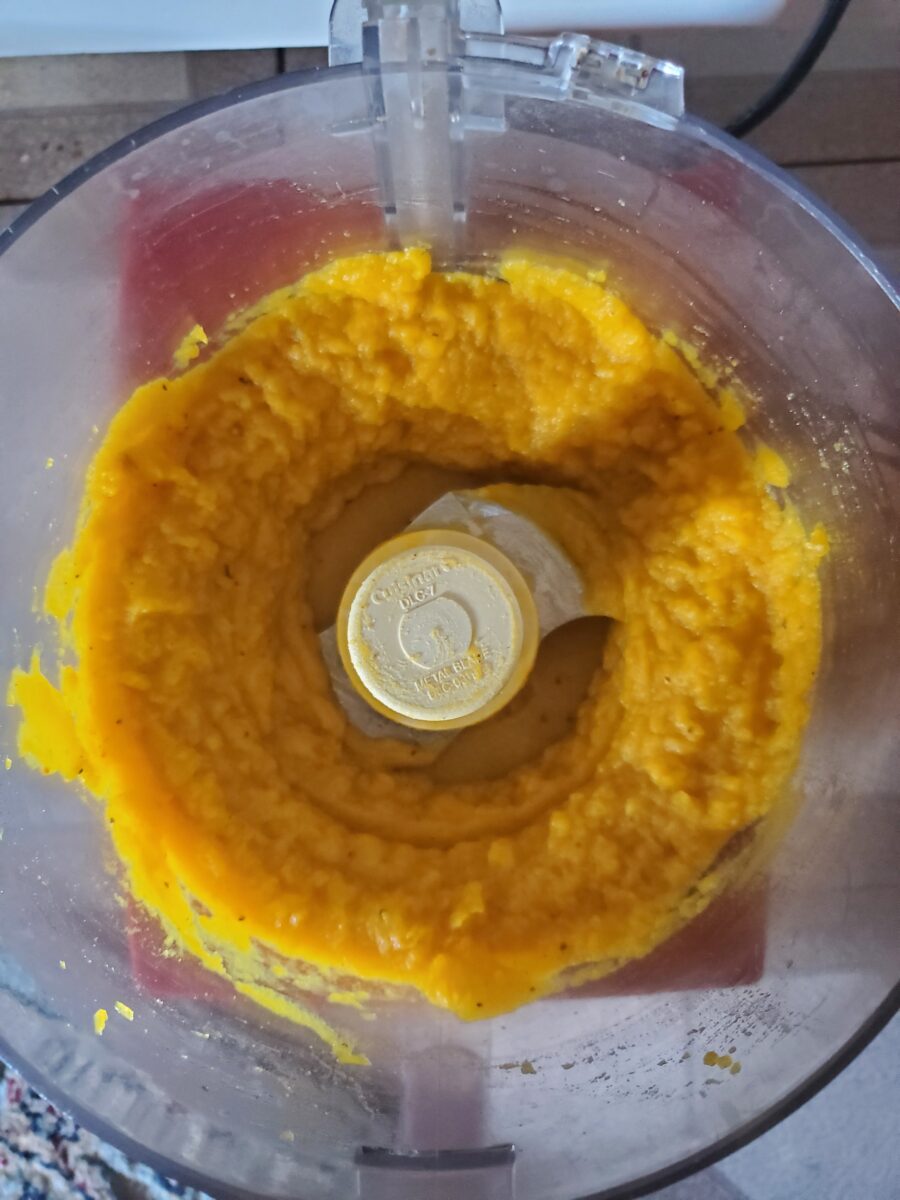
I used Roasted Pie Pumpkin Purée in this recipe. This takes a couple of hours and requires a whole pie pumpkin as well as aluminum foil, a baking dish, and food processor.
I also use Roasted Garlic to make hummus quite a bit. This is entirely optional, though. You can easily cut the amount of garlic in half! If you do want to roast garlic, you'll need at least a head of garlic, olive oil, and a garlic roaster or aluminum foil.
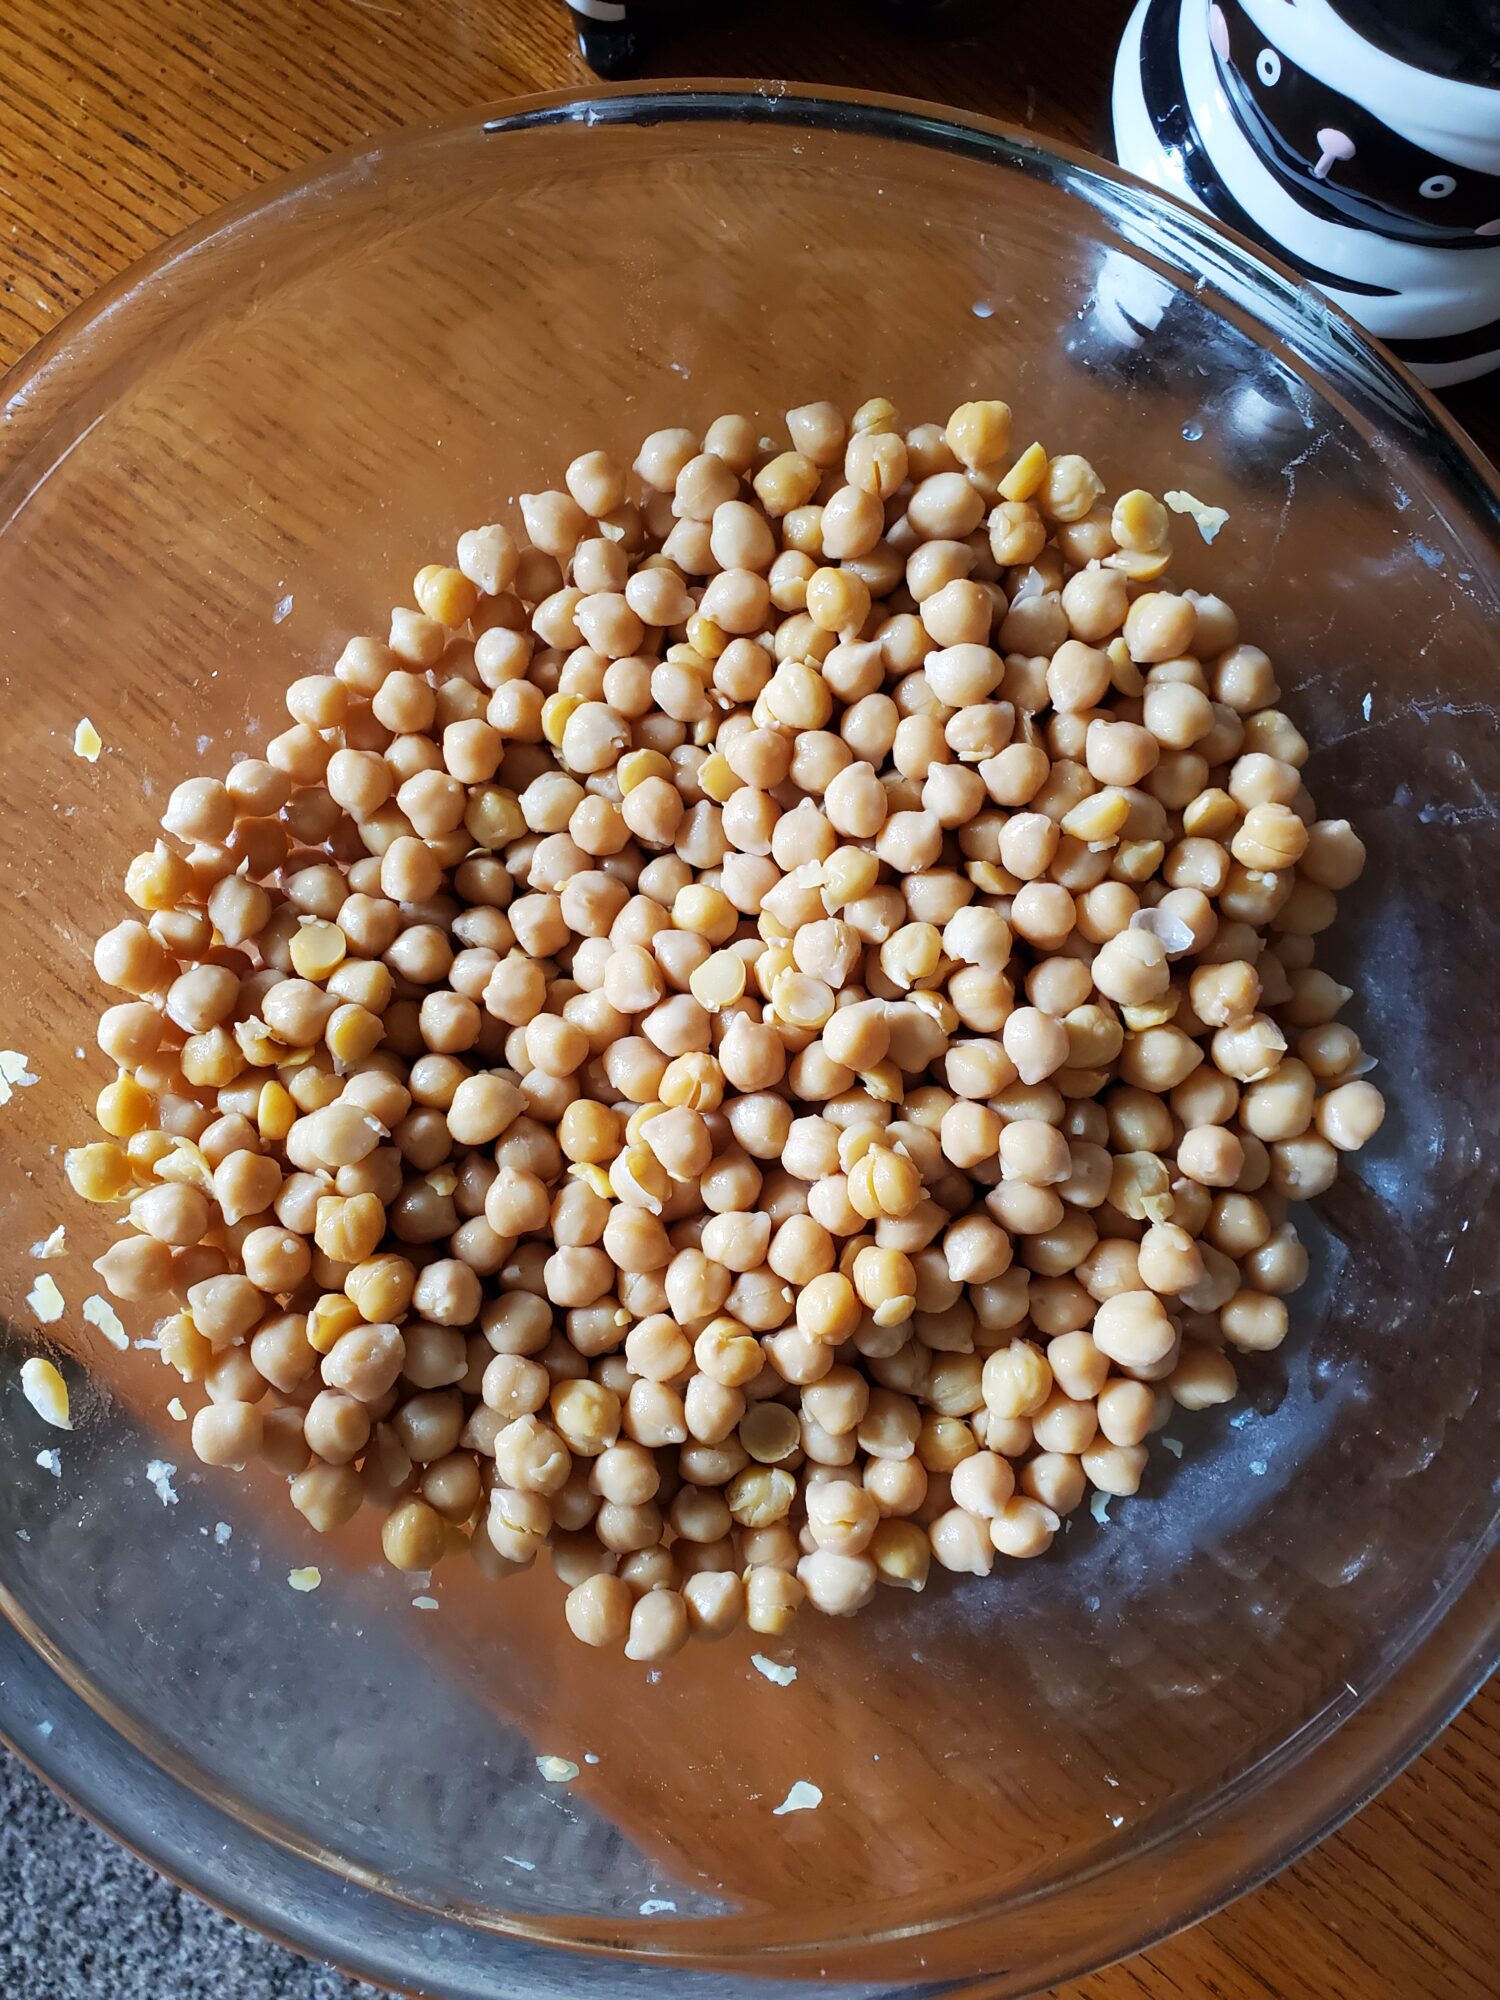
Soak Chickpeas Overnight
Soak chickpeas/garbanzo beans in cold water for at least 12 hours.I like to do this overnight because then you're asleep during the down time. Although you can soak them in the morning and still be able to cook them in the evening.Soaking is also important! Do not use canned beans!! The texture won't turn out the same and, since hummus is defined in large part by its texture, no matter how closely you get the flavor to match, the graininess of canned chickpeas.
Cook Chickpeas
Drain the chickpeas. Add to a large pot and cover with a couple inches of water.
Bring to a boil and then reduce heat to a simmer.
Simmer for an hour and a half to two hours, or until tender. You may need to adjust the temperature to keep them from boiling as they cook down.They should begin to shed their skin and be soft, much like the consistency of a barely boiled potato. They should still keep their shape and not turn to mush. But theoretically putting a fork in them would split them in half.If, when you go to remove the skins, you're peeling them off each individual chickpea, they're not cooked if. If they chickpeas are just crumbling and everything is turning to mush, they are overcooked!
Drain the beans immediately after cooking.
Remove Skins
Remove the skins and drain the chickpeas.This is arguably the worst step to making hummus. You don't have to remove every single skin, but the more that you do remove, the better the texture of the hummus will be. The skins are tough and give it a grainy texture. Which is not what you're looking for in something that should be soft and smooth!
The easiest way that I've found to remove the skins as quickly and easily as possible is to run them under cold until cool, place them in a large bowl, and fill with enough water so that the chickpeas are covered by at least 1/2 an inch. Then, rub a handful of chickpeas between your palms at a time. Much like you're doing the "Buuuuuuuuur, I'm cold!" motion. The skins should separate and float.If you've cooked the chickpeas long enough, the skins should easily slide off of the chickpeas. If you've cooked them too much, this will cause the chickpeas to break apart and disintegrate. If you're close to the right cooking time, you should be fine. It can be difficult to remove as many skins as you would have otherwise and you may get some graininess in the end result, but you should still get delicious hummus out of it!
Make Hummus
Add chickpeas, pumpkin, lemon juice, garlic, tahini, olive oil, cumin, and salt to a high-powered blender or food processor. Blend until mixture forms a smooth paste and you can no longer see pieces of chickpeas.
Add 1/2 c. crushed ice and blend for 2-4 more minutes. This is entirely optional, but the rapid cooling helps with the texture.If you don't have crushed ice, you can also add ice water or olive oil, 1 tablespoon at a time. The exact consistency differs slightly depending on how much the chickpeas have absorbed water during the simmering process. Even if you cook them perfectly, the age of the chickpeas can still be a variable. If they're too thick, just add a little bit more liquid!
Once a smooth, consistent texture has been achieved, remove and chill before serving. I usually chill for about an hour. This is optional as well, but warm chickpeas aren't exactly what we tend to think of when we look to hummus!
Tips, Tricks, & Notes
For more information on hummus, I have an article on The Fundamentals of Making Hummus. This includes the chickpea versus garbanzo bean debate, canned versus dried chickpeas, and types of food processors and puréeing that work best (and least best).


Leave a Reply