I have been moving! And absolutely dreaming about what I'm going to make. Despite cooking for work and adoring the art form, I've struggled to have the energy to come home and continue to cook. Alas, I've taken food home from work and ordered more than a few pizzas over the last couple of weeks! But I have also been drooling over the curry that I will make. And today I finally did it. I made my first meal in my new place! And now have egg curry.
I have moved into the city. I'm 2 blocks from what the mid-west calls "The Ocean" and infinitely closer to work. A huge weight is lifted off of my shoulders! Although, with moving comes all of the stress and pent up energy and utter exhaustion of actually... moving! And, whenever things feel that daunting, there is absolutely nothing better than a home cooked meal. When you. get to that point. So, two weeks in when I actually have the energy to do it! There is nothing better than making curry. It's one of my favorite comfort foods and a winter staple in my house.
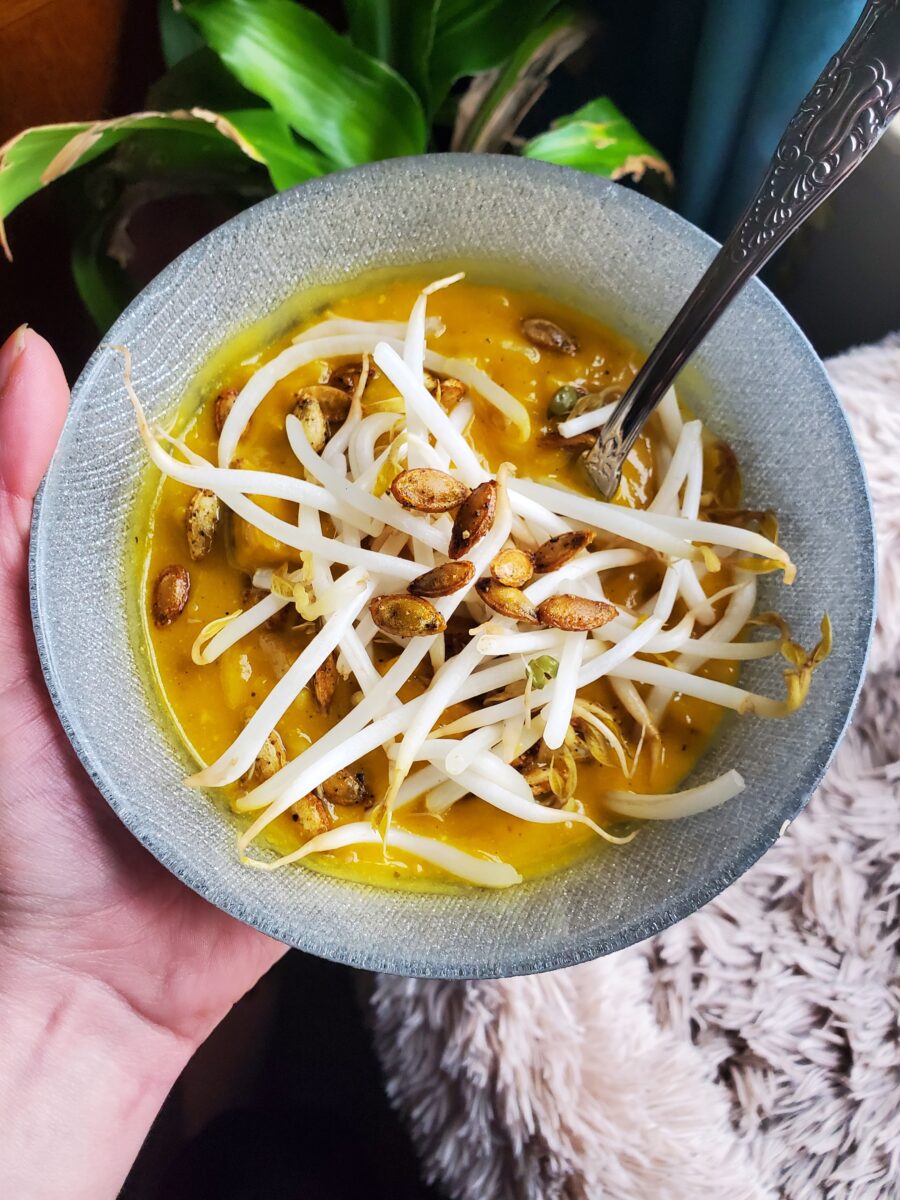
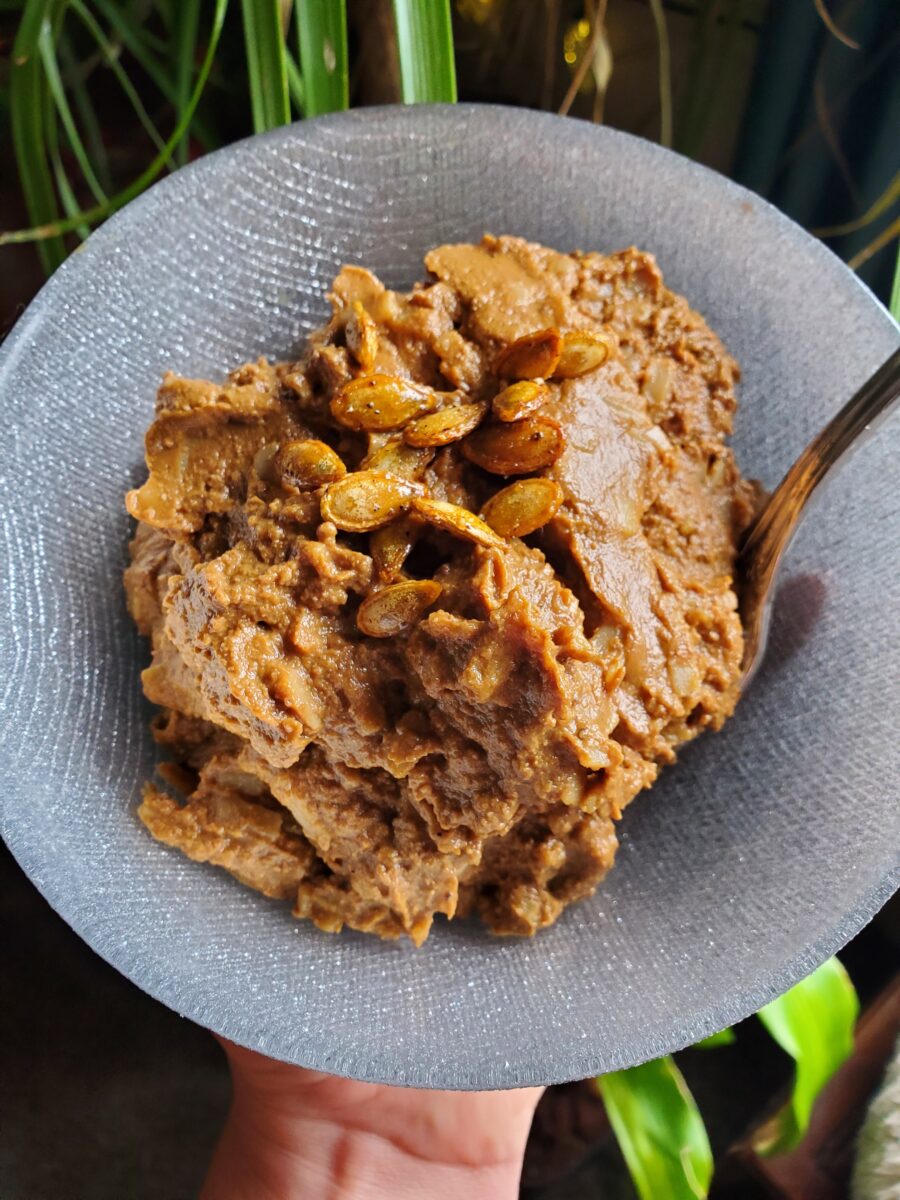
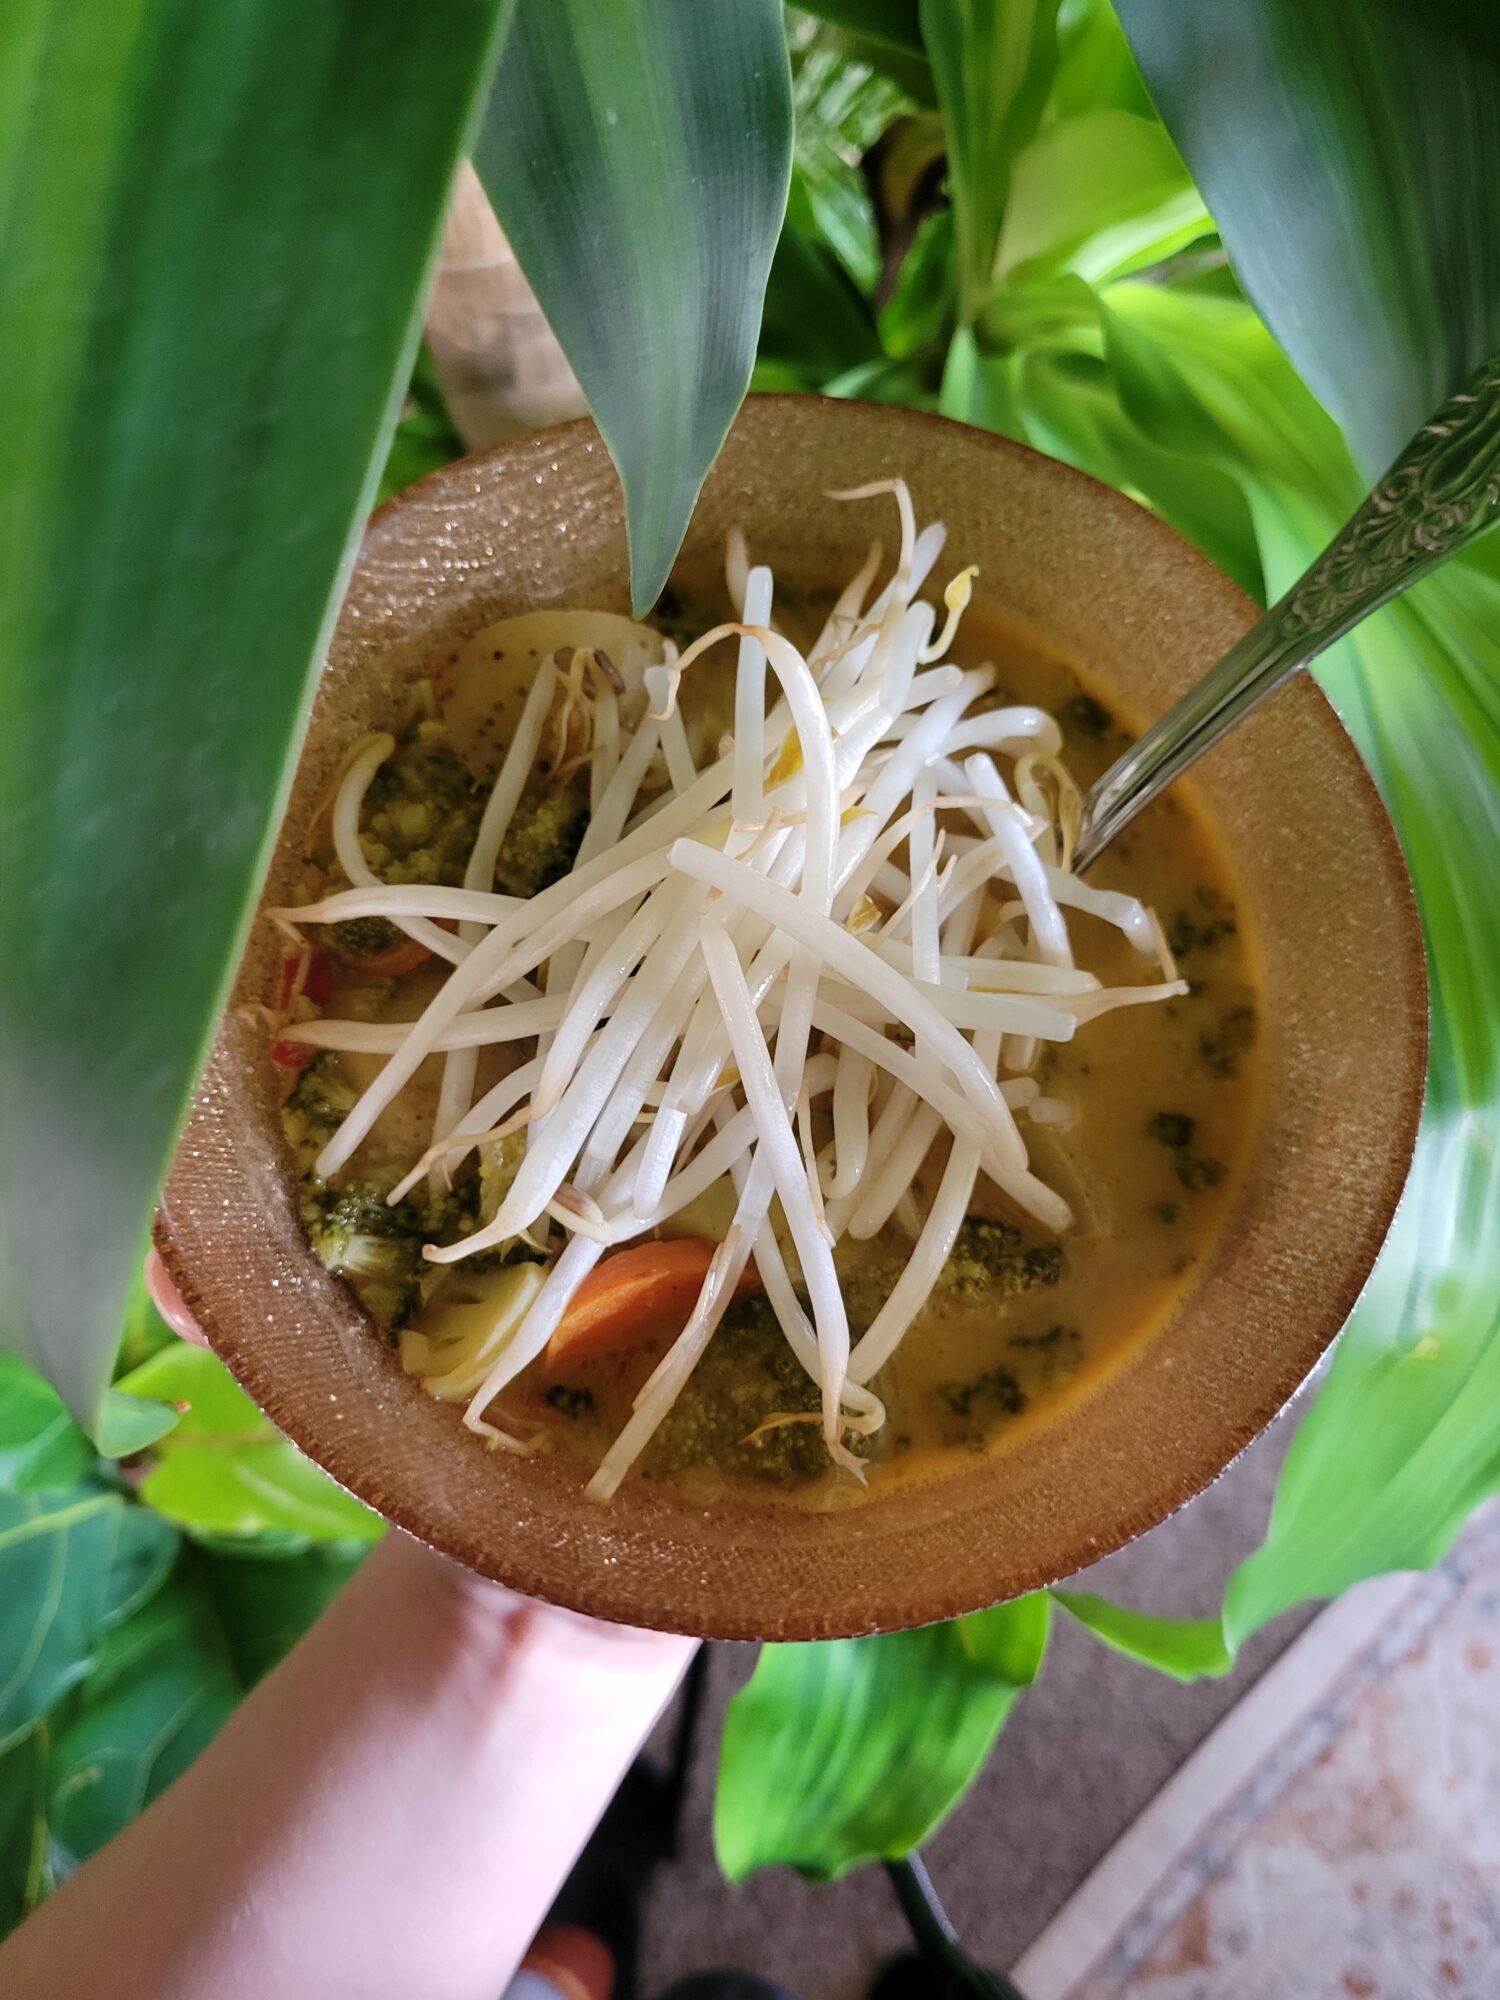
Gallery
Variations of Egg Curry
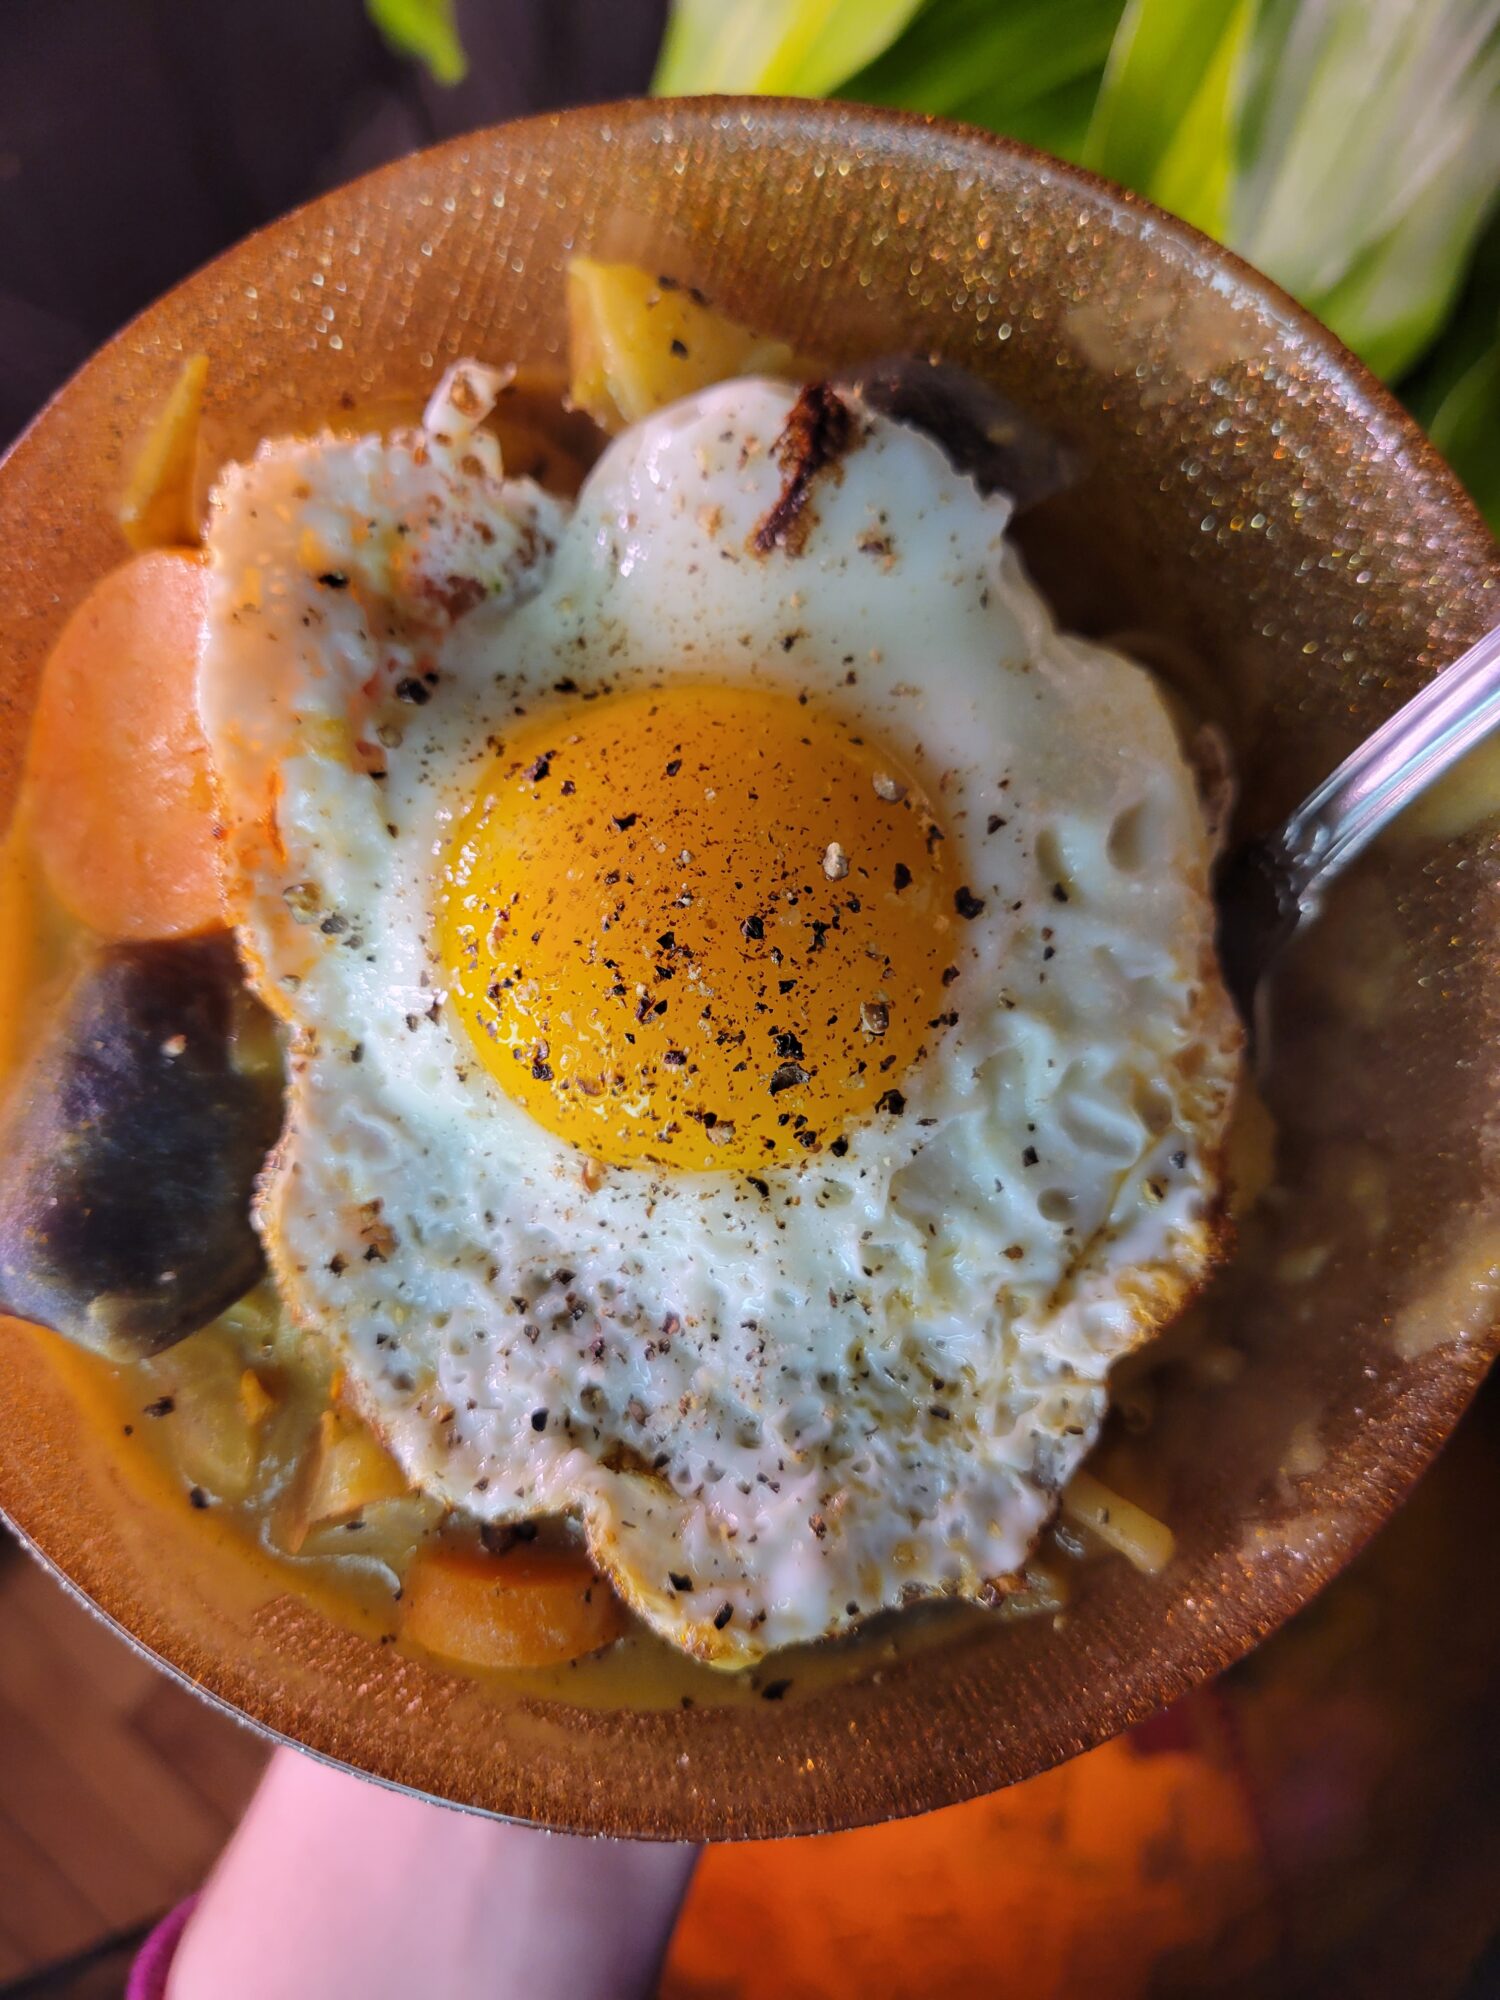
Curry is one of my favorite comfort foods. There is truly nothing better in the dead of winter than a nice, warm bowl of spicy curry to heat you up! For this particular curry, I decided to add eggs because I'm so tired and hungry after moving that I need as much nutrient-rich food as possible! Although you can easily mix and match in whatever produce you prefer or have on hand. I'm really just obsessed with eggs and am out of tofu. Plus, it takes half the time to fry an egg than it does to fry tofu.
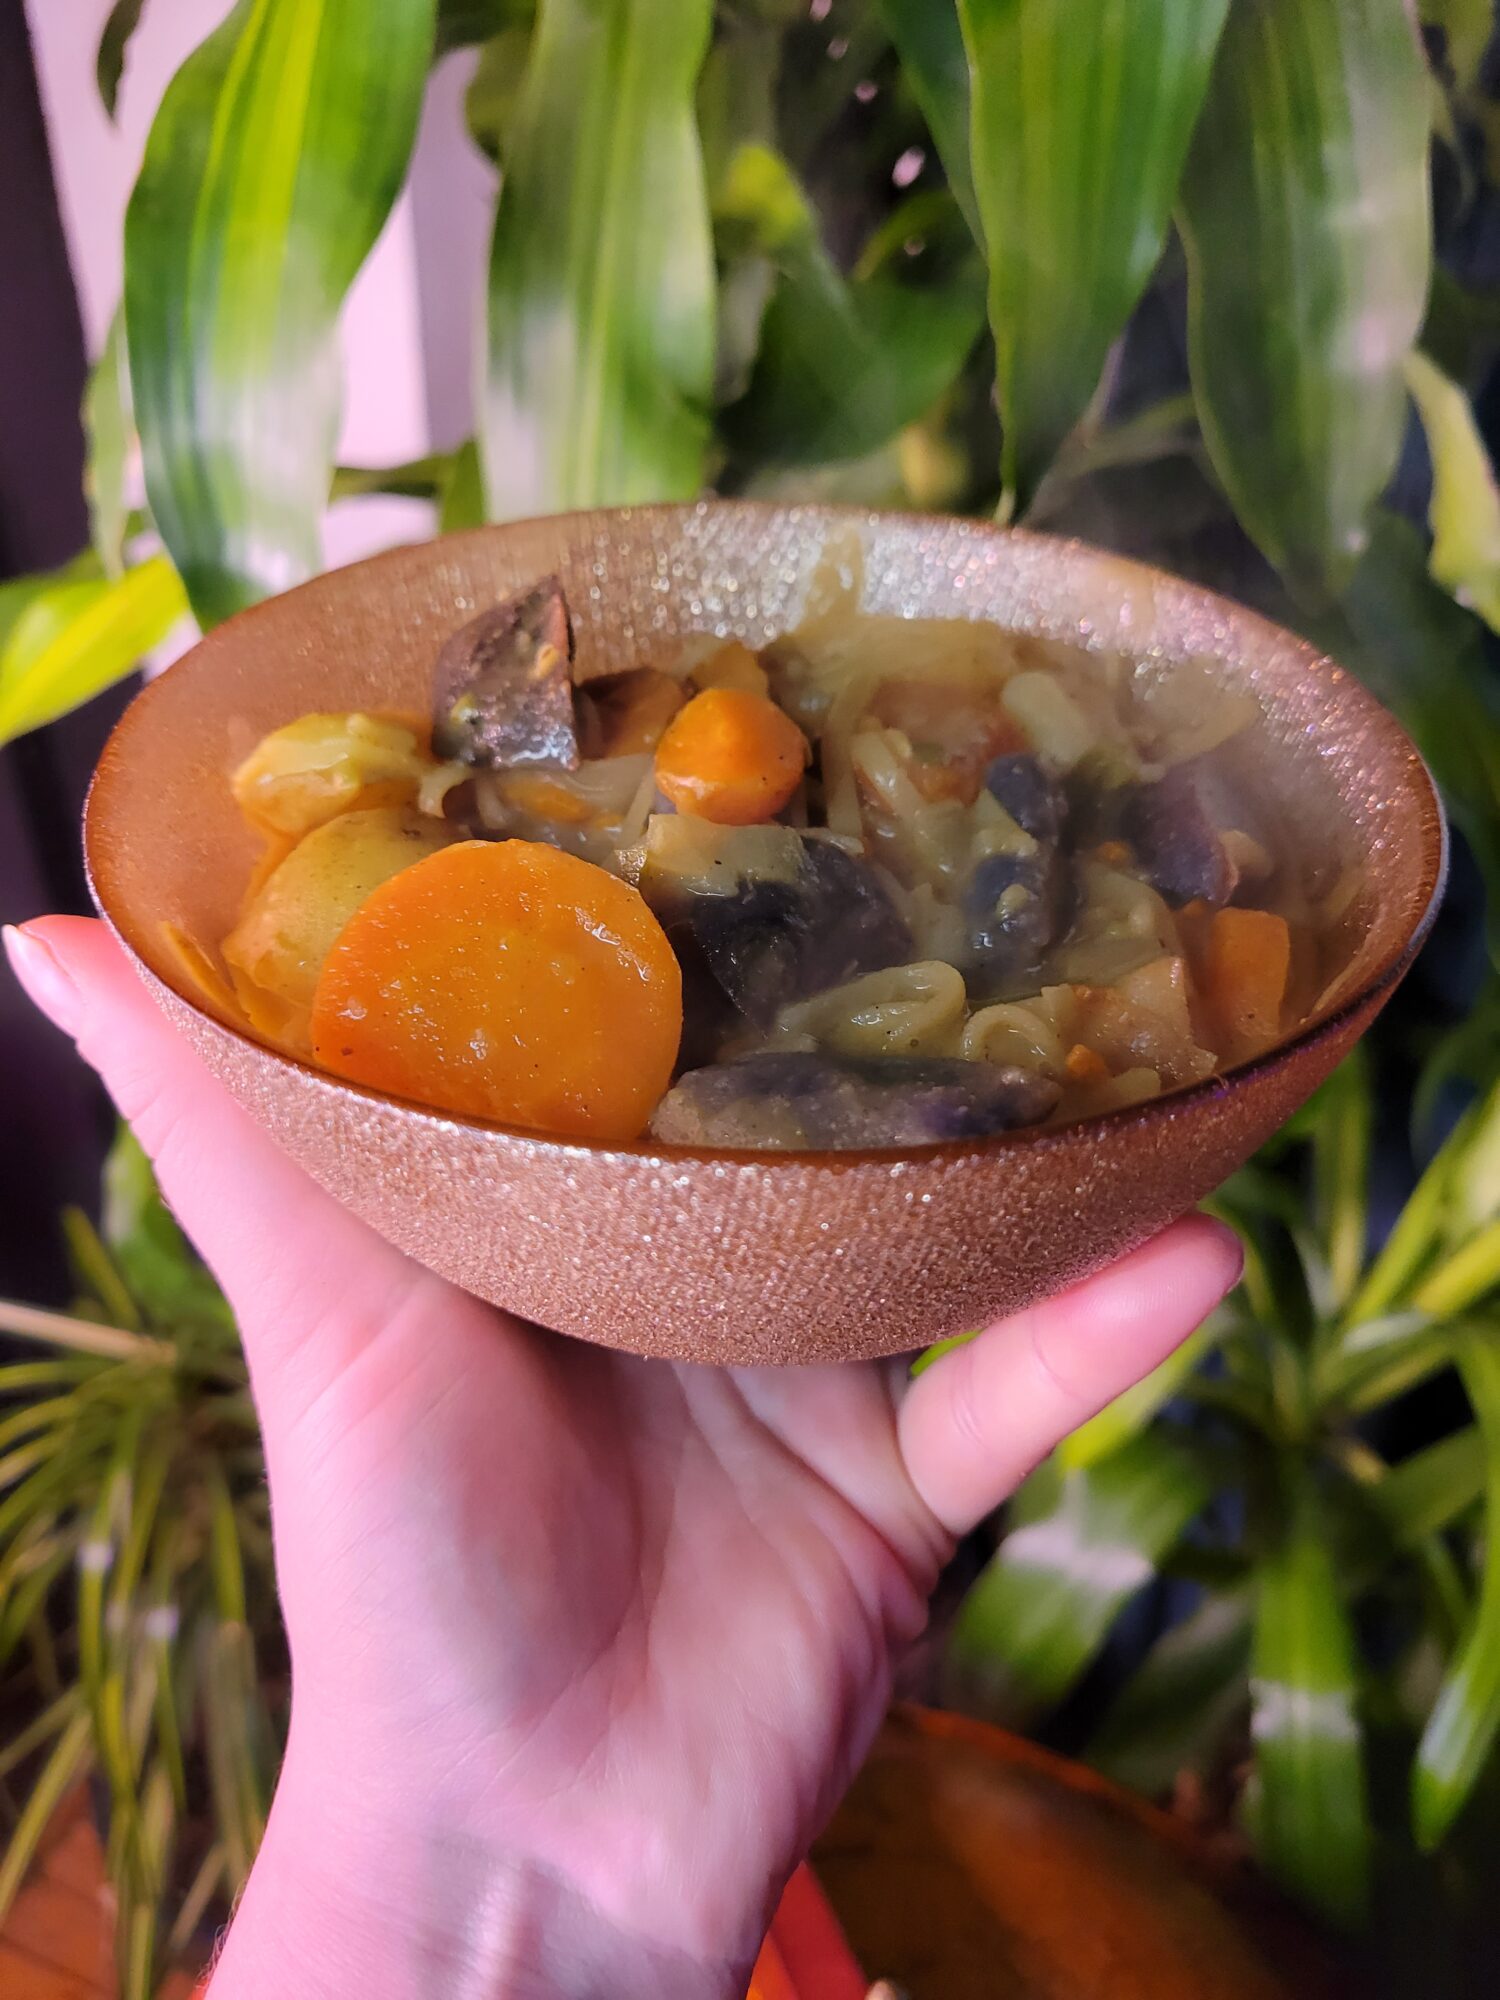
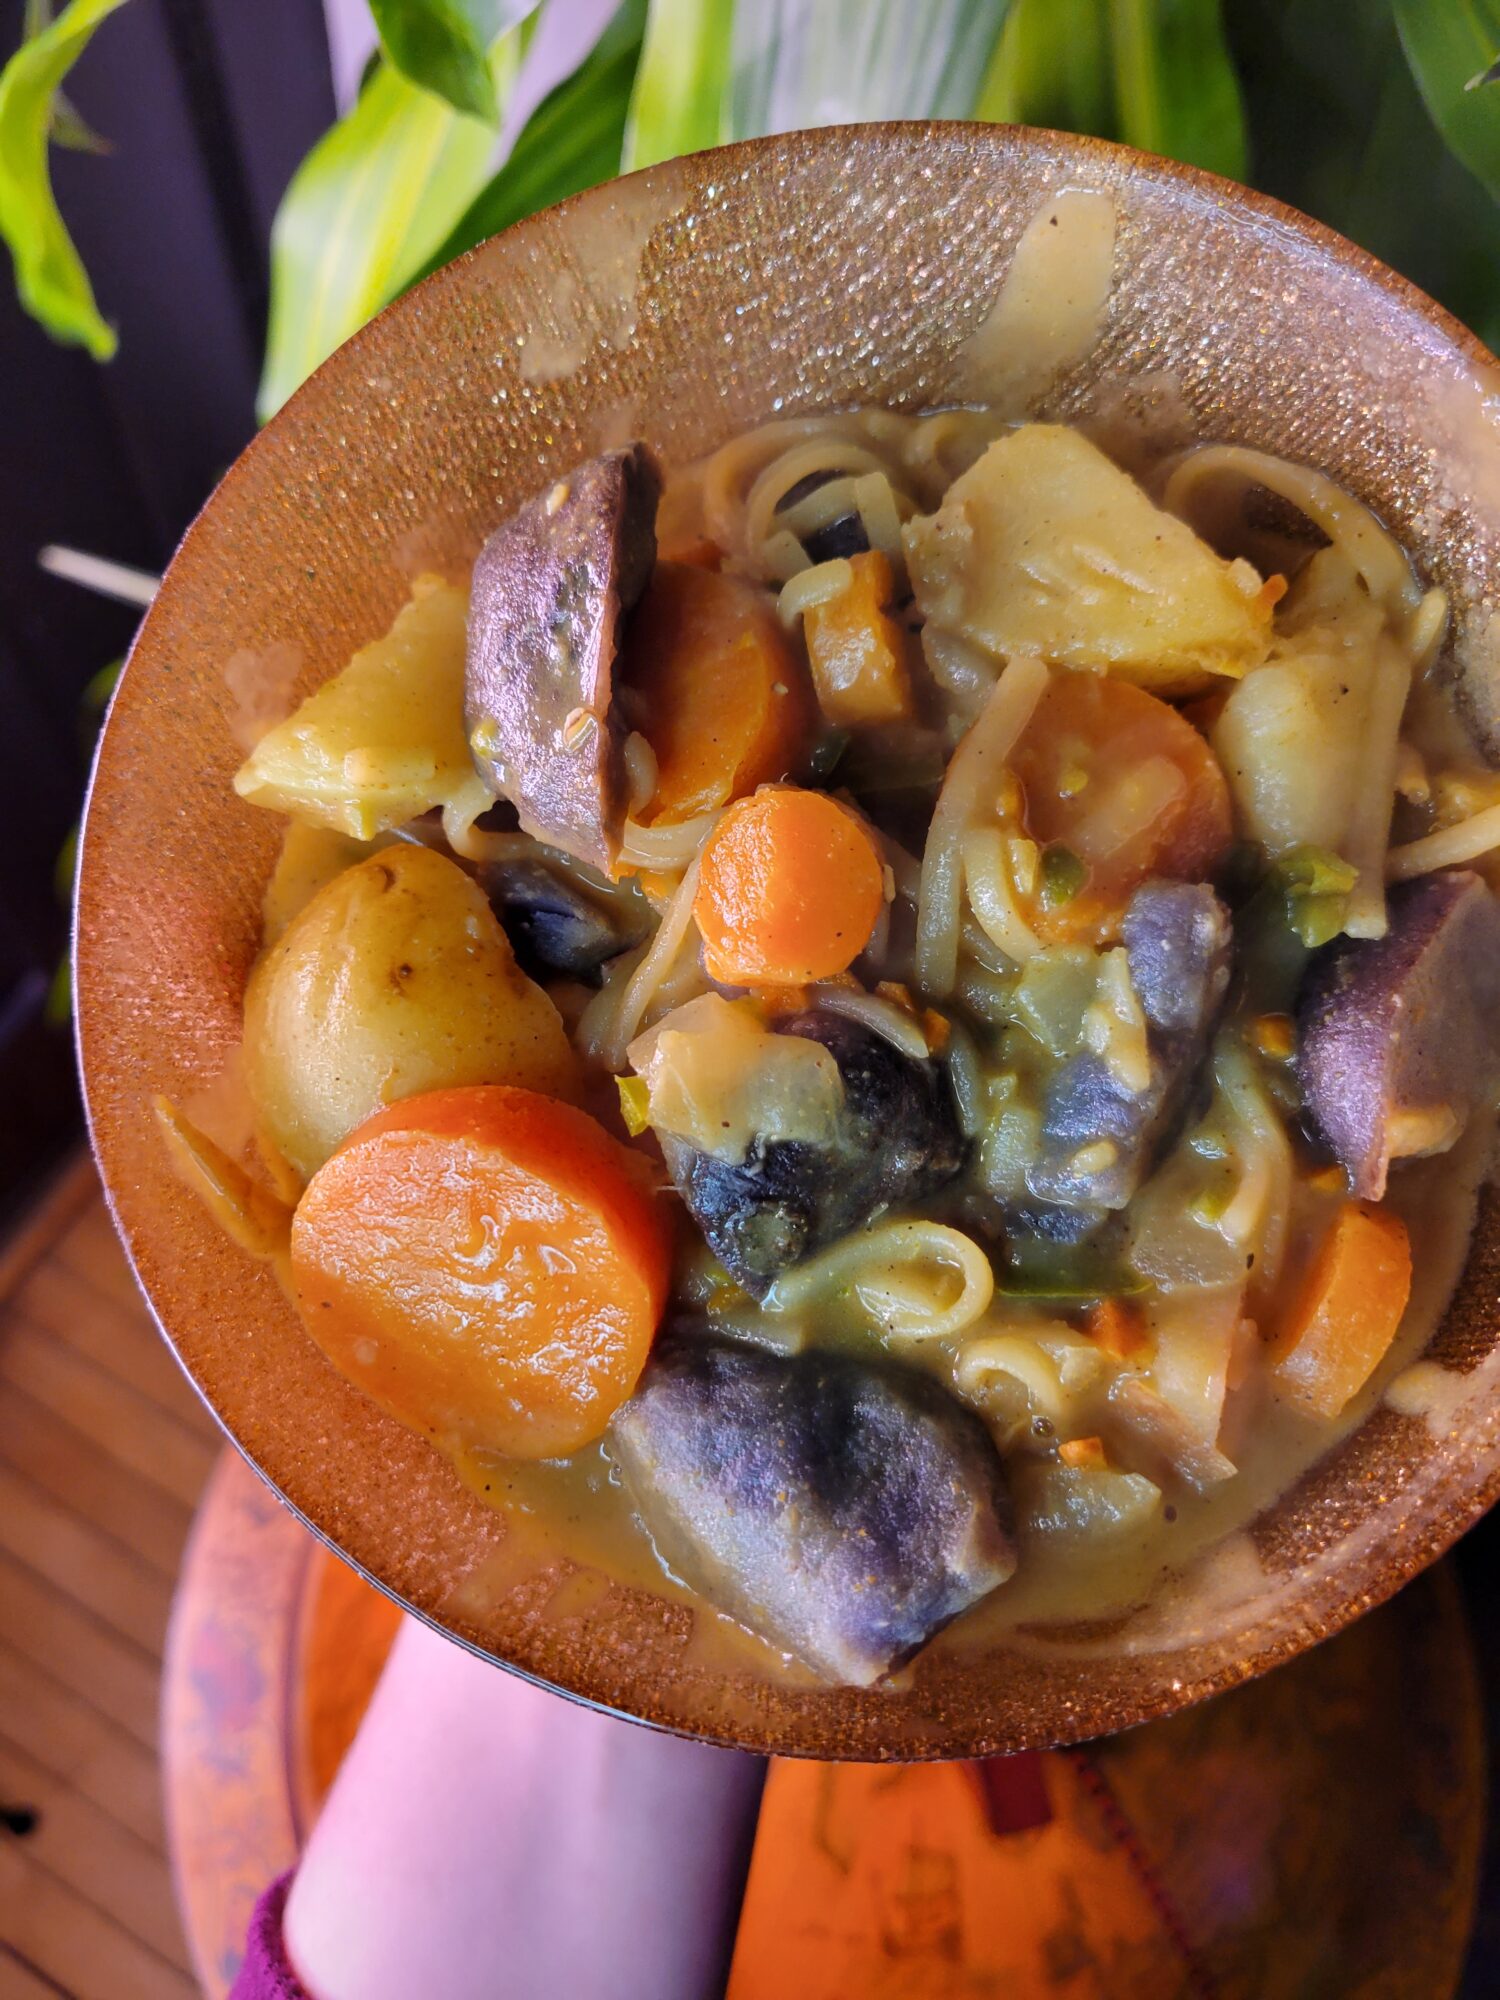
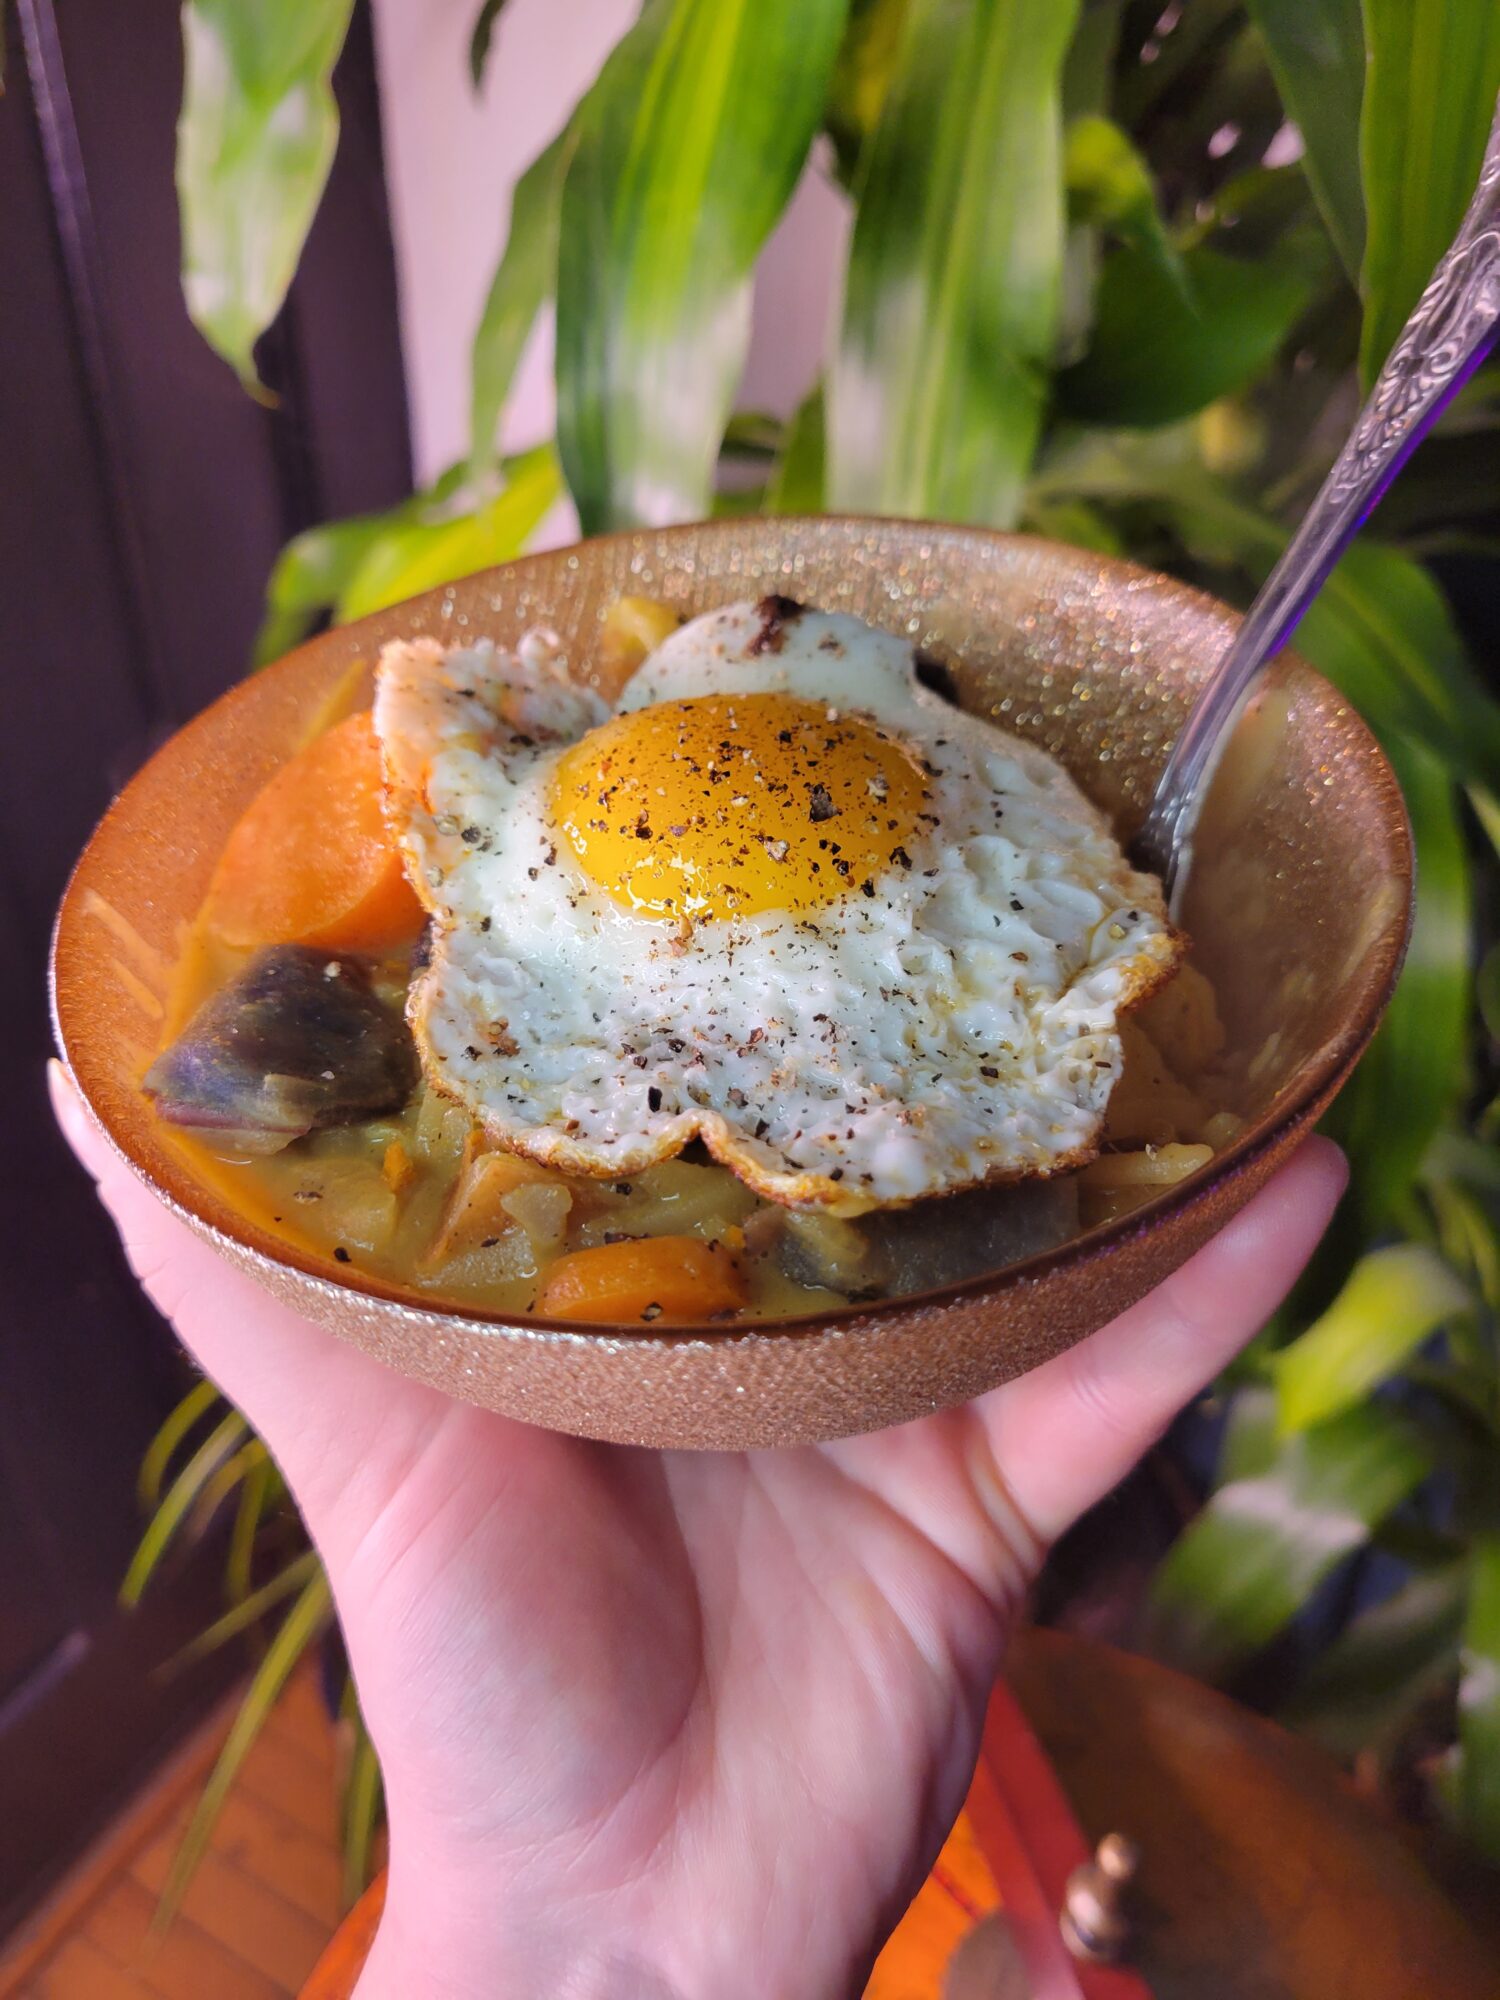
This runny egg curry consists of mini multi-colored potatoes, sliced carrots, onion, jalapeños, fresh ginger, fresh turmeric, coconut milk, and brown rice noodles with various Thai-inspired curry spices. All with a fried egg on top. Curry is a great dish to mix and match your own favorite ingredients or to utilize the fruits and vegetables that you already have on hand. The fried egg is almost reminiscent of hard boiled eggs or when they're scrambled into simmering broth. Having neither the time nor the energy to do this, I just fried mine and called it a "breakfast curry." Although you could easily substitute any kind of egg that you prefer.
Add all of the ingredients, except for the rice noodles, to a large pot.
Bring to a boil and then reduce to a simmer.
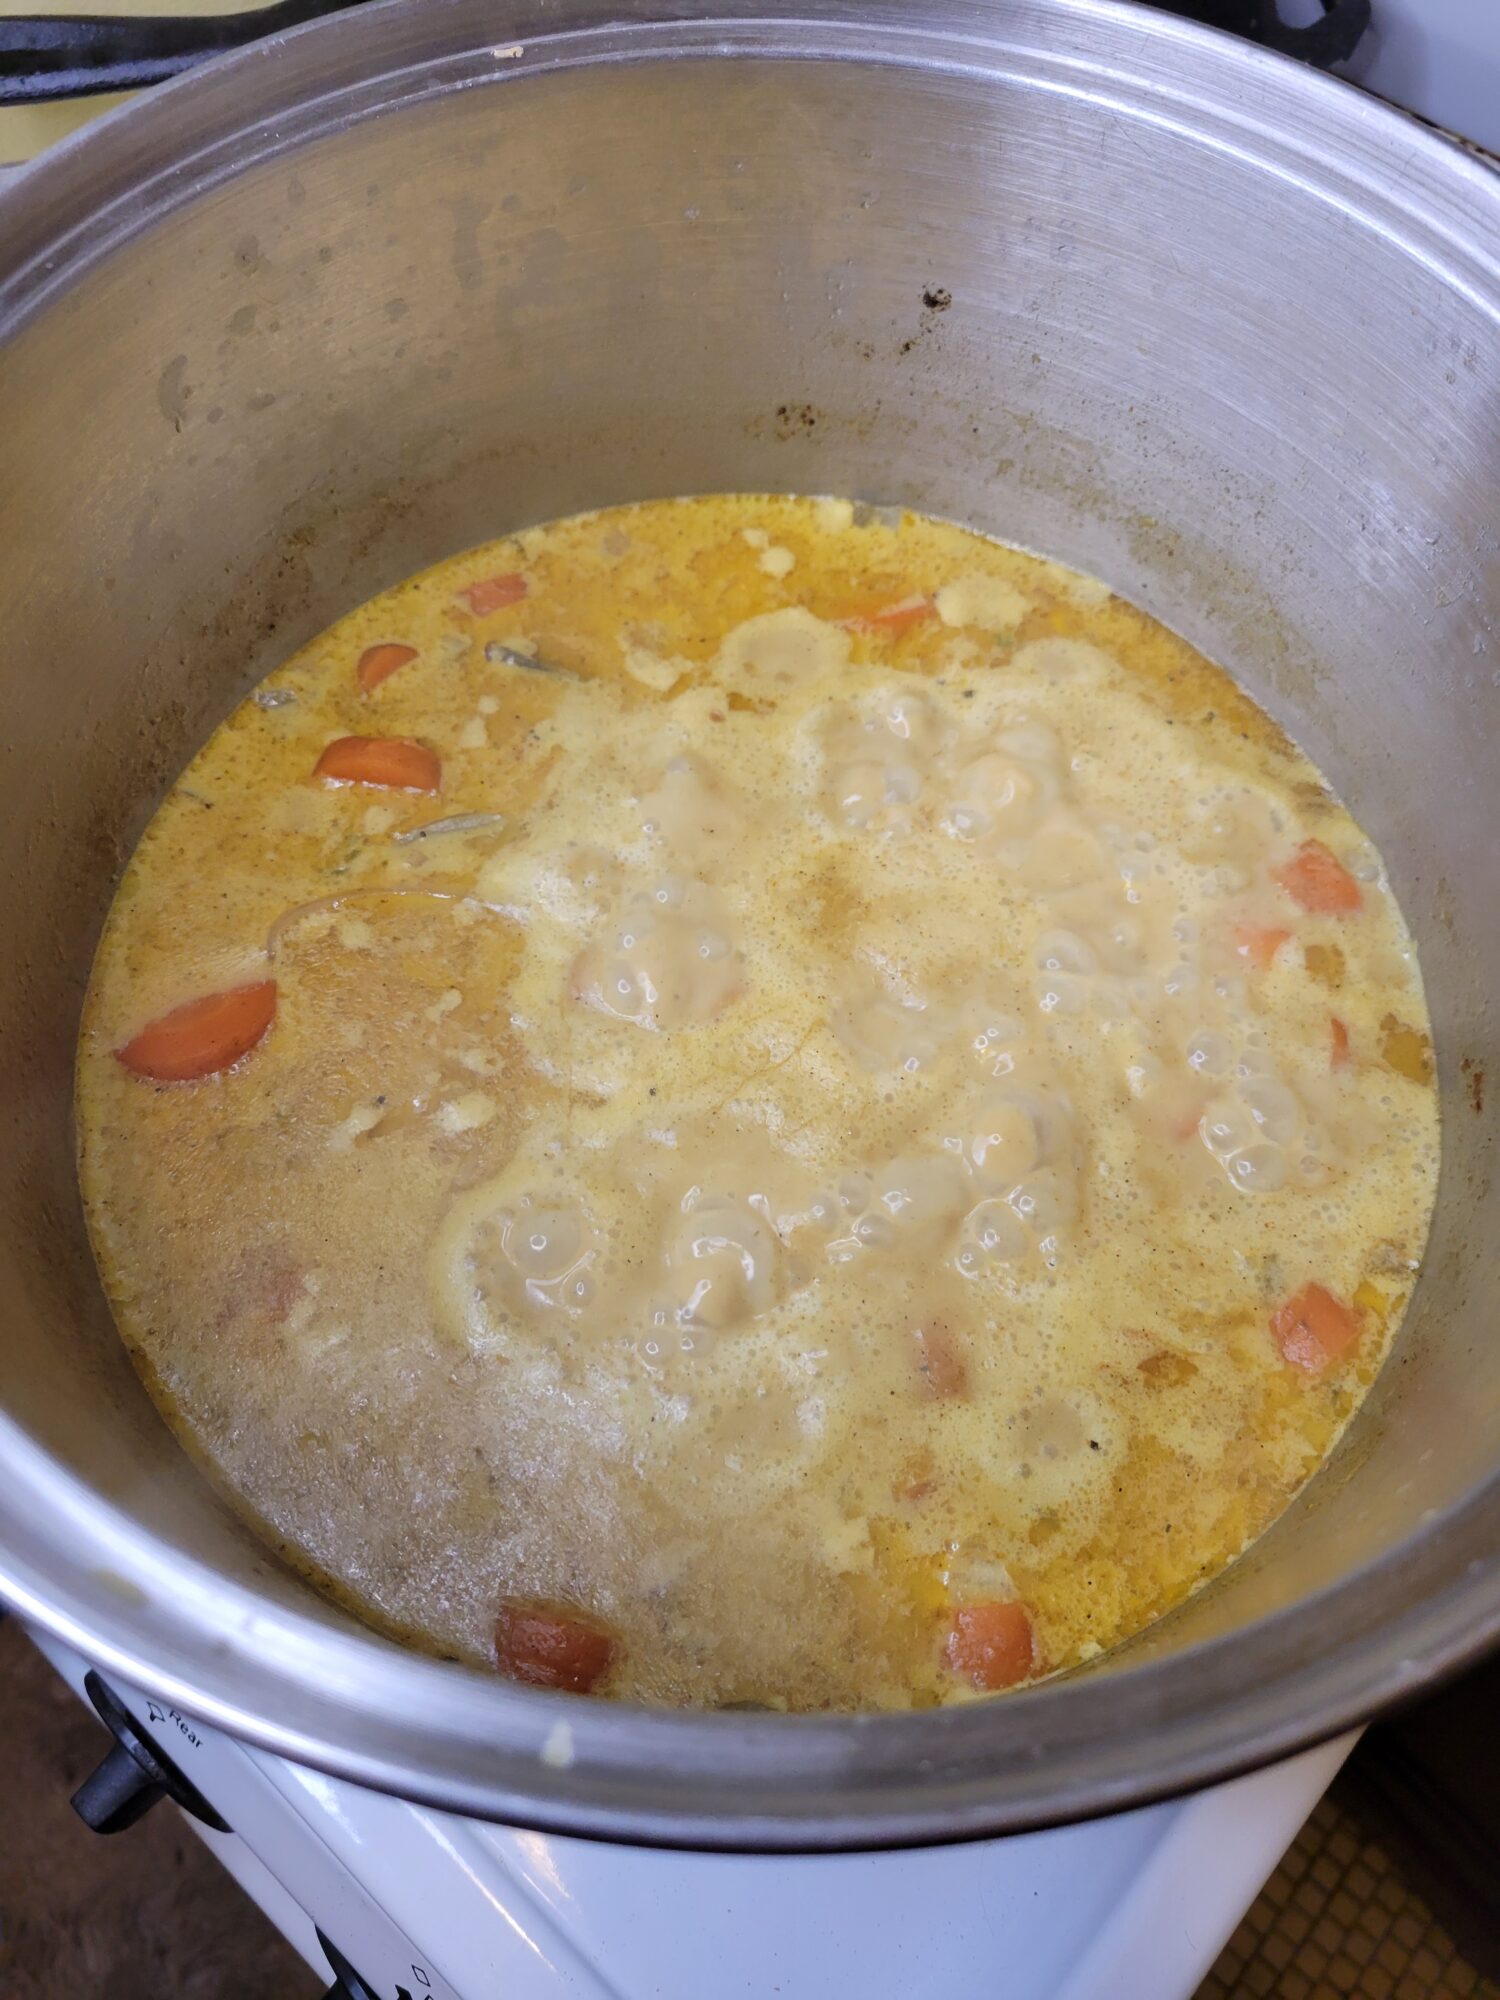
Simmer for at least 2-4 hours. You want the liquid to reduce in half. If it’s reducing too quickly, add water and turn down the temperature. If it isn’t reducing fast enough, bring to a boil again and reduce to a slightly higher temperature.The longer that you cook, the more the flavors will permeate the ingredients, so simmering at a lower temperature for longer is always an option. I’ll sometimes lower the temperature to a very light simmer and pretty much leave it be for 6-8 hours.You never want to leave a pot on the stove unattended, but this is the kind of dish that you can kind of set up and let do its thing. You may need to turn the temperature down periodically to adjust for too rapid a simmer to keep it from boiling as the liquid evaporates. But, other than that, this is a pretty hands off dish!
After simmering the curry until it's just about simmered down to your liking, add the rice noodles.
The exact cooking time will vary by brand, but cook to the manufacturer's recommendation.For my brand and noodles, this typically means adding the noodles and simmering for about 20 minutes. Most brands specify boiling, but a slow simmer in the curry works just as well! Just cook until tender. Brown rice noodles tend to have to cook a little bit longer, but will reach a similar consistency eventually.
Cook Eggs
Preheat a skillet on medium heat and add a splash of oil.I use a pretty well seasoned cast iron pan to cook eggs, so I don't add any more than a spritz of oil. You may need upwards of a teaspoon for other types of pans, though. Use just enough so that your eggs don't stick!
Crack eggs into the pan.It should be hot enough that the egg sizzles, but doesn't deep fry or brown immediately.Only cook as many eggs as you're going to serve immediately. You don't need to cook all of them at once if you don't want to! If you do want to cook them all ahead of time, I'd recommend hard boiling the eggs, instead of frying them.
Let cook until golden brown on the bottom and you can flip the egg with ease. The whites should be fairly set on both sides, but not completely cooked.You want to cook this relatively quickly so that the egg yolk doesn't set, though. It should take about a minute or two. Turn the heat up if the egg whites don't cook quickly enough or down if the egg yolk starts to cook. Also immediately flip if this happens!
Flip and turn off the stove. Cook for another 30 seconds, or until the egg white is completely cooked. It should already be mostly set and this should take no time at all!
Immediately remove the eggs from heat.
Serve
Add the eggs to the curry and serve immediately.Curry will continue to the absorb the spices the more time passes. It’s one of those dishes that I like to make ahead of time because it often tastes better after the flavors have had time to set overnight. So, if you aren't serving the entire pot at once, only make as many eggs as you need and serve on top of the dish after plating.
Tips, Tricks, & Notes
To make the curry spicier, put more hot peppers when you cook the squash and lentils. Peppers added in the beginning stage will have a slower, more robust flavor that permeates through the dish. Peppers added towards the end of the cooking process will have more of a kick in the teeth, mouth burn.
If the curry absorb too much moisture, you may need to add more water. This is to taste. I tend to like a thicker curry with larger chunks, much like a thick stew. If you’re in the other camp that likes a more liquid curry, don’t hesitate to add more water. If you’re unsure, taste periodically and adjust to what you like. You can always add more water, even after you’re done cooking entirely, to lighten it up. The curry will thicken more as it cools and overnight.
Do you need to sauté the produce? A lot of curry recipes want you to sauté or otherwise cook vegetables beforehand. The first direction is typically, “sauté onions and peppers in oil on the stove.” I tend not to do this because it tends to mean adding oil to the curry. Since you’re simmering down for several hours, the natural oils in the vegetables that you use will separate. This will create a film of oil on top of the curry. Some people like this. It can also be an indicator of how spicy a curry is sometimes because the more peppers that you use, the more oils will naturally leach out of them.
I don’t tend to find oily curry appetizing, though! So, I try to minimize the amount of added oil is in the recipe. If you’ve ever had a soup or sauce that’s separated, you know what I’m talking about. The oil will separate and settle on the top because it’s less dense than water. It will be obvious if it’s a problem.
If you do end up with too much oil, add an ice cube or a frozen metal ladle to draw out the oil. Then, just spoon it out until you have removed enough oil. Alternatively, if you refrigerate the curry, the oil will rise to the surface. This will create a semi-solid chunk on top and you can spoon it out. If there’s a lot of oil and it has solidified enough, you can sometimes just pick up the layer with your fingers and remove it this way.


Leave a Reply