The first time we made Lemon & Dill Cashew Dip for a Wisconsin potluck, everyone was skeptical. No one thought that something without dairy or meat and made almost entirely of nuts would go over well. However, this is officially our new family favorite and everyone from the kids to the great grandparents can’t get enough. It might be the only raw, vegan food at the barbeque or potluck, but it’s the first thing that’s requested at family gatherings and the first thing that gets finished off!
Cashews make a particularly good dip because they have a sweet, nutty flavor that is almost reminiscent of cheese. They’re a great substitute for vegan dishes and provide a healthy alternative for snacks and brunches. That definitely makes it my favorite thing to bring to a good old fashioned Midwestern potluck. Next to the cheese curds, wings, and hot dogs, they really stand out as being light and refreshing. Particularly paired with some Bread or crackers.
Gallery
Variations of Cashew Dip
I must admit that I'm a very big fan of dips. I'll take any excuse to dip bread or chips in just about anything. Perhaps it's the idea of finger food in civilized society. Really, I might just very much enjoy more rustic pleasures. But, for whatever the reason, dips are my absolute favorite. I pretty regularly make hummus, spinach pesto, and all sorts of avocado dips. Which are somewhat of a cross between hummus and guacamole. I also have an entire category on Dips/Sauces.
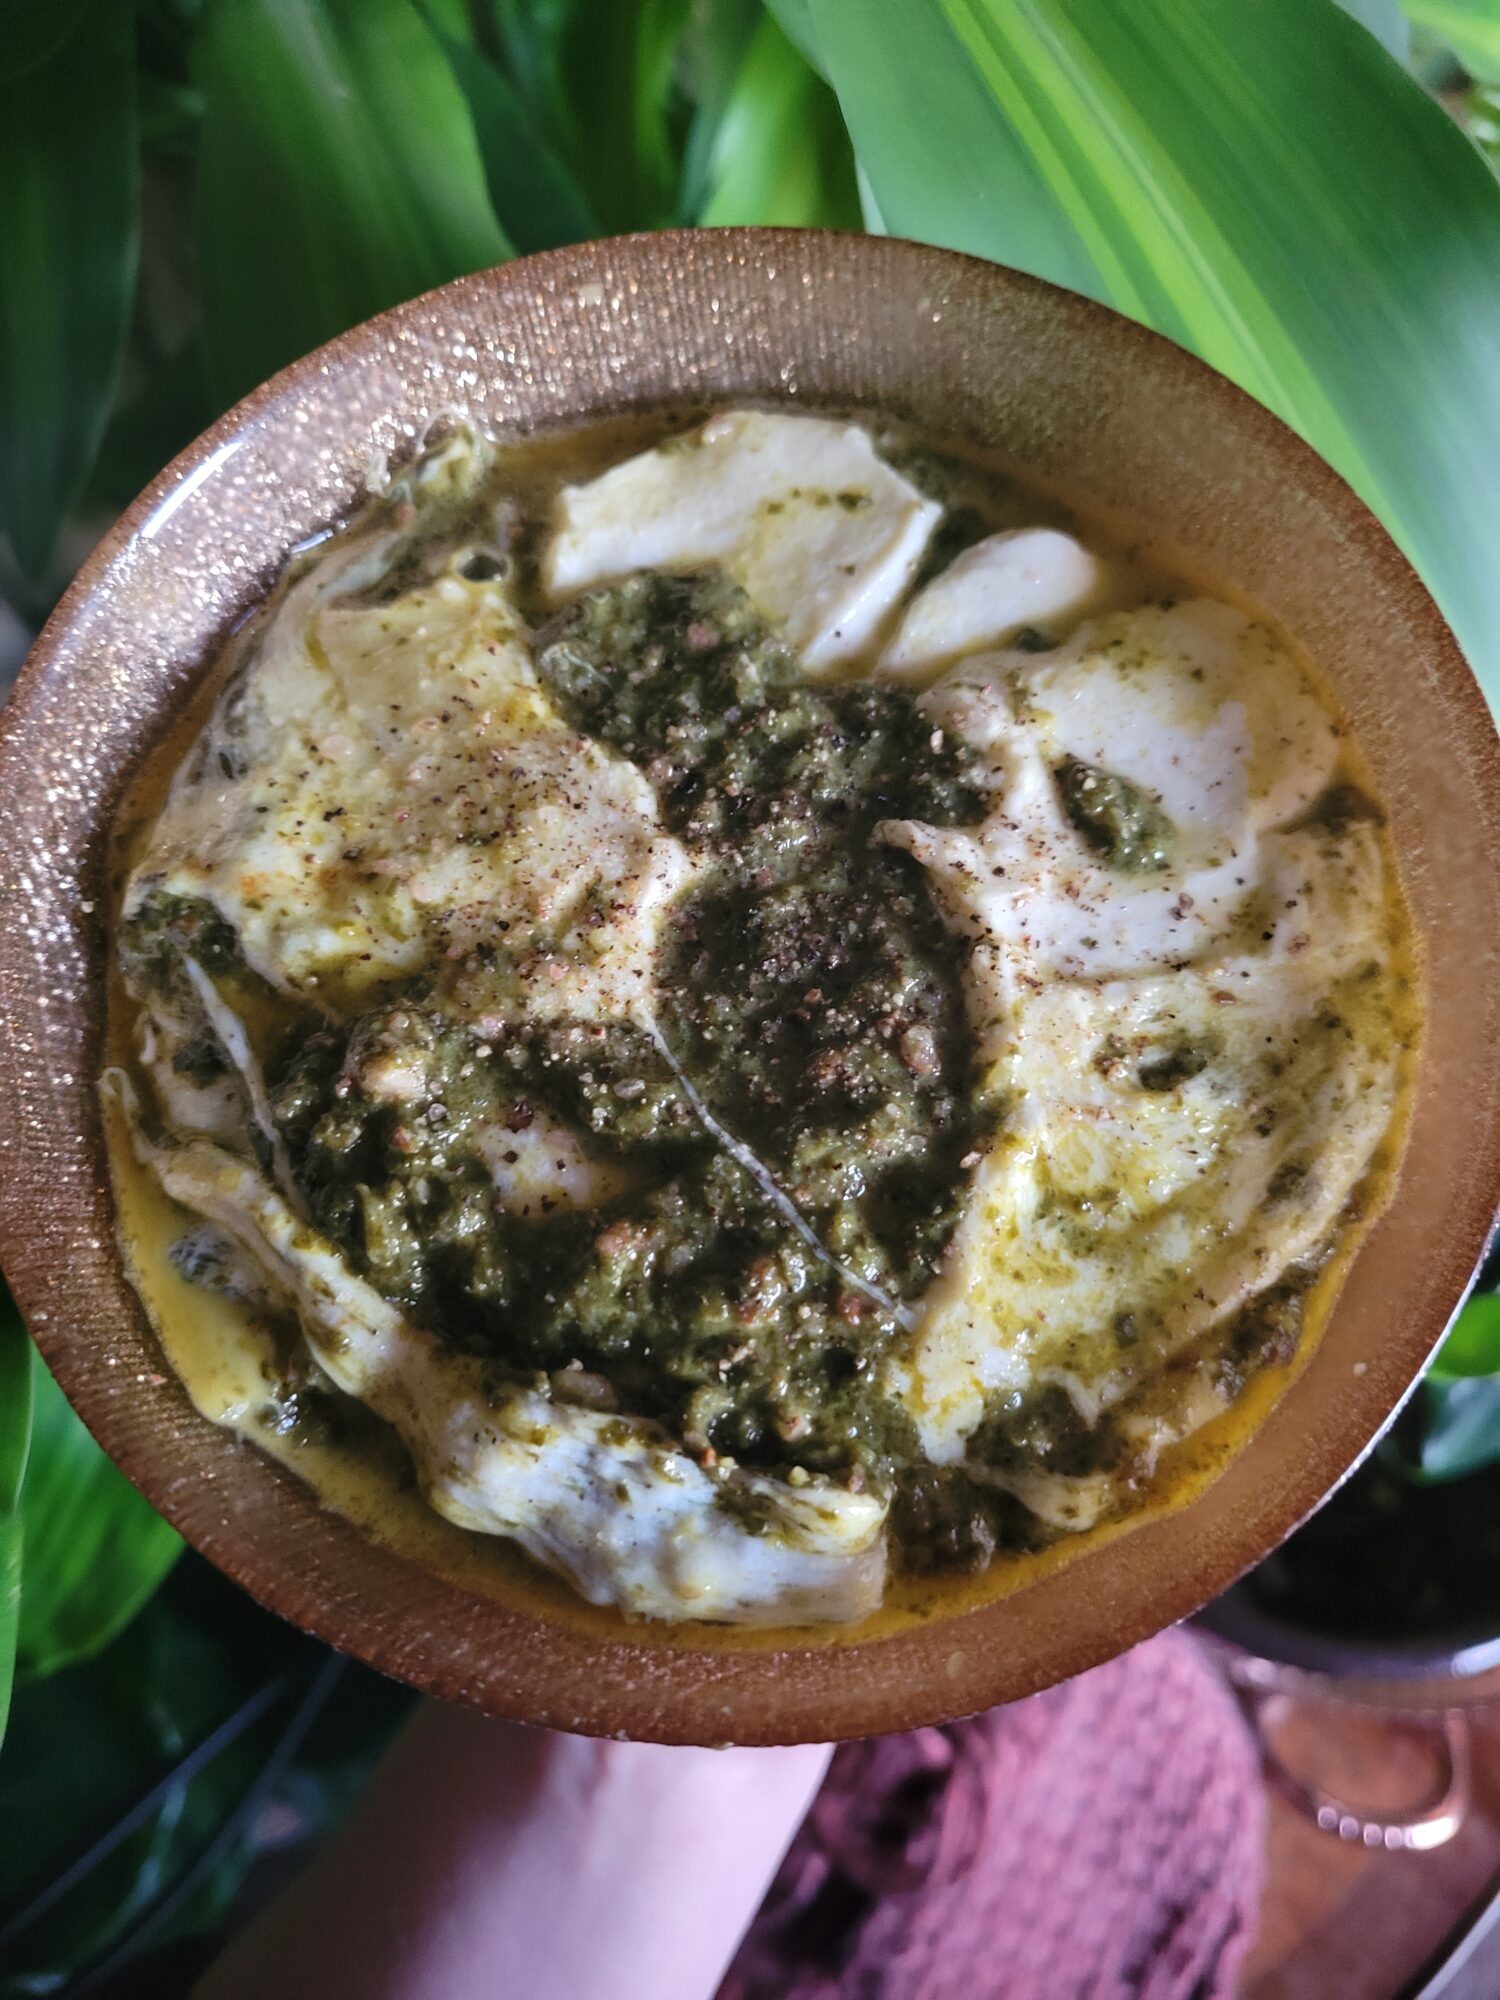
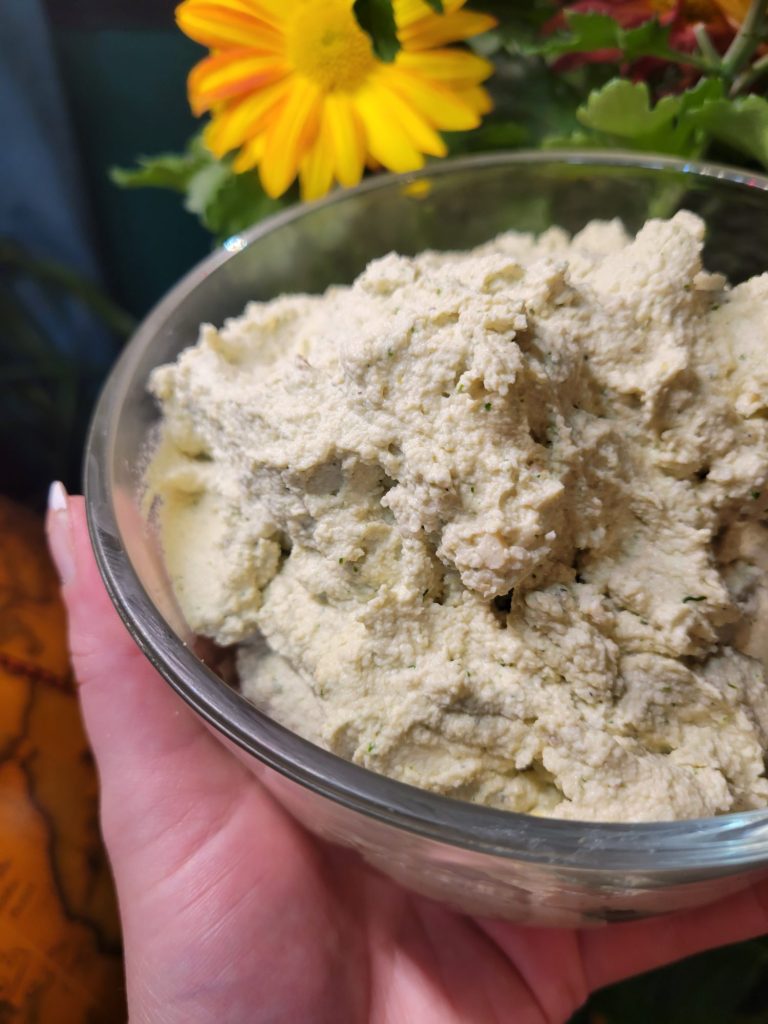
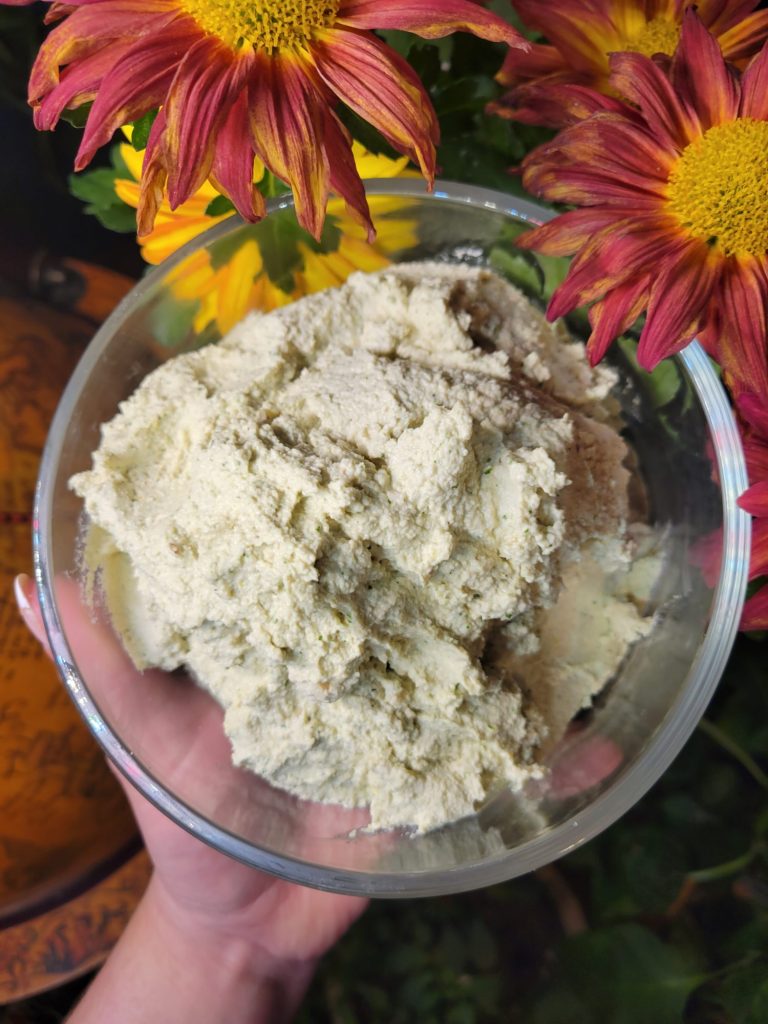
This Cashew Dip consists of fresh dill, lemons, garlic, and a dash of salt and pepper. It's an incredibly simple food processor recipe. I like to use it as a cheese substitute and a sneaky way to bring vegan food to potlucks without anyone noticing! Cashew Dip is great as chips and dip or alongside No-knead Dutch Oven Bread.
Place cashews in a bowl and cover with water. Let sit for 12 hours. I typically soak them overnight and make them the next day, but if you’re pressed for time you can soak them for as little as 6 hours and as much as 18 hours.Alternatively, you can soak them in the refrigerator for 2-4 days if you want to get a head start on it. I don’t recommend soaking them for longer than this because they will turn purple. They may still be fine to eat, but they will blend to a grey color and not look as bright and floral.
Make Cashew Dip
Drain the water out of the cashews.The fruit of the cashew plant is purple. So, when the nuts rehydrate, they soak up what’s left of the color and turn a fun shade! This doesn’t mean that they’ve gone bad. They’re still fine to use. You’ll just need less (or no) water when making the dip. It can be an indication that they've just been soaking on the longer side and might be more hydrated than necessary. Although they're still fine to use.
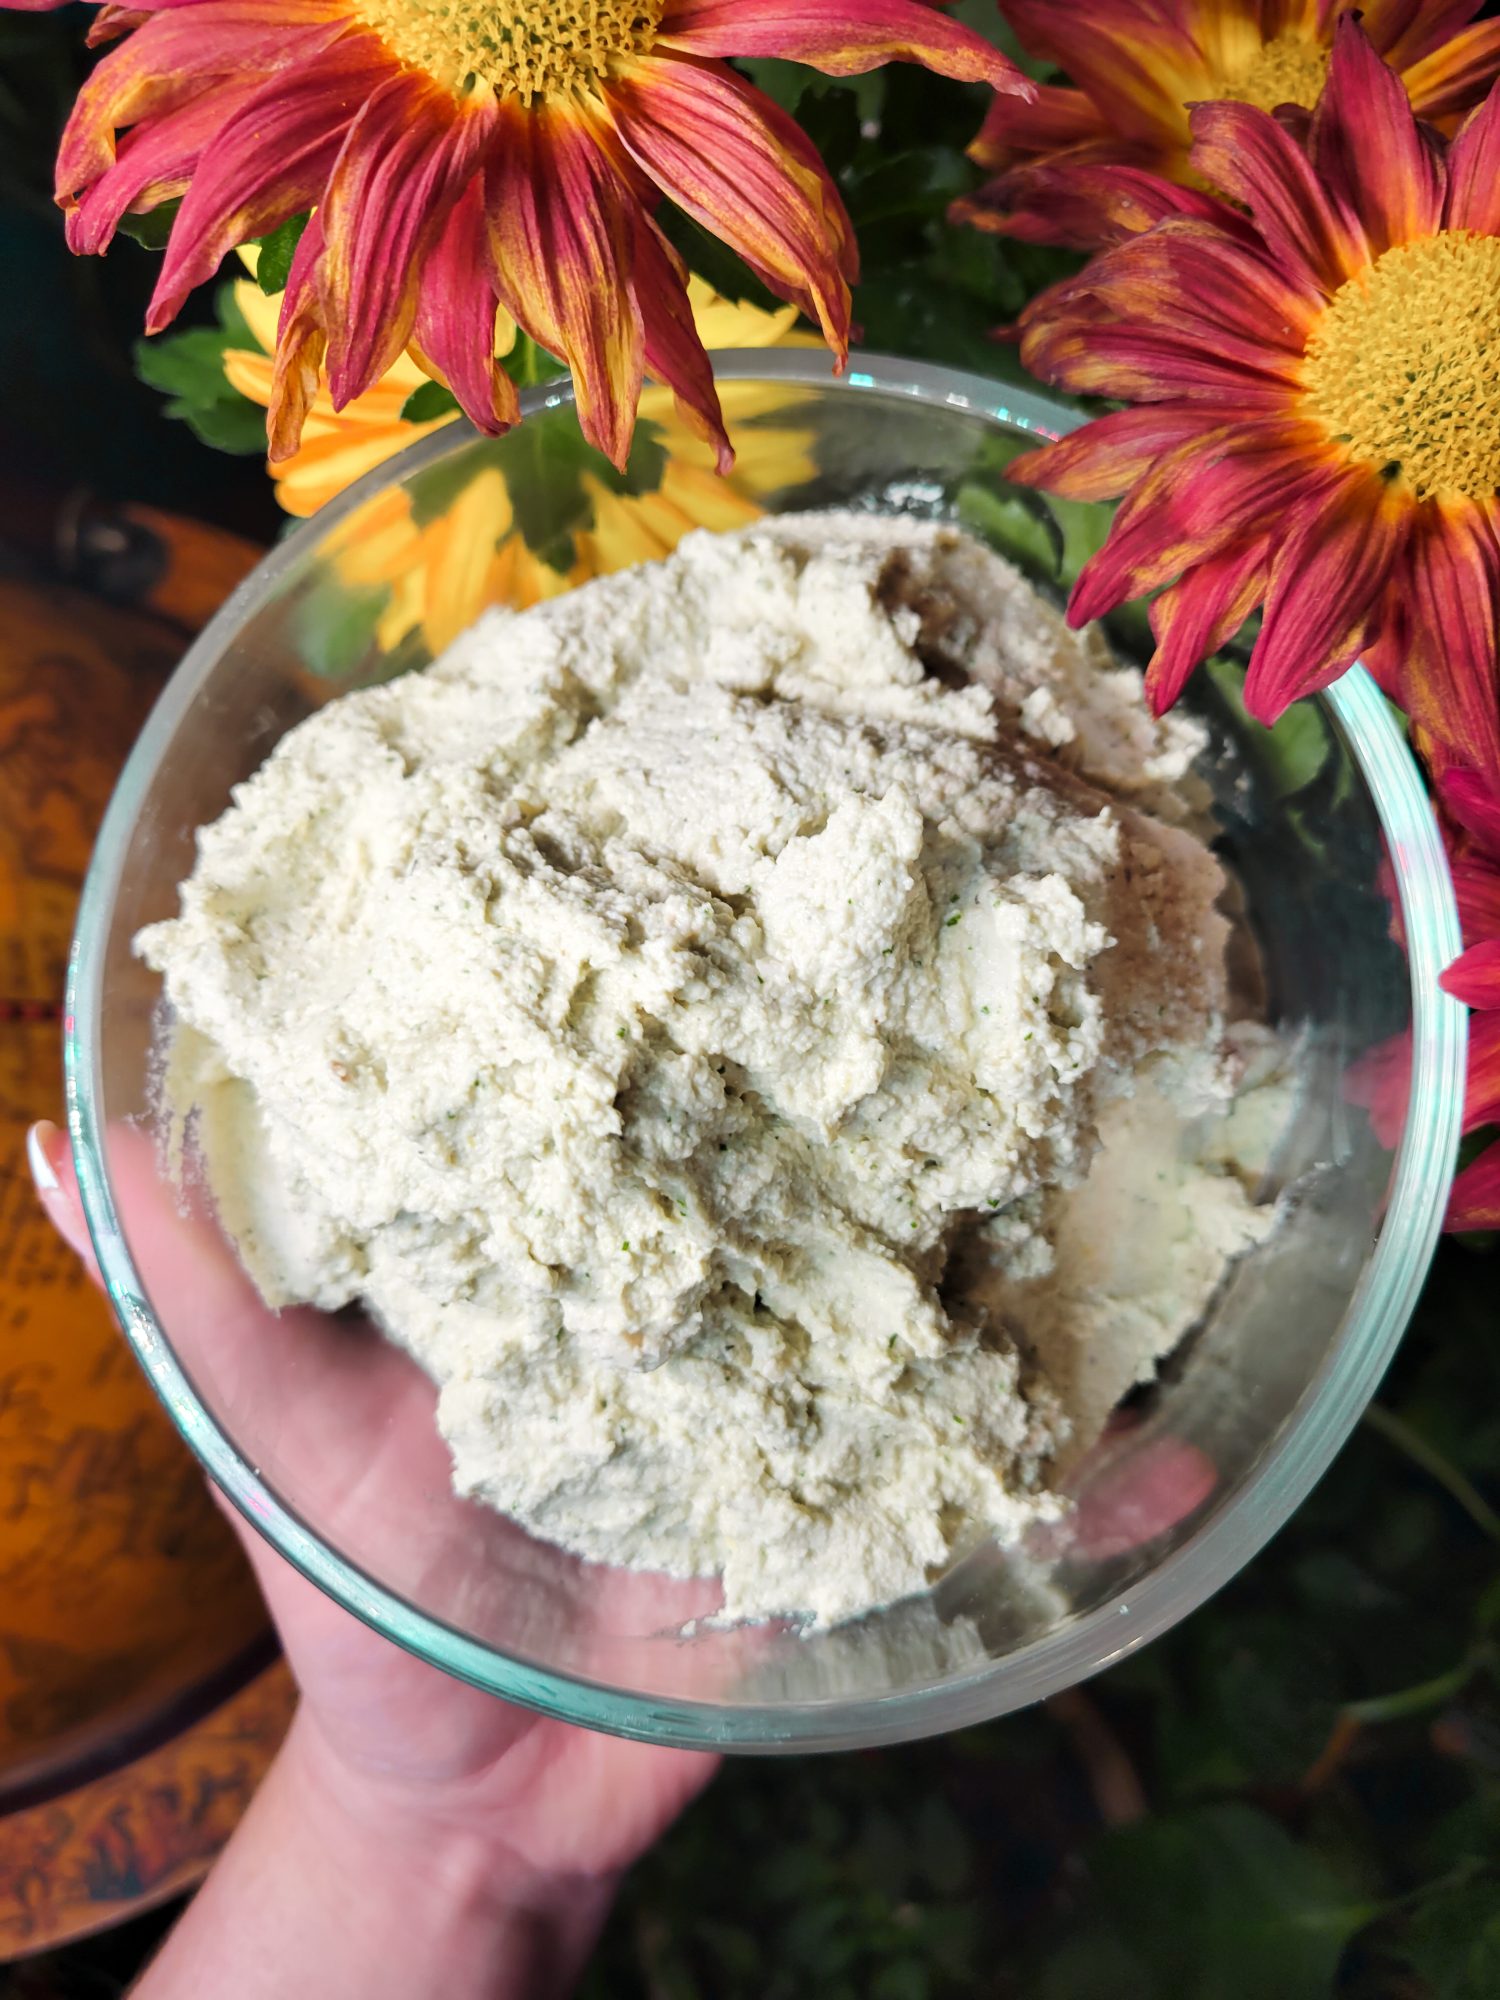
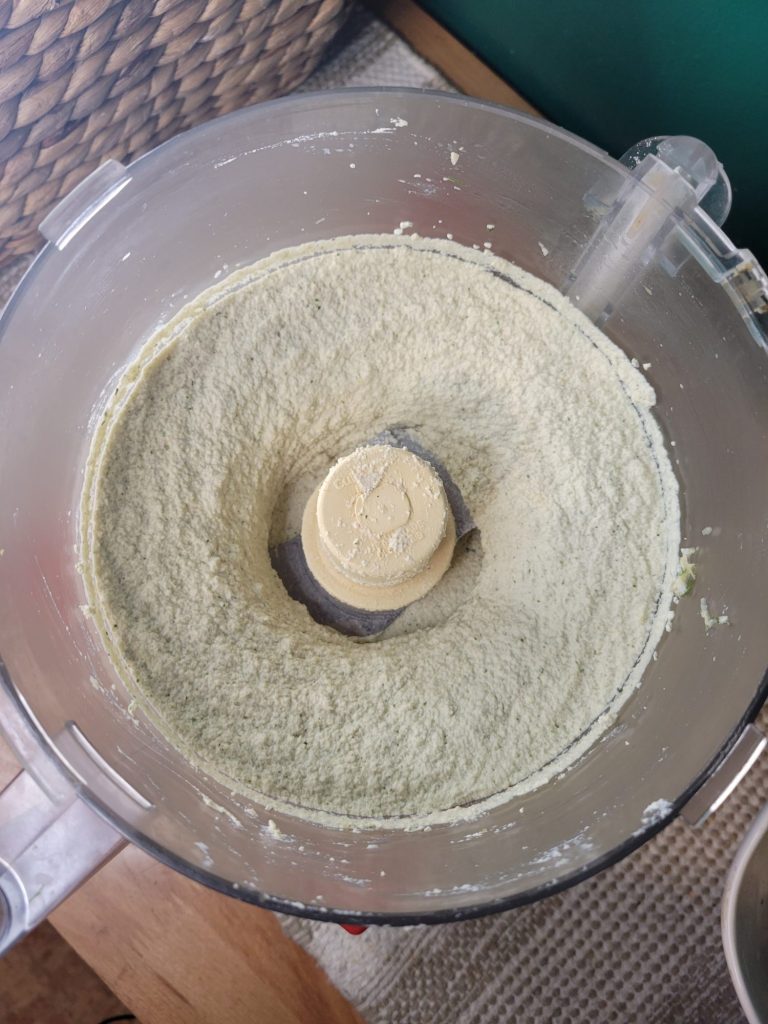
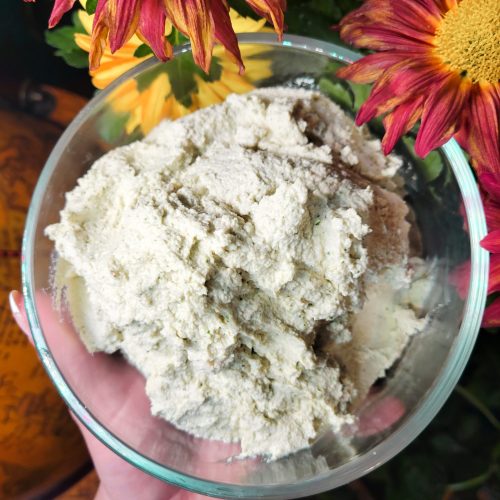
Add the cashews, lemon juice, lemon zest, garlic, salt, pepper, and dill in a food processor (all ingredients except for the water). Process for 5 minutes, making sure to scrape the sides every minute or two. It should vaguely resemble feta cheese.
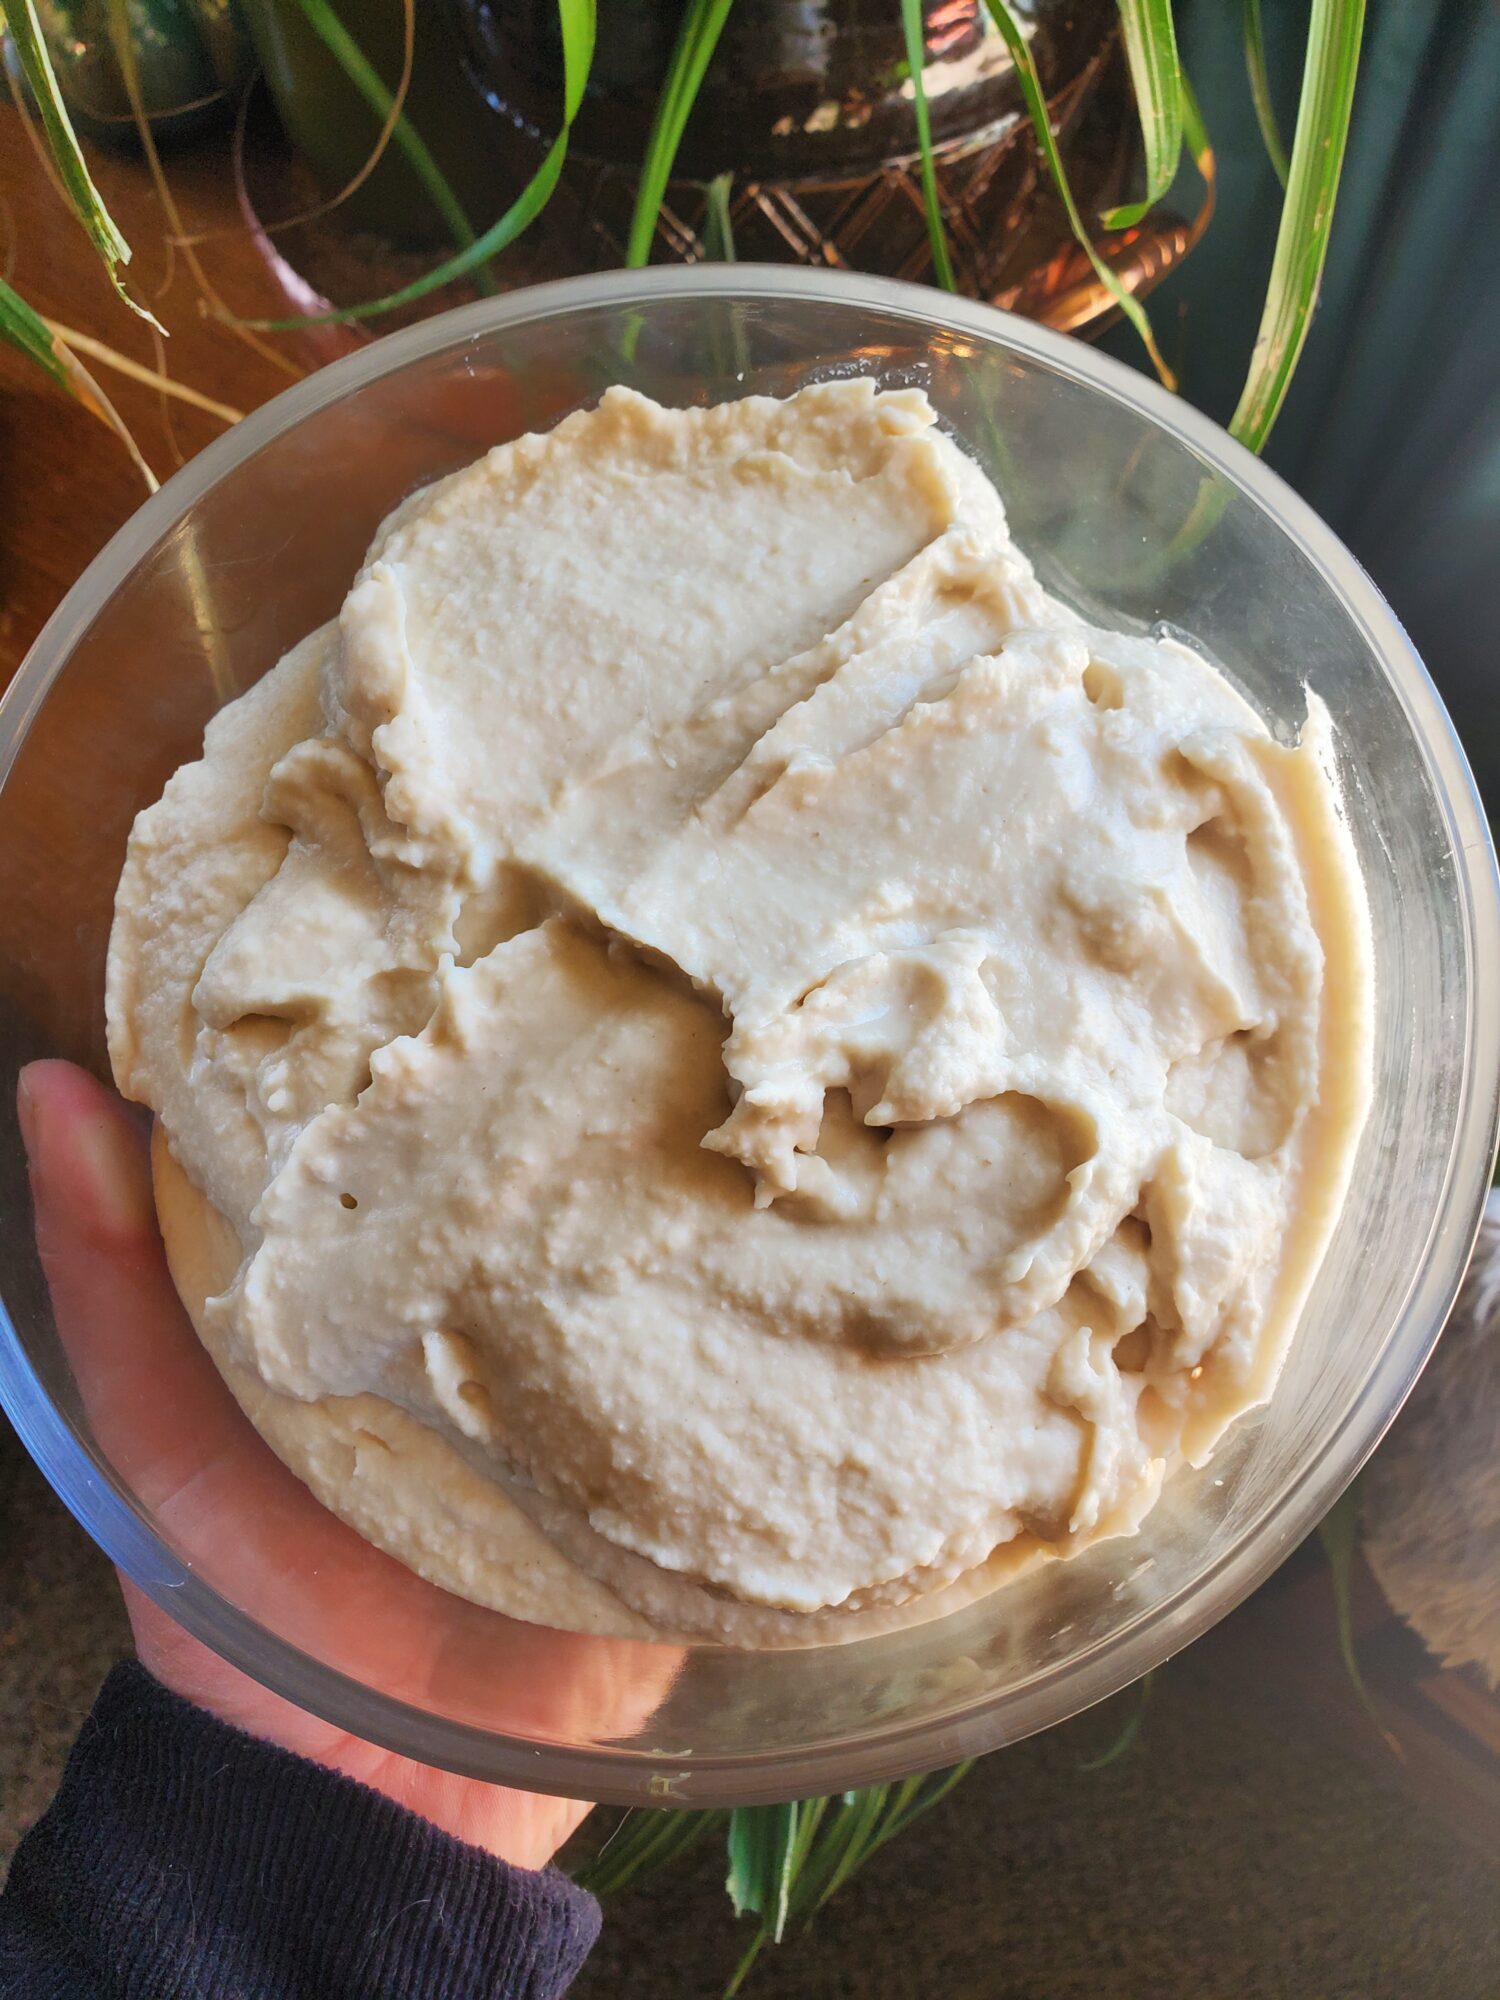
Add water, 1 tbsp. at a time, and process until creamy. Make sure to do this very slowly because you can always add more water, but you can’t add more cashews unless you want to let them soak for another 12 hours!
You can eat it as is, but I’m particularly fond of chilling the dip before serving. An hour in the fridge or 15 minutes in the freezer should do it.
Tips, Tricks, & Notes
It doesn’t matter whether you use whole cashews or cashew pieces, but they do have to be raw. The cashews need to absorb water in order to soften and this won’t happen if they’re salted and toasted.
This Page Contains Edited Images
As a general rule, I don't like to edit images. Food styling, editing, alteration, and even faking entirely is just as rampant a problem in the recipe realm. Cooking is a very visual art and you can tell when a lot of foods are cooked based on the color. So, when this is altered and you can't use the coloration as a gauge, it makes it quite difficult to follow some recipes. I have an entire article about Food Styling and Unrealistic Expectations of Recipes. My place has very warm lighting, though. So, sometimes my camera overcompensates and ends up with an unnatural hues. I've adjusted the hues, levels, and/or cropped the following images:


Leave a Reply