The Fundamentals of Puff Pastry
I have never heard good things about making puff pastry. Everyone I know who has tried has simply given up and bought it. But, living in the middle of nowhere Wisconsin? I cannot for the life of me find anywhere that actually sells it! It's possible that I simply haven't looked closely enough. Although even my most adventurous and well stocked grocers have come up empty handed. So, I have finally decided to try my hand at making it! And I am absolutely not disappointed. As daunting as I thought that this would be? I have managed to actually make puff pastry! And it is delicious.
Since I'd never made the pastry before, I started out by looking up a few recipes. I oftentimes do this just to figure out the basics and then going rogue and doing my own thing. But it's certainly not one of those recipes that you want to be winging it on! So, this recipe is based off of Preppy Kitchen's Puff Pastry Recipe.
Gallery


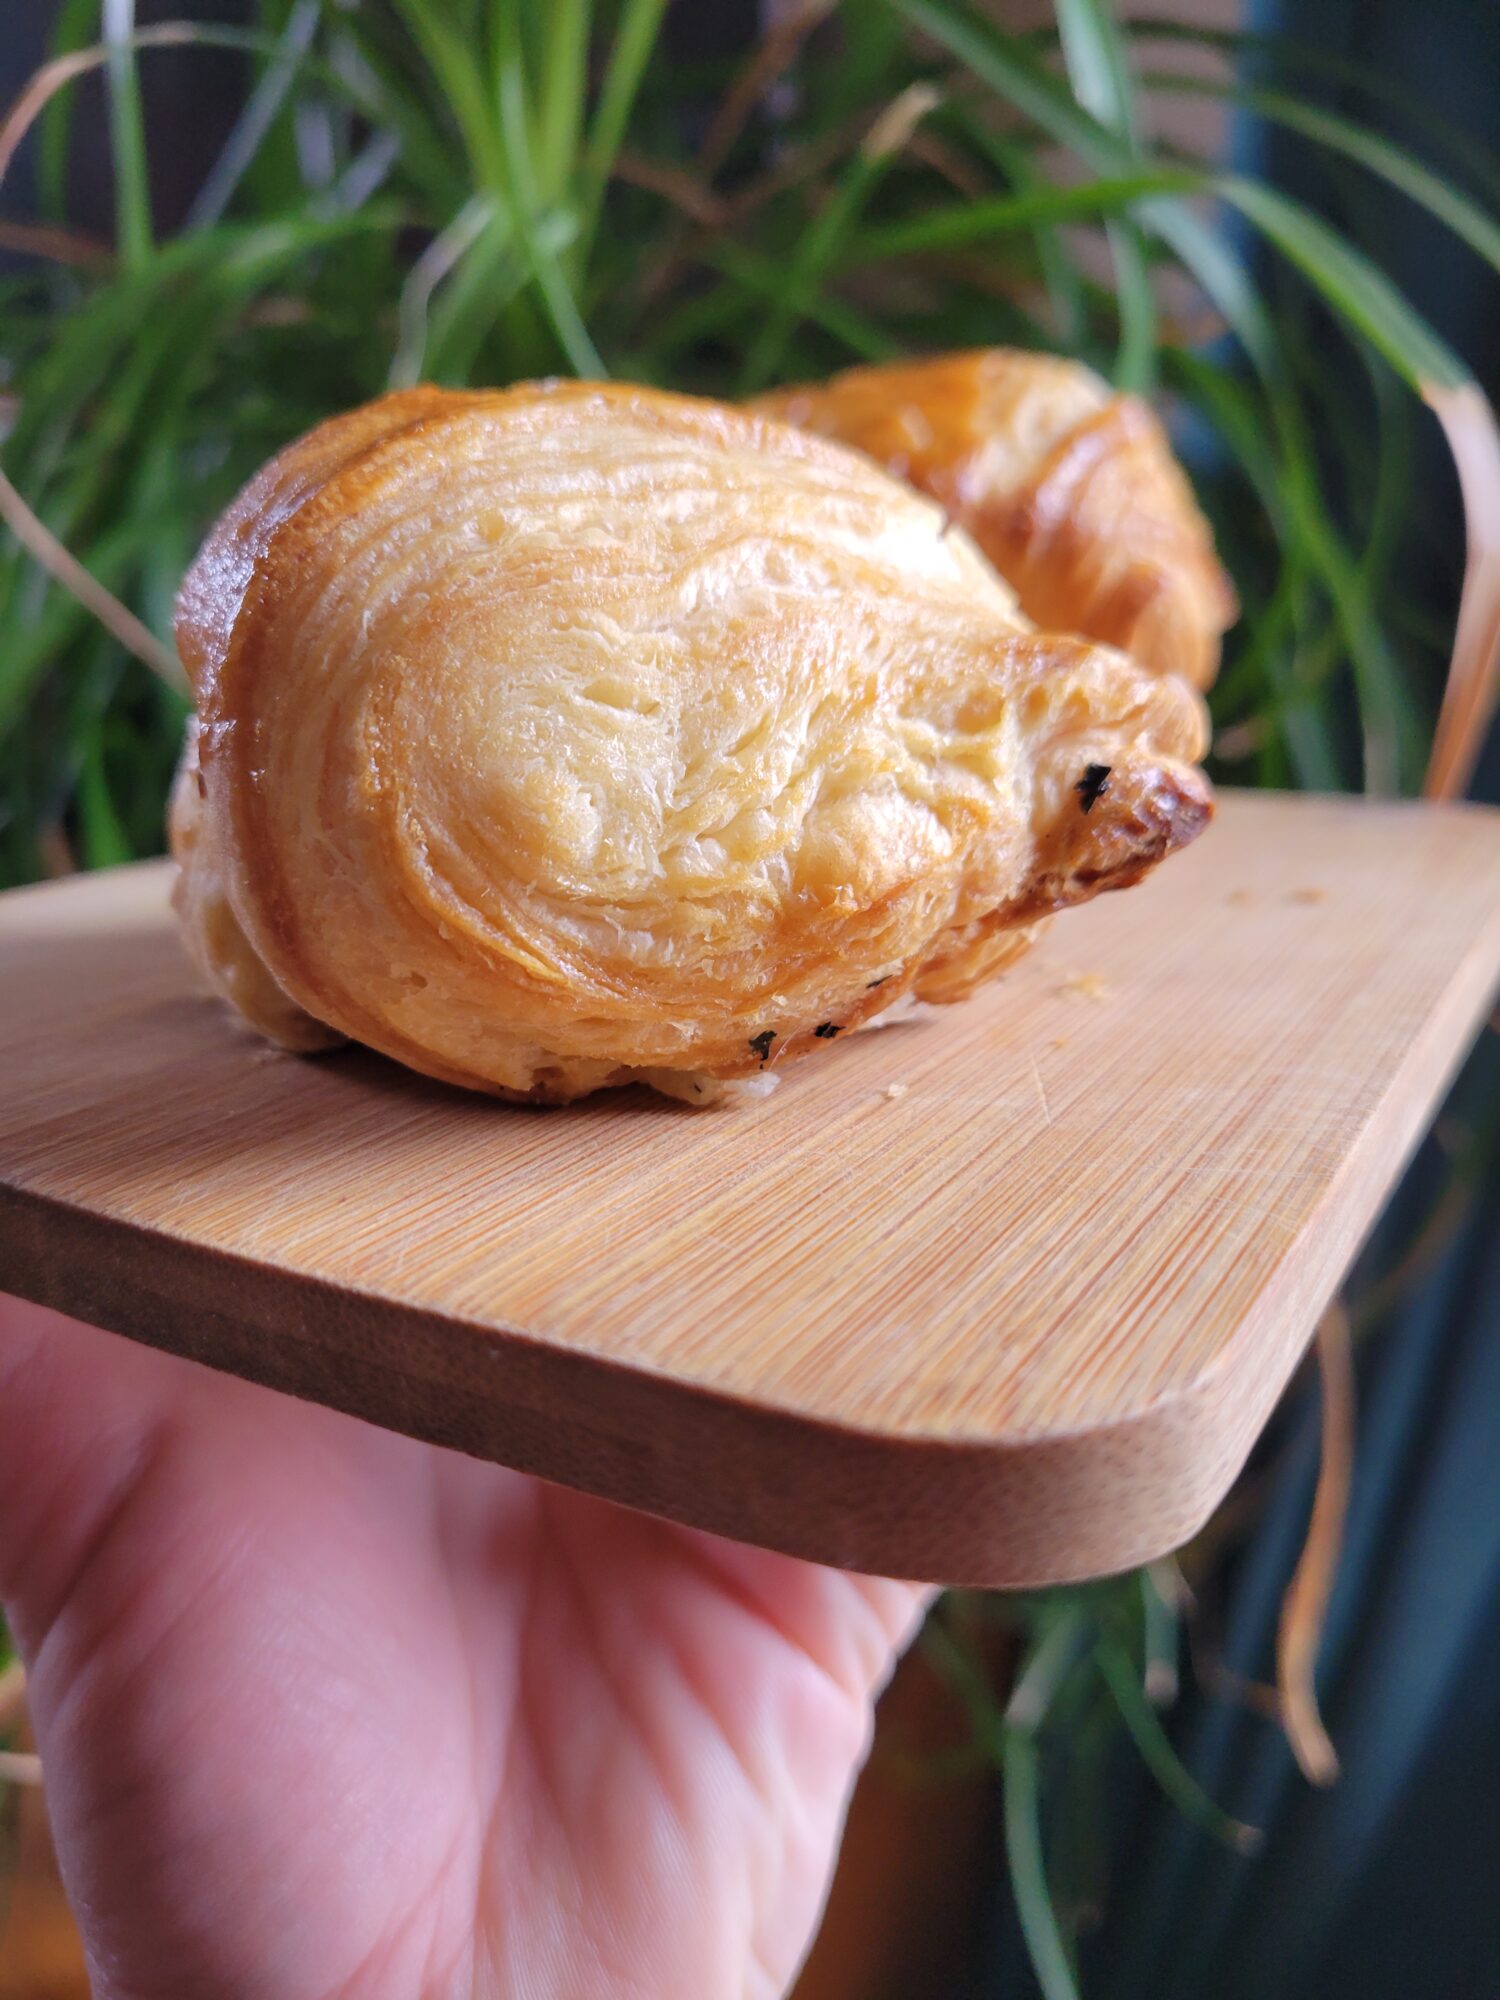
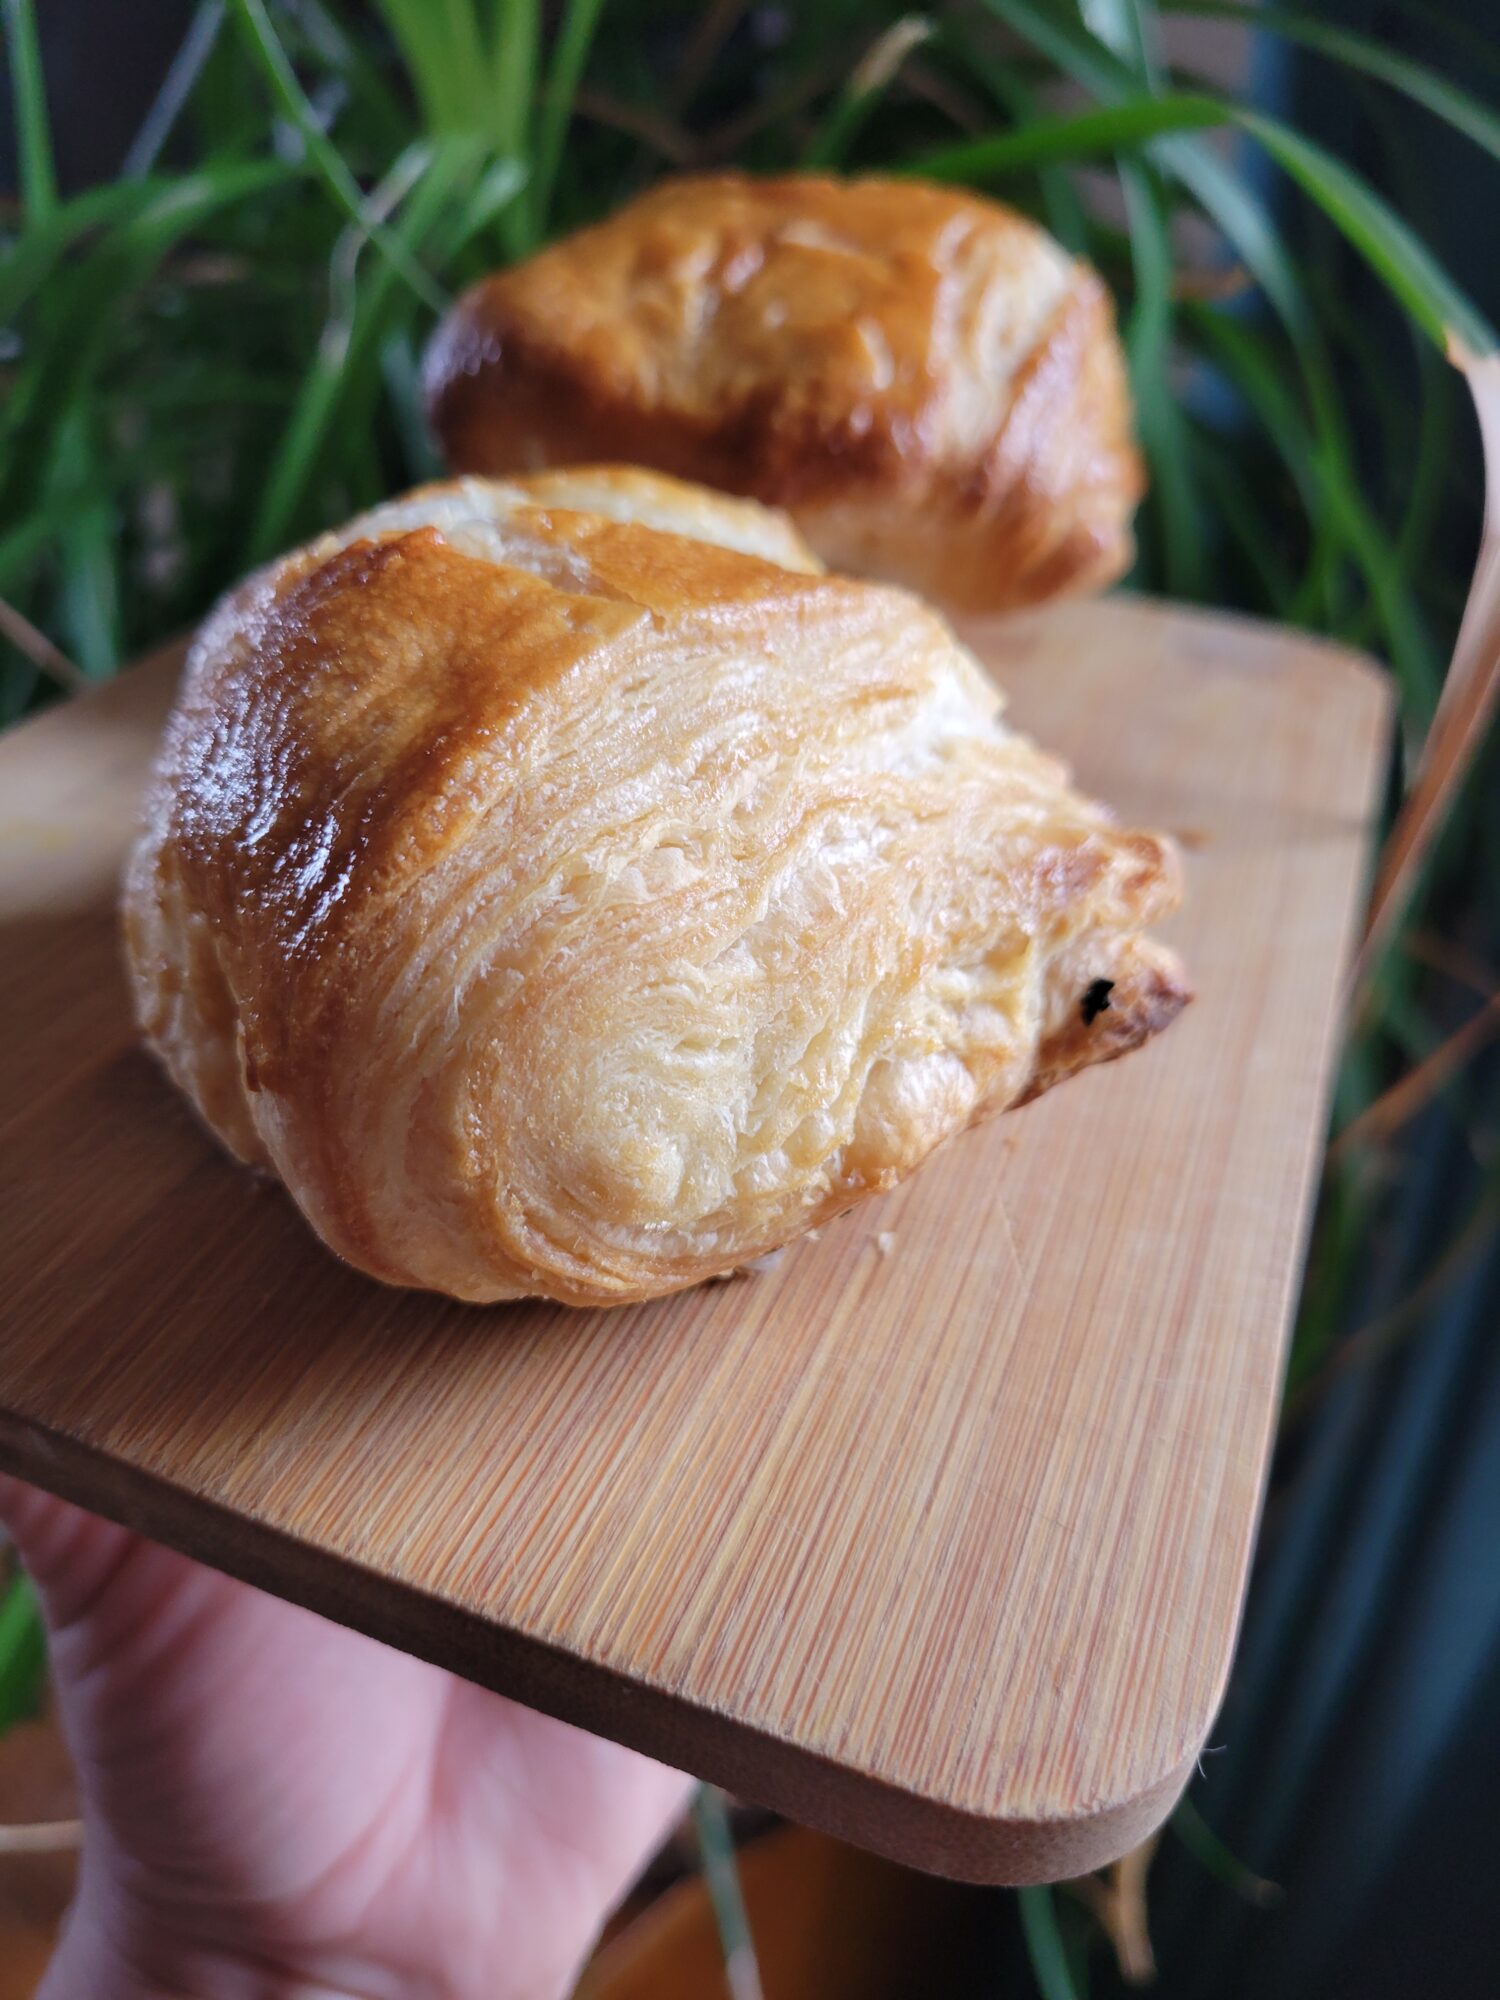
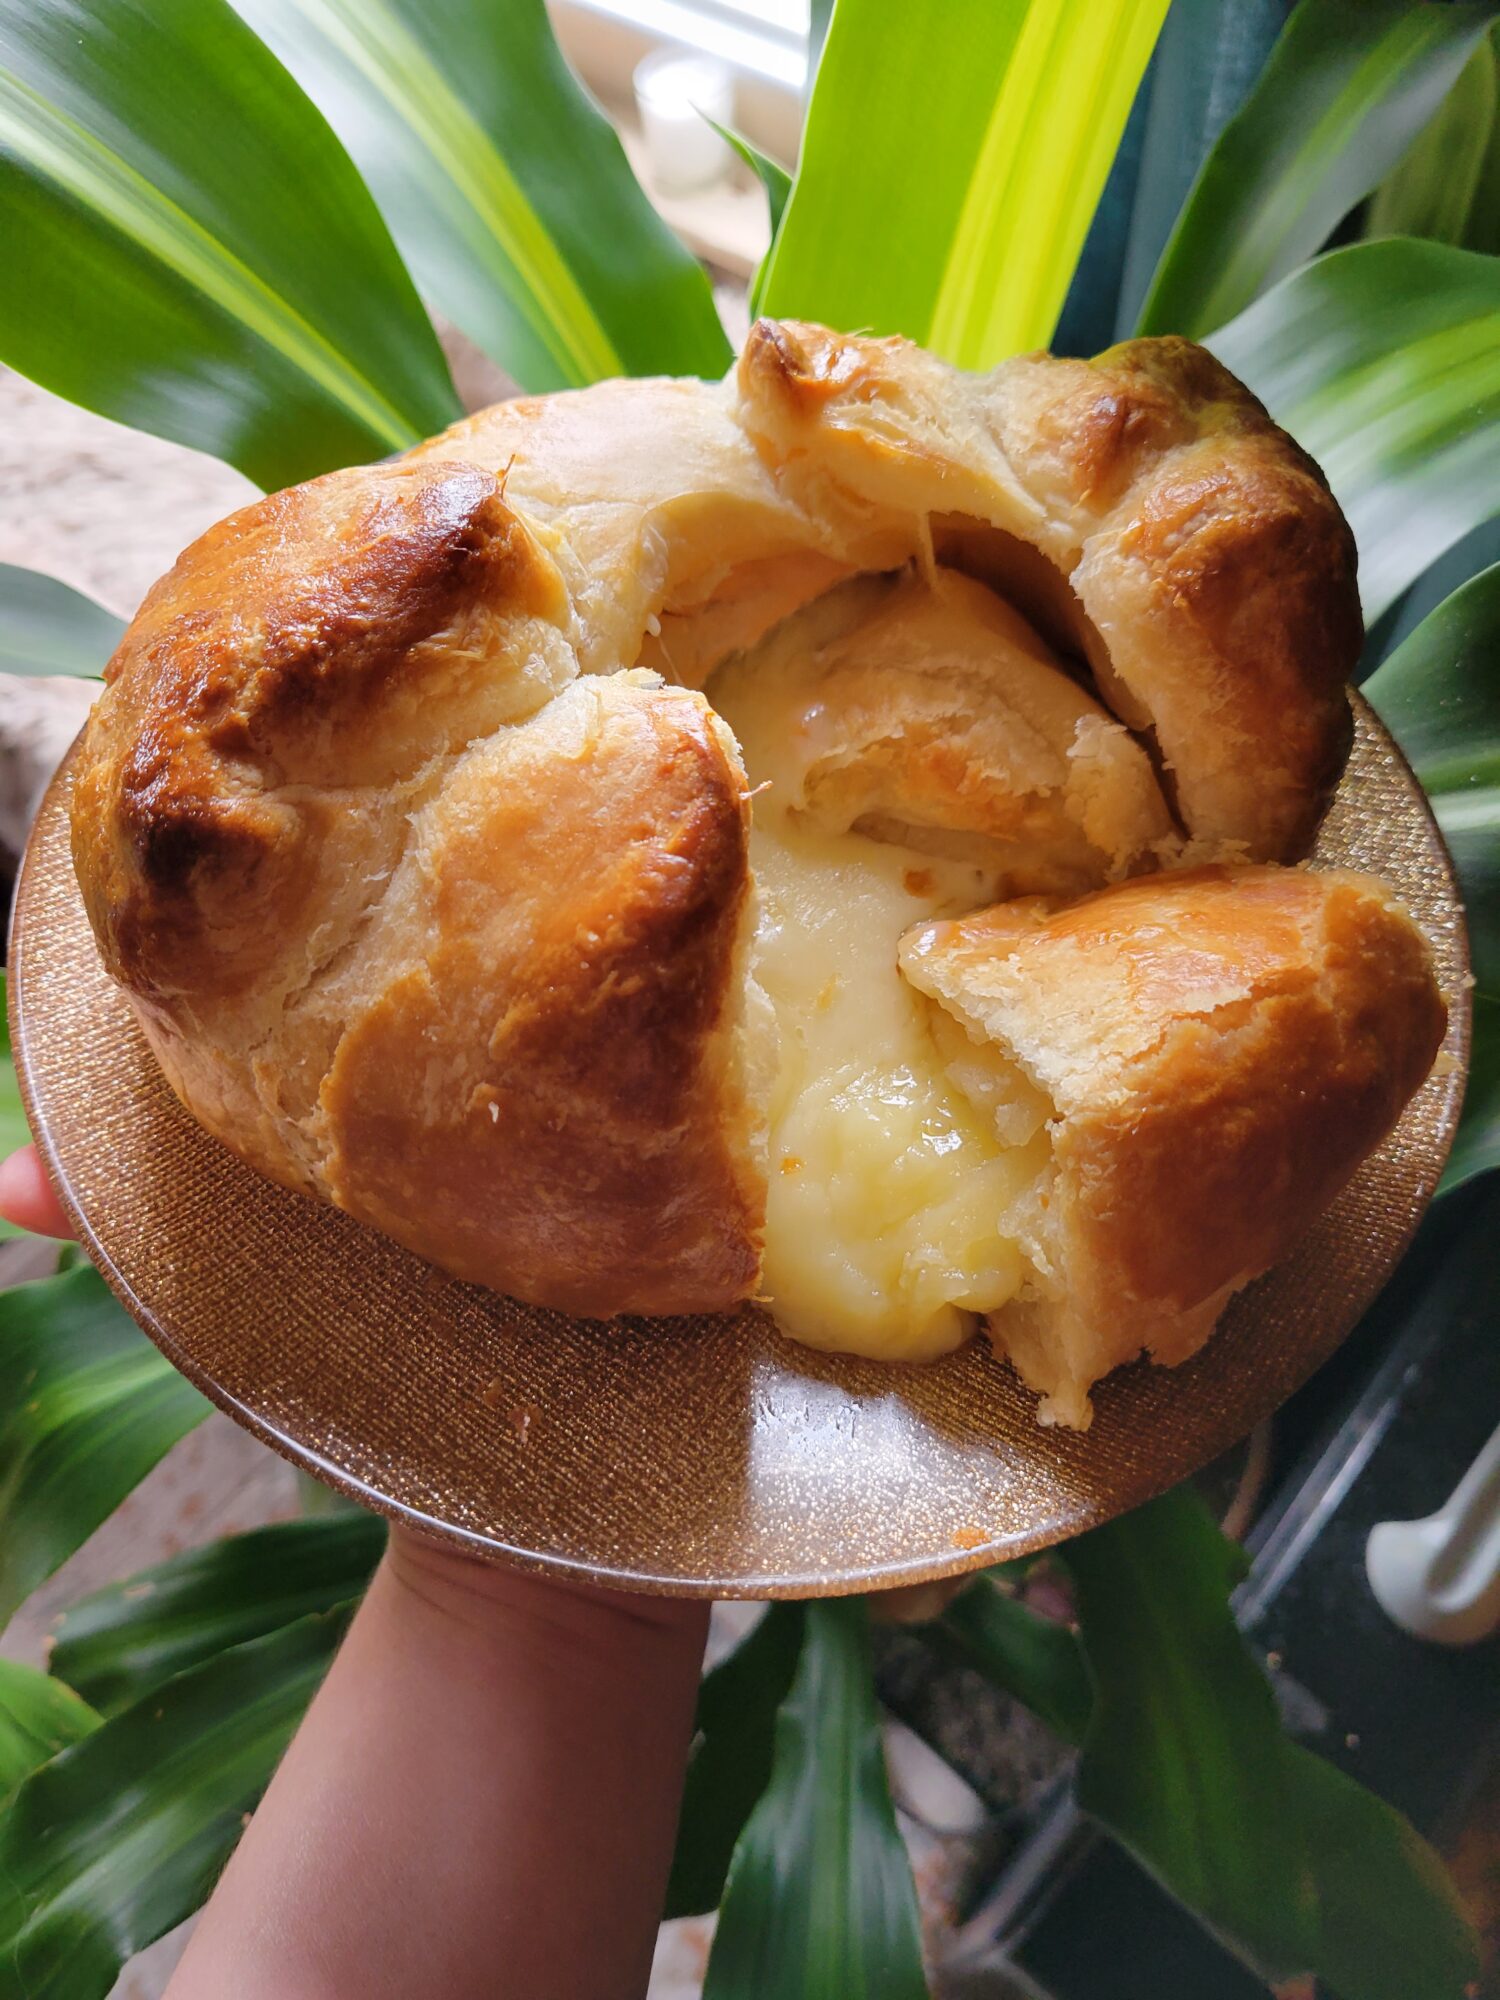
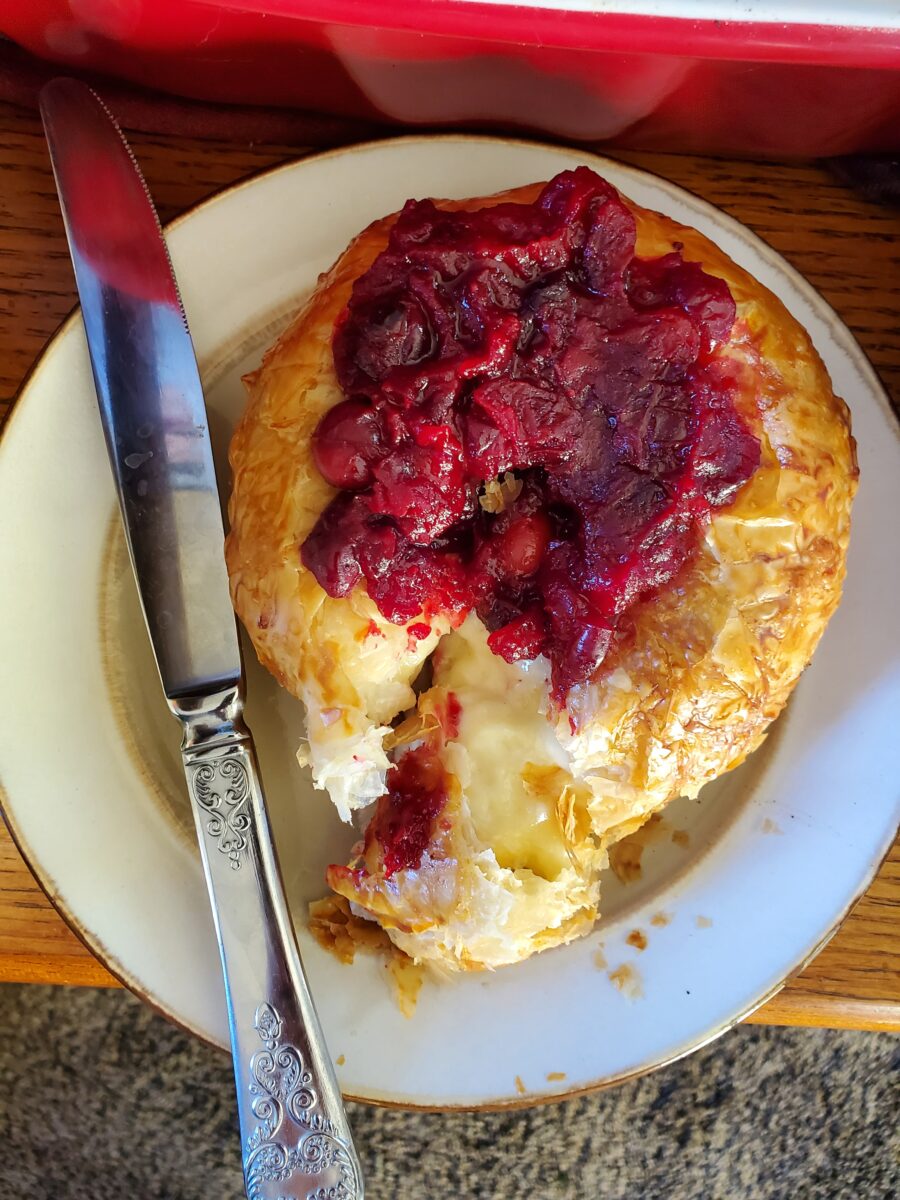
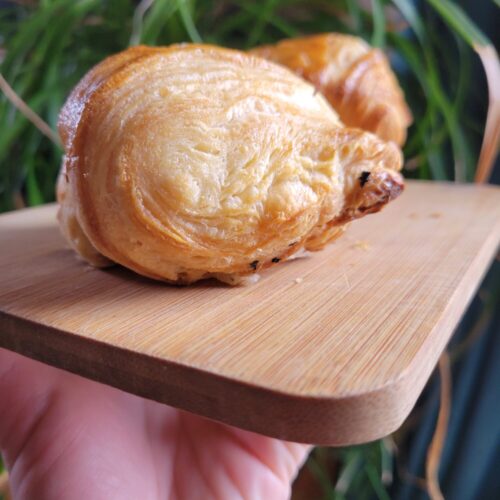
I made puff pastry with the intention of using it for Baked Brie. Which was absolutely delicious! And kind of looked like a football. But give me a break, it's my first attempt at puff pastry! And absolutely well, well worth it. I decided to use the scraps to make little pastry... rolls? So, the final photos here aren't of a product that is quite as polished as it could be. I literally just rolled the extra pieces together, cut in half, brushed on an egg wash, and threw them directly in my oven. No baking dish, no nothing. Directly onto the rack. Which I would not recommend! But this little croissant rolls are phenomenal. They would be the perfect start to actual croissants or danish. I melted some chocolate and cheese over one of them as well.
Variations of Puff Pastry
I don't always make pastry. I had actually never made it before! And will absolutely make it in the future. But there are plenty of things to do with it or with pastry alternatives. Which has, up until this point, also always been me.

The Fundamentals of Puff Pastry
Equipment
- 2 Bowls
- Freezer
- Cheese Grater
- Plastic Wrap
- Refrigerator
- Rolling Pin
- Oven
Ingredients
- 227 g. butter preferably unsalted (1 c.)
- 240 g. all-purpose flour (2 c.)
- 12 g. sugar (1 tbsp.)
- 1/2 tsp. salt
- 8-10 tbsp. cold water
- 2 eggs whisked
Instructions
Form Dough
- Place butter in the freezer for at least 10 minutes.You need to get it cold enough to put through a cheese grater, which means that it needs to essentially freeze throughout. For butter that has been stored in a refrigerator, this should take about 10 minutes. On warmer days and for butter that has been stored at room temperature, this may take more like a half hour.
- Place at least 10 tablespoons of water in the freezer and chill for 10 minutes as well.You can also add a splash of vodka or other higher proof alcohol to keep the water from freezing. This is a trick for making pie crust as well.
- Meanwhile, whisk together flour, sugar, and salt.
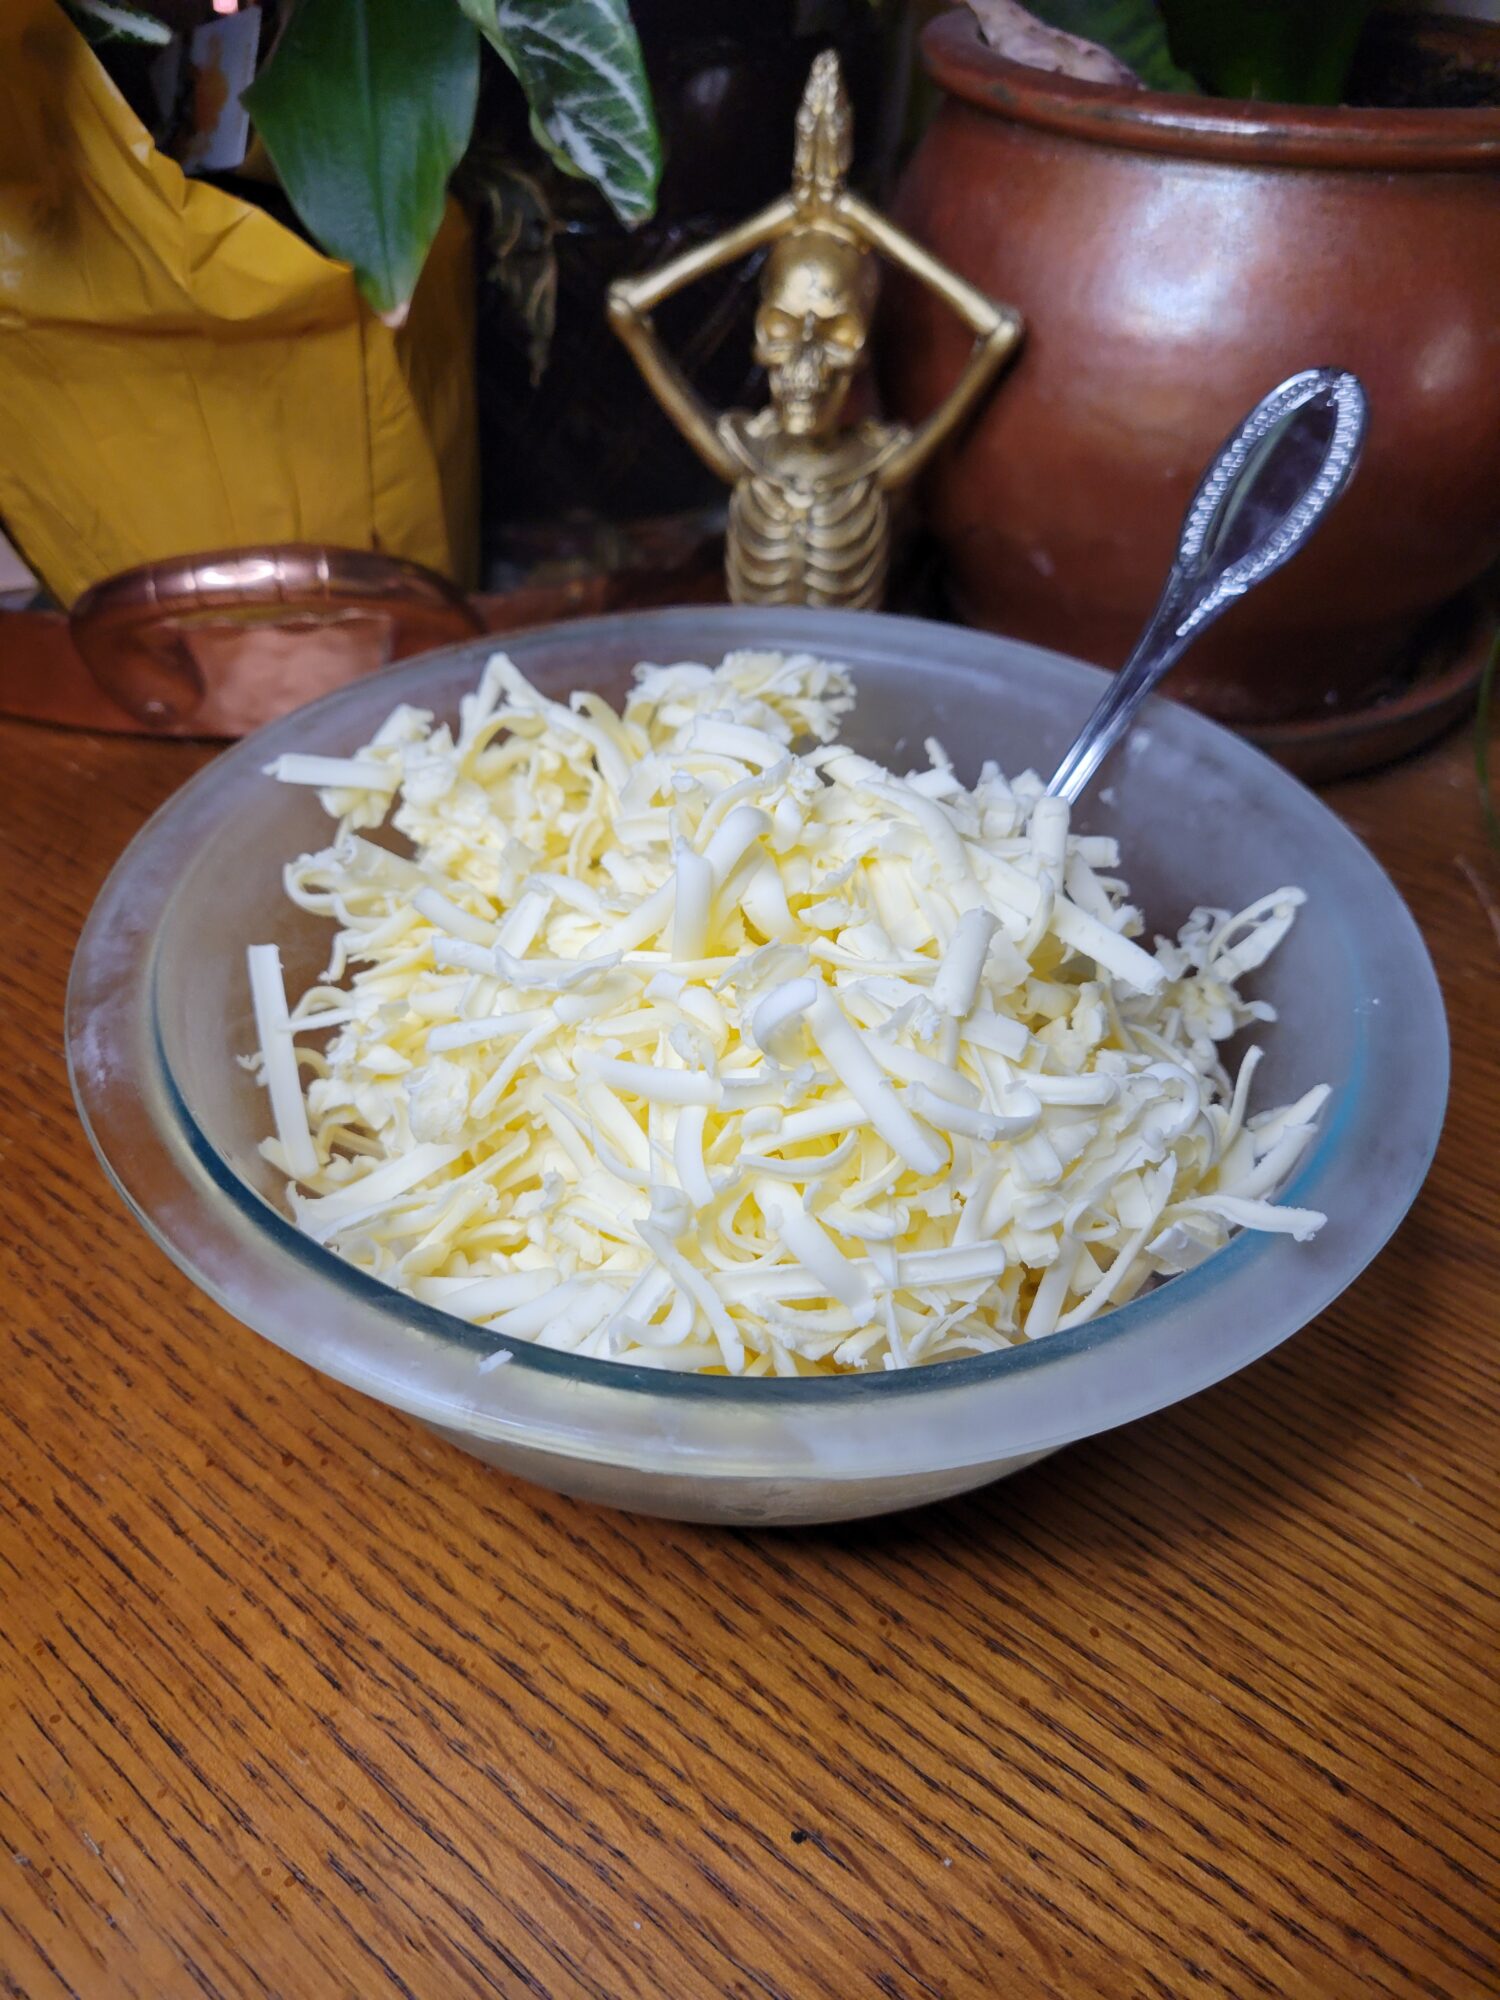
- When the butter is cold and solid, quickly grate with a cheese grater.The key here is not to let the butter warm or melt. I put mine through a rotary cheese grater so that I didn't have to touch it virtually at all. Because your ambient body temperature can warm the butter too much and it's best to handle it as minimally has possible. Although a regular cheese grater will work as well.I have been warned that dicing the butter will not achieve the best results and that grating it is fairly imperative.On a warm day or if you're at all unsure if the butter has warmed up, place it back in the freezer for another 10 minutes before proceeding.
- Add the butter to the flour mixture and add just enough chilled water to be able to mix it together and form a rough dough ball. You can do this by starting with a fork and then roughly kneading it a couple of times.This should be done as quickly as possible. You should still be able to see pockets of butter, but not pockets of unmixed flour. This isn't cookie dough! It should not be smooth and mixed entirely. But just enough to hold a shape.
First Chill
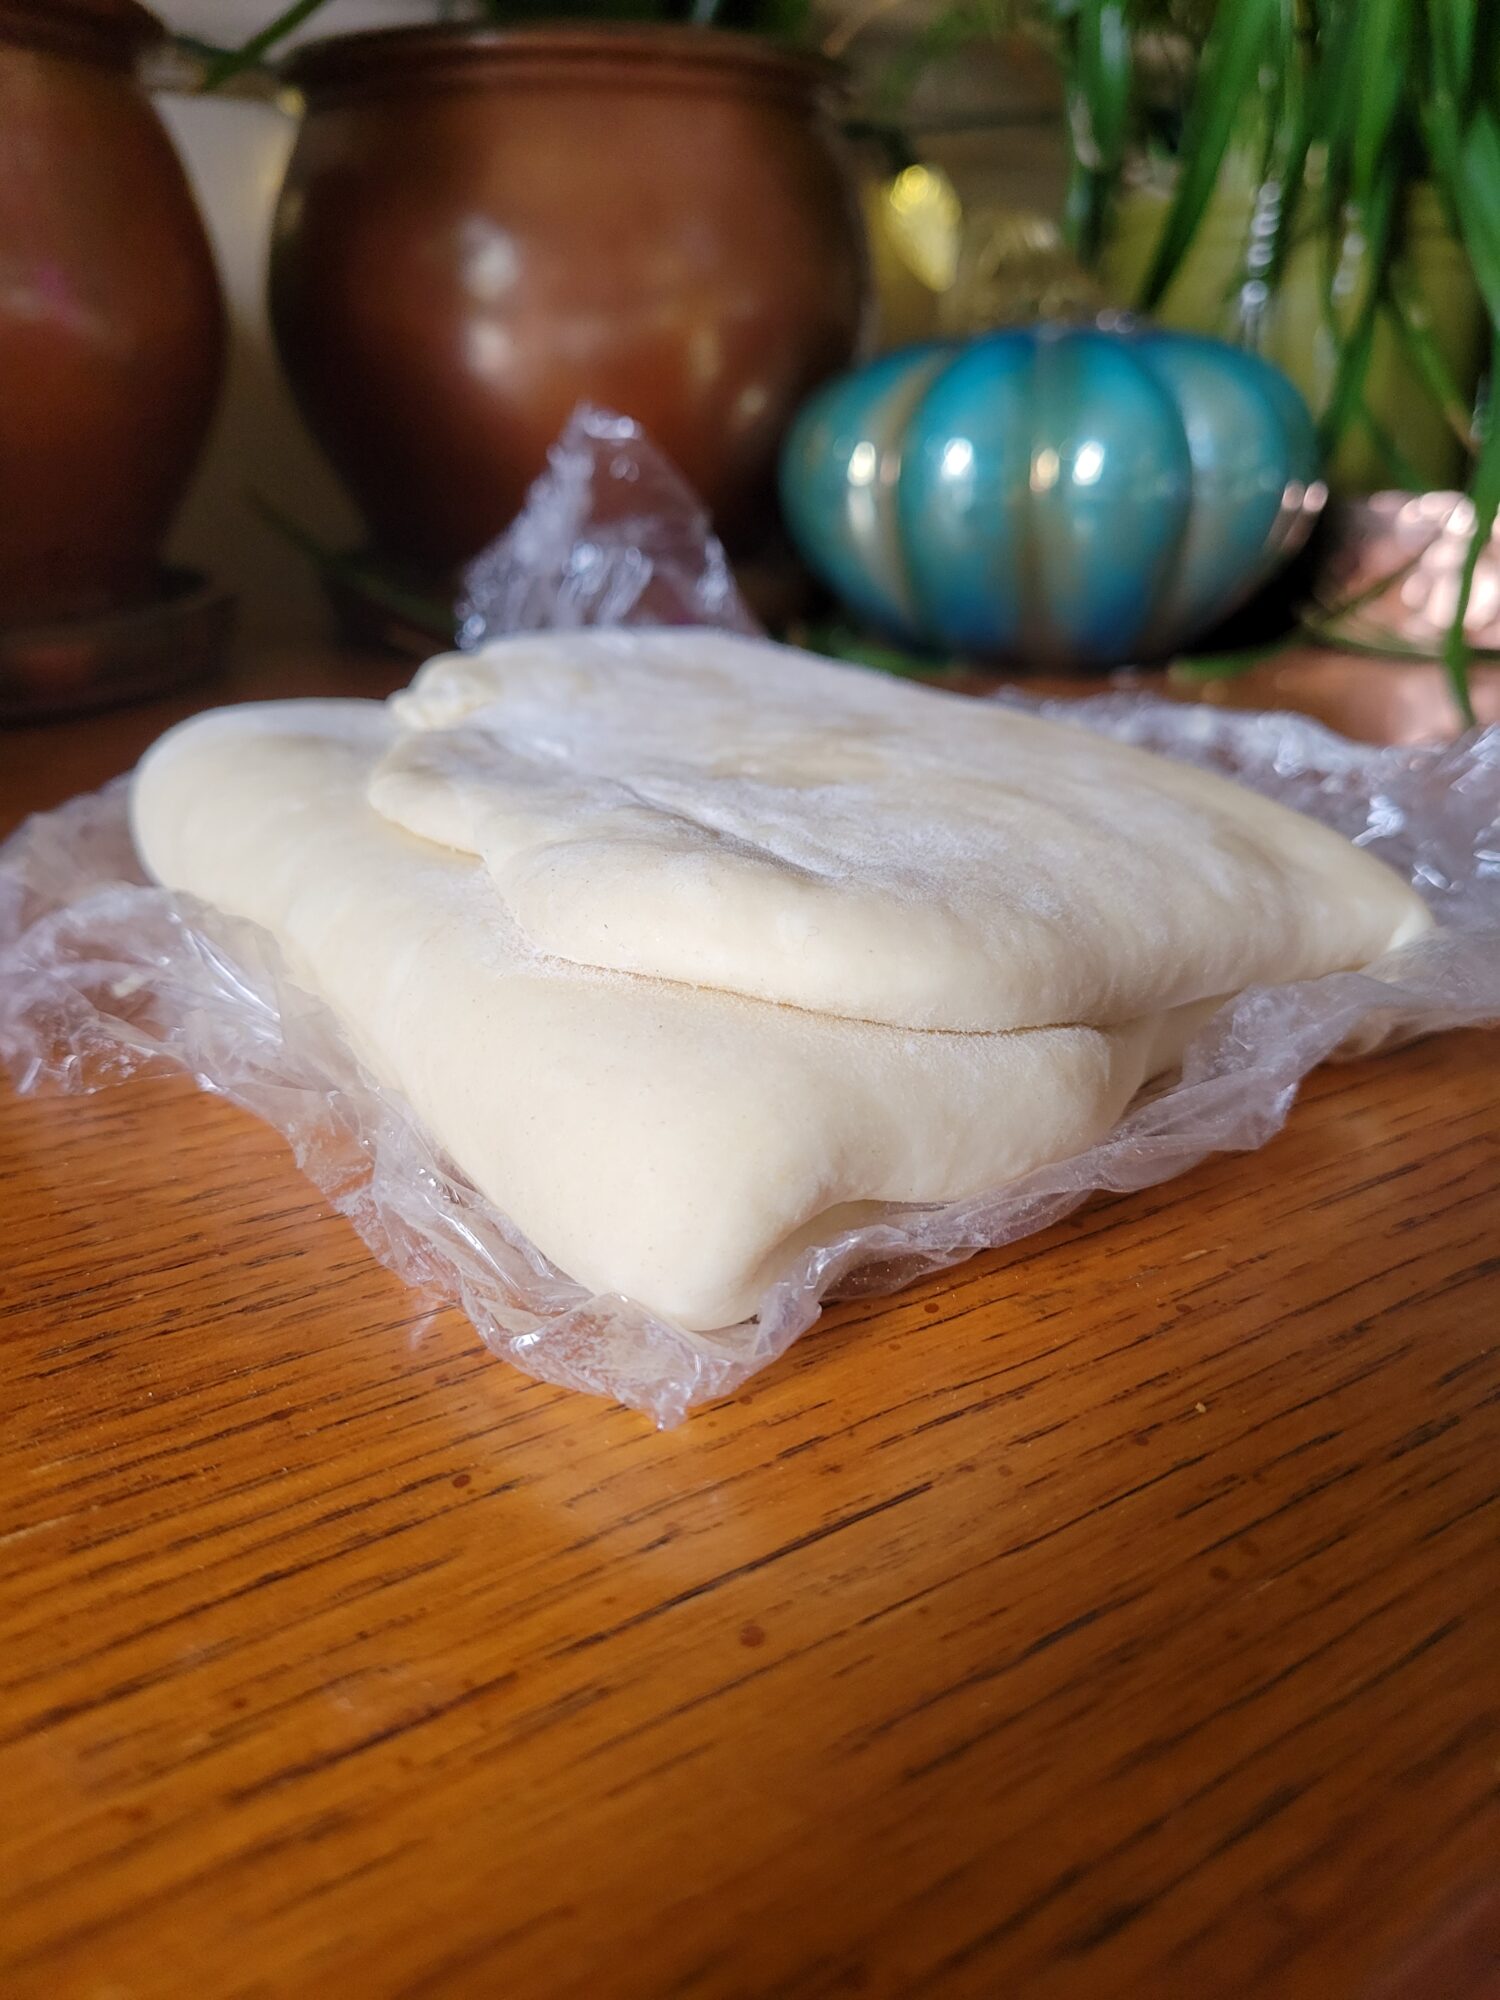
- Shape into a 1/2-inch thick square and wrap tightly in plastic wrap. Chill for an hour.
Roll Dough
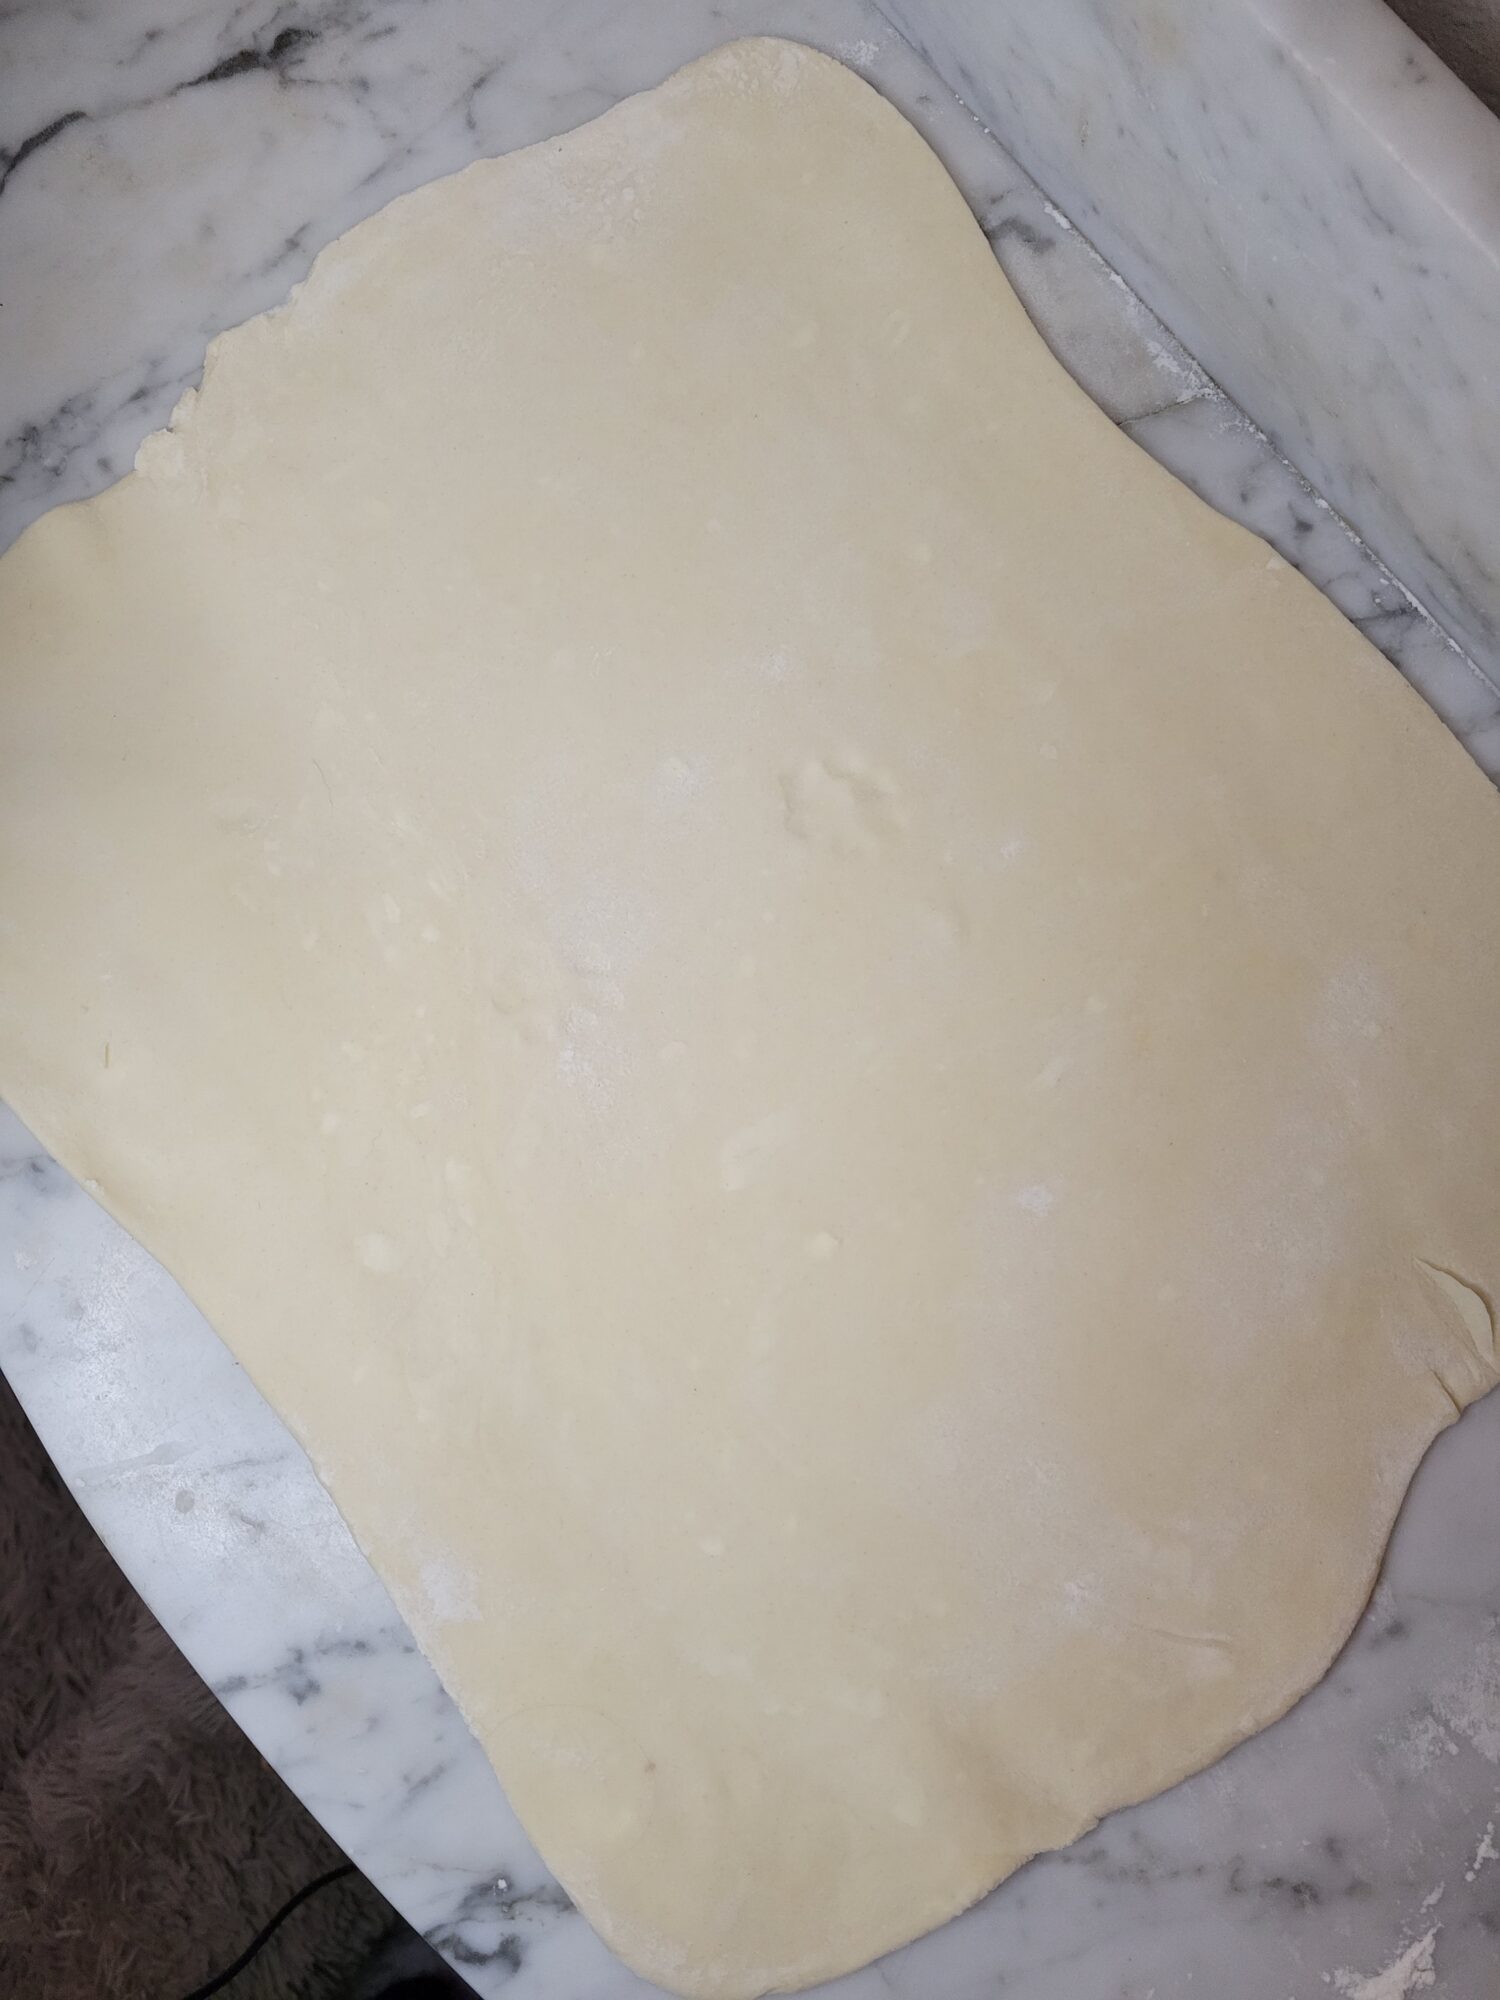
- After an hour in the refrigerator, lightly flour a surface and roll out the dough into a 1/2-inch thick rectangle.
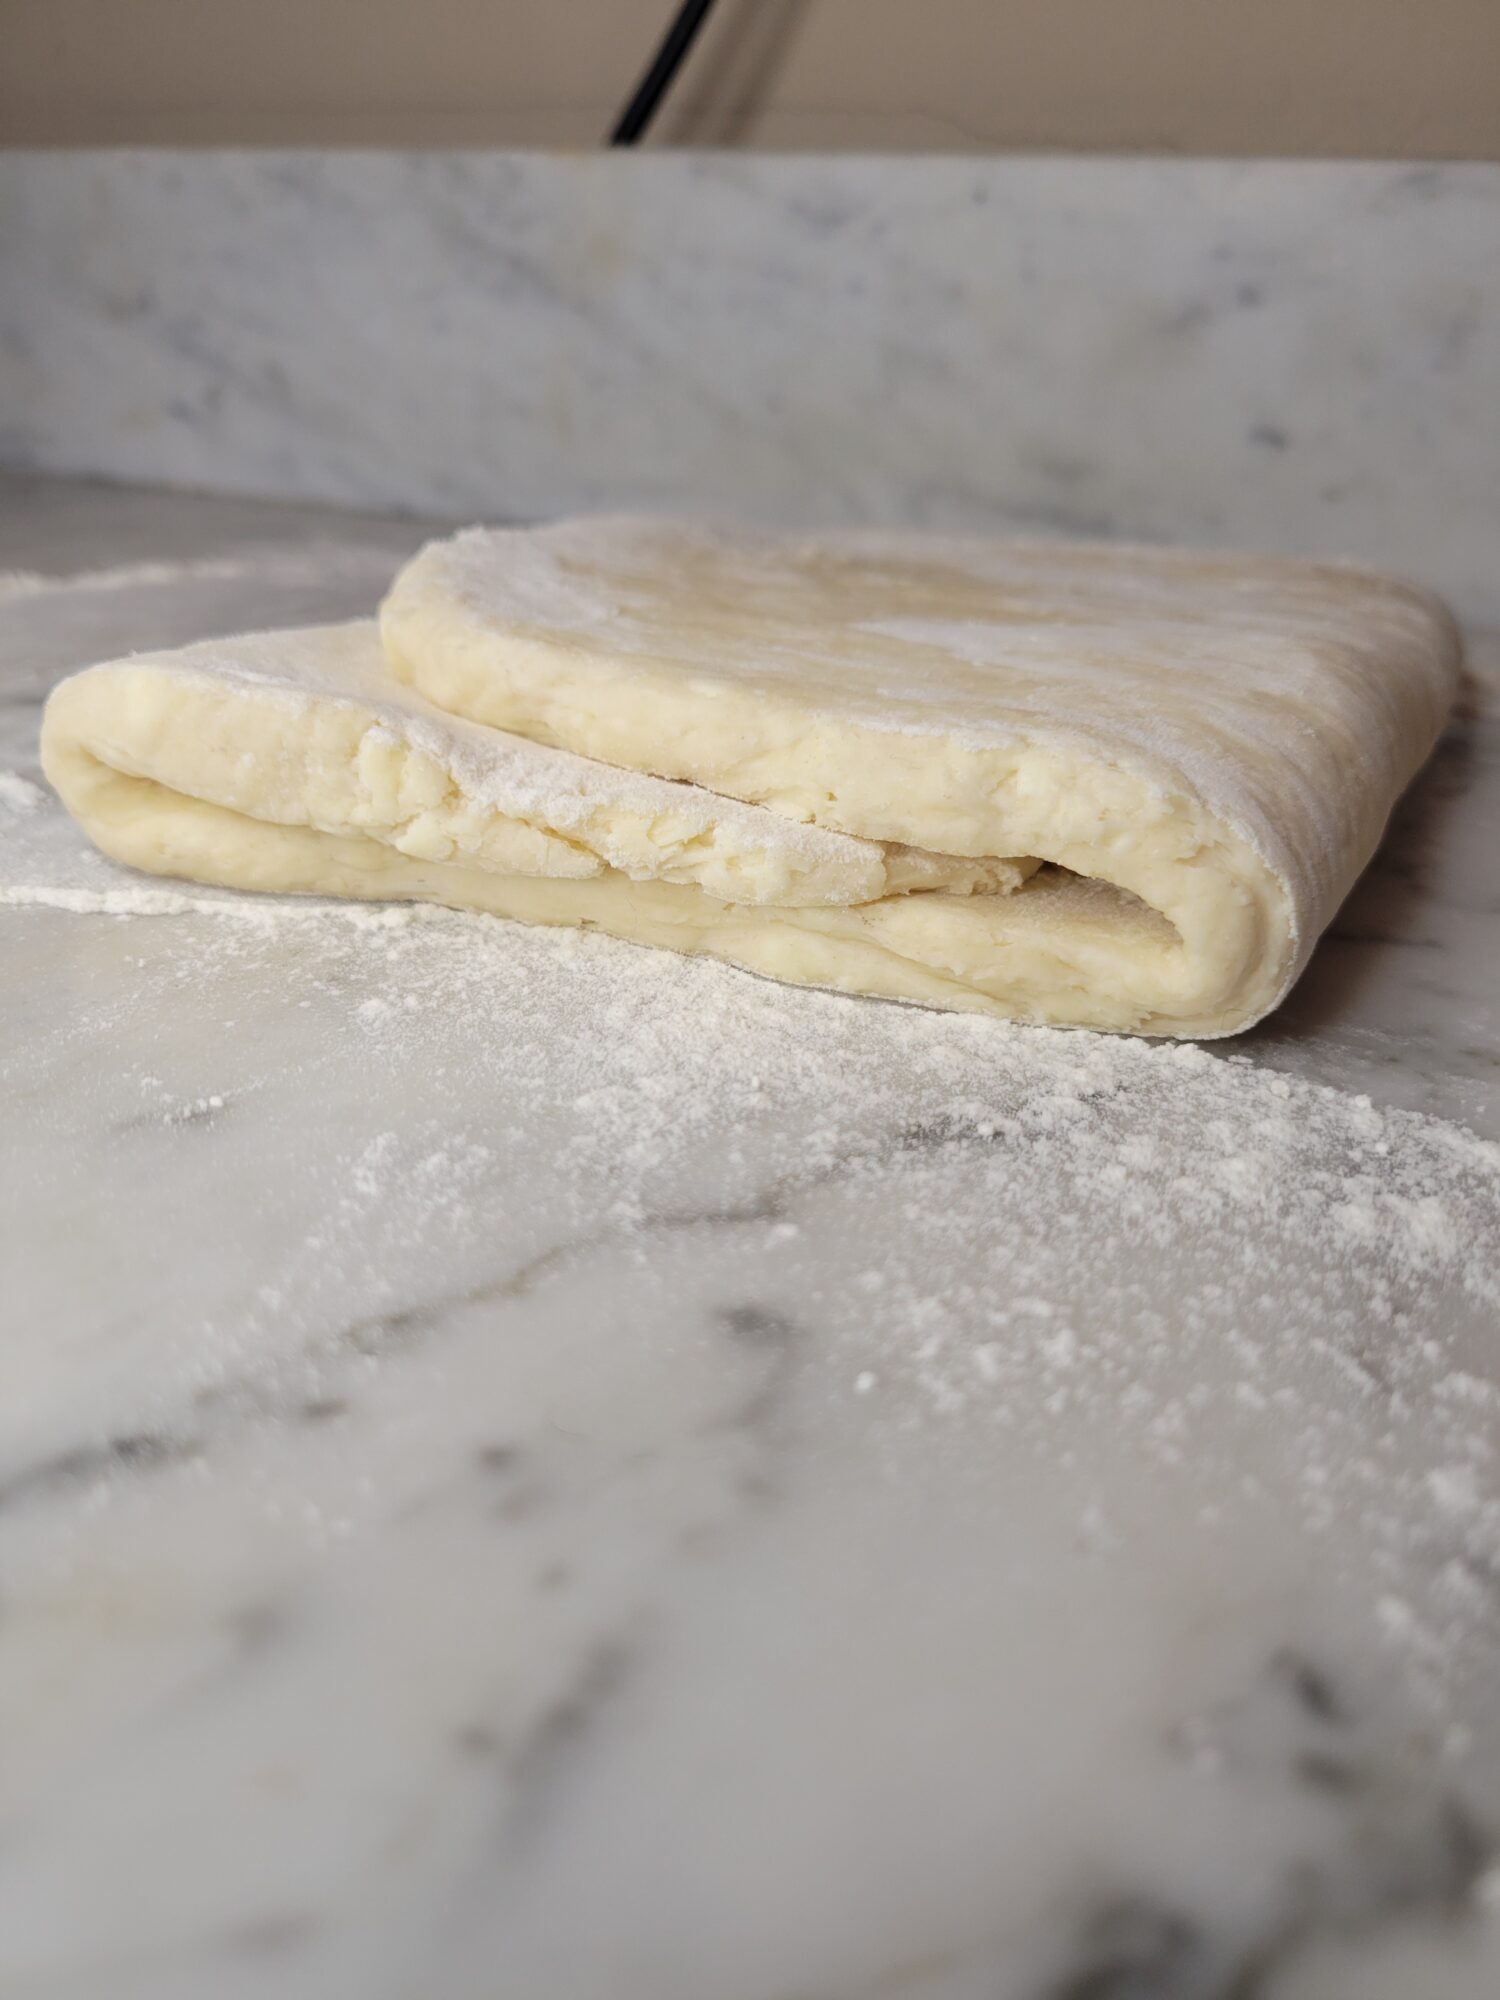
- Fold both of the ends toward the center. This will make 3 layers, much like folding a pamphlet or piece of paper to fit into an envelope.
- Rotate one half turn, or 90 degrees, and roll out the dough again into a 1/2-inch thick rectangle. Fold the ends into thirds again.
- Repeat this process a total of 4 times. Make sure to do it quickly and without heating up the dough or melting the butter. If this even begins to happen, put the dough back into the refrigerator or freezer and chill before continuing.This will laminate the dough. It's a process of rolling out the layers, without melting the butter. Puff pastry is essentially insufficiently mixed layers that then separate during the cooking process and puff up to make the distinct flakiness.So, the goal is to create layers, without actually worrying about mixing them together. The dough will be shinier and smoother, but still not completely incorporated at the end. Don't worry if you can still see pockets of butter!
Second Chill
- After rolling out and folding the dough 4 times, leave the final layer folded into thirds. Then, wrap again with plastic wrap and put back in the refrigerator for 2 more hours.You can leave the dough in this stage for up to 48 hours before using.
Bake Dough
- At this point, you can turn the puff pastry into whatever pastry that you desire.
- To simply cook it in sheets, preheat the oven to 350 degrees Fahrenheit.
- Meanwhile, whisk 2 eggs in a small bowl and set aside.
- After the oven has preheated, lightly flour a surface and roll out the dough into a 1/2-inch thick rectangle. Cut into 2-inch squares or desired shape.
- Lightly coat with egg wash.
- Cook for 15 minutes, or until the puff pastry has turned golden brown.
Tips, Tricks, & Notes
- If the pastry doesn't puff up and create distinct layers, you have likely mixed it too much or the butter has warmed and melted into the dough. Unfortunately, there is no remedy for an already cooked puff pastry! But try again and make sure to keep the butter as cold as possible.
- Grating the butter with a cheese grater really helps in this respect because the butter is already in small enough pieces where you don't need to worry about handling it too much to get it incorporated, without actually melting in the process. So, if you don't have a cheese grater, do go out and get one! And get block cheese while you're at it. It's less expensive than the pre-shredded variety and has a much better taste because it isn't coated in literal wood pulp. Look it up. That's what "cellulose" literally is. And also explains why pre-grated cheese tastes like sawdust.
This recipe is based on Preppy Kitchen's Puff Pastry Recipe.


Leave a Reply