Roasted Red Hubbard Squash Cubes
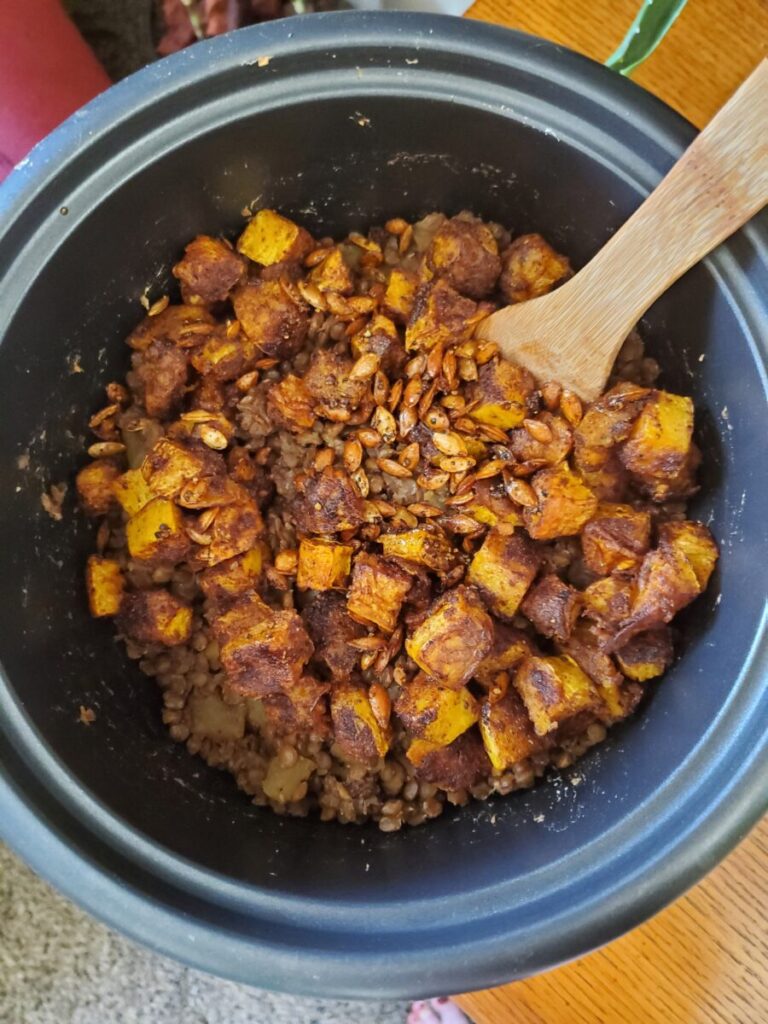
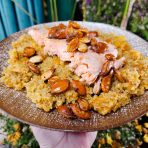
I tend to purée most of my squash. With this Red Hubbard Squash, I even roasted half of it whole to purée and am now roasting cubes as well. I managed to have enough foresight to figure out that I'm going to make Quinoa w/ Roasted Red Hubbard Squash for dinner. I know that, after the couple of hours spent roasting the squash, I'm not necessarily going to want to chill and purée it right away. So, my quick and easy solution is to chop up the squash into cubes and have it all ready to go piping hot out of the oven. I'm also Roasting Salmon while the oven is on. So, we'll see if that makes an appearance as well. Although I have a sinking suspicion that roasted squash, quinoa, and salmon are going to be absolutely delicious together.
Regardless of what you're making, roasted squash cubes are one of the two basic ways to roast squash. Cubed squash is going to roast a lot more quickly than roasting the entire squash whole (or really, halved or quartered and wrapped in aluminum foil). It also has the advantage of being ready to eat. I don't tend to cook squash this way because you have to season it ahead of time, which makes it go with a less diverse amount of dishes. Although that's a great excuse to simply roast more squash!
Gallery
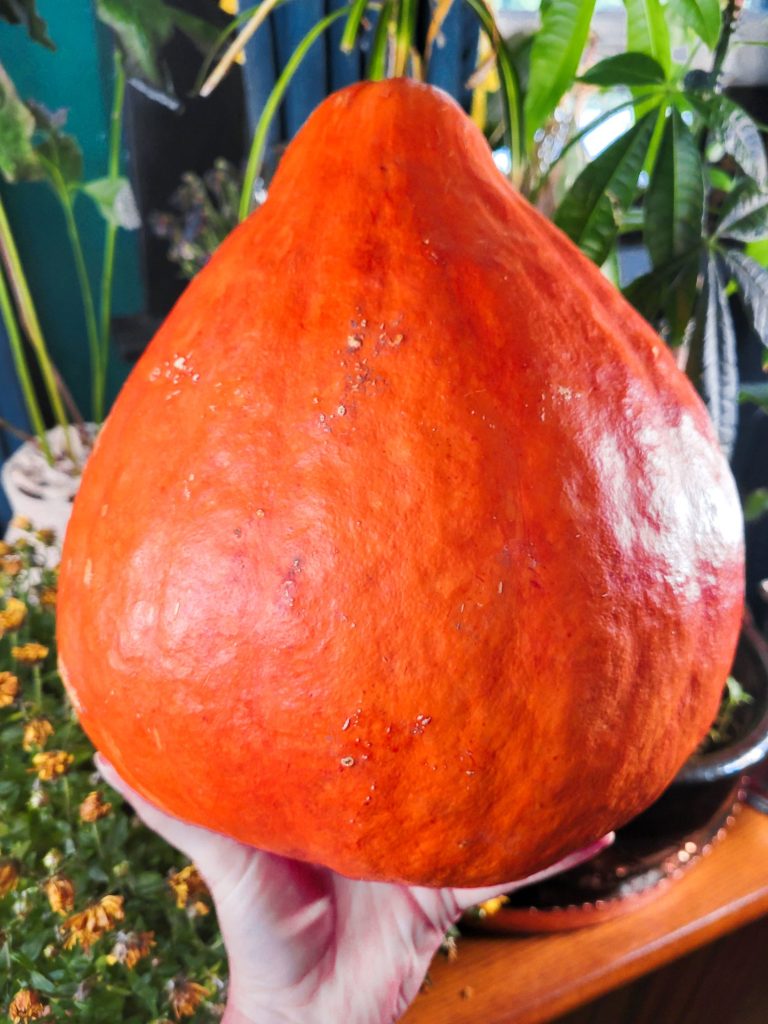
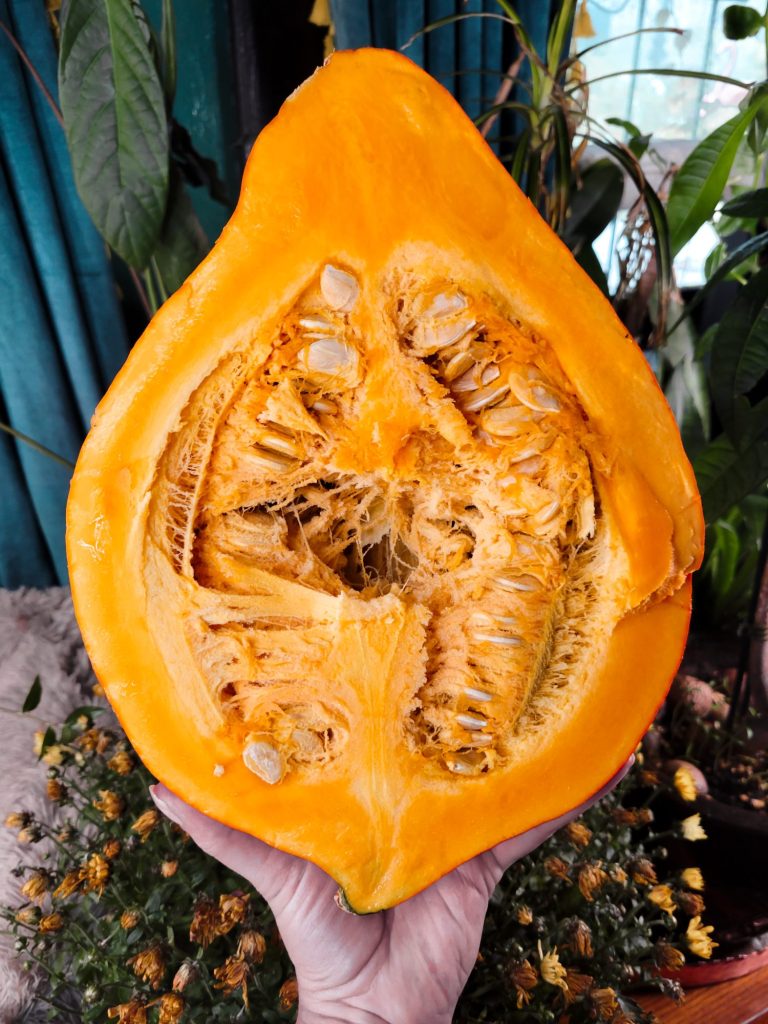
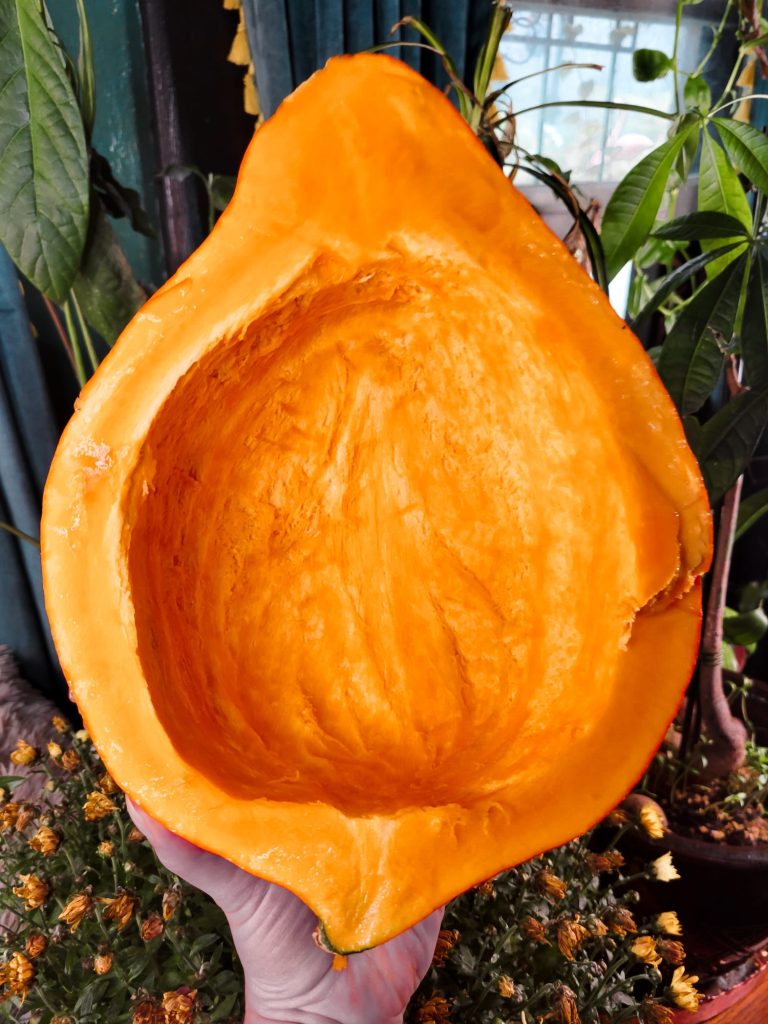
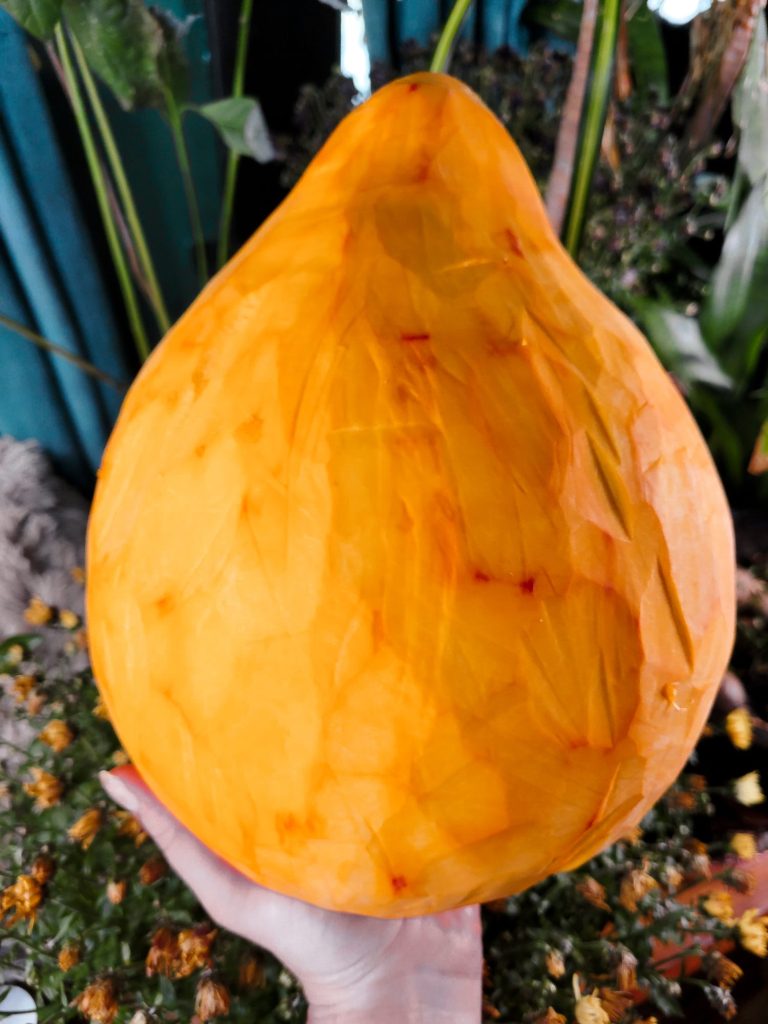
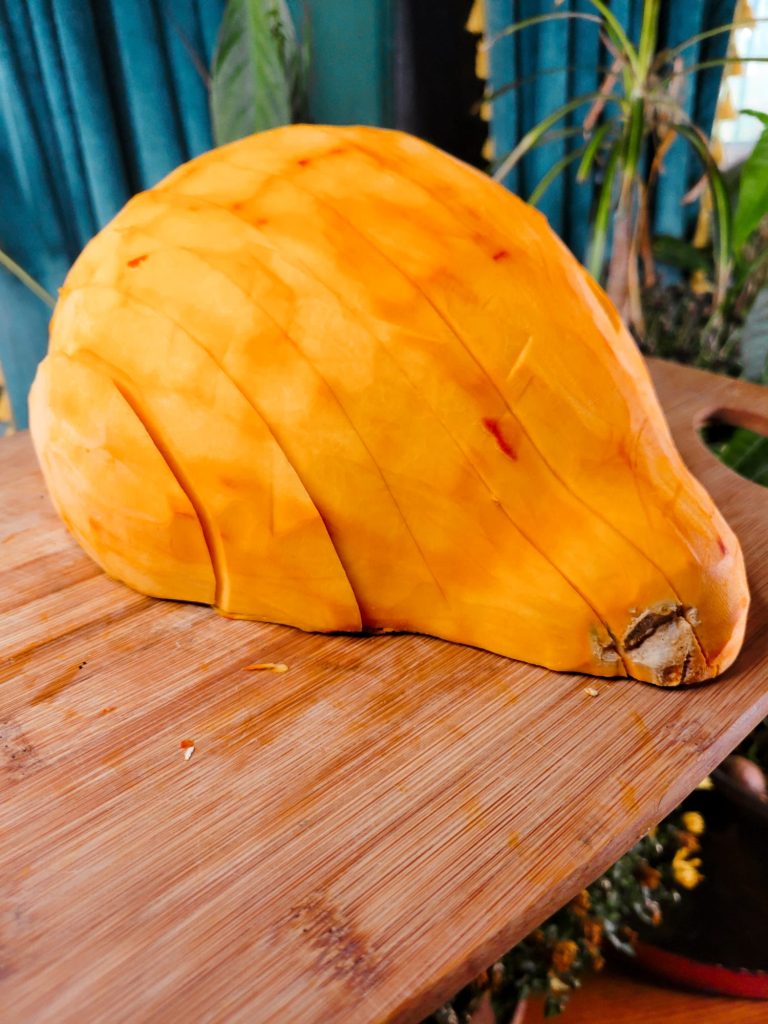
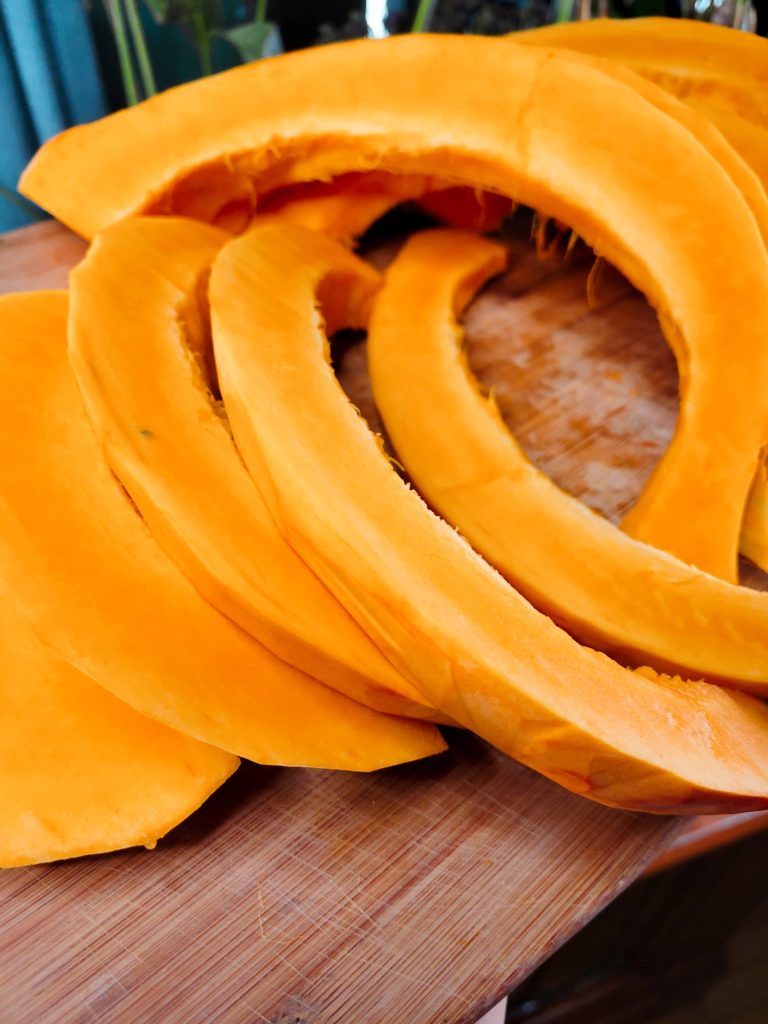
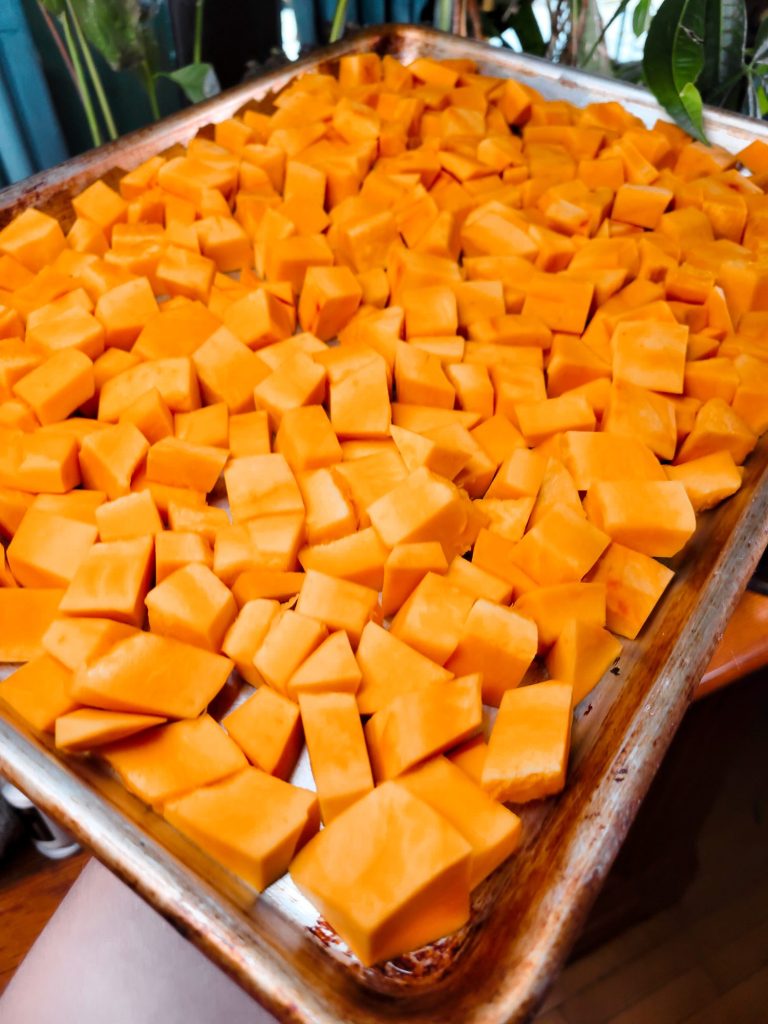
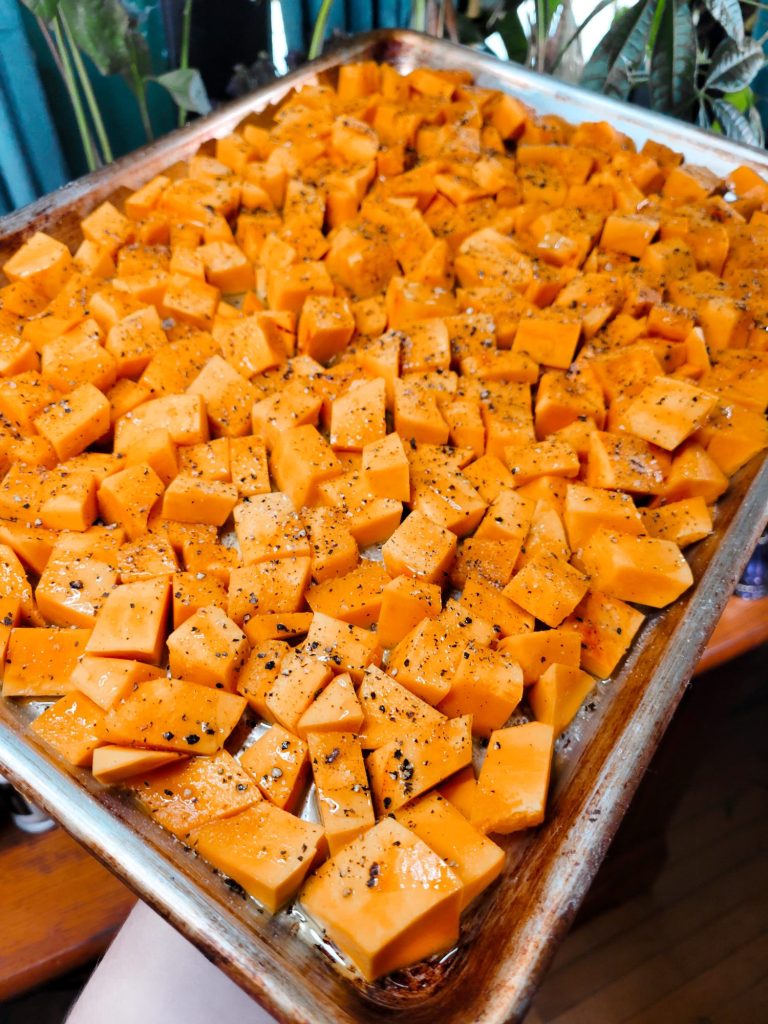
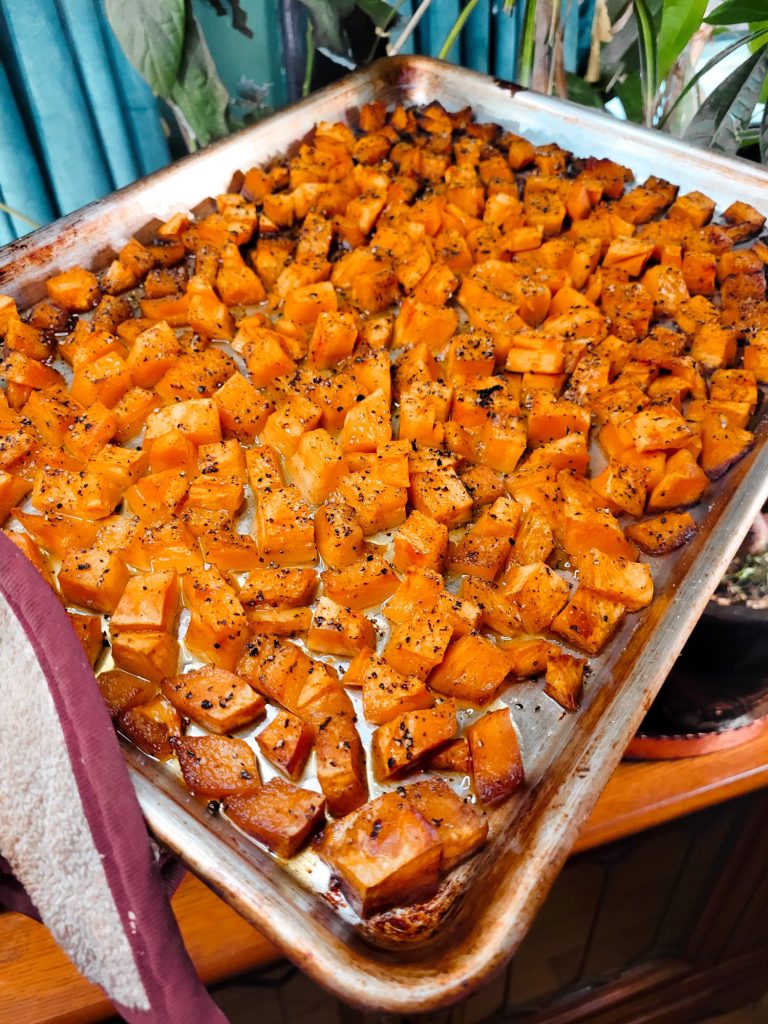
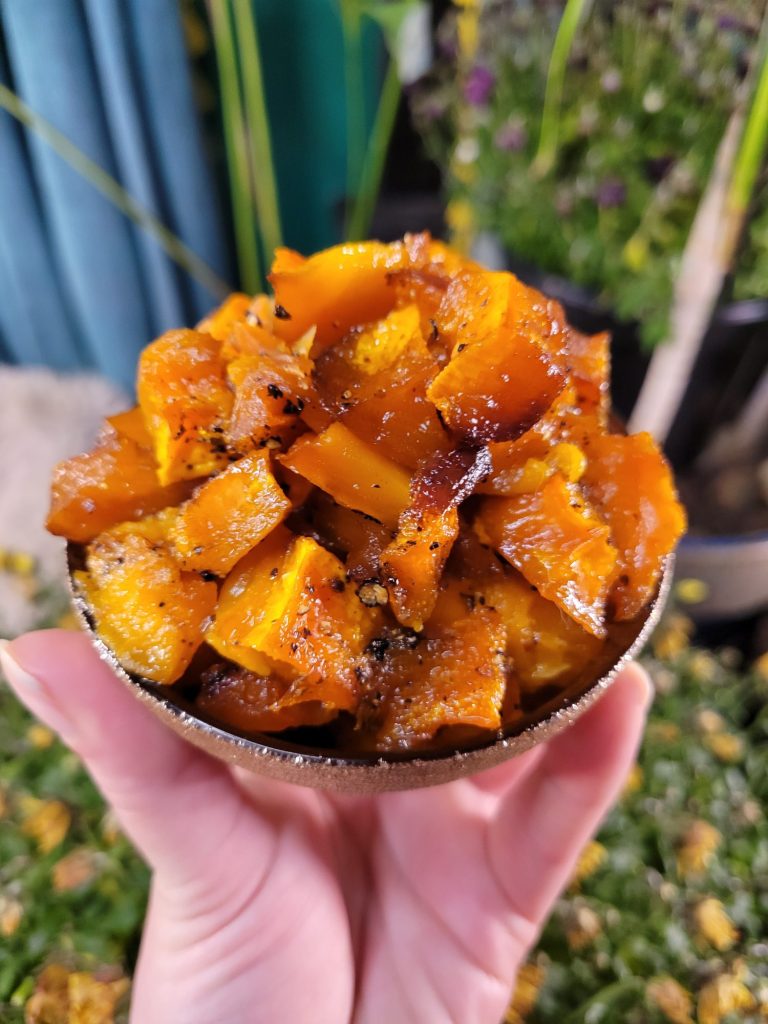
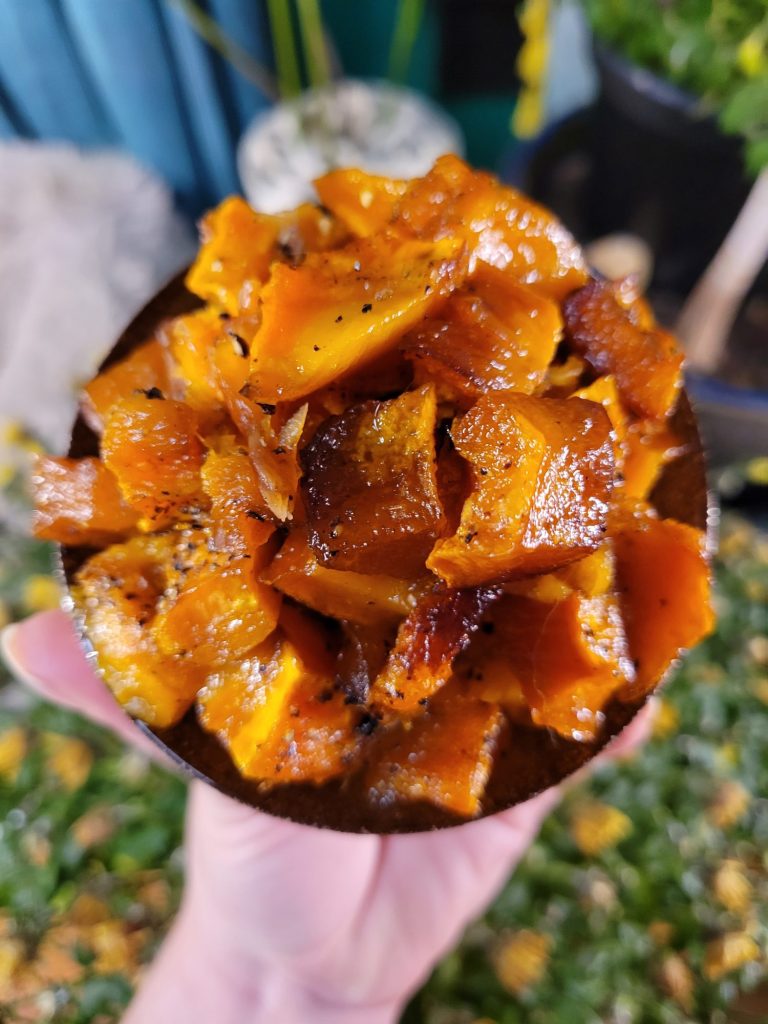
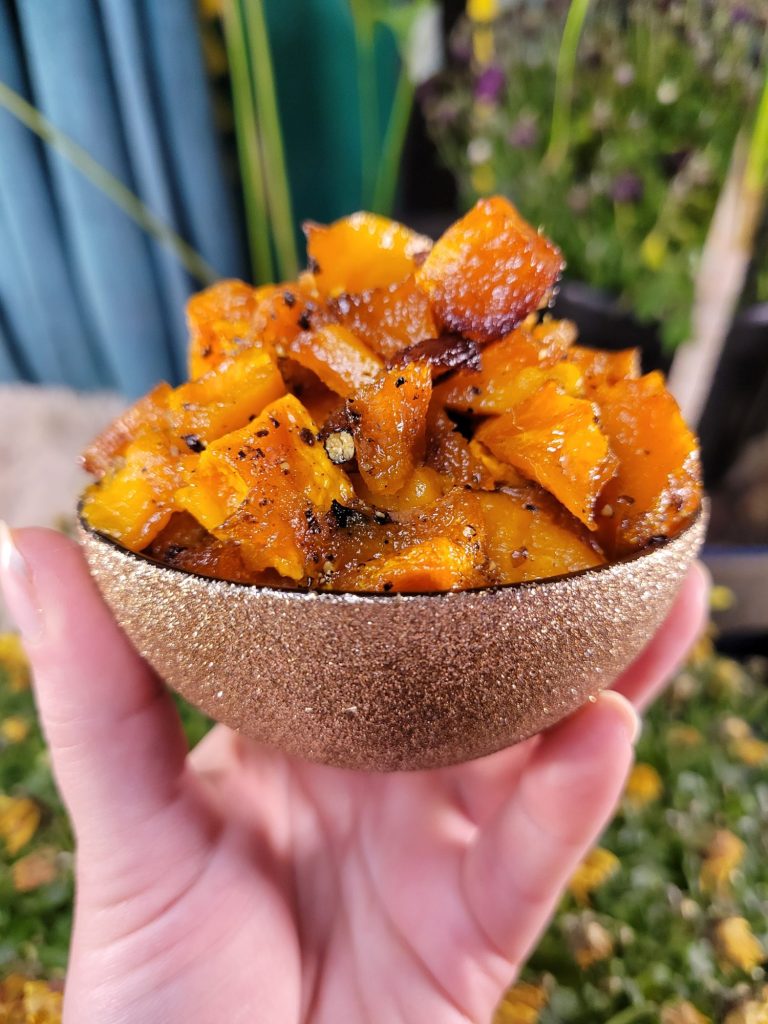
Variations of Roasted Red Hubbard Squash
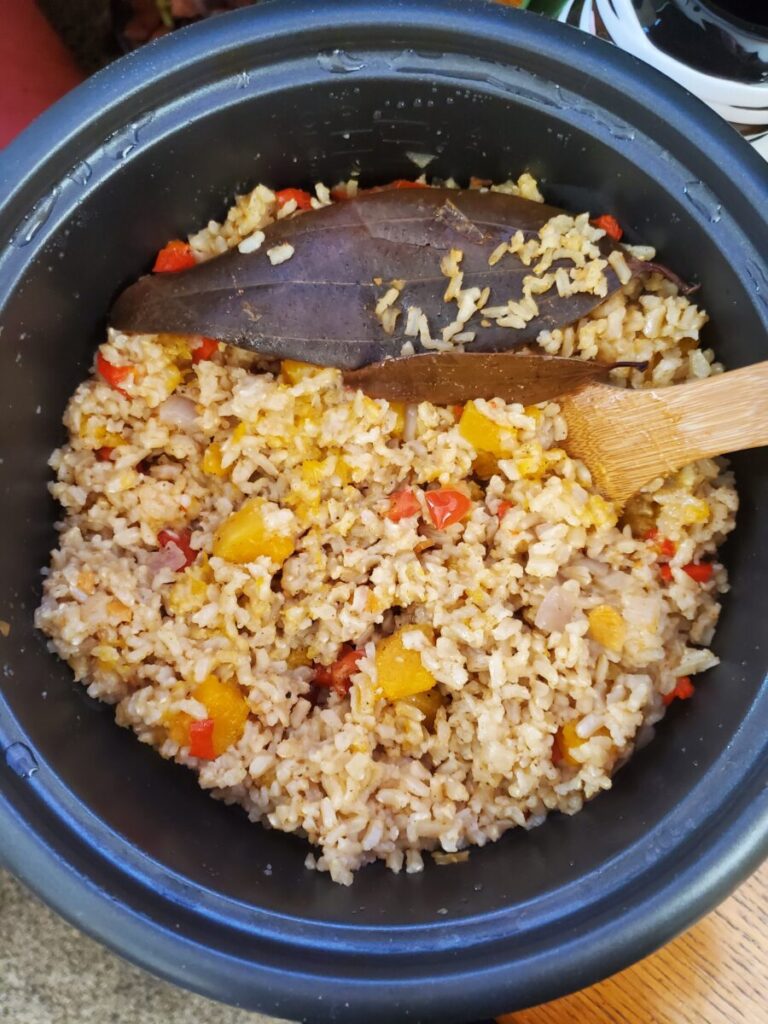
I purée squash more than I cube it. It's quite frankly easier to purée a giant squash than to dice it into little cubes and roast. But it is a showstopper when you do. There's almost nothing more delicious than biting into a little burst of roasted squash. And I do have a plethora of other recipes where I toss squash directly into a rice cooker along with all of the other ingredients or roast them ahead of time and add in afterwards to the finished product. Both methods are absolutely delicious and provide a fun little pop of color.
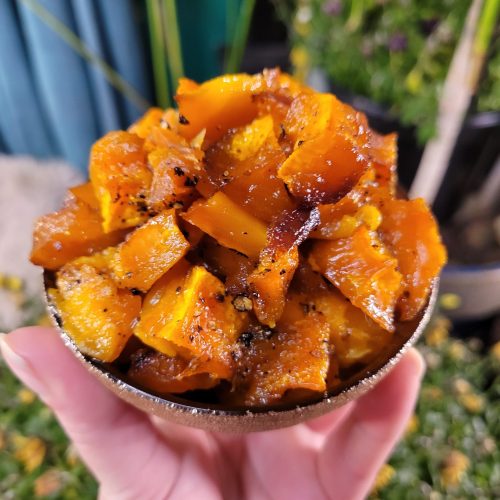
Roasted Red Hubbard Squash Cubes
Equipment
- Oven
- Potato Peeler (optional)
- Baking Sheet
Ingredients
- 1 red hubbard squash (or similarly dense squash or pumpkin)
Instructions
- Preheat oven to 400 degrees Fahrenheit.
- Cut squash in half.
- Cut butternut squash in half and peel the skin. I use a potato peeler, but you can easily use a paring knife or your usual peeling technique.
- Using a spoon, scoop out the innards to remove all of the seeds and stringy pieces. Reserve the seeds.The "guts" are still edible, but can be texturally unpleasant. I will usually keep them to puree into soup or pet food. However, most people will discard them! Just make sure not to toss any seeds! You will still need those.
- Once you've cut, peeled, and removed the innards from the squash, cut into 1/2 inch cubes.I usually do this by cutting 1/2 inch strips into the squash and then cutting each of those into squares. However you achieve 1/2 inch cubes, though, is just fine!
- Place the squash cubes evenly across a baking sheet and gently coat with an even amount of olive oil, salt, pepper, and whatever other spices you like. I'm partial to nutmeg or cinnamon, cayenne pepper, ginger, and mustard powder. Make sure to turn the squash cubes in order to coat all sides.I don't necessarily measure when I do this. I more just shake out of the container until each spice is evenly dispersed. If I had to guess, I'd say that I use about 1/4 teaspoon of each. You're not basting here, you're just adding a subtle flavor to the squash! Just make sure that you don't overdo it in one area. My ginger has been clumping slightly and came out a little quickly. If you're concerned about this, you can always measure out 1/4 teaspoon of each spice, mix in a small bowl, and then dust on top.
- Roast squash at 400 degrees for 25-30 minutes. Make sure to stir or flip the squash cubes halfway through to get an even cook on all sides.
This Page Contains Edited Images
As a general rule, I don't like to edit my images and I am firmly against alteration of images in food blogs. It's not something that we generally think about when it comes to recipes. But food styling, editing, alteration, and even faking entirely is just as rampant a problem in the recipe realm as anything else! Cooking is a very visual art and you can tell when a lot of foods are cooked based on the color. So, when this is altered and you can't use the coloration as a gauge, it makes it quite difficult to follow some recipes. I have an entire article about Food Styling and Unrealistic Expectations of Recipes.
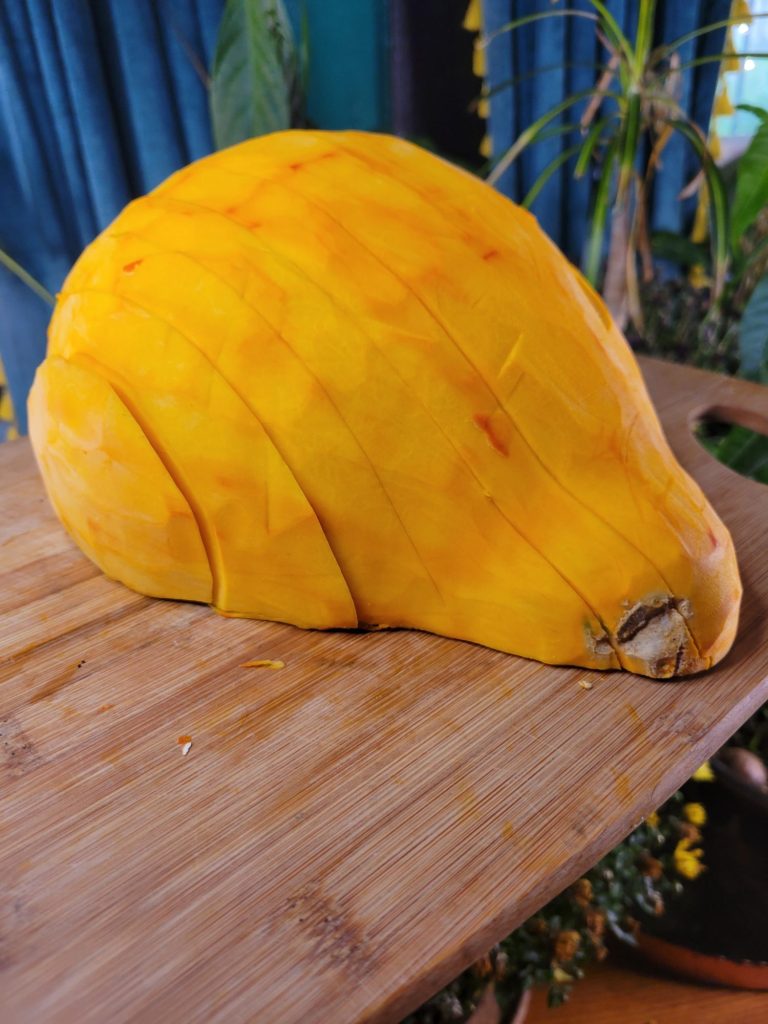
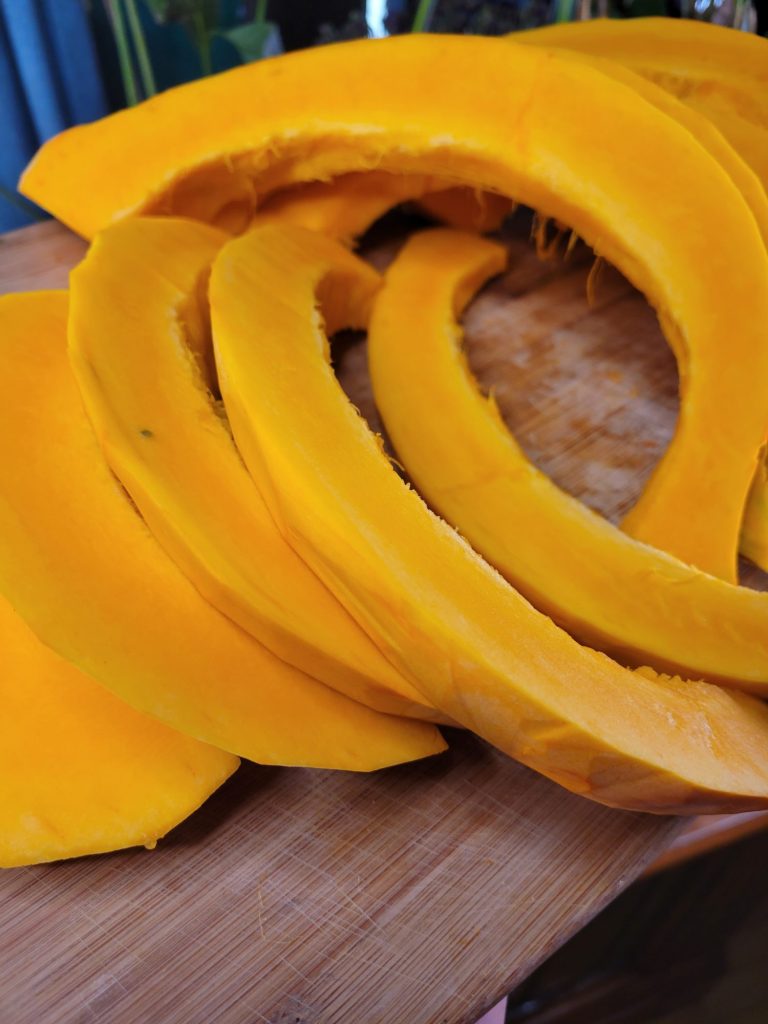
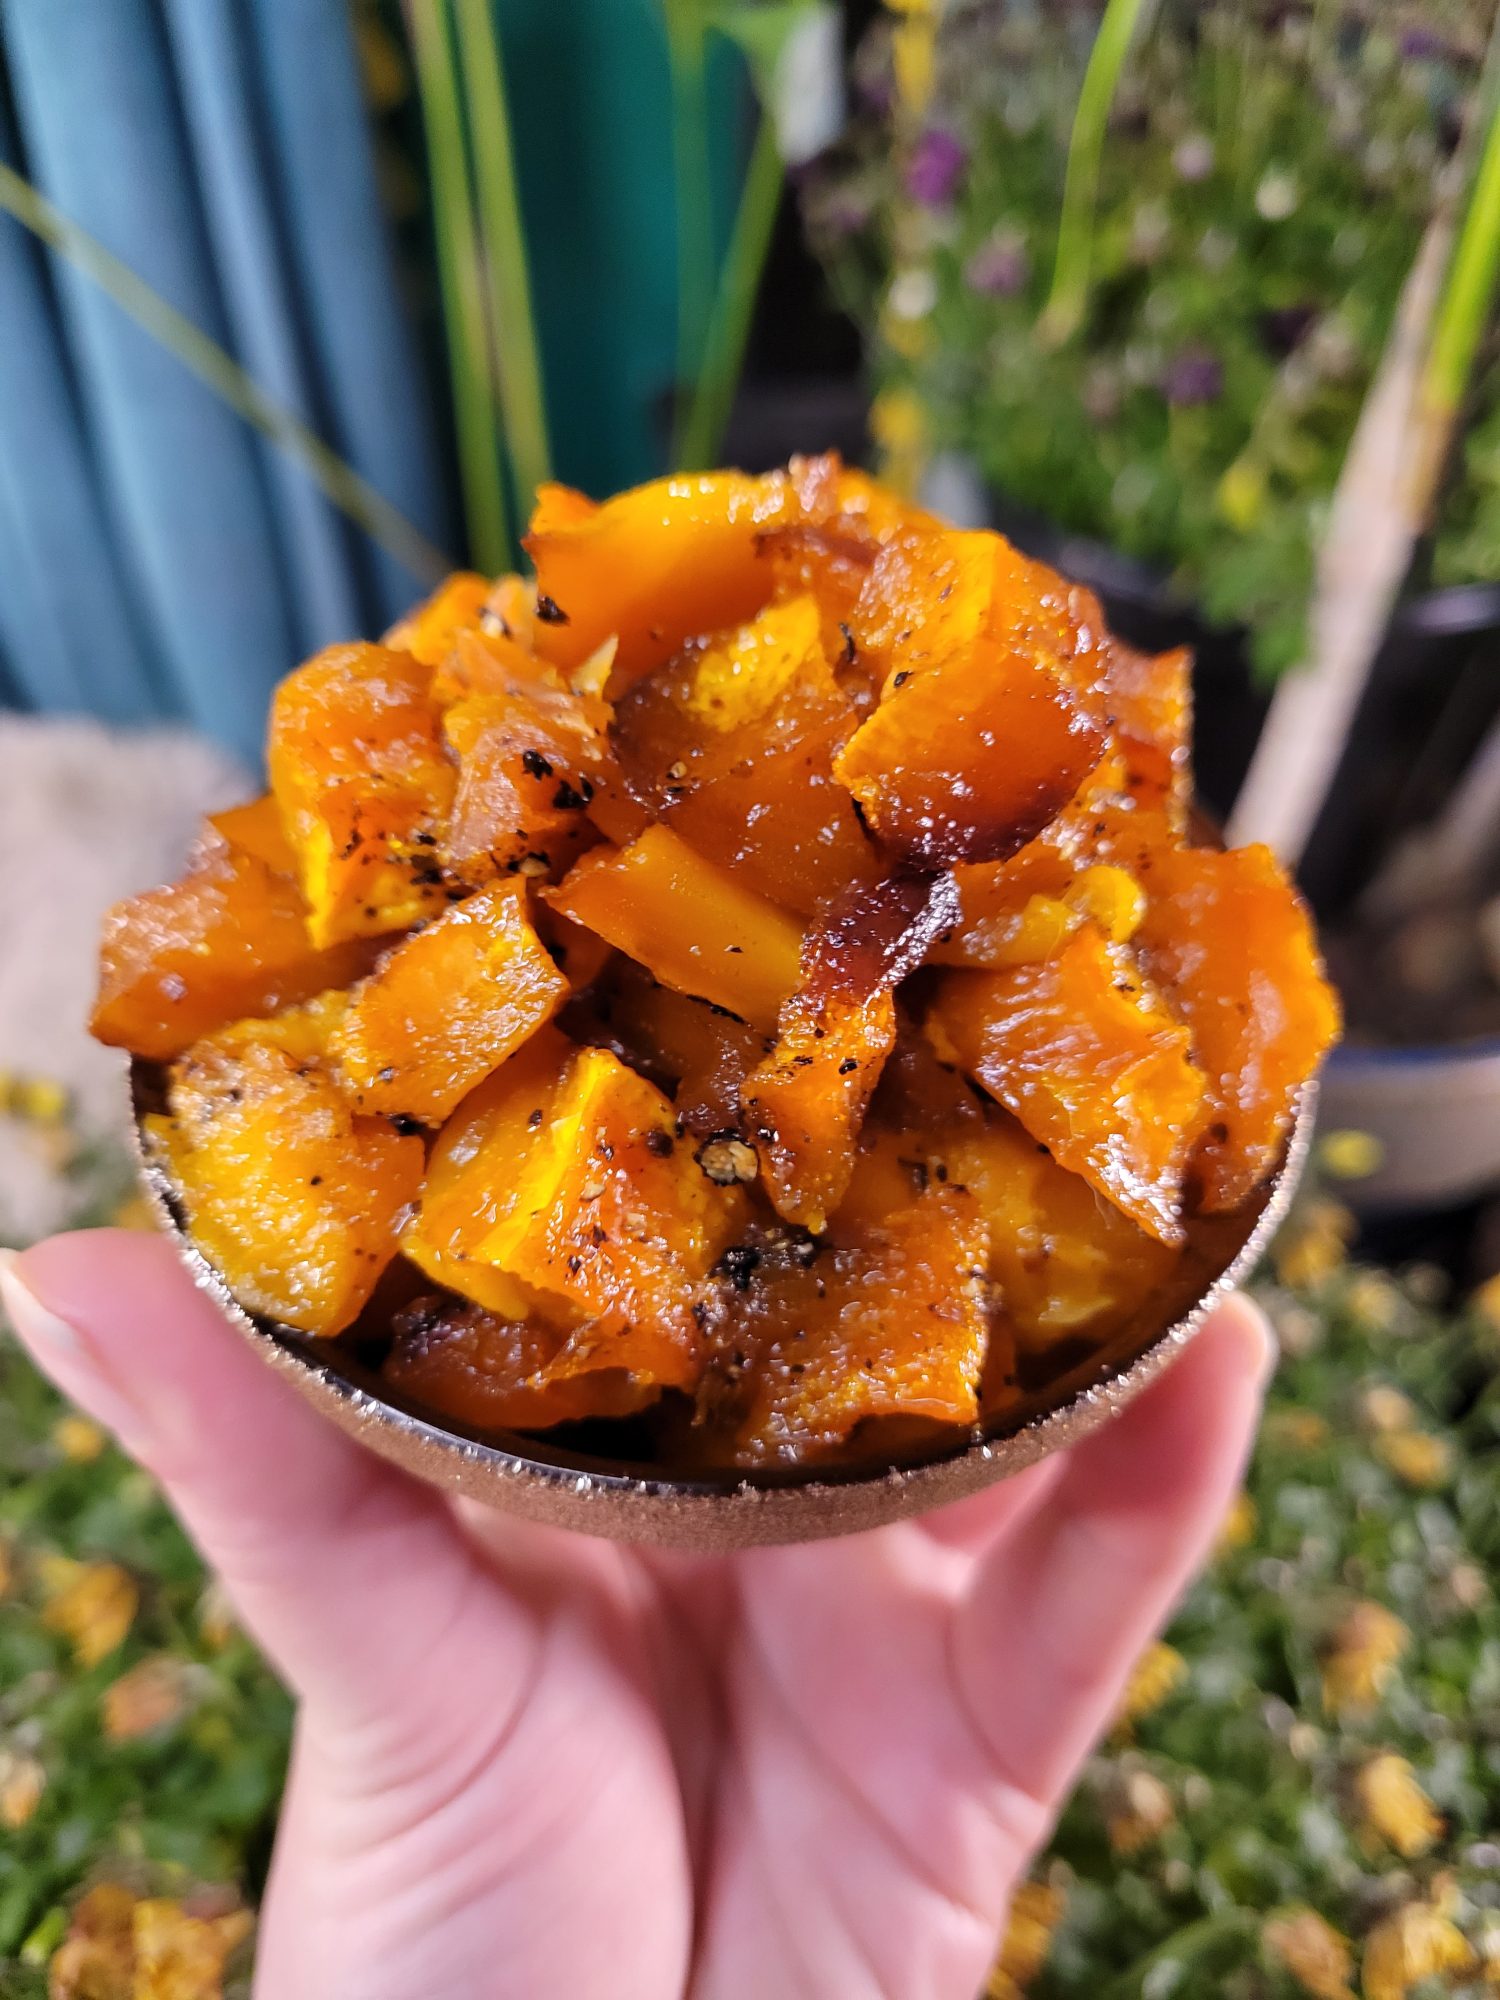
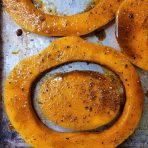
Because of this, I try very hard not to alter any of my photos. I like to take photos with natural sunlight during the day. Ordinarily this is very true to color and I don't edit the photos at all. However, since my place is very warm with a lot of yellow lighting, sometimes my camera overcompensates and ends up with an unnatural blue tone. In the following images on this page, I adjusted the levels and hue to try and make this more true to color. In the interest of transparency, these are the before and after photos.





Leave a Reply