Roasted Kabocha Squash
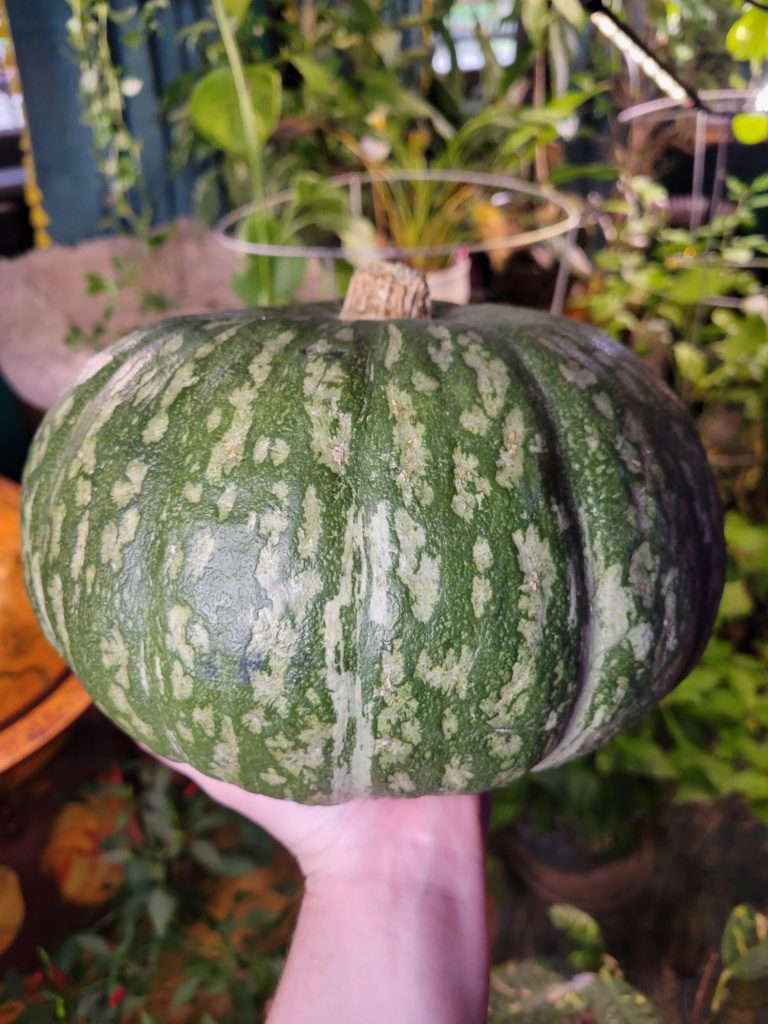
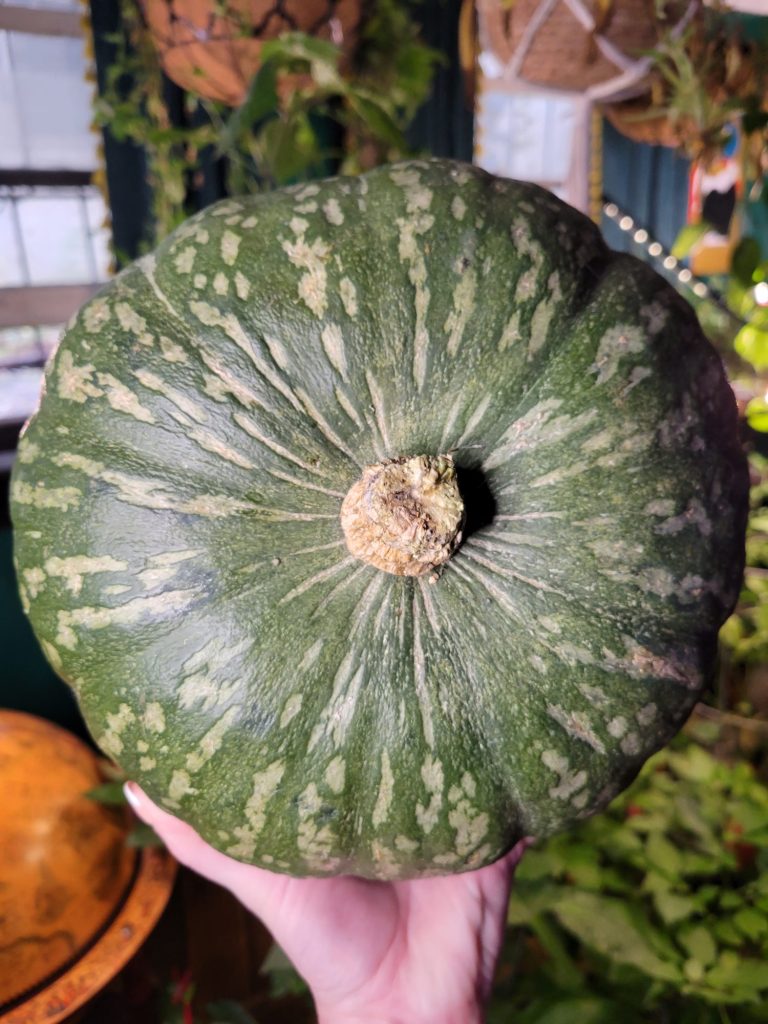
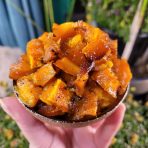
Squash season is upon us! And I am flocking to the squash section and taking full advantage of the produce that you can largely only get once a year. Some varieties of squash are available year round. Although I'm not nearly as fond of acorn, butternut, or delicata squash as the more robust and flavorful gourds. I'm particularly fond of Calabaza Squash and Ambercup Squash. Although today I'm trying my hand at Roasted Kabocha Squash. Discovering new squash is one of my favorite times of the year. If you're a squash aficionado? This is your time to shine! And today I have roasted Kabocha Squash.
Gallery
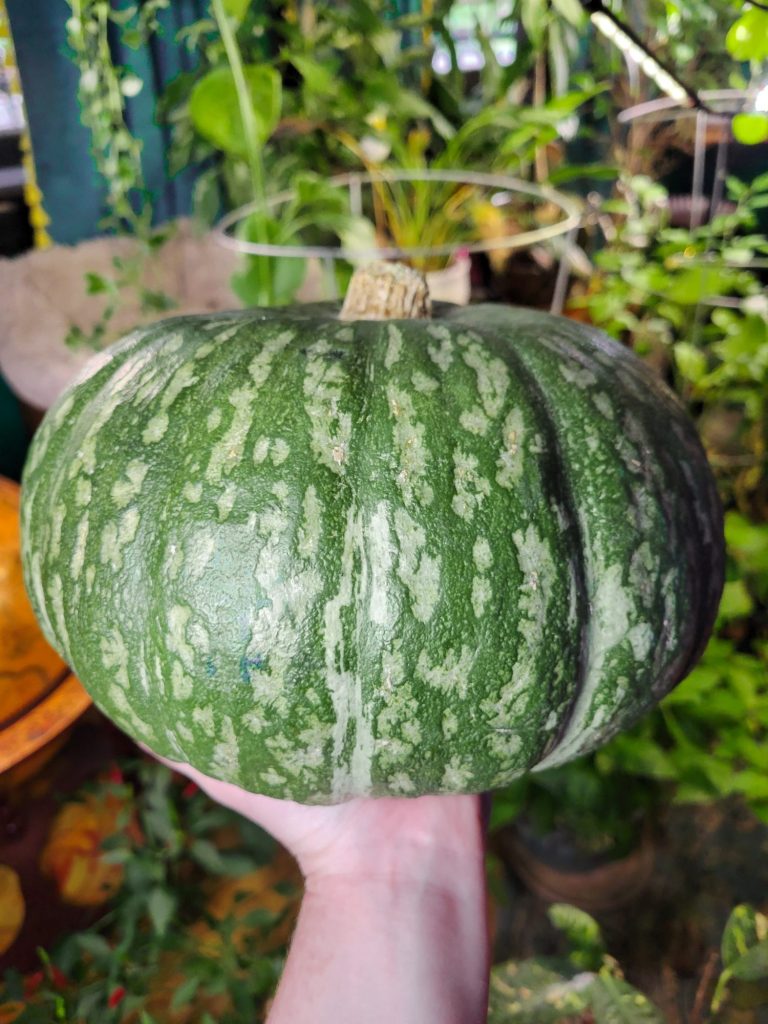
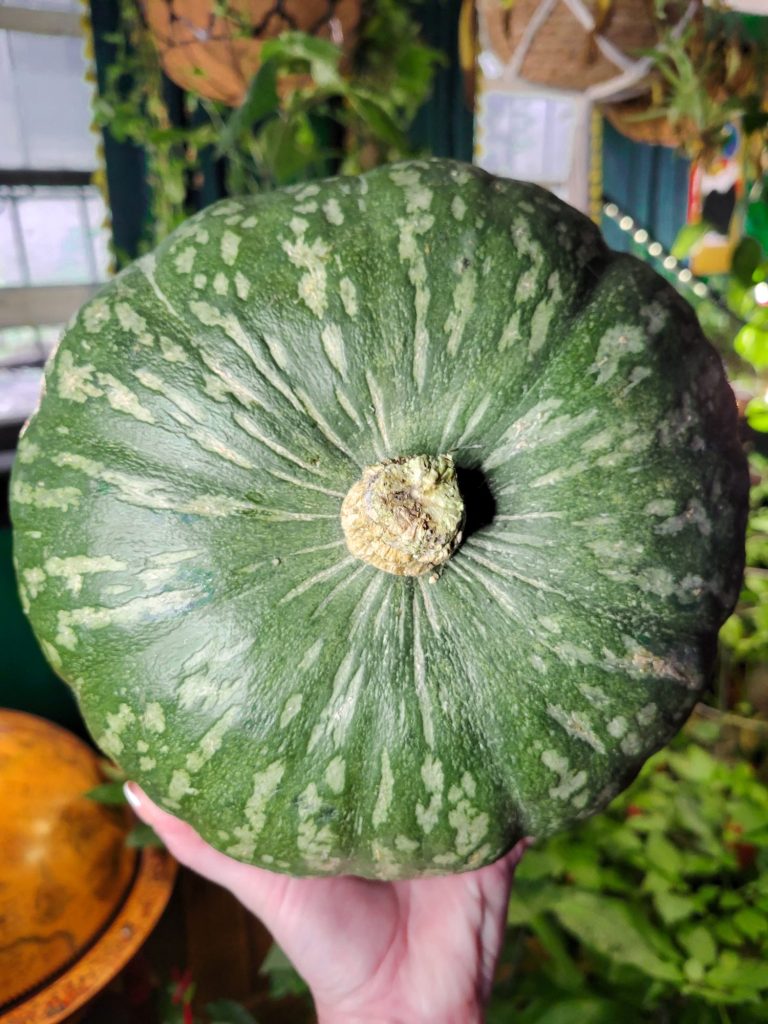
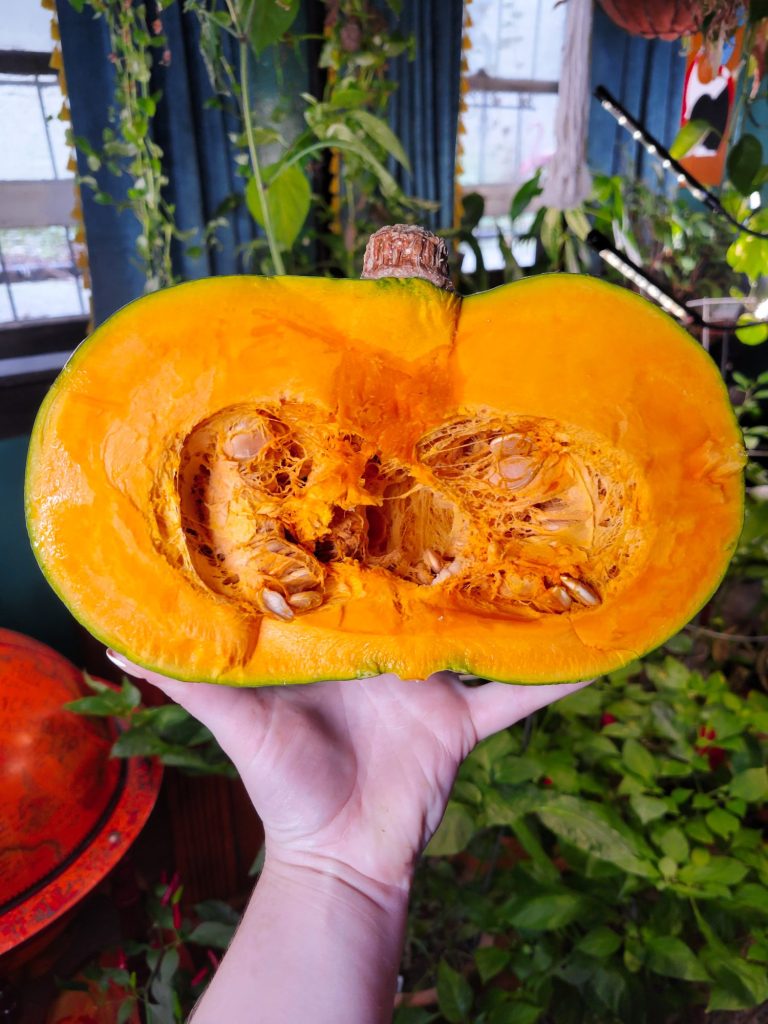
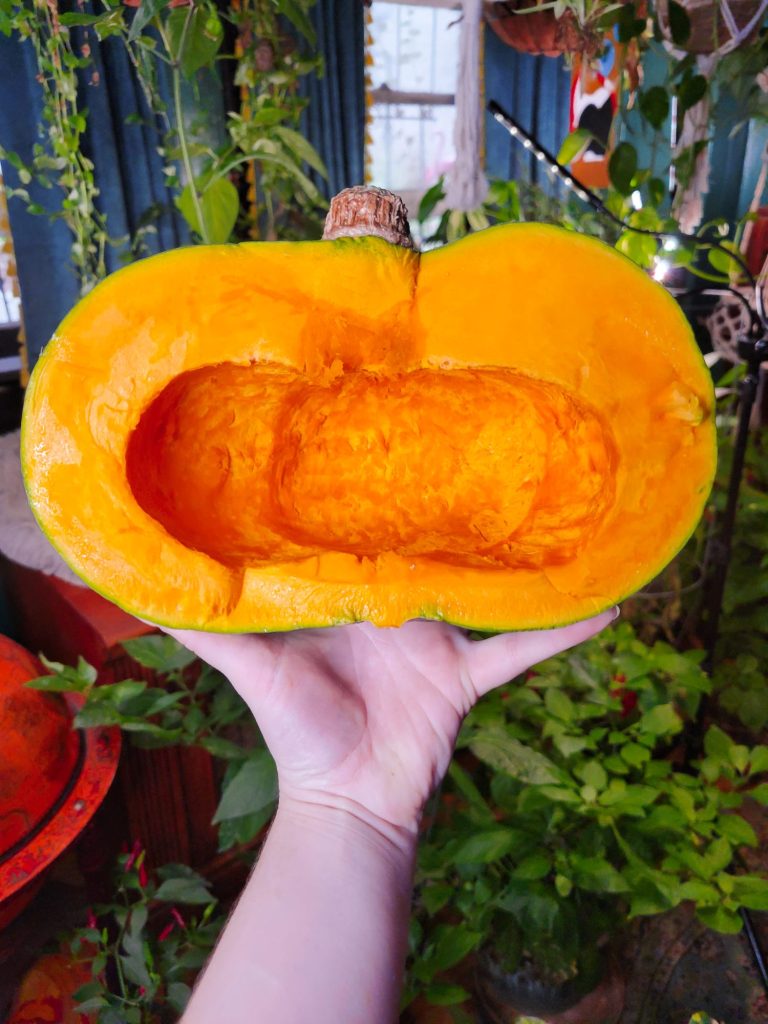
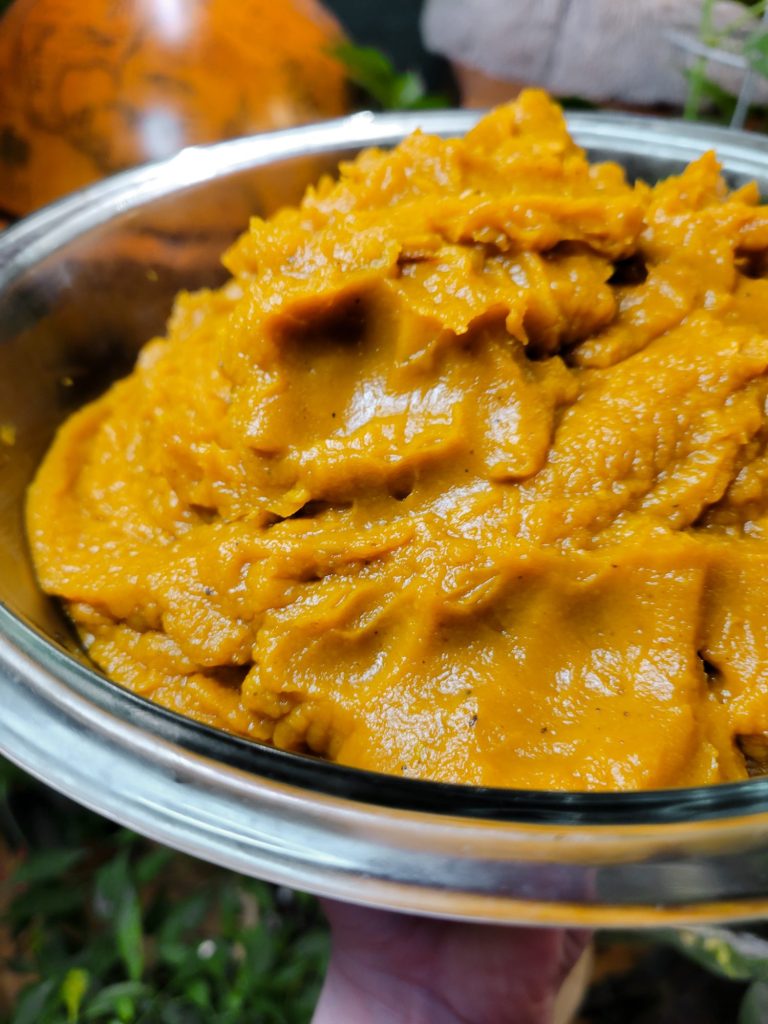
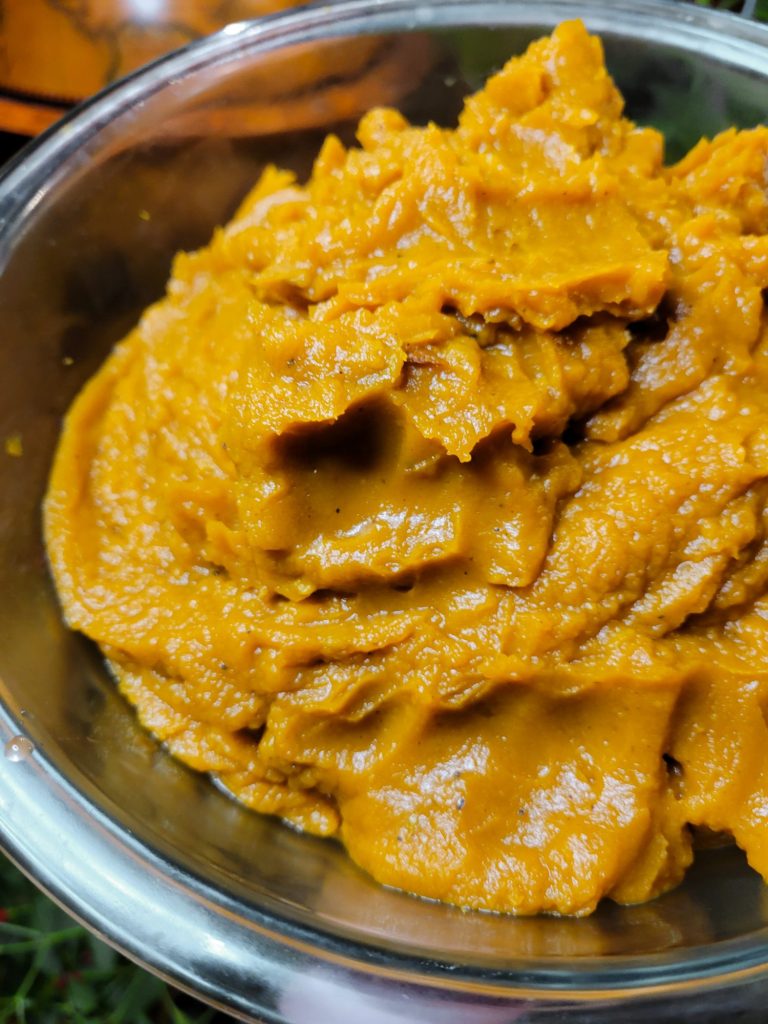
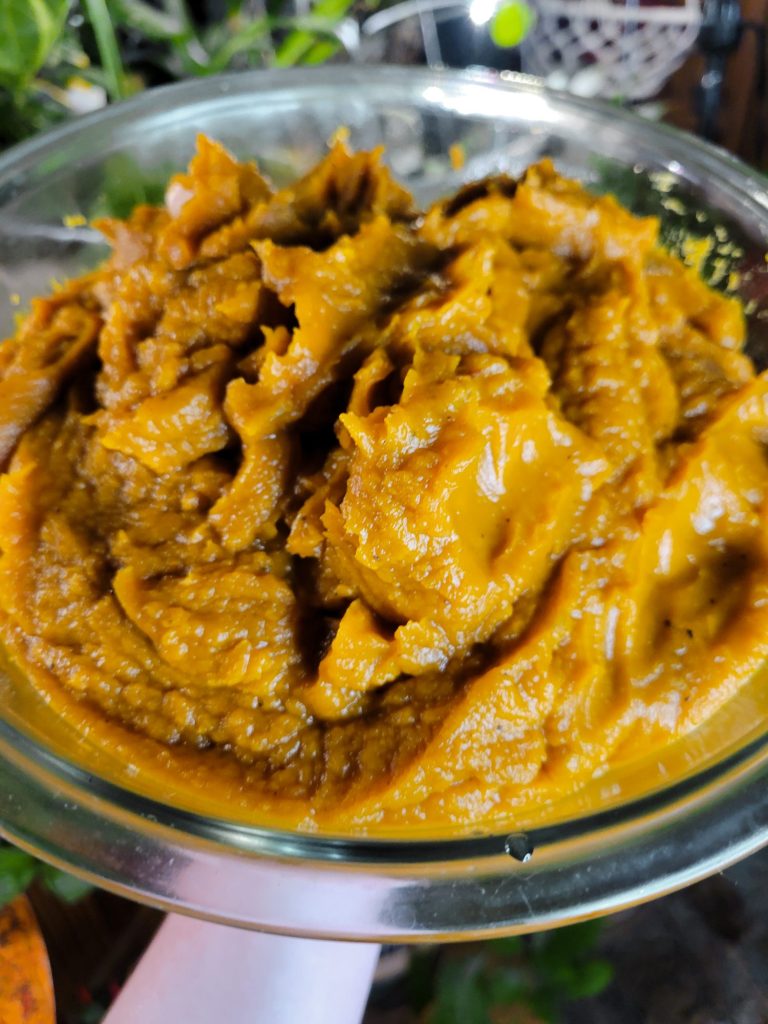
Variations of Kabocha Squash
Every year I look forward to squash season and roast up as many of them as I can get my hands on. I tend to opt for the larger gourds. The general rule of thumb with pie pumpkins is the smaller the pumpkin, the more robust the flavor. Although this done have some anecdotal evidence, it's really more of a problem with pie pumpkins because they don't have a lot of flavor to them to begin with. The larger squash are really just a higher quality gourd and don't taste nearly as watered down as pumpkins tend to. It's even rumored that canned pumpkin purée is sometimes swapped out with other squash varieties that are more flavorful and have a brighter orange hue.

Roasted Kabocha Squash
Equipment
- Oven
- Baking Sheet
- Aluminum Foil
- Oven
- Food Processor
Ingredients
- 1 kabocha sqaush (or similarly dense squash or pumpkin)
Instructions
- Preheat oven to 350 degrees Fahrenheit.
- Cut squash in half.
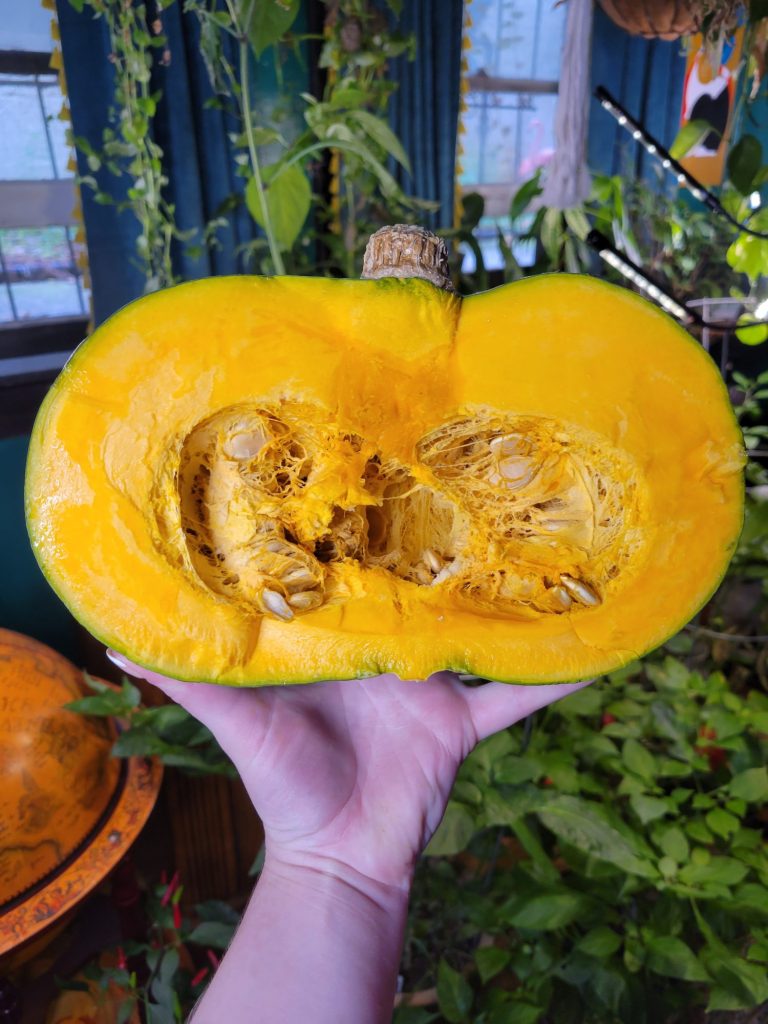
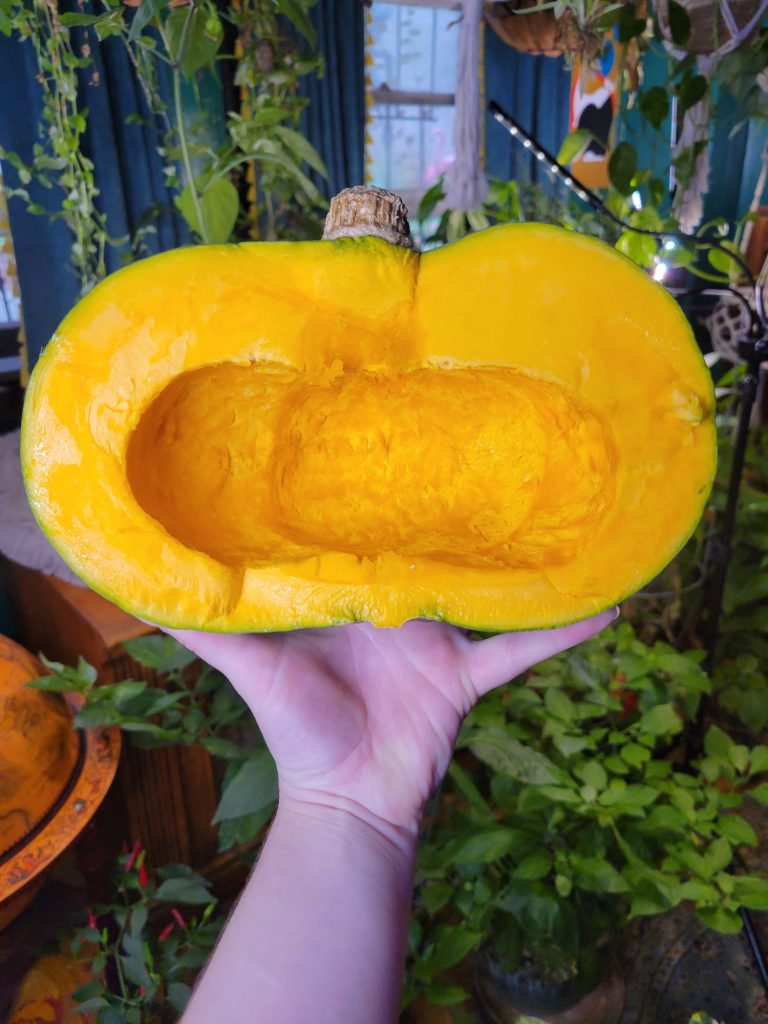
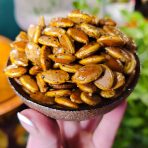
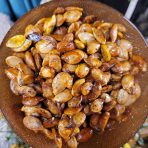
- Using a spoon, scoop out the innards to remove all of the seeds and stringy pieces. Reserve the seeds if you want to roast them for a fun snack.The "guts" are still edible, but can be texturally unpleasant. I will usually keep them to puree into soup or pet food. However, most people will discard them! Just make sure not to toss any seeds!
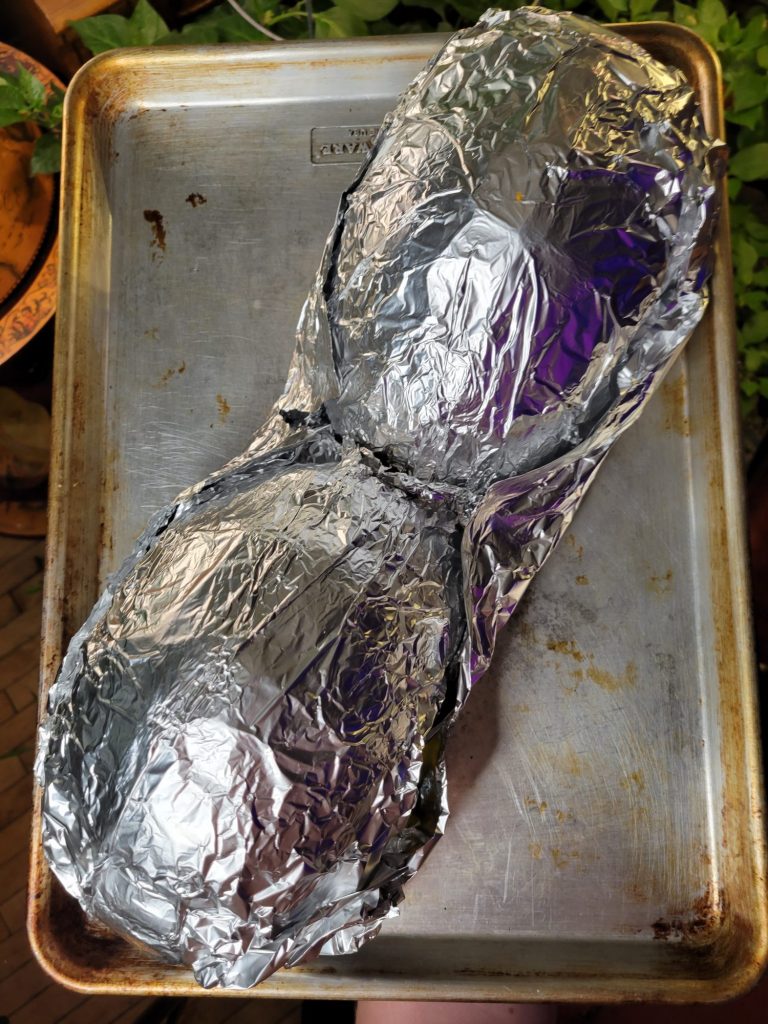
- Once you've cut in half and removed the innards from the squash, wrap in aluminum foil and place on a baking sheet.I do this by getting a piece of foil long enough to wrap around the entire squash. Place squash face down in the center of the foil. Then, wrap the edges of the foil around to cover the squash completely.I didn't do this, but would highly recommend cutting the squash into fourths, instead of just halves! This would decrease the rather long cooking time for something this size.
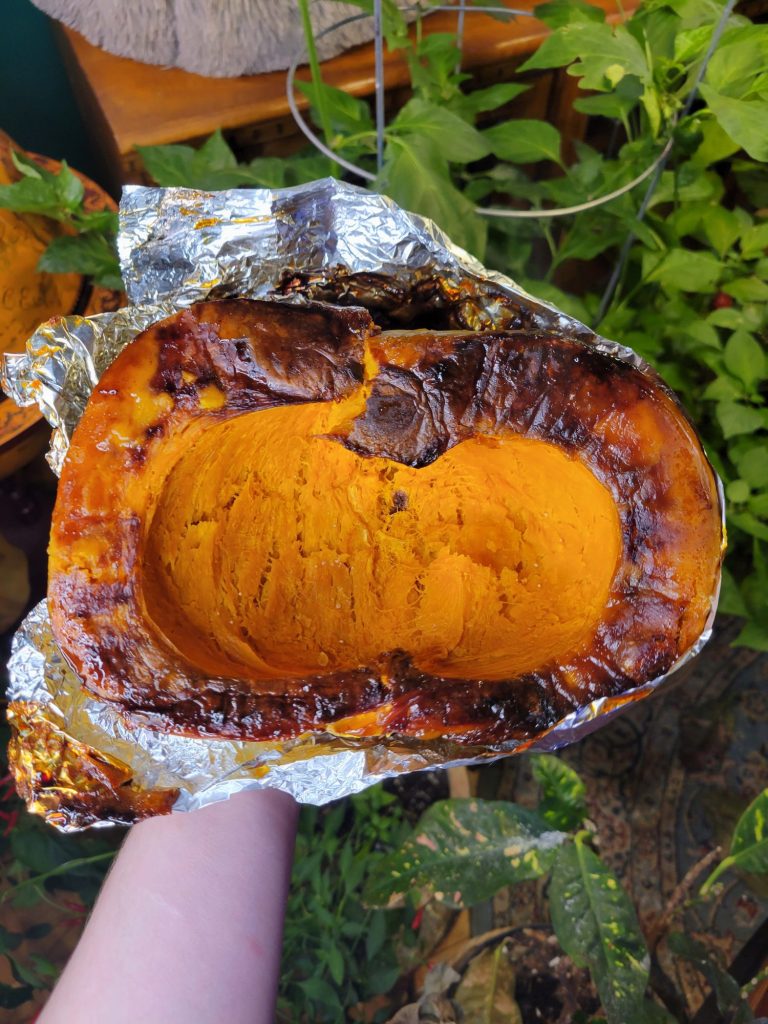
- Bake for about 2 hours depending on size. Make sure to flip halfway through so that the squash sides are face up.This is the trickiest part about roasting squash: the size of the squash can drastically increase the cook time. You’ll know that they’re done when the flesh is soft and you can poke it with a fork without any resistance. It will vaguely resemble the consistency of potatoes before you mash them. The best thing to do is to cook them for an hour and then check them every 20 minutes after that until they’re cooked throughout.
- Let cool to the touch.You can also put the squash in the refrigerator or freezer to speed up this process. Just place it in a heat-safe bowl and place an oven mitt in between the bowl and any glass shelves. As the rapid change in temperature can crack and break.
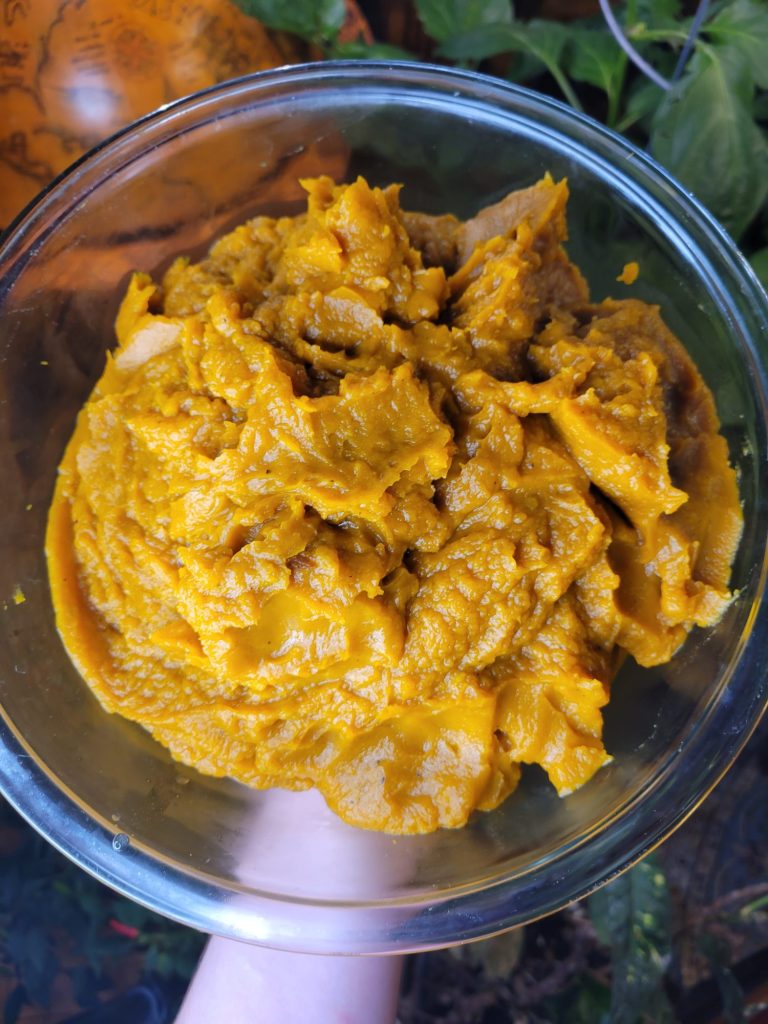
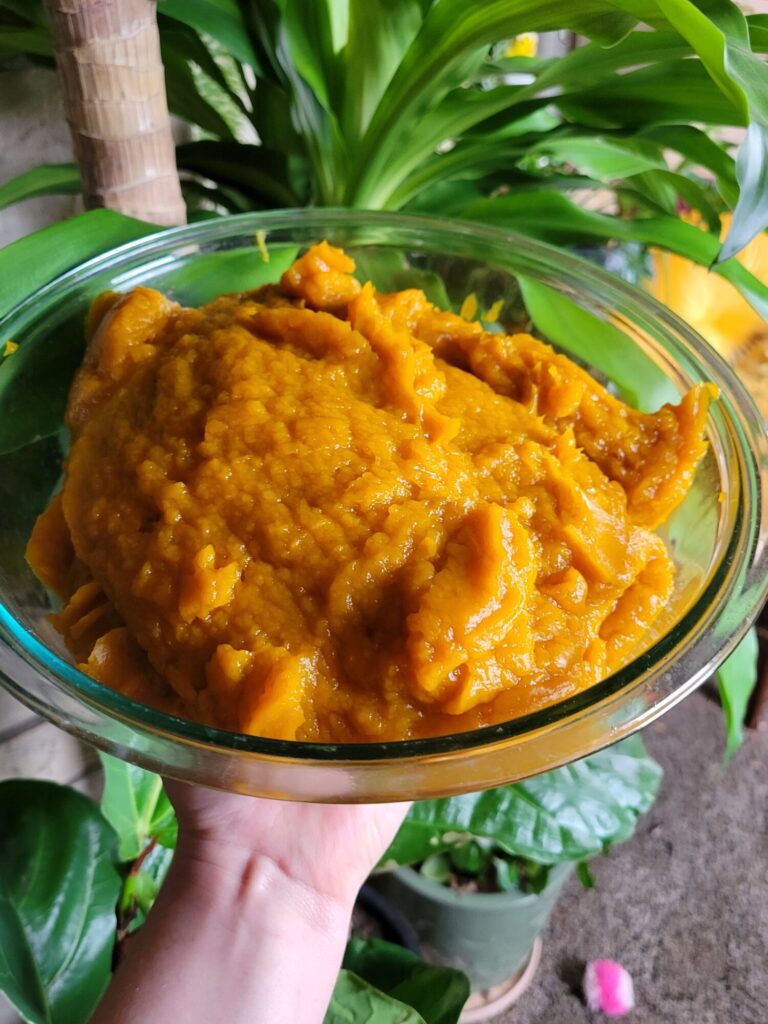
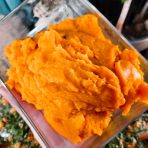
- Remove skin and add squash to the food processor. It should peel off easily. If you like, you can get every bit of pumpkin out of it by scooping the remaining pumpkin out with a spoon.
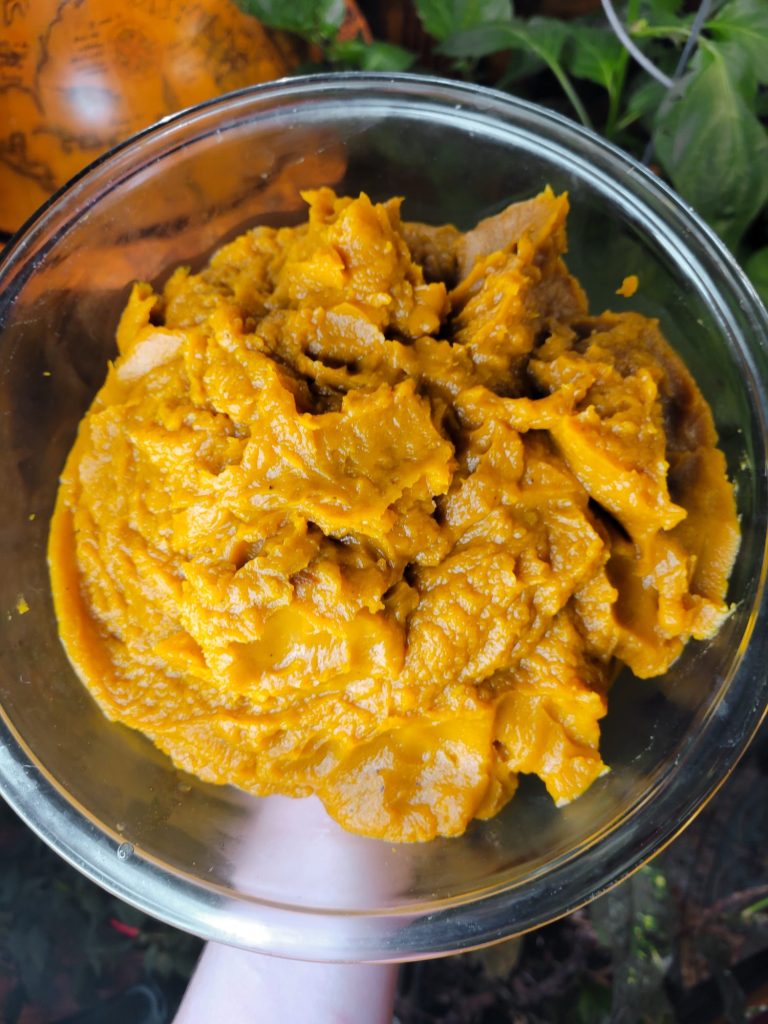
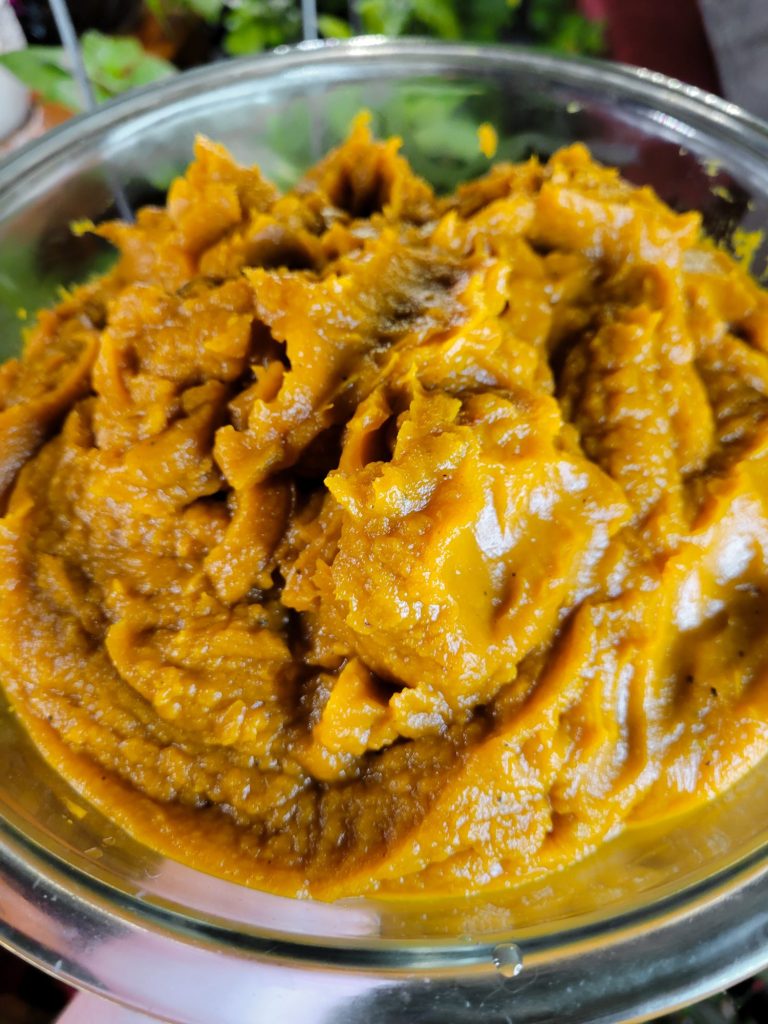
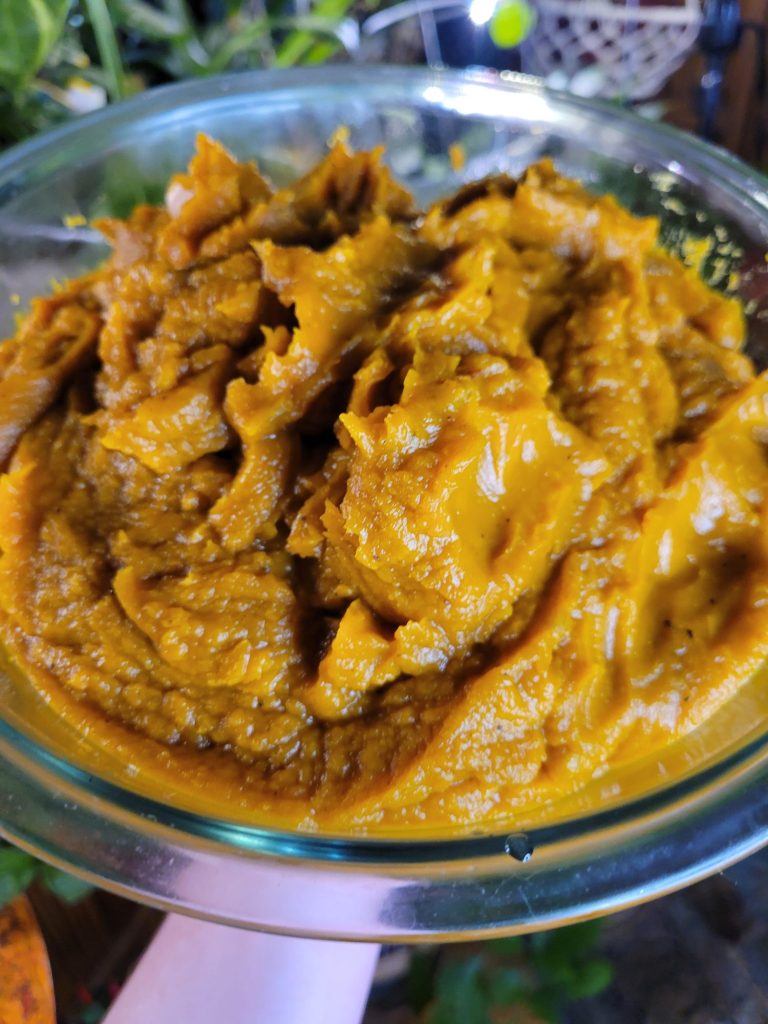
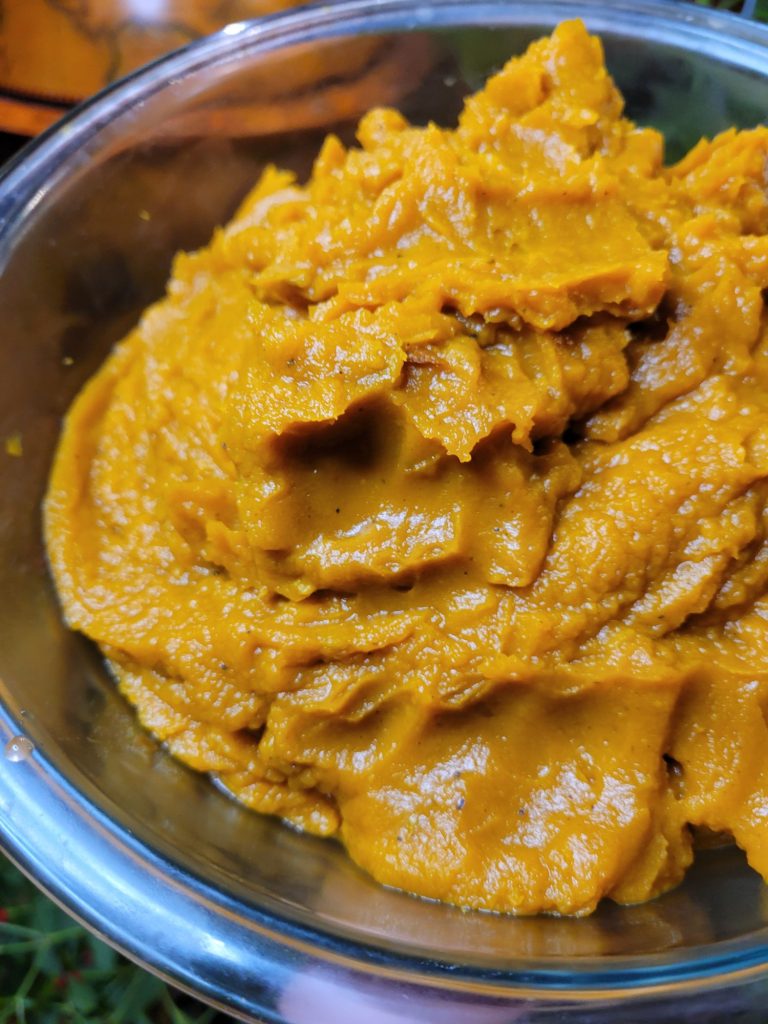
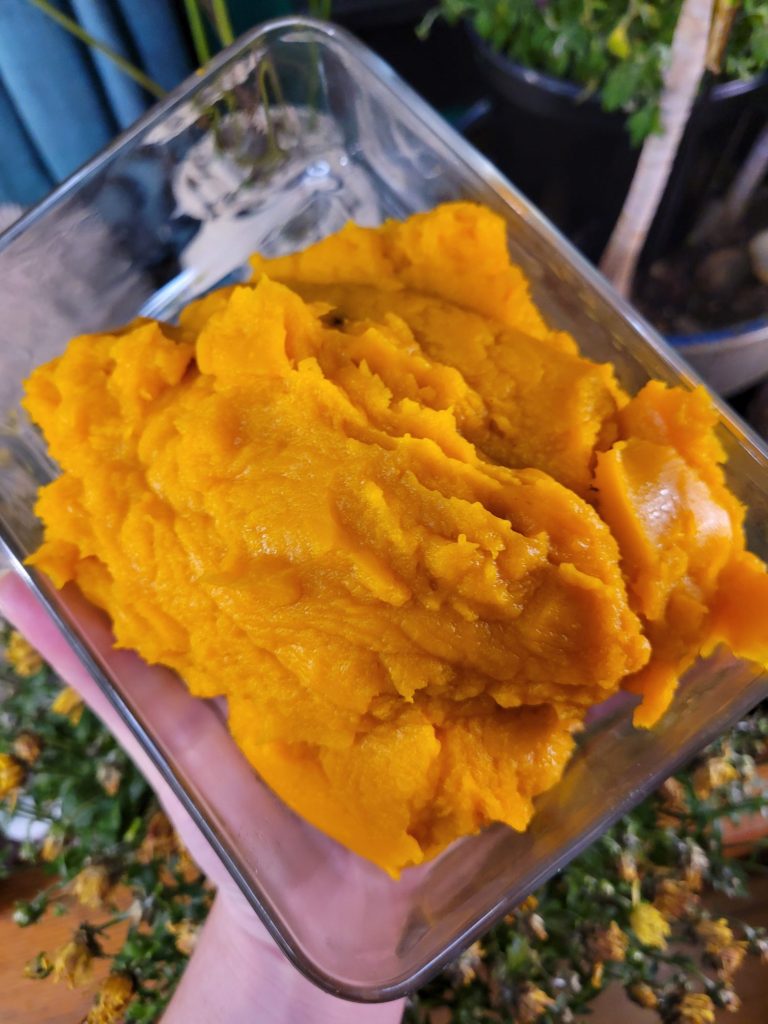
- Purée until smooth, about 2 minutes. Make sure to scrape down the sides occasionally.
Tips, Tricks, & Notes
- This also took absolutely forever to cook! You can cut them into quarters to speed up this time.
- For more tips and tricks to roasting squash, I have an entire article on The Fundamentals of How to Roast Pumpkins, Squash, & Other Gourds. This article more specifically pertains to the differences in varieties and my go-to recipe for smaller ones, like butternut squash and pie pumpkins.
This Page Contains Edited Images
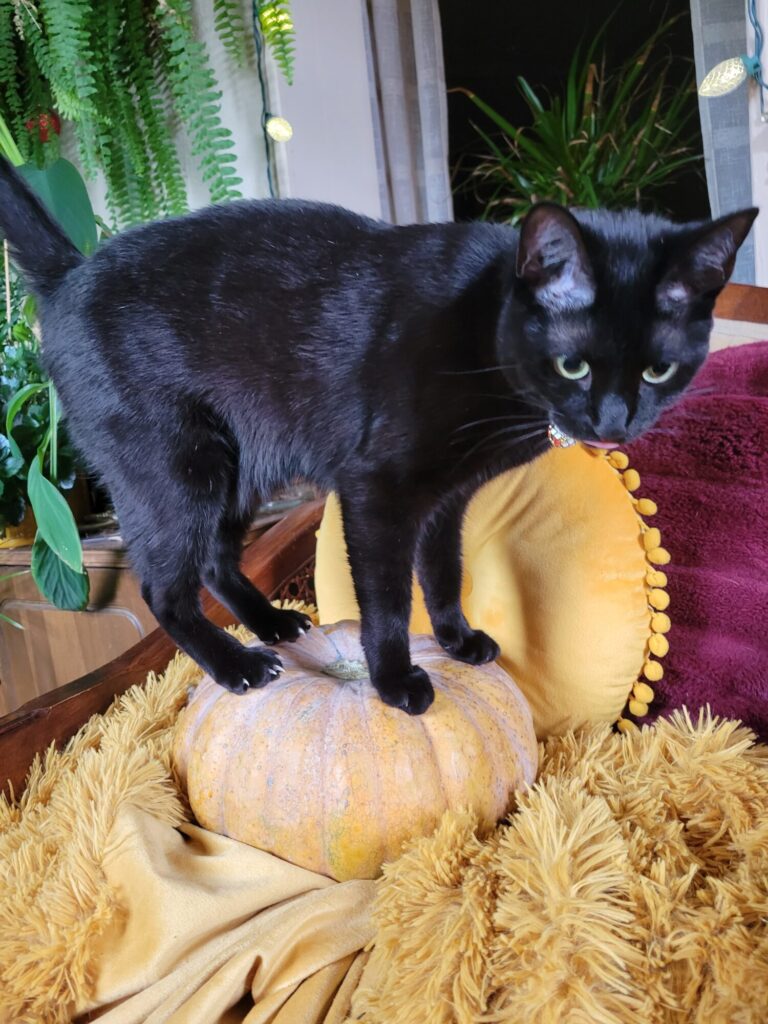
As a general rule, I don't like to edit images. Food styling, editing, alteration, and even faking entirely is just as rampant a problem in the recipe realm. Cooking is a very visual art and you can tell when a lot of foods are cooked based on the color. So, when this is altered and you can't use the coloration as a gauge, it makes it quite difficult to follow some recipes. I have an entire article about Food Styling and Unrealistic Expectations of Recipes. My place has very warm lighting, though. So, sometimes my camera overcompensates and ends up with an unnatural hues. I've adjusted the hues, levels, and/or cropped the following images:









Leave a Reply