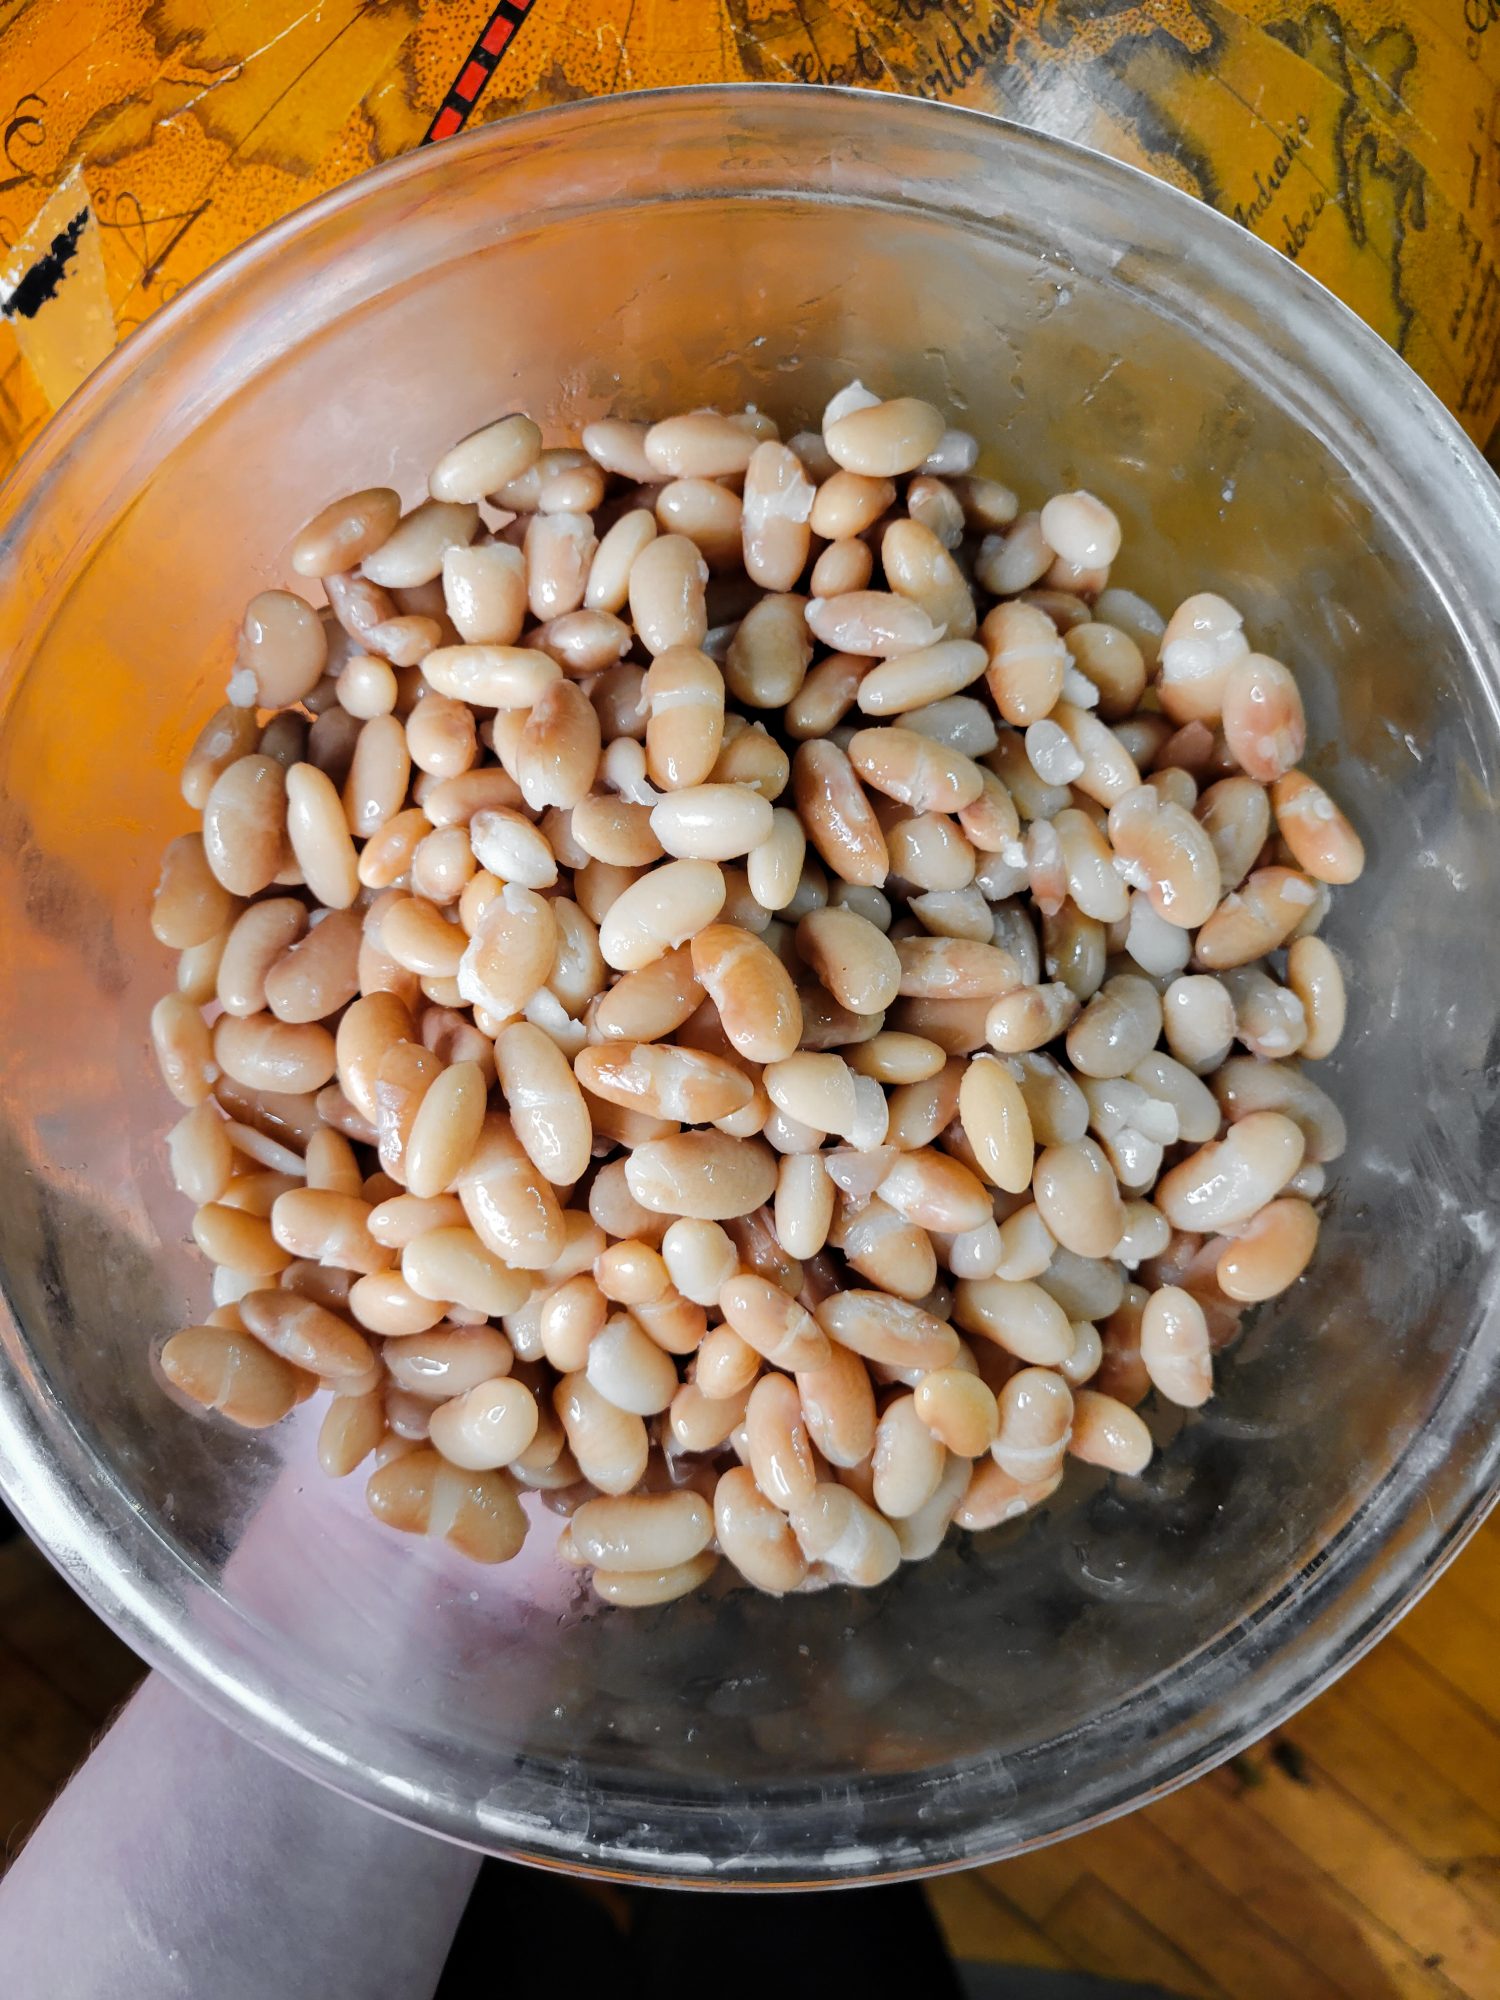
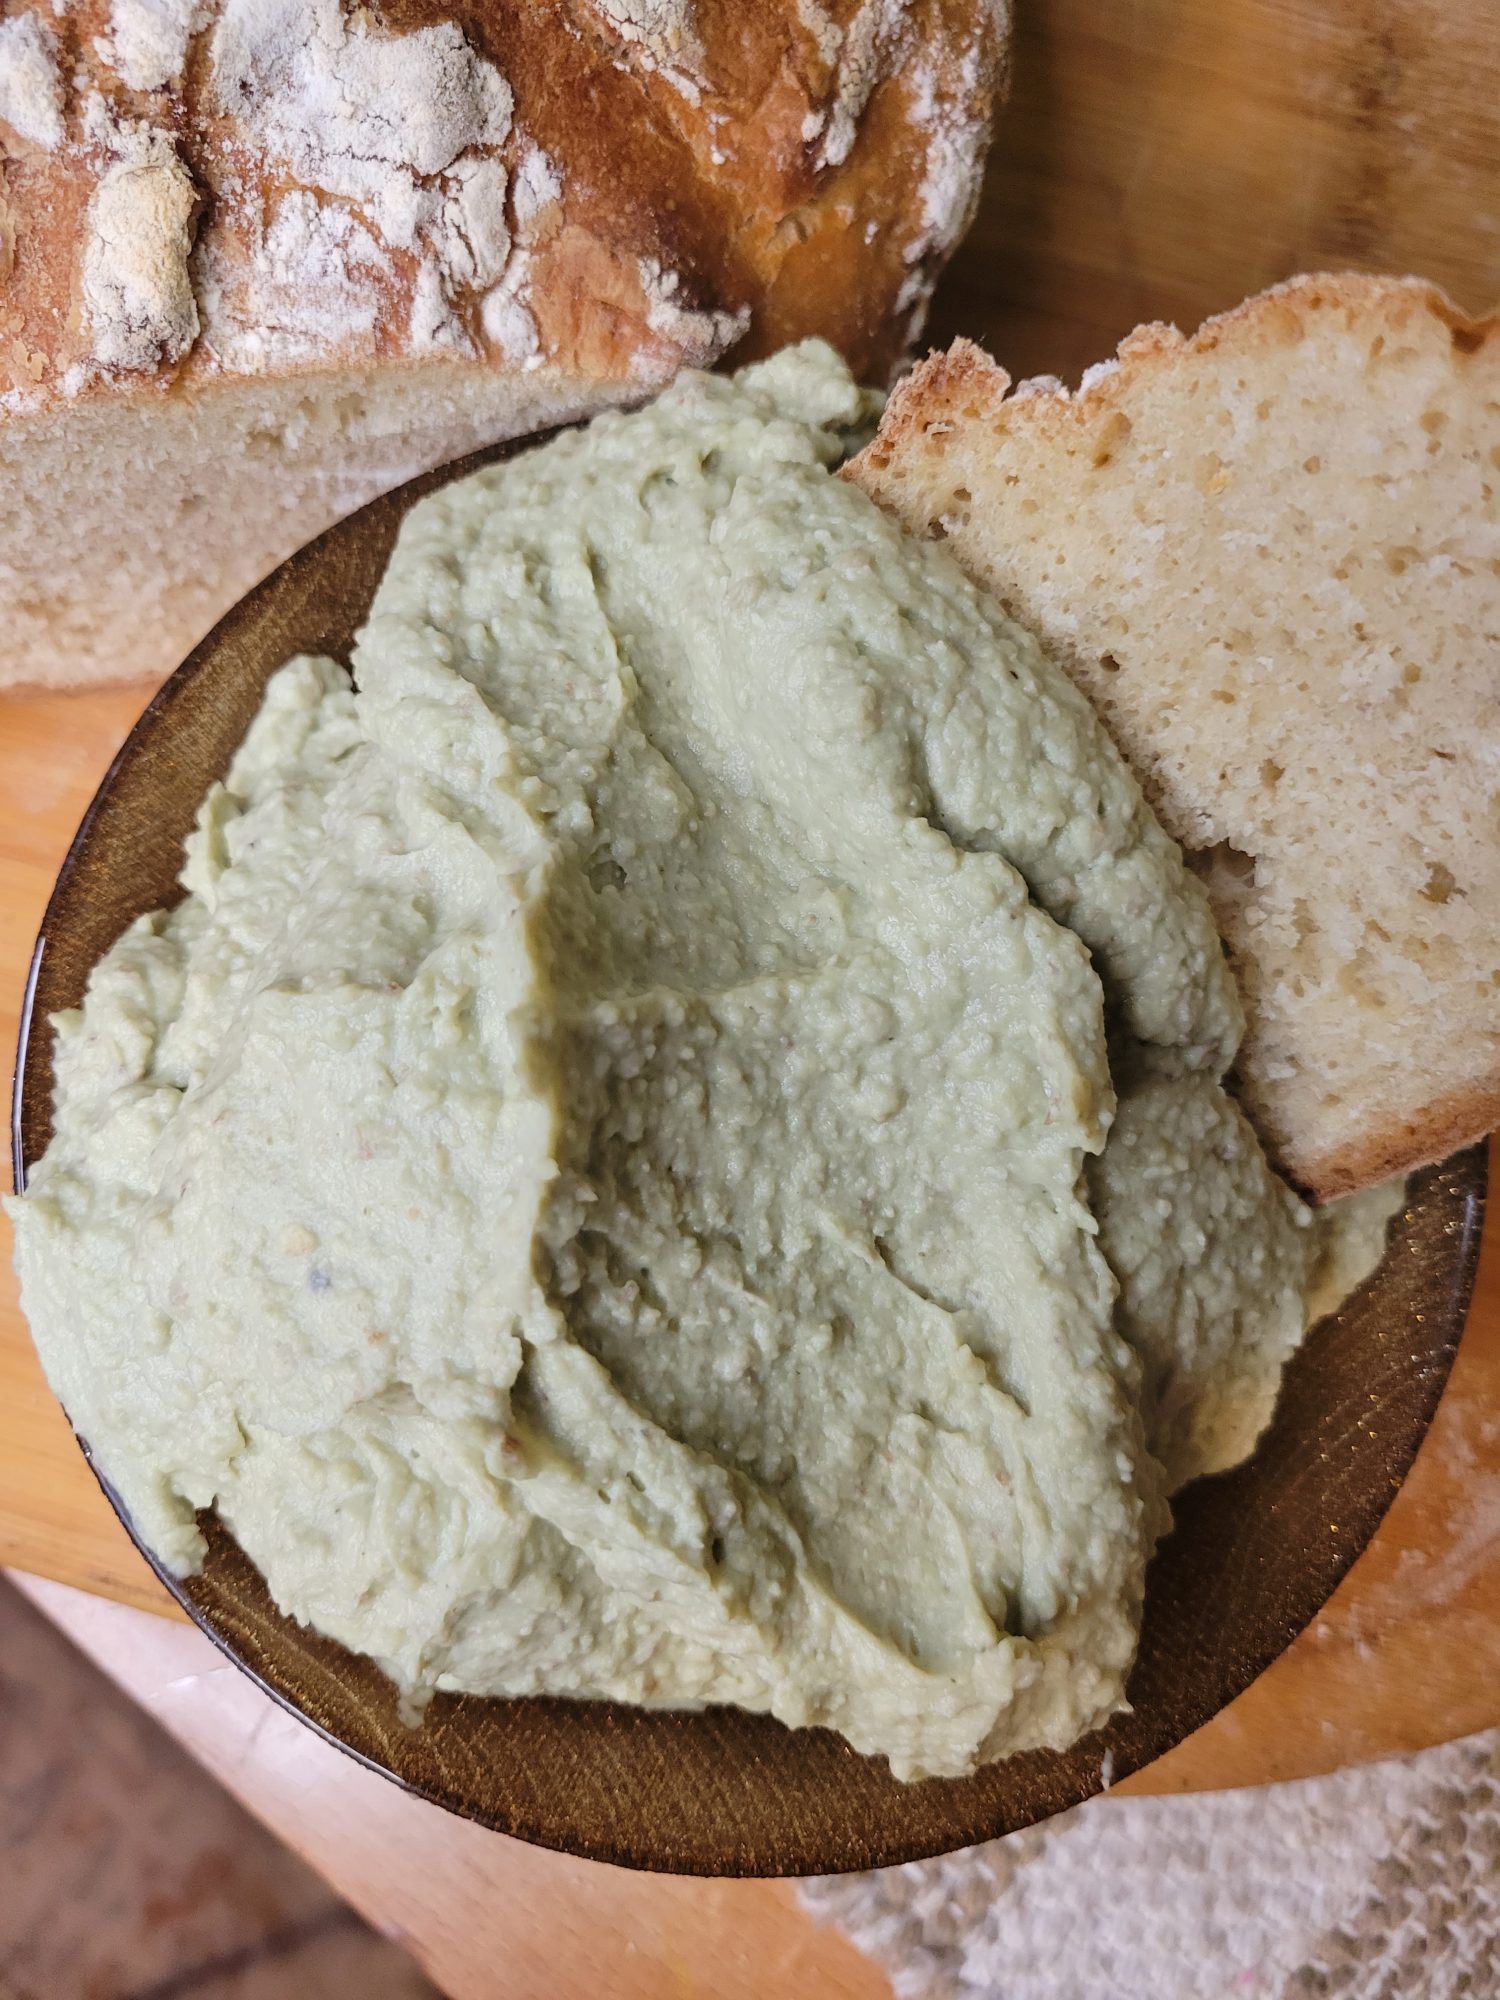
I don't entirely know how I ended up with Mayocoba beans. They were likely on sale because I have a habit of hoarding dry goods like they're going out of style. Although I always know that I'm prepared in the event that I want to make something fun! Like today where I'm dabbling in Baba Ghanoush w/ Opo Squash & Mayocoba Beans. Like most spontaneously great ideas, I didn't have the foresight to soak chickpeas overnight. So, I opted for a quick soak Mayocoba bean, instead.
Mayocoba are a soft, medium bean with a mild, buttery taste. Despite also being called canary beans, Mexican yellow beans, and Peruvian beans, they originated in Mexico and are often used for mashing or blending. Which makes them perfect for hummus, today. Although they're also well-suited for soups and salads and are a good substitute for pinto, cannellini, and great northern beans.
Gallery
Variations of Quick Soak Mayocoba Beans
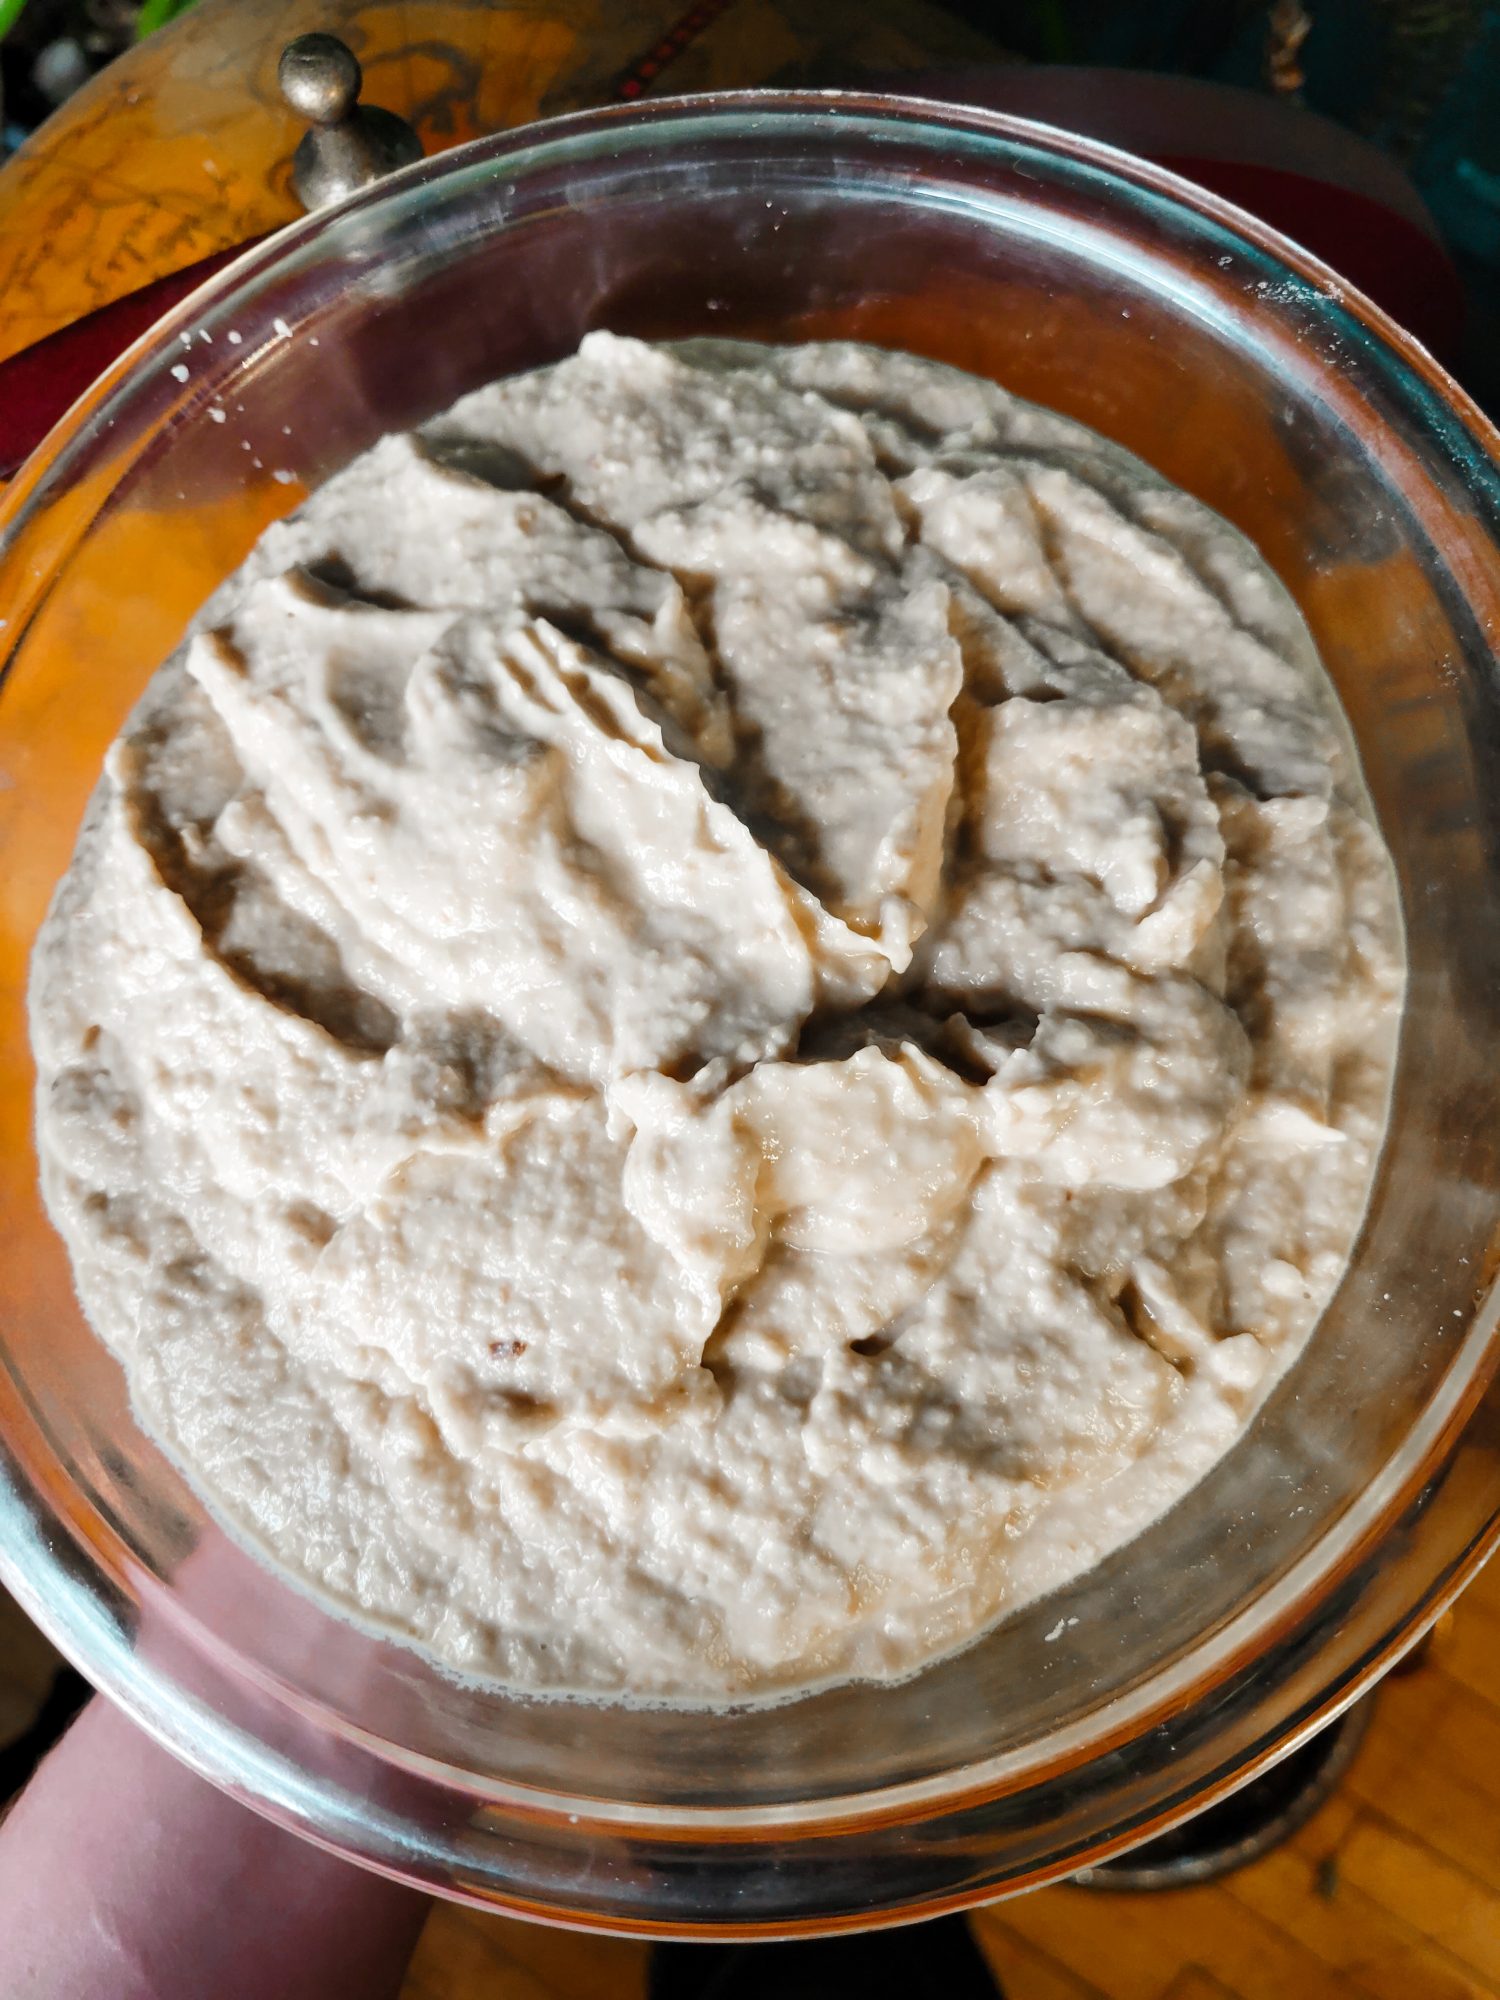
There are a plethora of white bean dishes out there. They're fantastic in soups and salads. Although I have a tendency to use most white beans as a chickpea alternative in things that are vaguely hummus. This ranges in everything from actual hummus to baba ghanoush and avocado dip, which is almost like a cross between hummus and guacamole.
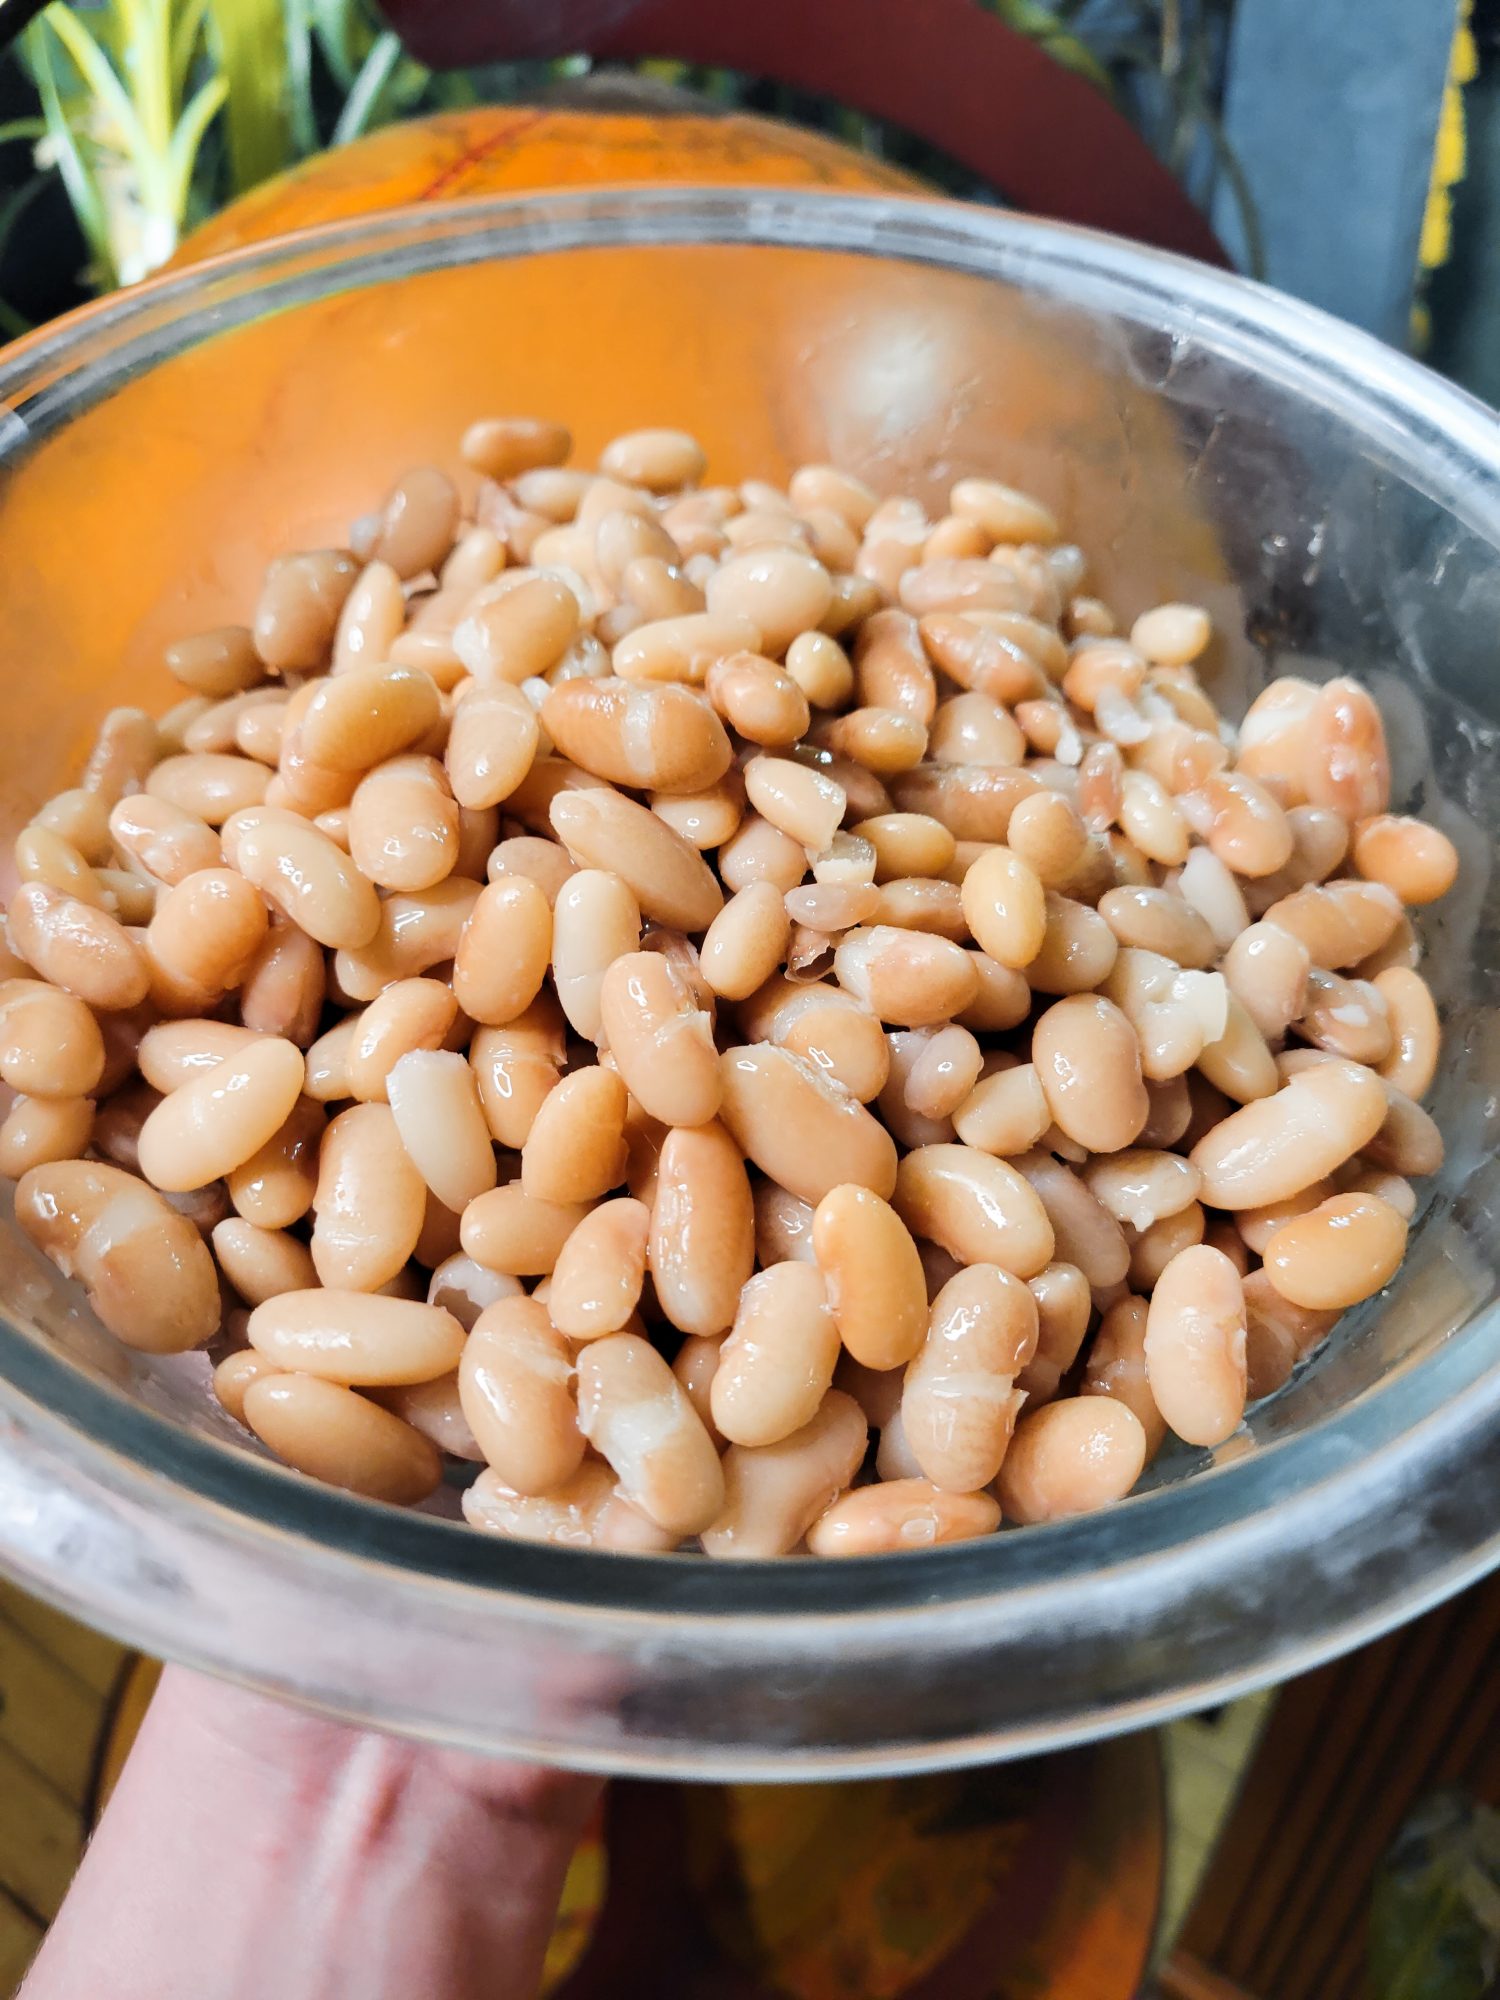
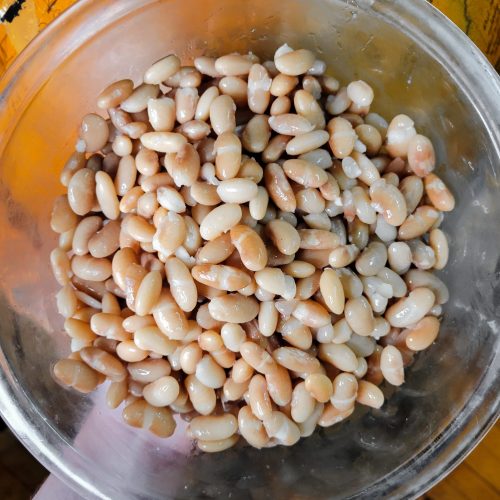
Mayocoba Beans are a great bean to quick soak. They're a little bit softer than chickpeas or pinto beans, which do better with an overnight soak. If you're looking for a bean that will keep its shape (i.e. whole in a soup or salad) or using a softer bean that tends to cook with a smoother consistency (i.e. Mayocoba beans and navy beans), then a quick soak is doable. A lot of beans recommend soaking overnight and I absolutely recommend it! Like with chickpeas meant for hummus. Mayocoba beans meant for Baba Ghanoush w/ Opo Squash & Mayocoba Beans are a great opportunity to skip the lengthy soak and go for a quicker method!
Add white beans to a pot and fill with 8 cups of water. Bring, uncovered, to a boil.
Once the water comes to a rolling boil, add the lid and remove from heat. Let sit for an hour.
Cook Beans
After the beans have soaked, drain and rinse.
Return the beans to the pot and cover with another 6 cups of water.
Bring to a boil and then reduce heat to a simmer.
Simmer for 1½-2 hours, or until tender. You may need to adjust the temperature to keep them from boiling as they cook down.They should still keep their shape and not turn to mush. But theoretically putting a fork in them would split them in half.
Drain the beans immediately after cooking. Serve or refrigerate.
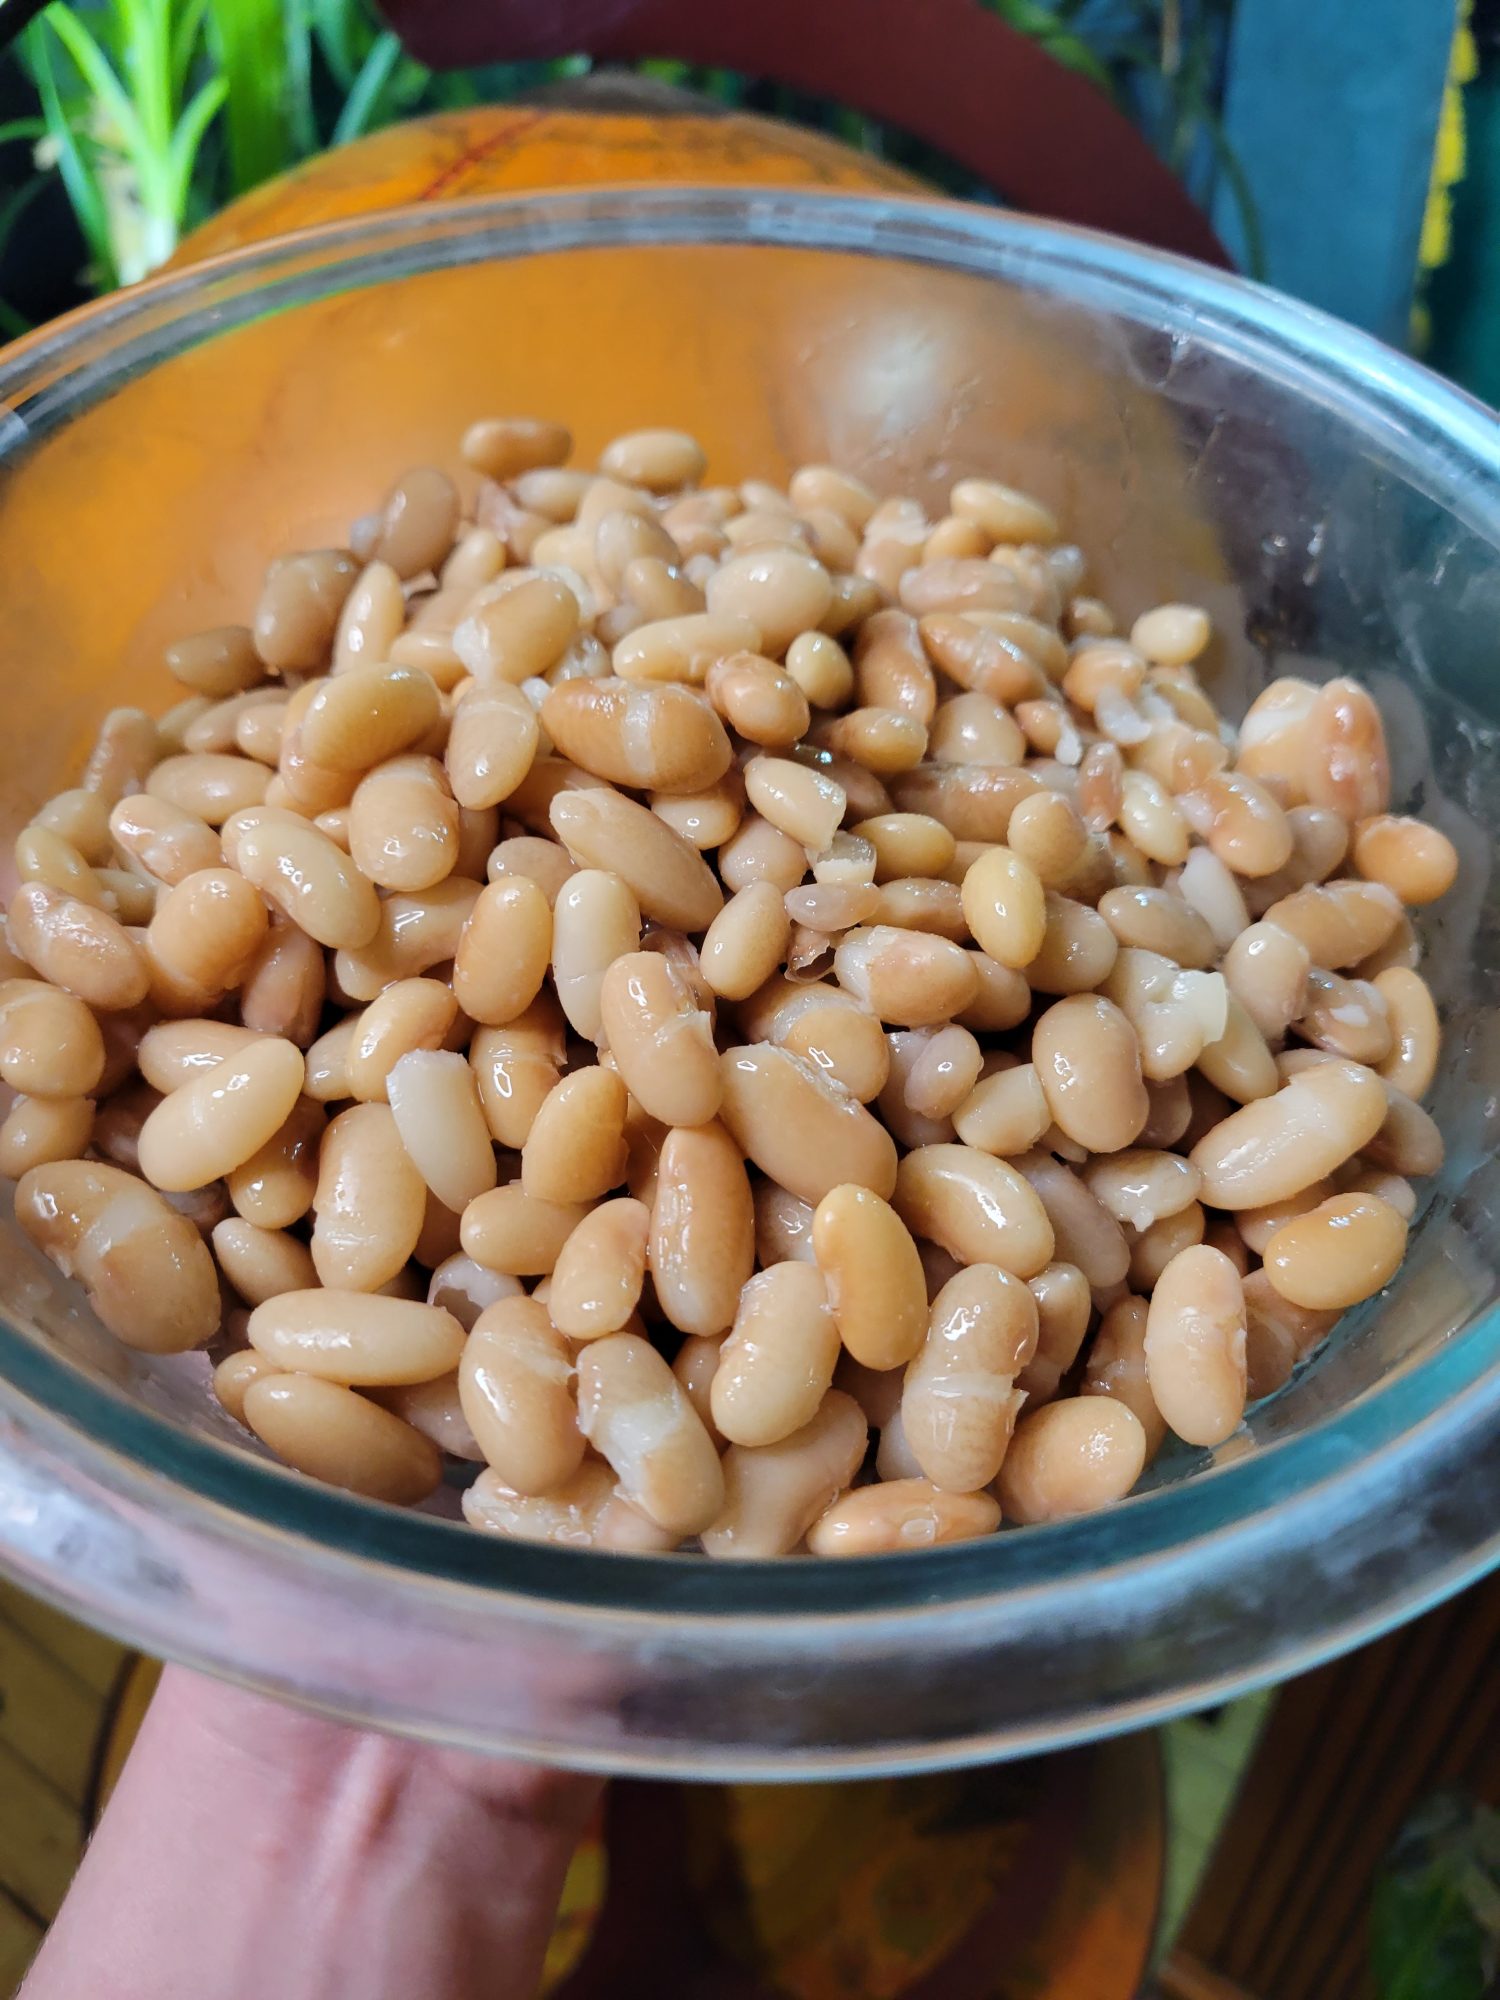
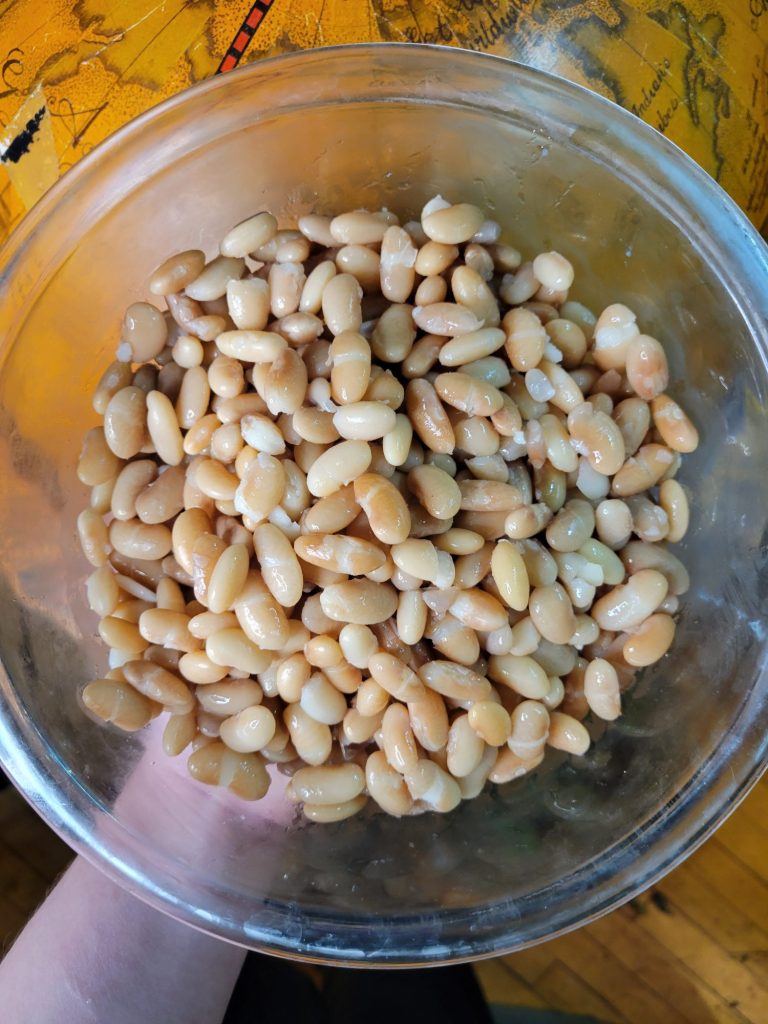
This Page Contains Edited Images
As a general rule, I don't like to edit my images and I am firmly against alteration of images in food blogs. It's not something that we generally think about when it comes to recipes. But food styling, editing, alteration, and even faking entirely is just as rampant a problem in the recipe realm as anything else! Cooking is a very visual art and you can tell when a lot of foods are cooked based on the color. So, when this is altered and you can't use the coloration as a gauge, it makes it quite difficult to follow some recipes. I have an entire article about Food Styling and Unrealistic Expectations of Recipes.
Because of this, I try very hard not to alter any of my photos. I like to take photos with natural sunlight during the day. Ordinarily this is very true to color and I don't edit the photos at all. However, since my place is very warm with a lot of yellow lighting, sometimes my camera overcompensates and ends up with an unnatural blue tone. In the following images on this page, I adjusted the levels and hue to try and make this more true to color. In the interest of transparency, these are the before and after photos.


Leave a Reply