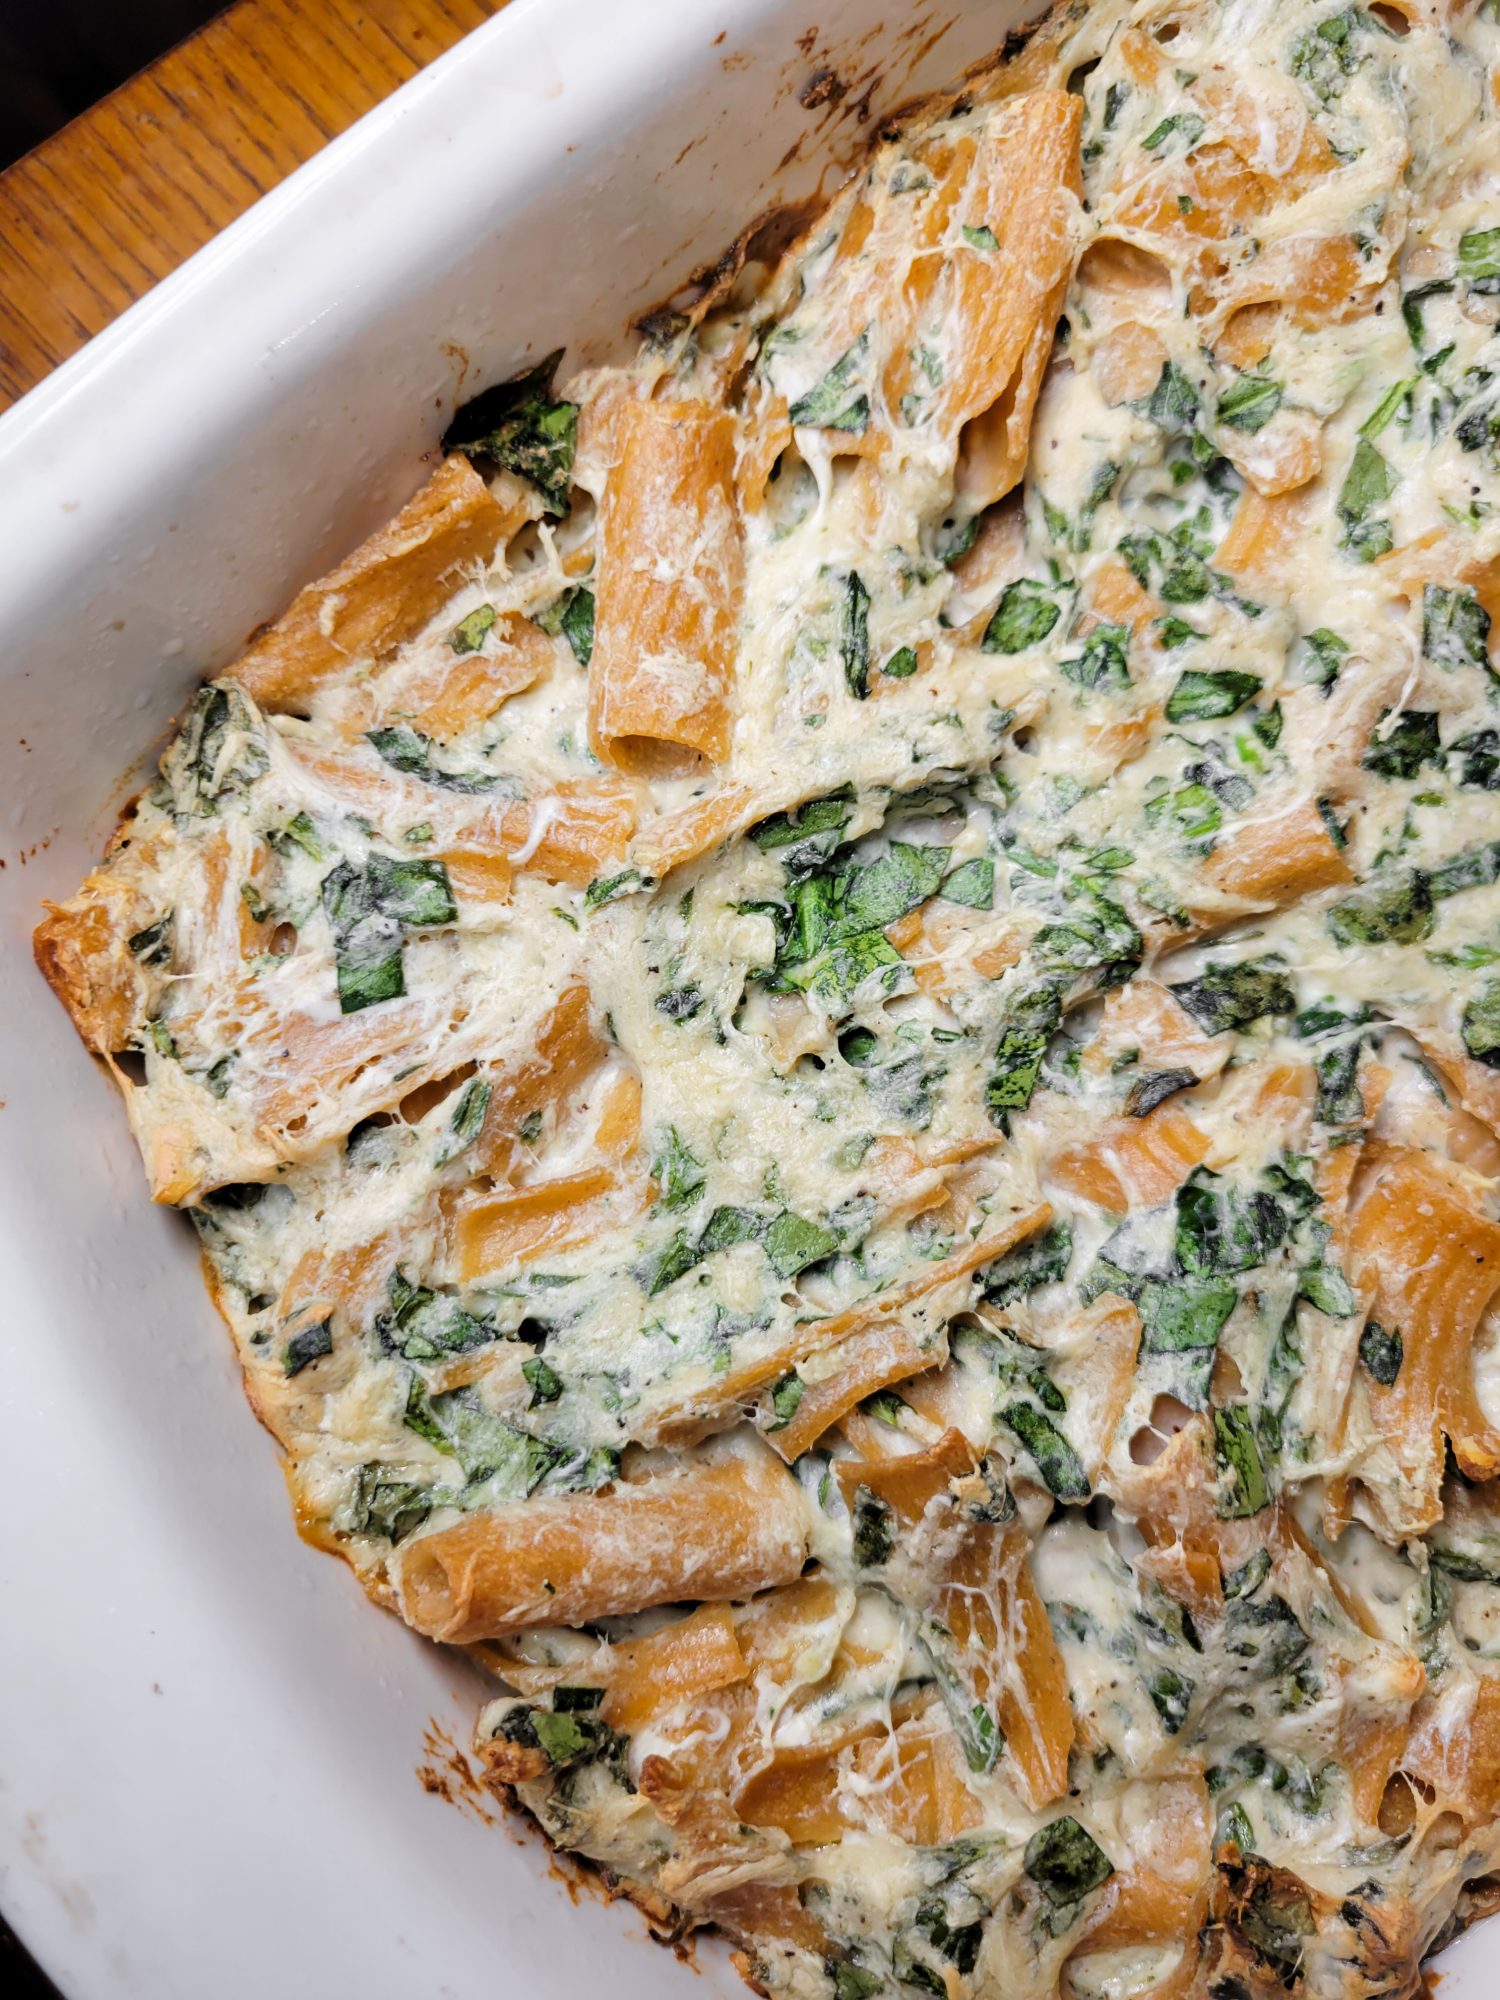
The price of cheese has been so high lately that, every time that something's on sale? I just buy it. I have no idea what I'm going to do with it. There is no plan. There is no rhyme or reason. I'm just buying cheese because I can! Which I wouldn't necessarily recommend as a grocery shopping method. But it has given me an opportunity to make things with cheese that I don't ordinarily consider. I bought ricotta the other day thinking that I would make lasagna. However, I'm not always that thrilled with copious amounts of tomatoes. The last time that I ate lasagna, I even pulled the tomatoes out of it because I wasn't really feeling tomatoes. And, as much as I'm up for doing the unconventional? A cheese sauce-based lasagna is essentially macaroni and cheese. So, why not just make macaroni and cheese?? Hence, the Mozzarella Macaroni.
Gallery
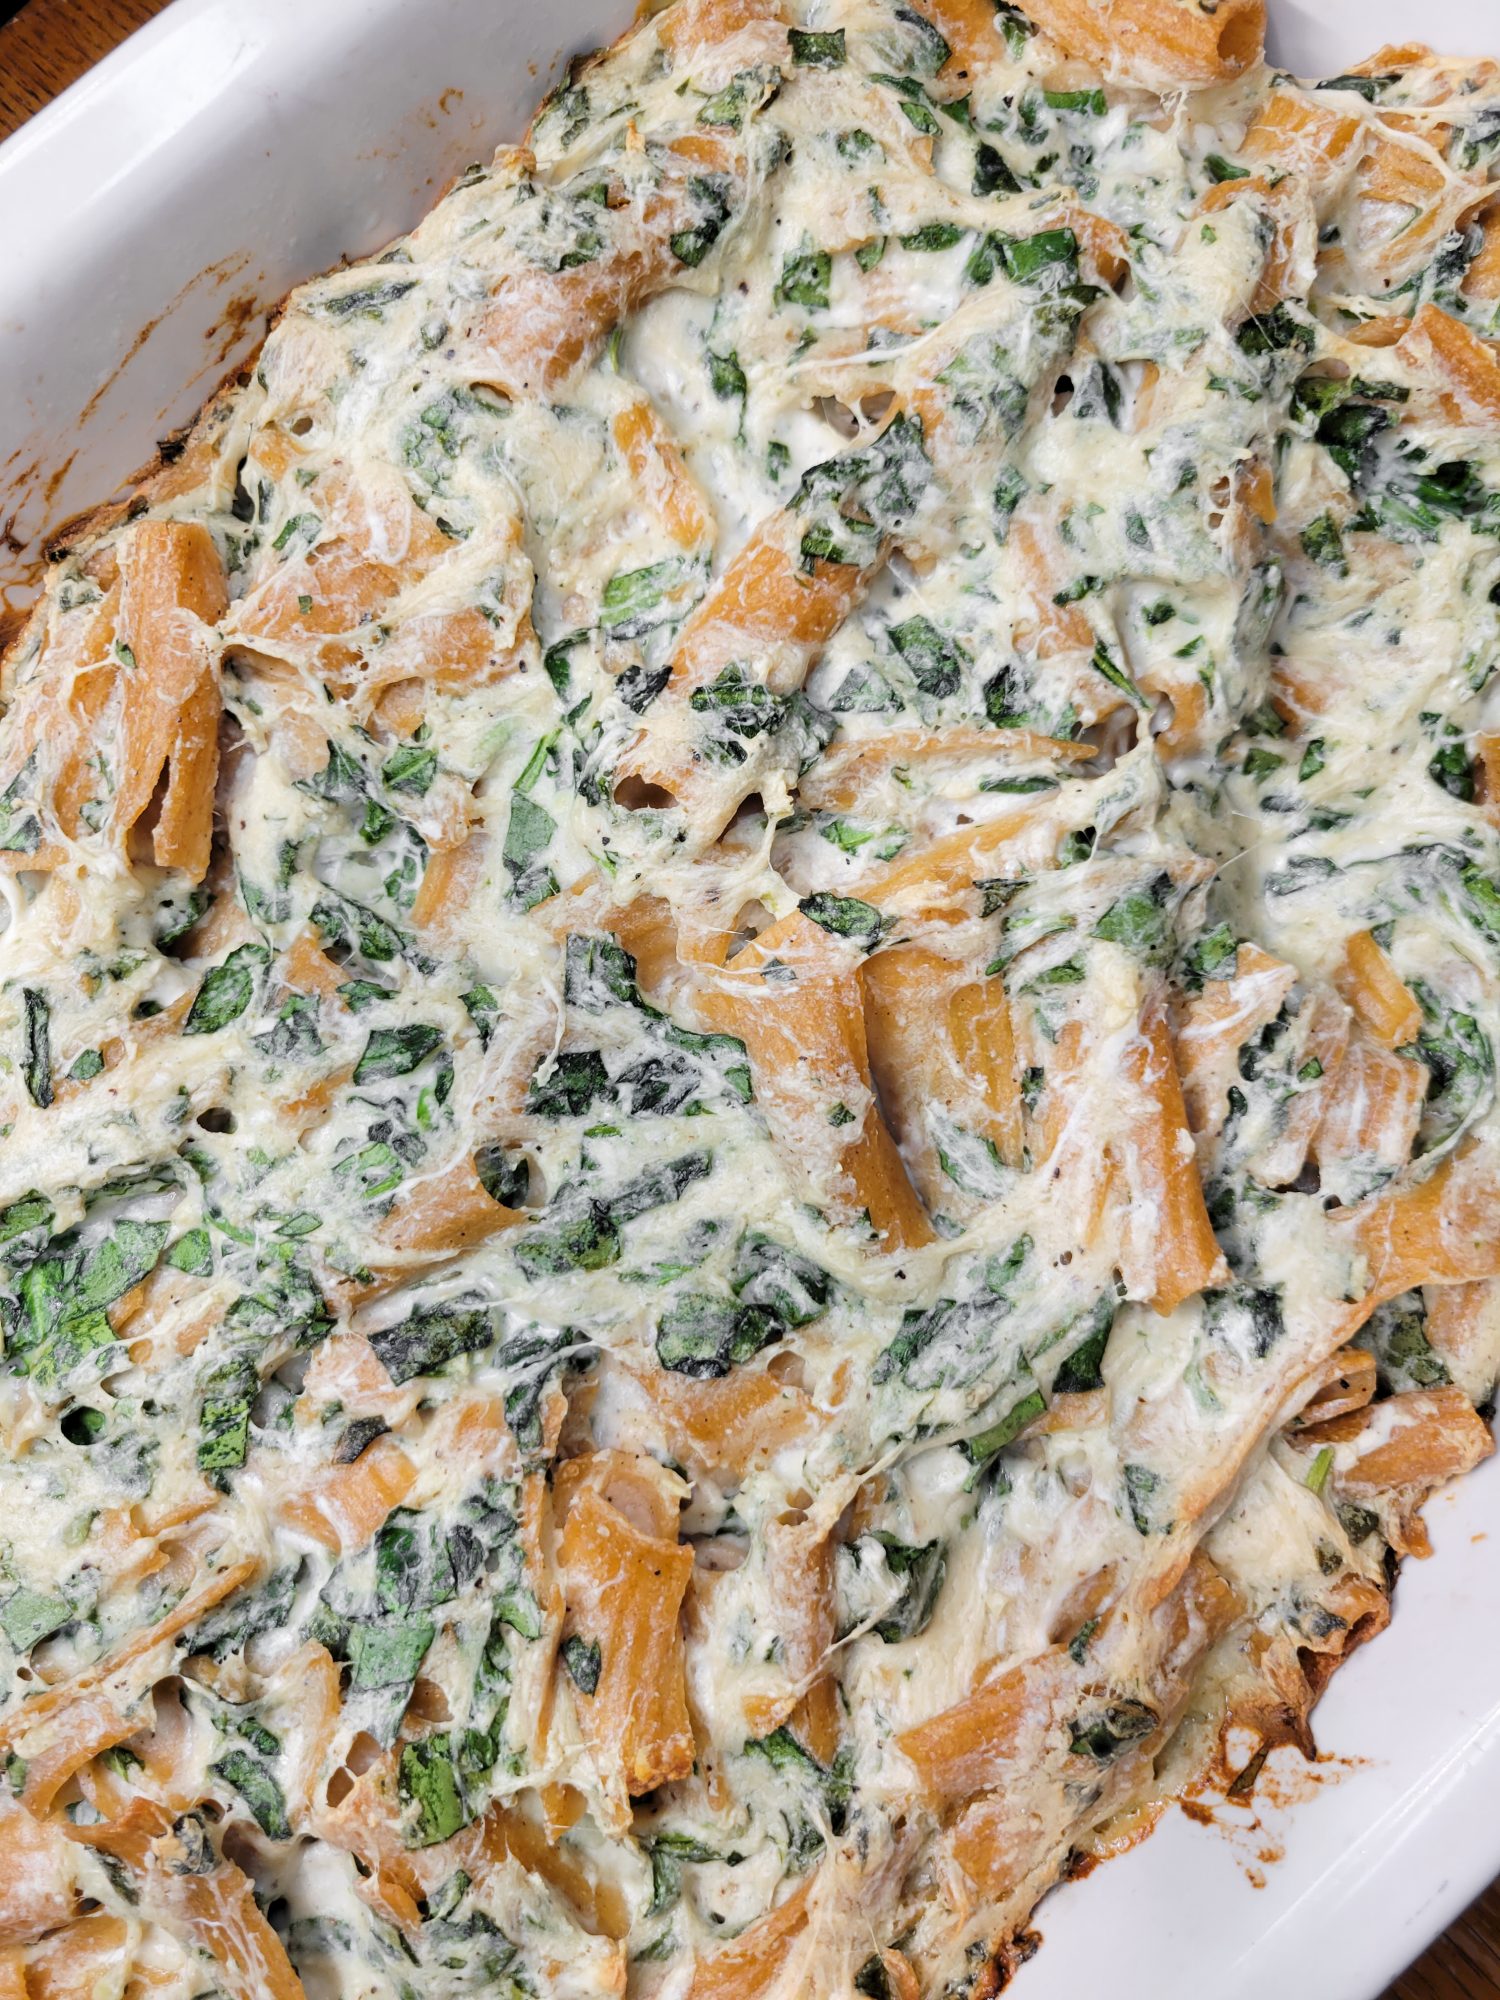
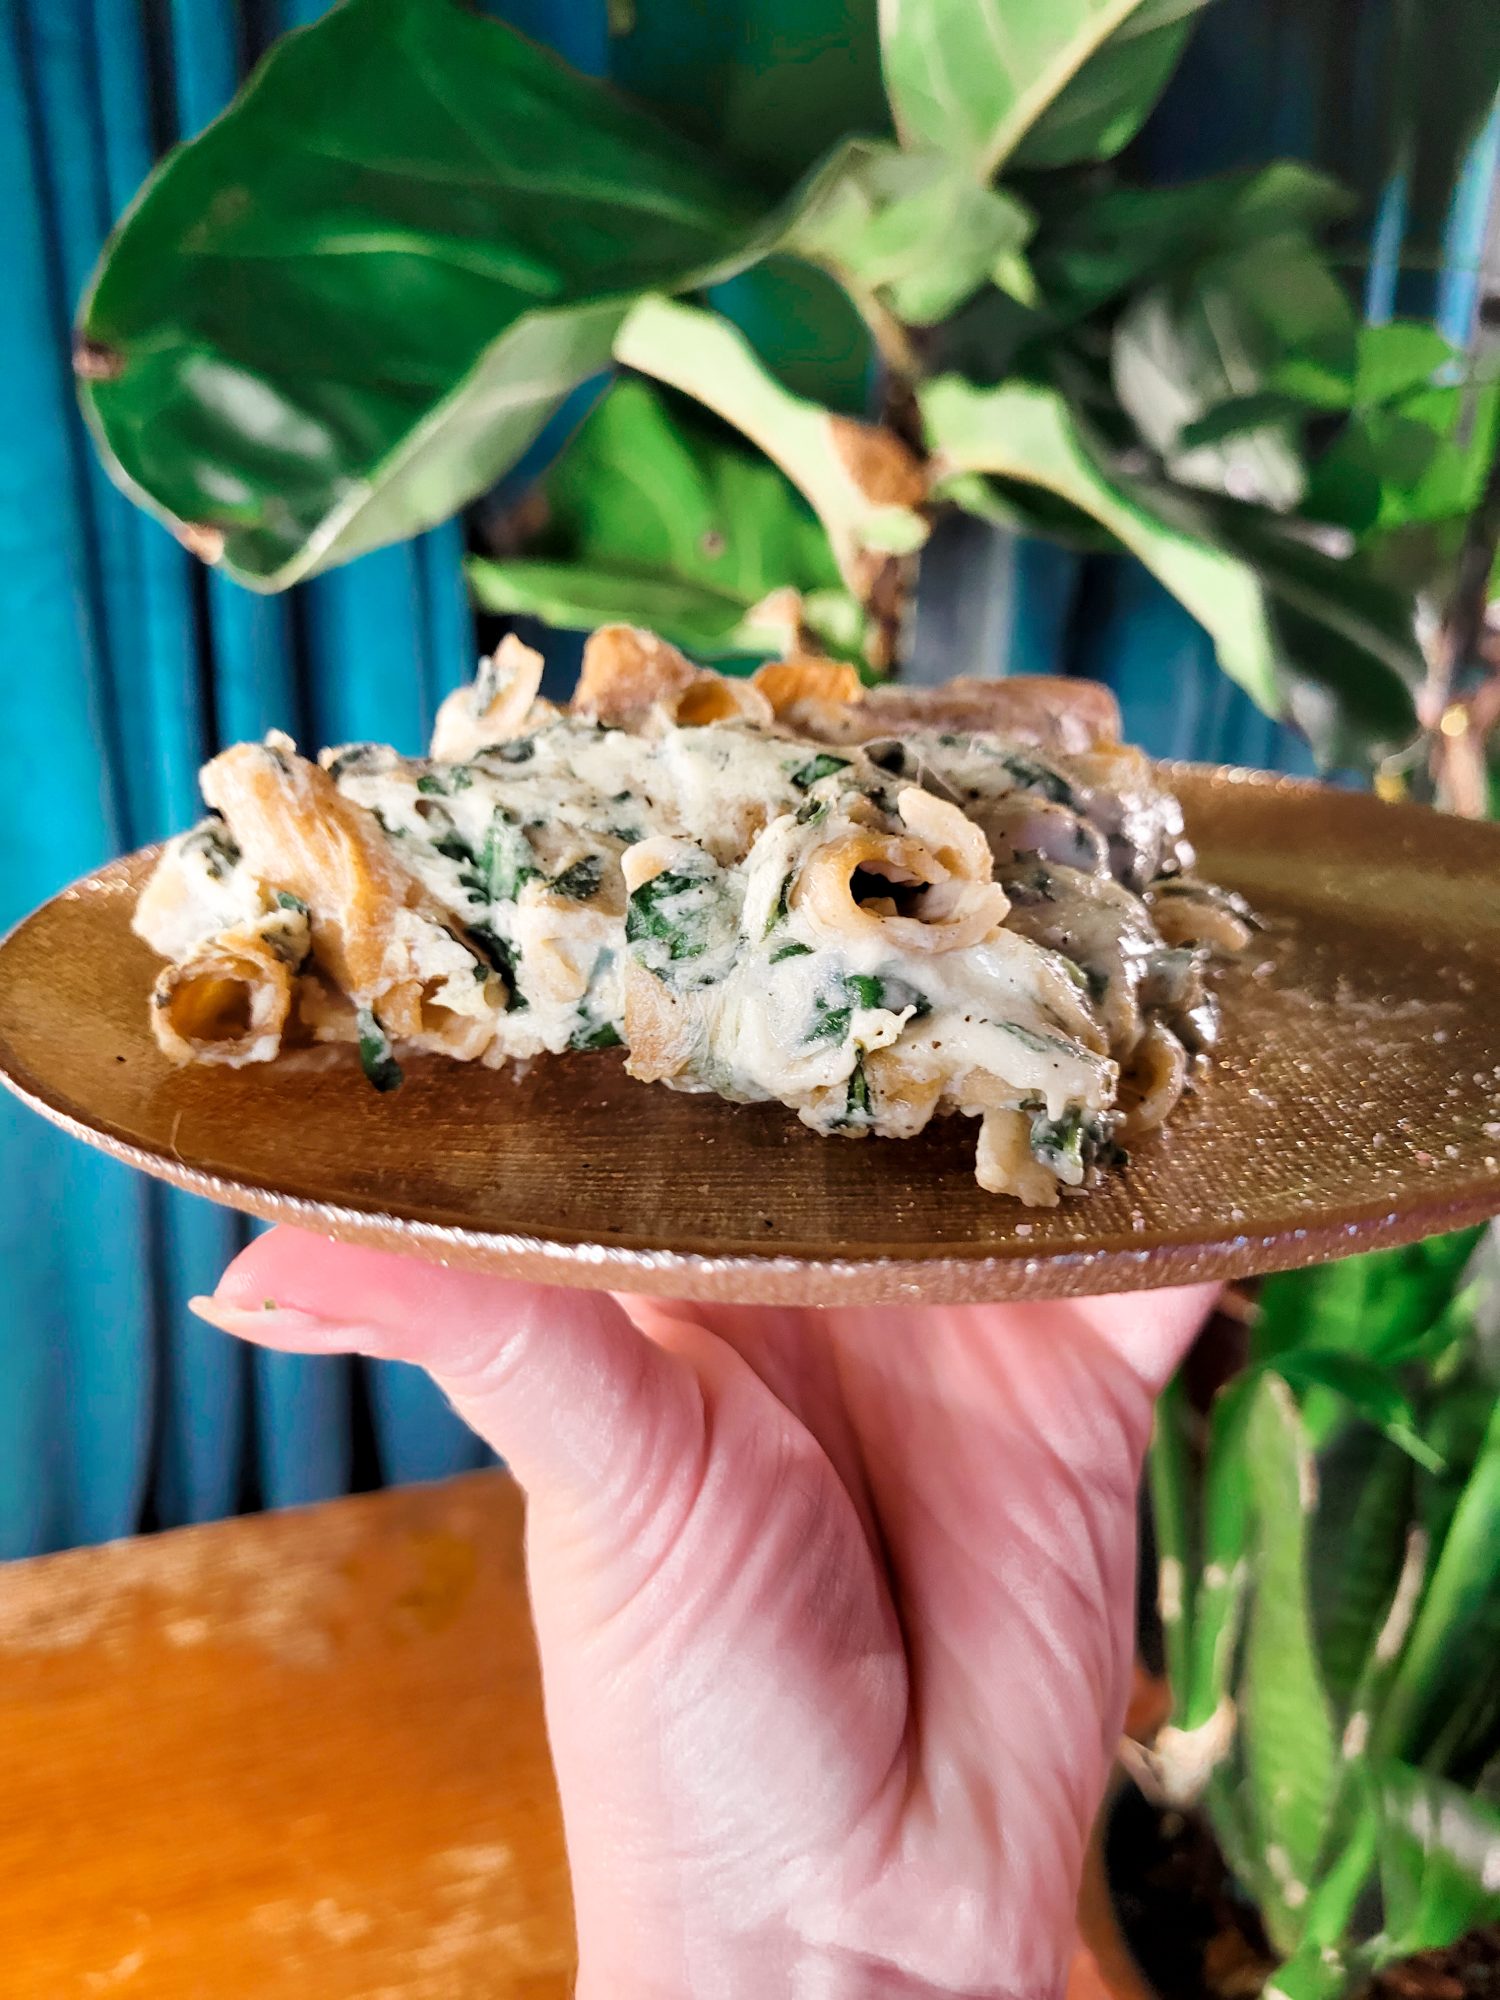
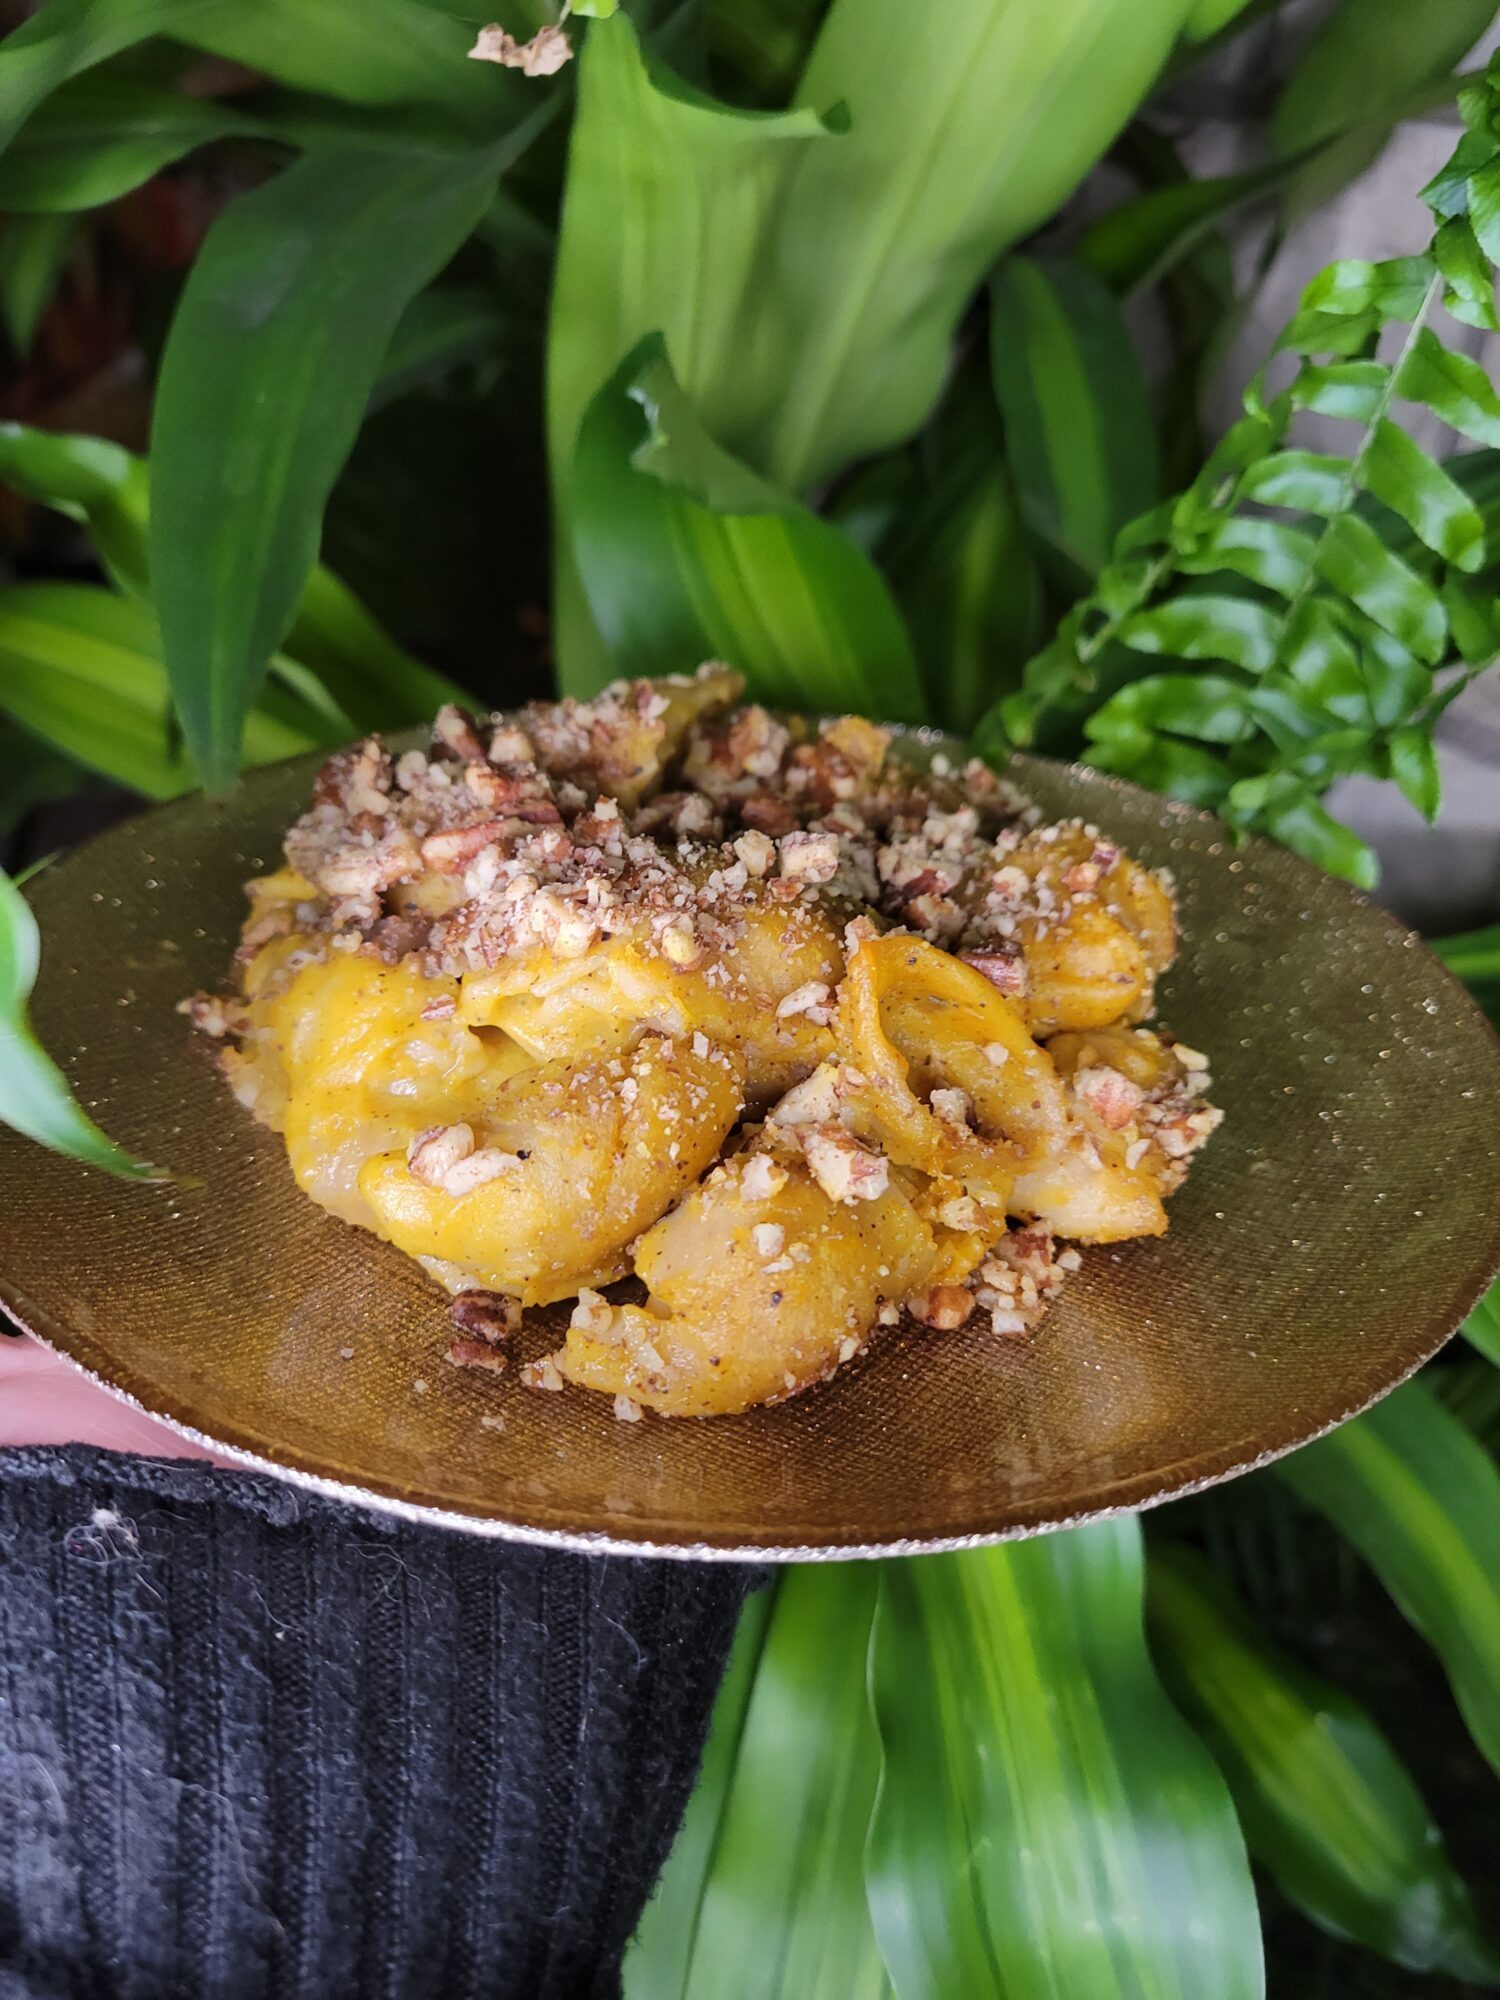
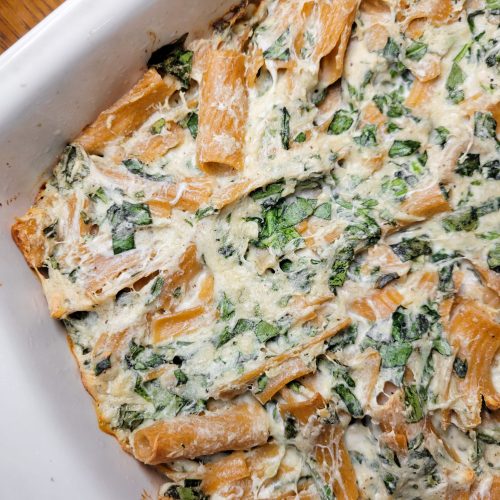
Variations of Fresh Mozzarella Macaroni
I'm a huge fan of macaroni and cheese. It's one of those recipes from my childhood that I just absolutely will never stop adoring. Vegetarians for so long were just given pasta and cheese as well. So, as much as all of us might be guilty of adoring these in combination, it does hold a special place in my heart for being one of the only thing that anyone ever fed me before the raw, gluten free, vegan food movement. Although I absolutely am always going to eat pasta and cheese because it's absolutely delicious, I do do a little bit more of grown-up variations these days. I'll add anything from ricotta and fresh mozzarella to cream cheese and serranos, hubbard squash and pecans, and Greek yogurt and white cheddar.
Add about 4 inches of water to a large pot and bring to a boil over high heat.
Cook pasta according to the manufacturer's instructions. This typically entails boiling for about 8-12 minutes, or until barely al dente.The pasta will cook another half hour in the oven, so make sure not to overcook them during this stage!
Drain the pasta. Stir it occasionally to keep the noodles from sticking together.
Prepare Roux
Preheat the oven to 350 degrees Fahrenheit.
Lightly coat the bottom and sides of a large baking dish with olive oil and set aside.
Preheat saucepan on medium-heat. Add 1/4 cup butter and melt.
Immediately when the butter melts, add flour and stir constantly until incorporated. This should take about 3 minutes.Do NOT brown or overcook, though. You just want the butter and flour to incorporate until you add the spices.
Add salt, pepper, mustard, nutmeg, and Worcestershire sauce. Stir constantly for 5 minutes, or until lightly browned.
Add ricotta and wine, a little at a time, and stir constantly until incorporated after each addition. Adding too much at once can cause the roux to separate. Although this is less of an issue with yogurt as it is milk or cream, it is still something to watch out for!
Meanwhile, grate or crumble the cheddar cheese and add to roux 1/2 cup at a time. Mix constantly until fully incorporated.
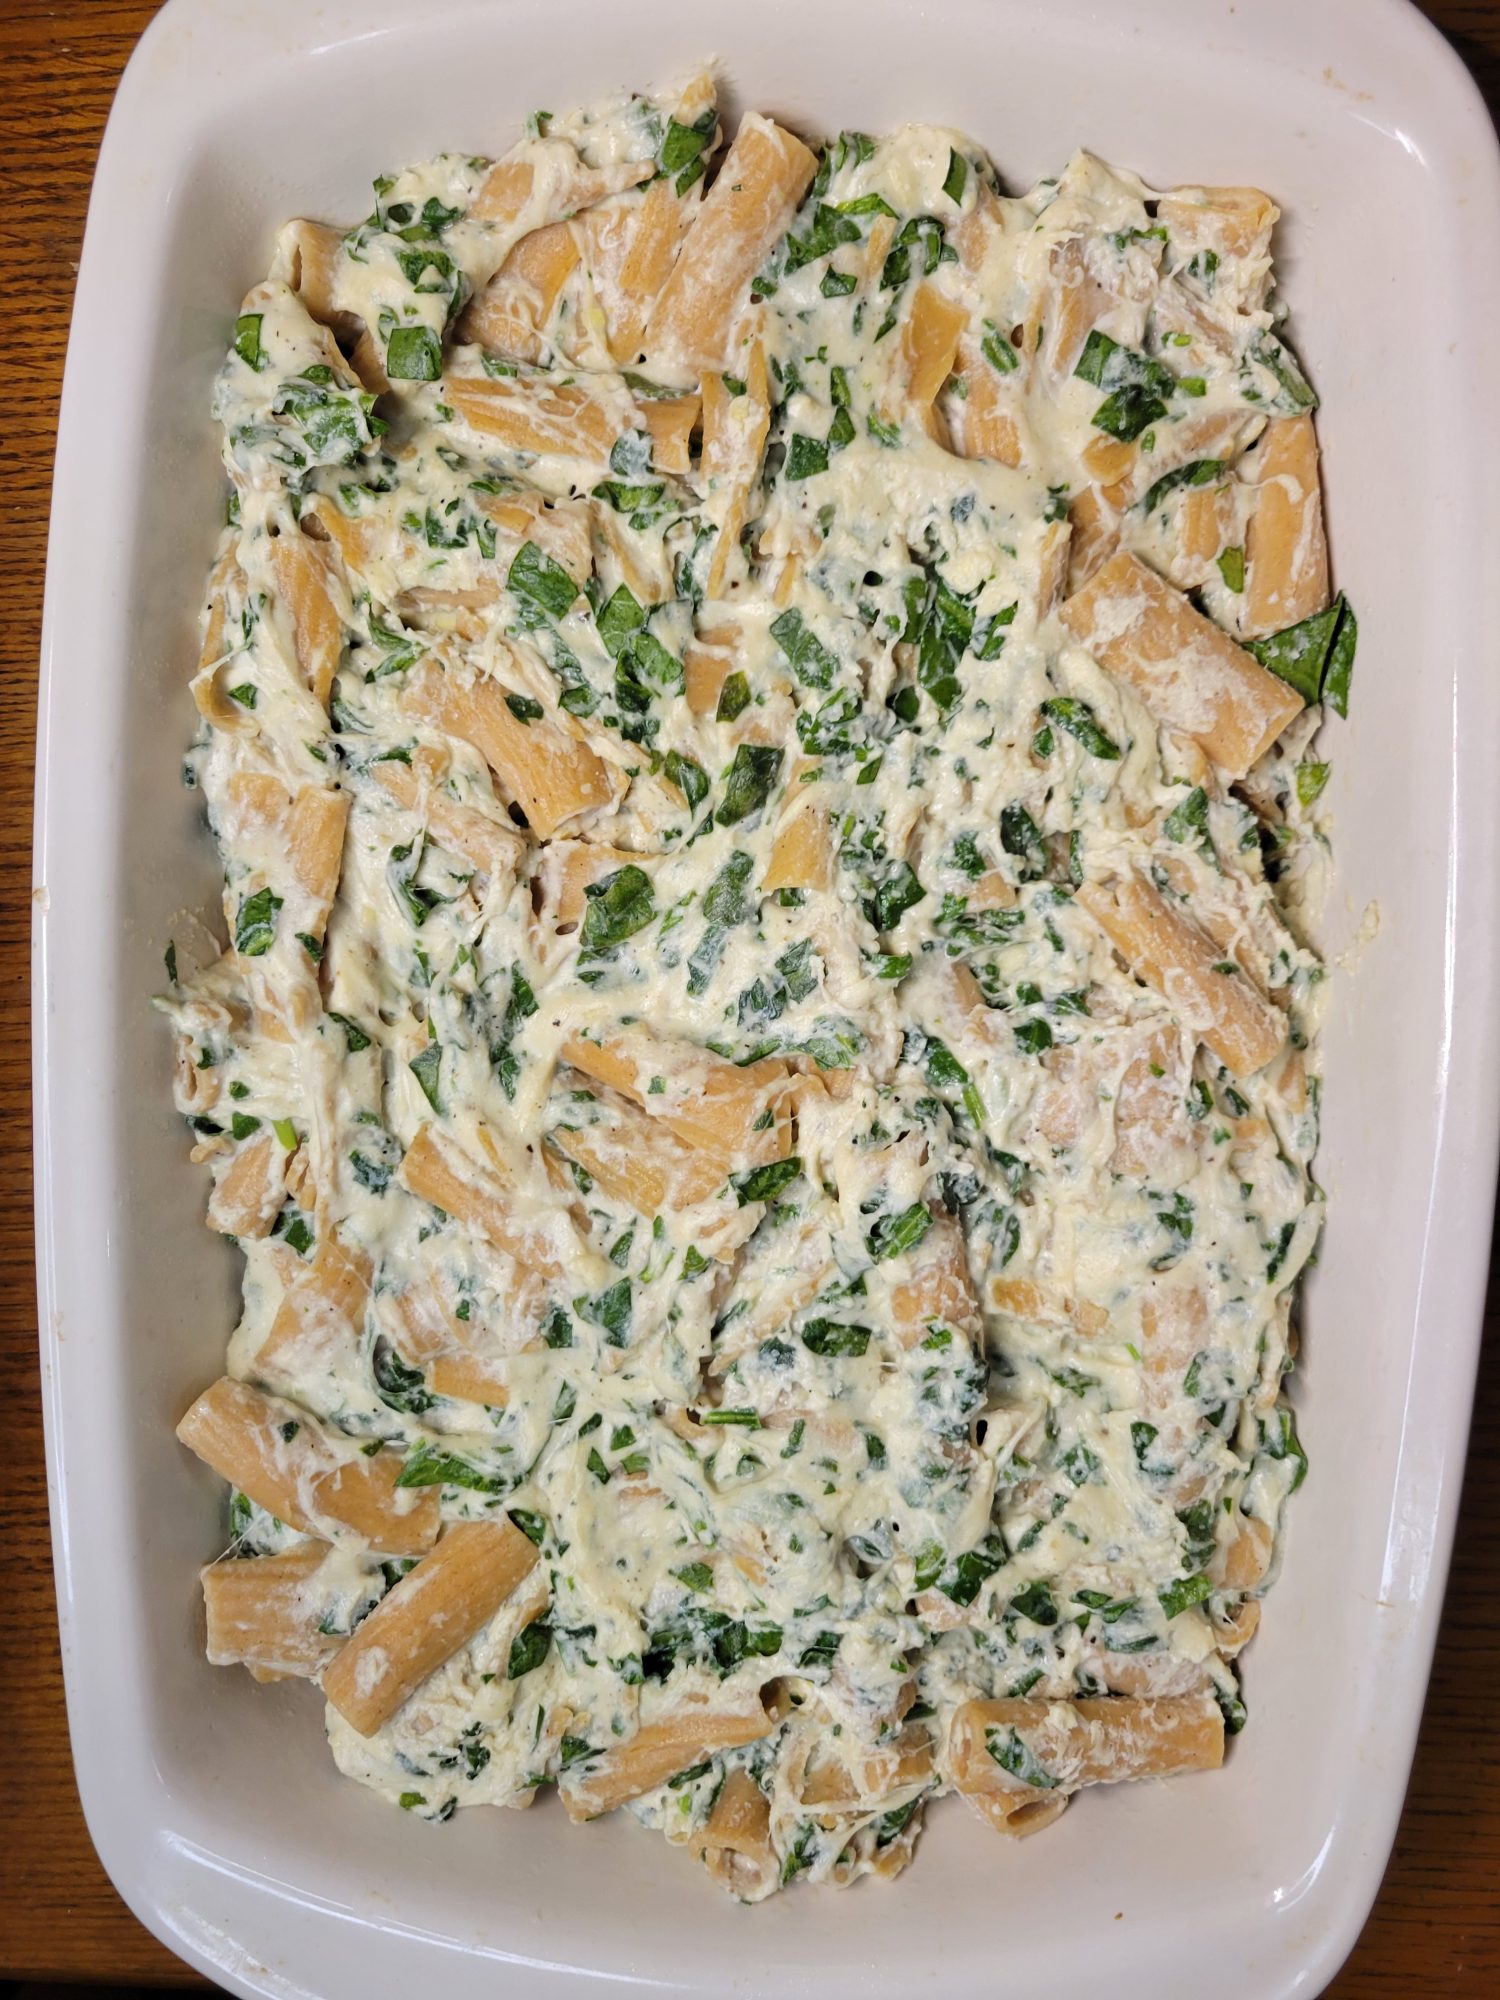
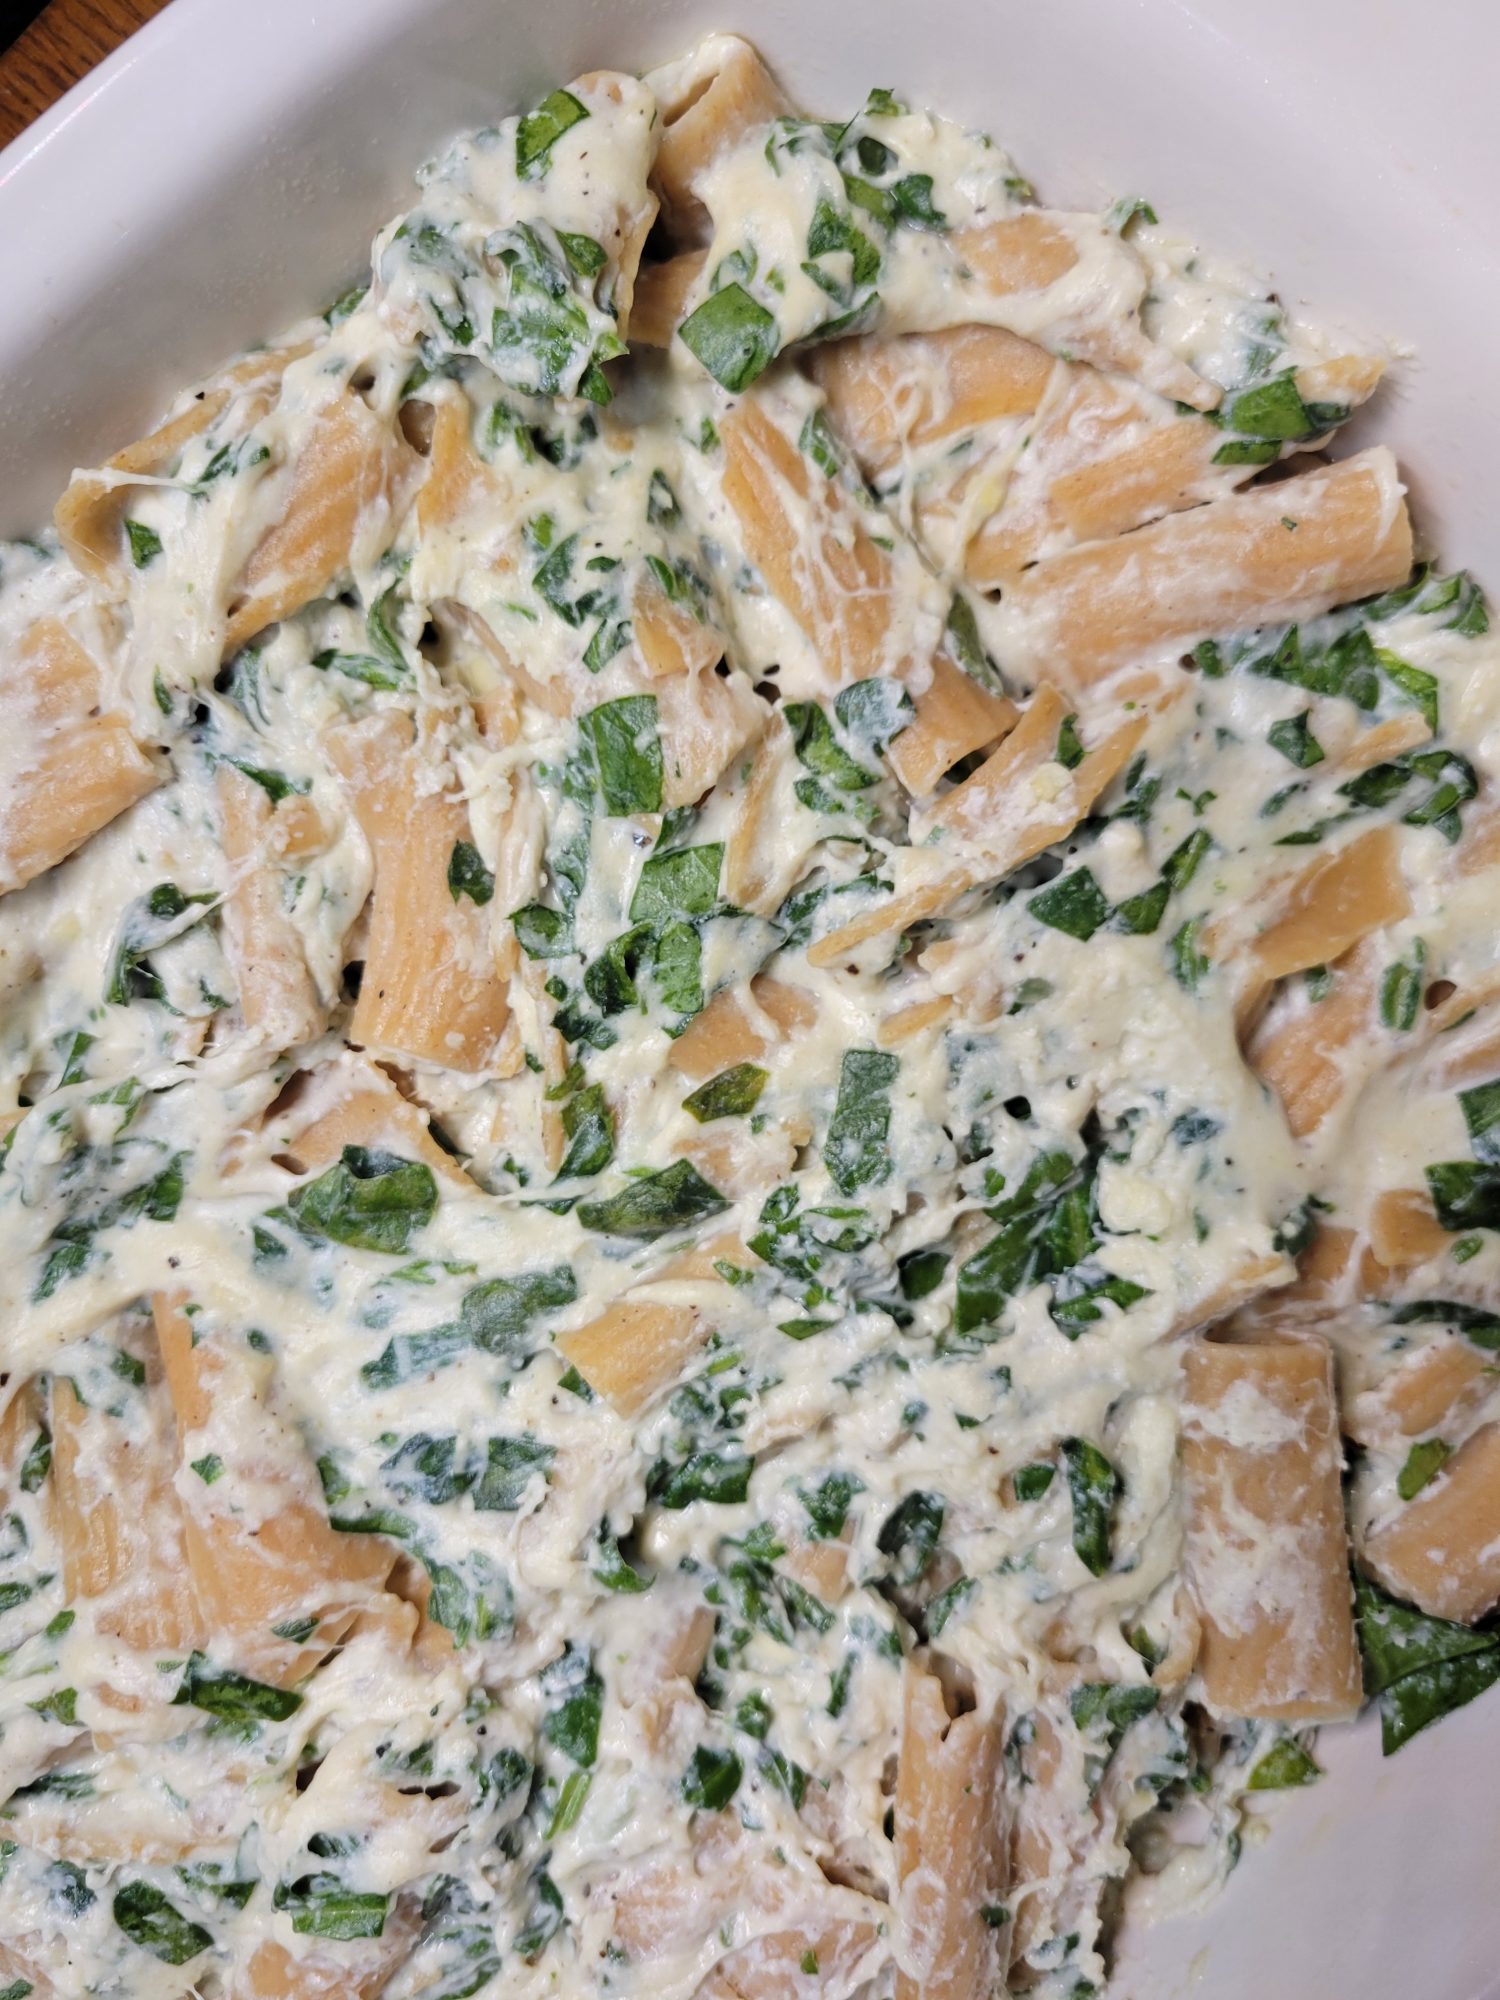
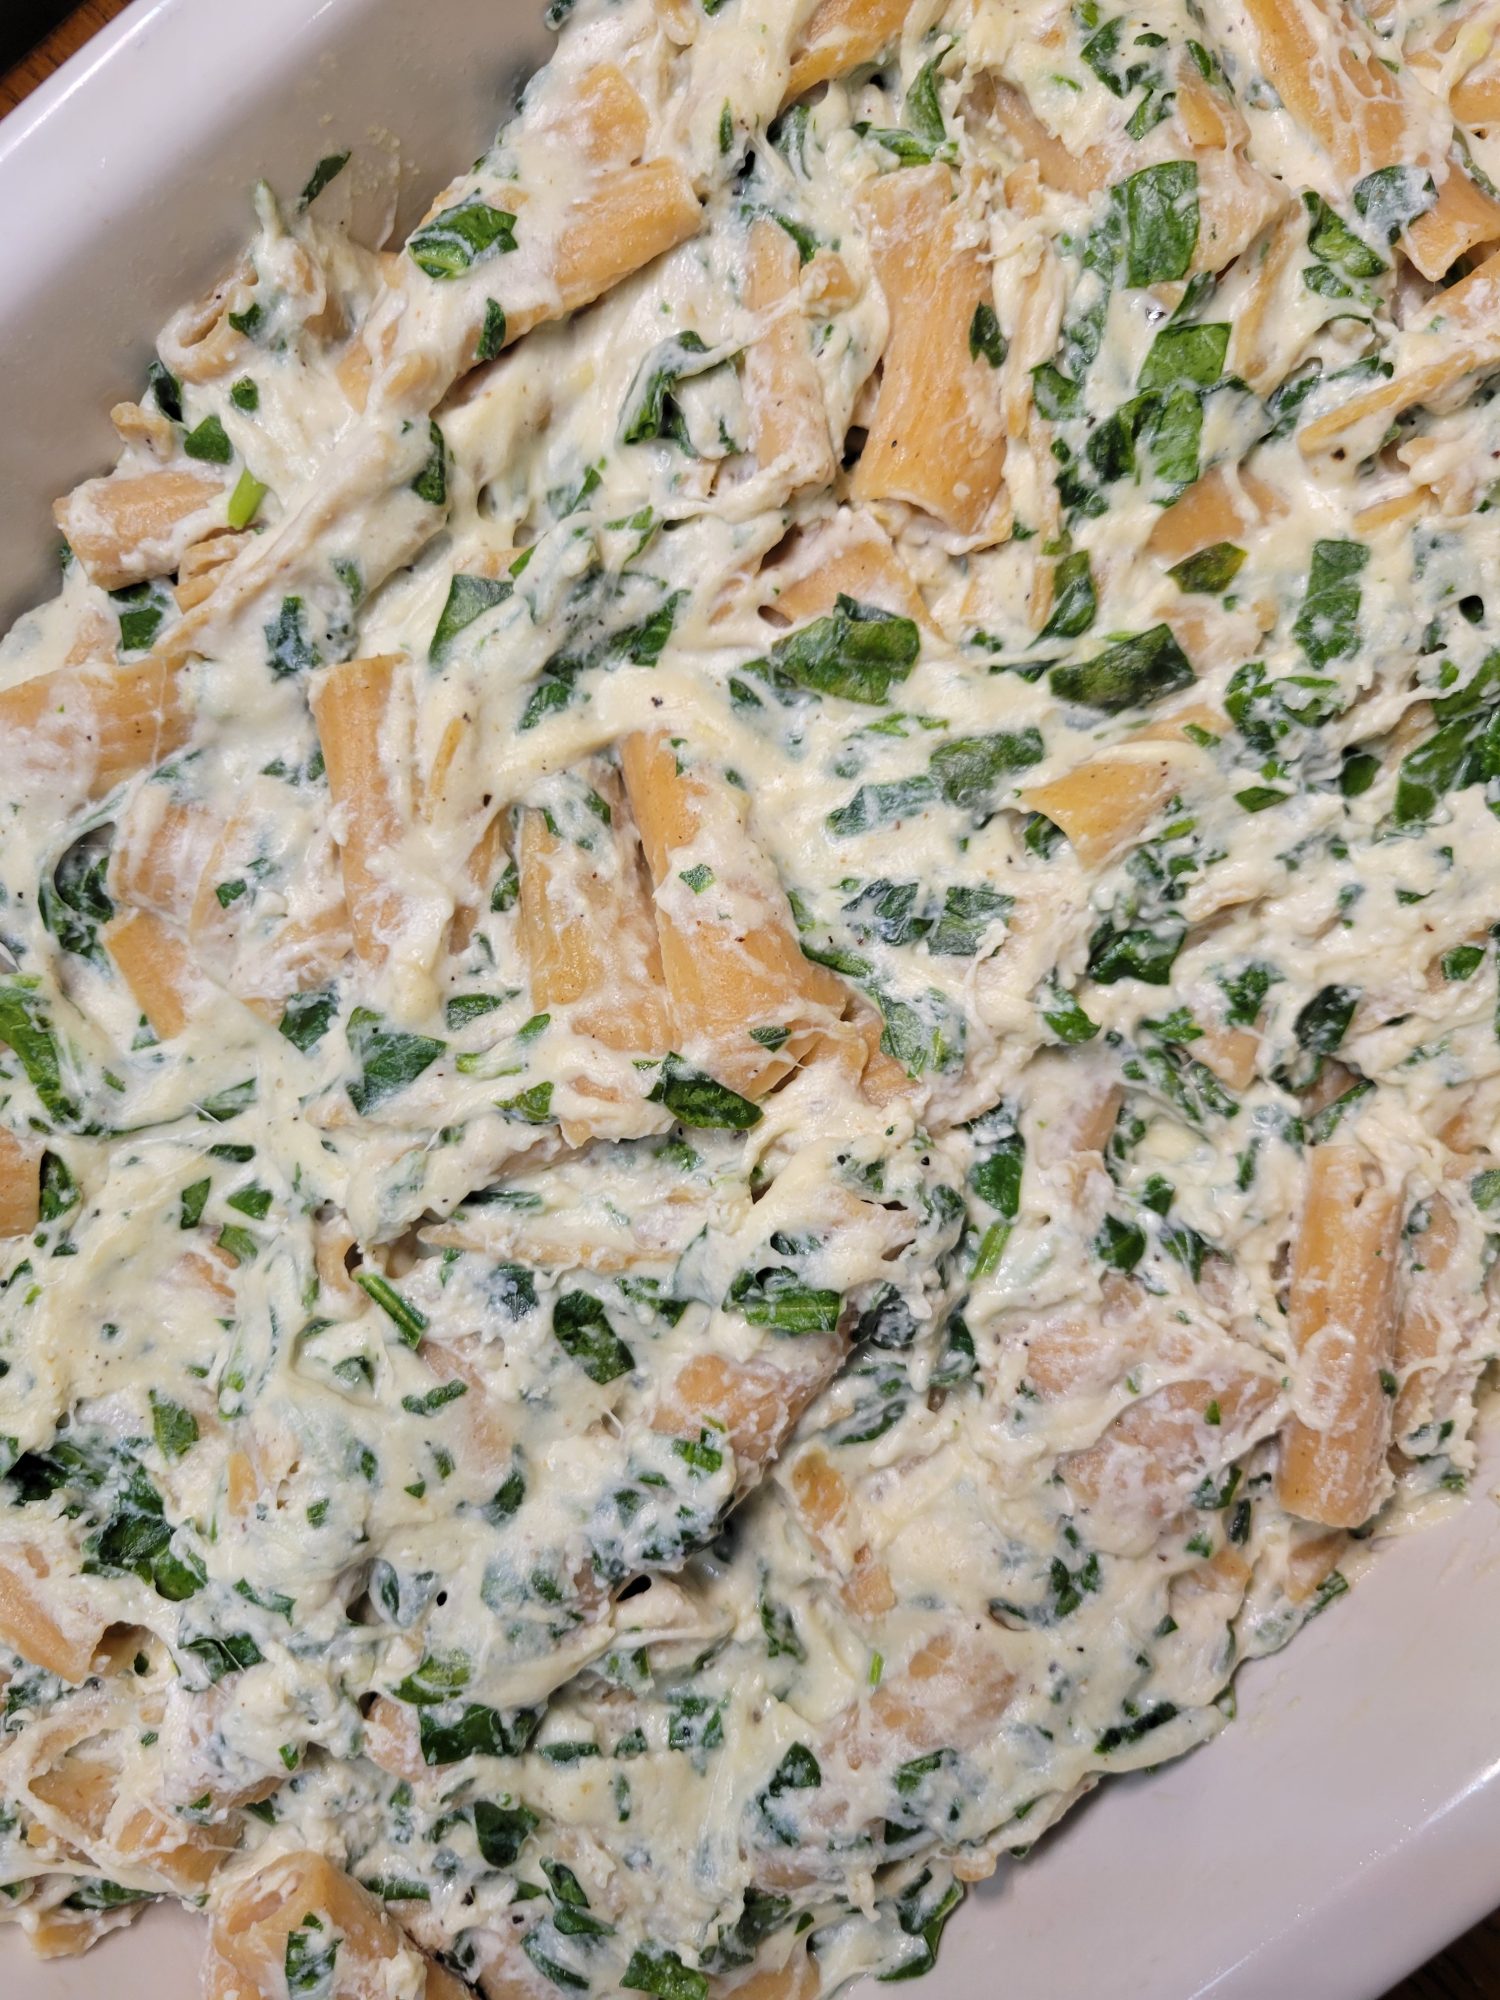
Add noodles, garlic, and spinach. Stir until fully coated in the cheese sauce.
Bake Macaroni and Cheese
Pour macaroni and cheese into greased baking dish.
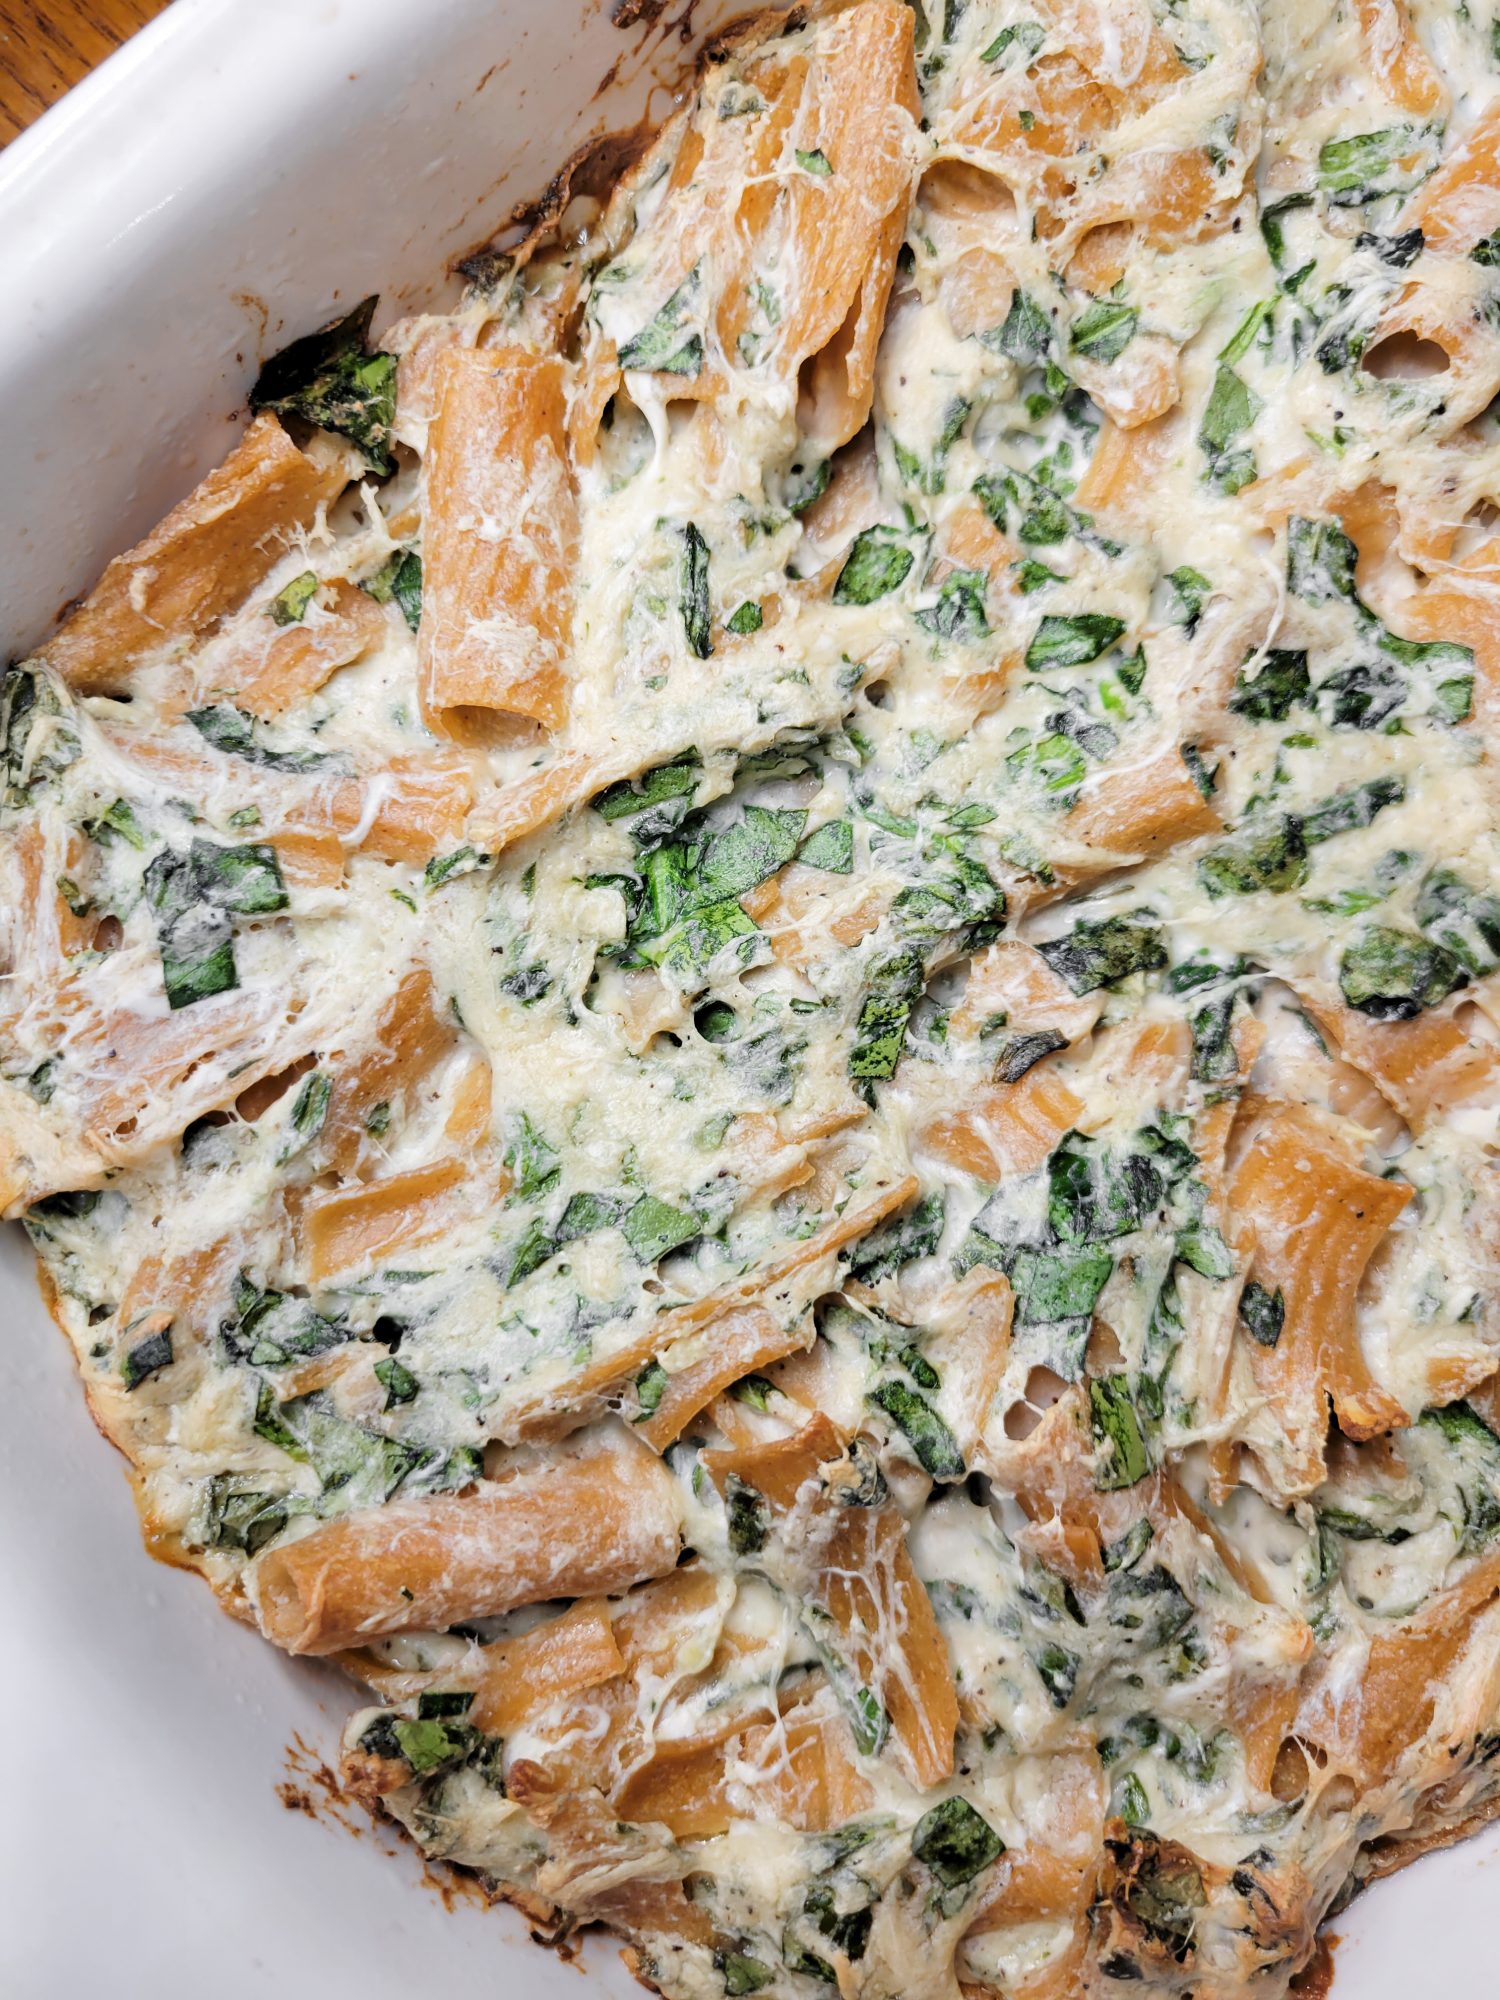
Bake for 30-40 minutes, or until the top begins to brown.
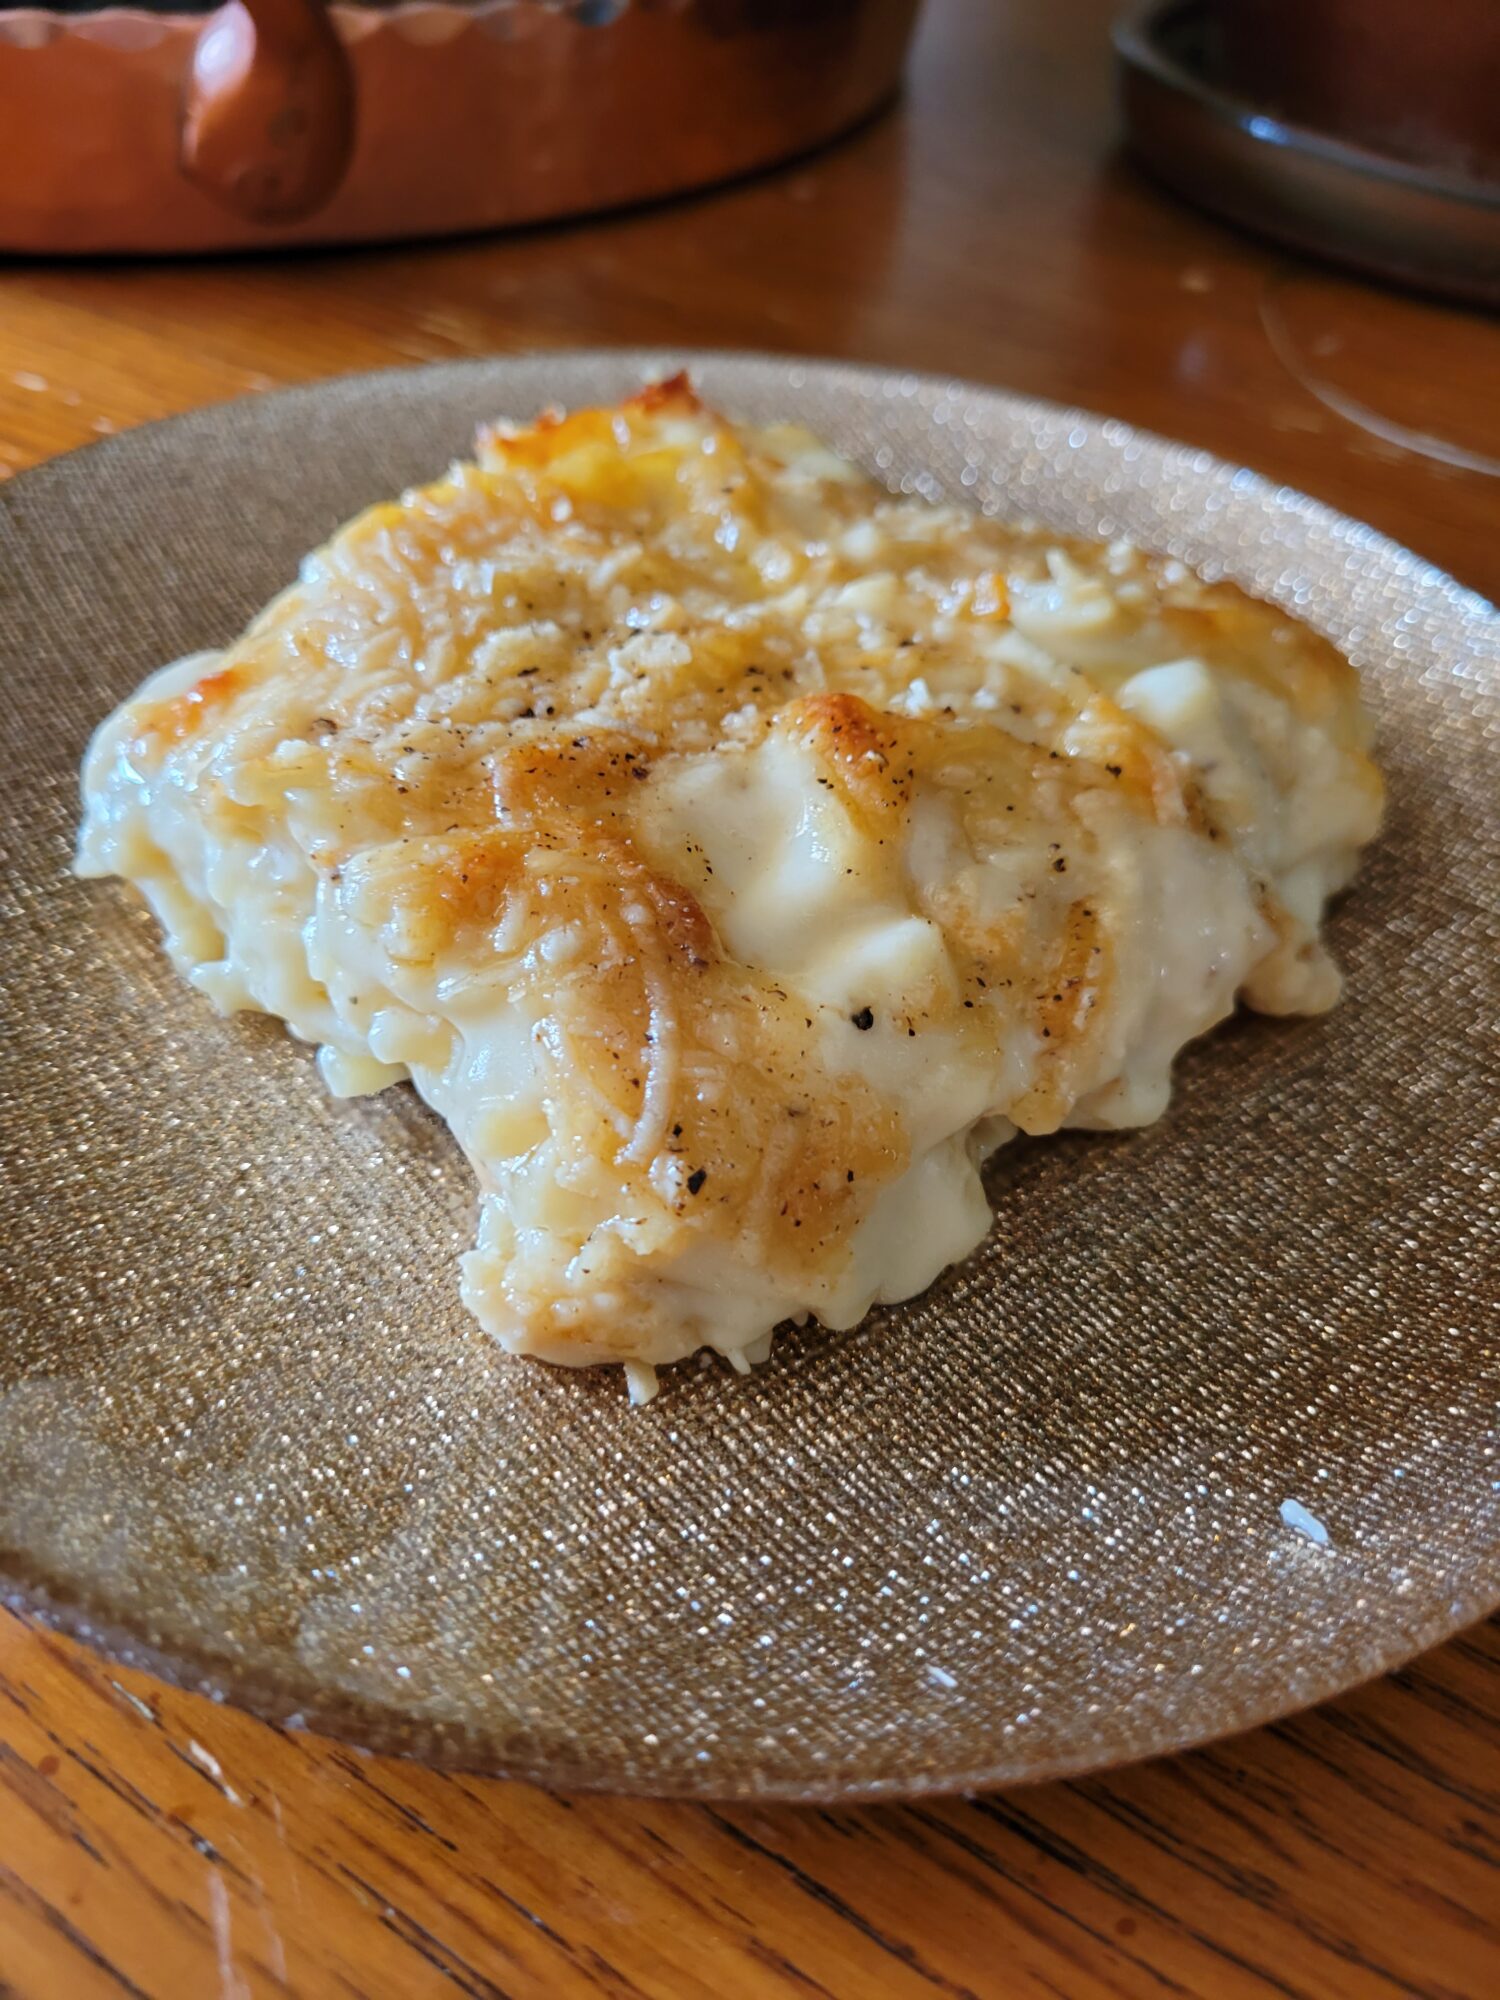
Let cool slightly and cut into 2-inch squares. Serve immediately.
Tips, Tricks, & Notes
You can reheat macaroni in the oven at 350 degrees for about 15 minutes. However, macaroni and cheese doesn't necessarily reheat well! After refrigeration, the noodles typically harden and the lasagna tends to dry out. The pasta will likely overcook during this process. And the cheese tends to separate and get oily if you reheat too rapidly.
Whatever you do, absolutely do not put macaroni and cheese in the microwave!!
Alternatively, you can reheat on the stovetop. Just place in a skillet with a lid and slowly bring the heat to medium. When the macaroni begins to soften, carefully spear with a silicone spatula to separate. Continue to heat with the lid on and stir occasionally. You may need to add additional milk or Greek yogurt to this to help prevent the noodles from drying out and the cheese from separating.
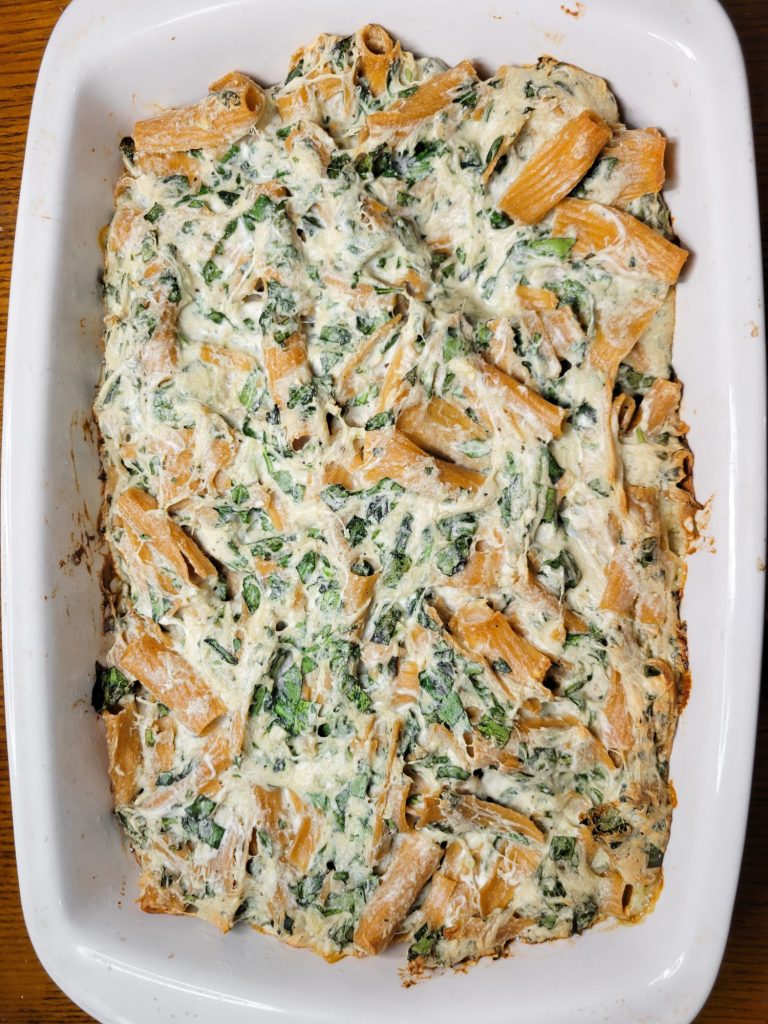
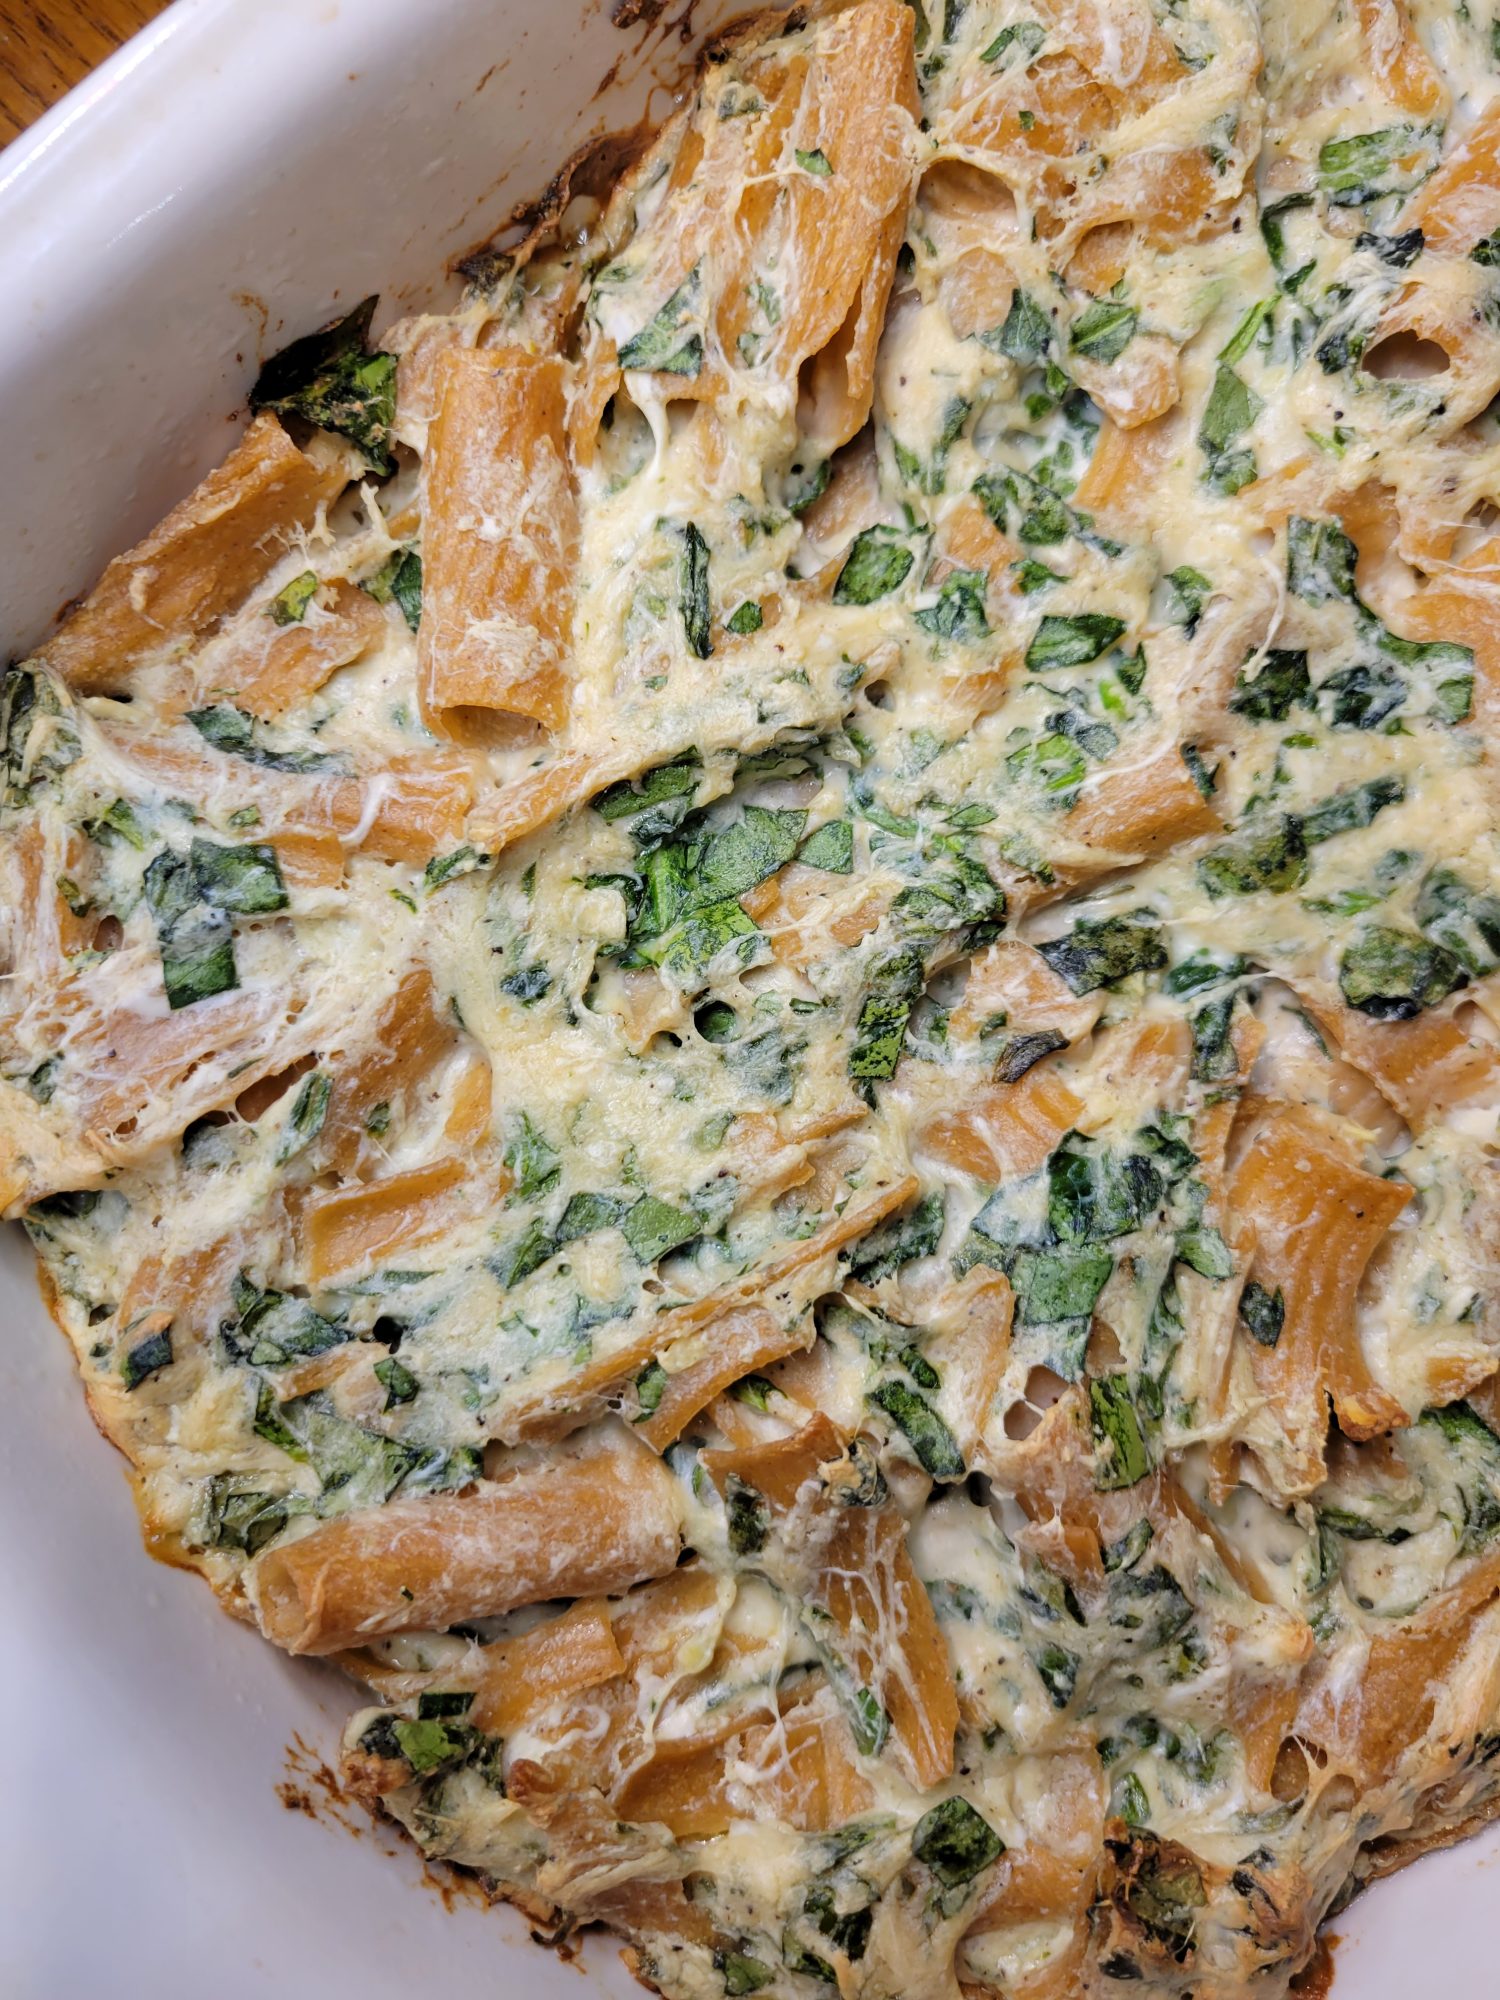
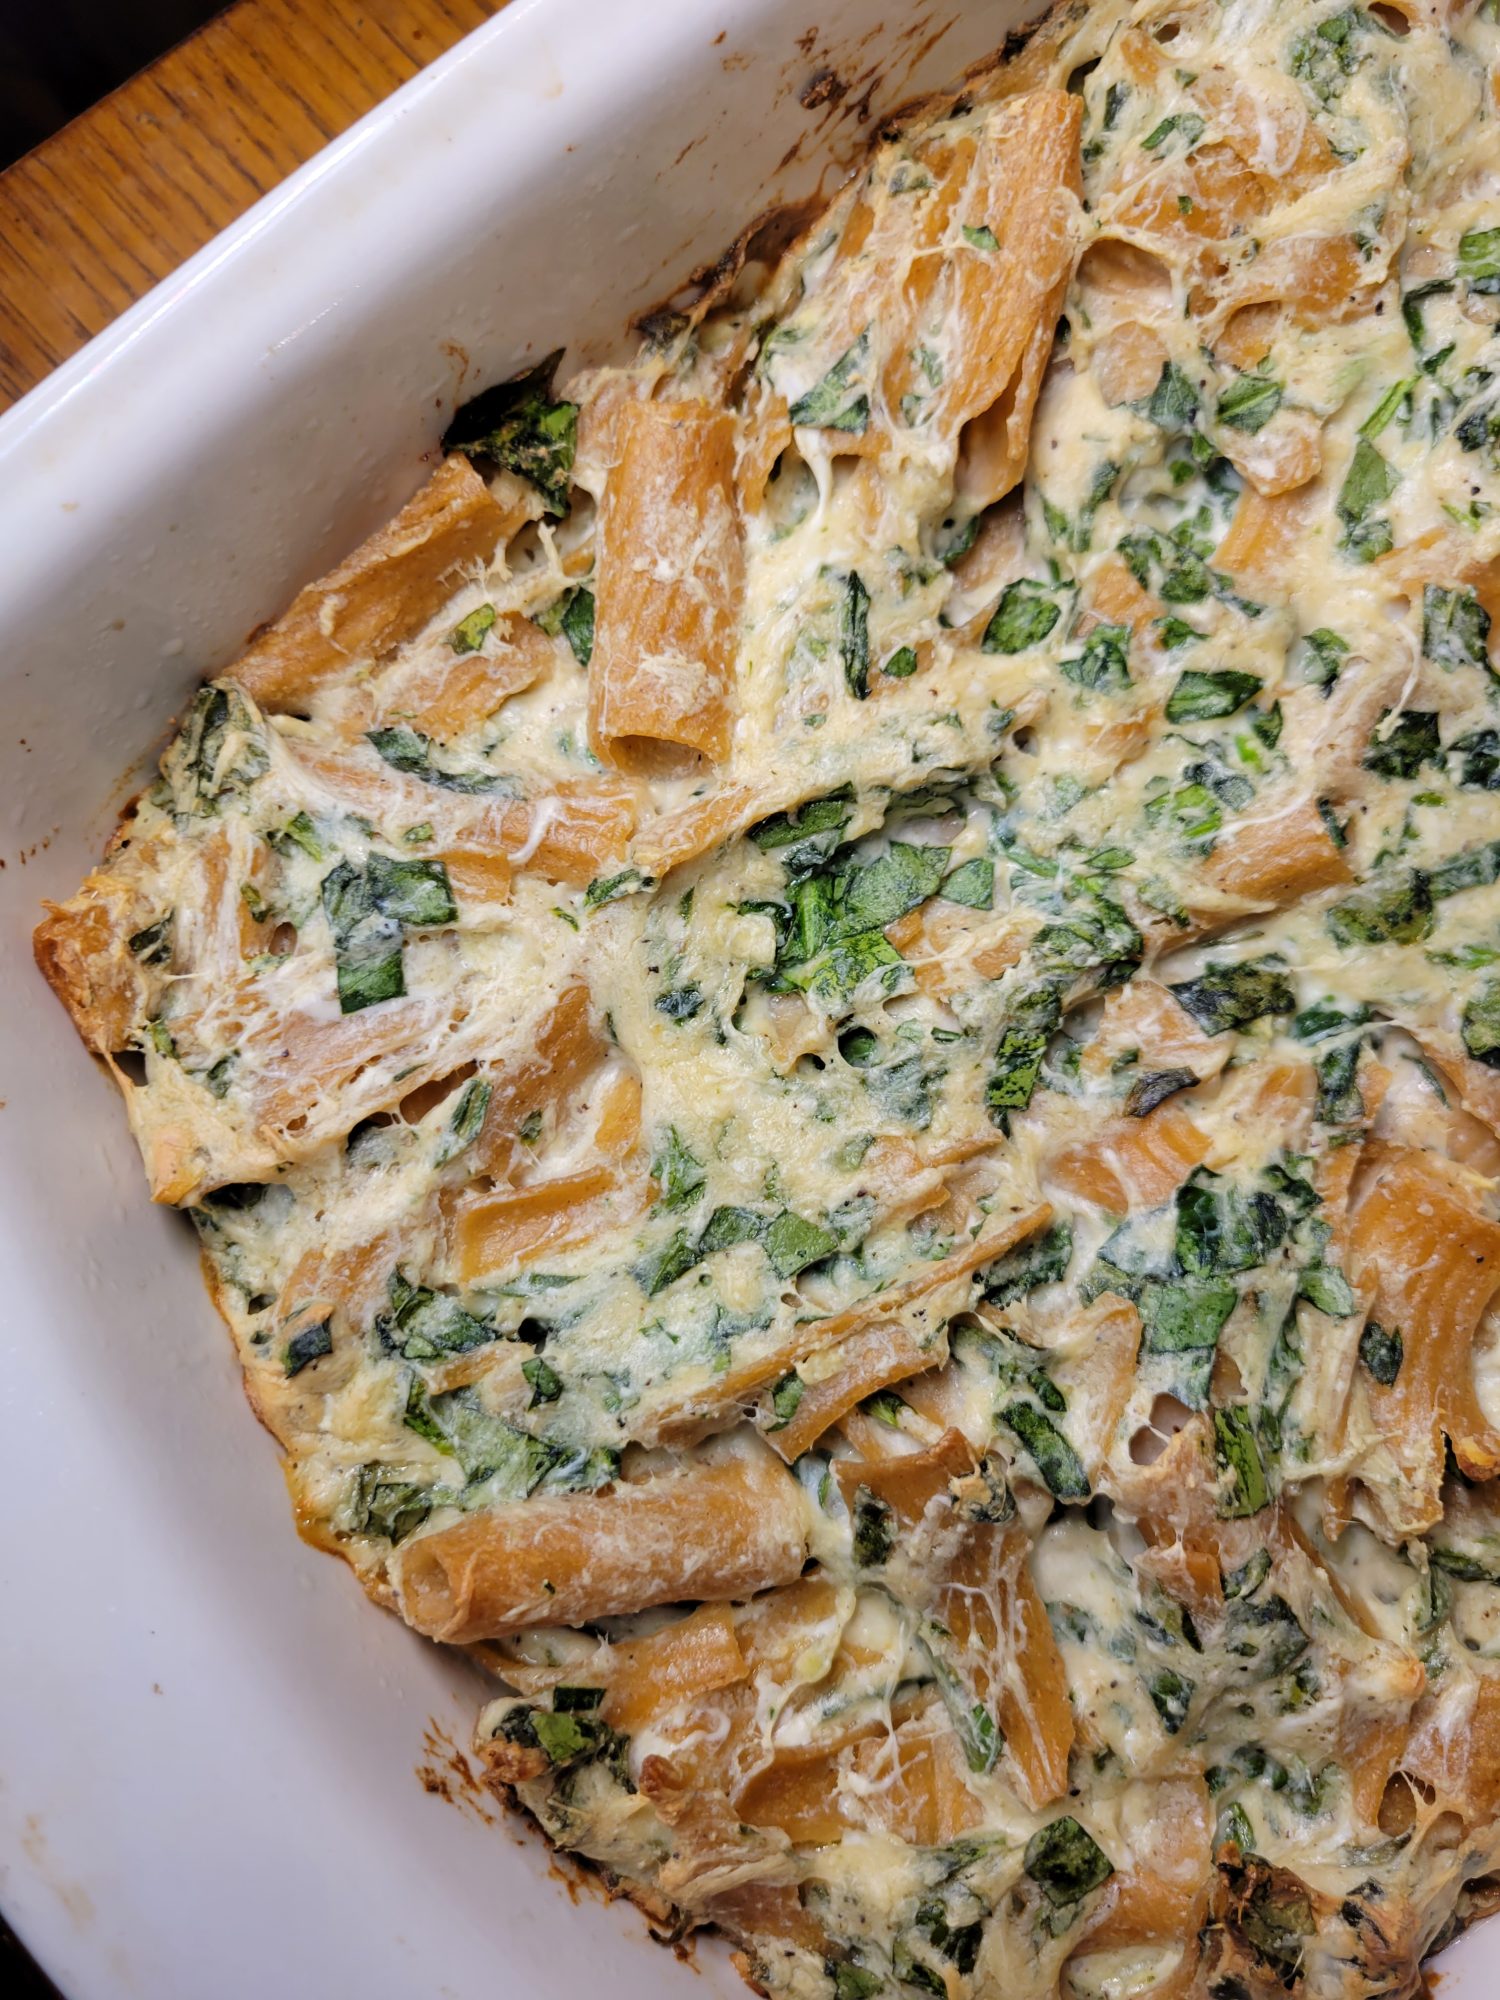
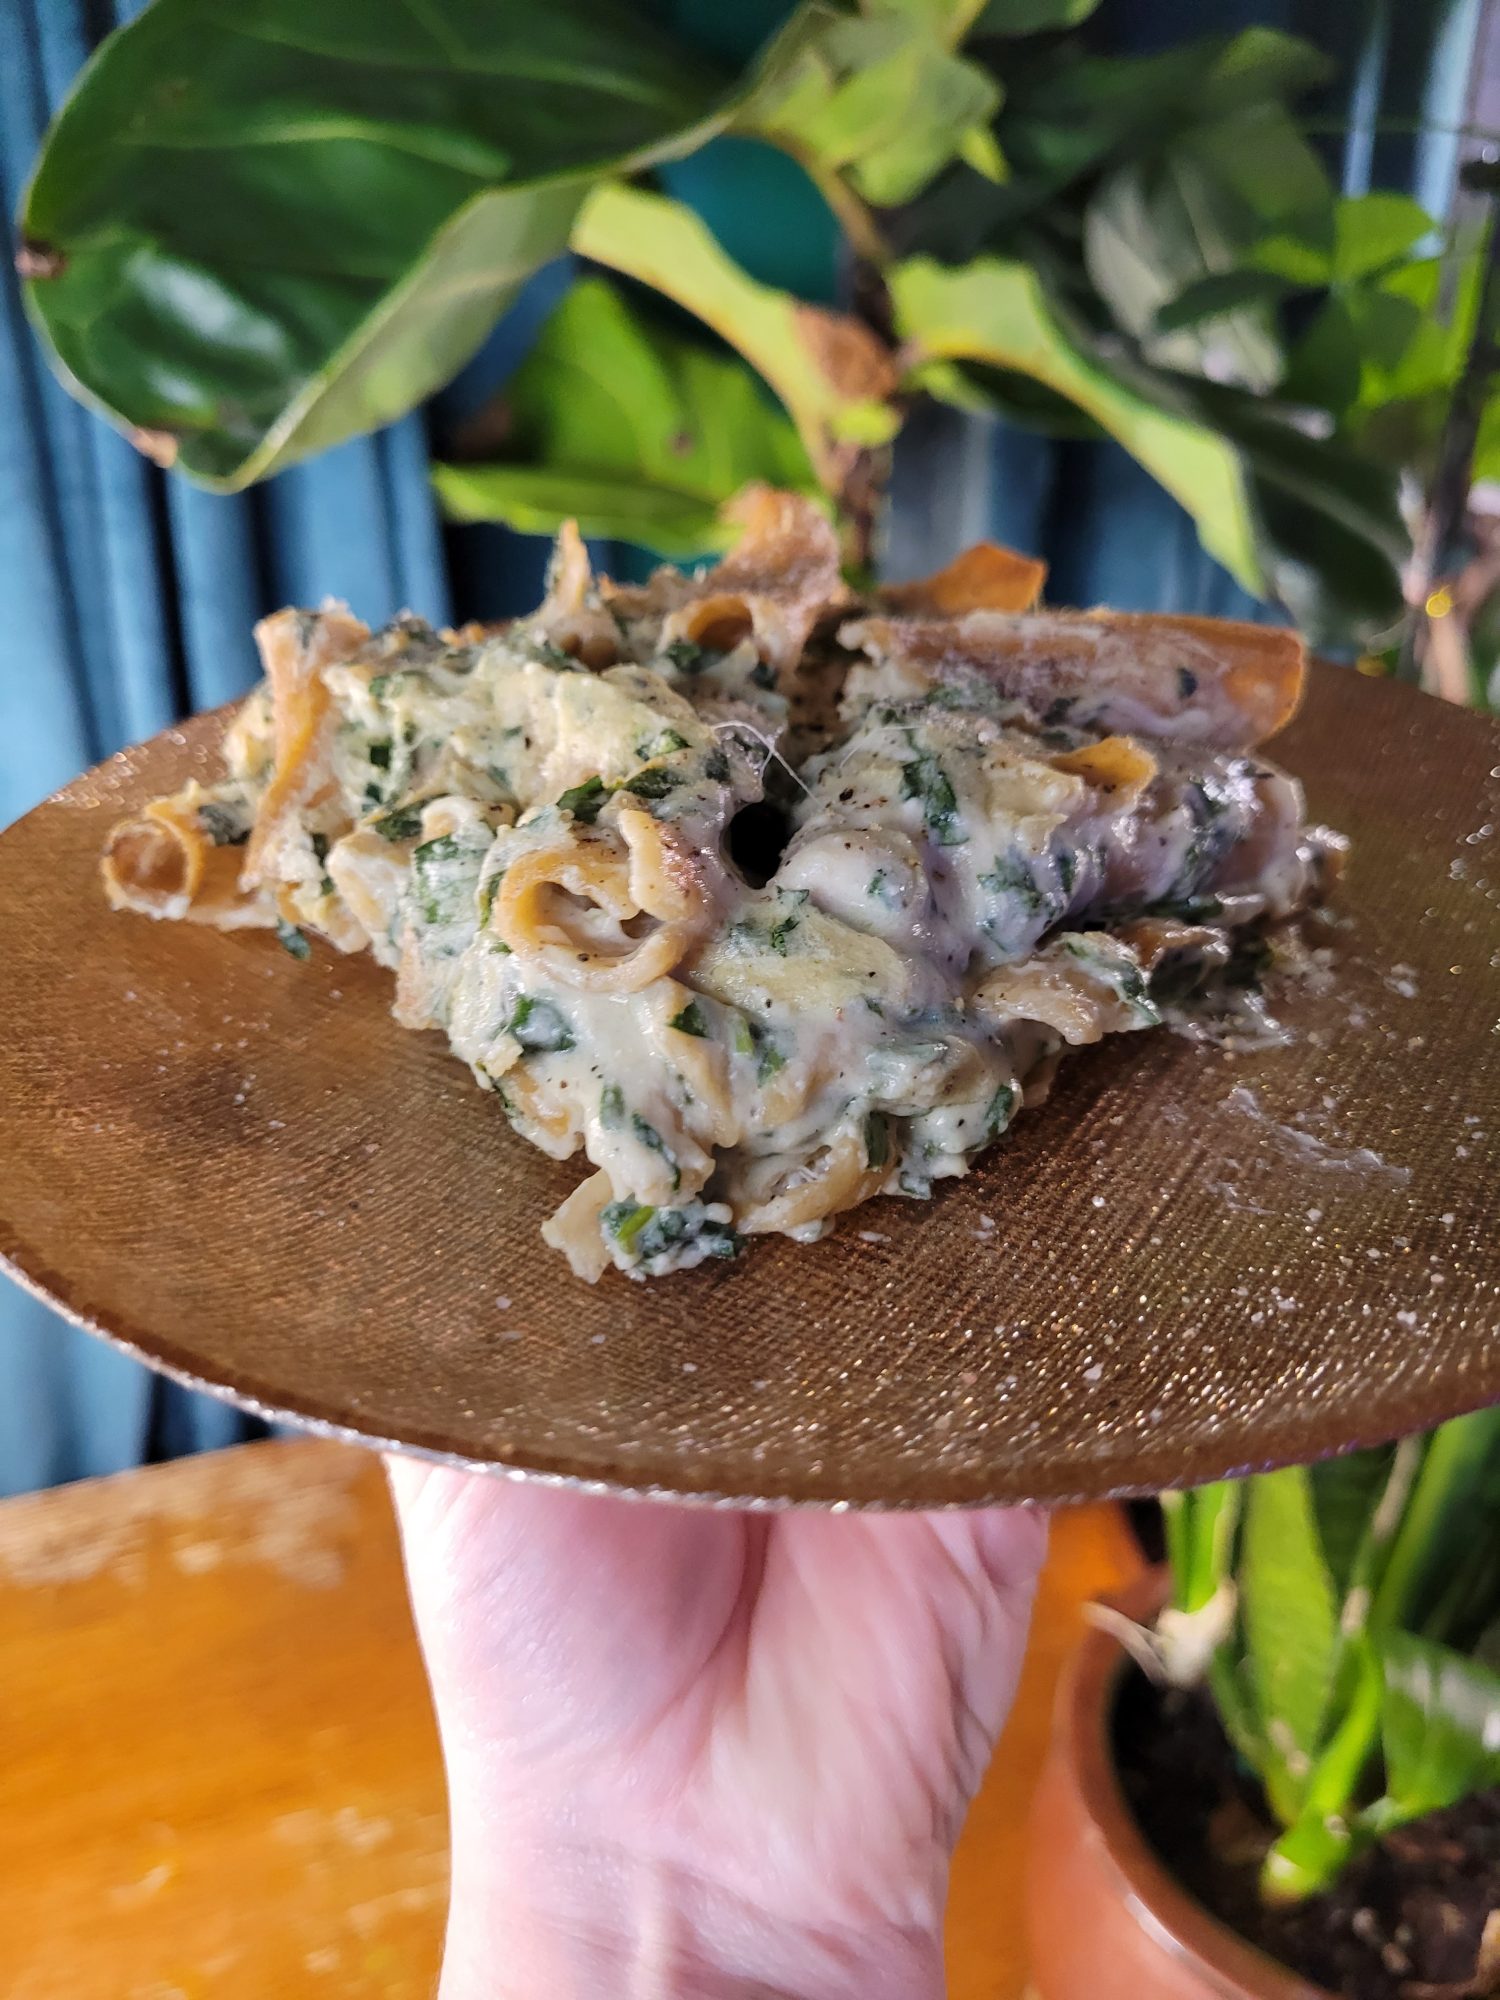
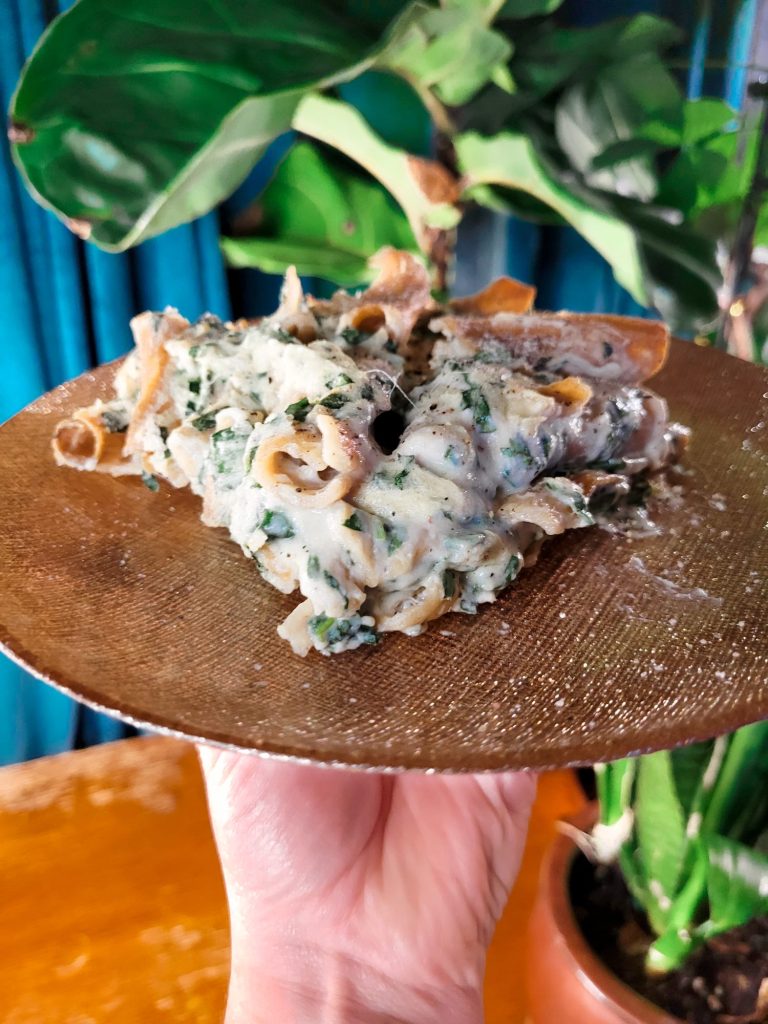
This Page Contains Edited Images
As a general rule, I don't like to edit my images and I am firmly against alteration of images in food blogs. It's not something that we generally think about when it comes to recipes. But food styling, editing, alteration, and even faking entirely is just as rampant a problem in the recipe realm as anything else! Cooking is a very visual art and you can tell when a lot of foods are cooked based on the color. So, when this is altered and you can't use the coloration as a gauge, it makes it quite difficult to follow some recipes. I have an entire article about Food Styling and Unrealistic Expectations of Recipes.
Because of this, I try very hard not to alter any of my photos. I like to take photos with natural sunlight during the day. Ordinarily this is very true to color and I don't edit the photos at all. However, since my place is very warm with a lot of yellow lighting, sometimes my camera overcompensates and ends up with an unnatural blue tone. In the following images on this page, I adjusted the levels and hue to try and make this more true to color. In the interest of transparency, these are the before and after photos.


Leave a Reply