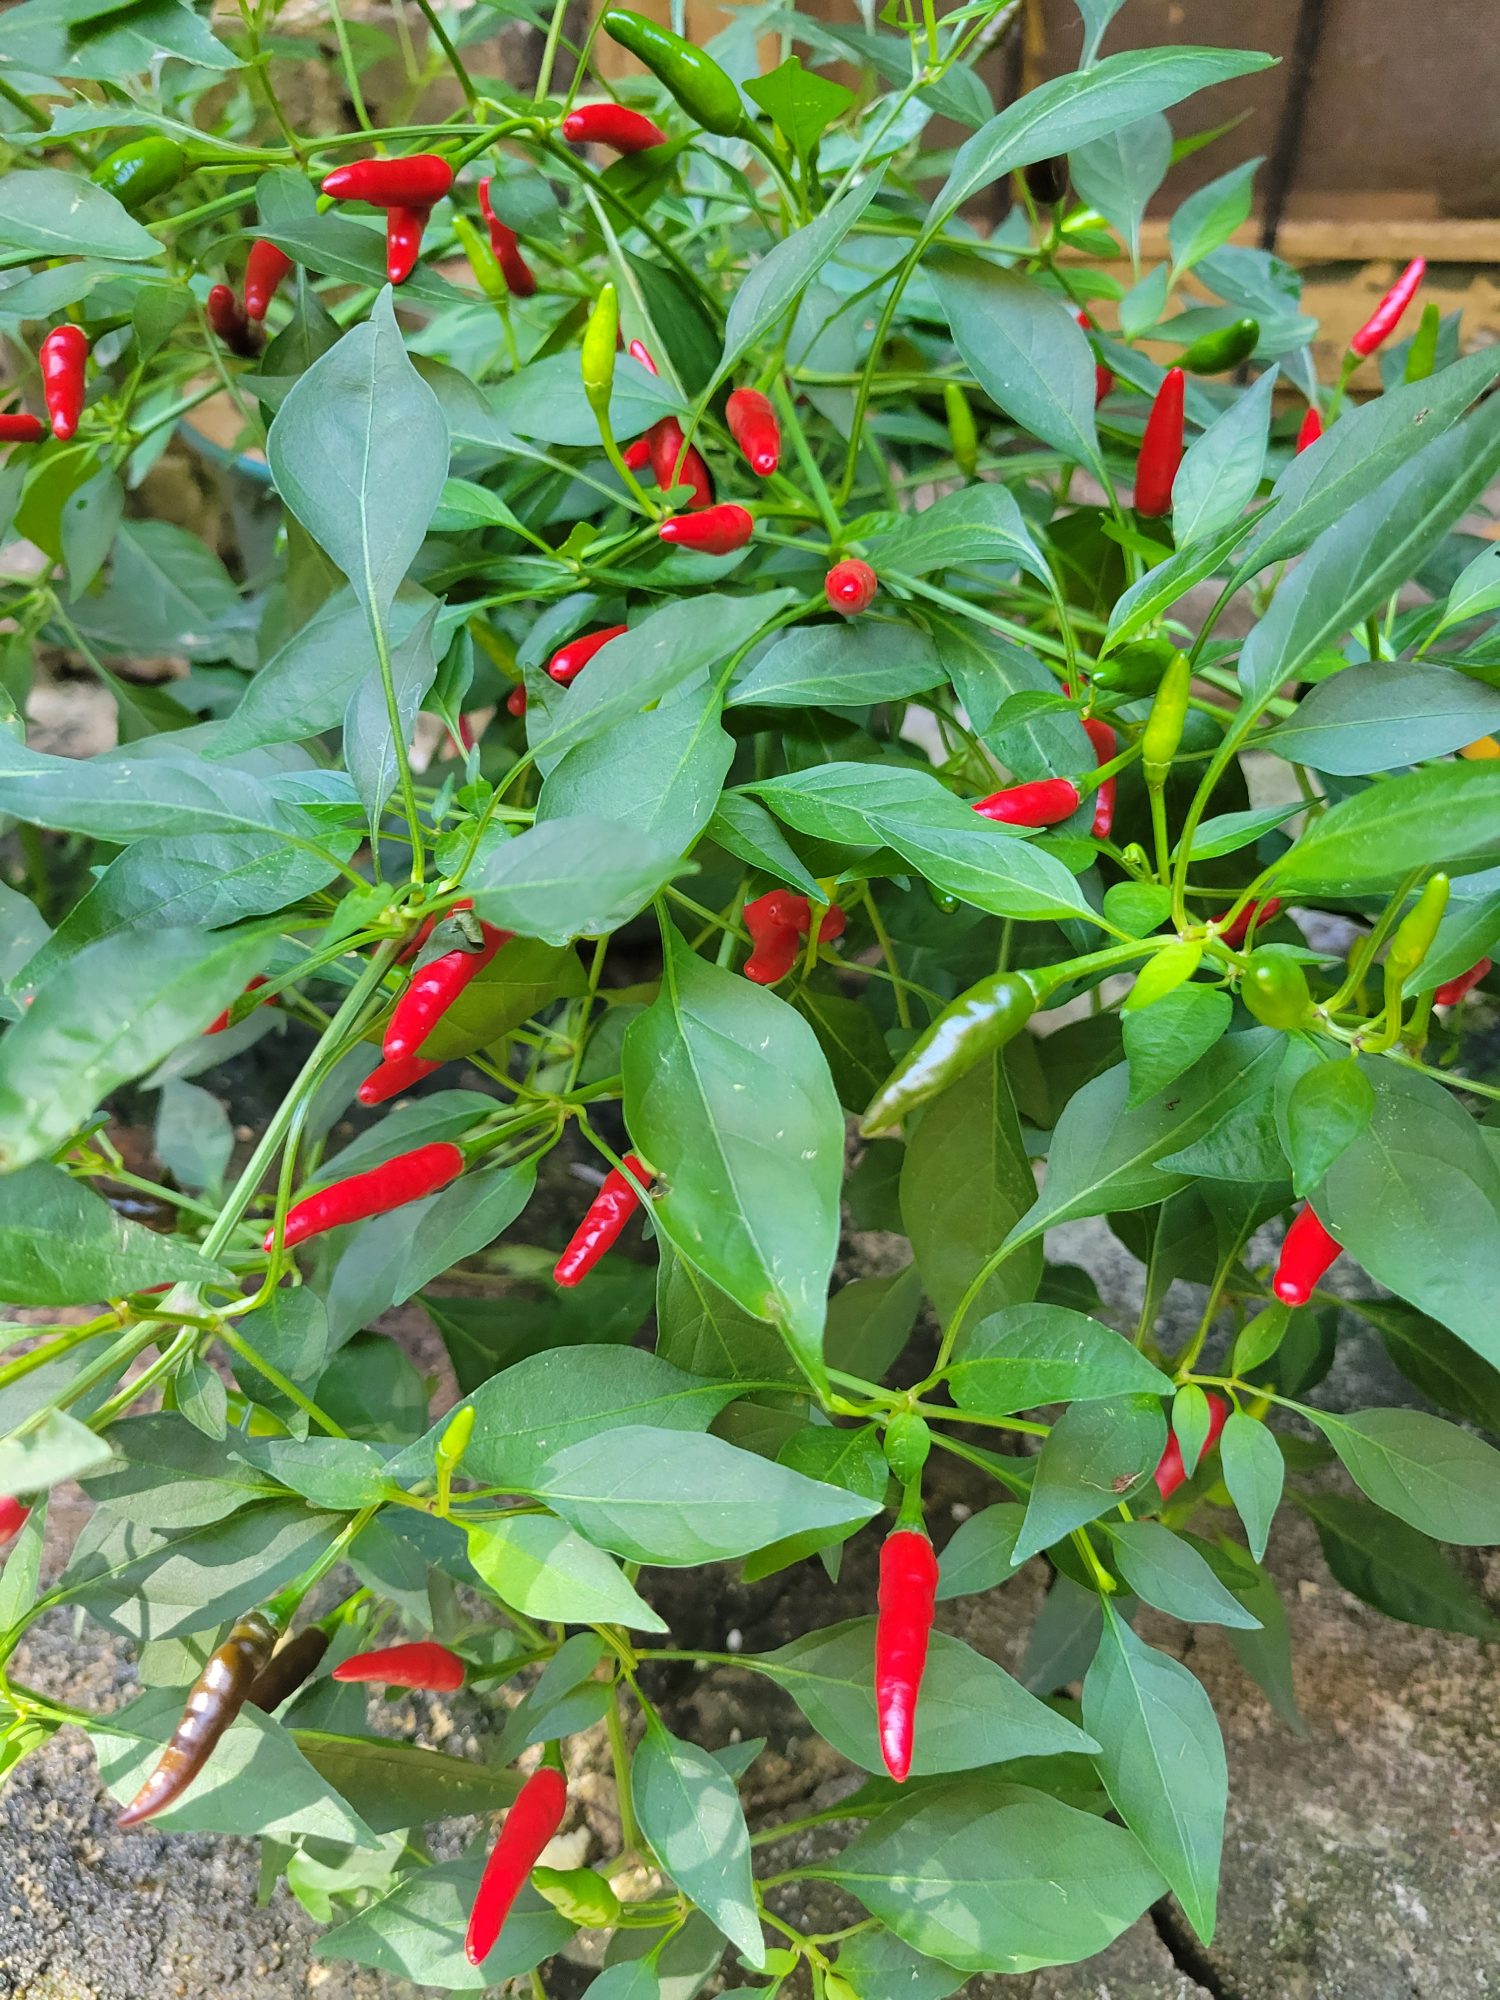
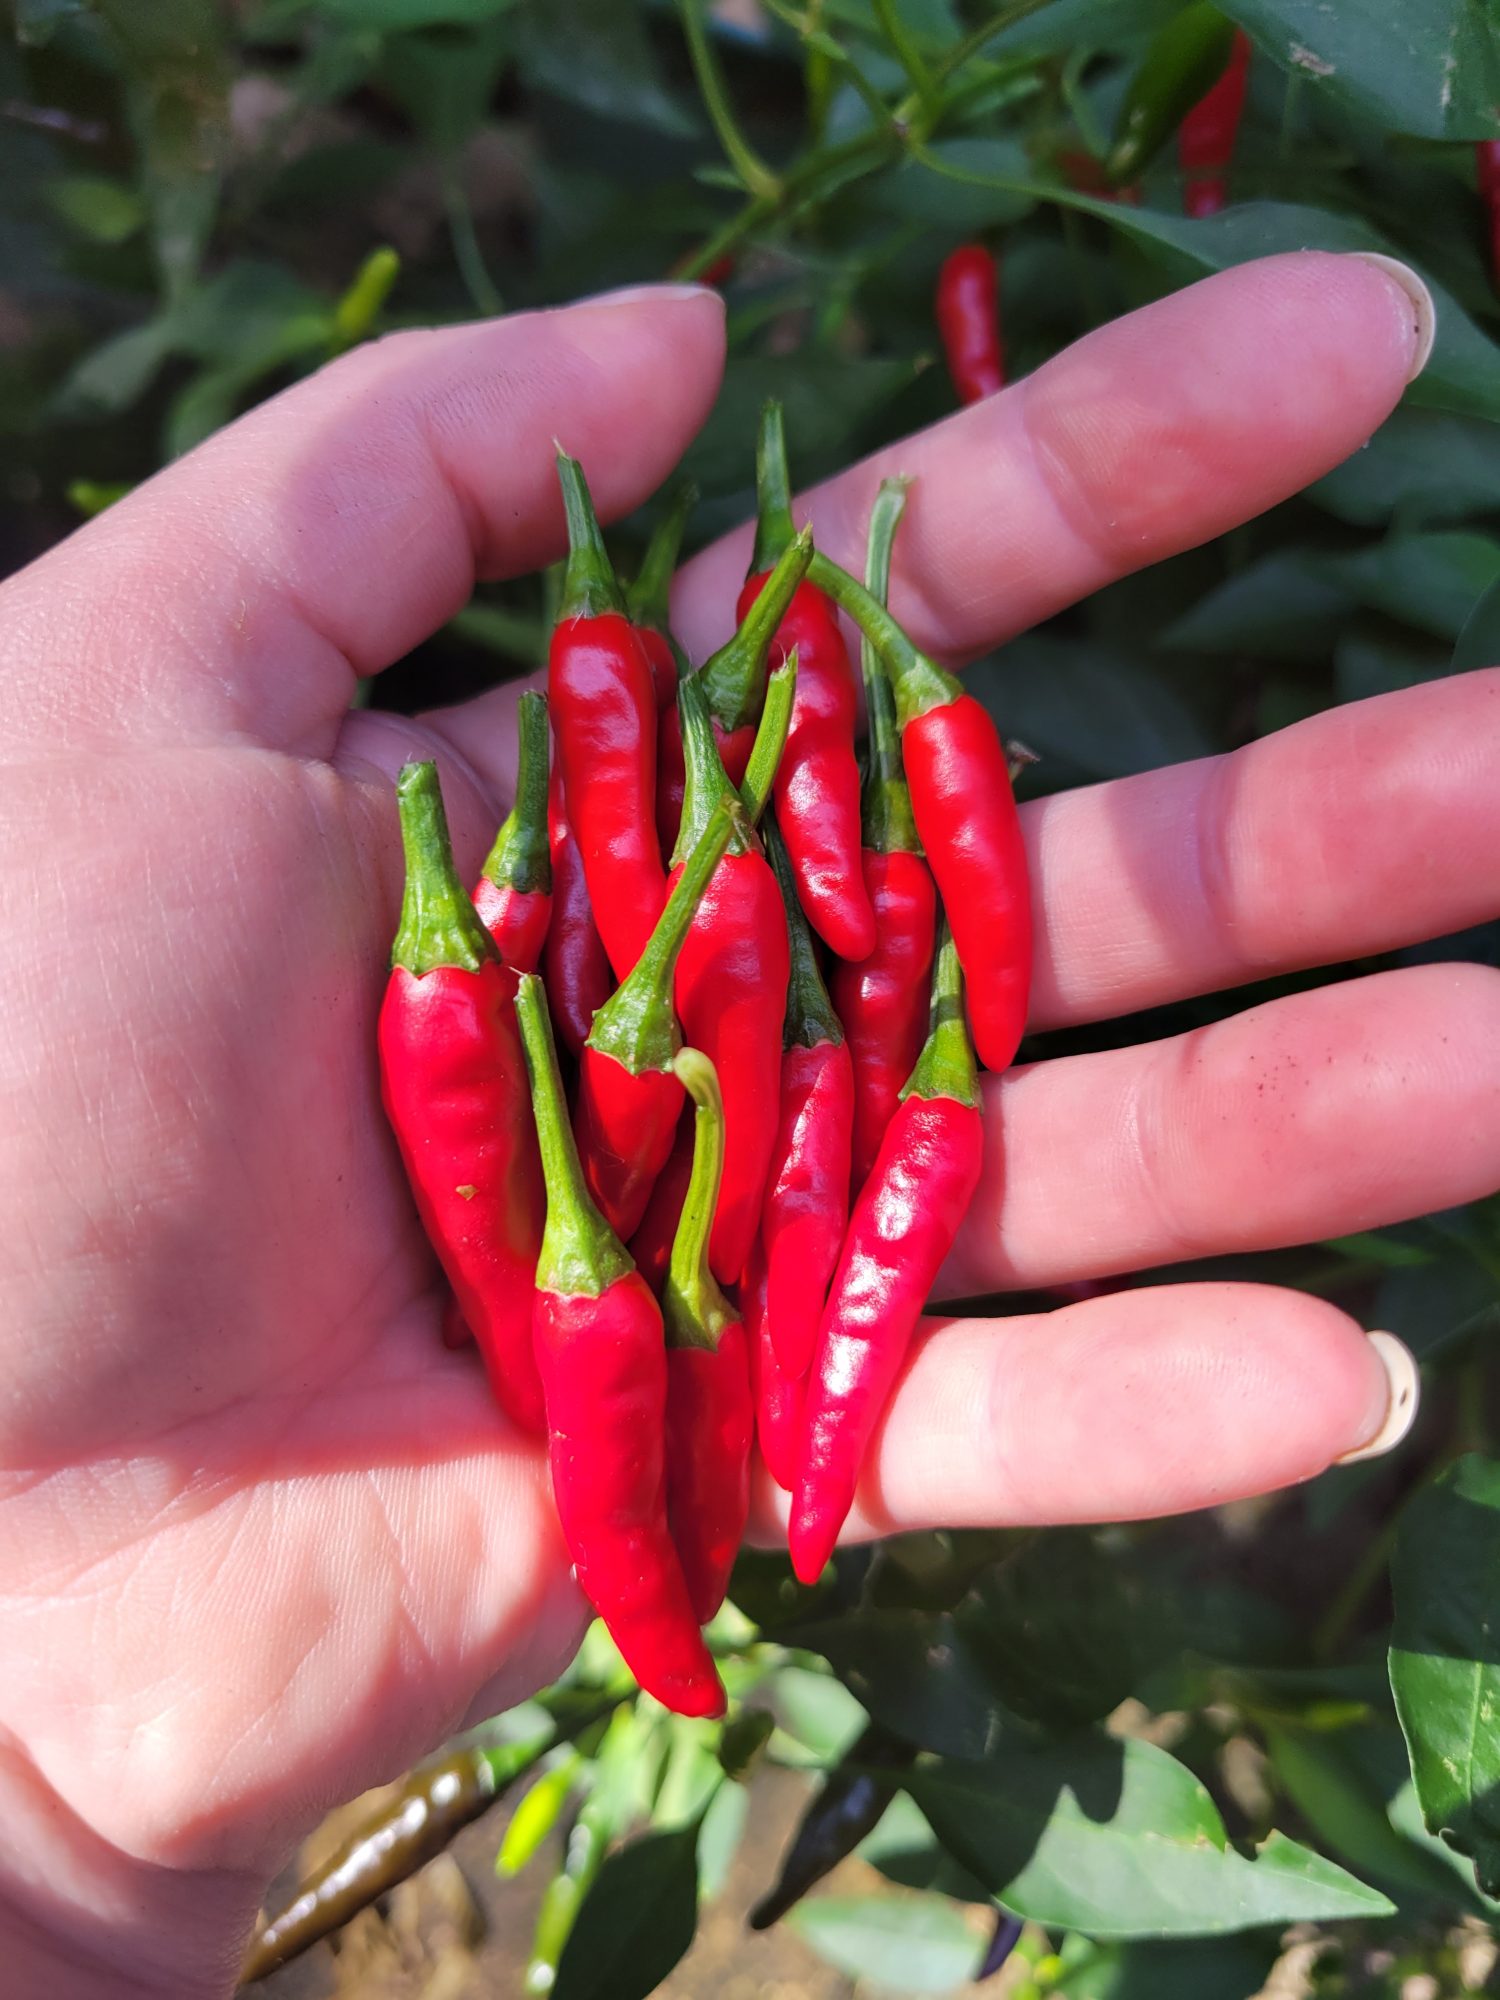
My first peppers of the season are beginning to ripen! This is quite late in the season. But Wisconsin had a particularly bad spring this year. It does often snow in April. Although waiting until the end of May or June to even start peppers outside takes a toll! Plus, my porch gets absolutely abysmal lighting. Where there's a will, there's a way, though, and these plucky little peppers are finally ripe enough in a quantity to actually make something with. I'm absolutely obsessed with enchilada sauce, though, so Thai Dragon Enchilada Sauce is definitely my first go-to!
I've had Thai peppers before. I tend to use them more for curry than enchilada sauce. However, my local plant supply store had some beautiful Thai dragon peppers and I couldn't help myself. I'm glad that I did, though, because these have been my most abundant peppers this year! I tend to throw every seed and starter plant that I can get my hands on into as many pots as I can fit on my porch and hope for the best. And these certainly are the best this year! Although you can mix and match in any similarly sized pepper for this recipe.
Gallery
Variations of Thai Dragon Enchilada Sauce
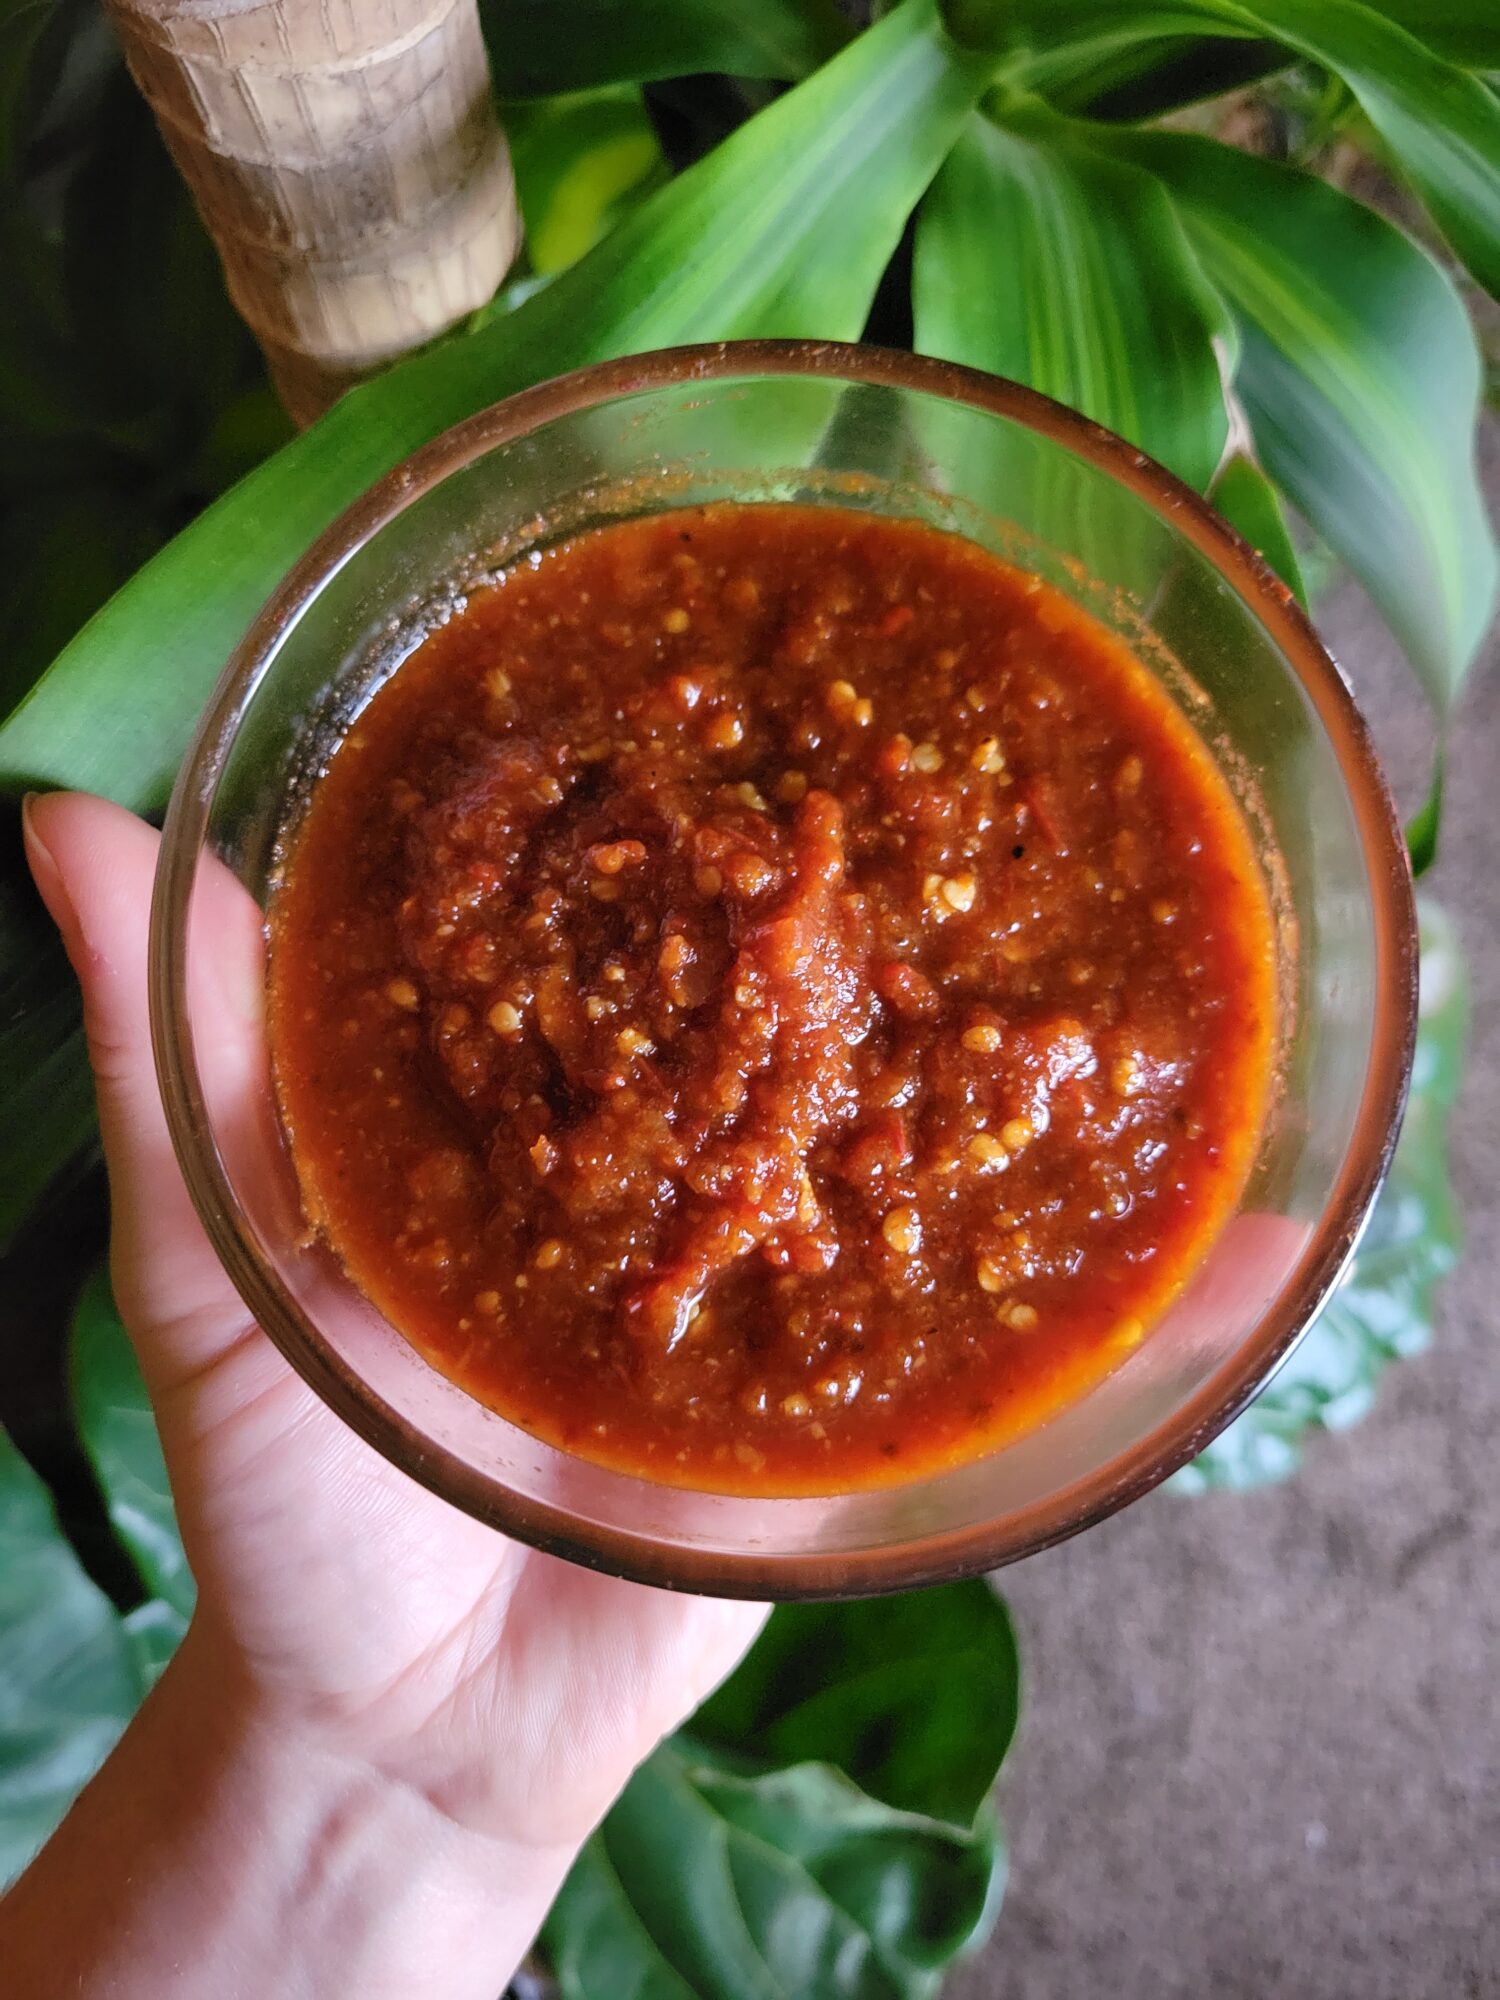
I don't always have Thai dragon peppers to make enchilada sauce with. Although I do tend to have a lot of other Thai peppers in general. Last year I made this same recipe with slightly different variations a plethora of times. It's really one of the more delicious sauce recipes and will probably be by go-to year after year! The color will vary slightly depending on the tomatoes and other ingredients that you add in. The vibrancy of color and taste can also vary depending on the plant.
This Thai Dragon Enchilada Sauce is a mixing of seemingly disparate flavor profiles in a delicious blend of a classic Latin American favorite. I make this enchilada sauce every year. It's incredibly simple to toss together. Just roast whatever your favorite peppers that you have on hand, blend with tomatoes, garlic, onion, cumin, salt, pepper, and enough water to combine. Then, simmer until the desired consistency is reached. I like mine a little bit on the thinner side because I use it almost like a hot sauce substitute. Although you can certainly simmer it down to a thicker consistency in no time at all!
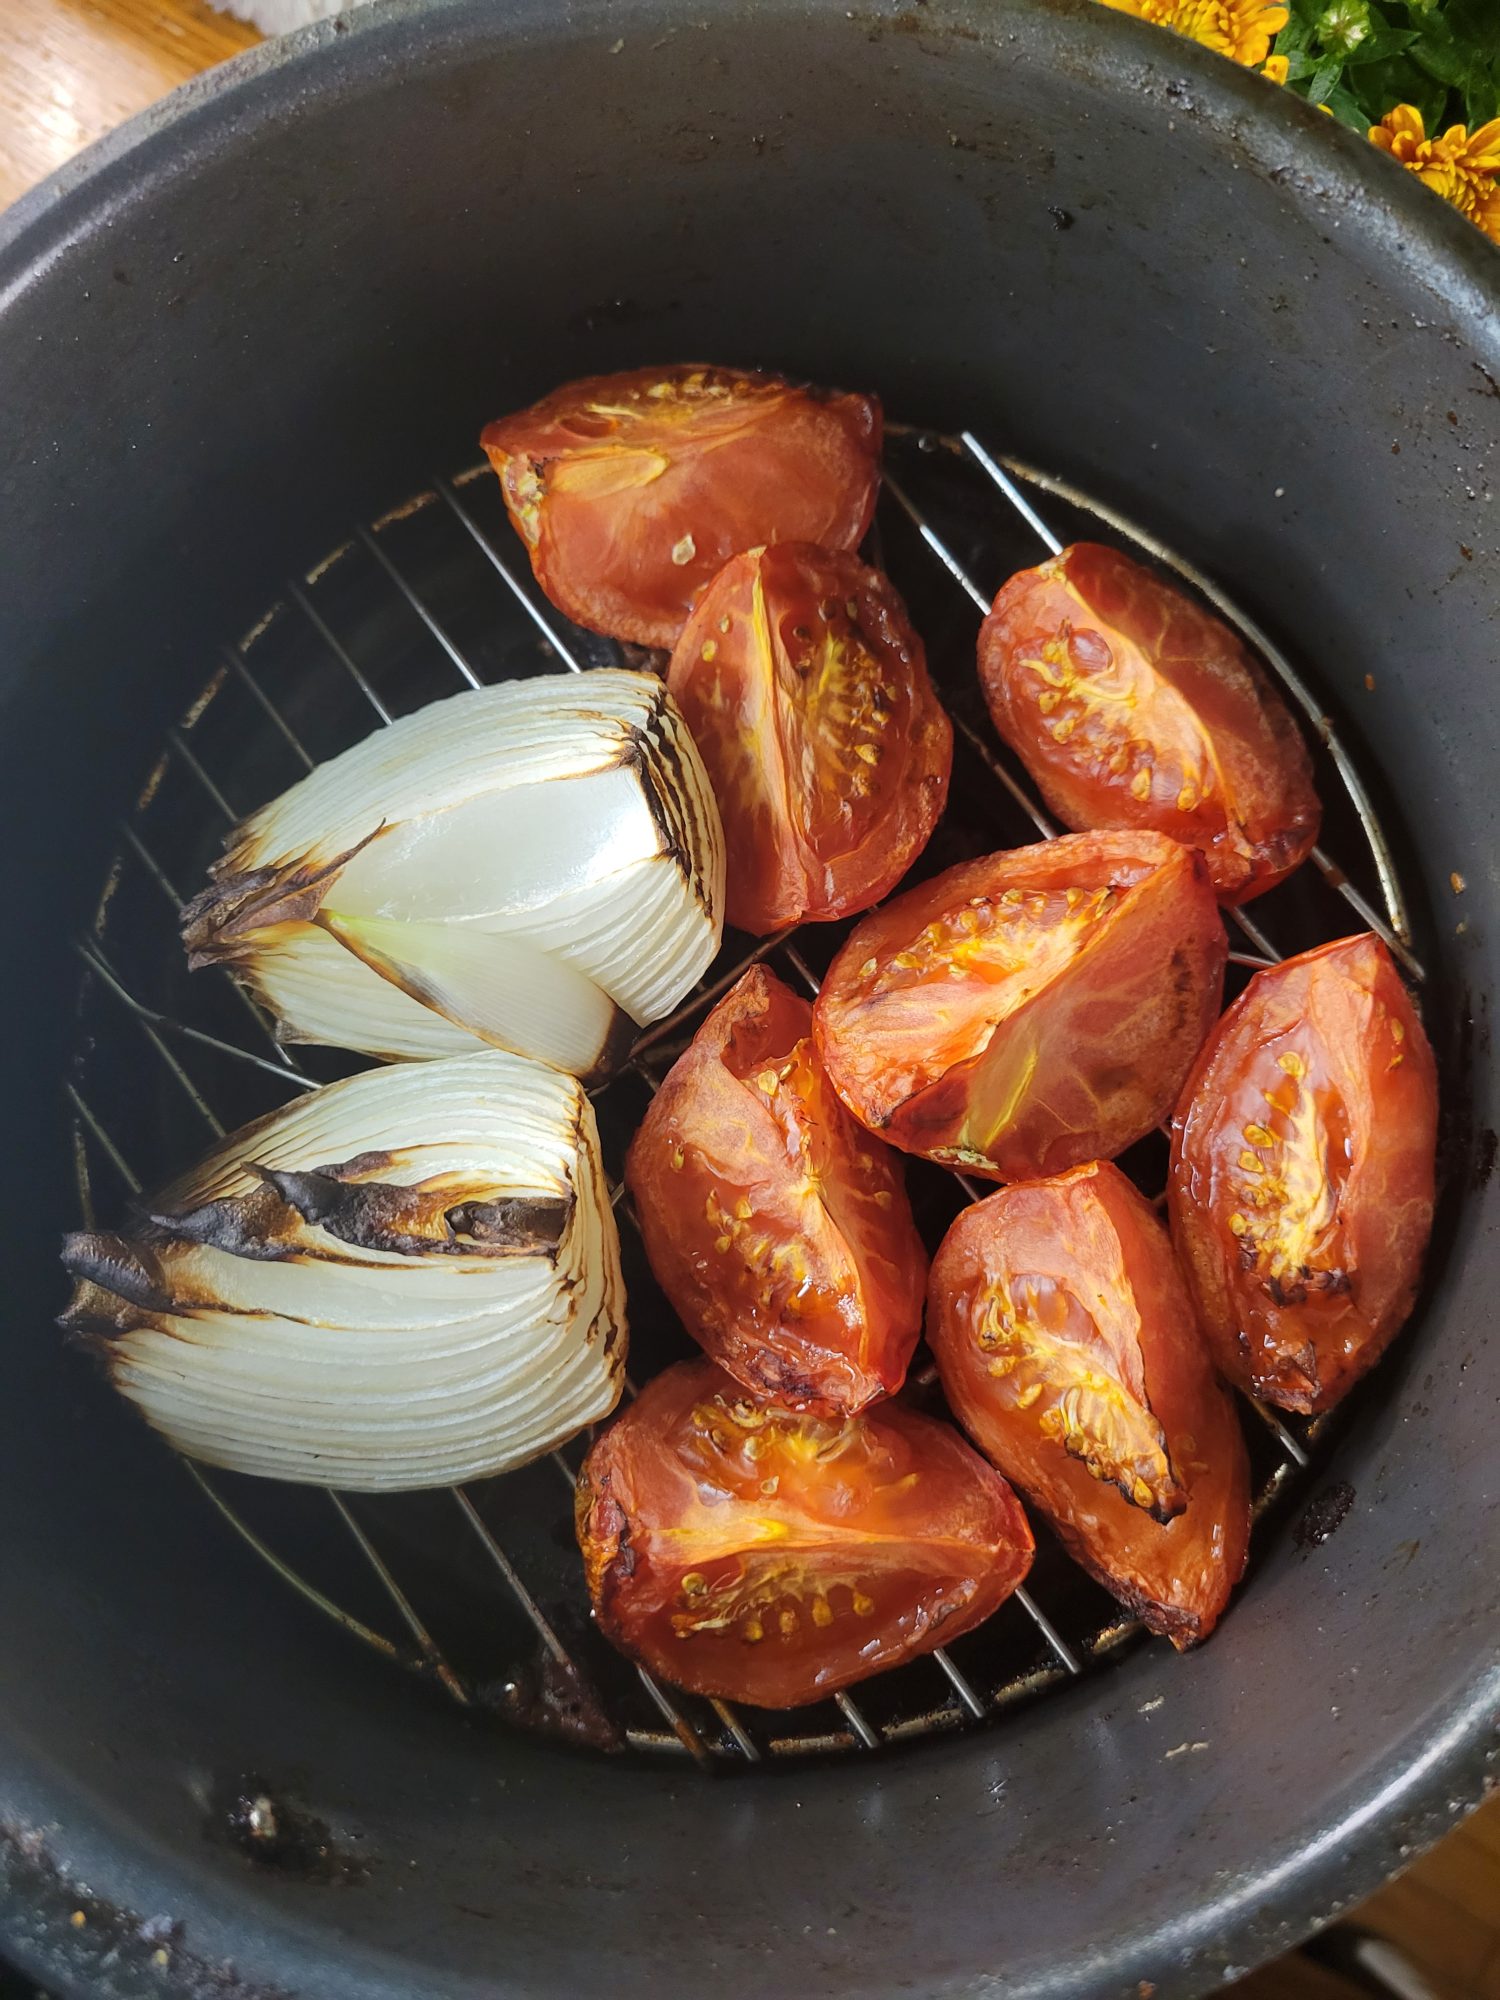
Place the peppers, tomatoes, garlic, and onion in the air fryer. It can help to cut the tomatoes and onion in half and cut the stems off of the chilis so that they don't burst while cooking.Depending on the size of your air fryer, you may need to break this up into multiple batches. I cooked the peppers and the rest of the fruits and vegetables separately. You can also substitute any other roasting method of choice. An oven or BBQ would do just fine. It's more to get a char flavor than explicitly necessary.
Cook at 350 degrees Fahrenheit for 5-7 minutes, or until lightly charred. The skin should begin to brown, but not entirely blacken or shrivel. You're trying to roast them, not dry them!
Blend
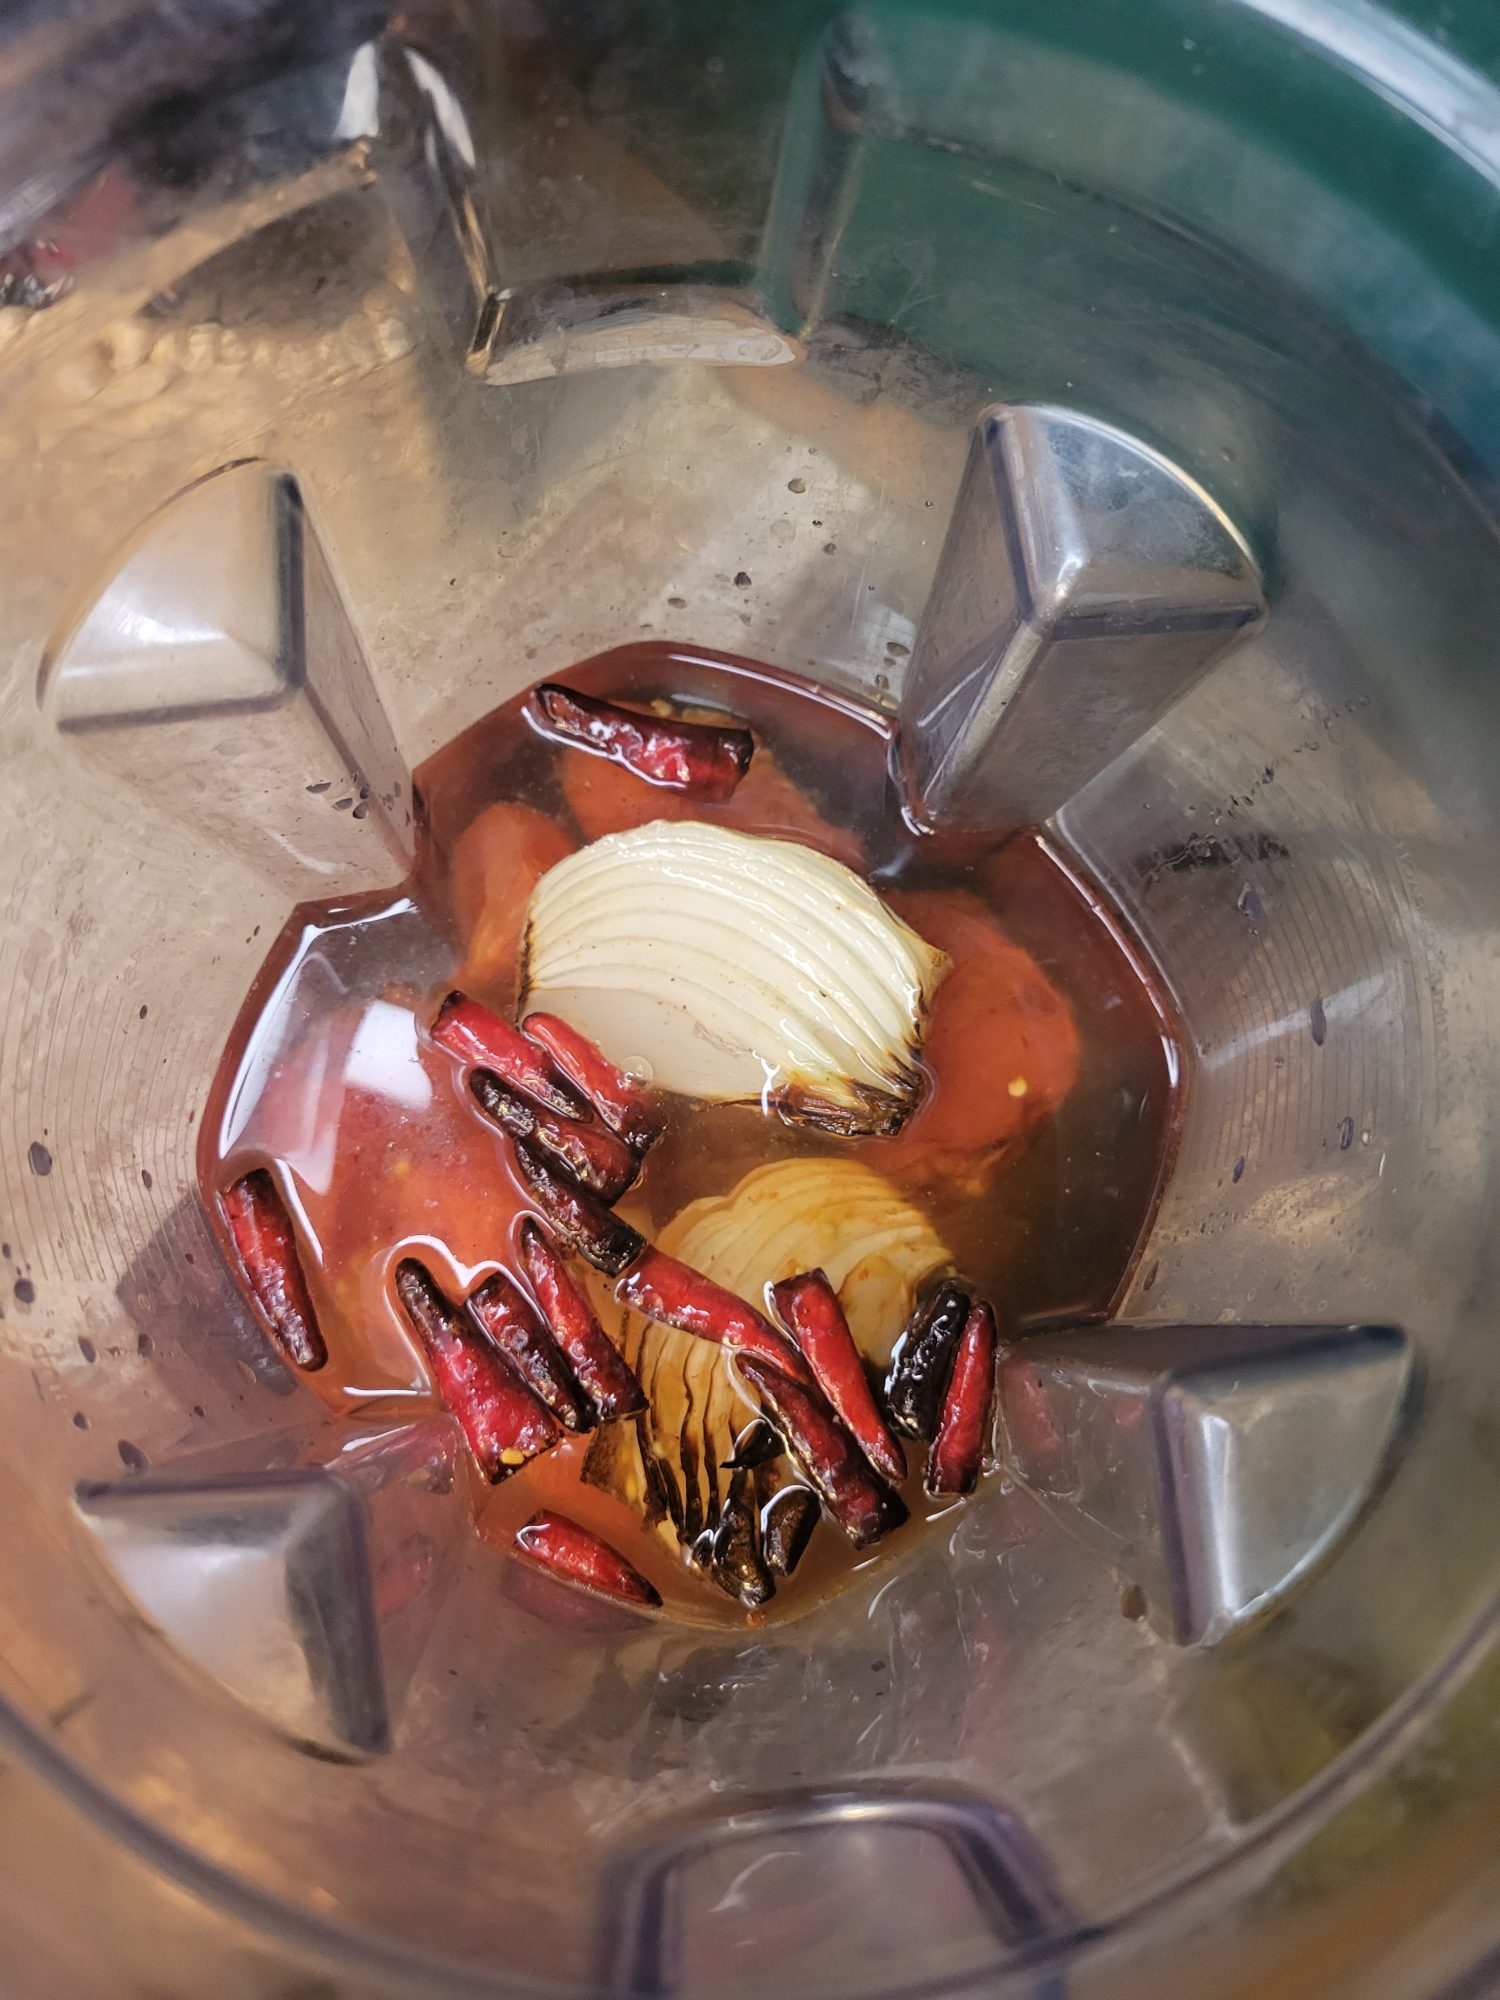
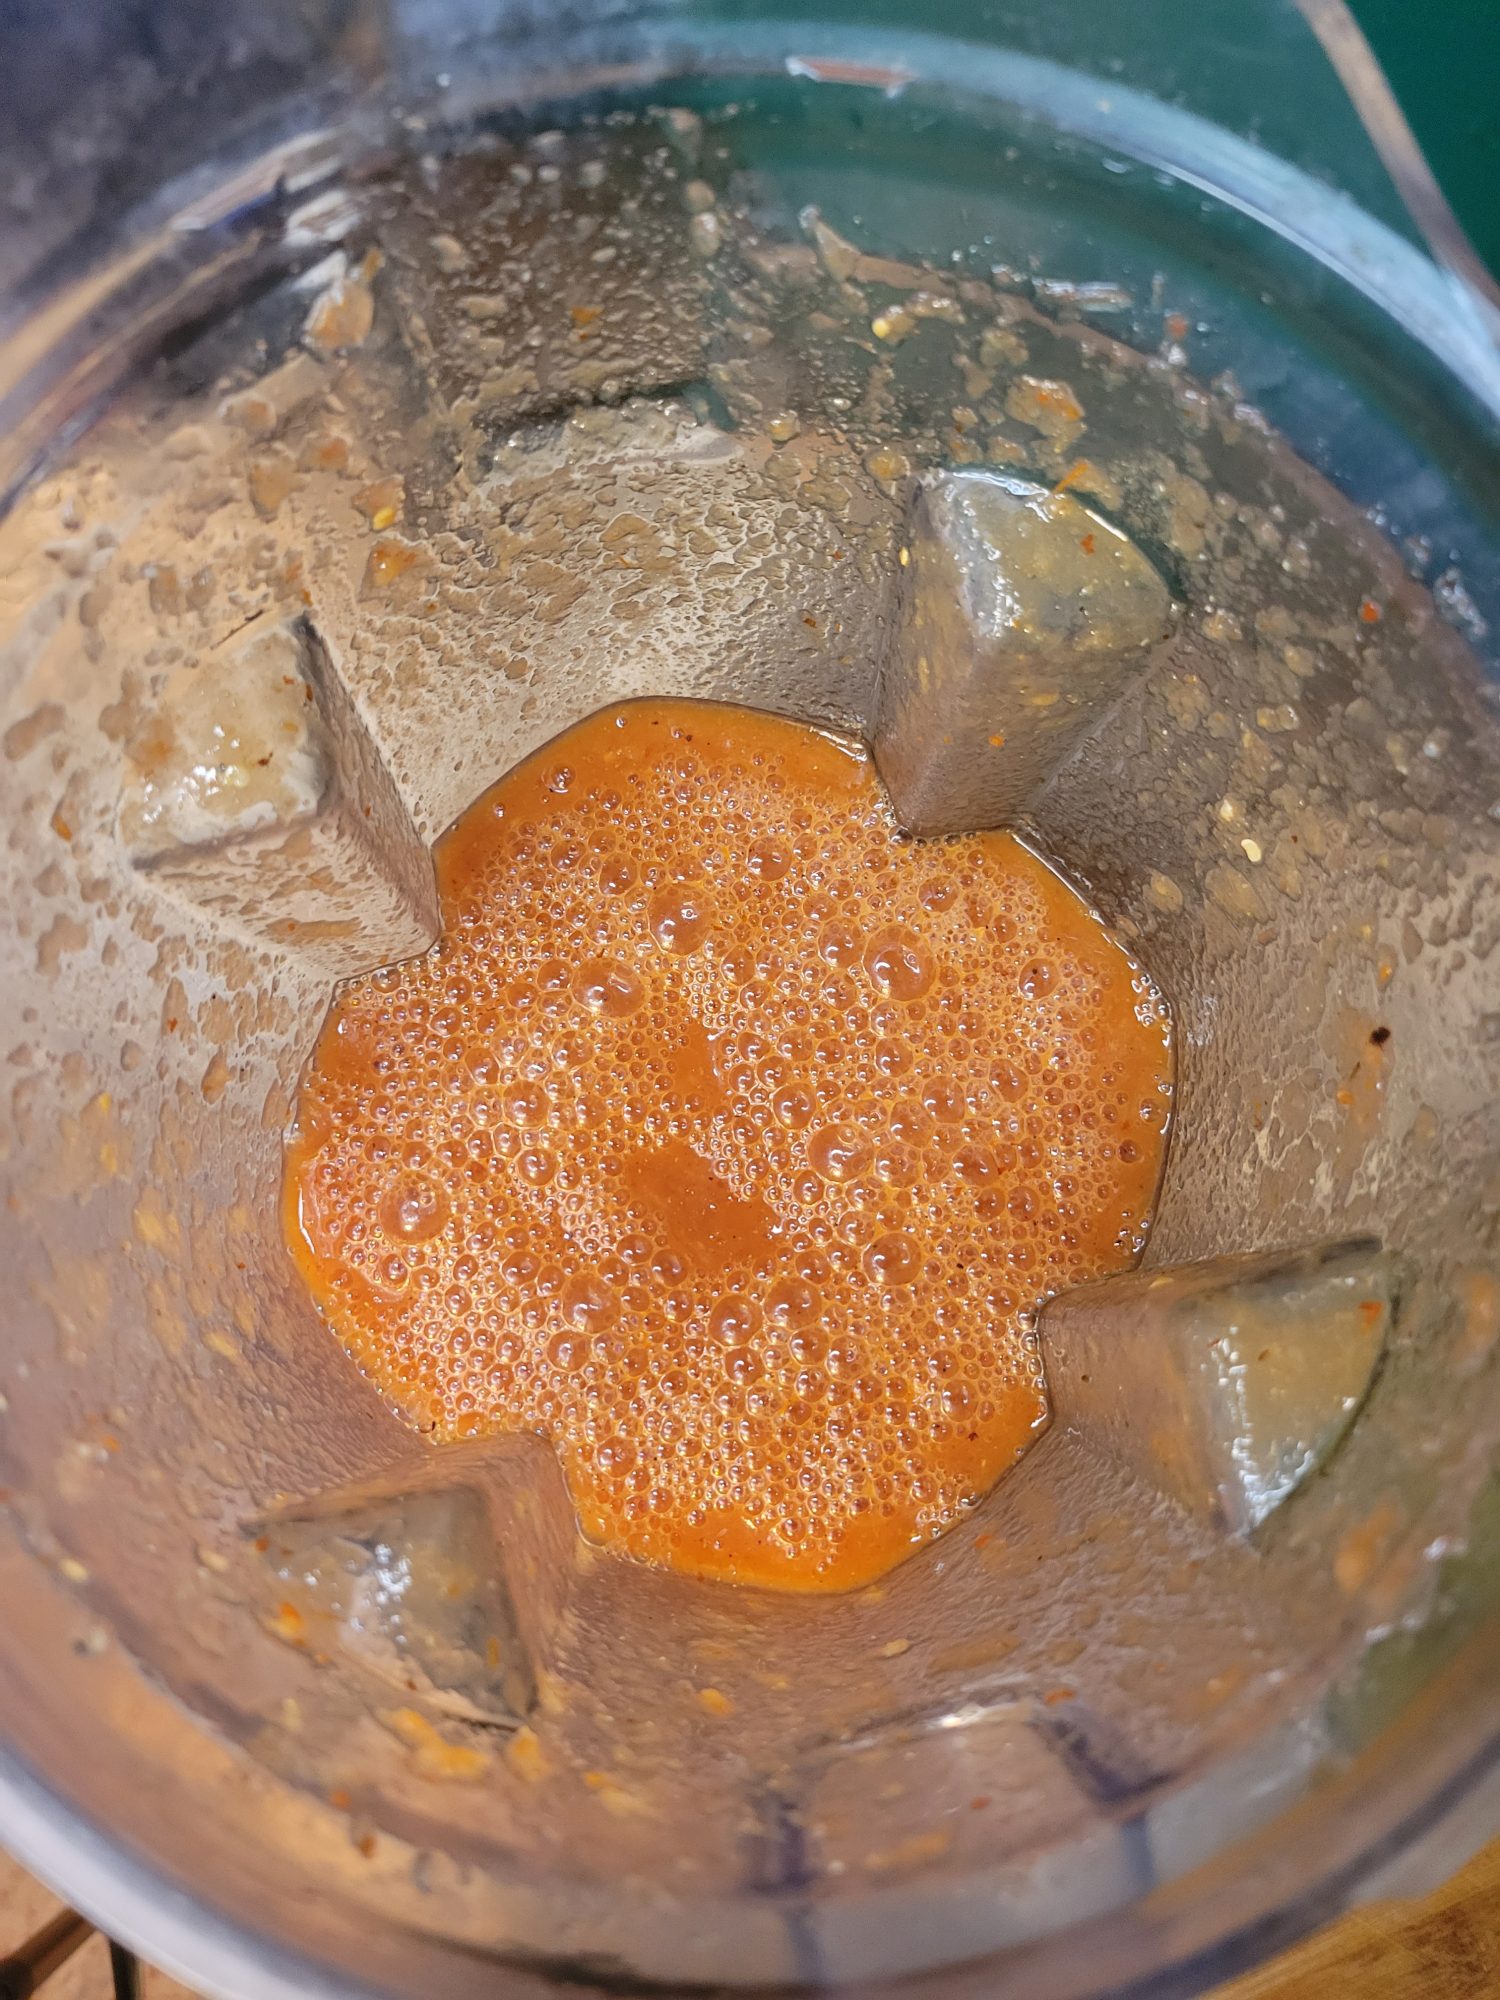
Once the produce is cool, add to a food processor with 2 cups of the water. Blend until pureed completely.In my Vitamix or Cuisinart Food Processor this takes about 15-20 seconds. In another blender, this might take a minute or two.Just be careful not to inhale the mixture when you open the lid! It's quite spicy.
Cook
Add the blended produce, spices, and the remaining 1 cup of water (all of the ingredients) to a pot.
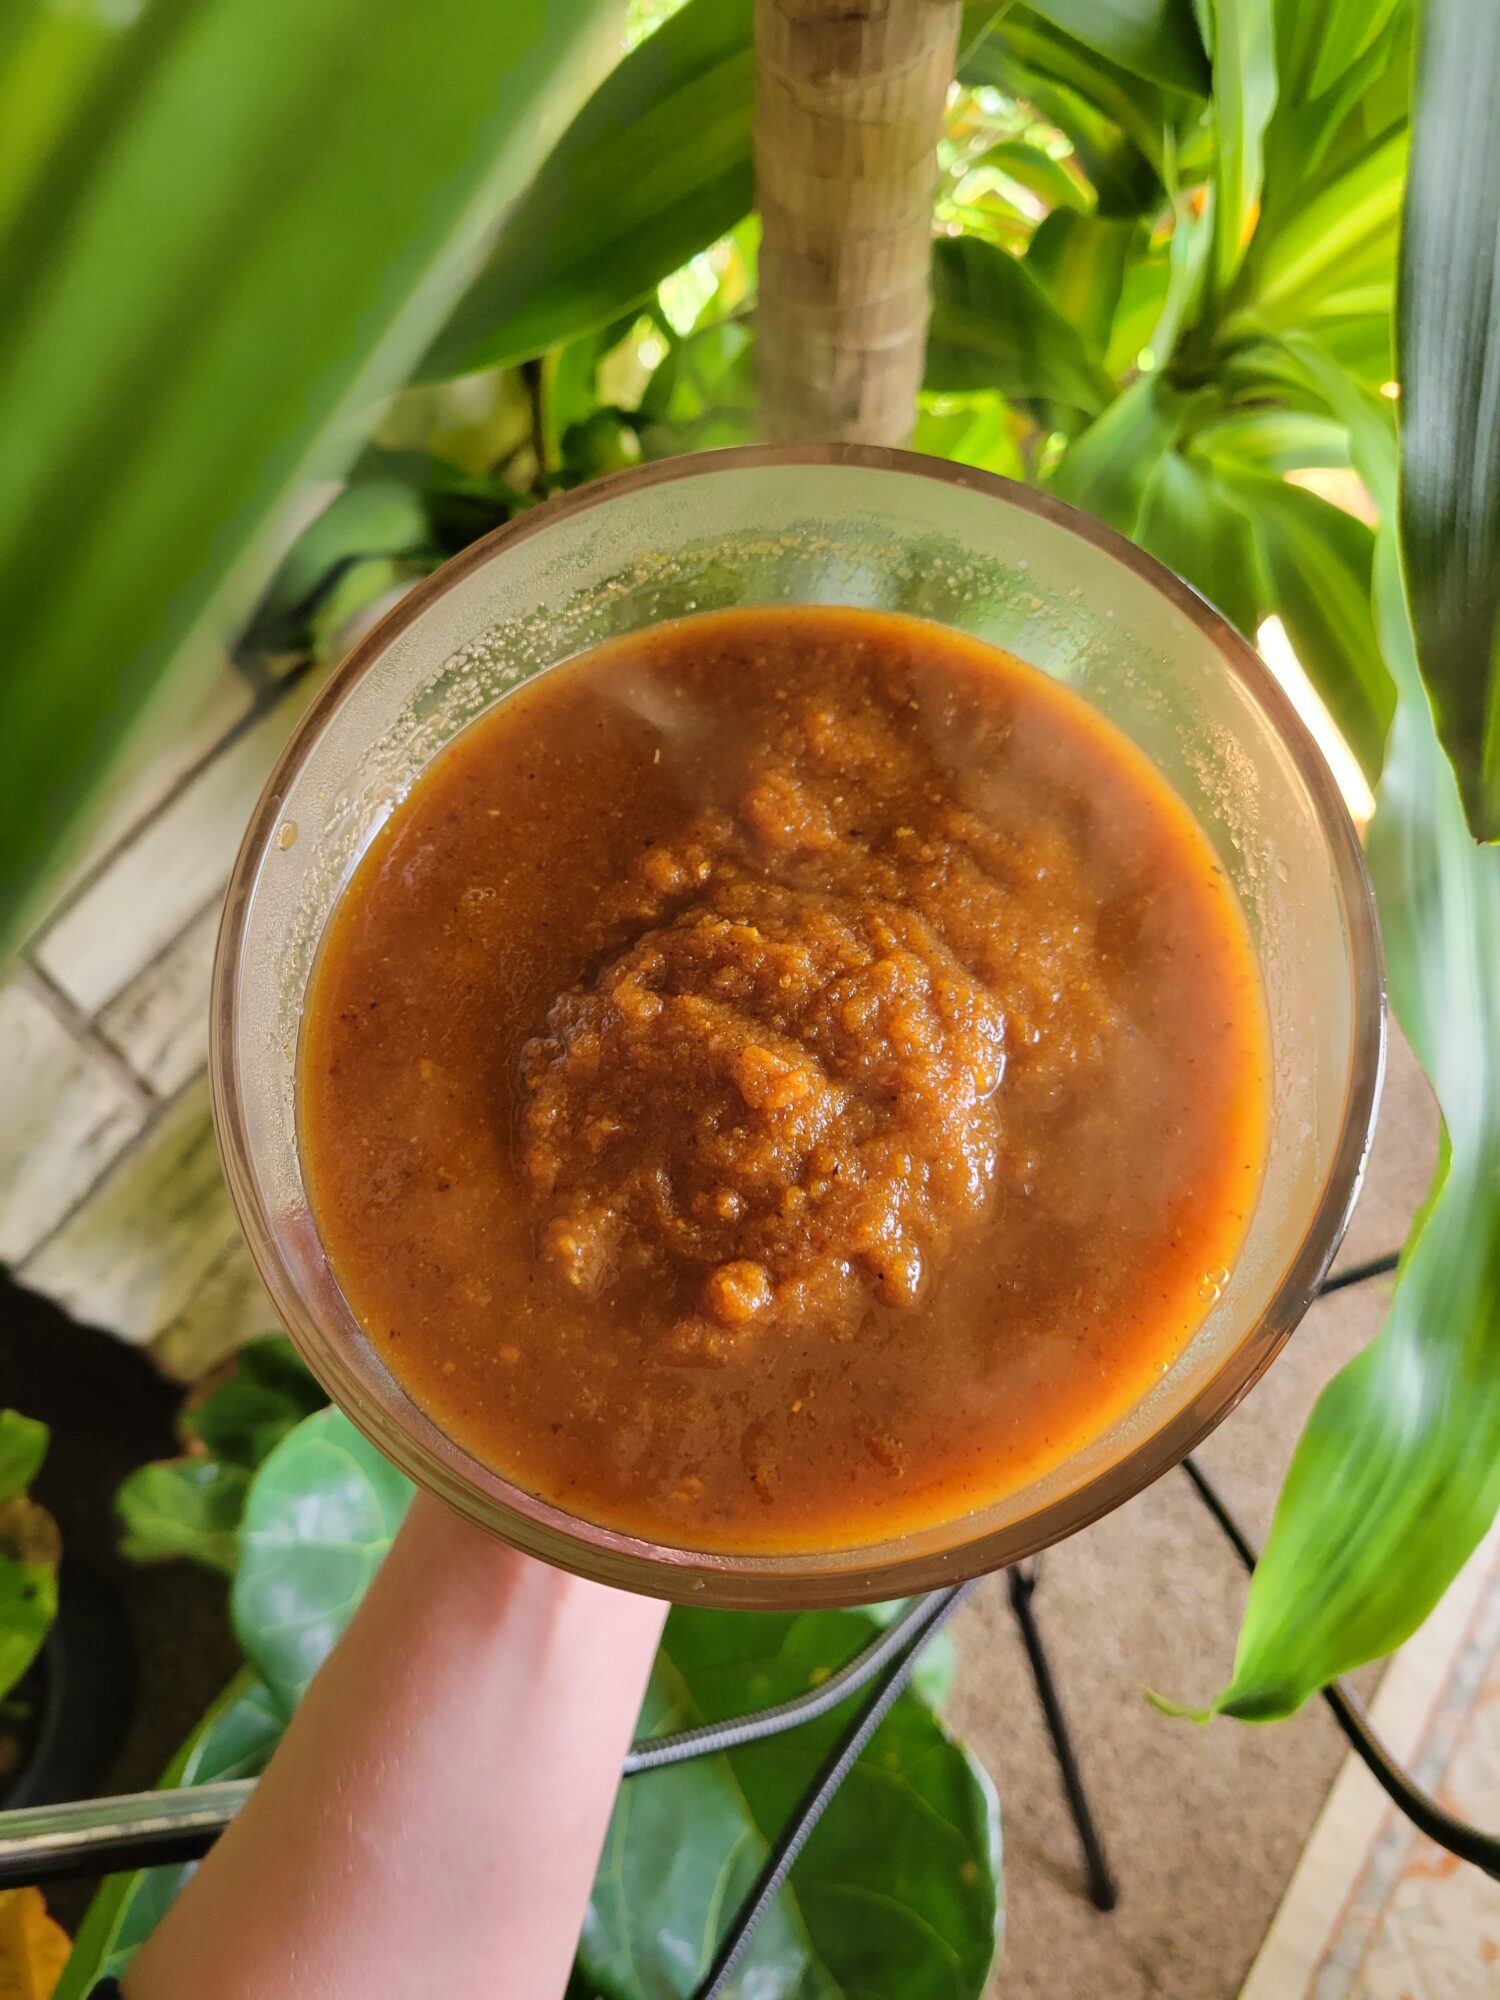
Bring to a boil over high heat and then reduce to a simmer. Simmer for 30-40 minutes, or until thickened. Make sure to stir occasionally.If the mixture reduces too quickly, reduce the heat or add more water 1 tbsp at a time until the desired consistency is reached. Stir constantly during this time.
Serve immediately or refrigerate. With so many hot peppers, this enchilada sauce will last a good while in the refrigerator.
Tips, Tricks, & Notes
If you do air fry the vegetables for too long, don't fret too much. You'll still end up boiling the ingredients and they will re-hydrate. You're pretty much okay with any amount of char as long as you don't seriously burn them.
You can substitute any kind of pepper of choice. Even dried peppers will re-hydrate as you simmer them. If you don't have fresh chilis or other peppers and want to use dried ones, just skip the roasting step and go straight to the cooking stage.
A Vitamix also blends pretty smoothly. If you are using a type of blender that doesn’t liquify, you can strain the mixture to remove any leftover chunks. Generally, more liquid will result in a smoother consistency, but this isn’t guaranteed and can result in a watered down flavor. Although you can potentially add more liquid to blend and then cook longer to simmer down afterwards.
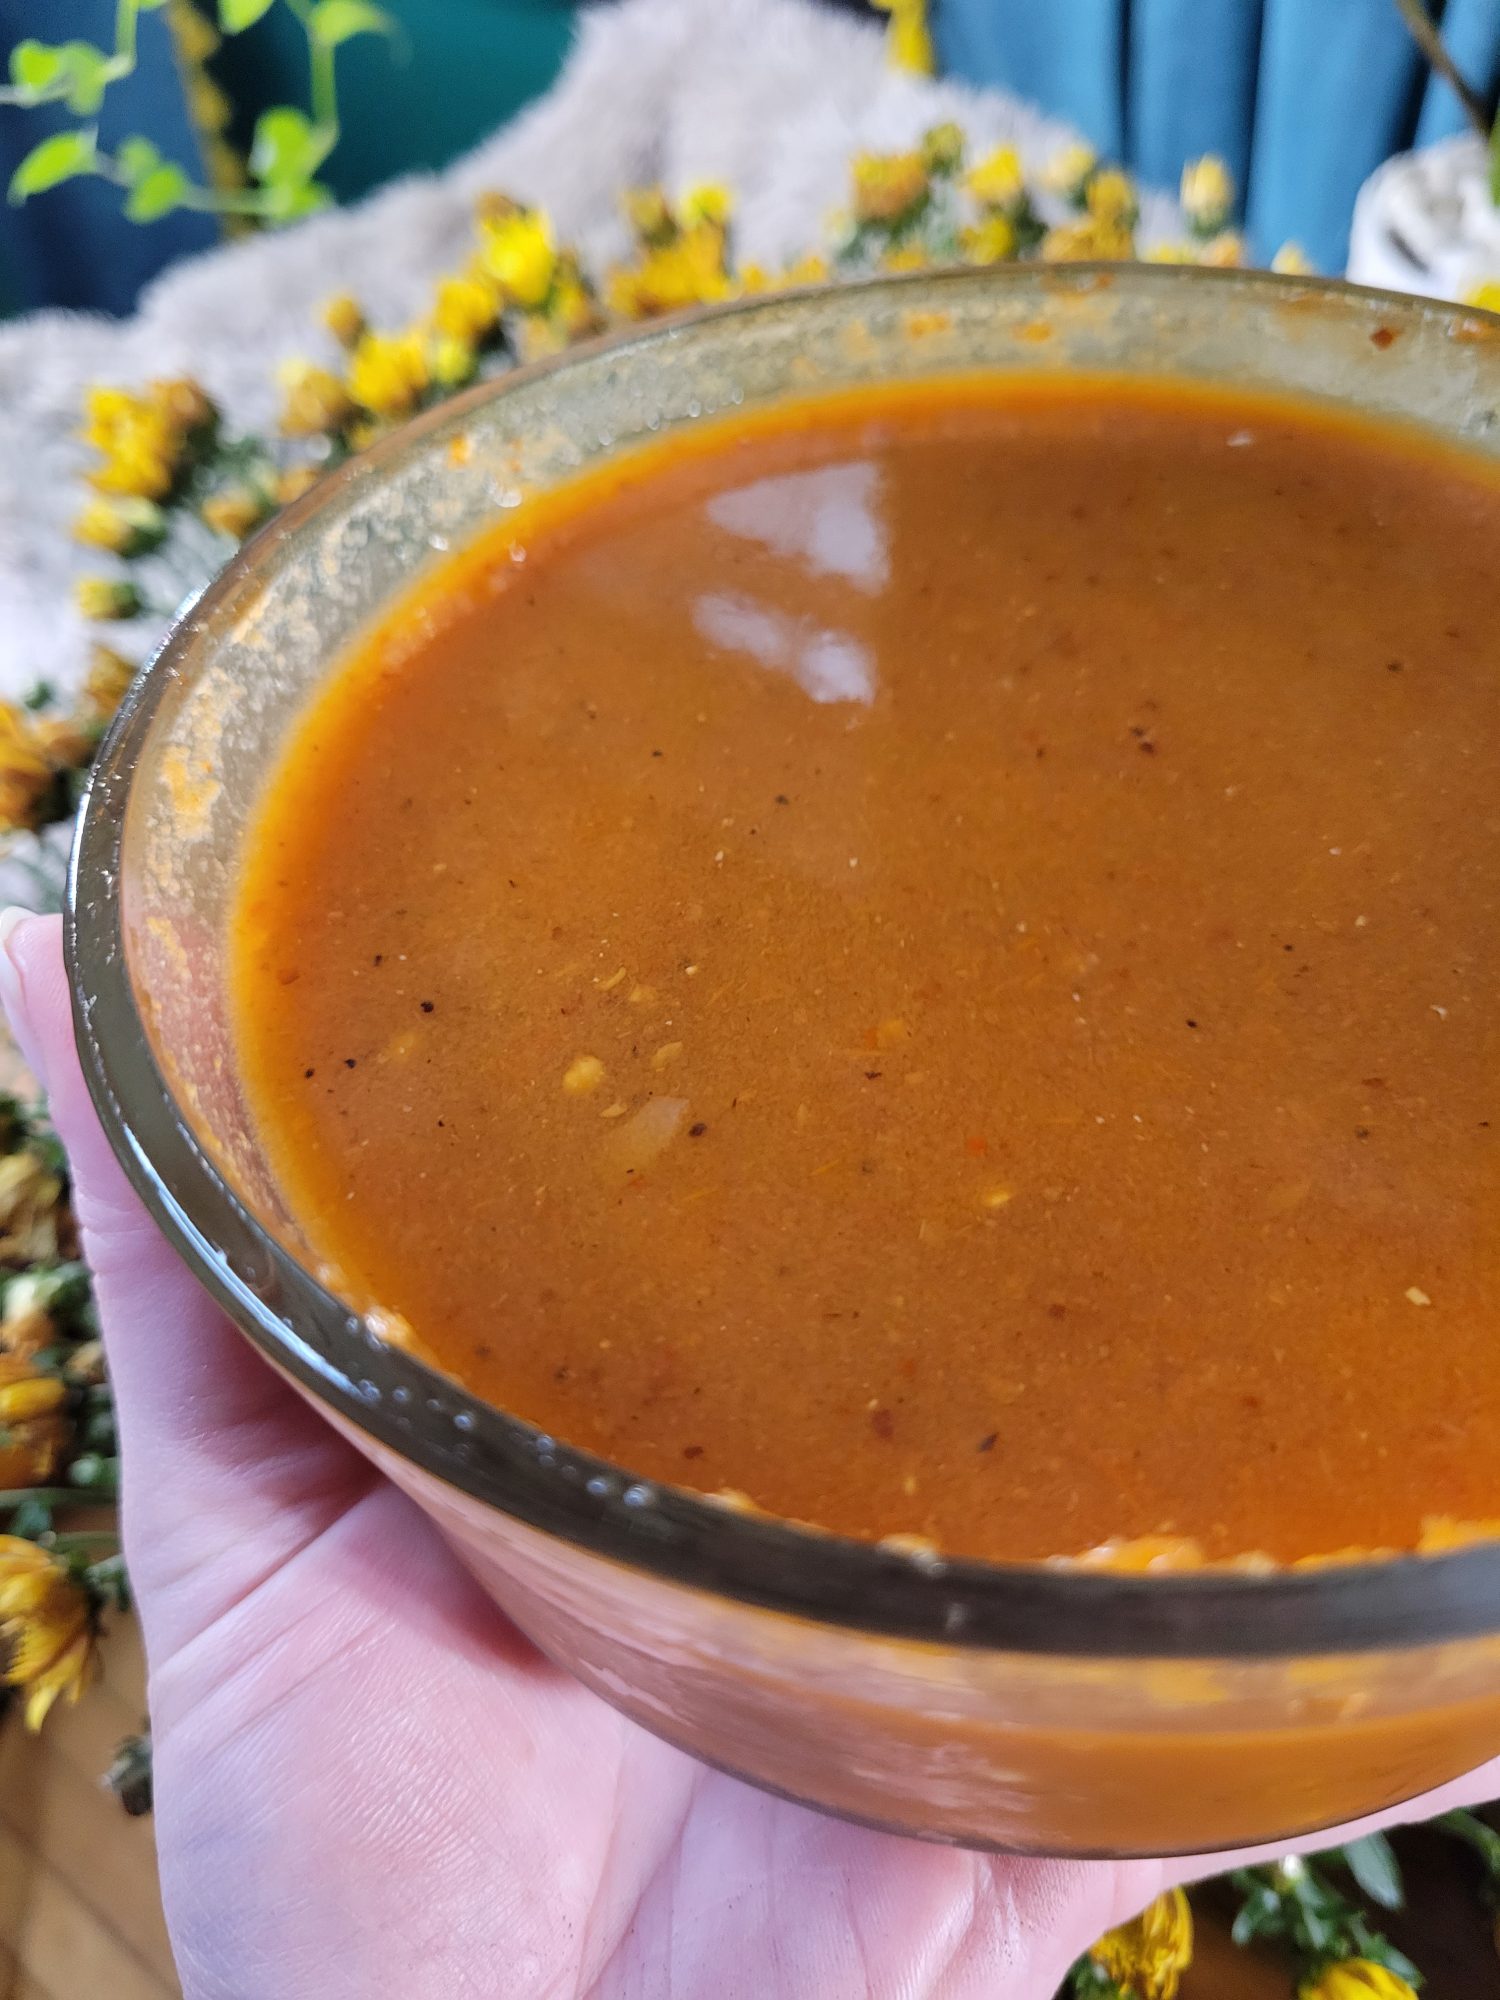
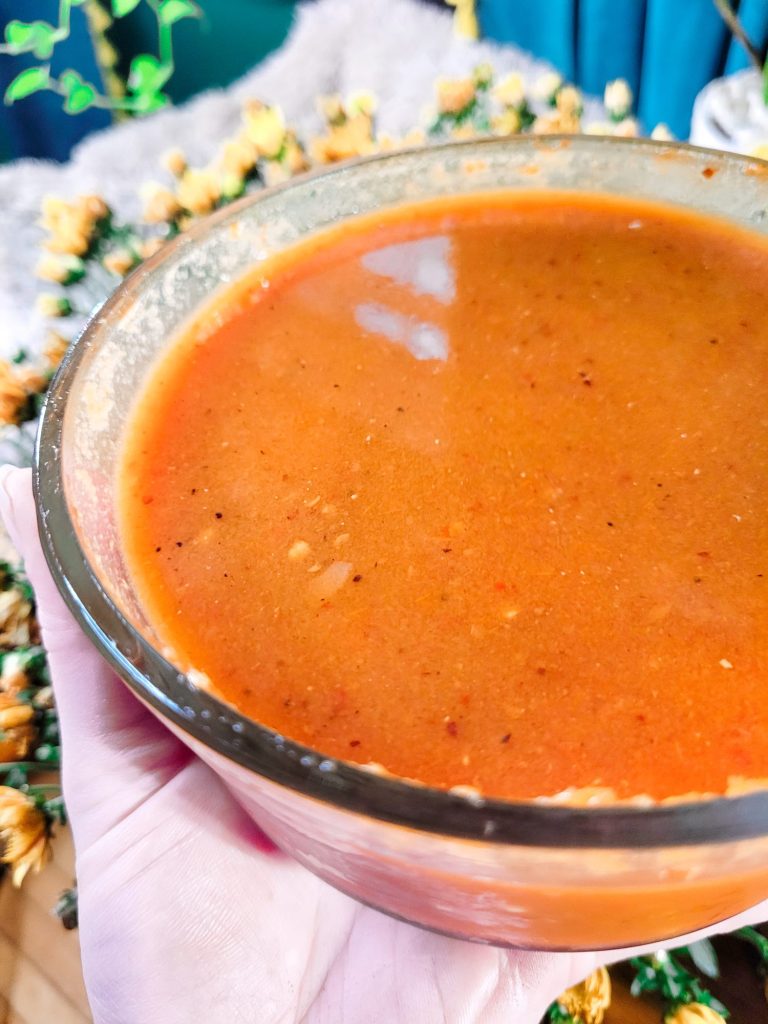
This Page Contains Edited Images
As a general rule, I don't like to edit my images and I am firmly against alteration of images in food blogs. It's not something that we generally think about when it comes to recipes. But food styling, editing, alteration, and even faking entirely is just as rampant a problem in the recipe realm as anything else! Cooking is a very visual art and you can tell when a lot of foods are cooked based on the color. So, when this is altered and you can't use the coloration as a gauge, it makes it quite difficult to follow some recipes. I have an entire article about Food Styling and Unrealistic Expectations of Recipes.
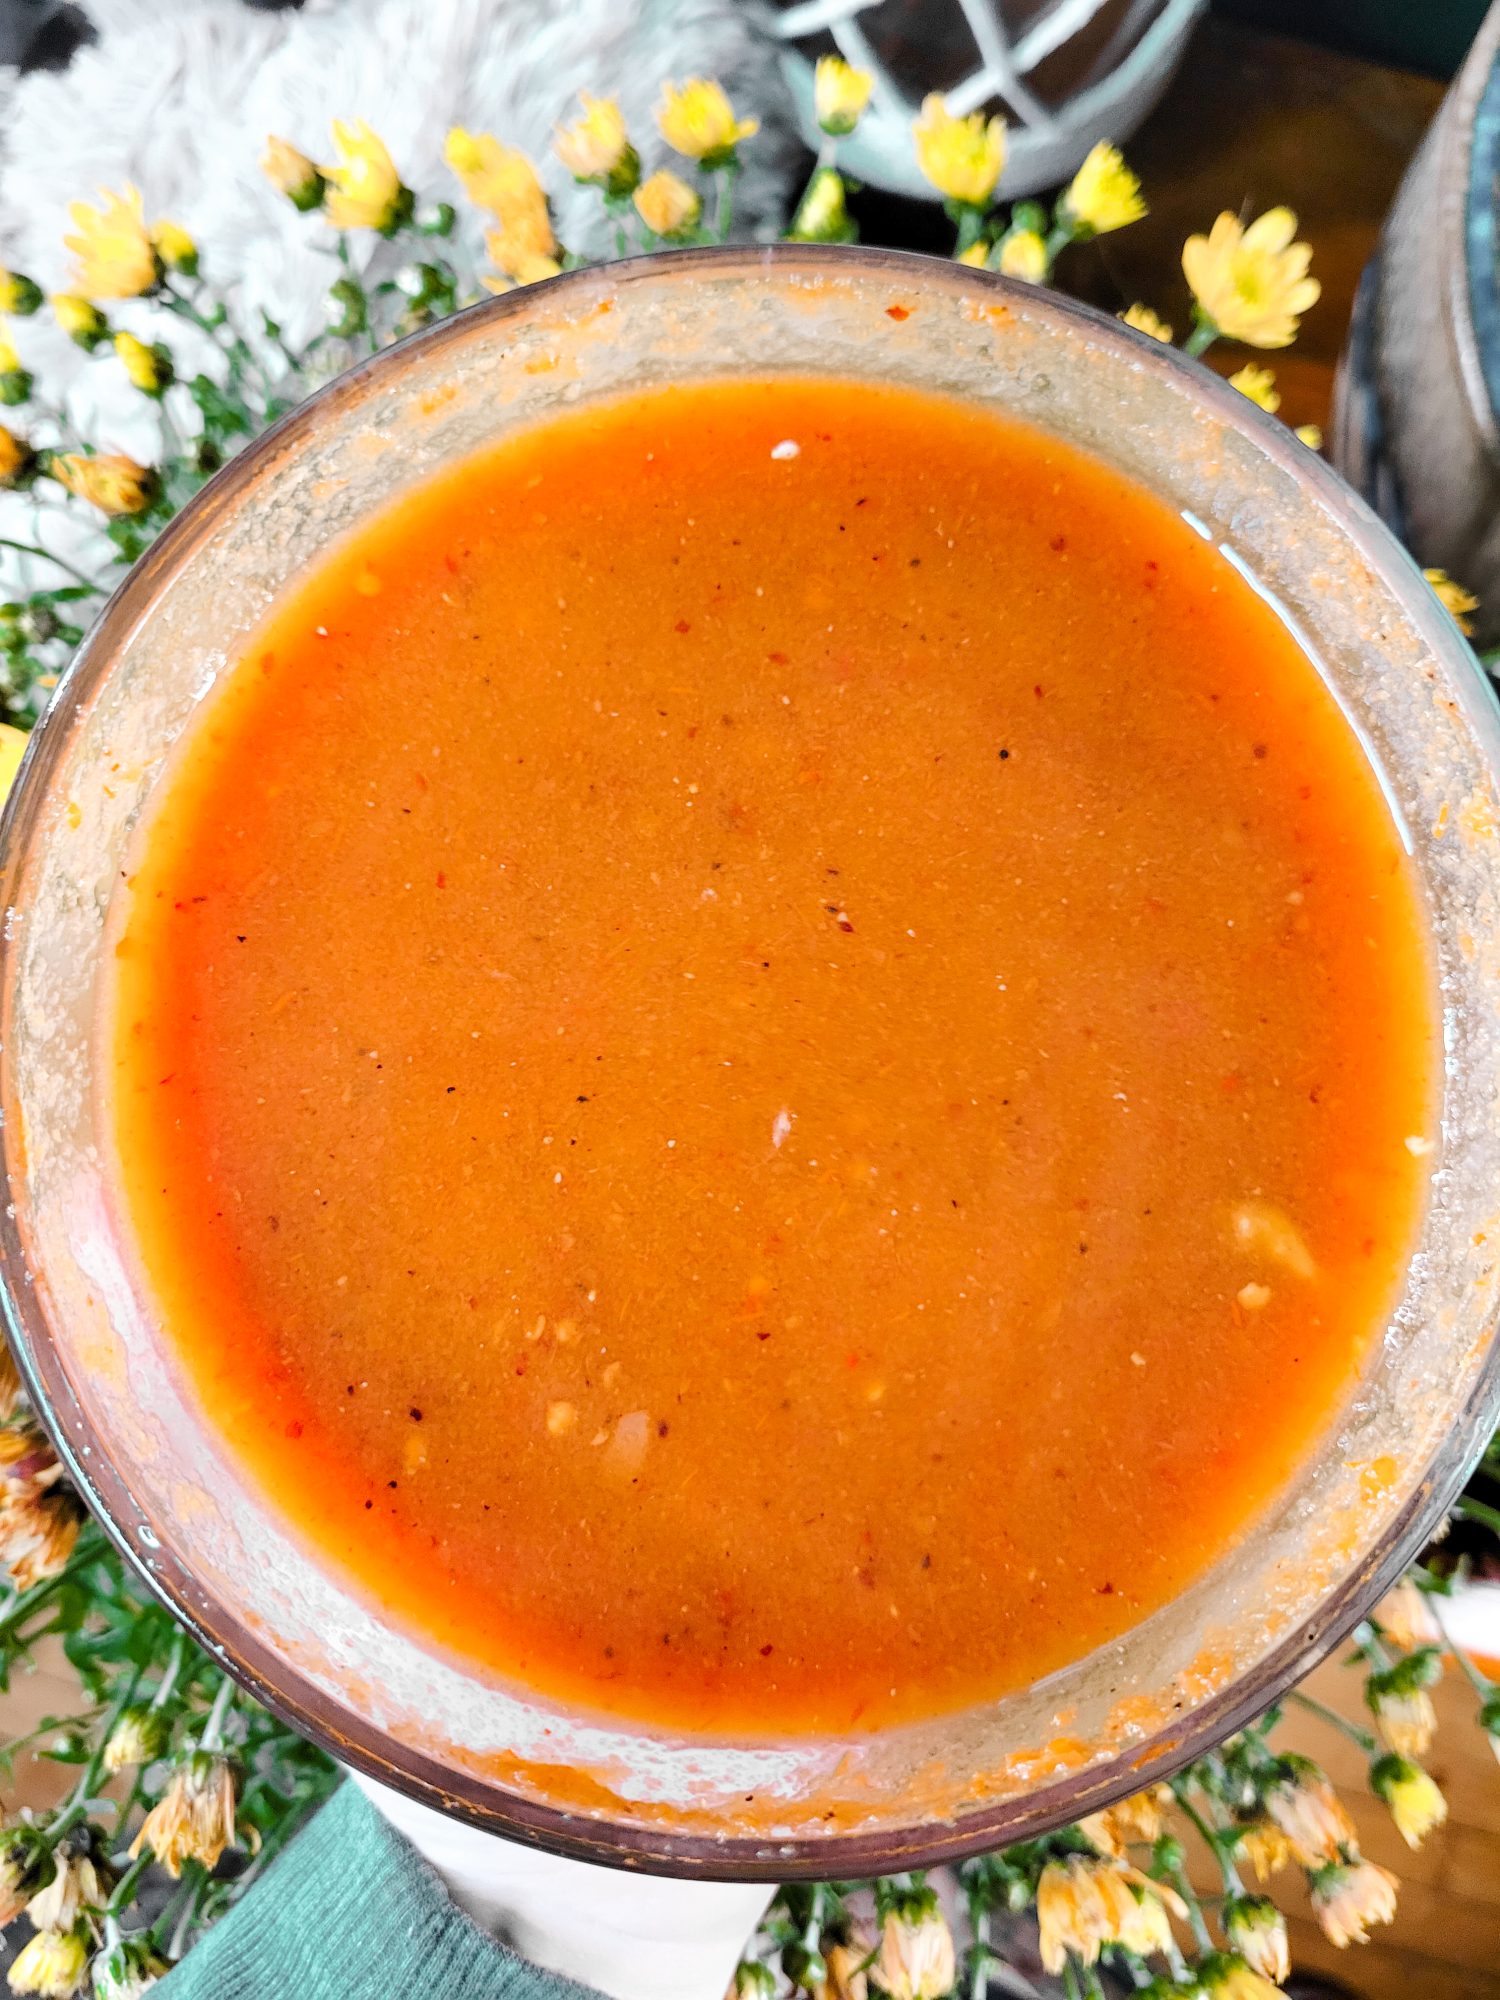
Because of this, I try very hard not to alter any of my photos. I like to take photos with natural sunlight during the day. Ordinarily this is very true to color and I don't edit the photos at all. However, since my place is very warm with a lot of yellow lighting, sometimes my camera overcompensates and ends up with an unnatural blue tone. In the following images on this page, I adjusted the levels and hue to try and make this more true to color. In the interest of transparency, these are the before and after photos.


Leave a Reply