Barbeque Peppers w/ Salmon & Avocado
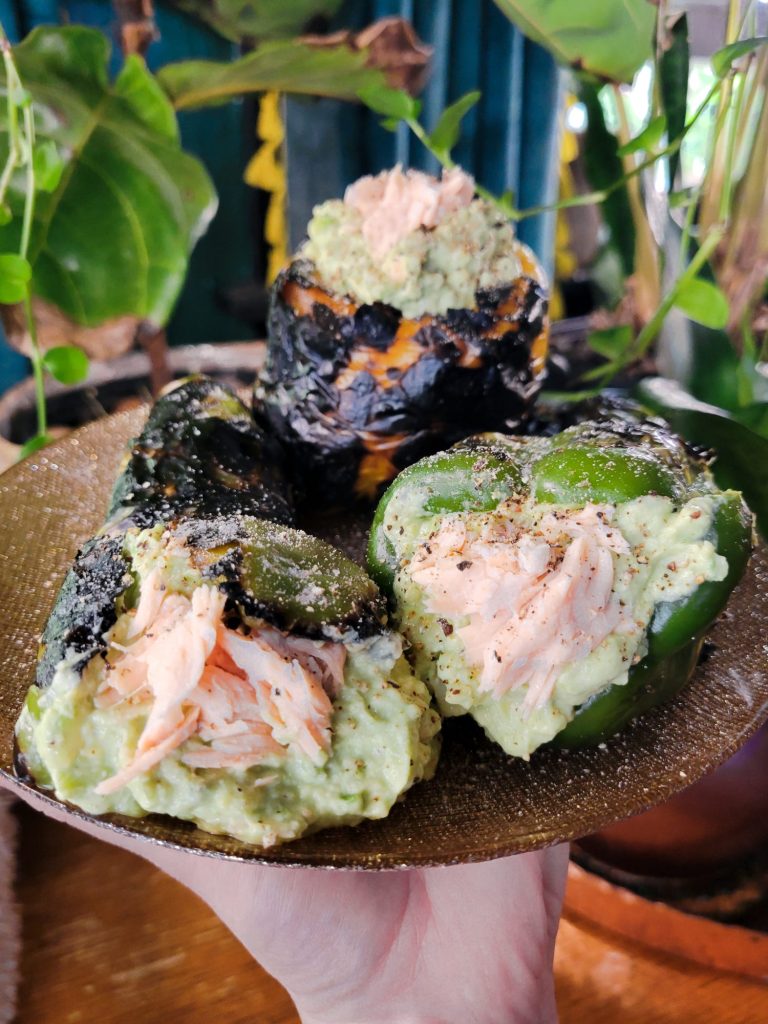
The final days of summer are almost upon us. Daylight is beginning to dwindle and grilling season is coming to a close. Not that it's not possible to barbecue during a snowstorm. It wouldn't necessarily be my first choice? But, given a power outage in a blizzard? I'd probably brave the elements and smoke a salmon on the barbecue. Given the lack of inclement weather, I'm always going to grill up a couple of peppers and make a Salmon & Avocado Stuffed Peppers.
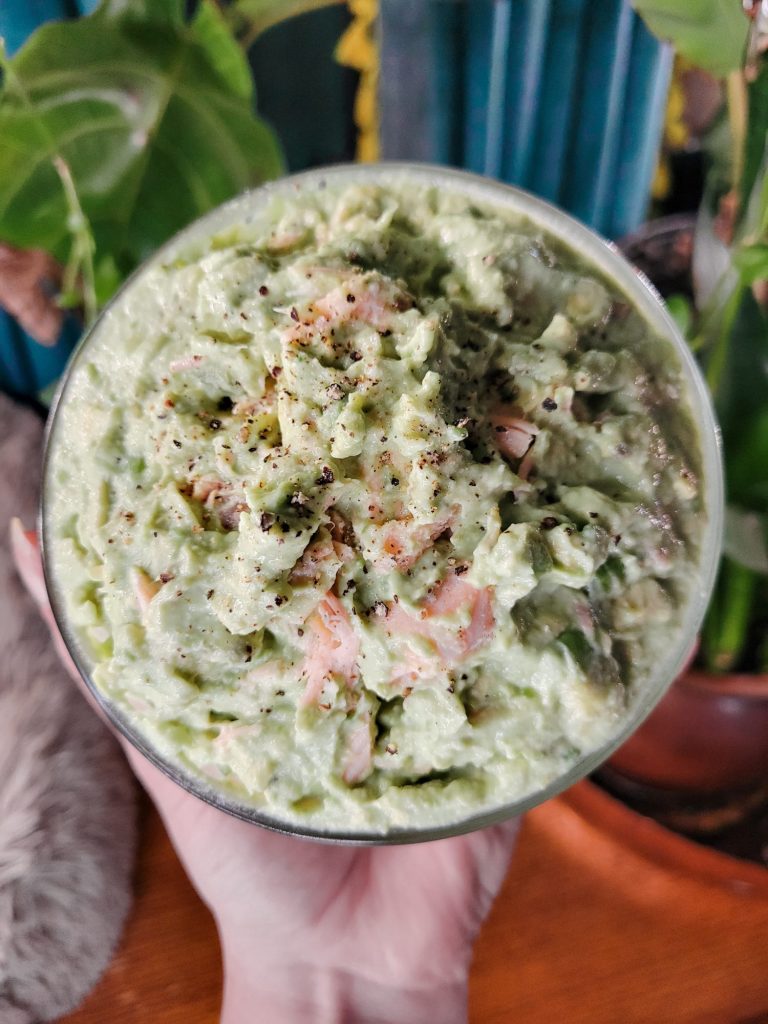
This dish is somewhat reminiscent of those diners who attempt a foray into Latin American food with salmon or shrimp-infused avocado something or other. Now, while these "Tex-Mex"-inspired dishes typically end up with copious amounts of mayonnaise, I've opted for a more pared down recipe with salmon, avocados, Greek yogurt, freshly squeezed lime just, and just a dash of salt and pepper.
Gallery
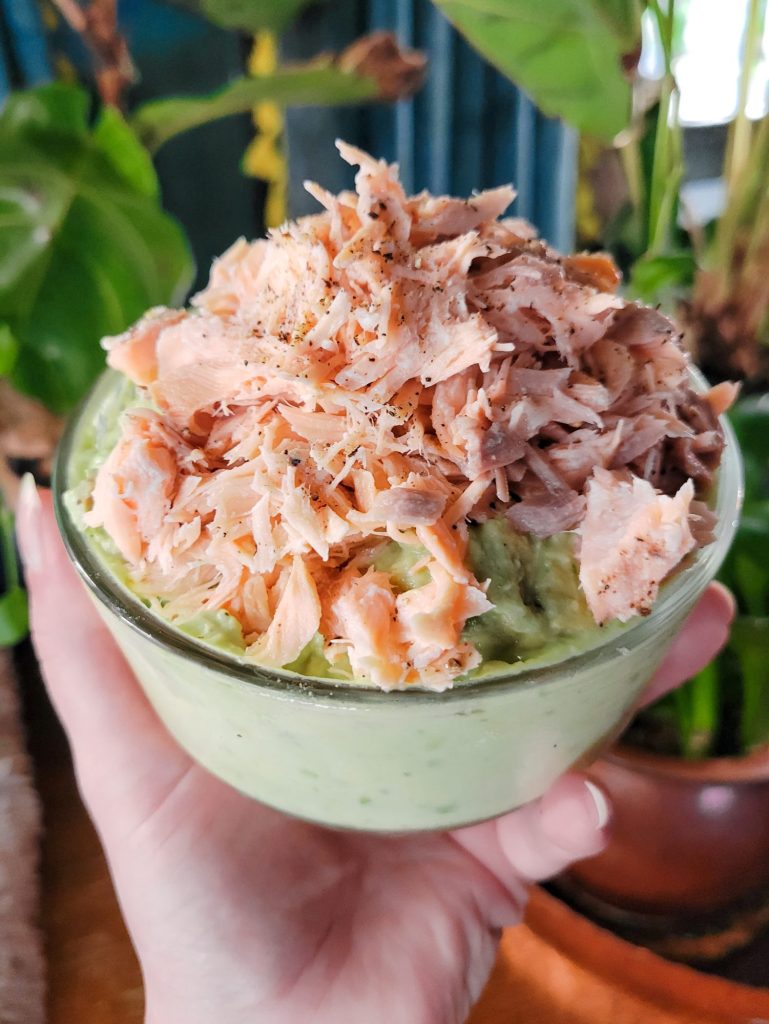
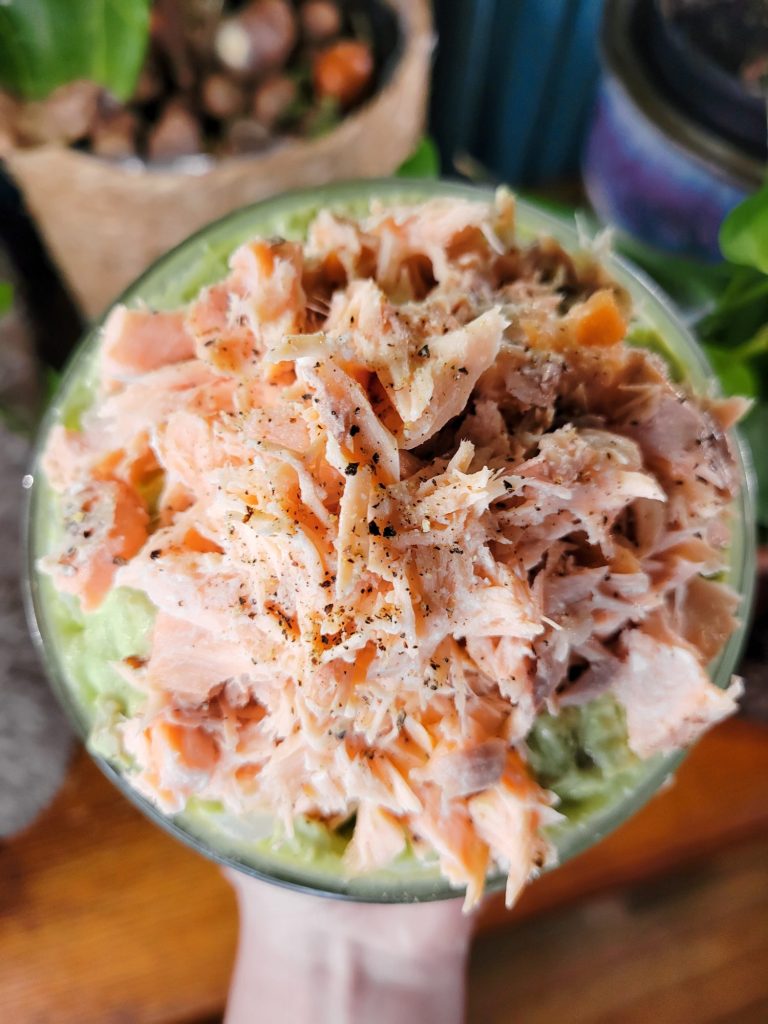
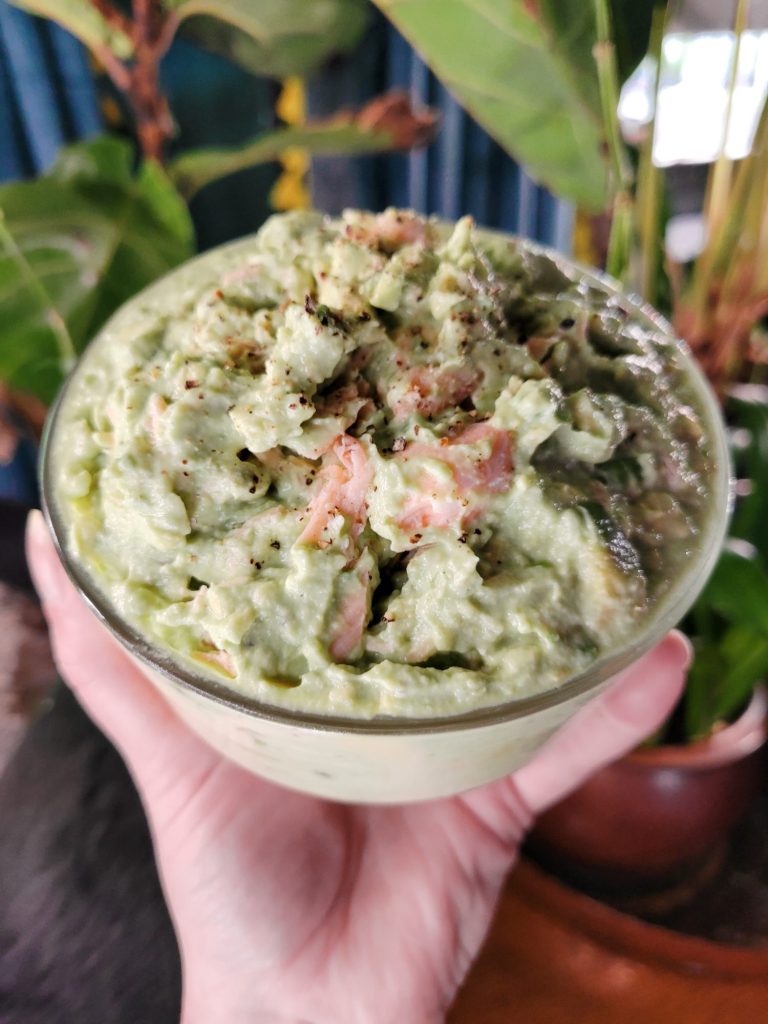
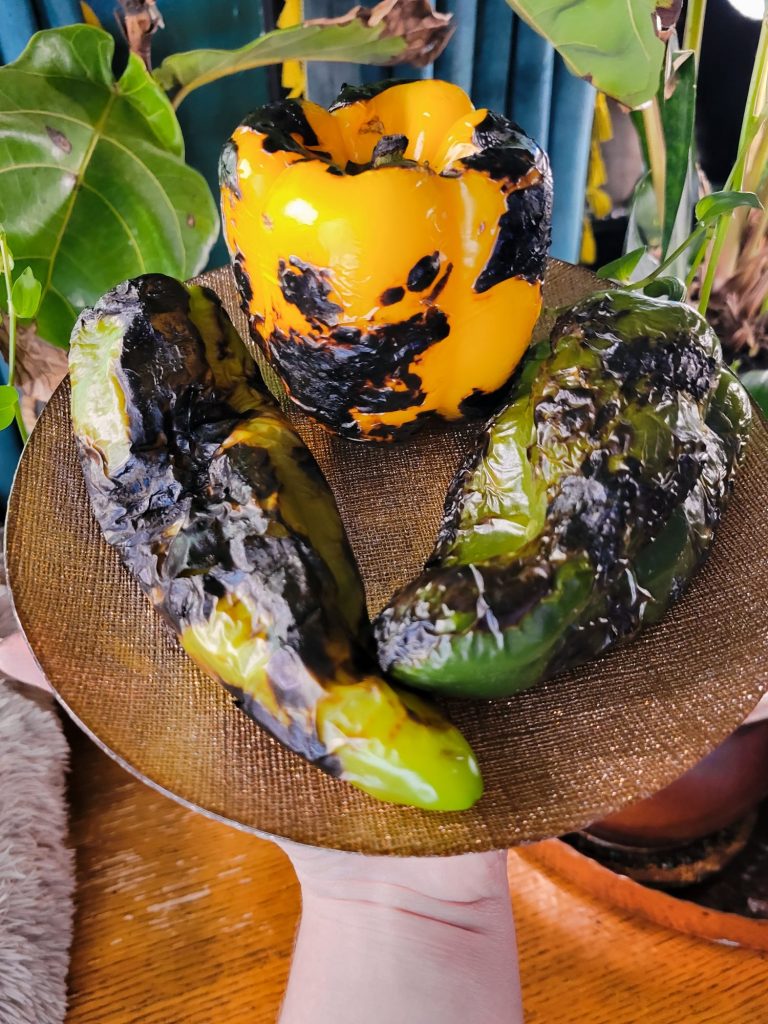



Variations of Salmon Stuffed Peppers
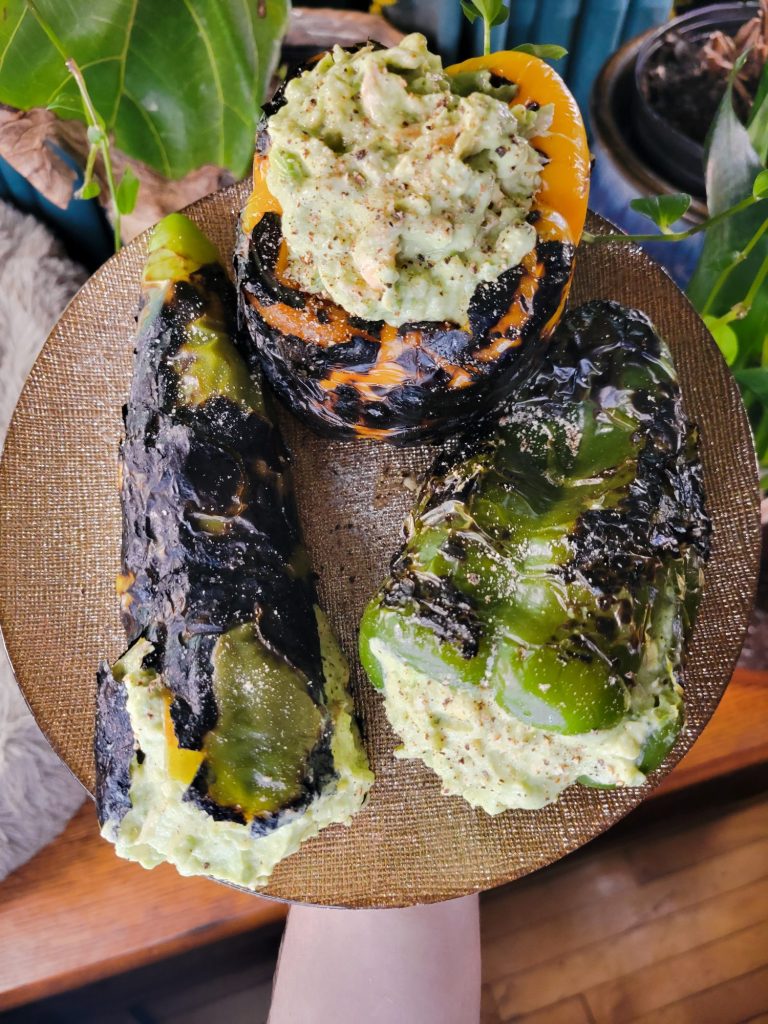
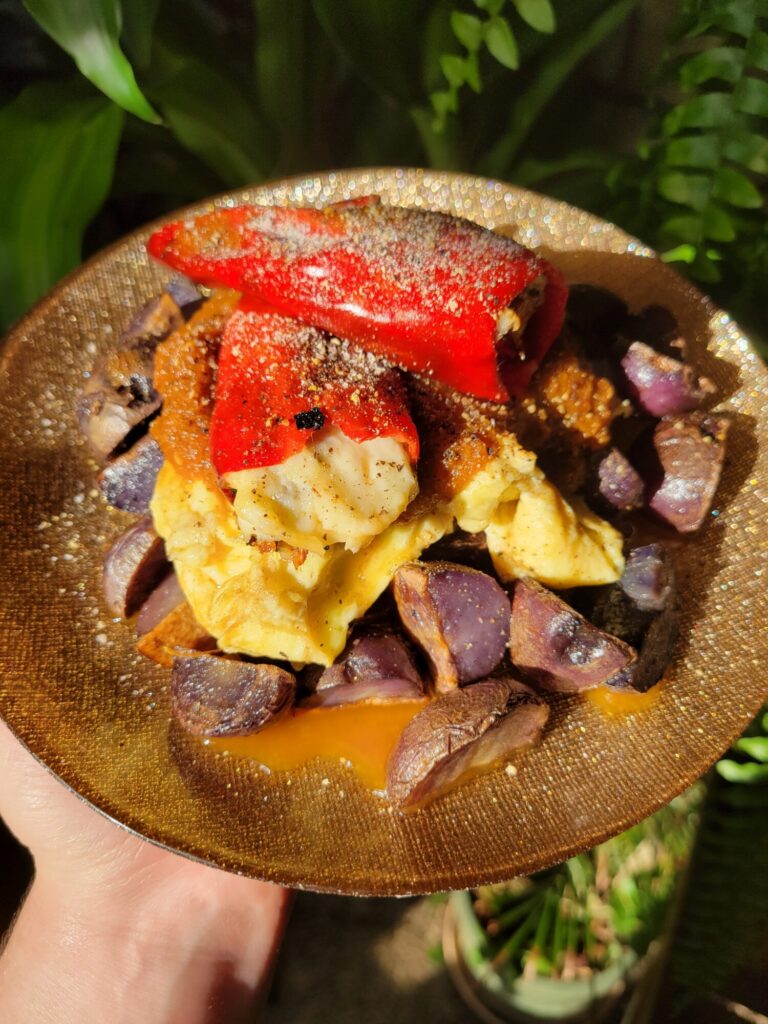
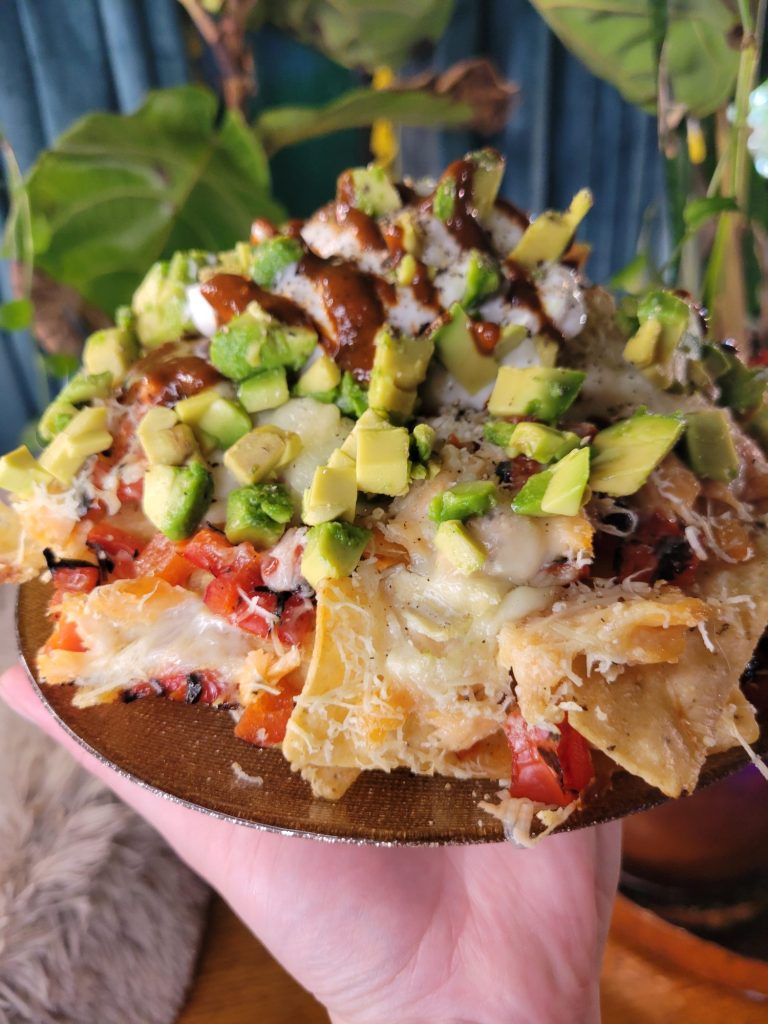
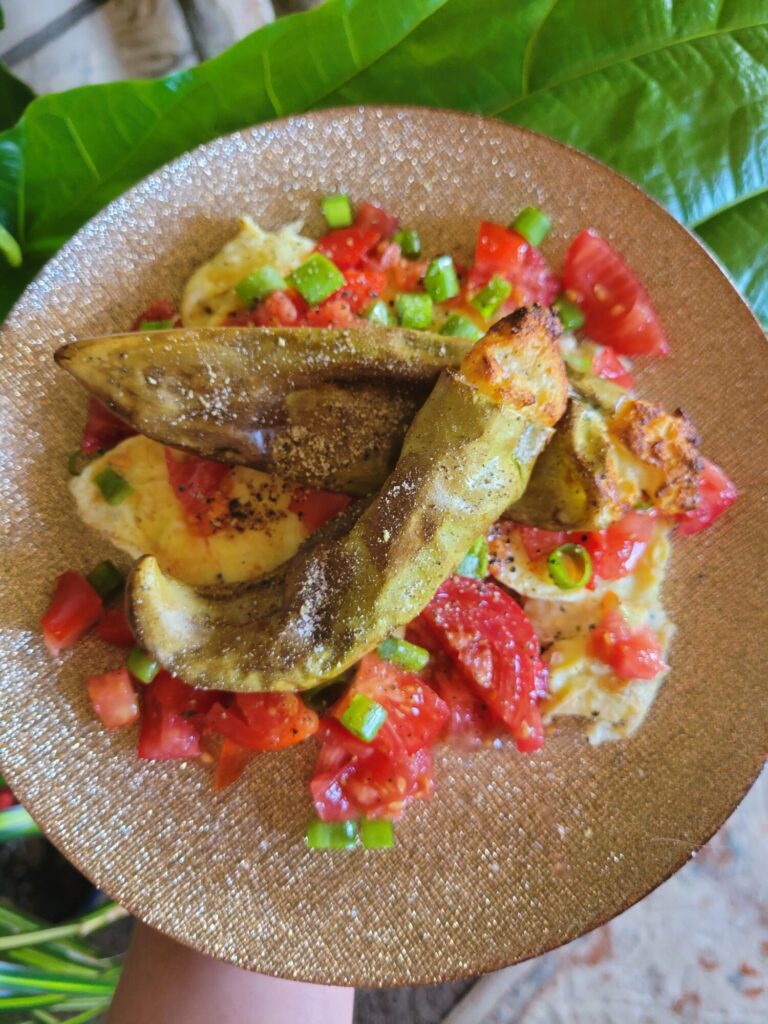
I ordinarily stuff peppers with queso fresco. It's one of my favorite barbecue recipes. It's as simple as hollowing out a pepper, filling it with cheese, and tossing on the grill until lightly browned. They only take a few minutes to toast on each side. It's really quite a simple recipe that looks much more impressive than it is. Although today I decided to mix things up a bit and stuff the peppers with avocado and grilled salmon. The same kind of principle applies. I even grilled up some peppers and just tossed some avocados and hot sauce on top to make a similar nacho dish.
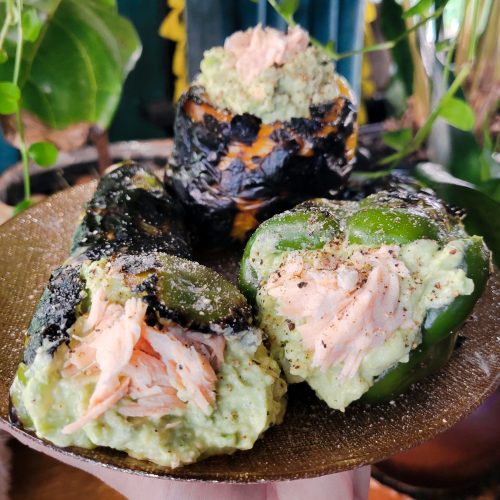
Barbeque Stuffed Peppers w/ Salmon & Avocado
Equipment
- Barbecue (or Oven)
- Small Bowl
Ingredients
Salmon
- 1/3 c. salmon grilled
- lemons sliced
- spritz olive oil
- dash salt
- dash pepper
Peppers
- 3 peppers grilled (poblano, anaheim, & yellow bell pepper)
- 2 avocados diced
- 1/3 c. Greek yogurt
- 1 lime juiced
- dash salt
- dash pepper
Instructions
Grill Salmon
- Let the salmon rest until it reaches room temperature.I usually let it sit while the skillet preheats. However, for particularly large fillet's, you may need to remove the tilapia from the fridge a little while before you preheat the skillet. Exactly how long varies widely based on room temperature. Although 15-30 minutes is usually sufficient.
- Preheat barbecue to medium heat.I grilled a MUCH larger salmon than I needed, so I turned all 4 burners to medium. For smaller filets, either cut the temperature or cooking time slightly. Although the same basic principles will apply, regardless of size.
- Meanwhile, lay the salmon across a sheet of aluminum foil or cast iron skillet.You can cook the salmon directly on the grill if it still has the skin attached. The aluminum foil will help contain the mess, though, as the fat and oils will drip into the grill. Alternatively, you can use a baking sheet.
- Lightly drizzle with olive oil and sprinkle with salt and pepper. Add sliced lemons.
- Bake for about 8-10 minutes for smaller salmon fillets and about 15-20 minutes for larger ones. The salmon should flake easily with a fork.The general rule of thumb is to bake for 4-6 minutes per half inch of salmon. Although I've never gotten out a ruler and measured the thickness of fish! Nor do I find this the most helpful way to cook seafood. No two fillets, even of the same size, are going to cook in exactly the same amount of time. It's better to look for the color changing to a lighter pink hue and it flakes with a fork.
- Let rest for 5-10 minutes.
Grill Peppers
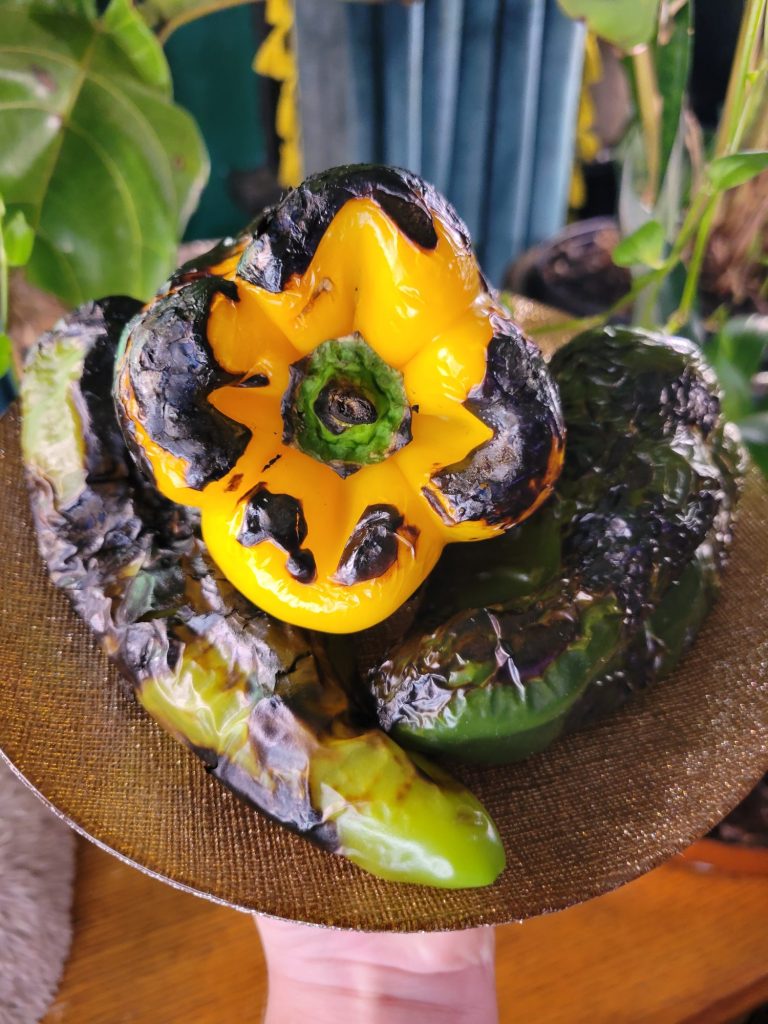
- While the salmon is grilling, add peppers whole to the barbecue.
- Make sure to rotate every 3-5 minutes.You want the peppers to begin to char, but not burn.
- Let cool to touch.
Avocado Dip
- Once the peppers are cool enough to handle, cut the tops off and remove the seeds inside.
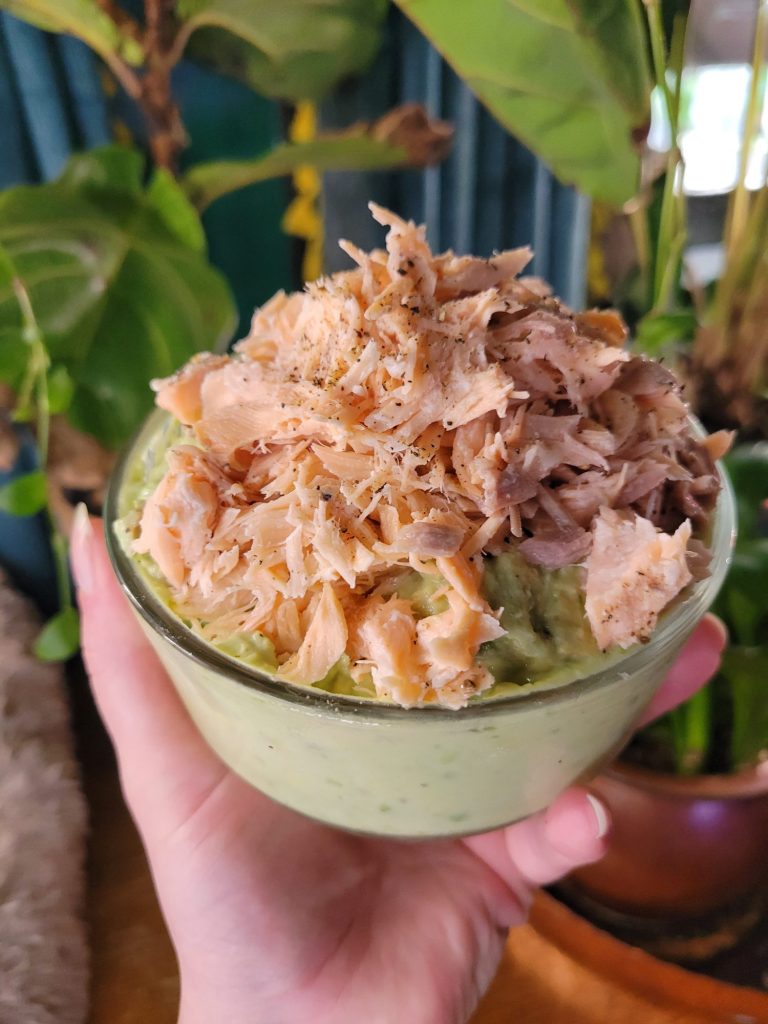
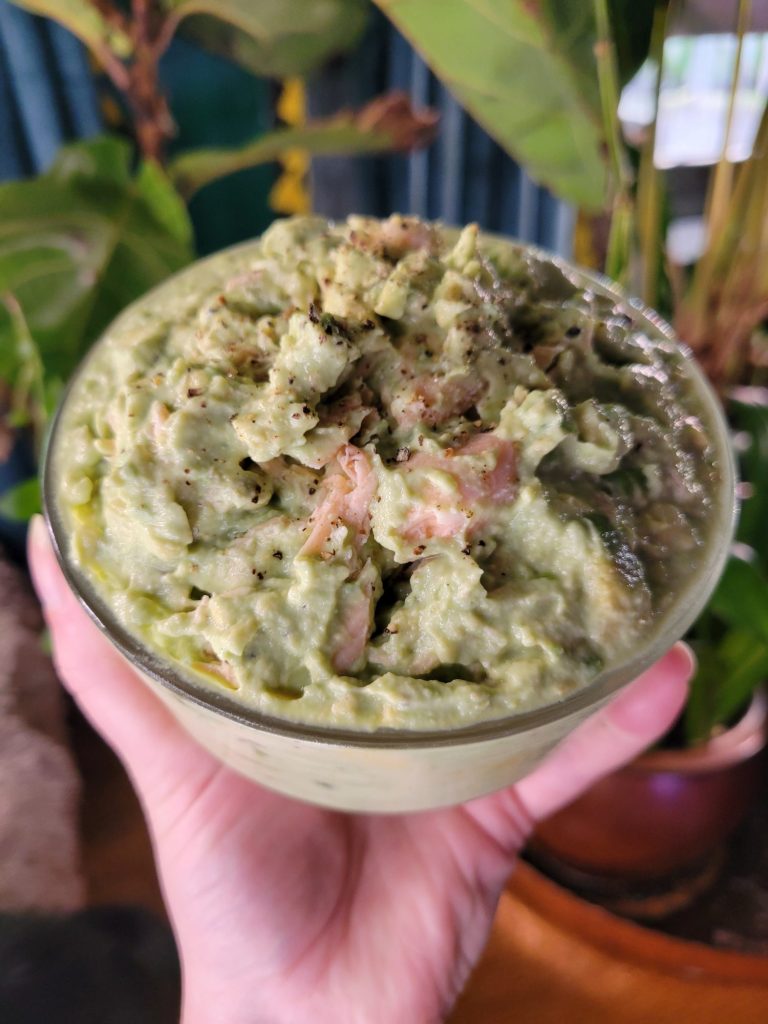
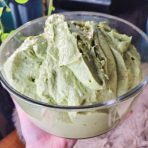
- Meanwhile, combine the avocados, salmon, Greek yogurt, lime juice, salt, and pepper in a bowl. I also reserved some salmon to place decoratively on top. Although this is entirely optional.
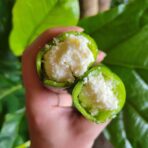
- Stuff the avocado dip inside of the peppers and serve.
Tips, Tricks, & Notes
- You don't need a barbecue to grill all of the ingredients. You can do the same process in the stove at 350 degrees Fahrenheit for a similar amount of time.
This Page Contains Edited Images
As a general rule, I don't like to edit my images and I am firmly against alteration of images in food blogs. It's not something that we generally think about when it comes to recipes. But food styling, editing, alteration, and even faking entirely is just as rampant a problem in the recipe realm as anything else! Cooking is a very visual art and you can tell when a lot of foods are cooked based on the color. So, when this is altered and you can't use the coloration as a gauge, it makes it quite difficult to follow some recipes. I have an entire article about Food Styling and Unrealistic Expectations of Recipes.
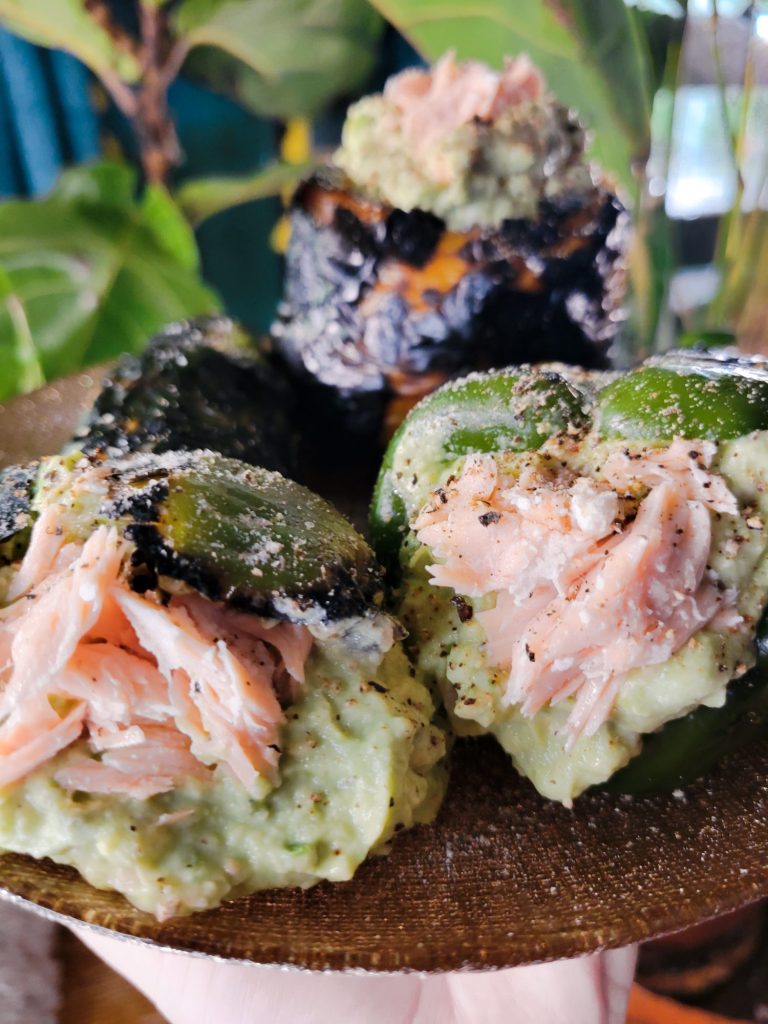
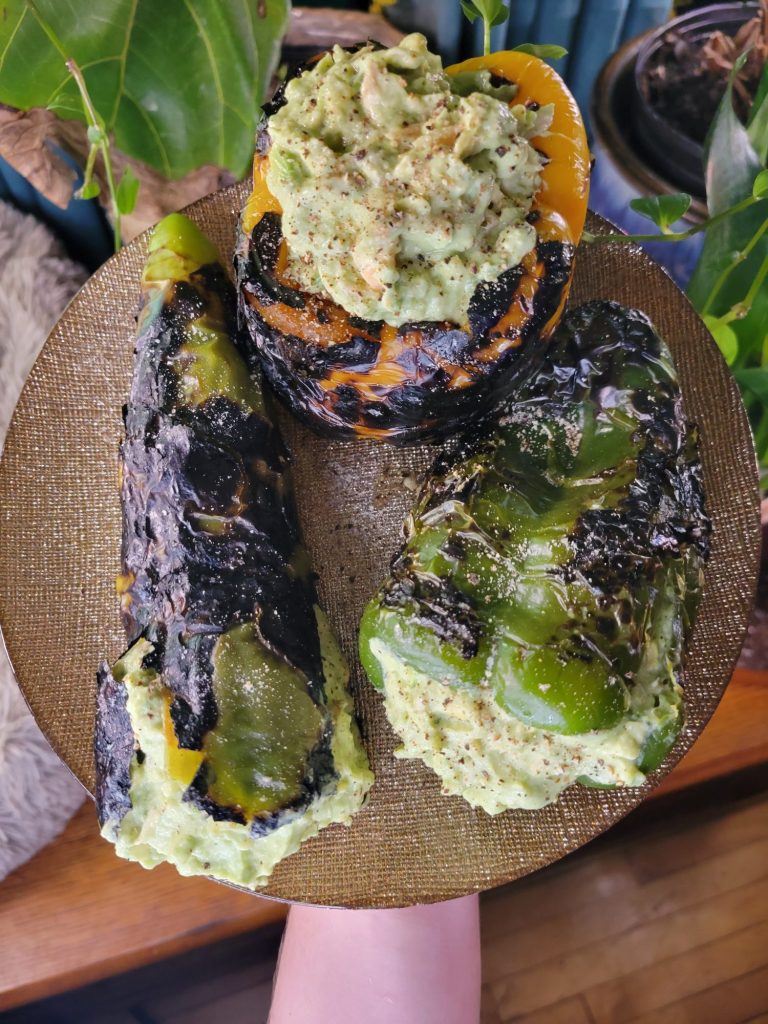
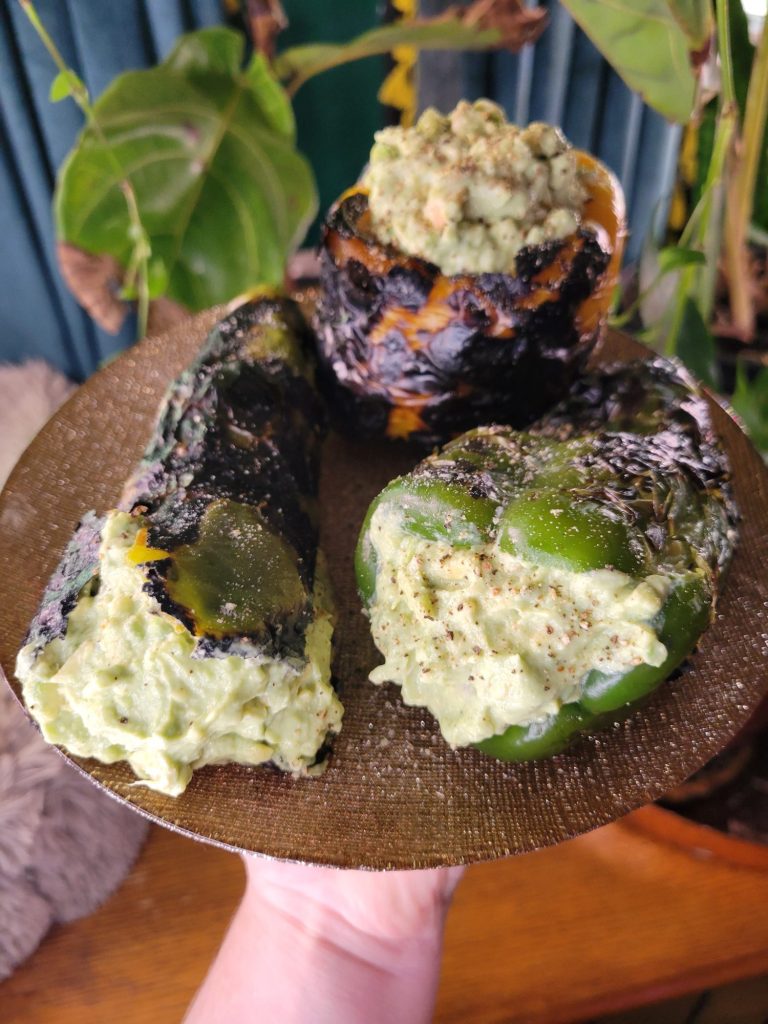
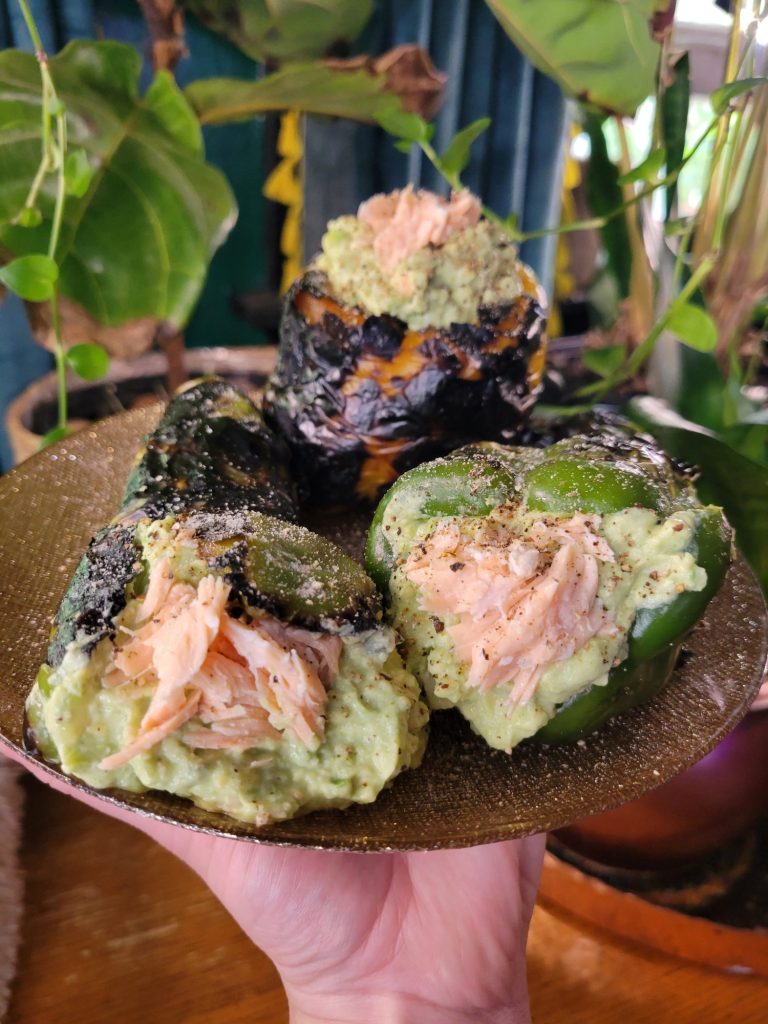
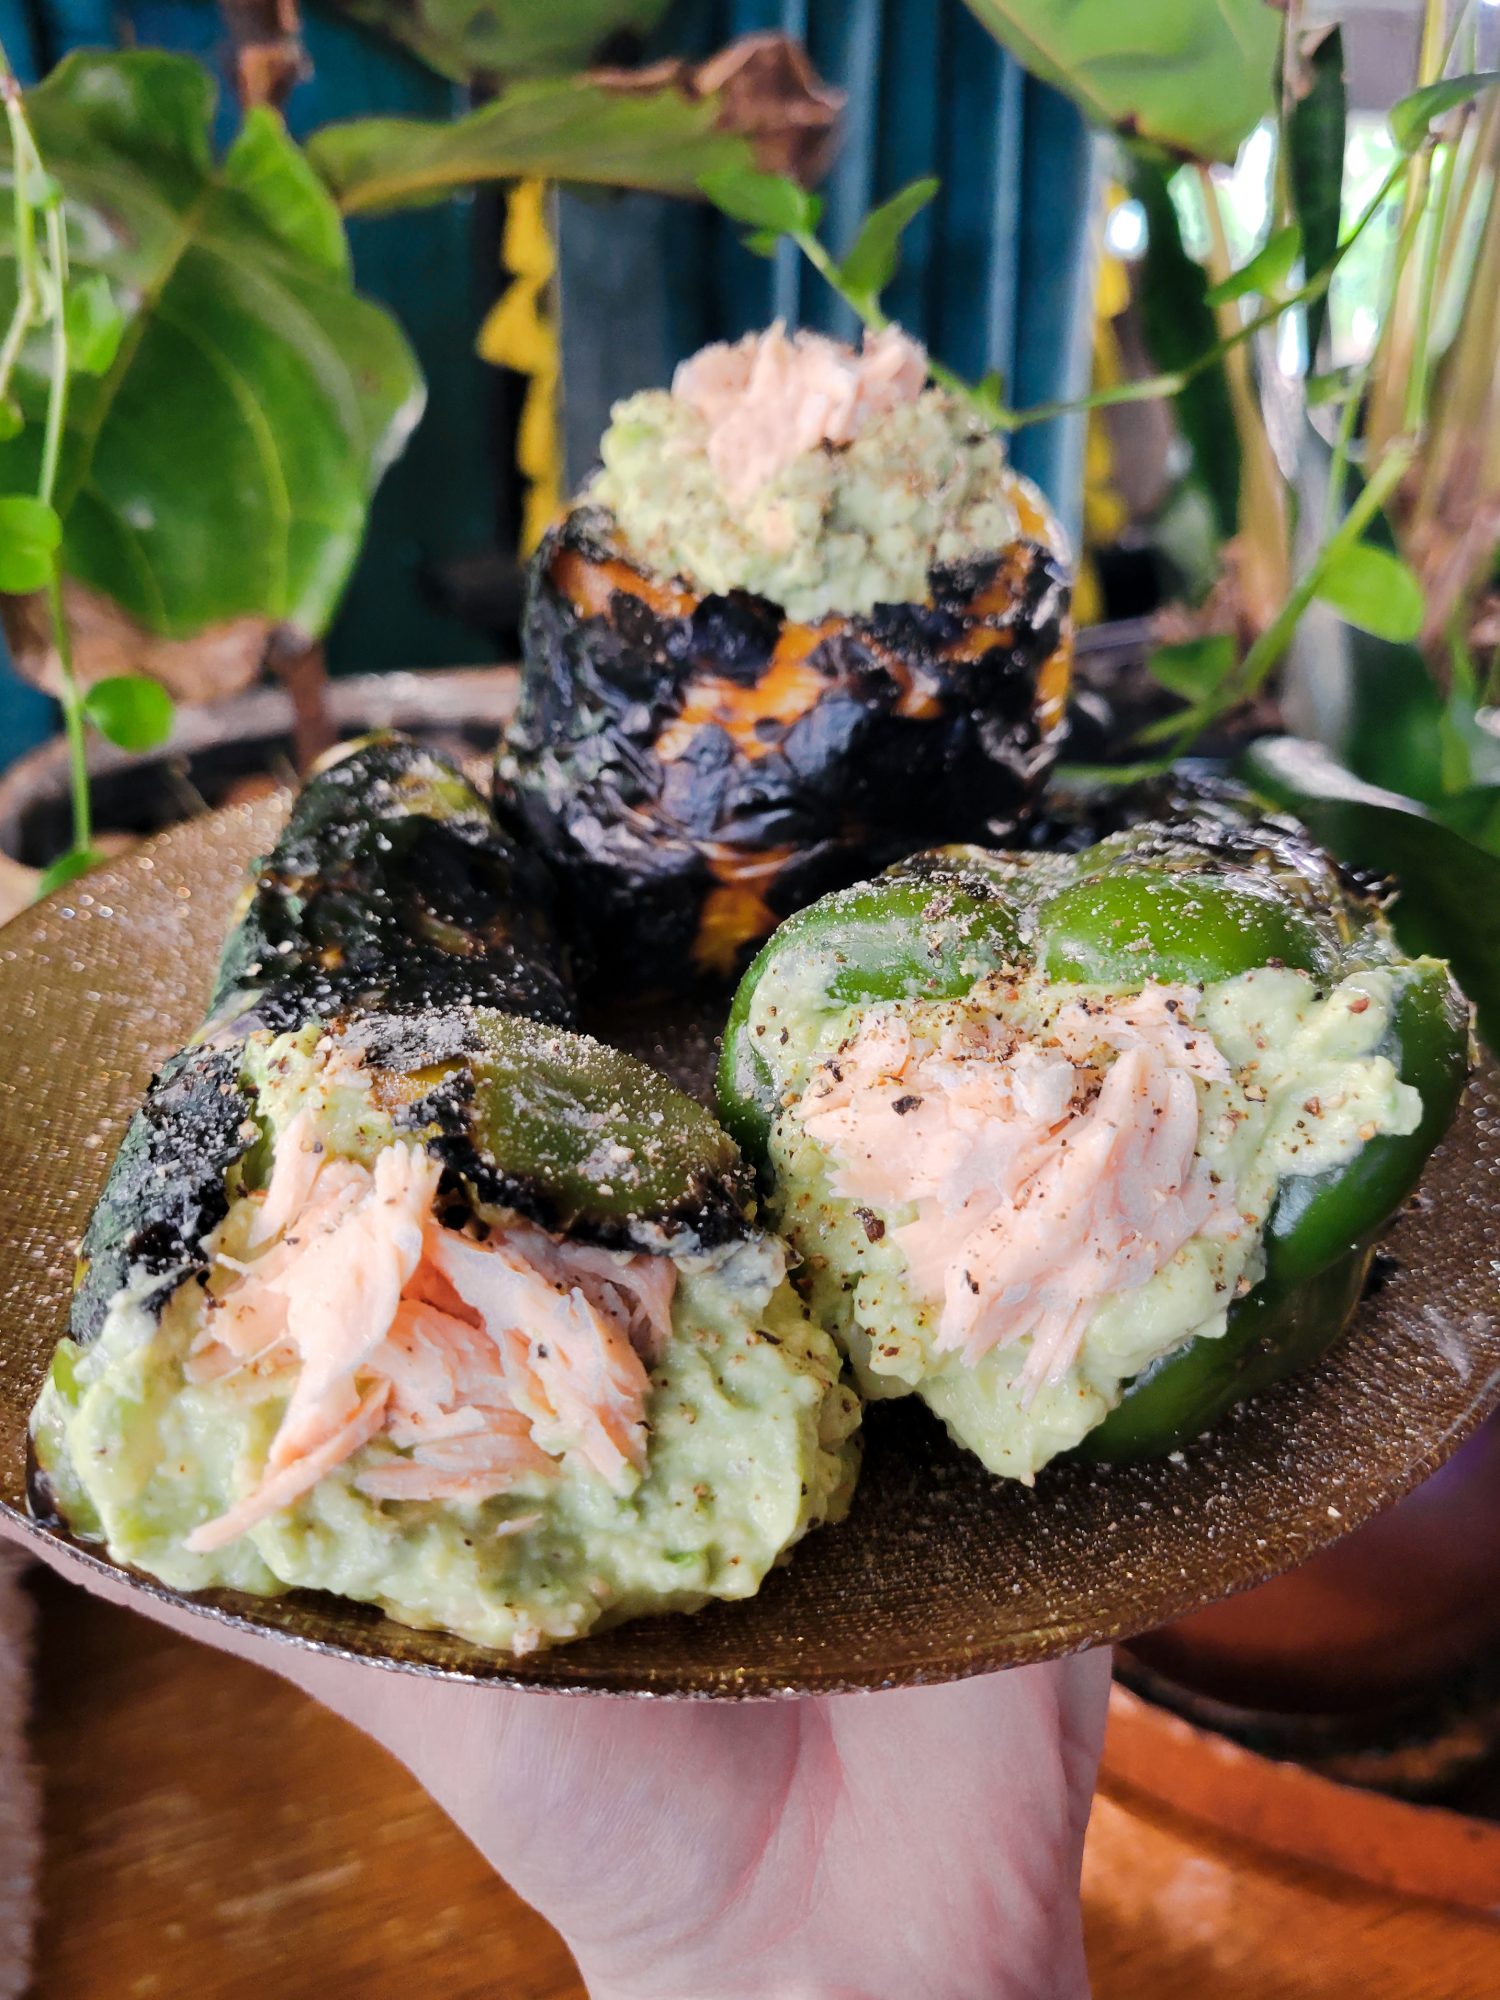
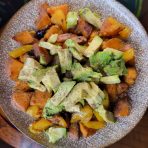
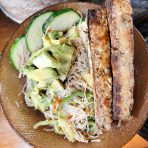
Because of this, I try very hard not to alter any of my photos. I like to take photos with natural sunlight during the day. Ordinarily this is very true to color and I don't edit the photos at all. However, since my place is very warm with a lot of yellow lighting, sometimes my camera overcompensates and ends up with an unnatural blue tone. In the following images on this page, I adjusted the levels and hue to try and make this more true to color. In the interest of transparency, these are the before and after photos.









Leave a Reply