Salad w/ Tamari Quinoa, Pears, & Salmon
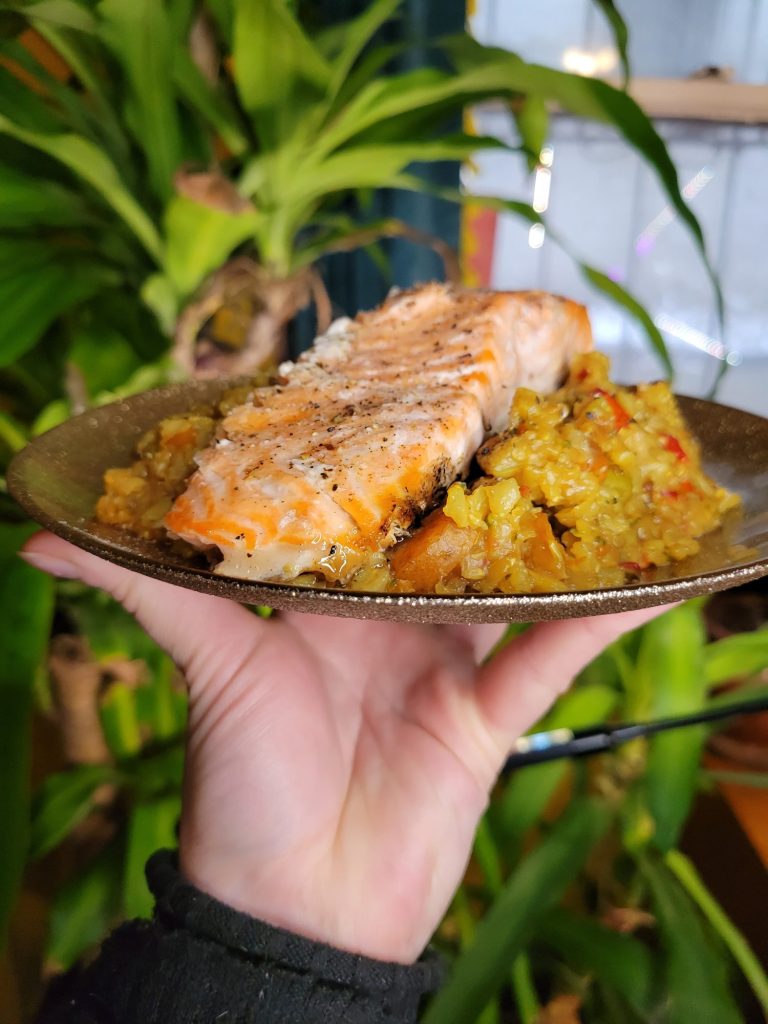
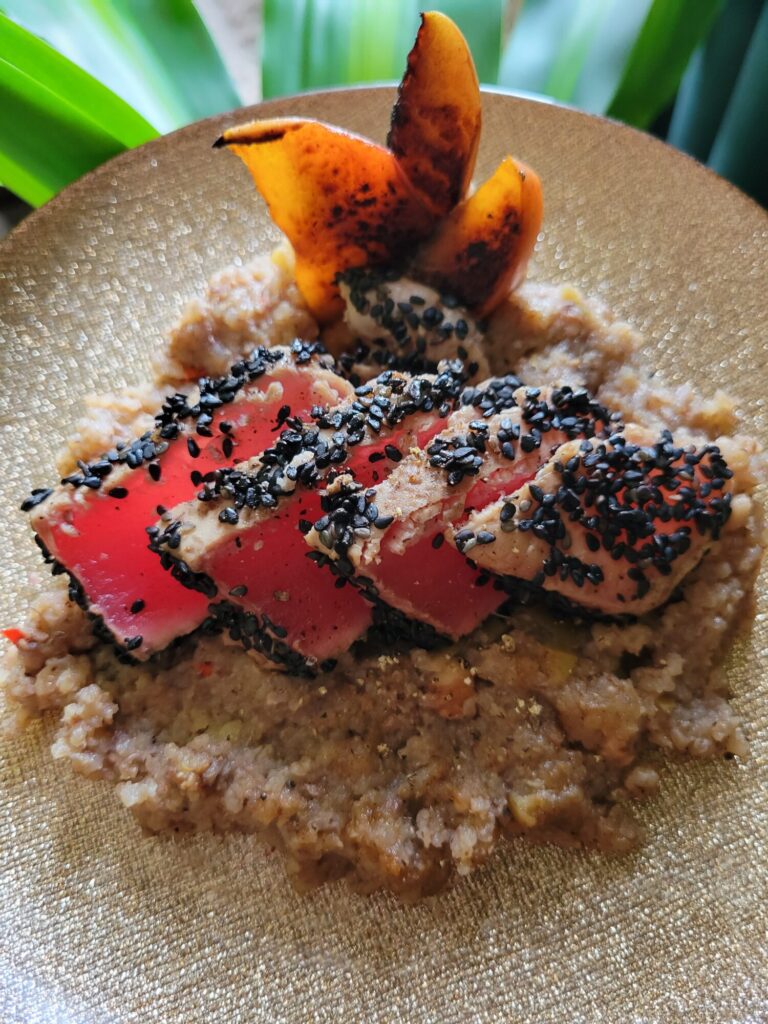
Seafood was on sale yesterday. I started out making an Ahi Tuna Steak Salad. Although I only had so much tuna! So, today I decided to recreate the same kind of salad dish with salmon. Salmon is ordinarily my go-to. I'm from the West coast and grew up on salmon. It's incredibly easy to make because the color distinctly changes when it's cooked. If you're not used to cooking seafood, it's a great starter fish. If you're an expert, it's also just an incredibly delicious fish that I'm incredibly nostalgic for. It's not the easiest thing to find fresh in the middle of the country. Although it is relatively readily available in most grocery stores in some way, shape, or form throughout the country. This is the type of dish where you can easily swap out the seafood, though. It would be equally delicious with fried cod or shrimp.
Gallery
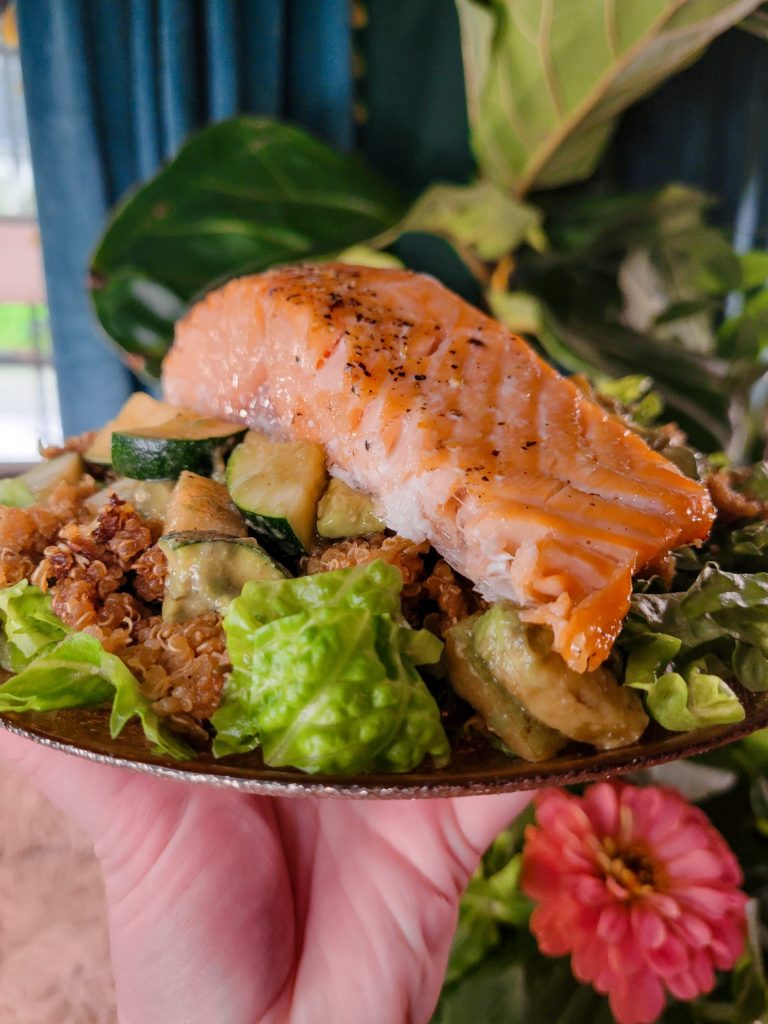
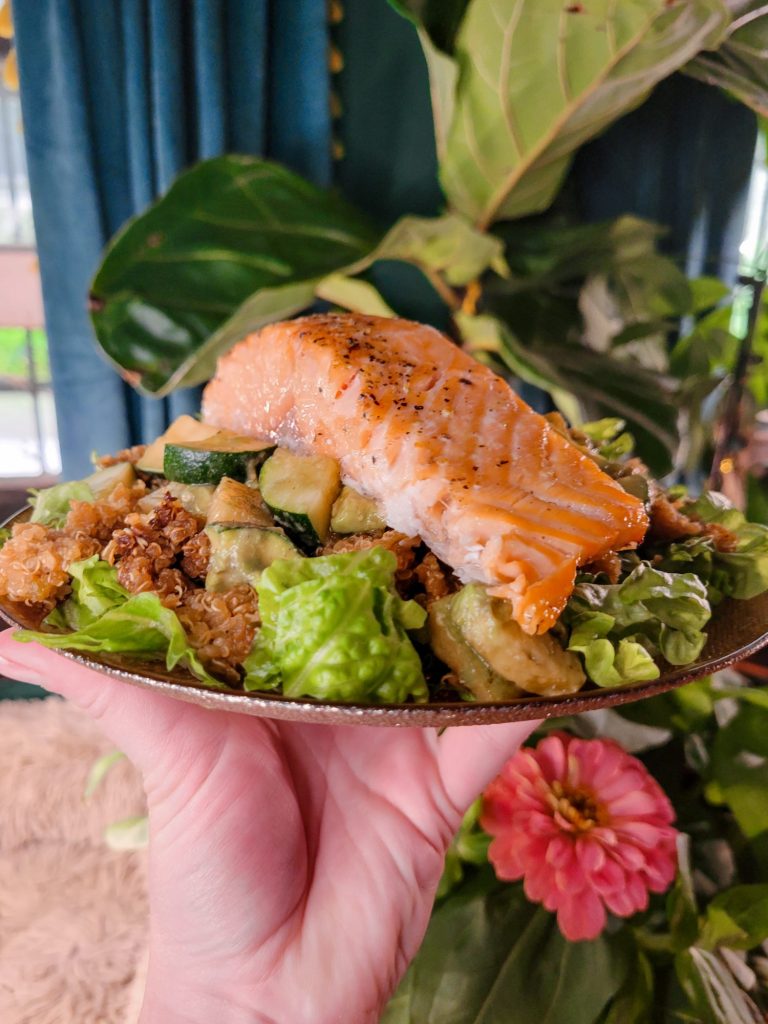
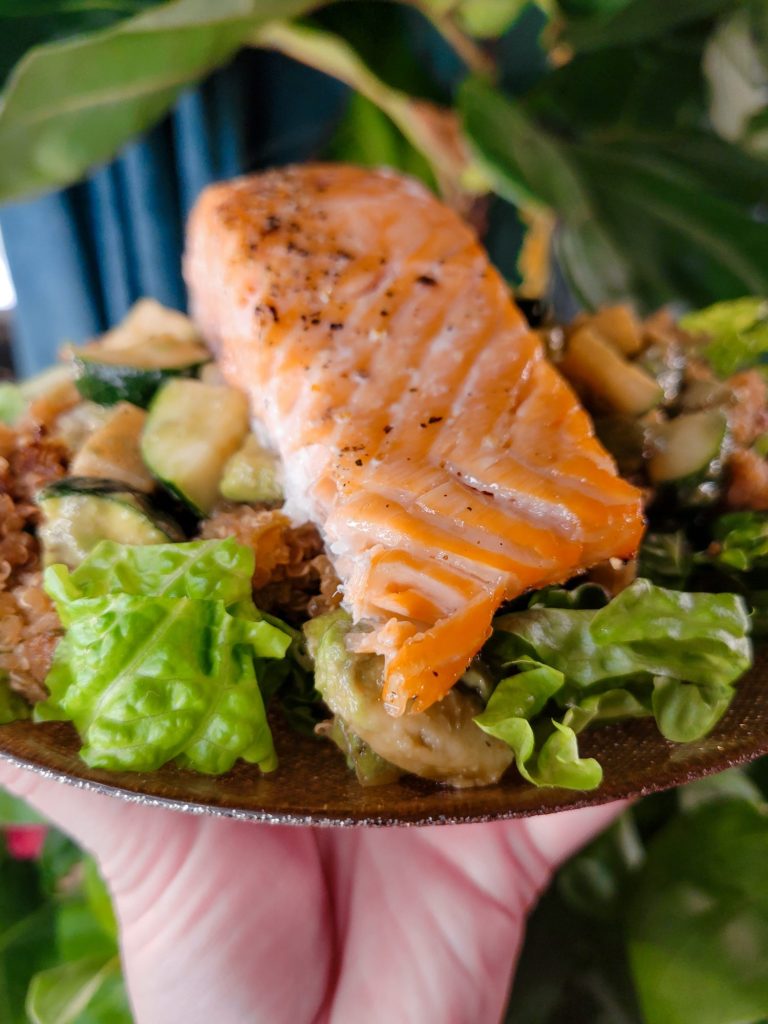
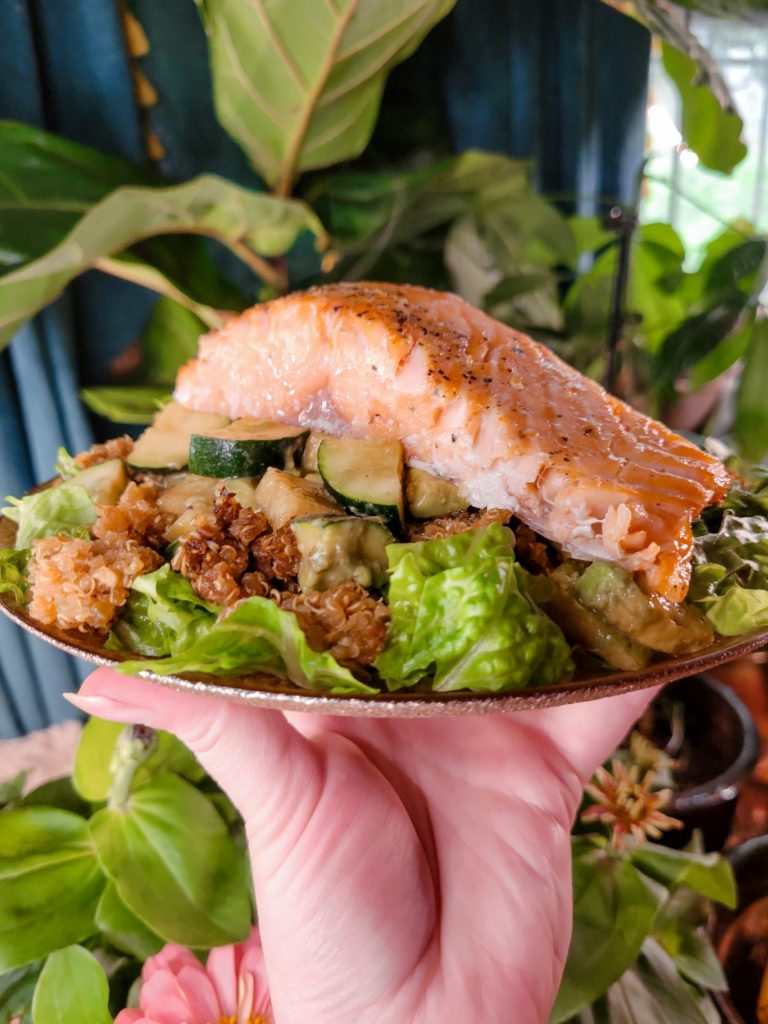
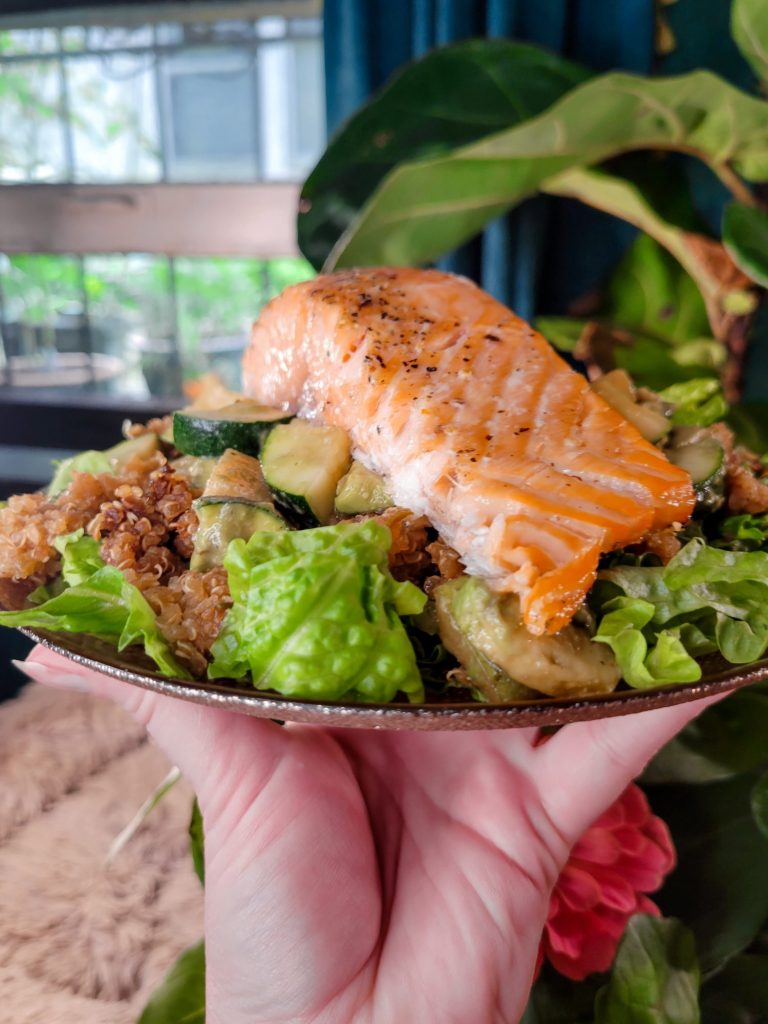
Variations of Salmon Salad
Seafood salads are one of my favorite ways to instantly elevate a salad. I'm not a huge fan of tossing a bunch of lettuce on a plate and calling it a "meal." As much as I enjoy a good head of lettuce, it's not quite the most filling thing in the world! So, I tend to go for more of a salmon or ahi tuna steak on a bed of quinoa or rice salad. With maybe a few hints of lettuce mixed in, just for posterity's sake. Feel free to mix and match in your own favorite seafood or what's best at your local grocery store, marina, or go-to seafood purveyor.
Salad w/ Tamari Quinoa, Pears, & Salmon
Equipment
- Rice Cooker
- Oven
- Baking Sheet
- Mixing Bowl
- Skillet
- Stovetop
Ingredients
Quinoa
- 2 jalapeños
- 1 tbsp. ginger minced
- 1/8 c. tamari (or soy sauce)
- 1/8 c. apple cider vinegar
- 1 ½ c. quinoa
- 3 c. water
Salmon
- 1 filet salmon per person (4 total for entire batch)
- splash olive oil
- dash salt
- dash pepper
- lemons sliced
Salad
- 4 filets salmon
- 1 batch quinoa
- 8 scrambled eggs
- 1 head red leaf lettuce chopped (or other lettuce of choice)
- 2 zucchini diced
- 2 anjou pears diced
- 2 avocados diced
- splash tamari (or soy sauce)
- splash apple cider vinegar
- dash salt
- dash pepper
Instructions
Quinoa
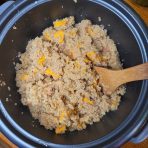
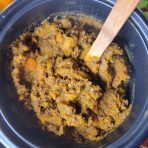
- Add all of the ingredients into a rice cooker. I like to start with the larger produce and then add the smaller ingredients. Top with the spices. And then add the quinoa and water.This cooks the larger vegetables on the bottom, while dispersing the flavor profiles in the middle. Although with some mixing, this really doesn't matter all that much. Everything will eventually cook together!
- Press the cook button on the rice cooker. It should take about 45 minutes to cook.
- When the quinoa is fully cooked, let sit for 10 minutes. Then, fluff with a wooden spoon.
Bake Salmon
- Preheat oven to 450 degrees Fahrenheit.
- Place salmon skin-side down on a griddle or baking sheet. Drizzle with olive oil and add a dash of salt and pepper. Slice a lemon and place evenly on top of the salmon.
- Bake salmon for 12-15 minutes, or until the salmon begins to flake. Salmon tends to be cooked when it loses the bright color and you can take a fork and it easily separates. Larger cuts of salmon may take upwards of 20 minutes. Smaller, individual portions may take less time. It's best to begin checking after 10 minutes of cooking and adjust the cooking time to the doneness of your filet.
- This entire recipe will make 4 servings. I typically make 1 small filet per person.Otherwise, I tend to cook just enough for myself and then use the rest of the quinoa and lettuce for other dishes. I made this same recipe with Tuna Steaks and Scrambled Eggs later in the week!
Salad
- Set the lettuce, quinoa, and salmon steaks aside.
- Add the rest of the ingredients to a bowl and mix together.You can prepare this up to a day ahead of time to let marinade or even use some of the extra juice to marinade the tuna steak. Although that was entirely too much effort for my day! So, I skipped it here. But a possibility for next time.
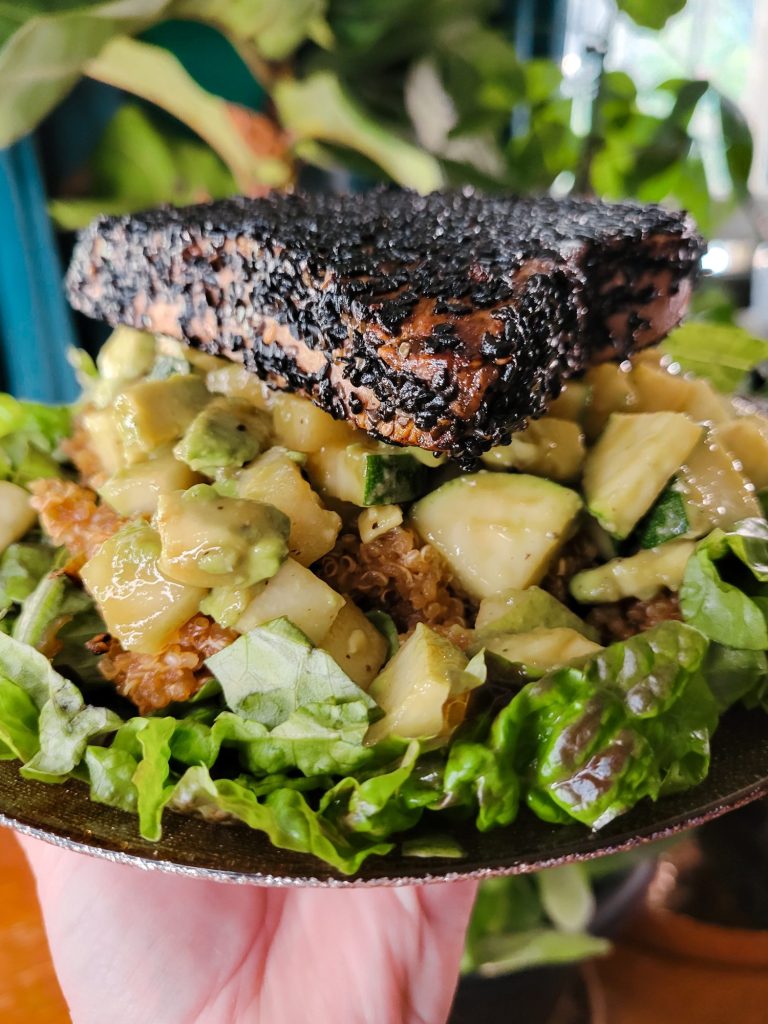
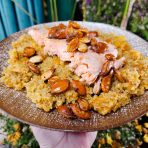
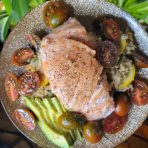
- Arrange quinoa, lettuce, pear salad, and salmon on a plate. Serve immediately.
Tips, Tricks, & Notes
- For more information on baking salmon, check out my articles on The Fundamentals of Oven Baked Salmon and Barbecue Salmon. I'm particularly fond of cooking on a well-seasoned cast iron griddle because you don't need additional oil or foil to to keep it from sticking. But there are certainly ways around this if you don't want to dedicate an entire cast iron pan to fish! Cooking salmon is also more of an art than a science. No two filets are going to cook in the exact same amount of time and there are definitely some tips and tricks to nailing the cook on fish.
- I also have an article on Quinoa w/ Jalapeños, Shallots, Tamari, & Ginger.
This Page Contains Edited Images
As a general rule, I don't like to edit my images and I am firmly against alteration of images in food blogs. It's not something that we generally think about when it comes to recipes. But food styling, editing, alteration, and even faking entirely is just as rampant a problem in the recipe realm as anything else! Cooking is a very visual art and you can tell when a lot of foods are cooked based on the color. So, when this is altered and you can't use the coloration as a gauge, it makes it quite difficult to follow some recipes. I have an entire article about Food Styling and Unrealistic Expectations of Recipes.
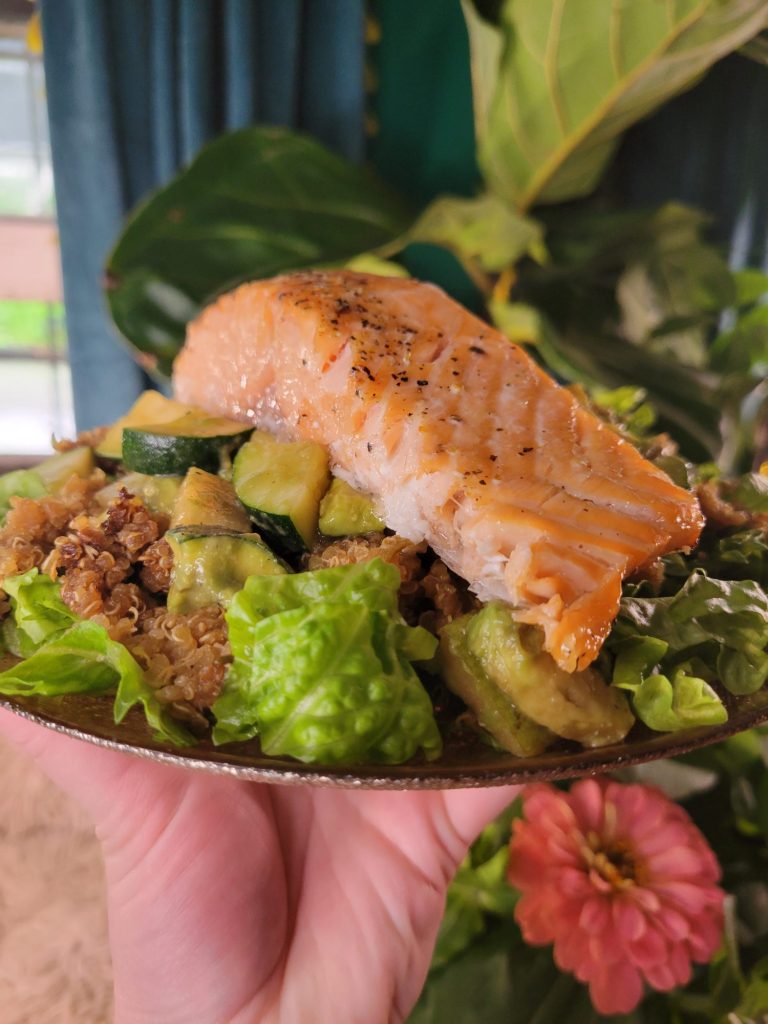
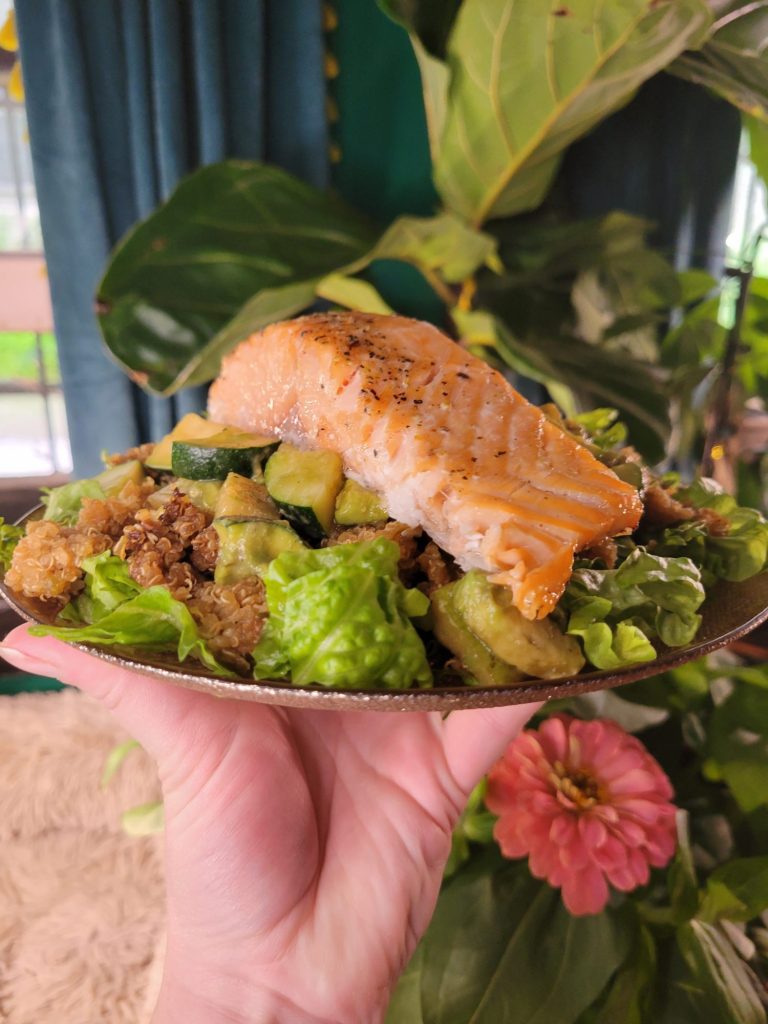
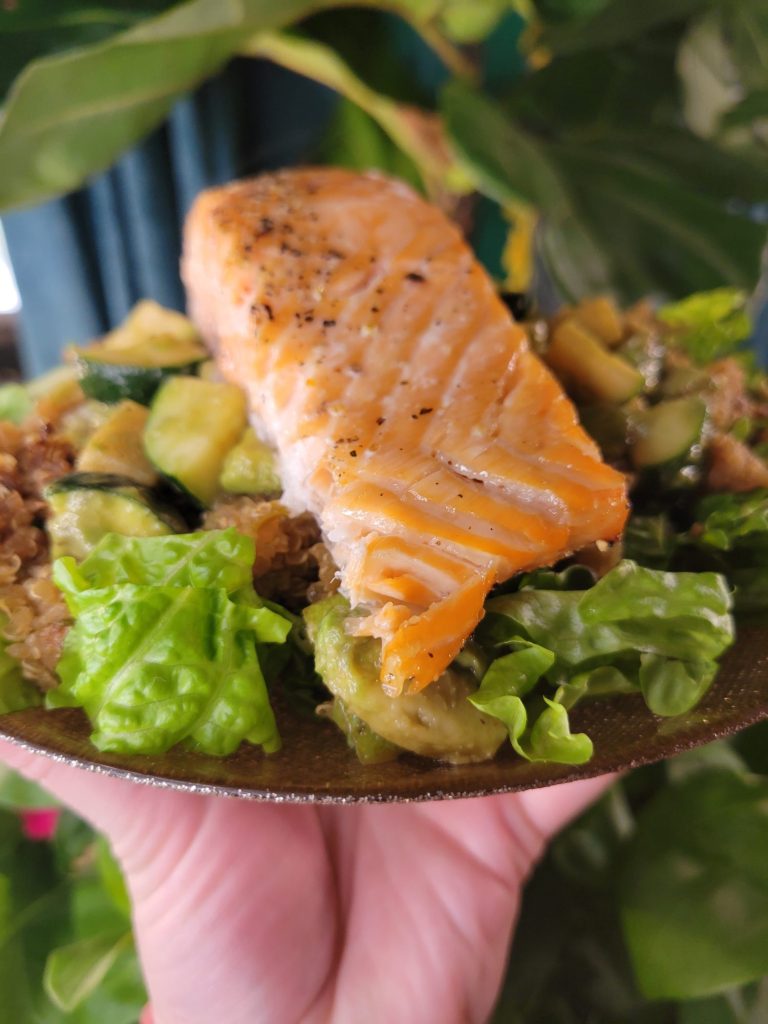
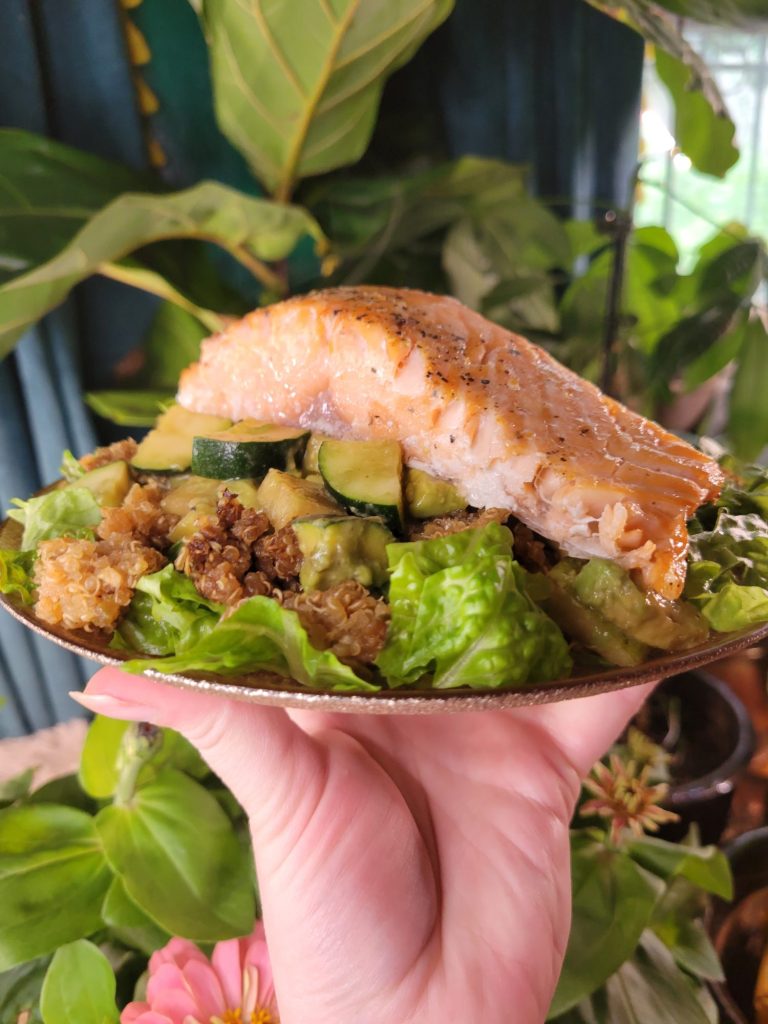
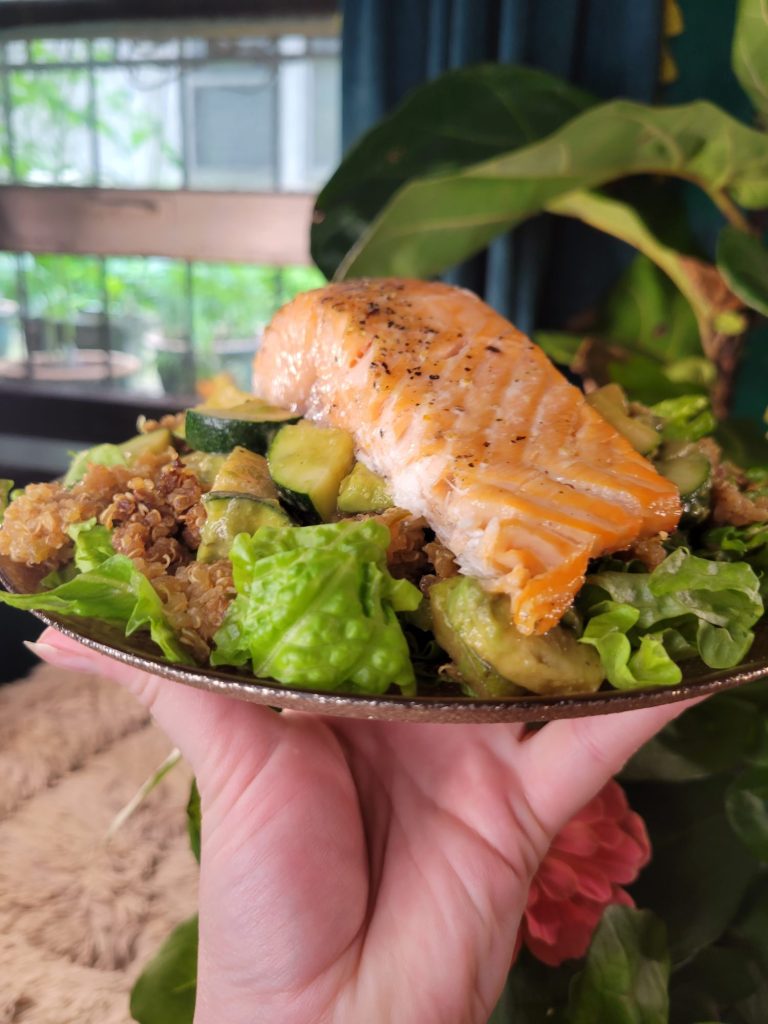
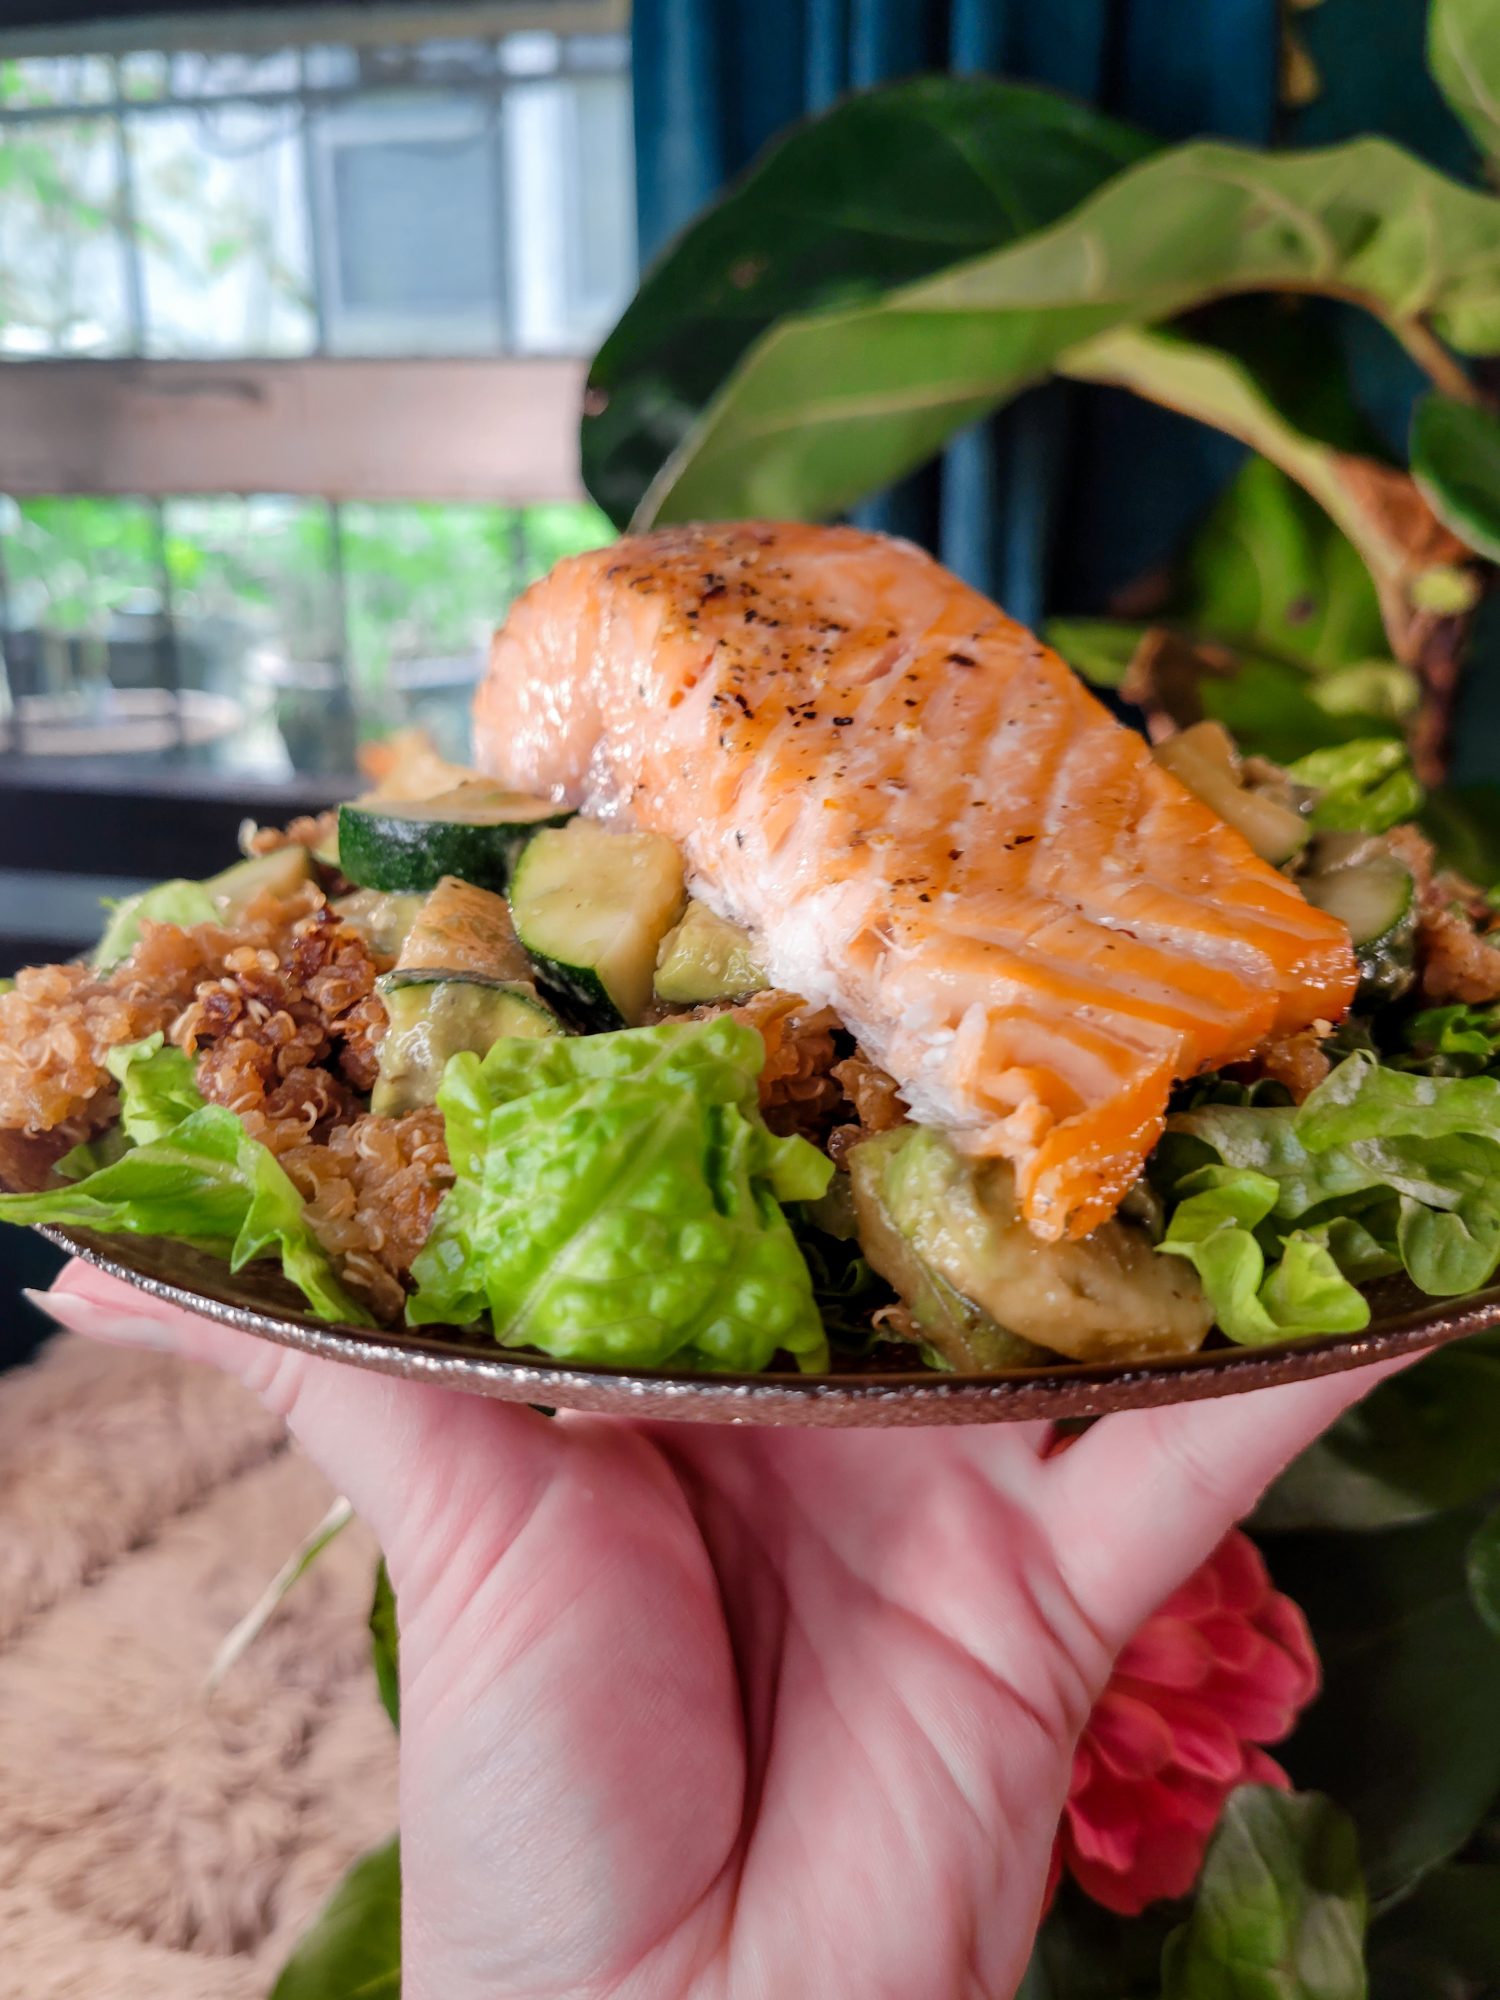
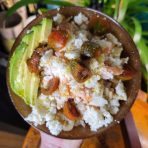
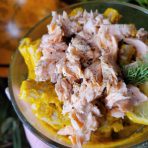
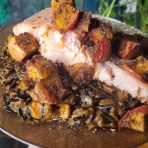
Because of this, I try very hard not to alter any of my photos. I like to take photos with natural sunlight during the day. Ordinarily this is very true to color and I don't edit the photos at all. However, since my place is very warm with a lot of yellow lighting, sometimes my camera overcompensates and ends up with an unnatural blue tone. In the following images on this page, I adjusted the levels and hue to try and make this more true to color. In the interest of transparency, these are the before and after photos.





Leave a Reply