New York Cheesecake w/ Ambercup Squash
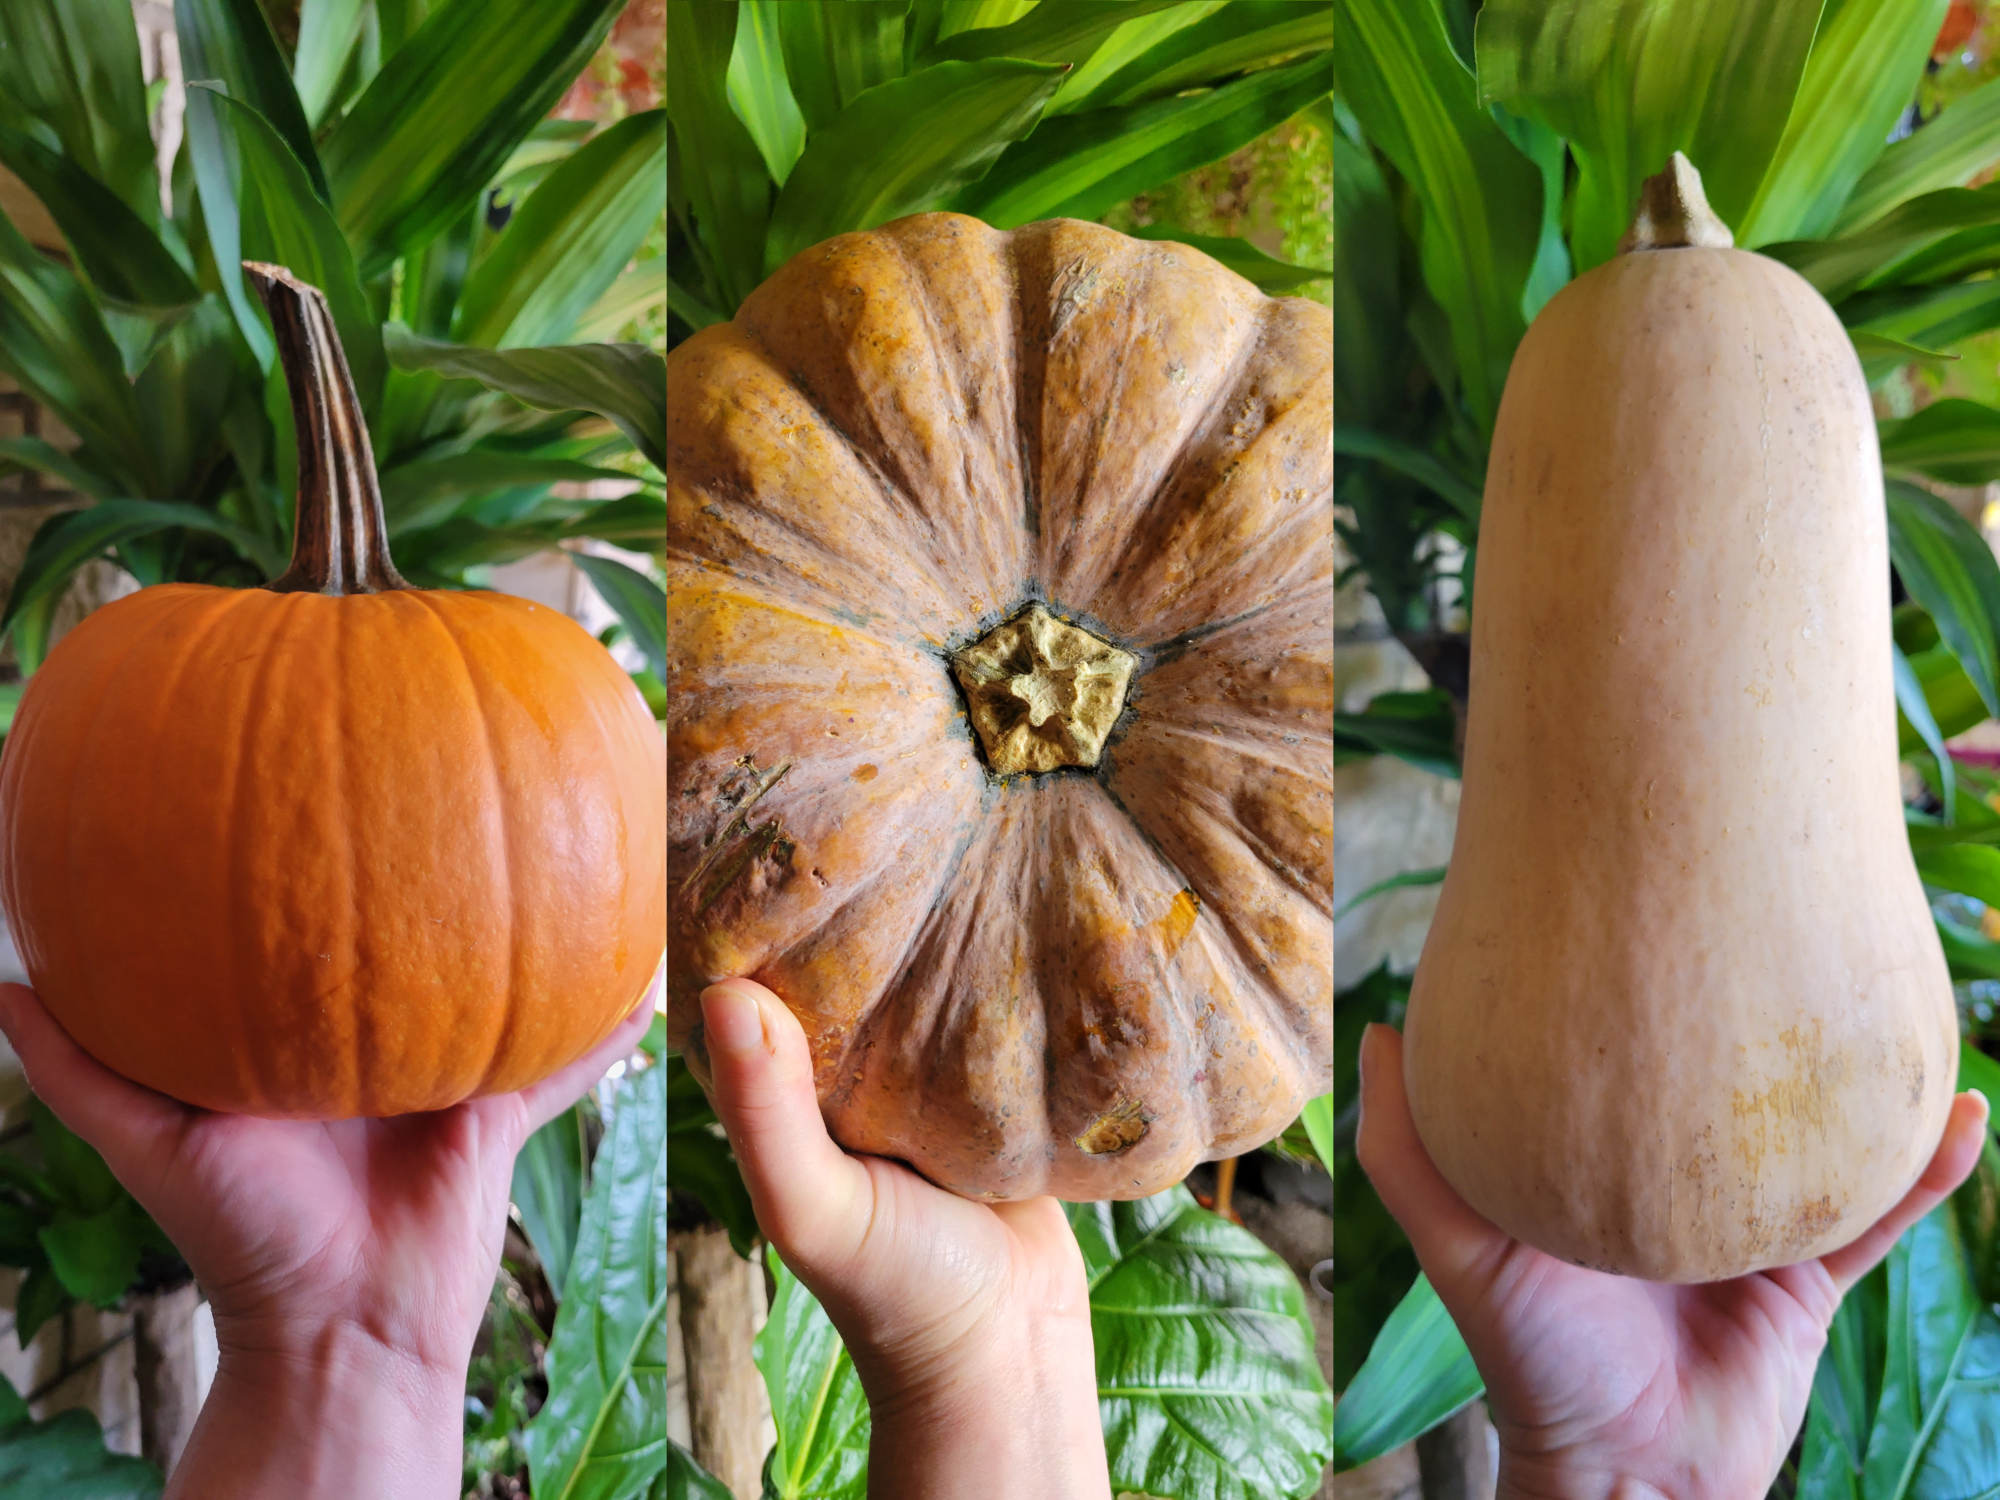
Squash is better than pumpkin. I'm going to say it. Maybe not all squash. But ambercup squash? There is absolutely no question! And this might be a controversial opinion. The best canned pie pumpkins are oftentimes touted as being actual pumpkin and not diluted with squash. The problem with this premise, though, is that squash is better. It has a brighter orange color and a richer and more robust flavor profile. That's why canned pie pumpkin often has squash in it. It's not because squash is less expensive and that people won't notice the diluted color or flavor. It's because pie pumpkin is bland and watery in comparison. I've experimented with every type of pie pumpkin, ambercup squash, blue Hubbard squash, and calabaza squash that I can get my hands on. And I can tell you with more than enough certainty? That pie pumpkin is the worst of the bunch.
And don't get me wrong. I like a good pie pumpkin. I spent years and years and years waiting for pumpkin season every year. But there are absolutely better gourds out there! I even made a pumpkin pie cheesecake last year and it was absolutely delicious. There's no comparison with this year's cheesecake, though. The ambercup squash variety was far more flavorful!
That having been said, you don't have to use ambercup squash. You can easily swap out whichever squash, pumpkin, or edible gourd of choice. Just roast, purée, and use in the same ratio.
Gallery
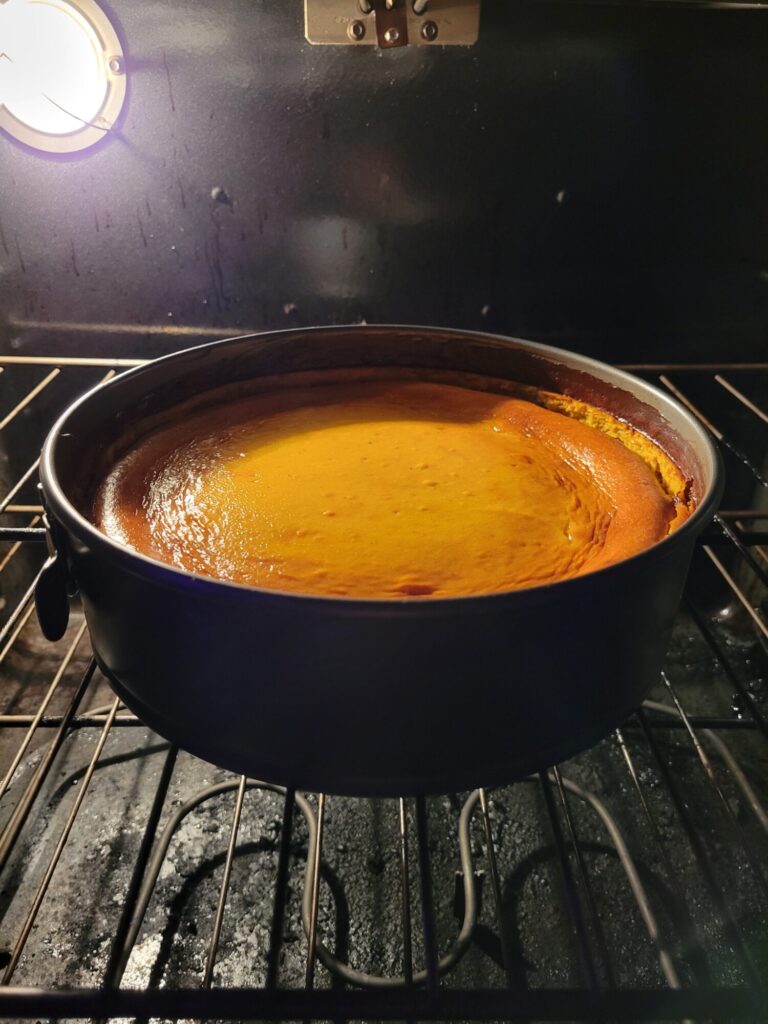
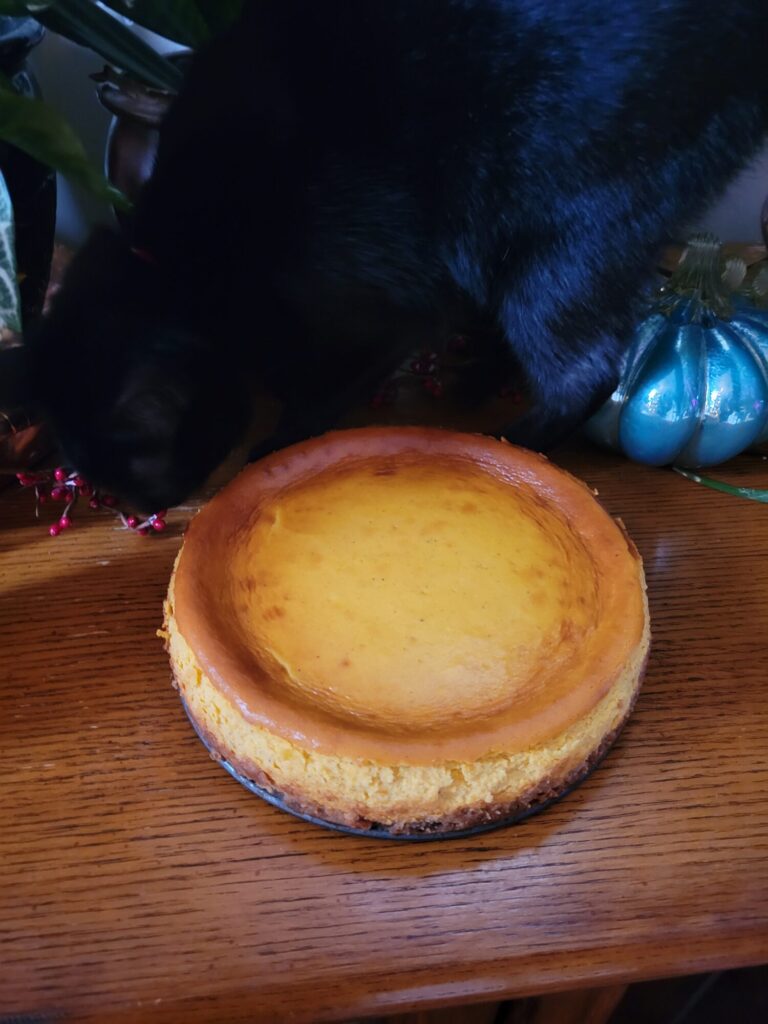
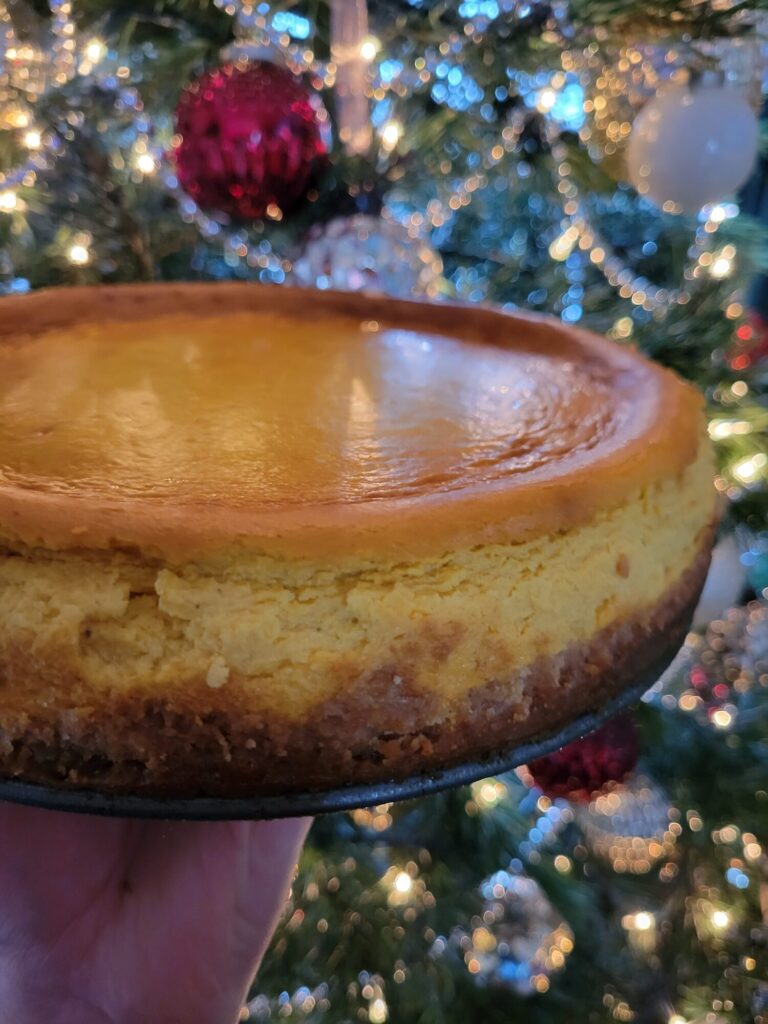
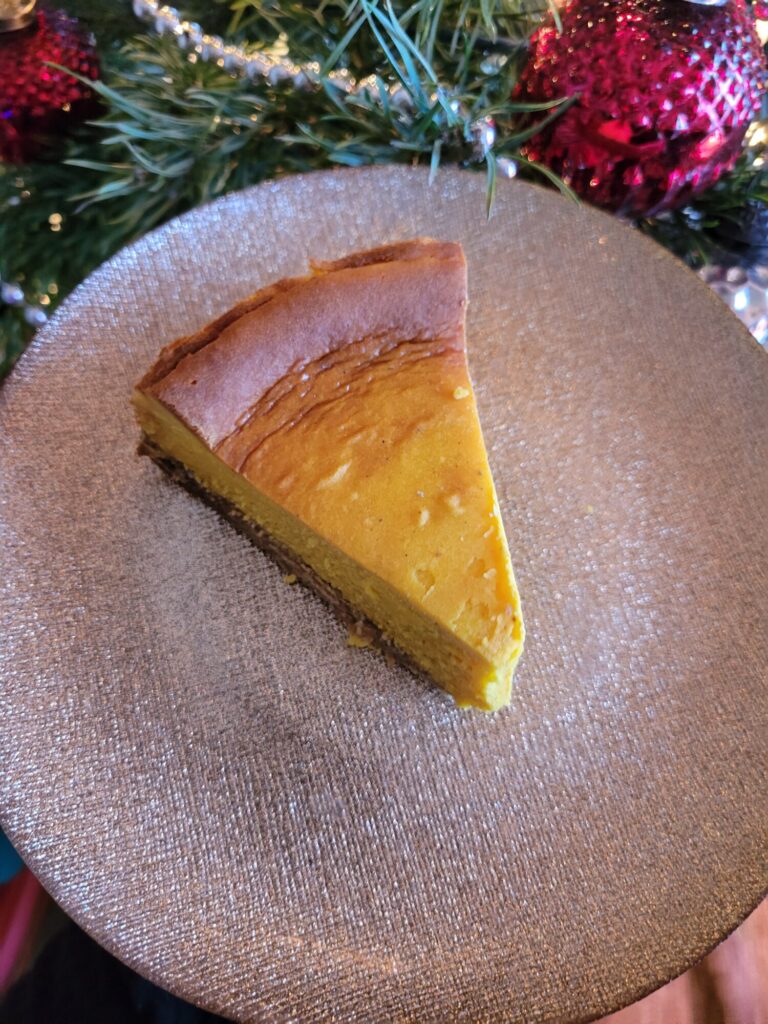
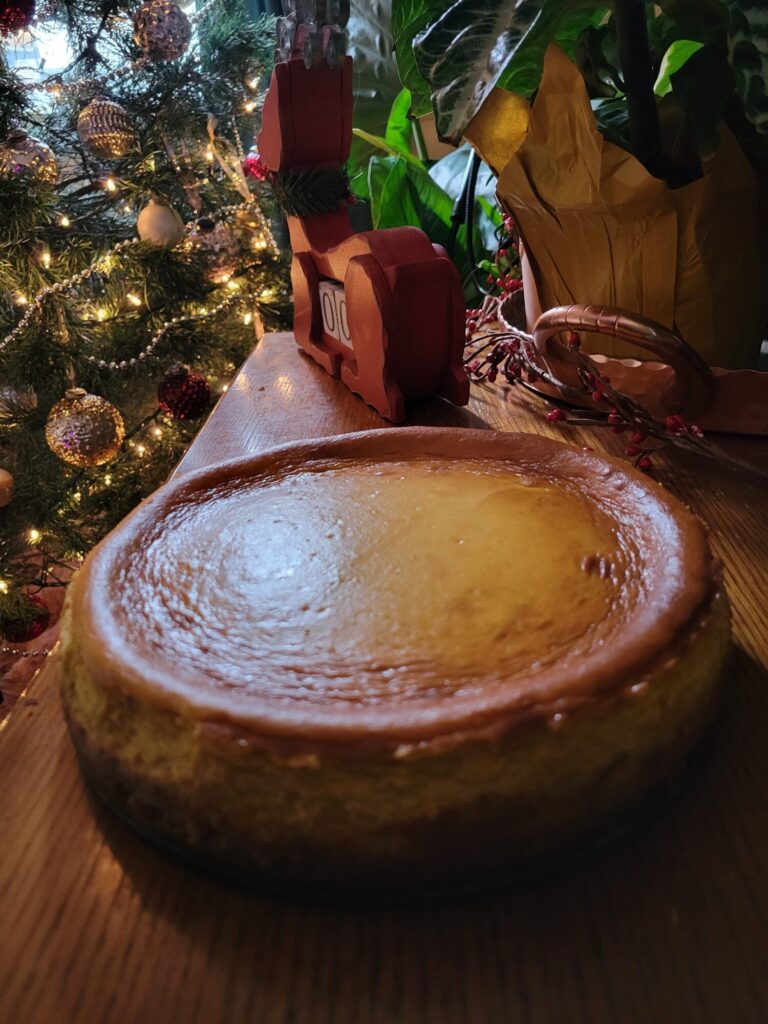
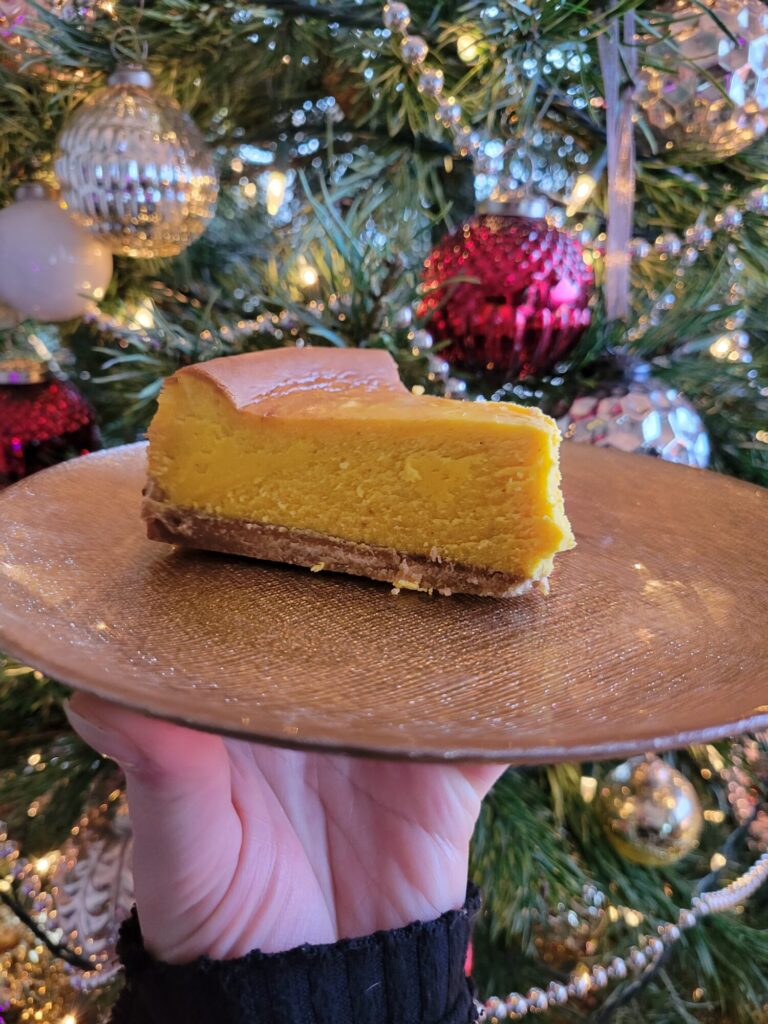
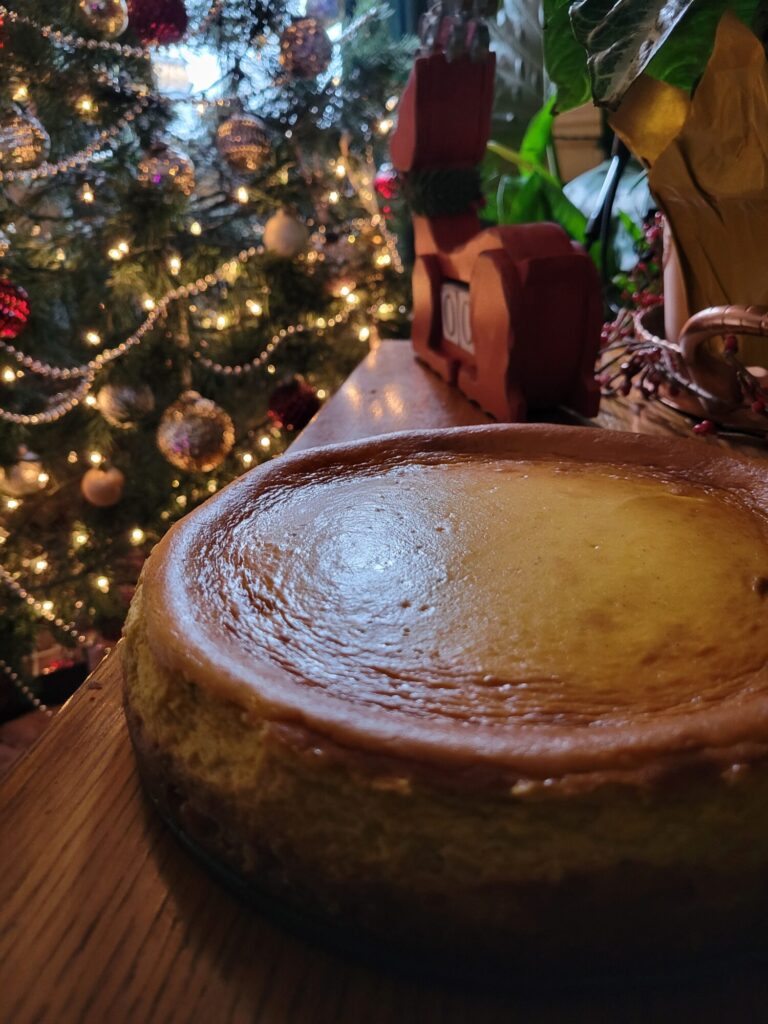
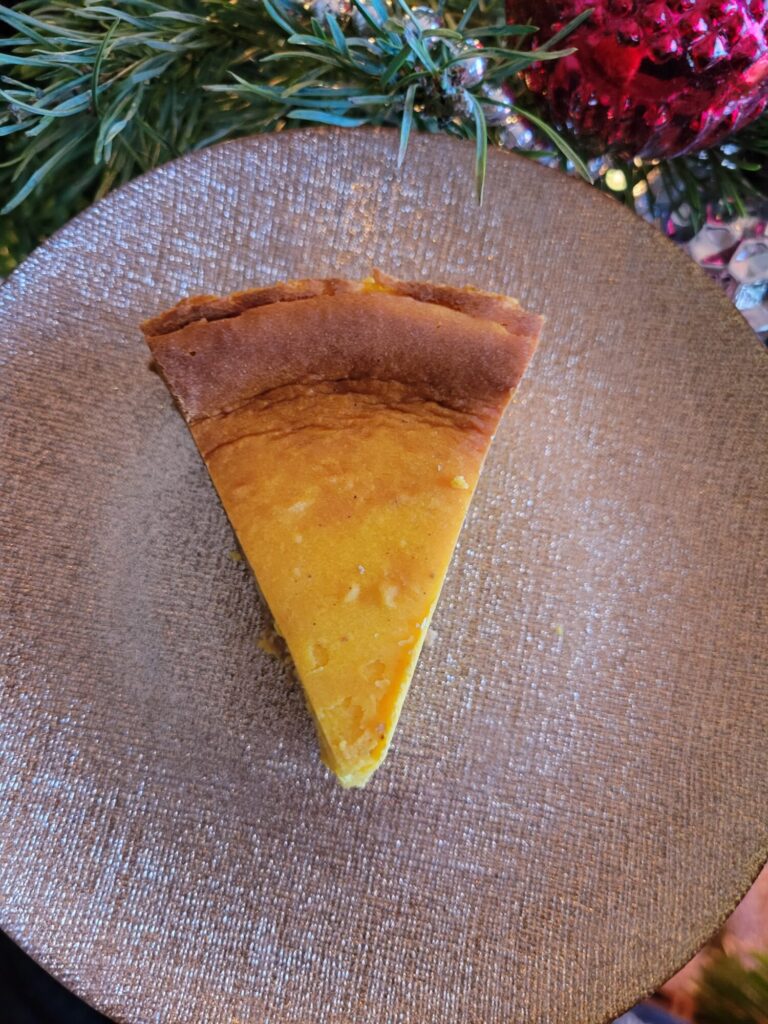
Variations of Ambercup Squash Cheesecake
I absolutely adore cheesecake. Everyone who knows me knows that I make at least one a year. They're the one tradition in my family that I've kept up throughout my adulthood. New York Pumpkin Cheesecake, Irish Cream Cheesecake, and Ambercup Squash cheesecake have been my go-to over the last couple of years. But truly what could be better during the holidays than cheesecake!?
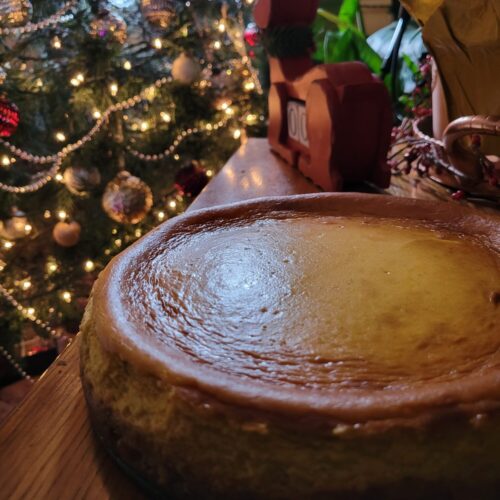
New York Cheesecake w/ Ambercup Squash
Equipment
- Spring Form Pan
- Baking Pan or Dish
- Food Processor
Ingredients
Crust
- butter for coating pan
- 1 ½ c. vanilla wafers (200 g.)
- 6 tbsp. butter (preferably unsalted)
- 1/4 c. sugar
Filling
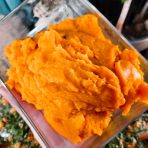
- 1 c. ambercup squash roasted & puréed
- 2 lbs. cream cheese (four 8 oz. packages)
- 1 c. sour cream
- 3/4 c. sugar
- 2 eggs
- 1 tsp. nutmeg
- 1 tsp. vanilla extract
- 2 tbsp. corn starch
Instructions
Prepare Ingredients
- I used Ambercup Squash in this recipe. This takes a couple of hours and requires aluminum foil and a baking dish. I am a big fan of ambercup squash. It's a medium-sized variety with dense flesh and a lot of flavor. You can easily substitute butternut squash, pie pumpkin, or other gourd of choice.
Crust
- Preheat oven to 350 degrees Fahrenheit.
- Heavily coat a springform cheesecake pan with butter. Set aside.I am a purist when it comes to cheesecake. I do not recommend spraying it with olive oil or attempting a cheesecake in anything other than a cheesecake pan! It will not have the same flavor and it will not come cleanly out of any other type of pan.
- Add vanilla wafers to food processor and process for 1-2 minutes, or until the wafers turn into fine crumbs.You want 1 1/2 cups of vanilla wafer crumbs, so you'll need to add about twice as much whole vanilla wafers to reach this amount.
- Add butter and sugar to vanilla wafer crumbs and process for 2 minutes, or until the mixture is fully incorporated and begins to form a ball.
- Add wafer mixture to the springform pan and firmly pack down.
- Bake for 10 minutes.
- Remove from oven and set aside.
Filling
- Turn the oven up to 425 degrees Fahrenheit. Place a large baking dish on the bottom rack of the oven and fill with water.DO NOT SKIP THIS STEP. An essential part of making cheesecake is creating steam in the oven.
- Add pumpkin purée, cream cheese, sour cream, and sugar to food processor. Process for 2-3 minutes, or until smooth.
- Add eggs gradually, along with nutmeg vanilla extract, and cornstarch. It’s best to add 1 egg at a time and process until barely incorporated, about 10-15 seconds per egg.DO NOT OVERBEAT. I repeat, DO NOT OVERBEAT! There is nothing that will ruin the texture of a cheesecake faster than overbeating the eggs.
- Pour filling on top of the crust. Let sit for a couple minutes and tap or shake lightly.This will let the air bubbles rise to the surface and will prevent the bubbles from causing brown spots or cracks in the cheesecake. DO NOT SKIP THIS STEP!
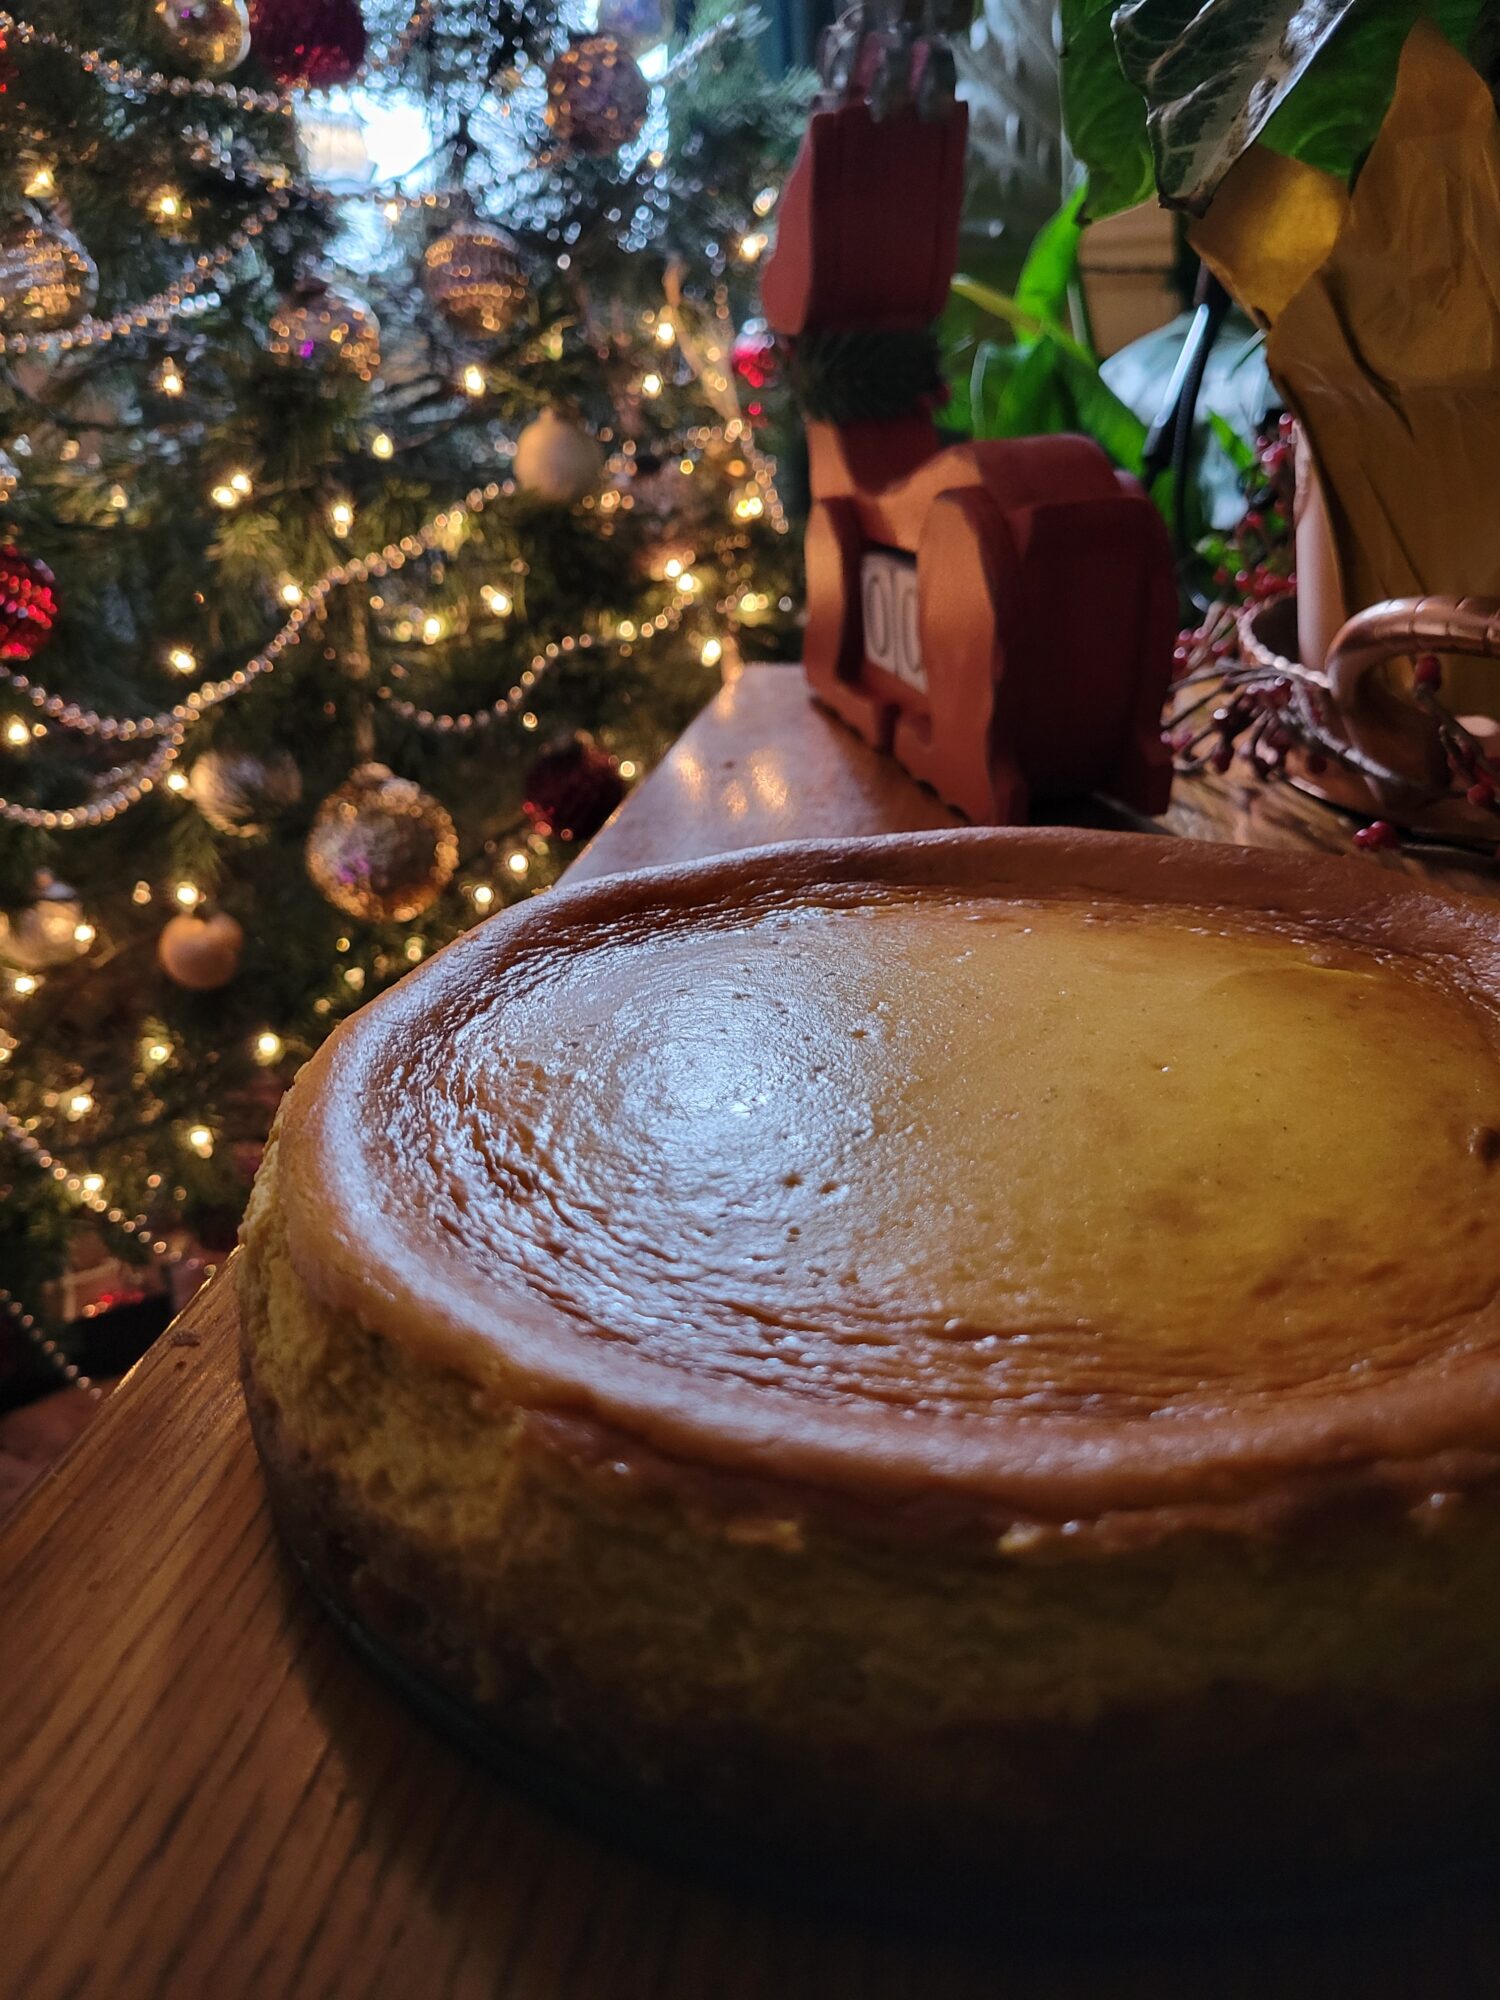
- Bake for 45 minutes. The cheesecake should be very lightly browned on top.
- Check after 30 minutes and turn down the heat if browning too quickly.
- Turn off the oven and place a wooden spoon the door to prop it open. Let sit for 1-2 hours, or until cool. This will allow the cheesecake to set without removing it from the oven.I cannot stress this enough: DO NOT TOUCH IT! DO NOT REMOVE FROM THE OVEN! DO NOT REMOVE FROM THE PAN! AND DO NOT CUT!
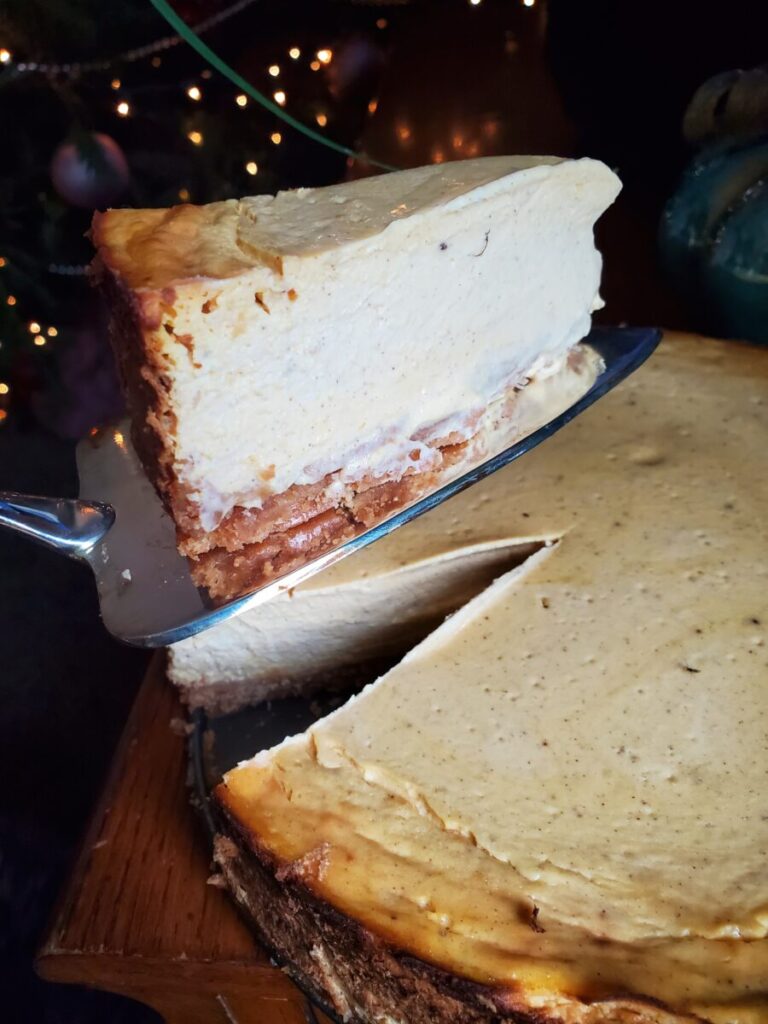
- After the cheesecake is cool, put in the refrigerator and let sit for at least 12 hours. It’s best to bake in the evening and let it set overnight. It will not turn out if you try to cut into it too early.
Tips, Tricks, & Notes
- Cheesecake will keep for 2-3 days in an airtight container in the refrigerator. It will technically keep for longer and is still fine to eat. However, after a couple days in the refrigerator the butter will begin to separate, so I advice eating it sooner rather than later.





Leave a Reply