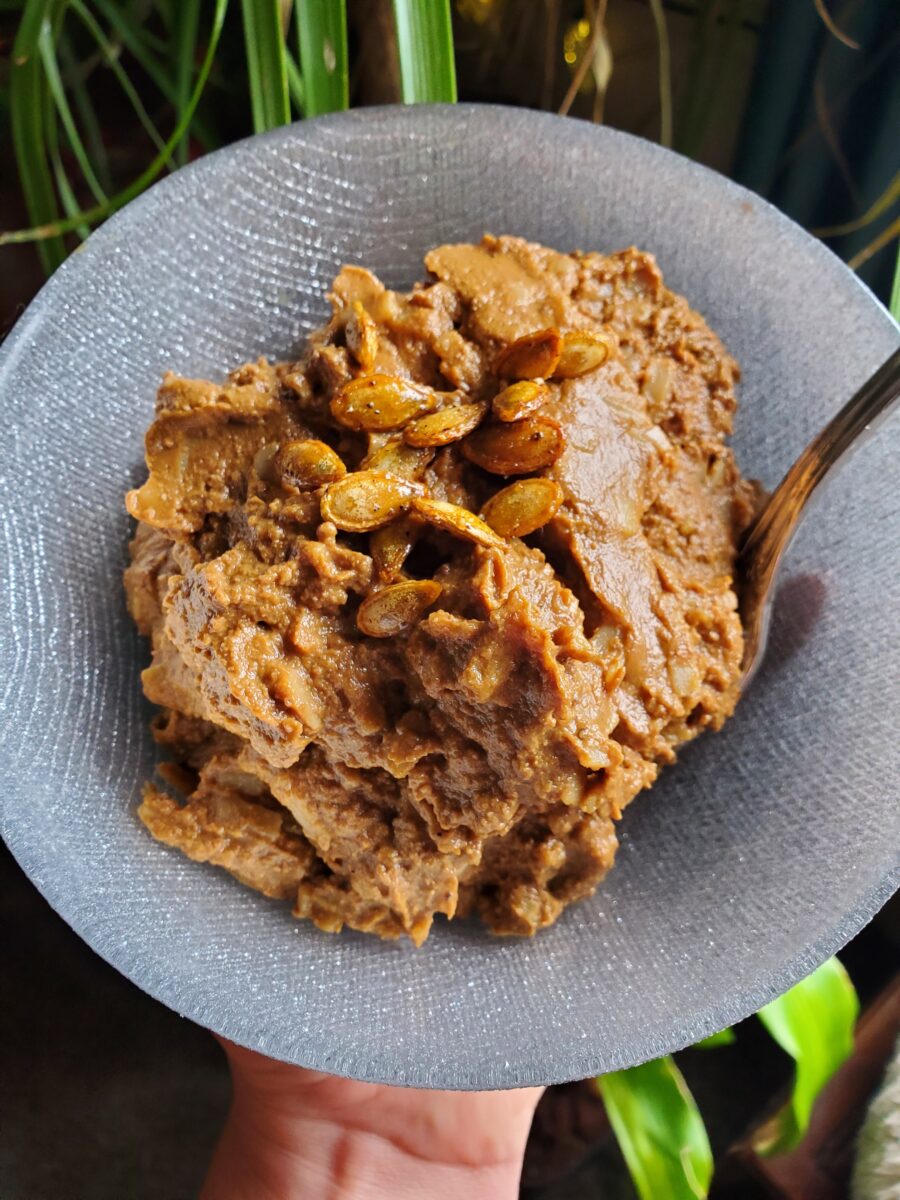
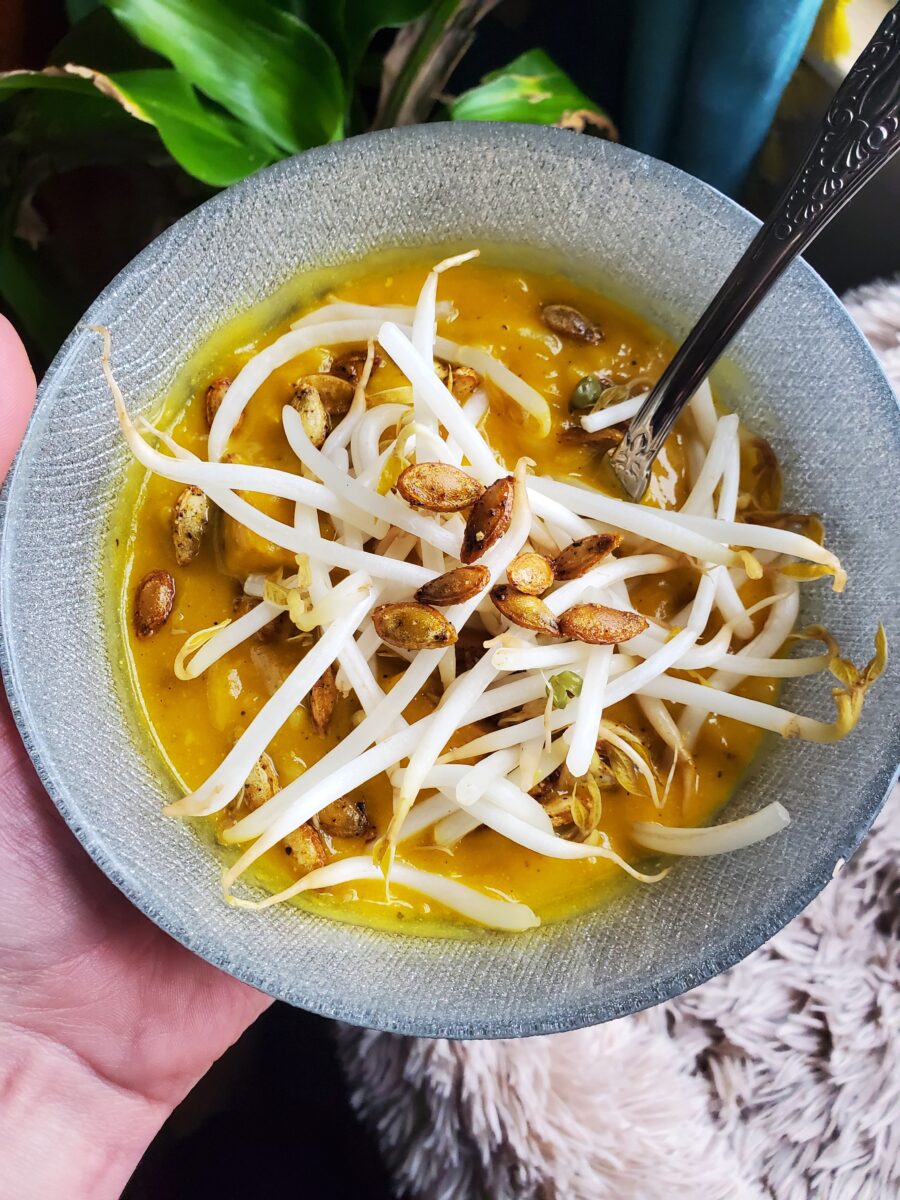
Curry w/ Brussel Sprouts & Tomato Purée
I've kind of colloquially been calling this my "Everything That I Have Curry." I spent quite a bit of time standing in front of my refrigerator going, "What exactly am I going to do with brussel sprouts, tomatoes, carrots, and potatoes...??" I feel like the obvious answer is soup. I don't ordinarily make a lot of soups, though. I'm much more of a curry person! Hence the everything that I have curry!
The real wild card here was the tomatoes. Tomatoes don't tend to like being slowly simmered. They break down well for sauce. But you have to blanch them to remove the skin. Which I am not necessarily fond of doing! Otherwise the skin rolls up and you end up with these little hardened pieces of rolled up tomato skins that are textural unpleasant. So, I just decided to purée them!
Gallery


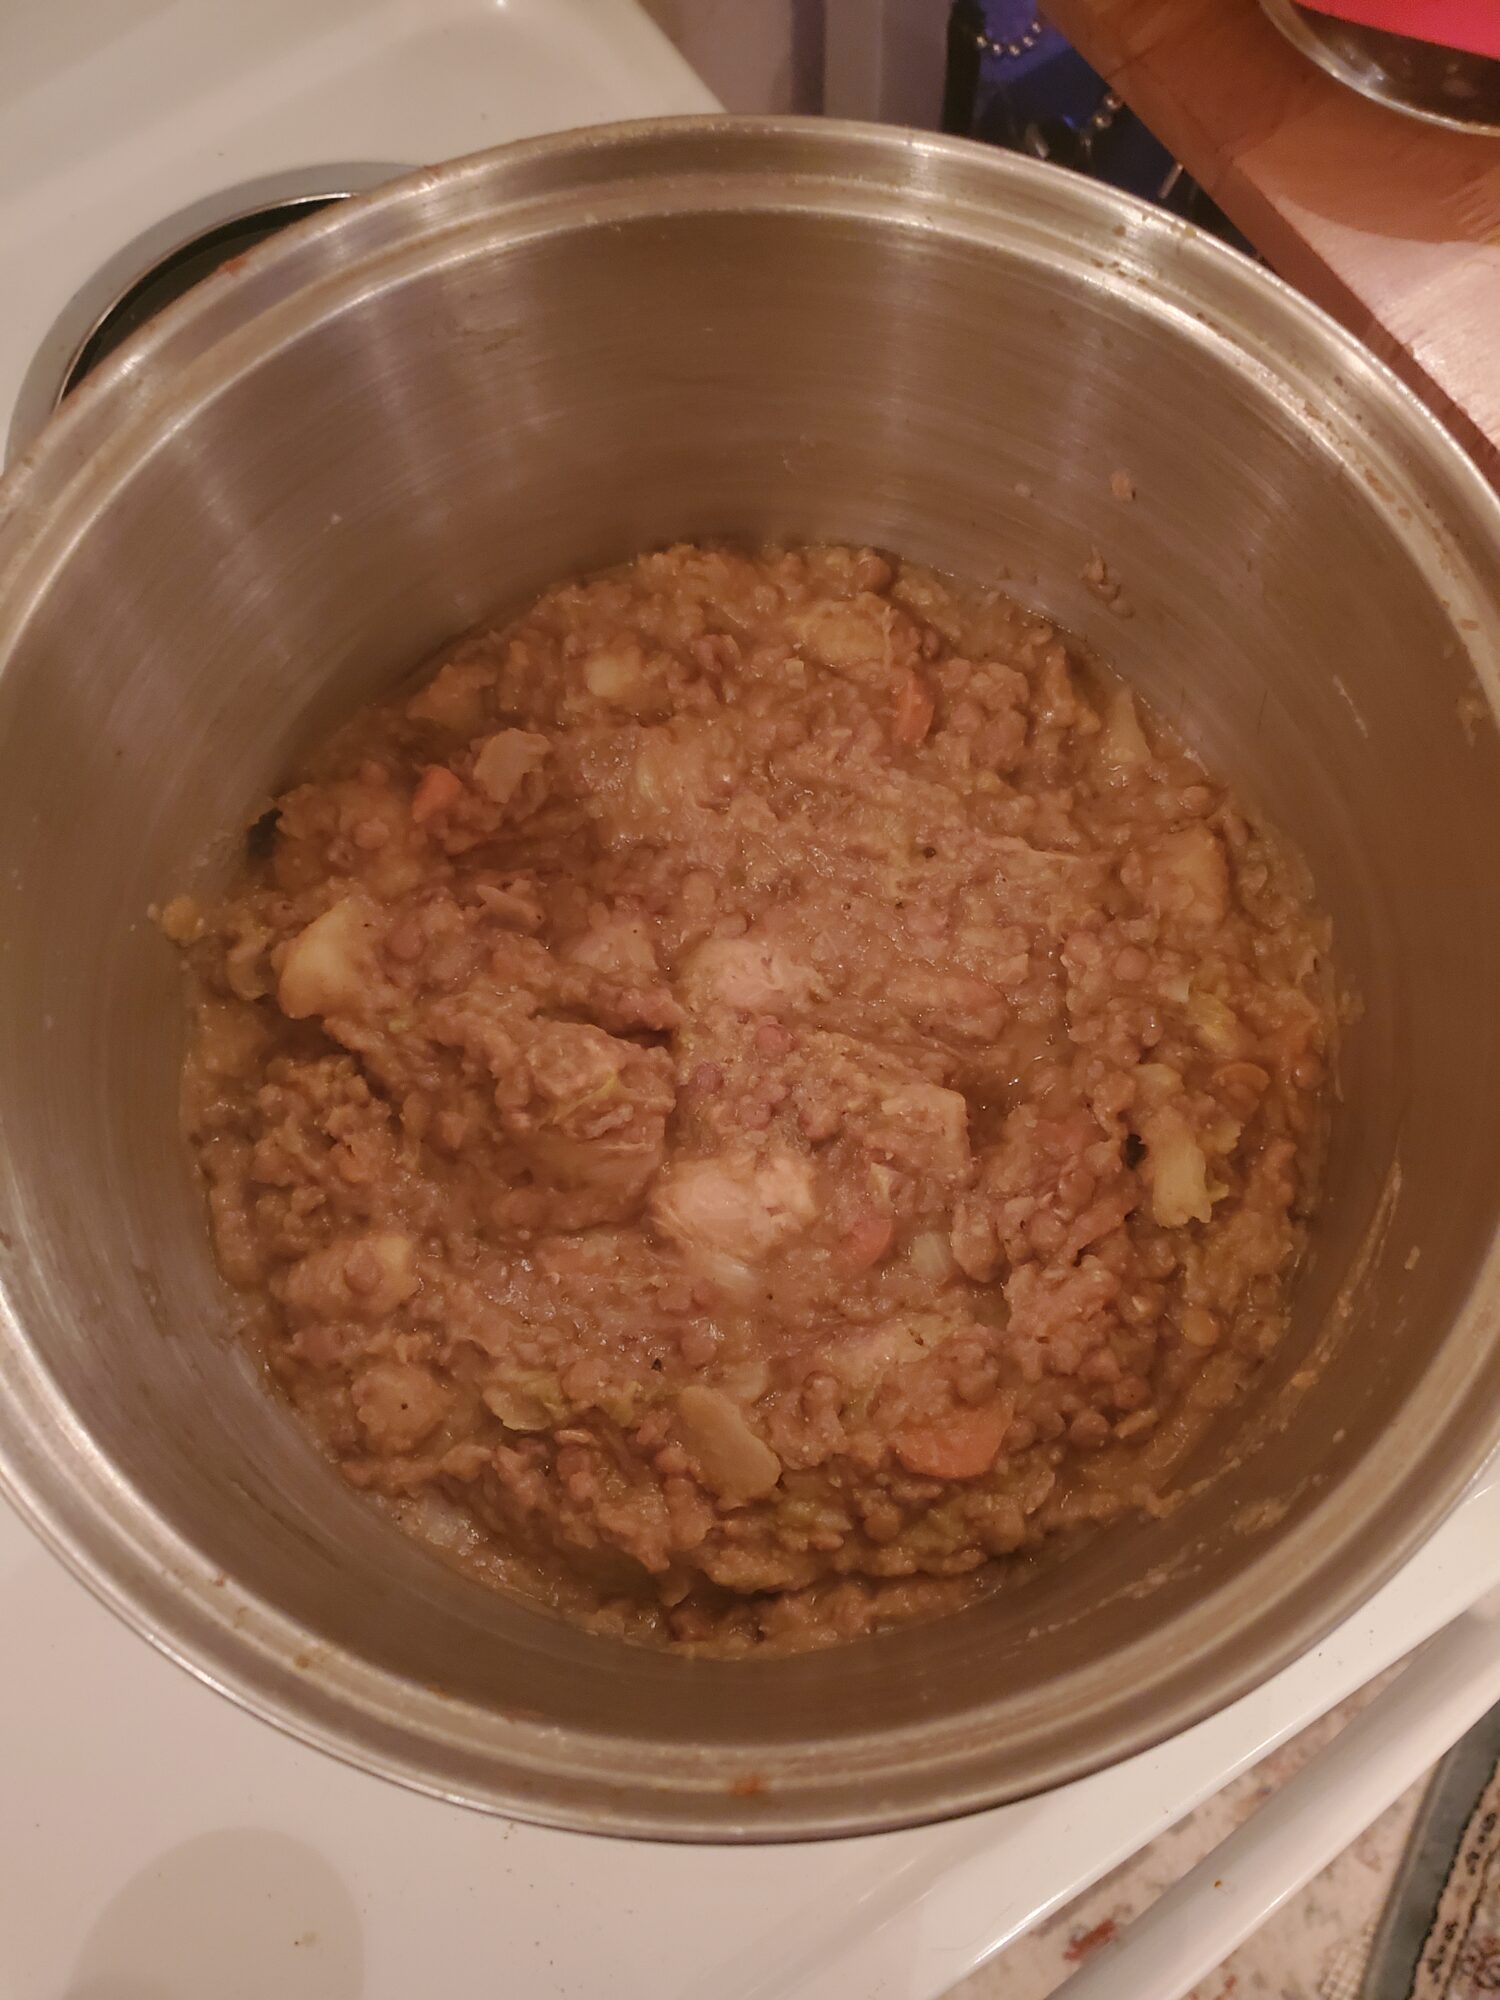
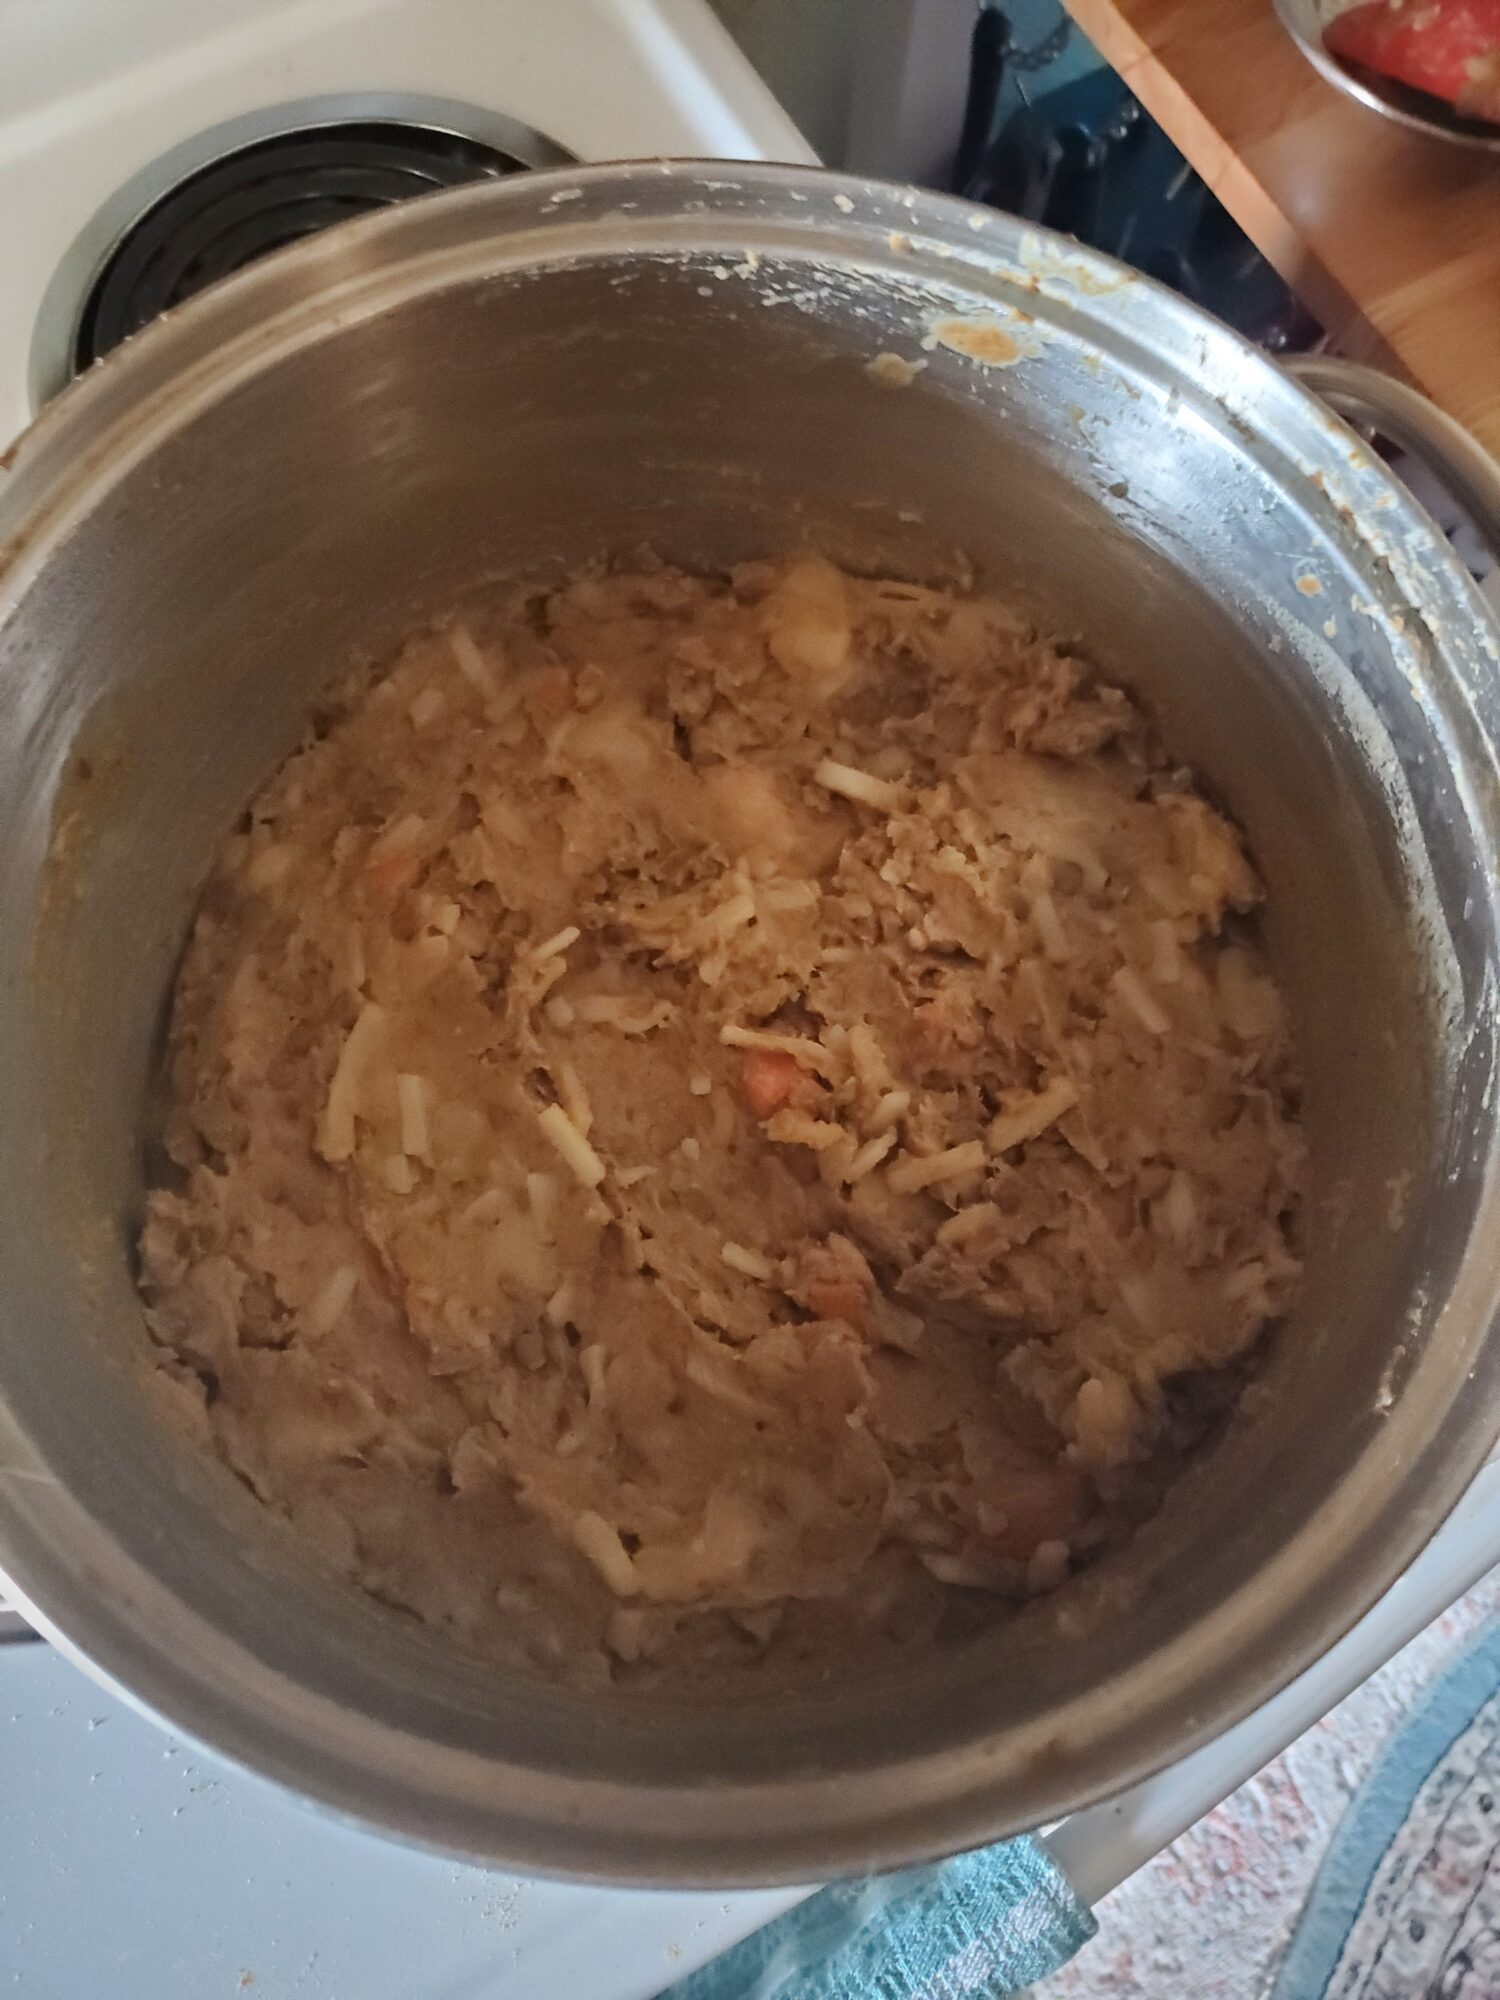
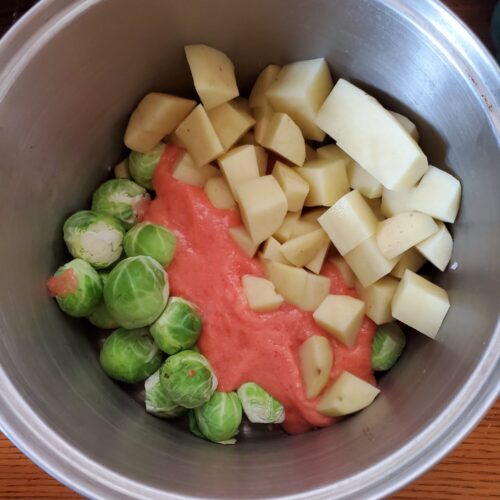
I did not take a good picture of this! It's my Birthday in a couple of days and I'm working a lot of extra hours so that I can take a couple of days off. So, food has kind of gone by the wayside... Hence the, everything that I have in the house is getting tossed into curry mentality! You're just going to have to deal with process pics. I'm sorry. I'll do better at adulting next week.
Variations of Brussel Sprouts Curry
Curry is one of my comfort foods. It's warm and sometimes spicy and much more versatile than you might expect out of a stew. I tend to simmer down the liquid over several hours and then turn it into a variety of other meals.

Curry w/ Brussel Sprouts & Tomato Purée
Equipment
- Food Processor
- Large Pot
- Stovetop
Ingredients
Produce
- 6 cloves roasted garlic (or 3 cloves unroasted garlic)
- 3 tomatoes puréed (or diced)
- 2 carrots diced
- 2 potatoes diced
- 12 brussel sprouts
- 1/2 shallot minced
- 1 ½ tbsp. ginger minced
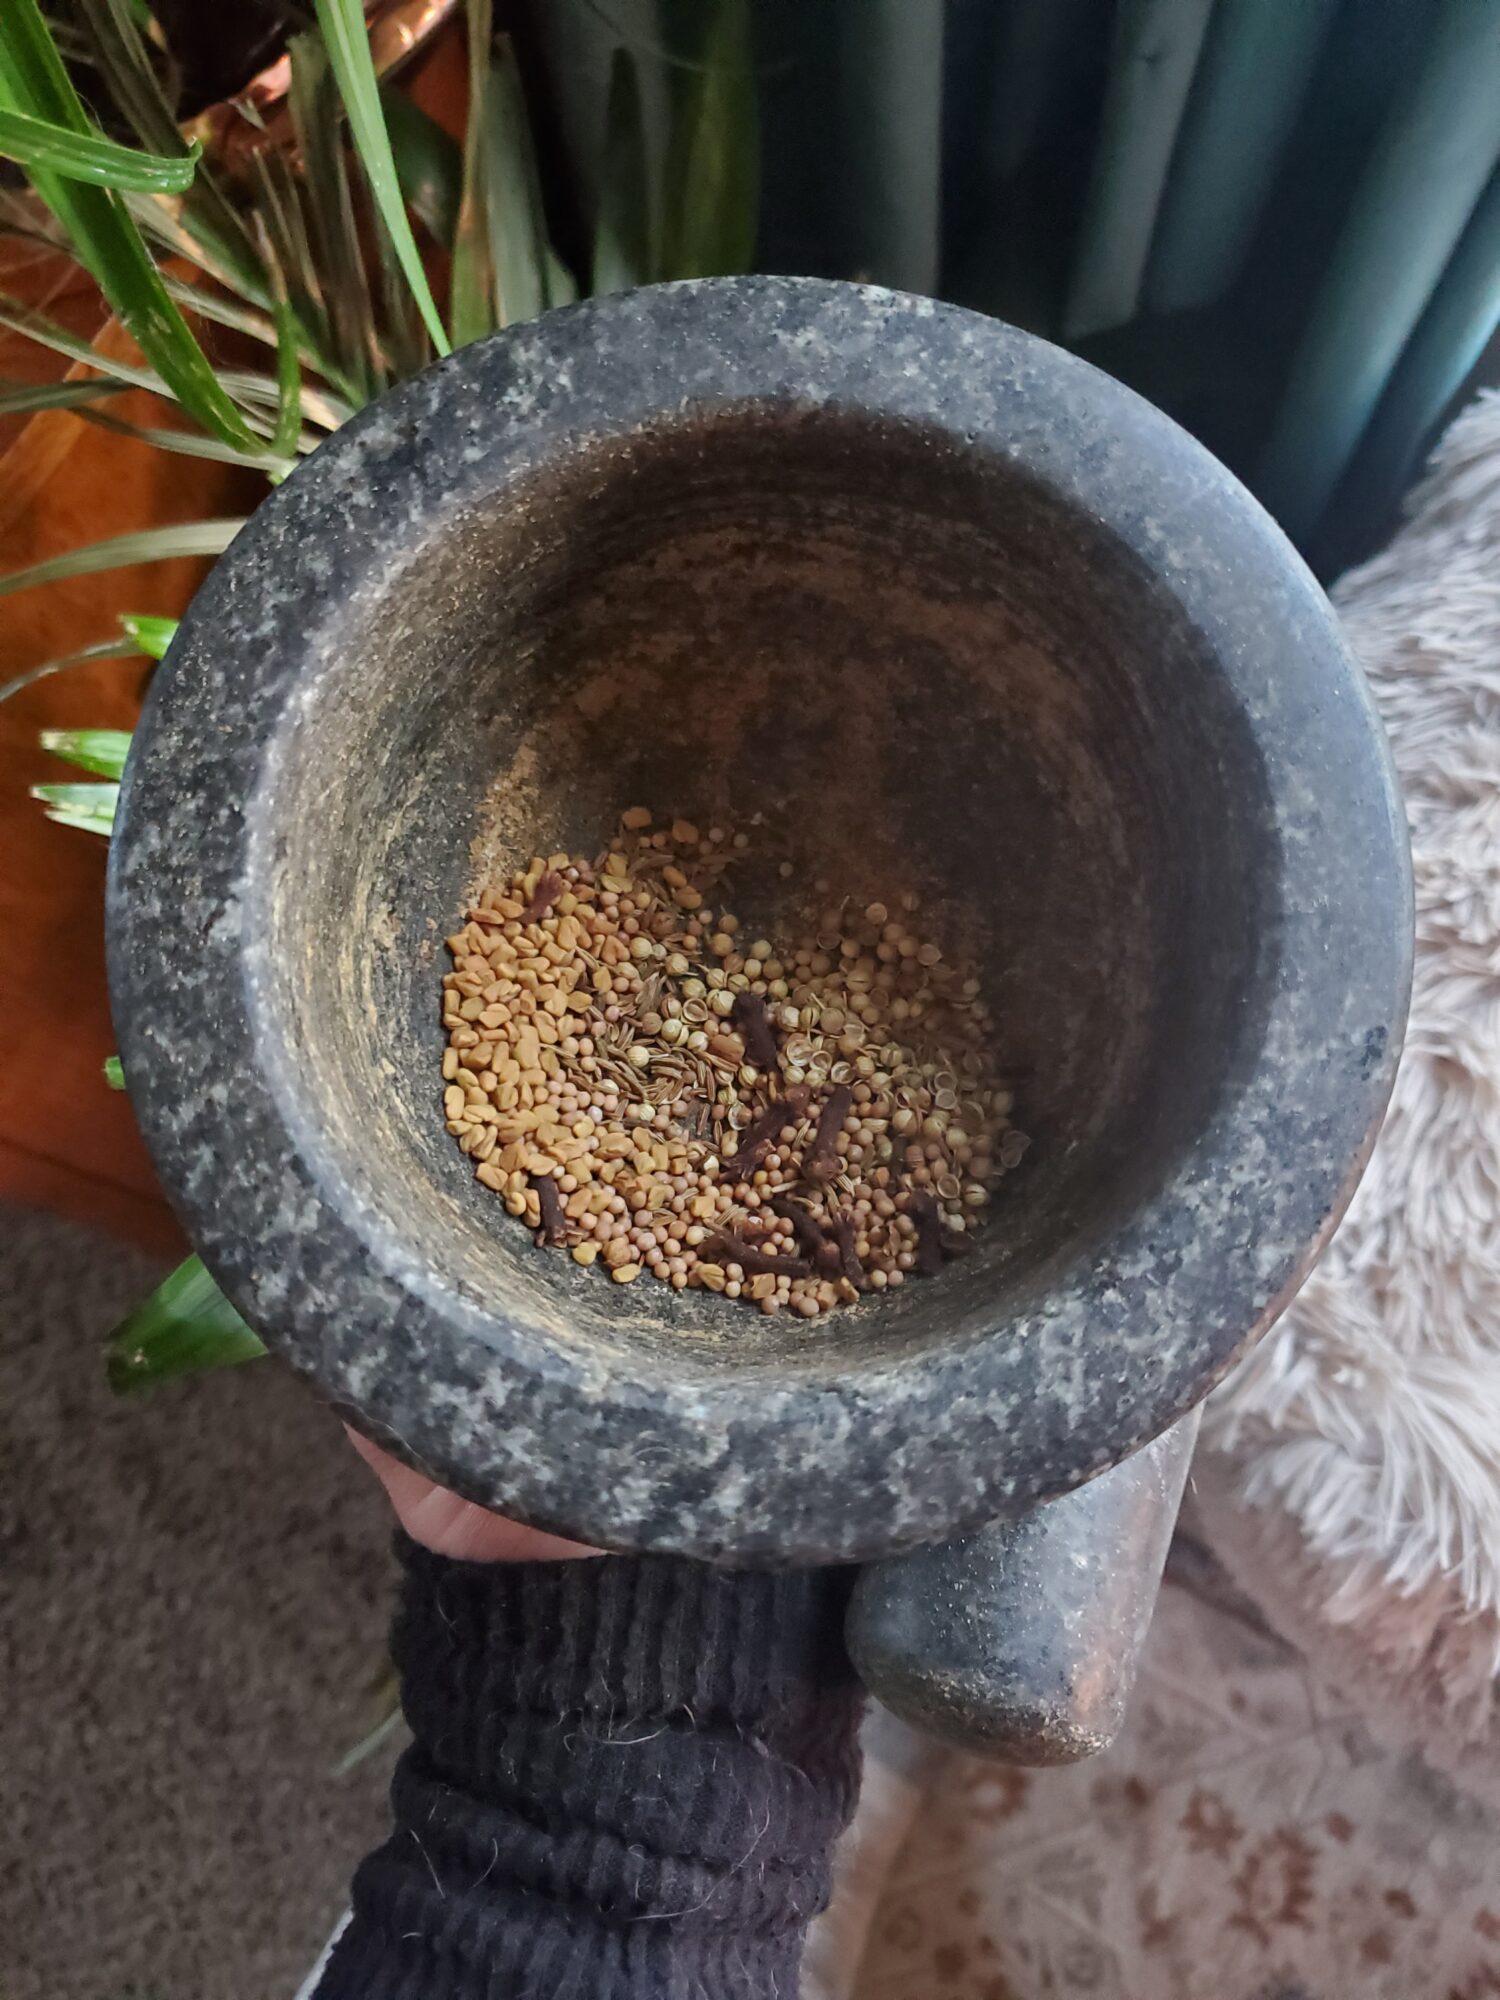
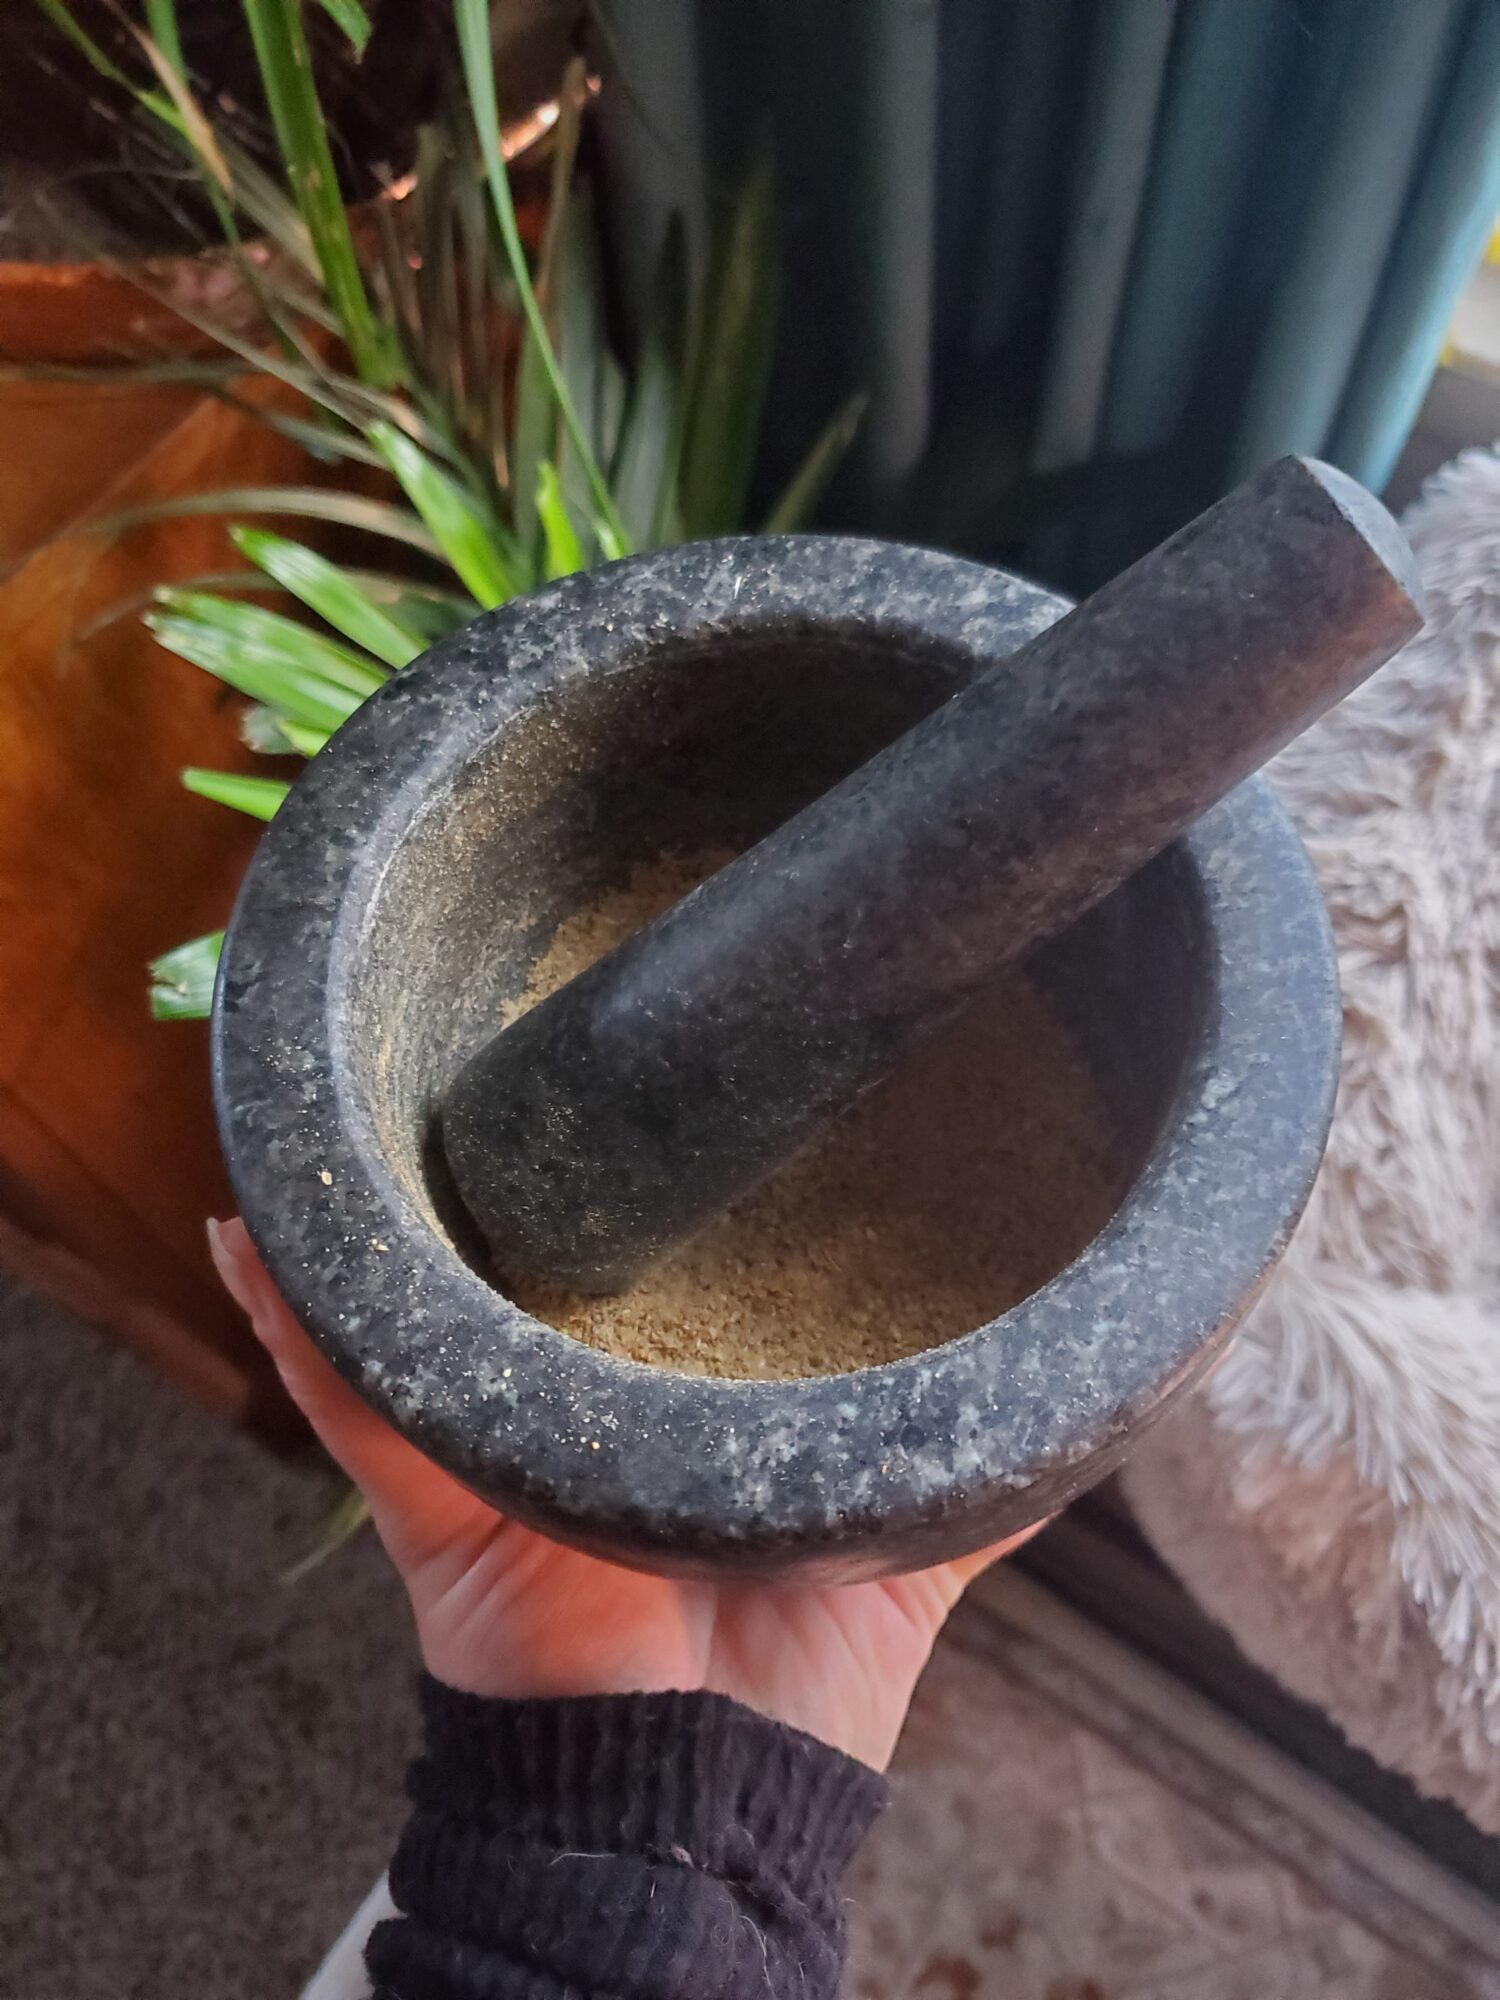
Spices
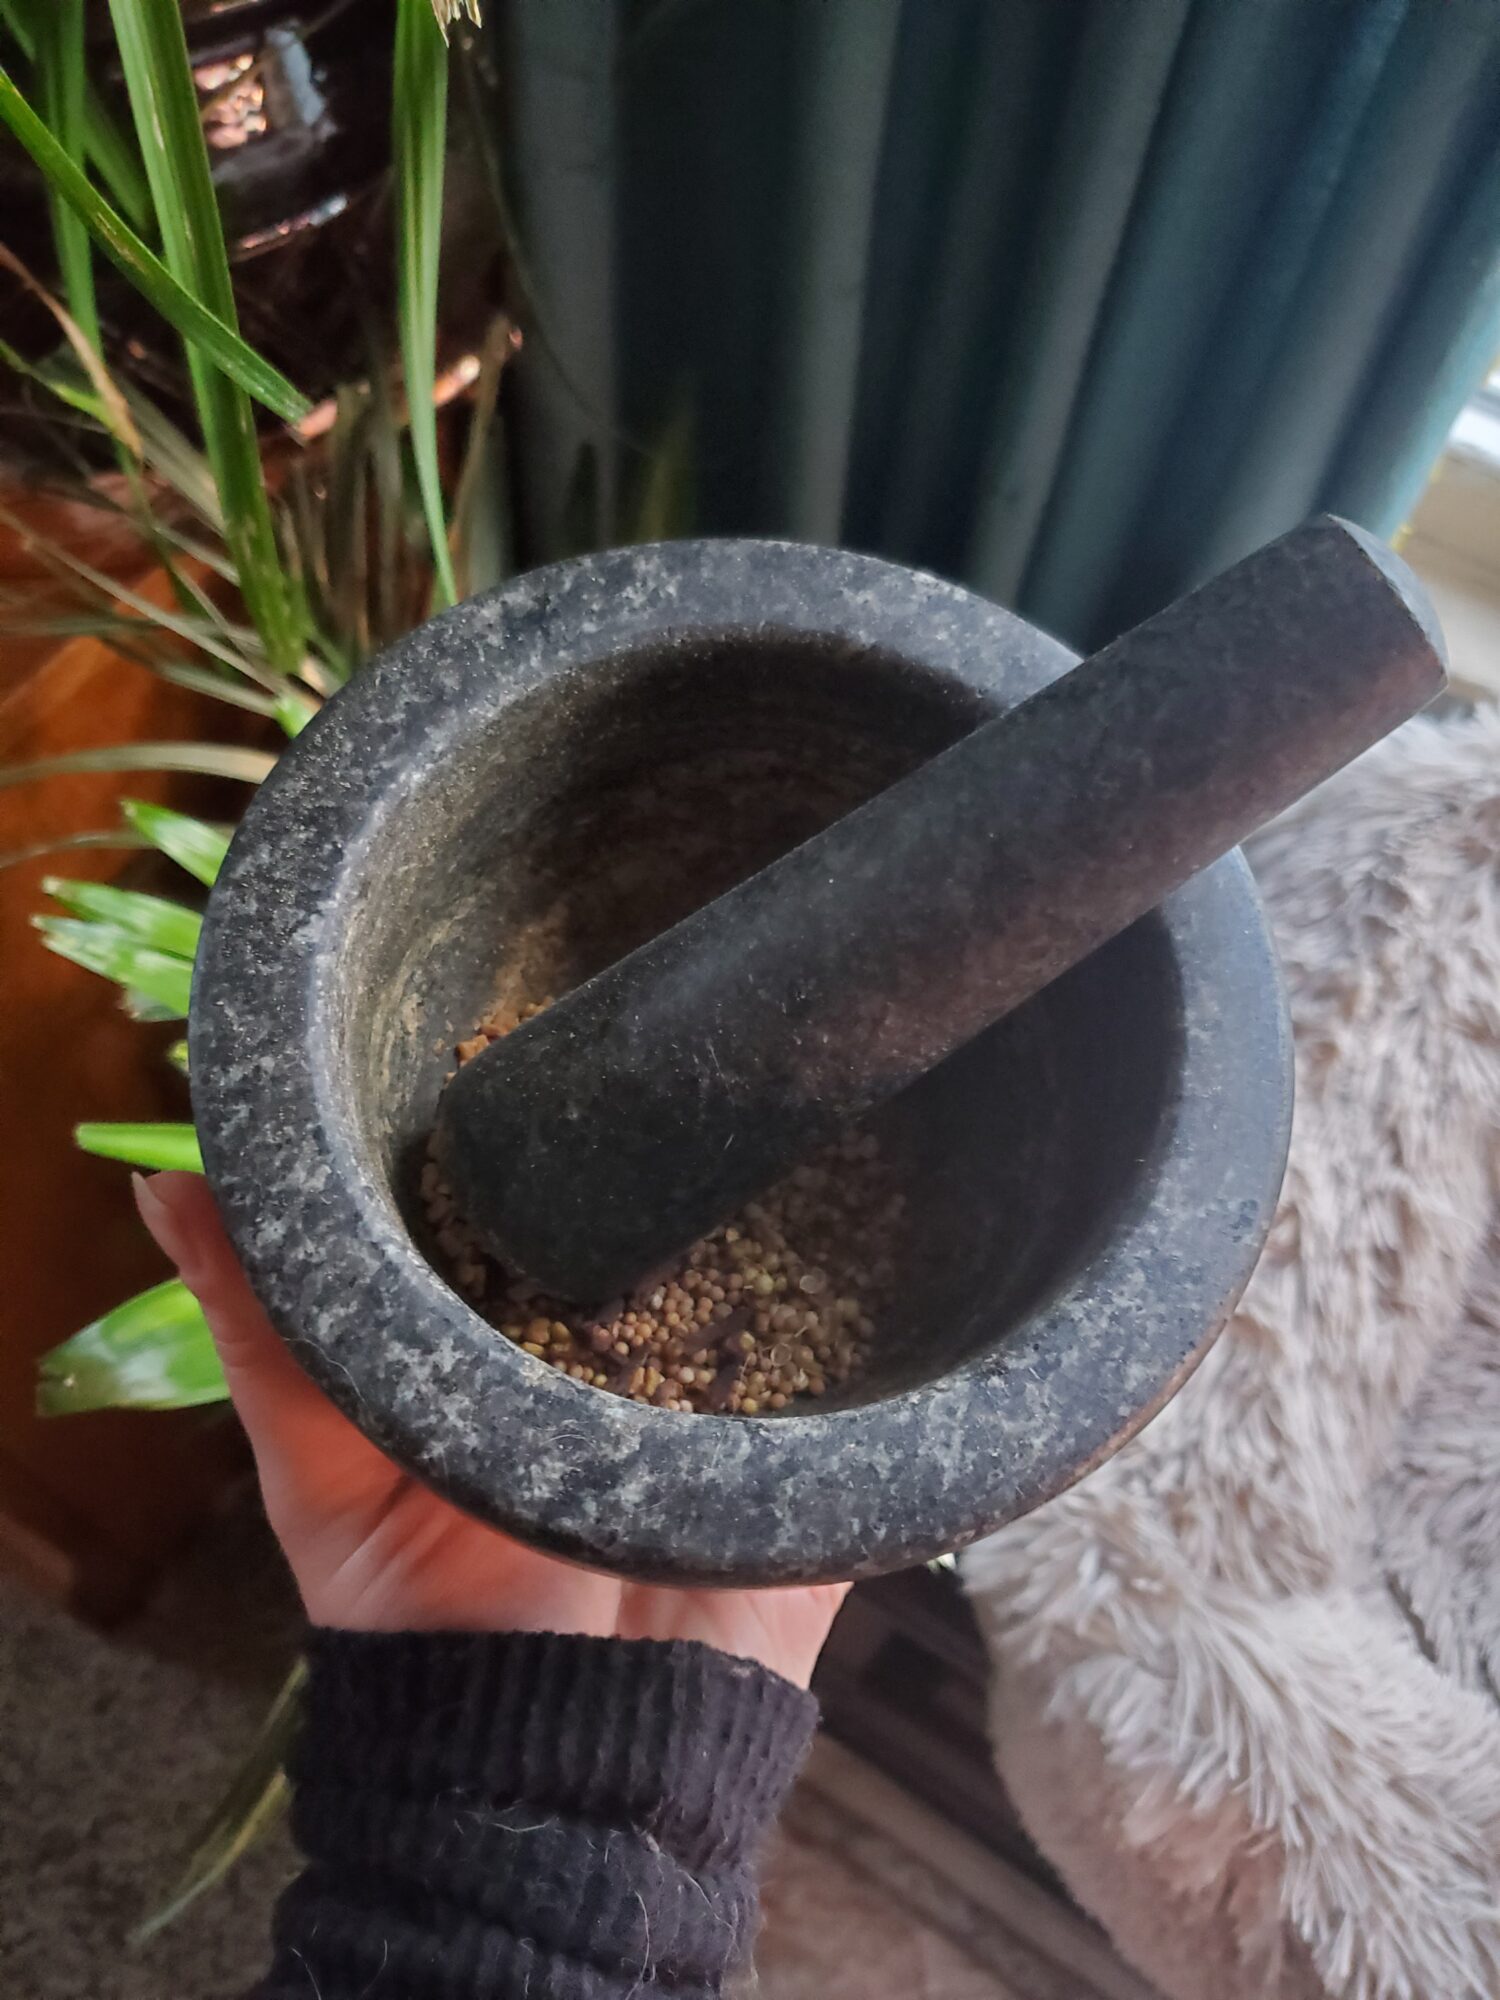
- dash cumin whole
- dash coriander whole
- dash mustard whole
- dash fenugreek whole
- dash cloves whole
- dash salt
- dash pepper
- dash cayenne pepper
Curry
- 1 can coconut milk
- 1 can coconut cream
- 3 cans water
- 1 c. green lentils
- 4 oz. brown rice noodles
Instructions
Prepare Tomatoes
- For this recipe, I already had roasted garlic in the fridge. I tend to roast a couple of heads of garlic every couple of weeks just so that I already have it when I need but. To recreate this, you follow my Roasted Garlic Recipe. It takes about an hour and requires a head of garlic, olive oil, and a garlic roaster or aluminum foil. Otherwise, use half the amount of unroasted garlic.
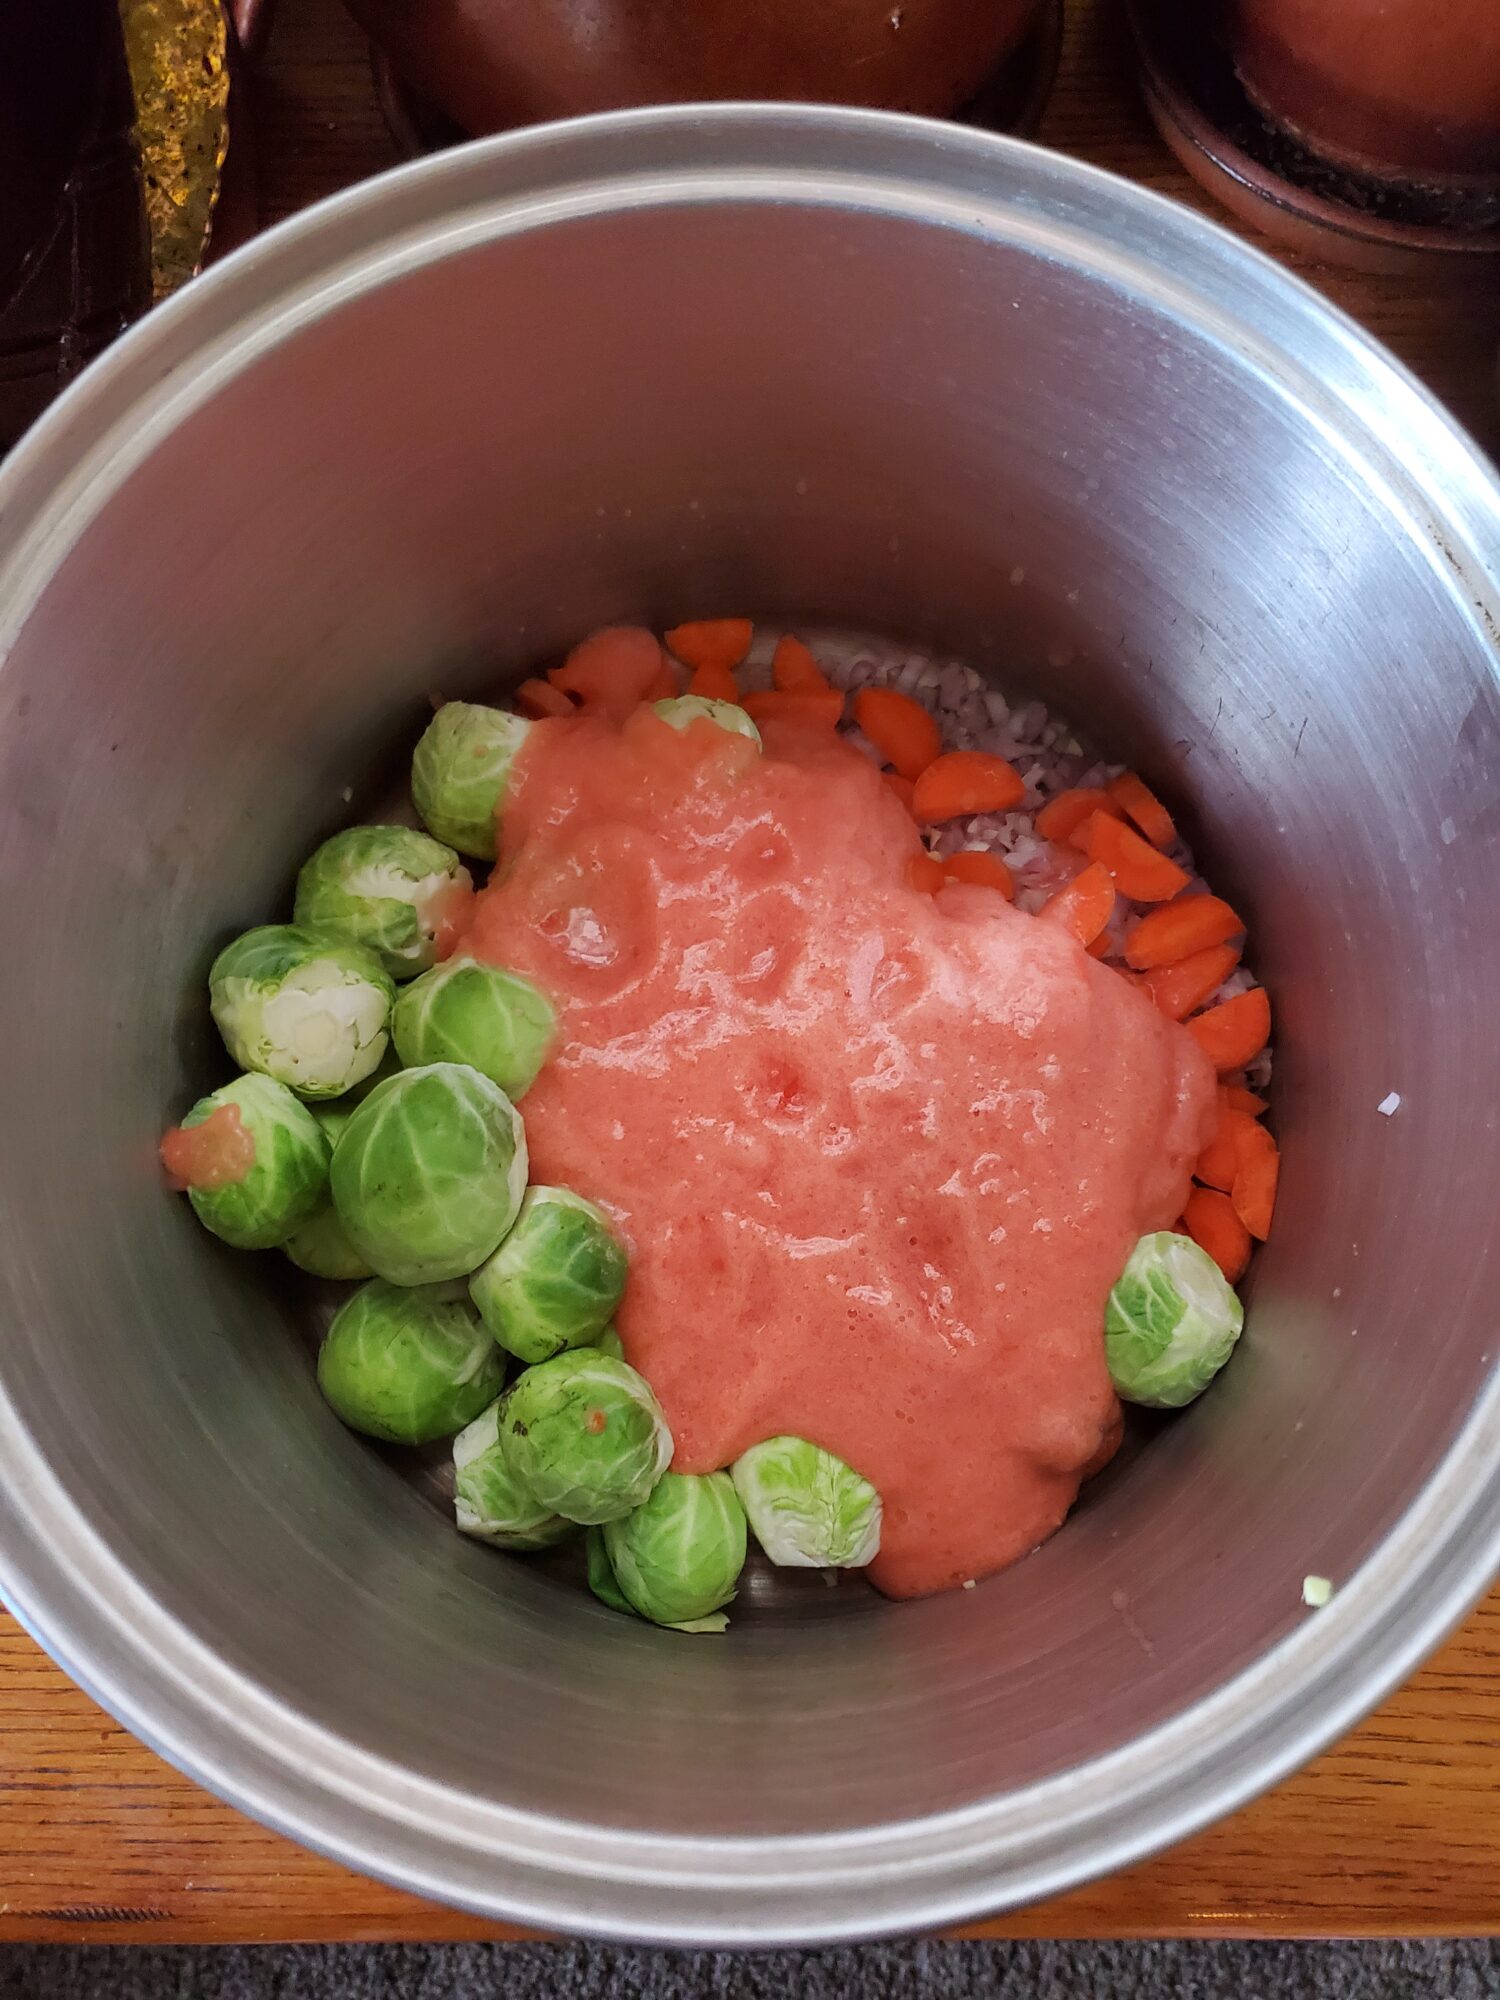
- Add tomatoes to a food processor and purée for 2 minutes, or until smooth. Make sure to scrape the sides occasionally.You can chop them by hand, but the skins will peel and shrivel during the cooking process. I find these texturally unpleasant. Alternatively, you can blanche them. Although I also find this tedious and would rather just purée them and skip the hassle entirely!
Simmer Curry
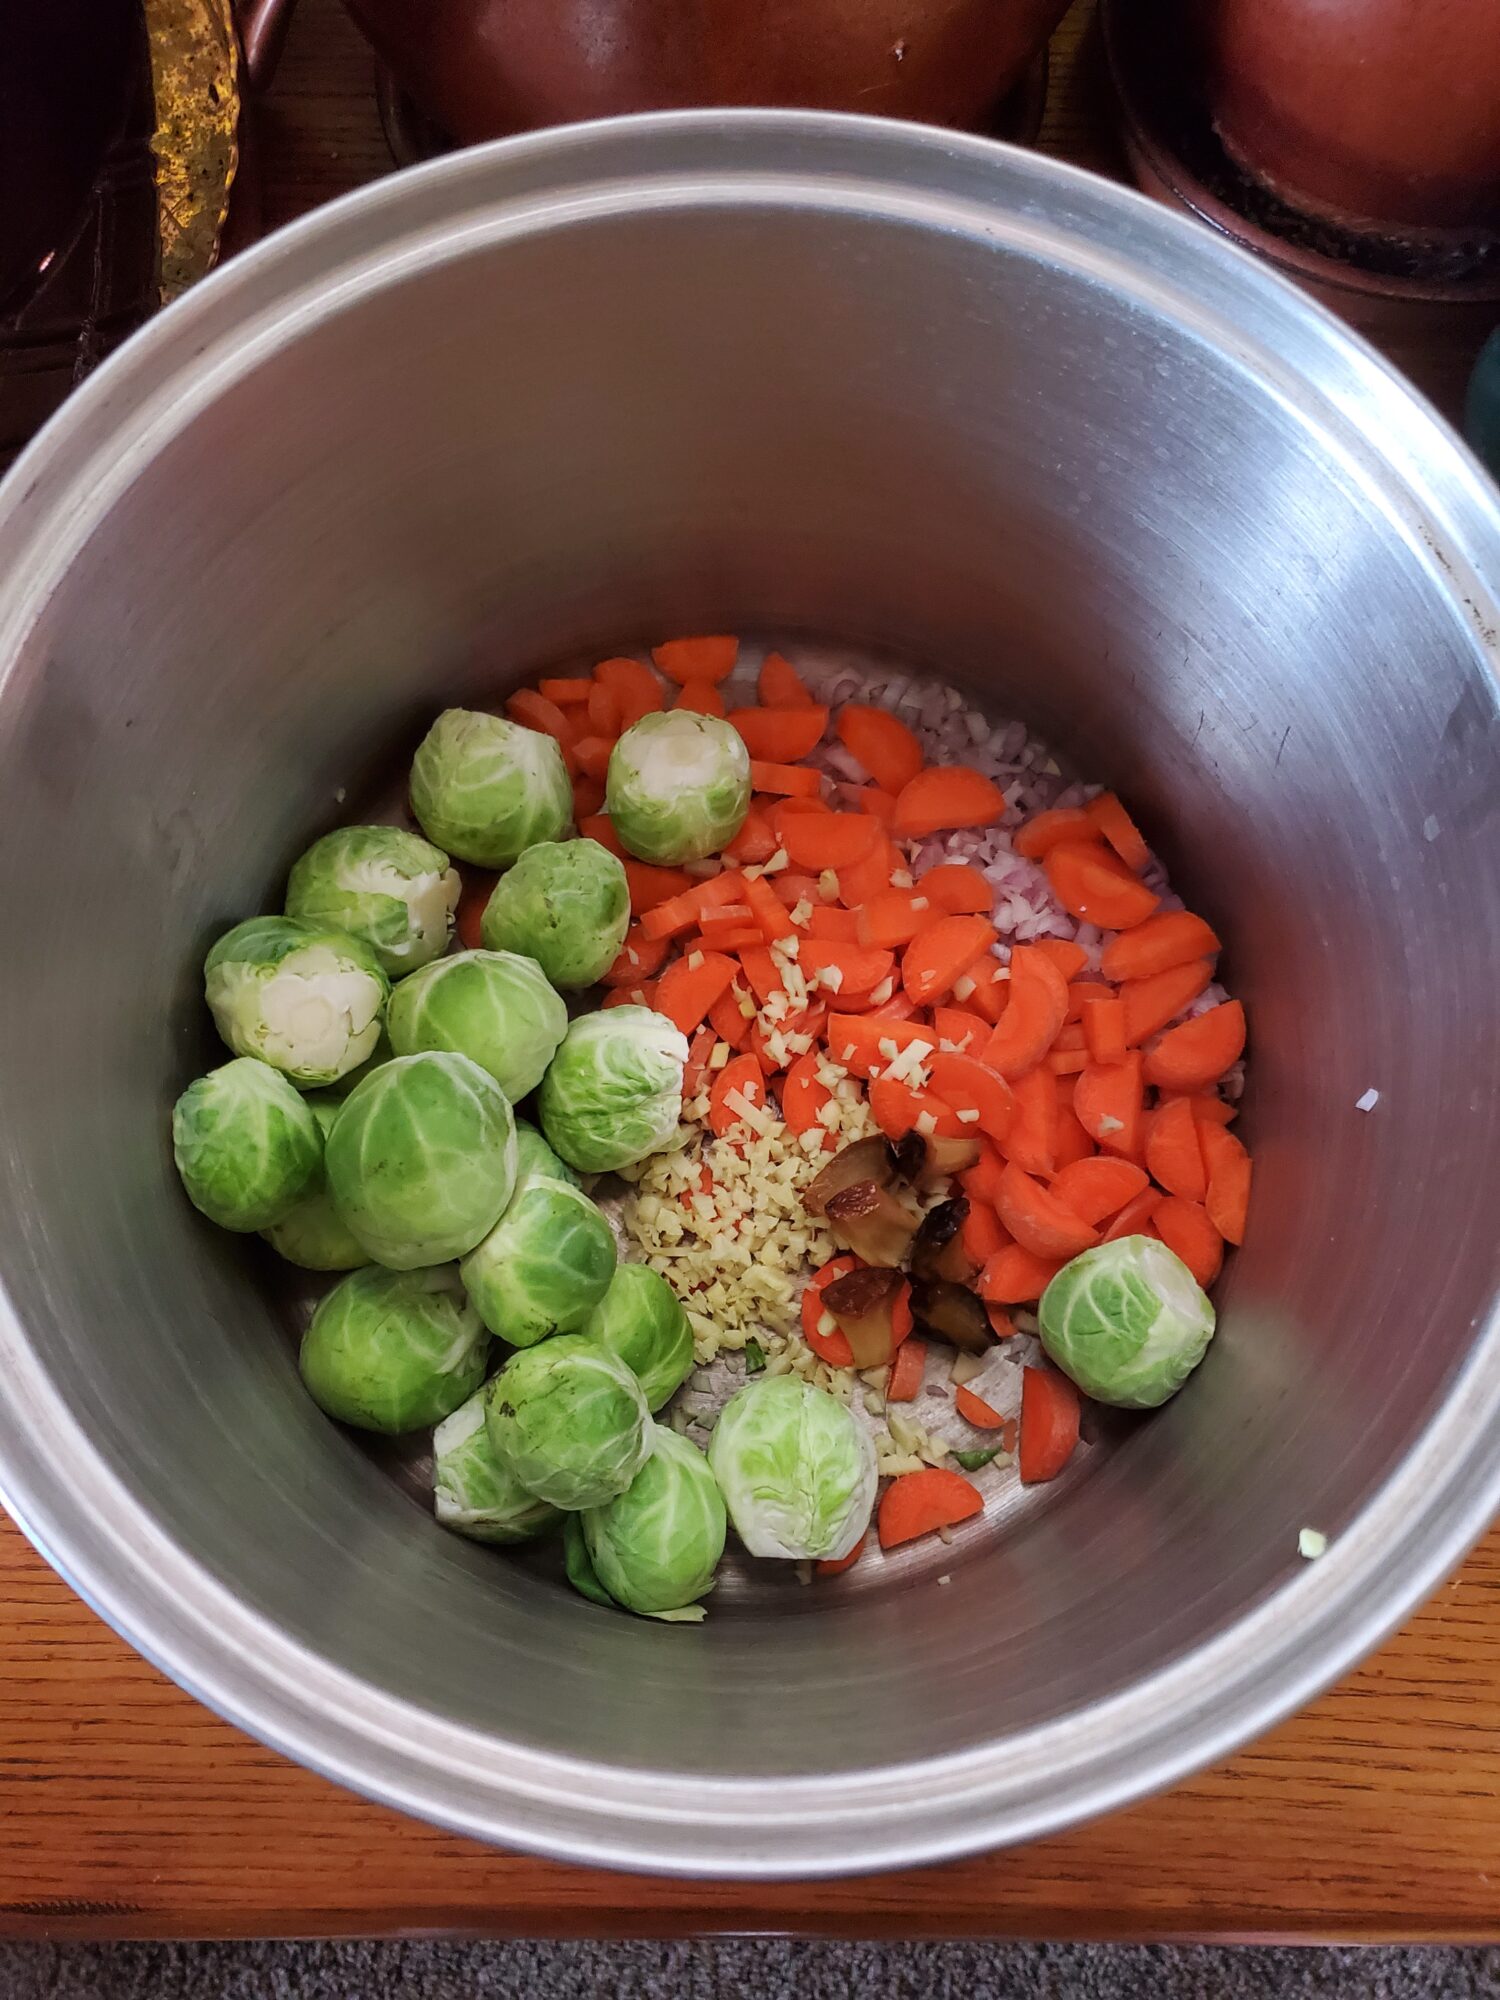
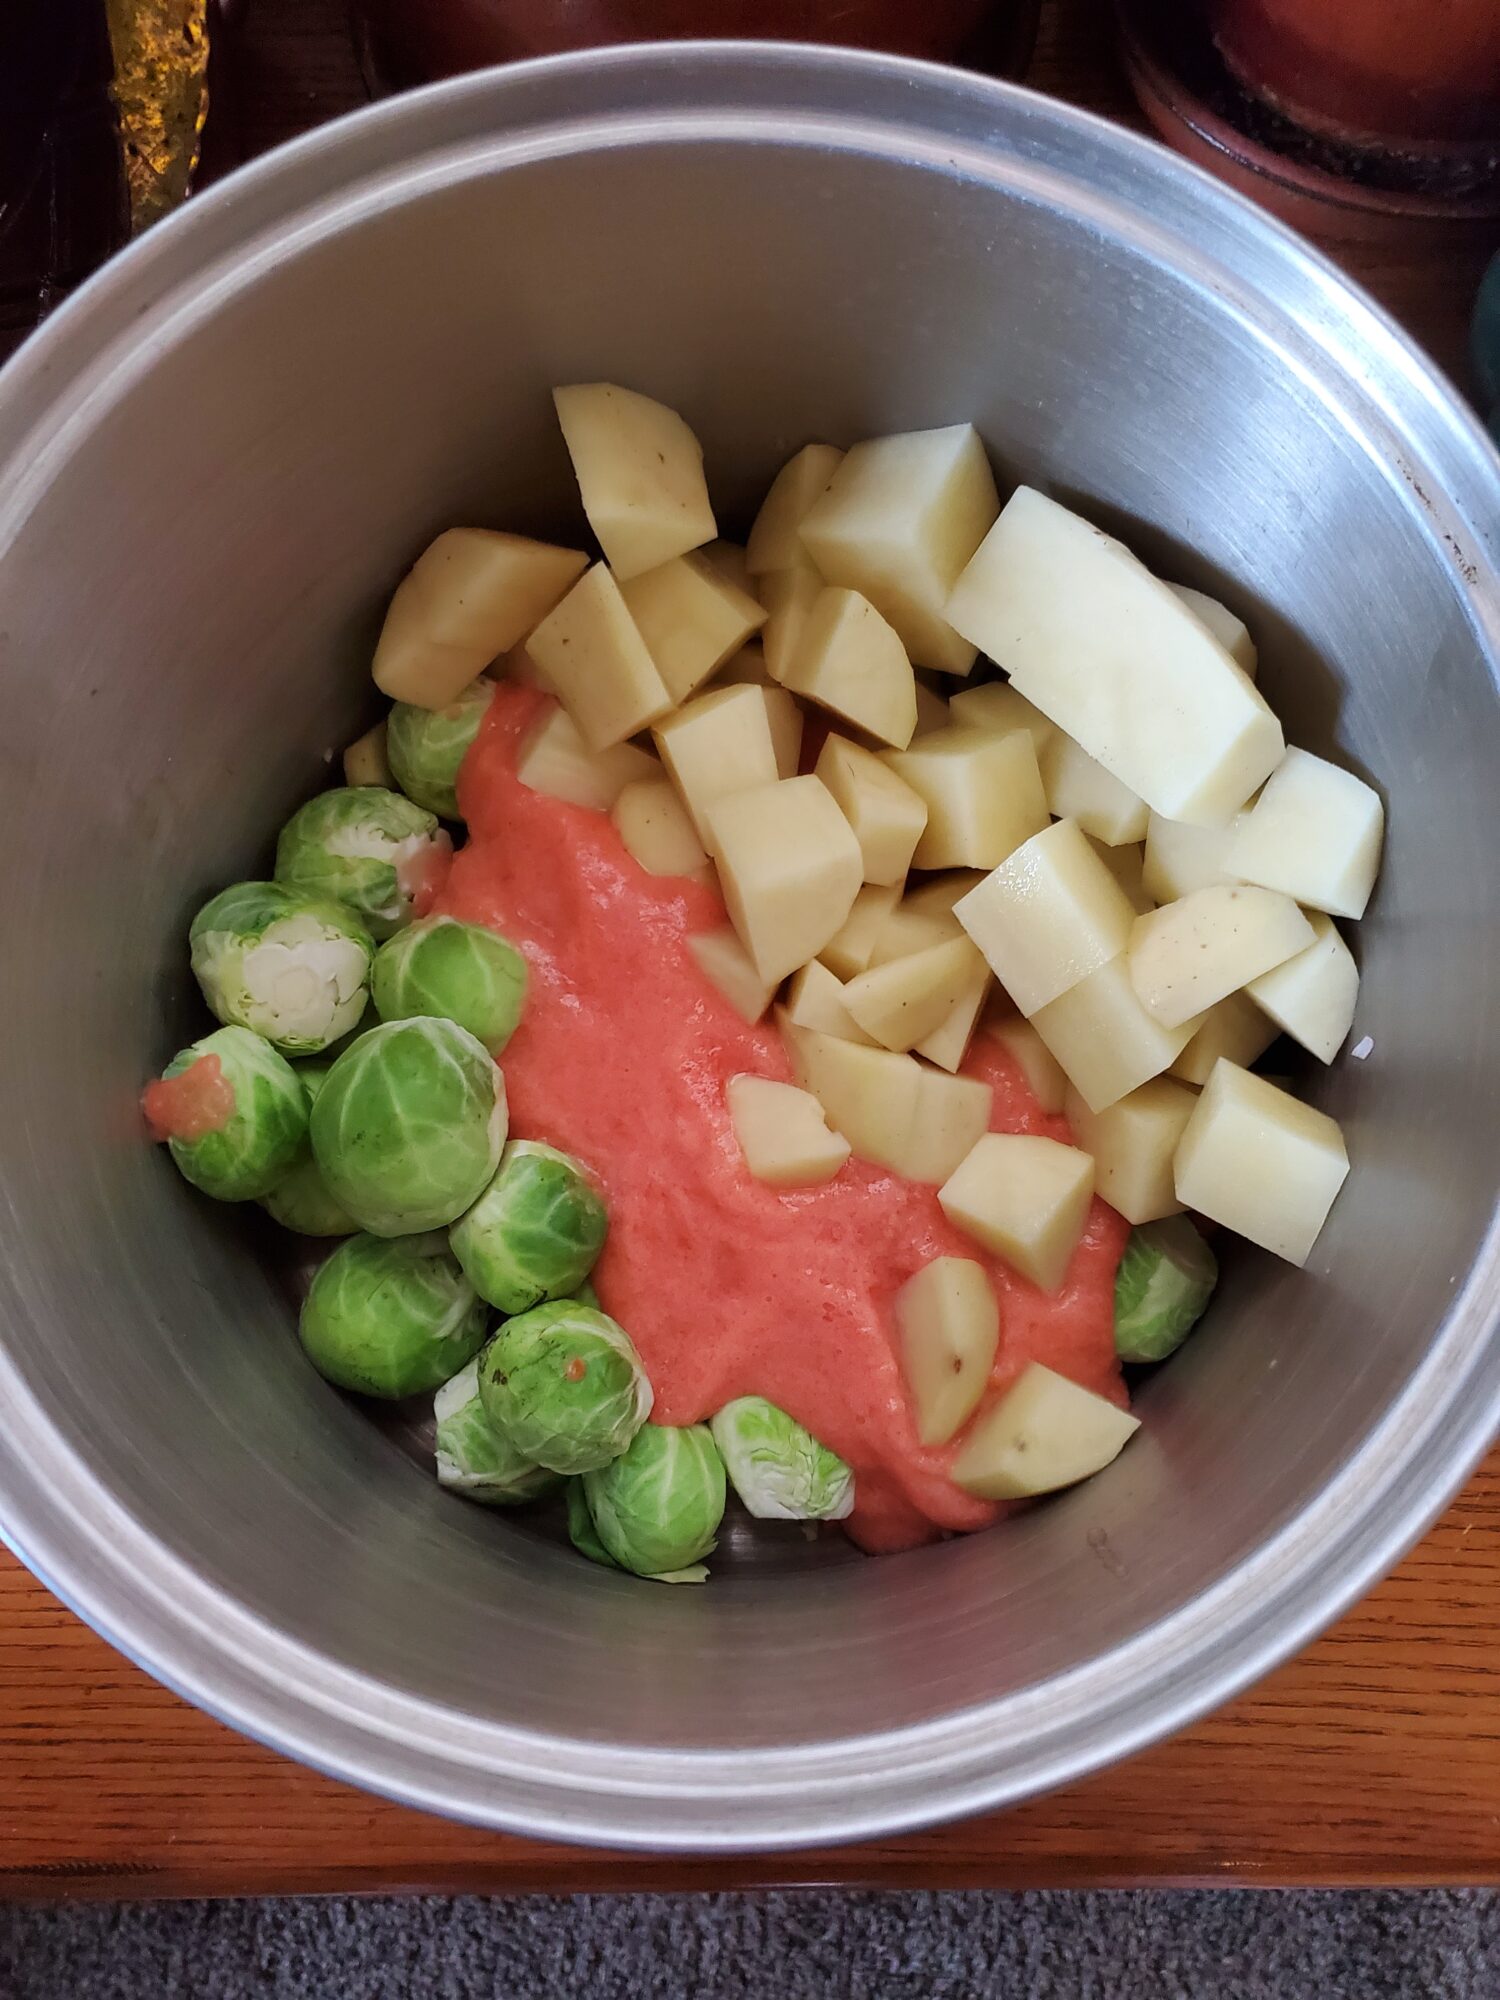
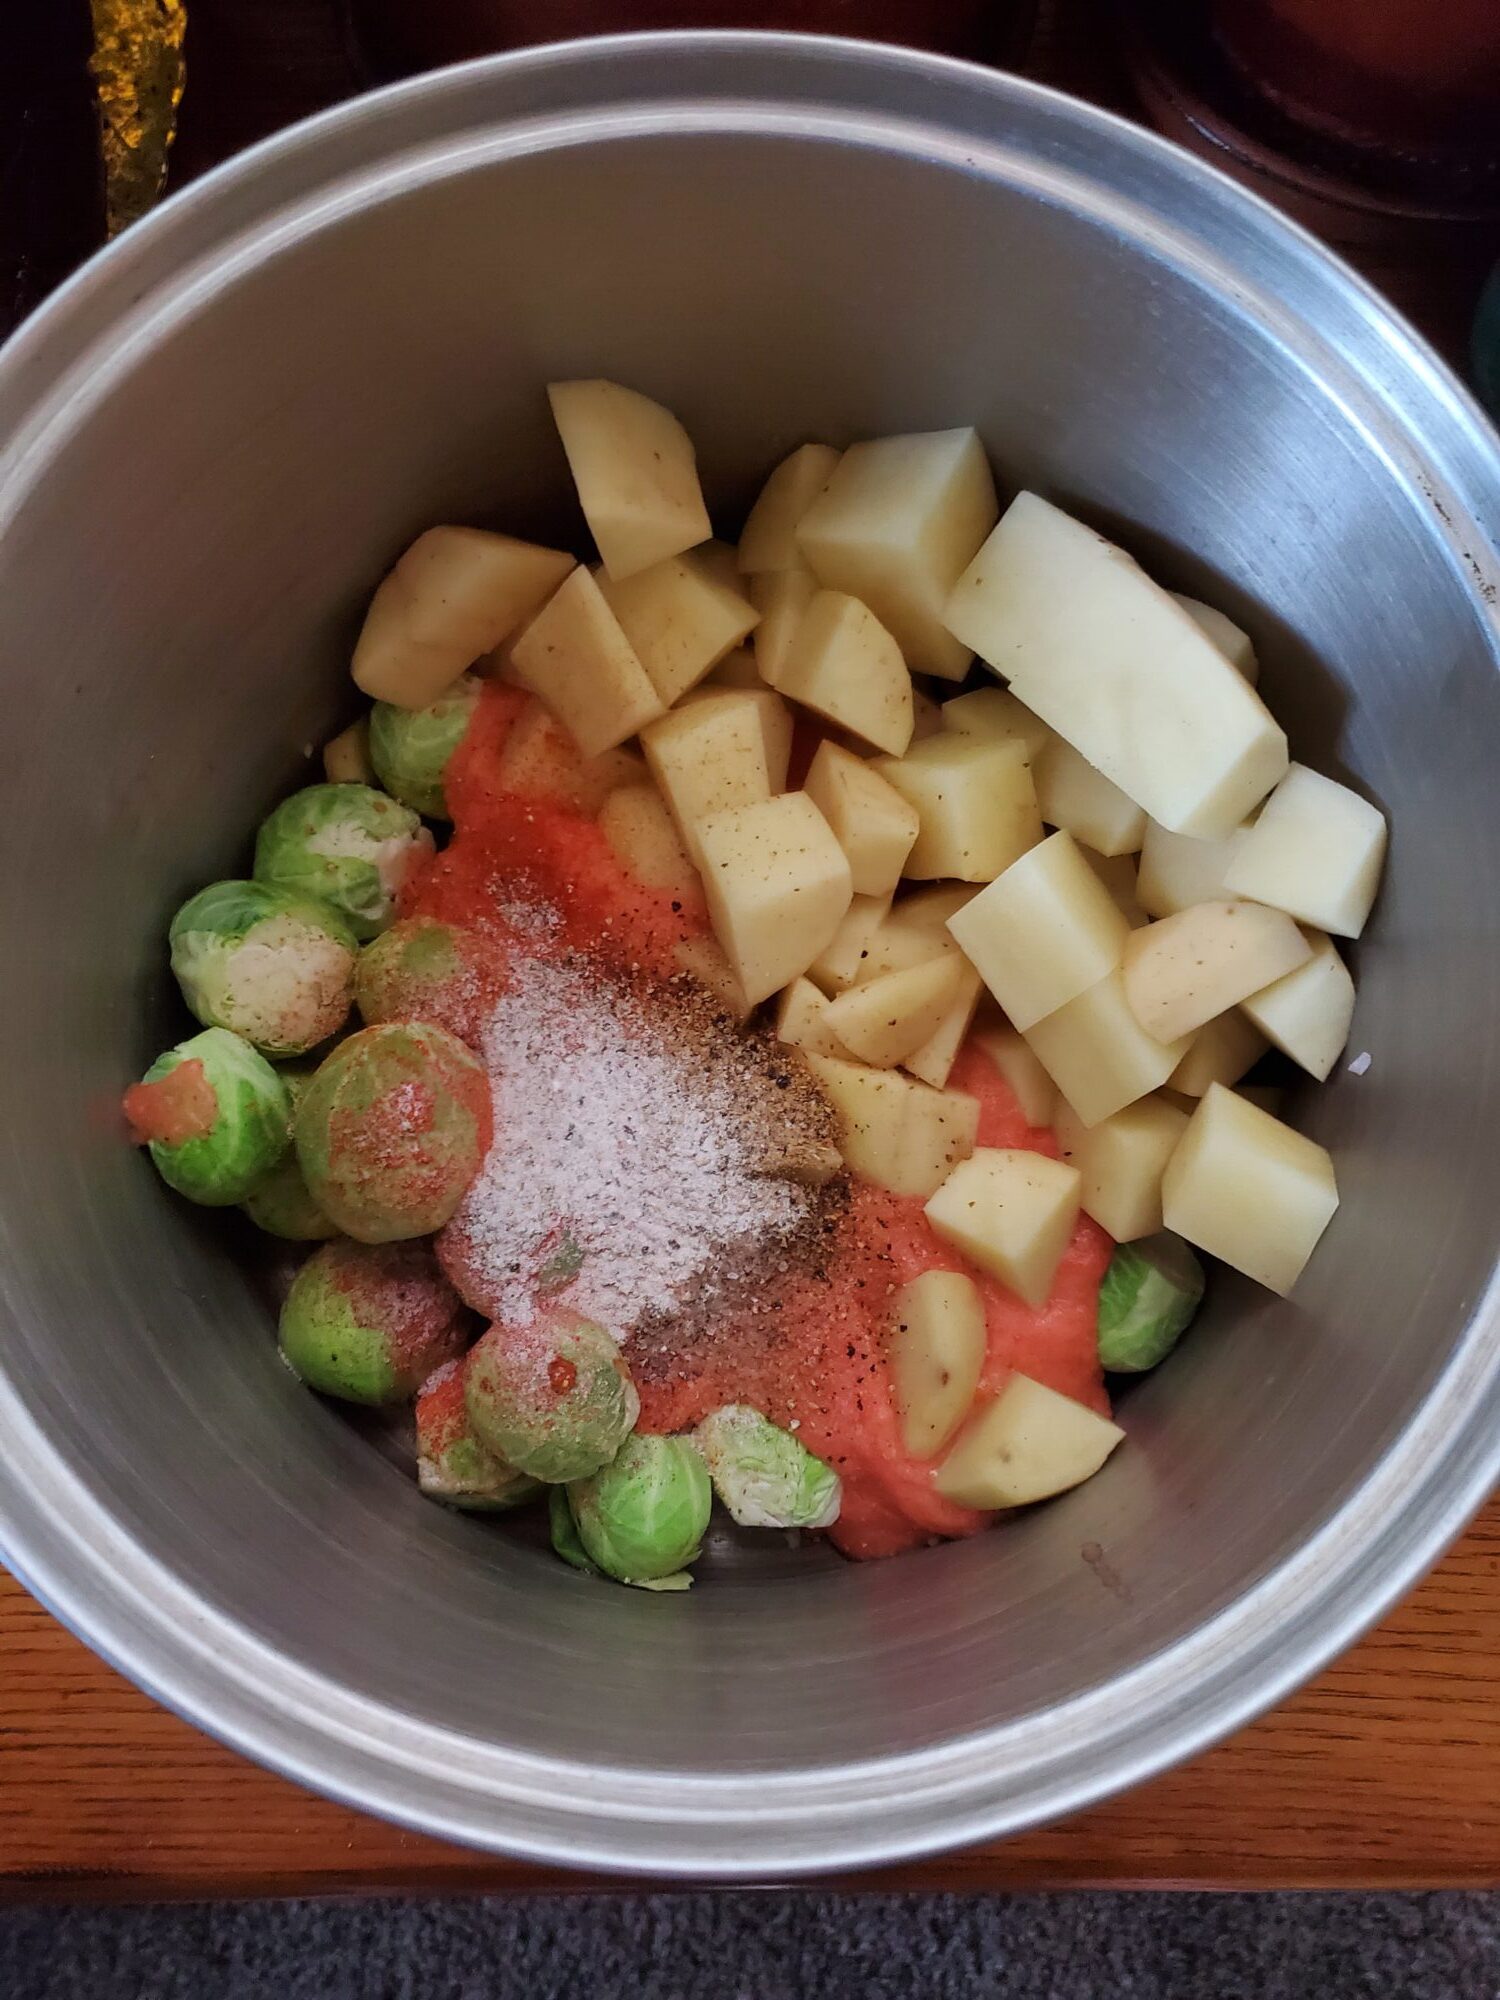
- Add roasted garlic, tomatoes, carrots, potatoes, Brussel sprouts, shallots, ginger, cumin, coriander, mustard, fenugreek, cloves, salt, pepper, cayenne pepper, coconut milk, coconut cream, and water (everything except for the lentils and rice noodles) to a large pot.
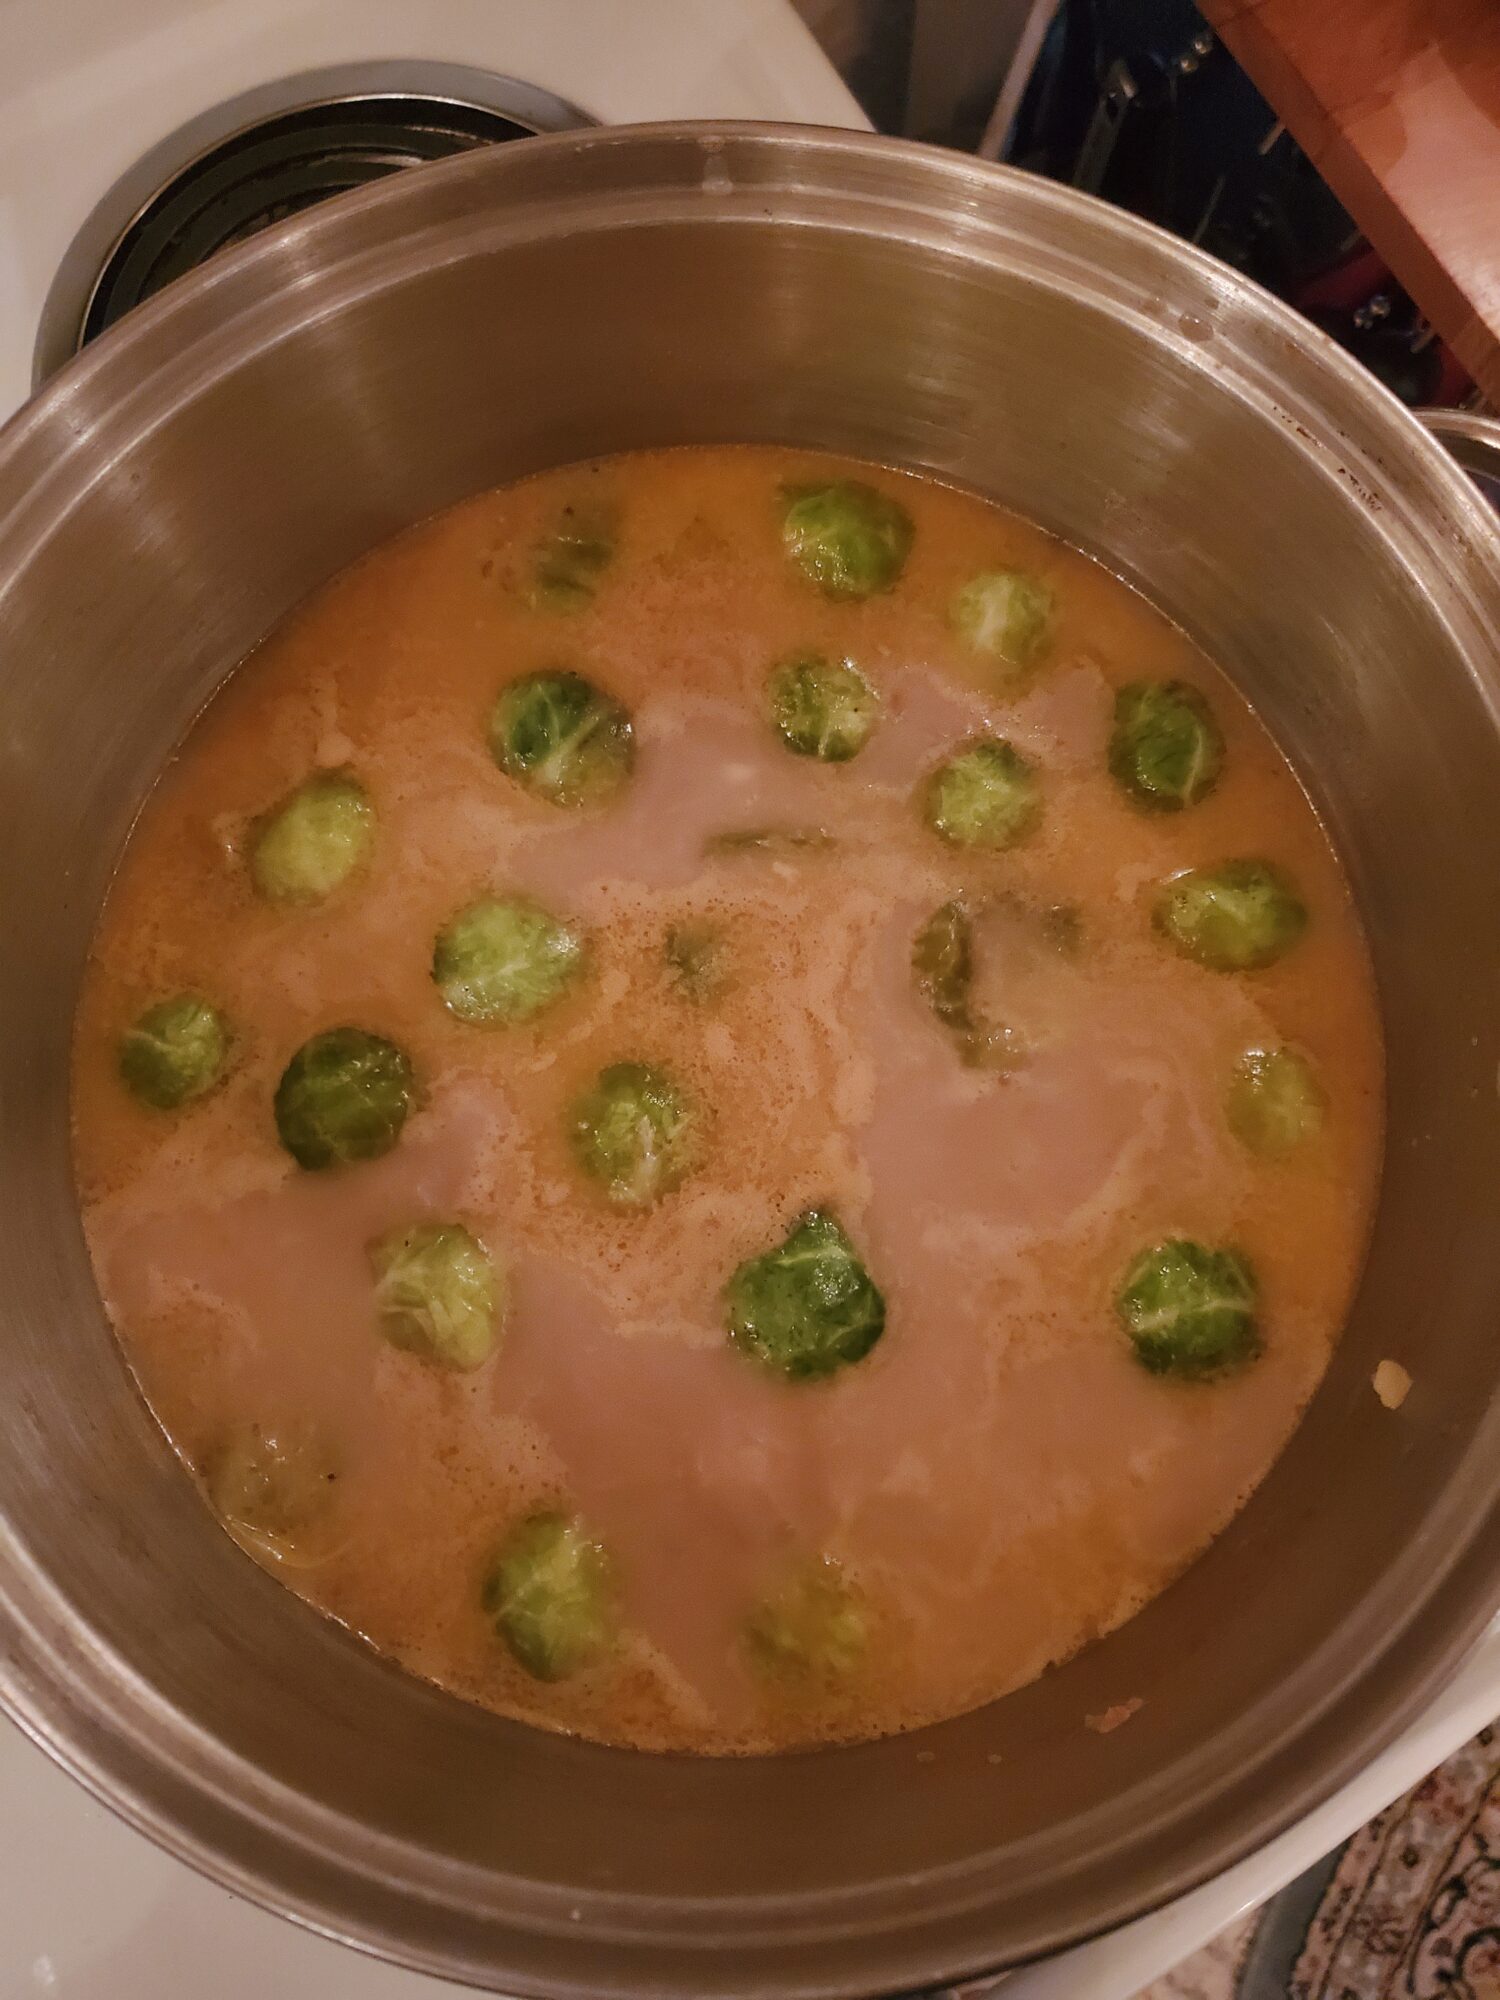
- Bring to a boil and then reduce to a simmer. On my stove, this is about a 2-4 setting. Although different stoves will vary in what a simmer looks like.
- Simmer for at least 2-4 hours. You want the liquid to reduce in half. If it’s reducing too quickly, add water and turn down the temperature. If it isn’t reducing fast enough, bring to a boil again and reduce to a slightly higher temperature.The longer that you cook, the more the flavors will permeate the ingredients, so simmering at a lower temperature for longer is always an option. I’ll sometimes lower the temperature to a very light simmer and pretty much leave it be for 6-8 hours.You never want to leave a pot on the stove unattended, but this is the kind of dish that you can kind of set up and let do its thing. You may need to turn the temperature down periodically to adjust for too rapid a simmer to keep it from boiling as the liquid evaporates. But, other than that, this is a pretty hands off dish!
Cook Lentils & Rice Noodles
- After simmering the curry for at least 4 hours and the curry is just about simmered down to your liking, add the lentils and rice noodles.
- The exact cooking time will vary by brand, but cook to the manufacturer's recommendation.For my brand and noodles, this typically means adding the noodles and simmering for about 20 minutes. Most brands specify boiling, but a slow simmer in the curry works just as well! Just cook until tender. Brown rice noodles tend to have to cook a little bit longer, but will reach a similar consistency eventually.Green lentils will also cook in about the same amount of time. Although red lentils or softer varieties will cook in about half that time if you substitute them.
- Serve either immediately or the next day.Curry will continue to the absorb the spices the more time passes. It’s one of those dishes that I like to make ahead of time because it often tastes better after the flavors have had time to set overnight.
Tips, Tricks, & Notes
- To make the curry spicier, put more hot peppers when you cook the squash and lentils. Peppers added in the beginning stage will have a slower, more robust flavor that permeates through the dish. Peppers added towards the end of the cooking process will have more of a kick in the teeth, mouth burn.
- If the curry absorb too much moisture, you may need to add more water. This is to taste. I tend to like a thicker curry with larger chunks, much like a thick stew. If you’re in the other camp that likes a more liquid curry, don’t hesitate to add more water. If you’re unsure, taste periodically and adjust to what you like. You can always add more water, even after you’re done cooking entirely, to lighten it up. The curry will thicken more as it cools and overnight.
- Do you need to sauté the produce? A lot of curry recipes want you to sauté or otherwise cook vegetables beforehand. The first direction is typically, “sauté onions and peppers in oil on the stove.” I tend not to do this because it tends to mean adding oil to the curry. Since you’re simmering down for several hours, the natural oils in the vegetables that you use will separate. This will create a film of oil on top of the curry. Some people like this. It can also be an indicator of how spicy a curry is sometimes because the more peppers that you use, the more oils will naturally leach out of them.
- I don’t tend to find oily curry appetizing, though! So, I try to minimize the amount of added oil is in the recipe. If you’ve ever had a soup or sauce that’s separated, you know what I’m talking about. The oil will separate and settle on the top because it’s less dense than water. It will be obvious if it’s a problem.
- If you do end up with too much oil, add an ice cube or a frozen metal ladle to draw out the oil. Then, just spoon it out until you have removed enough oil. Alternatively, if you refrigerate the curry, the oil will rise to the surface. This will create a semi-solid chunk on top and you can spoon it out. If there’s a lot of oil and it has solidified enough, you can sometimes just pick up the layer with your fingers and remove it this way.
Leave a Reply