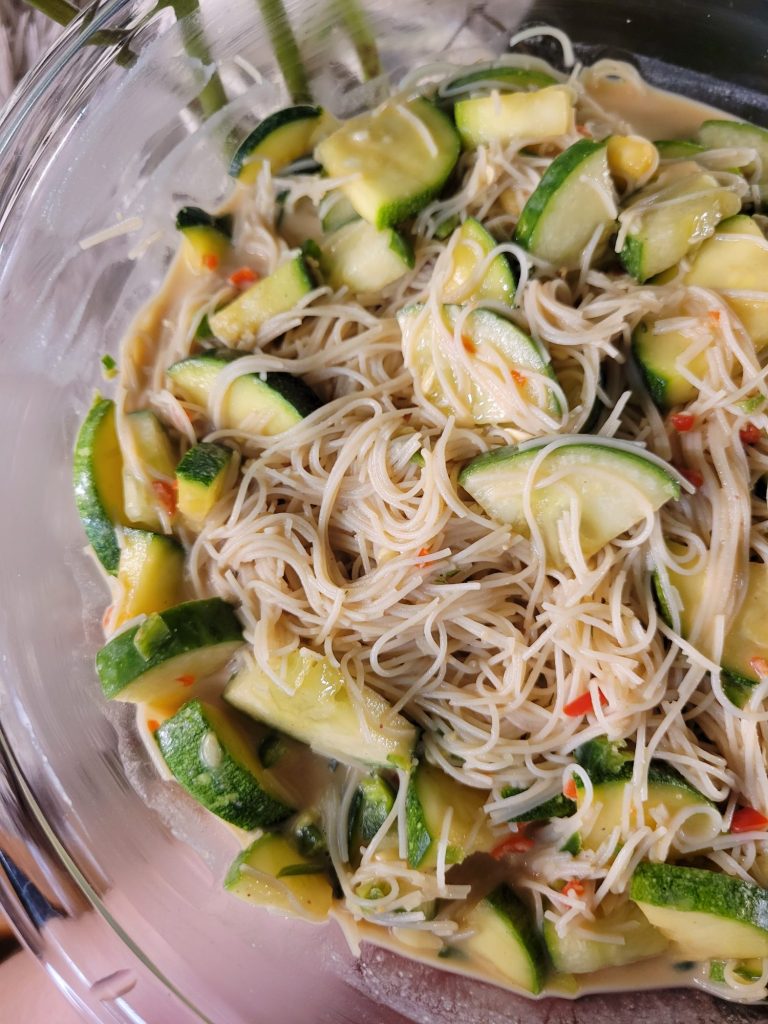
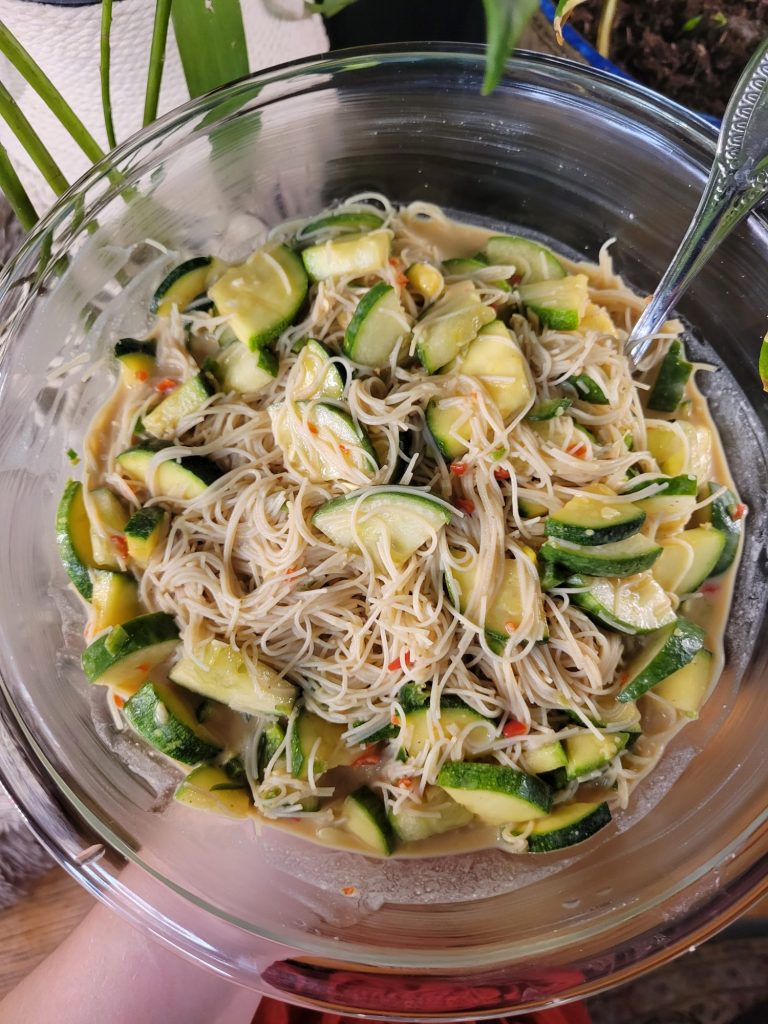
Vermicelli Salad w/ Cucumber, Zucchini, & Garden Peppers
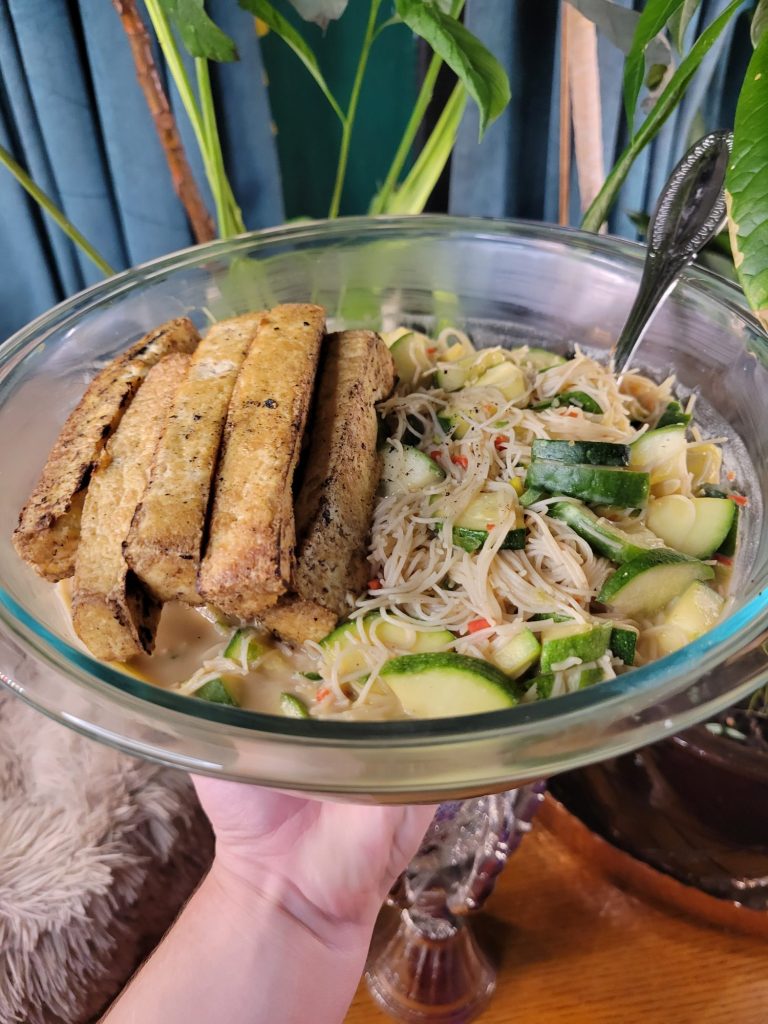
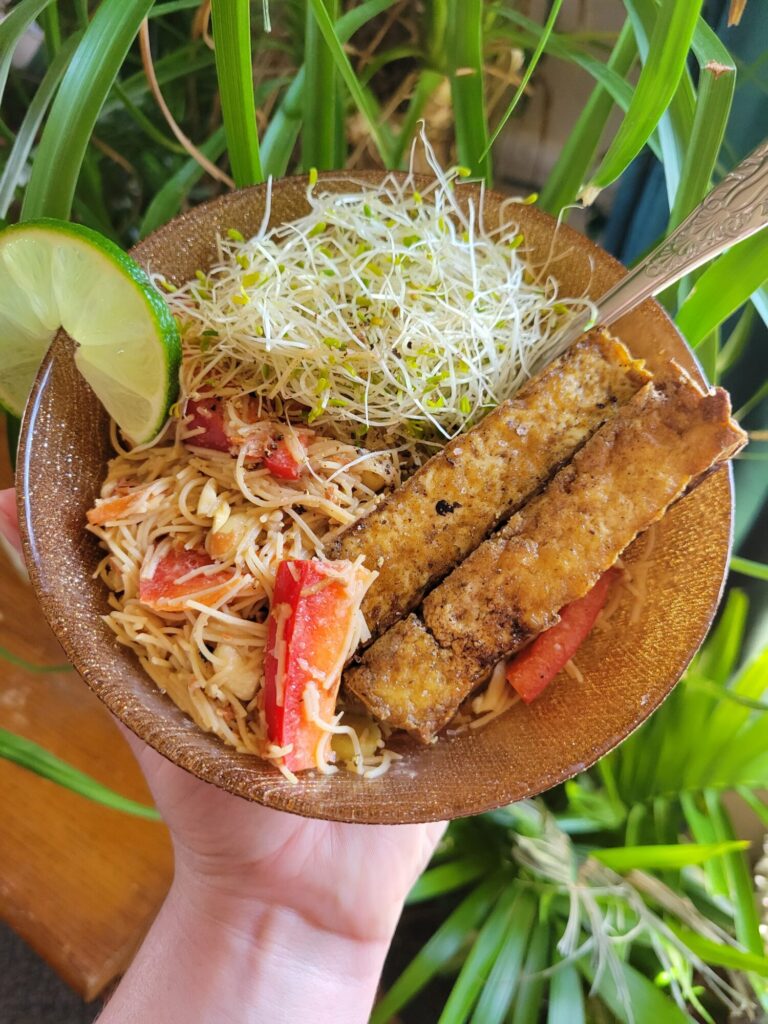
One of my friends gifted me a bunch of produce from their garden. I have produce of my own very slowly ripening on my porch and part of the alleyway that I have absconded with in between my building in the city. Which should highlight more precisely why their garden is producing fruit ever so slightly ahead of my own! And, when they asked what I cooked with it, I excitedly exclaimed vermicelli salad. Which makes absolutely no sense to the vast majority of people because I suspect that I invented it. Which doesn't sound right because it really should be a thing.
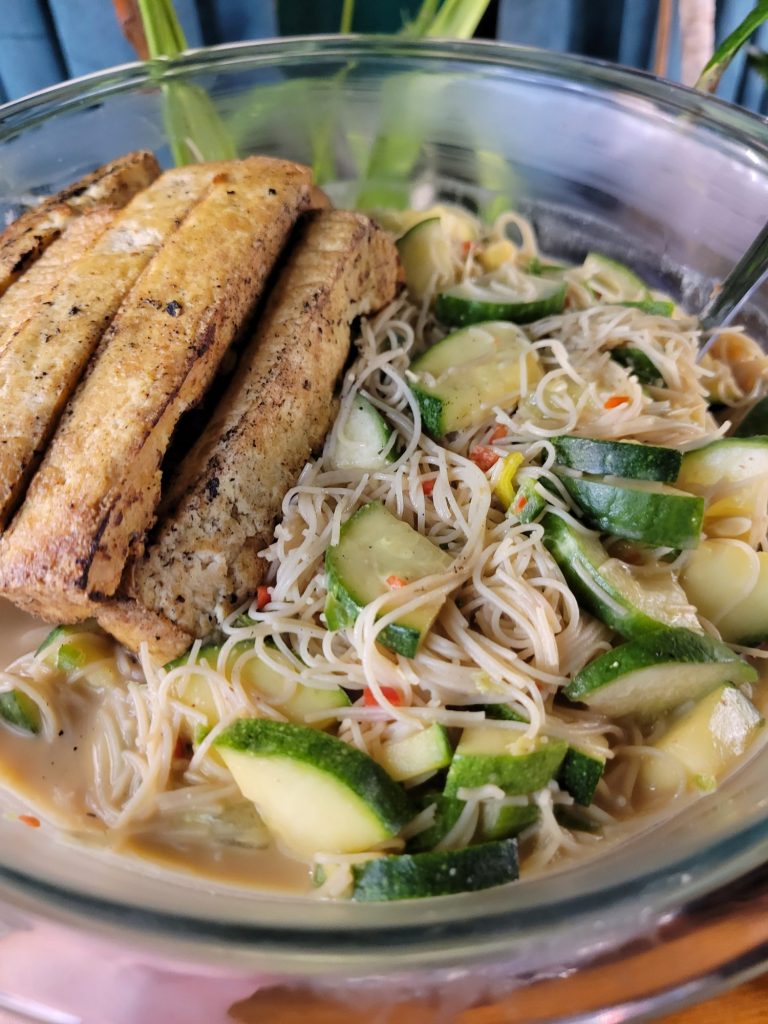
Every time that I say this, though, I then have to: First, explain what vermicelli is. Essentially an angel hair rice noodle that's naturally gluten free, but doesn't stick together like gummy chickpea and lentil varieties and more closely resembles an Italian version of pad thai noodles. And secondly, that, whatever it is that I have made here, is essentially an Asian pasta salad with whatever produce that I happen to have on hand.
Whatever you want to call it, though, it is absolutely delicious and one of my favorite things to make. Mainly for being a salad that is not actually a salad, but still relatively healthy. And perhaps some variation of this dish does exist out in the ether and I'm just blanking on what should be an obvious influence.
Gallery
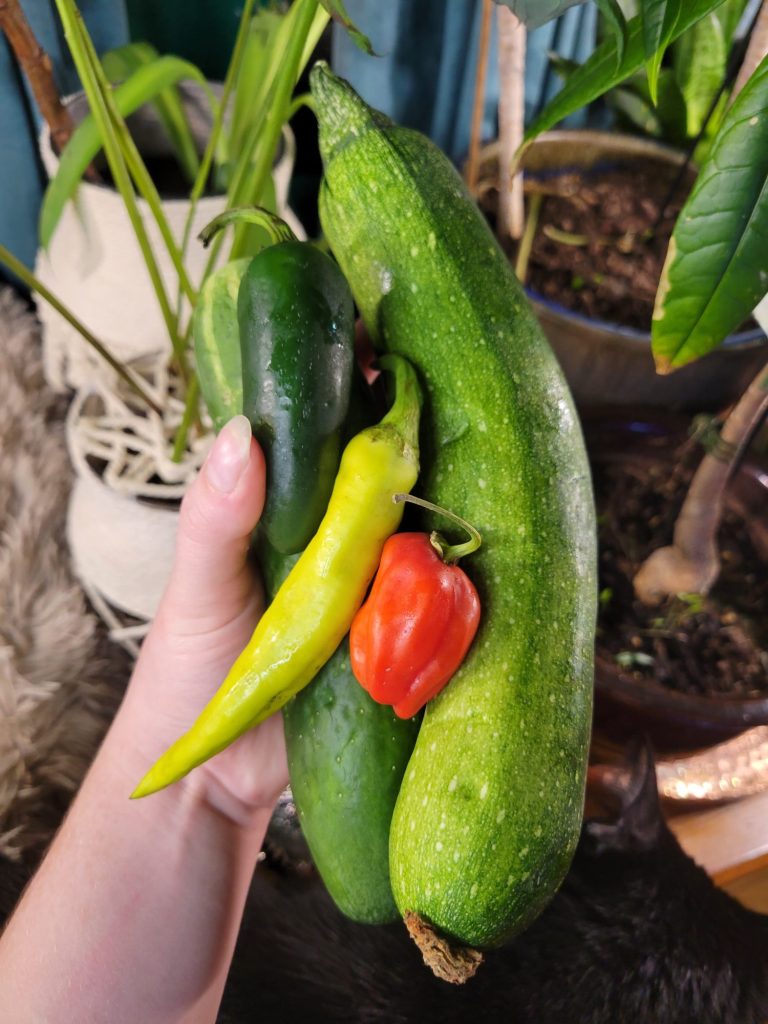
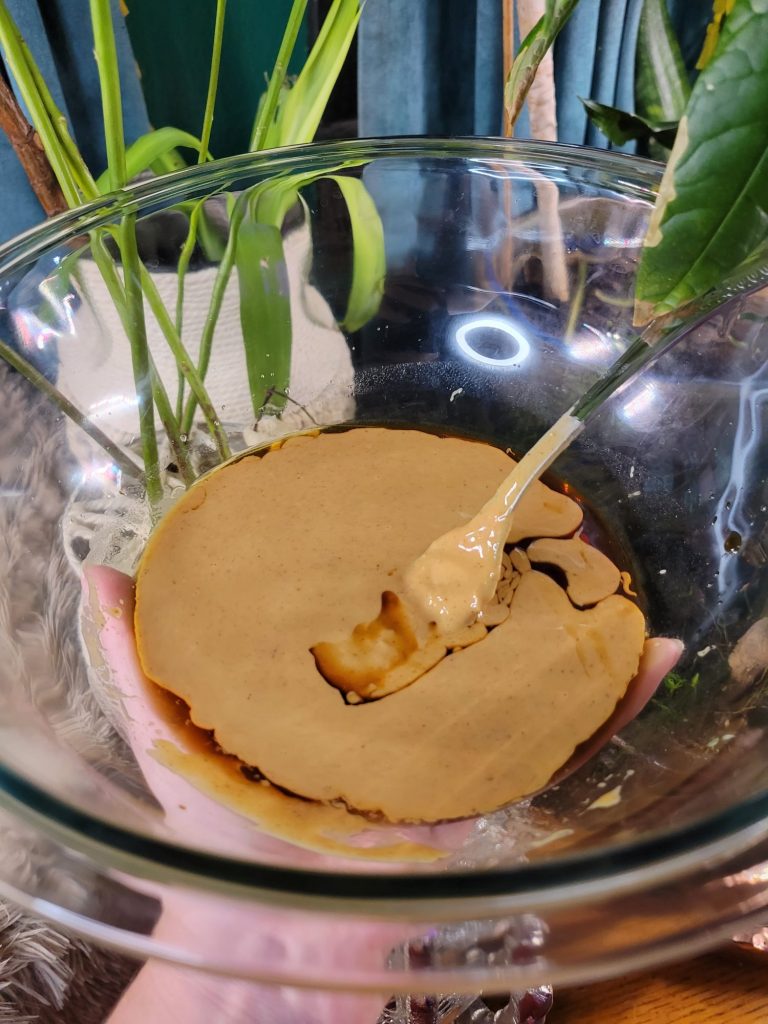
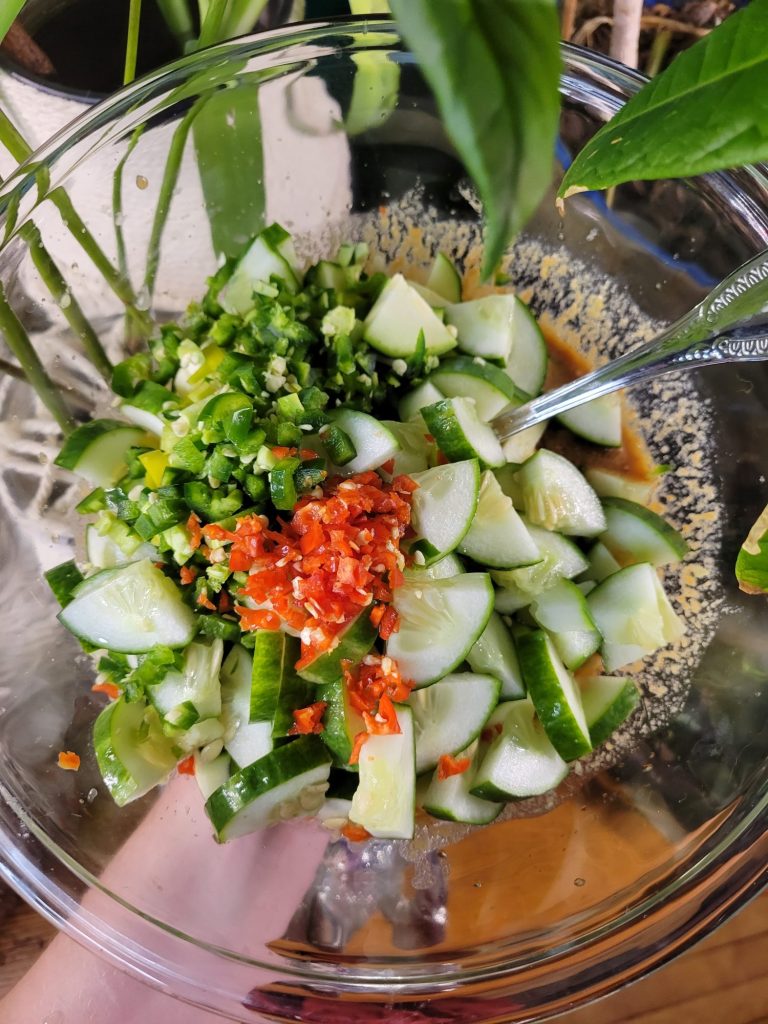
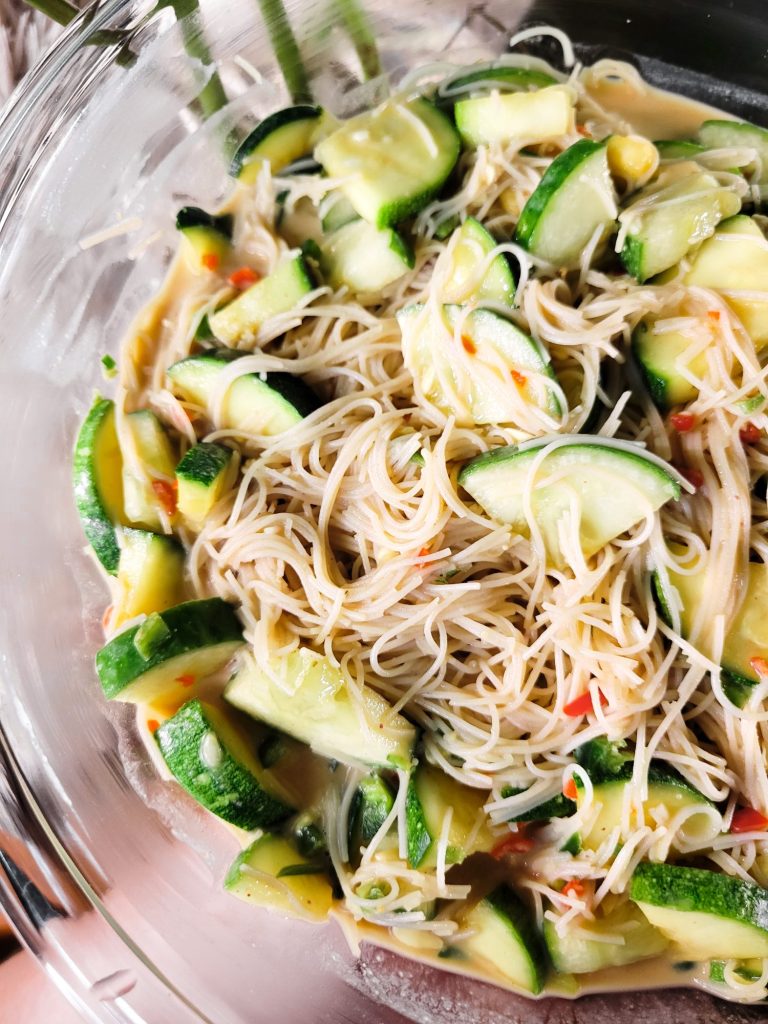
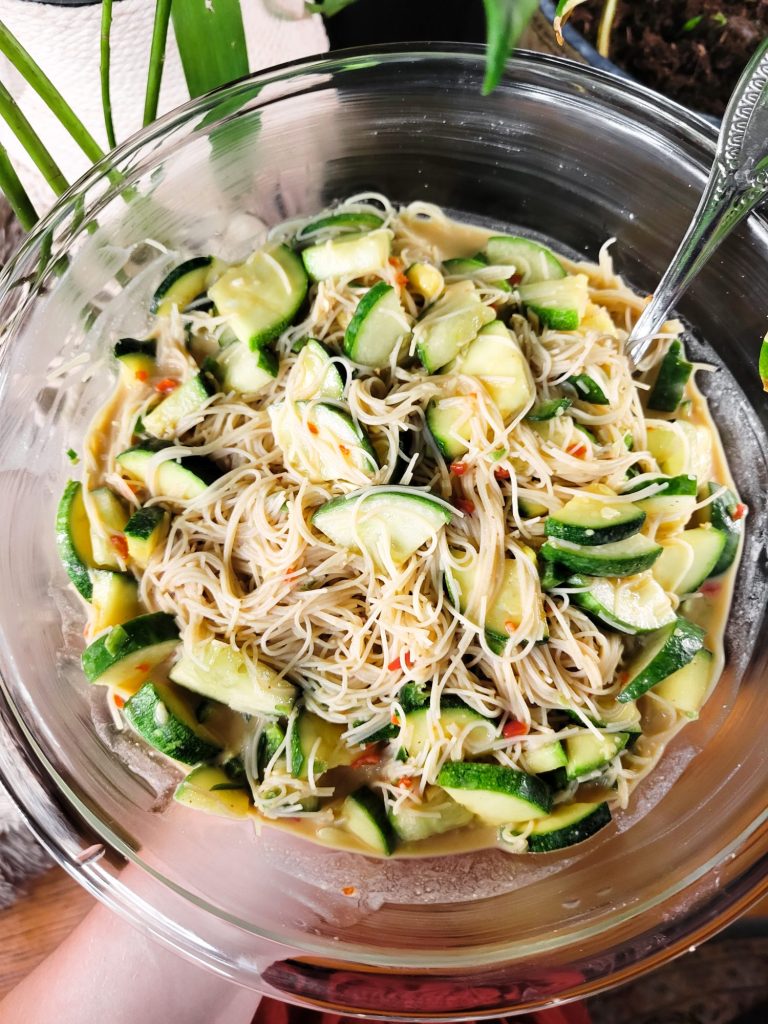
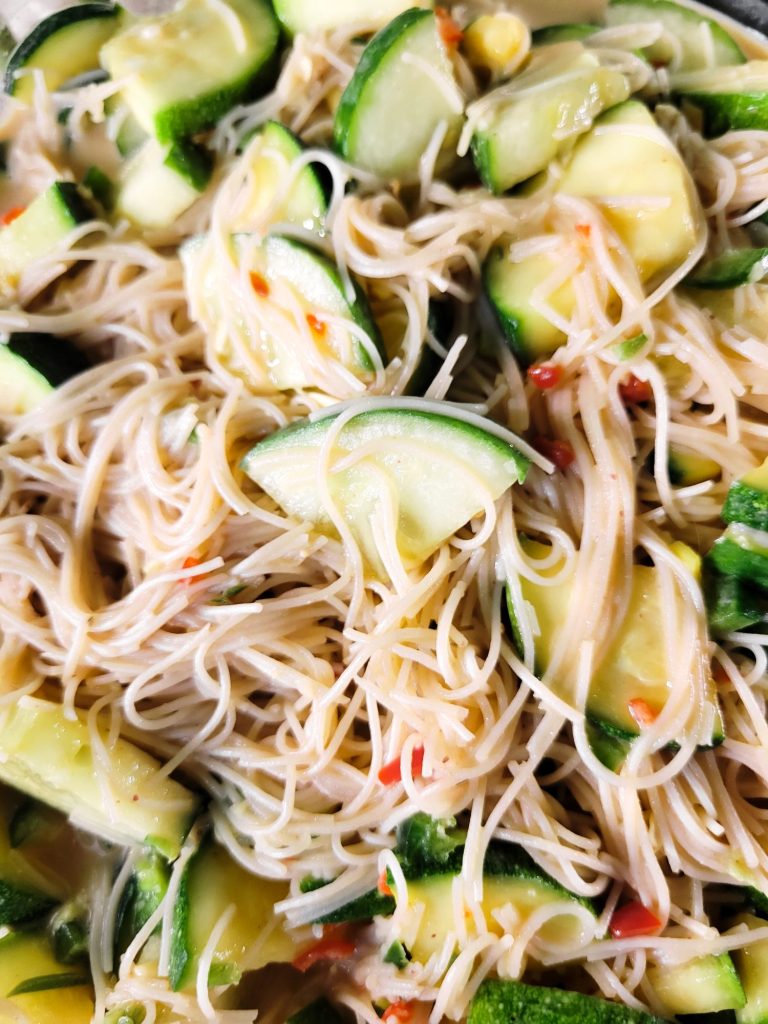
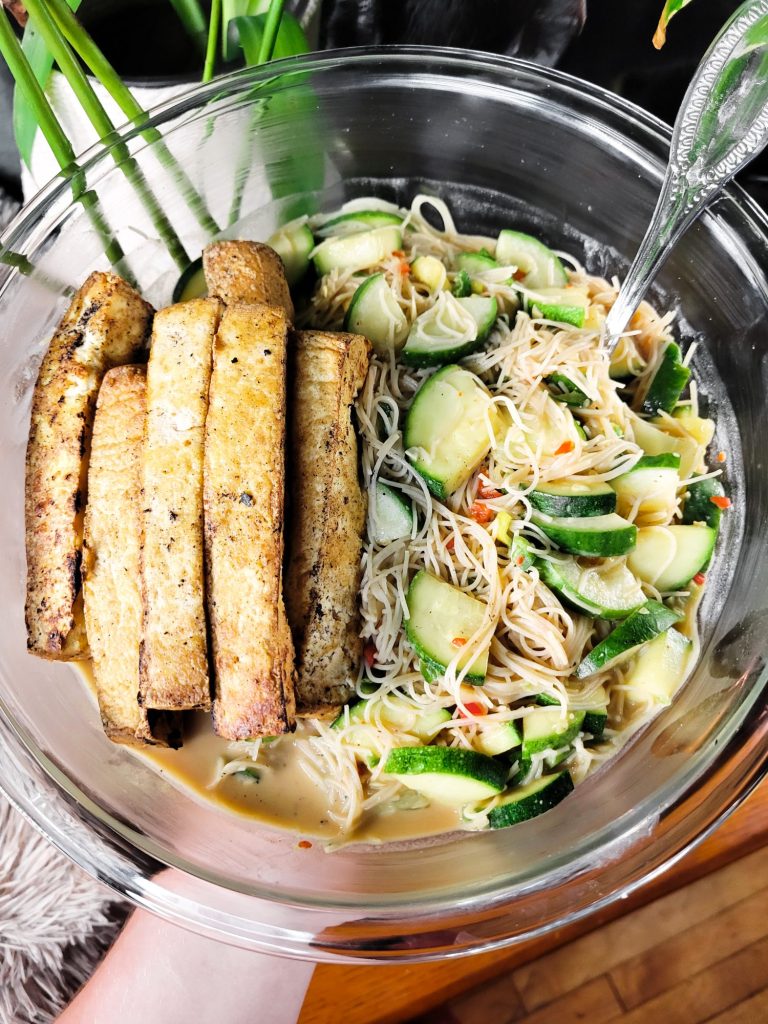
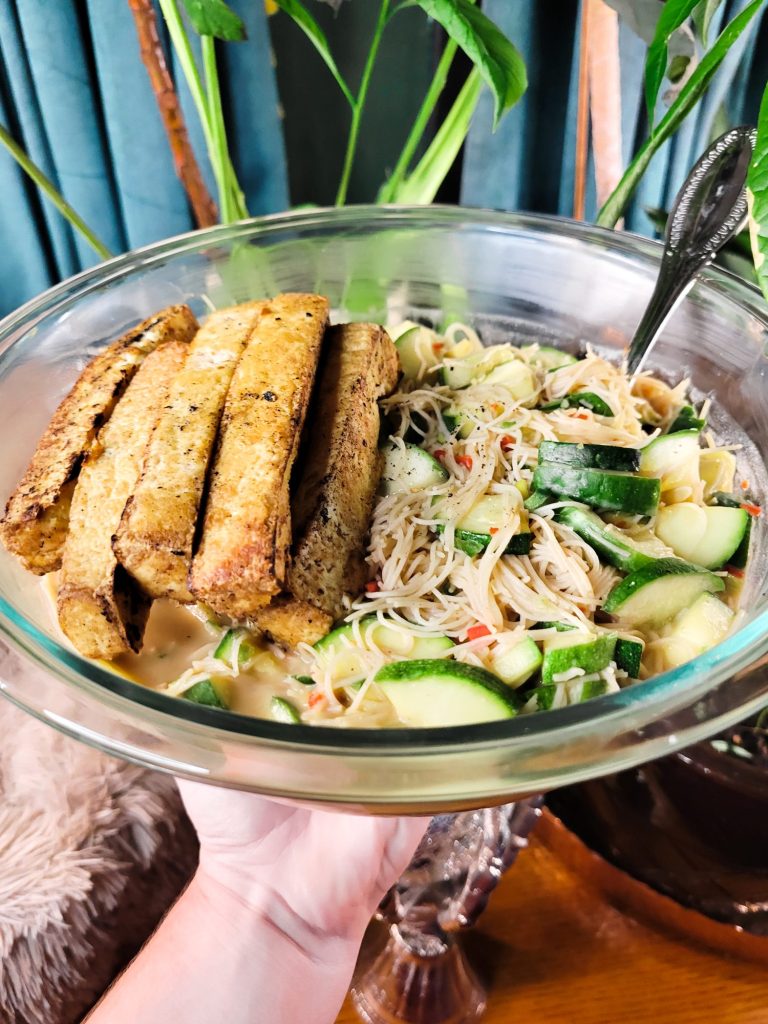
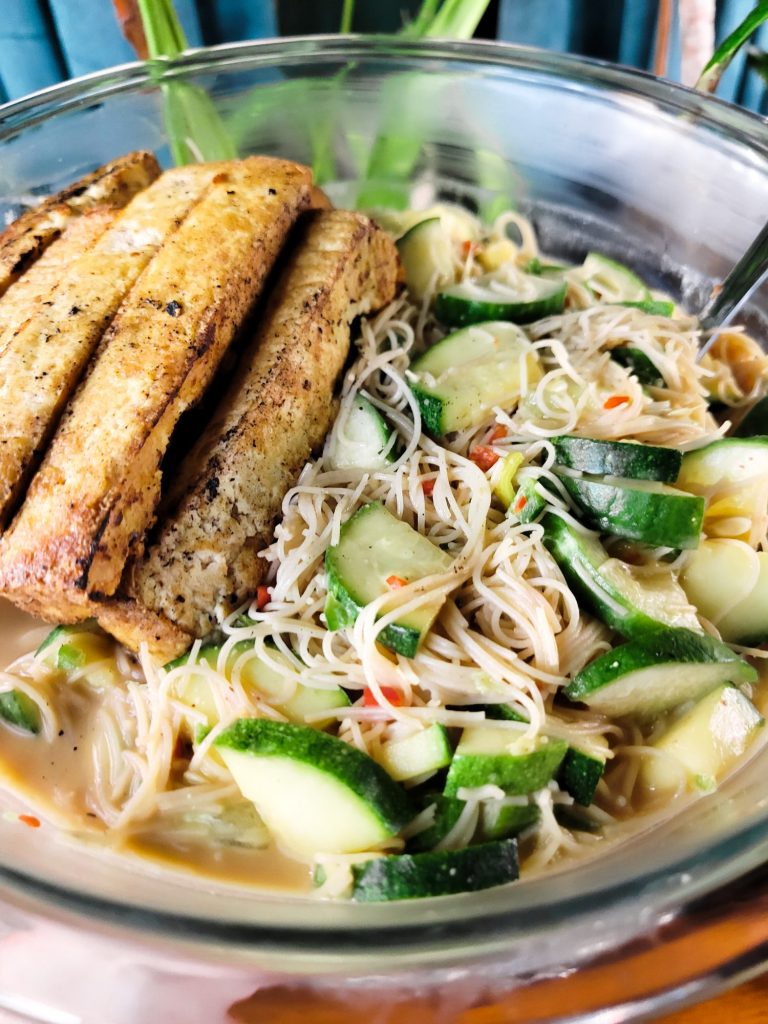
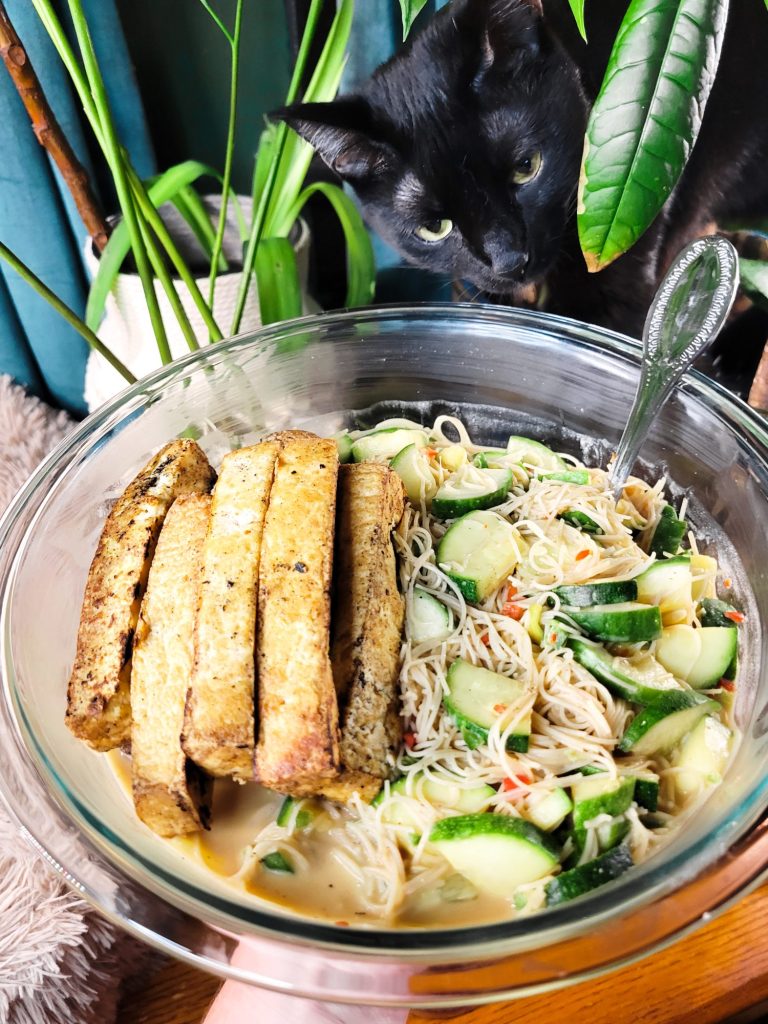
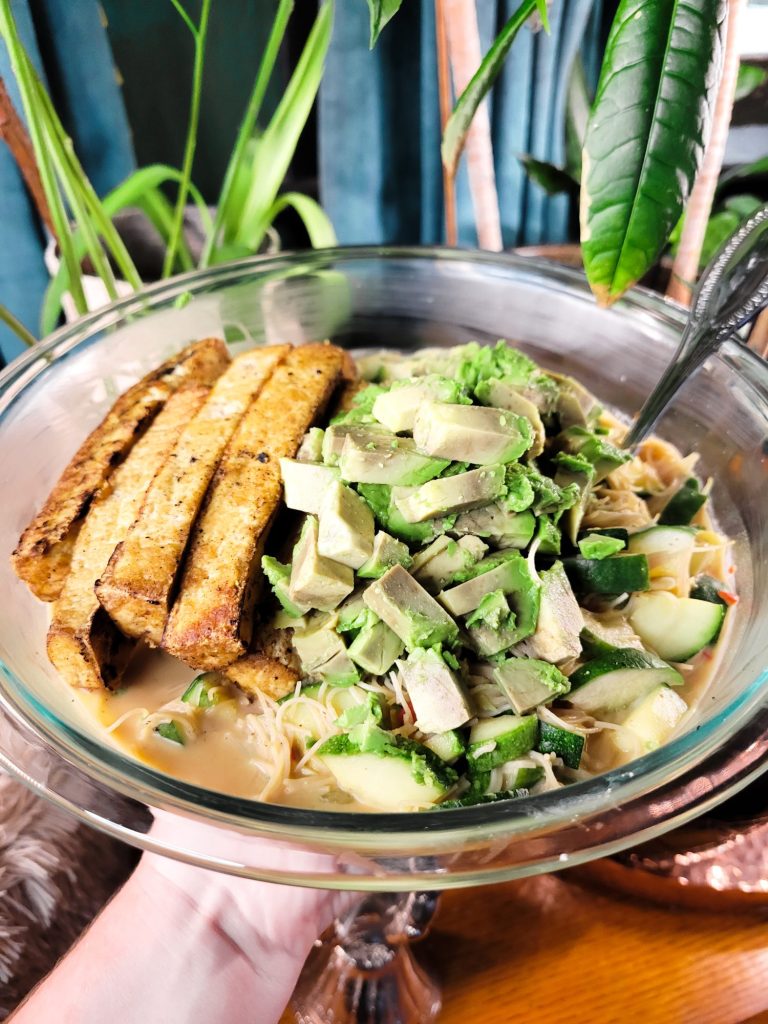
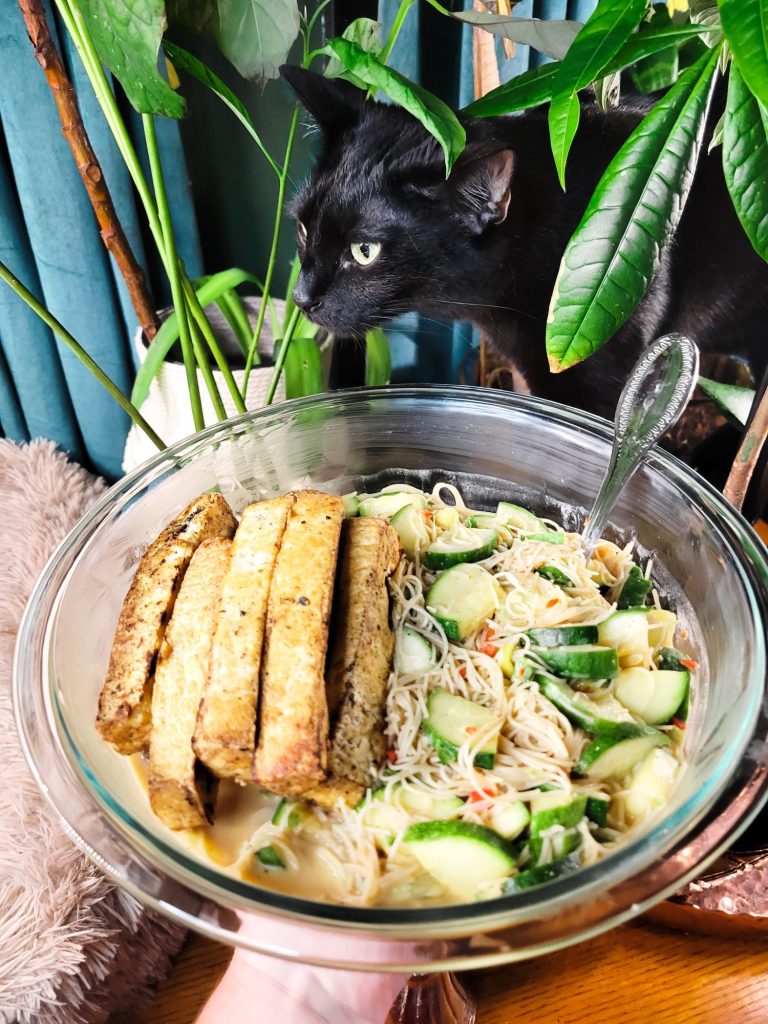
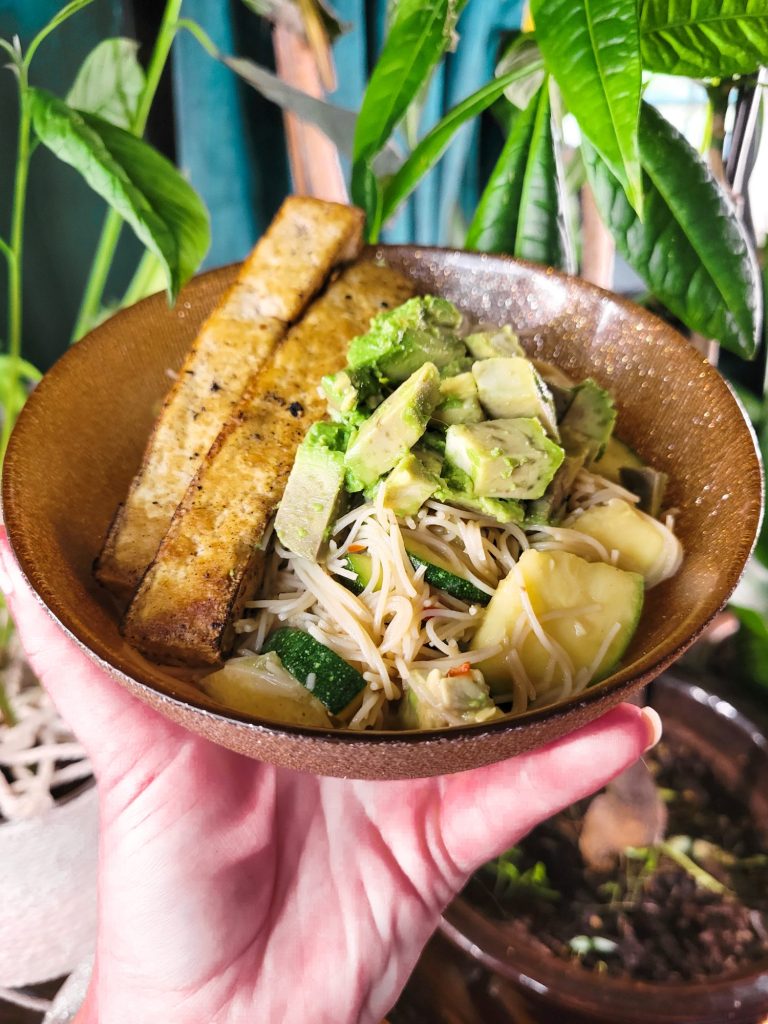
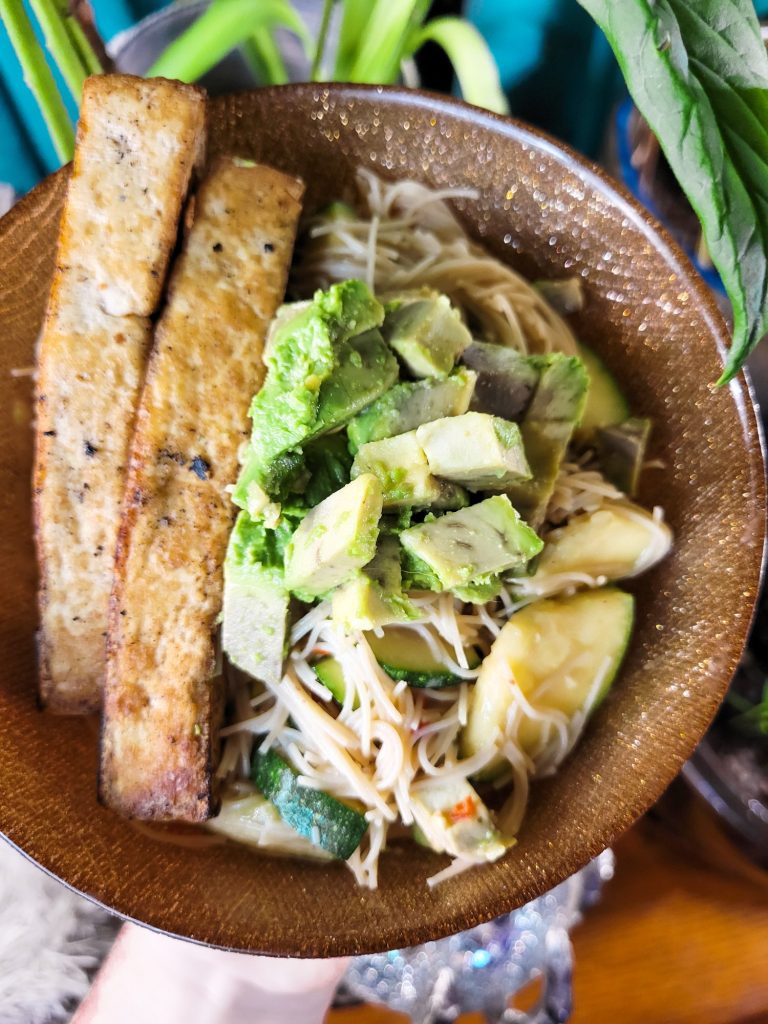
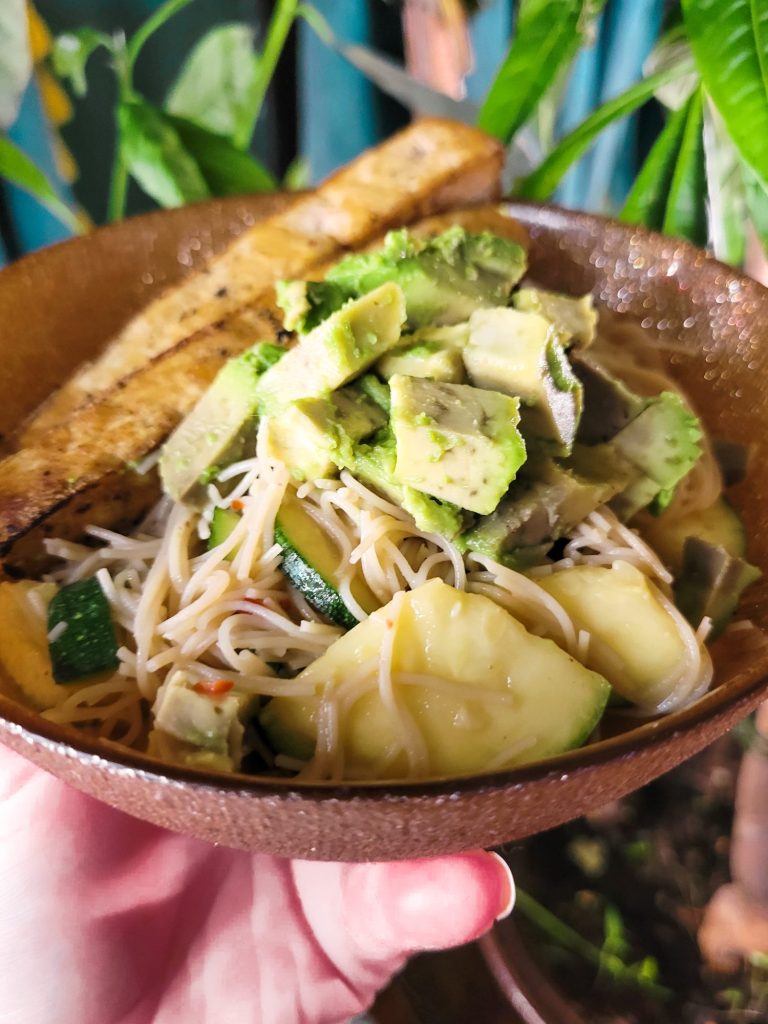
I tend to take photos of produce when they're unusual to my part of the world. I live in Wisconsin, I've maybe set the bar pretty low here. Midwestern food is more known for Kraft cheese and content than fun produce selection. So, I tend to show what the the actual food looks like so that, if anyone else comes across it in their own local grocery store or farmer's market, it doesn't seem quite so unusual! Plus, it normalizes cooking with less conventional ingredients and I'm all for culinary exploration.
I also tend to take photos of my own garden produce because, if I can manage to grow it? Maybe you can, too!. And, while this is not my fruits and vegetables, they do come from a friend's backyard garden and I'm very invested in them.
Variations of Vermicelli Salad
I make variations of this recipe constantly. I'm pretty sure that, if you take a look in the Salad section of my blog, you'll find almost nothing but quinoa salads, salmon salads, and vermicelli salads. If you cannot tell, I'm really not all that fond of lettuce. I have the worst time growing it and will be damned if I ever actually finish the bulk amount of it found in grocery stores!
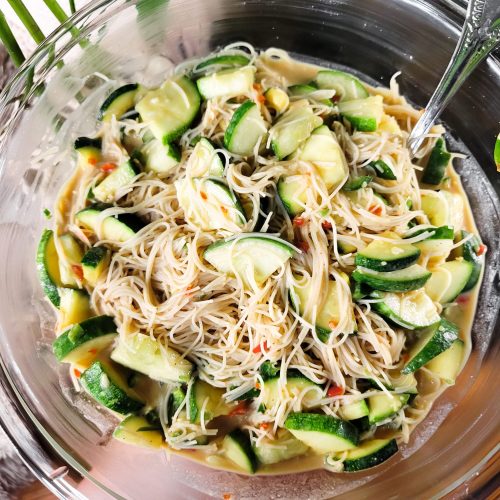
Vermicelli Salad w/ Cucumber, Zucchini, & Garden Peppers
Equipment
- Large Bowl
- Large Pot
- Skillet
- Stovetop
- Paper Towels
Ingredients
- 100 g. vermicelli
- 1 cucumber diced
- 1 zucchini diced
- 1 banana pepper diced
- 1 jalapeño minced
- 1 habanero minced
- 3 tbsp. tamari
- 3 tbsp. rice vinegar
- 1/3 c. peanut butter (or tahini)
- 1 avocado diced
Instructions
Cook Vermicelli
- Add about 4 inches of water to a large pot and bring to a boil over high heat.
- Cook vermicelli according to the manufacturer's instructions.Vermicelli cooks very quickly. I tend to add the vermicelli and then immediately remove it from heat. Then, go on to prepare the produce. Merely sitting in the once boiling water is sufficient enough soften it enough to eat without overcooking.
Fry Tofu
- While the pot is boiling for the vermicelli, drain the water out of the tofu and cut into cubes.
- Wrap in paper towels to absorb the moisture.It's important to absorb as much water out of the tofu as you can. Oil is less dense than water, so the molecules repel one another. With cold ingredients, this causes separation. When you're frying at high temperatures, though, this can cause boiling hot oil to spray back at you.
- Meanwhile, preheat oil in a cast iron skillet over medium-high heat.
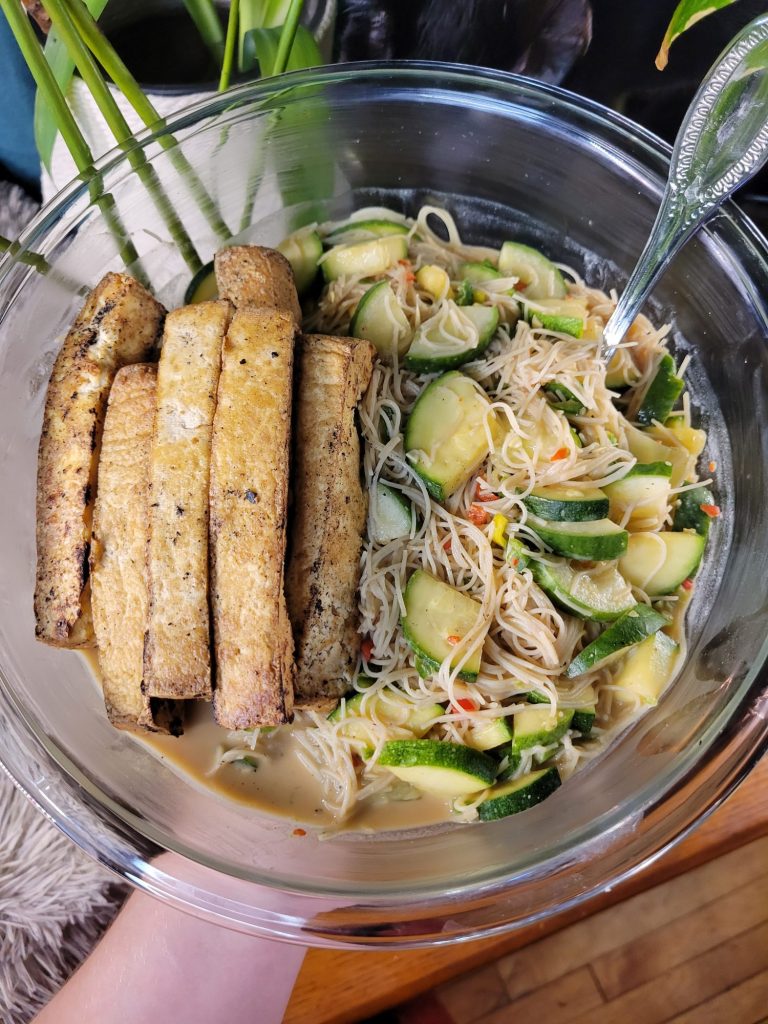
- When the skillet has preheated and the majority of the water has absorbed into the paper towels, carefully add the tofu to the skillet. Fry until golden brown. This should take about 2-4 minutes. Rotate until all sides are evenly fried.
- Remove from heat and wrap again in paper towels to absorb the excess oil.
Assemble Salad
- Mince and chop all of the produce and add to a large bowl.
- It can help to mix the tamari, rice vinegar, and tahini together in a separate bowl and then mix in. Although this isn't explicitly necessary as long as the tahini doesn't clump together.
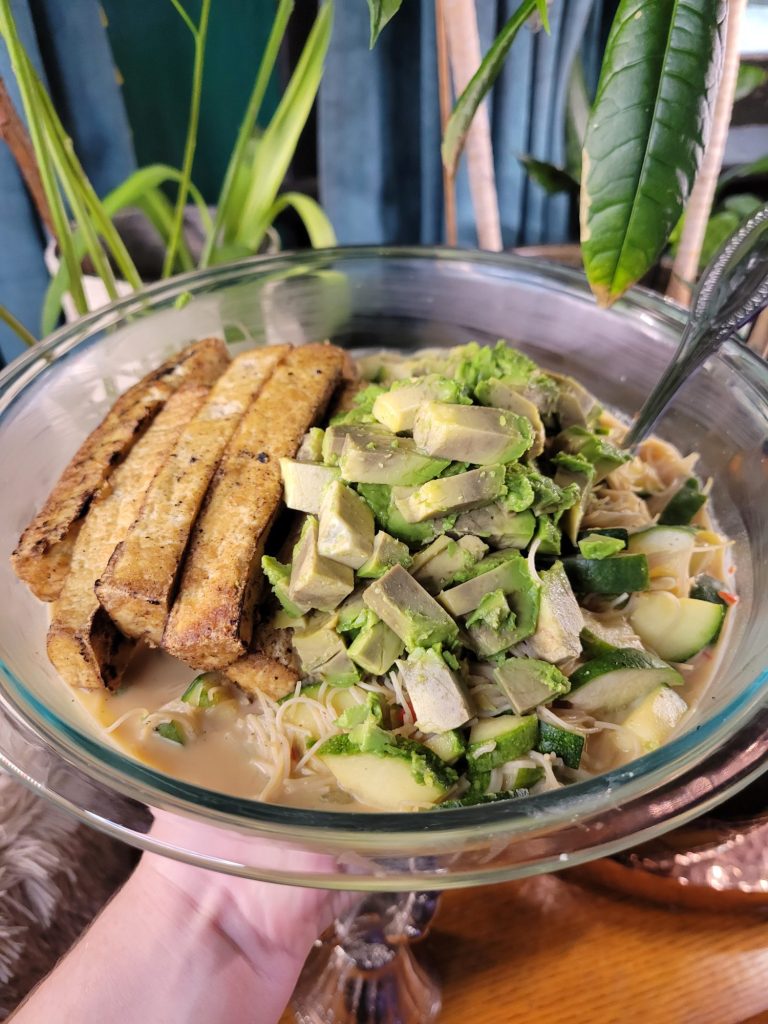
- Add in tofu, avocado, and sprouts. You can really mix the peanuts in at any time. However, sprouts go back much faster than the other ingredients, so I don't mix them in until serving and store them separately.
- Serve immediately or chill in the refrigerator for about an hour. I'm quite fond of this dish at room temperature or mixed in with salmon or scrambled eggs. It keeps incredibly well in the refrigerator, though. There's enough sodium and acidity in the mix to last for about a week without the produce browning. The liquid will start to separate and just need stirring before serving again.
This Page Contains Edited Images
As a general rule, I don't like to edit my images and I am firmly against alteration of images in food blogs. It's not something that we generally think about when it comes to recipes. But food styling, editing, alteration, and even faking entirely is just as rampant a problem in the recipe realm as anything else! Cooking is a very visual art and you can tell when a lot of foods are cooked based on the color. So, when this is altered and you can't use the coloration as a gauge, it makes it quite difficult to follow some recipes. I have an entire article about Food Styling and Unrealistic Expectations of Recipes.
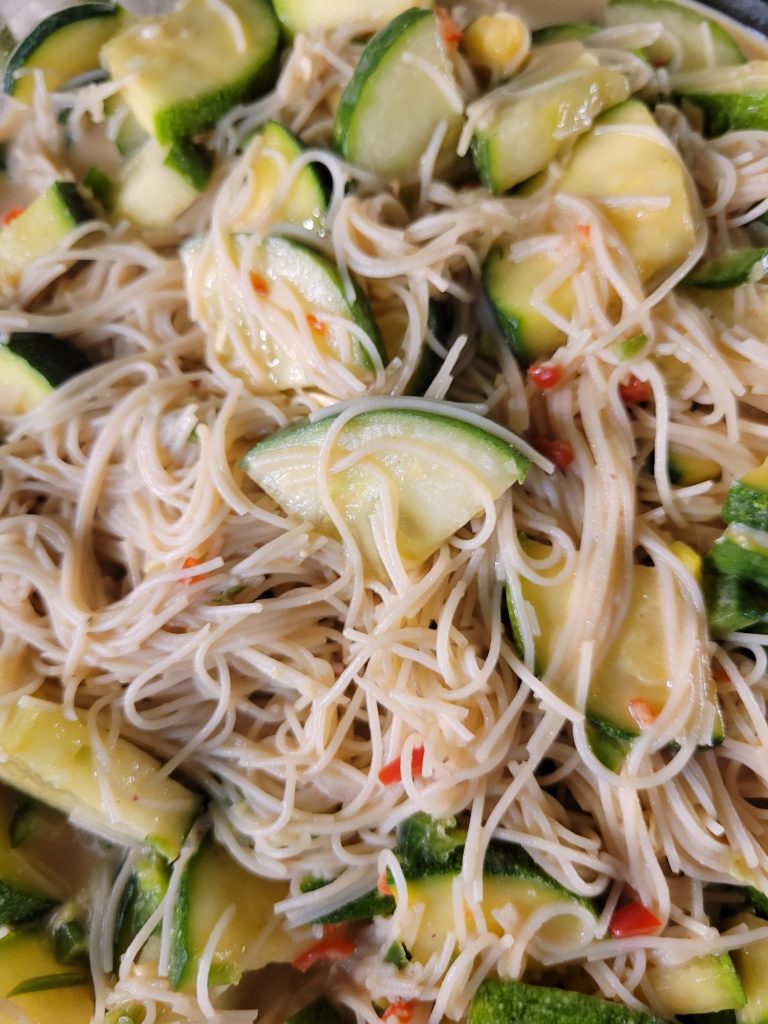
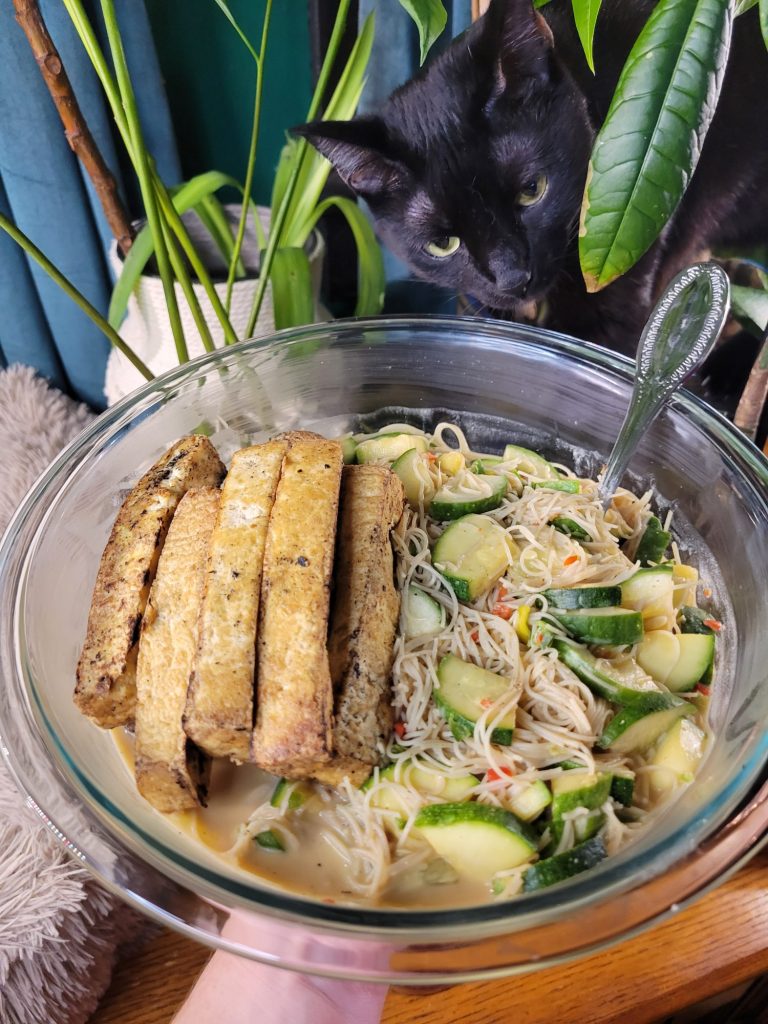
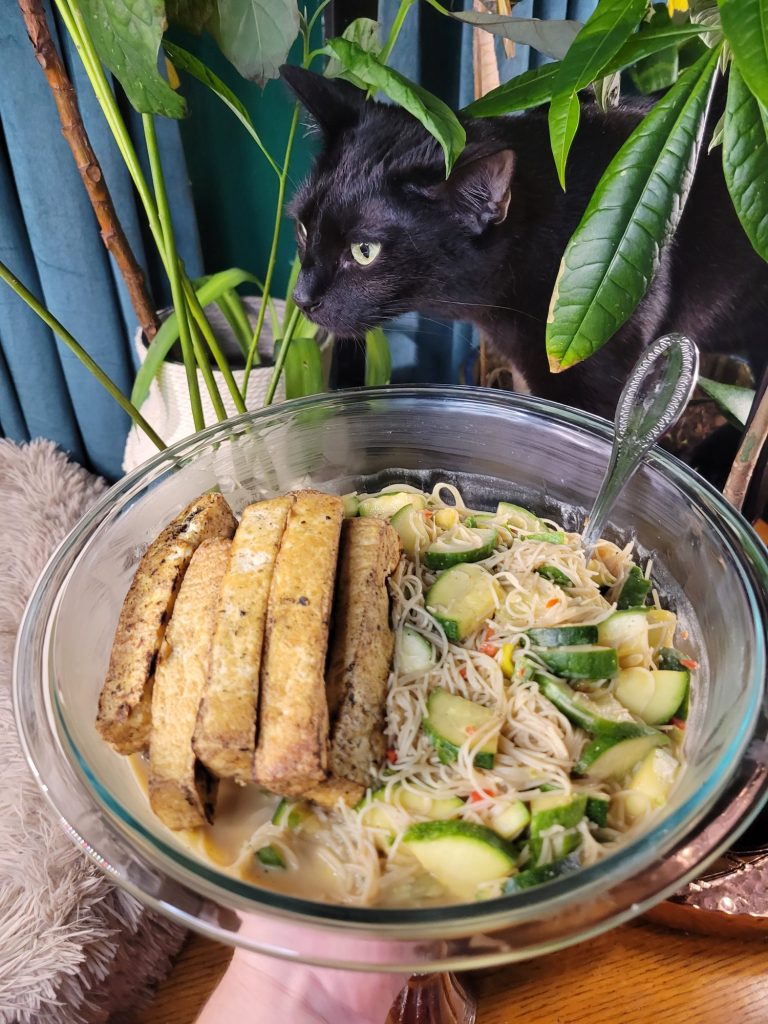
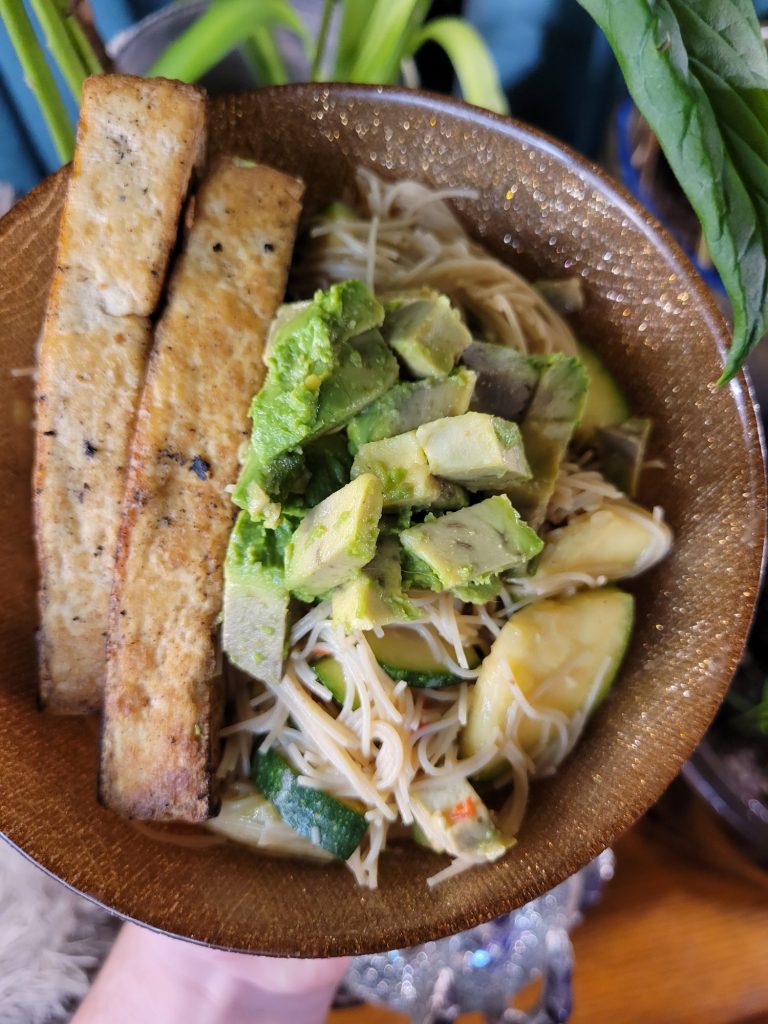
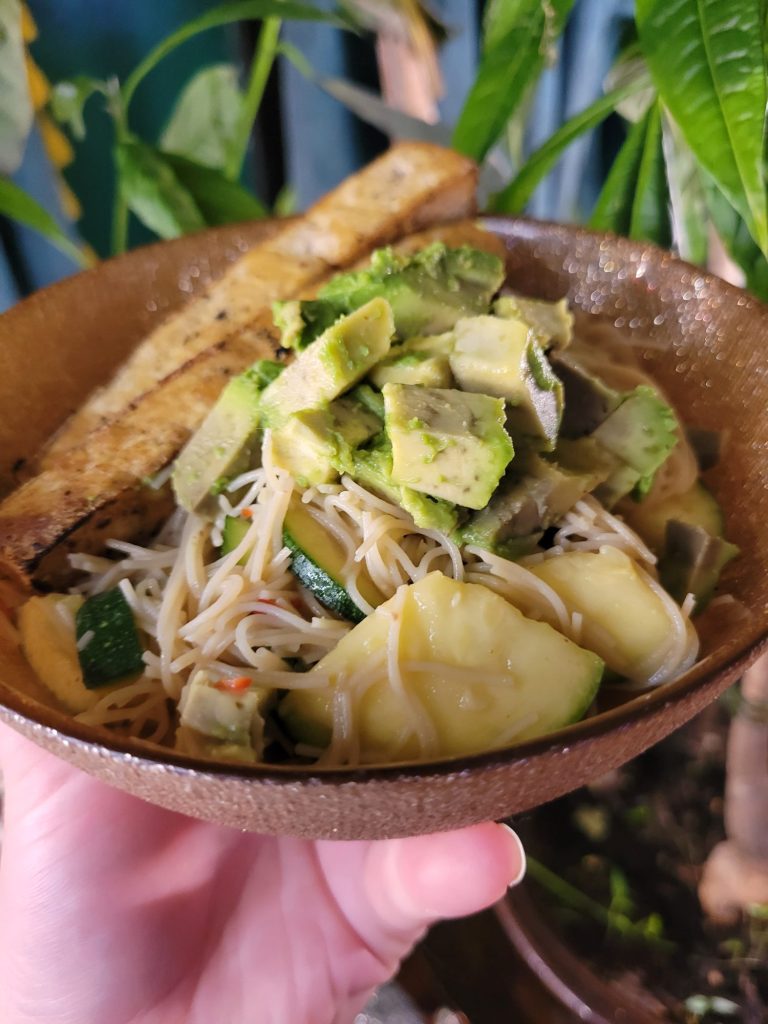
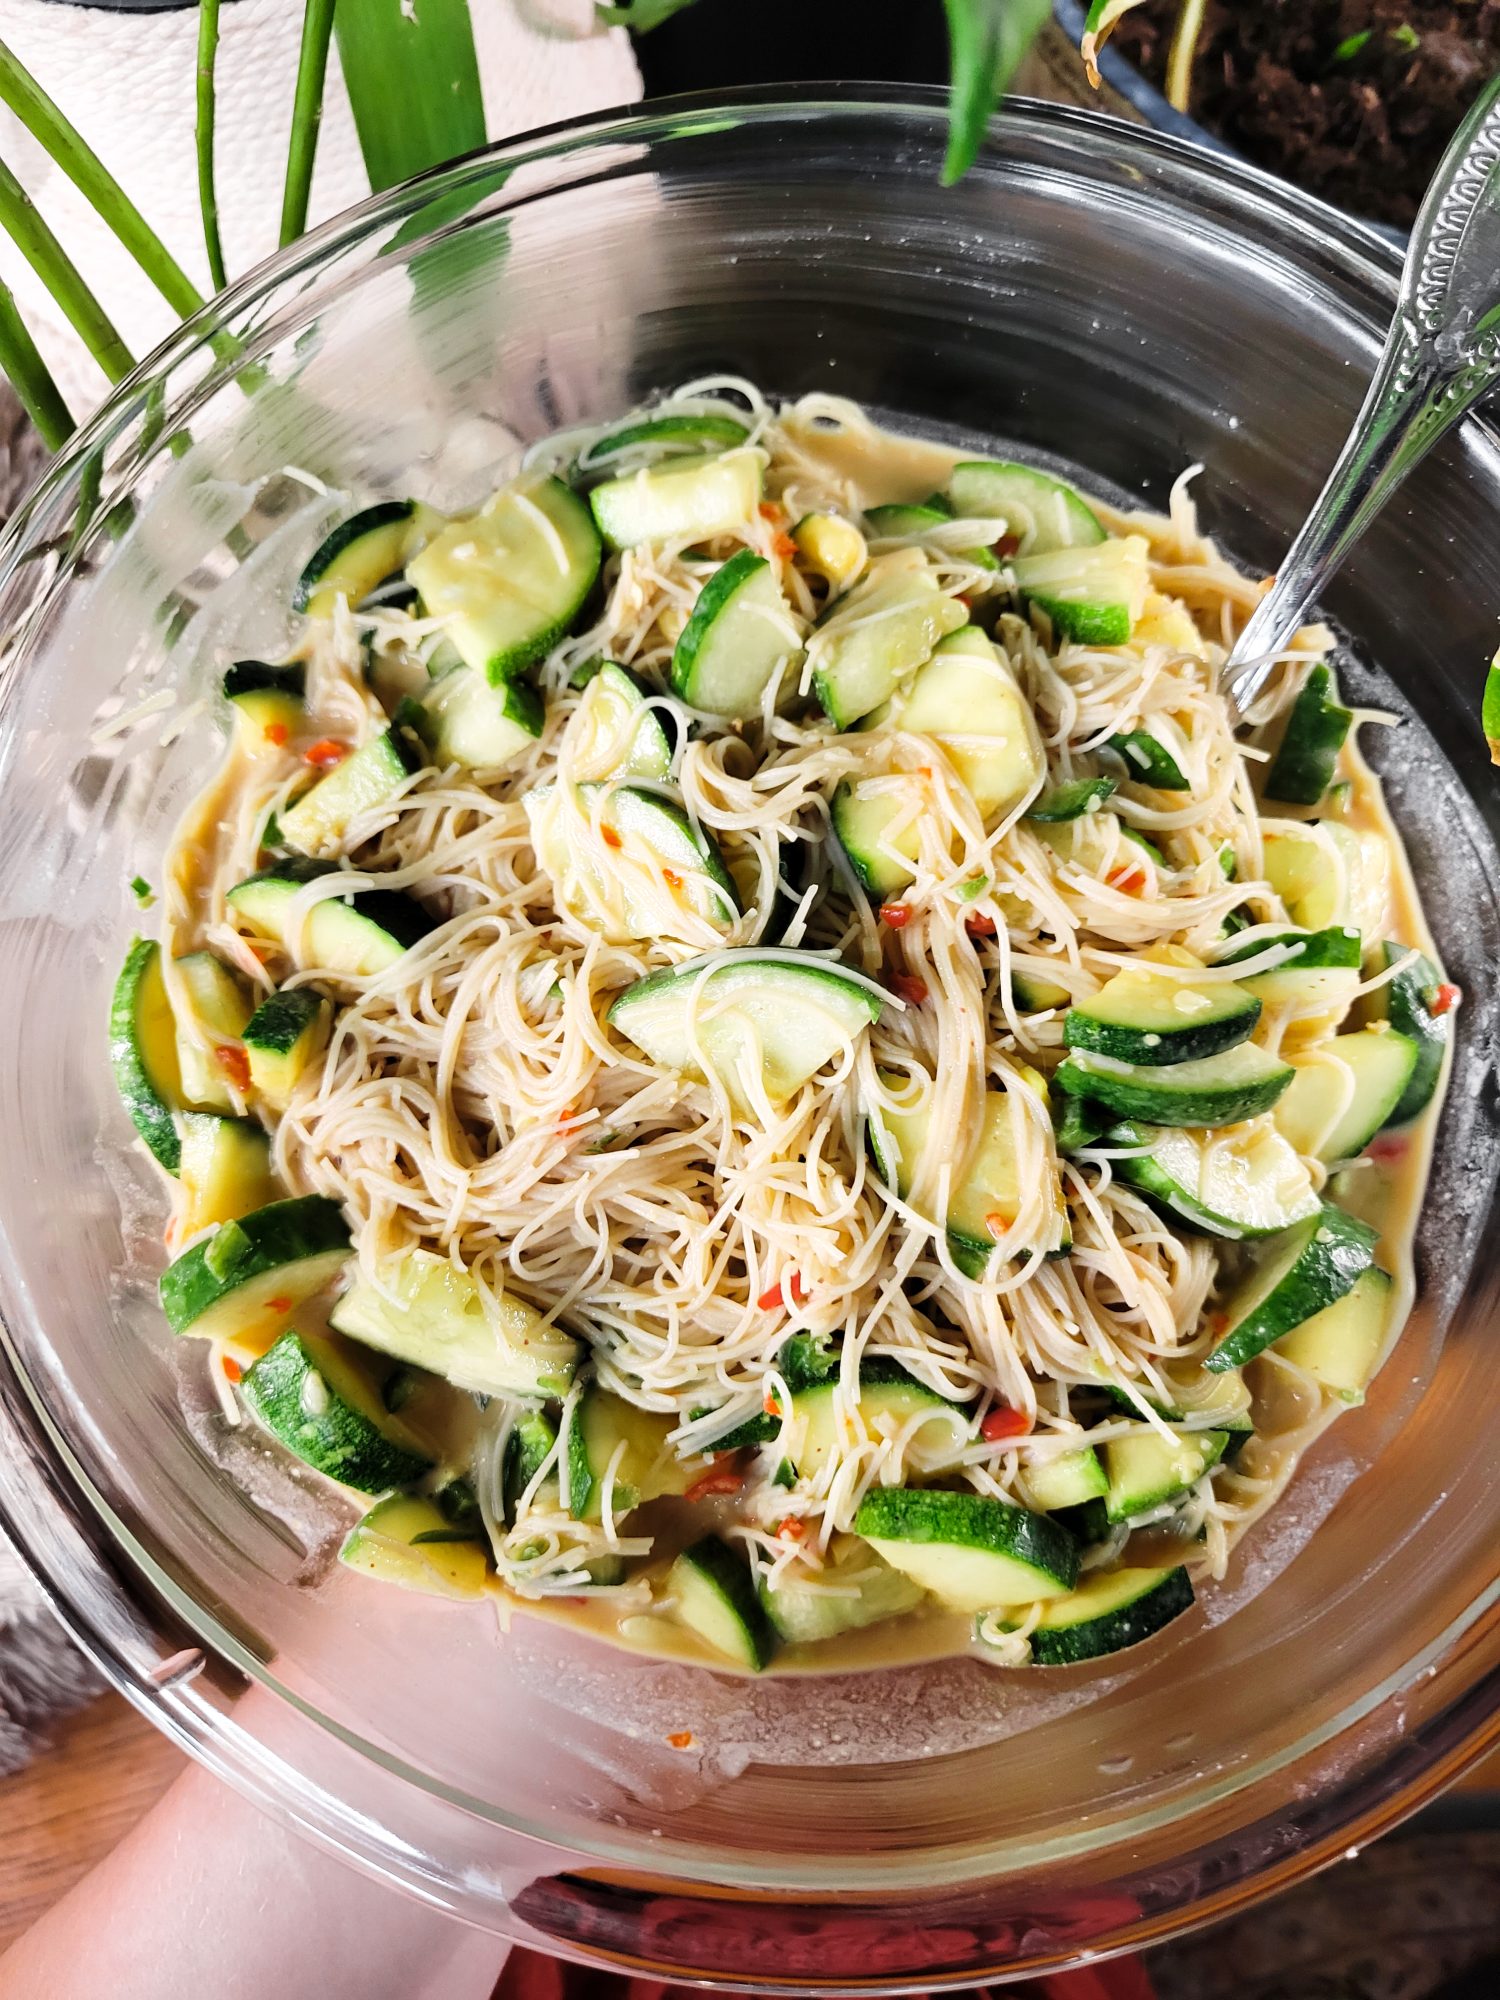
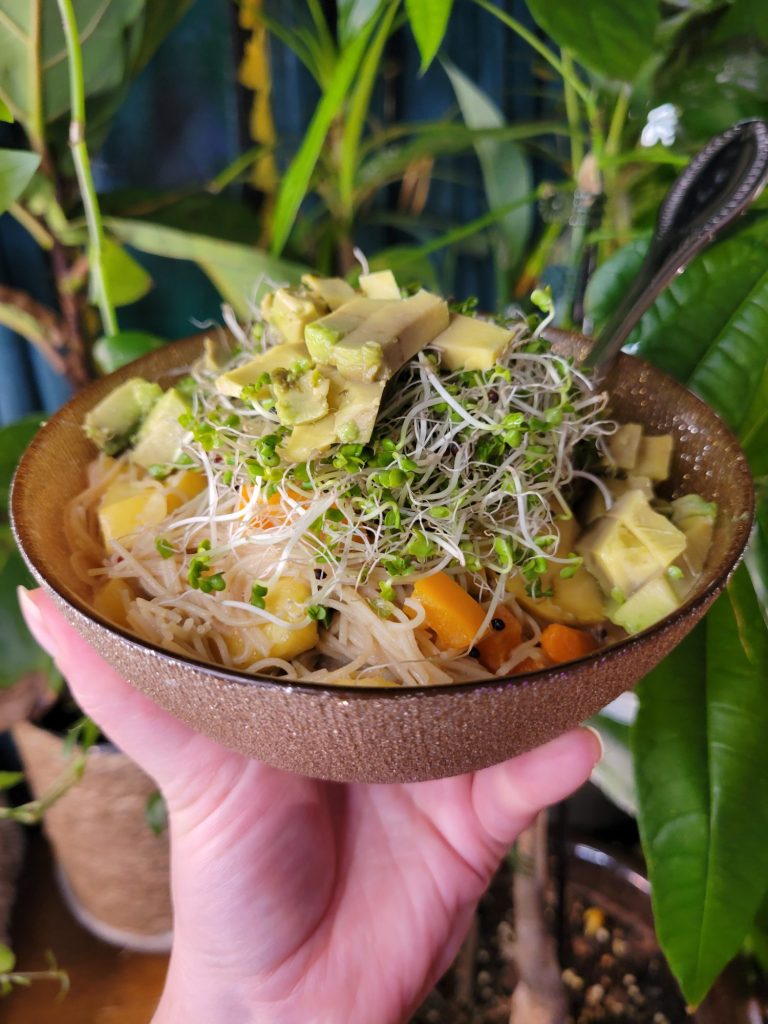
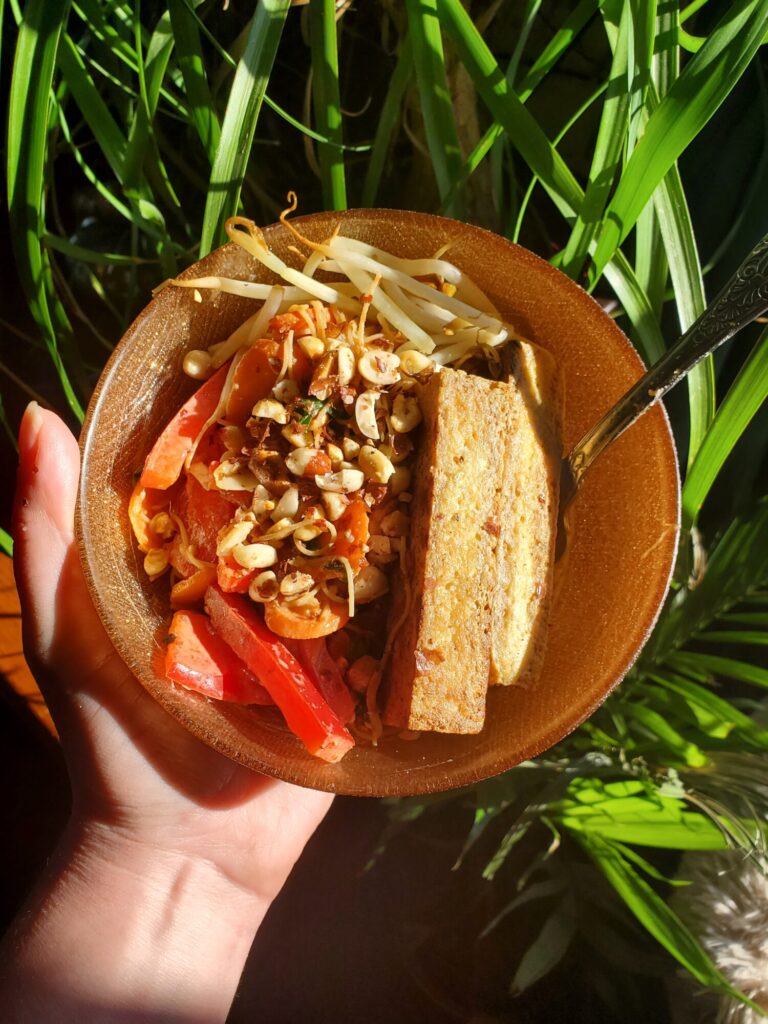
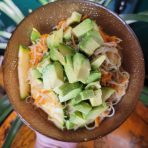
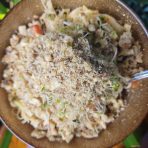
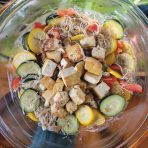
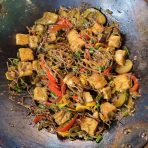
Because of this, I try very hard not to alter any of my photos. I like to take photos with natural sunlight during the day. Ordinarily this is very true to color and I don't edit the photos at all. However, since my place is very warm with a lot of yellow lighting, sometimes my camera overcompensates and ends up with an unnatural blue tone. In the following images on this page, I adjusted the levels and hue to try and make this more true to color. In the interest of transparency, these are the before and after photos.













Leave a Reply